All of my minions have bailed on me  . I had to do all the scut work myself this weekend.
Actually my daughter had 8 friends sleep over last night, and my ears are still ringing. My son wisely escaped a few miles away, out of earshot, and wouldn't let me come with him .
. I had to do all the scut work myself this weekend.
Actually my daughter had 8 friends sleep over last night, and my ears are still ringing. My son wisely escaped a few miles away, out of earshot, and wouldn't let me come with him .
I could hear them shrieking from the garage.
With the compressor running.
With earbuds in.
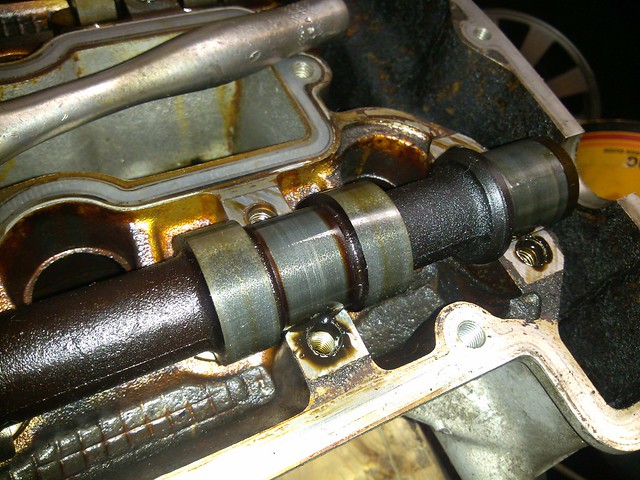
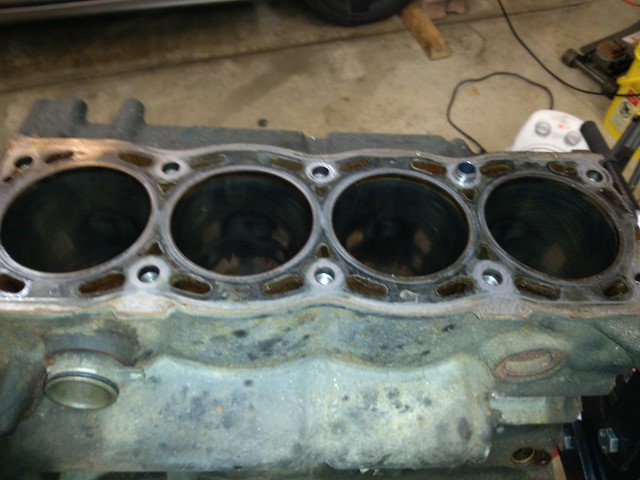
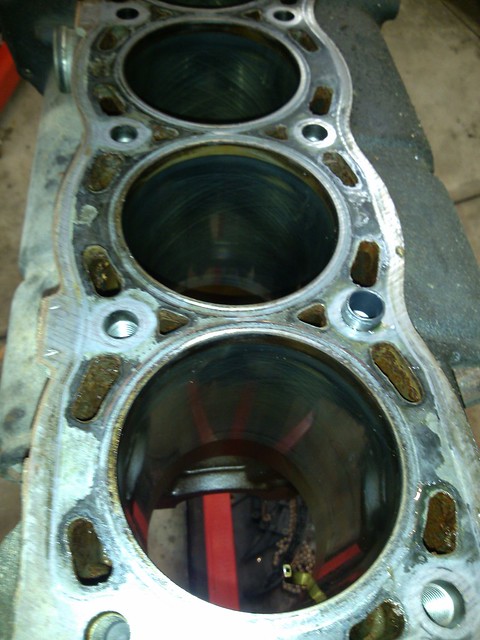
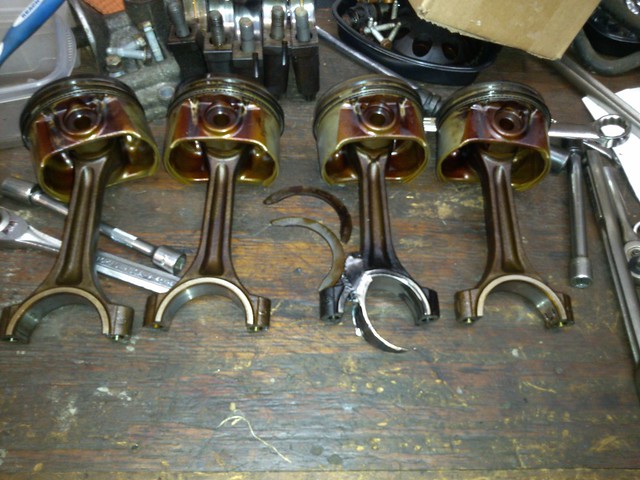
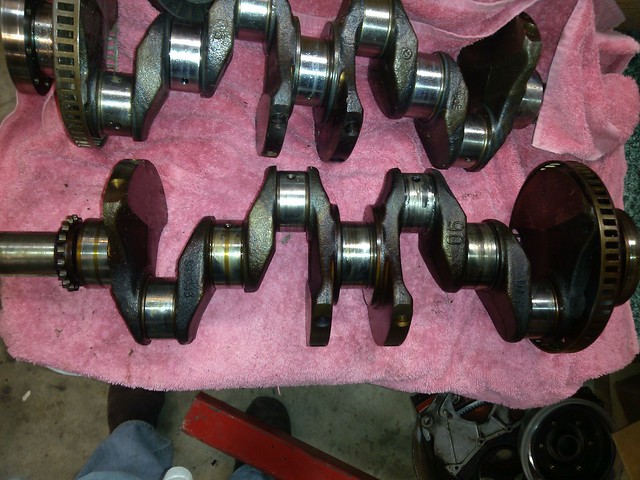
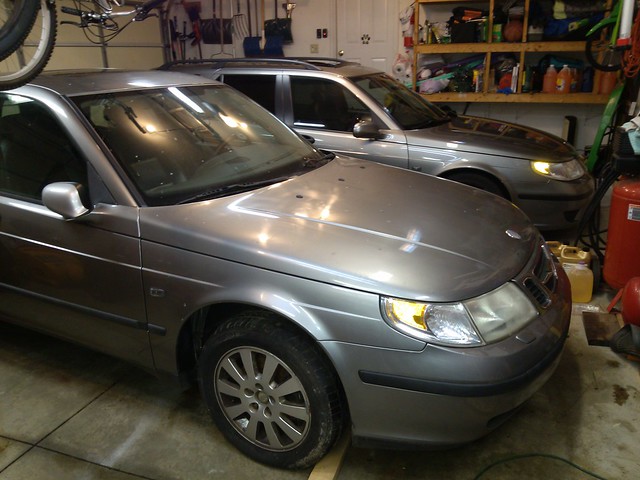
Yesterday before the horde of screaming girls descended upon us, we moved the ancient parts washer upstairs to the garage and loaded it with a 5 gallon can of the TSC washer solvent. It works very well on grease and grime, but doesn't touch varnish or sludge. No pictures because I was running out of gloves and didn't want to trash my phone.
However, as mentioned in the 'things I learned today' thread, eye protection is recommended. The output was very low, so I started troubleshooting, taking off my face shield in the process because it was berkleying hot in the garage.
I used the blow gun to shoot ~20psi thru the hard line, and discovered it was still patent. A slug of solvent blasted out, hit the lid at just the right angle and plastered me in the face . Fortunately, no harm no foul because I got my eyes closed in time.
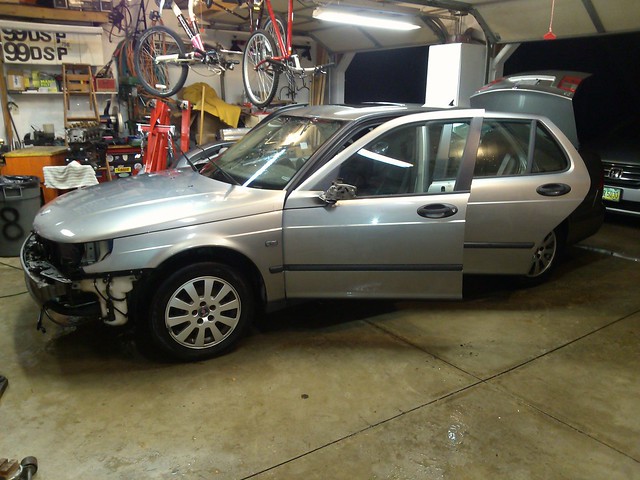
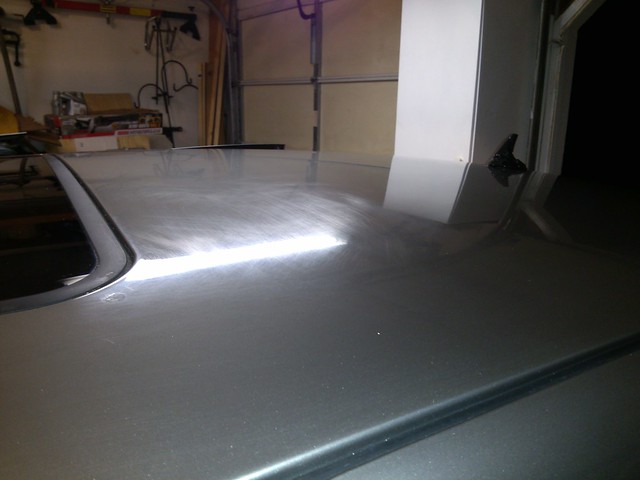
After washing up, I made the executive decision to do something else for awhile. I figured that I should get the car washed while it's nice and warm out, and will be 20 and snowing by next weekend.
The PO's house has pine trees all around, so I cleaned out about 30lb of pine needles and sap over a period of about 5 hours. Used up a gallon of purple power, a bottle of
GooGone, and almost a whole bottle of Pre.
I really, really hate pine trees!
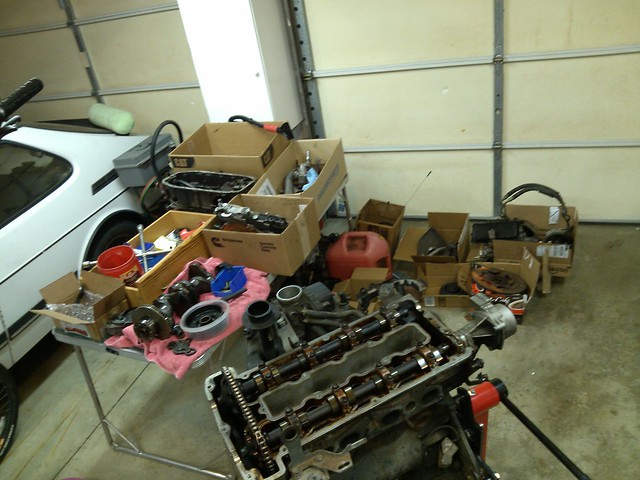
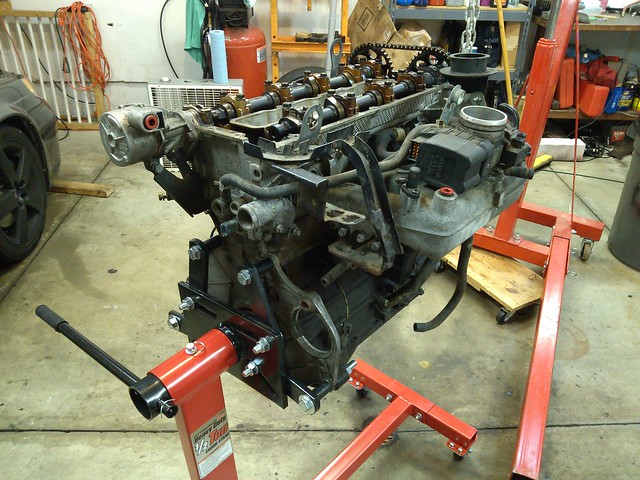
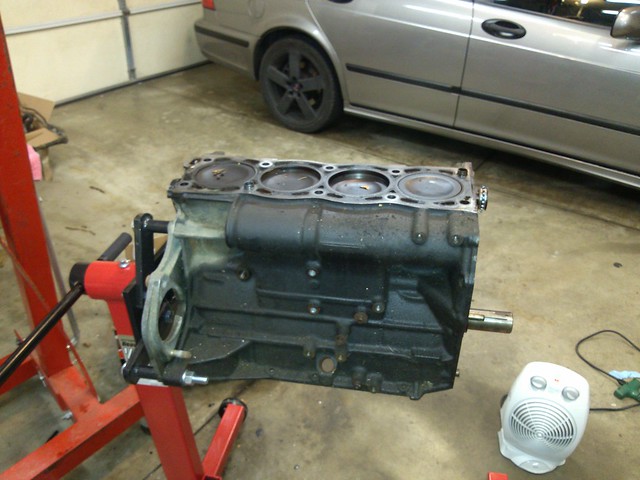
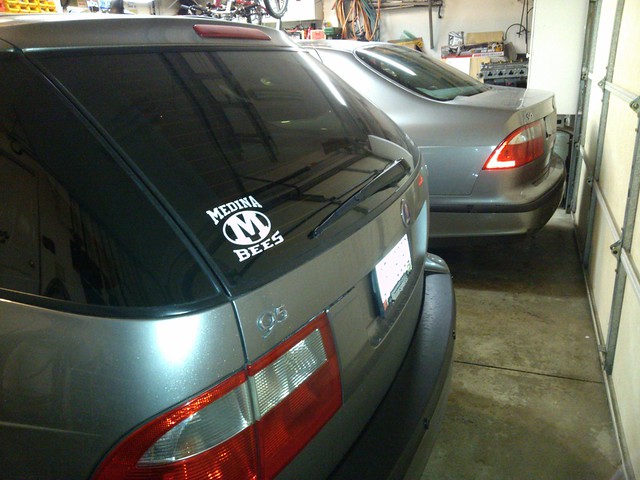
So, here we are at the end of the day:


 (Car is behind the Pats hat
 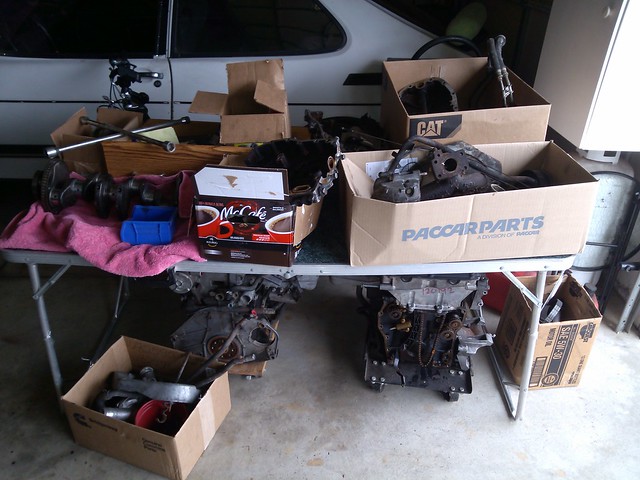 \\" />


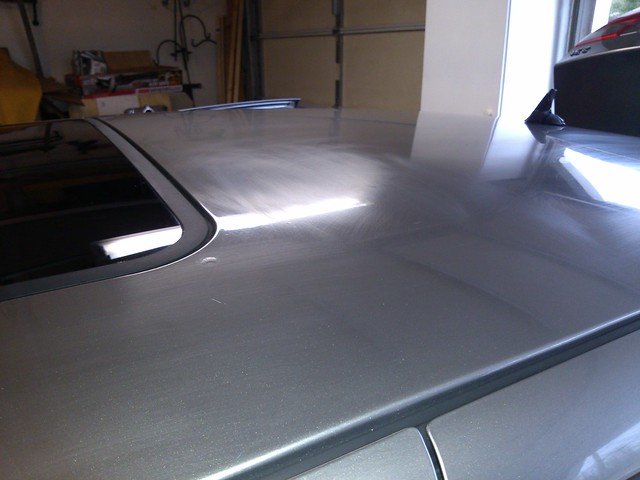
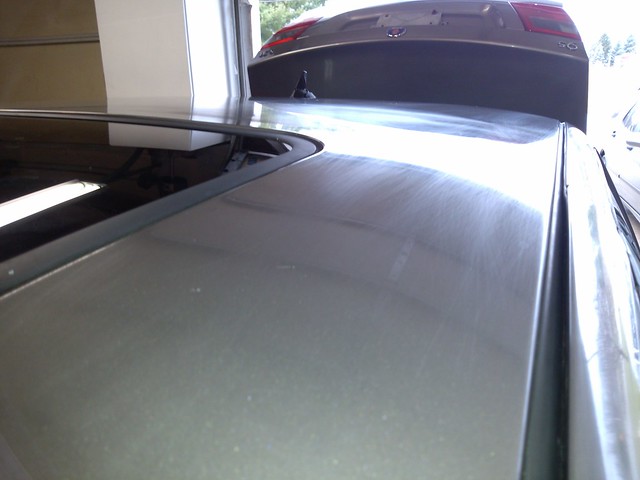

 It wasn't perfect you can see the "clean" side was hammered with rock chips. but I think with just your scratches should come out good in this.