
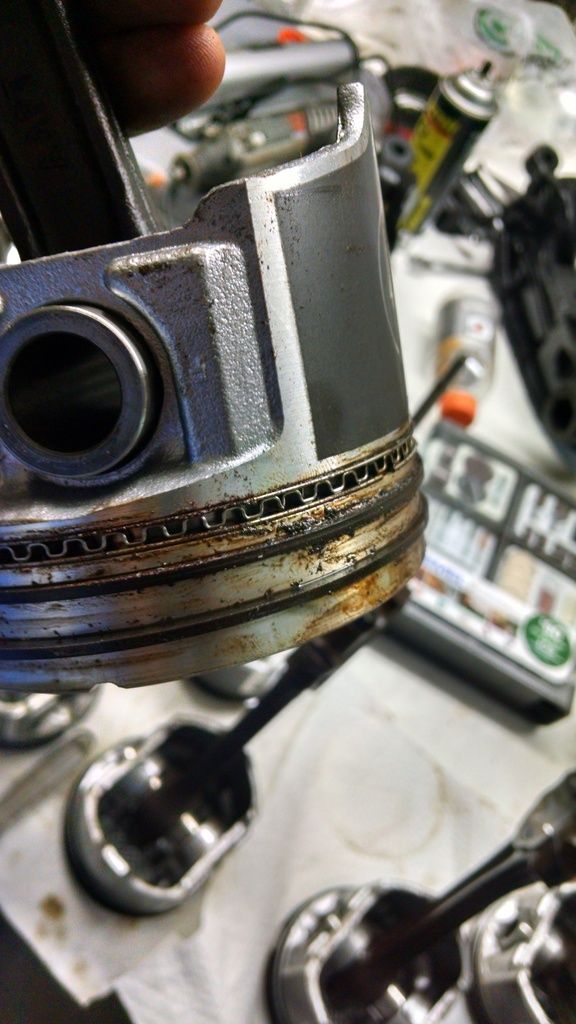
Progress update! Well I took a little step back this week. I wasn't going to completely tear down the engine I bought, but decided to after I was silly and ground away the valve marks on the pistons....while they were still in the block. Oh man was I glad I made that mistake. I found a lot of dirt and grime in places that were not suppose to be dirty.
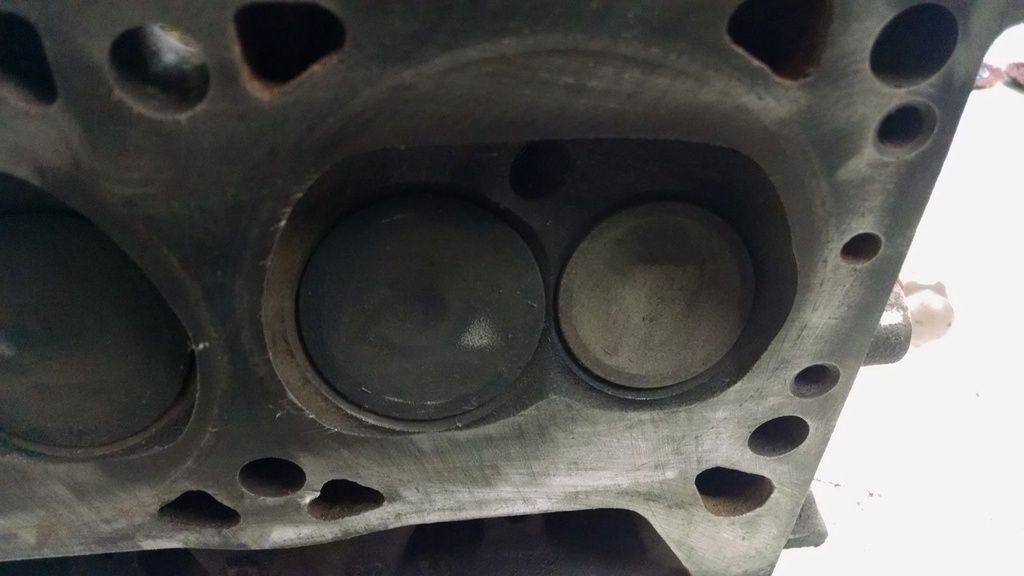
Two of the cylinders had not rough...but rust stained surfaces that cleaned up well with spray lube and a paper towel. However, the rings in those two cylinders weren't looking so nice. So I'm finding that the ring end gaps might be a little small as well. So the I stripped it down to the bare block and I'm giving this thing a thorough cleaning before it goes back together. Luckily my brother in law use to rebuild engines for a living and is guiding me on the dos and don'ts. So far he hasn't found anything that a good cleaning won't fix.
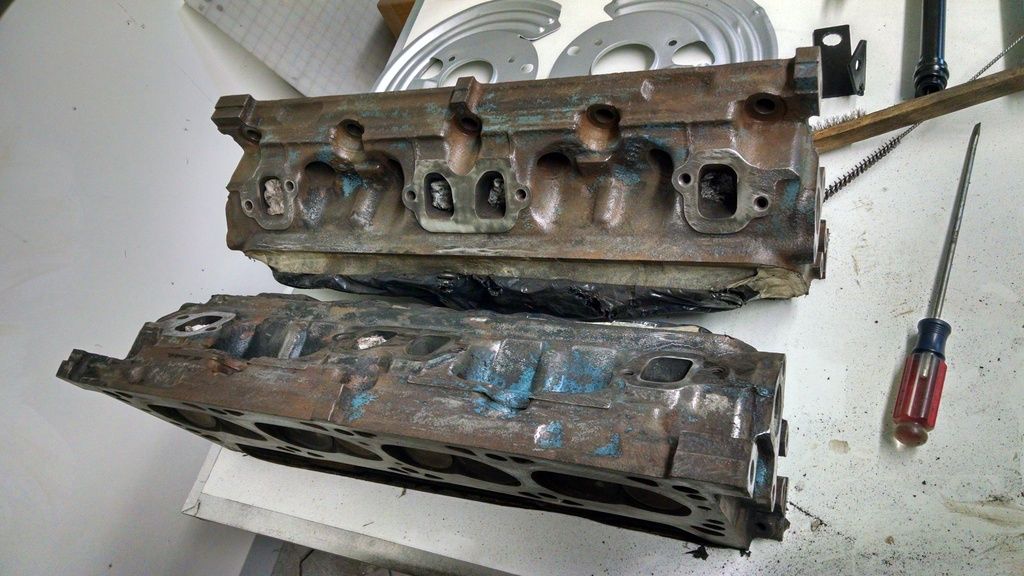
Cleaned up the heads too. They look good and are ready to be painted LA blue with the rest of the block. I'll do that as a complete assembly though.
Also blasted and painted the LCA's....those look great.
Por15 Chrysler blue is some incredible stuff. Use it for the engine.
Is that the same suspect piston manufacturer that Hungary Bill had issues with?
Look at those small little combustion chambers. such an improvement over the earlier LA heads.
I've used the POR-15 stuff on my exhaust manifolds with really good success as well.
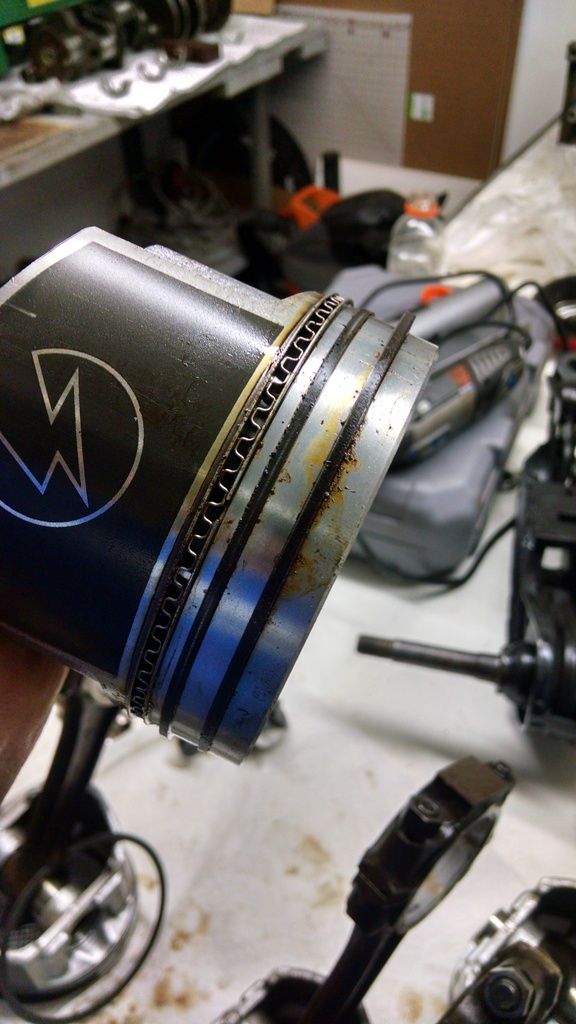
Those are sealed power pistons. nothing special really. Pretty much a stock style replacement.
wvumtnbkr wrote:
Is that the same suspect piston manufacturer that Hungary Bill had issues with?
I don't know and I sure hope not! I believe they are mostly factory replacement pistons. This isn't a high power build. I'll be happy with 230-250hp at the wheels. Which with a Edelbrock Performer Intake, headers, dual exhaust, 600cfm 4 bbl, and cam I think will be pretty achievable.
I'd like about 350-400 at the wheels once all the chassis, suspension, and paint is done on the car.
wvumtnbkr wrote:
Is that the same suspect piston manufacturer that Hungary Bill had issues with?
Yes. Lightning bolt manufacturer.
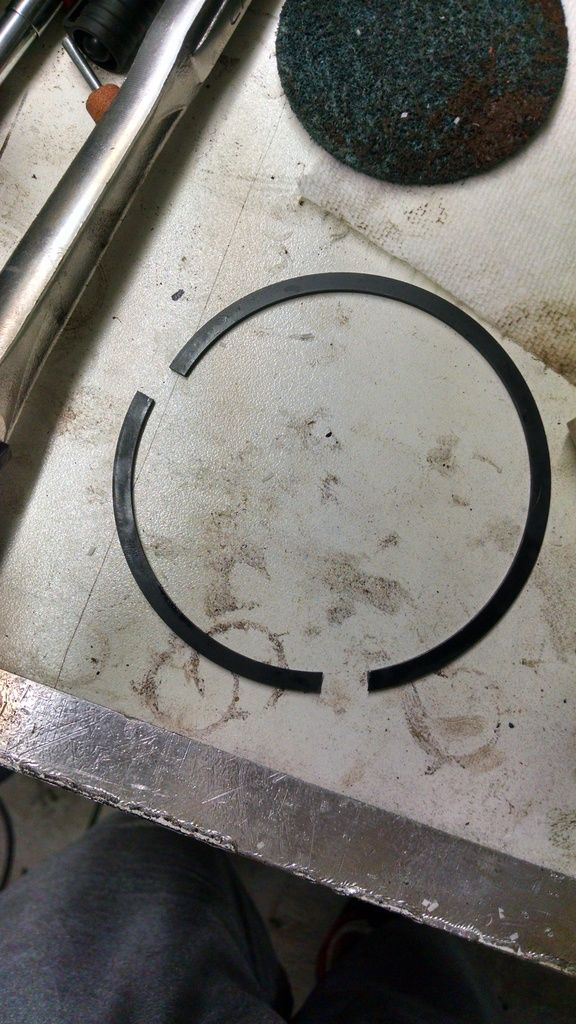
So I was cleaning the pistons the other night and wanted to check all the ring gaps since one was a little suspect. Then.....
Mad_Ratel wrote:
wvumtnbkr wrote:
Is that the same suspect piston manufacturer that Hungary Bill had issues with?
Yes. Lightning bolt manufacturer.
Bring the torches and pitchforks..
WaterfordMan wrote:
Just think, wide ring gaps for nitrous.
Or, ring and bearing kits are cheap for a 318.
In reply to Dusterbd13:
Yea, the new kit already arrived from Summit Racing so I'll be able to set the ring gap that I want for each cylinder. When I broke the first one I went....well I guess I don't have to be careful with the rest.
However, again this is was a good idea to tear this engine down. Another ring was stuck in the groove and I had to break it in order to get it off of the piston.
IIRC, the problem with the pistons in Hungary Bills application was a dimensional issue.
I would check the bore dimensions versus the piston dimensions to make sure they are what they should be.
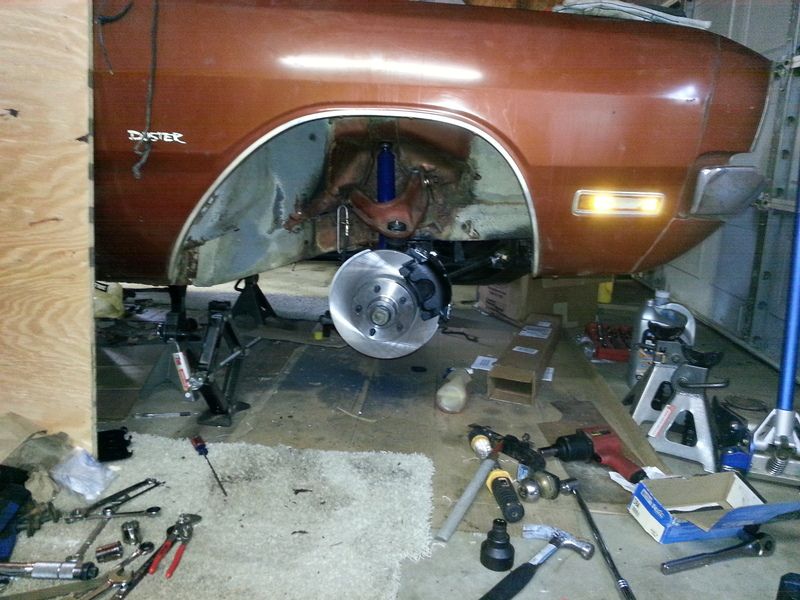
Well yesterday some good progress was made. The rear axle is completely buttoned up (just need to add fluid) and the rear brakes were put back together. Also, the K-frame is back in the car. I have a little more patch work to do on the inner fender then more cleaning and assembly will occur!
Now we had to make 3 runs to the part store in order to accomplish all that and only for rear brake stuff. The axle is off of a 65 Dodge Coronet (spring pads relocated). Now many of the brake hardware for these cars was used for a very long time. How long you ask? Well the only way we could complete the job was to buy rear shoes for a 97-99 Dodge Dakota with 10" drums! There is a "weird" hole in the shoe that is required for certain parking brake levers. The strange this is I can't find anything from a Coronet that requires that specific hole. So I have no idea how this style of drum got on this 65 8.75 axle.
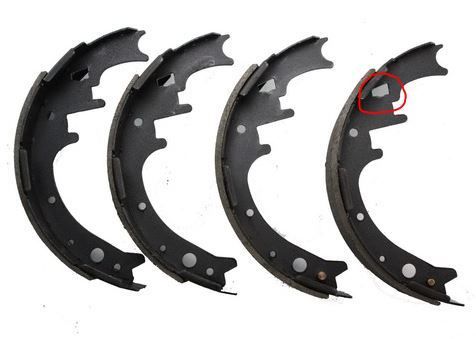 Most other dodge shoes just have a round hole there.
Also we found out that the left hand axle had left hand studs on it. Apparently in the 60's they thought the lugs would come loose on that side. Luckily the local parts stores had everything I needed this weekend.
So it's been a long time since I've updated this project, but there have been some developments.
To push myself to get it done I signed up for drag racing at Road Kill Nights in Pontiac, MI on 8/19. Goal is to have the car running by July 30th so that I have a couple weeks of tweaking, testing, and well breaking the engine in. Pushing to get all of this done, just so that I can get beat by a bunch of Hellcats!
So since my last update. Engine and trans is in, brakes are on and bled (still holding pressure months later!), new aluminum radiator, suspension assembled, fuel tank in, silly fuel vapor emissions crap removed, and a whole butt load of other stuff. My friends have been a huge help to get the car this far.
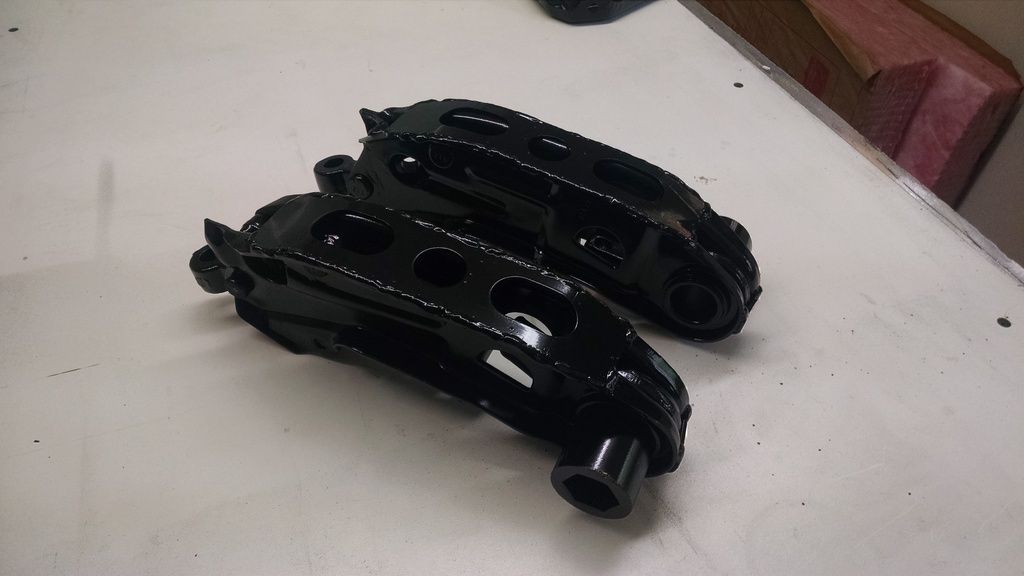
 New brakes, serious upgrade from the factory 9" drums, new calipers, new rubber and hard lines, ball joints, full poly bushings, and a solid adjustable front strut rod.
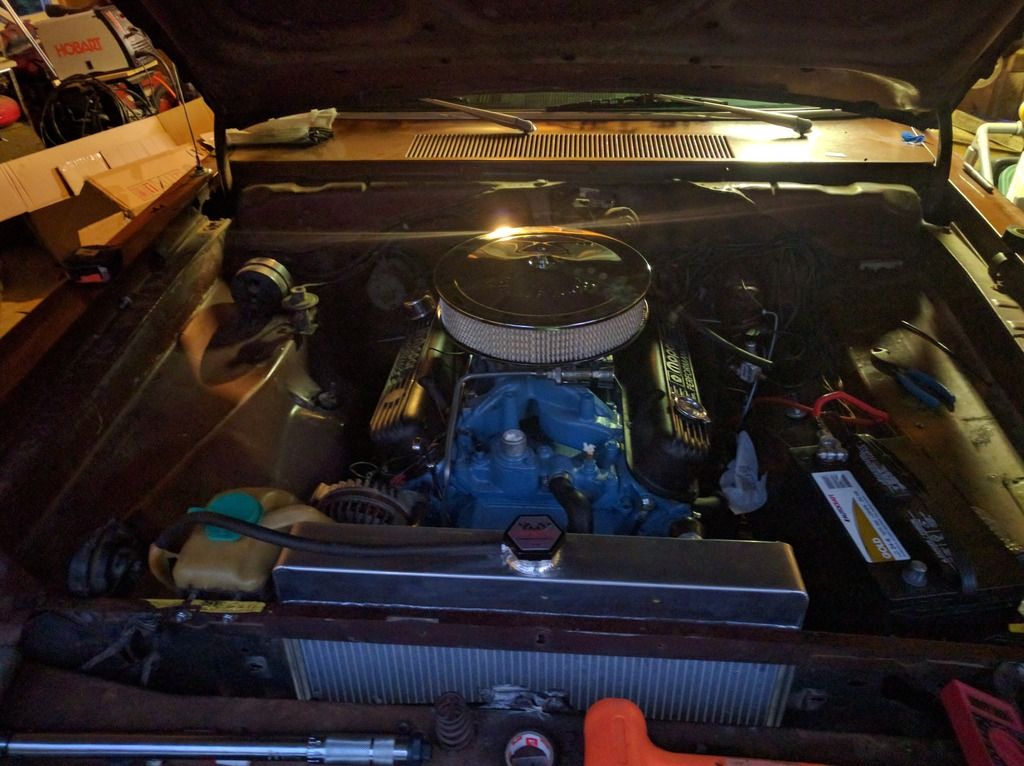
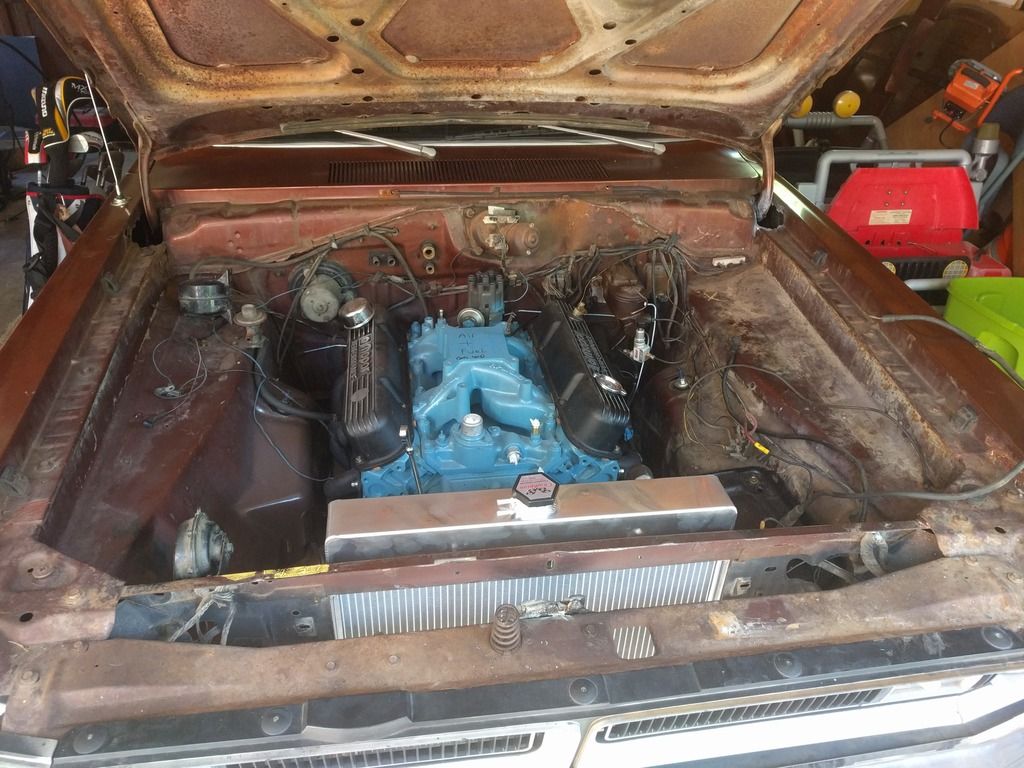 94 318 Magnum, Lunati Cam, Edelbrock Performer RPM Intake, Mopar Performance valve springs, Summit Headers, Holley 4bbl Carb (not shown), bored .030 over, ARP fastener on the mains, Aluminum 3 Core radiator.
 This was a little concerning, but there's plenty of clearance! That first hood closing was "very" gentle.
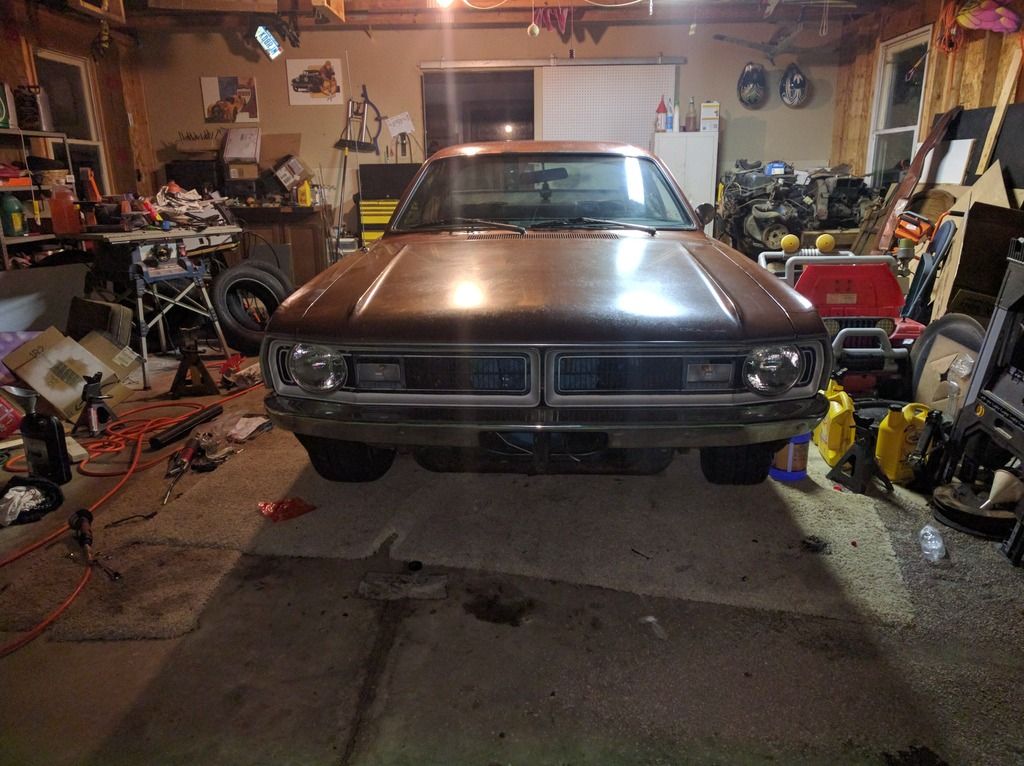
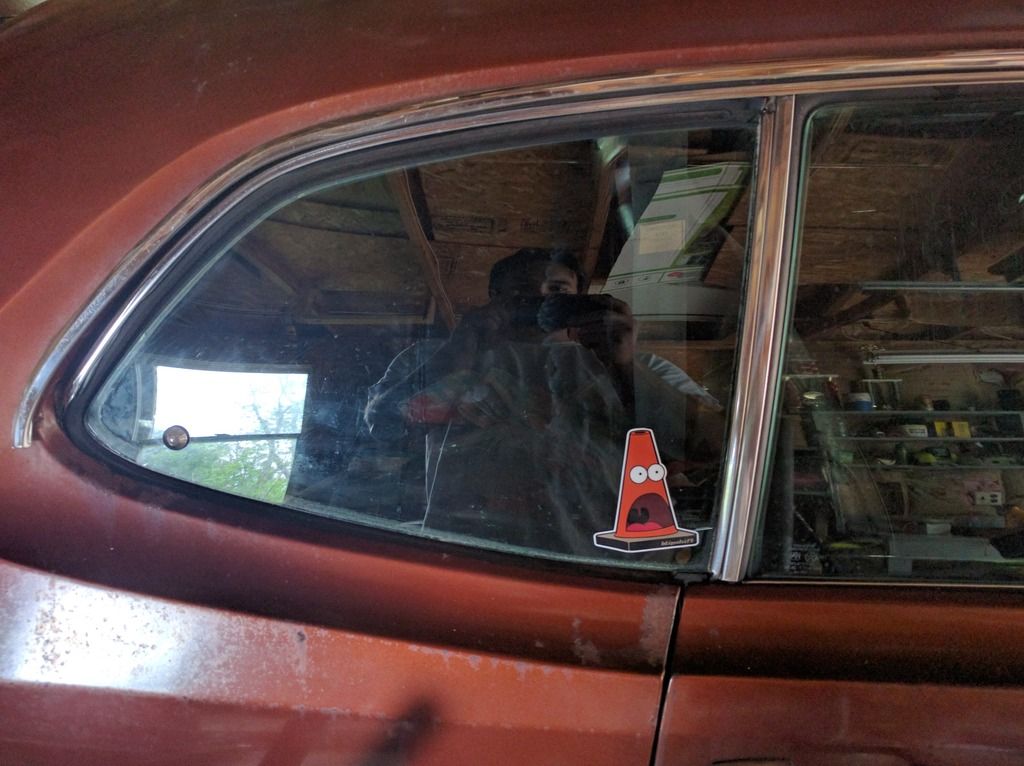
She's back on all fours after 1.5 years on jack stands! And looking mean if I do say so myself!
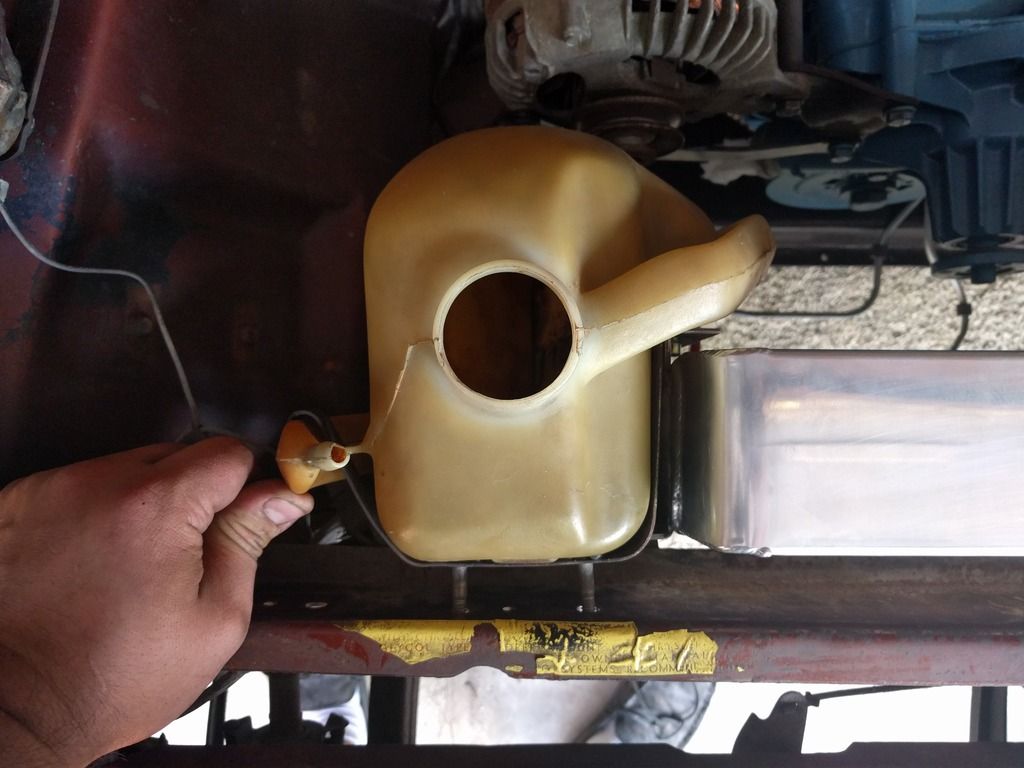
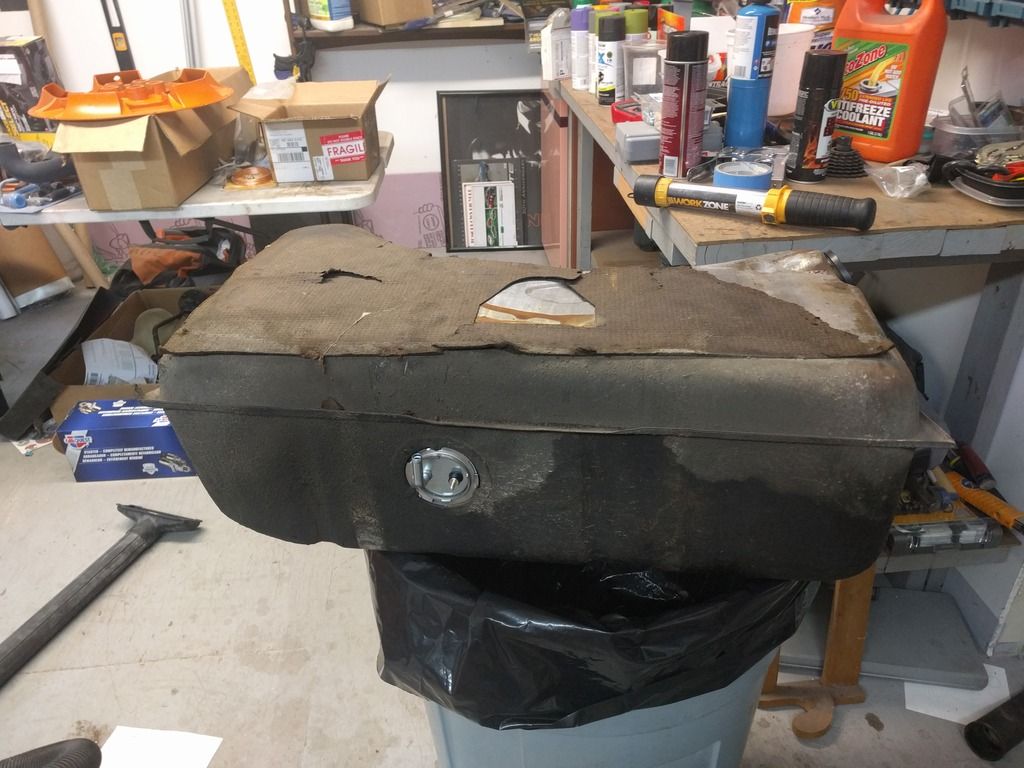 Nice new (to me) fuel tank, sending unit, and filler neck seal. Tank was supplied by a friend who upgraded the complete fuel system on his 70 Duster to full fuel injection system (sweet setup).
 Nice and clean. Way better than the tank that came out of the car. It had a few gallons of 15 year old fuel.
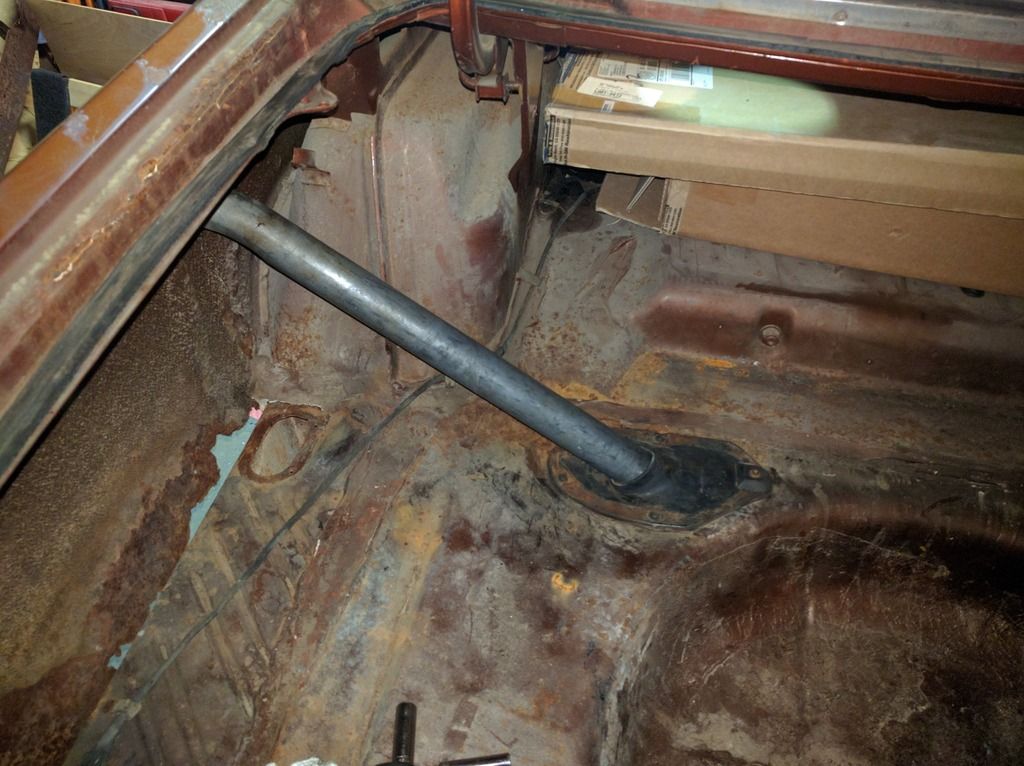 Check out that filler neck in the trunk.....no hiding it. Just straight from the quarter panel into the tank below. Now what some may not know, is that 1971 Chrysler had a weird vapor recovery system that just kind of sucks. So I pulled that out and we modified by filler neck to have a vent line that will dump out below the car (like they were in 1970).
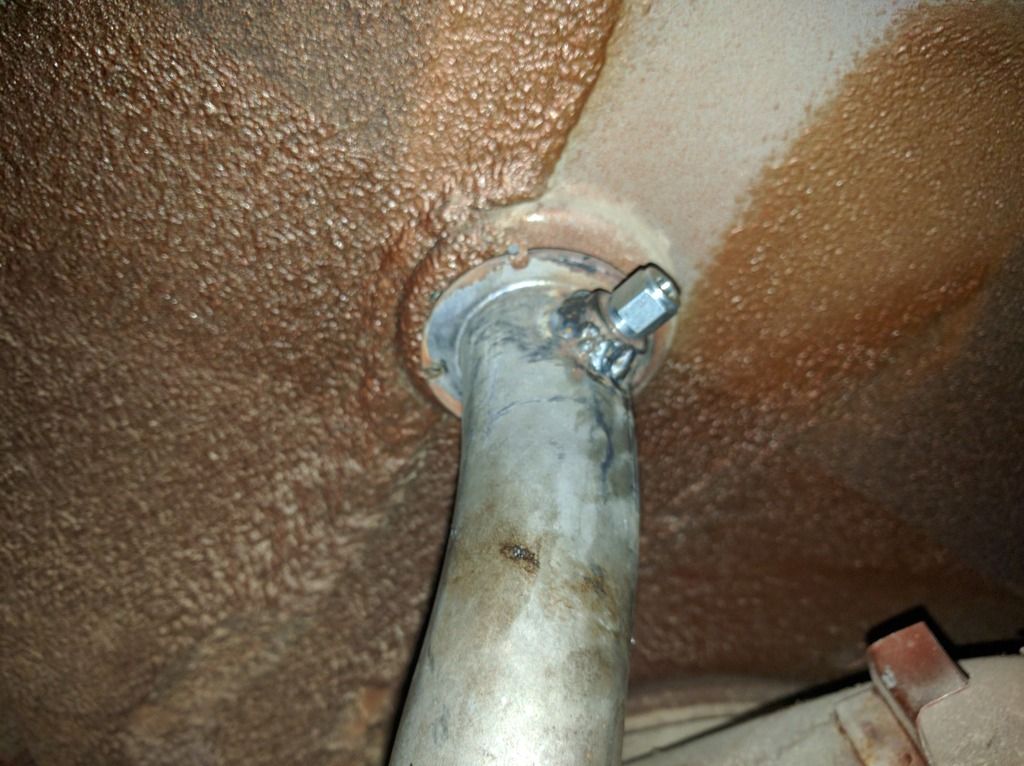 Need to finish making the line, but the AN fittings are in place.
Little more progress. Got all of the correct power steering stuff ordered and it should be here in a day or two. Fun story, since I upgrade to a Saginaw power steering pump with a press on pulley I needed to order a 1976 Dodge Dart pump....however I still needed to order a 1972 pressure line so that I could have a 5/16 female fitting at the box. So far this car is a pile of various Chrysler parts. 94 engine, with a 72 timing cover, 99 Dodge Dakota rear drums and shoes on a 1965 B-body rear axle with the spring pads relocated.
Latest work has involved installing the catch can (have to have one to run the drags) and all important horsepower stickers.
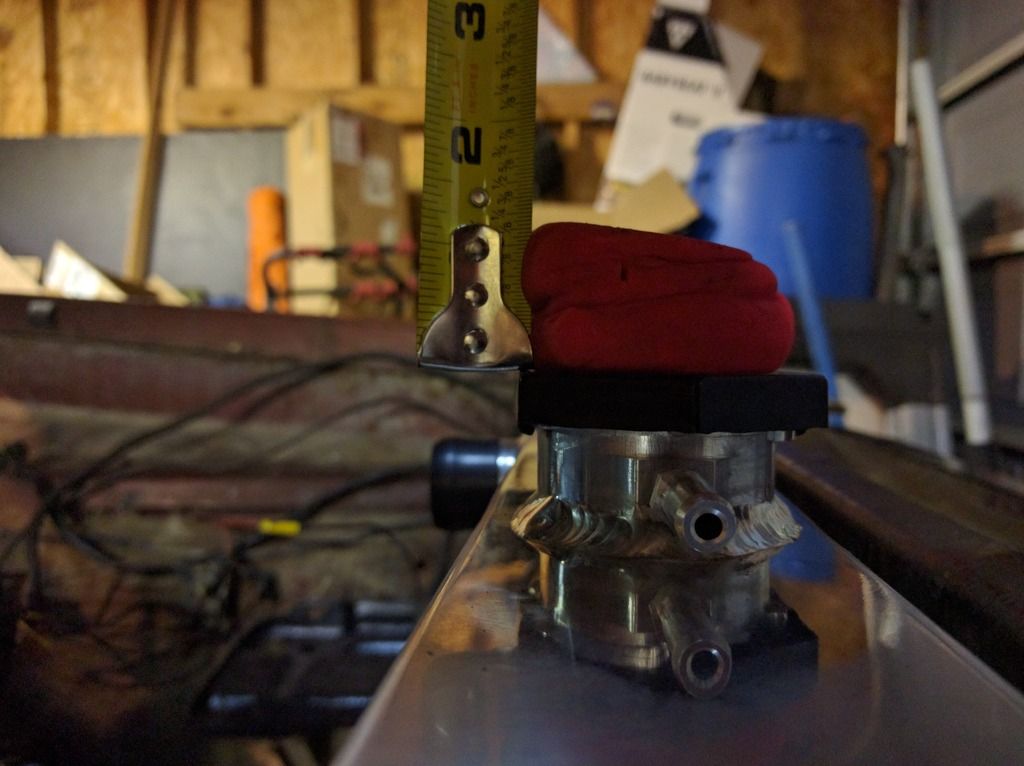
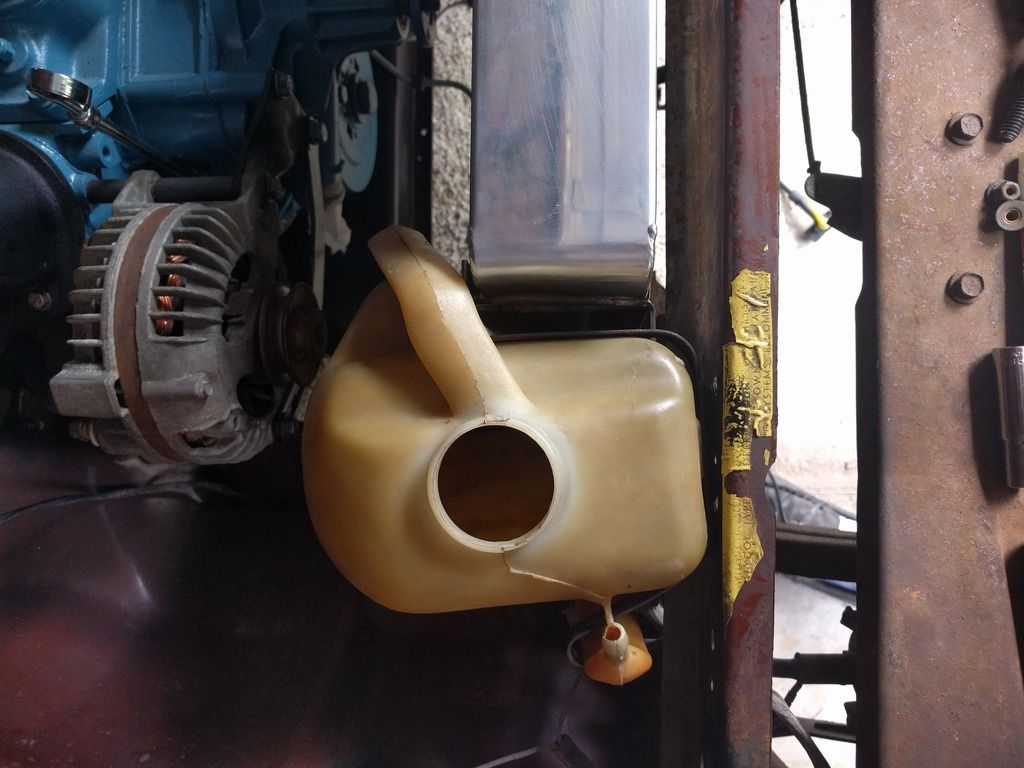 So with my new thicker radiator, the over flow bottle doesn't quite fit. So I had to modify it a little bit.
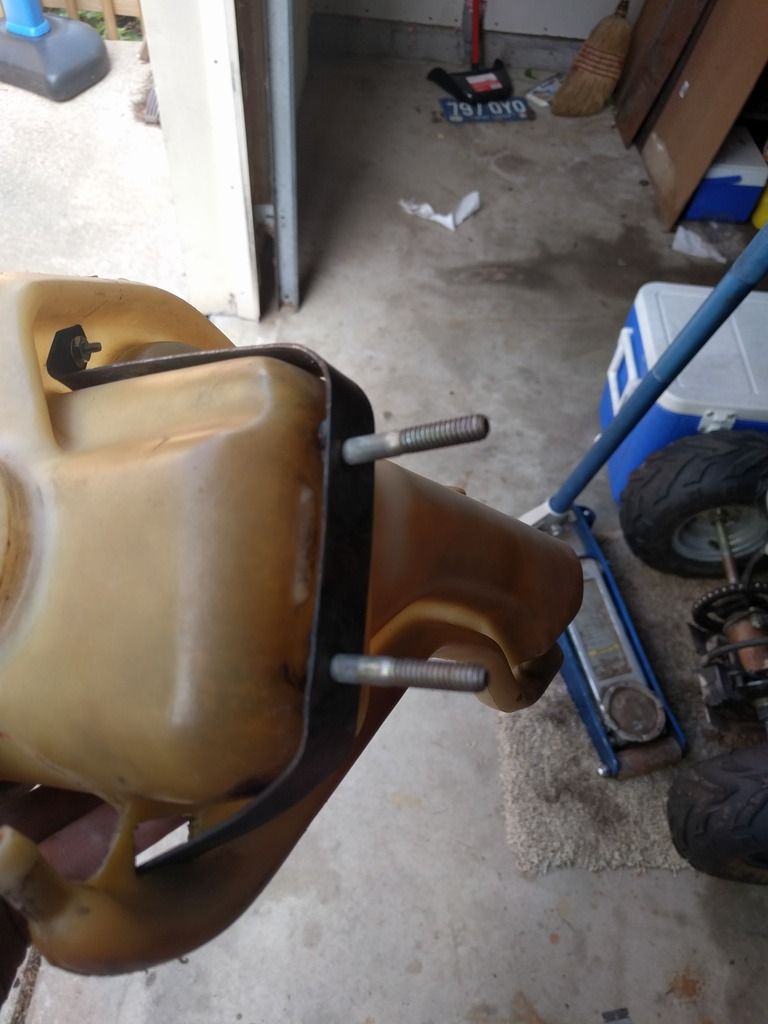 Pressed out the old screws and welded in some longer 1/4-20's.
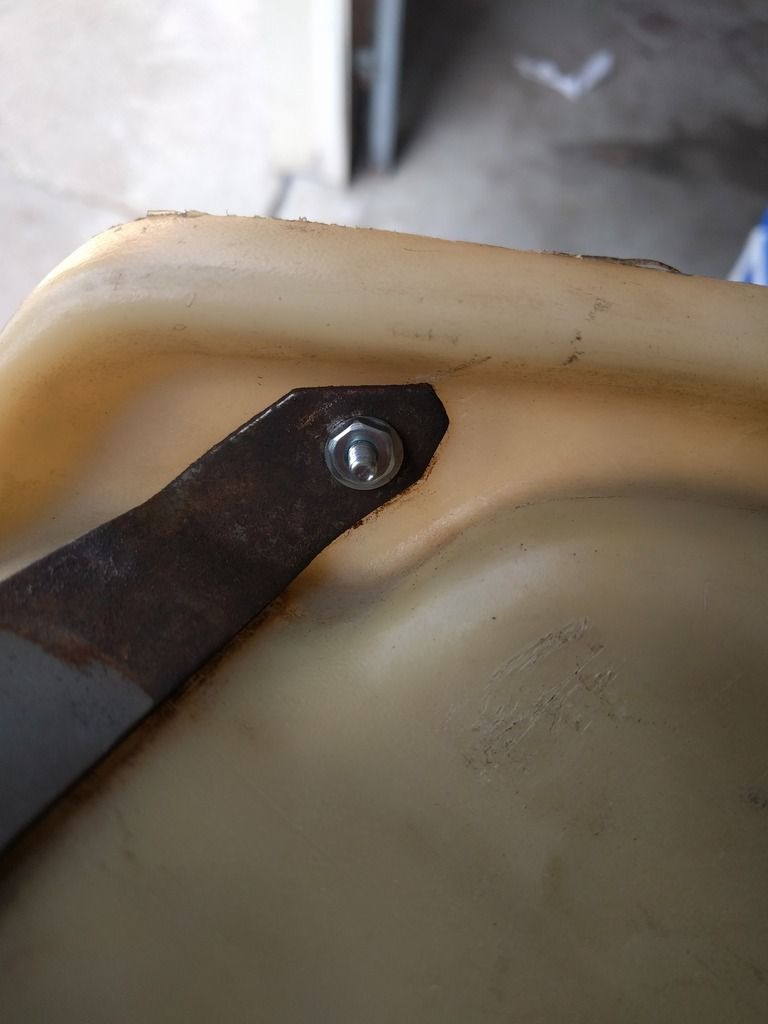 Had to replace the old rivet with a screw, nut, washers, and a little loctite.
 Just need to add a couple spacers and it should fit just fine.
Forgot this first go fast decal.
Awesome build. Also on all the yellowing plastic bits, white vinegar soaking will go a long way in bringing those things back.
Dusterbd13 wrote:
Por15 Chrysler blue is some incredible stuff. Use it for the engine.
I didn't use it, but I wish I had. I spent a lot of time prepping the block only to have the spray paint I used flake off really easily.
crankwalk wrote:
Awesome build. Also on all the yellowing plastic bits, white vinegar soaking will go a long way in bringing those things back.
Thanks for the tip. I'll have to check that out. I'll post before and after pics if I get to it.
I've done the same, which is why I now use por15 on everything.
Looking forward to seeing how this works out on track.
Made a lot of progress this Sunday. Fuel system is complete, carb rebuilt, some of the wiring has been sorted, trans lines hooked up, kick down and throttle cables added and adjusted, and a few other little things. Unfortunately, there's a long list of little things that need to be checked off, but the end is getting much closer. My brother and a couple friends were a huge help. I'll post more pics of the progress later.
Unfortunately, the clutch fan I have doesn't clear the new radiator. So I had to order a new mechanism for a 1990 Jaguar XJ6 which apparently is a direct bolt on for these cars! Also, the cut to the K-frame I made to clear the power steering pump allows me to install the pump, but not the lines to the pump. We have a solution in mind, but it needs to be tested before I can recommend it as a fix.
BTW...I must add that I am really digging AN fittings. -4, -5, -6....bring it on. It's really easy to make good flares for this type of fitting. I'll post some pics of my line bending and fitting fabrication efforts. I actually kind of enjoy the challenge of putting the bends in the right places.
Interested in more detail on the xj6 fan setup. May need it soon.


