


In reply to JoeTR6 :
Good to hear.
In reply to JoeTR6 :
Good to hear.

In reply to JoeTR6 :
Outstanding! It's great to hear that things are progressing well for you.

Time to get back to work on this. I just quit my job today (giving three weeks notice) to prepare for the move to Colorado. So time will be less of an issue come June.
This weekend, I installed the passenger rear fender. This was the one panel that I was really concerned about. It needed to be bolted from front to back, bending the panel upwards as the bolts were tightened. Looks pretty good. The door alignment is great (again, for a TR6) without much adjustment. The front fender is still just hung with three bolts across the top, and the front will line up with minimal flexing.
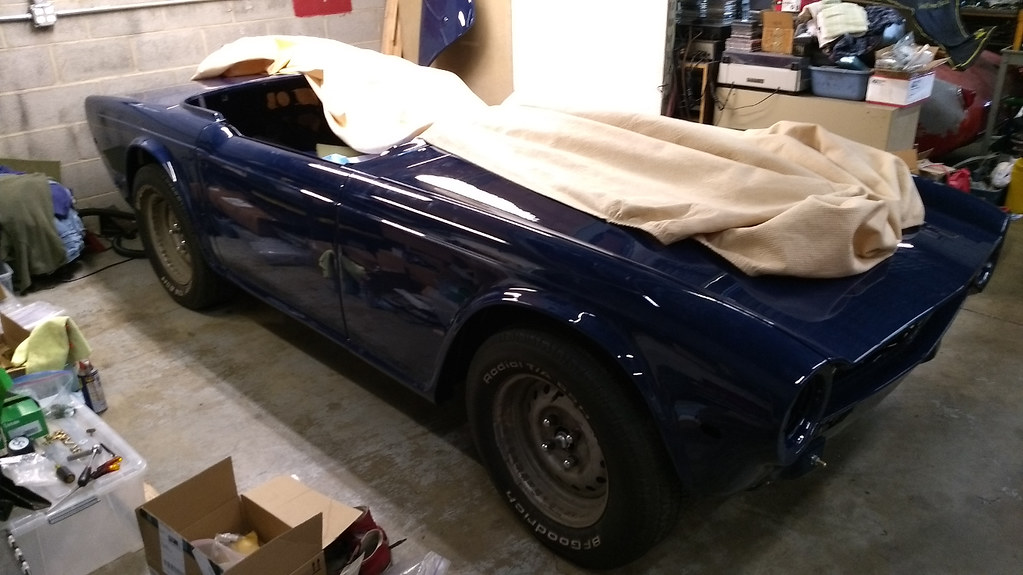
Driver's side door and rear fender coming up next.
More progress today. The front fenders need to be bolted in, then the body shell is complete.

I need to finish bolting the body down to the frame (just floor mounts, really) and check the roll bar fit before finishing the welding on that. Then it's off to the powder coaters for the windshield frame, roll bar, and top frame.
The dash goes in next so that I can fit a steering column. Also, I've got to order some door check straps before I forget and fling a door open too far.

In reply to JoeTR6 :
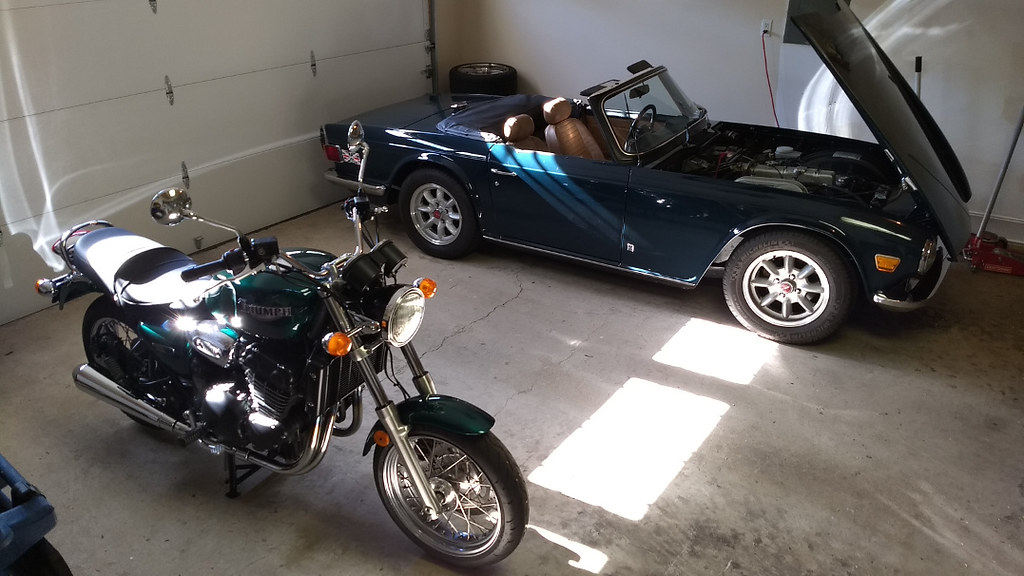
Looks great. You really nailed it with the color choice.
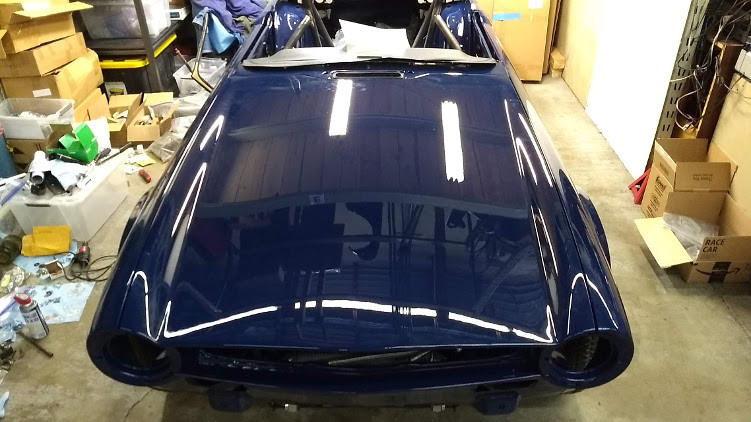
I like the long look of these without the windshield frame. Real classic Roadster.
I worked on permanently mounting the front fenders on Sunday. The upper rear corner of the front fender bolts down using the windshield brackets. While I was powder coating those, I grabbed the steering shaft, tore it down, and powder coated that. Since I'm moving away in late July, I need to start cleaning up and powder coating anything that I can before the move.
The passenger side fender was the worse fit, so I started with that. Two hours of messing with it got me close, but the fender/hood seam opens up when the lower front corner is bolted down. I will probably adjust the upper mounts inward, bolt the front corner, and check the hood gap a few times before it's right. At least all of the bolts are in.
The other side should just bolt up.

JoeTR6 said:The other side should just bolt up.
Why would you say that?! Do you hate yourself or something?
Crackers said:JoeTR6 said:The other side should just bolt up.
Why would you say that?! Do you hate yourself or something?
Yeah, you think I would know better. The passenger side took a hit many years ago, and it has been a struggle to get it to fit at all. The driver's side lines up much better. The lower front corner takes almost no bending to put it in the right place. So I'm hopeful. ![]()

In reply to JoeTR6 :
You're moving to Colorado Springs, right? When you're in Denver, you should swing by and say hello!
Scott
USERNAMETAKEN said:In reply to JoeTR6 :
You're moving to Colorado Springs, right? When you're in Denver, you should swing by and say hello!
Scott
I'll be moving towards the end of July. At some point, I'll come up to Denver to see the TVR. I've had bad thoughts for years about dropping an EcoBoost motor into something, probably an early 70s Capri. So I need you to talk me out of it. ![]()
JoeTR6 said:I'll be moving towards the end of July. At some point, I'll come up to Denver to see the TVR. I've had bad thoughts for years about dropping an EcoBoost motor into something, probably an early 70s Capri. So I need you to talk me out of it.
Riiiiiiight.... Talk you out of it....
Another two weeks gone by, and I've done very little. I dug out the box containing new crash pads, and finally found and installed the bonnet release cable that I ordered years ago. The backup release has been working well, but I feel better having both. And it's another thing checked off the list.
The driver's side fender did actually line up great, and most of the bolts went in with no issue. I forgot to chase out the nuts welded onto the fender where it attaches to the door post, but was able to get a tap in there instead of removing the fender. Then the bonnet was aligned to both fenders and leveled, and came out pretty well. The gap on the passenger side isn't perfect, but I've achieved good enough status.
In other news, I quit my job back in May and finished up June 1st. Call it a temporary retirement. So that should clear up some time to get this project ready for the move.
I spent a few hours today doing little things on this. The emergency brake cables were finally connected to the rear brakes. It's barely possible to turn the brake drums even with both sides up in the air, the brakes completely slack, and the gearbox in neutral. Everything in the driveline is new, so maybe it's just an accumulation of tightness.
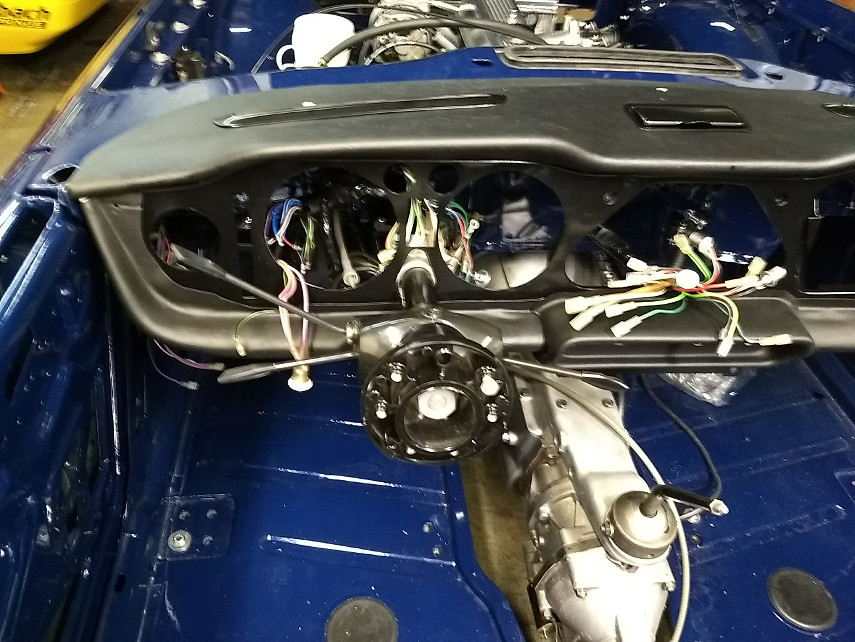
Next, I glued the dash pad in place. Ready for the dash.
Finally, I made up some custom plug wires from MSD parts.
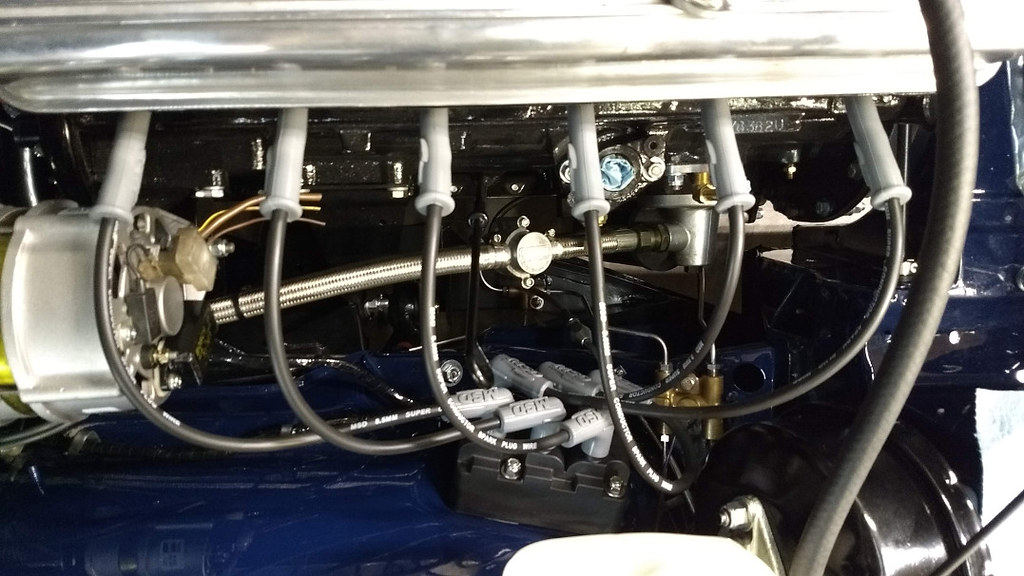
I ordered a new gun assembly for my MIG welder, but it's backordered until August. Since I can't finish welding the roll bar, I may as well start into wiring things up.
Looking at the above picture reminds me I need to plug the distributor hole with something better than a rolled up paper towel. I may cut the top off an old distributor and use the base as an angle drive for the mechanical tach. It would be better to replace the tach internals with electronics and drive it straight from the Megasquirt.
In reply to JoeTR6 :
Looks pretty good! I like how clean you've kept the engine bay.
I'd be interested in the electronic tach, if you go that way. I'll need to do something similar in the TVR. I was just messing with the factory Mustang speedo sensor, so that's on my brain. Will totally need to find out if there's a readily available tach signal from the EB control pack.
While it may not be the cheapest approach, sending the tach to Nisonger is one possibility.
http://www.nisonger.com/mechanical-tachometer-conversions.htm
Since I replaced the oil pressure switch with a 0-5 volt pressure transducer, I'd also like to convert the mechanical oil pressure gauge and eliminate the possibility of having hot oil squirted into the interior. One of the Megasquirt inputs will be used to monitor oil pressure as well.

Ive re-gutted multiple tachs now. Find a tach with the same range and degrees of sweep as what you have that will do what you need (cylenders, electronic, etc)
Take both apart. Put correct guts in the correct appearing housing and face, and Bob's your uncle!
Dusterbd13 said:Ive re-gutted multiple tachs now. Find a tach with the same range and degrees of sweep as what you have that will do what you need (cylenders, electronic, etc)
Take both apart. Put correct guts in the correct appearing housing and face, and Bob's your uncle!
Any thoughts on where to grab a tach signal off a modern engine?
Only really familiar with 90s to early 2000s gm. They have a tach lead from ignition control module.
Make a post in the main forum. One of the smart guys can help.
The dash fascia was painted and installed along with the crash pads.
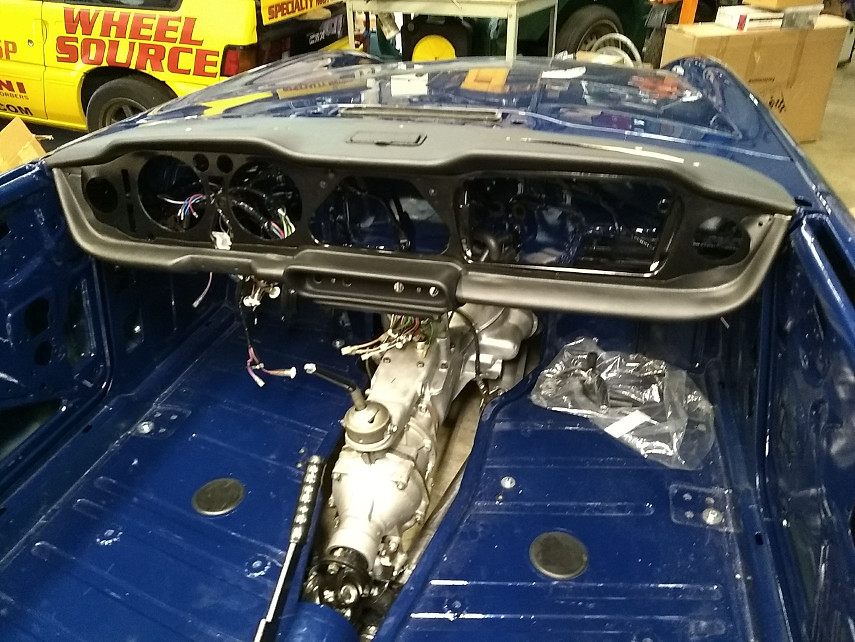
This allows me to install the steering column. I've been restoring that and it's ready to bolt in. In my parts pile was a working overdrive switch and a brand new light control switch that mounts on the column. I have at least two old original TR6 steering wheels that are pretty beat up. In the past, I've just wrapped the foam in tape, epoxying it where loose, and stitched on a decent leather cover. I'll probably go this route again instead of spending loads of cash on a new wheel. Plus it's easy to change later.
Now that it's really hot and humid, it's the worst possible time of the year to blast and powder coat a bunch of parts. But that's the other thing I've been working on. And finding the parts that need powder coating before I lose the equipment to do it.

In reply to JoeTR6 :
As I am in the middle of replacing floor-pans on one of these, the mental image of you and your project keeps cropping up.
I want to find the person who put the little triangulating brace at the front inboard side of the DS floor pan and hurt them! That, and the fact that the floor pans are 1" longer than the floor, makes this a very fun job.
Pete
NOHOME said:In reply to JoeTR6 :
As I am in the middle of replacing floor-pans on one of these, the mental image of you and your project keeps cropping up.
I want to find the person who put the little triangulating brace at the front inboard side of the DS floor pan and hurt them! That, and the fact that the floor pans are 1" longer than the floor, makes this a very fun job.
Pete
Are you separating the floor from the flange in the front or cutting and leaving a ledge to weld onto? I've watched a professional body man use an air chisel to separate panels. Made a clean result when done, but hard to work around the frame.
Yeah, that little brace next to the tunnel is a royal pain. If this car had needed floor pans and rockers, I wouldn't have taken it on.
The steering column is in after an afternoon sweatfest. This is one of those simple jobs that turns into a pain. Making sure no wires are pinched and everything is situated correctly takes some time. I didn't have the bolts with holes drilled in them for safety wire to secure the flex coupling. Otherwise, the steering would be finished.
I was thinking that it's time to fill the hydraulics with fluid. I may need brakes when moving this, and the fluid would be better for preventing corrosion than humid air.
Also, I'm having an issue with a supplier in fulfilling an order. Two of the parts ordered back in October still haven't shown up, and they have become unresponsive to email or phone. So I'm stuck missing parts that I need to get the car running. At this point, I'd rather cancel the order and source parts from elsewhere. But I hate being screwed out of $350.
The ex-wife to be is out of town, so I have the garage to myself. This is how it should be.
I've been too busy fixing the house and other things to get much done on the TR6. It doesn't help that I need to drive 30 minutes just to work on it. If it were at home, I'd be able to walk out and work for a short period of time. Right now, I'm just trying to get all of the stuff cleaned up before I move. When this project resumes, it will be at my home. In Colorado. But for now, things are on hold. I've done as much as I can here. Time to focus on the future and the move. Later, y'all.
In reply to JoeTR6 :
Good luck with your move!
Safe travels
You'll need to log in to post.


