


I had an Alaskan camper for a few years. Even lived in it for 9 months while building my place to live. They are great as long as it's not cold out.

I had an Alaskan camper for a few years. Even lived in it for 9 months while building my place to live. They are great as long as it's not cold out.
You are doing great fixing it. Nice work!

Toyman01 wrote: In reply to Ian F: I know for a fact that at least one line has a screw run through it, because I did that yesterday.Other than that, no clue. It's on the list.

So much for blaming the PO. ![]()

I put my eldest son to work this afternoon. He's going to want to borrow it, so I figured some sweat equity was in order.
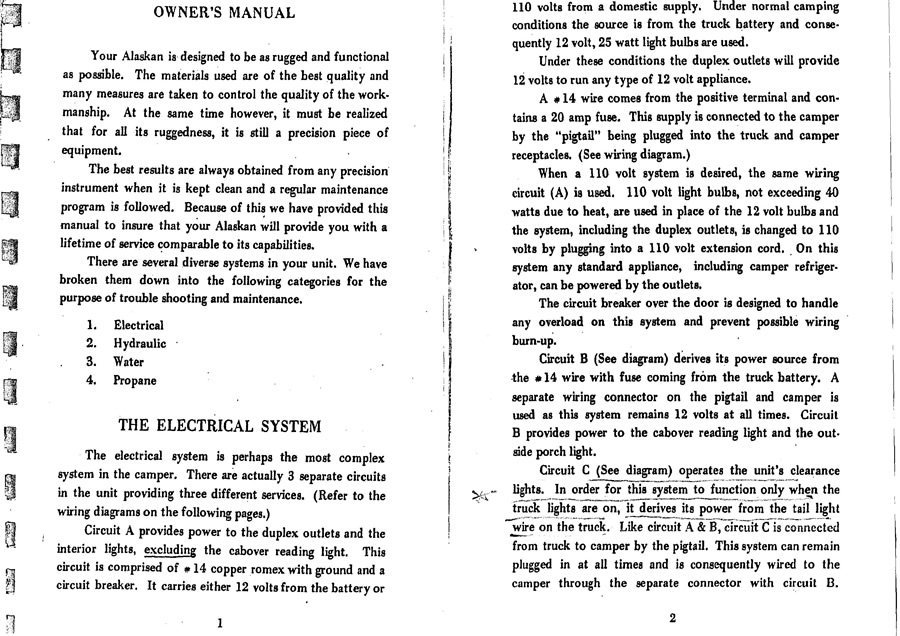
I was too short to pressure wash the top at the car wash and didn't have a ladder with me. We took care of that today.

The whole camper used to be that black color.
I also cleaned the inside and removed all the stickers from the refrigerator. I'm a little too old to be a Marley fan. ![]()
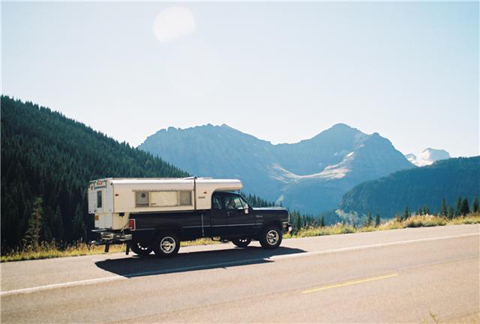
I'm going to run it down to my parent house tomorrow and see how it drives on a longish haul.
Question- the wood rot seems to be due to poor water management as it comes off the top of the camper- any thoughts to change how the water drips off of it? Or streams though it over the long term? (I know you don't need that for the trip this year, but I'm assuming that you will end up enjoying this, and will keep it)
These things really don't seem have water management the way a house does. They depend on calked joints to keep everything dry under the skin. The curved roof makes it even worse because there isn't a good way to make a watertight lapped joint. It's just calking and trim.
All the rot seems to be due to poor maintenance. Campers like this should be resealed or at least checked annually, because flexing causes the calking joints to fail. I don't think this one has been sealed since it was built in the 70s. Joints failed and allowed water to enter under the skin. All the boards along the bottom edge ended up sitting in water. That was also partly due to a design problem. The aluminum panels on the bottom edge wrap the bottom boards. This leaves a trough that holds the water on the boards and doesn't let it drain out. I'm still thinking on how to best correct that.
My eventual plan is to build a carport to store it under when not in use, to get it out of the weather. For now, modern sealants and meticulous maintenance will have to keep it dry. I can order all the skins and trim for the roof. If I keep it there is a good chance the roof will get rebuilt and recovered.
Its too late now, but I rebuilt a lot of root in a 2000 Fleetwood camper. I treated all the wood with ABATRON wood restoration epoxy. If its good enough for the wooden boat crowd, its good enough for a camper
In reply to banzaitoyota:
I considered the epoxy route, but passed on it at this point. I'm 90% certain I'm going to be back into this roof next winter. This time around is a quick fix to make it usable for the summer. If or when I go into it again, it will get the full epoxy treatment. It will also be getting a new skin and trim.
I did manage to get a little more done this morning.
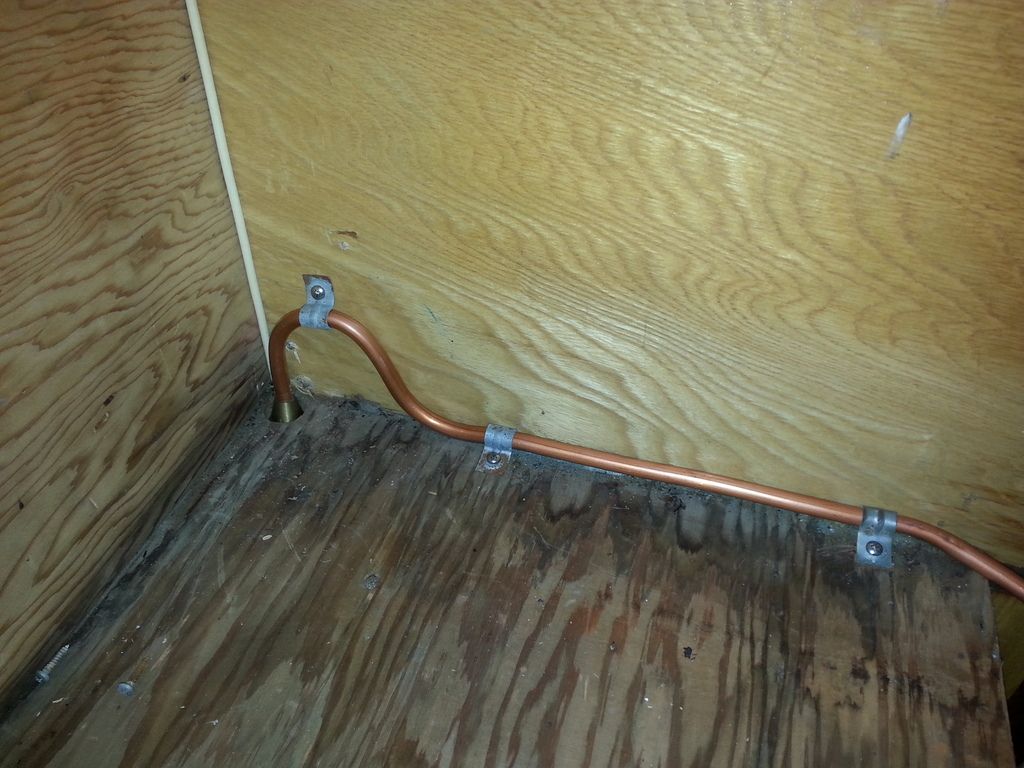
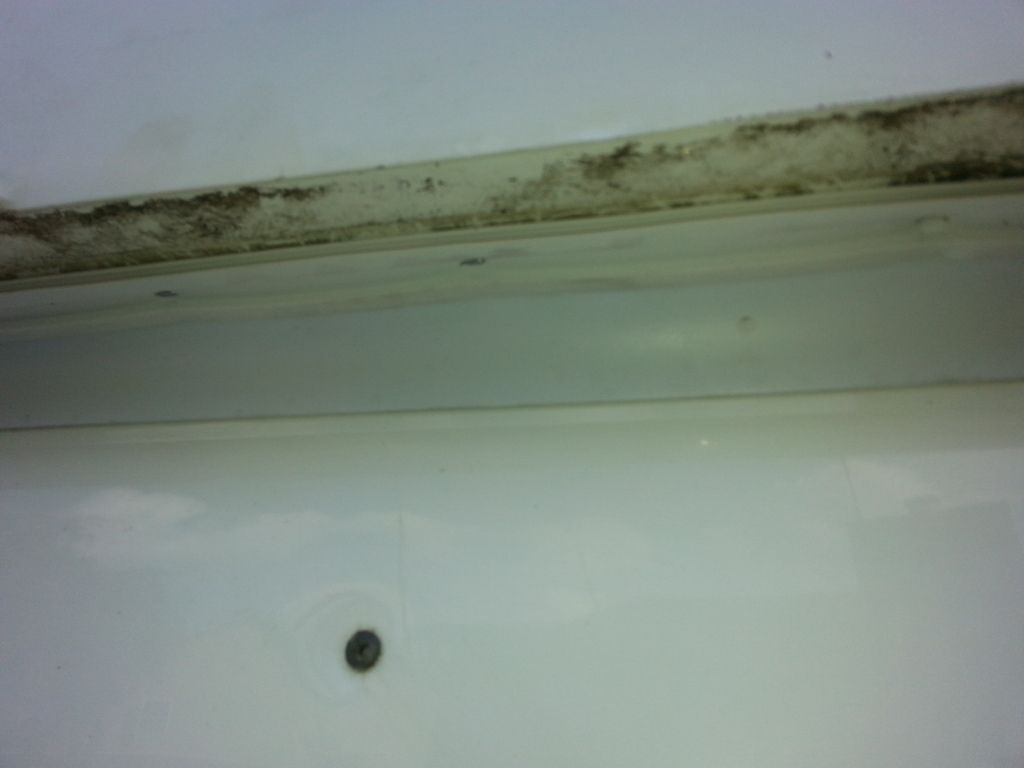
These screws were supposed to be threading into the side, longways. Whoops. This is the fill line for the water tank. First order of business for the day was to fix my screw up. Naturally, the line was too short to cut out the bad spot and re-flare.
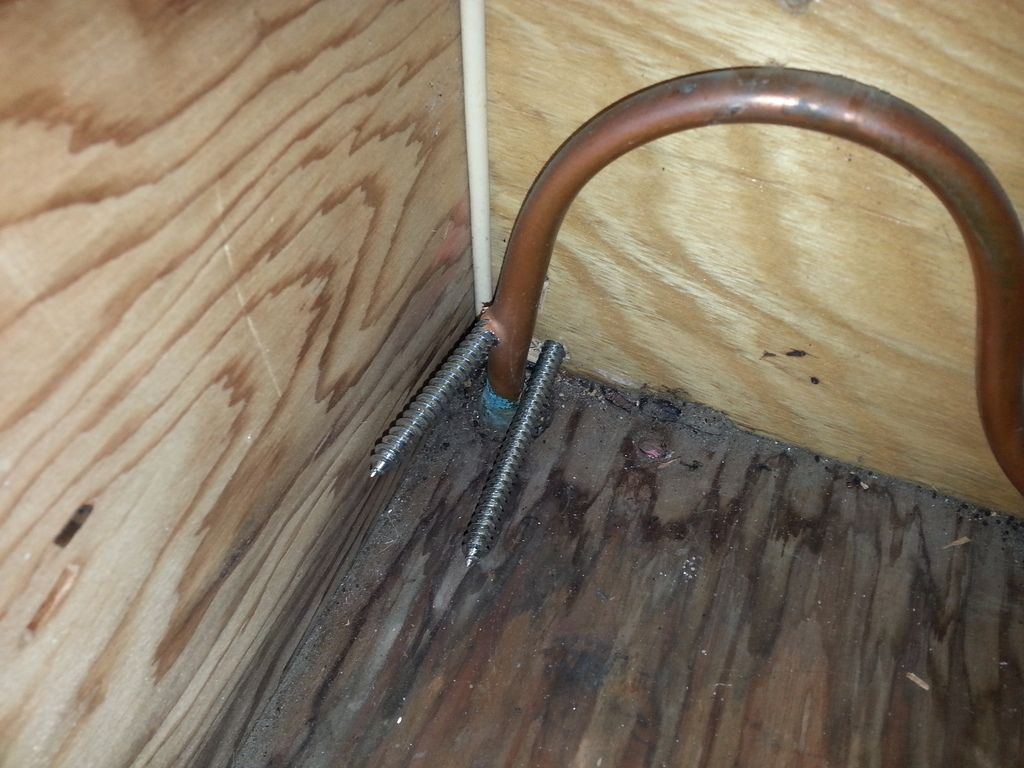

Luckily I had a piece of 3/8 copper in stock so a new line was made.
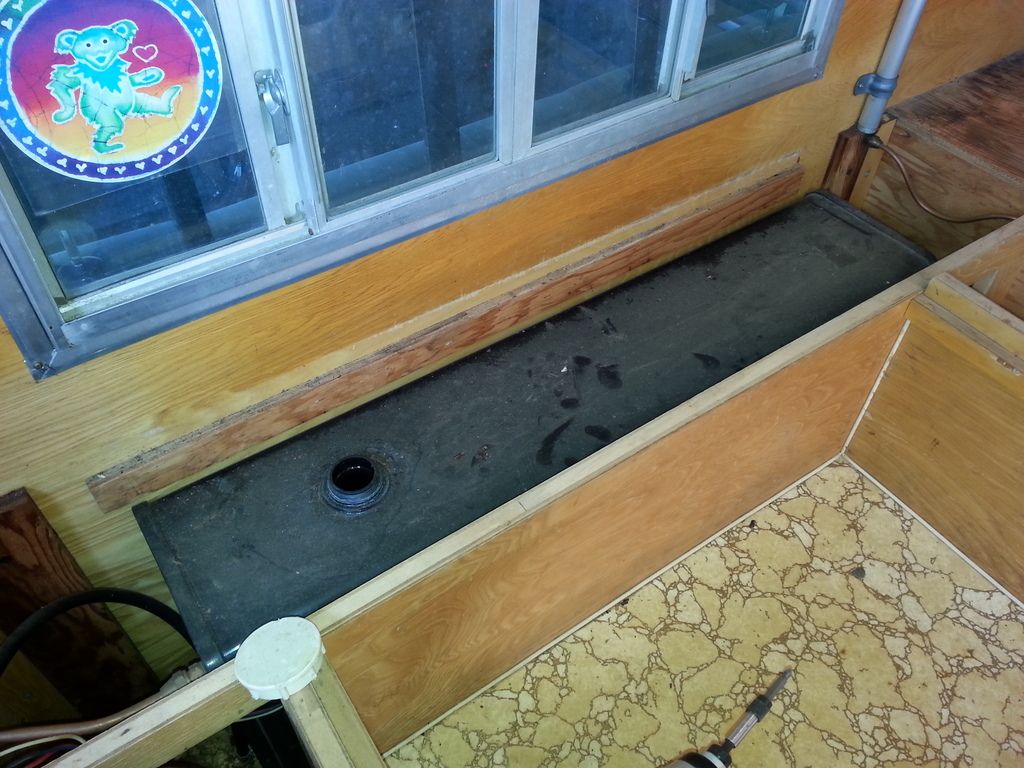
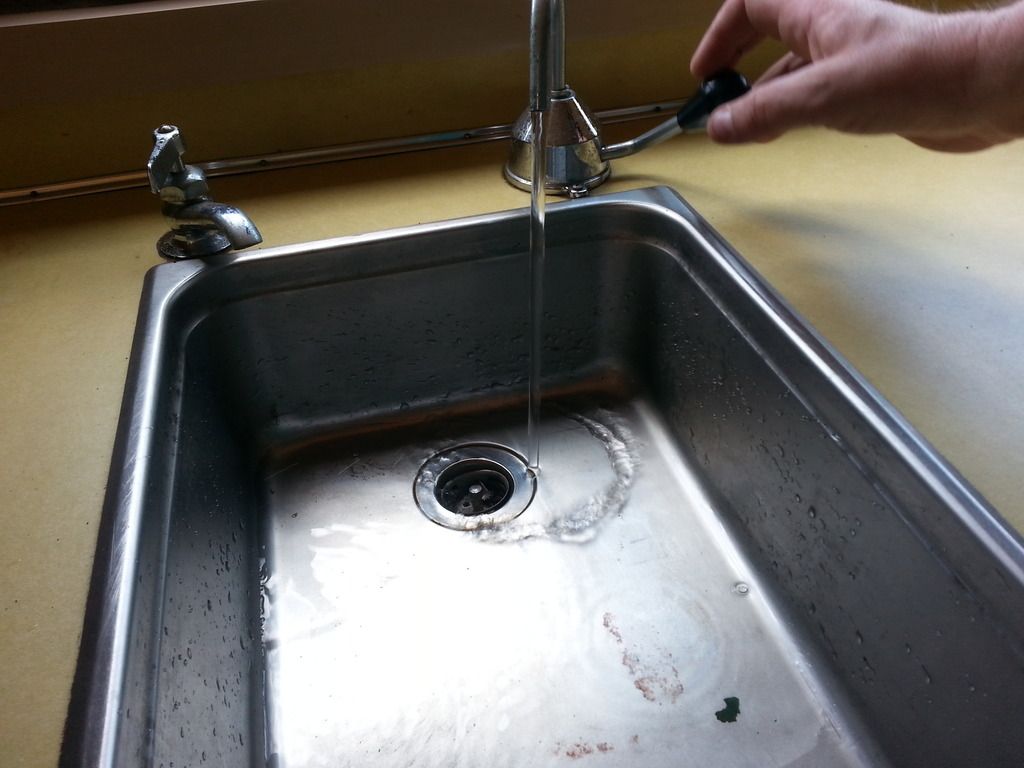
This is the water tank. It was bone dry. I'm not sure it's ever had water in it. The PO pretty much only used to camper for sleeping. He never used the stove, refrigerator or water system. Next up was shooting some water in the tank.
And we have water. ![]()
I love working on old stuff. Brass and metal rather than plastic junk. 44 years and it still works. ![]()
Next on the list was the hydraulics. My original plan was to strip the system down, clean it, reseal it and fill with new oil. I'm getting short on time and the system works great, so rather than taking the chance of screwing thing up worse, I just changed the oil. Nothing is leaking, I'm going to let it ride. Hopefully that doesn't end up biting me in the but.
The pump. 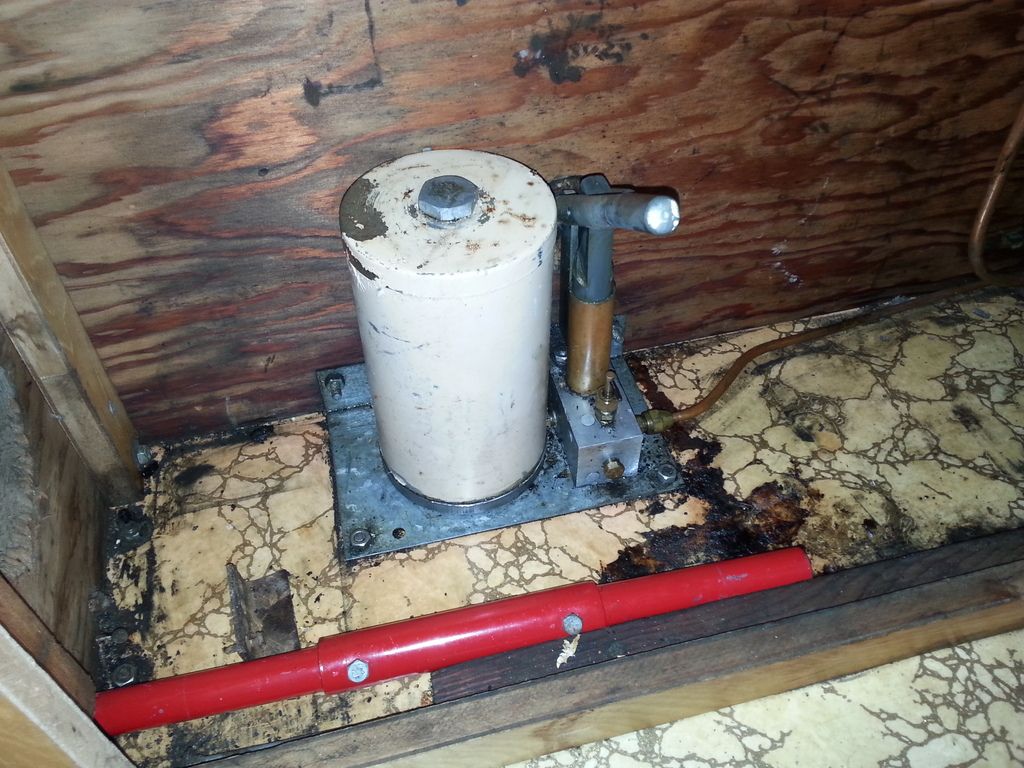
The electrical system is next on the hit list.

A lot of your pcitures show either drit/grime or rotting wood on the interior wood bits. Are you not worried about them? Mold?
In reply to Mad_Ratel:
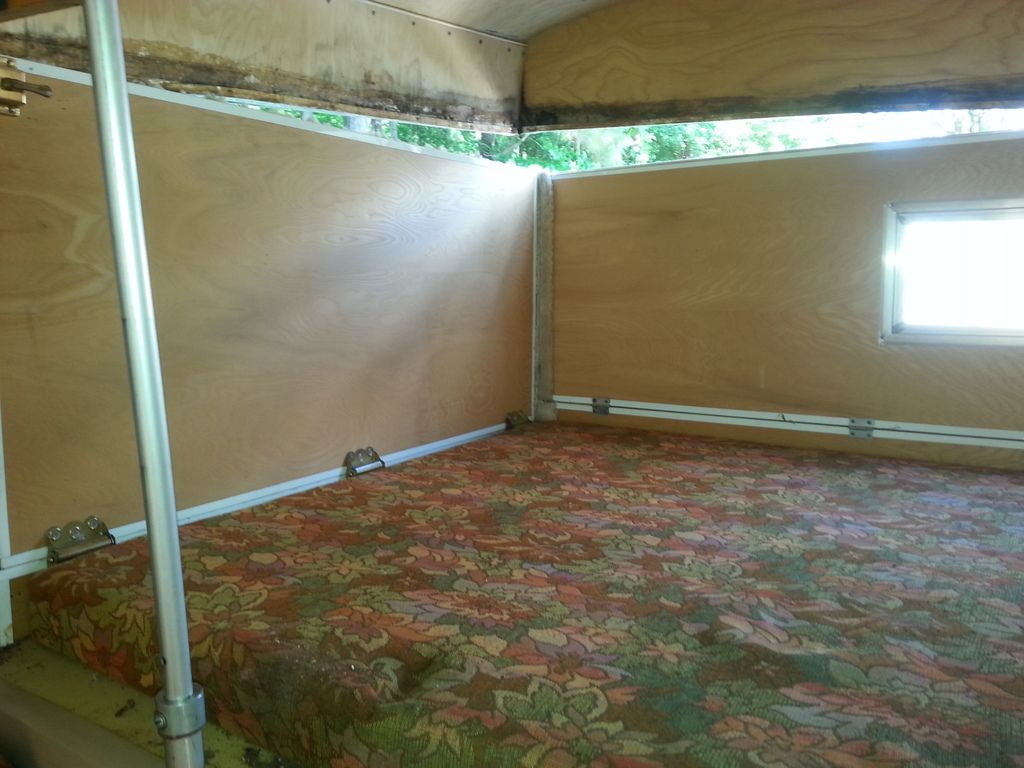
Most of what you are seeing in the above post is water stains. The wood is sound, but stained from being wet in the past.
The rotted wood in this picture is not going to be addressed at this time. That will happen after we get back from Canada. It is not structural, just the interior paneling. There is a strip of carpet that attaches there to seal the walls when they are folded up. Once the carpet seals are replaced, it won't be visible.
I've got about 5 weeks until we leave for Canada and still need to spend a few days on the truck doing belts, hoses, fluids, etc. I'm concentrating on the necessary first. Electrical is next, then air conditioning.
Don't worry, I'll be refinishing the entire interior in the future. ![]()

A/C? Cool. I'm very interested in seeing how you do that. ![]()
I've been trying to wrap my head around the electrical system. What a confusing mess, and it was a confusing mess from the factory. I was completely lost until I found a 1968 owners manual online. Thanks for the Wanderthewest.com link, Fueled.
There are two plugs on the top and one on the bottom. The bottom circuit is fairly straight forward. It powers the refrigerator fan and the furnace. Simple.
Then we get to the top. ![]()
The two plugs on the top are 120V, for two receptacles and the lights, and 12V for clearance lights, interior lights and a fan. When plugged into 120V, the lights are 120 using 120V bulbs. If there isn't any 120V available, you are supposed to change the bulbs in the lamps to 12V and backfeed the 12V truck power into the 120V circuit. The 12V circuits are divided so the clearance lights are separate from the 12V fan.
The diagram. You should particularly like the pigtail. It's like a step by step diagram for blown bulbs.

Needless to say, we are changing this nightmare. All lighting will be 12V. There will be no 120V circuit in the top and I will install the 120V circuit in the bottom.
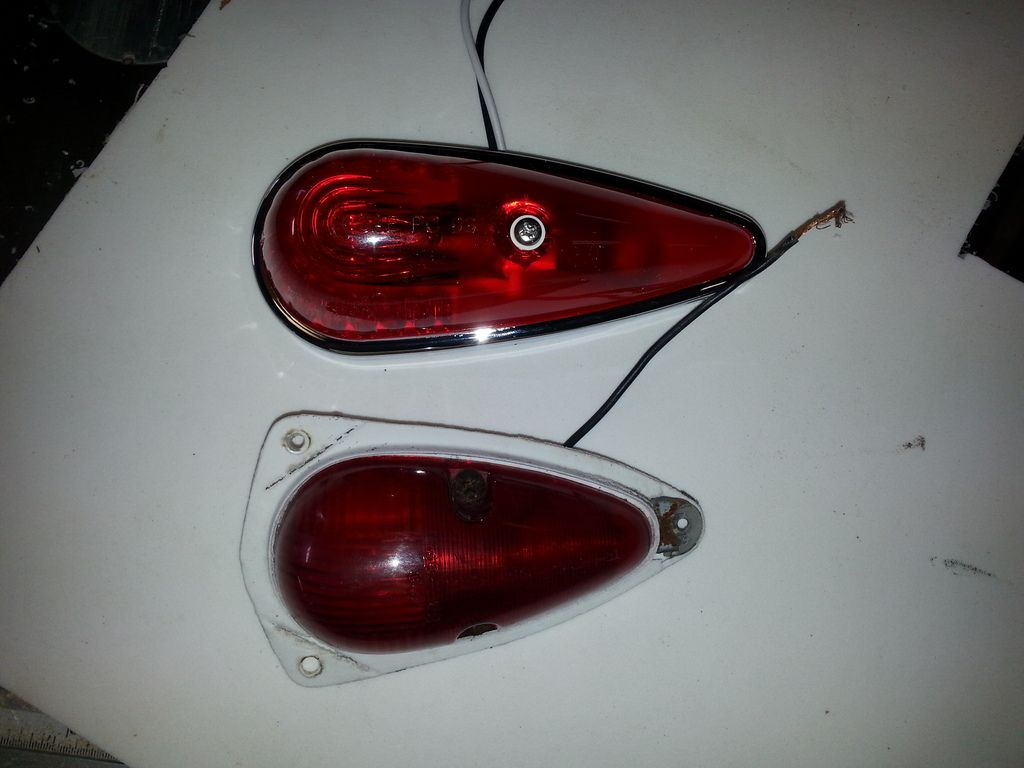
I did get the clearance lights figured out. The original lights are discontinued. I liked the way they looked so I wanted to keep the style, but the newer lights wouldn't cover the holes from the old lights. Pictures of the old, new and the fix.
Hmm... that's not how I see those wiring diagrams. Looks like two completely separate circuits. One for 12V and one for 120V. But you're actually looking at the camper, so I'll take your word for it.
Except that pigtail diagram. That makes no sense. ![]()
In reply to Ian F:
Read this. That funky pigtail is so you can feed 12V power to the 120V circuit.
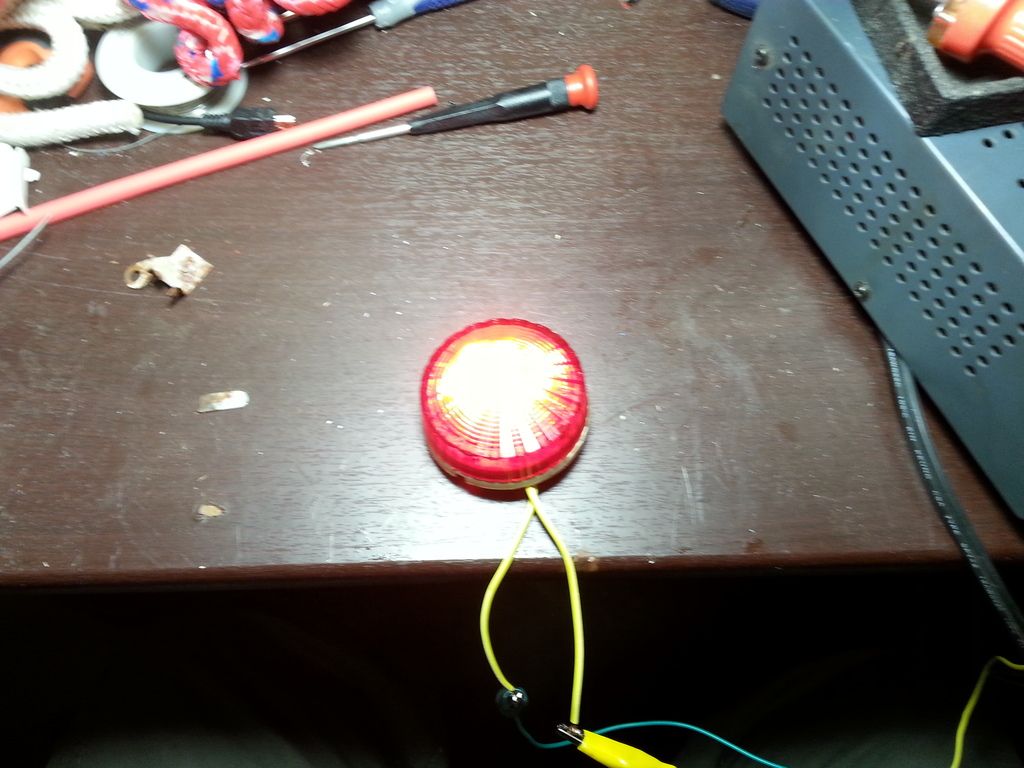
And we have light. At least on the new lights.
Only one of the existing lights worked and the one fixture I opened up crumbled in my hand. ![]()
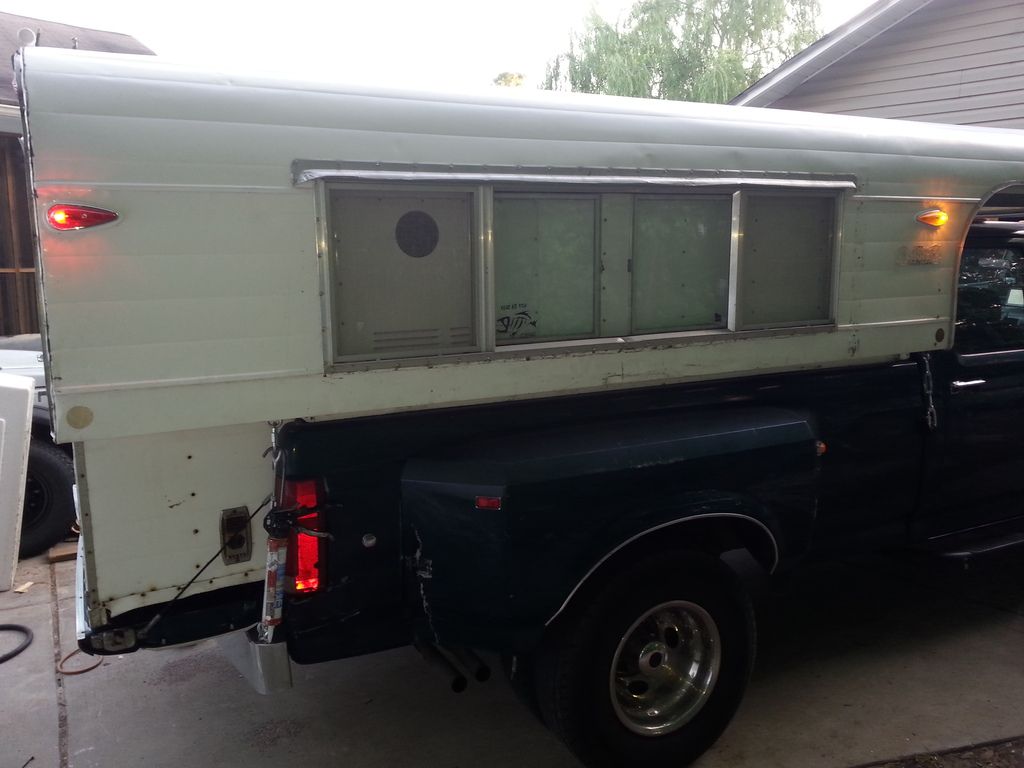
The original refrigerator fan was noisy and inefficient. The muffin fan I replaced it with worked well, but it still sounded like it could achieve liftoff. I ordered a couple of quieter fans, but they didn't have the CFM I thought it needed. As with most things, more is better.
Yes I know I should have made both holes the same size. I wasn't going to spend $40 for the hole saw to do it. Just deal. ![]()
I've gotten in some parts so Saturday should see some progress.
Ok, gotcha on the wiring. Personally, I'd probably separate the systems.
Speaking of 70's vintage truck campers, this showed up in my ebay search today:
http://www.ebay.com/itm/281712230701?forcerRptr=true&item=281712230701&viewitem=
The "tag-axle" is an interesting idea. I don't think I've ever seen that before.

About three years ago I melted the fuse panel in my popup camper on a cold night running a 1500 watt heater. The fuse panel lugs were put together with rivets that had loosened. I replaced the entire panel with a 4 breaker residential grade breaker box and reran wires, added a couple circuits.
Camper wiring is a special grade of cheap crap.
Looking good on the resto. Anytime you really have to rely on exterior caulk seal over the long haul, don't use anything but 3M 5200 marine. Sticks owl E36 M3 to ice cubes and has something like a 300% elongation to break when cured. If you use it on wood, the wood will fail before the caulk pulls loose. It's currently the best solution I've found to keep the top on my popup sealed.
I got some more stuff done today.
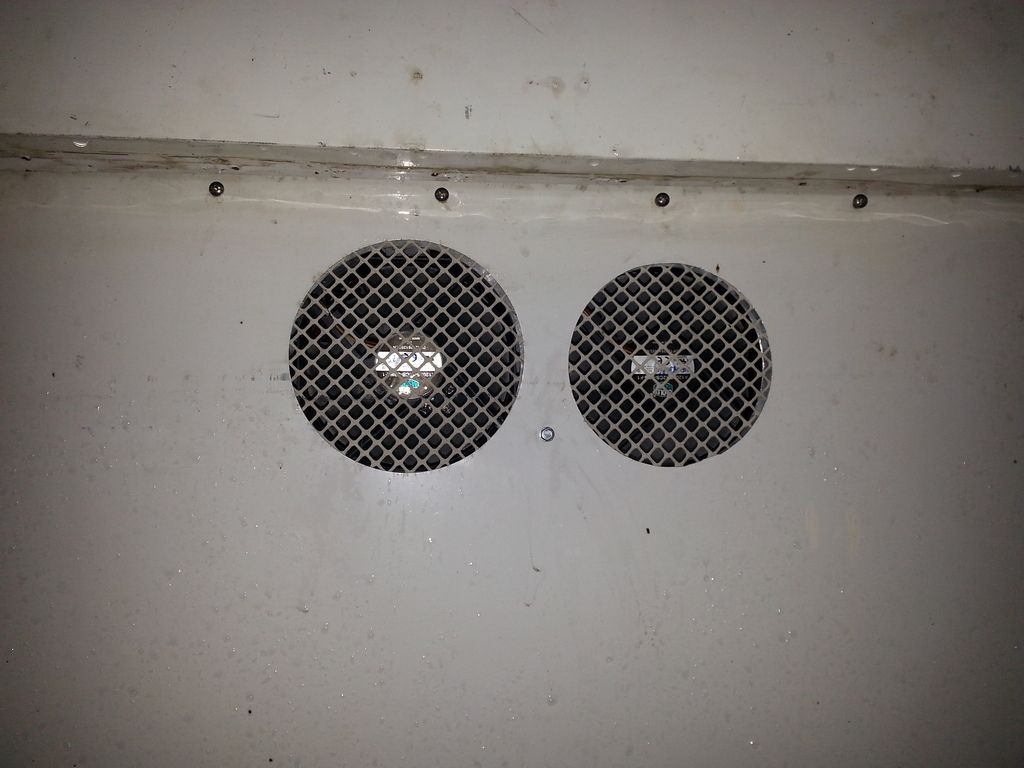
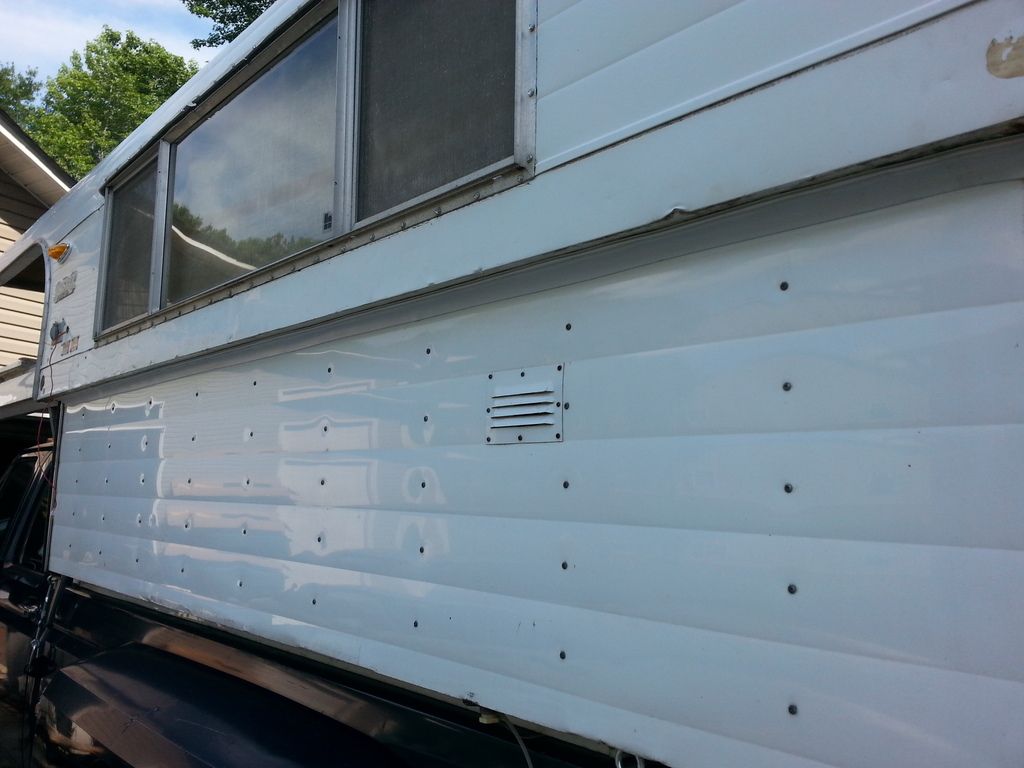
The seal between the top and bottom is done. It will stop the drafts and the creepy crawlies. It will also keep the road grime out.
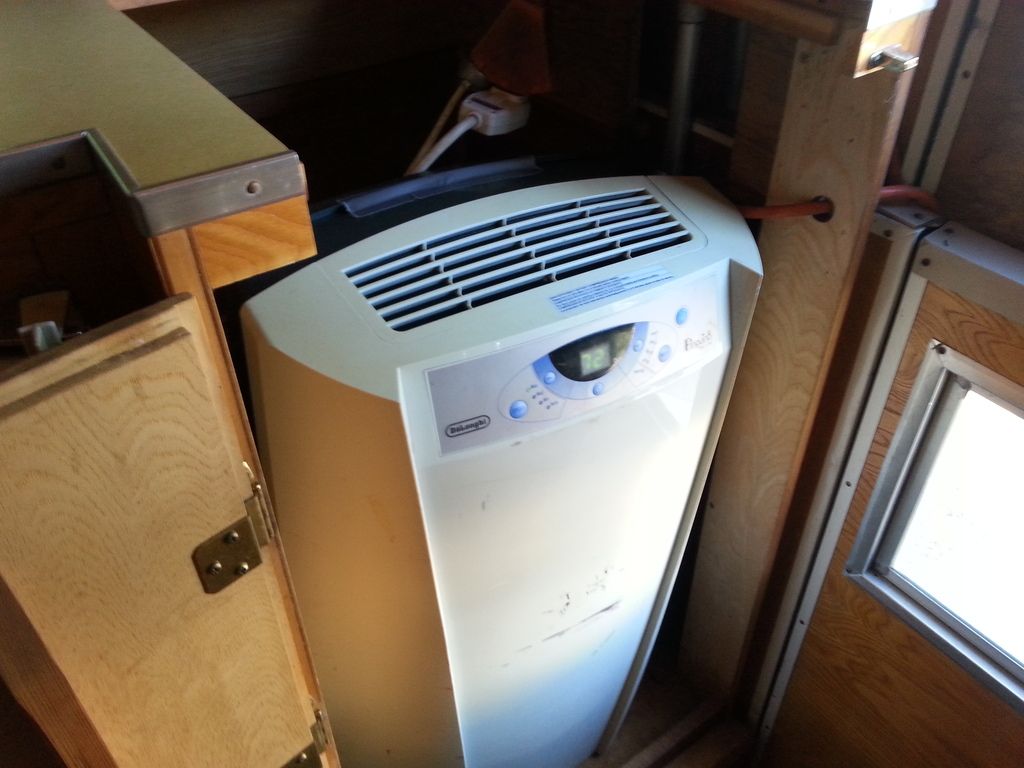
Air Conditioning. It's important. I hate being hot and more importantly, my wife will stay in a hotel if the camper is hot at night. Eventually, a roof A/C will be installed, but I'm not convinced the roof will hold it up without some more work. Rather than taking a chance, I went another route. I've had a 10K Btu portable A/C for years. I used to use it in my enclosed trailer and I keep it around for emergencies. It's in the camper for now. The toilet will be going outside in it's little tent, the PP-TeePee as my wife calls it.
Ducts for condenser coil fan. I have some bulkhead fittings with caps coming for these.
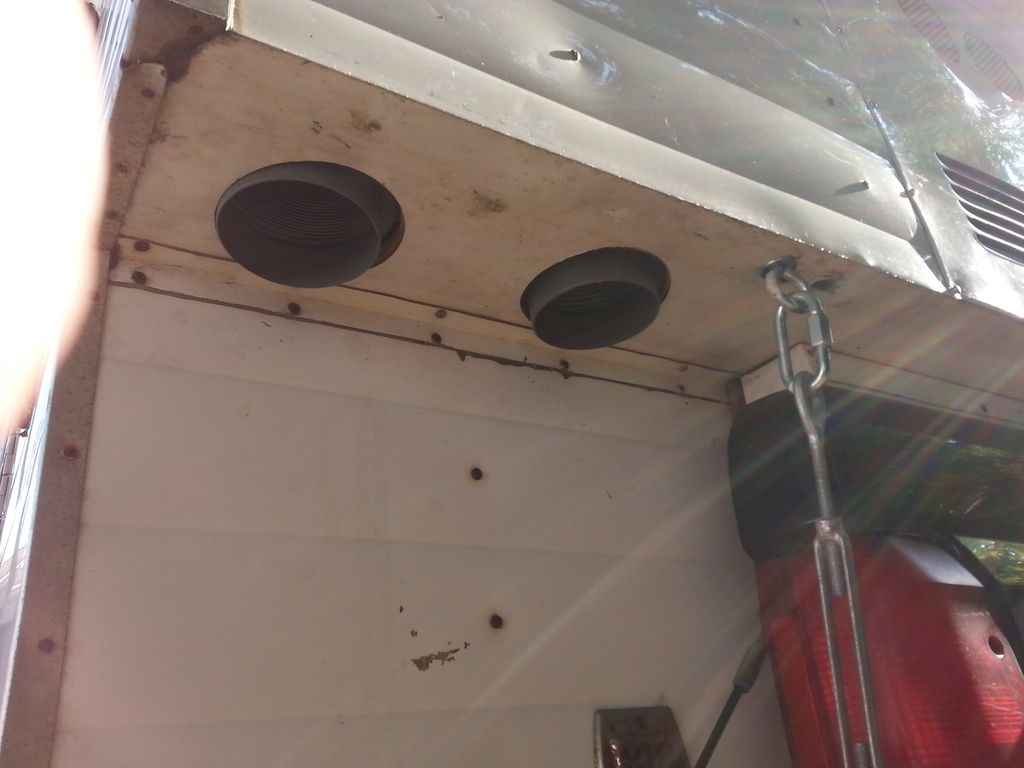
Ducting.

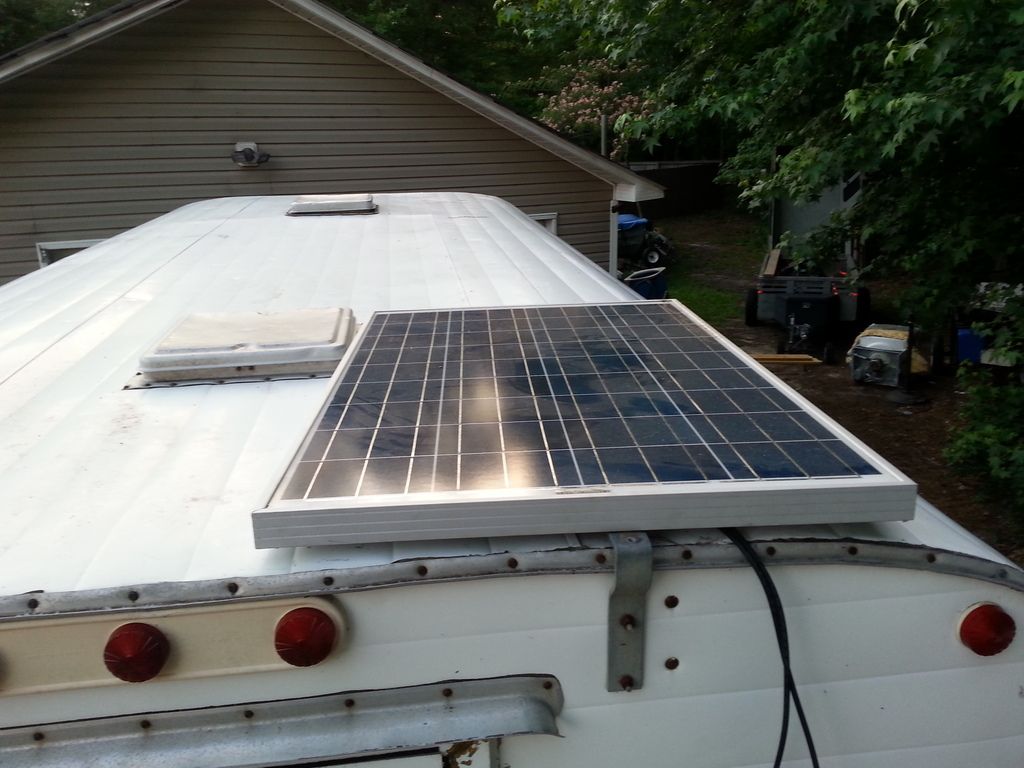
The AC worked like a charm, it was nice and cool inside. Next, I got to work on some of the wiring. The house battery is in and wired to the truck. My truck already had a solenoid isolater and a house battery, I just had to relocate the battery and move some of the truck wiring. With on the road charging solved, I needed a way to charge it at camp. Left over from my foray into solar power was a 100 watt panel and charge controller.
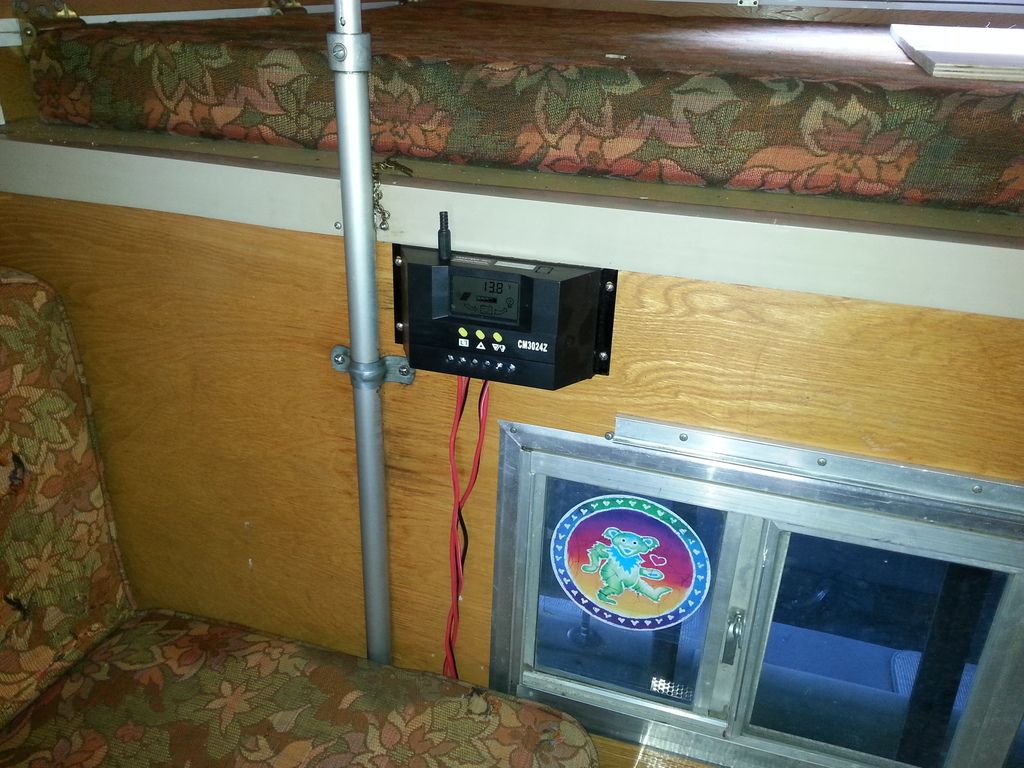
The panel I'm going to leave loose for now. Parking under trees is preferable and being able to move the panel out into the sun will be advantageous. It's sitting on the roof for now.
The lighting for the interior is now done as well.
All of this is wired through a small fuse block left over from the Samurai build. For some reason I didn't take a picture of it. I'll try to get one tomorrow.
Tomorrow I will get the 120 volt wiring done.
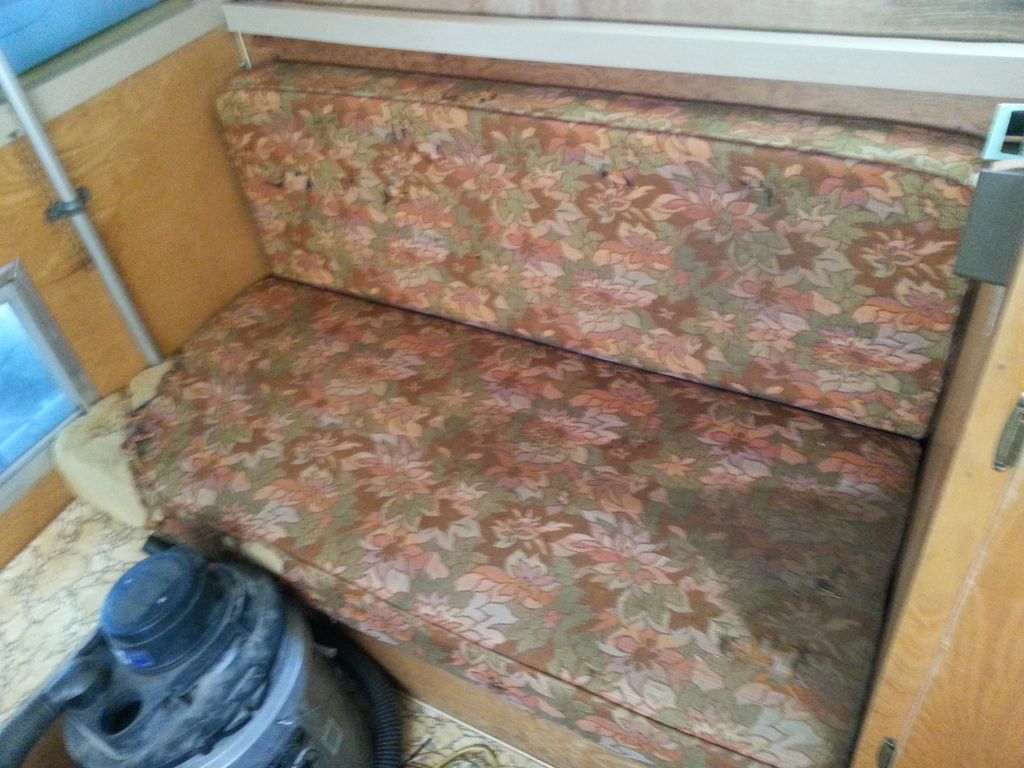
Old nasty:
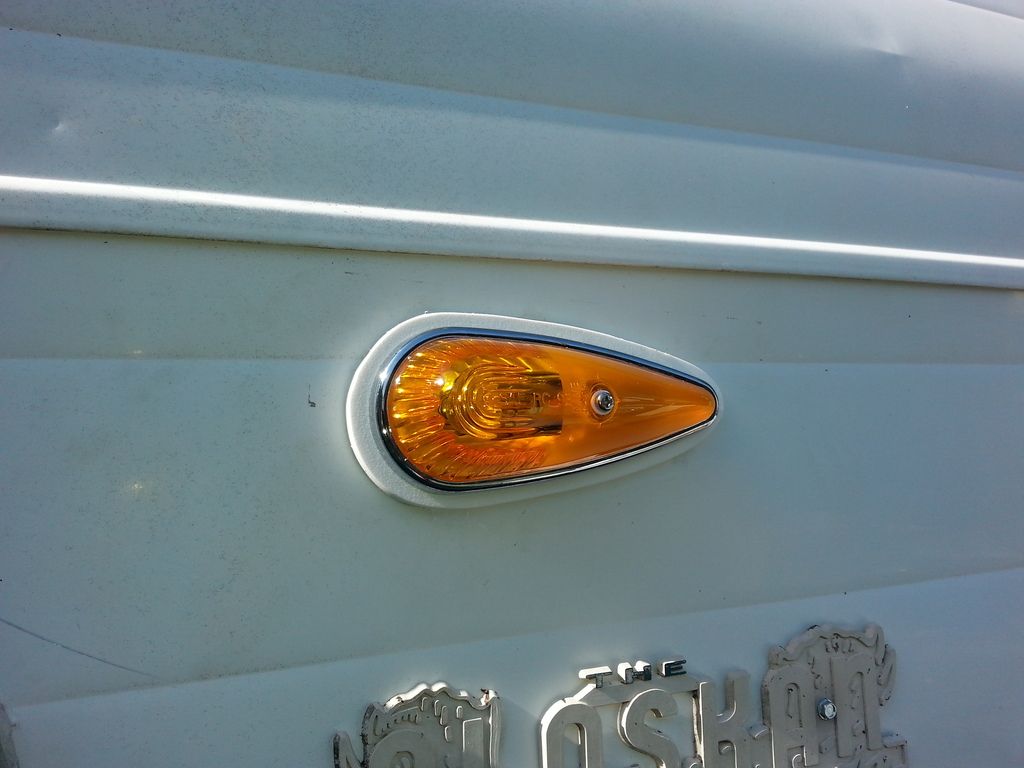
New Hotness!:
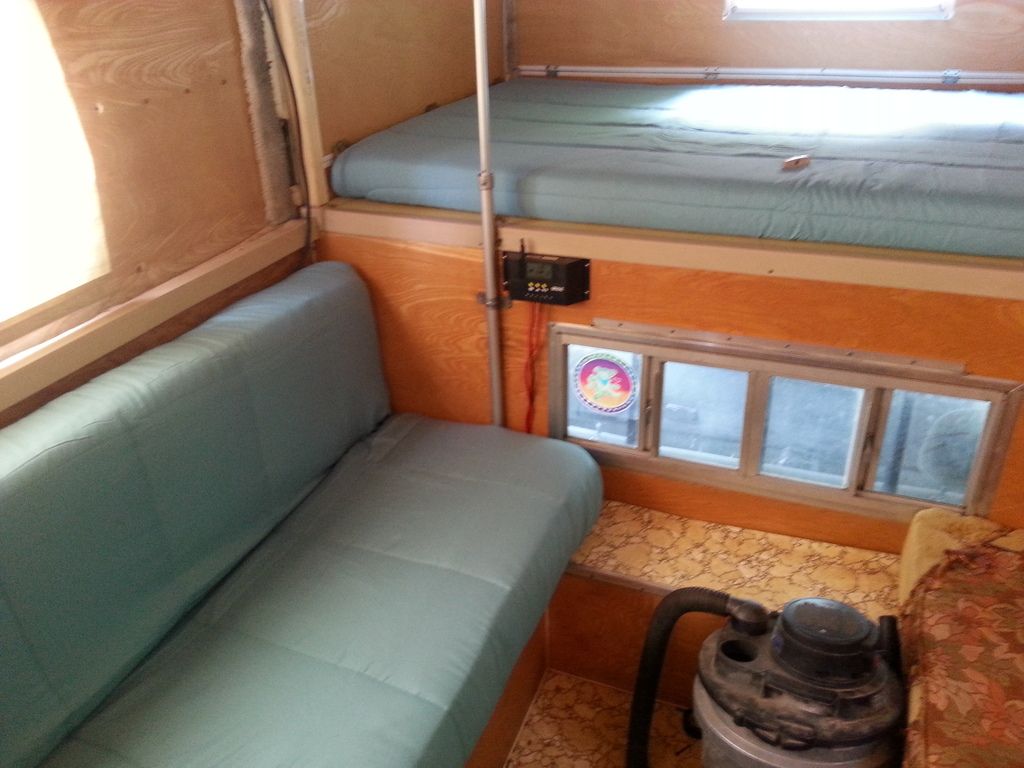
They aren't perfect, but for $17 each, not too shabby if I don't say so myself. ![]()
And the 120v system is done. She's plugged in all professional like and running fine. ![]()
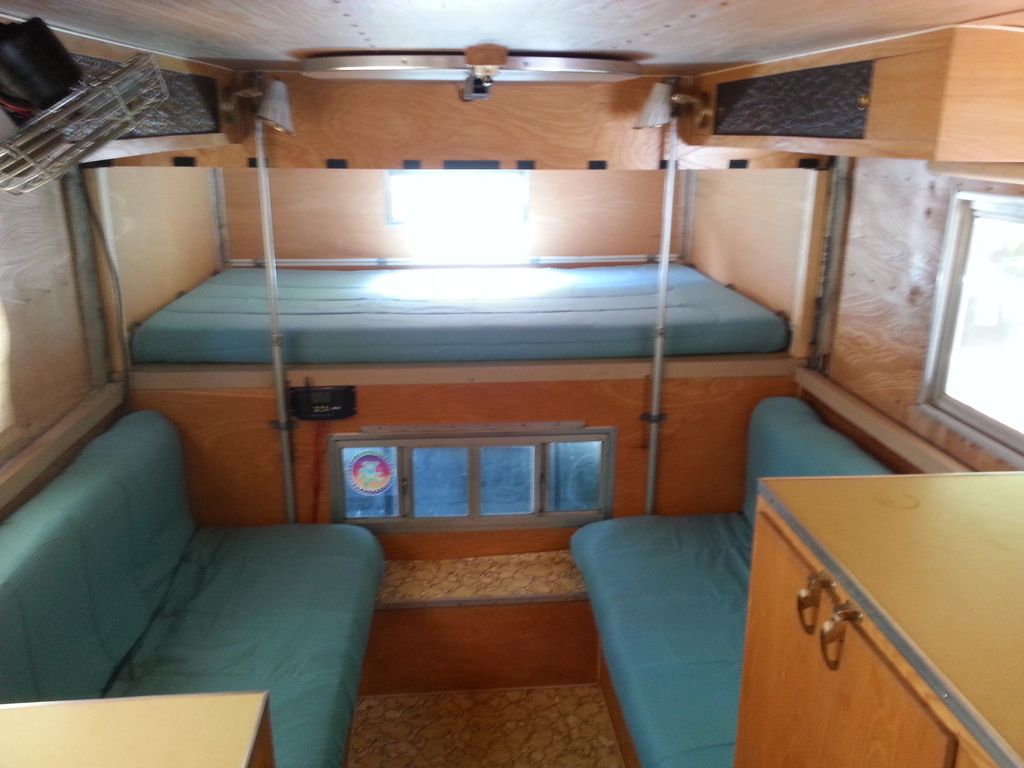
The interior is about as done as it's going to get before we leave for Canada.

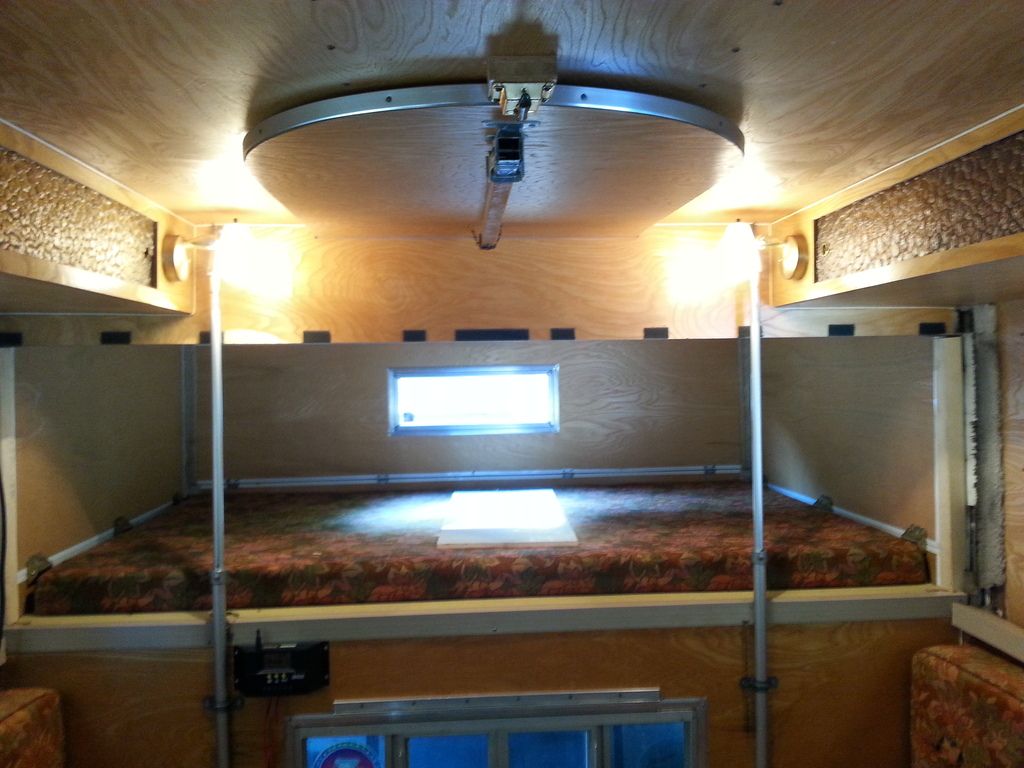
Awesome, looks clean an comfy. How does the table on the ceiling work?
In reply to fujioko:
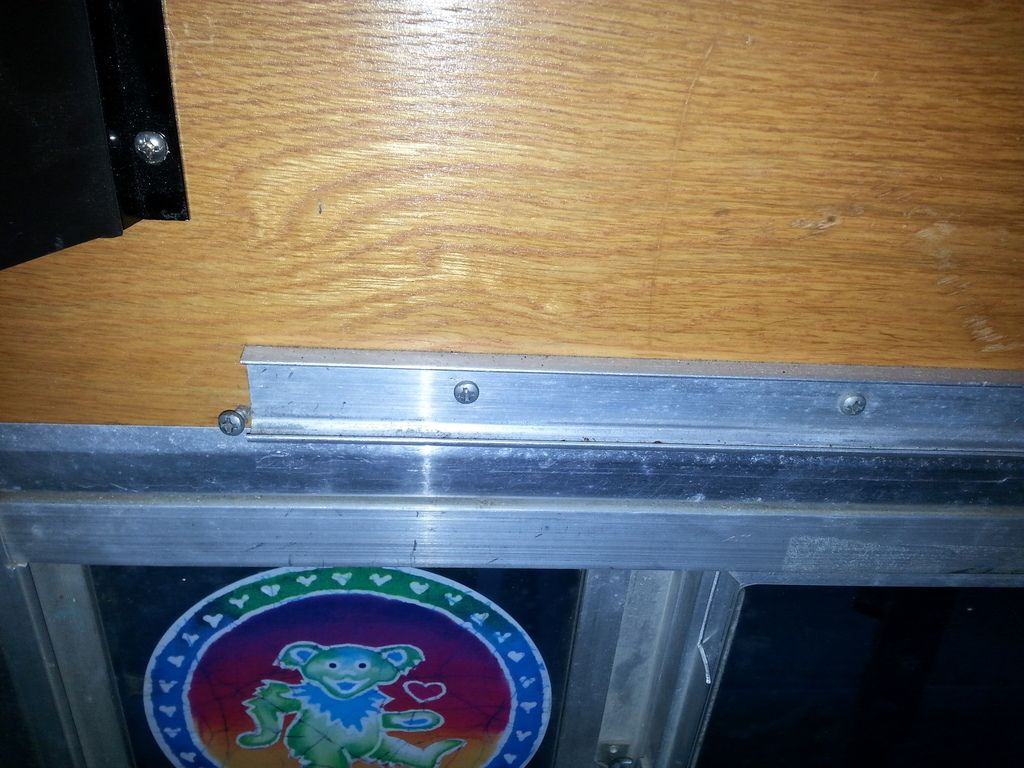
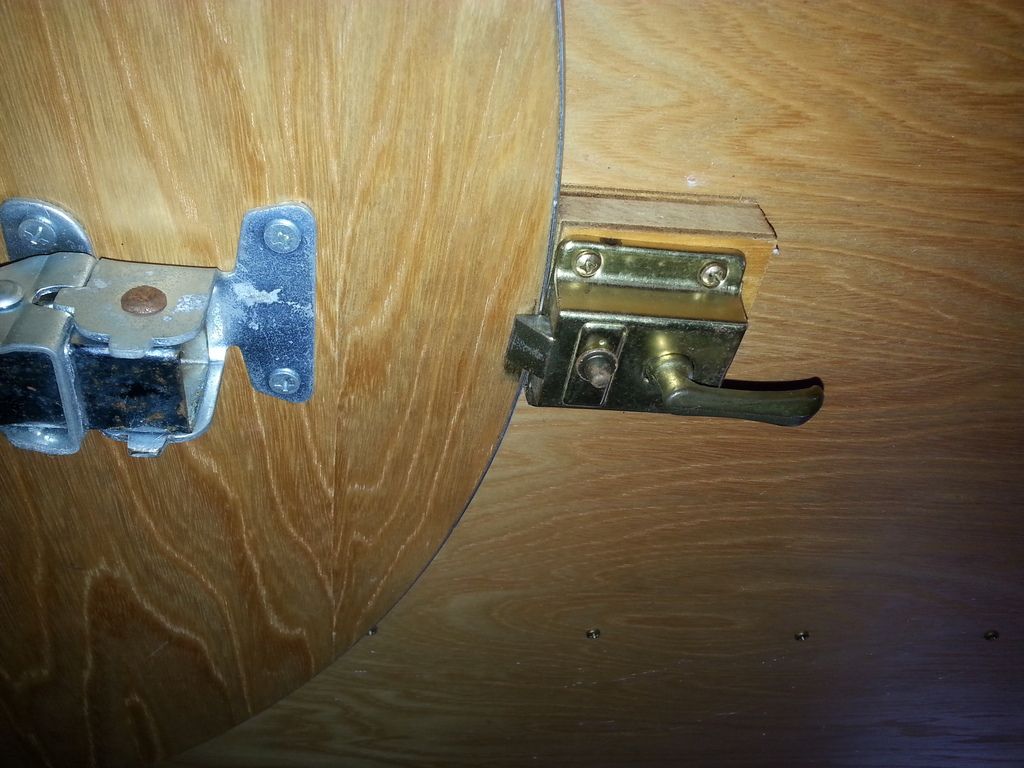
There is a track just above the window. It clips in the track and the leg folds down to support it. It's currently clipped into an identical track and a door catch holds it on the ceiling. Kind of brilliant, other than I've hit my head on that damn leg about 10 times.
The track:
The catch on the ceiling:
Set up and ready for dinner:
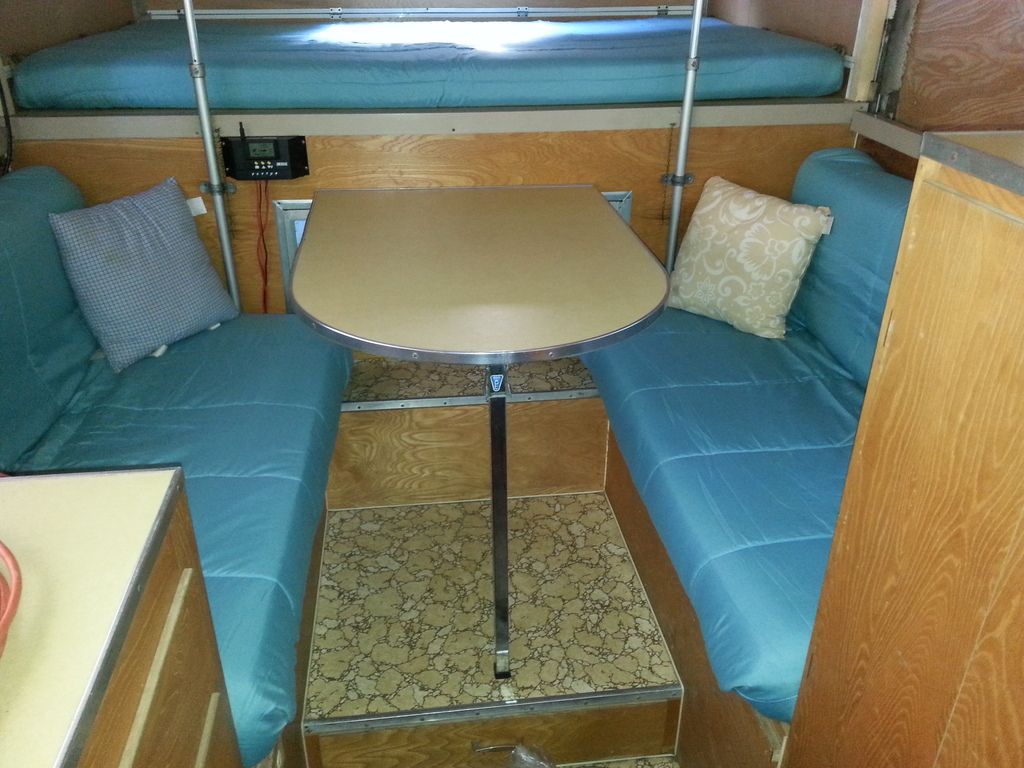
It only takes about 15 seconds to move it.
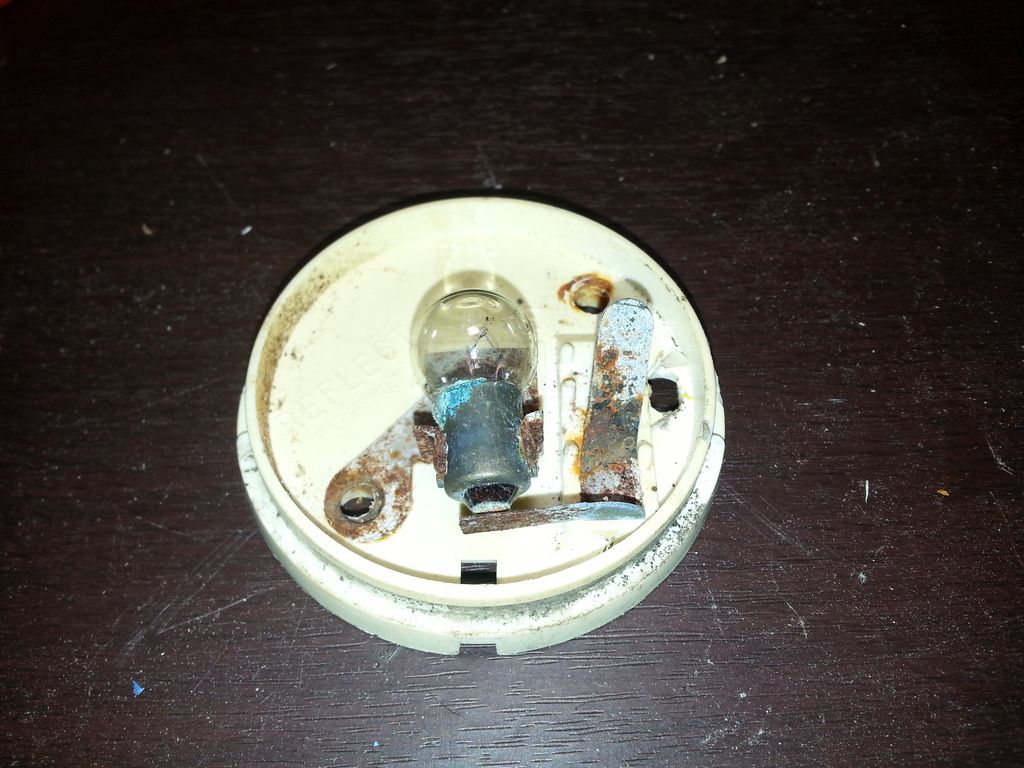
I solved my clearance lighting problem. I couldn't find a replacement I liked, and the best of the fixtures looked like this. Full of corrosion and not working. The contacts if several of them crumbled, but the bases and lenses looked perfect.
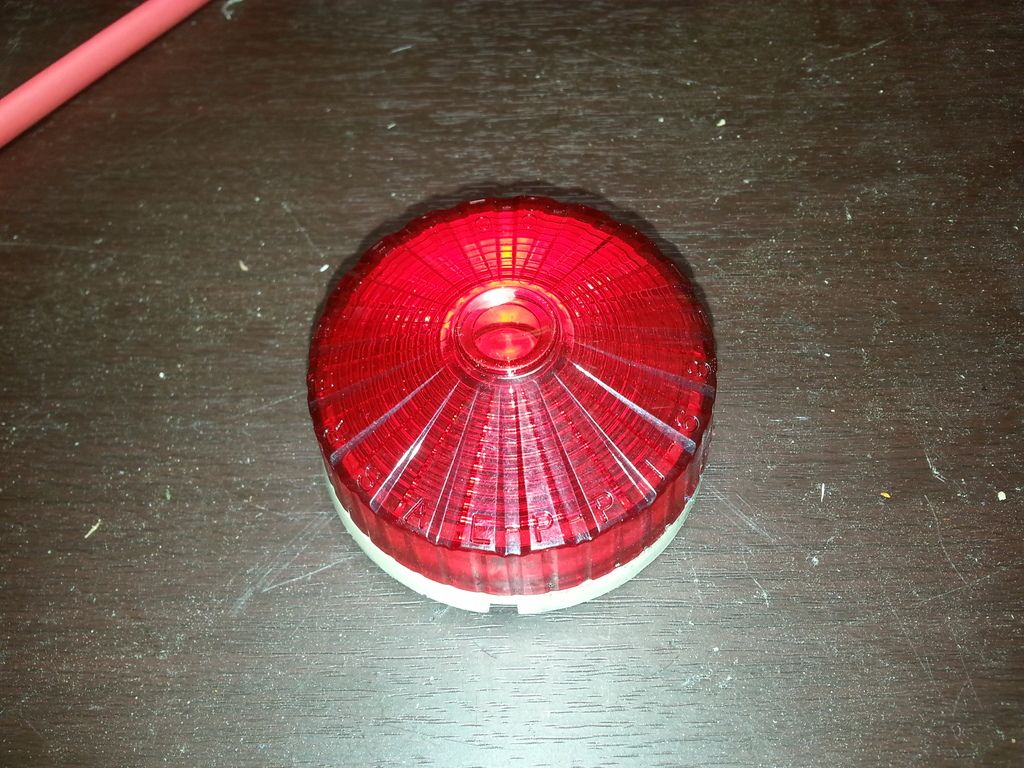
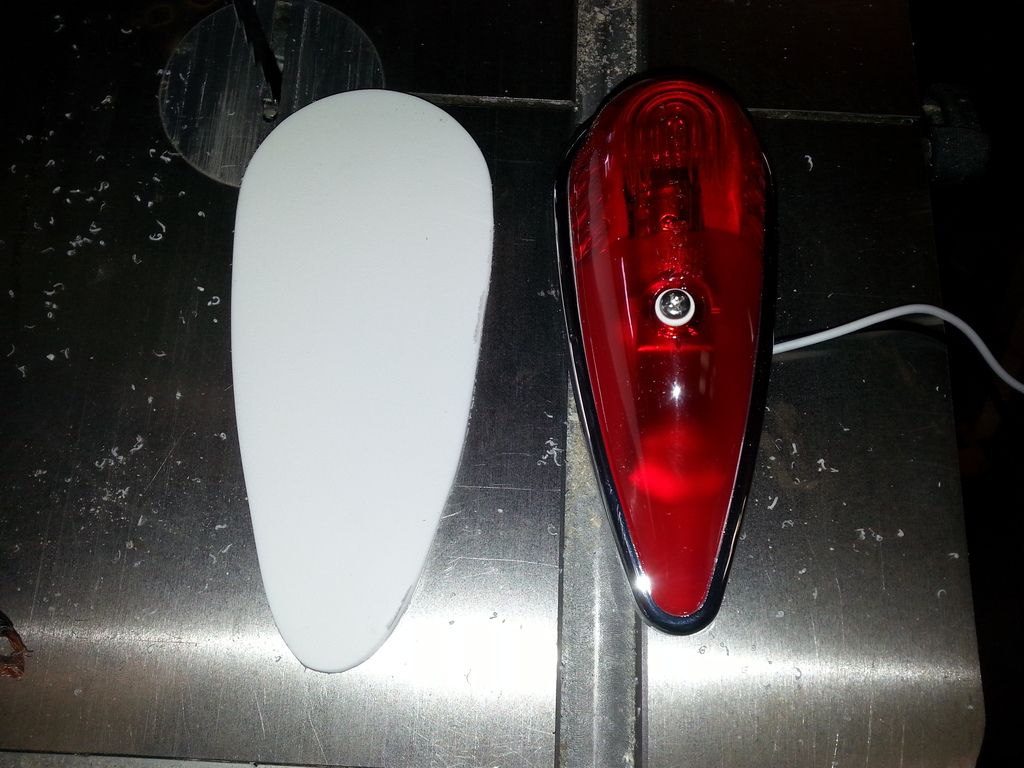
Here's the fix.
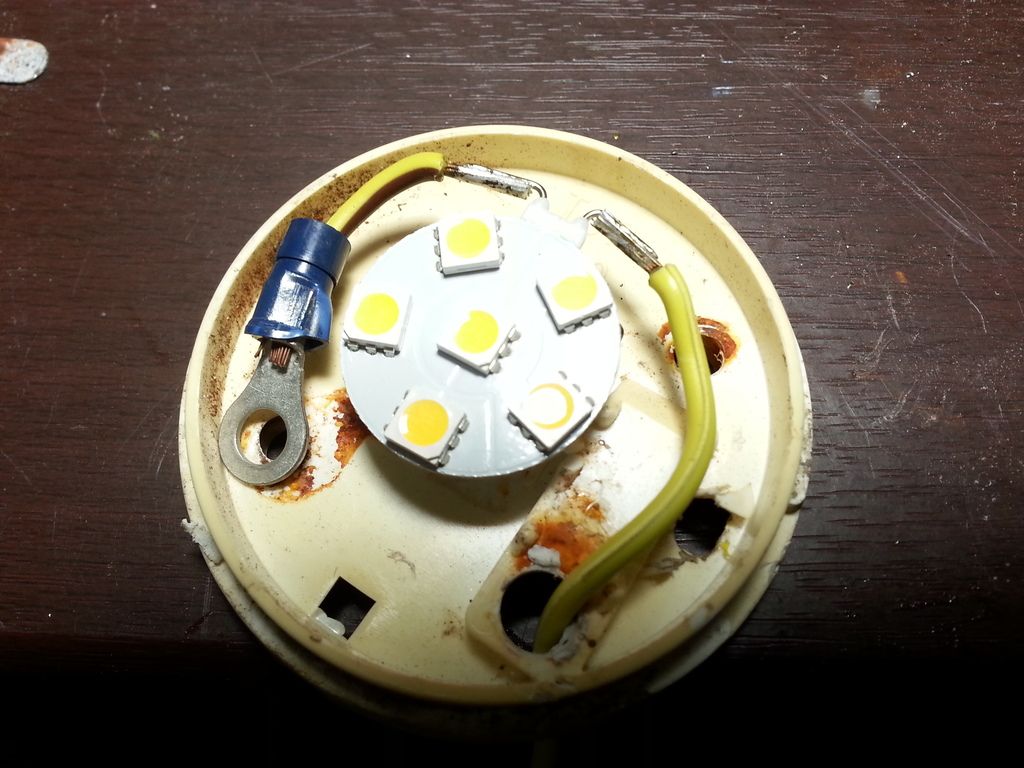
The leds are 12V halogen replacements.
Ten replacements built and ready to install tomorrow.
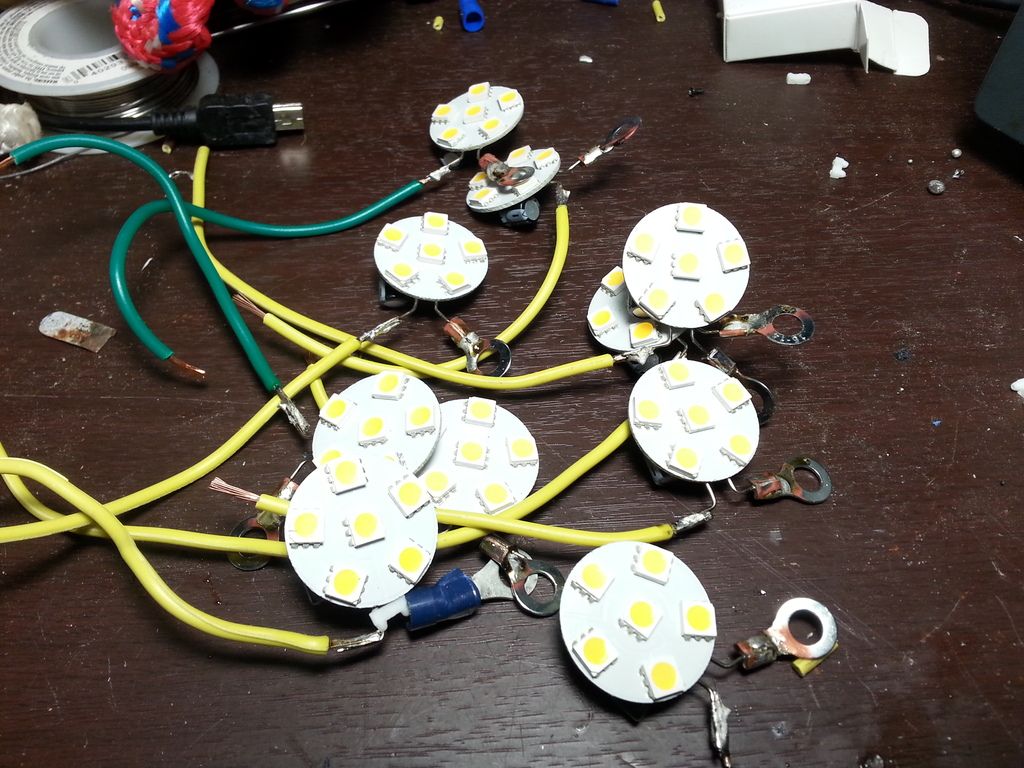
Never time to do it right, always time to do it over. ![]()
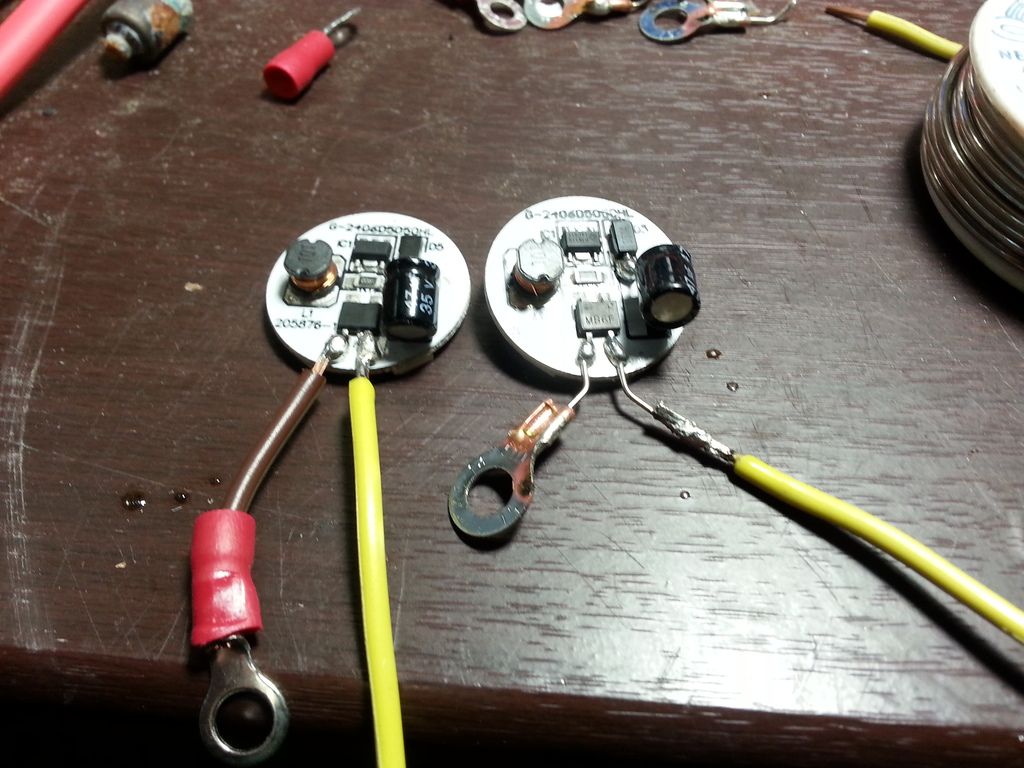
I tried to cheat building the LEDs. I tried to use the metal posts as solder tabs. It was easier, quicker, and I didn't have to dig out my good soldering iron. Then I tried to install one and broke two of the posts. Back to the desk to rebuild all of them.
Before on the right, after on the left.
You'll need to log in to post.


