75280z
New Reader
11/11/13 6:15 p.m.
75280z
New Reader
11/11/13 6:17 p.m.
3 Nov 2013
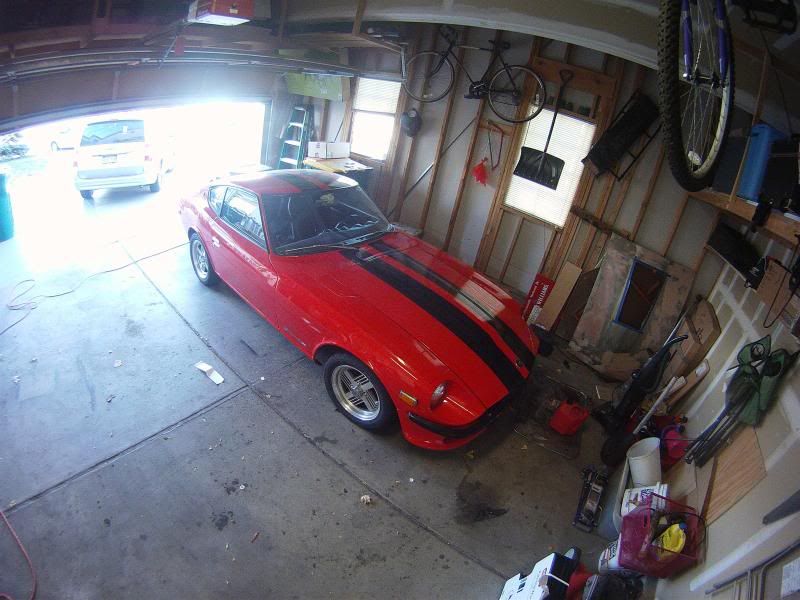
So I found the short a while back on the dash lights I had hooked up two wires that were not to be hooked up. I got a new camera and I am using the time lapse to better capture the work I do on the car.
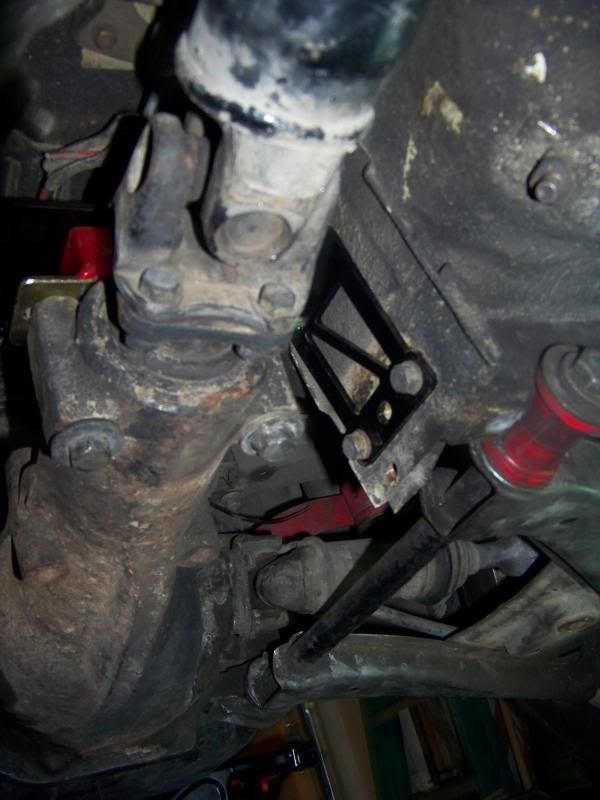
Timelapse of the first day of my working on the Z this time. I have a Ron Tyler Diff mount as well as a lightened flywheel to add. What was accomplished in order
- Removed Exhaust
- Removed Heat Shield
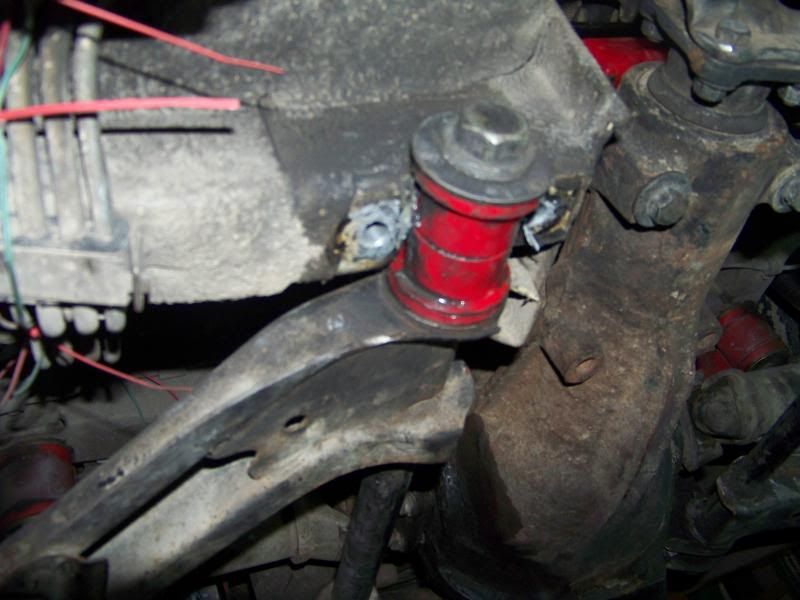
- Removed Front Differential Mount
- Removed Drive Shaft
- Drained Transmission Fluid
Video was a time lapse shot with a CamOne Infinity with a picture taken every 10 Seconds, and the video was converted at 6 FPS so in essence it is one minute per second. I hope you enjoy I will hopefully be updating daily. Until this portion of the project is done. There is no audio and I don't want to add music because that usually just annoys someone.
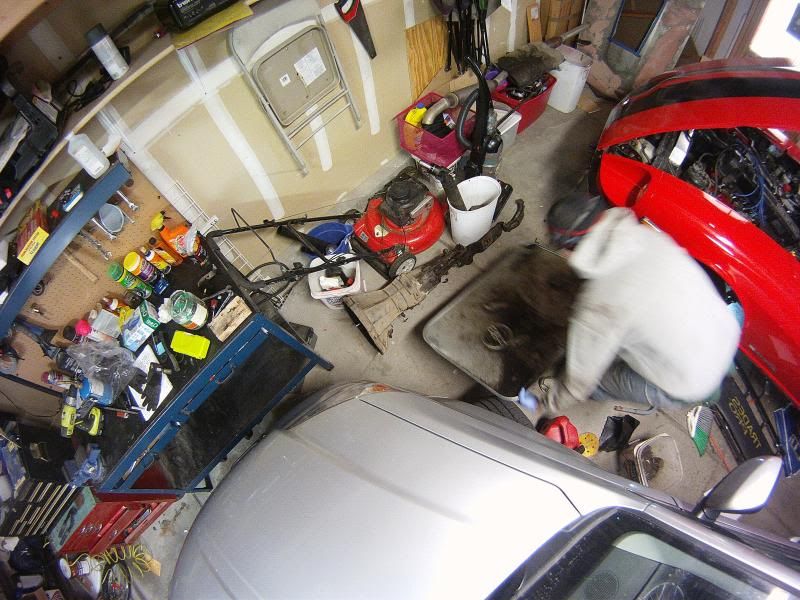
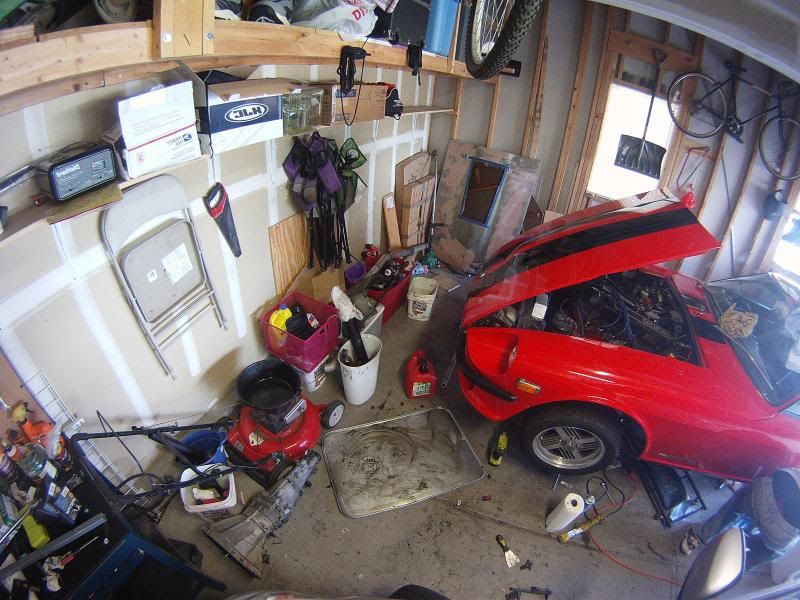
First I have to clean the garage
http://www.youtube.com/watch?v=6fRD3knMhX8
Then the work commences
http://www.youtube.com/watch?v=Noyyaos3SPE
75280z
New Reader
11/11/13 6:18 p.m.
4 November 2013
Today I lost a few pieces and banged up my finger a bit. It was a good day got a bit accomplished. I am not in a rush as the car really won't be going out much more this winter. A reminder I still have a lightened flywheel to install, the differential mount was changed today!
What I did today
- Removed remainder of old differential mount
- Installed Ron Tyler Diff mount
- Removed the Starter
- Removed the bolts holding the trans to the Engine
- Removed Trans Tunnel Mounts
- Removed Shifter (and attempted to bend it more towards driver)
- Removed Rear Sway Bar (going to try it for a bit without it)
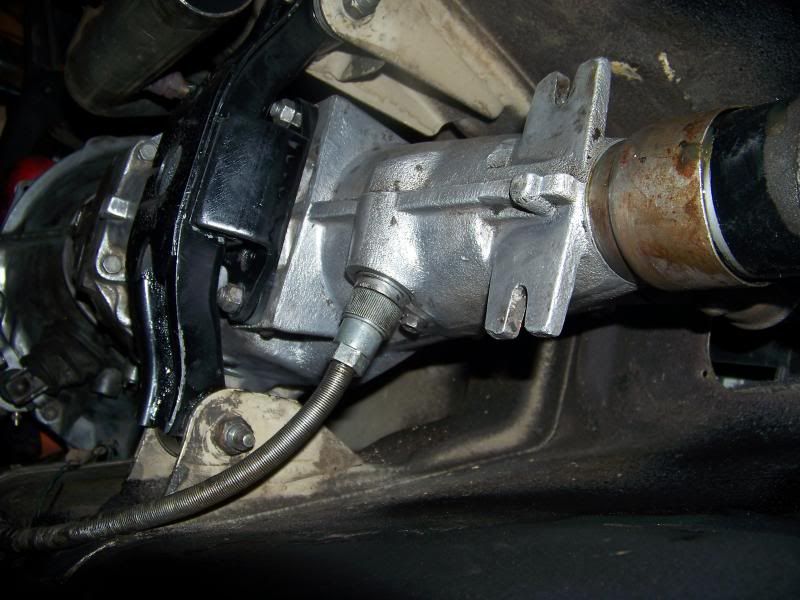
- Removed Clutch Slave Cylinder
- Removed Speedo Cable.
Timelapse.
http://www.youtube.com/watch?v=3gohAMiBcDo&feature=youtu.be
75280z
New Reader
11/11/13 6:18 p.m.
7 November 2013
I got the transmission off today! I smashed only 1 finger! I got the clutch off too. I am going to attempt to clean the transmission off before I put her back in. Since winter is pretty much here I am not in a huge rush to get this stuff done.
What I did:
- Removed Transmission
- Removed Clutch
- Learned my air impact gun isn't up to snuff!
I am going to research how to get the flywheel off, and I am going to look at clutches because mine seems to be getting a little low on surface material.
http://www.youtube.com/watch?v=AVtjCfSHmy8
75280z
New Reader
11/11/13 6:18 p.m.
8 November 2013
I need a cheater bar that fits under the car! I have the flywheel secure with an 11mm wrench, but still don't have enough leverage. SO I started cleaning the underside of the car, as well as parts I took off. I don't have any gas left in my gas jug so I have to go buy some more that will help me clean up all these parts. I am also going to try and pick up some engine de-greaser to help with the cleaning as well. I removed probably a pound or more of caked on oil/dirt today! What I did:
- Failed to remove flywheel (I didn't try that hard, but I smashed my hand and gave up)
- Started cleaning off the caked on oil from the under side of the car
- Started cleaning transmission
- Started cleaning heat shield
Specs photos shot with the timelapse feature of CamOne Infinity action camera. 1 picture per 5 seconds, stitched together at 6 frames per second or 30 seconds is 1 second.
http://www.youtube.com/watch?v=G7akf2WMvoY
75280z
New Reader
11/11/13 6:20 p.m.
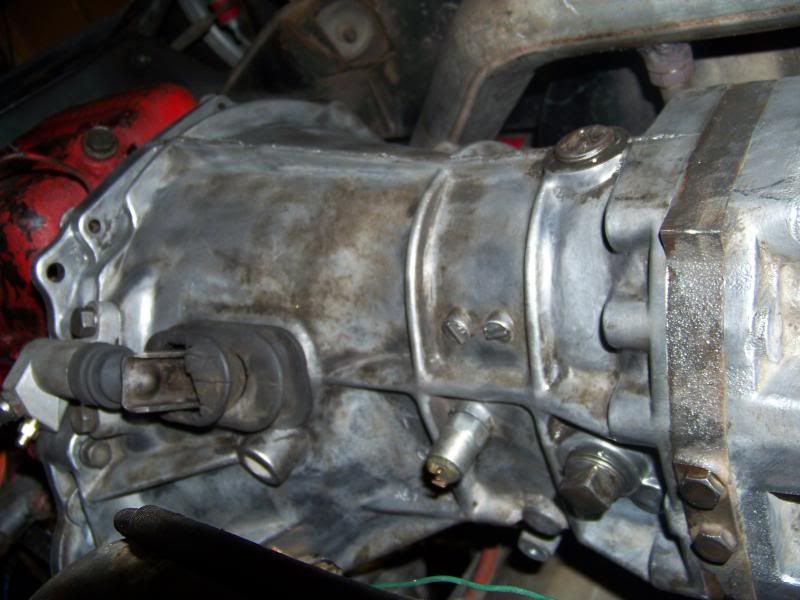
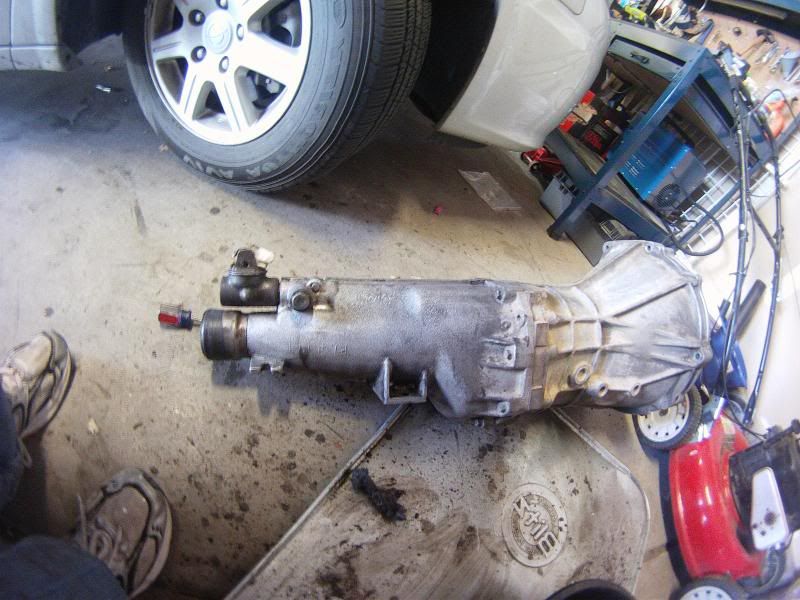
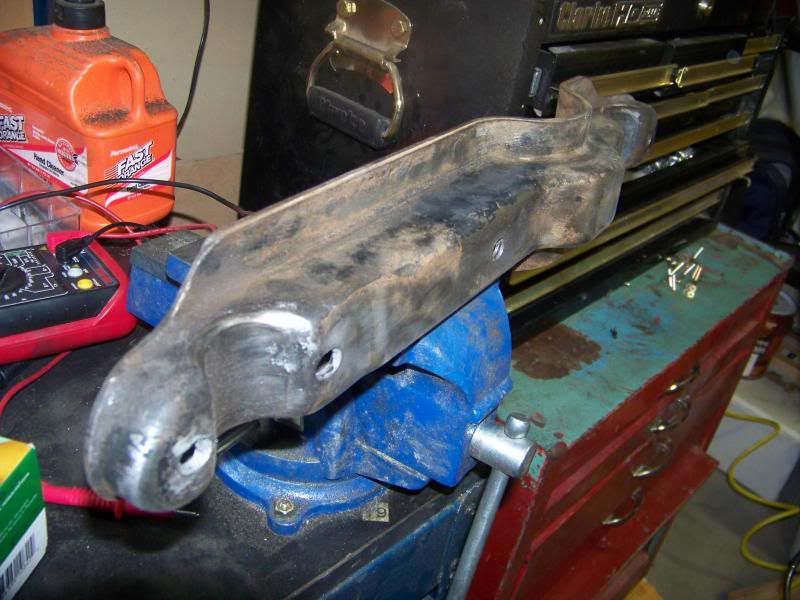
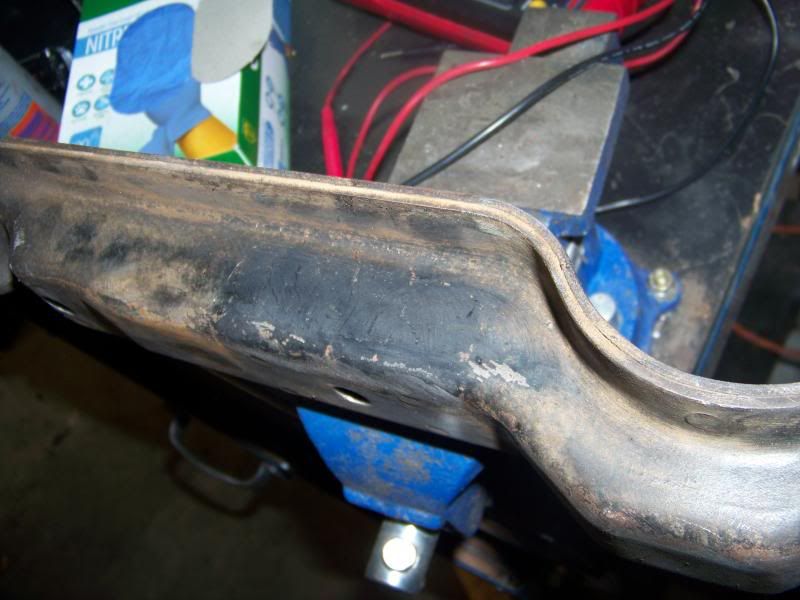
Sorry I didn't get great pictures but here is the before and after on the transmission. It isn't supposed to be show-room clean, but I don't want it to be disgusting either.
Before:
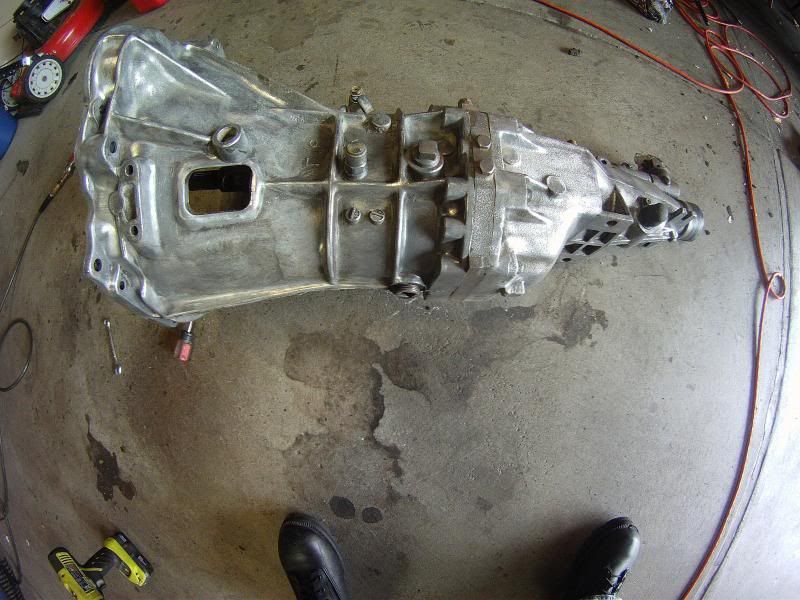
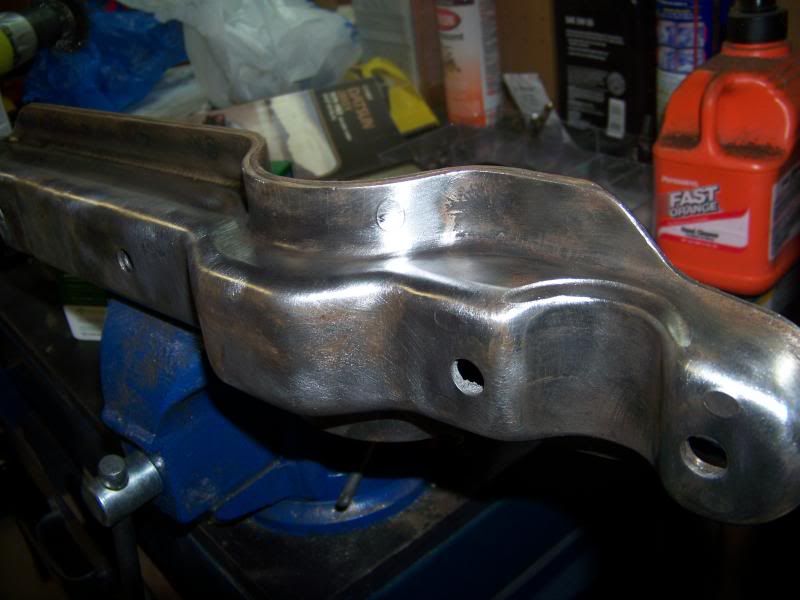
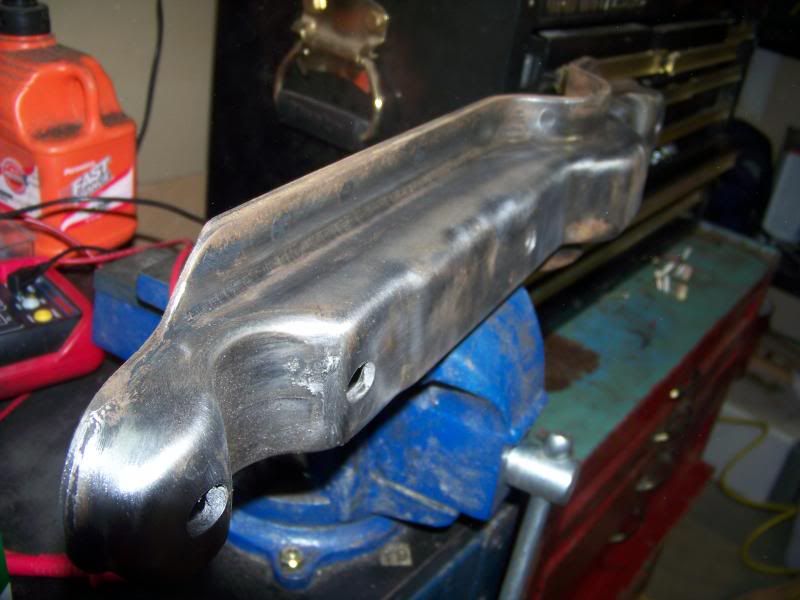
 After
After
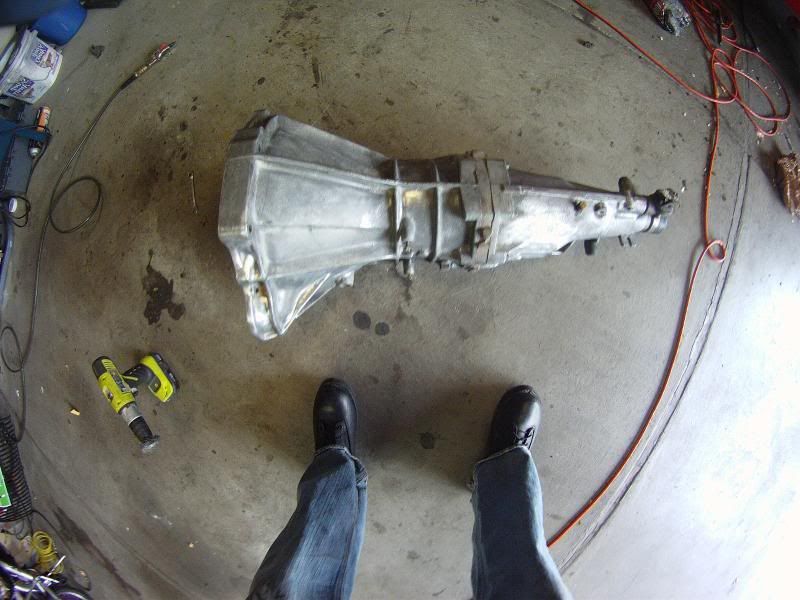
 A better picture of how the transmission turned out.
 The video
http://www.youtube.com/watch?v=dPSfUh507RU
75280z
New Reader
11/11/13 6:21 p.m.
10 November 2013- Finally Caught up so there will be no more huge massive picture dumps.
Woot!
Got the flywheel off today! I borrowed a impact wrench (Thanks Blake Batts), it still didn't get it off, so I remembered I had a torque ratchet (Also from Blake Batts) that was pretty long and just used my huge guns to break those things loose.
It went OK today. I am shedding5 lbs of weight with the new flywheel I haven't ever driven a car with a lightened flywheel and I have been driving this car for over 10 years so I am interested to see how this goes.
- Removed Flywheel
- Weighed them 23.2-18.2 that is 5.1 pounds difference I am interested to see if it is noticeable.
http://www.youtube.com/watch?v=6YiawalVYV0
75280z
New Reader
11/13/13 10:39 p.m.
I cleaned some more on the trans, I also picked up all of the loctite and new flywheel bolts
What I did today:
- Picked up Flywheel Bolts
- Picked up gear oil
- Picked up Loctite
- Cleaned on the transmission
- Finished scraping the underside
The goal was never to completely clean the underside, but to remove some of the caked on crap right around the transmission to make it not so disgusting down there.
CamOne Infinity, 1 picture per 5 seconds
http://www.youtube.com/watch?v=9fiEi9kL9F0
Wow, what a cool build. I really want to do something like this with an older small pickup...Take a beater, keep it driving while i make it into a fun track toy that can still roam the streets. Please keep us posted. Z cars are really cool and you are to be commended for keeping this one alive!
Cool build.
That is High Plains raceway Isnt it?
I LURVE that track!
Rob R.
75280z
New Reader
11/14/13 1:03 p.m.
wvumtnbkr wrote:
Cool build.
That is High Plains raceway Isnt it?
I LURVE that track!
Rob R.
It certainly is highplains raceway! I also love that track, but to be fair I haven't driven on any other tracks. I hope to be getting out there more and more over the next few years. For some reason I didn't post the link I don't think to the video I took on the track. It was with my cell phone before I got one of them fancy cameras so it isn't the best. But holy cow is having a car on the track fun!
http://www.youtube.com/watch?v=6uy20mTKeEE
75280z
New Reader
11/19/13 5:45 p.m.
Question are people actually liking these timelapses or are they annoying? I love them so I am gonna keep doing them, but I don't necessarily have to post them here.
Again I did some cleaning on the Transmission. What I got done today.
- Finished Cleaning Trans and a few assorted parts
- Installed Flywheel
- Installed Clutch
All the flywheel bolts were installed with red Loctite, and the clutch bolts were done with blue Loctite. Today was a tedious day, but I am very close to putting the trans back in and then it should go back together quite quickly after that. I am glad that the transmission is finally clean and the clutch and flywheel are back on the car.
Before!
After!
The Timelapse you all know and love!
http://www.youtube.com/watch?v=zQQ9w9oFD9Q
75280z
New Reader
11/22/13 10:54 a.m.
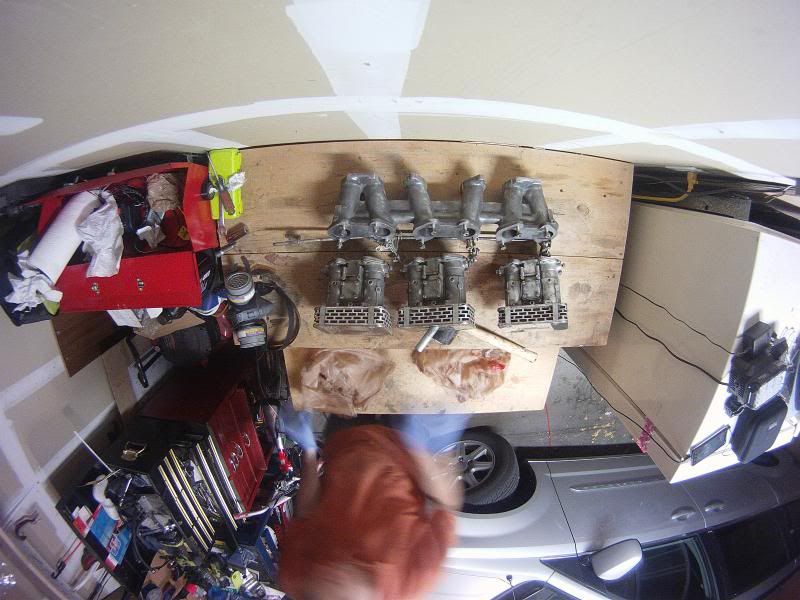
I cleaned up some triple webers. I am going to sell them to fund some more parts I think I am going to replace the ball joints and front rotors.
Weber Carbs (40 DCOE 18 8js) Made in Italy x3.
I cleaned them, and was careful to not adjust the throttle settings so they should hopefully be in sync.
I never ran these but picked them up while looking for parts.
- 3 Weber Carbs
- Cannon Intake
- Air Filters, the wire has been somewhat crushed (The foam could be replaced)
- Throttle linkage
After Cleaning.
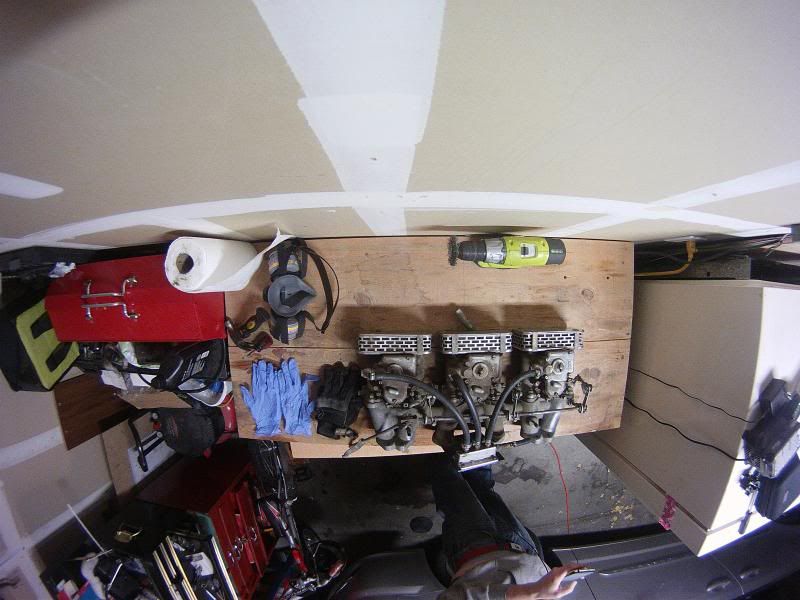
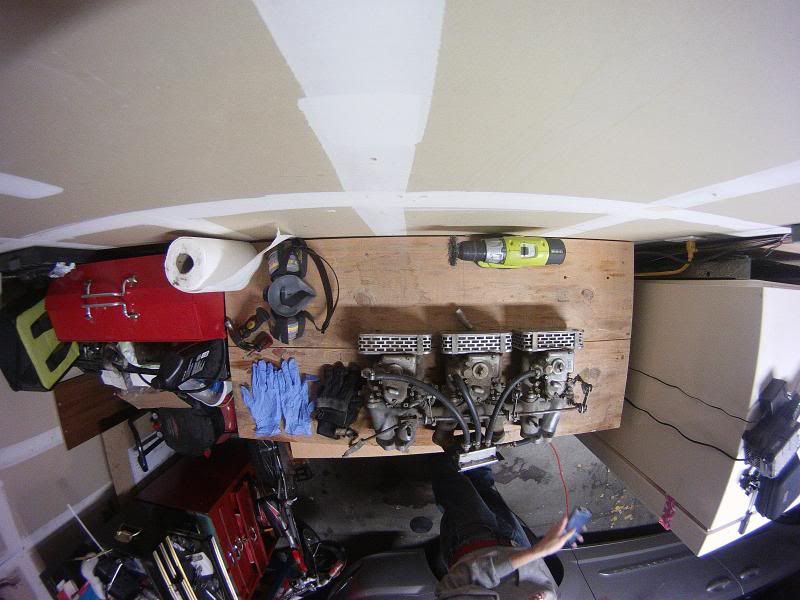
 Bottom of carbs and intake.
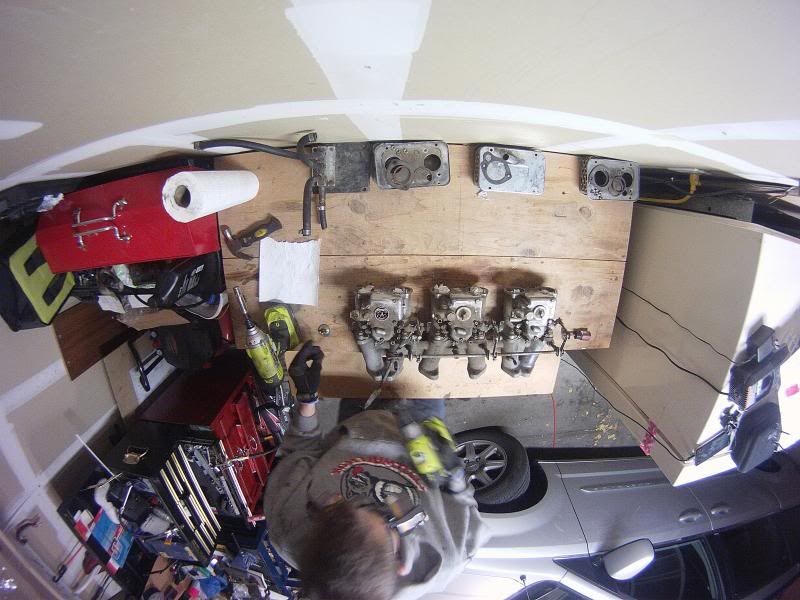
 Before Cleaning.
https://www.youtube.com/watch?v=wkMdS13BHiU
75280z
New Reader
12/1/13 6:14 p.m.
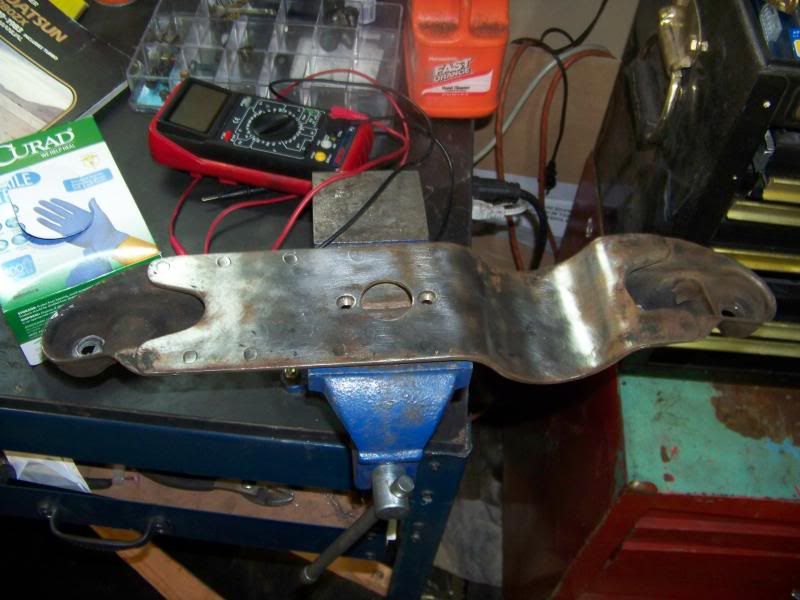
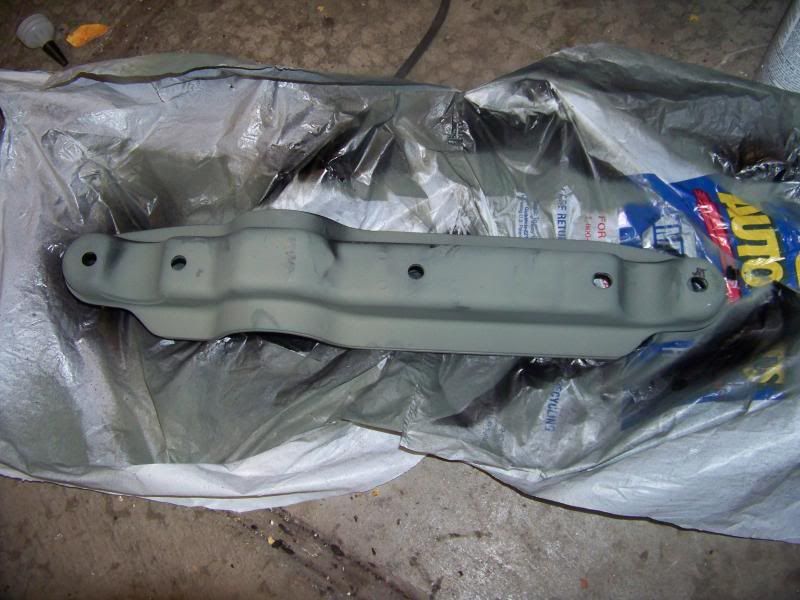
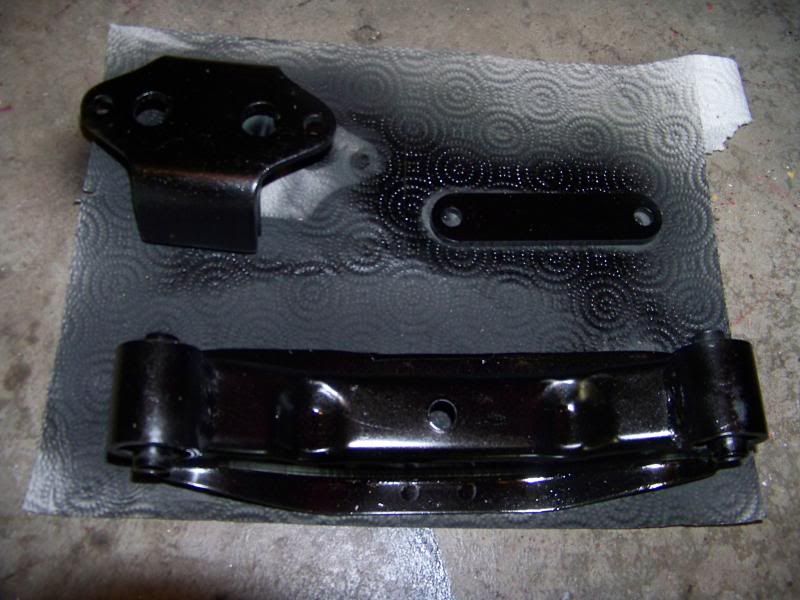
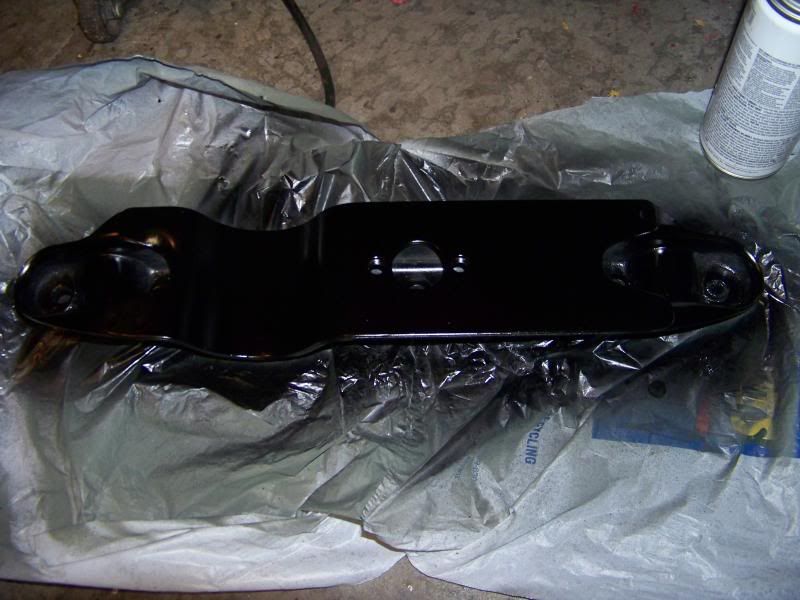
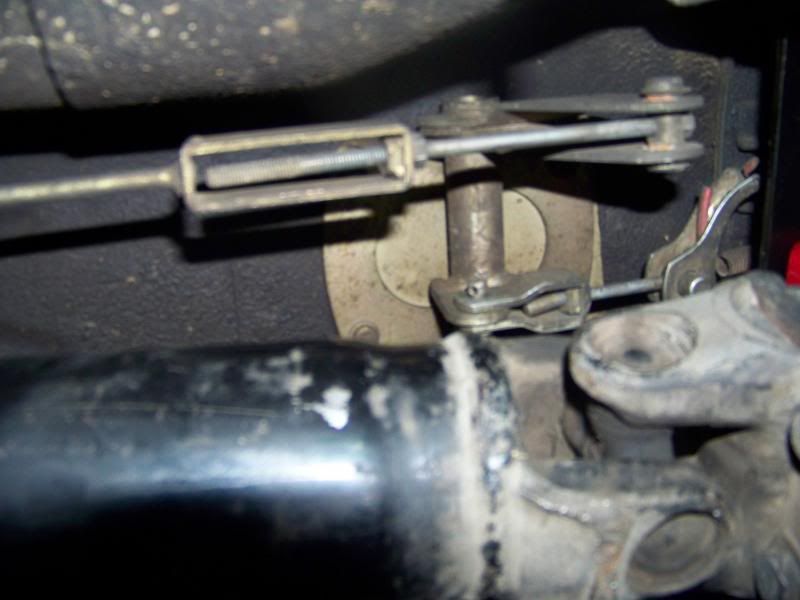
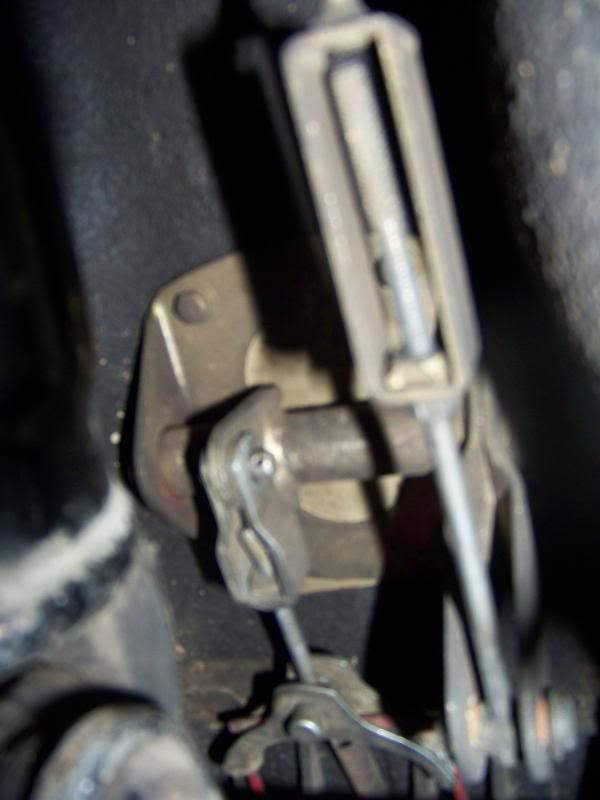
Well I got the transmission re-installed, the transmission mounts on (After painting them), the speedo cable back on, the clutch slave cylinder connected, the drive shaft back on, and am current painting another mount that goes under the car. I am not to far away from having this car buttoned back up and back on the ground. Pictures to follow later. And of course time lapses.

pres589
UltraDork
12/1/13 7:00 p.m.
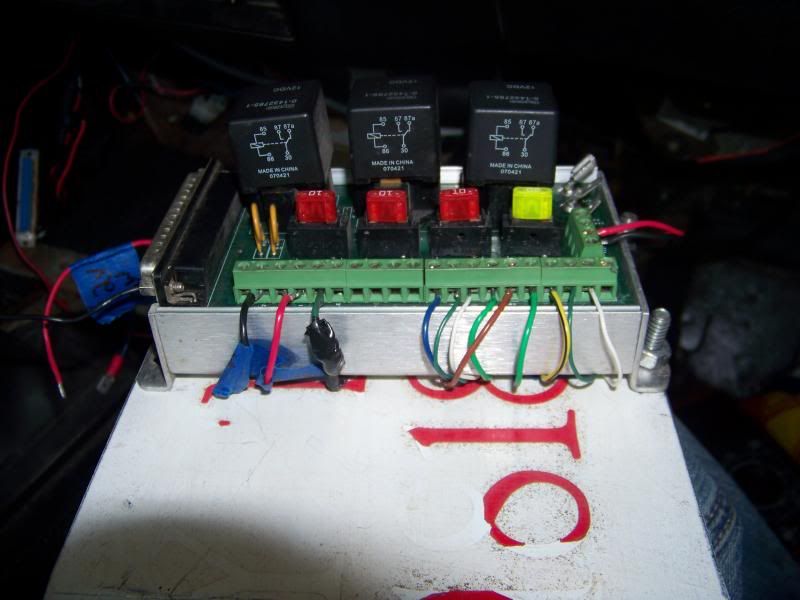
I just re-glanced at the battery pictures; both main cables for + and - are black, and accessory wires from both posts are red? What???
75280z
New Reader
12/2/13 12:22 p.m.
In reply to pres589:
The terminals are different colors, and I don't just willy nilly put my wires on, If I take them off I just look to see which one is my grounded wire. That is funny though, I have never changed my battery wires they have always been like that.
This is such an awesome build. i absolutely love your Datsun. I have always wanted one, and you have the turbo trim = me mad jelly!
75280z
New Reader
12/3/13 6:44 p.m.
Sal_the_man wrote:
This is such an awesome build. i absolutely love your Datsun. I have always wanted one, and you have the turbo trim = me mad jelly!
Sal Thank you very much I am quite happy with the car. Also let me say, I did a little checking on your build thread. I love that generation of MR2 I hope you get it running great for AutoX. I made the comment on another forum, there has never been another car that I just constantly love to tinker with and work on. Here is what I did in the past couple days.
I got the car back on the ground today, and even took it for a spin!
What I did:
- Installed Rear brace
- Installed Heat Shield
- Installed Exhaust
- Installed Starter
- Installed Shifter and shifter boots
- Put it back on the ground
I took it for a little spin, but didn't record it. I have a strict don't make a video leaving my house rule to put on the internet. It isn't that I don't like you internet people I just know there be some crazies out there.
What is on the to do list now? Glad you asked.
To Do:
- Transmission to Crossmember bushings (I found them while digging through stuff, don't know why I didn't do this when I did the bushings a year ago.)
- Find/make a new shift boot. I have a sewing machine (Well my wife does) and I think I am tired of seeing that hole in my console is getting old.
- Still looking at a big break kit for the front. I upgraded once, but I don't think it sheds heat well enough.
The weather is getting nasty here, like highs of 18 or 19 so I am going to stay inside for a bit.
Timelapse.
https://www.youtube.com/watch?v=q6jTFZhwmsg
The video of the first start
https://www.youtube.com/watch?v=Z-eENHTBAPI
75280z
New Reader
12/4/13 10:25 a.m.
75280z
New Reader
4/17/14 10:08 p.m.
Time to awake from the deep sleep of winter. I finally got word that I will be moving for my job in the next year, and yes Darrel I have been saying that for a long time, but this time I am actually on the list. The goal is to drive it to the next location. The goal this summer is to get AT LEAST one more track day on her at HPR before I go, I believe the date is 28 June.
The list this spring:
Intercooler, BOV, and Piping
Perhaps Boost controller turn it up some
Change brake rotors
Get Datsun Hood Scoop finished and installed on extra hood
Replace the Trans-mounts I missed when I was changing to poly bushings.
New Wideband controller I cheaped out last time and I am not impressed.
I will continue to work on making timelapses. I am going to try and incorporate HOW-TO video type portions as well.
75280z
New Reader
4/19/14 9:09 a.m.
Thanks man. I forgot to mention I also order really nice projector headlights so hopefully I will finally be able to see at night!
75280z
New Reader
6/28/14 10:08 p.m.
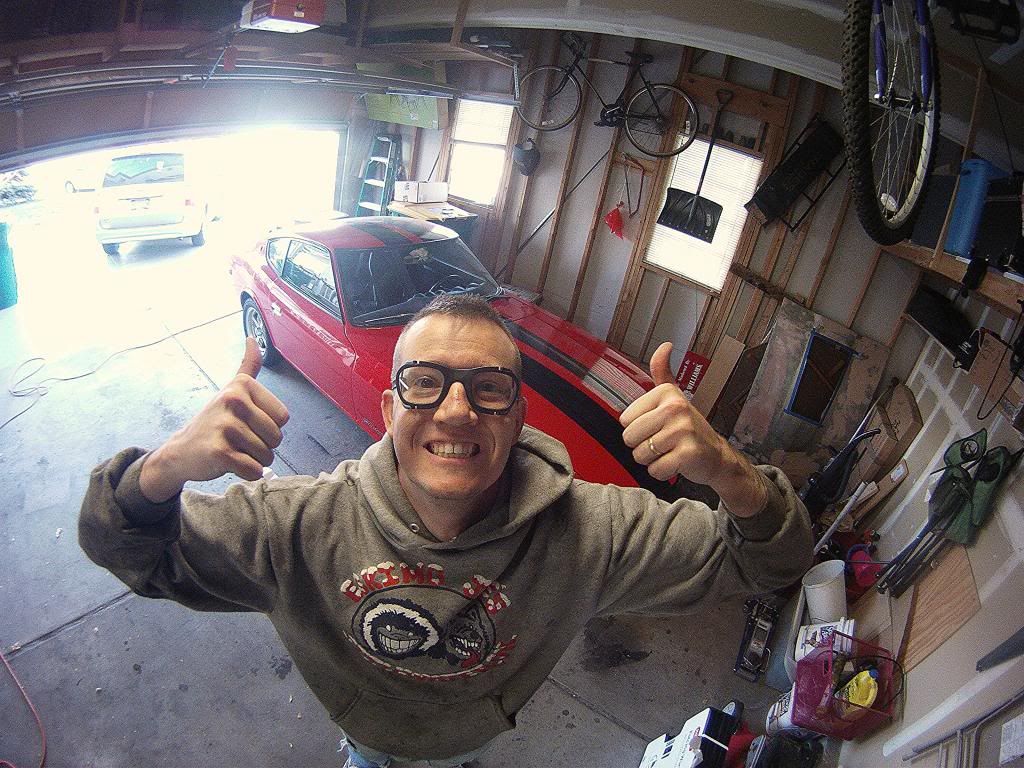
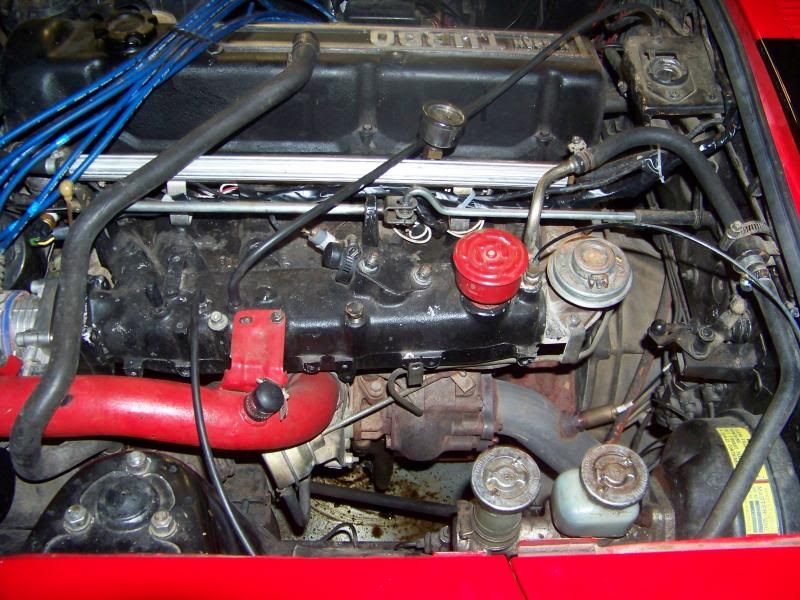
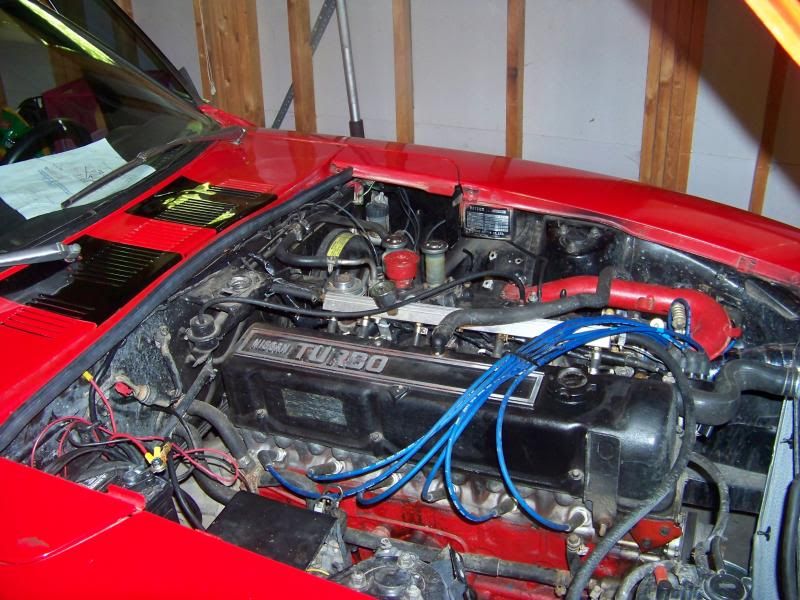
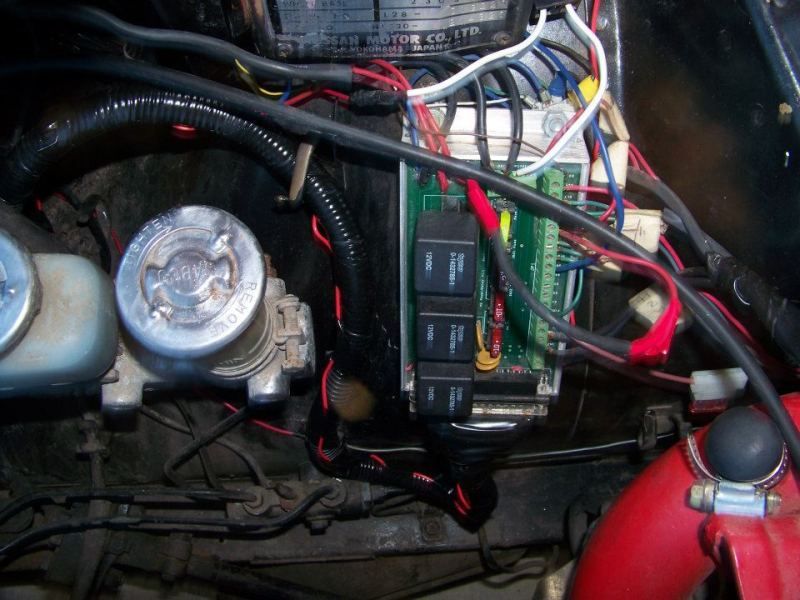
Well the transistor is replaced it took way longer than it should have, and then the car didn't start. The pull up resistor between the CAS signal and switched 12V broke. This is the second time that has happened I need to find a way to brace it so it won't flex through there. I am making my videos now. I have decided I like the video's much more than anyone else. Thanks for coming to my page here is a picture of my and my Z.
75280z
New Reader
6/28/14 10:09 p.m.
I didn't add a lot of annotations. I would have had the Z running, but I accidentally drug home a 210 and that has been taking up my time.
Pulling out the old Wideband controller and started fiddling with the new one
https://www.youtube.com/watch?v=gUanwFWQxx8
Pulled Megasquirt out and de soldered the old bad transistor and put in a new one
https://www.youtube.com/watch?v=0uBIju23AoY


 So I changed it to this.

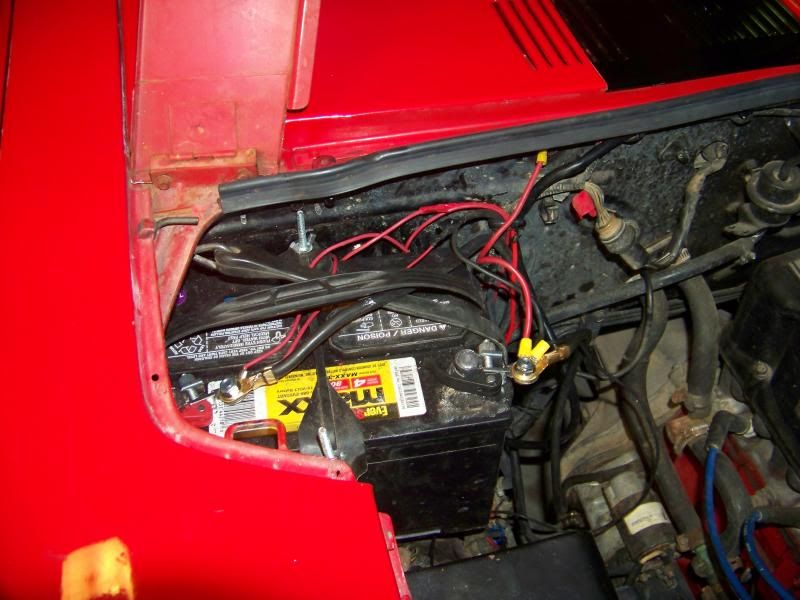
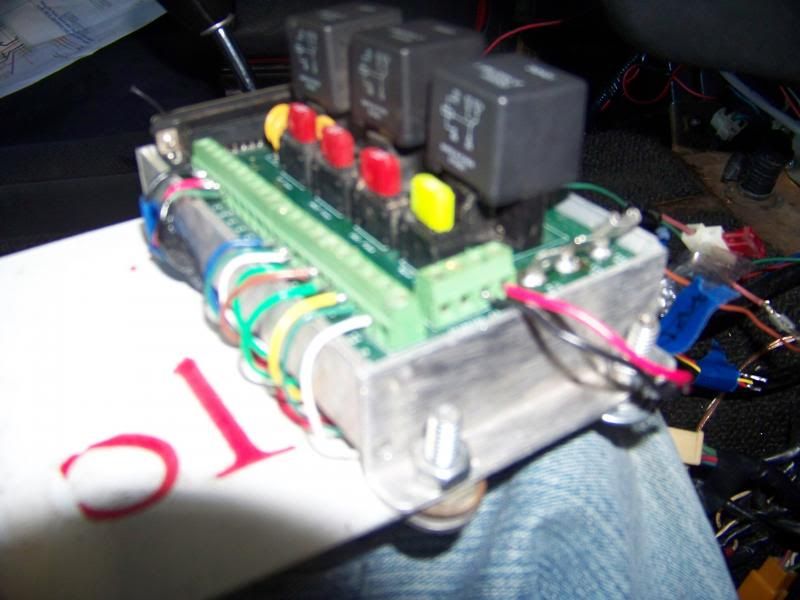 New quick connect battery terminals I really like them, but need to clean up the wiring before I say I am done with them.

 Look at all this space that was being taken up!
 Battery is as tidy as it is going to get.
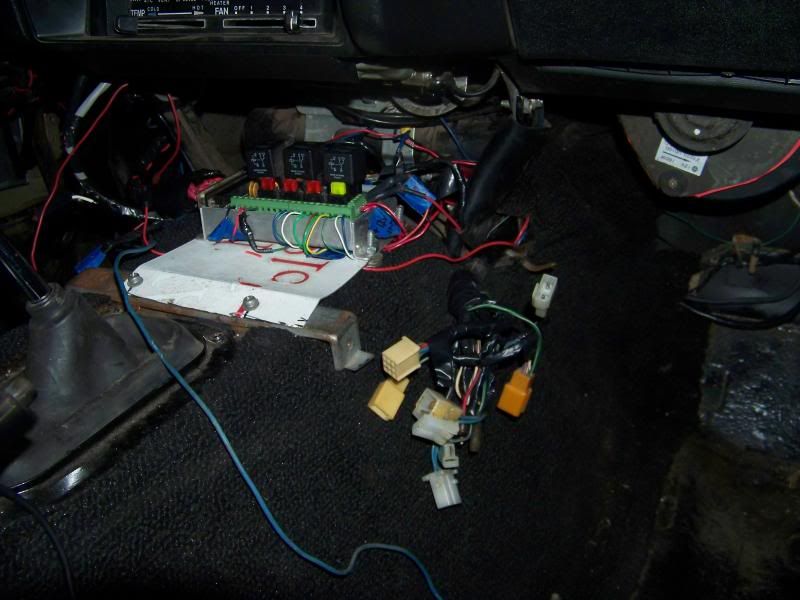
 Under the dash doesn't look to bad.
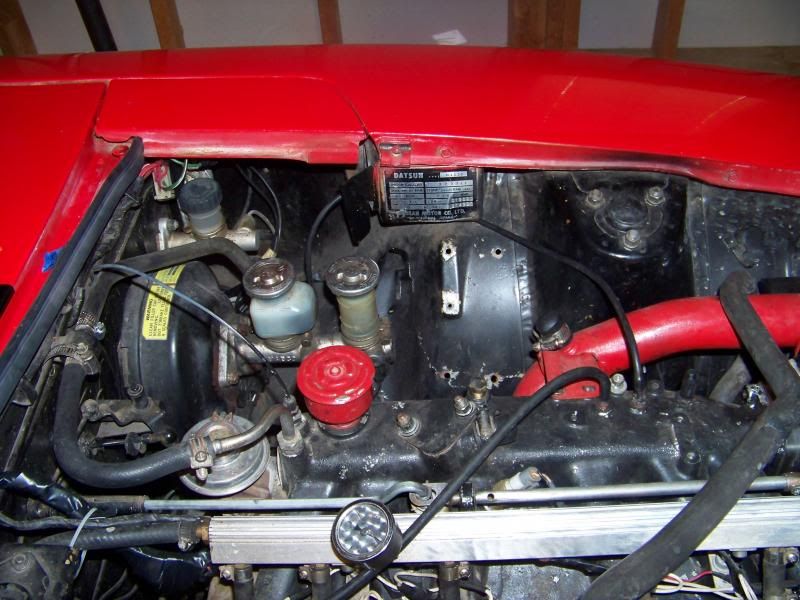
 Comparison of how it was and how it is now.
Before:
Comparison of how it was and how it is now.
Before:
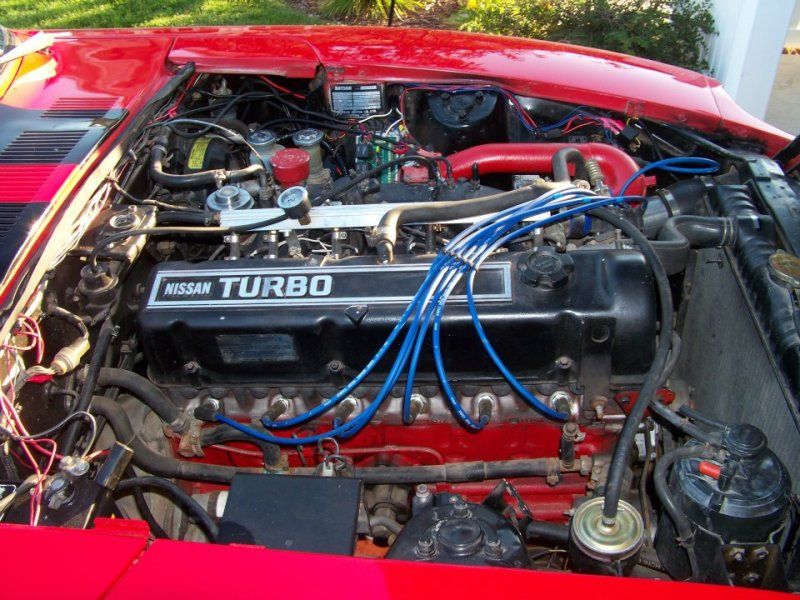 After:


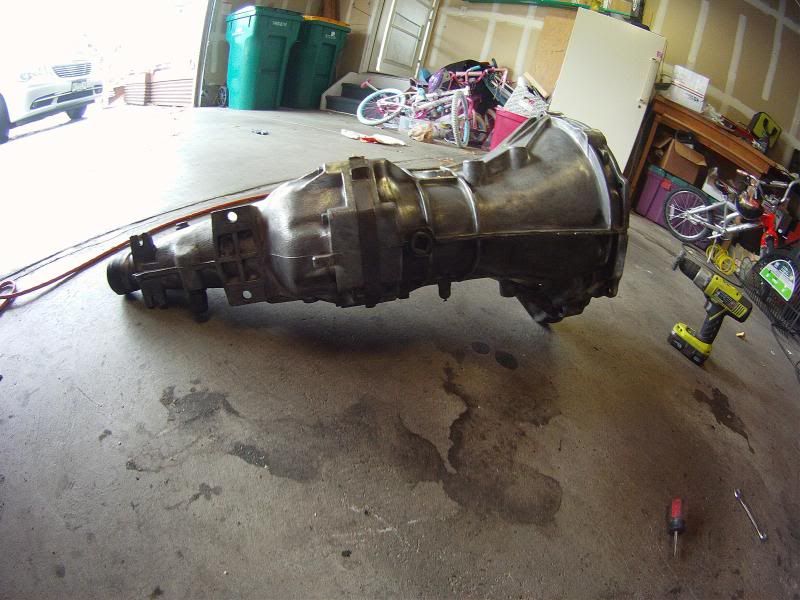
 THe transmission. The picture shows all of the imperfections, but man this transmission is so much cleaner now!