
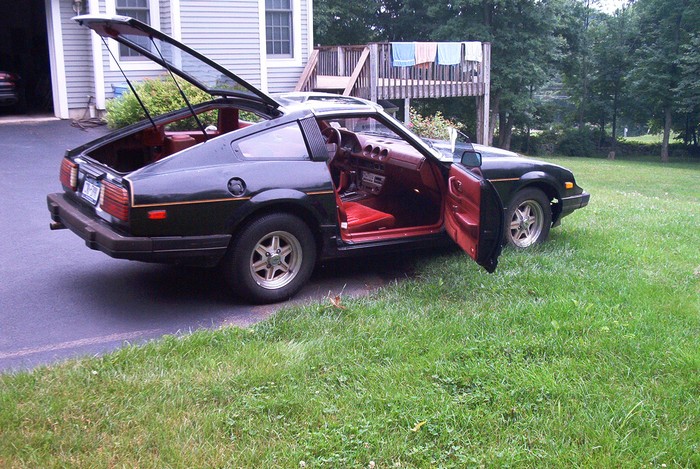
I bought a pair of 1982 Datsun 280zx's in 2004. I wasn't searching for a Datsun per se - I went looking at a motorcycle with a buddy of mine (for him) when the guy goes "Oh man, I just sold the bike, but I'm moving and I have a pair of Datsuns if you're interested". We haggled a bit and I brought the cars home under the cover of darkness. And that's how it happened.

I turned the silver / maroon one into a donor for the black car, swapping over the doors, hatch and interior. I drove it like that for a while as I slowly did body work.
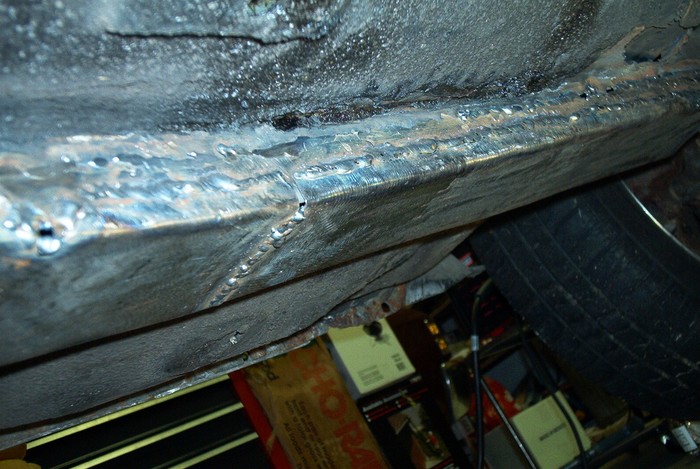
I decided to teach myself how to MIG weld, and I fixed parts of the floor, body and underside. It was better than spray foam, dryer duct & sheet metal screws. The rails under the floors were pretty bad, plus the lower front fenders, "doglegs", and floor where your feet and seat go. Pretty much all of the important places were rusty.
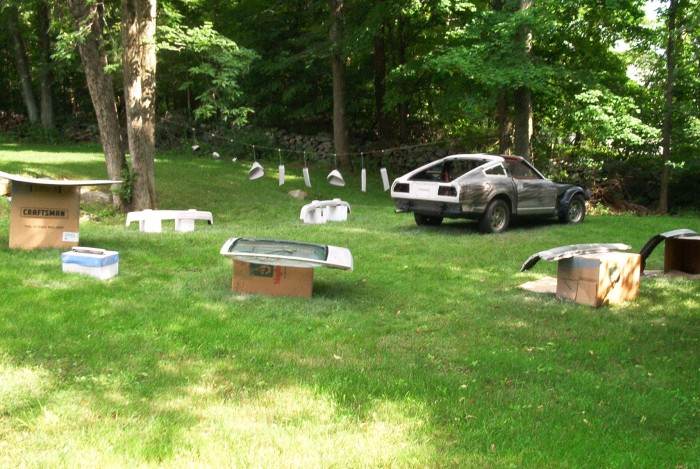
Then I painted it in my parents' backyard. Mom was thrilled. I used PPG Omni epoxy prime, high build primer, and I even guide coated it, shown here. I had a really trying moment with the project at this time... basically I had been doing body work and using Rustoleum primer one panel at a time. I didn't know Rustoleum was incompatible with the PPG epoxy until I sprayed about a quart of it and it wrinkled up. I had to strip all of the Rustoleum off and thoroughly clean the car, and even re-do some of the bondo work. At the end of the summer I got the car into epoxy, and the following spring I did a scuff / reshoot of the epoxy and continued on with high build.
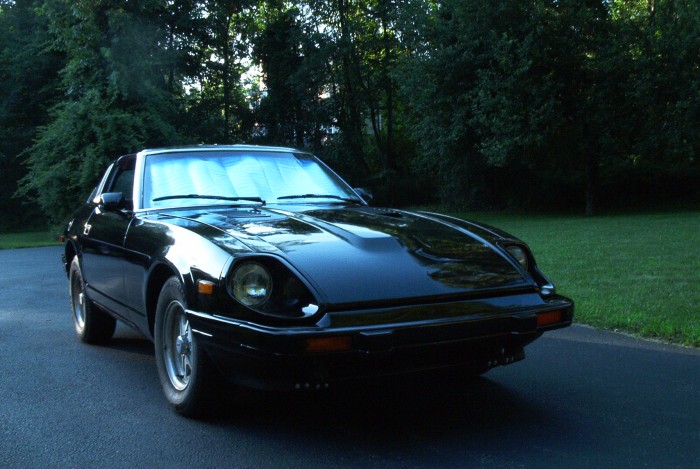
The top coat was Omni Acrylic Enamel. I wish I had used Acrylic Urethane instead though... after I wet sanded and buffed the car it looked great at first. It seemed like I buffed away the paint thickness, and the sun caused the primer to shrink and exposed a bunch of sanding scratches. Here's a picture when it looked great:
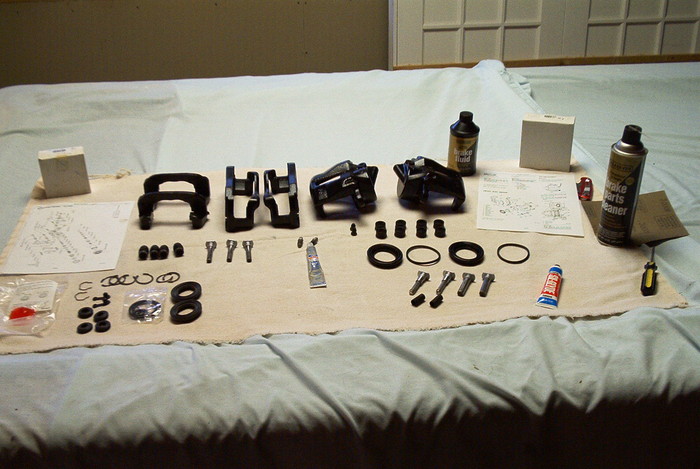
I rebuilt the brakes with new seals, hoses, etc.
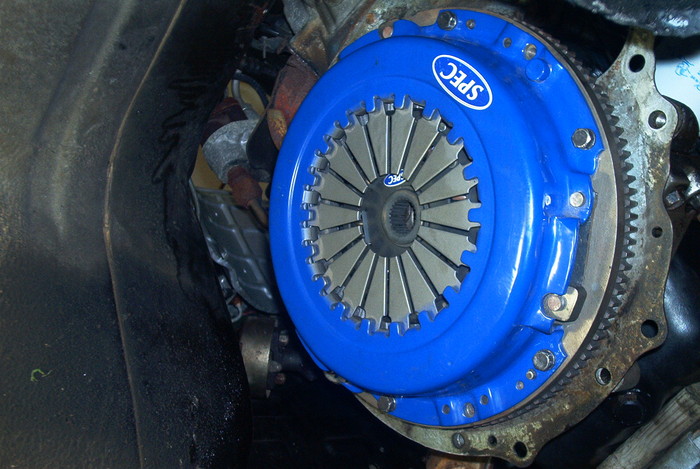
New clutch (broke the disc on the old one somehow) - upgraded to a 240mm flywheel.
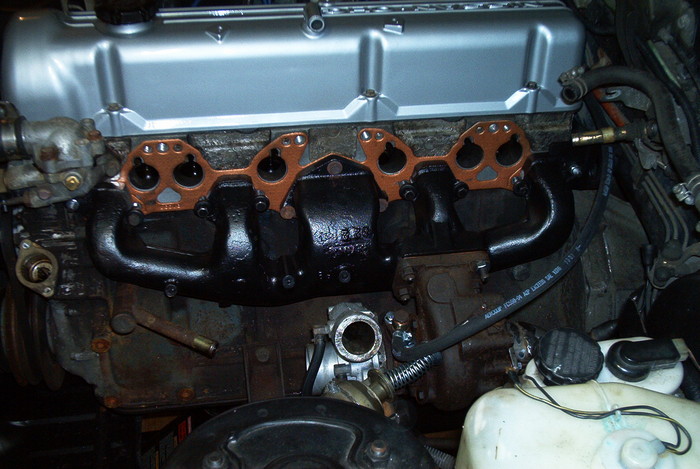
Then I put a turbo in it:
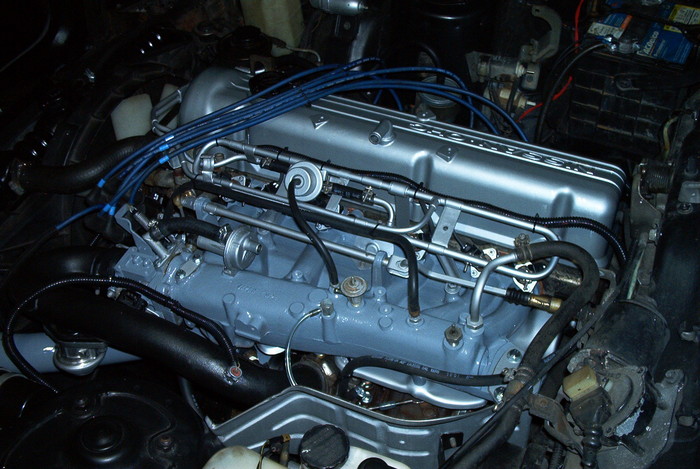
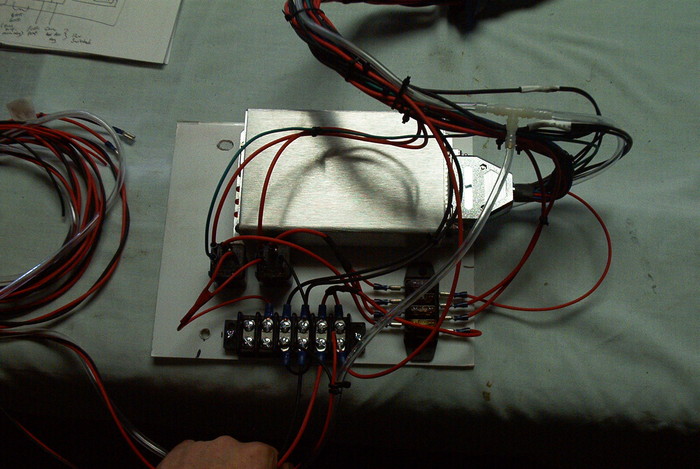
Running Megasquirt and spark with a locked VR distributor:
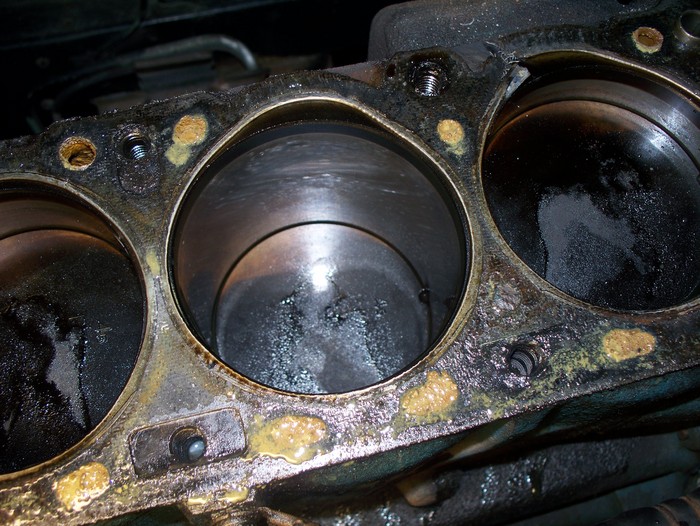
Annnnnd promptly blew the headgasket. Whoops, too much timing. So I installed ARP studs and a new gasket - and fixed the timing!
That brings us pretty close to today. I've autocrossed it a few times, and decided I really want to do a track day with it. I am currently working on the suspension - Tokico struts and lowering springs, poly bushings, the usual. No pictures yet, work is still (slowly) progressing.

Caleb
Reader
11/21/12 7:09 p.m.
What did you paint your intake manifold with, it looks really good
Thanks! Its MP170 epoxy primer (gray) with a couple coats of MC161 clear over it.
Caleb
Reader
11/22/12 10:49 a.m.
Are you planning on sticking with the 60-trim t3 that the zx's came with stock or are you going to upgrade to a t3/t4 after you get MS sorted out?
Probably stick with the T3 for now. This is a NA to Turbo conversion, so I have the flat top pistons (not dished) and higher compression that came on the NA motors. Right now I am running a J-pipe, and my IAT's are too high to turn the boost up much past 4-5psi without pinging, even on 93 octane fuel. I think I'm going to add an intercooler and try to get to 8psi before I think about any other upgrades.
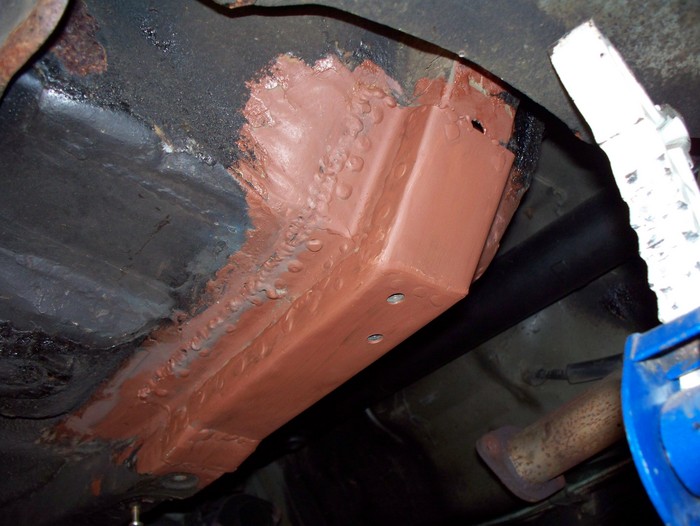
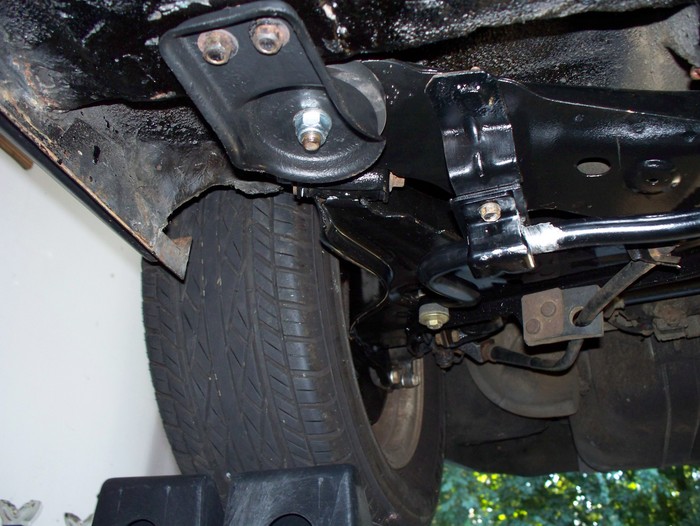
A year later, its time for an update. The suspension upgrade is complete. I have Tokico struts and springs all around, poly control arm bushings, and new ball joints. The inner and outer tie rod ends were new-ish so I kept those, and the sway bar bushings and endlinks were also relatively new. But first, there was some rust repair that needed to be done:

The patches are welded and primed here. I painted it with rustoleum and sprayed a healthy dose of undercoat later.
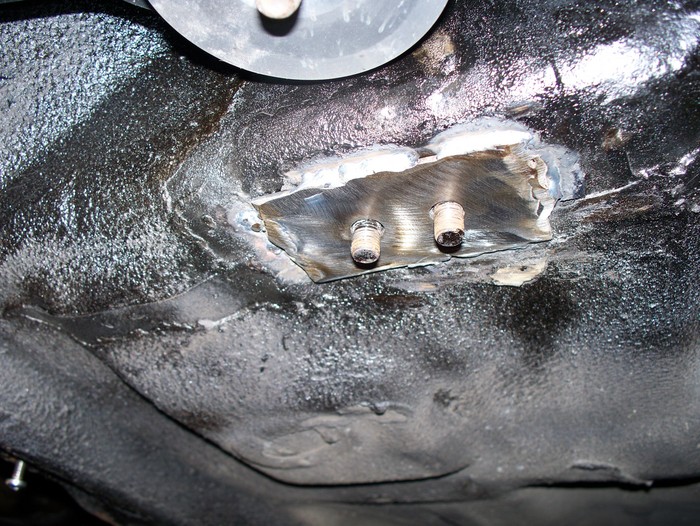
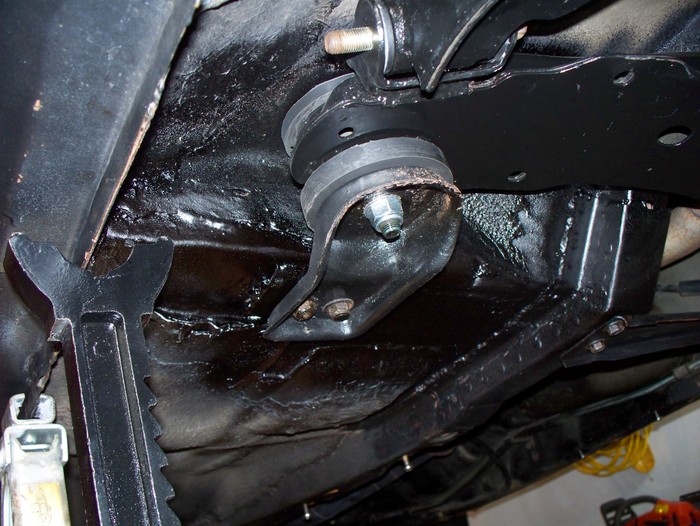
I also needed to replace the rear subframe bushings. Nobody makes a poly bushing that fits S130's, so instead a popular practice is to trim Z31 (84-89 300ZX) subframe bushings to fit. You need to trim down the diameter as well as the height.

I cut the rubber "ears" off the stock upper washer, to mine is put together with just the poly bushing. Even so, I ended up welding in an 1/8" spacer to the floor to make it all fit.
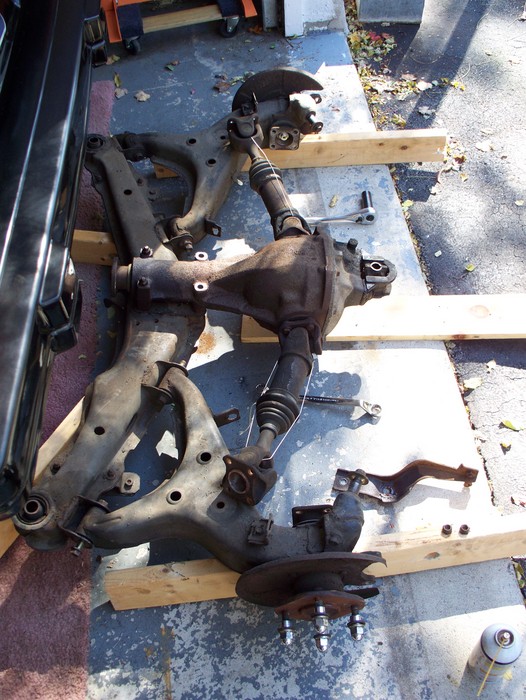
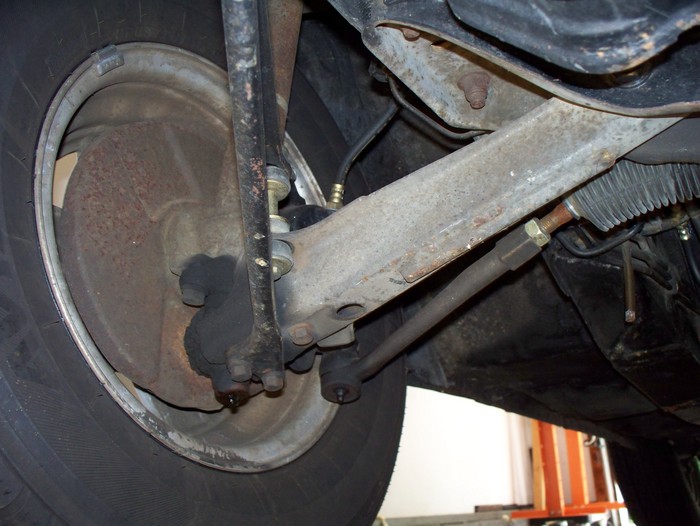
Here are some pics of the rear suspension being removed and installed. I couldn't resist painting everything while it was out. I brushed Rustoleum primer, and sprayed 3 coats of gloss black. It should be easy to touch-up later.
The old:
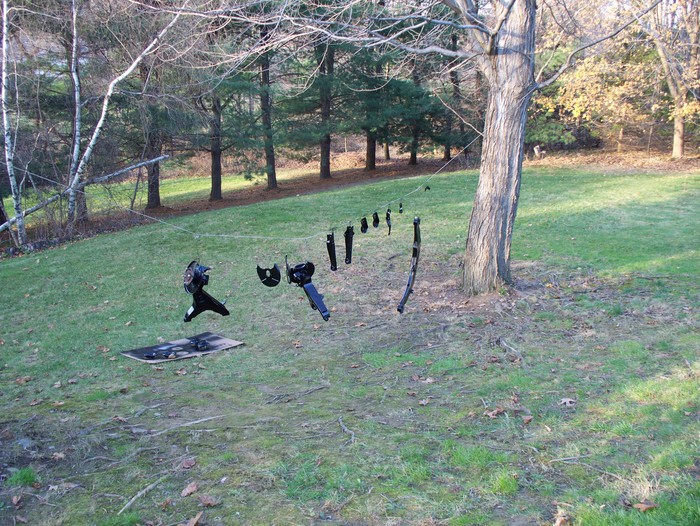
Painting:
Preparing to re-install. I used my floor jack and two spare-tire changing screw lifts to get this into place by myself.
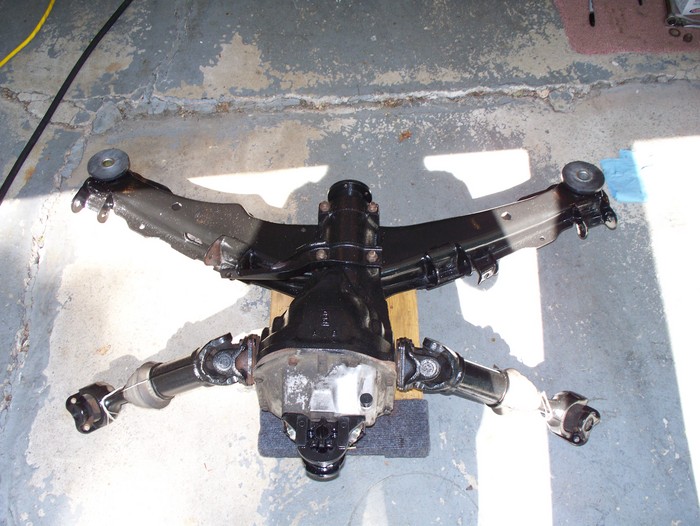
Installed:
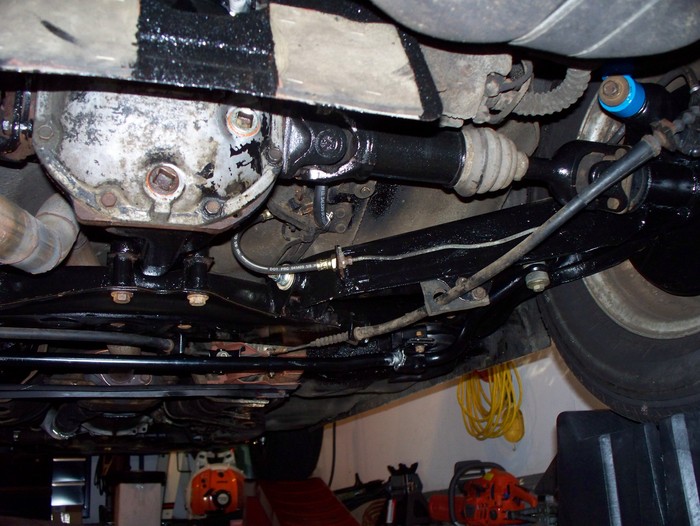
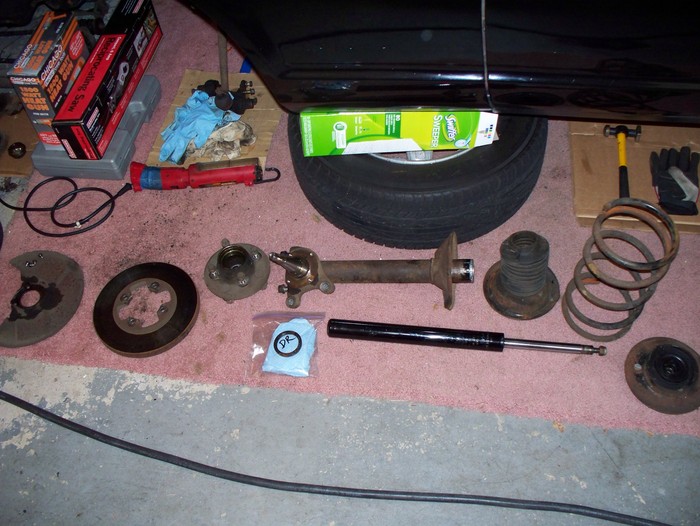
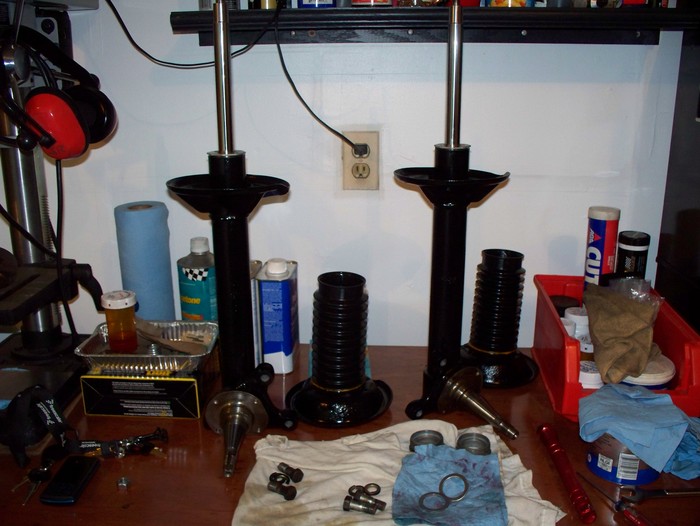
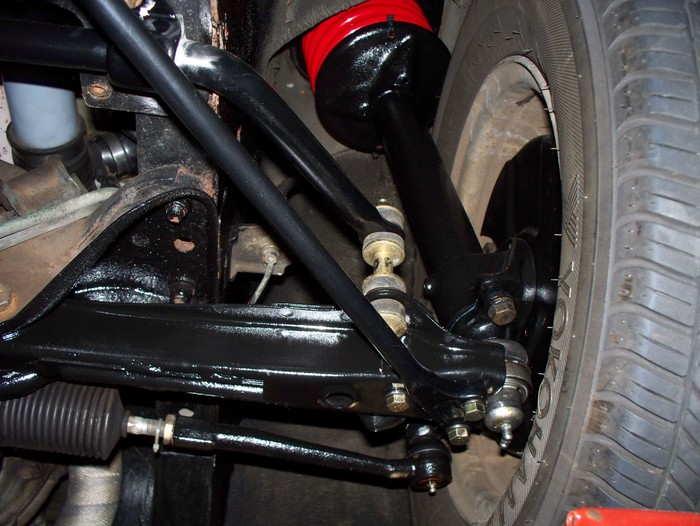
Front suspension. Like the rear, I painted everything while it was disassembled.
Old, tired and dirty:
The fronts had strut inserts from Sears inside. The cooling oil was mostly gone, though I've read that these days, you don't really need to add oil for modern insert cartridges.
I added oil anyway... just a little M1 5W30 I had handy. The rubber boots were universal fit... so you can see I glued them in place. They were the right height, wrong diameter.
Getting closer. Note the poly bump stops. I didn't cut them down in height even though the Tokico kit says to. The assembly that was on the car didn't even have bump stops. In the front and rear, I zip-tied the springs to the perches as extra insurance they won't slip out of place when jacking up the car.
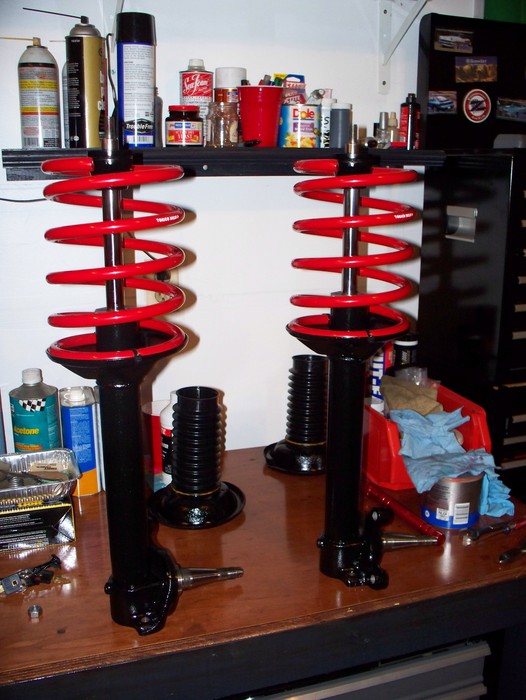
Installation.
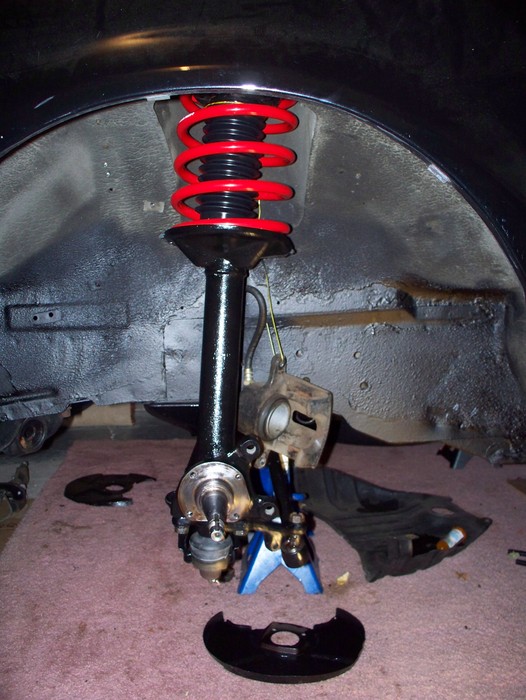
Done.
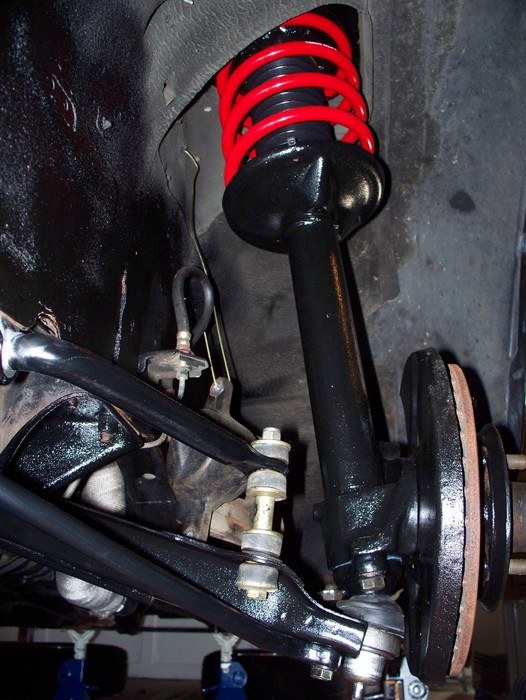
I almost forgot to mention - the difference in handling is NIGHT and DAY. The rear end hardly squats on acceleration anymore, and it isn't "floaty" at all. The car feels very tight, instead of feeling loose and floppy with all of the worn out parts. I'm extremely pleased with the upgrade; I can push the car with more confidence now and it feels great to drive!
I hope it doesn't take me another year to post. I'm thinking about adding an intercooler & turning up the boost, maybe re-doing the exhaust to open it up a bit, and / or refurbishing the interior.
Nice work! I'm in the process of getting my old '75 on the road...man there's nothing like the sound and feel of those old straight sixes! Suspension looks great, keep it up!
mikeatrpi wrote:
I hope it doesn't take me another year to post.
Sigh.
I did a bunch of little things throughout 2015 on the Z, like convert the oil drain to AN fittings and hoses and replace the fusible links with Maxifuse blocks.
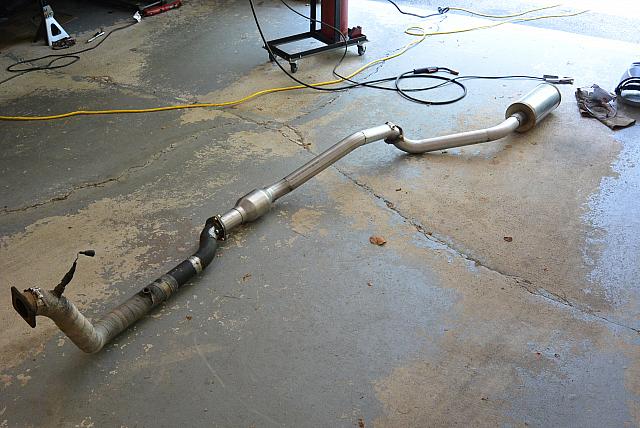
I also re-did the exhaust in 2.5" all the way out, with a Magnaflow cat and muffler. When I added the turbo I made the downpipe in 2.5" pipe, but never replaced the whole system until this fall. It sounds great, I'm very happy with how it turned out. I used 3-bolt header collector flanges and reusable aluminum gaskets to piece the system together - this was also a good idea.
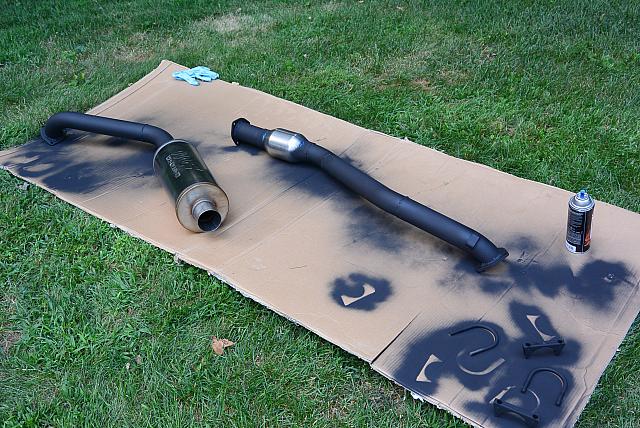
Yes, I painted my exhaust. Don't worry about the overspray, this was before I removed the masking tape. I've had good luck with the VHT paint on the downpipe so I decided to do the whole thing this time.
I also upgraded the cooling to a Champion CC800 3-row radiator:
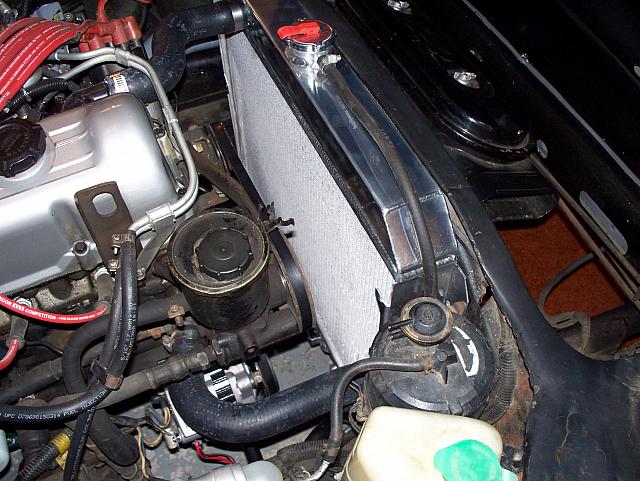
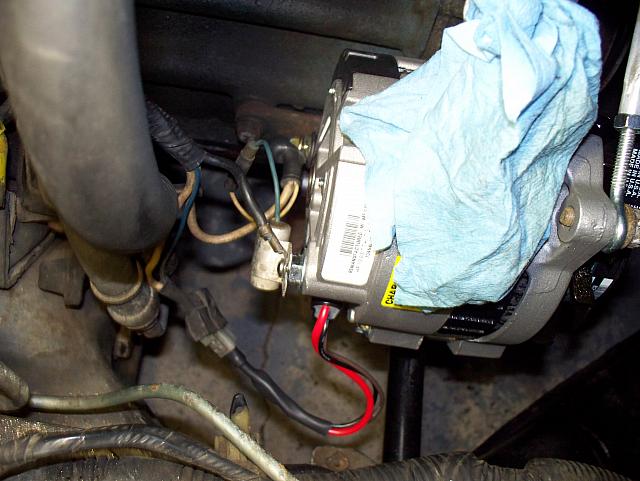
And since I'll also be going to an electric fan, I upgraded the alternator to one from a 91 Dodge Monaco. It pretty much bolts right in after you swap the pulley and make a few simple modifications to the wiring. This increases output from 60 amps to about 105.
Next: decisions on the fan. I made a shroud from an aluminum cookie sheet but I think its too tight to fit the shroud and fans on the engine side. I haven't heard good things about thru-radiator zip ties either. That means I'm looking at going to a single 16" pusher or dual 12" pusher fans. I'll also open up my megasquirt to add the extra output for the fan control this winter.
Looking great! Glad to see another ZX being built.
Update time! I put new seats and belts in, after discussing it at length here

They're Sparco R100's, on Sparco sliders, on custom rails. I originally tried to modify the stock sliders exactly as in this thread: Link to Hybridz.org. But, I was clearly sitting higher than stock - so high that my helmet was touching the t-top glass :(
Therefore, I instead built my own custom rails out of 1.25 x 0.25 flat bar. I cut / drilled / tacked them at home, and has them professionally TIG welded. I fabbed the seat belt mount and MIG welded that on myself. You can see both my welds and the pro's here:


I also installed non-retractable belts from Wesco. You all were right, these things are fiddly to adjust and a bit awkward to use. I am searching for a better solution. For now, a couple of observations...
The b-pillar mount is too low to clear the shoulder wings on the Sparco, it tucks under them:

The bracket for the lower end of the belt is angled expecting you to mount it to the seat; my stock mount is on the body beneath the door. Wesco recommended I twist the belt - OR cut and re-sew it :(

Here's a shot of the stock belt mechanism:

I'd really like to change to a set of Schroth Rallye ASM belts in the future. If I can mount them to the shock towers, the belt routing would be really easy. If I can't maybe I can make some kind of harness bar.


