1 ... 3 4 5
2_3
2_3 New Reader
12/7/20 2:28 p.m.

I knew the floor had rust and took the carpet out in order to take a look. I never liked that carpet anyway. Now was the perfect time to remove the sound deadening, which led to finding more rust. As I'm going to paint the floor, it seemed like a good idea to remove the side panels, which led to finding more rust. Removed the dash only to find even more rust behind it, most of it around the heater openings. The only logical choice was to remove the glovebox to have better access for painting

Took almost every wire out of the car, it would never be easier than now

Patched the heater openings but forgot to clean the rust on the inside, I might have to remove the new covers. Anyway, I proved myself that my welding is good enough to cover a hole and resist a few hits, and ordered floor replacements. Two holes on the driver side floor were covered by square pieces of steel being hold by two screws, no way I make it worse


Also cleaned and painted the gearbox but forgot to take pictures


2_3
2_3 New Reader
12/14/20 8:00 p.m.

More engine stand pictures:


2_3
2_3 New Reader
12/14/20 8:51 p.m.

This was my first time porting a head

I've read a lot about porting in these months since disassembling the engine, including David Vizard's book, performance automotive engine math, many GRM and turboford threads, and whatever websites with relevant information I could find. Also watched many youtube videos, even when most contained wrong advice. Initially I wanted to grind the bowls, but ended up doing a lot more work. The stock heads were pretty bad, I'm just hoping I did not make them worse


I used a pneumatic grinder with a mastercut SE-3MMDC for most of the work. That burr alone was enough, but grinding the ports would have been easier with a bigger, cylindrical one. The threaded rod with a cut was used to hold a piece of sanding cloth but it wasn't really needed. The wrench on the bottom came with the grinder, it got ground to the right size and used as a measurement tool for the exhaust ports. I kept grinding until the wrench went through and the end result was pretty round and even between ports. This job took longer than necessary due to using a small compressor, it doesn't replenish air at a fast enough rate and gets hot, needing some down time.

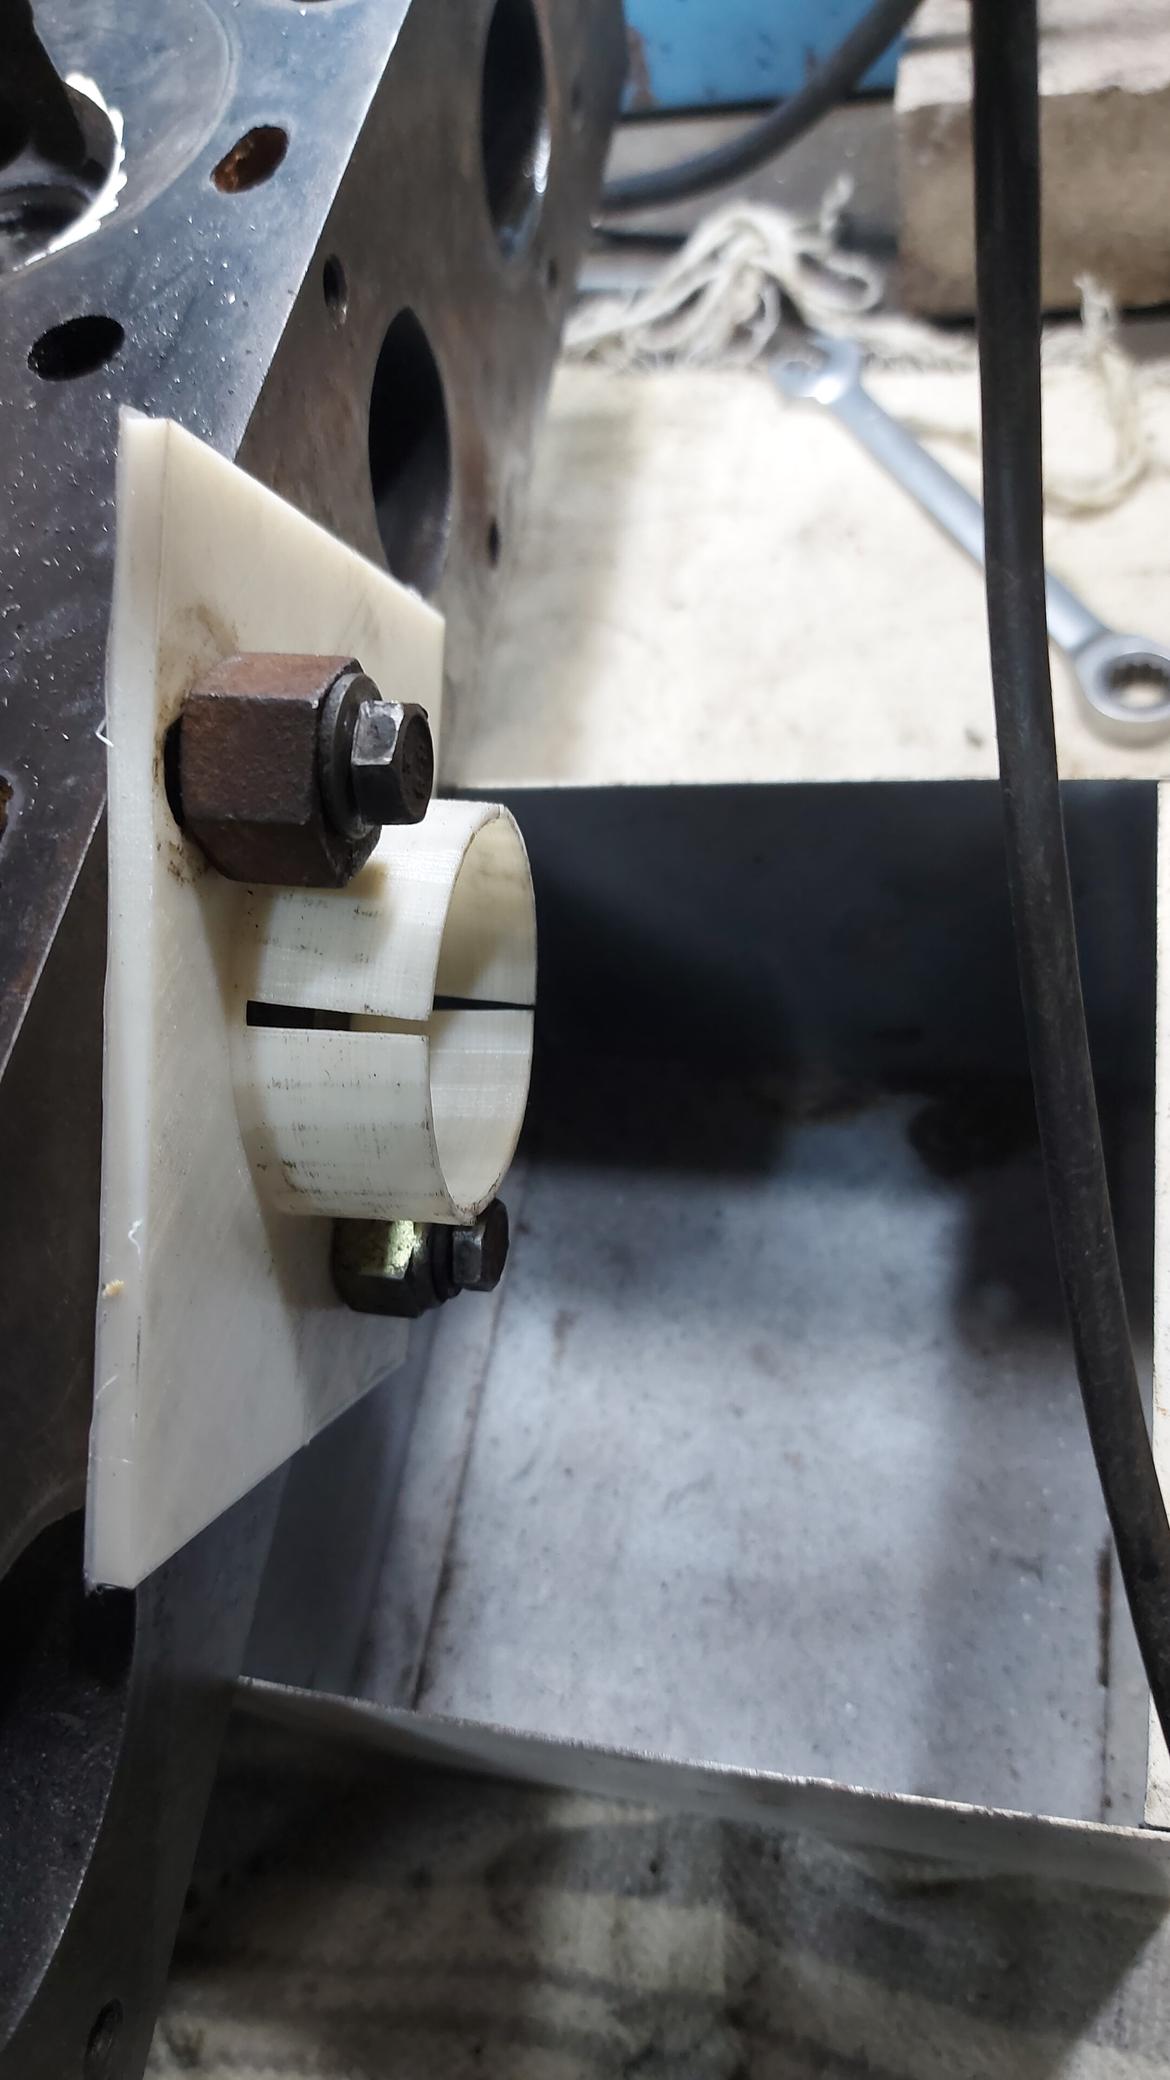
Tim Ottinger's thread on turboford recommends using a valve stem and dividers to measure the throat and bowl. Not wanting to cut a valve, I printed the following tool. It was good enough, but could be improved by getting a better fit into the valve guide

To keep the working space and my lungs and eyes clean of metal shavings, I made the following adapter. It attaches a vacuum cleaner to the head. It failed after some use, next time it will get some reinforcements. There was another version with provision for a light bulb, but that one failed even earlier due to issues with the printing settings. For the next head I will spend enough time to get this piece right, it makes a big difference


You can see I used correction fluid instead of machinists blue, it works


Some lessons learned:

Ear and respiratory protection are a must

Do a bit of work on one cylinder and repeat it on the others instead of doing one at a time

There is never enough lighting

Pressing the grinder switch with the index finger allows to release it while keeping a firm grip. Using the thumb makes controlling the grinder way harder when it tries to jump around

Everybody on the internet makes a big deal of trying to avoid the seats. It's pretty easy, I only hit one on the first hour of grinding


2_3
2_3 New Reader
12/15/20 9:40 p.m.

The throats under the seats looked too small. I went with about 80% of the valve diameter, which should be conservative according to every source I found. Problem is, the same sources recommend about 90%-95% for a race engine, which would be grinding into the seats. Removed a lot of material on the long side between the guides and the seats, the port was really small there and Tim Ottinger's thread recommended grinding. Did my best to straighten the short side radius, but it's hard to see there and had to go by feeling. Then ground around the guides without shortening them and unshrouded the valves


As the intake ports are oval, which later got smaller in the D port head, I left those in stock size. Just used sand cloth to make them smoother

On the exhaust side, I took the ports from 31mm to 33mm. Why 33? the engine math book has a formula which suggests 34mm for a 3500rpm torque peak. That's where ford claimed the peak was on a stock engine. Conversations on forums suggested between 34 and 36mm for these engines. The gasket I have has 33mm holes, this is a street engine with a stock cam, those 2mm represented a lot of material and grinding time, and I can always go back and grind some more


Would sanding make a big difference? I'm planning on leaving everything with the texture produced by the carbide bit to get the car running sooner

2_3
2_3 New Reader
1/27/21 4:53 p.m.

Spent a few weekends painting under the hood. This was my first time painting a car body and the results were good enough for a part that is usually not seen. For a better result, more prep work would be great, but I'm not going full java230 on this car.

There are rust holes under the original battery tray location, those can be covered later with stickers or a turbocharger. Between the tray and the headlights there were a lot of dents covered with filler, somebody did a good job hiding the damage. I just removed the filler and hit the dents with a hammer until I got tired and decided it was good enough.

There is some overspray which should go away with wet sanding


The process was like this:

  • Wire brush on an angle grinder to remove the filler
  • Paint remover on the flaky paint
  • 120 grit dry sand paper
  • Phosphoric acid, washed with a hose and dried with compressed air. This procedure is recommended on multiple websites but rust appeared in about 10 minutes
  • Phosphoric acid again,  removed with a dry rag
  • Rust converter paint on the ugly or hard to reach spots. Mostly on the inside of the front, where somebody welded a repair panel and left the welds unpainted
  • More 120 grit dry on those areas, then more washing
  • Masking
  • 2 layers of 5:1 wanda primer
  • 320 grit dry
  • 400 grit wet
  • Wash, get flash rust, apply more phosphoric acid
  • Masking again
  • 3 layers of 2:1 paint


1 ... 3 4 5

You'll need to log in to post.

Our Preferred Partners
ozg1BajxPrpsjirubXYh7IJfW9yTAJREtRgssWyzOEu8IeexrvP9a0voALeZ3Wyl