


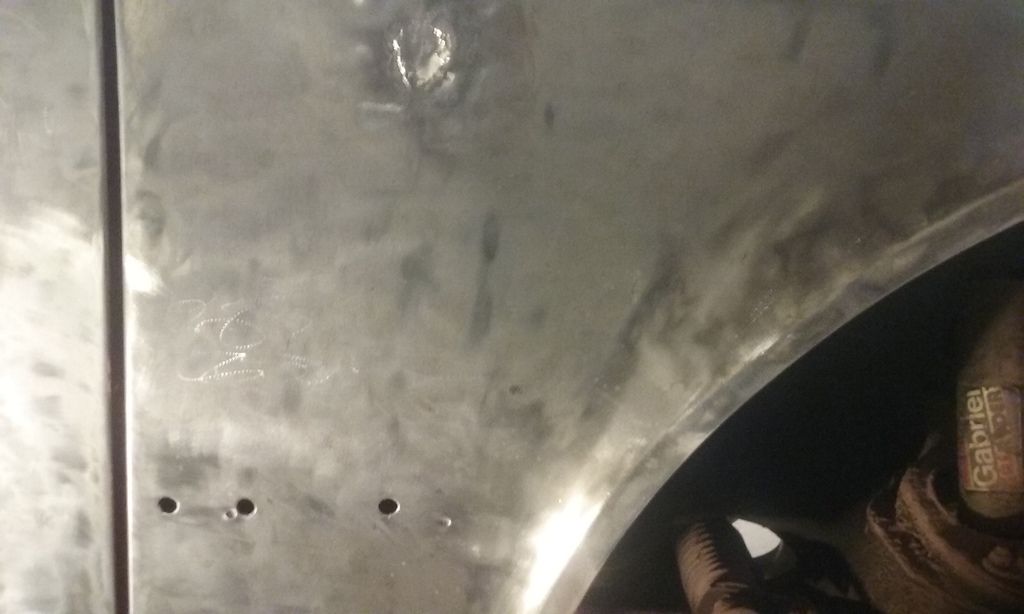
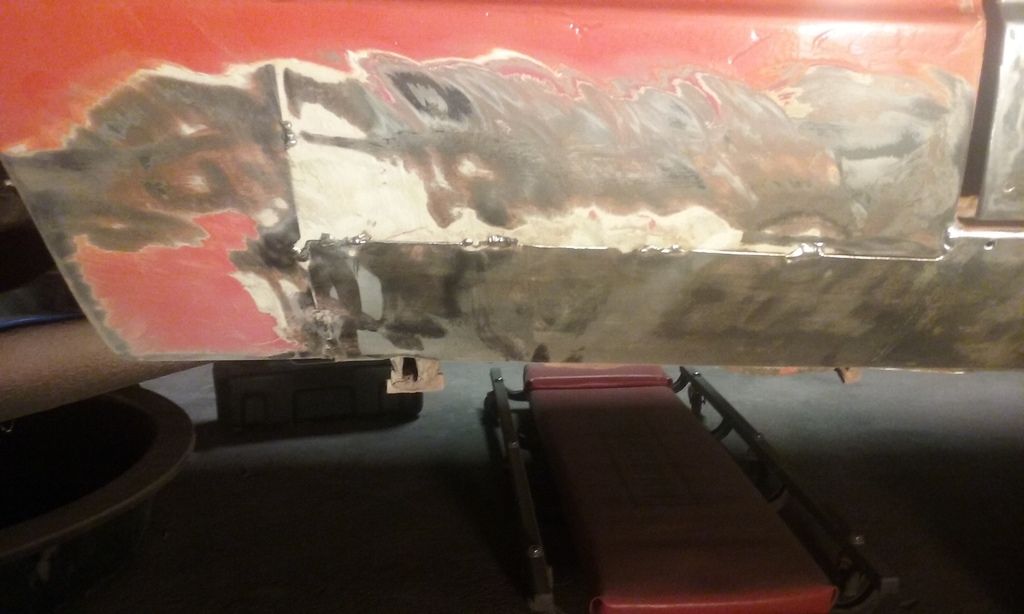
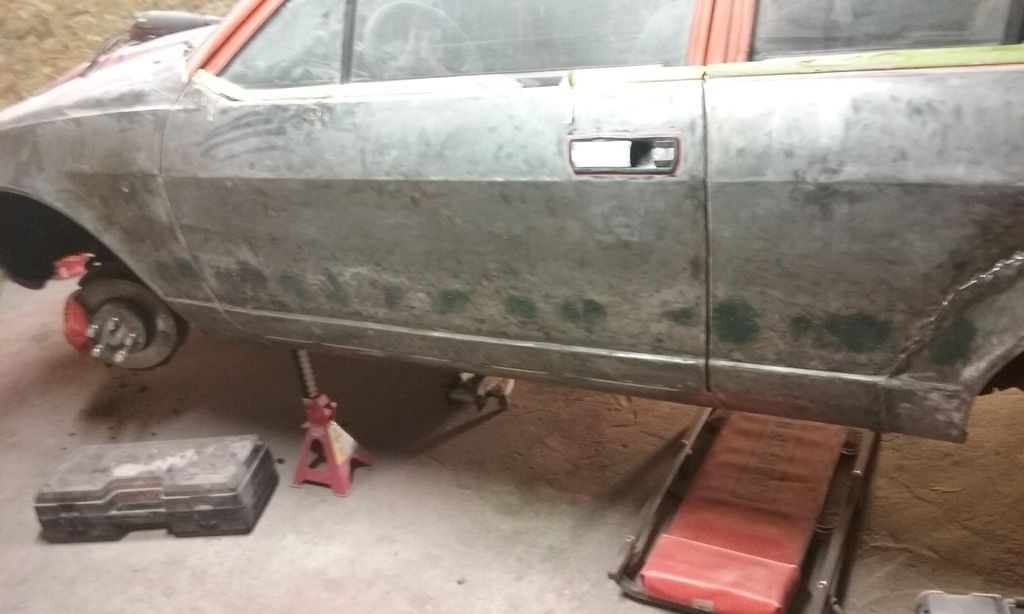
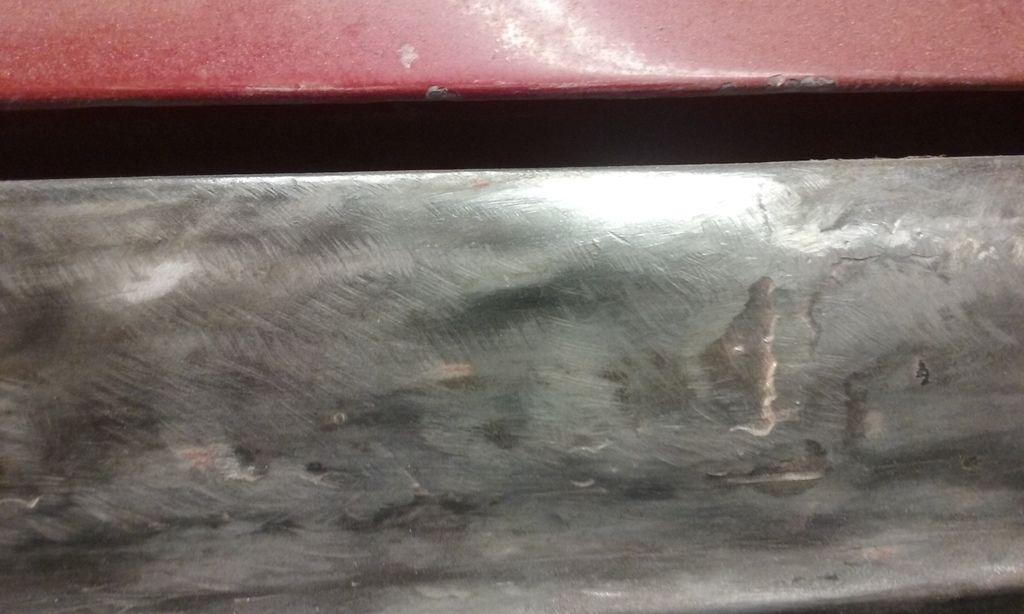
Paassenger's side front fender
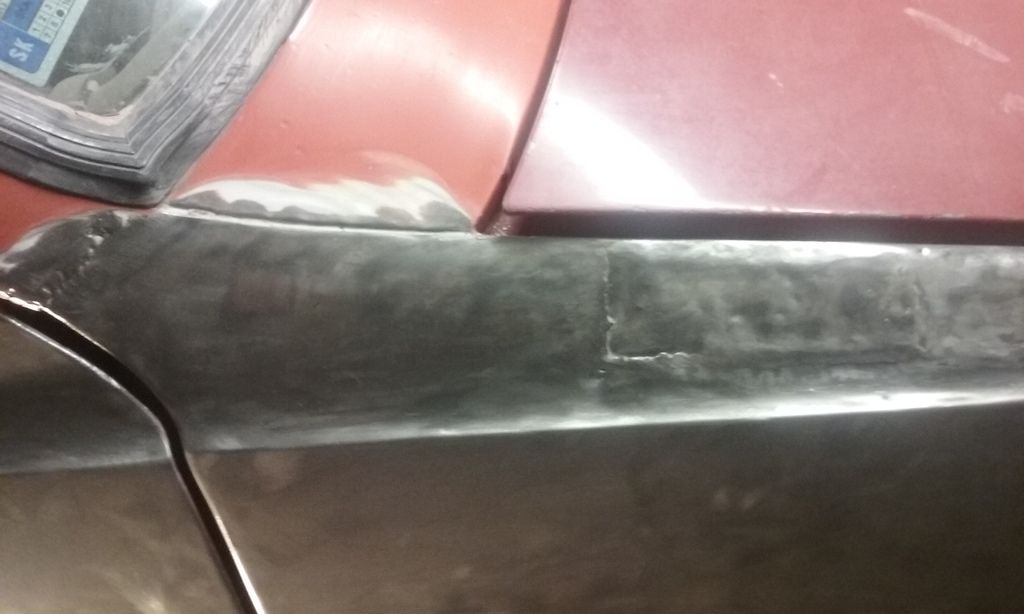
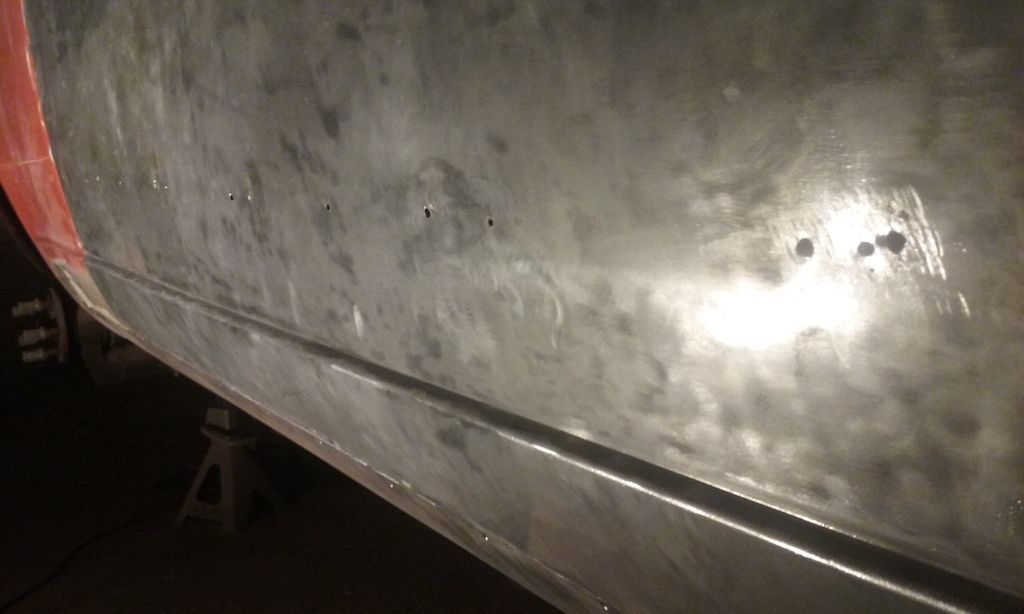
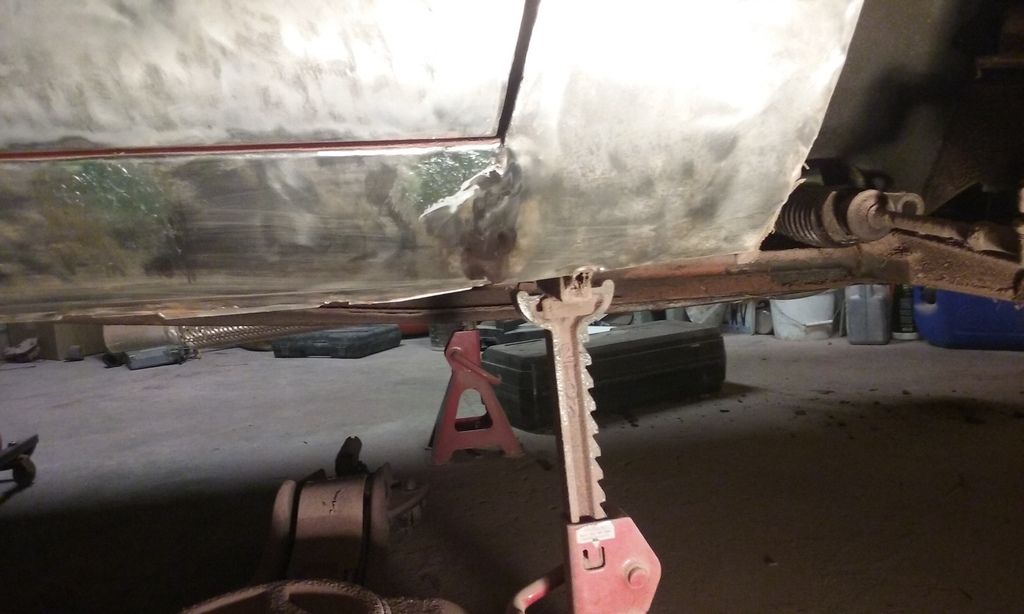
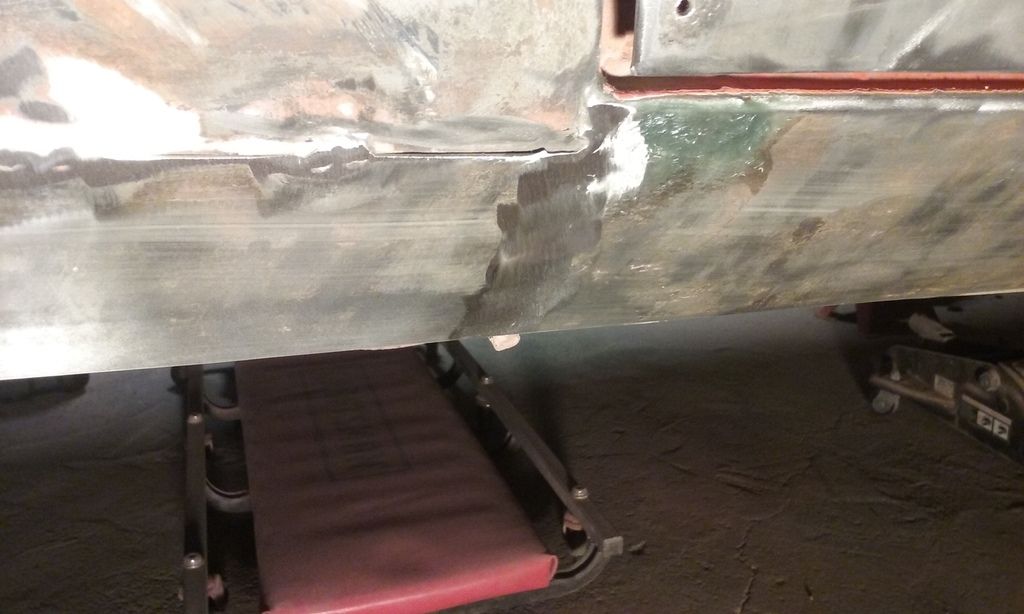
panel height mismatch:

panel height mismatch:

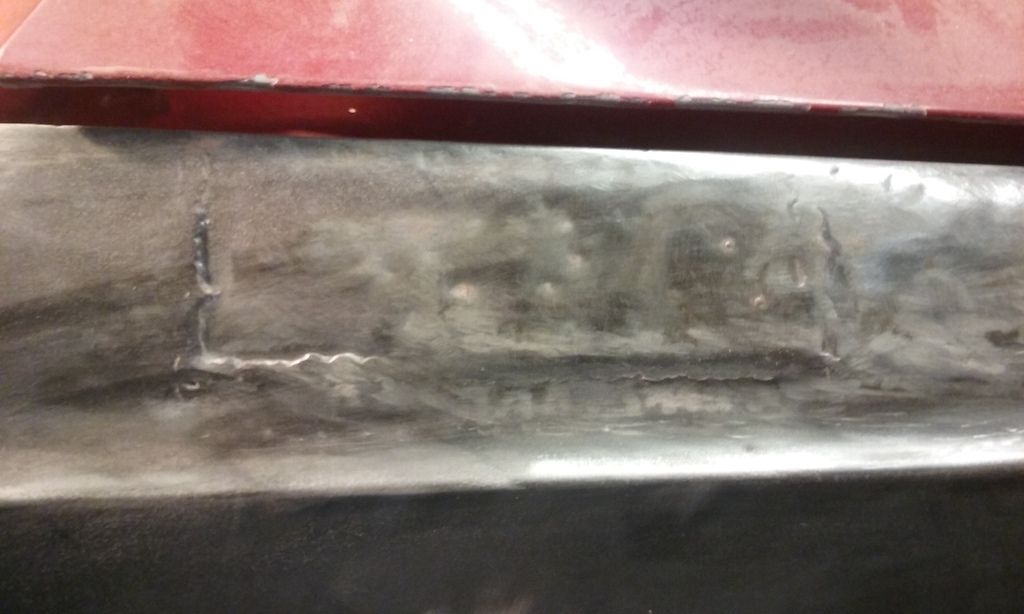
Wow ![]()
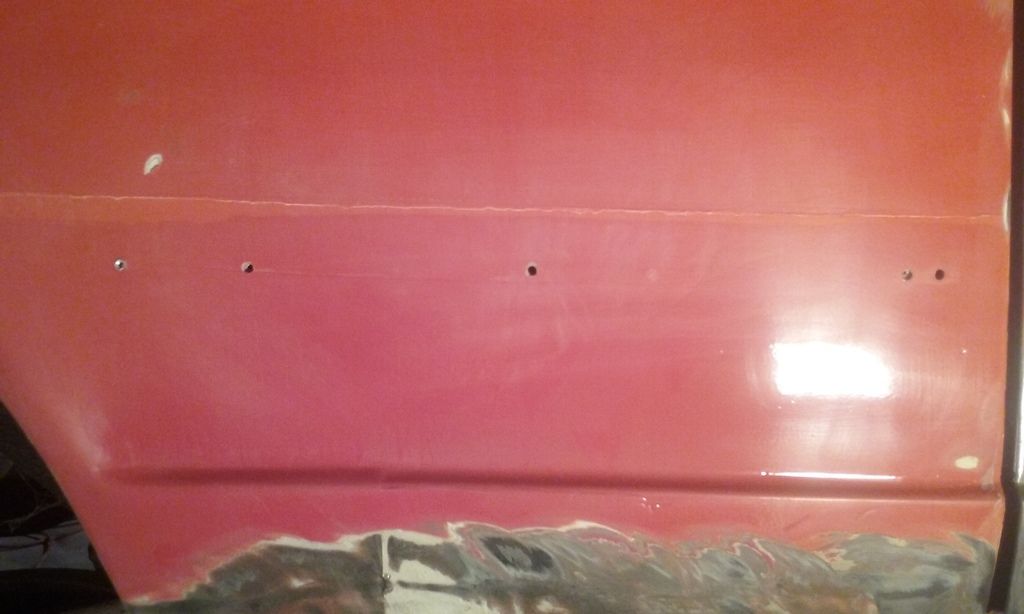
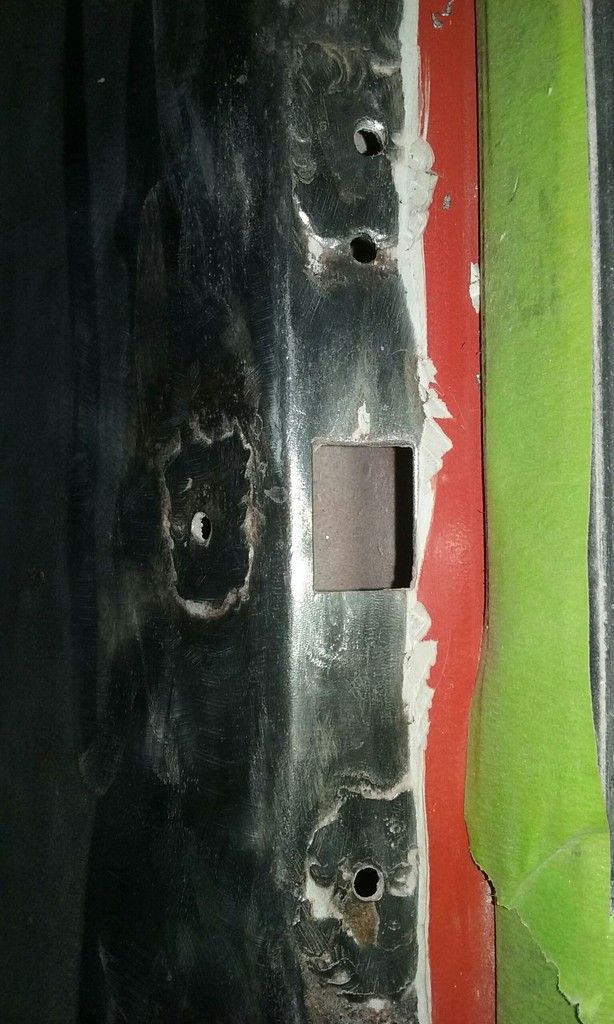
Not really rust holes, just PO holes.... Was a bunch of plastic cladding removed or something?? If you can get to the back side with a spoon non of those look too terrible to weld up.

That about does it.
Tune in tomorrow, same bat time same bat channel ![]()
Good times
java230 wrote: WowNot really rust holes, just PO holes.... Was a bunch of plastic cladding removed or something?? If you can get to the back side with a spoon non of those look too terrible to weld up.
Yeah, most of these have a date with a can of kitty hair. I had good luck with it on the 4-runner on that rust spot I did, so I'm hoping for the same results here with PO holes (I mean, seriously! Some of these things are three leaf clovers. Put the beer down THEN pick up the drill)
But yeah, it had a "Zender" body kit on it when I got it. (where's a barf emoji when you need it?)

Much dedication, sir. Keep it up!
Thanks man. Will do ![]()
I started a non-committal "Please GRM go out of your way to ship my junk for me" thread. Initial outlook is positive.
It looks like I have enough people willing/interested that we may be able to run a GRM chain for the car diagonally from my house in Tacoma to M4ff3w's in Austin.
I'll start a real deal thread as the date gets closer, but I was pretty floored that so many people were willing to go out of their way to haul this across country for me (Especially Mazdeuce... Michigan to Texas? smokes man, are you a glutton for punishment or have you not been reading this thread? ![]() )
)
I'd E36 M3 bricks if we pull this off ![]()

Post up a pic of the title before you turn it in!

I know you're doing a crapload of work, but holy cow did someone else do a crapload of work before. This car has been loved.
m4ff3w wrote: Post up a pic of the title before you turn it in!
I appreciate your optimism that a state patrol officer is someday going to look at this vehicle and allow me to license it for street use ![]()
Will do ![]()
mazdeuce wrote: I know you're doing a crapload of work, but holy cow did someone else do a crapload of work before. This car has been loved.
You aint kiddin. I REALLY want to know this car's history. Was it just neglected and rusted while it sat or were there some cool rallye stories behind all this?
There's a TON of dirt and oil caked in the wheel wells that might indicate war stories, but the rest of the undercarriage is pretty clean so maybe not. I also find a lot of oil caked on things that aren't easy to clean. Did an engine let go, or did it just have a bad leak?
It IS kind of frustrating sometimes to see the way some of the stuff was executed though. I'm hoping that with just a little elbow grease in the right areas I can do the body a bit better than it was done before. It still wont be perfect though, there's just not enough time...
Good times
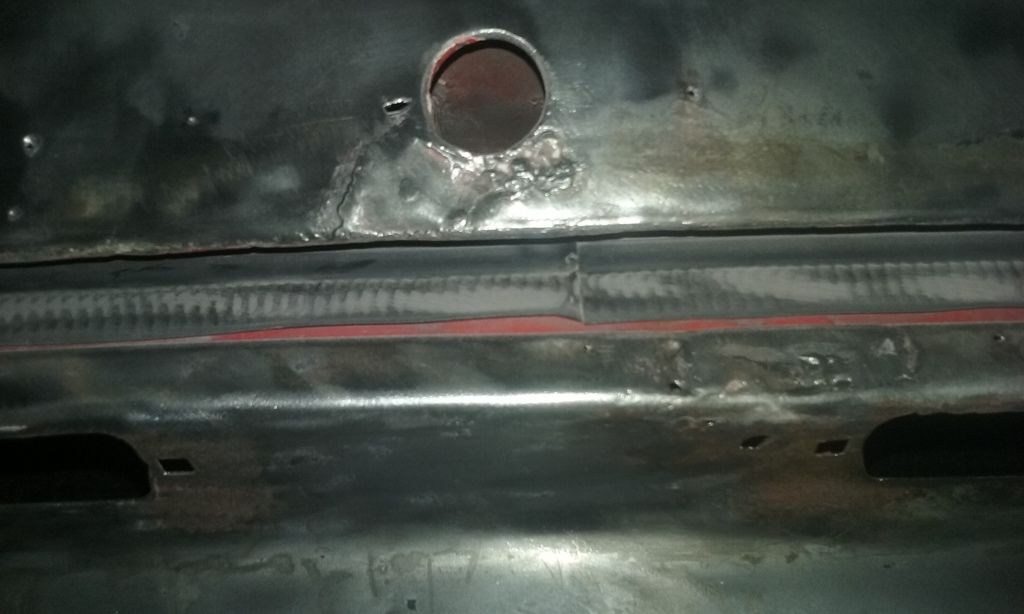
That thing might have more weight from the welds than the original structure weighed.
Tuesday (P-21 days)
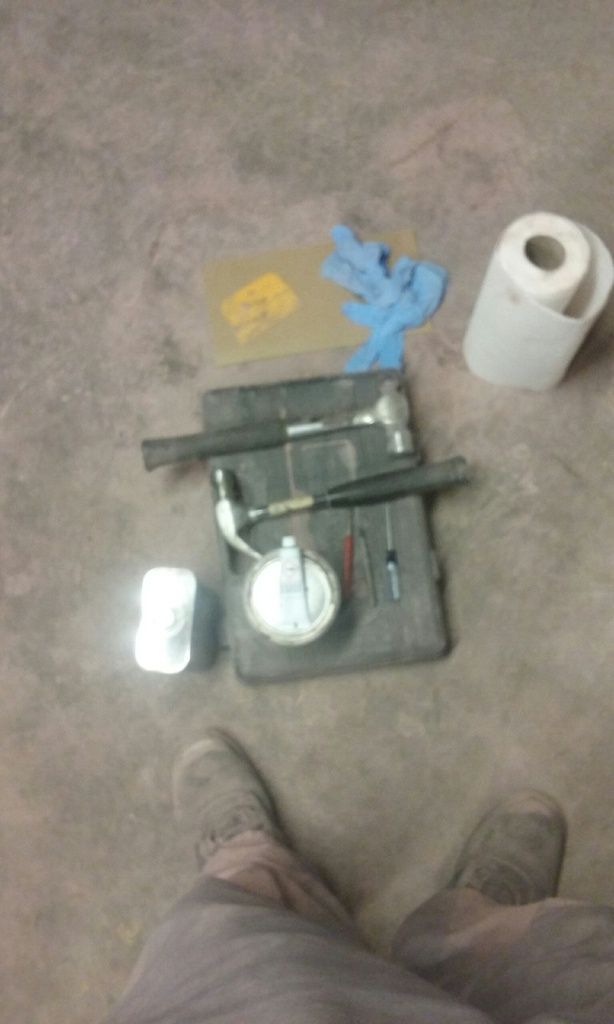
My tools for today are assorted hammers (ball peen, and claw), punches, a really thin screwdriver, cleaning stuff, acetone, and kitty hair.
The goal is to dimple all the holes, clean the surface, and cover em like they were never there. The round portion of the ball peen will be for the big holes, the punches for the medium holes, and the thin screwdriver goes in the smallest holes and I can wallow them out from there.
See? it's working already! You can barely see the patches in that last rocker panel picture ![]()
I cleaned like crazy with the acetone before I applied the kitty hair. I was pretty worried about all the dust, and even made a point to try not to kick any more up while I was working. But if the golf-ball sized blob I dropped on the dirty/dusty garage floor is any indication, this stuff ain't coming off for nothin. It took me a chisel and a hammer to get that off the next morning ![]()
That puts me at about the 90% completion mark for kitty hair. I say "90%" because I'm not really a fan of the stock mirrors on this car, so that means drilling more holes to mount the new ones up!
Here's the style I prefer:
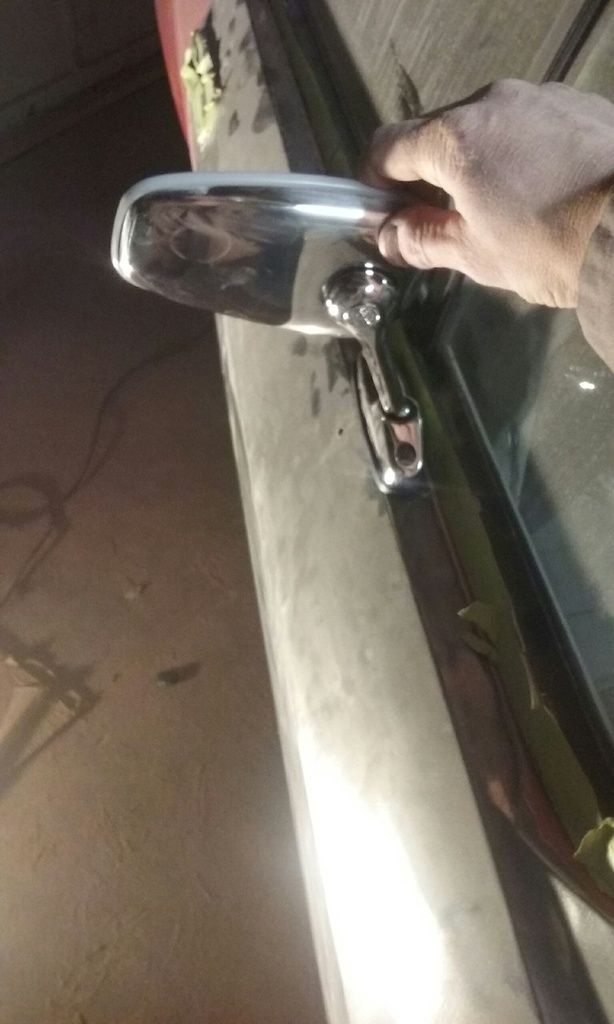
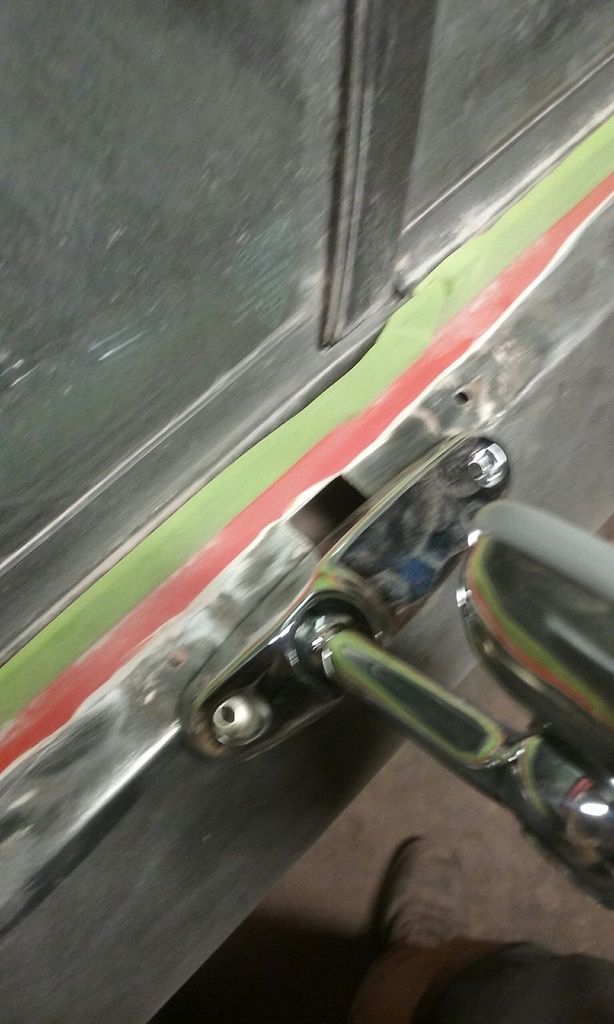
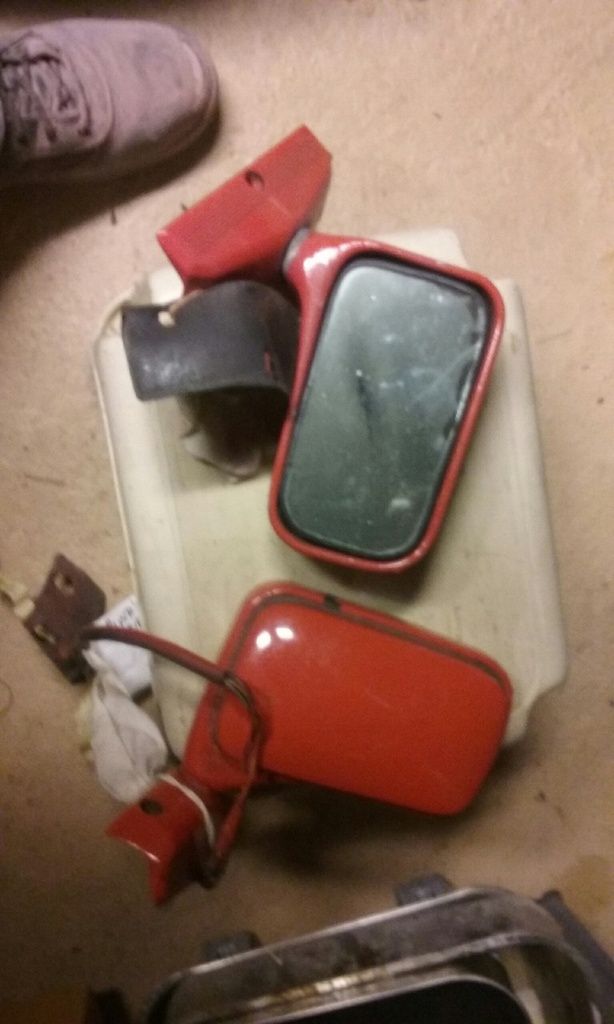
You can see the old mirrors in that last picture. To me they look to "80's plastic".
So yeah, it'll probably be a few days before I get back to applying kitty hair over the old mirror holes as I have some more sanding, grinding, and cleaning to do.
Good times.
m4ff3w wrote: That thing might have more weight from the welds than the original structure weighed.
Yes, but all the holes they drilled makes up for it. I'm just glad they drilled them EVERYWHERE to keep the car's original balance ![]()
Wow@progress!
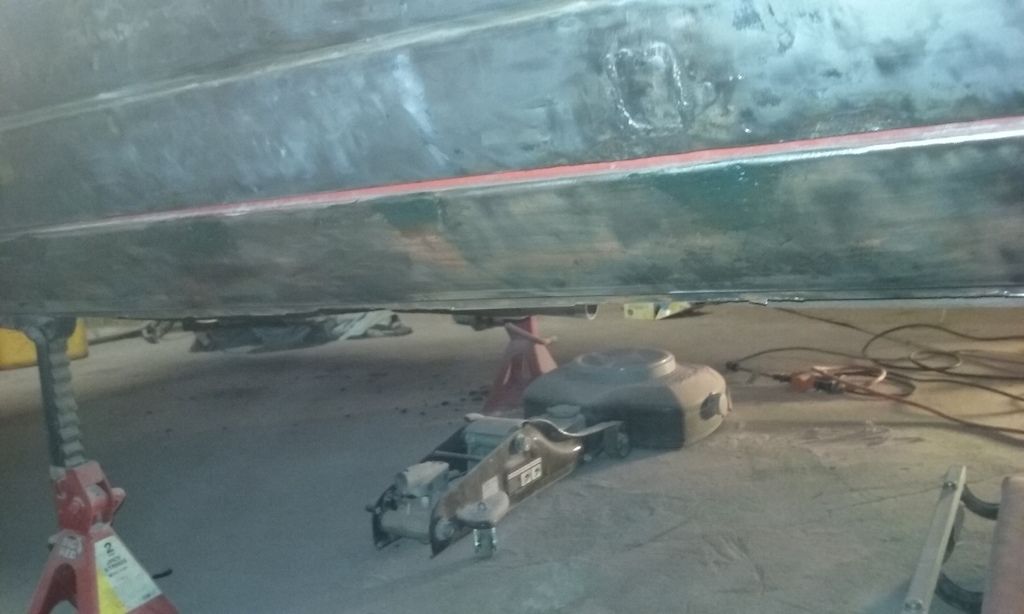
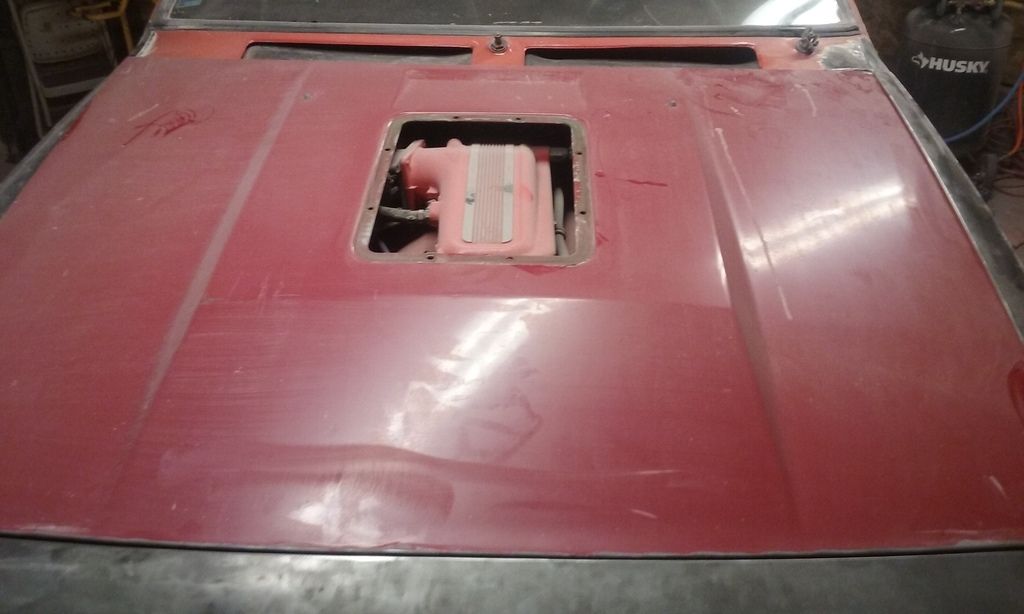
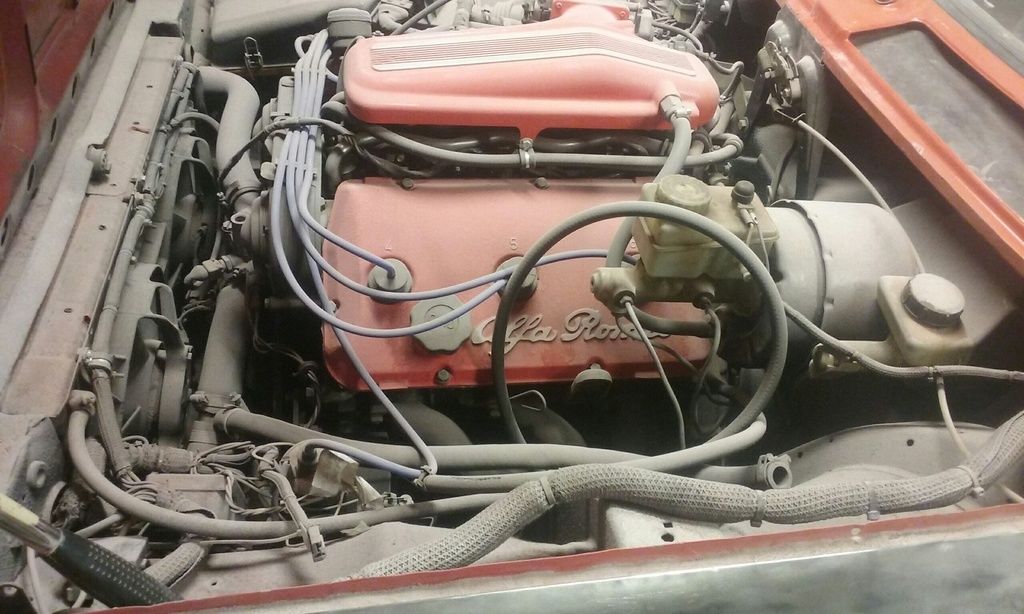
Oh... I took off the tea tray (to get the hood ready for its business) and boy did I make things ugly under there! ![]()
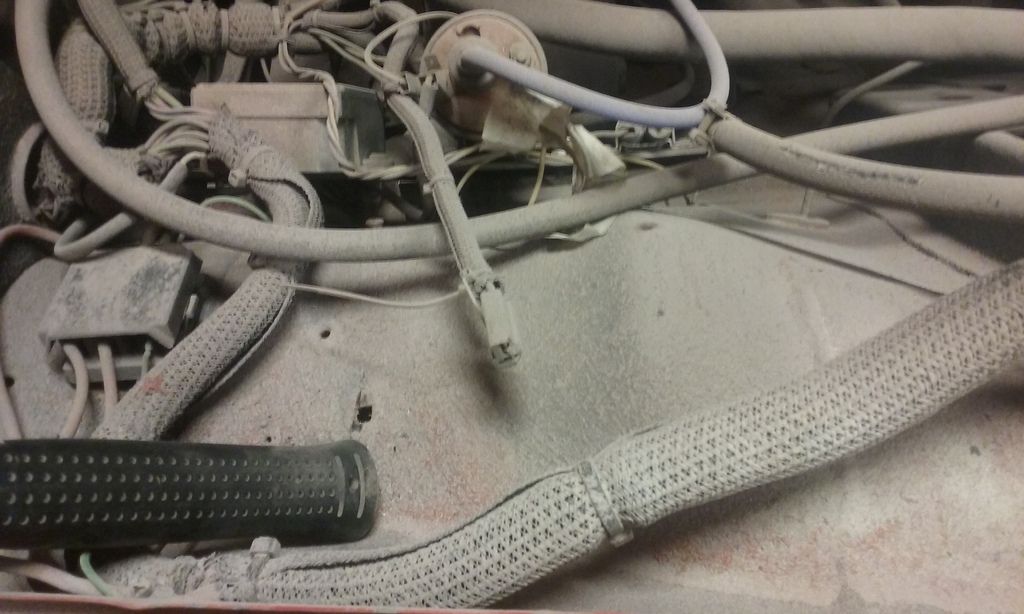
dust, dust, dust....
Good times
m4ff3w wrote: Wow@progress!
I'm tellin ya, "last minute". If I had been this motivated four years ago, it'd look like this by now:

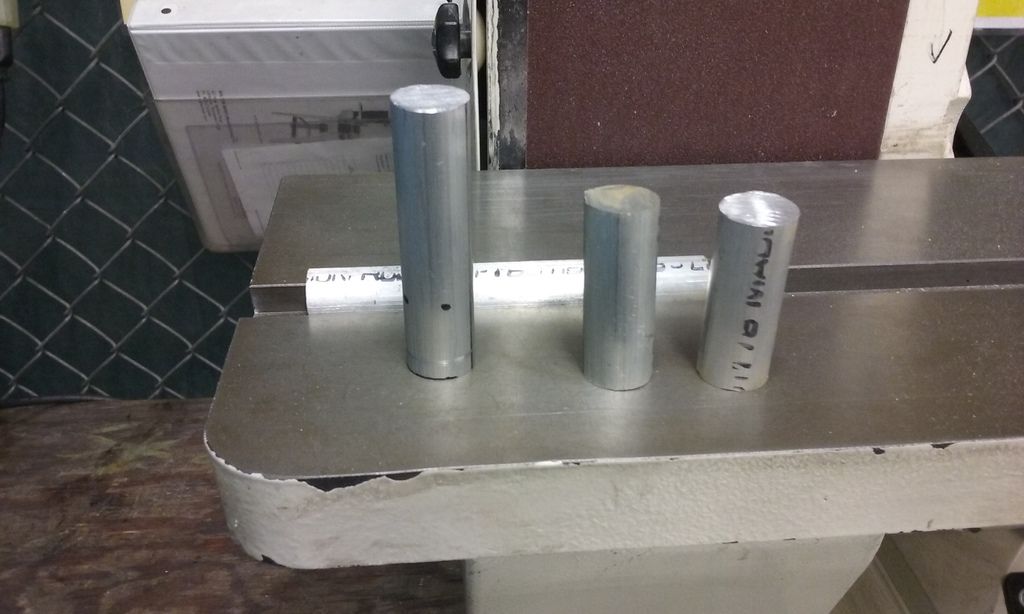
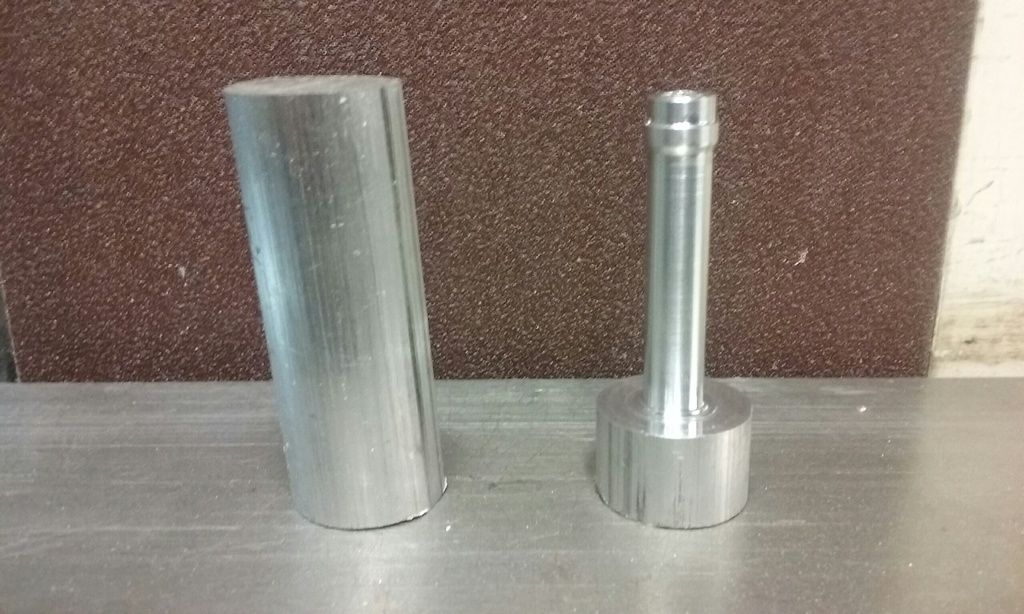
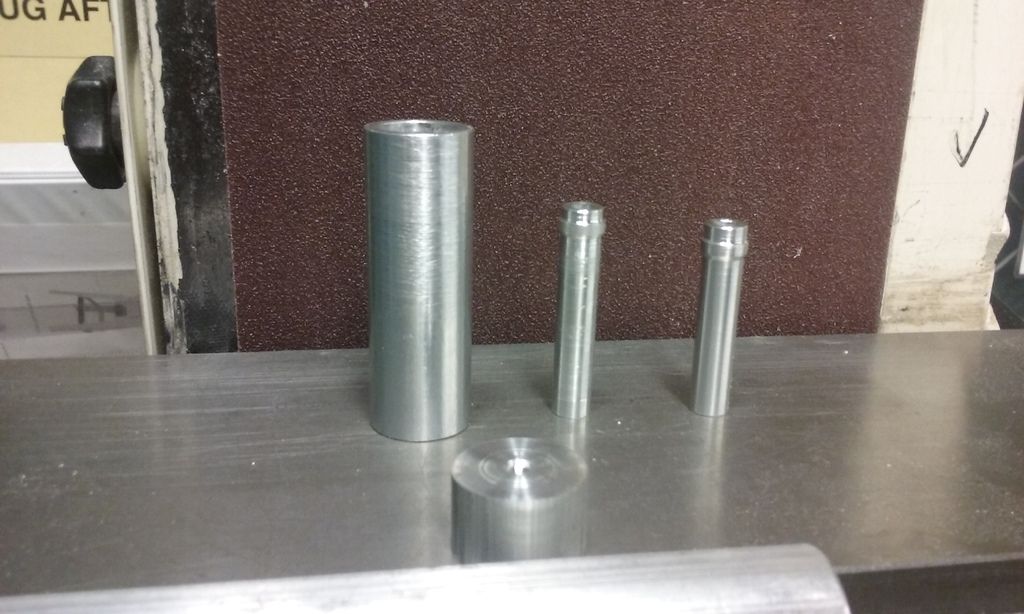
In keeping with the theme "try to stay productive at work", remember this piece of aluminum?
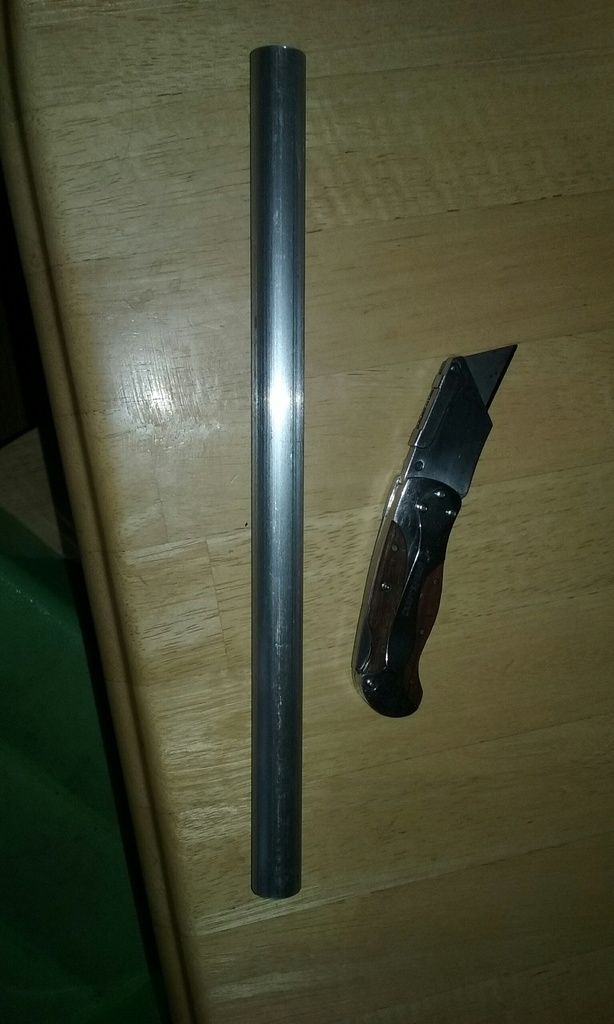
Well, I've spent the better part of this week turning it into something useful. ![]() (which is also why I got behind on my posts as I usually do my updates during work breaks but was playing with the lathe instead)
(which is also why I got behind on my posts as I usually do my updates during work breaks but was playing with the lathe instead)
The idea is I need to make coolant hose attachment fittings for that aluminum coolant tank I bought. Something like these:
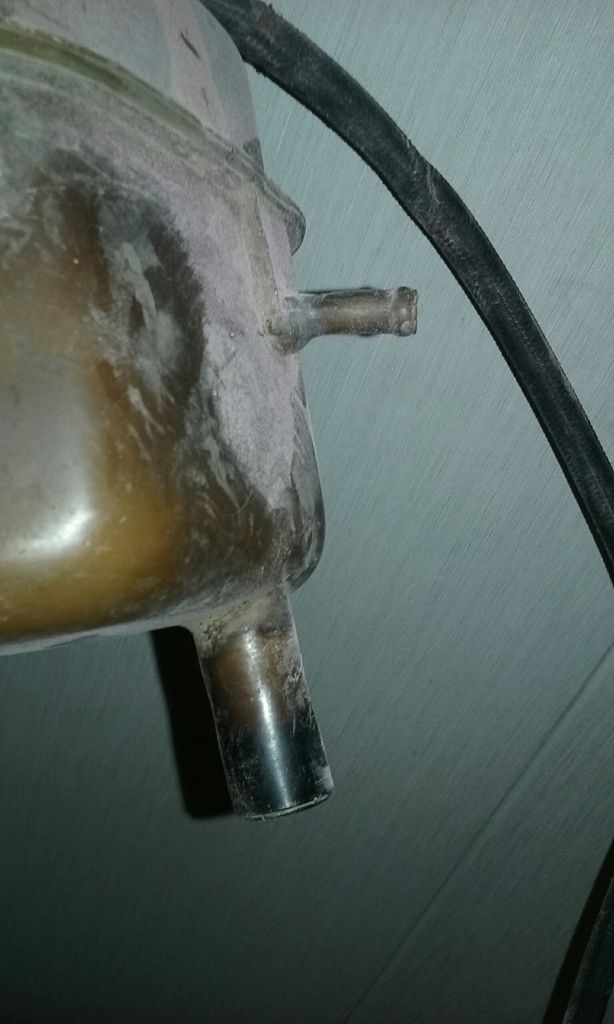
And then from there I figure we can weld them on.
It starts off pretty simple, take one long piece and cut it into three smaller pieces:
Unfortunately, that's about as far as my current competency level permits me to go alone.
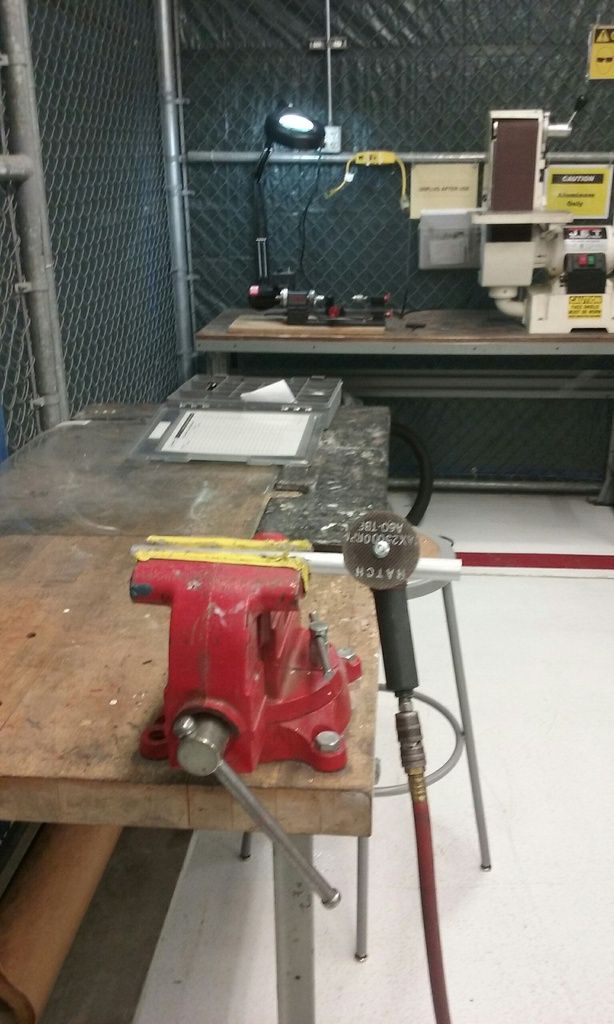
So I asked my good buddy (and coworker) Hung Phan to help me out. I knew HE knew how to operate the small lathe we had in the back cage because the last time we went looking for it he had to get it from his garage ![]()
here goes:
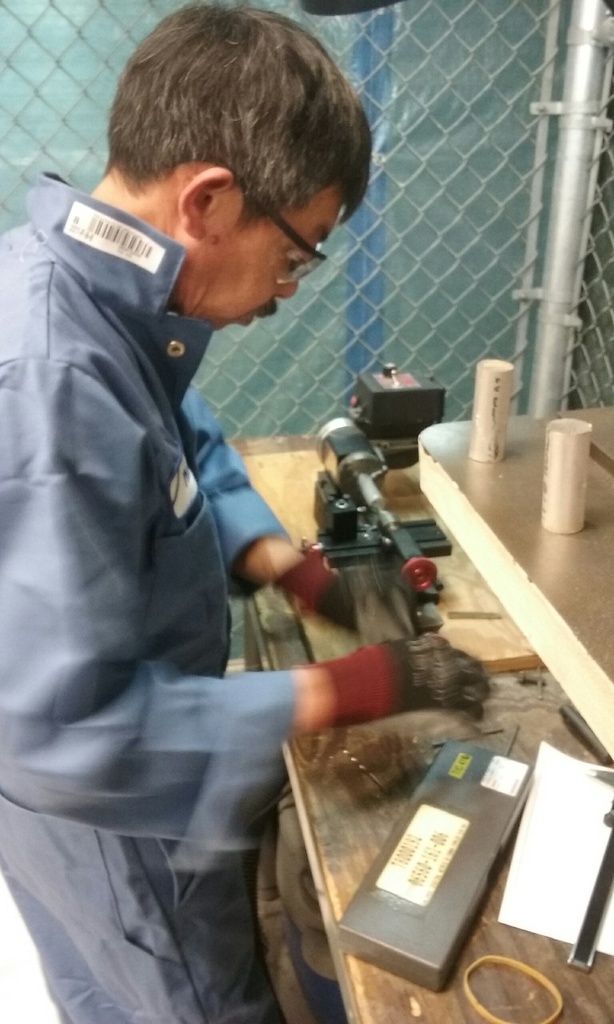
So he went through the initial "setting up" and then let me take over from there.
It was super slow going at first, but I was on my way
PS: Hung Phan was South Vietnamese Army and escaped Vietnam in 1975 after the American withdraw. You want to hear some stories, talk to this guy ![]()
So this is me after 30 minutes. I got the butt square, and started taking material off the sides. It's currently at .77 and I need .75 so I'm taking off just a LITTLE at a time

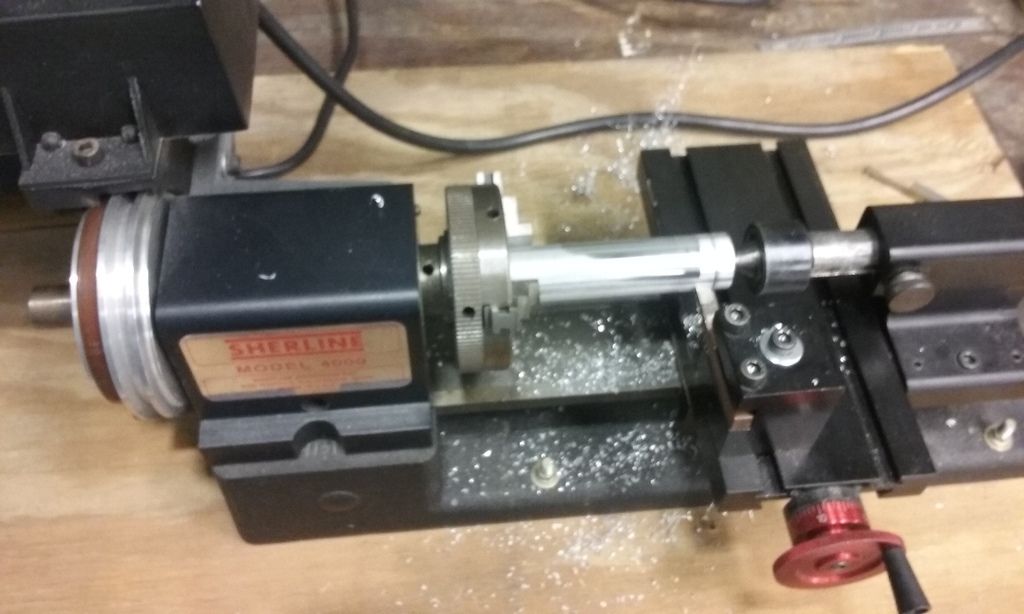
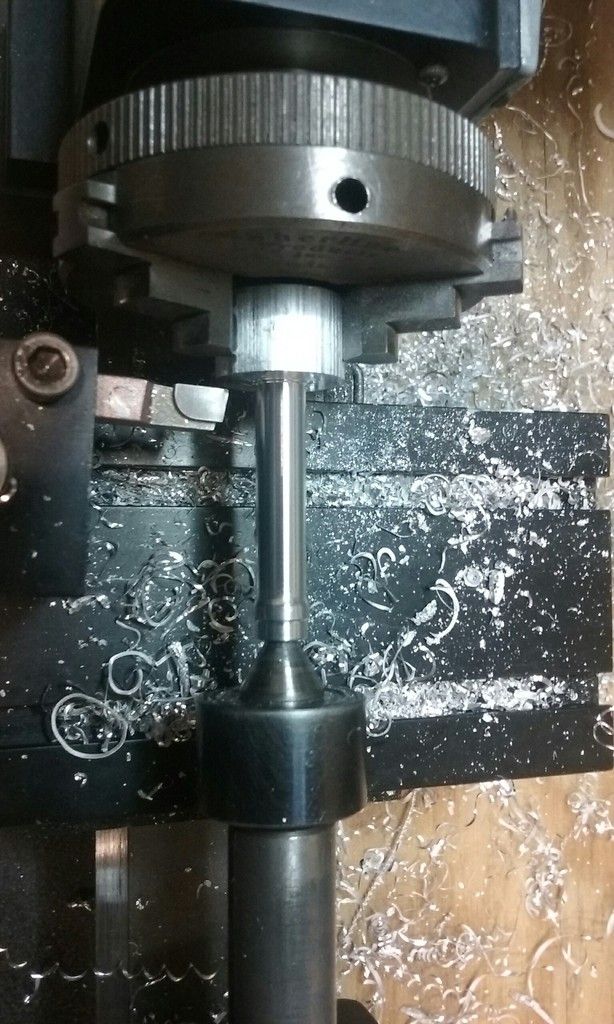
Eventually I get it to where I want and it's time to start drilling the center hole. We're looking for a .52" diameter hole but the chuck on this will barely hold a .25" bit.
Having the material move while the drill bit stays stationary was a new experience for me
Ta da!
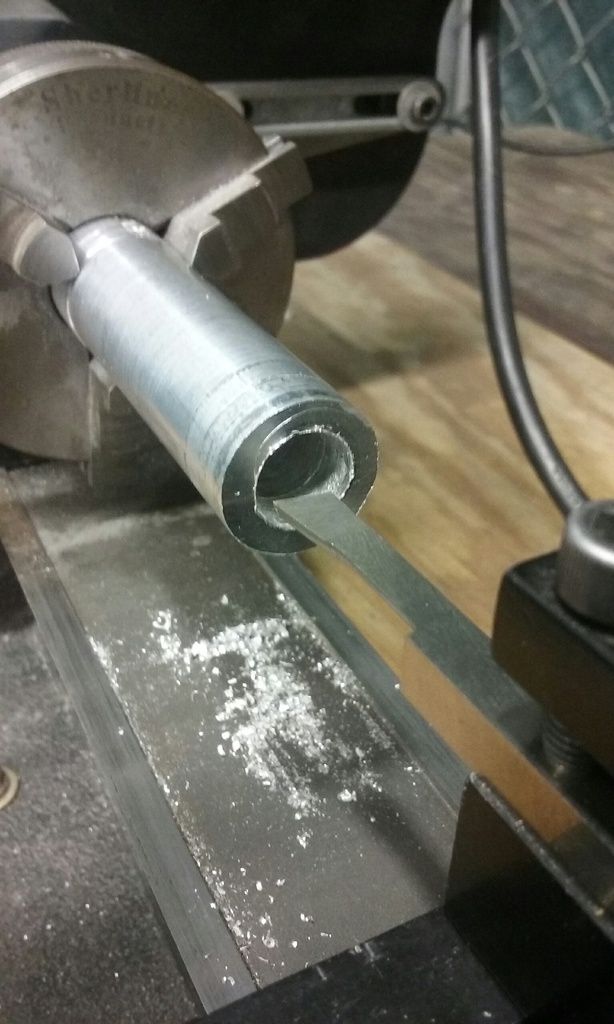
So yeah, with such a small hole we couldnt get a cutter in the middle to make it any bigger so I handed it back to Hung and he went at it with a slow motor (he drills straighter holes than I do)
While he did that, I felt comfortable enough to chuck up my next piece. This time we're looking for a .30" diameter tube with a .33" diameter "bump" on the end. Inside hole measured out to a #20 drill bit perfectly.
Here goes:
Boom!
Now I just need to repeat that same feat on that next piece of aluminum.
First though, it's back to that big piece with the hole...
Hung got it close with the slow motor but realized it wasn't perfectly straight. He suggested we use the lathe to hog it the rest of the way out.
And so it goes.
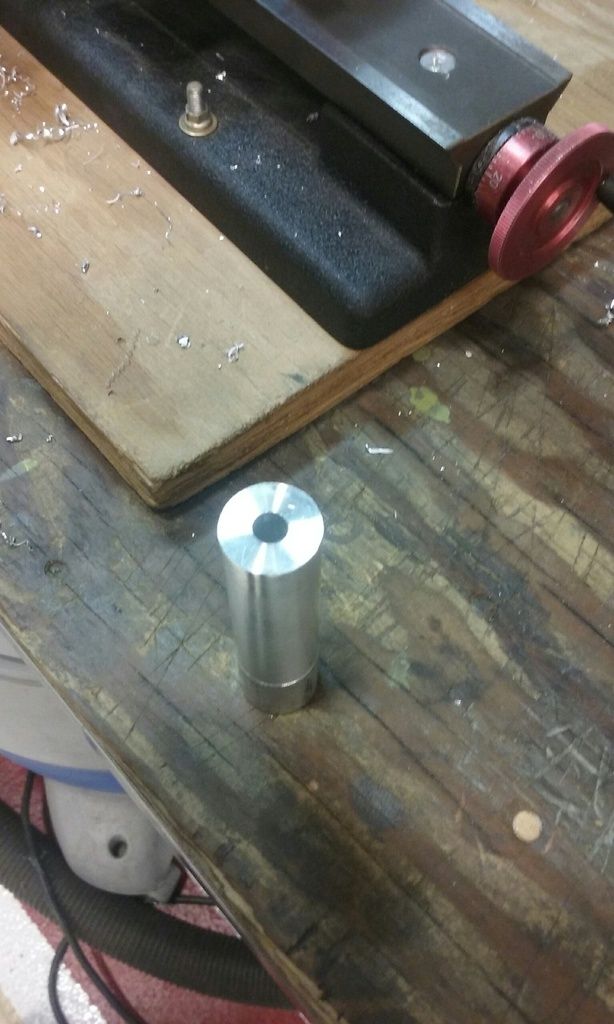
Fast forward a bit because we were in a bit of a hurry, and before you know it you have three pieces ready for attachment! ![]()
I had a lot of fun with that lathe. I cant say I've ever had a "need" to use one before (or maybe I didn't know I had a "need") but I'm hoping I don't forget what I learned between now and the next time I use one.
Good times ![]()
PS
Now we have no aircraft in the hangar and I didn't bring anything with me to work on ![]() I need to find something else to do that fits in my lunch box...
I need to find something else to do that fits in my lunch box...
That lathe is AWESOME. I want. I have always wanted a lathe, but didnt want to giv up the real estate in the garage for a big one.... Off to google. edit: and starting at $725....
Wednesday. (P-20 days)
With the temperatures being so low, I was worried about the kitty hair drying overnight. Everything looks good (it hardened) but I think I'm going to give it one more day before I do anything to it. To stay productive, I figured some grinding was in order.
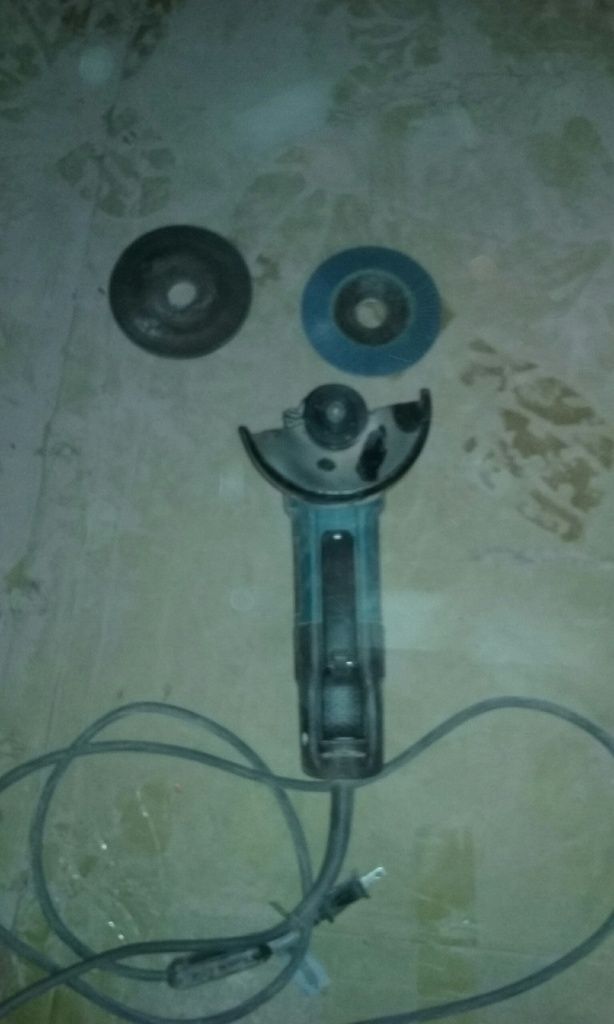
(kind of nice seeing her without her wire whip on)
I have a good handfull of grinding discs for this beast and one 80-grit flappy wheel. It's worth noting that this'll be my first time with a flappy wheel and I really only bought it to see what it was all about ![]()
I figured making everything "perfect" was never going to happen with all I unearthed, so I set my goal to "lower raised areas with the intent of using less body filler to achieve the same level of smoothness once painted"
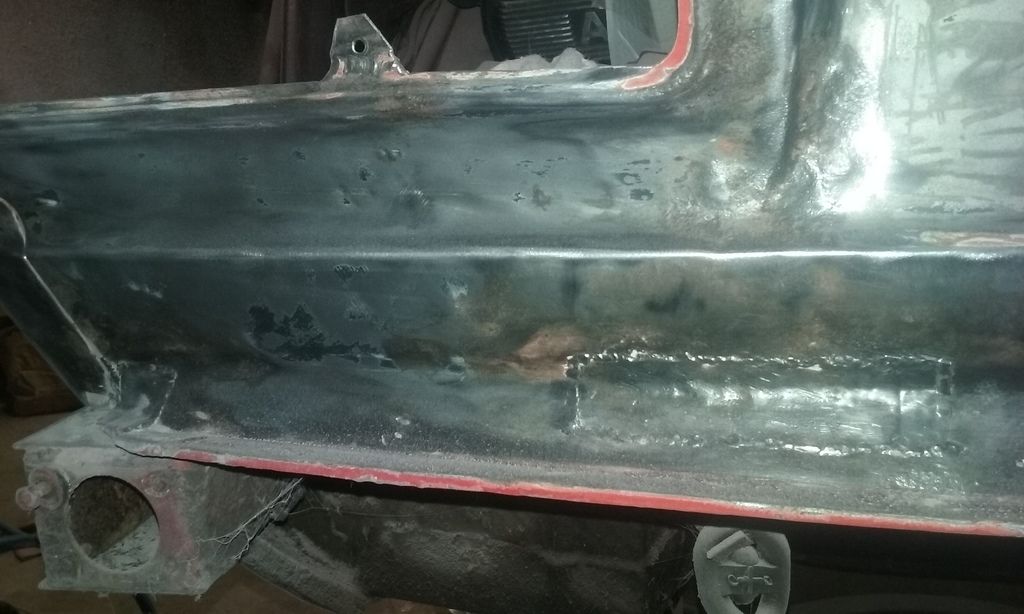
With that in mind I chucked up the grinding disc and hit my first weld:
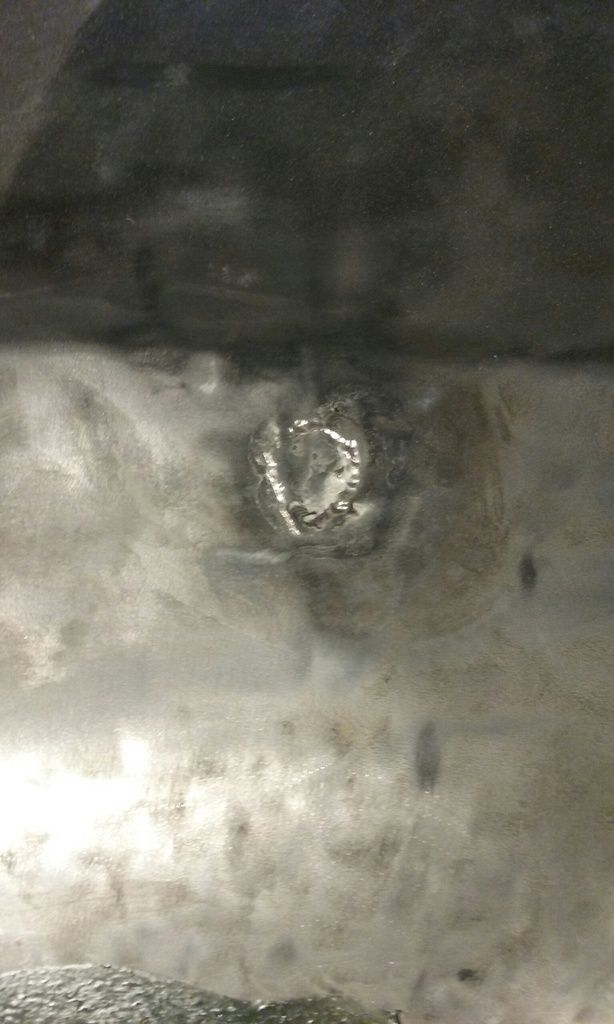
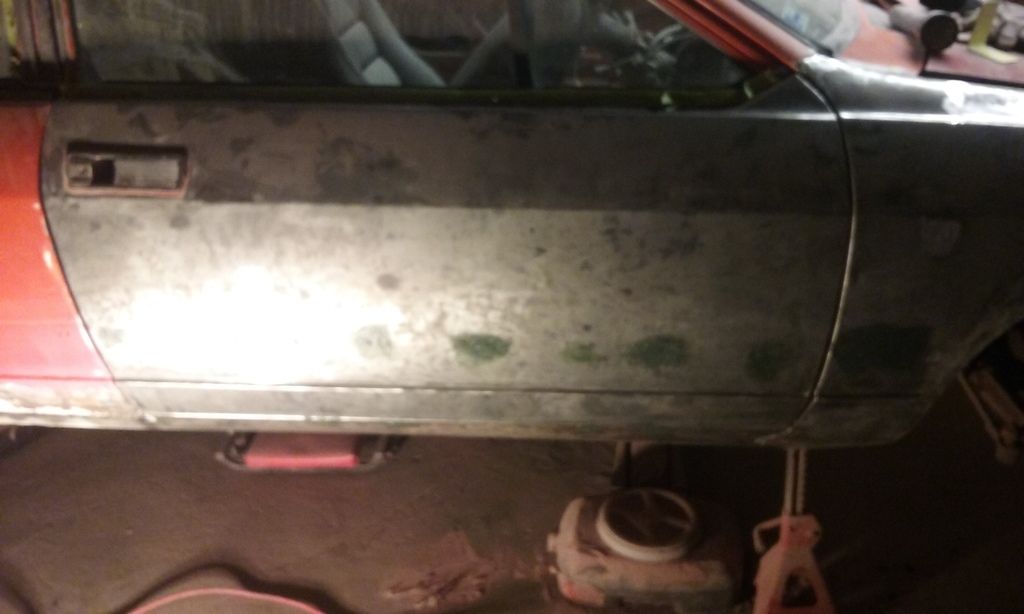
You'll recognize that spot from the passenger front fender picture in the recent tour pictures ![]() I chose it mainly because that's just where I happened to be sitting when I plugged the grinder in to the extension cord.
I chose it mainly because that's just where I happened to be sitting when I plugged the grinder in to the extension cord.
And sparks flew
that disc chewed RIGHT through those beads. I went a little deep towards the bottom right because once I hit the bead, it revealed a hollow cavity and I had to do some more chewing to get back into metal.
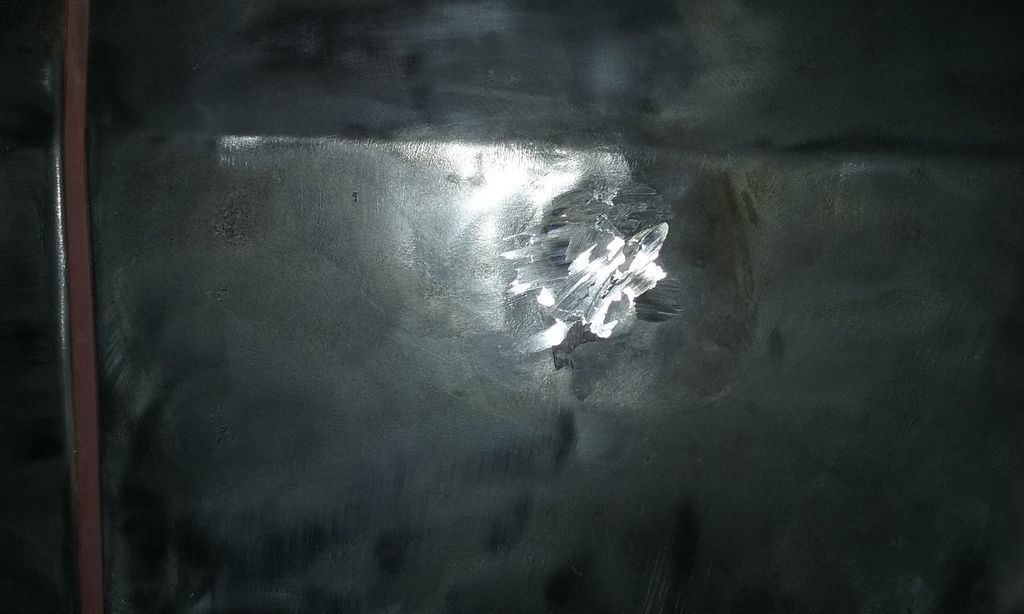
I thought for sure I was on to my next weld after that, but curiosity got the best of me and I chucked up the flappy wheel just to see what's the what.

Would you look at that!?! ![]() Aside from that deep spot, that is smoother than a baby's behind!
Aside from that deep spot, that is smoother than a baby's behind!
After that I decided to flappy wheel all the things!!!!
These two on the passenger fender just needed a courtesy rub:
Boom! Smooth(er) ![]()
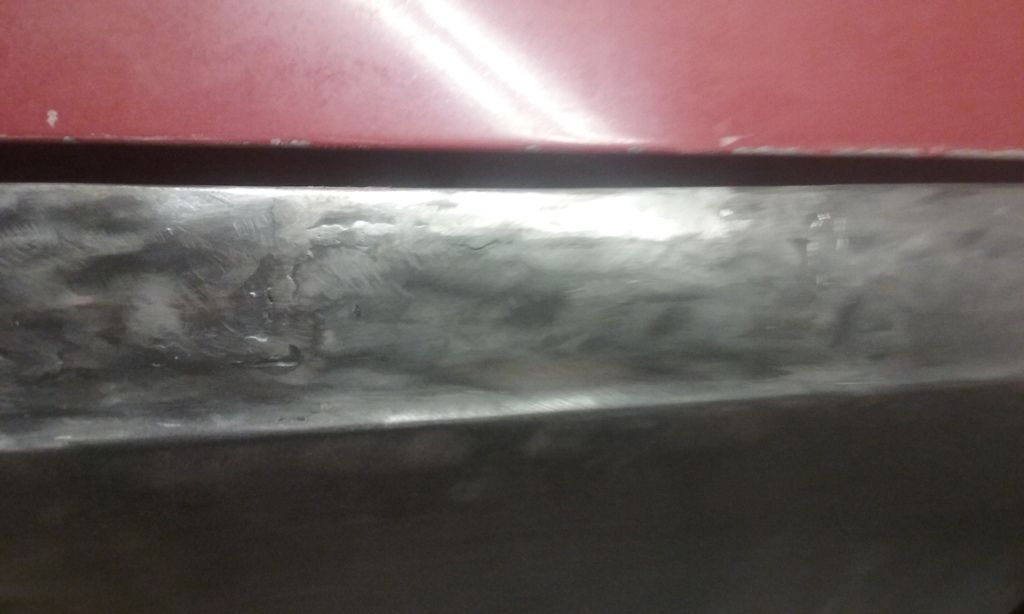
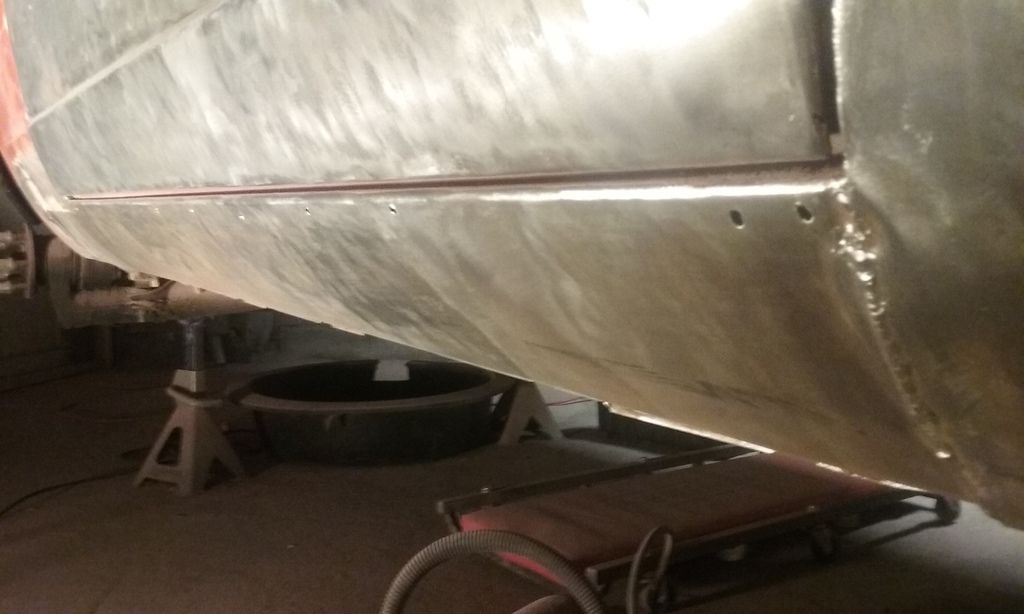
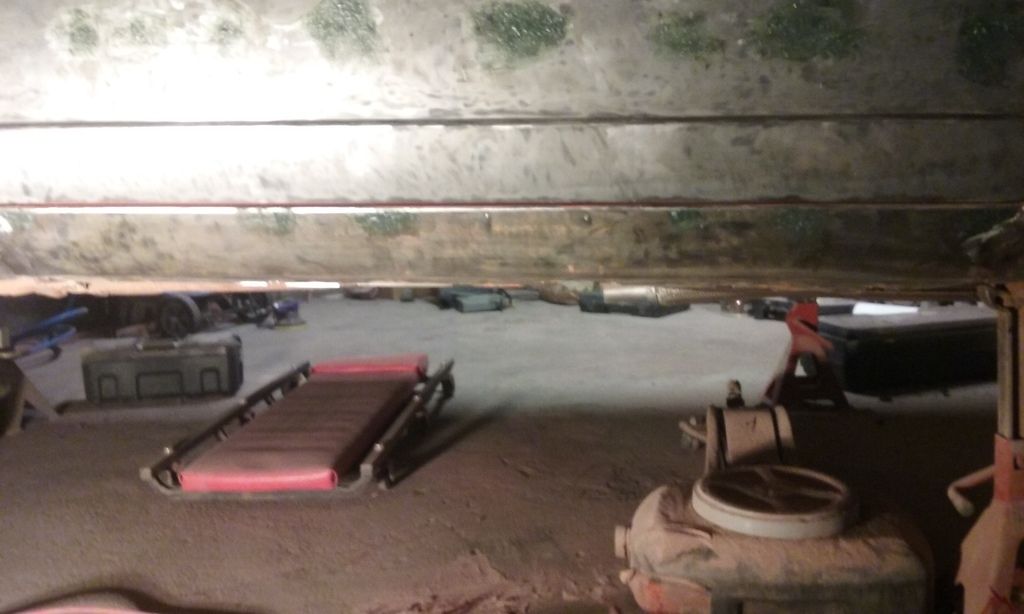
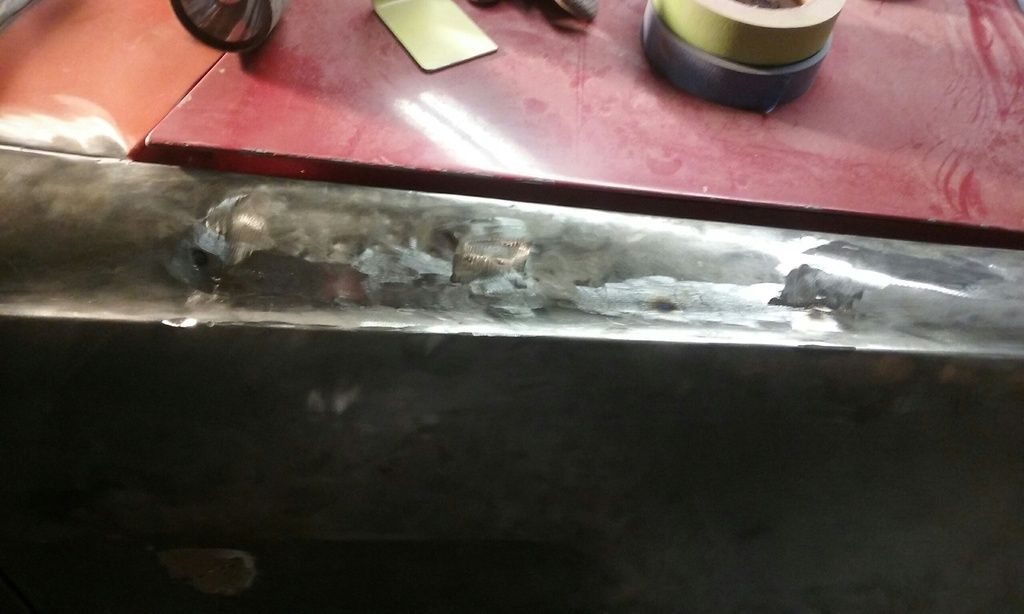
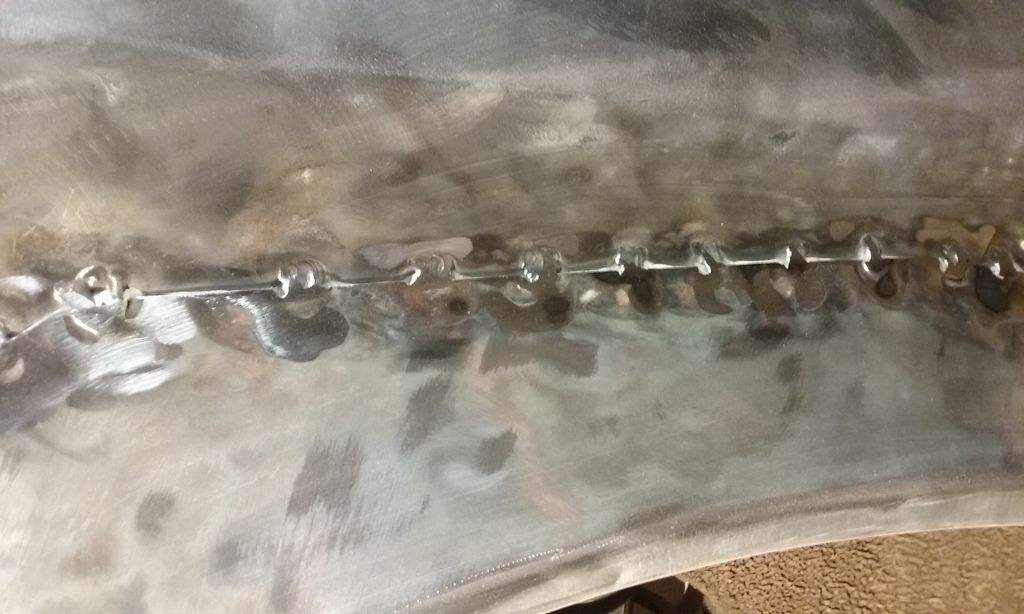
Some panels turned out really great. Like where the fender and rocker meet (passenger side)
Would you look at that? It's like it's not even there!!!!
Same with where the rocker meets the quarter panel (still passenger side)
Zing! brand new again ![]()
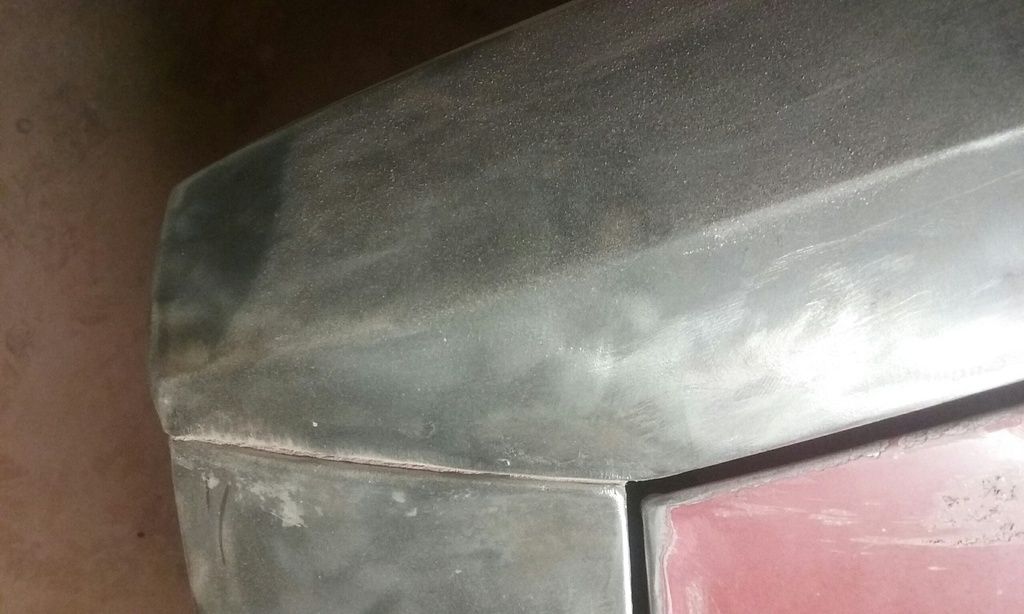
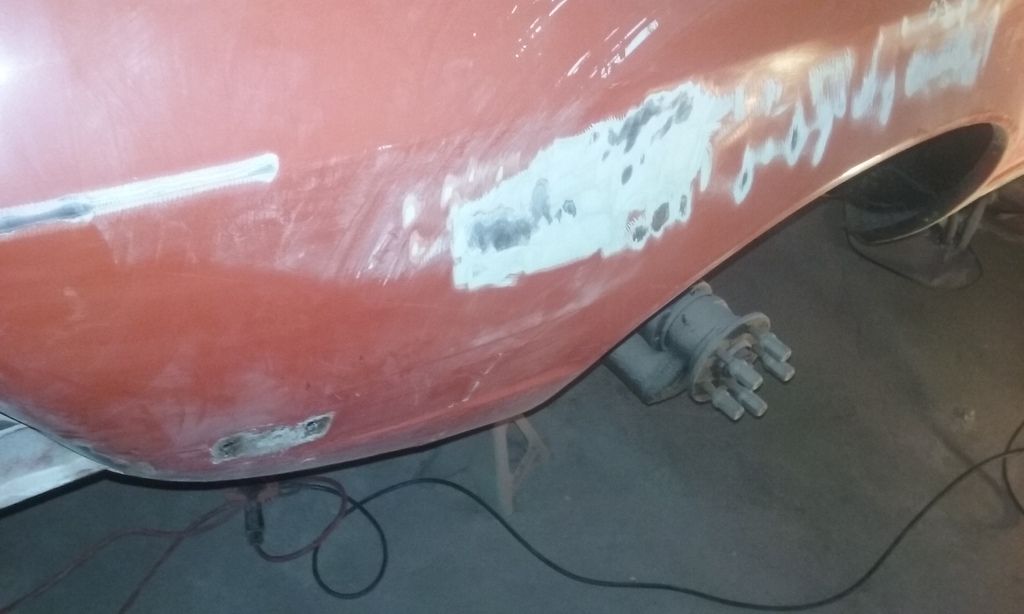
Some panels, though, just came out "so-so".
Here's a shot of a weld where the passenger A-pillar meets the front fender:
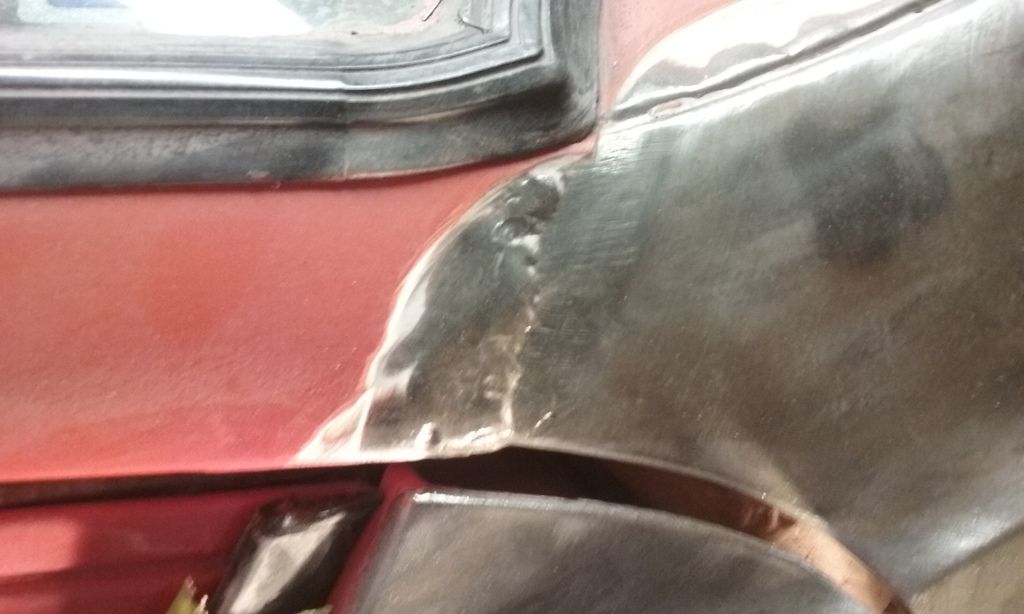

(I got some fillin to do on that one)
But still, it's way flatter and without that raised area I shouldn't have to put 1/4"of bondo over everything!
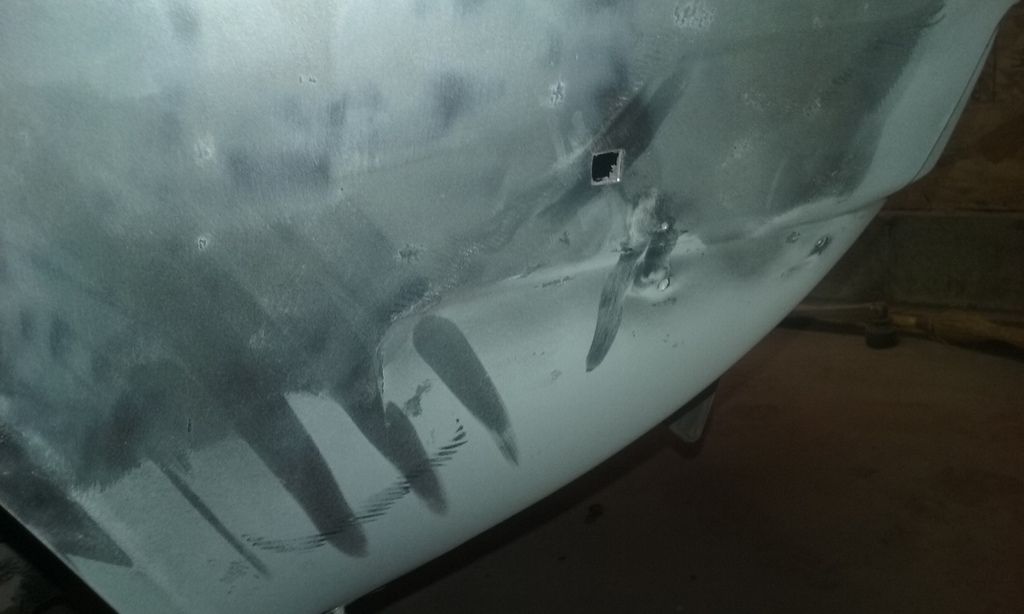
aaaaaaand then some panels I just cant do too much with ![]()
That's post flappy wheel ![]() . It's not as "raised" anymore but I'm really wondering if I shouldn't take the time to finish that weld, or just cover it and move on. My concern is time, and the amount of cleaning involved VS overall benefit when all is said and done.
. It's not as "raised" anymore but I'm really wondering if I shouldn't take the time to finish that weld, or just cover it and move on. My concern is time, and the amount of cleaning involved VS overall benefit when all is said and done.
Unless we decide to finish that weld, I call this "< /grinding>"
10% kitty hair left, bondo, sand, and paint (in that order) ![]()
Good times.
java230 wrote: That lathe is AWESOME. I want. I have always wanted a lathe, but didnt want to giv up the real estate in the garage for a big one.... Off to google. edit: and starting at $725....
Yeah, he mentioned that lathe we were using was around $1000 ![]()
He said the reason he brought it home that one time was because he decided to save money and buy a cheaper lathe (mfgr unknown). He said his was mostly plastic and sucked but if he were to spend $1000 he'd want something bigger than what we were using.
I'm in agreement there. This was nice, and it worked, but your project scale would be pretty limited. I think what the answer is going to be in the end, is for us to go "full Mezzanine" and buy a shop with a house attached and then fill it full of old industrial equipment. ![]()
aaaaand I'm off to craigslist (I mean WHY though? I'm MOVING. Why am I looking at lathes on CL??????)
Good times ![]()

This GTV6 will be so far beyond anything Alfa is capable of mass producing when you are done it is gonna be hilarious.
I couldn't think of any work to do to stay productive while away from the car, so I decided "when in doubt, buy something" and went by my favorite paint store
Except it was closed, for good. ![]()
Near me there are two paint stores that I know of (I'm sure there are more, but these are the two I've seen). There's Wesco, and LDI. Way back when I realized I was going to be painting this car, I went to Wesco for a chit-chat because it was on my way home.
I told the guy at the counter I was looking to paint my own car, blah blah blah, Alfa red, paint code blah blah blah, but didn't know the first thing about it.
his response? he gruffly replied "red is expensive. You're probably looking at $1500 in supplies"
And that was that.
I was feeling kind of irritated but went to LDI anyways, put on my smiley face and repeated everything I already said to the guy at Wesco.
"well" says the LDI guy. "For a project like that I'd recommend the PPG Omni color coat, and a euro clear to really help that pop...
... you're going to need about 3 quarts of color if it's your first go, especially if you're doing door jams and the like. BUT you really don't save any money going that way so I'm going to recommend a gallon..."
This goes on for quite some time, after which I'm leaving with a stack of papers (particle sheets, mix ratios, data sheets, price breakdowns, etc) and a confidence level sufficient for me to forget about ever going to Maaco for a spray.
I made it a point to go there for all my questions and paint needs for the 4-runner, and I was hoping for a repeat run with the Alfa. but I guess all was not to be.
It was with a heavy heart that I drove myself to Wesco today...![]() )Sorry LDI, but I have paint needs, a one hour lunch break, and I got questions the internet cant answer)
)Sorry LDI, but I have paint needs, a one hour lunch break, and I got questions the internet cant answer)
But when I got there, my LDI paint guys were there!!!!
Turns out LDI was bought out by Wesco, and they kept the staff (thank god!). The guy behind the counter remembered me, we chatted about the project a bit, and then he recommended/sold me some primer. Then we chatted about primer a bit ![]()
PS
I realized the difference in attitude I experienced may have been the fact that my truck is visible from the counter of Wesco, where as it wasn't visible from the counter of LDI ![]()
I bought primer. Should be good stuff
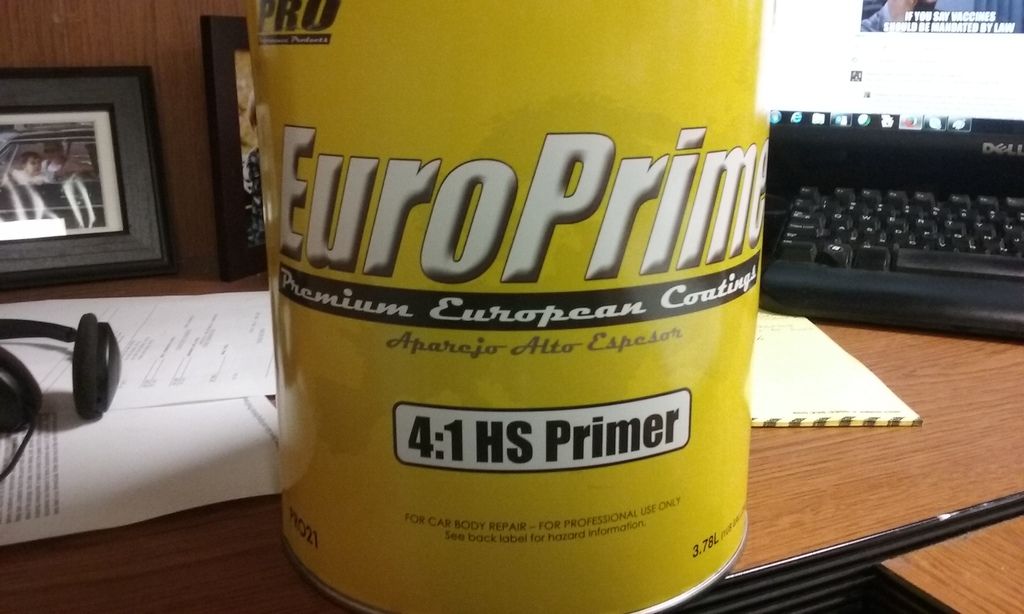
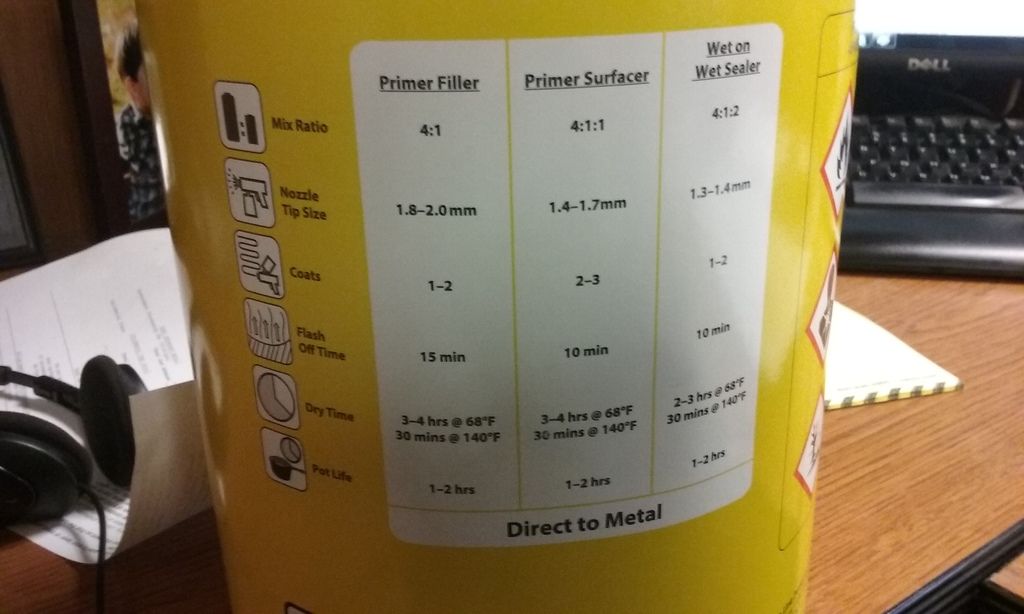
By the datasheet I was given, this should work as a sealer AND a high build primer.
Good times ![]()
You'll need to log in to post.


