1 2 3 4
Crackers
Crackers Reader
11/7/16 6:23 p.m.

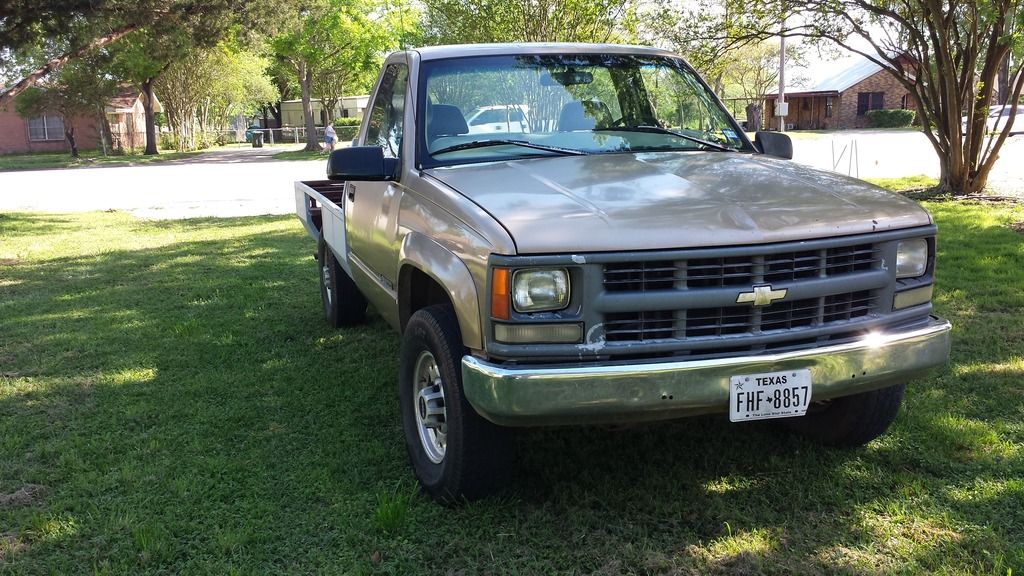
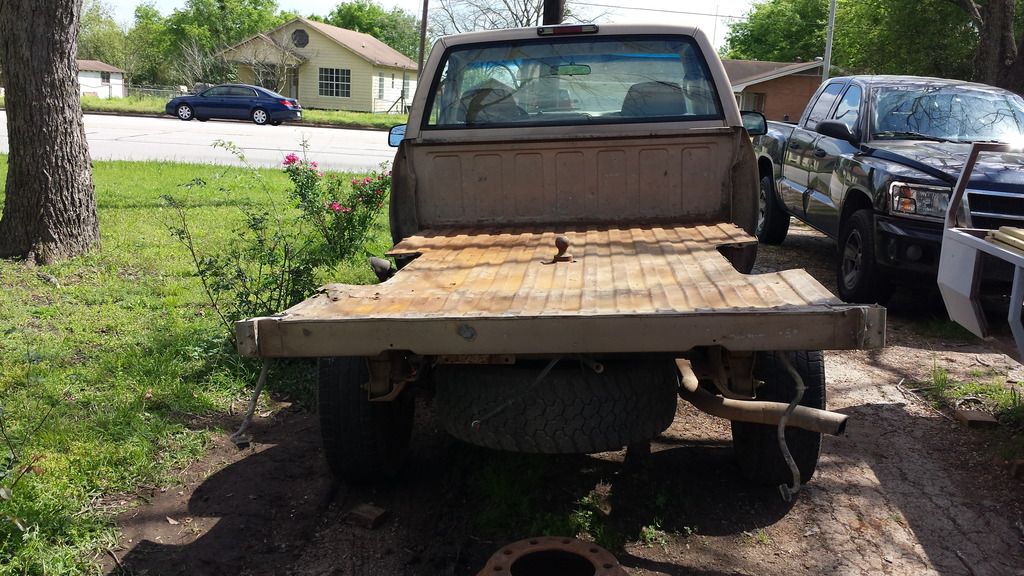
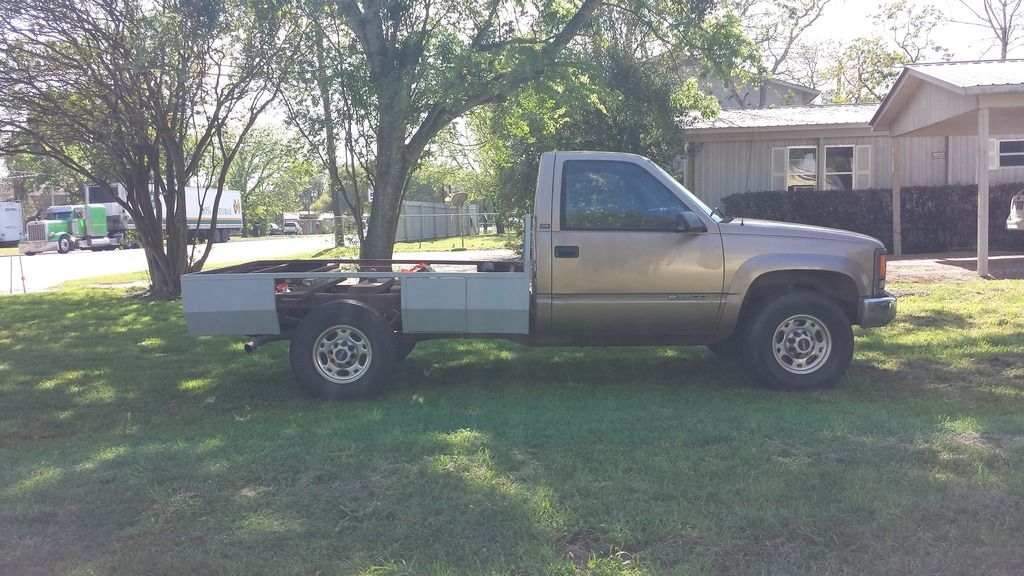
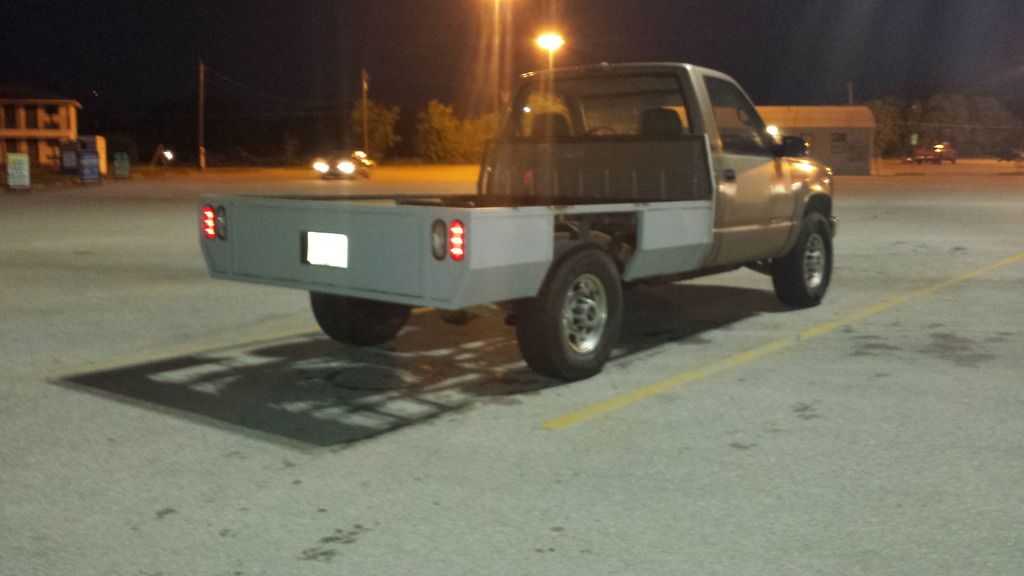
So I bought this thing forever ago as a fixer upper for $1500 with 127k. My original plan was to flip it after doing some body work on it, but shortly after buying it my daily blew up, and got replaced, then that one blew up, and after the third one blew up for a second time a while back I finally decided it wasn't worth me having a second econo-oriented daily. I doubled down on the old Chevy and ran another 100k on the ODO towing around dead daily's and general DD use.

I'm really only posting this to prove Uncle Ben isn't being ignored, he's just waiting in line, because the spot in my driveway where Uncle Ben will get his transplant is currently occupied by this...

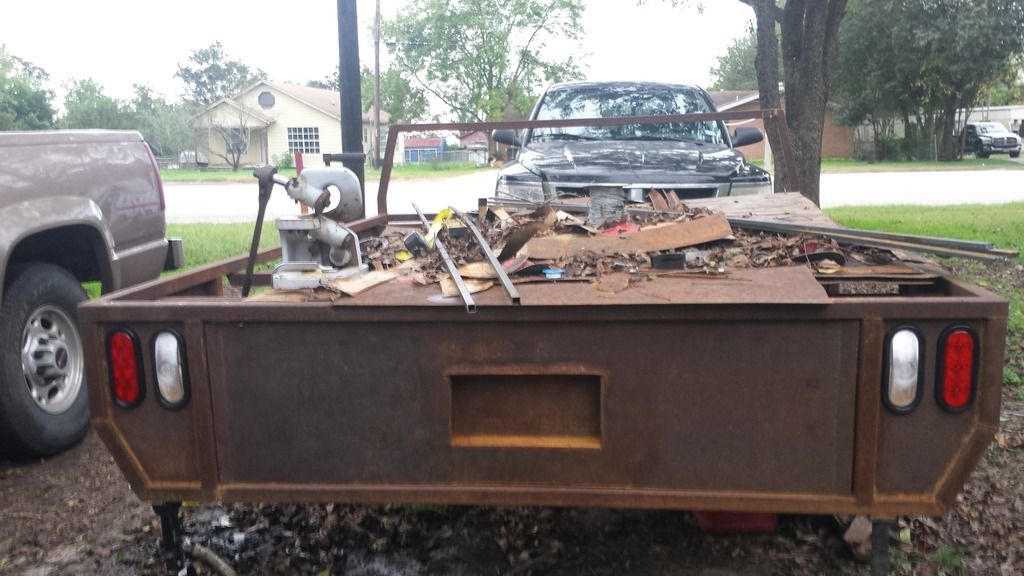
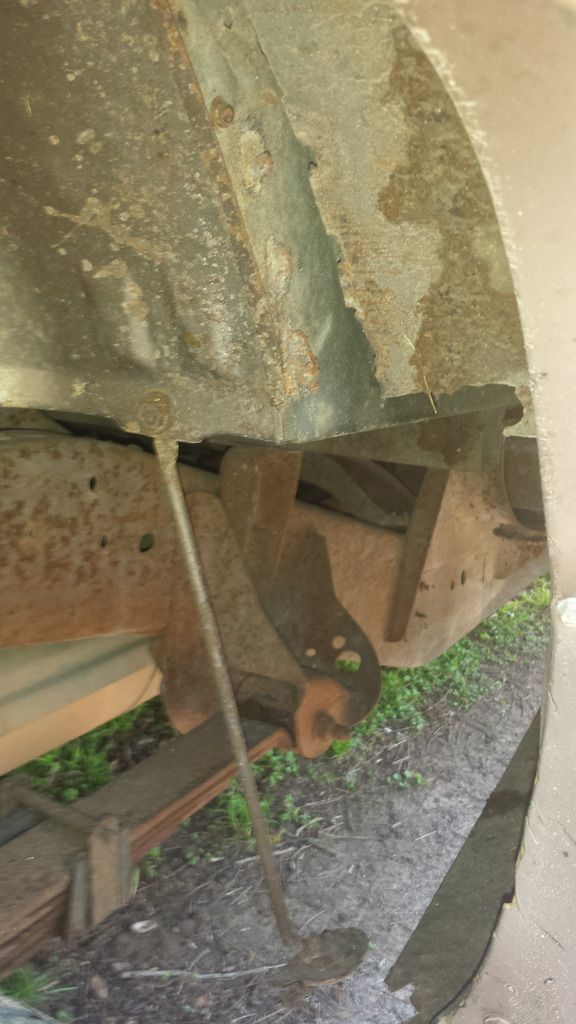
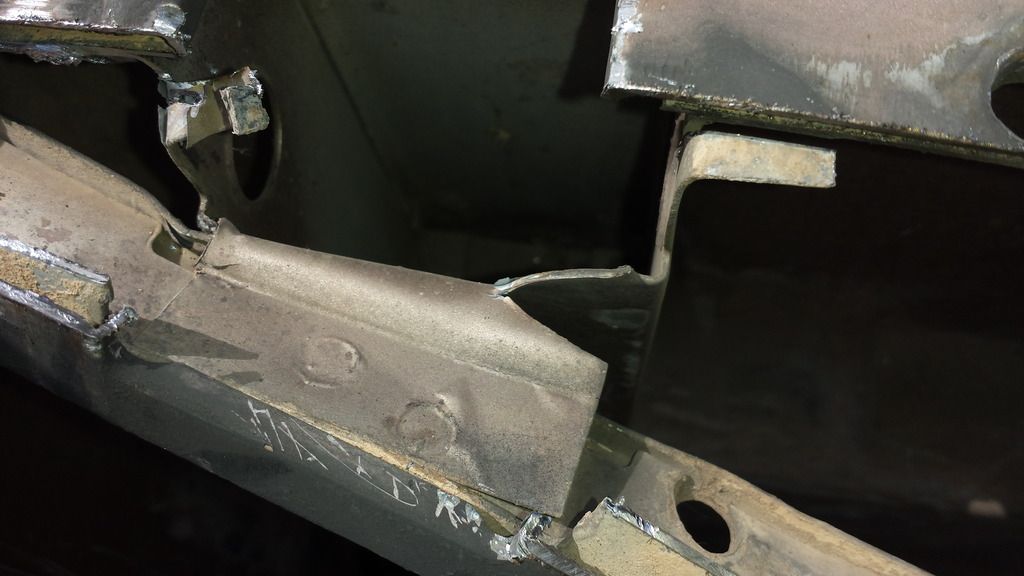
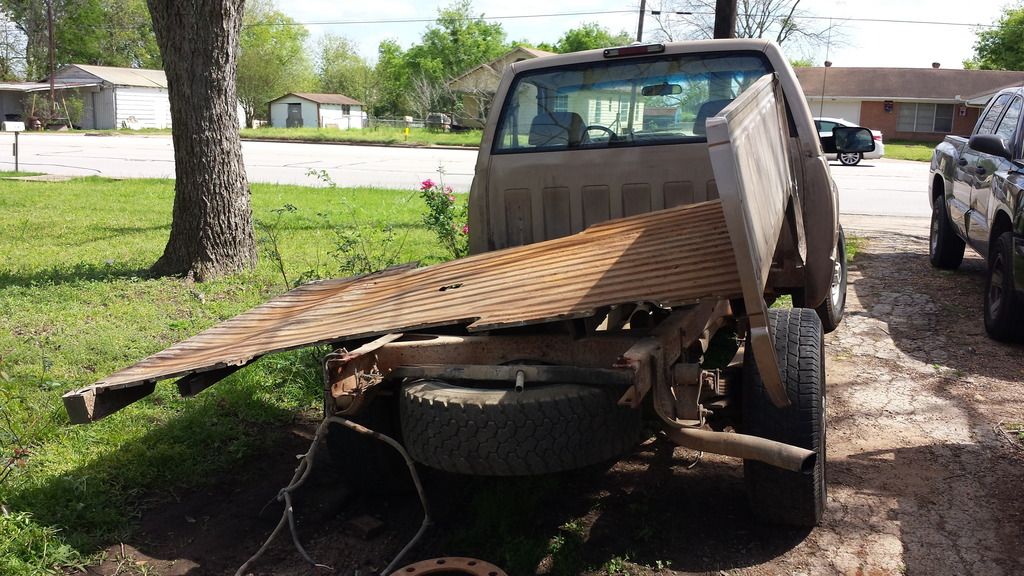
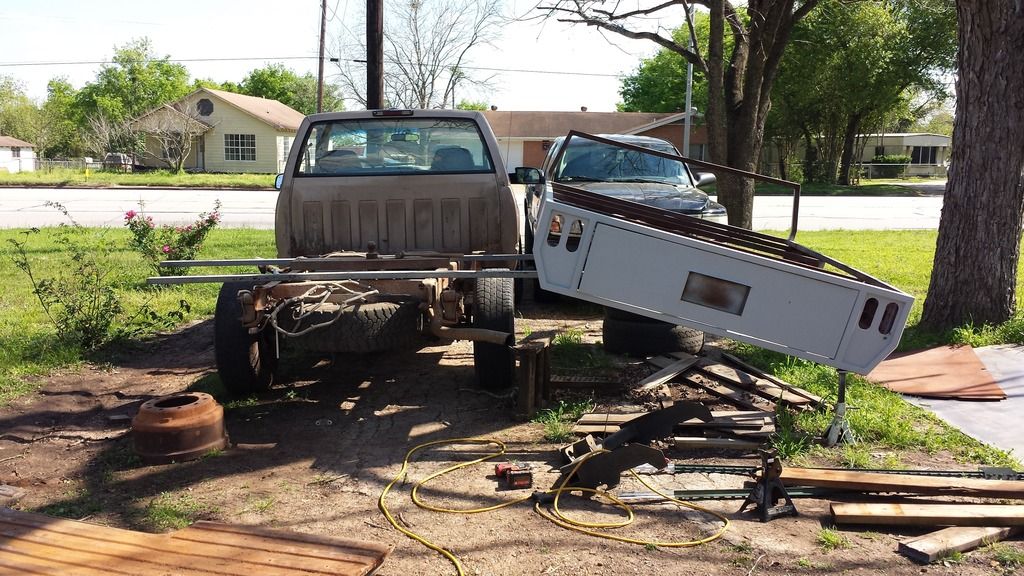
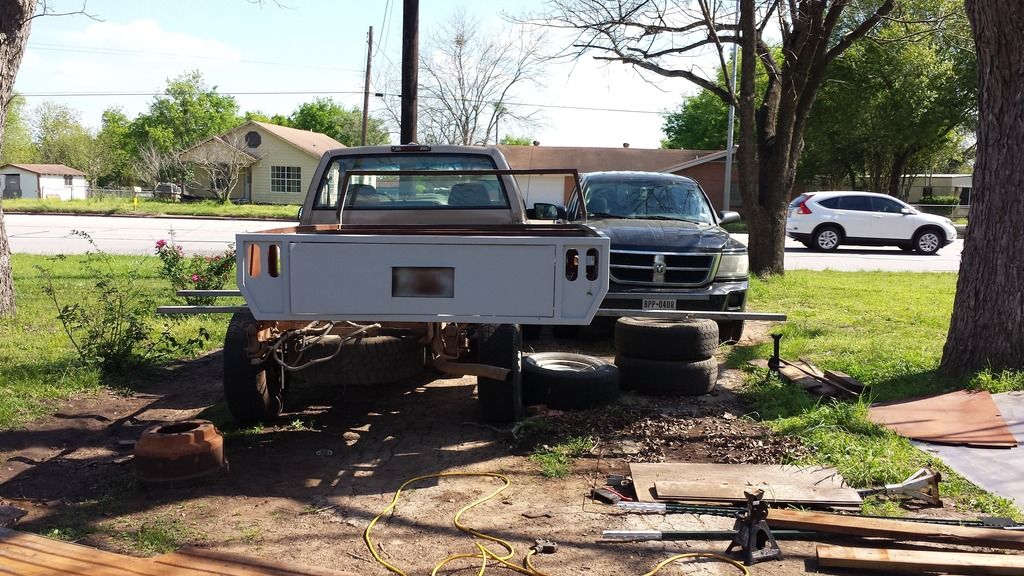
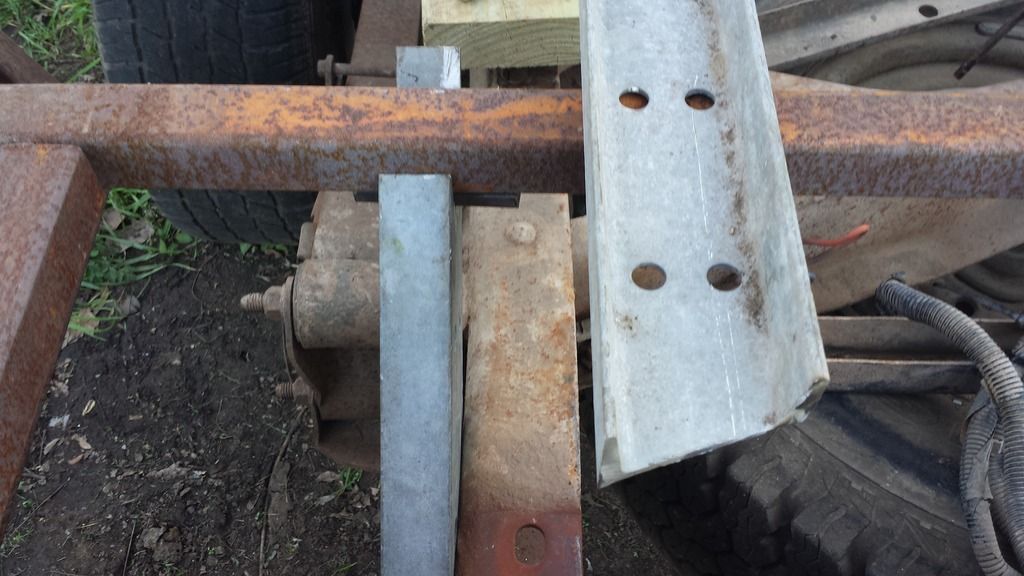
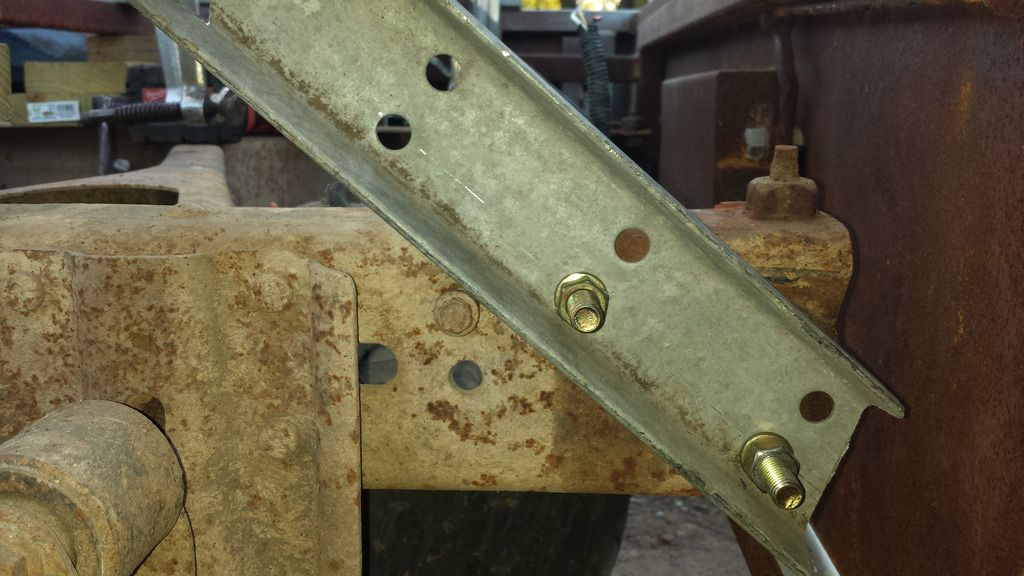
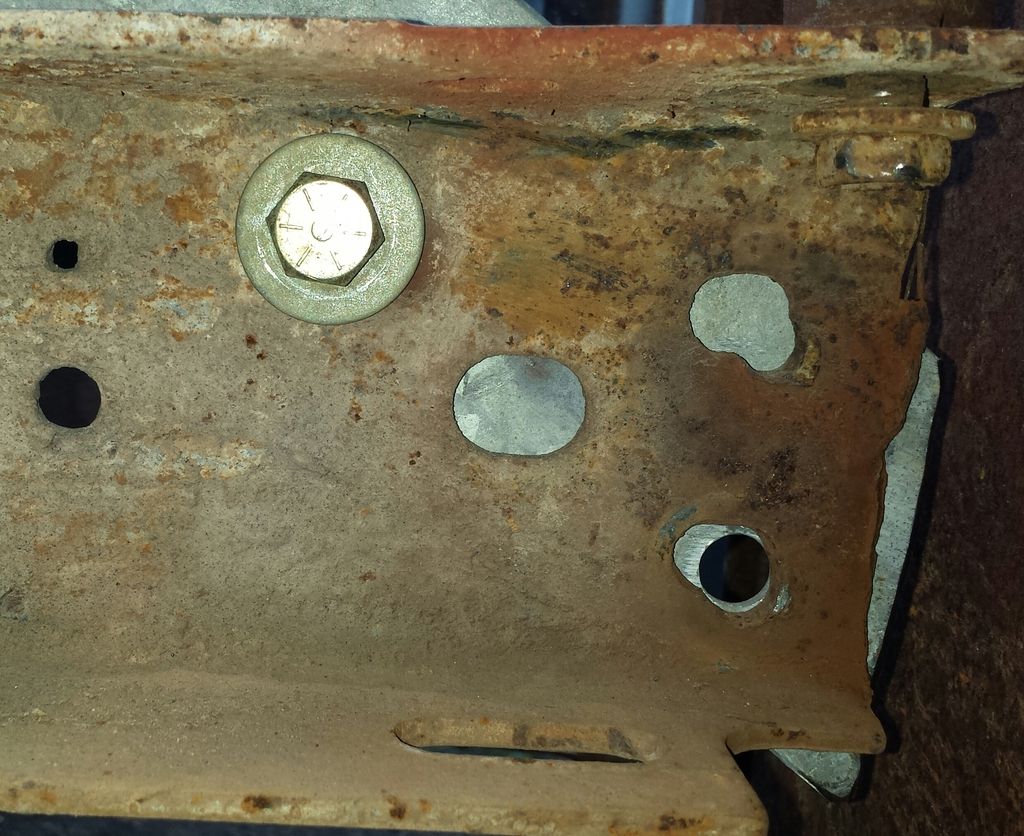
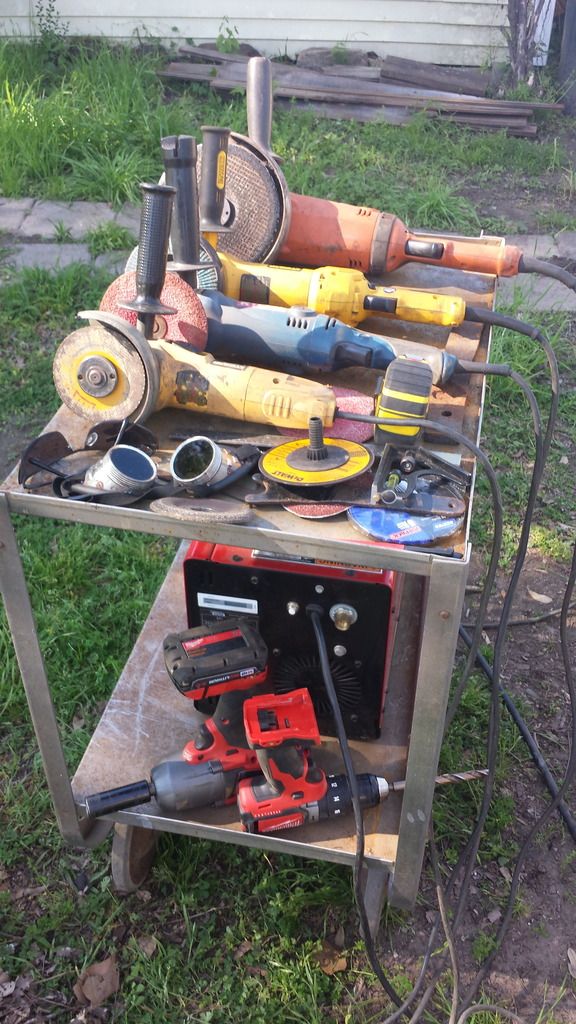
A stalled out flatbed build intended to replace the royal fubar that is the bed of my truck.

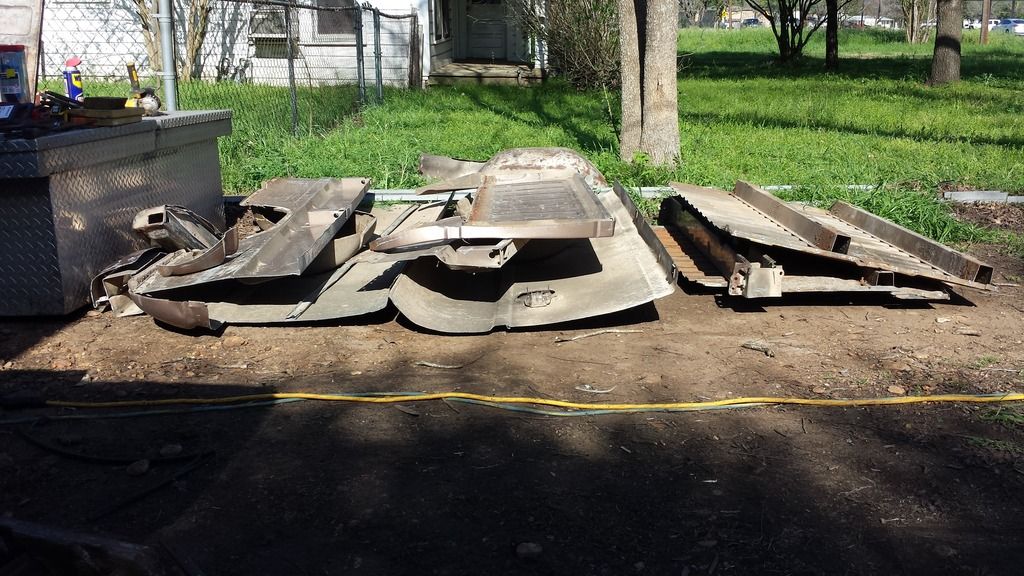
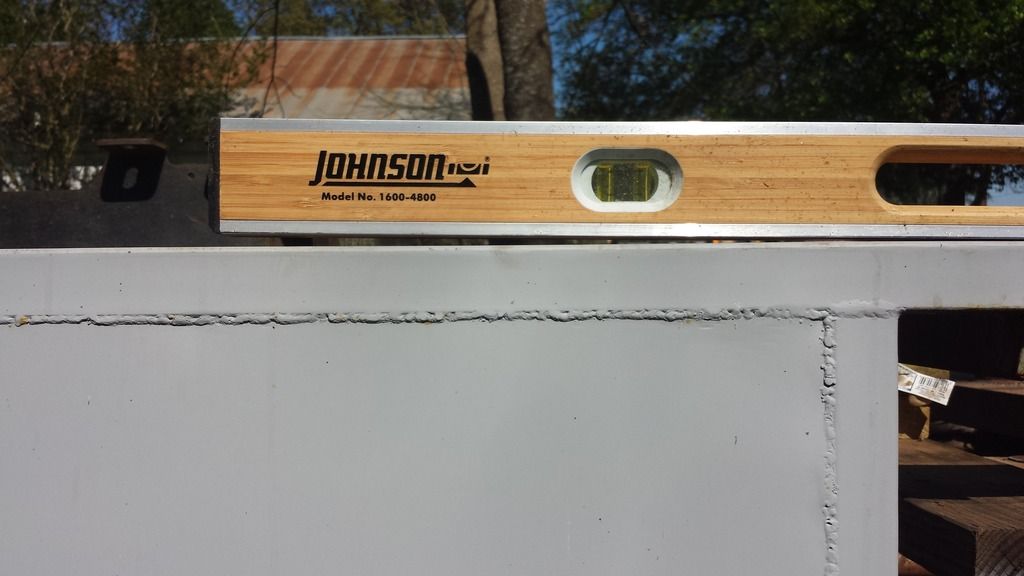
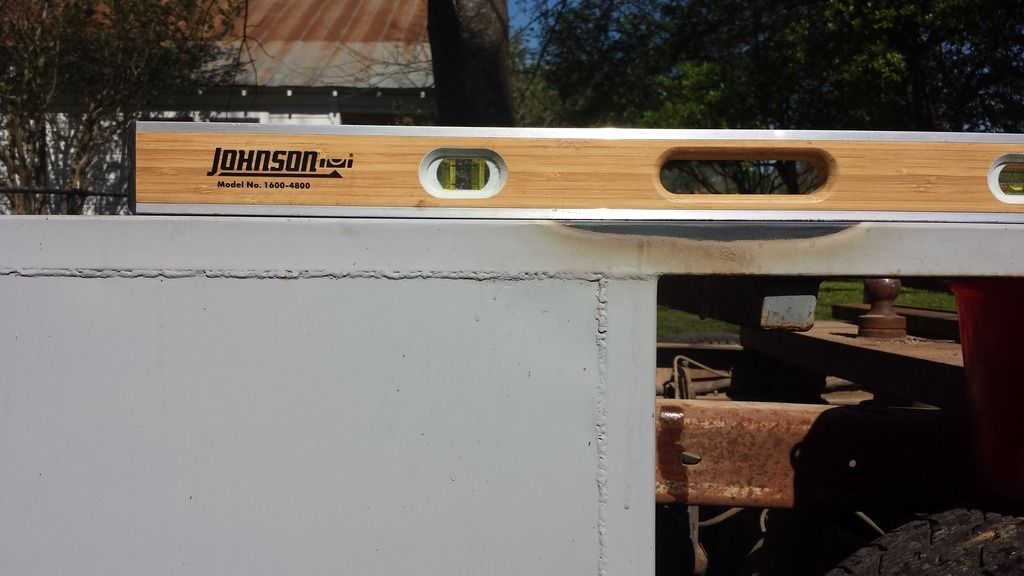
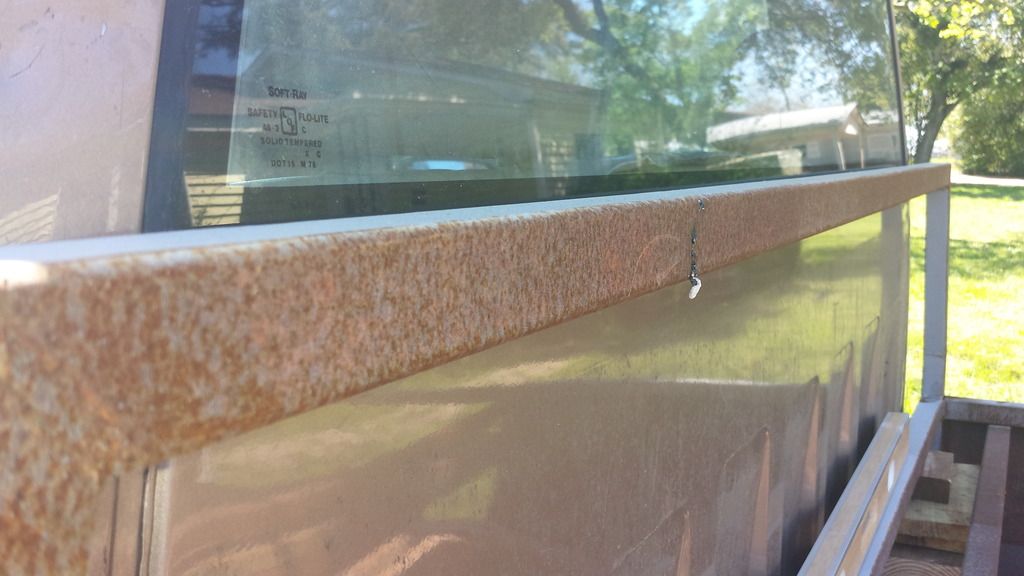
In the last few months here rain has been just frequent enough to keep a nice patina on the trailer all the time. Last month I spent a few days with a wire wheel cleaning it up to finish some welding and try to get it primered. You can see how well that went. lol

Anyhow, cleaned off we have this.

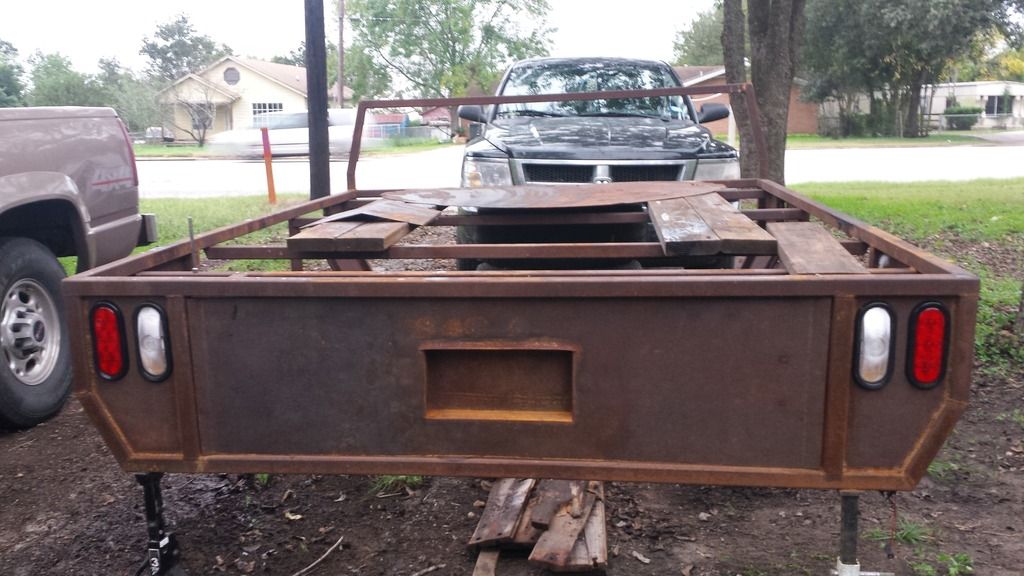
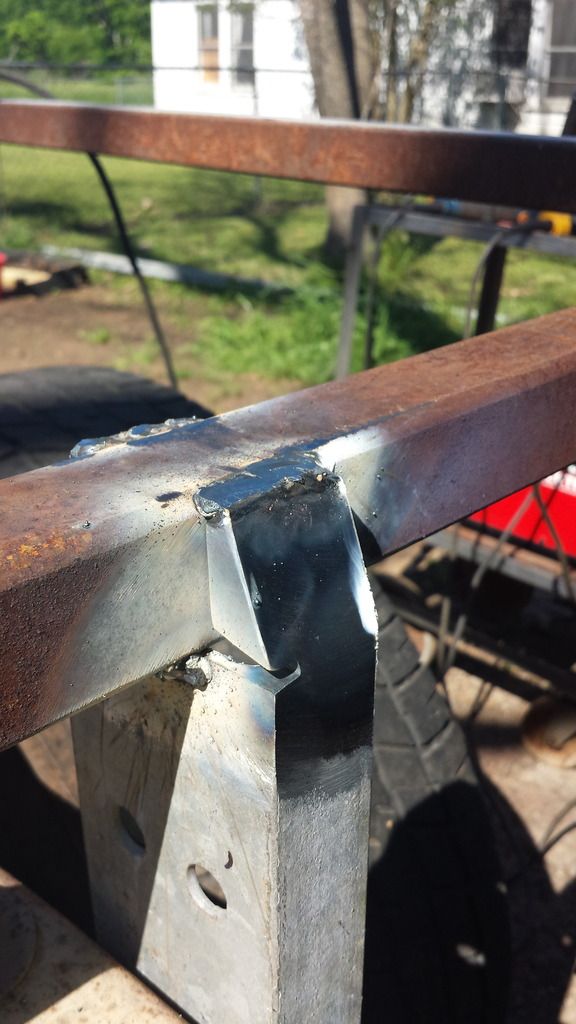
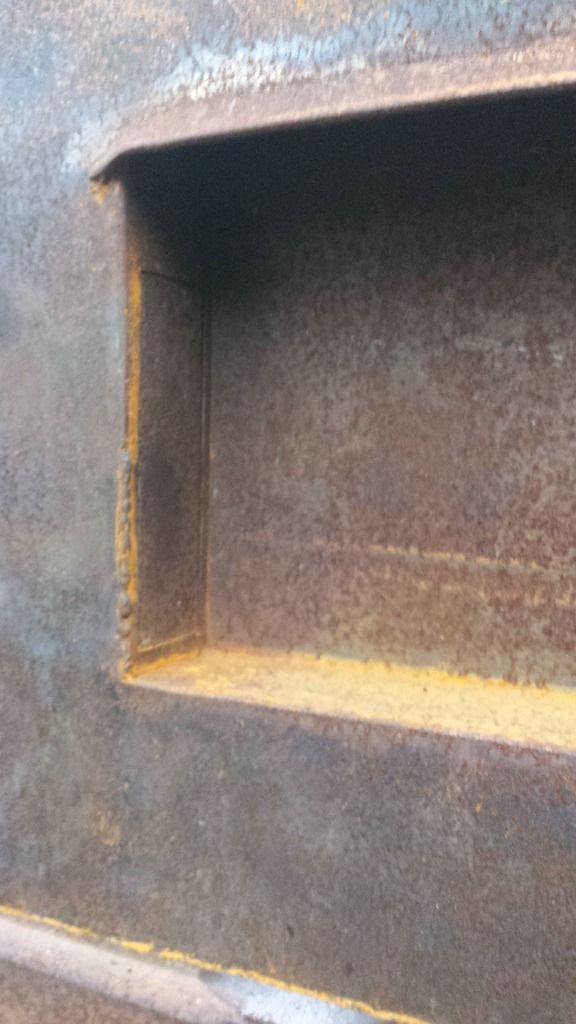
It's mostly 1-1/2" x 1/8" square tube with 16ga sides.

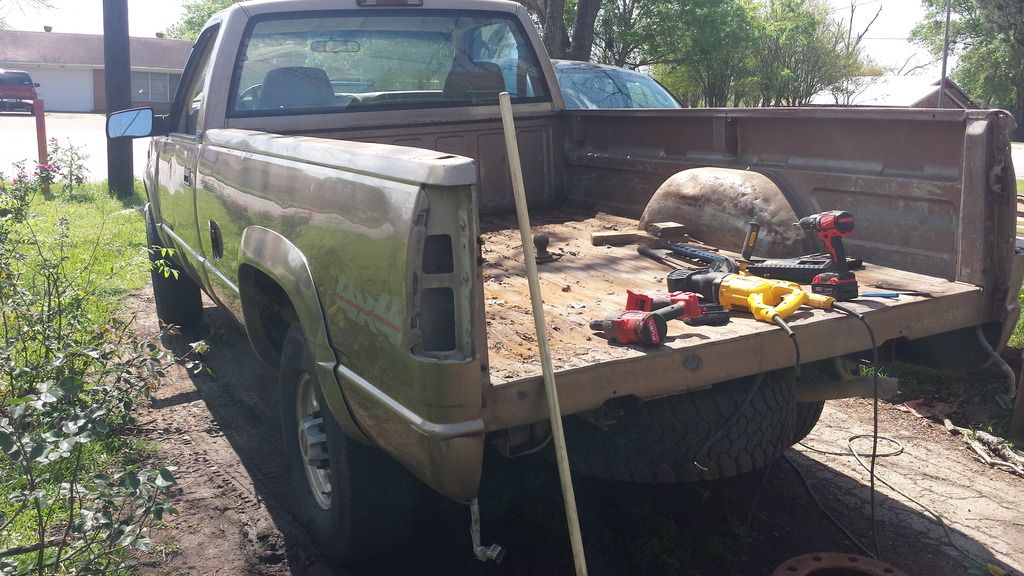
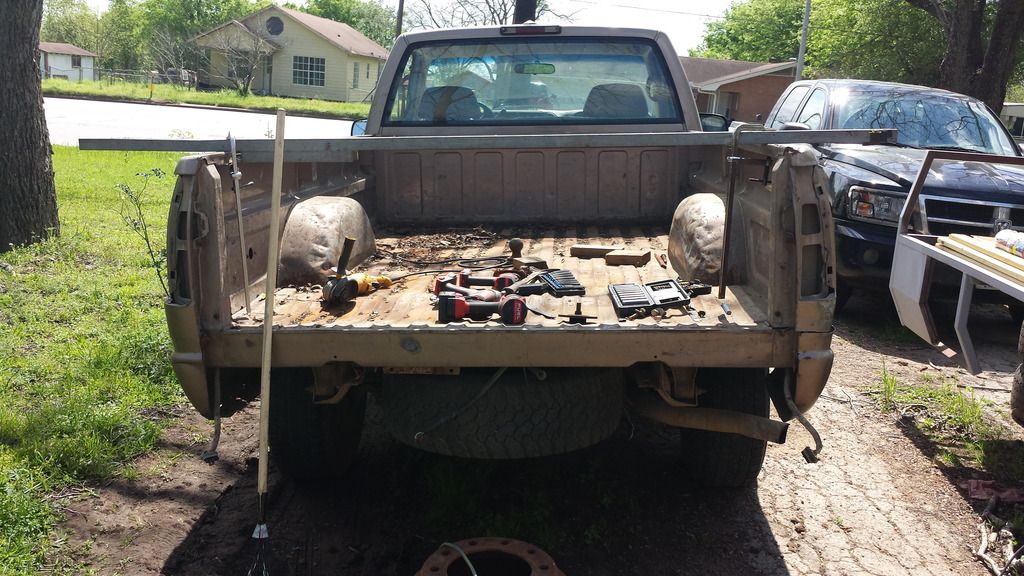
I made doors and plan to build storage compartments in the sides.

I'm planning to completely redo the side doors/hinges. I mistakenly thought 16ga would be heavy enough. The square tubing on top in the first picture is for making frames for this goal.

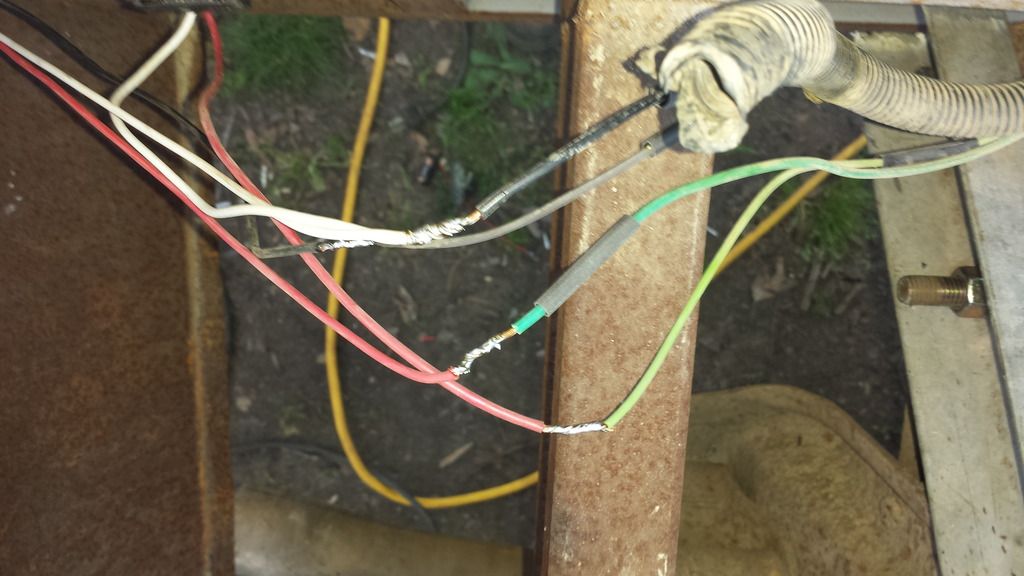
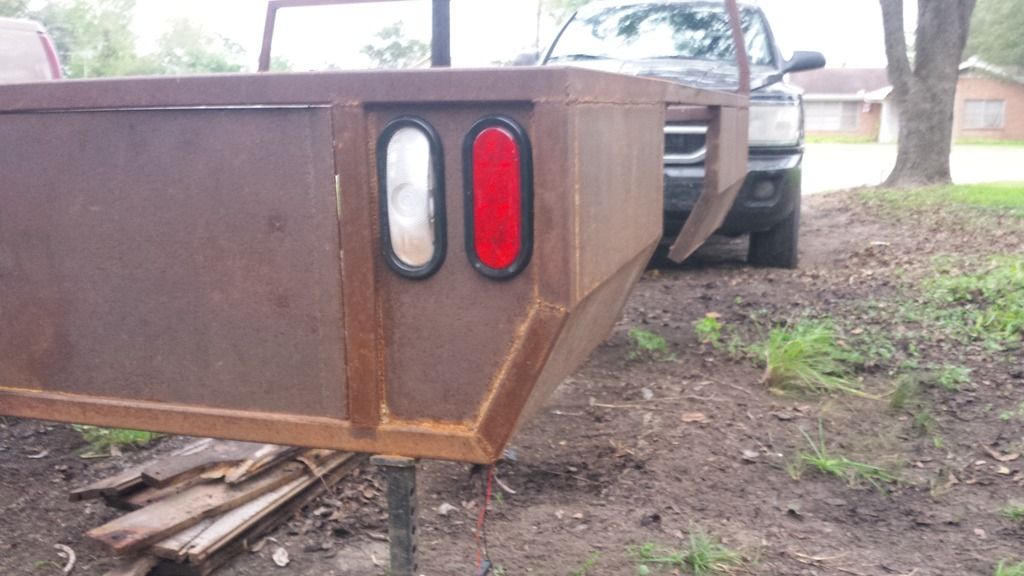
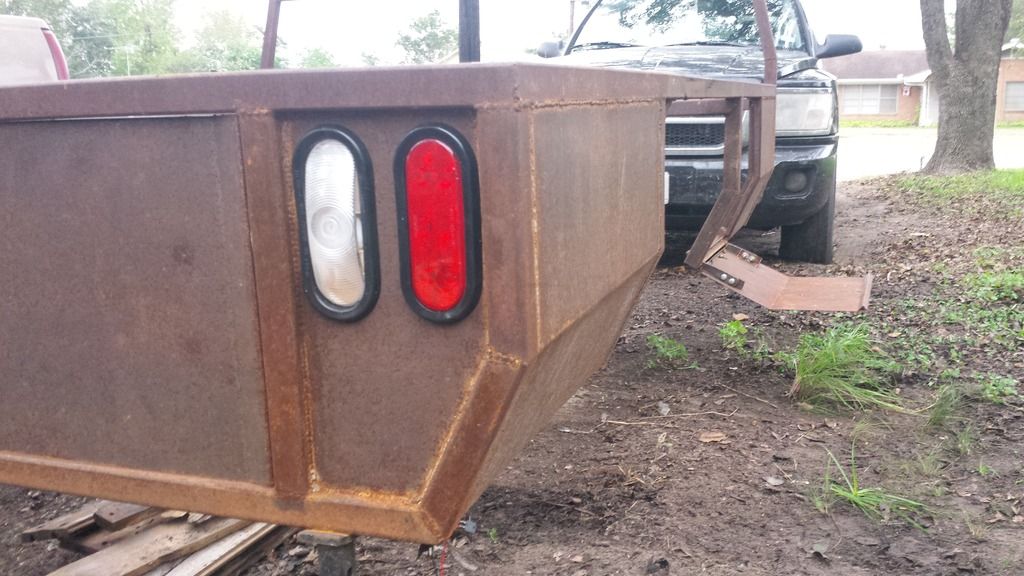
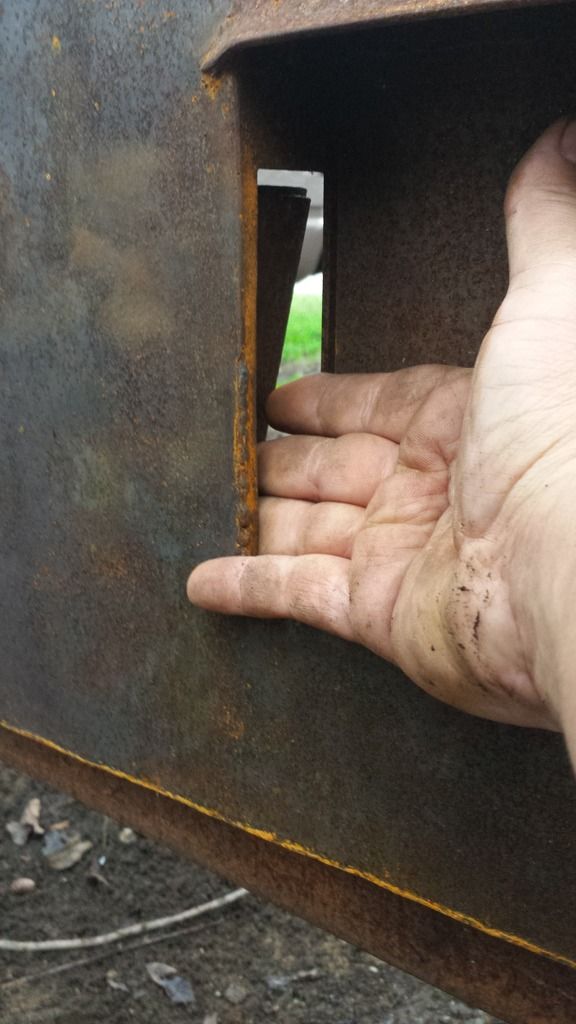
The center section in the back is also hinged for the same purpose. I have the latch hidden inside the pocket for the licence plate.

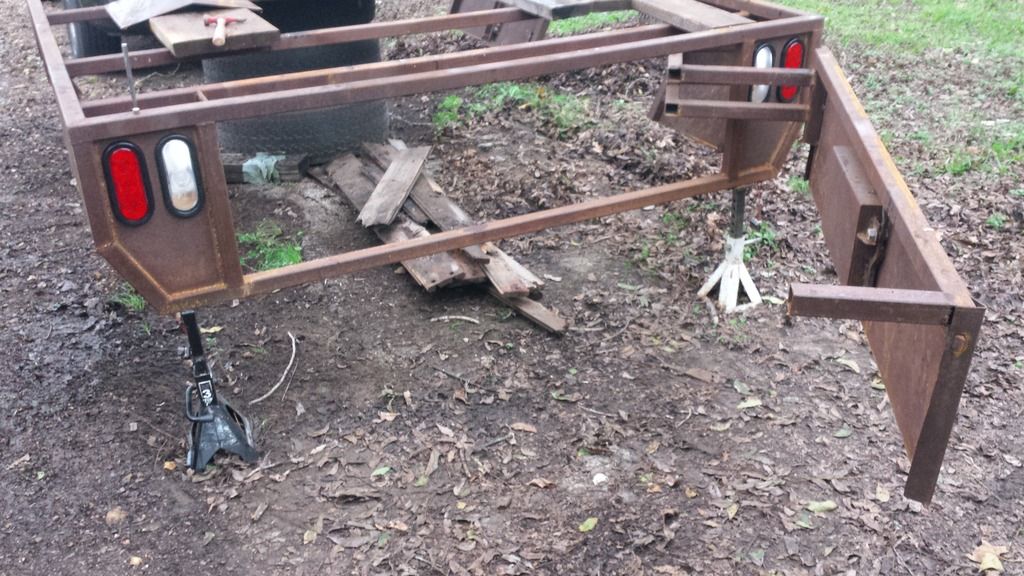
The rear door is hinged in a way that the door swings completely clear of the back of the truck.

Anyhow, I've prioritized getting this finished and on the truck so I can get Uncle Ben home and start cutting out the unwanted parts. I'll have updates and more details soon.

Oh, and I guess I'll try to take a decent picture of the truck itself.

chandlerGTi
chandlerGTi UberDork
11/7/16 7:03 p.m.

That latch is ingenious, nice looking bed.

Crackers
Crackers Reader
11/9/16 10:46 a.m.

Thank you.

Unfortunately I got hasty and screwed up, welding in the recess too soon. Now I have to cut something to remove the handle so I can drill a hole to put a tool box lock on it.

Fairly minor considering, but annoying none the less.

Crackers
Crackers Reader
3/19/17 11:22 a.m.

So I took on a couple big projects doing rust repair on some trailers to help fund some equipment. Of course none of it is of much use on this project, but it will definitely help when I get around to Uncle Ben again.

Anyhow, the rear main on this let go last week about a week after I bought another daily and is dripping oil onto the exhaust crossover enough to smell it.

So since it now has a major oil leak the obvious next course of action is cutting the bed off it and mocking the flat bed up on the chassis. I'll post some pics later today.

As an aside, about a week after I bought my previous daily the steering box on this let a seal go in similar fashion, so this seems a bit of a trend. Kind of like a dog that pees on your bed when they get jealous. So naturally, I'm gonna spank it with a reciprocating saw!

Crackers
Crackers Reader
3/19/17 8:34 p.m.

Well, that was fun. Let's start at the end, then jump back to the start.

She's been well... Abused. She's been well abused. Most of it from previous owners, but I share a fair amount of blame. I have been using it like an old work truck after all. Half of the spot welds had failed from P/O's overloading and likely carrying large round hay bales in the back resting on the bed sides.

Lights and wiring pulled ready to start cutting.

Here you can see the drivers door has been victim to multiple insults. Someone tried to remove a garage door frame with it while backing out, then used a pair of beavers to make clearance for door operation. Then I had a deer run out and try to put some aero dimples in it.

I'll get more pictures of the extent of hackery when I try to address it.

The bed had failed so completely in fact, that the right side was so flimsy I had to clamp the sides back together with a bit of steel across the top to get it stable enough to cut it apart with the reciprocating saw. lol

Taking her clothes off...

You can see here, even the inside of the stake pockets were tearing apart.

A little while later, and I have a flat bed.

However it's not exactly sound.

The bolt is still in, but the mount has ripped free of the bed. So I yanked out the remaining bolts actually holding the bed floor in place and spun the thing to the side so I could drill out the spot welds holding the front panel on.

Somehow I missed pictures of the bare backside, but I chopped up the floor and all the pieces are nice and manageable.

Crackers
Crackers Reader
3/19/17 9:25 p.m.

Then I used some industrial shelving supports to lift the side of the bed and clamped them to the opposite frame rail to create skid rails.

Then picked up the other side and pushed it over.

Then spaced it up close to finished height with some wood and strapped it down so I could move it out of the way and clean up.

Looking at that picture I see I warped the berkeley out of the top rail welding on the vertical supports so that will have to get addressed before I can proceed with making mounts.

For now I'll pick away at it and hopefully I can have it proper mounted before I'm ready to pick up a tranny, Jack and repair the leaky rear main.

Crackers
Crackers Reader
3/20/17 4:32 p.m.

So according to my Johnson, I berkeleyed this up pretty good.

A little time with a torch and a bucket of water has me here.

I actually did a couple more heats after that pic to fine tune it and get that 3/32" at the back out completely but the pics were out of focus.

I'm trying to decide if I need mounts or beer next. Maybe both?

Crackers
Crackers Reader
3/20/17 4:38 p.m.

Oh, and you can see here what happens when you try to weld with flux core wire after its flashed over. Even though I wire wheeled the piss out of it beforehand, since it flashed over with the panel tacked in place there was really no chance of getting it clean enough on both sides to weld neatly.

NEALSMO
NEALSMO UltraDork
3/20/17 4:51 p.m.

Are you sure it's not your Johnson that is bent? It's pretty natural for them to have a curve.

Pretty cool flatbed BTW.

Crackers
Crackers Reader
3/20/17 7:10 p.m.

I don't know, my Johnson is pretty legit.

Crackers
Crackers Reader
3/20/17 7:37 p.m.

Rearmost mounts are mocked up.

That perforated channel I'm using came from a big warehouse shelving system that collapsed after a forklift accident. It's been my intention to use it for the mounts, since it's already galvanized and I have (had) a couple hundred feet of the stuff I got for free.

Unfortunately my rear cross member is directly over the rear leaf spring pickup point so I had to put a bit of an angle on it.

When I bought this truck the rear bumper was loose and apparently had been for some time as most of the bolts broke when I tried to tighten them because they had worn against the frame holes, wearing the bolts halfway through, and elongating the holes in the frame. Good luck in bad, the elongated holes happen to have been opened up just enough to line up with the perforations in the channel.

How often does a guy get that brand of lucky?

I still need to level the truck and make sure the bed is square/plumb/level before I start welding.

Hopefully I can keep some momentum going and have the bed at least proper mounted and wired in the next week or so.

Dusterbd13
Dusterbd13 PowerDork
3/20/17 7:40 p.m.

Be careful with welding galvanized. I hear the fumes are pretty nasty. Granted, you're doing this outside with a flux core, so its probably the safest way to do it....

Crackers
Crackers Reader
3/20/17 7:43 p.m.

Absolutely! I intended to mention how stupid welding galvanized metal is when I got that far.

Crackers
Crackers Reader
3/21/17 10:03 p.m.

Having more fun today. Dusterbd13 finally pushed me over the edge and into a marathon session of Project Binky. Now I'm​ completely obsessed, in a bad way. I really think Blackhurst just might be my spirit animal.

If I had space for a grinder scare crow I'd probably be building one right now instead of finishing this flat bed. In the meantime I need to get this thing level so I can get the bed square and start welding. Being poor, and having to do this in my E36 M3 driveway I spent a few minutes driving the truck on and off various stacks of wood of varying height. Which got me here.

That's​ never going to make the noise... Mostly because I'm having to level this with my wood Johnson, but also because it's just not there yet. So, let's find the easiest way to go about this...

Yes, I deflated a tire and turned the steering to level it. But it worked, so please don't pick on me too much...

(we can pretend it made the noise... ...Ok, I'll stop now)

Then more-different wood to make my Johnson happy.

I was quite pleased with myself at this point. I built this bed with only rough measurements and a wild guess for where the backache rack was going to terminate. But it ended up exactly where I wanted it.

It's so level even the bird E36 M3 runs in a straight line. That means I'm ready to start making mounts. I wanted to make the mounts somewhat failsafe in case a weld failed so I cut the top side so it would make a cradle.

I still need to finish welding it, but it's ok enough looking to let other people see it. Of course the bottom end wanted to cohabitate with the little cable guide for the parking brake. A little heating with the torch and it looks like it's supposed to be that way.

Then I soldered in the wiring harnesses for the new lights so I can at least use it in an emergency.

By then I was pretty much out of daylight. So since I had lights in it, I drove over to the coin-op car wash so I could pressure wash the chassis and get all the clay and silt out of the cross members. By the time I ran out of quarters it was too dark to tell if it actually did much, but it looks much better now that the bed is straight.

So now I'm down to only half a million things left. I still need to decide on what side markers I want to put on it, do I keep these reverse lights or use 2 sets of red lights and cut another hole a little lower for round reverse lights, how to fill the backache rack (wood to match the deck, or some stupidly elaborate steel filler panel), and how I'm going to access the filler neck. (exposed cap, or reuse the old fuel door mechanism)

Then I still have to remake the driver side cargo door, finish the rear door latch, weld in the captive nuts to hold the wood deck down and install said deck. Somewhere in there I need deal with the rest of the rust and roll on some bed liner too.

So yeah, almost done. Right?

759NRNG
759NRNG New Reader
3/24/17 7:06 a.m.

reuse the old fuel door mechanism.....in true binky fashion

759NRNG
759NRNG Reader
3/24/17 7:09 a.m.

Are you installing rear wheel tubs?

Crackers
Crackers Reader
3/24/17 2:50 p.m.

The top rail might have to be sectioned a little to make a door work, but some measuring is in order first.

I don't have all the fancy lasers and stuff like patience to do Blackhurst level planning/layout, (although I might have a new level on order... ...don't judge me) so a hole needs to be cut to see if I can get the opening low enough to fit a filler nozzle without causing too much flow disruption.

I'm not doing any kind of inner well, but after the underside boxes get finished, they will essentially function the same as inner wells.

Crackers
Crackers Reader
3/30/17 9:04 p.m.

No progress worth photographing, as I'm just working on fiddly detail stuff in short bursts.

Having a bit of a bad week, I went out for some retail therapy and with HF out of stock on their 2000# transmission jack, I went to TSC and bought grinder number 9.

I already have one just like it, but I got tired of having to unpack it from my trailer every time I wanted to cut something. (Pretty much every day.)

These are actually DeWalt's cheapest​ grinder, but they have the smallest head, a locking thumb switch with a small and light body overall which makes them ideal for death wheels. My other one is still going strong after 4 years and lots and lots of abuse, although 4 years seems to be the life expectancy of these so it was time for a backup anyway.

I have one of the 15a $$$ models that comes with guards for 4-1/2", 6", and 7" wheels but it's head size limits cut depth and it's harder to keep steady enough for death wheel action. The two usually work well in tandem when I'm fabricating though.

Crackers
Crackers Reader
4/18/17 5:27 p.m.

Having build threads for you vehicles really does help with motivation, even if it's​ just because you get shamed into working on them.

I wasn't planning to do anything today because it was very damp outside, but I went and bought some heavy rubber mats for my new transmission jack to roll around on, squared the truck up on them in the most level spot not currently occupied by a station wagon, and started in on pulling ​the transmission to replace the rear main seal.

Sadly, after about 90 mins, I was down to just 3 bell housing bolts and the the torque converter bolts when it started pouring rain again.

 photo 20170418_170537_zps7ormgkab.jpg

Hooray for outdoor projects!

So, I live in rural Central Texas, which means this truck has been driven like a 4 ton rally car for about 1/3 of the last 105k miles. It's also been rode hard and put up wet. On top of that, I haven't actually been under it except to change oil since the last time I pulled the transmission about about​ 80k miles ago. I know, I know, but I really never thought I'd keep this thing this long, and let's face it​, I'm a marginal owner at best when it comes to my appliances, which is basically all this has been.

So what does all that mean? It means there were no bolts in one side of the cross member, ZERO bolts in the trans mount, 3 finger tight flywheel cover bolts, 1 finger tight bell housing bolt (so far) and most of the exhaust flange bolts were loose or missing.

Me thinks I need to get under this thing a little more often.

On the plus side, my new transmission jack is fantastic! Excellent control over lowering speed and overall very solid for HF stuff. Also, the HF 9 mil gloves actually hold up to automotive use (a first for me), and Dawn Ultra cleans better than Fast Orange.

Tomorrow has a low chance of rain, so maybe I can get it mostly back together with the parts I have left. Then I'm gonna try to make it to a junkyard to get some fasteners and a couple wiring pigtails next week.

Crackers
Crackers Reader
4/18/17 6:07 p.m.

Also, a while ago I decided I need to give this thing a nickname if I'm going keep it and actually take care of it. Last week my GF was watching "Red vs Blue" (yes, at will, I'm pretty lucky) and I decided to name the truck after the tank.

 photo tumblr_myxenna3yI1toejtho1_250_zpshtbc2jco.gif

 photo 5a11d62faadebaeedca18a5370725754_zpsw3q9gv1g.jpg

Crackers
Crackers Reader
4/19/17 4:03 p.m.

I hate pulling automatics.

That is all.

759NRNG
759NRNG Reader
4/20/17 9:01 a.m.

Crackers, was able to R&R my Dwalt with new switch/brush assy from Dwalt service center on w little York in jersey village ....just sayin next time your this way for work

759NRNG
759NRNG Reader
4/20/17 9:06 a.m.

The 5 speed in my 91 ext cab awaits removal for a clutch when I can get$$$ ahead to complete.....this will be then third clutch (371k showing on the odo).

Crackers
Crackers Reader
4/20/17 8:30 p.m.

That's good to know, but these are too cheap to get too deep inside of. They go on sale for $50 at TSC a couple times a year, and that pretty much makes them disposable IMO. I've destroyed 4 of these so far and only had to put brushes in one. They usually burn up bearings, and by that point I usually have a back up.

I'd love to do a 5 speed swap, but I'm keeping the auto-tragic so my GF can use it to pull her horse trailer.

If you need a hand with that clutch let me know. I'll toss the jack in the back of something and come down.

Crackers
Crackers Reader
4/20/17 8:59 p.m.

I was hoping to have the thing mostly assembled yesterday, minus my missing bolts, but I need to get exhaust flange gaskets because blanked at the counter when I got the new seal and forgot them. I'll just order them on rockauto since I need new cooler line connectors too as one of the spring clips ran away during installation. Though first I have to pull the connectors so I can be sure to get the right ones.

So really, I just hate working on​ automatics in general.

1 2 3 4

You'll need to log in to post.

Our Preferred Partners
IJCOUiA2PBGl1oE6BAa3VePBNMBWJOzOFPNrT3hXxHp3OaM4z6q3aixnM9EqsZbb