


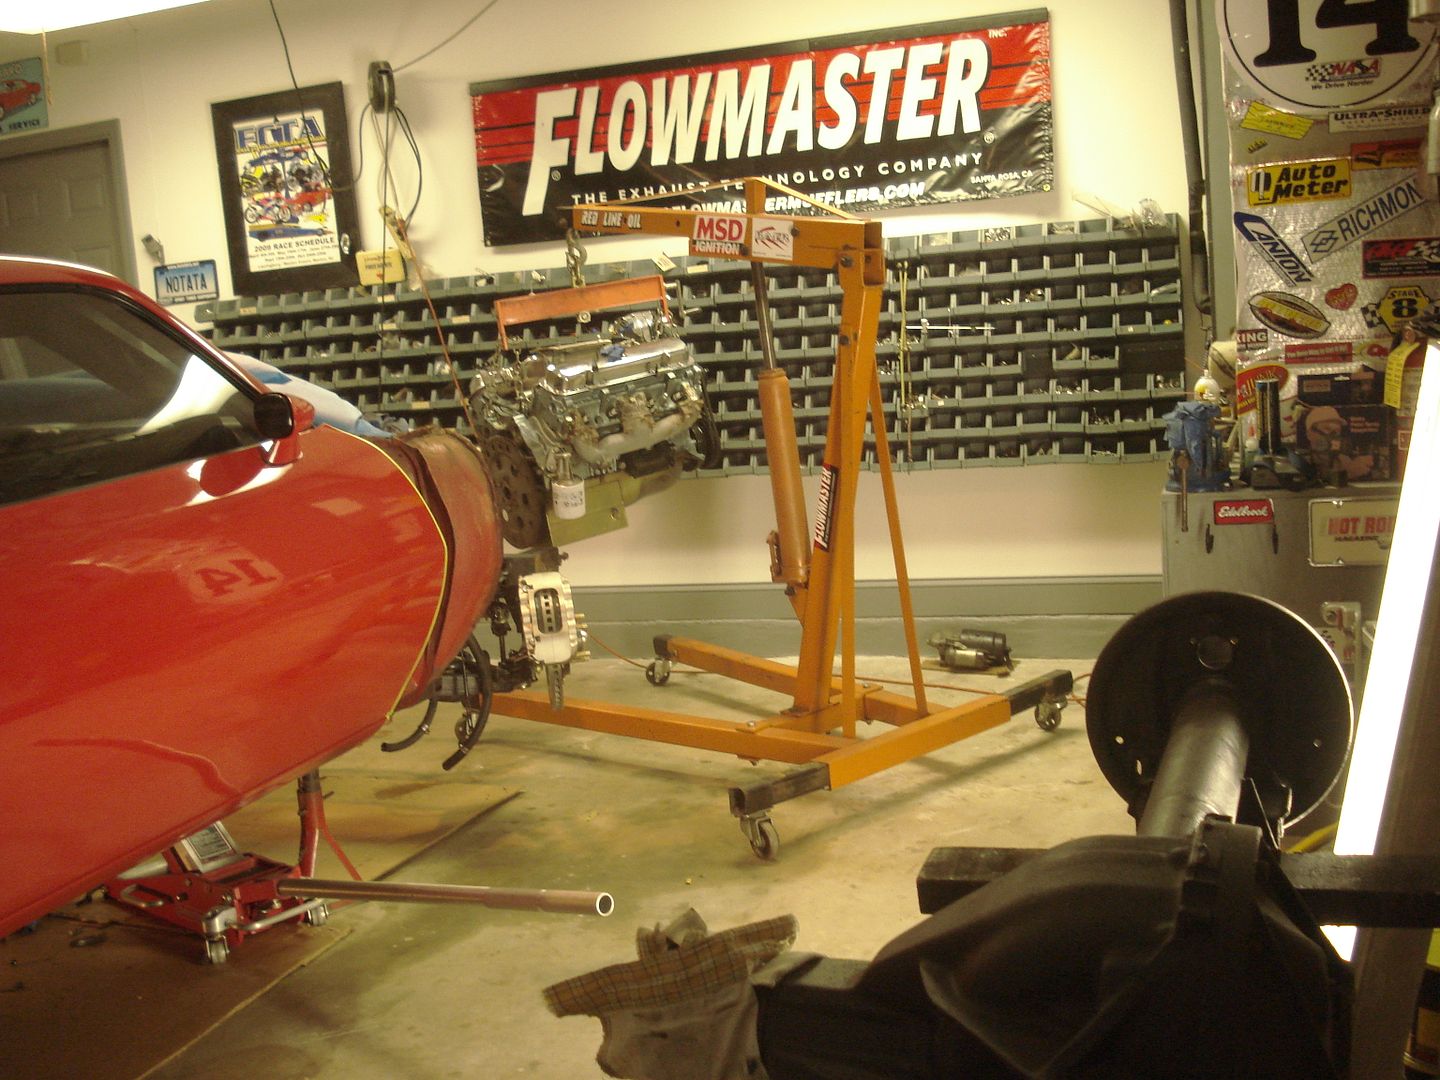
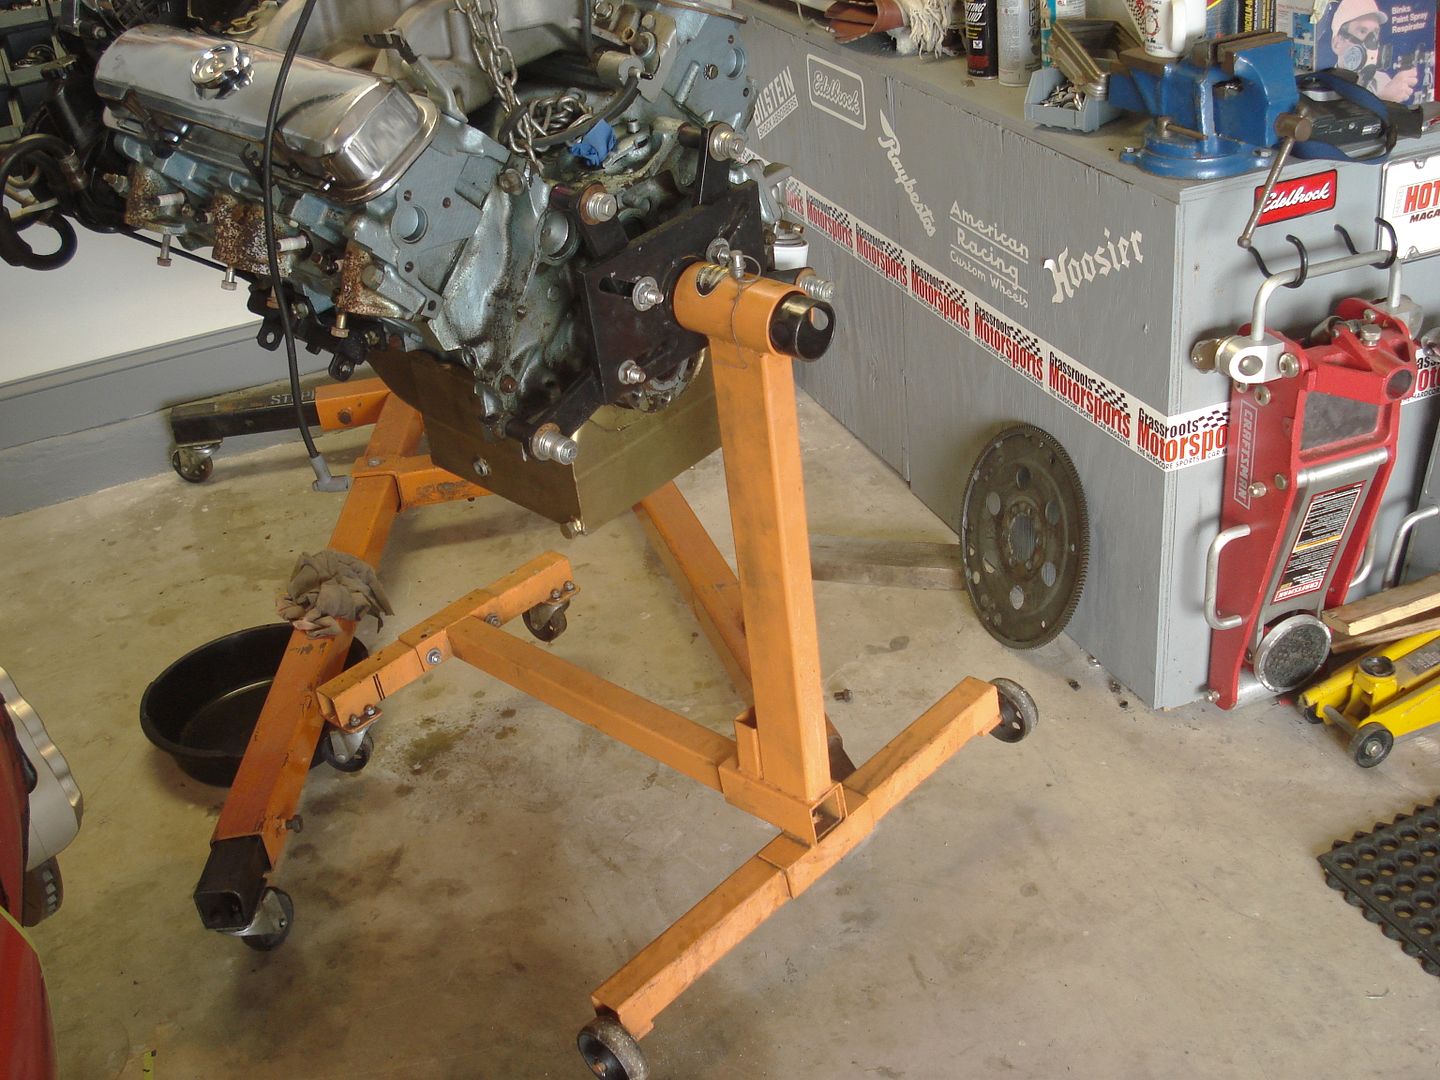
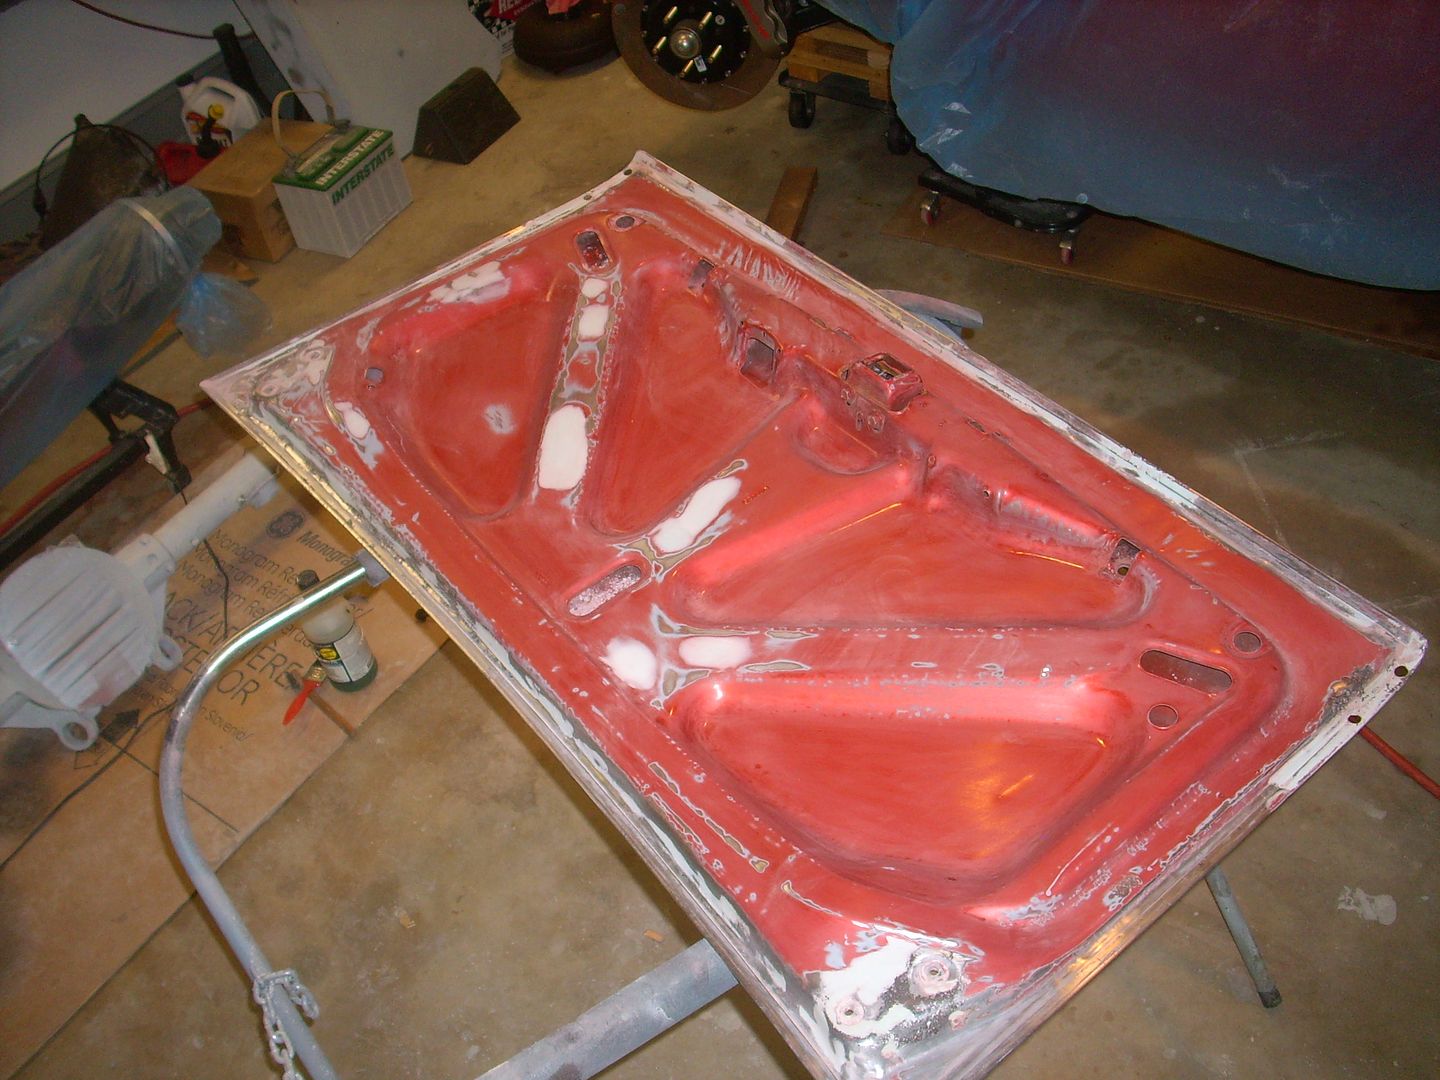
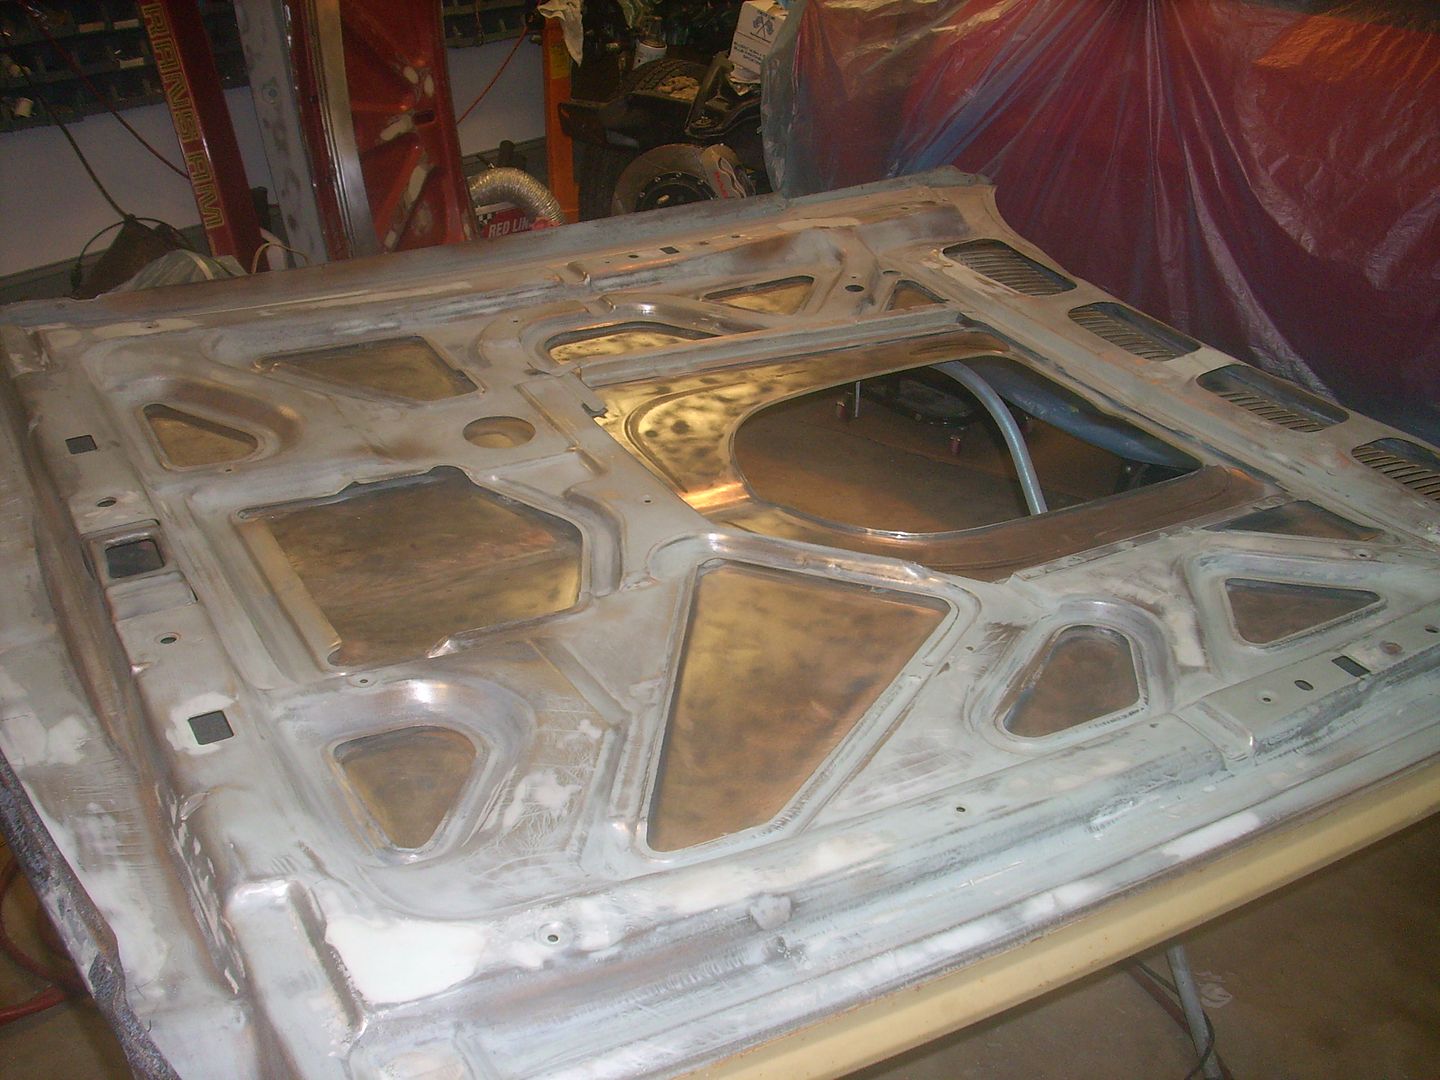
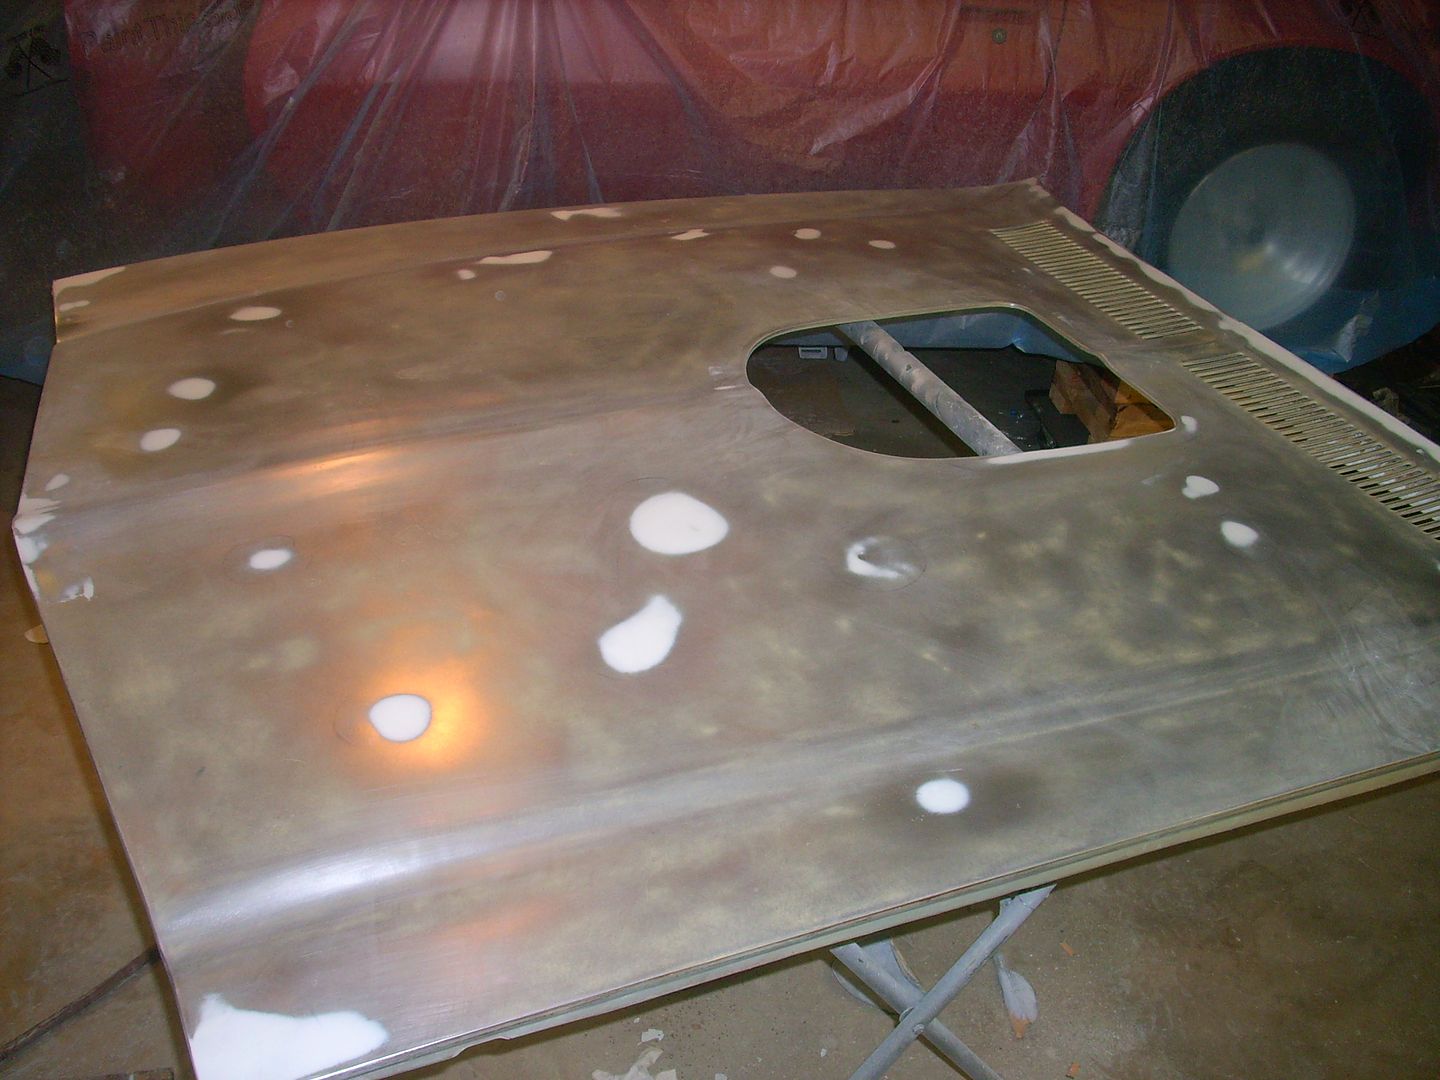
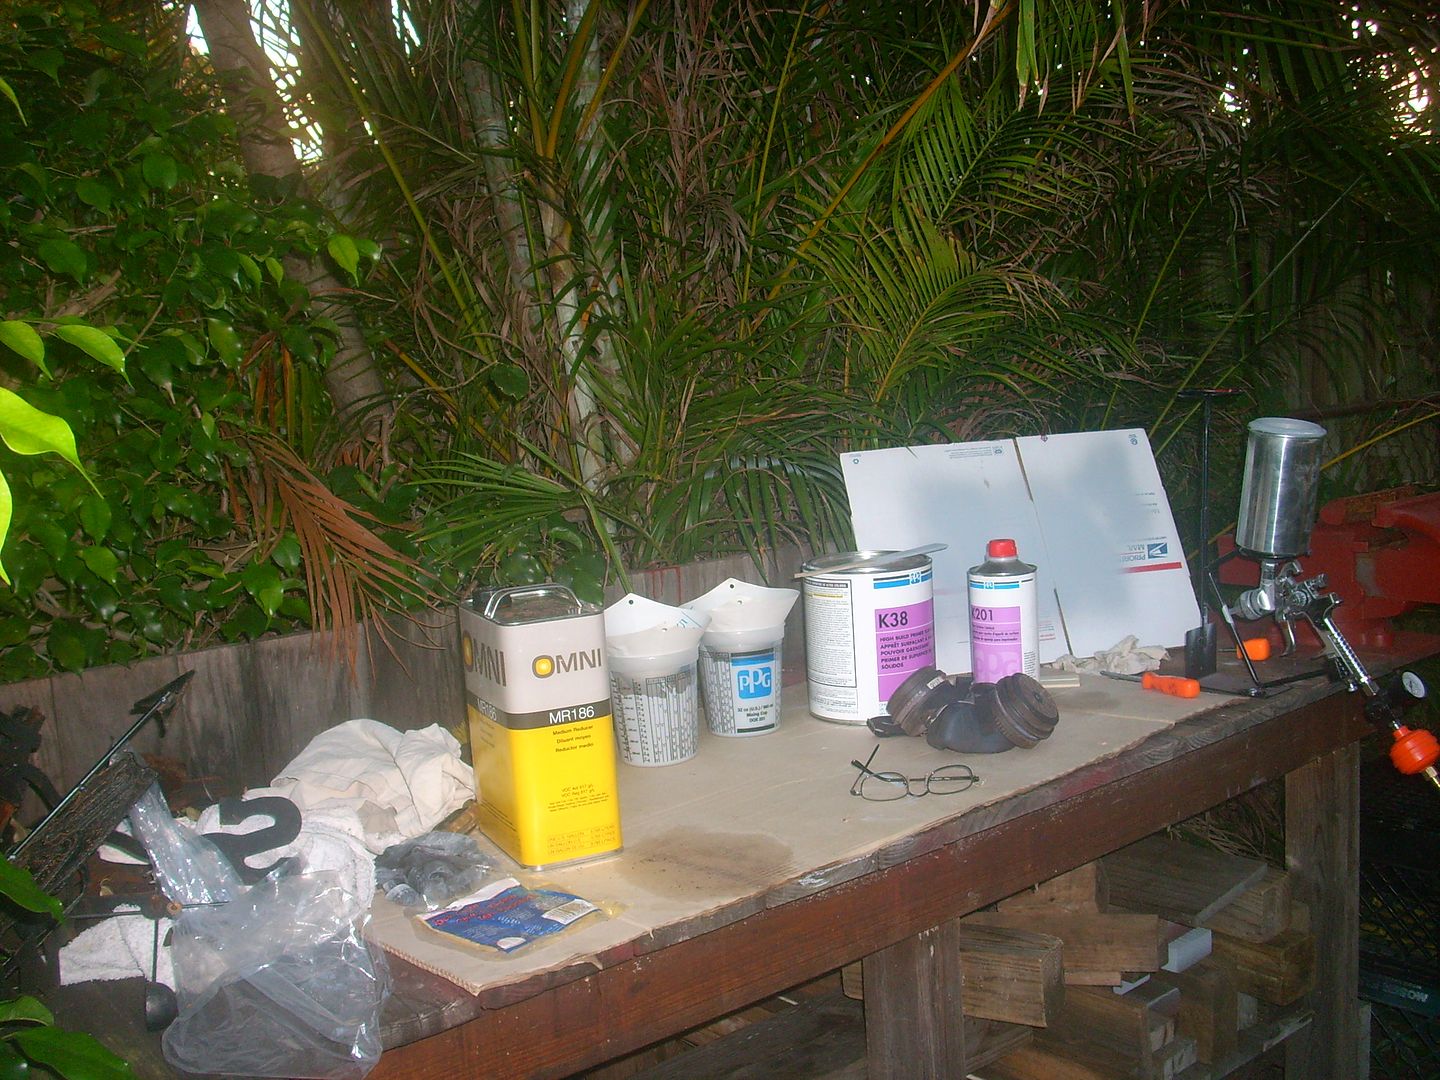
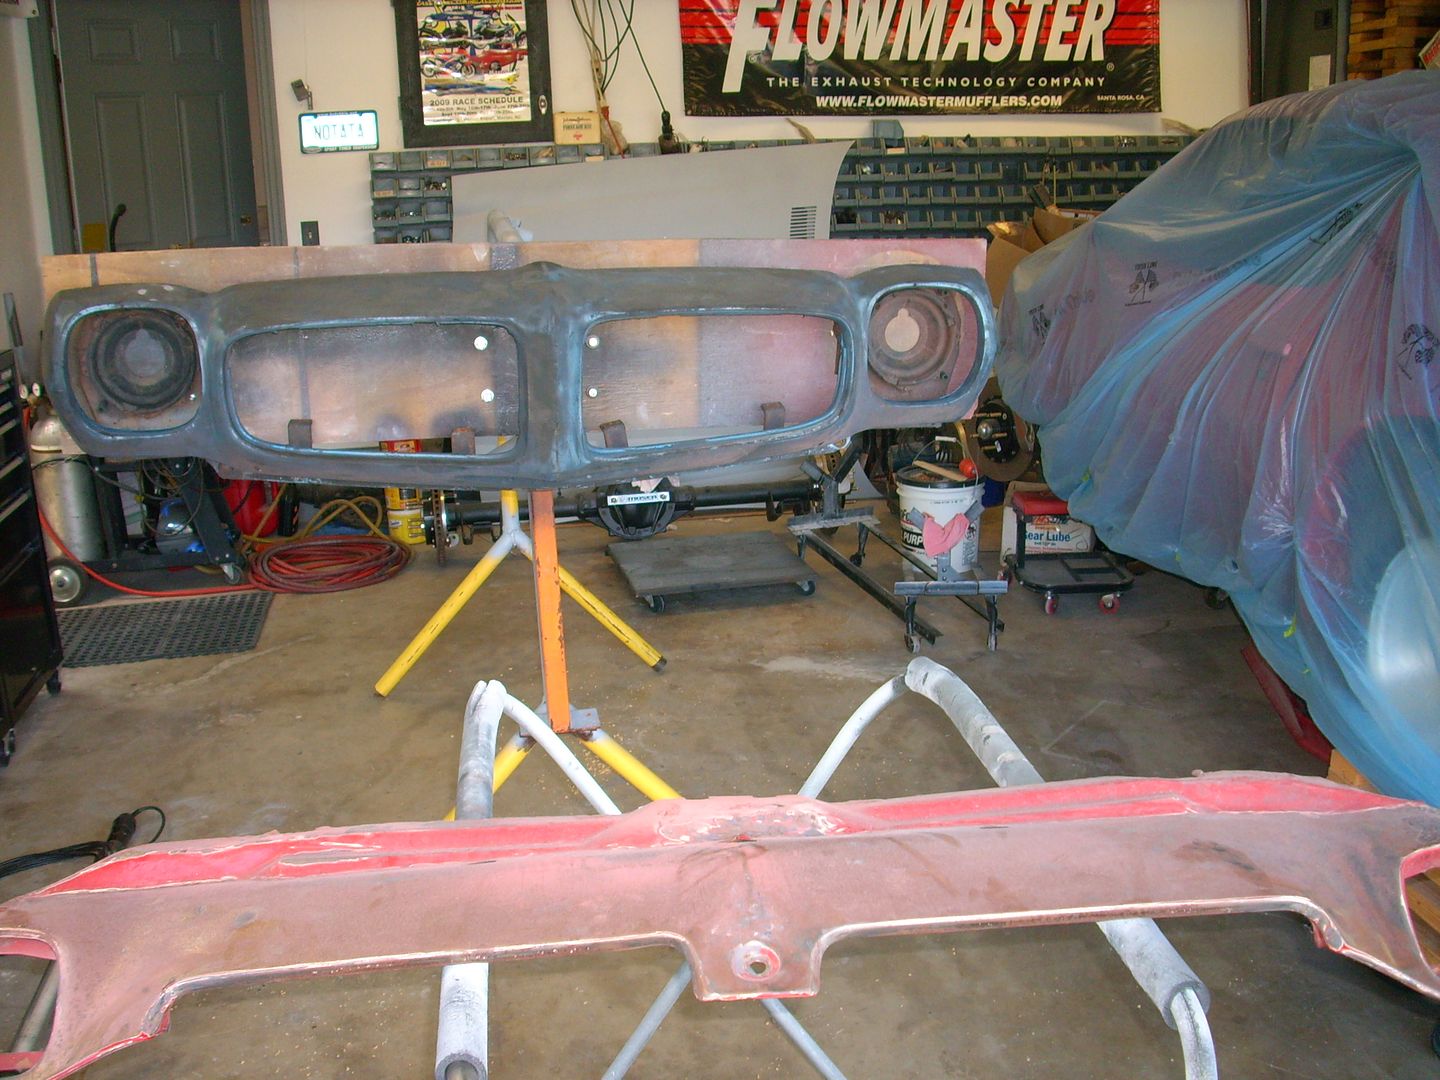
I started this project before we had a project/build section here. So I'm going to copy/past it over here from a thread on another forum till I get up to date and then update as I move along
[URL=http://s240.photobucket.com/user/NOTATA/media/pt_winnerswhats_hot9image.jpg.html] [/URL]
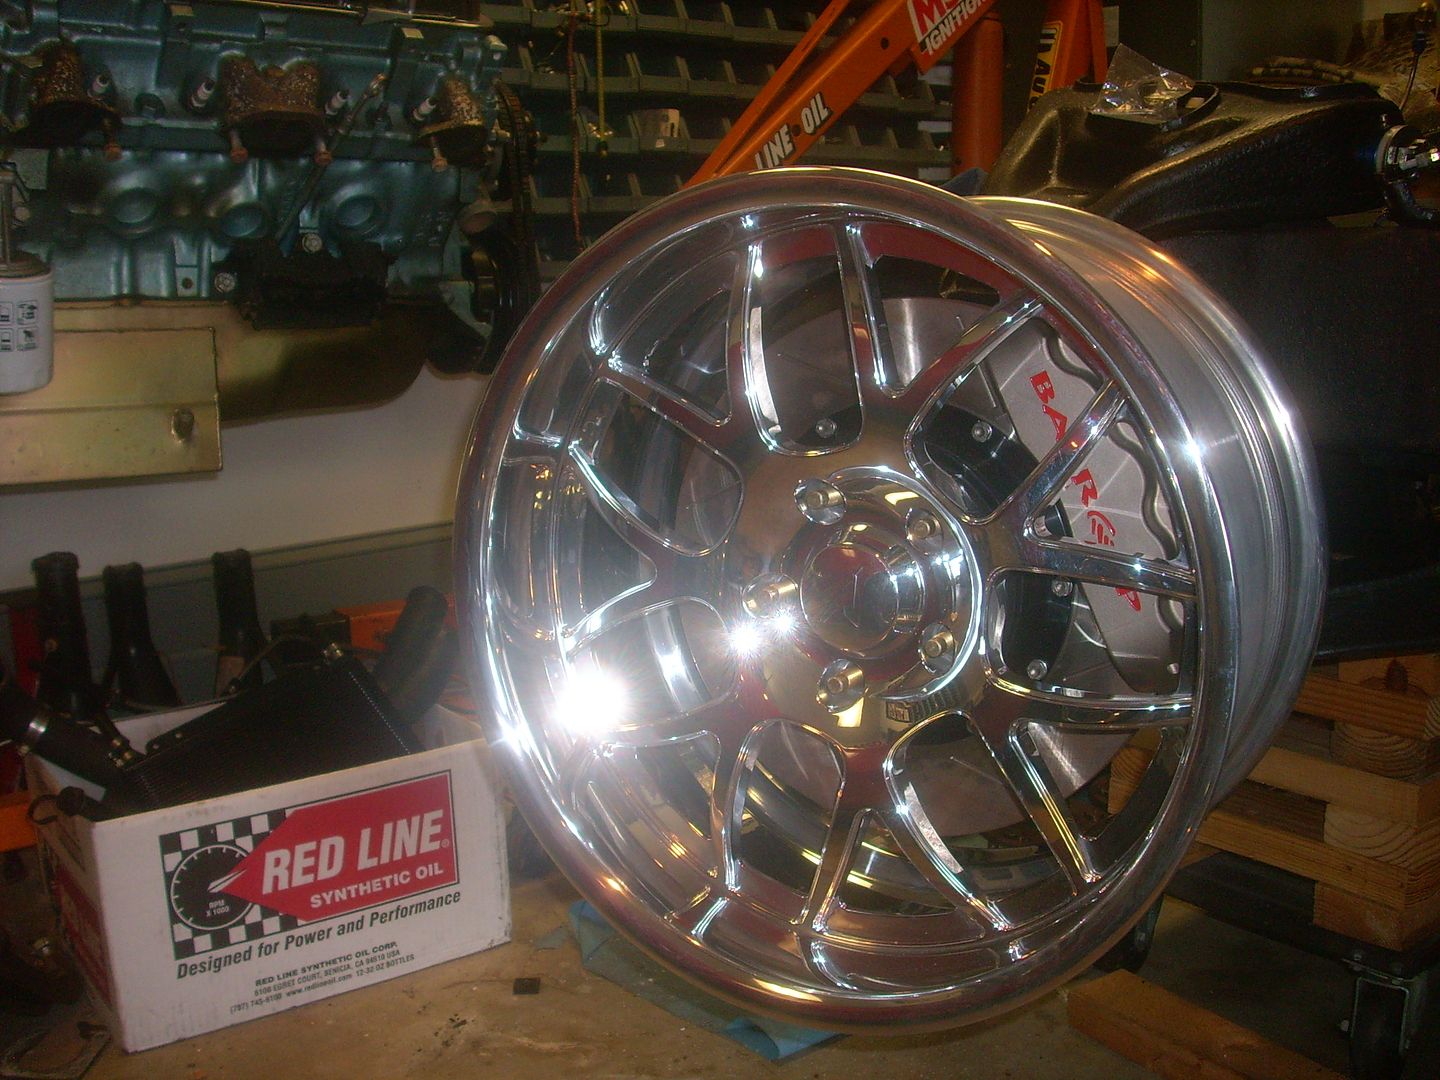
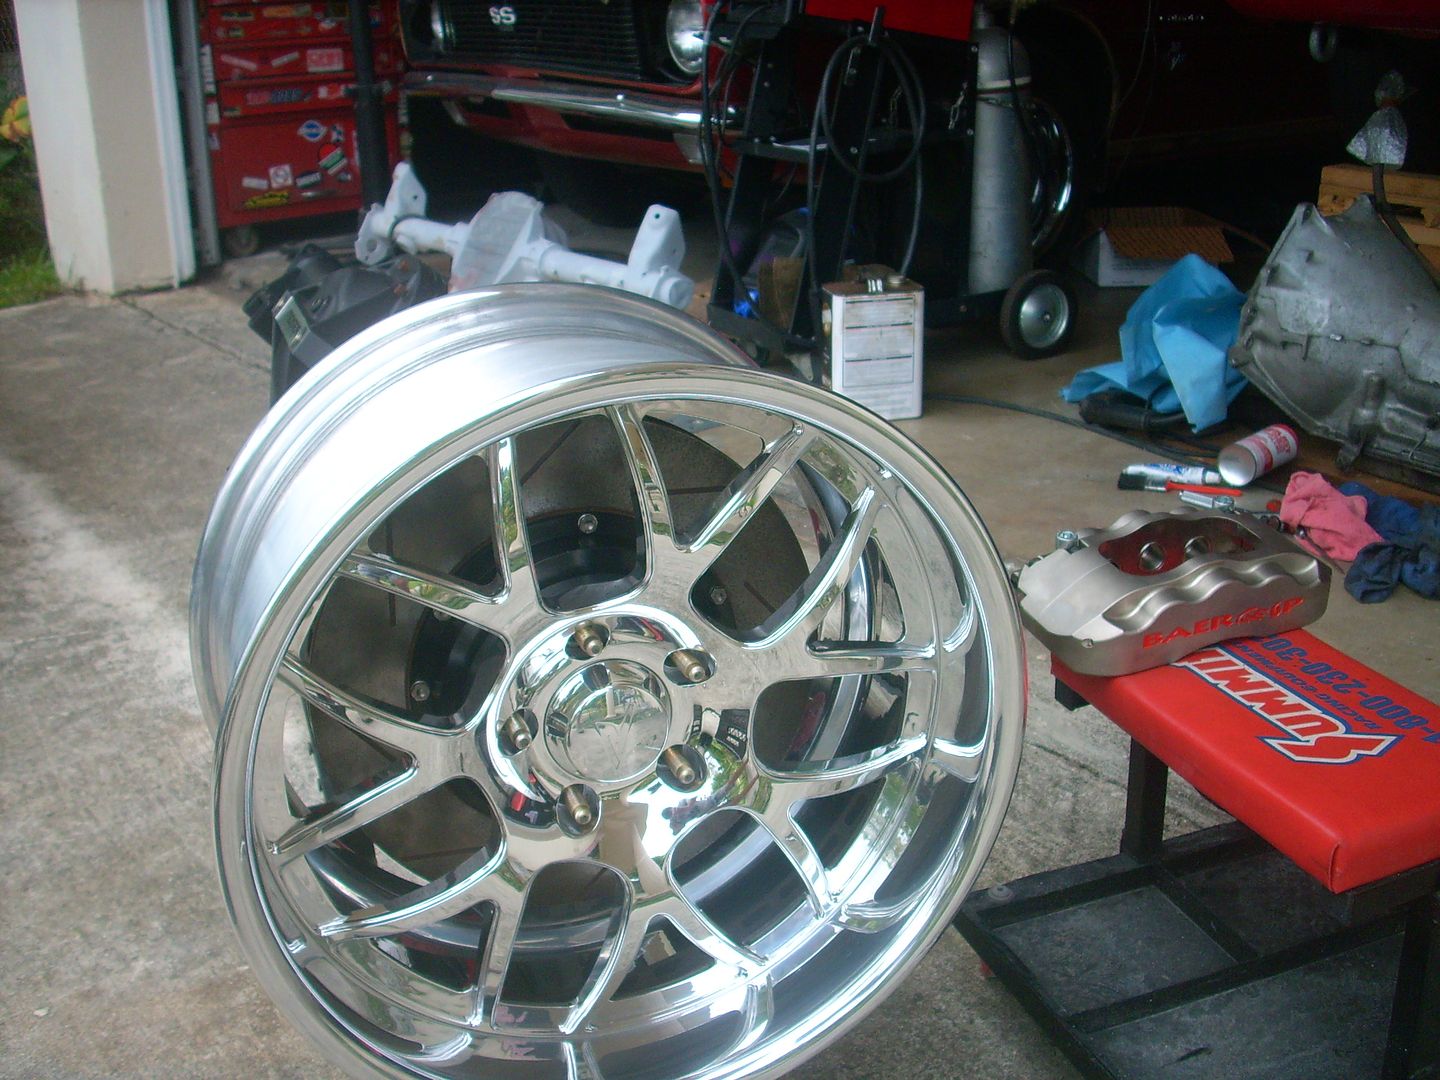
As some of you know, I won the grand prize in the Performance Therapy Online Photo Contest a while back with a photo my bud John Hendrick took at the Sebring road race track. Some of the prizes awarded included a Set of Yokohama tires, a set of Rushforth wheels, and a set of Baer brakes which are going on my 70 Firebird.
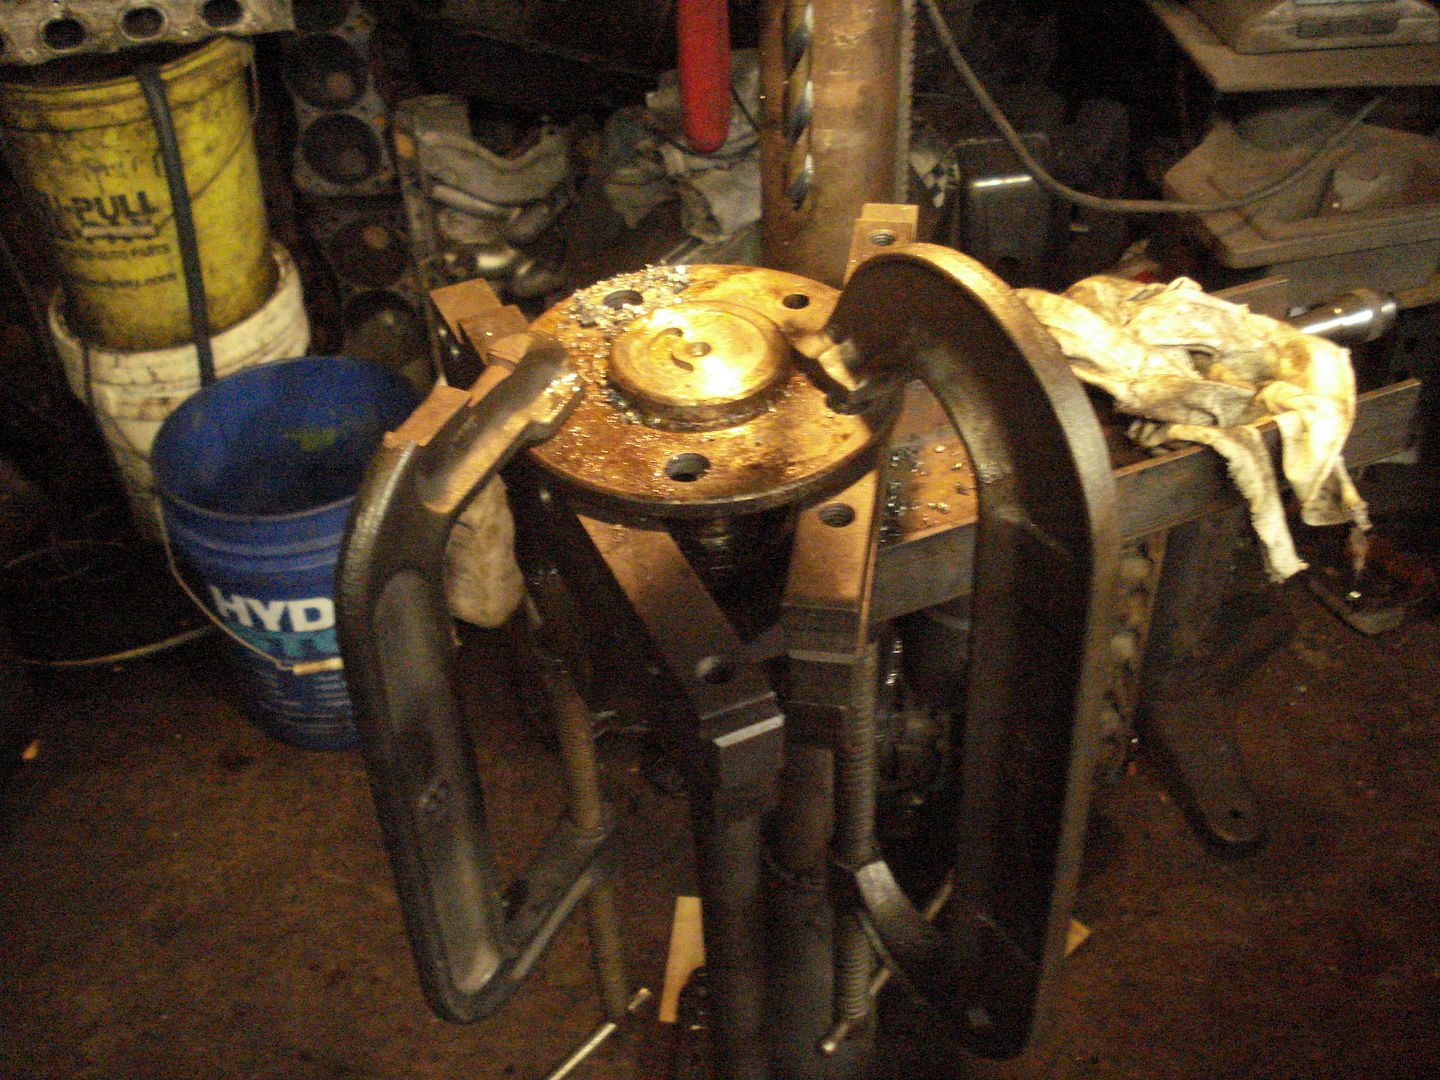
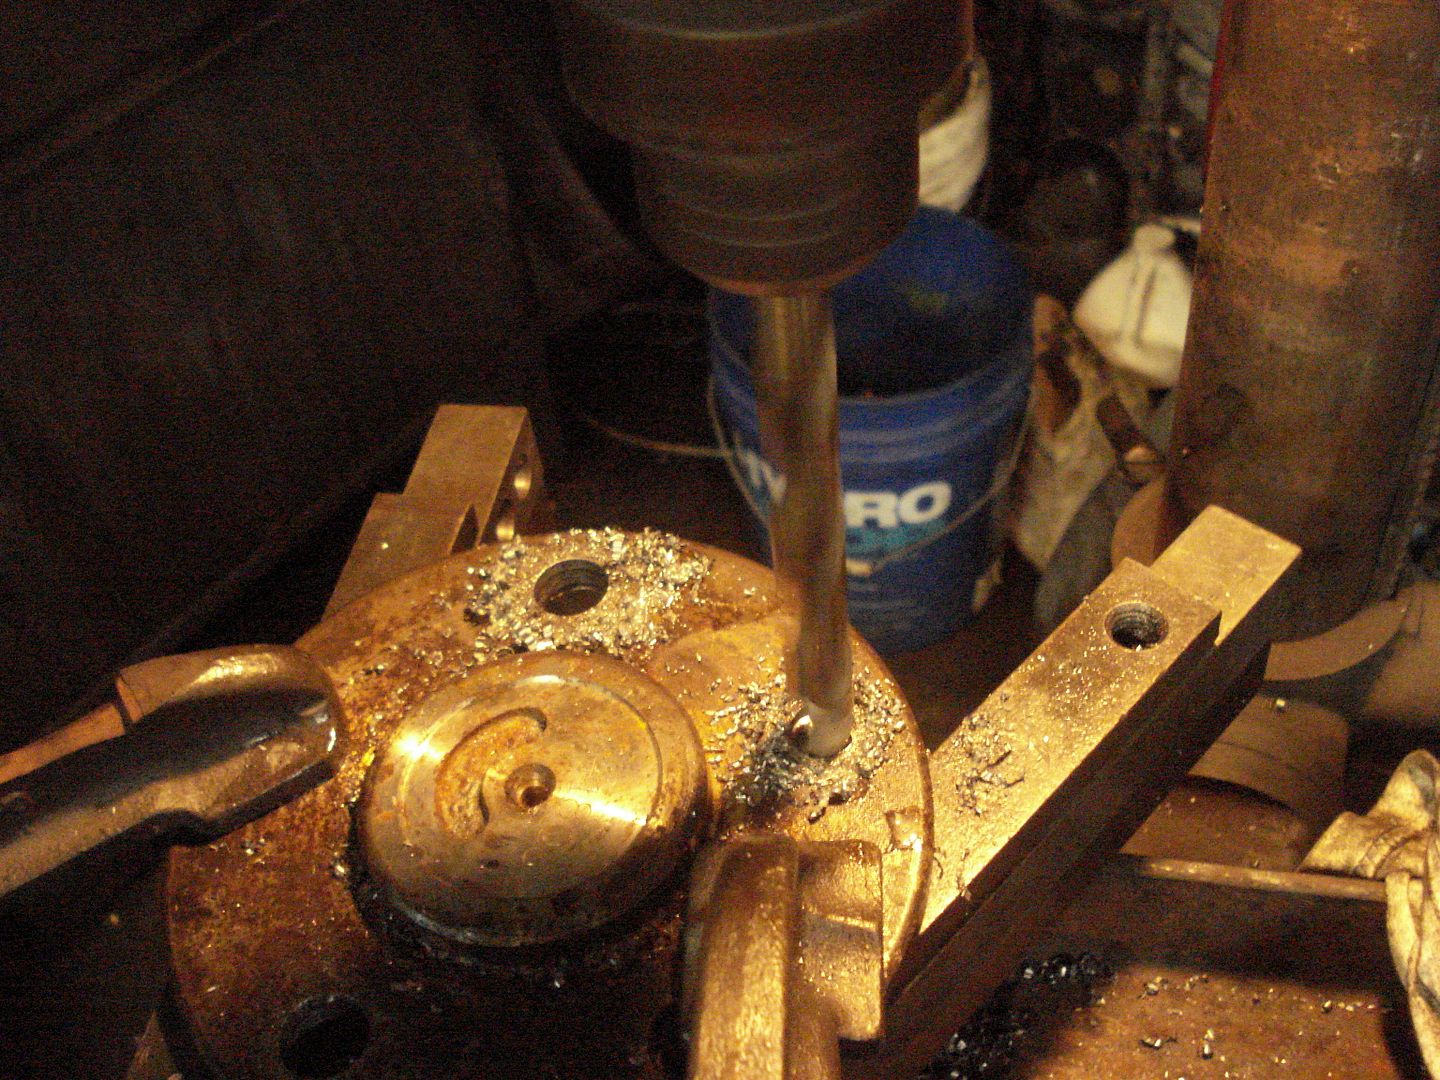
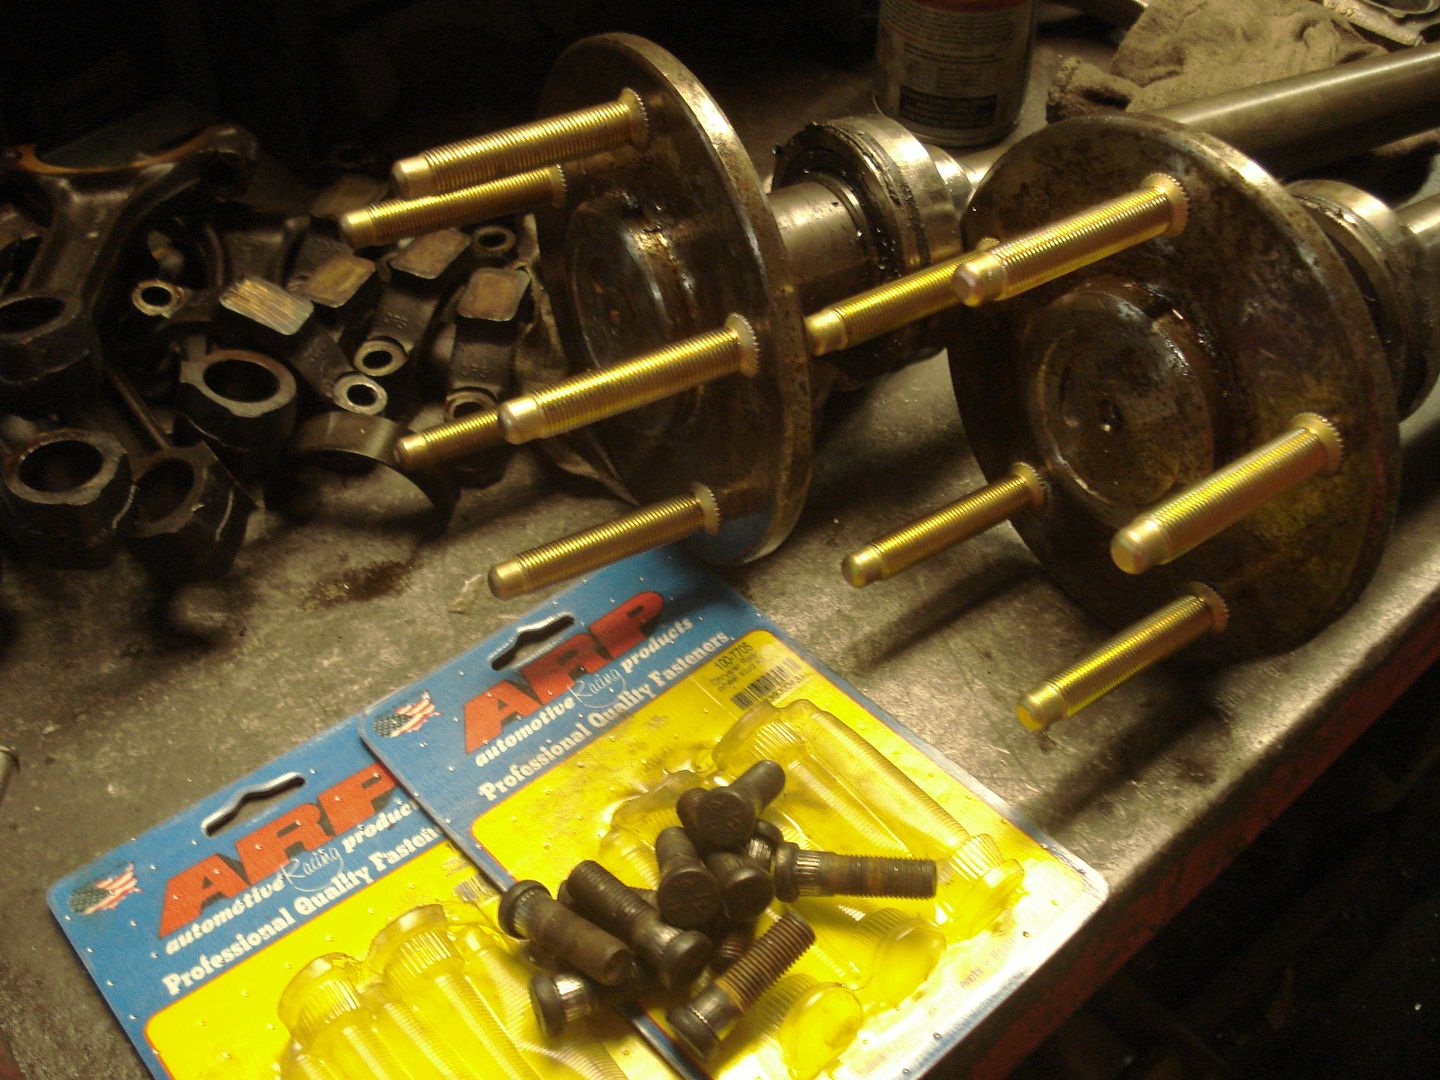
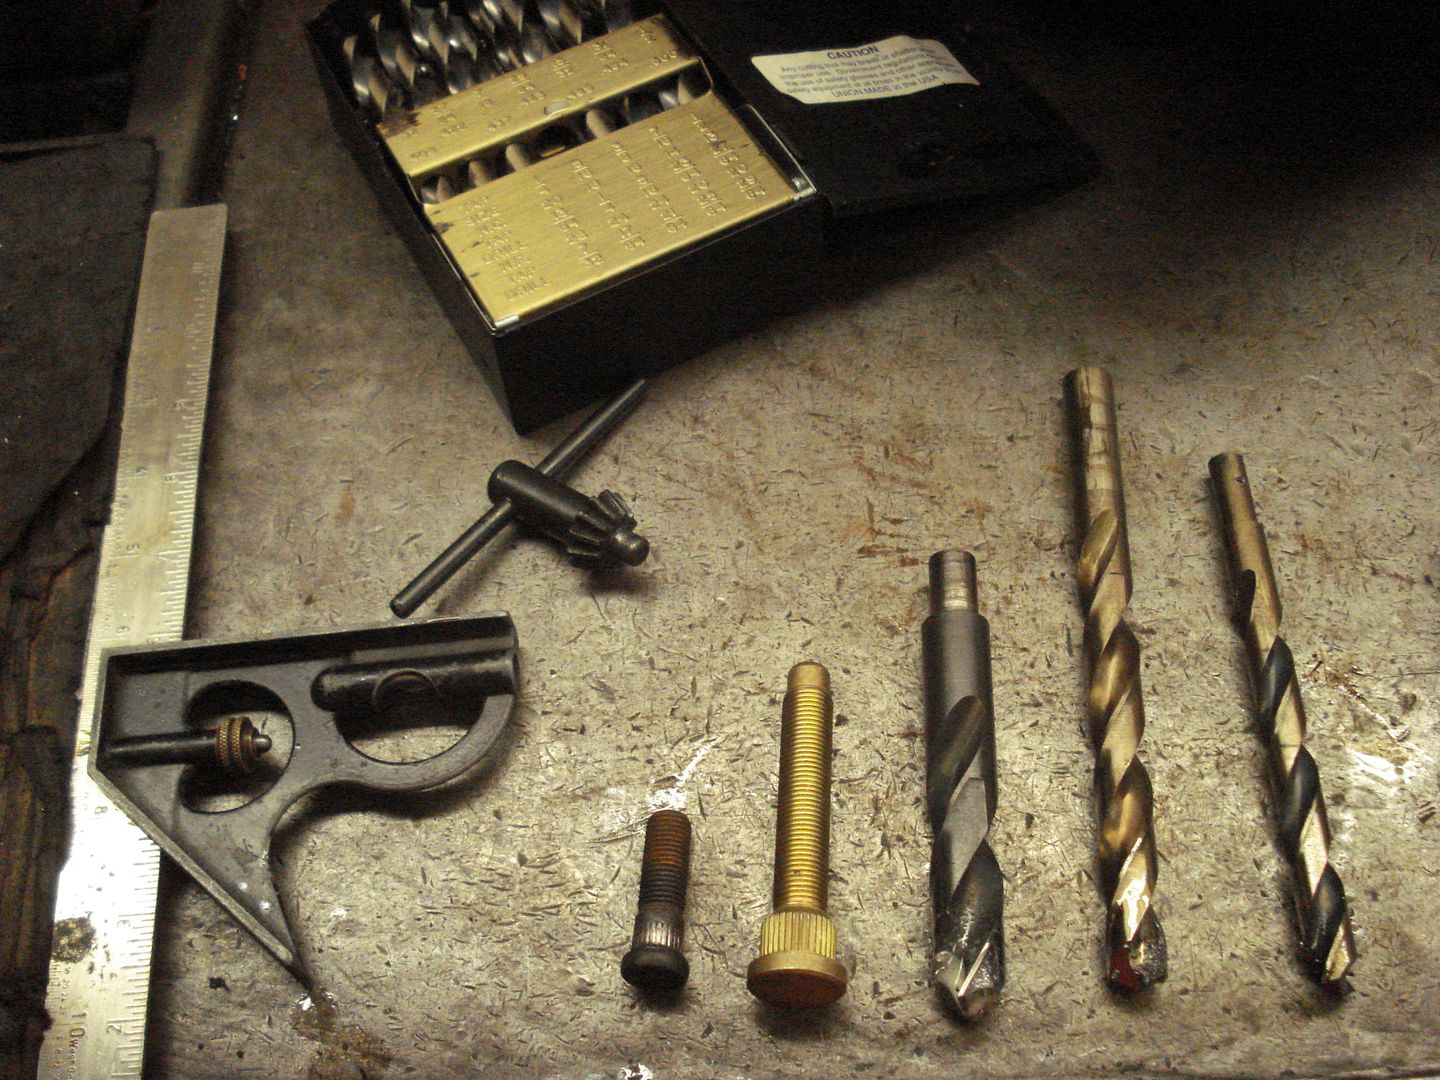
I'm going to try to provide a lot of information in this thread that may help others learn about these products and installation. DISCLAIMER : I am not an engineer/expert in suspensions, Tires, Wheels, or Brakes but will try to offer information based on my previous experiences (including mistakes lol) and what I learn along the way installing these products.
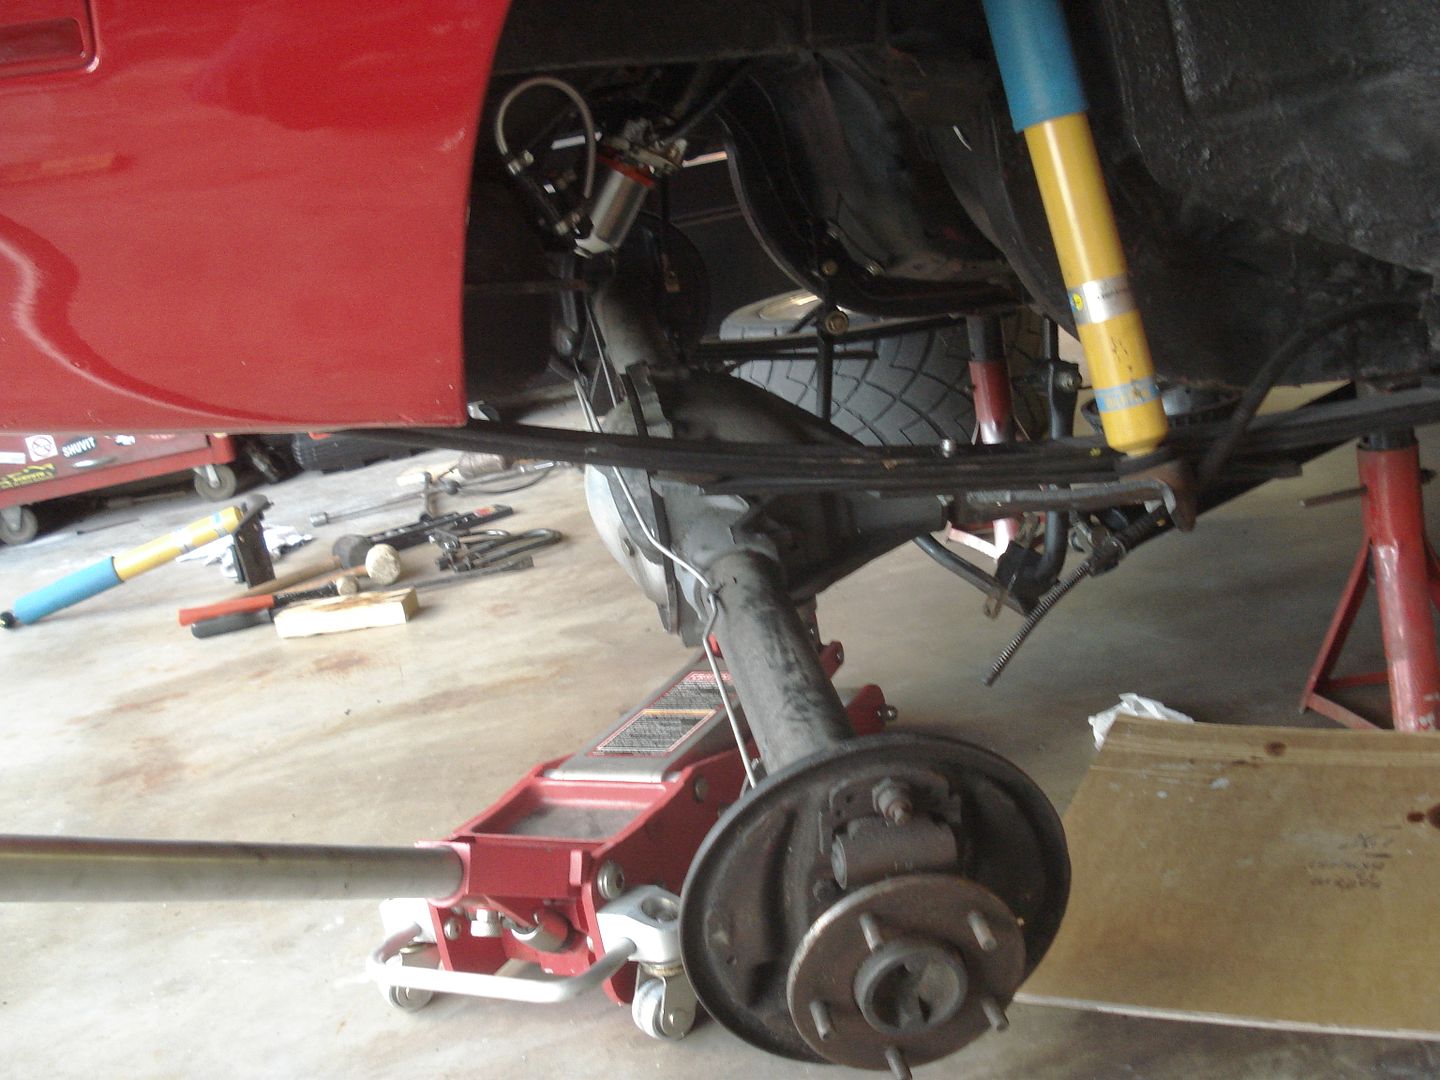
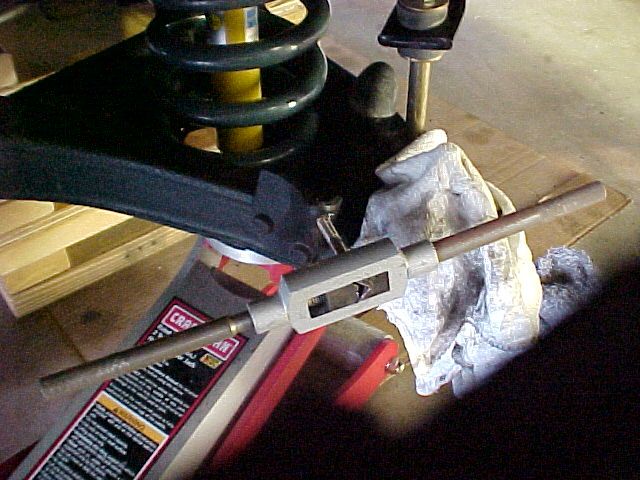
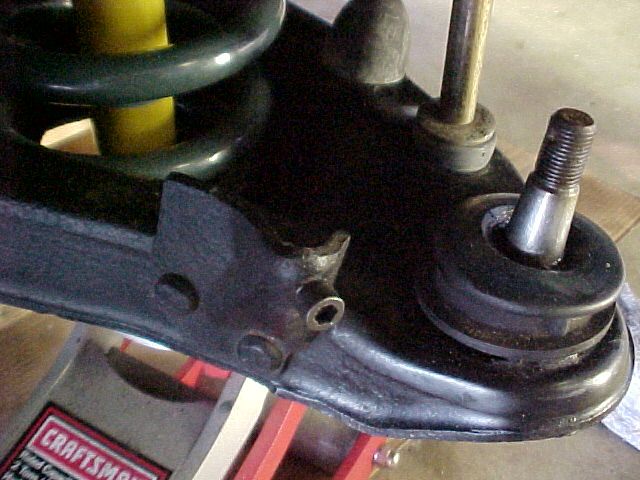
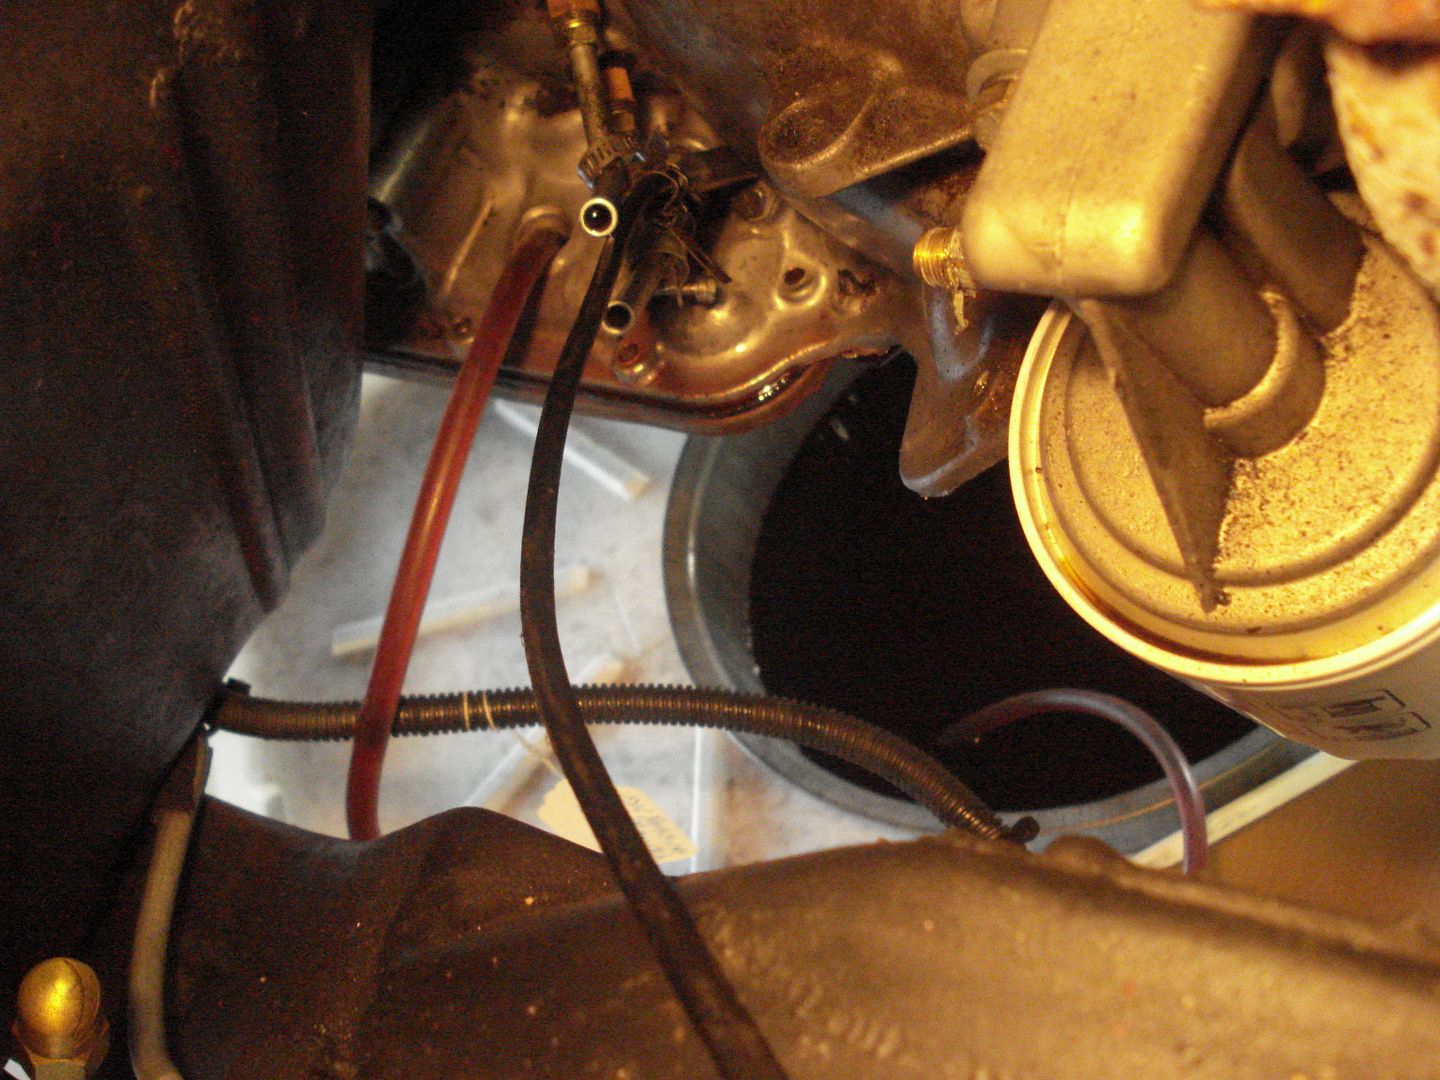
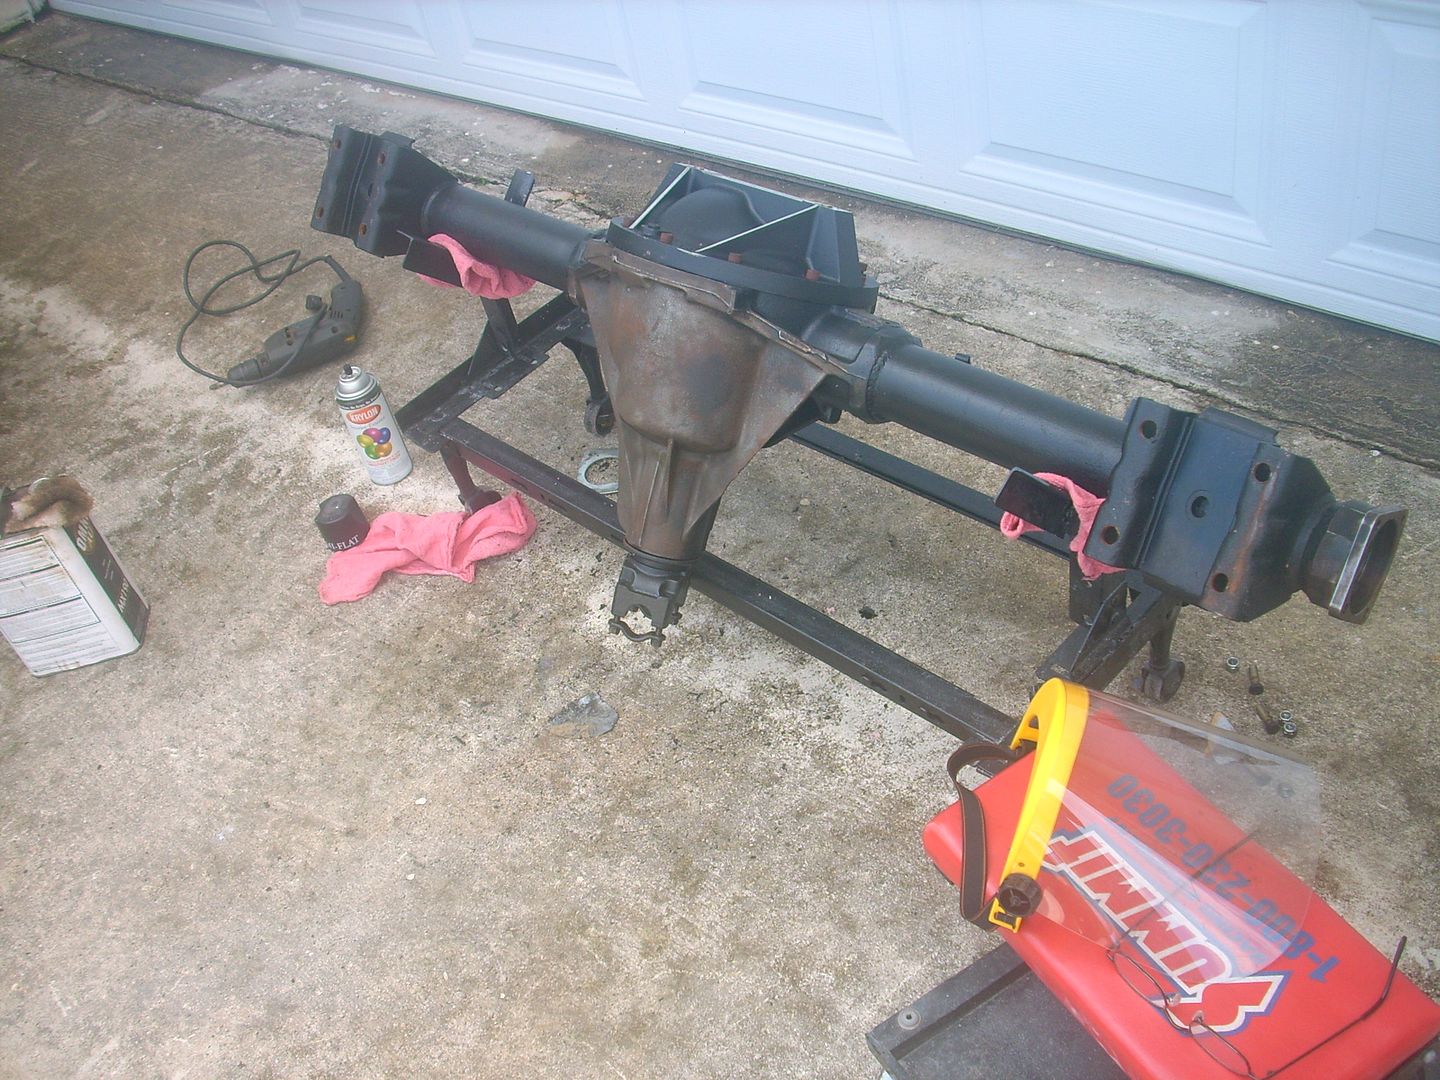
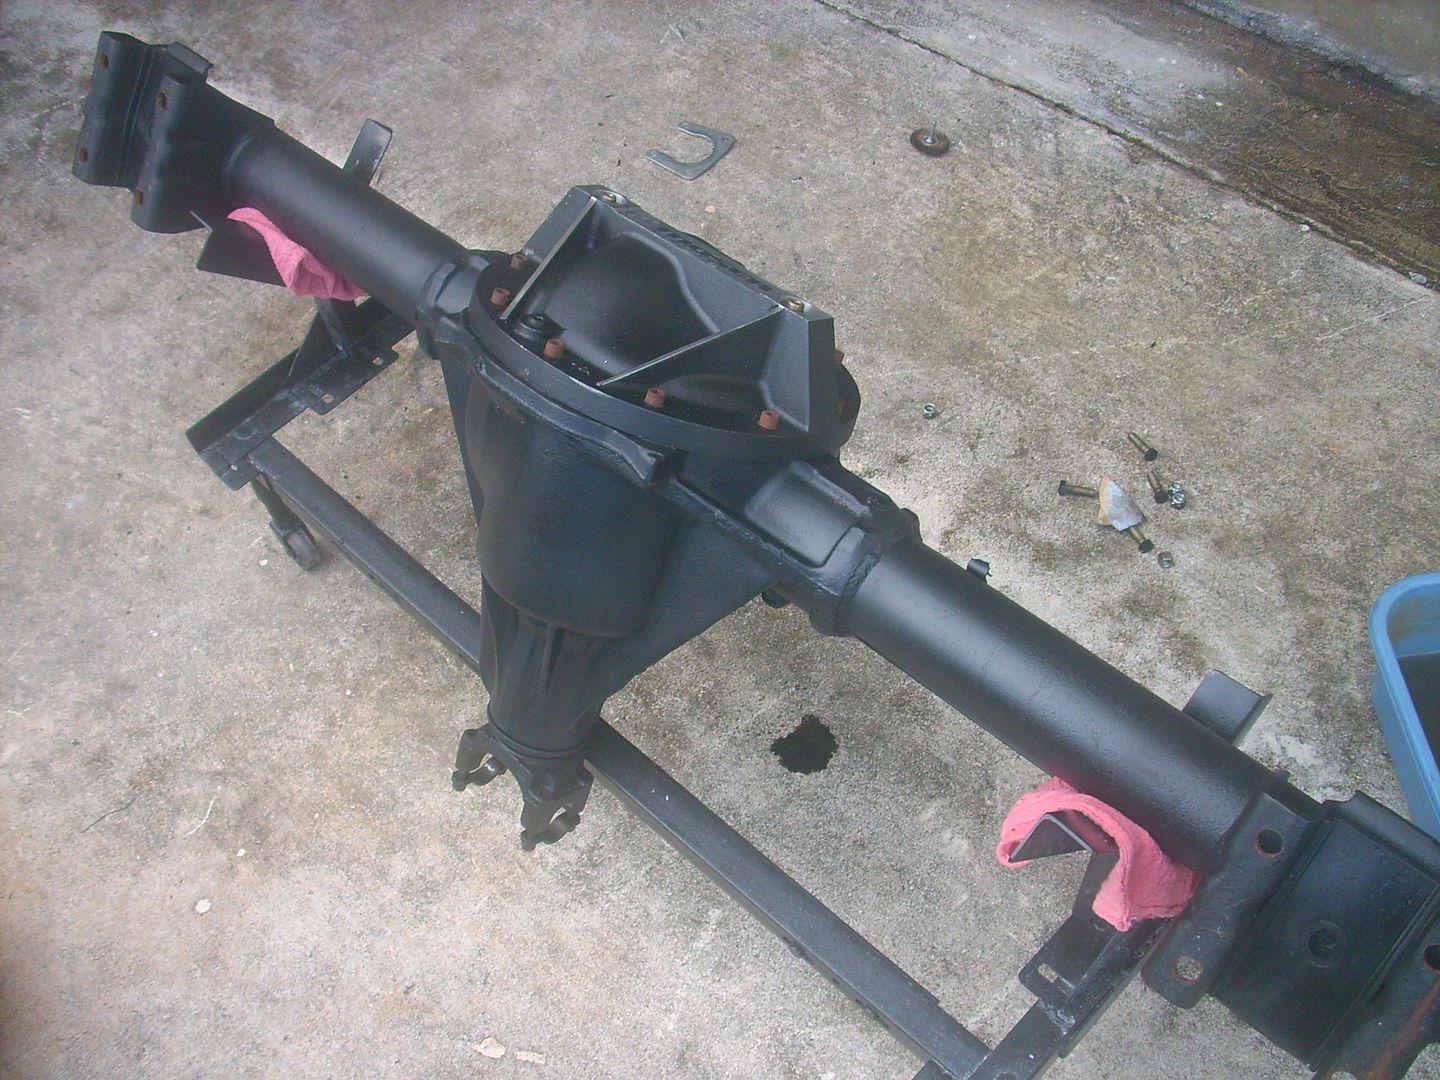
My old Yokohamas were worn out so that worked out perfect. I'd been holding off for a few years on bigger brakes because that required bigger wheels AND tires! The combined expense was out of my budget so I just kept running the stock style single piston front/drum rear brake setup with 17" wheels and some sticky Yokohama AO32 tires. I had a lot of problems keeping brakes on the car at road courses and kept making improvements with braided lines etc. until I got to the point of running a dedicated set of track brakes using race pads and custom made race shoes with one set of rotors and drums and a completely different set of pads, rotors, shoes, and drums for the street. I've been switching everything and replacing the fluid before and after every track event. The rotors got so hot on track I would crystalize them and have to get new ones before the next track event.
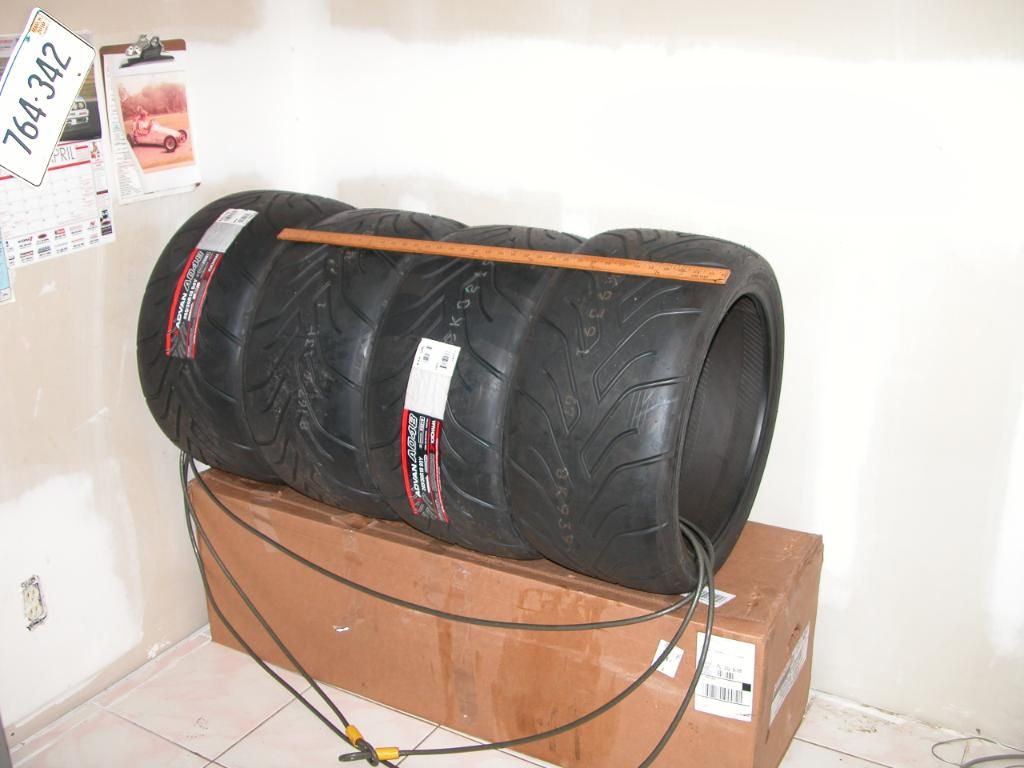
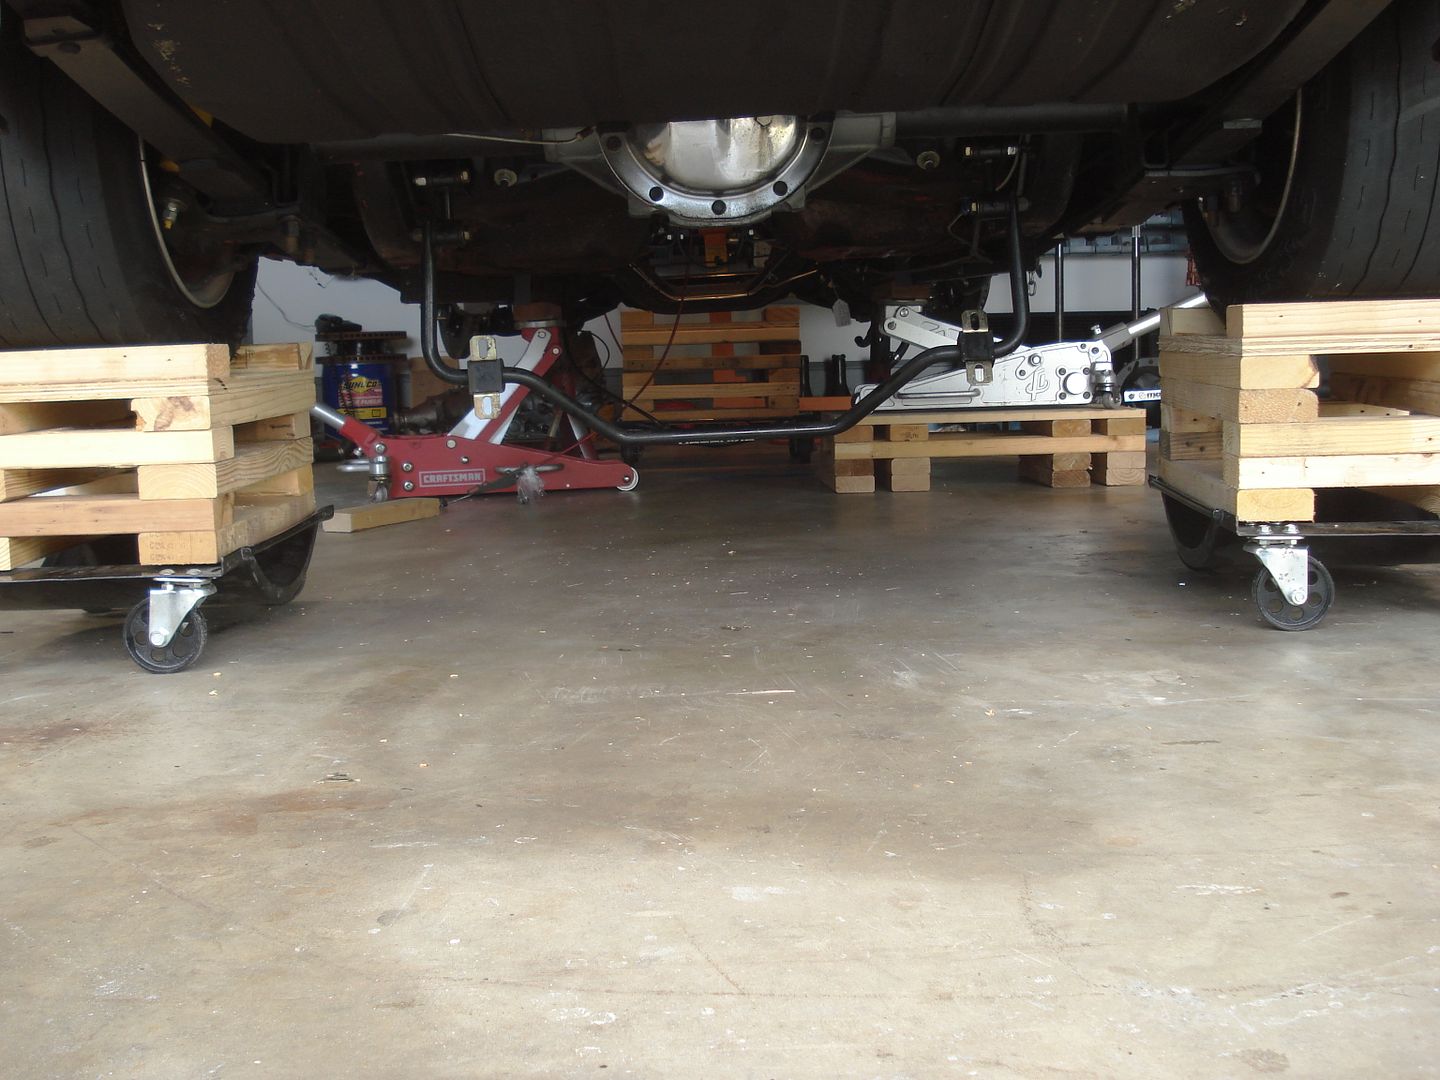
So after checking all of my possible options for wheel and tire sizing and talking to Jay at Rushforth about available wheel sizes, I decided on 18" X 10" wheels all around and the newer version of the Yokohama DOT R tires I had before. They are the AO48 in 285 and 295 18's. The 285's up front are going to be a little tighter fit than the 275s I had and will reduce the turning radius a little but I think on track they'll be great in the corners. 295's on the rear will be no problem since I had 315's before and they just rubbed a tiny bit, only on track at full tilt when I hit a corner curb too hard and the rear moved the leaf spring setup enough to touch (they were really stuffed in there close). So the 295's will give me a little extra room which eliminates the immediate need for some type of panhard bar or other device I'd been considering to limit rear movement.
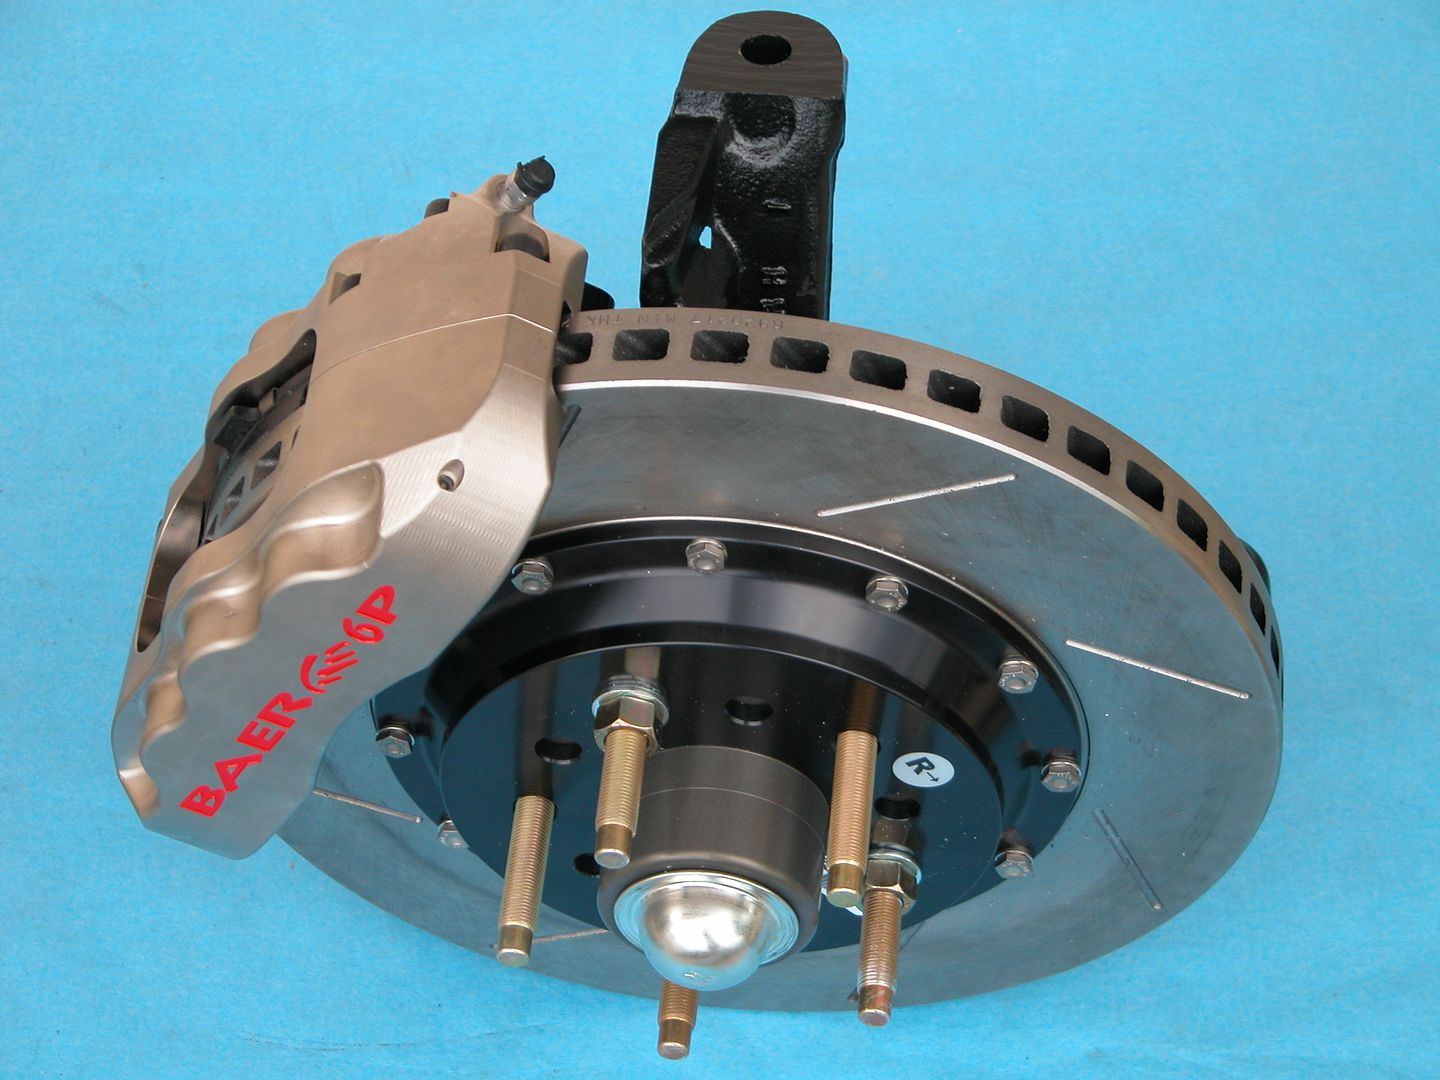
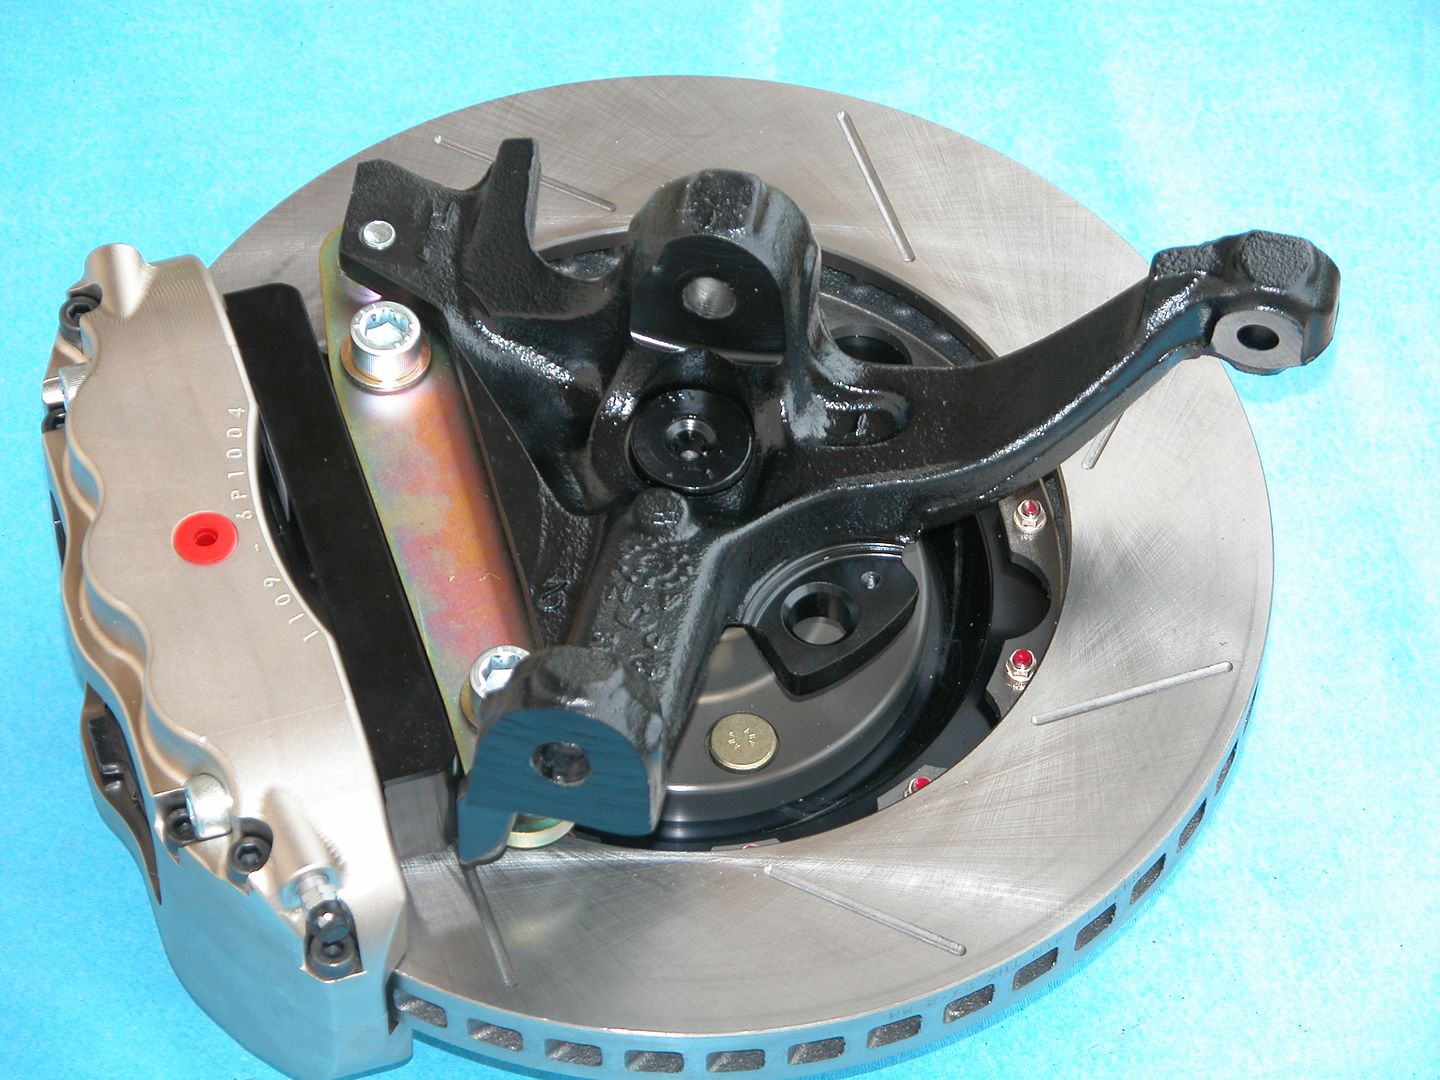
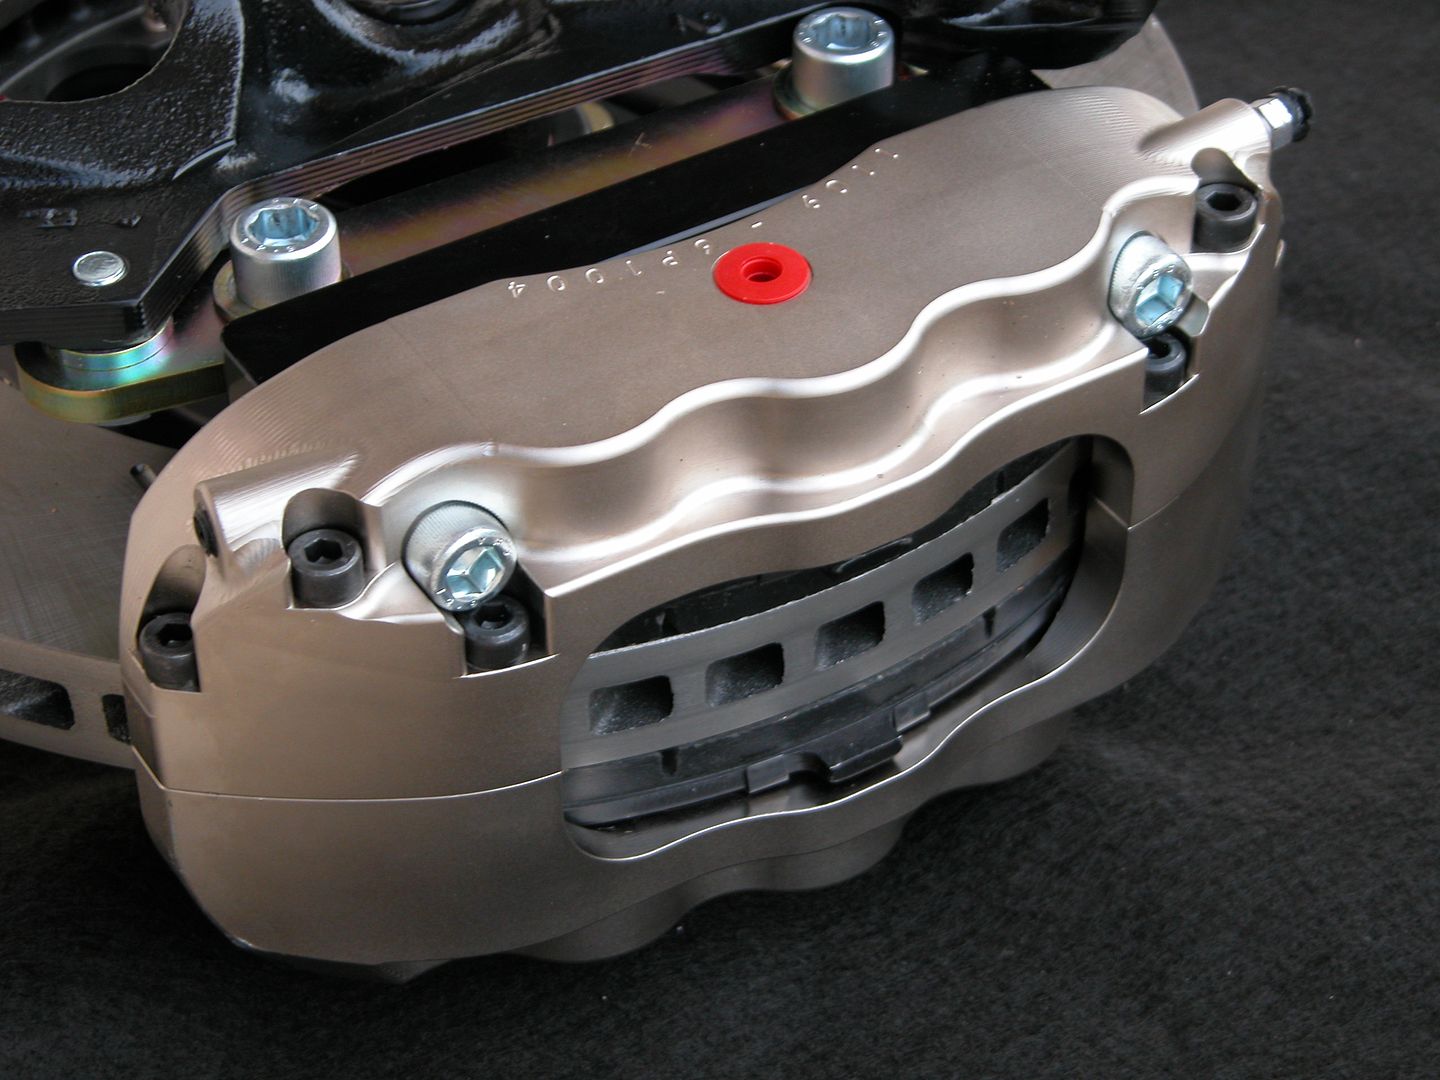
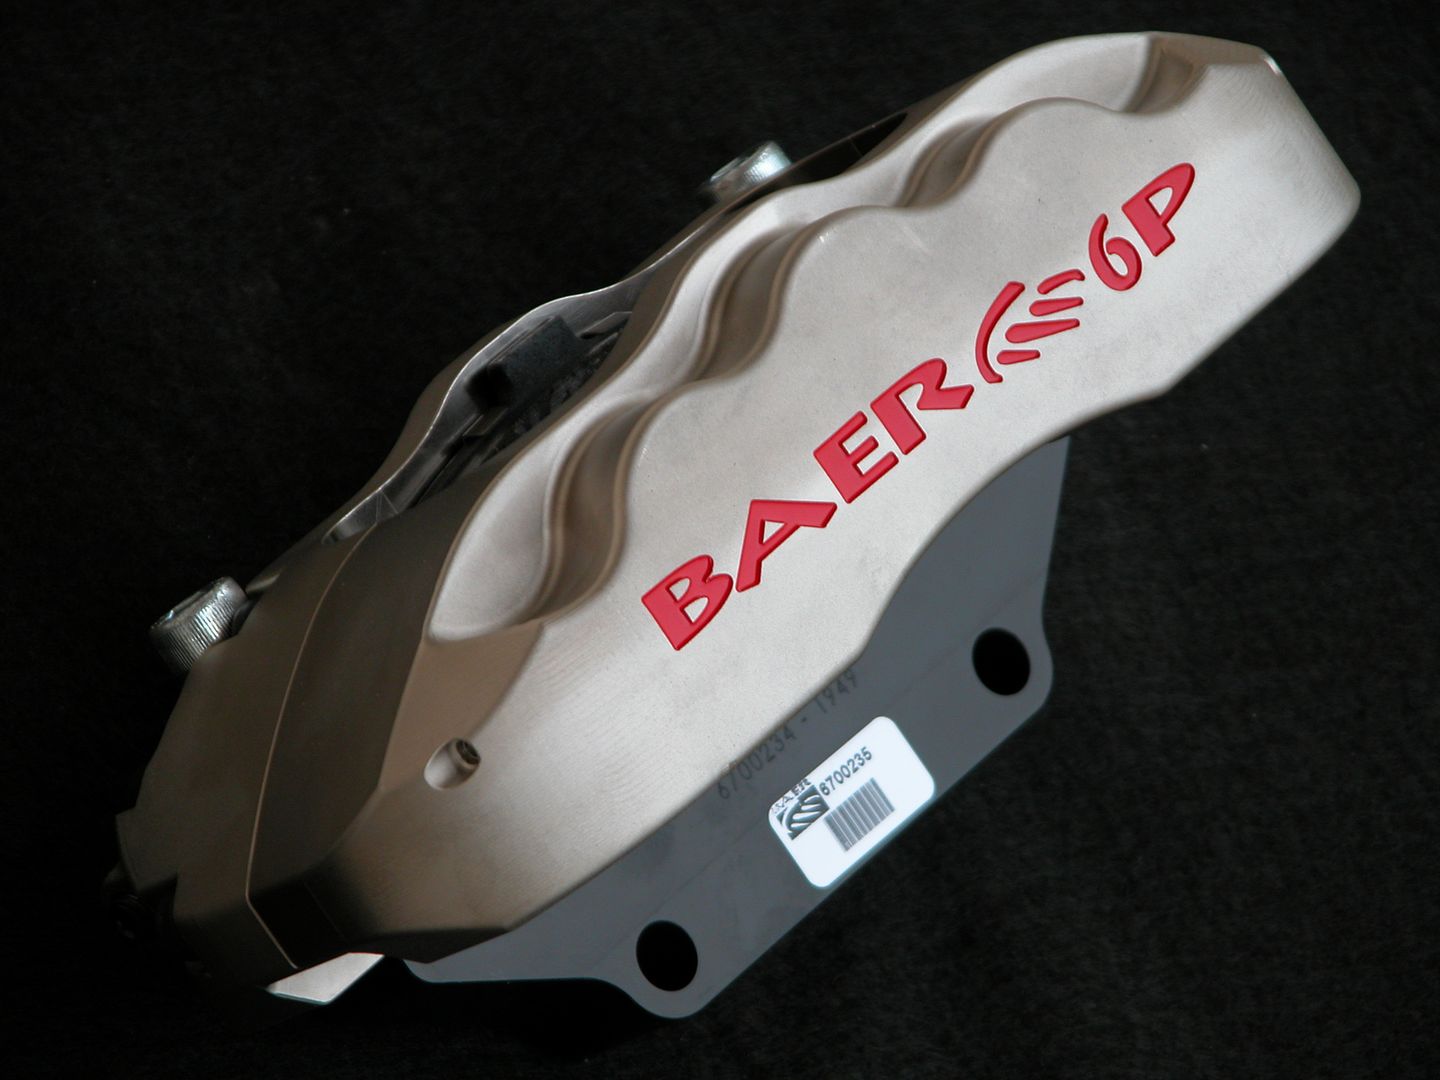
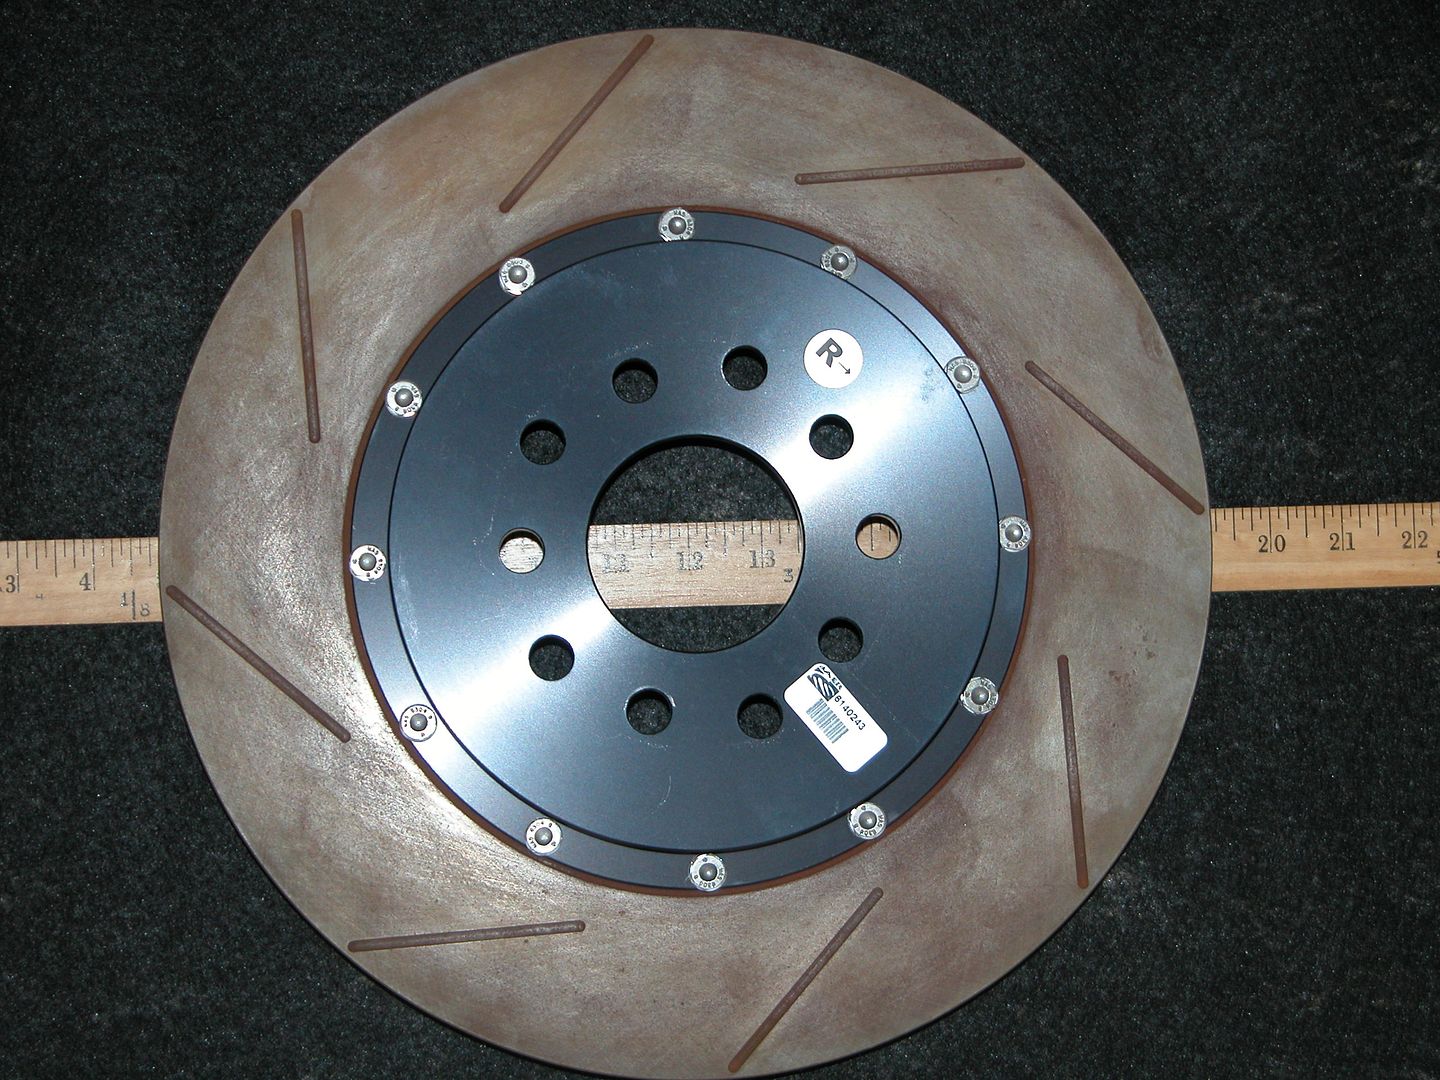
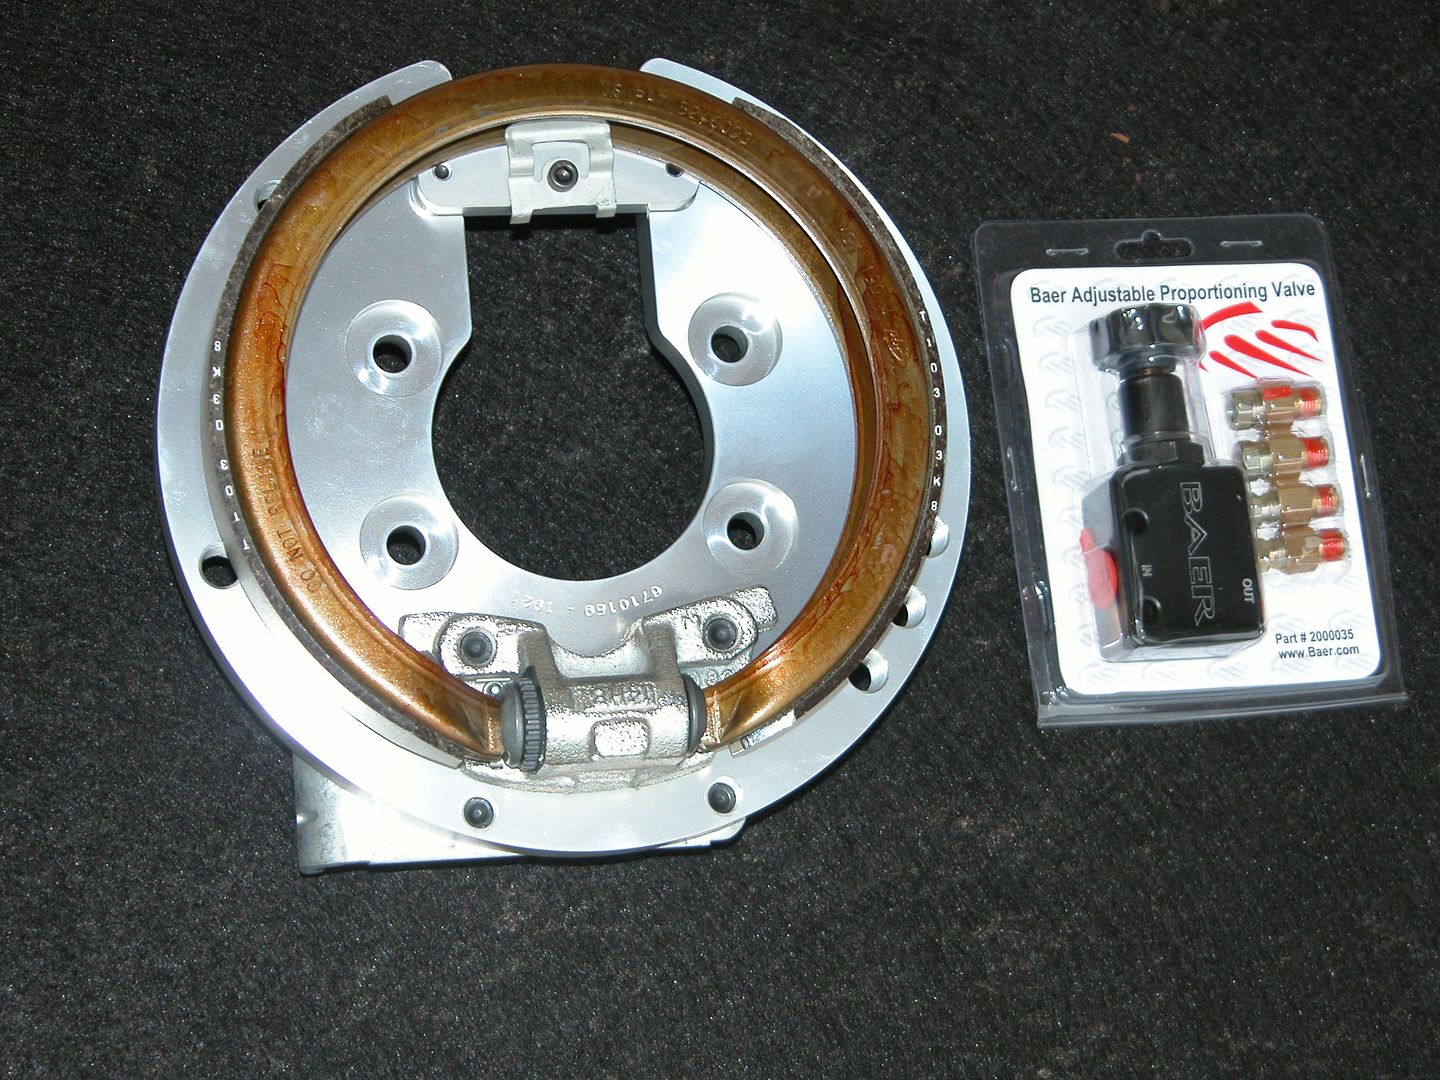
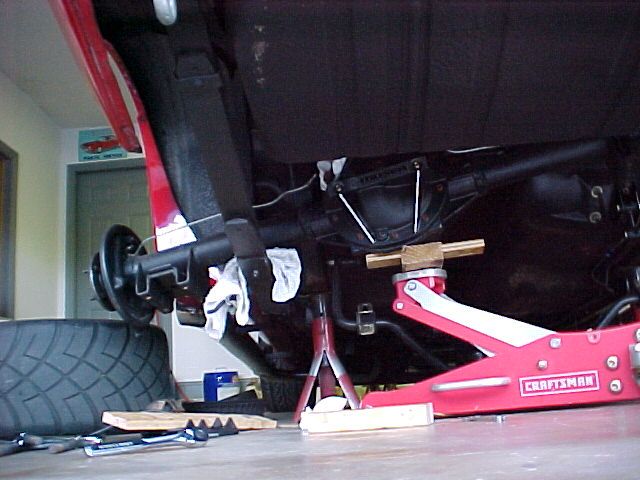
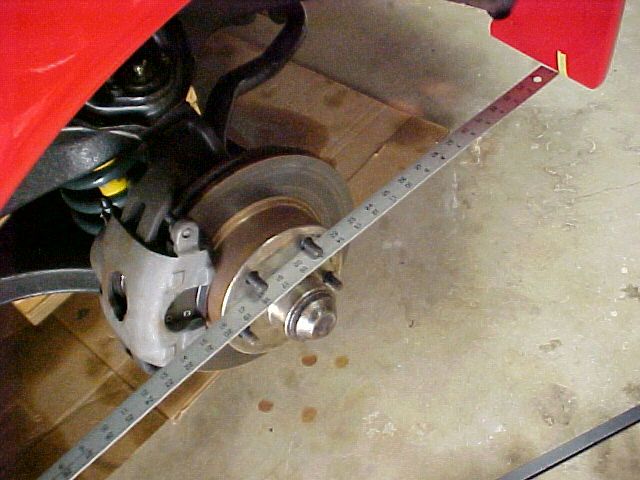
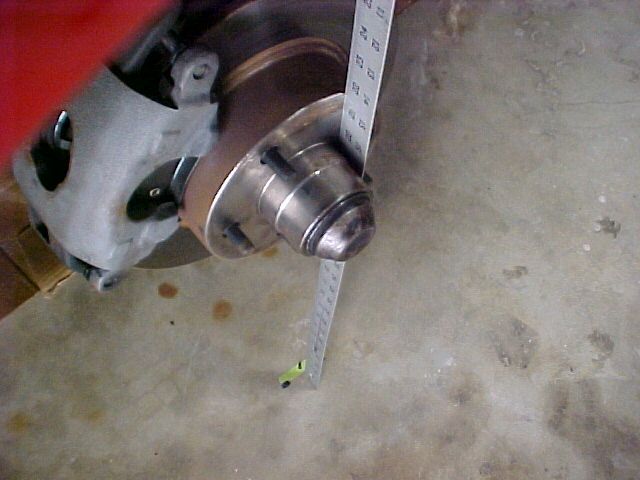
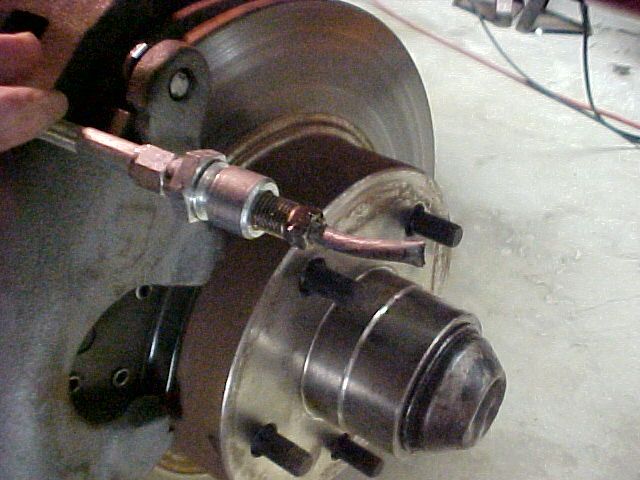
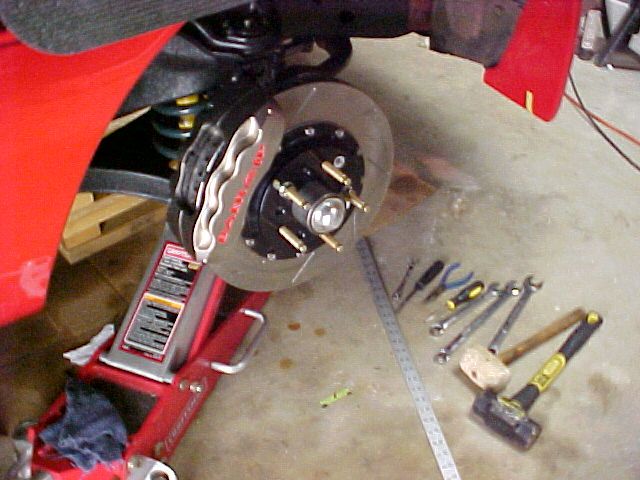
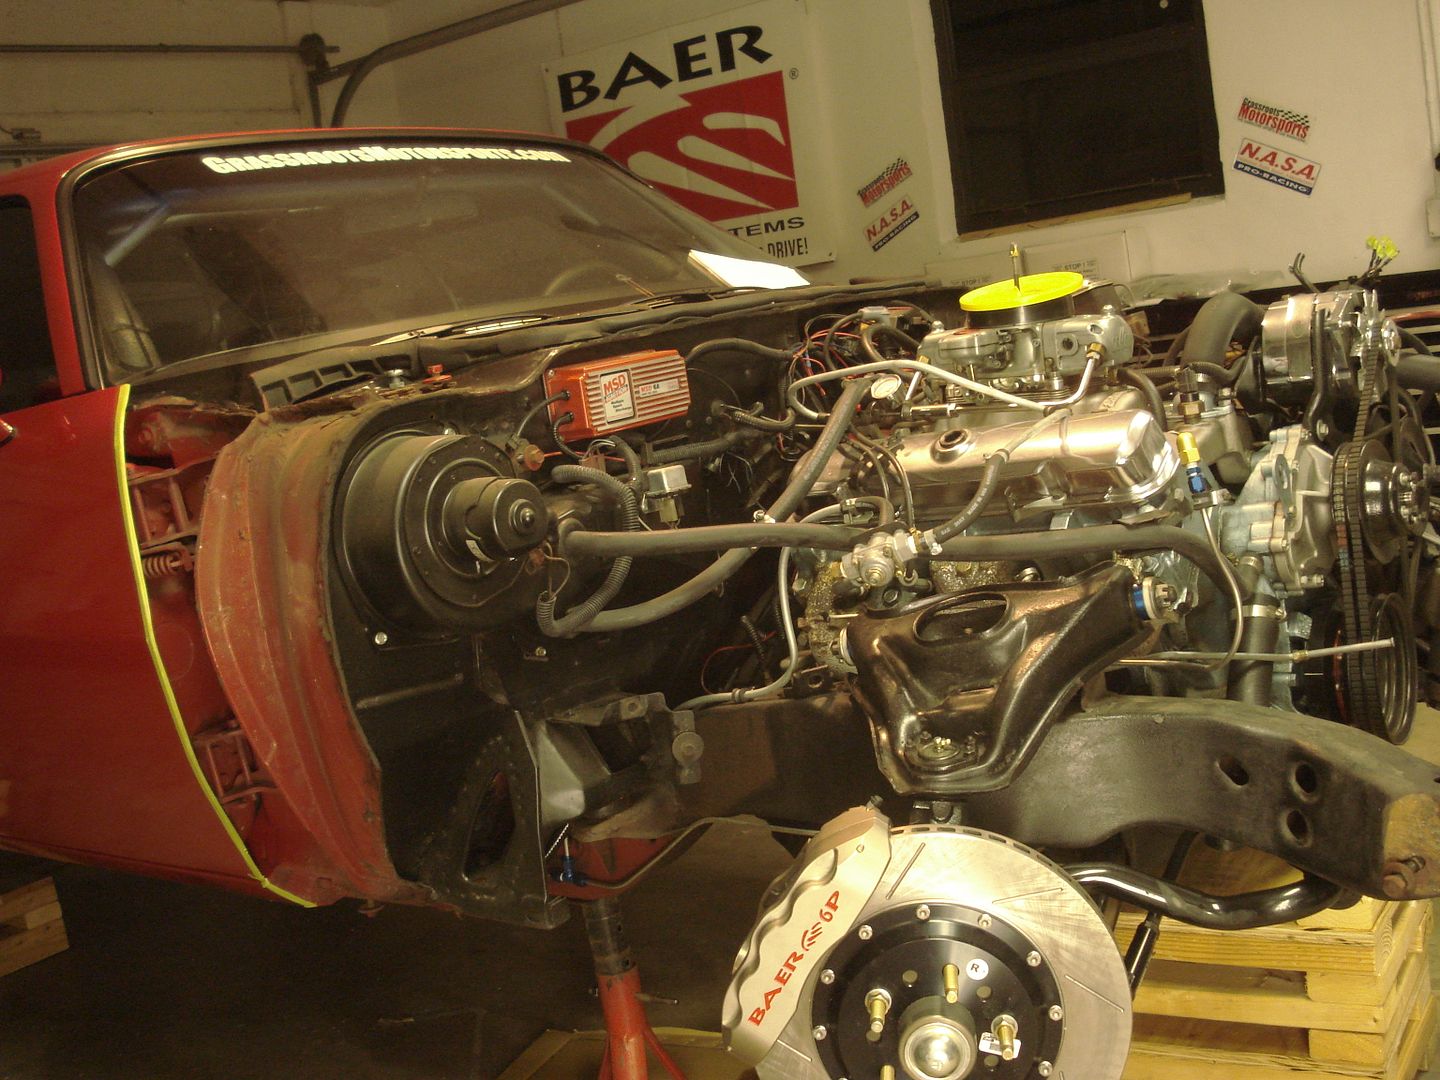
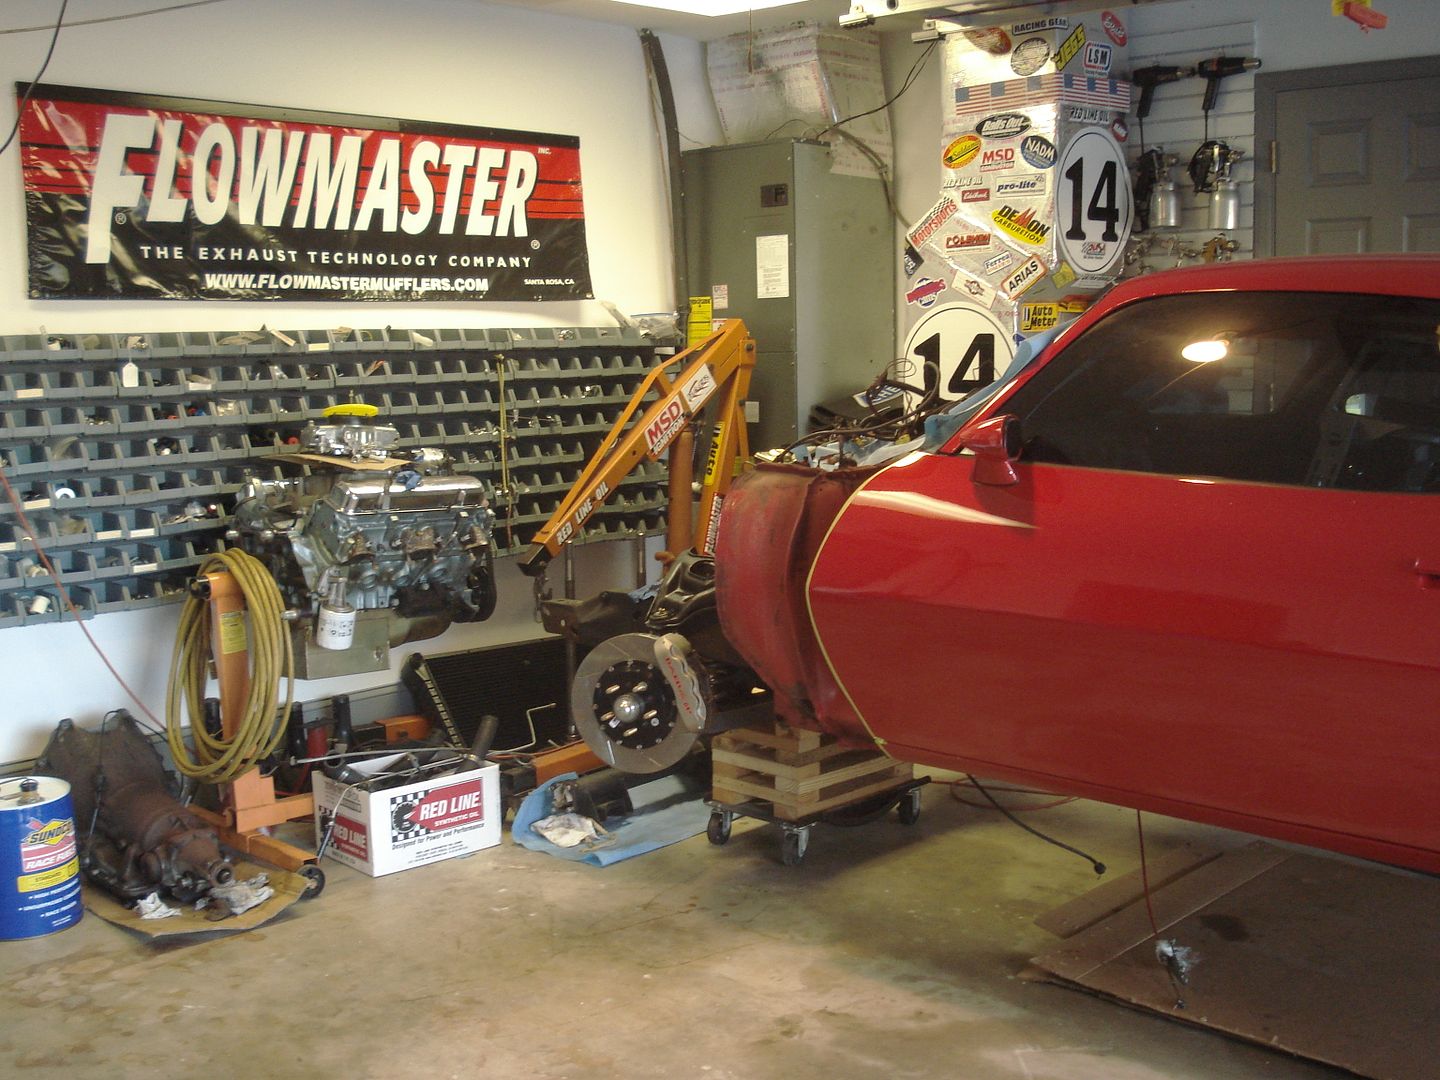
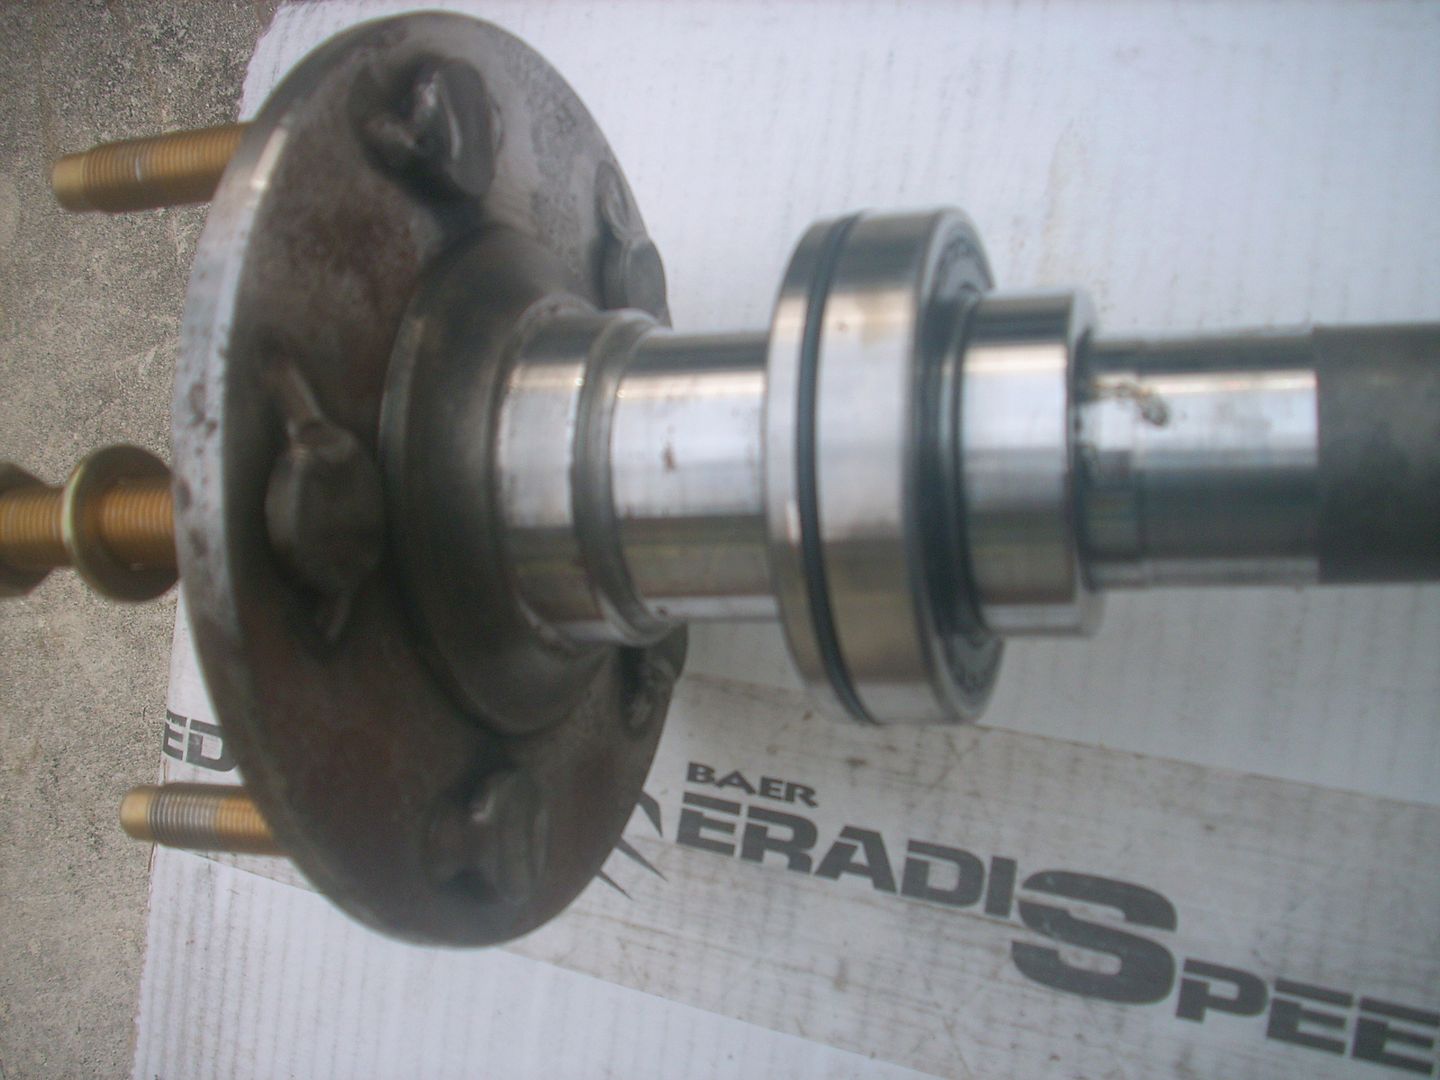
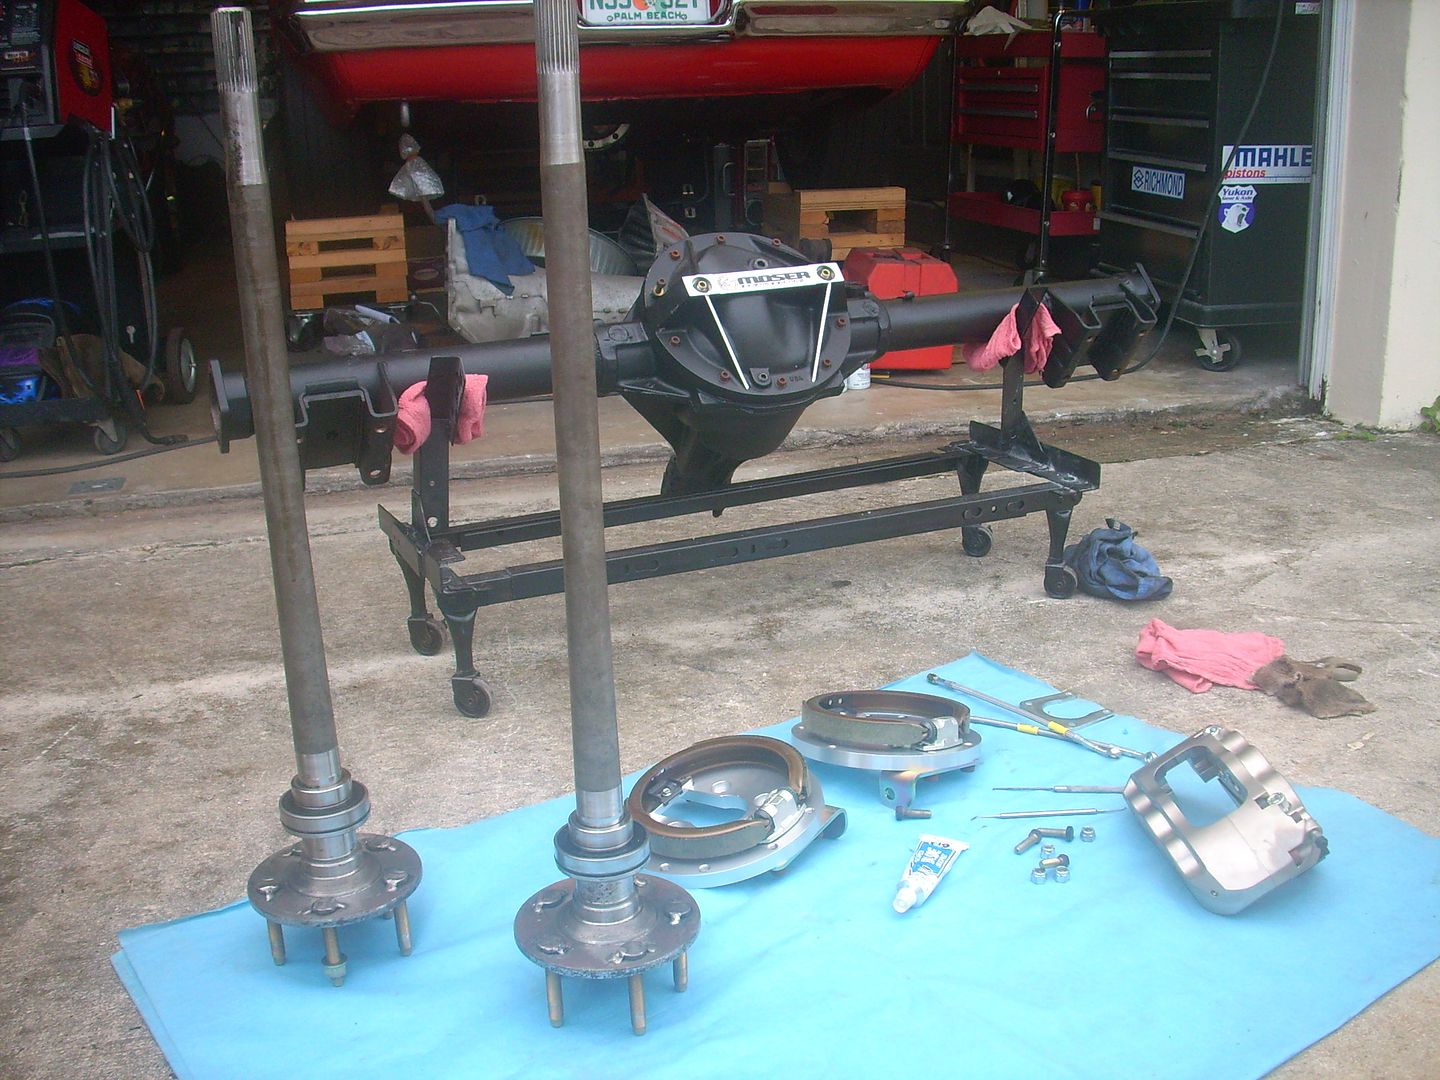
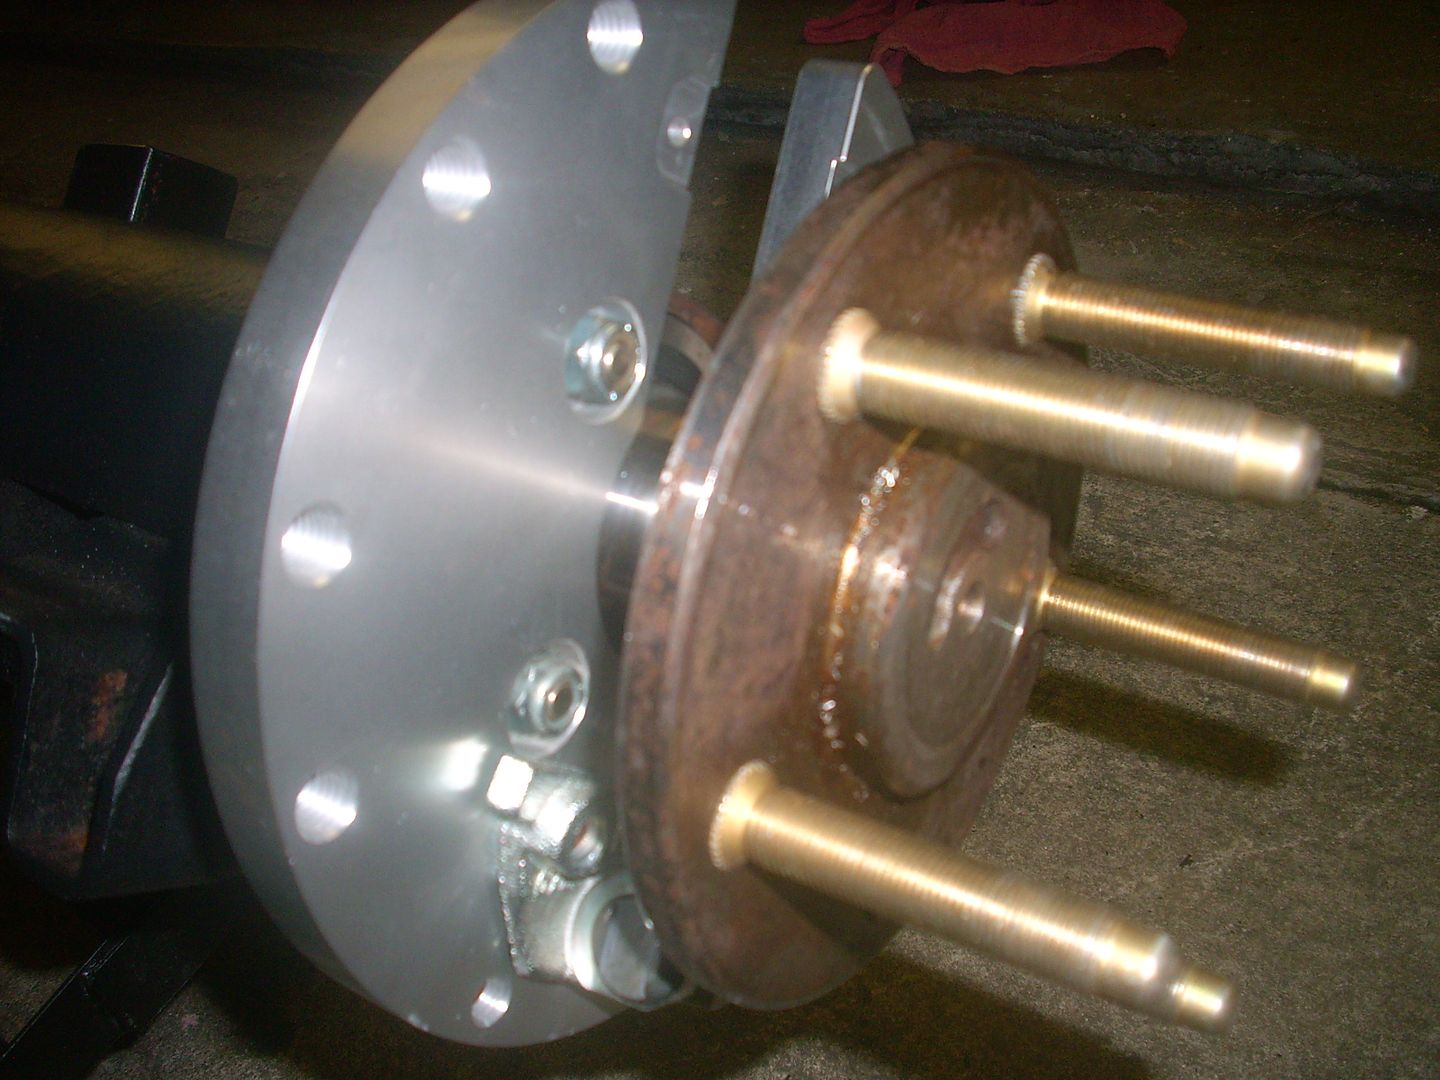
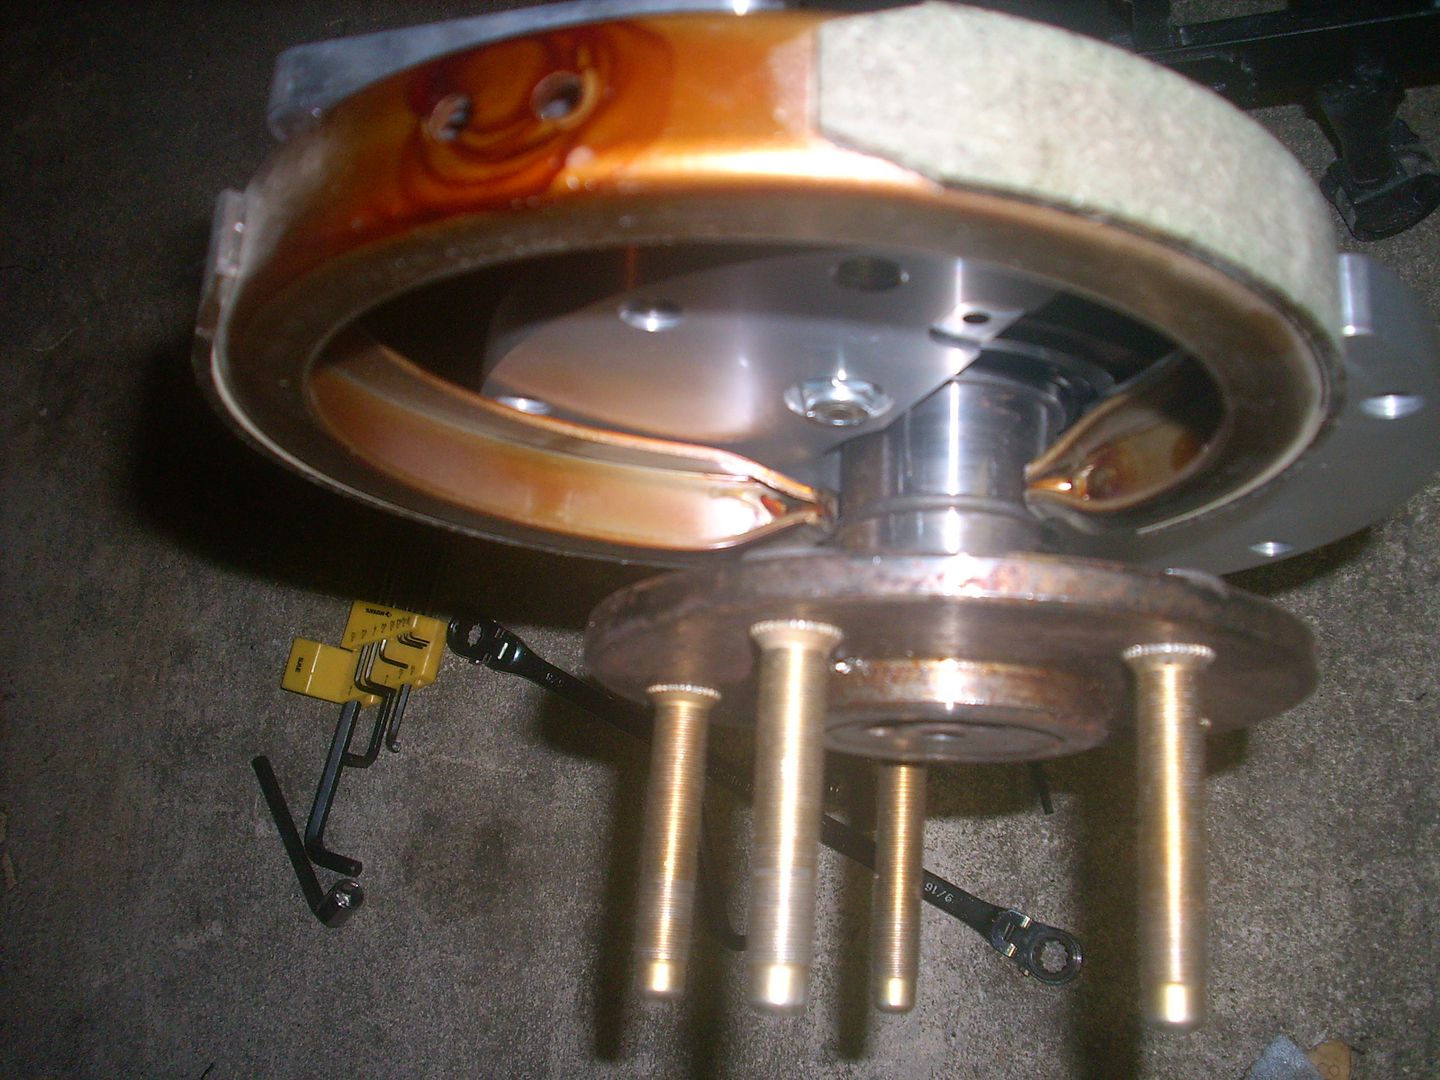
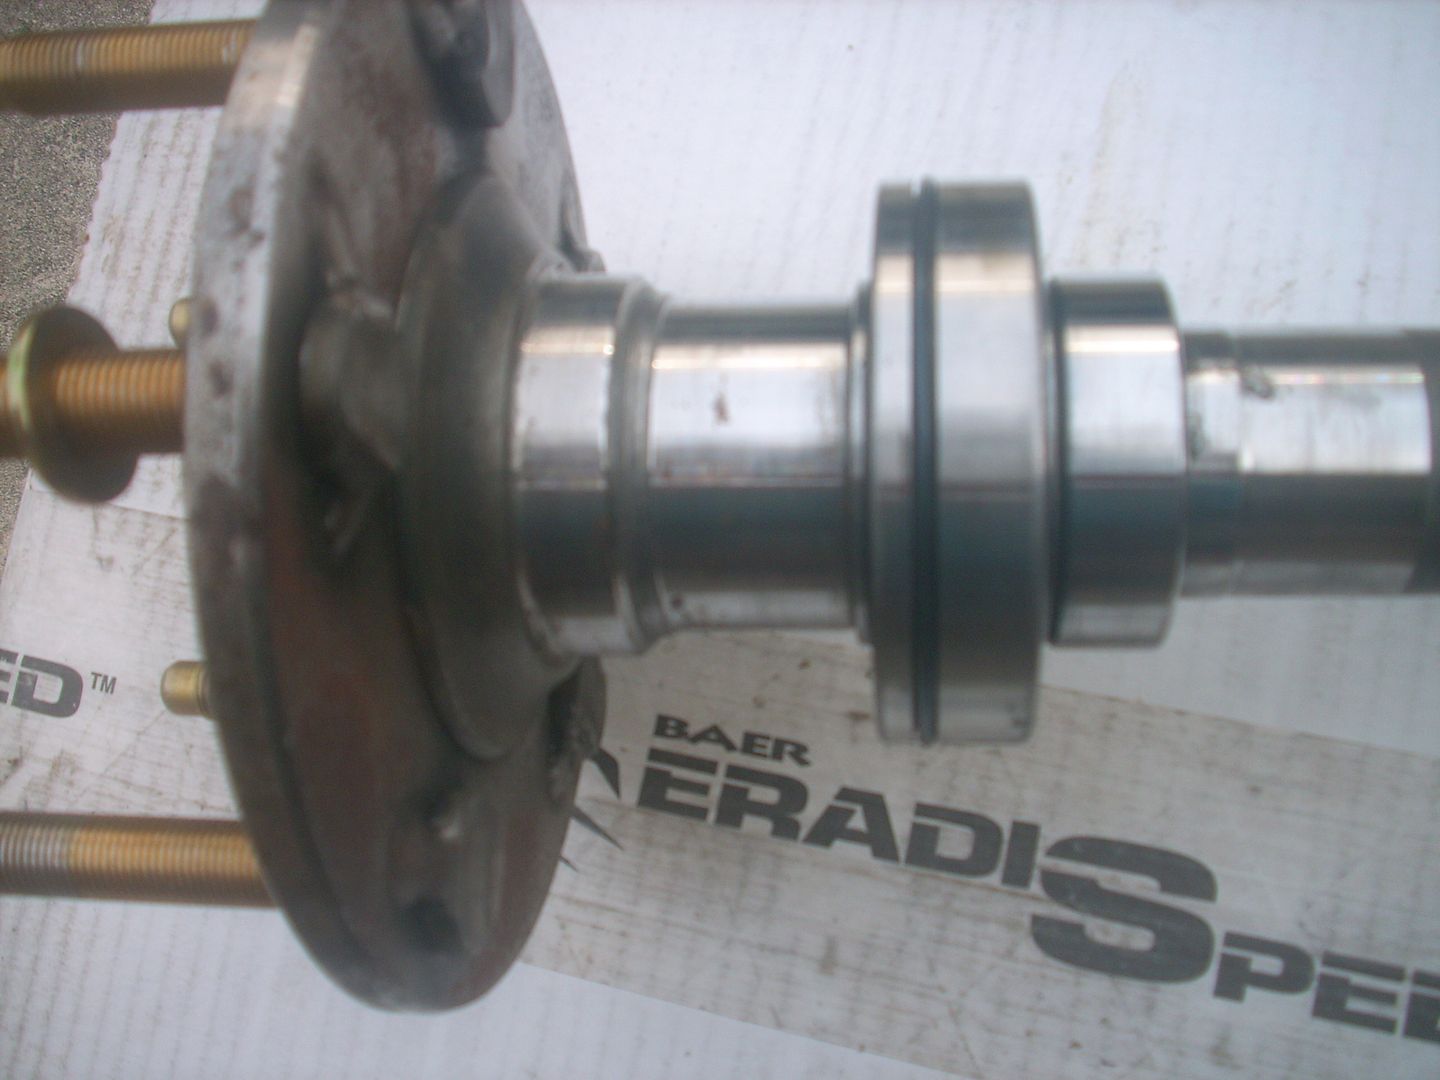
Before Todd at Baer passed away he really hooked me up with some killer brakes! I talked to him about what I did with my car and explained that although the car's pretty and photographic, I'm more about function and that I'd rather have brakes that worked well on track than something pretty. I'm no brake engineer so I left it up to him and he went way out of his way, and beyond the call, to hook me up with a set of 14" slotted rotors (all around) with their 6P 6 piston calipers, parking brakes, and an adjustable proportioning valve for the rears. To top it off they sent them in their "Nickle" finish!
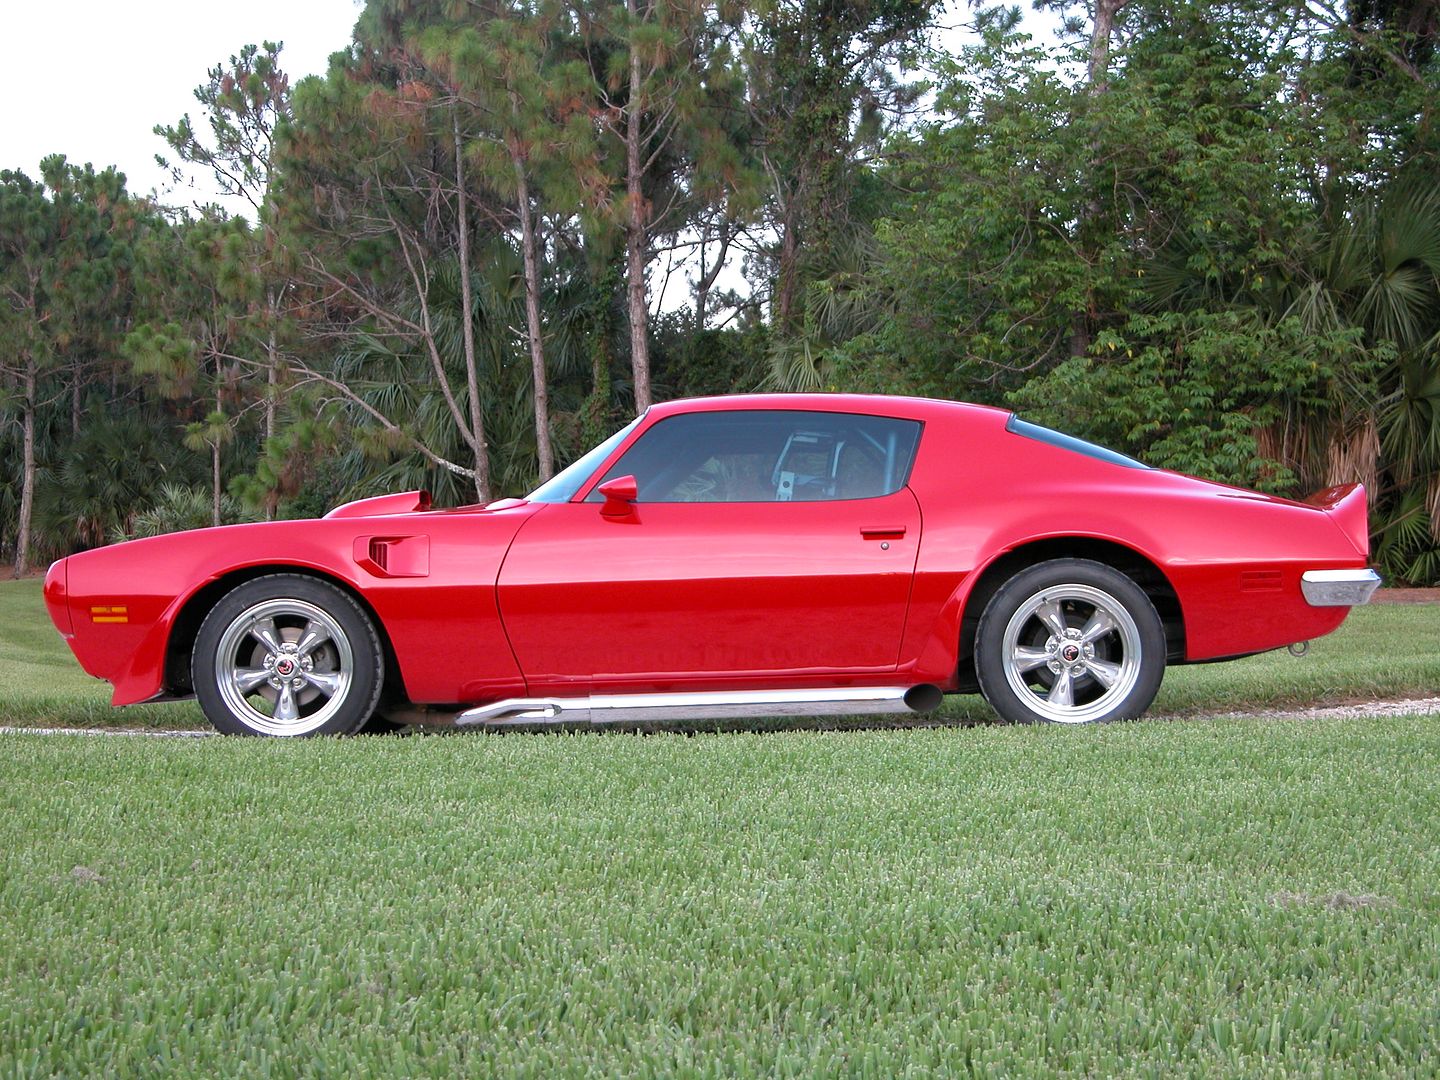
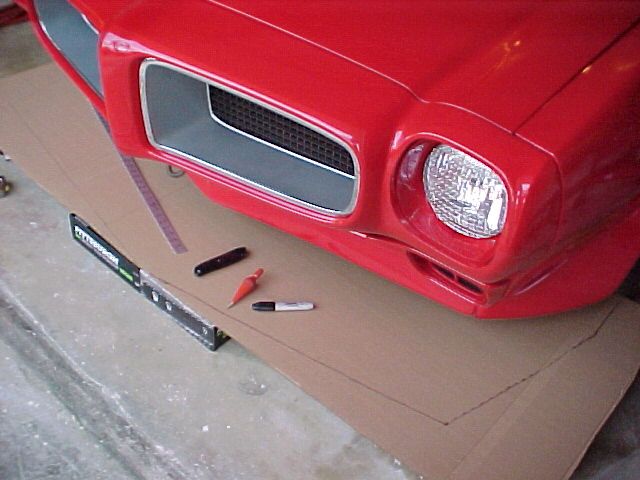
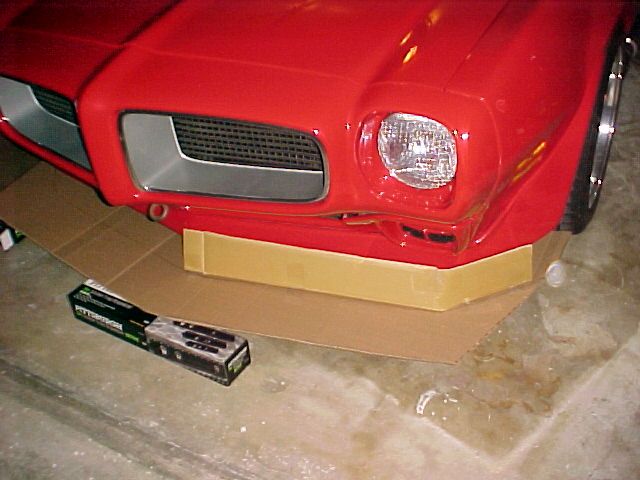
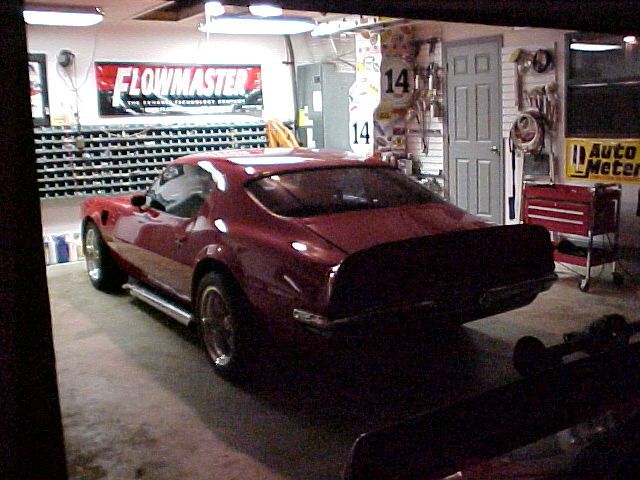
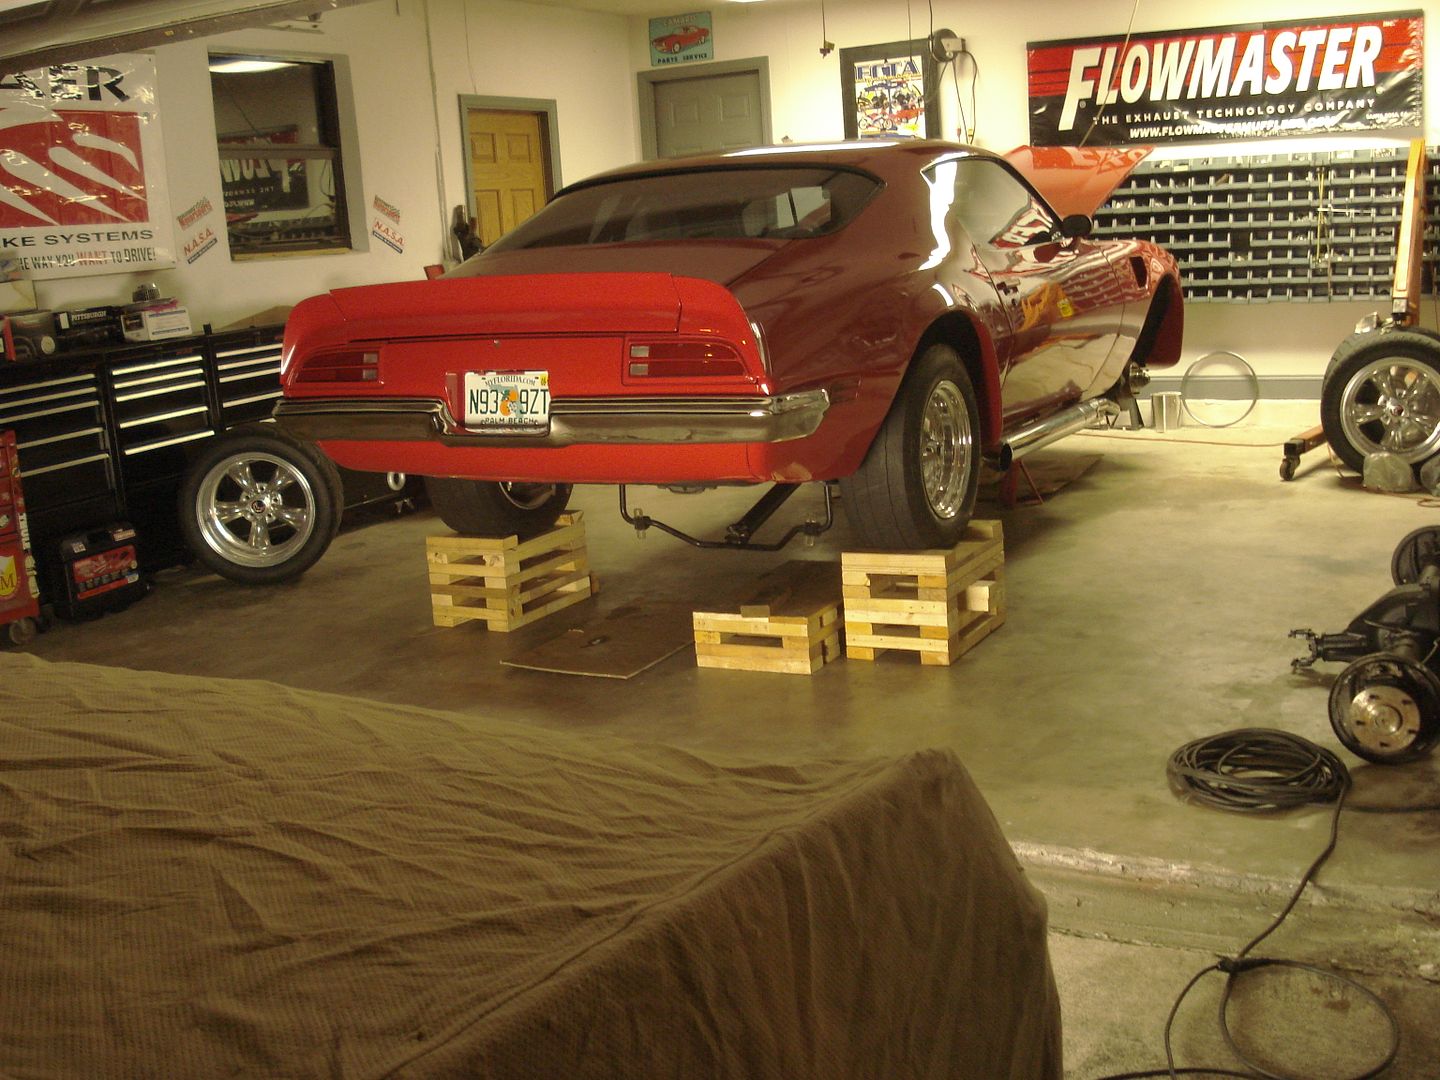
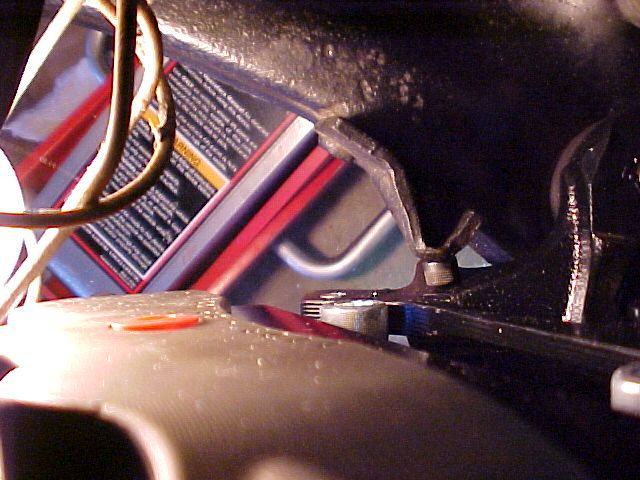
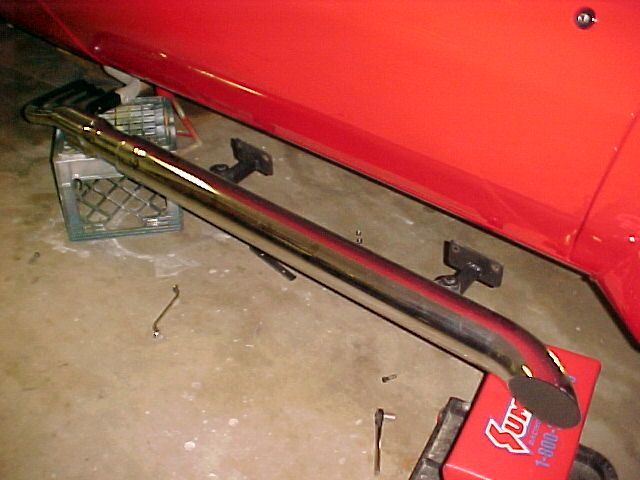
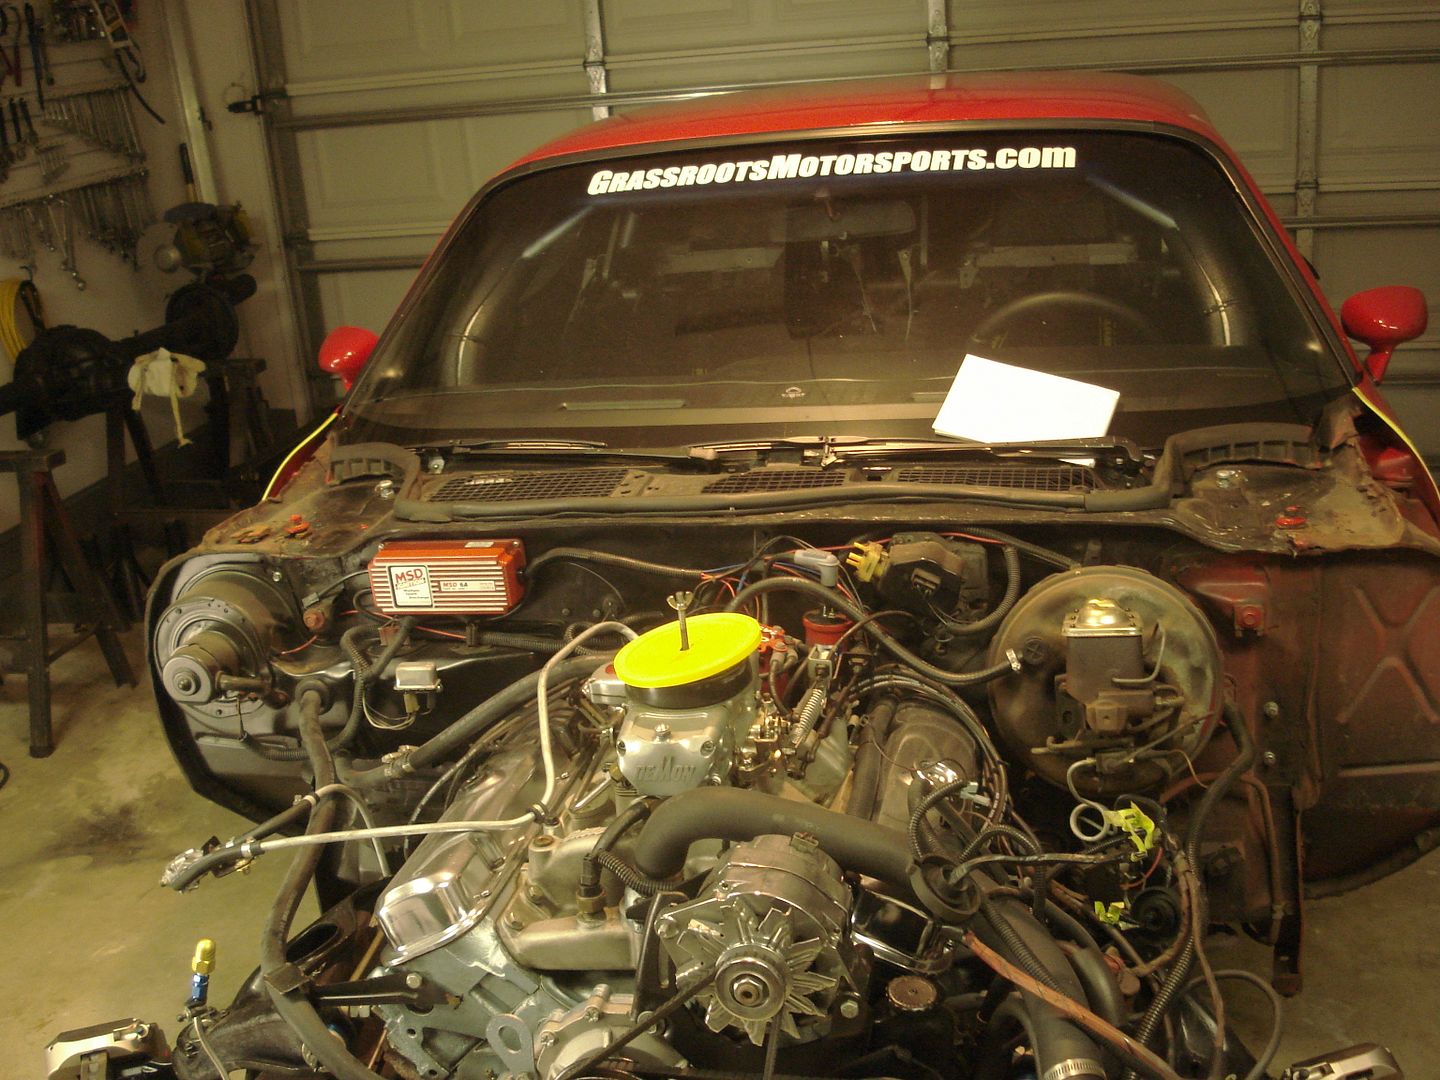
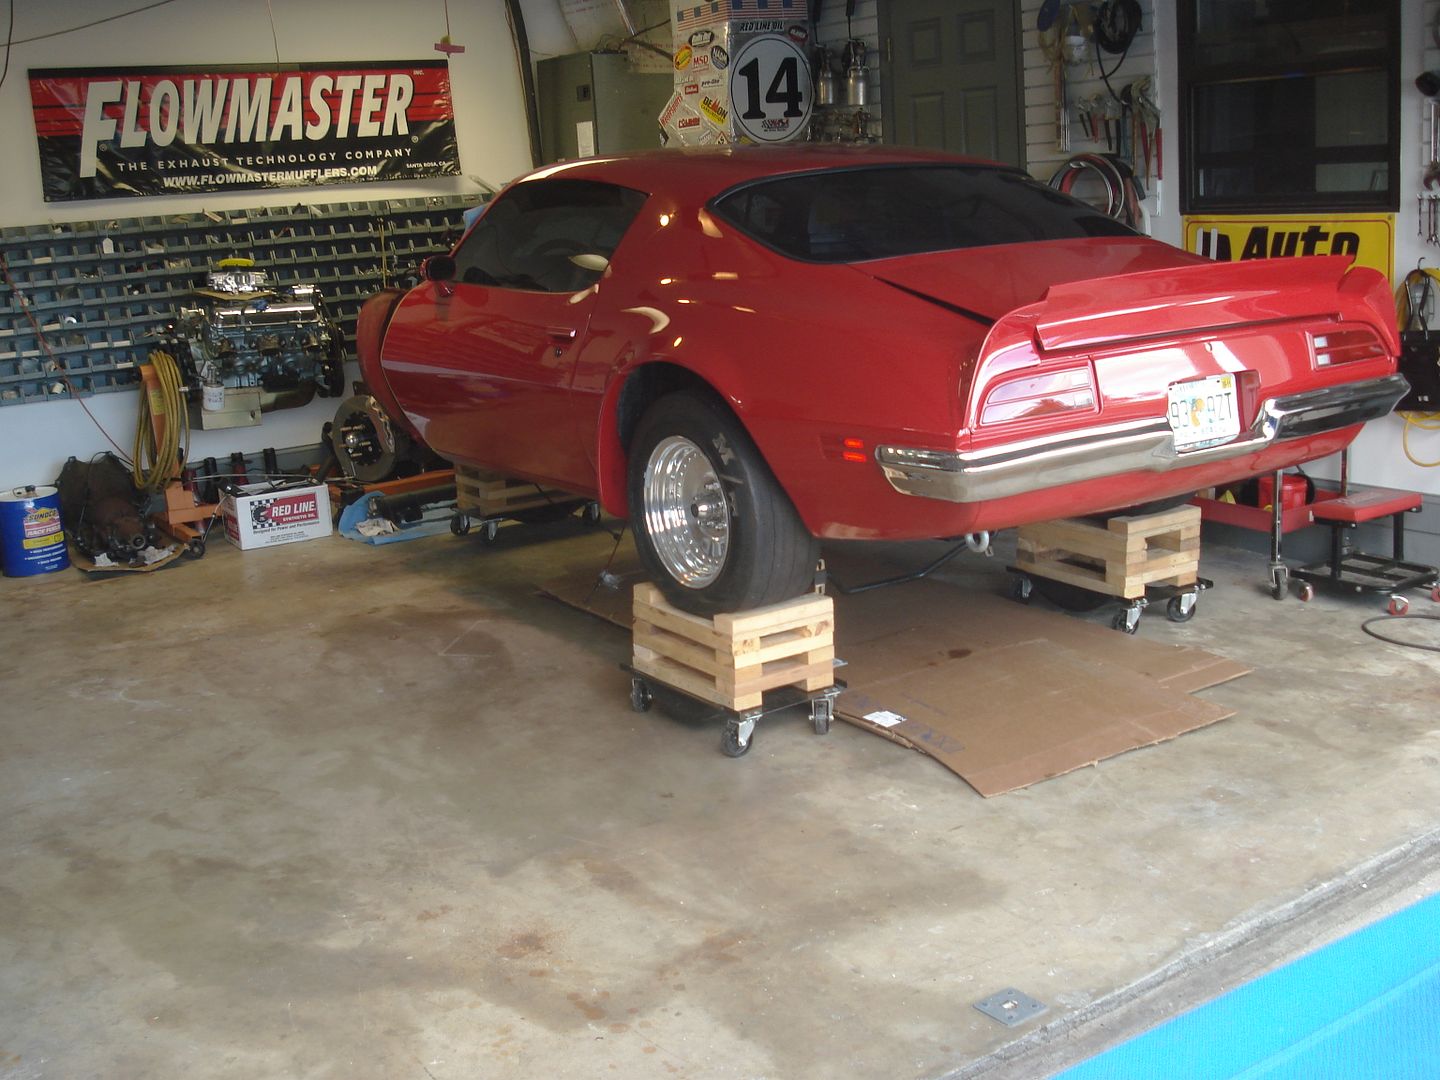
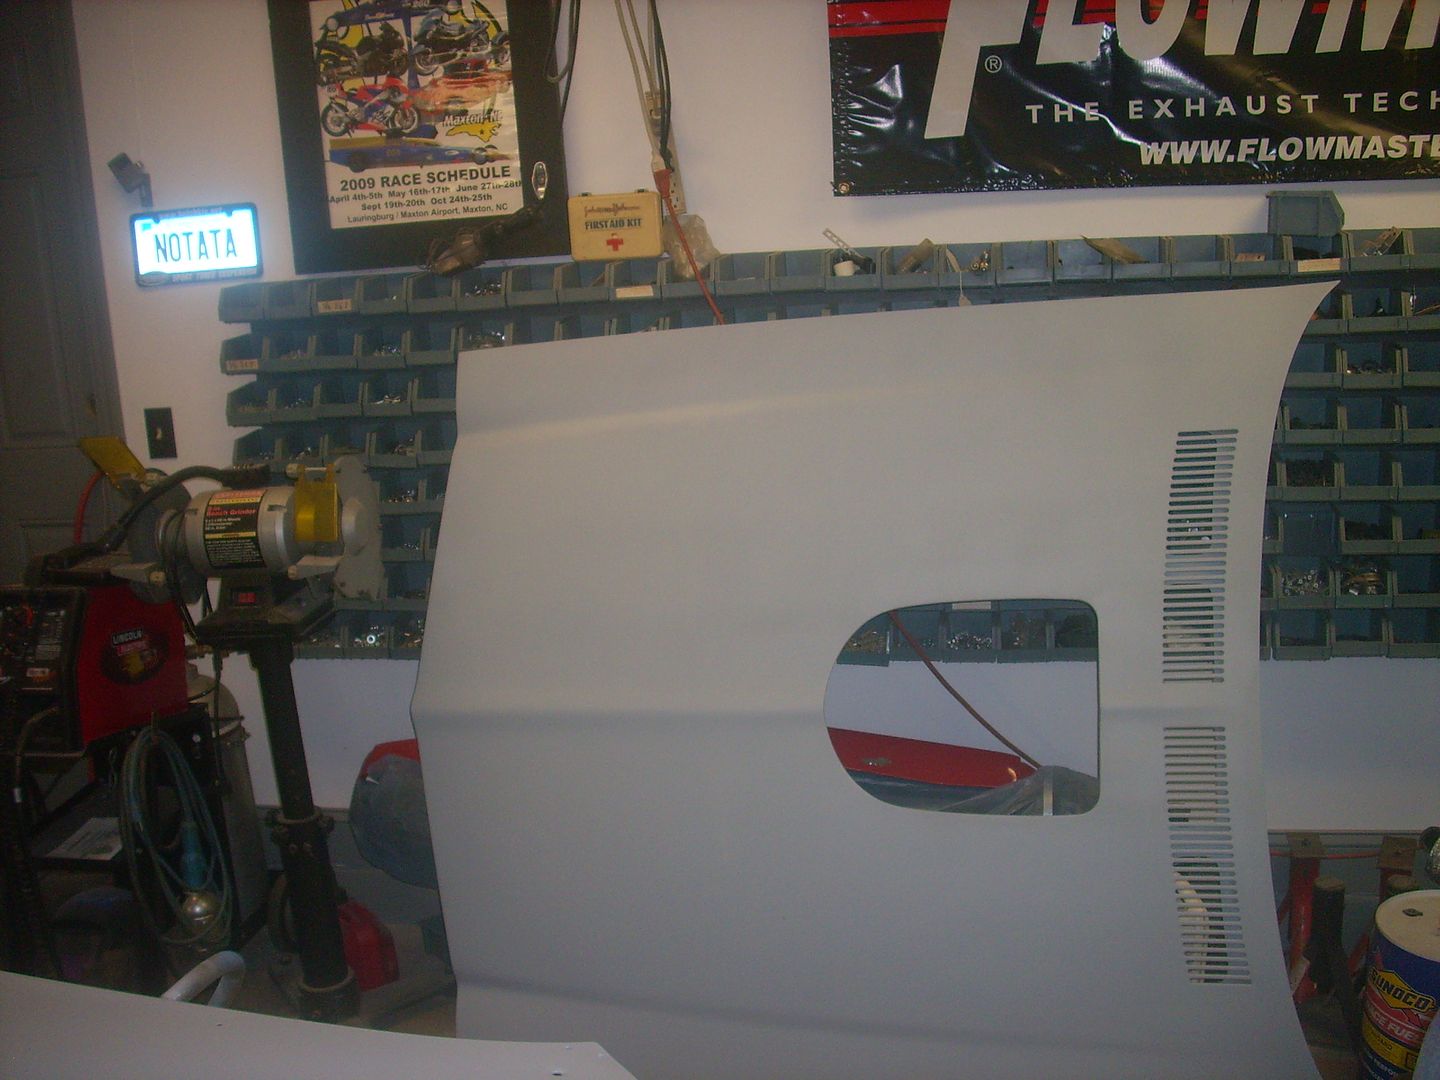
I've been daily driving The 14 Car on the street and no track days in a while so there's no numbers etc. on it now, but here's a "before" pic. I can't order the wheels until I get the brakes installed so I can measure for the backspacing required. I'll keep updating as I progress with the install.
http://www.baer.com/products/calipers/index.php http://www.rushforthwheels.com/ http://www.yokohamatire.com/tires/advan_a048.aspx
 [/URL]


 [/URL]
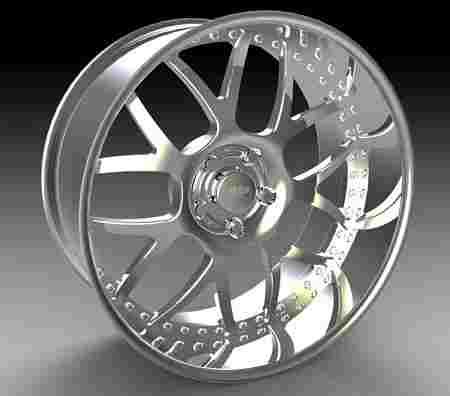 [/URL]
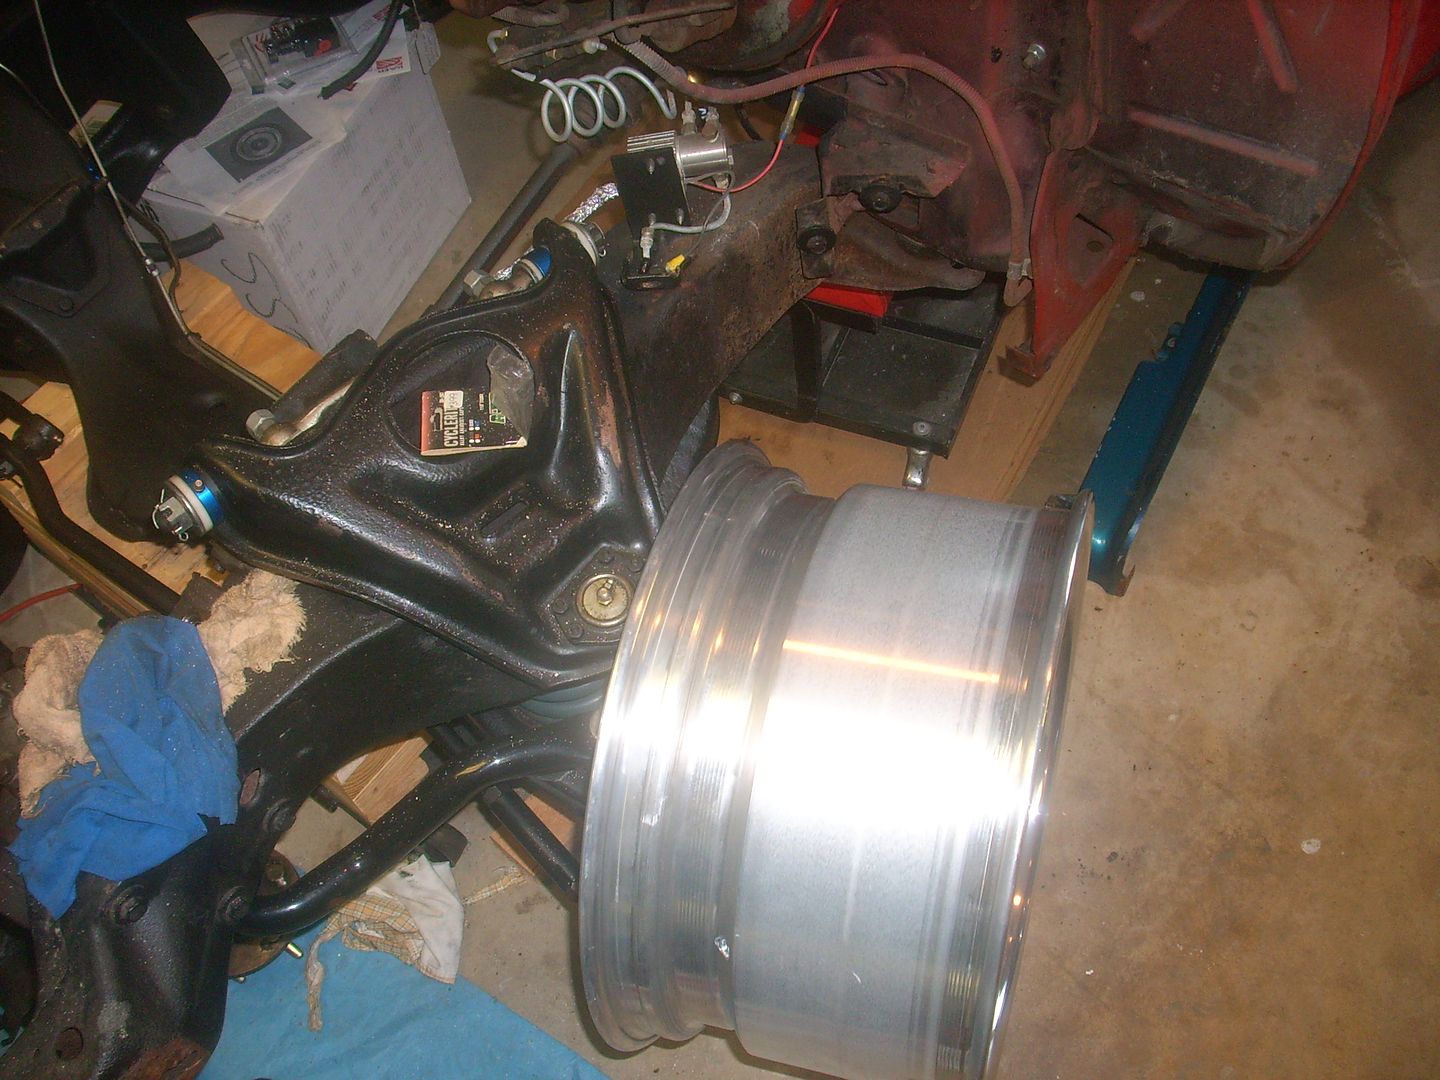
 [/URL]
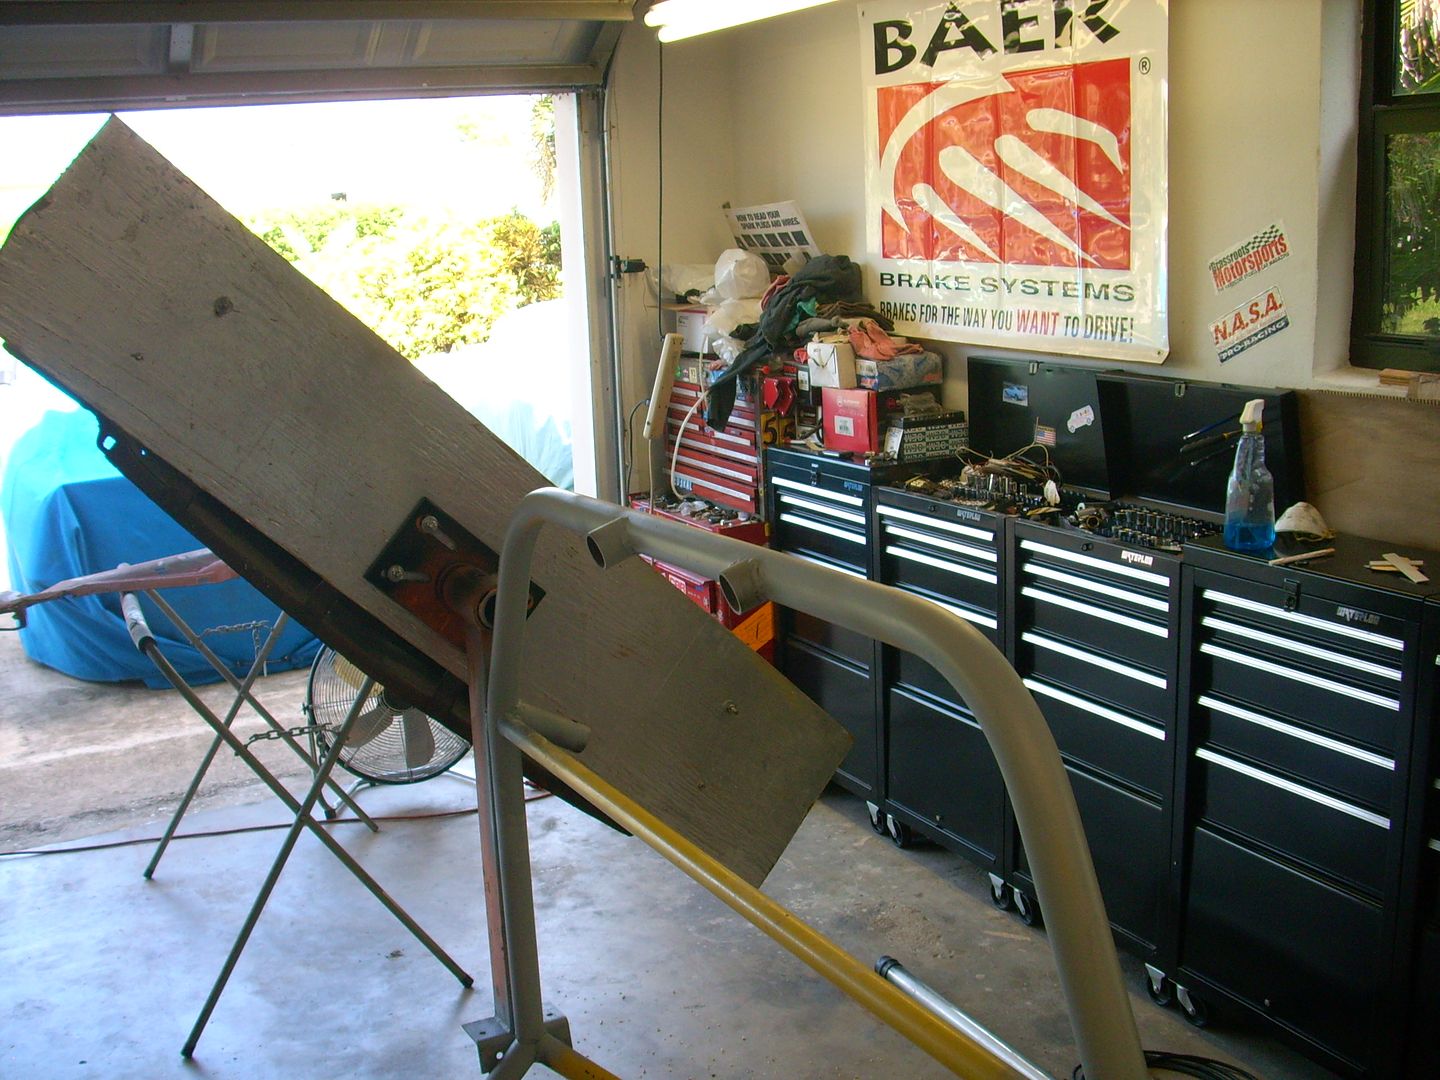 [/URL]
 [/URL]
 [/URL]
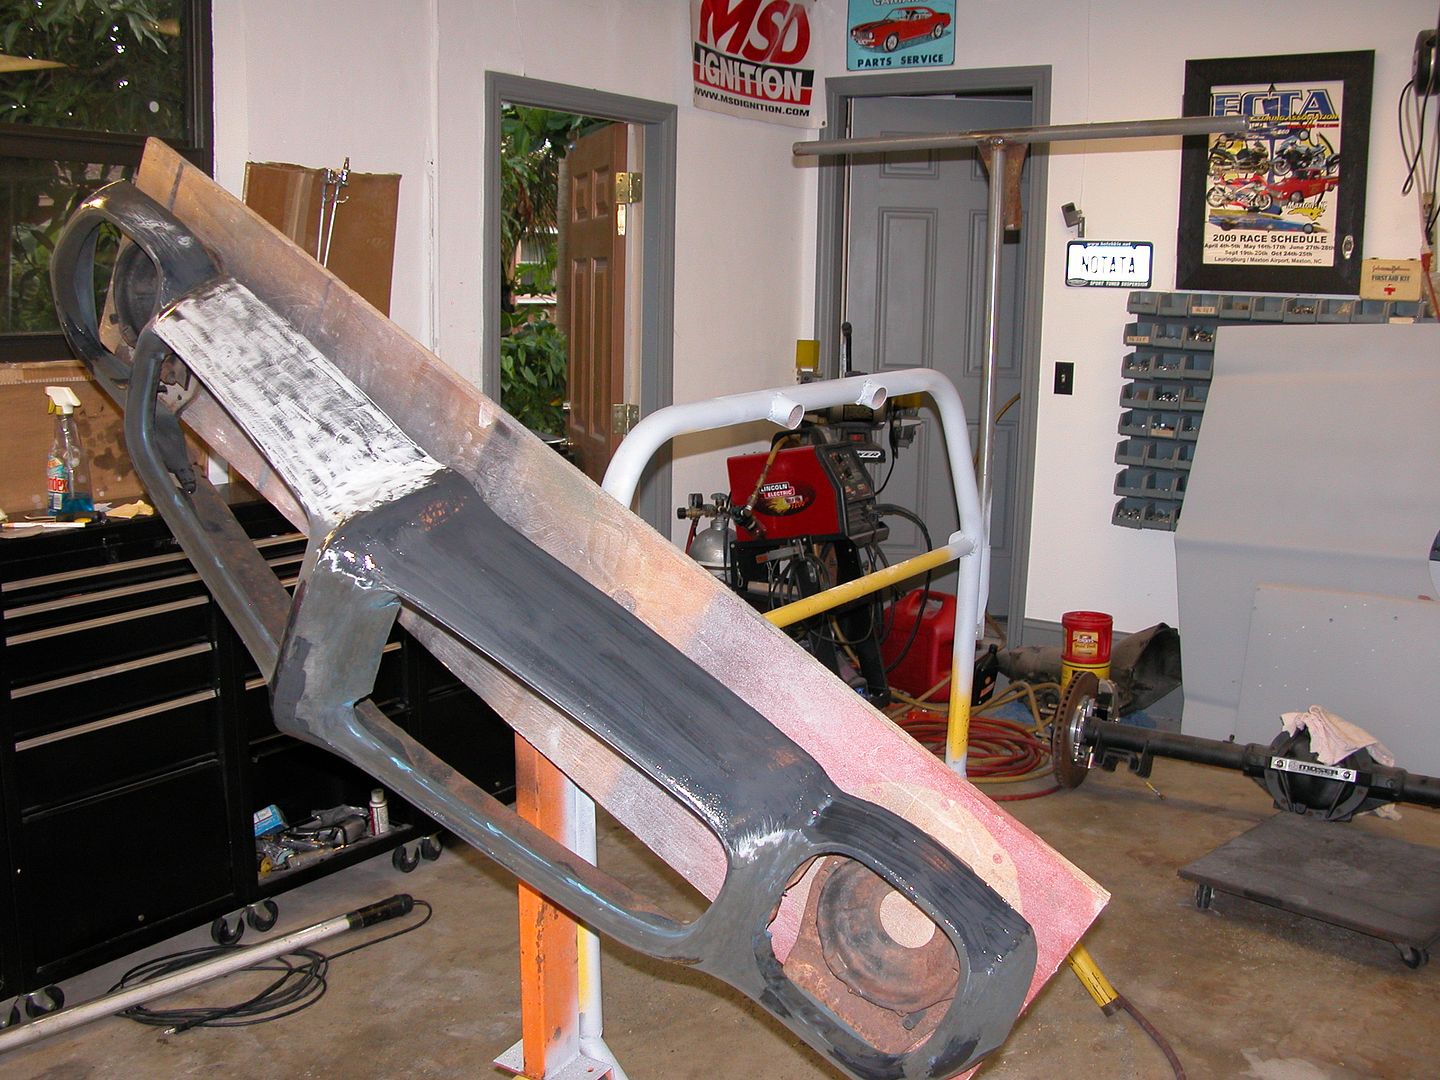 [/URL]
 [/URL]
 [/URL]
 [/URL]
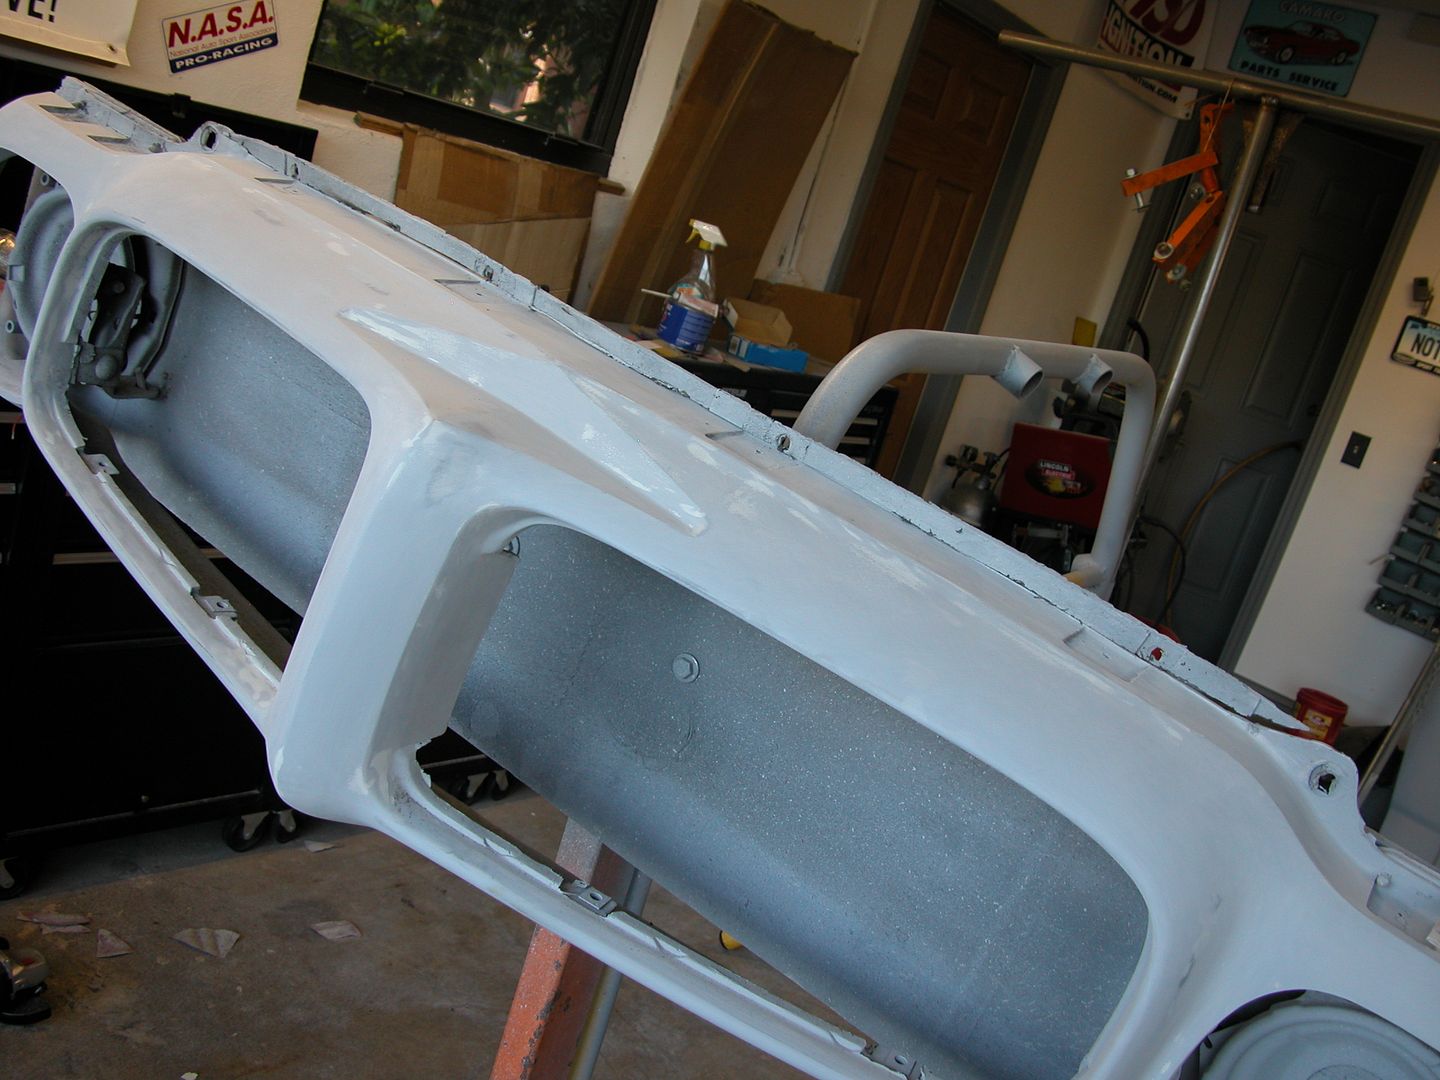 [/URL]
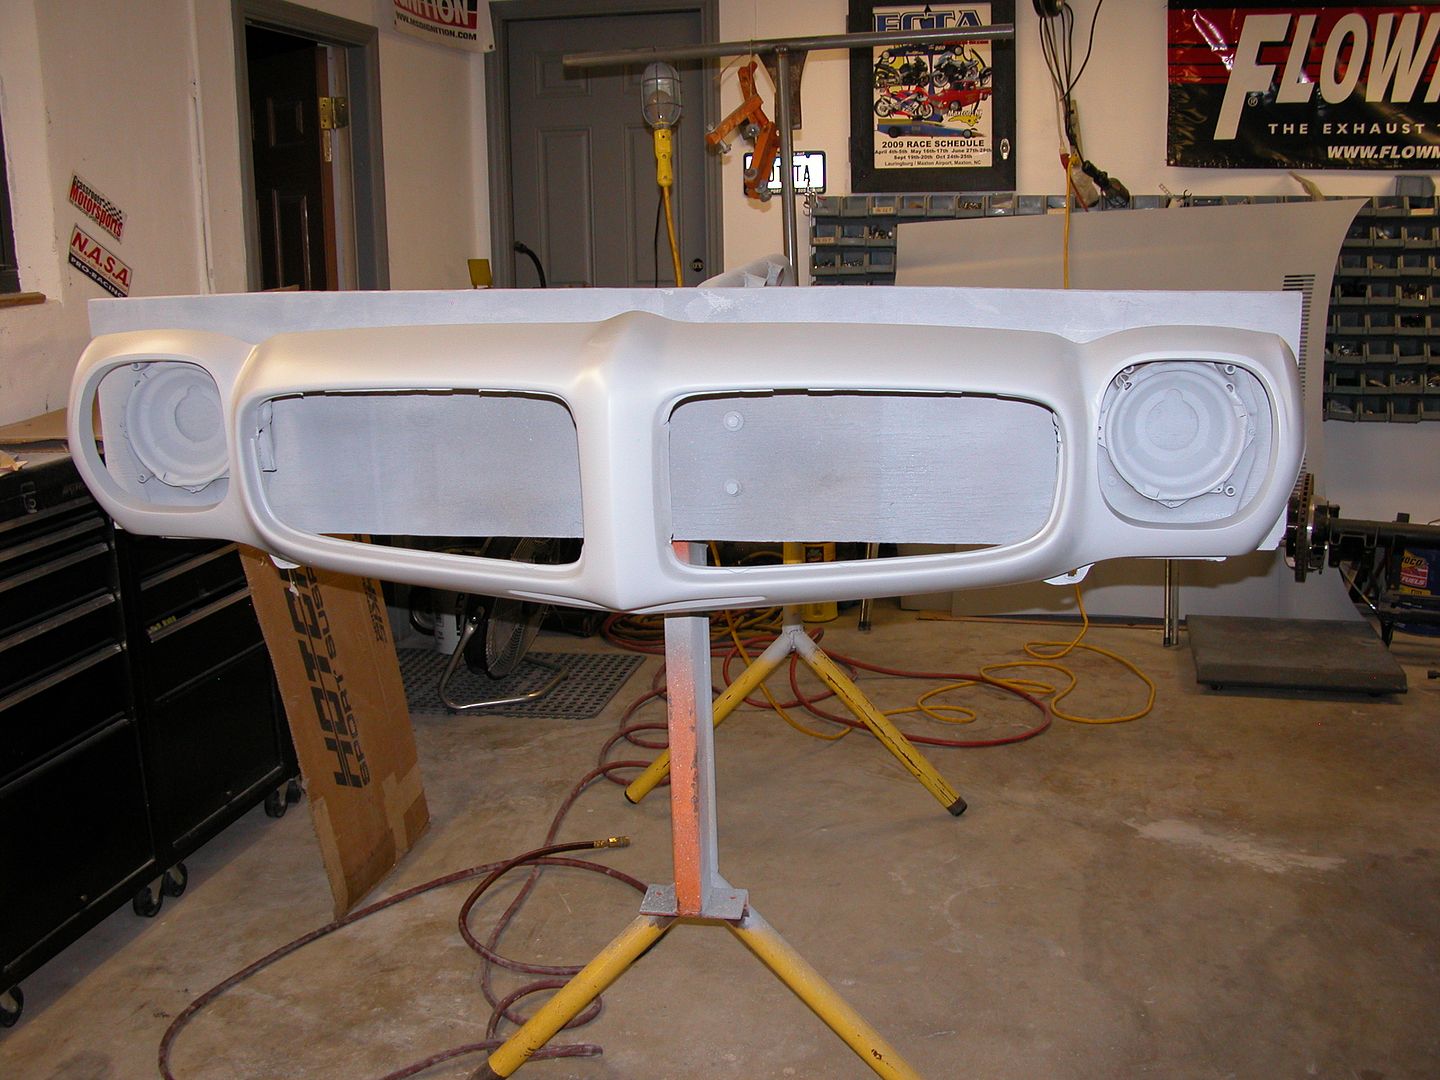 [/URL]
 [/URL]
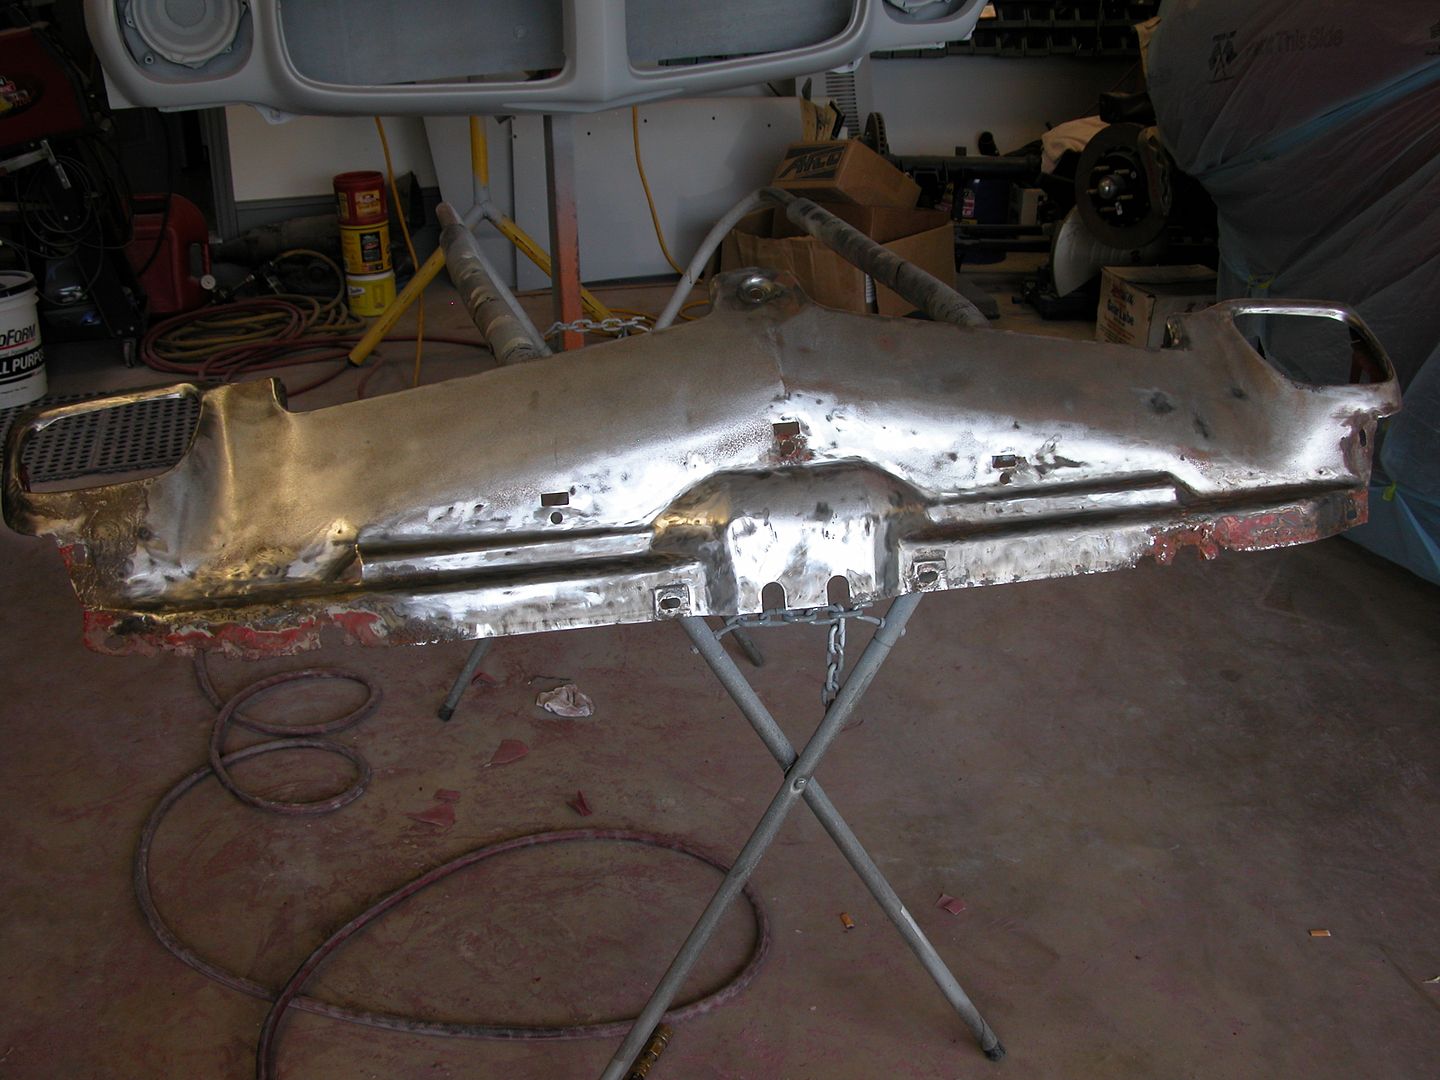 [/URL]
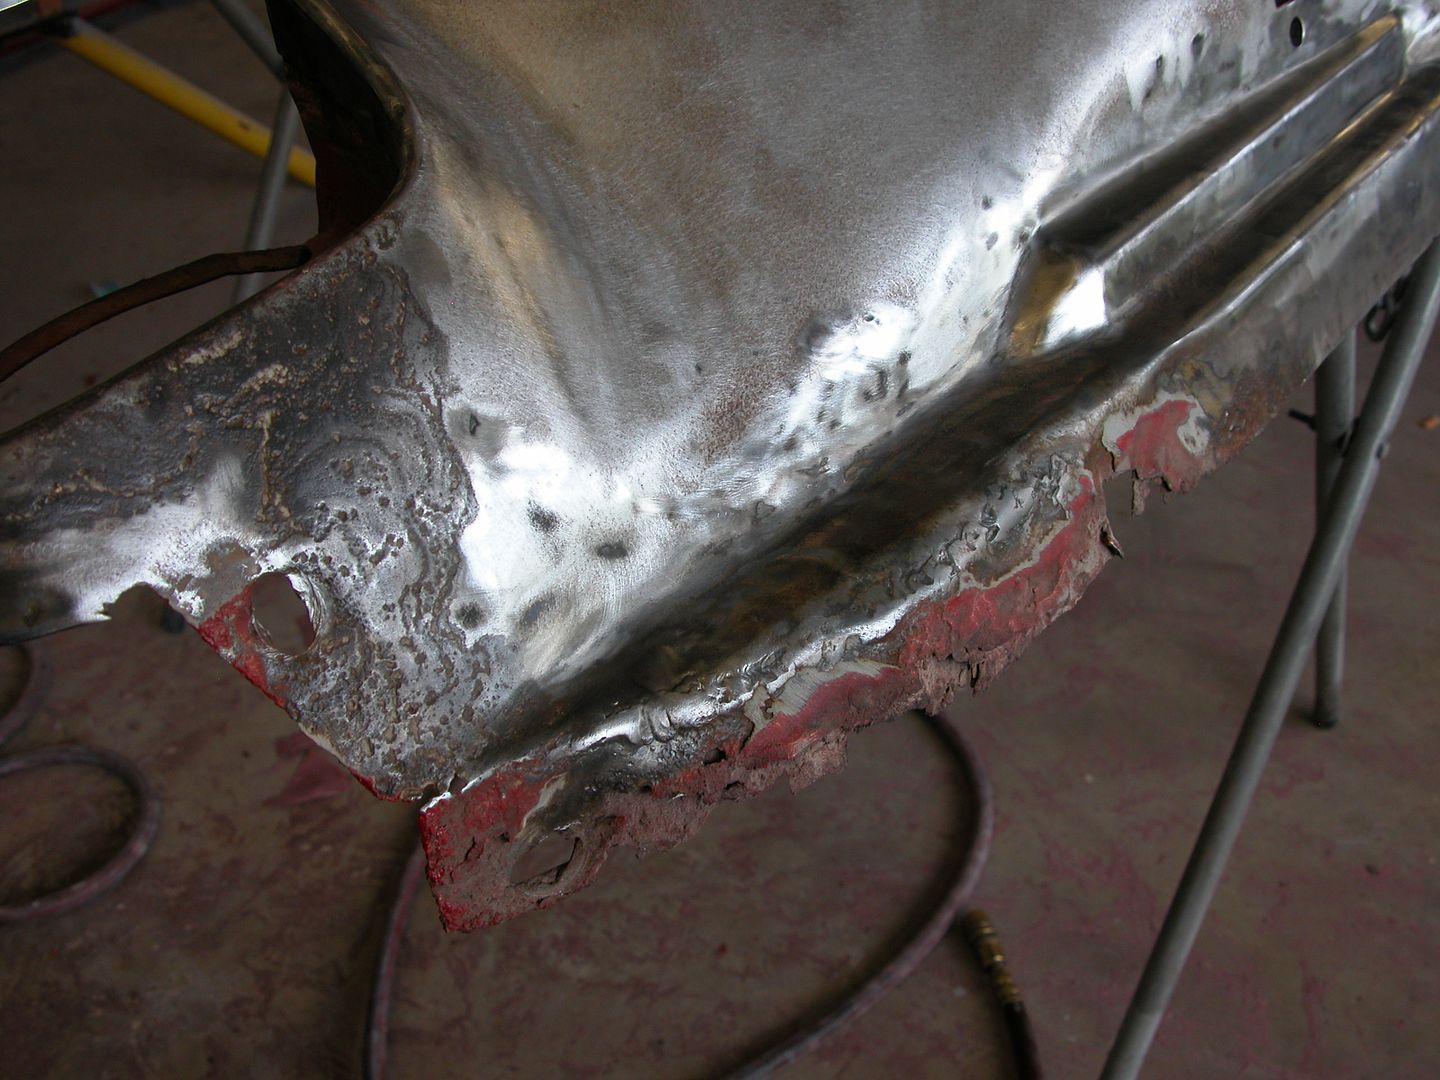 [/URL]
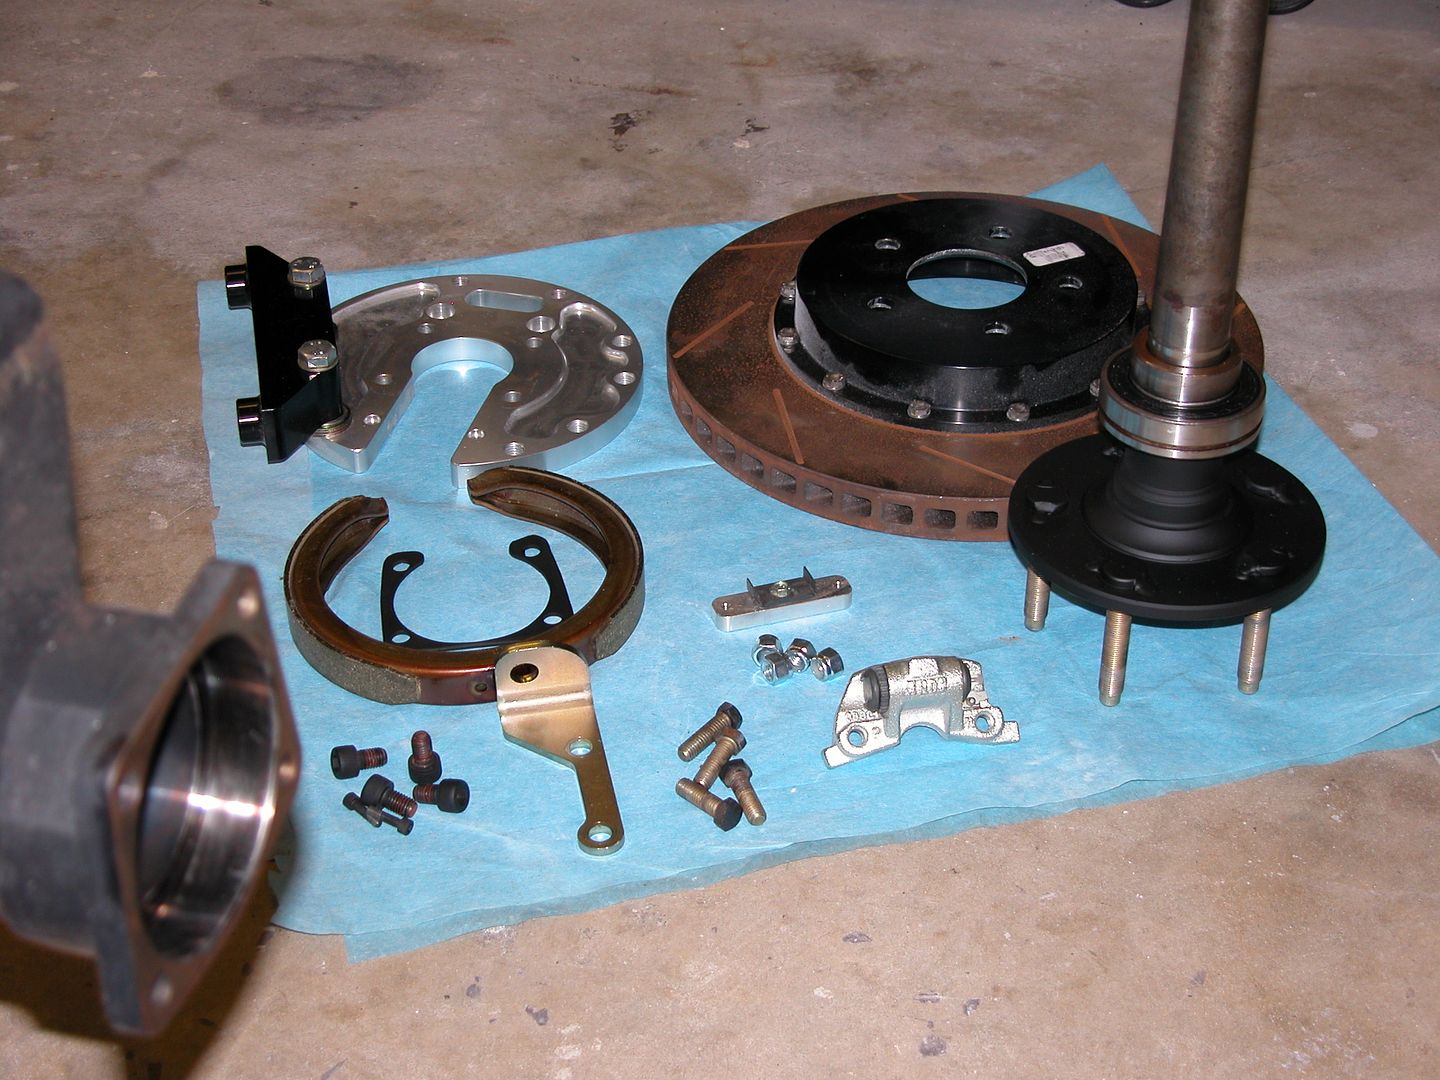 [/URL]
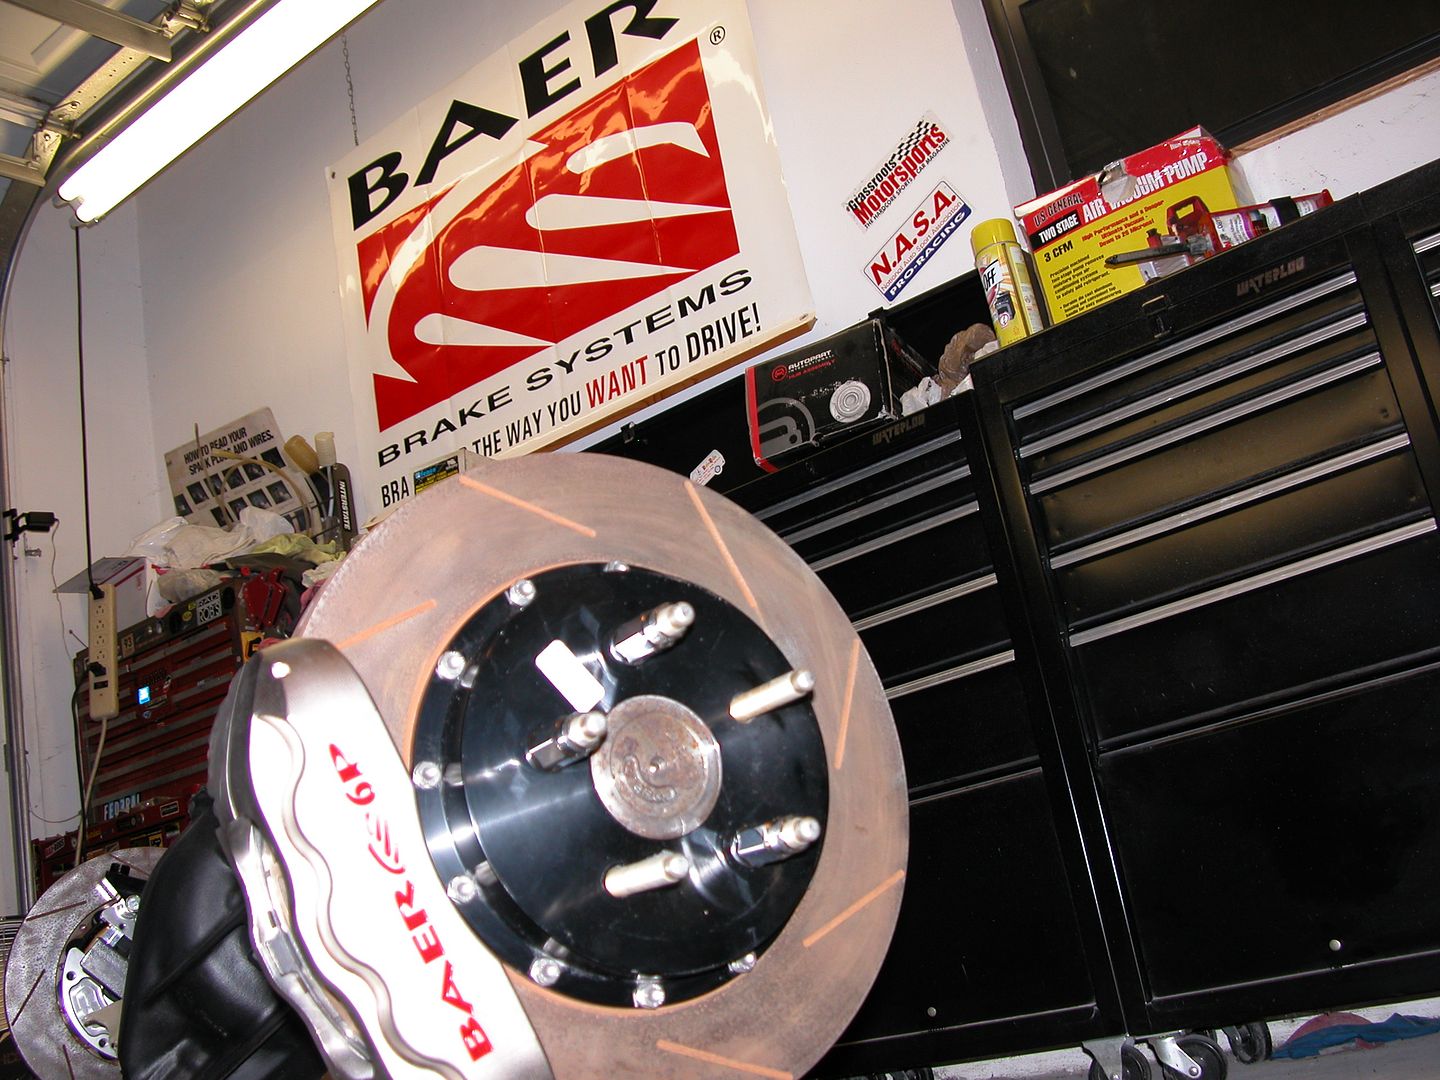 [/URL]
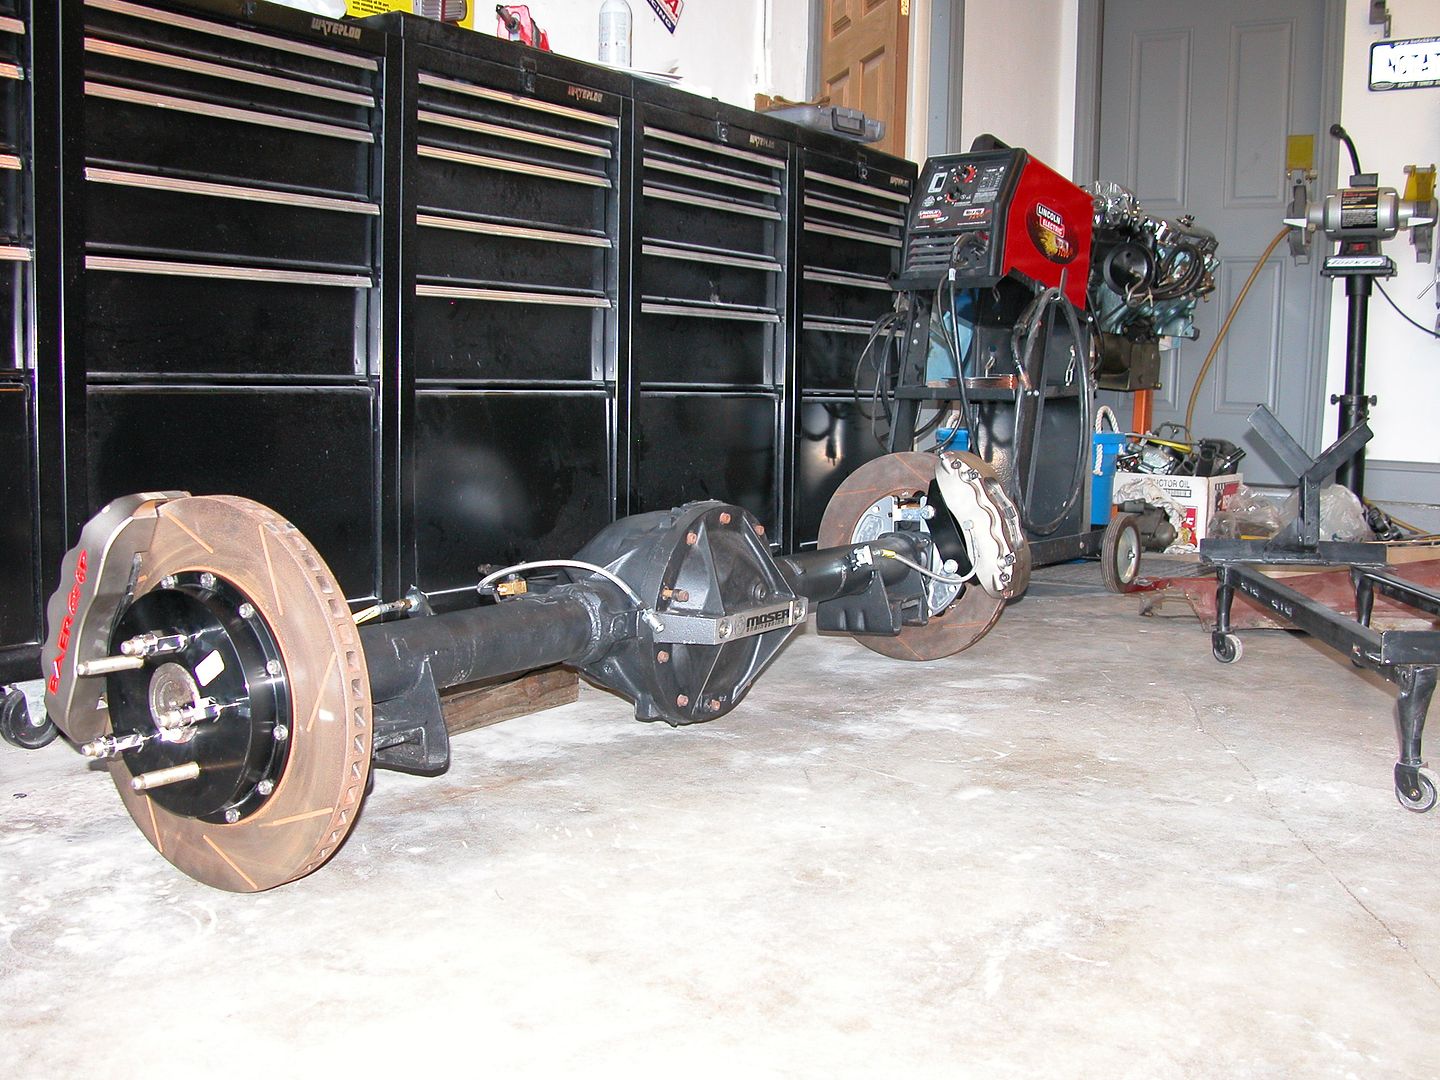 [/URL]
 [/URL]
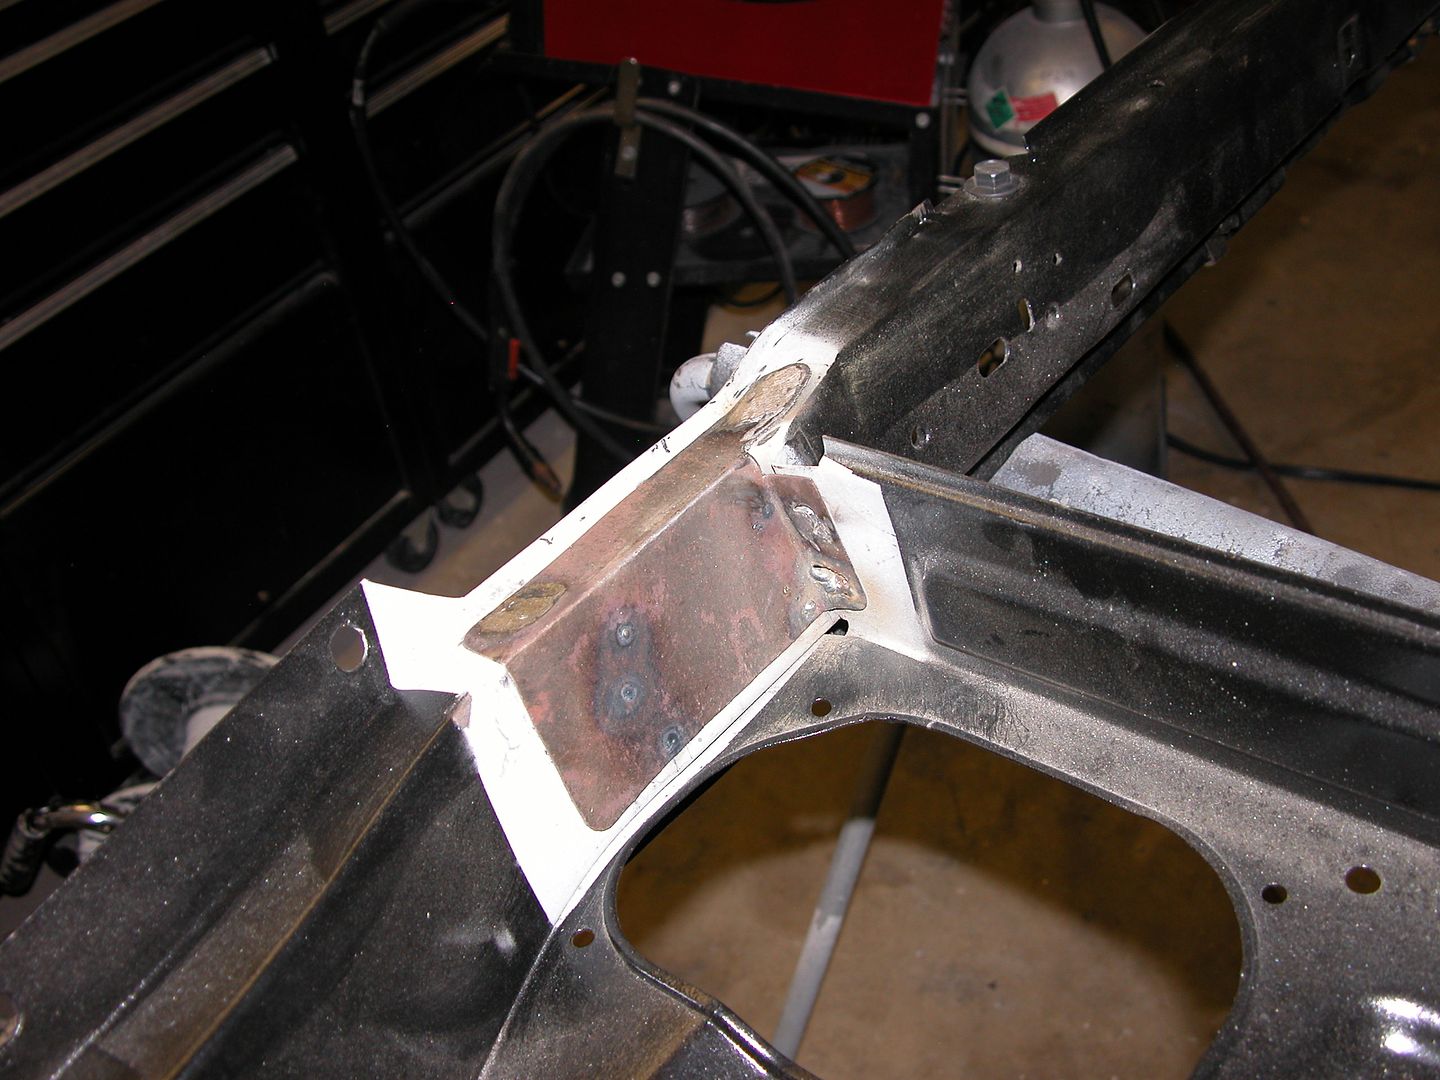 [/URL]
 [/URL]
 [/URL]
 [/URL]
 [/URL]
 [/URL]


