1 ... 6 7 8
Mezzanine
Mezzanine Dork
8/13/18 2:35 p.m.

In the two years since I last posted, little has been done on the kitchen. My job shifted and had me on the road almost full time, so we have been living with some plywood scraps for countertops, and bare drywall on the wall.

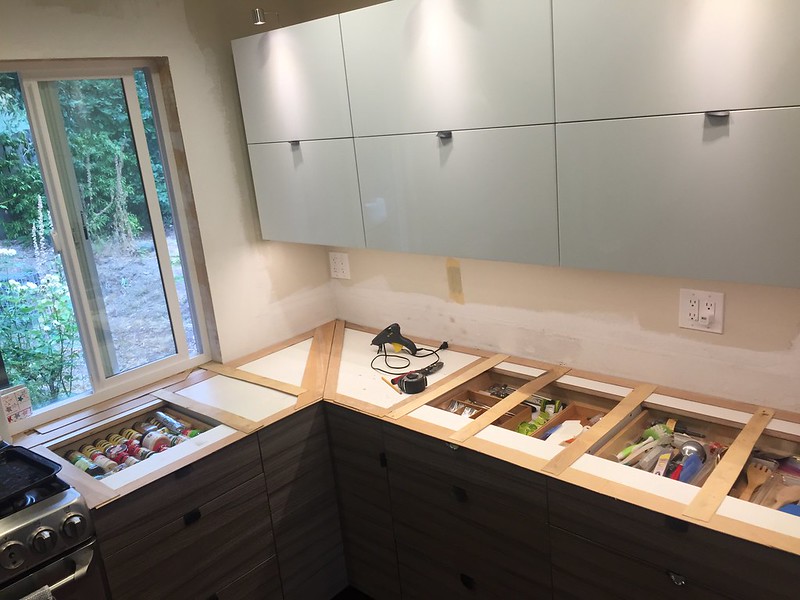
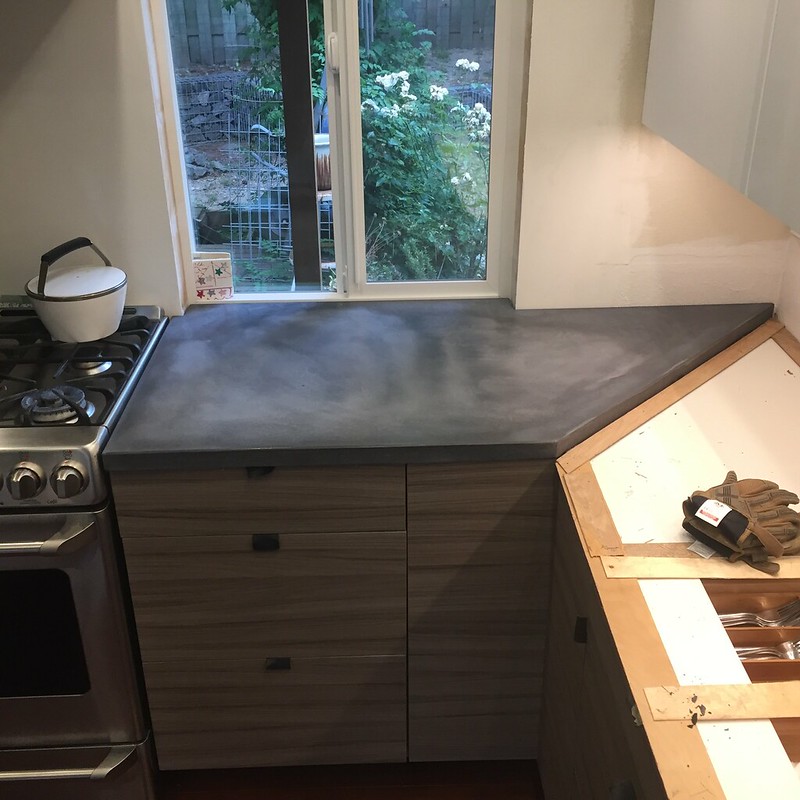
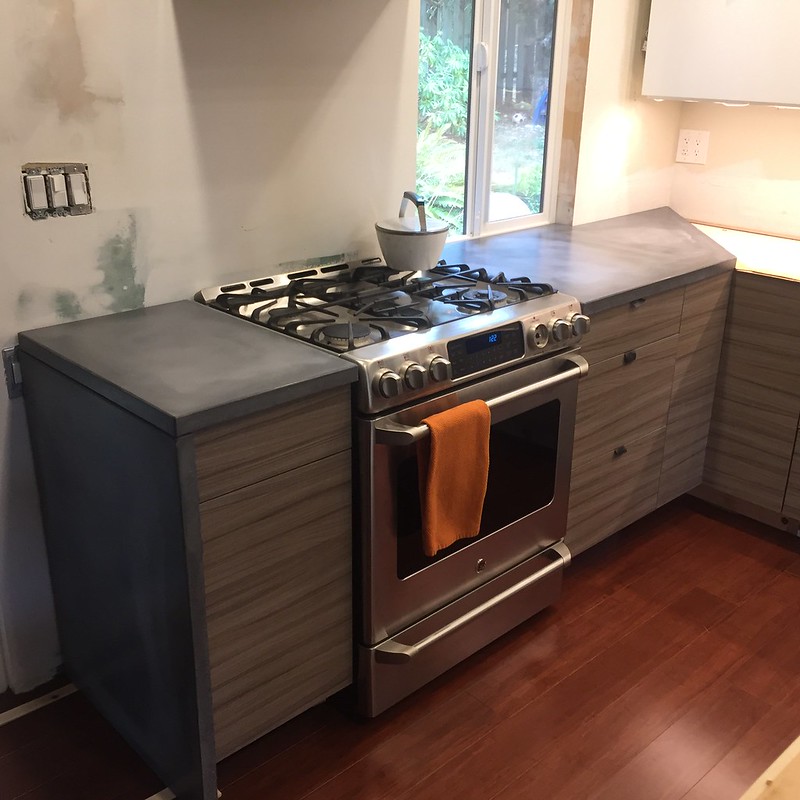
But in the last two years and one month since I last posted, production has spun back up again! I have a new boss, and he's an actual reasonable human being that wants to maintain a reasonable travel schedule and see his EE's take vacations. So once I got the Fiat running for Hungary Bill's visit two months ago, I knew I had to shift my attention back to the remodel. I went ahead and installed cabinet doors on the island, something I'd put off simply because I didn't want to damage them when I installed the countertops. Since those countertops weren't forthcoming, I put them on anyway.


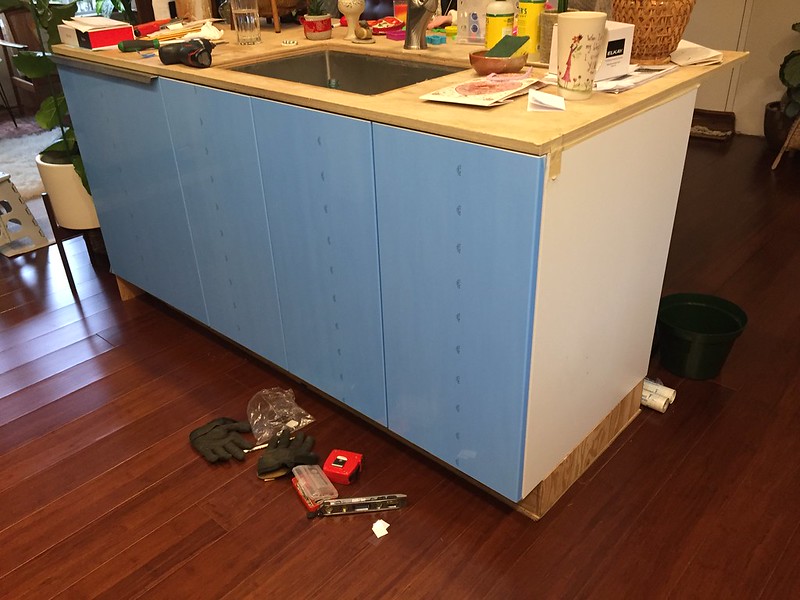
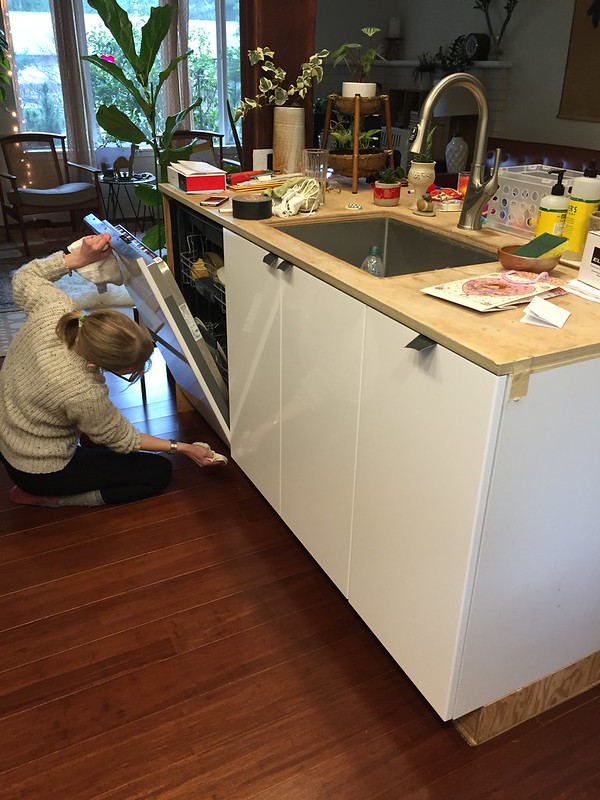
Requisite gaffer tape drawer pulls to match the rest of the kitchen. cheeky I did fabricate an aluminum pull for the dishwasher since it is a panel mount and would need a little more strength than the tape could offer.

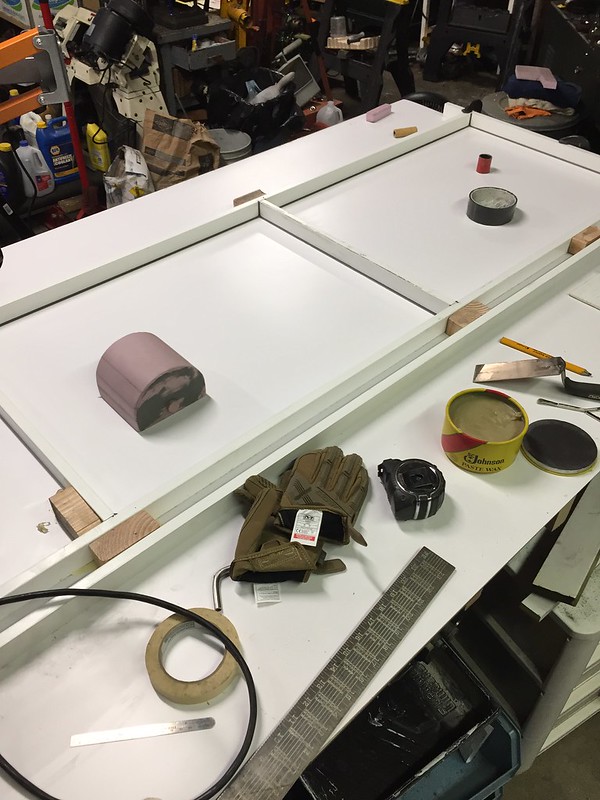
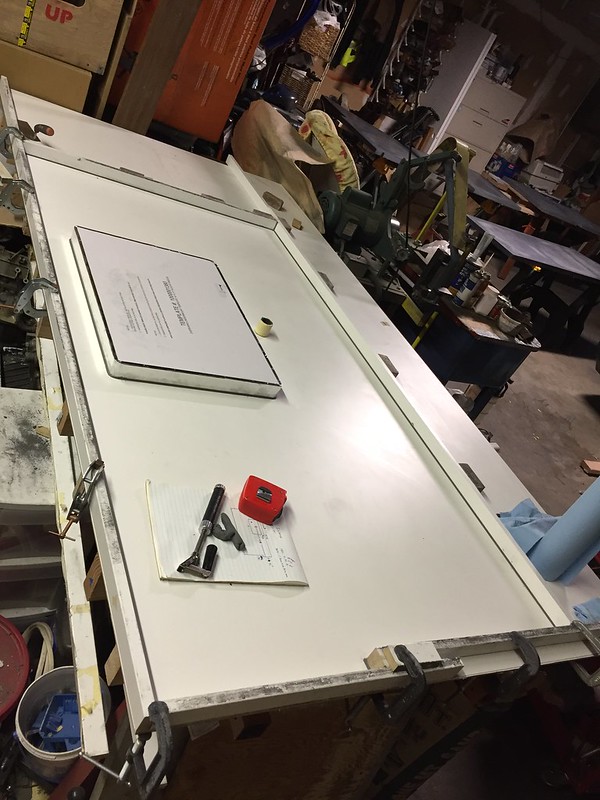
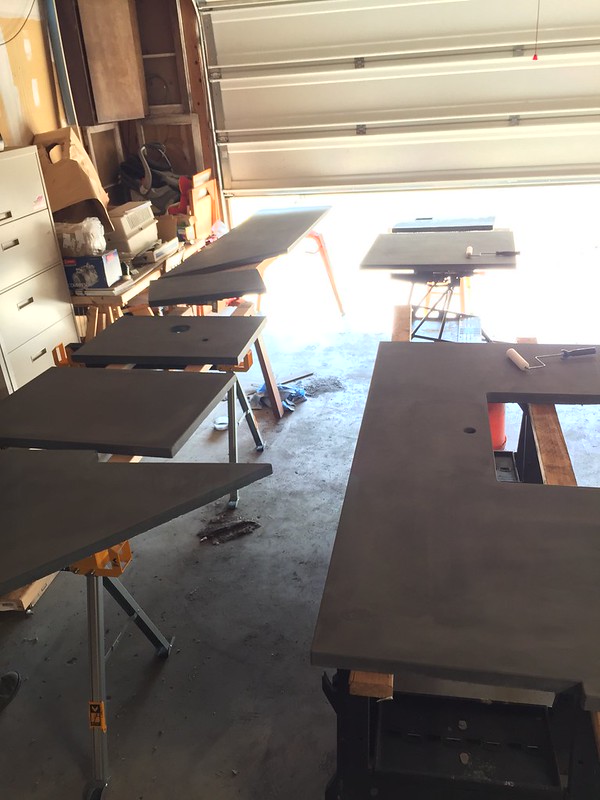
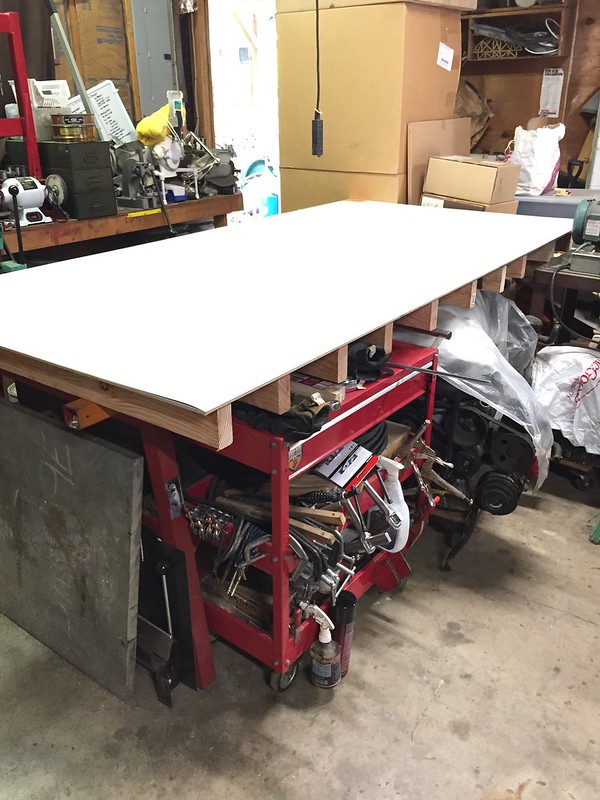
At this point I knew I had stalled long enough. It was time to try my hand at casting up some concrete countertops. First, clean the shop table and make a casting table out of it.

Before:

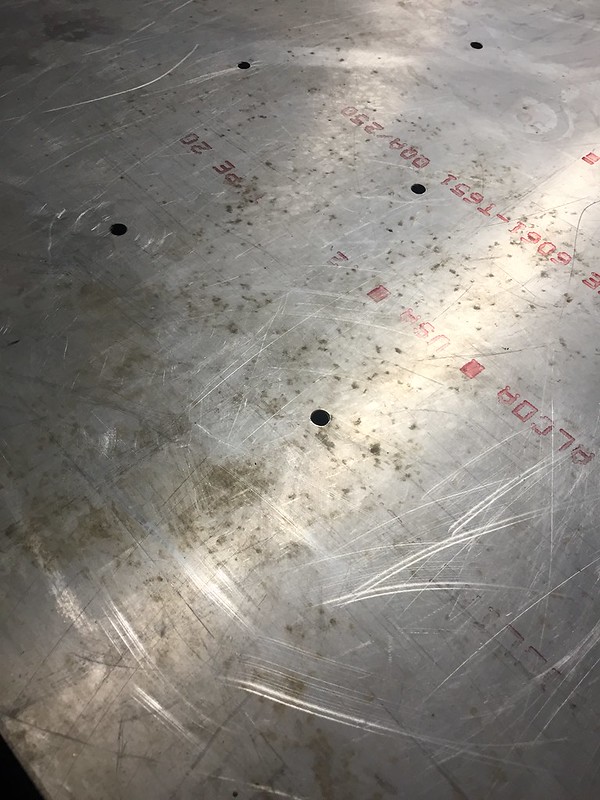
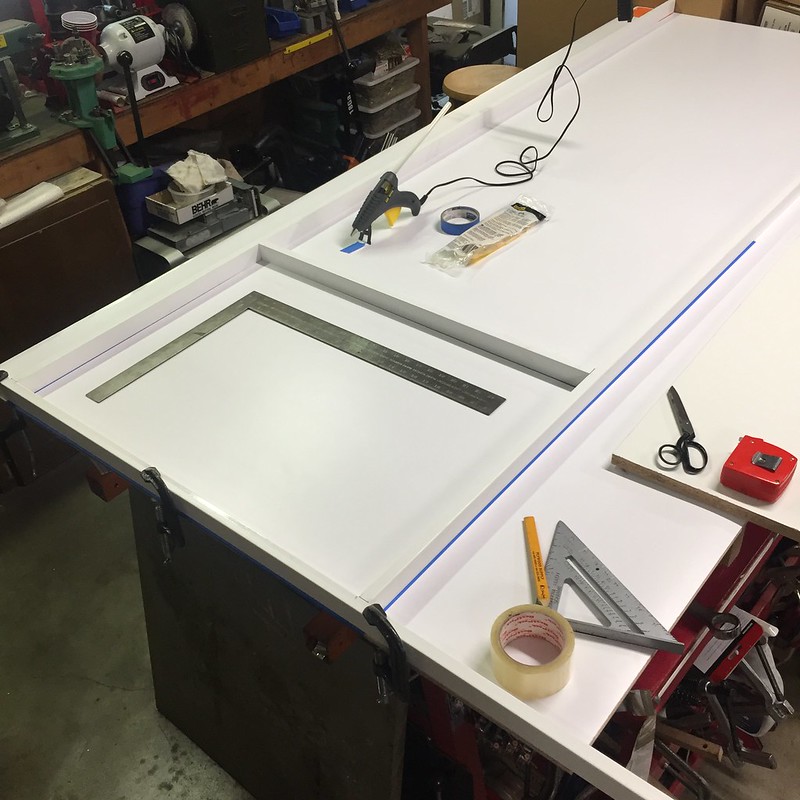
After lots of scotchbrite and elbow grease:

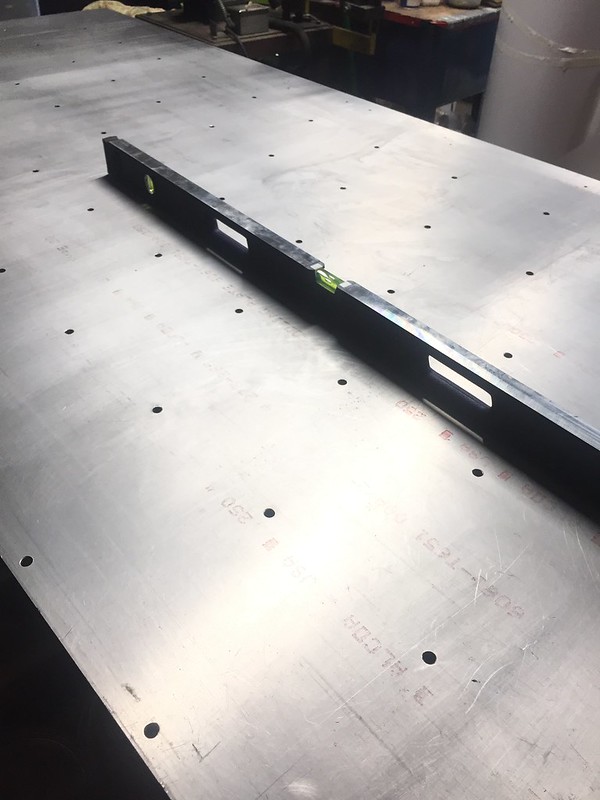
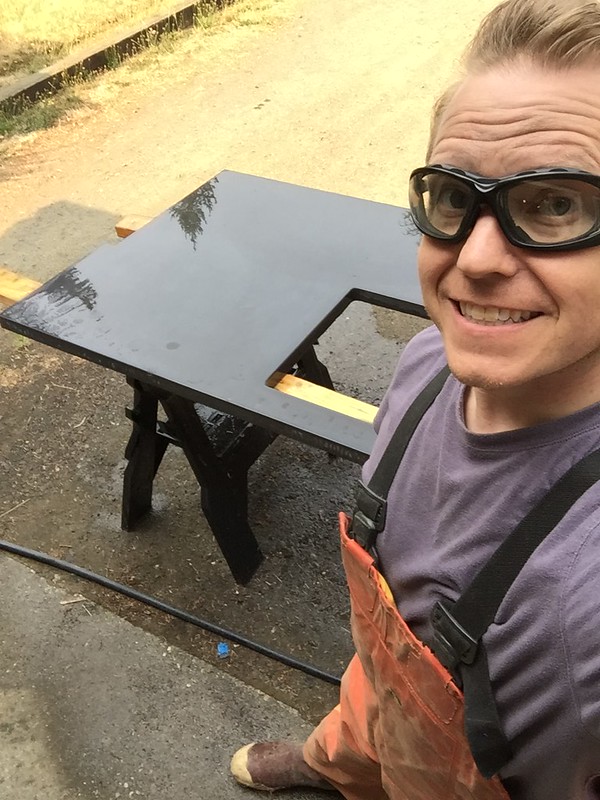
Next I cut down some 2x4s to reinforce the table. the aluminum plate top would bow with weight on the outer edges, and I needed it to stay pretty flat. I then topped it with a sheet of 1/4" melamine/MDF/stuff and then glued a sheet of Formica down on top of that. Voila: casting table. 

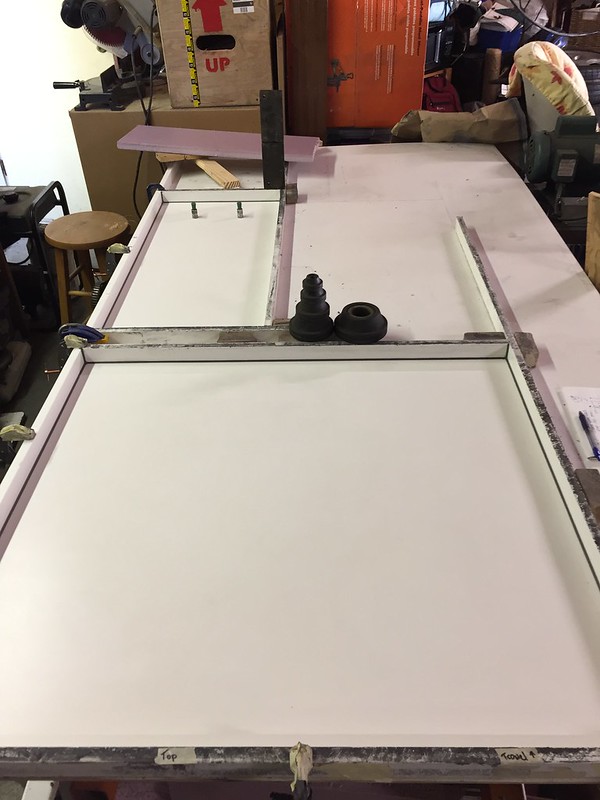
Time to make a test piece. I made forms with some poly coated 1-1/2" trim boards from Home Depot. These were $5 for a 8" length, and were a great choice. They don't absorb water and they have a great casting surface. The first piece would be for the master bathroom vanity. I figured it would be a good place to practice.

Add in the knock-outs for the sink and faucet. The smaller of the two is actually a Fiat rear suspension bushing sleeve (perfect size!), and the larger is not the drain cap you think it is - it's what I use to press a rear main seal into a SAAB B2XX engine. 

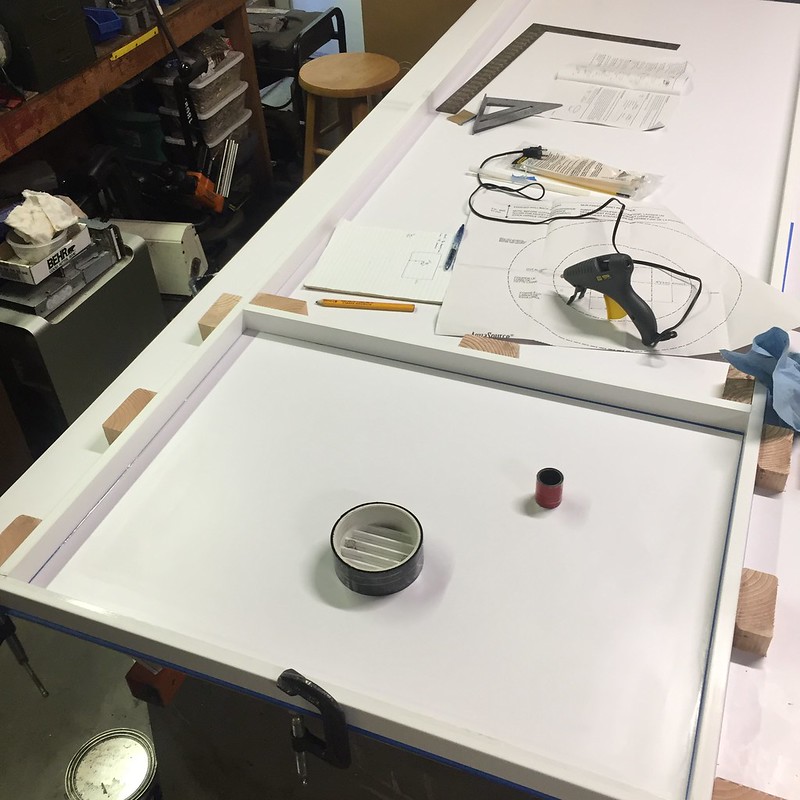
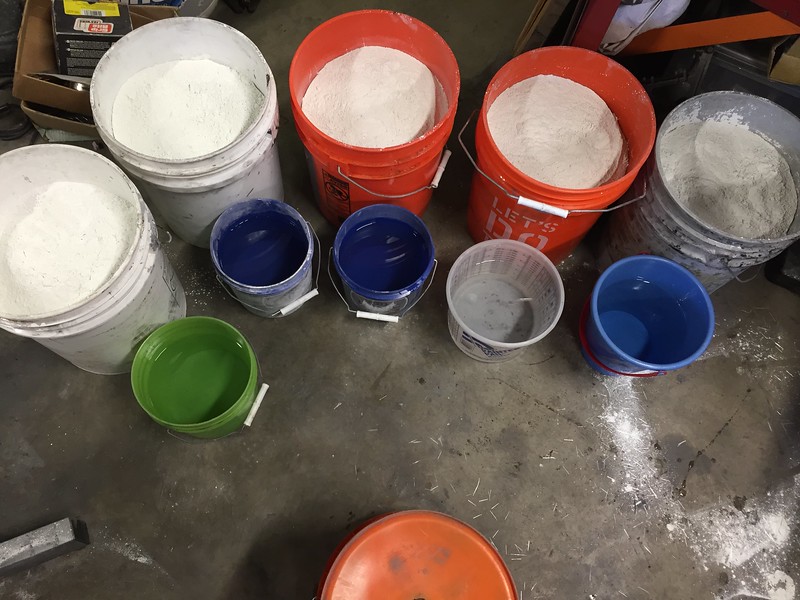
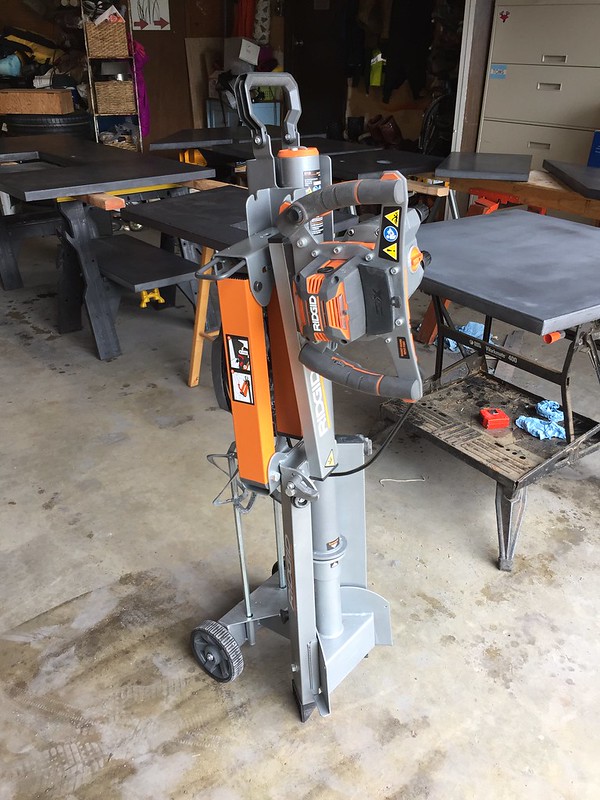
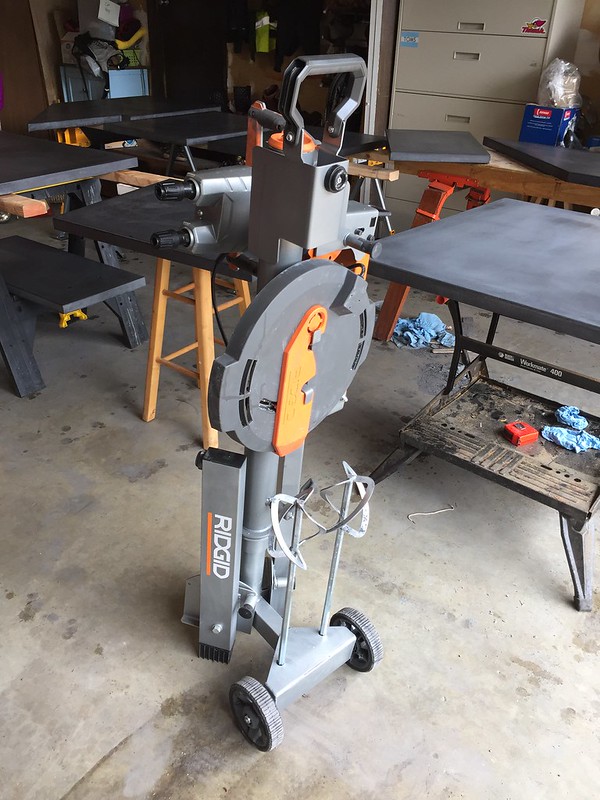
After lots of fiddling with the form, I was ready to mix up. I used my right angle drill because it was the only one with enough poop to mix cement. It sucked.

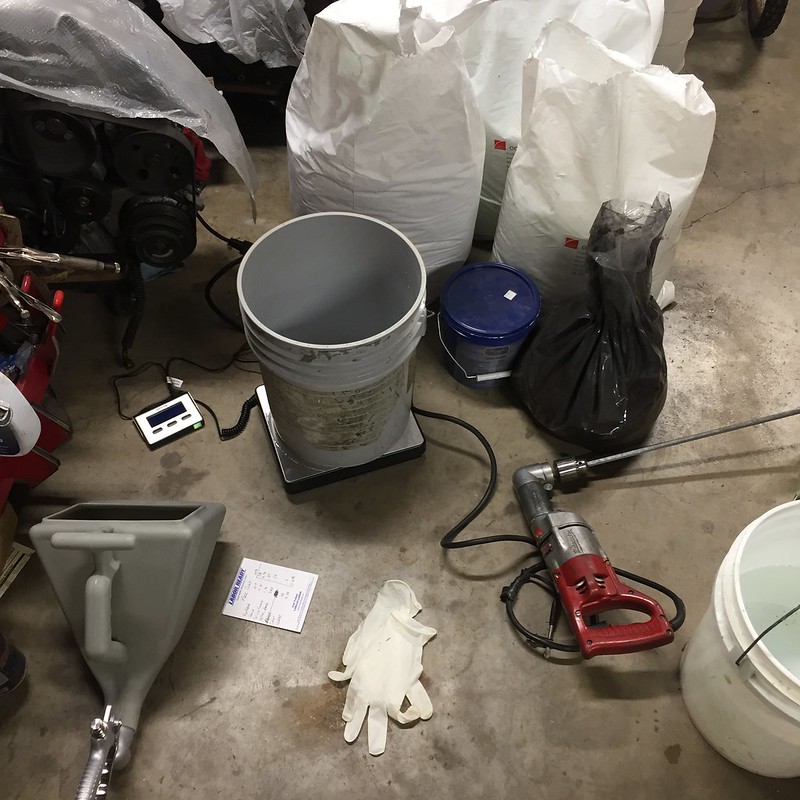
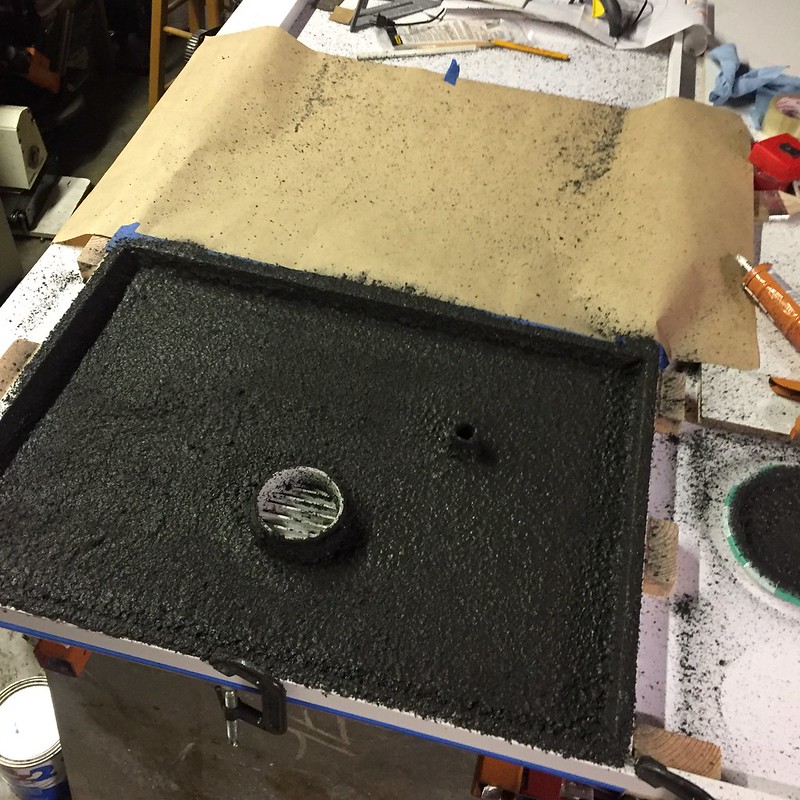
The method I used is complicated glass fiber reinforced concrete (GFRC). I use a texture gun to spray up a face coat, then hand pack in a backer that is filled with fiberglass strands for strength. Both concrete mixes are pretty techy and include a slew of additives to make them flow, increase strength, reduce shrinkage, cracking, and pits or bug holes. Really neat stuff. You measure everything out by weight and have to be pretty accurate.

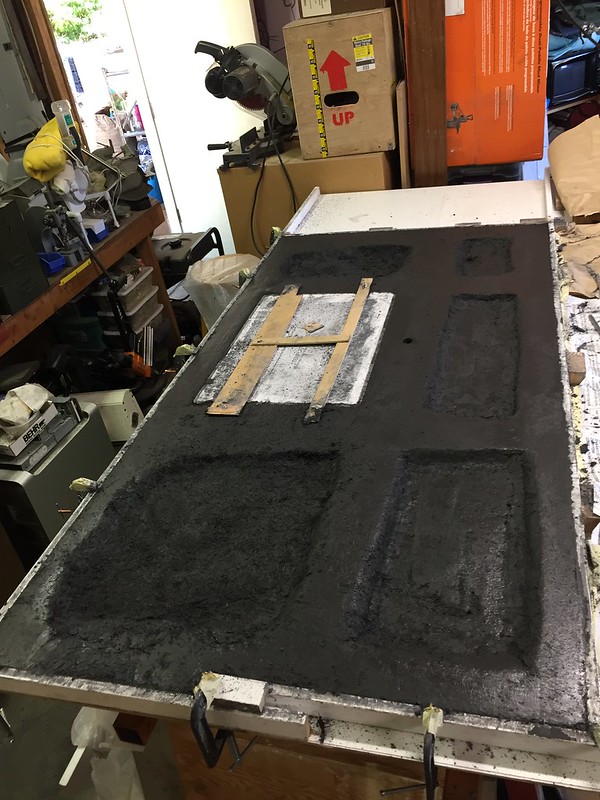
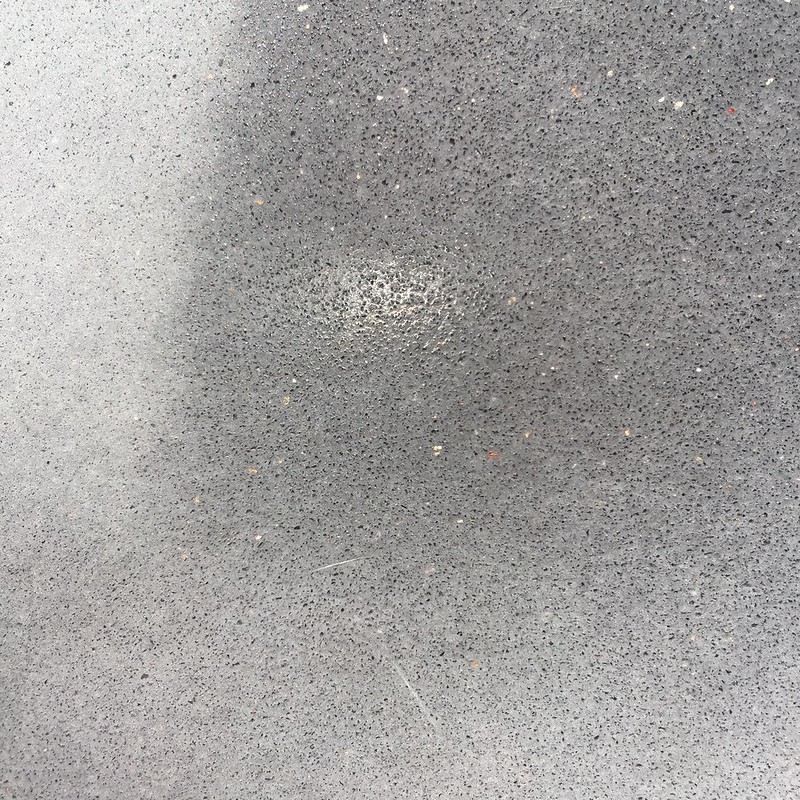
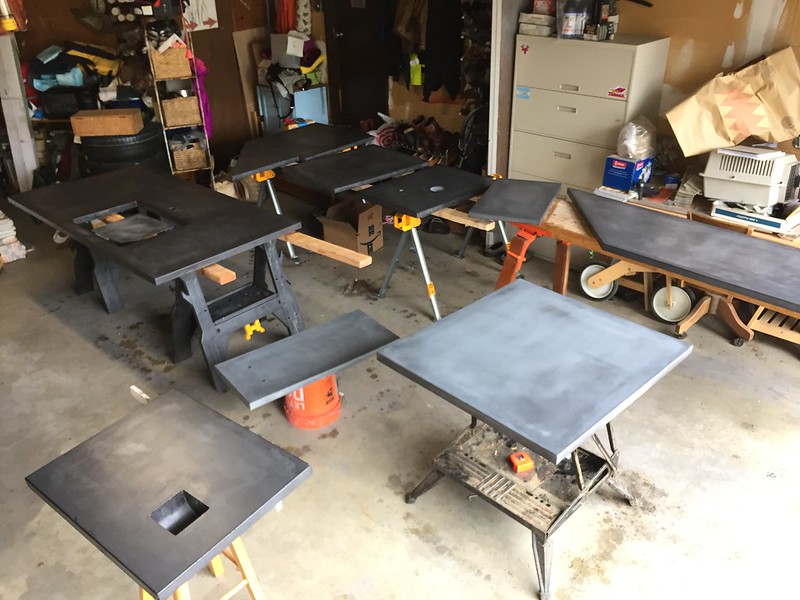
Here it is with the face coat sprayed out:

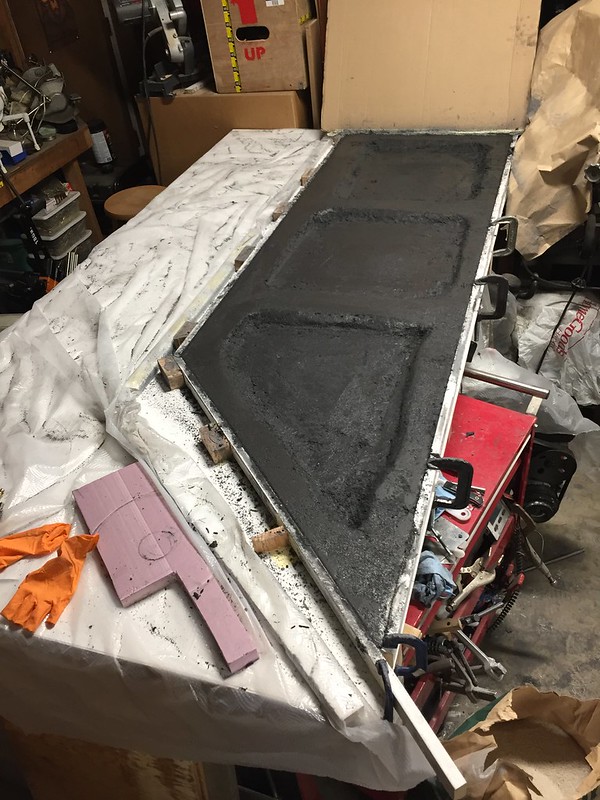
I then hand-packed the backing:

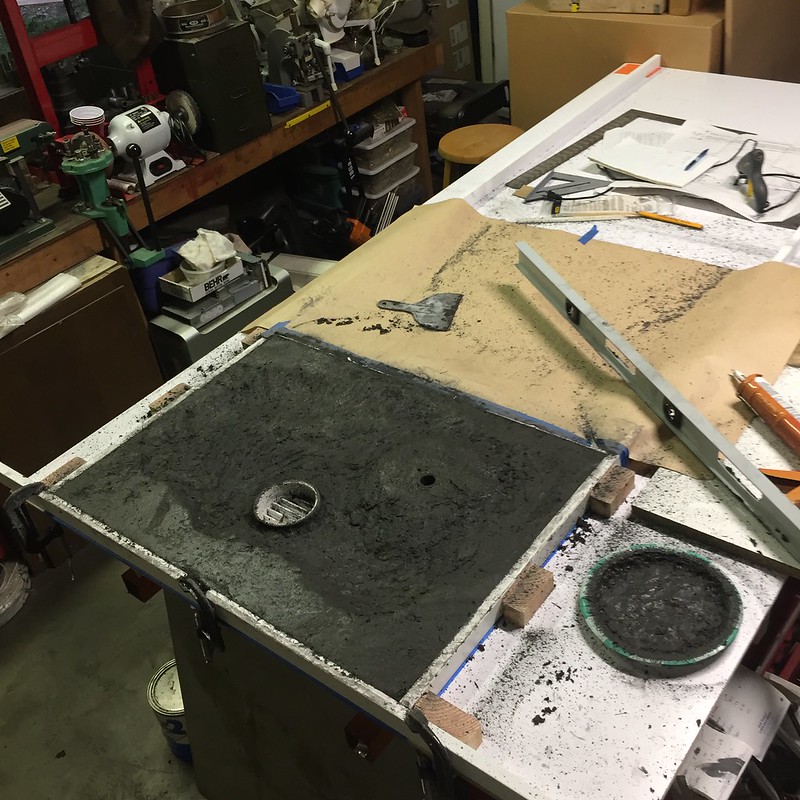
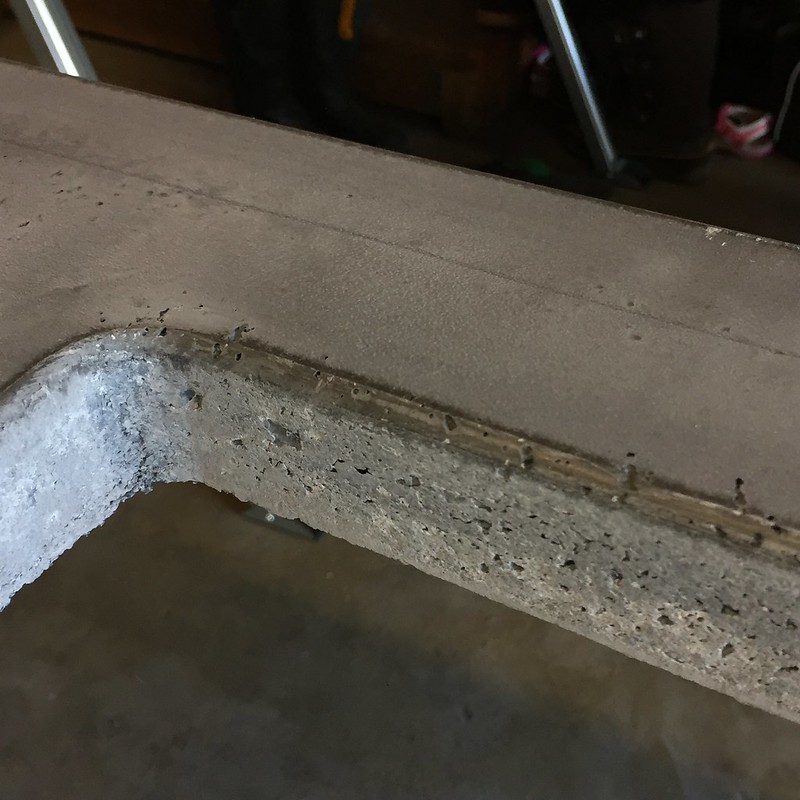
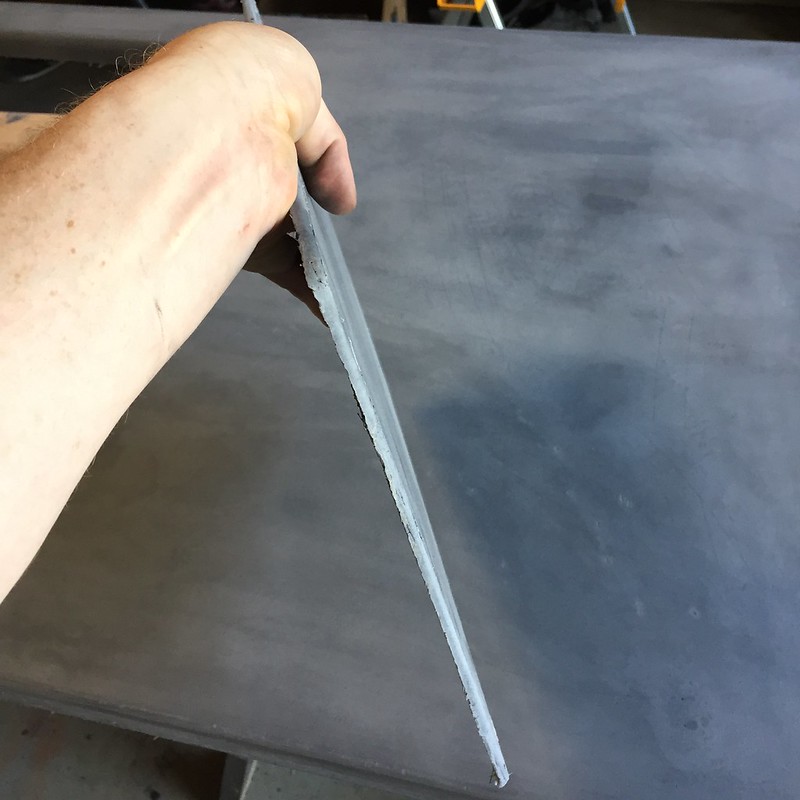
You can see that I left the underside concave in most places - there's no need to fill to the full 1.5". It'll be plenty strong at 1/2", but 1.5" was the thickness I wanted for appearance.

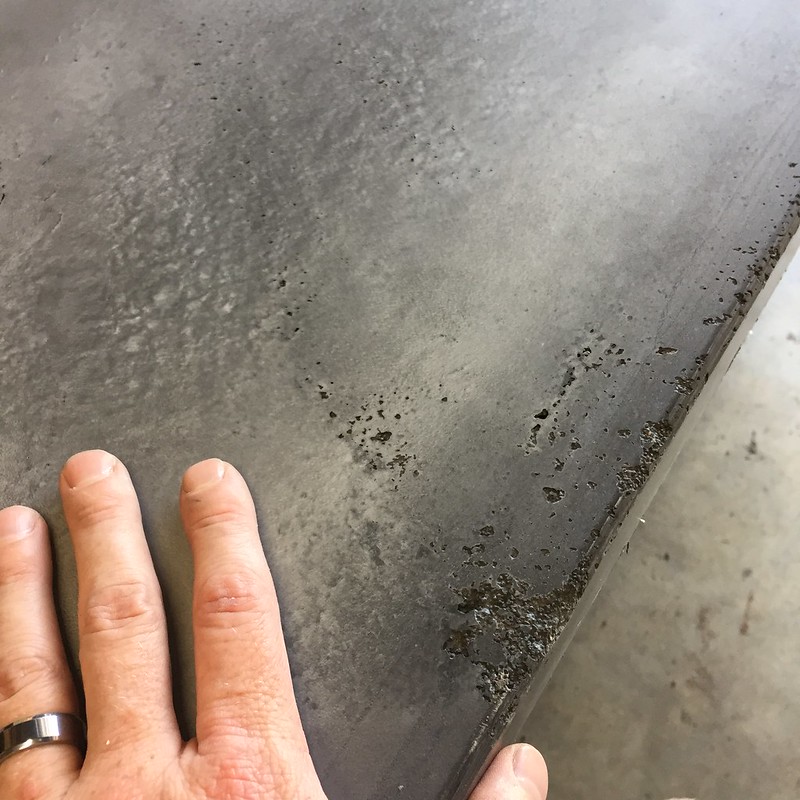
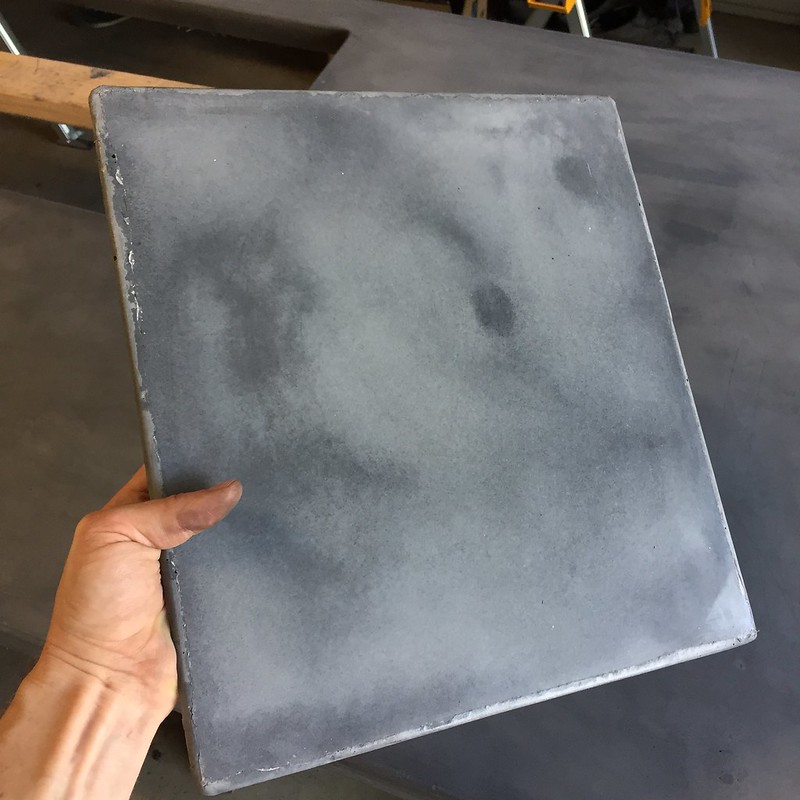
Here's what it looked like fresh out of the mold (not etched or sealed yet):

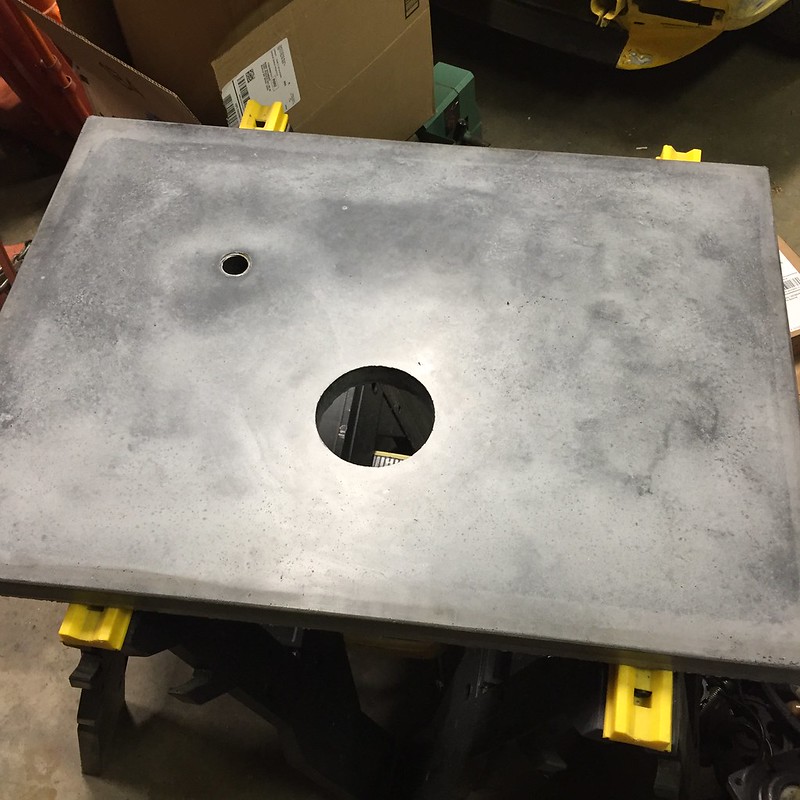
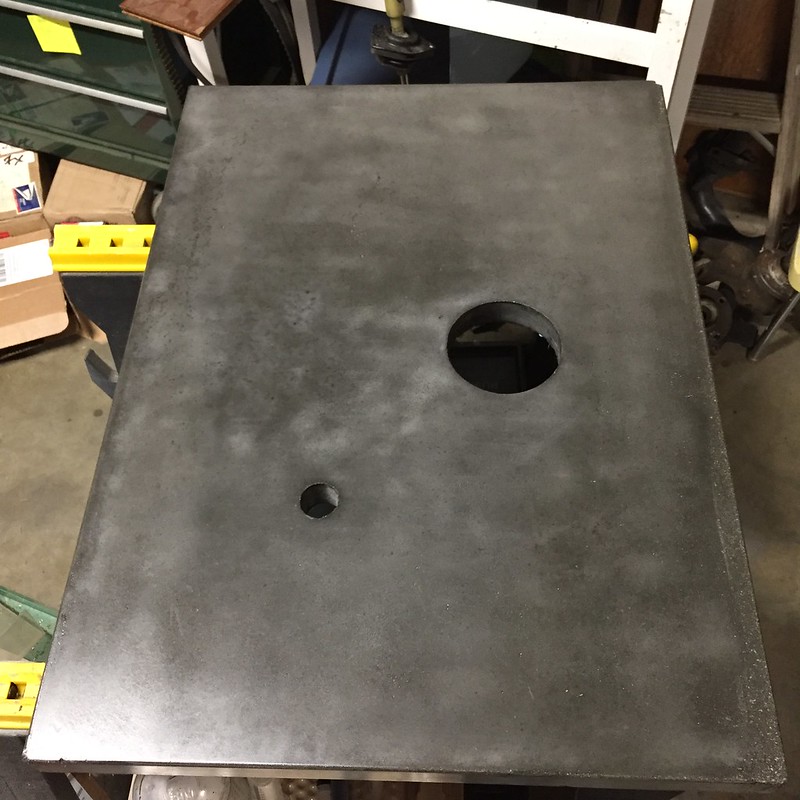
TONS of character and a fair amount of bug holes. I was thrilled about the character, not so much about the bug holes. Since this is going in a vanity, I didn't need to recast, but I definitely don't want those pits in a kitchen countertop. Post-production work on this slab consisted of wet sanding with 200 grit paper and then sealing with some special concrete countertop sealant called H12, made by the same company as all the additives I'm using: Trinic. Here it is sealed, with a matte finish:

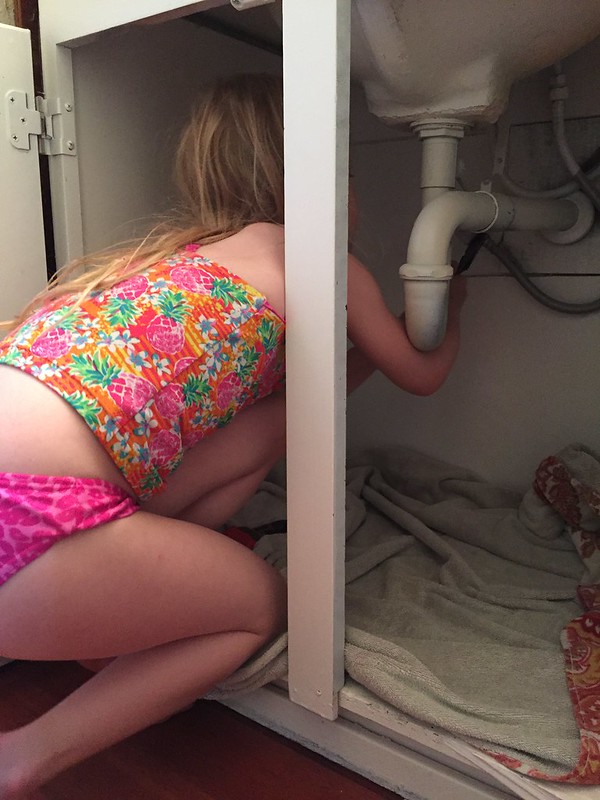
I put my daughter to work decommissioning the old vanity. Everyone wears a swim suit to do plumbing work, right?

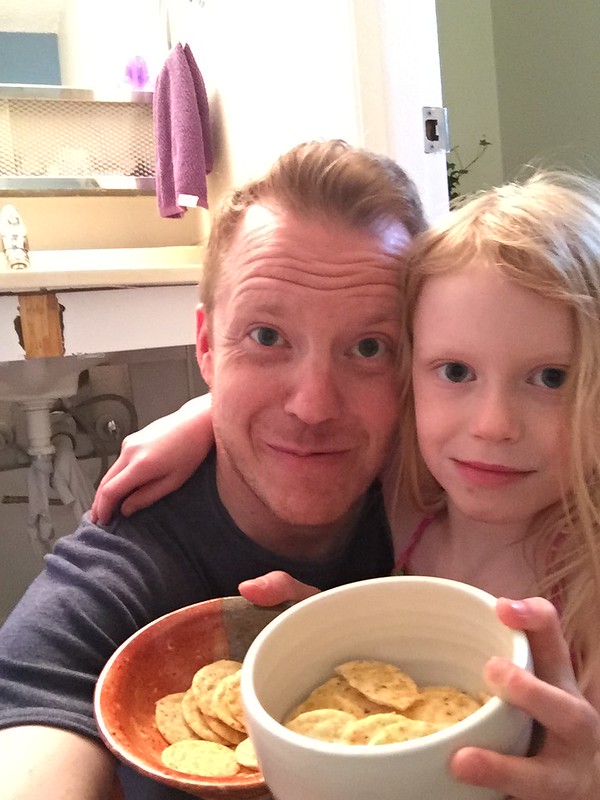
Then she brought snacks:

Then this happened. Matching vanity to the kitchen cabinets:

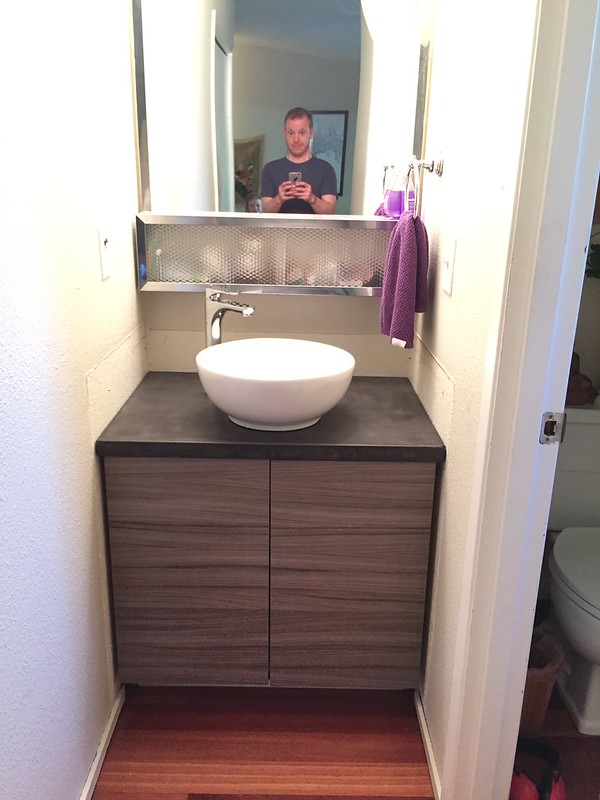
Obviously a lot of trim work to come. The old mirror will be removed too. That's to come after I get the kitchen sorted first.


Mezzanine
Mezzanine Dork
8/13/18 3:07 p.m.

Since the test slab went well, I moved on to the other bathroom, which would have a waterfall edge. This one was complicated because it would have a built-in toilet paper holder, so I got to learn by doing and make a mold out of foam. This time I ditched the silicone caulking in the corners to make a rounded edge. Instead, I used non-hardening clay, extruded from a cake decorating tool similar to what you'd use to play with Play-Dough. I then take a ball-shaped tool that I turned on my lathe and drag it over the clay to make a smooth, uniform edge. Other forming enhancements: tape the casting table, then use double-stick carpet tape over that to stick the form boards down. They stick well, and the tape on the casting table makes cleaning up go a lot faster. Formed up two slabs in one pour:

Both slabs came out great, and the lessons learned from the first test paid off. Less bug holes, better finish. The toilet paper holder even came out great! I'd do it a little differently if I were to do it all over again, but I'm pleased overall. Raw, off the form, not all the foam cleaned out yet:

I switched to fancy white portland cement at this point because that's the advice from the additive seller. More consistent and easier to control color. Here's 1200 pounds of fancy screened sand and white cement waiting to be unloaded. Get to work Mezz:

At this point I had picked up a new mixer, and I am totally floored by how nice this thing is.

$300 for mixer and stand, compared to their closest competitor that runs $800 for just the mixer. No stand. Counter rotating paddles means it isn't torquing the bucket in circles, and the stand means I can start it mixing and walk away. Tons of power, and the packaging design absolutely blew my mind. It's so well thought out.

At this point it was time to get down to business and start casting up the kitchen slabs. First, make templates:

Then, get the casting table cleaned and ready. Put your little to work with the SAAB branded all purpose cleaner:

Start with the easy (read: small) stuff: Waterfall and countertop left of the oven: (not sealed yet)

Then try the next larger piece in the kitchen:

Slap it in the kitchen just to see how it looks. Yiss.

Get to work on the larger pieces:

My little slab nursery grew so quickly! I was casting one a day at this point. I took these last two weeks off of work to get as much done as possible.


Mezzanine
Mezzanine Dork
8/13/18 3:39 p.m.

Time to cast up the largest piece I'd be making: the island. It weighs 240 pounds. Here's the form:

This was a big job, so I pre-mixed all my ingredients so I wouldn't waste time once the clock was ticking:

Casting went really well. I even managed to imbed some bolts to help secure the under-mount sink. Concave sections to save weight. I made ribs for strength.

Forgot to mention sooner: after each piece has all the mud spread, I cover them with plastic and a heated blanket for the night. I typically stripped forms and flipped the slabs after ~18 hours of cure time. Once I flipped this slab (needed help from a friend to flip this one - too heavy for one person), I saw that I had lots of problems in this pour. Tons of bug holes, and one really bad spot:

Also, I used aluminum tape for the sink knock-out, and it reacted with the concrete, so the surface was really coarse.

So I decided to mix up a slurry to fill the holes. It worked well. Same cement to color ratio (5% in my case), mixed with 50/50 water and bond enhancer. I filled all the holes as best I could, and smeared it all along the sink edge. Overall it came out well. You can see where holes were filled, but it doesn't look bad. Definitely shows the signs of being made by hand, which I love. I didn't want a perfect surface, but rather was hoping for some character. I got just that.

At this point I had just one last pour: the waterfall edges for the island:

I inset two sleeves into one of the waterfalls to mount a shelf. The sleeves were from a SAAB. laugh

As a fun little trial, I had a few hand-fulls of material left over from this pour, so I put it into a mold I had handy and made a little tile.

Look how thin! This stuff is so amazing. I can't believe it held up to me knocking it out of the mold. Super strong stuff to be poured so thin.

So this weekend all the slabs had enough time to cure, so it was time to process and seal them. No sanding for the tops of these slabs - I took a file to the edges to make sure they were all smooth, then 120 grit on a sanding block where needed to smooth edges. Then it's acid etch time. Using a 10:1 water : muriatic acid solution, I etched each piece to give the sealer a nice toothy surface to grip. Don't play with muriatic acid kids. Wear your PPE.

Here's a close-up of the etched surface:

Notice the white strands in the bottom center of the image? Those are fiberglass strands exposed by the etch. This was the test tile piece, that didn't get a face coat. Just the self-consolidating backer I used on the waterfall edges. I wanted to see if it would indeed expose some fiberglass. Just like that, the slab nursery was full, and it was time to start sealing. The sealer I used is a two-part catalyzing matte finish, that is easy to work with but a pain to mix. No less than 17 minutes is required to mix up a batch, with a very complicated process that I had to write up a cheat sheet for. Reminded me very much of developing film by hand. Four separate coats, with varying dilution for each one. Fully dry between coats.

After 2.5 days, they were all sealed, and I'm SO PLEASED with how they look:

All in, I'm under $1200 for countertops; that's including special tools, materials for the casting surface, everything. That's WELL under a third of what it would have cost just to get plain counters without all the custom elements like the waterfall edges and such. I'm very pleased.


Mezzanine
Mezzanine Dork
8/13/18 3:44 p.m.

One last post about this mixer. It folds up really compactly. I'm very impressed with the packaging engineering that went into it, not to mention at this price point. I'd happily pay two or three times as much having used it now. All folded up, there's a place for everything, including the lid:


I later removed the power head and it tucks in between the mixing paddle and the column perfectly. The whole thing slid right under the casting bench for storage. Nice job Ridgid.


We're caught up to current day now - I'm hoping to install most of the tops this week. I wanted to give them a little extra time for the sealant to cure before rough handling. I've got to relocate the outlet to the right of the sliding glass door a little to clear the waterfall, and I need to disassemble the "temporary" island plywood countertop, but otherwise good to go for install.

stylngle2003
stylngle2003 GRM+ Memberand Reader
8/13/18 4:02 p.m.

#jawonthefloor


great work

Hungary Bill
Hungary Bill GRM+ Memberand PowerDork
8/14/18 3:16 a.m.

Looking amazing!

ShawneeCreek
ShawneeCreek GRM+ Memberand Reader
8/14/18 11:04 a.m.

Beautiful job. I can't wait to see the finished product.

EastCoastMojo
EastCoastMojo GRM+ Memberand Mod Squad
8/14/18 11:07 a.m.

The concrete countertops look amazing, but I want to say those are some damn cool looking cabinets as well. Goes great with the concrete tops.

wheelsmithy
wheelsmithy GRM+ Memberand SuperDork
9/22/18 5:06 p.m.

I am commenting because:

A. Awesome work!

B. I want to copy your work.

BirgerBuilder
BirgerBuilder Reader
9/23/18 6:10 p.m.

Nice work on those counter tops!

I did my small kitchen in concrete the other way around, you pour them right side up with plastic forms that snap off. I think it was much easier than your method but for any armatures who want to try it, you'll likely end up with far more imperfections. I know I did!

TurnerX19
TurnerX19 HalfDork
7/5/19 3:30 p.m.

I cant see the canoe rack in this kitchenlaugh

sleepyhead the buffalo
sleepyhead the buffalo GRM+ Memberand Mod Squad
7/5/19 3:48 p.m.

that's 'cause the board's torpedo took out the canoe and the rack... was a little more indiscriminate this time around wink

1 ... 6 7 8

You'll need to log in to post.

Our Preferred Partners
7NqXhE1EKcuHaBCmnKJtfKpzn7jBMgnKI5rn2CVwJFdfuRYjhRtzG6Dl76WWzaPa