


All sorts of good things happened! Well, all related to the swaybar. More to come later, but did you know that the stock HD coils have a rate of 800 lb/in?
WOW

All sorts of good things happened! Well, all related to the swaybar. More to come later, but did you know that the stock HD coils have a rate of 800 lb/in?
WOW
For starters, no matter which swaybar I chose, and no matter how I mounted it, I wanted it to be in a place where it didn't want to be. The idler arm and pitman arms were staying put, but the little crossmember ahead of the big suspension crossmember and behind the radiator support was weird. It was kinked from something unknown, and totally in the way. I'll weld on a piece here, but first order of business was to cut the offending section out.
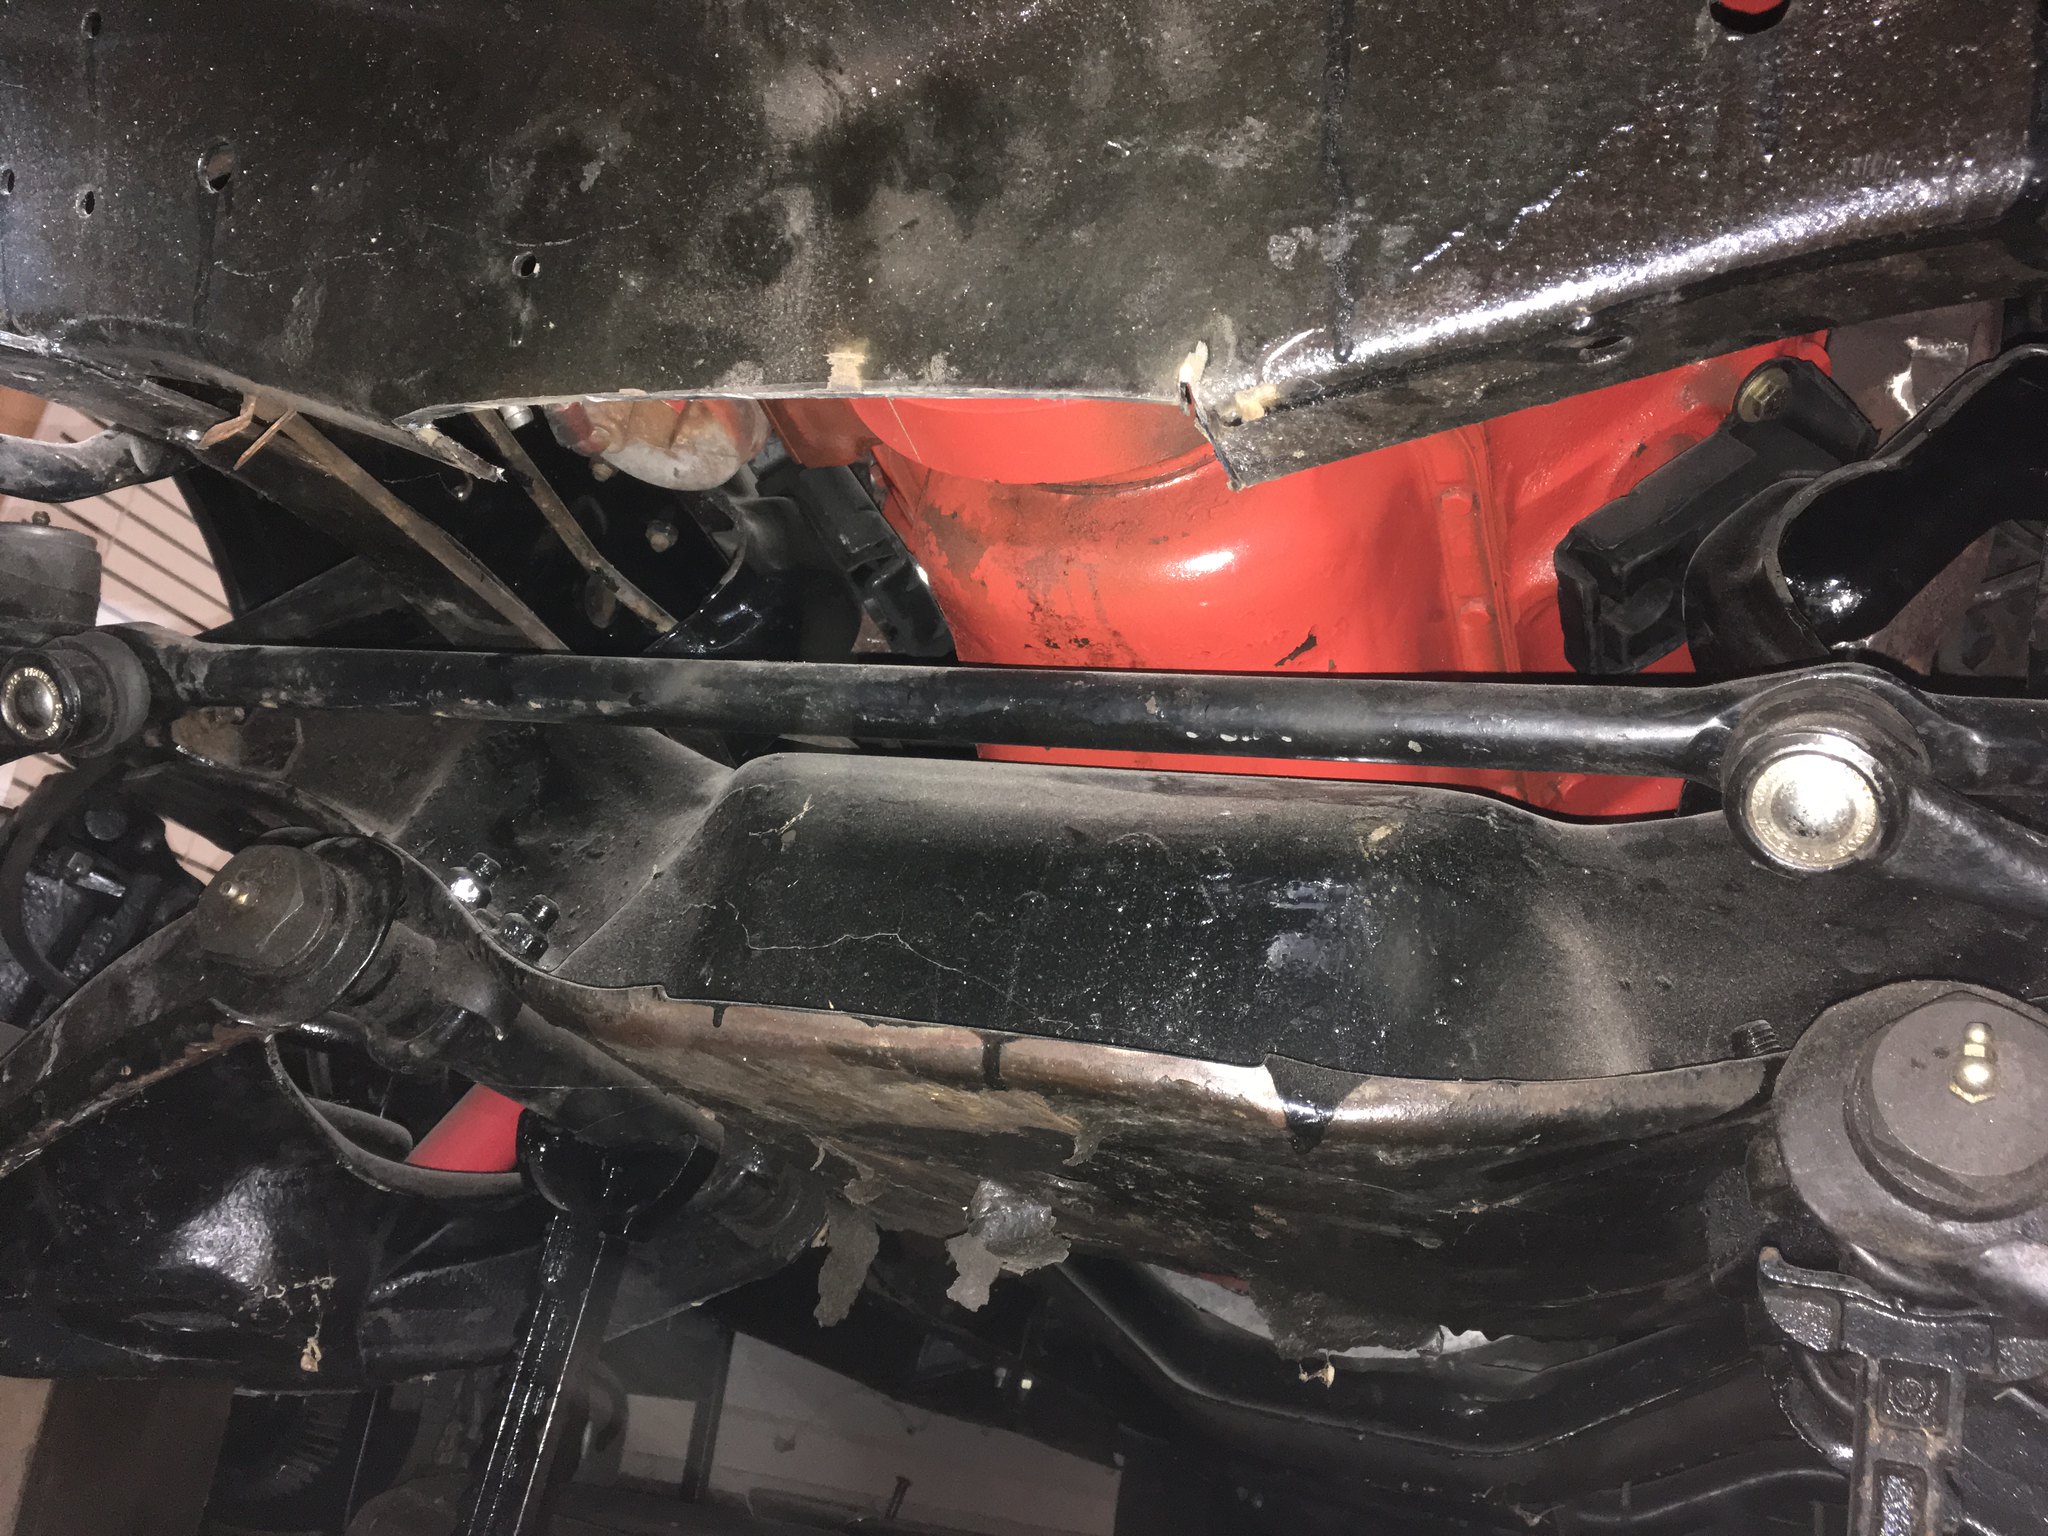
I noticed the previously amazing Chassis Saver was peeling in this area of the truck also, so that's bad and will need patching after I finish here.
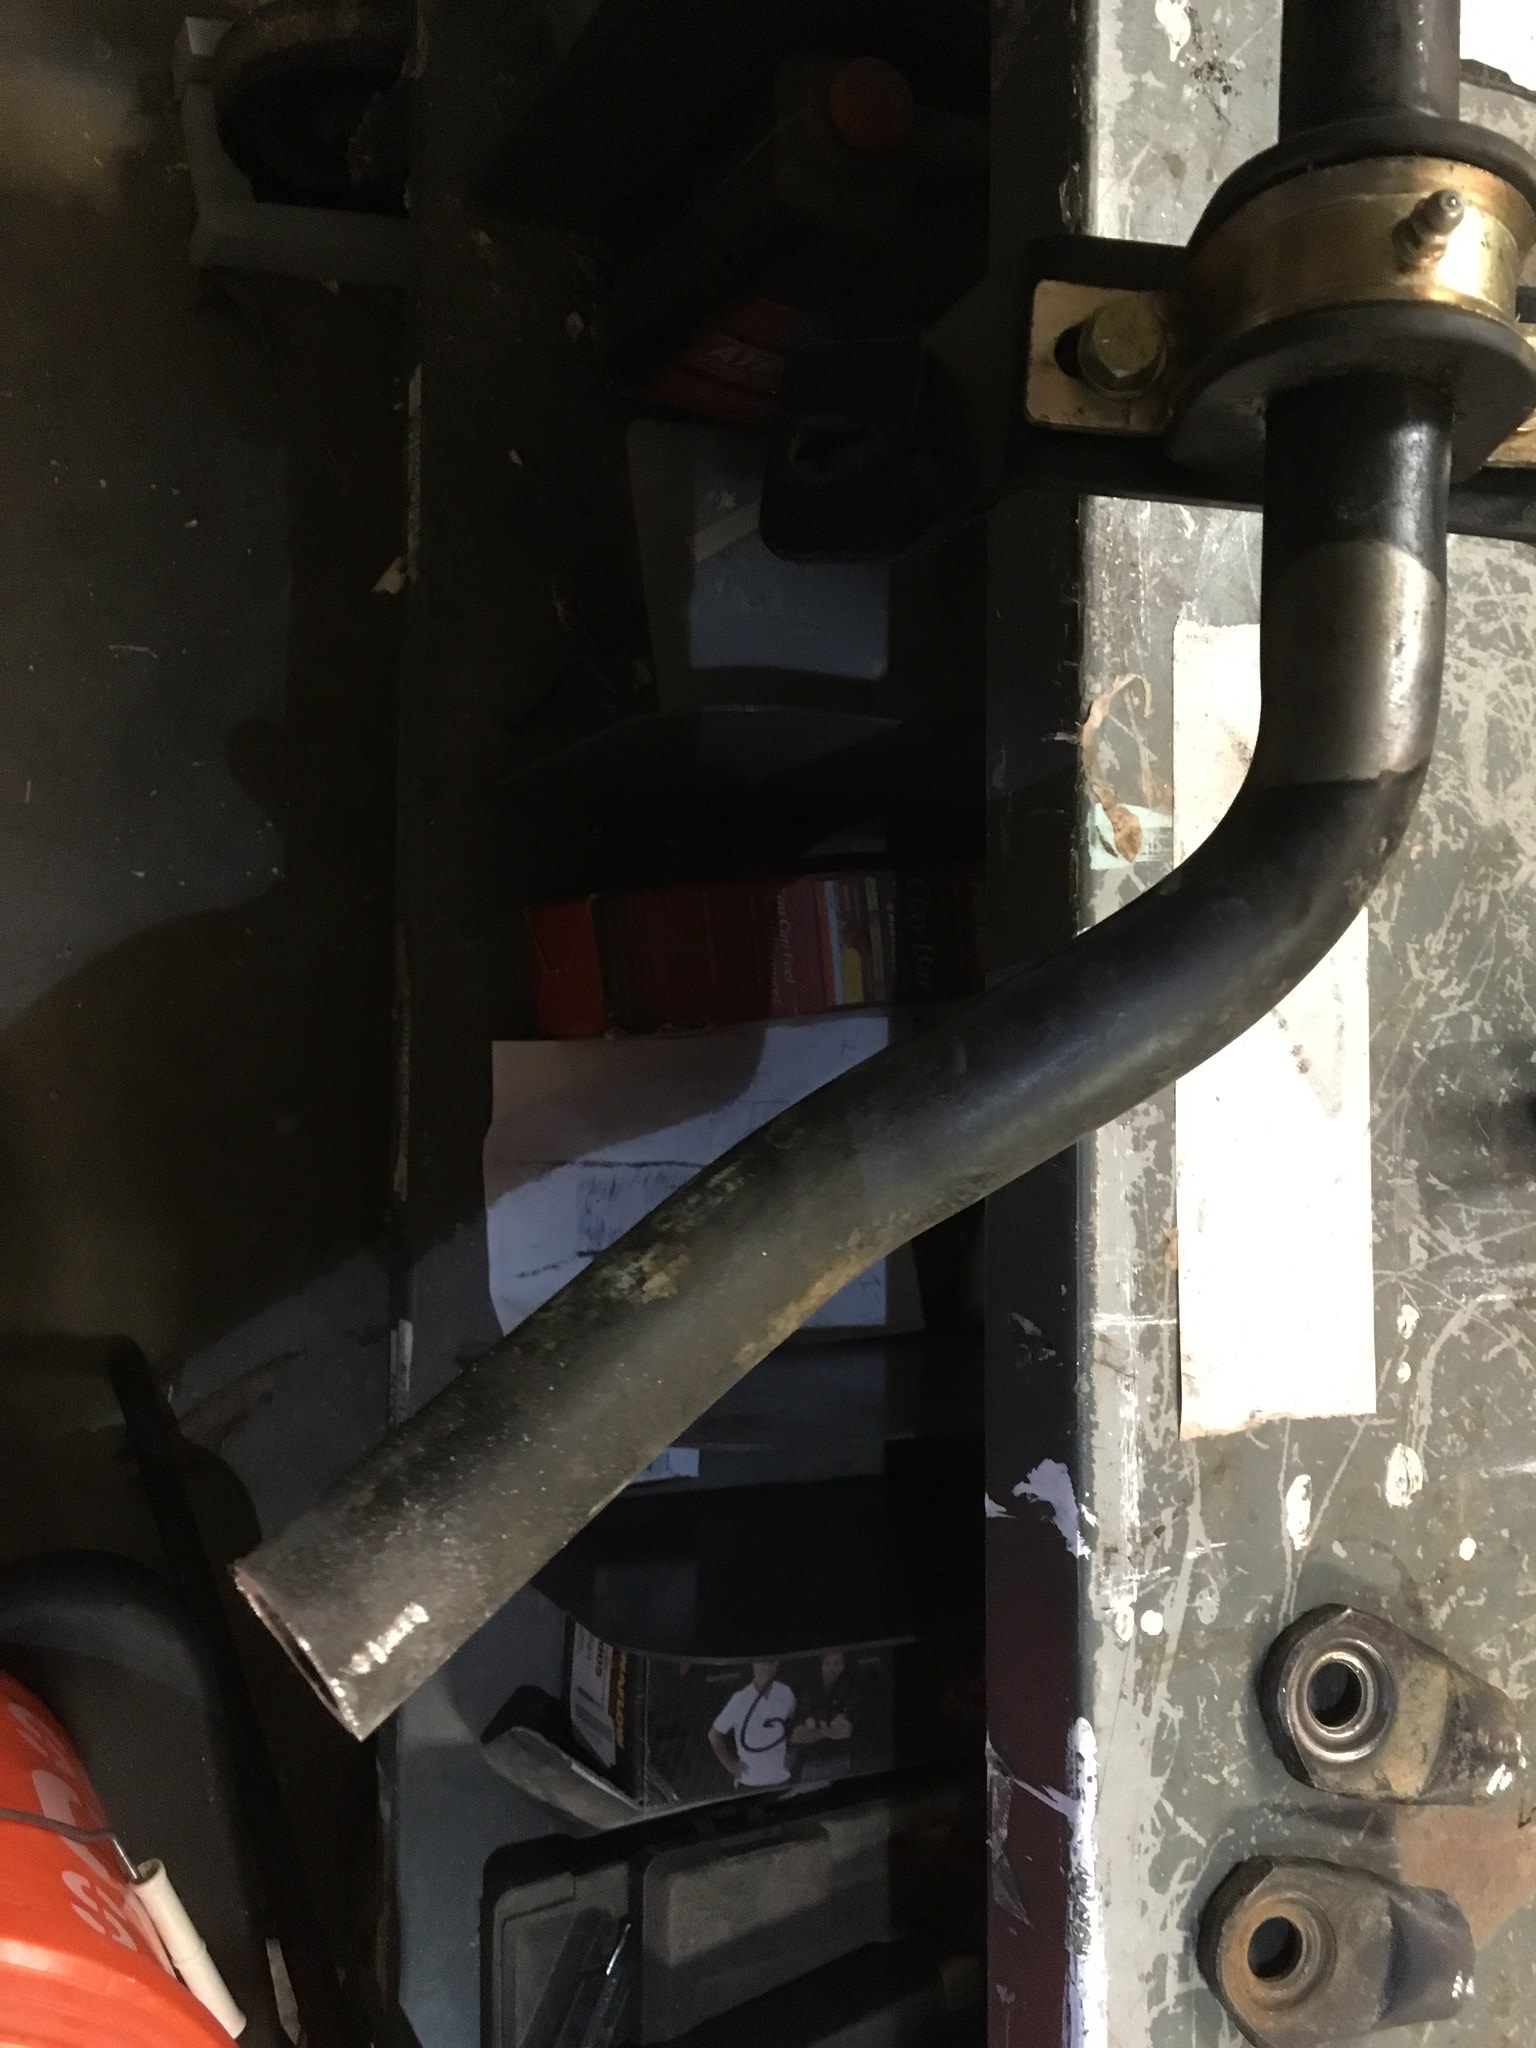
I lopped these off. I am going to try to make the hollow swaybar fit. I kind of like it.
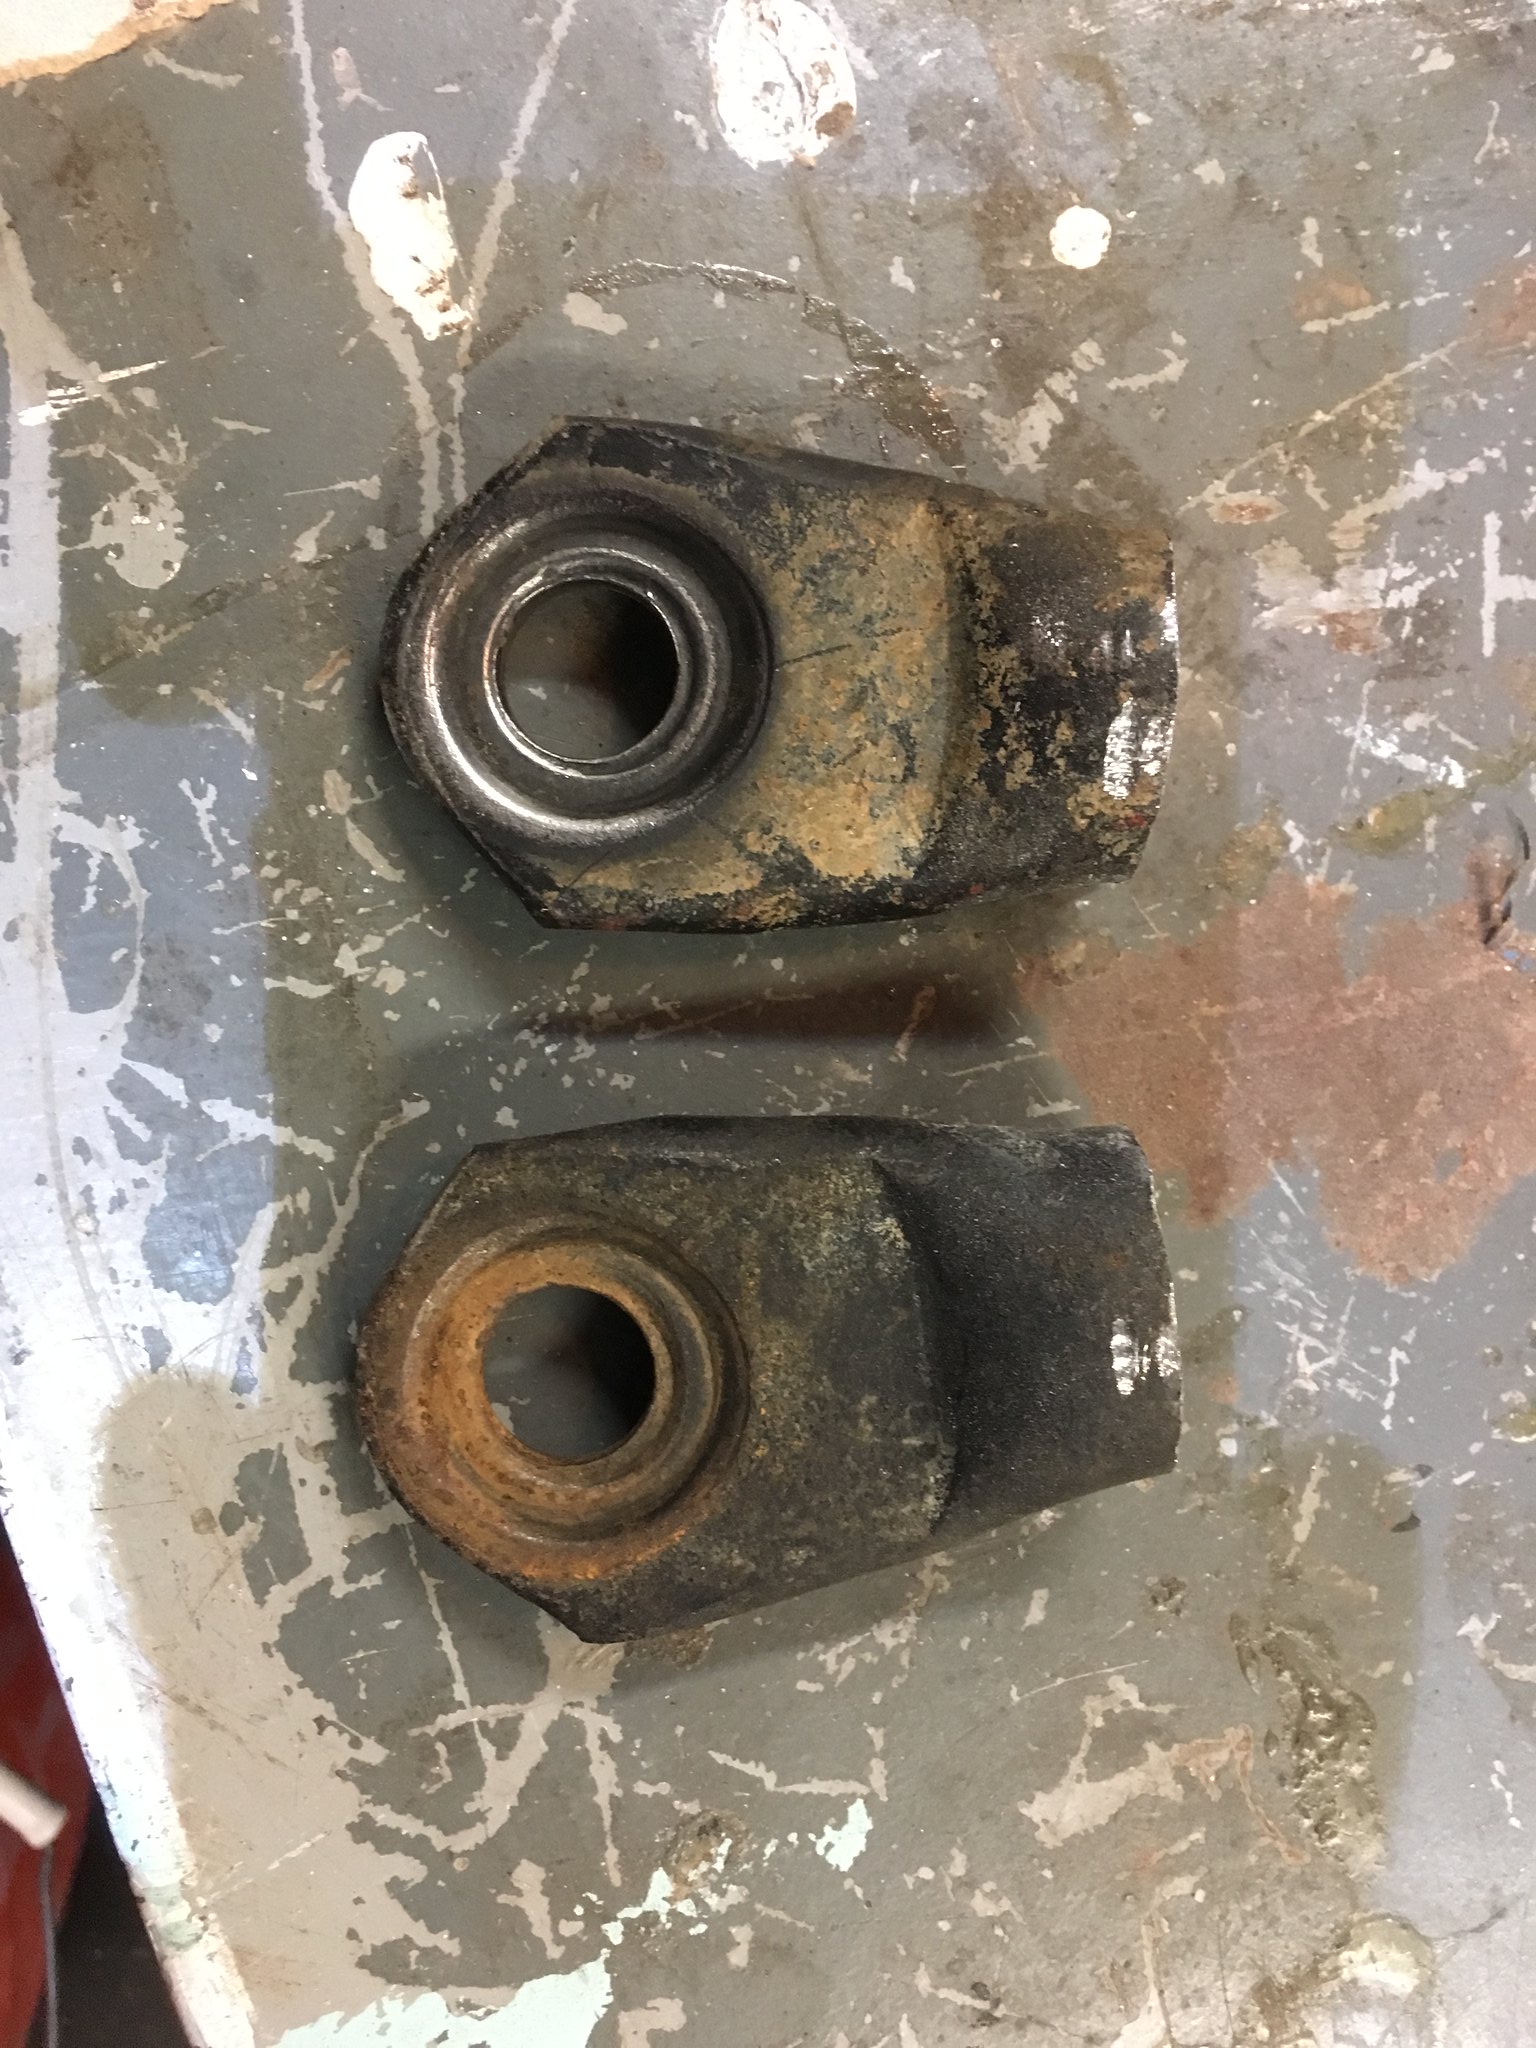
And then I rotated them, sliced a pie cut out, and tacked them back on

It was late, so I didn't get a test-fit in, but soon!
I’m pretty happy with everything tacked in on the drivers side. Let’s see if I can post pics from my phone. 


Tomorrow (?) I’ll weld up a patch for the crossmember and make the second bracket and fully weld it all. Yay!!
No good pictures but I did weld the swaybar back together and weld in the brackets. Unfortunately the bracket welds are terrible and will need to be redone. I decided to weld in a pair of washers on each side of the swaybar eyes for attaching the links to. Now just weld up the crossmember and paint stuff and we’re done.
I went to commit and buy the end link for the other side. The one I have was an Amazon warehouse deal, I spent $8 instead of $30 for an open box. Happily, Amazon had yet another open box, but this one was $9. Now to paint, fix the crossmember, and install it all. Then I am on to the steering column, and then perhaps brakes.
I should state that I am in a position to put primer on this thing, but I think it would be best to have brakes and steering first because I will need to move it around to do so. I think driving it rather than pushing it around in my driveway would be best. Now the bed and some cab parts need to get painted off by themselves, but for the cab it would make things way easier.

tuna55 said:
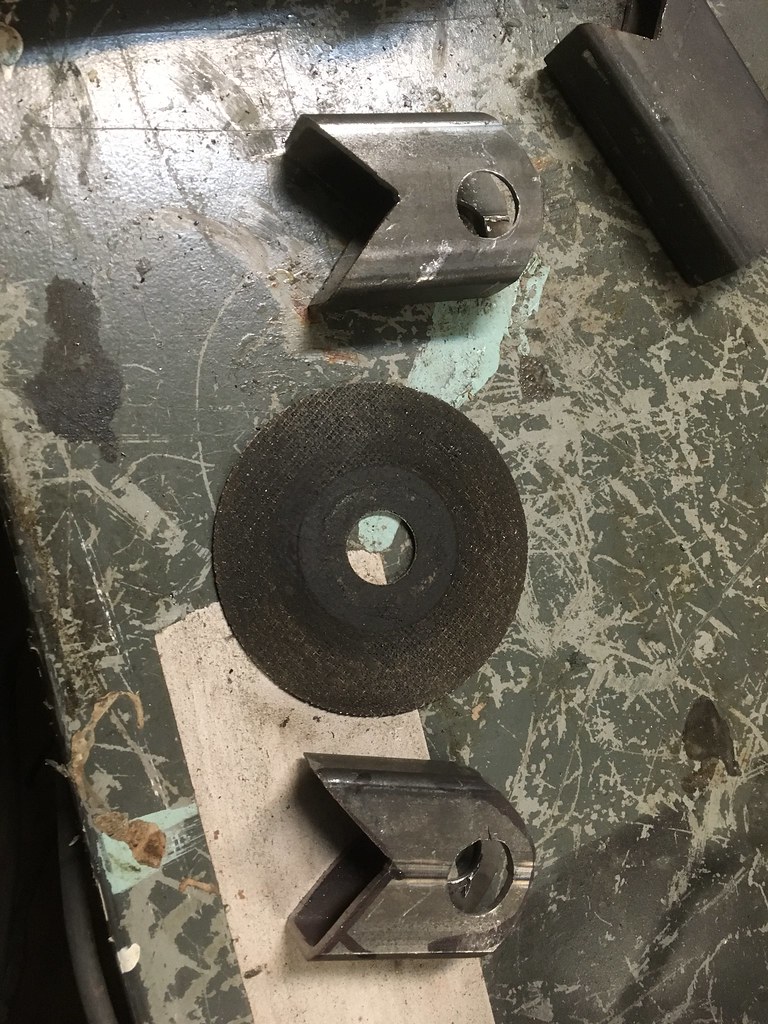
Since I happen to have my Machinery' Handbook open in front of me right now, and looking at the various tensile strengths of steel and whatnot...this bracket for the sway bar link strikes me as somewhat undersized. That looks to be roughly 1/8" thick steel. Would suggest maybe fabricating out of 1/4" plate. Gussets on either side might help, too, but that hole is still through a 1/8" thick piece of metal that's going to be under a lot of shear under hard cornering.
I'd start by calculating the buckling &/or tensile strength of what's probably the weakest other link (possibly the circular section of the connecting link there) and then designing the bracket to withstand similar loads.
A short length of C channel here would probably work great.
Yeah, you are right. I bought a rectangular section and some sleeves for the bolts and will work something up... you know... when I have time.
Taxes/band/dance/homeschoolconvention/grading/homeimprovement/gardening/budget/work

Good to see progress!

Nice to see you putting that dang swaybar project to bed.
tuna55 said:Yeah, you are right. I bought a rectangular section and some sleeves for the bolts and will work something up... you know... when I have time.
Taxes/band/dance/homeschoolconvention/grading/homeimprovement/gardening/budget/work
Well, at least 'work' is still on there. That's when you get to sleep, right?
I made some things!


Happy Tuna

I think I will cap those, but after all that and also patching that spot on the crossmember, and still with homeschool planners to write out and assignments to grade, it was time to be done. It was bed at 1AM or bust.

Assuming the "things" are replacements for this, I think it is a good thing. I could almost feel your brain rejecting the first prototype.
Now please go much faster. I need to see someone who is not me in the middle of body-filler purgatory.
In reply to NOHOME :
Yes!
Things are replacements for those other things.
I'll try to go faster. Homeschool planning activities have added nearly an hour to my workload every night. It's hard to do both some nights.
Looking ahead, I believe I am going to do the brakes and steering before the primer. The reason is that it must be painted and sanded outside, and I need to be able to get it there and back.
So, I am on the hunt for affordable aluminum calipers for the front and an affordable set of brackets and calipers for discs in the rear. Also lines, emergency brake cables, and such. I am genuinely worried about the cost of all of this.
I am leaning towards the Wilwood dual D52 front and waffling between a few different brackets for the rear. It's tricks because of GM and C clip axles. I'd rather an OEM solution for the front over Wilwoods, but I cannot find anything which will bolt in, offer light weight, and multiple pistons, and fit the rather wide rotor (1.25") and provide something close to the same rather large piston area (6.77 sq inches) to somewhat match what I have now.
No pics, but the patch in that crossmember is finished. The brackets are capped with sheet metal (wow welding is getting easier!) and painted, and the passenger side control arm is ground and ready to have the bracket welded on.
Not quite done, paint is drying. Also I spent an hour trying to find the septic tank cleanout. I found the tank, but no hatchway. Boo!


So those are out of order, but I find it's easier to post pics from my phone now and type with the laptop.
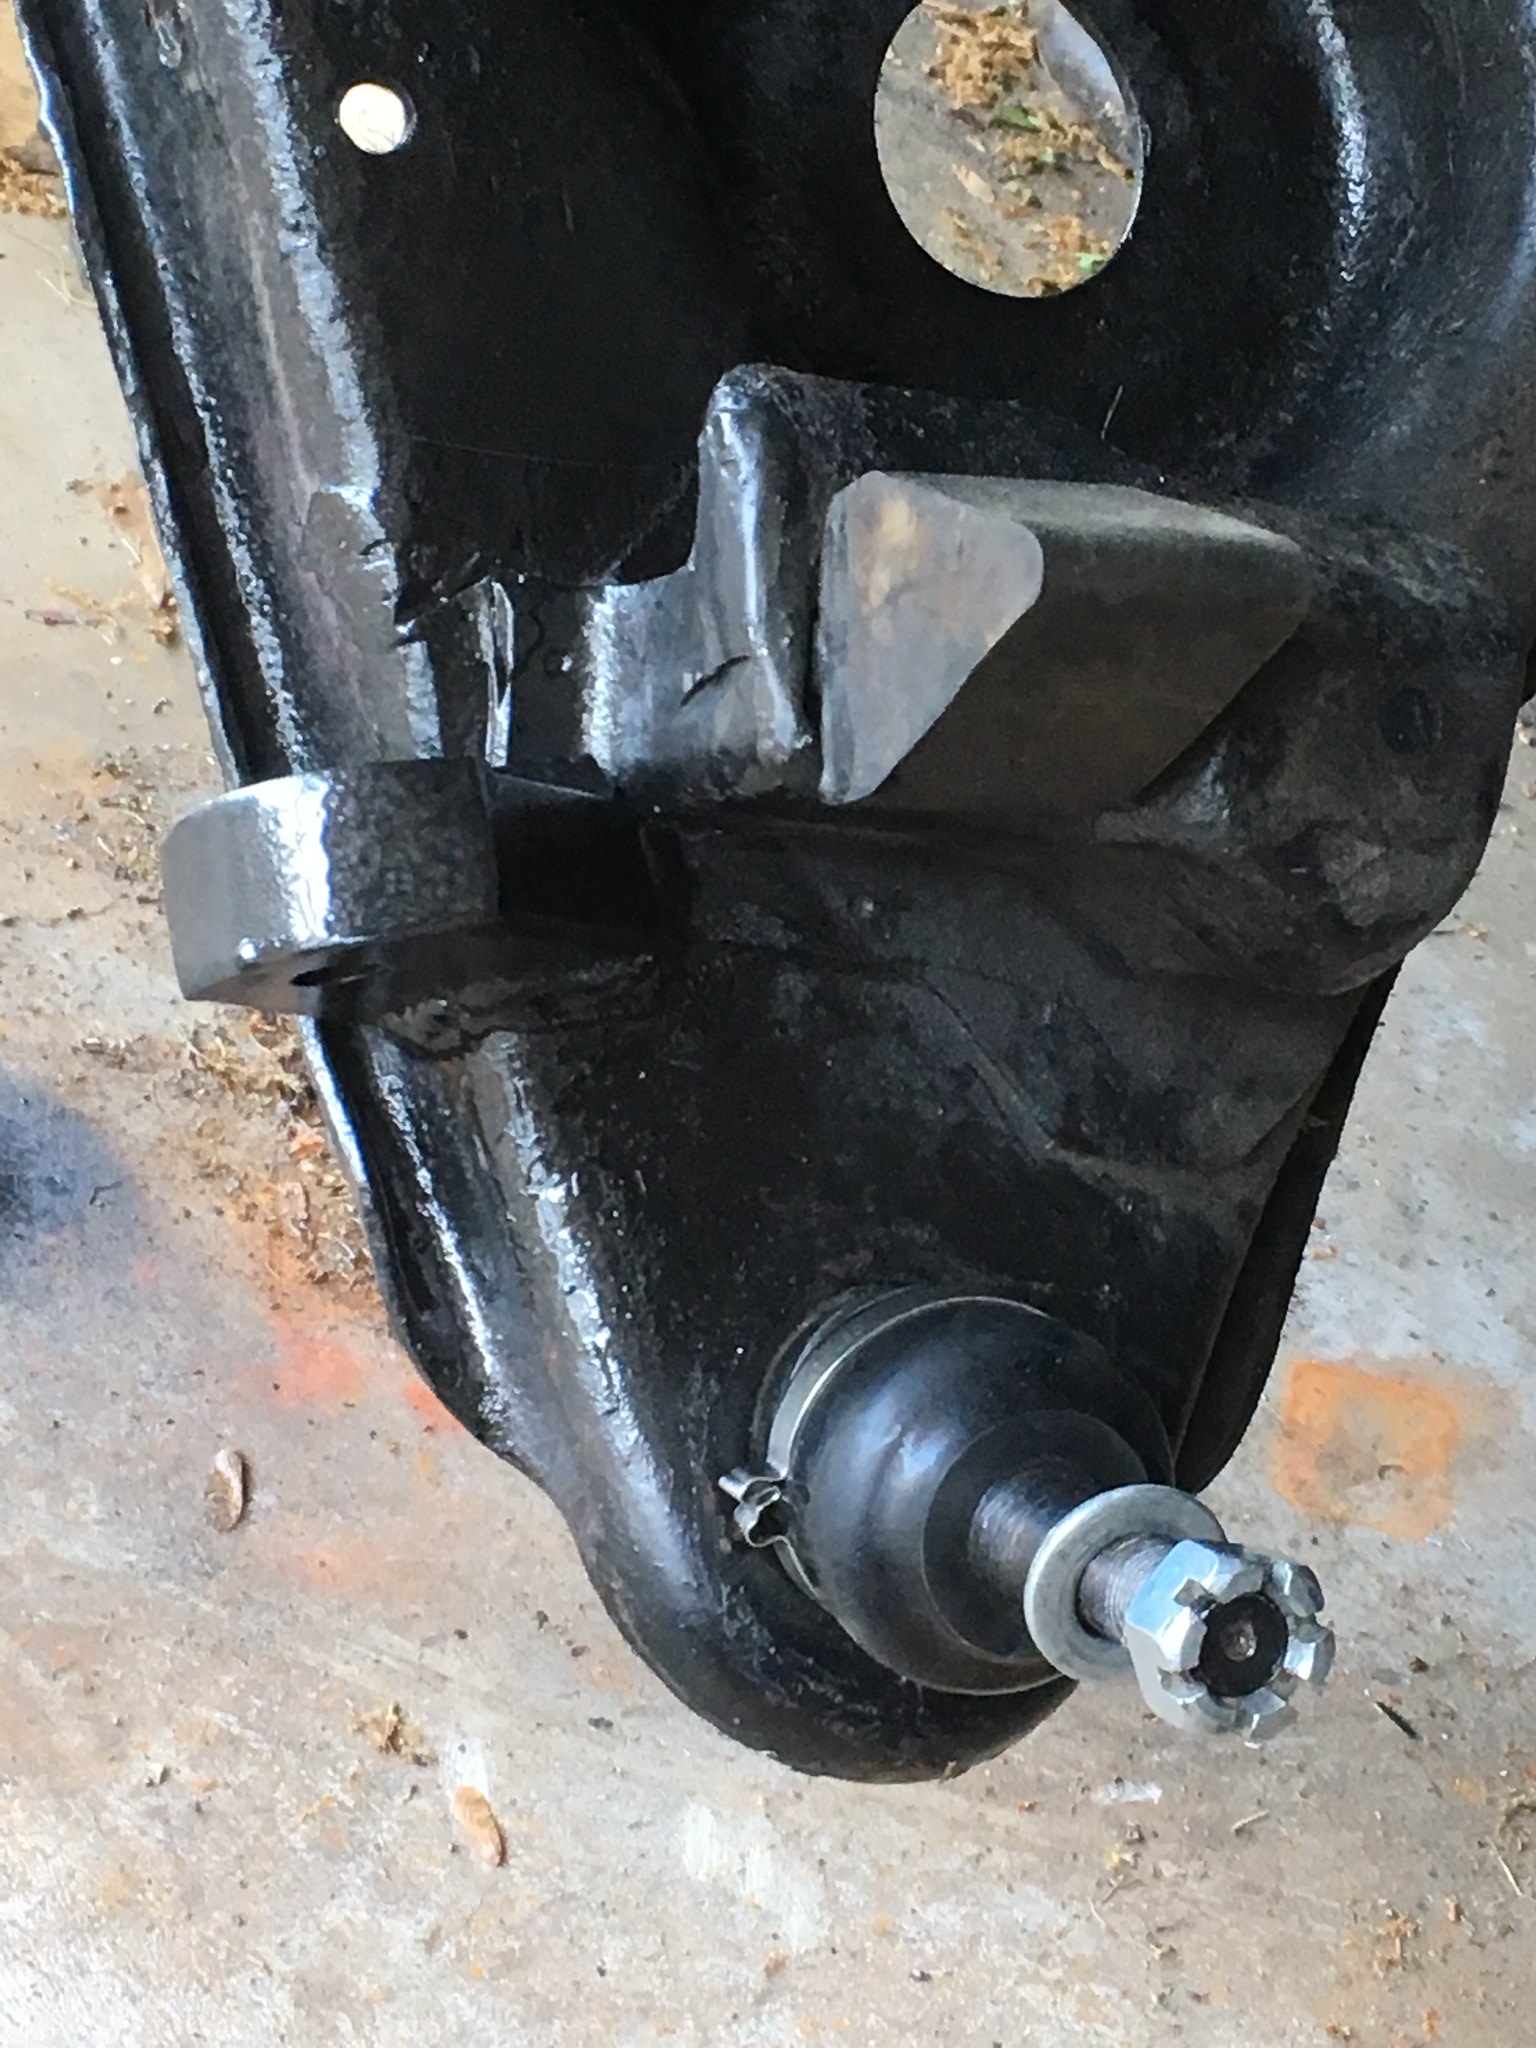
Anyway the brackets are finished and tacked in place with the truck at ride height. It's not pretty now, because I have to get it all back in the air to finish welding, but yeah, it's nice seeing the truck sitting on its tires again.
One setback: Apparently the QA1 tall ball joints don't have boots, and QA1 doesn't offer ball joint boots, and the normal "universal" energy suspension boots don't fit (are not long enough, I tried). Any ideas?
Found some boots from Prothane and ordered them.
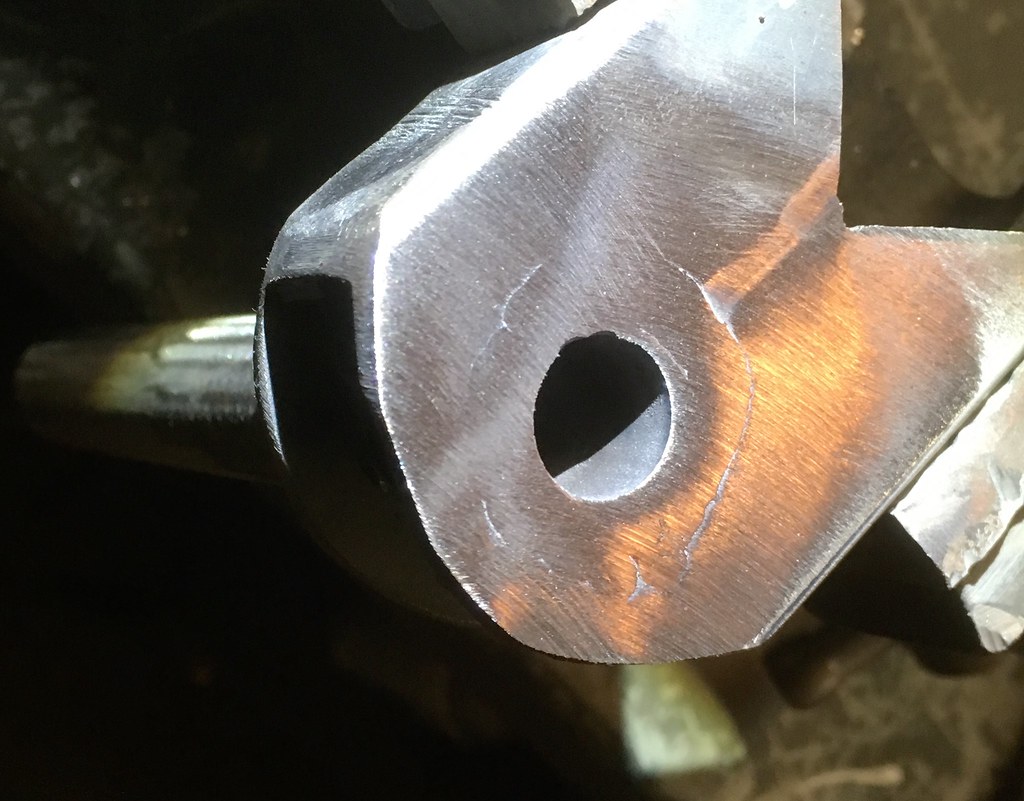
Did welding on the brackets (had to fill some gaps, so I have to grind them down and make them neat now)
Took everything apart and got it all back together and took it apart again.
Folks,
I just spent a week not quite able to button my own pants. I had a weird condition and am now recovering. As such, many many things are far far behind. I had kid #2 put the ball joint boot on the drivers side. The passenger side looks the same, but the weld around the swaybar bracket needs to be ground down and be rewelded because it's ugly. I can't manhandle the die grinder right now because my arms are super weak. Though QA1 says they don't use boots on their tall ball joints, Energy Suspension 913136G fits ok.
You'll need to log in to post.


