I recently learned that I really enjoy designing and cutting vinyl decals. And I have access to a vinyl cutter at the maker space where I volunteer. But, due to the nature of maker spaces, it isn't up and running every time I'm down there.
So I started looking into purchasing a cutter for home use. Then quickly realized that that money would buy lots of parts for my Rabbit project.
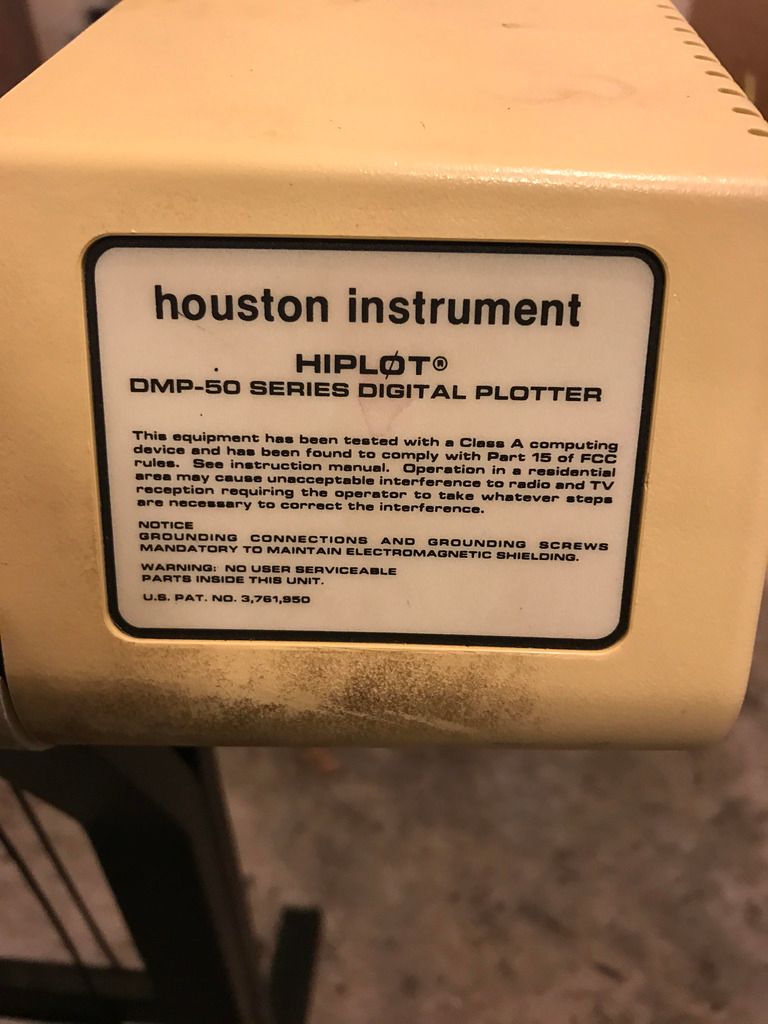
Enter a listing for a free 24" pen plotter, circa 1986 I think! Her most redeeming quality is she has huge.......... servo motors. I don't think a computer will be able to communicate with it though, so time to start tinkering!
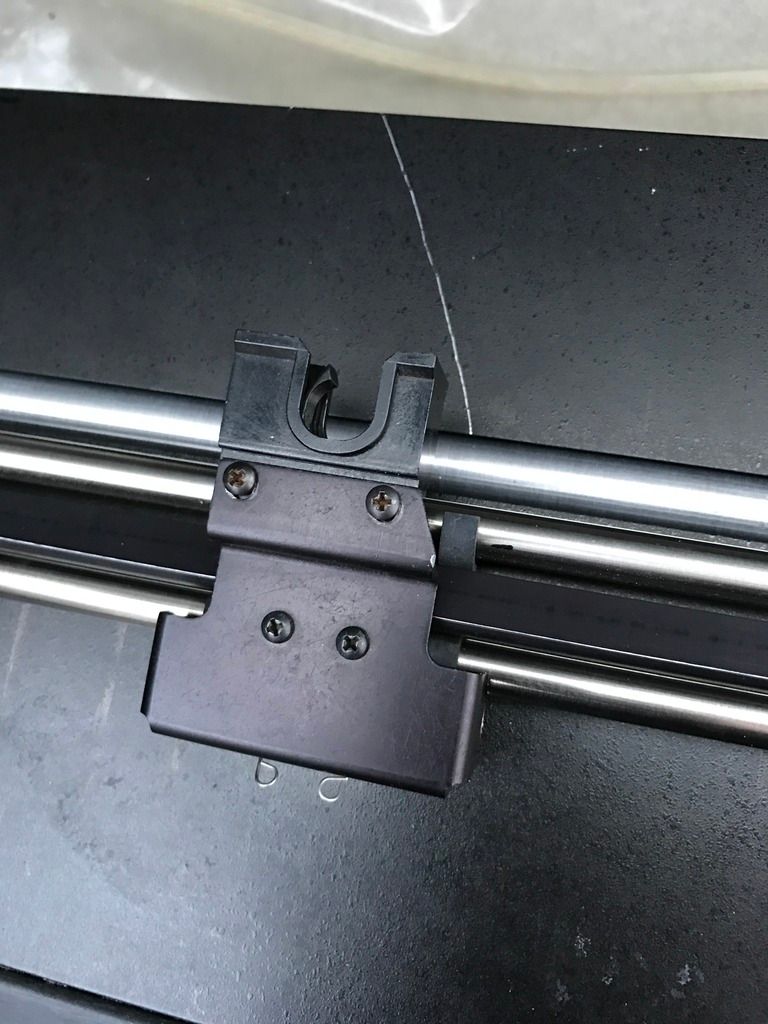
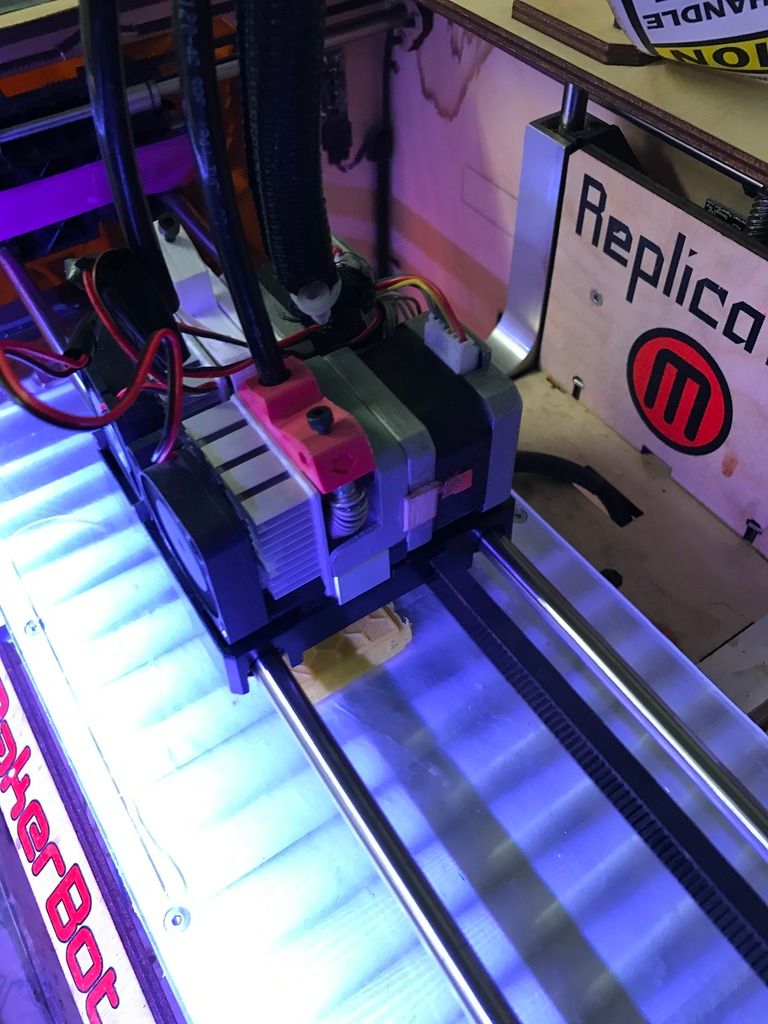
Part one, make it hold a cutter holder. This is the pen holder as it sits on the machine now:
This is what the cutter holder looks like from uscutter:

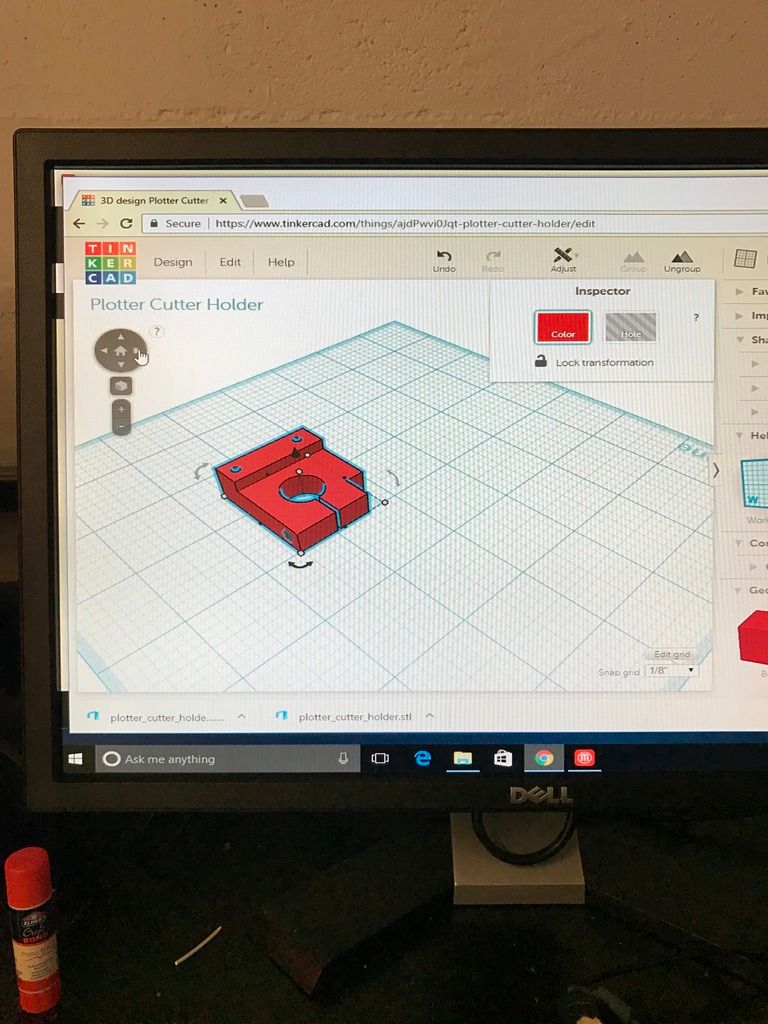
Based on dimensions I took from the cutter holder at the maker space, I started sketching on a piece of paper what the part would look like. And then hurdle number one- get the design ideas into a computer somehow. Mind you, I know E36 M3 about Autocad or any of that stuff. Then I found a site called Tinkercad. After spending thirty minutes going through the tutorials and messing with it, I spent another thirty minutes on it and ended up with a file that could be used for 3D printing (.stl). Like this:
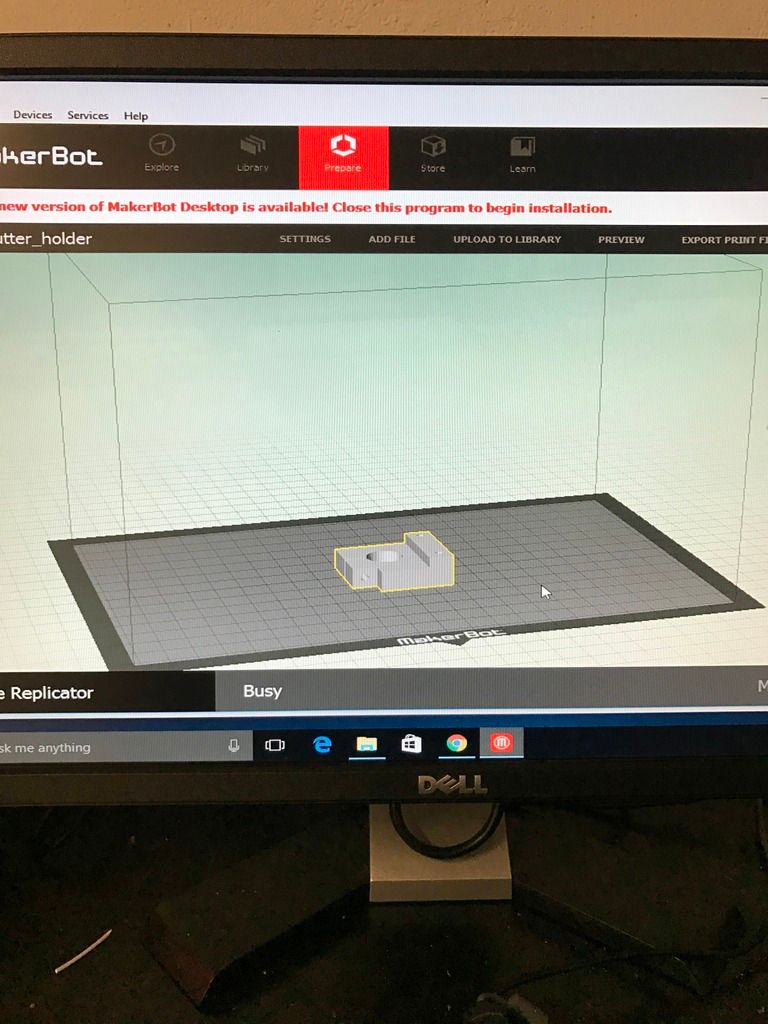
Again after very little time I had the .stl file loaded into the Makerbot software (the machine is a Makerbot Replicator). It is very easy to use too. This is the screen for getting the file ready to print:
Once the printer was all up to temp, hit the print button and off we go:
And thirty six minutes of printing later, I have a prototype cutter holder!
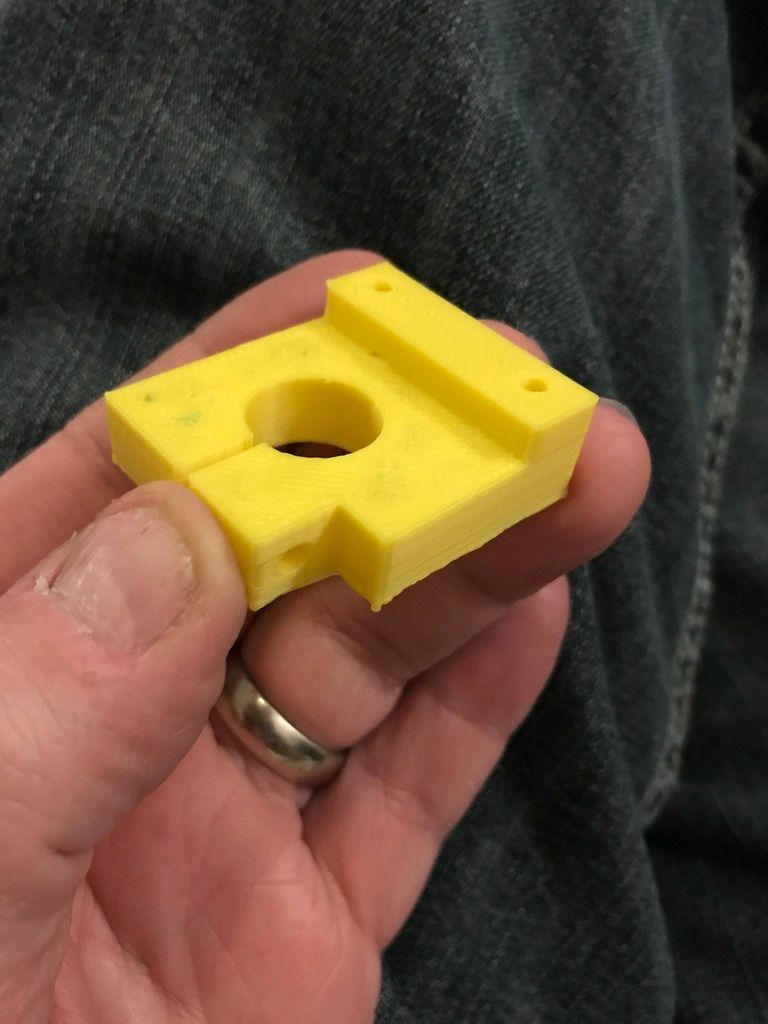
Pretty berkeleying cool.
The two holes on the raised part will hold it onto the plotter head. And the hole that runs through the slot is for a screw that should pinch the cutter holder and keep it in place. You can't see them, but the three smaller holes have hex shaped recesses on the backsides that will hopefully hold small nuts captive, so no need to cut threads.
I have yet to test fit it, but I can make necessary adjustments and have a new part printed in about an hour's time.
Part two will be trying to figure out how to make an Arduino Uno act as a CNC controller of sorts for the servo motors, and make the old girl do something. Then we will see what happens next!


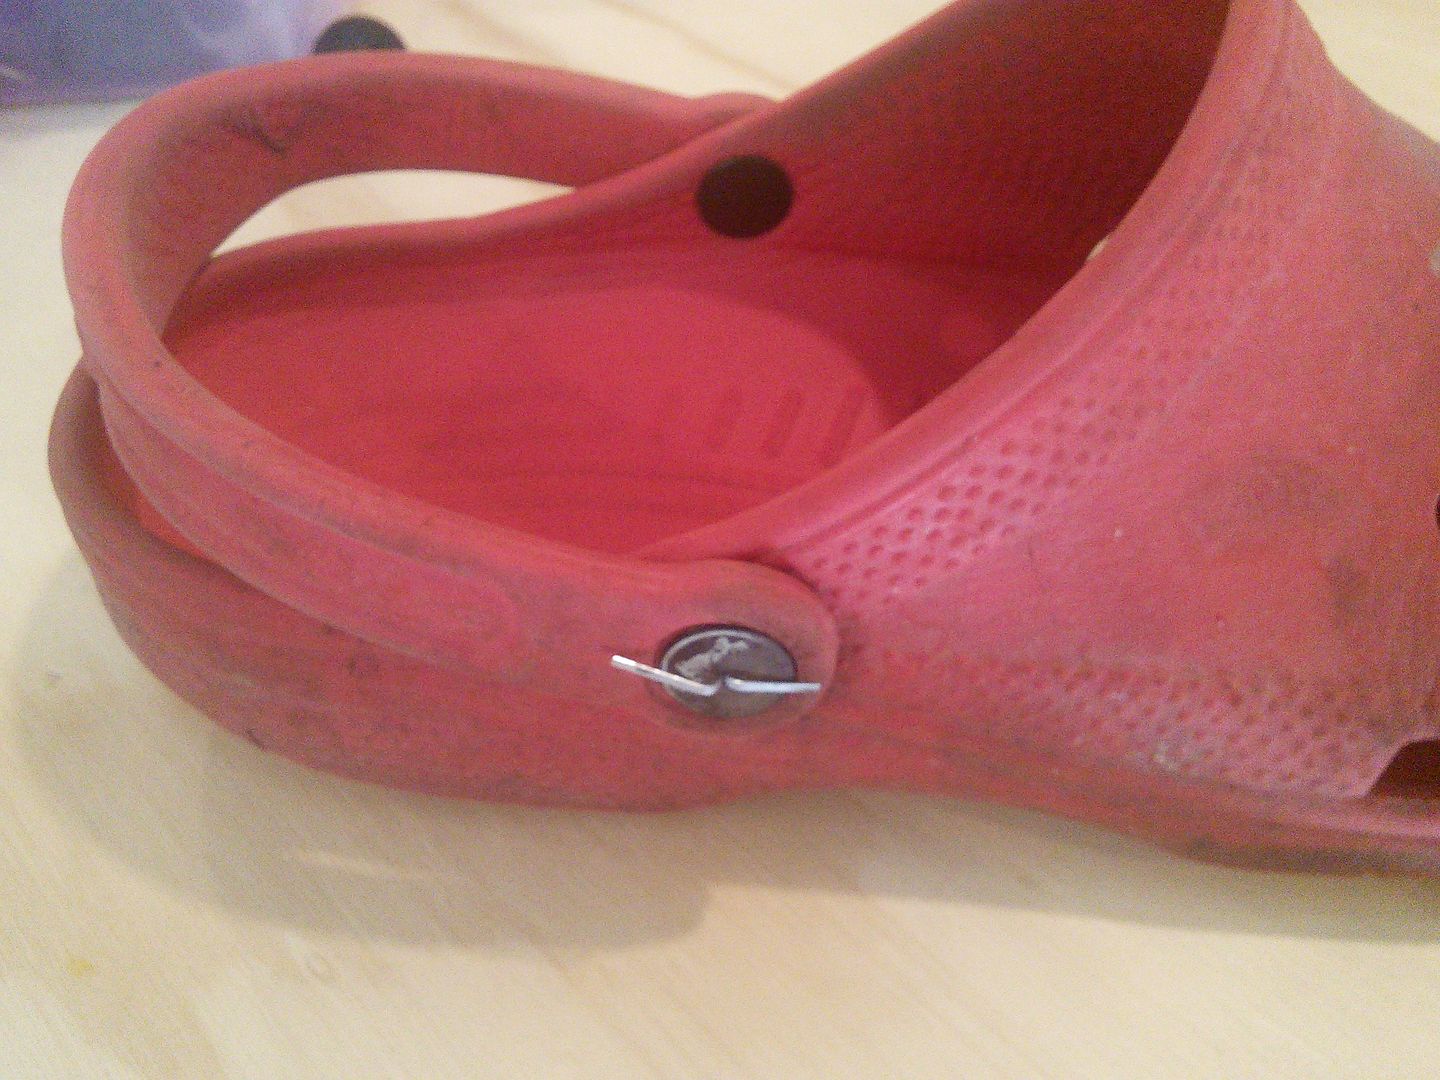
 I still had the pieces, so I drilled holes.
 I wanted to use a pop rivet but my stash doesn't have any long enough. Cotter pin works for now.
 This counts as a small project, right?


 ......So my neighbor stopped by yesterday and mentioned that he saw a riding lawnmower by the side of the road with a free sign. The word free happens to be one of my favorite words so I went ahead and took a look......
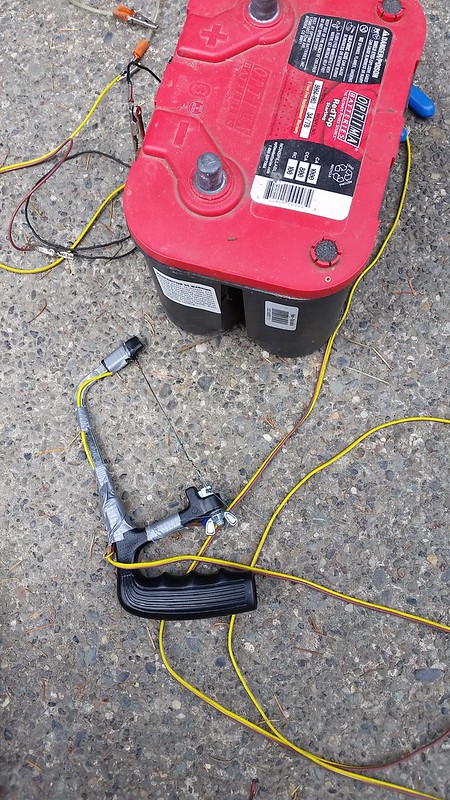
 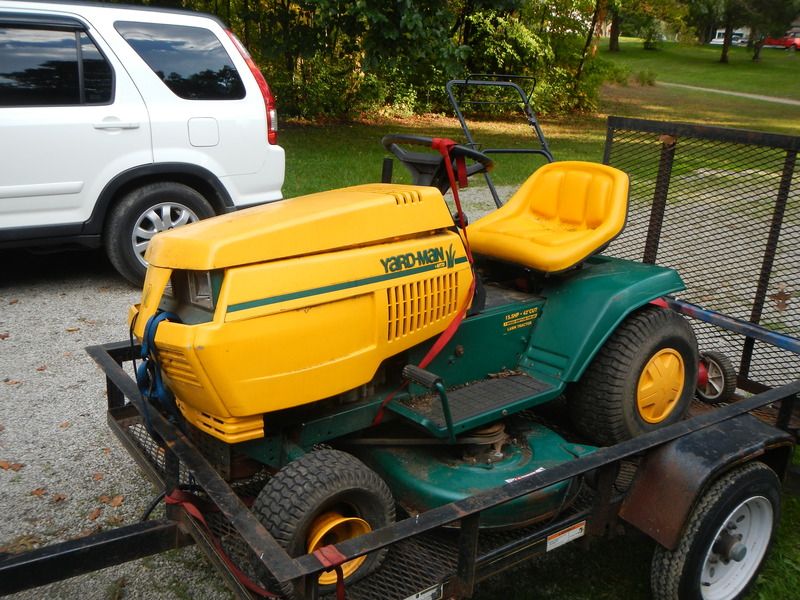 Whelp, it's got some issues... Flat tire, no battery and broken plastic thingy that supports the hood. Meh... it could be worse.
 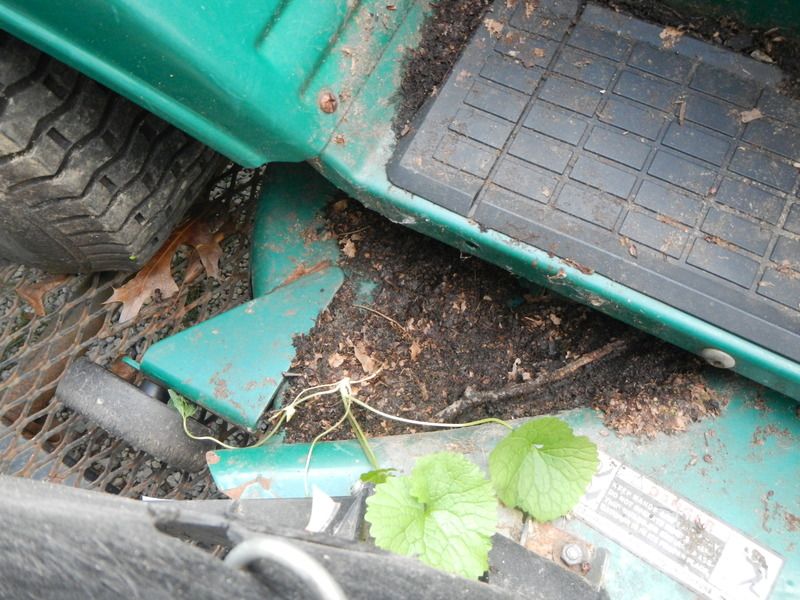 .. oh and it has things growing on it..
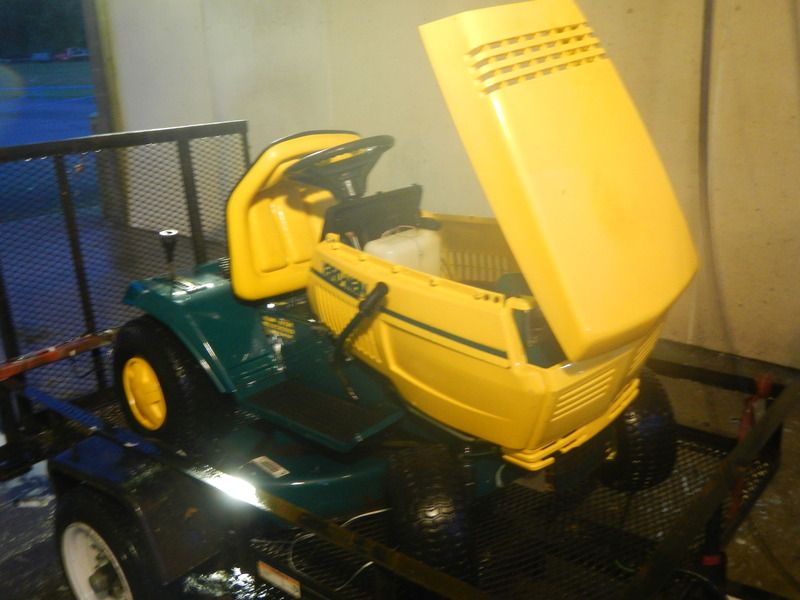 A quick trip to the car wash and a major investment of $4.00 in quarters gets the mower clean...
 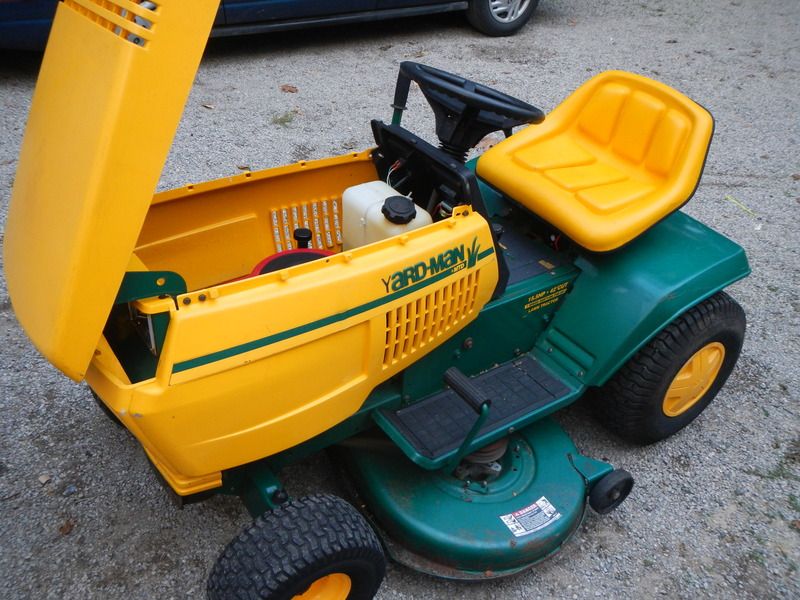 $31.00 battery plus a $10.00 core gets the 15.5 HP Briggs and Stratton cranking over.....
 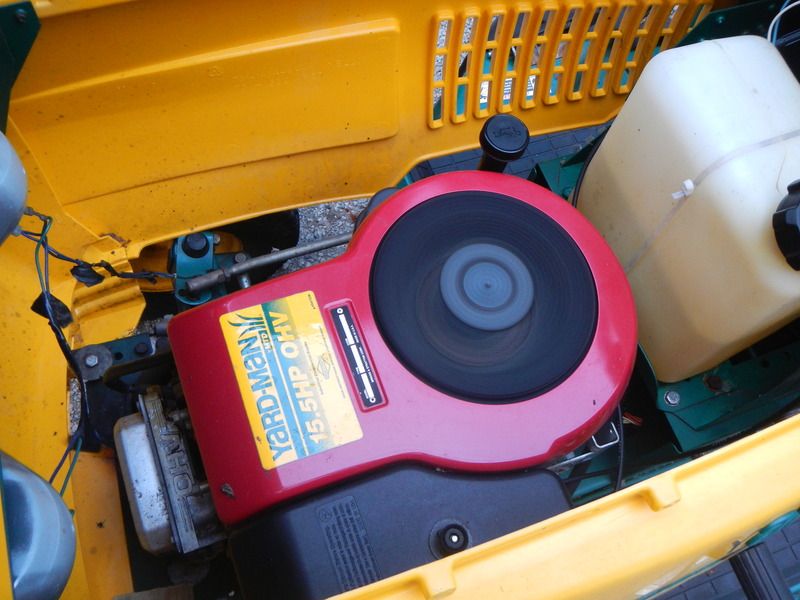 The engine coughed, spitted and then let out a roar as the old fuel ignited. After a moment the big Briggs settled down and ran perfectly....
  Yee ha!...
  Seven speed manual gearbox....
 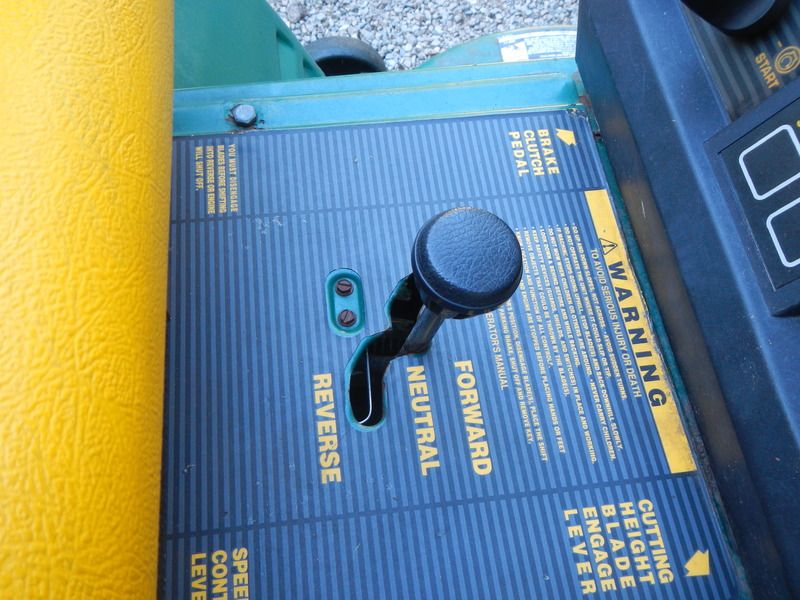 plus forward/reverse shifter. So it has 7 forward speeds and 7 reverse speeds. Using government math, that adds up to 14 speeds.
 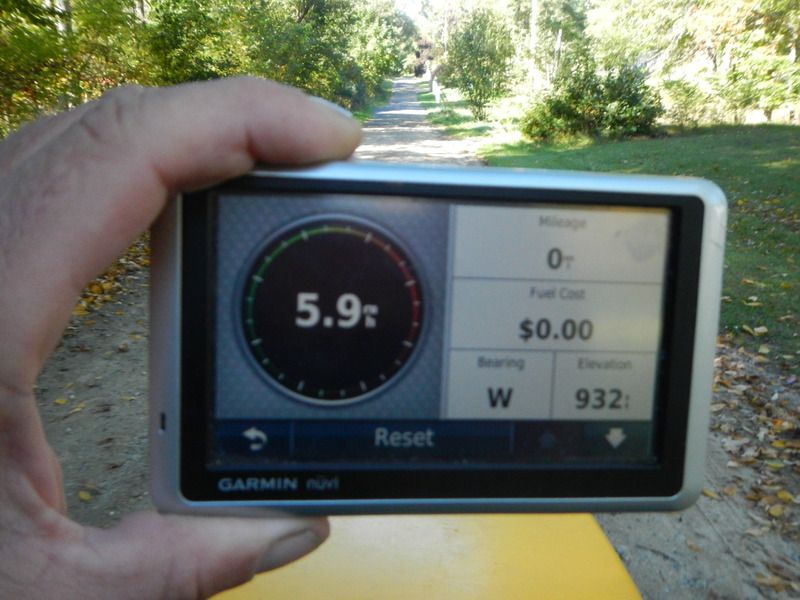 At full tilt this thing runs at an indicated 5.9 MPH.


 [/URL]
 [/URL]
 [/URL]
 [/URL]
 [/URL]
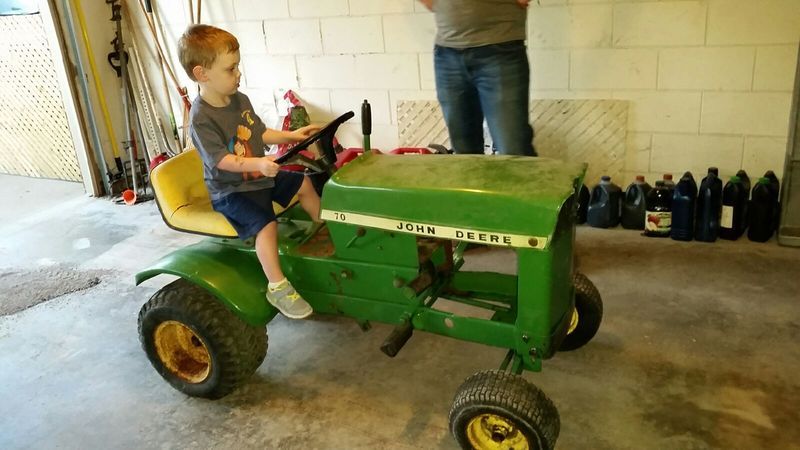
I plan to tear it apart and paint it this spring.
[/URL]
I plan to tear it apart and paint it this spring.


