


Ive been learning to love daysuns lately.
That style of wheel looks good on there. Just the wrong backspace and tire size.

Ive been learning to love daysuns lately.
That style of wheel looks good on there. Just the wrong backspace and tire size.
Dusterbd13 said:Ive been learning to love daysuns lately.
That style of wheel looks good on there. Just the wrong backspace and tire size.
I agree I really liked them, but like you said the backspace and tire size we're a no go for me

But... Hella Flush Yo?!?
Just needs more spacers!
#sarcasm
I actually already replaced them with iron cross rims.

Great project. Since we can't help you wrench on it, we can at least offer names for it.
I vote Ben Franklin.
Why? Do you remember BF five and dime stores? And because projects nickel and dime you to death. Because...well 5 10.
Of course you could call it Woolworth.![]()
Ben Franklin is a good choice. I like it I was thinking a bit droid (Star Wars inspired) 4E4D or 4D4E for four eyes four doors. I like Ben Franklin a lot though. Also it appears I can't change the name of the thread? Or I just don't know how.
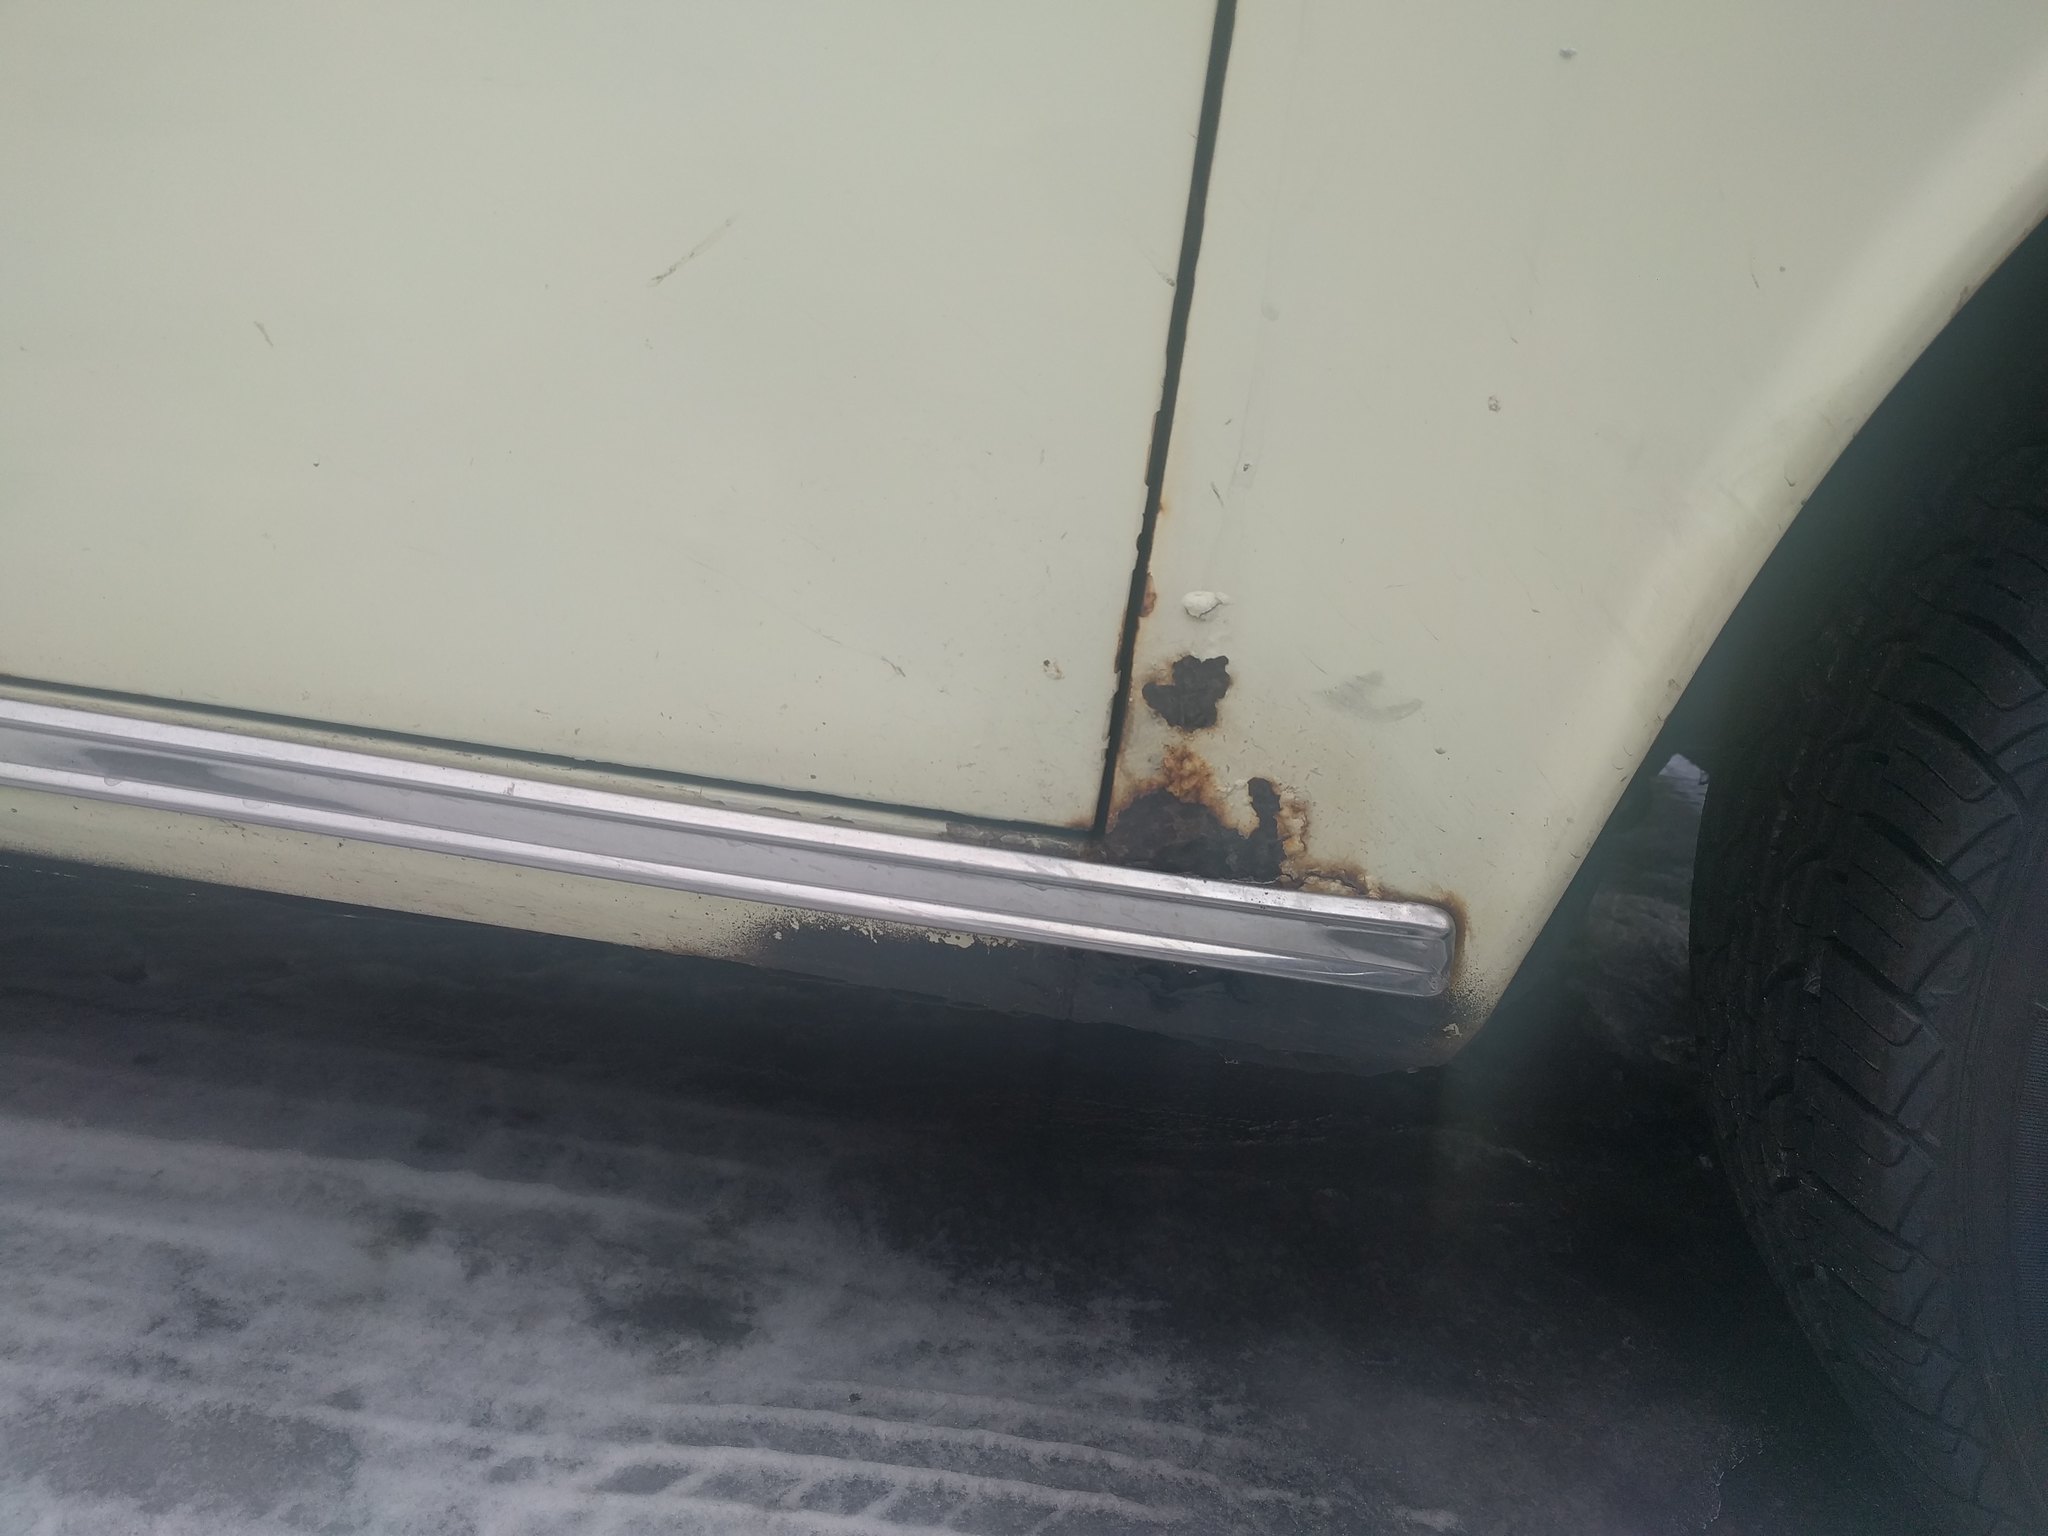
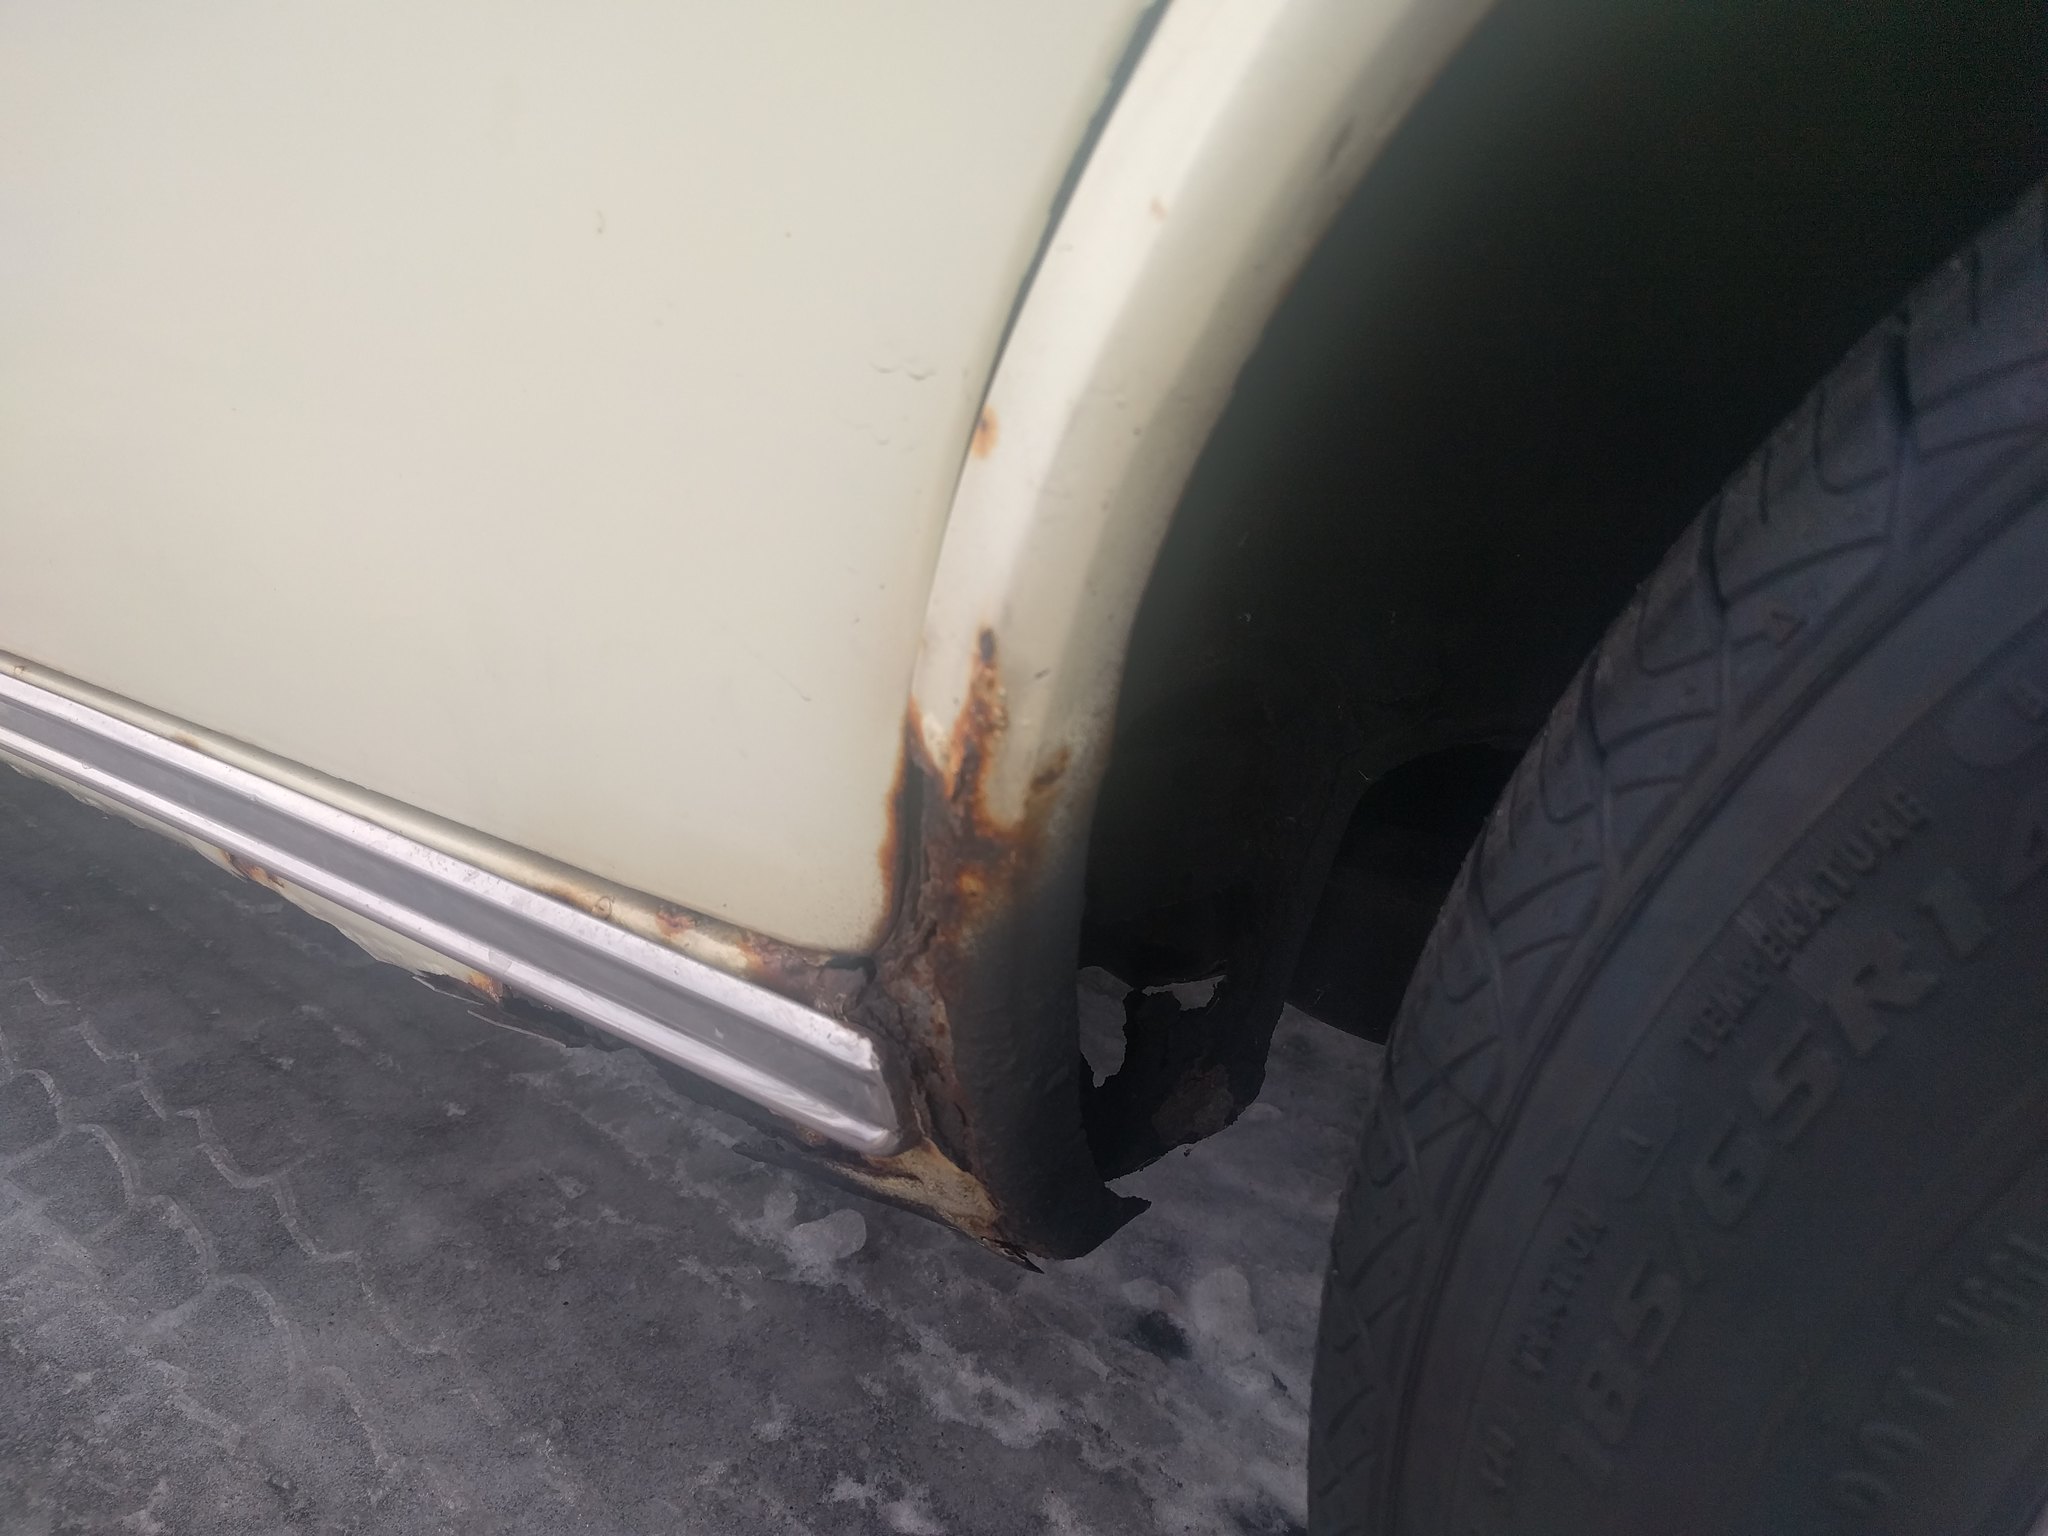
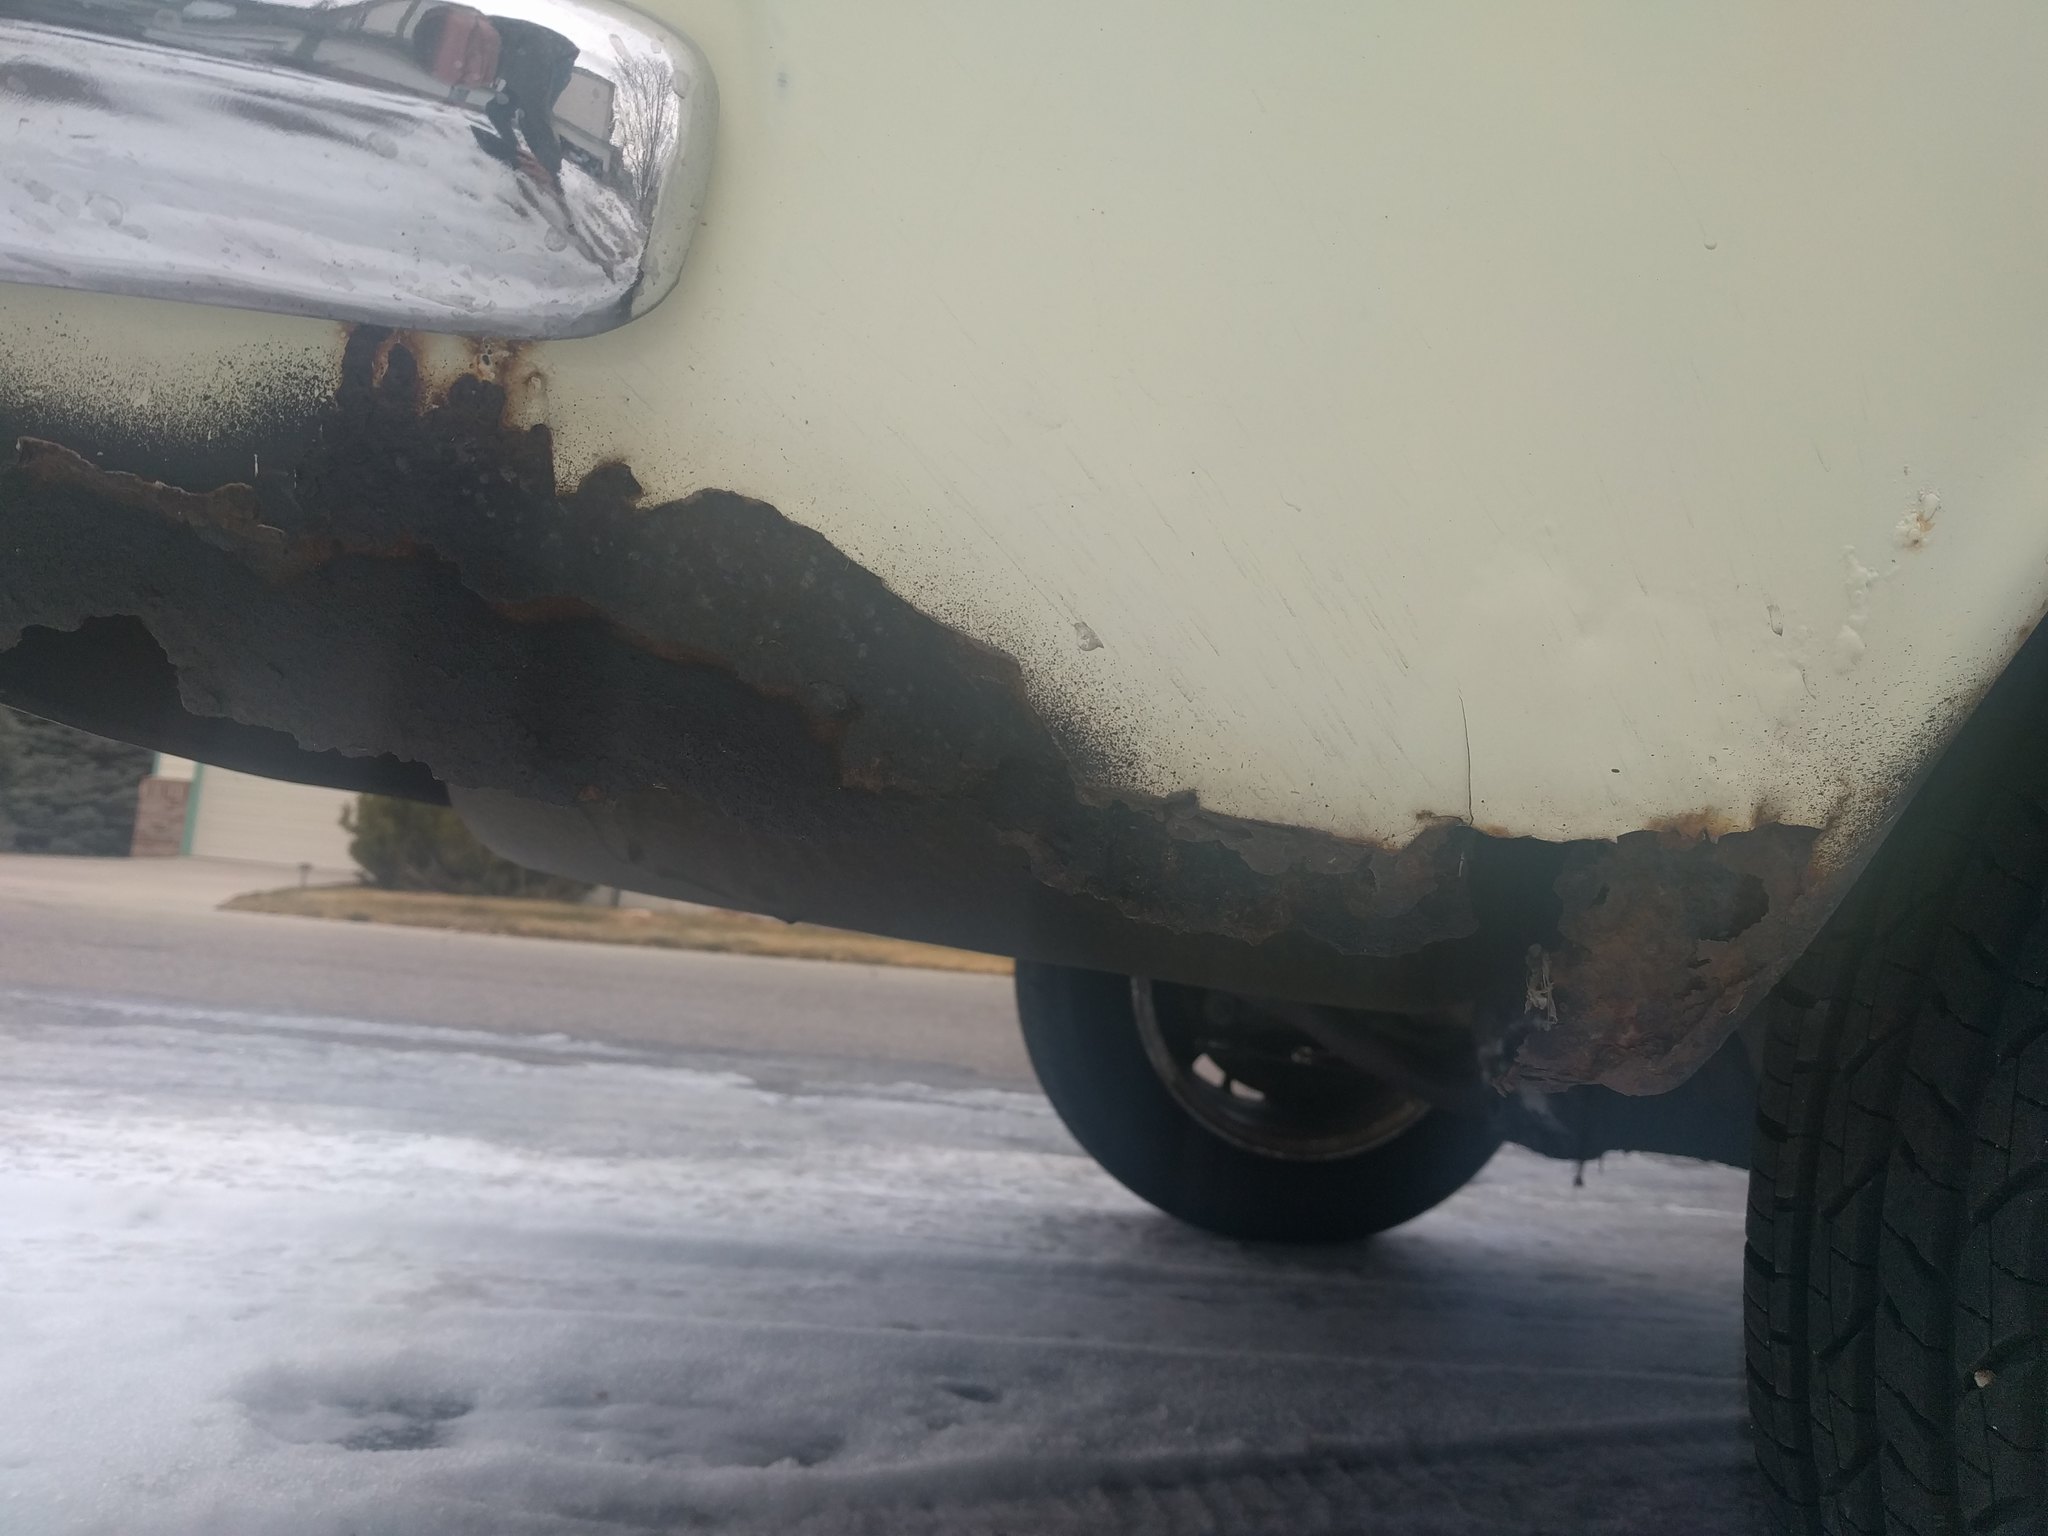
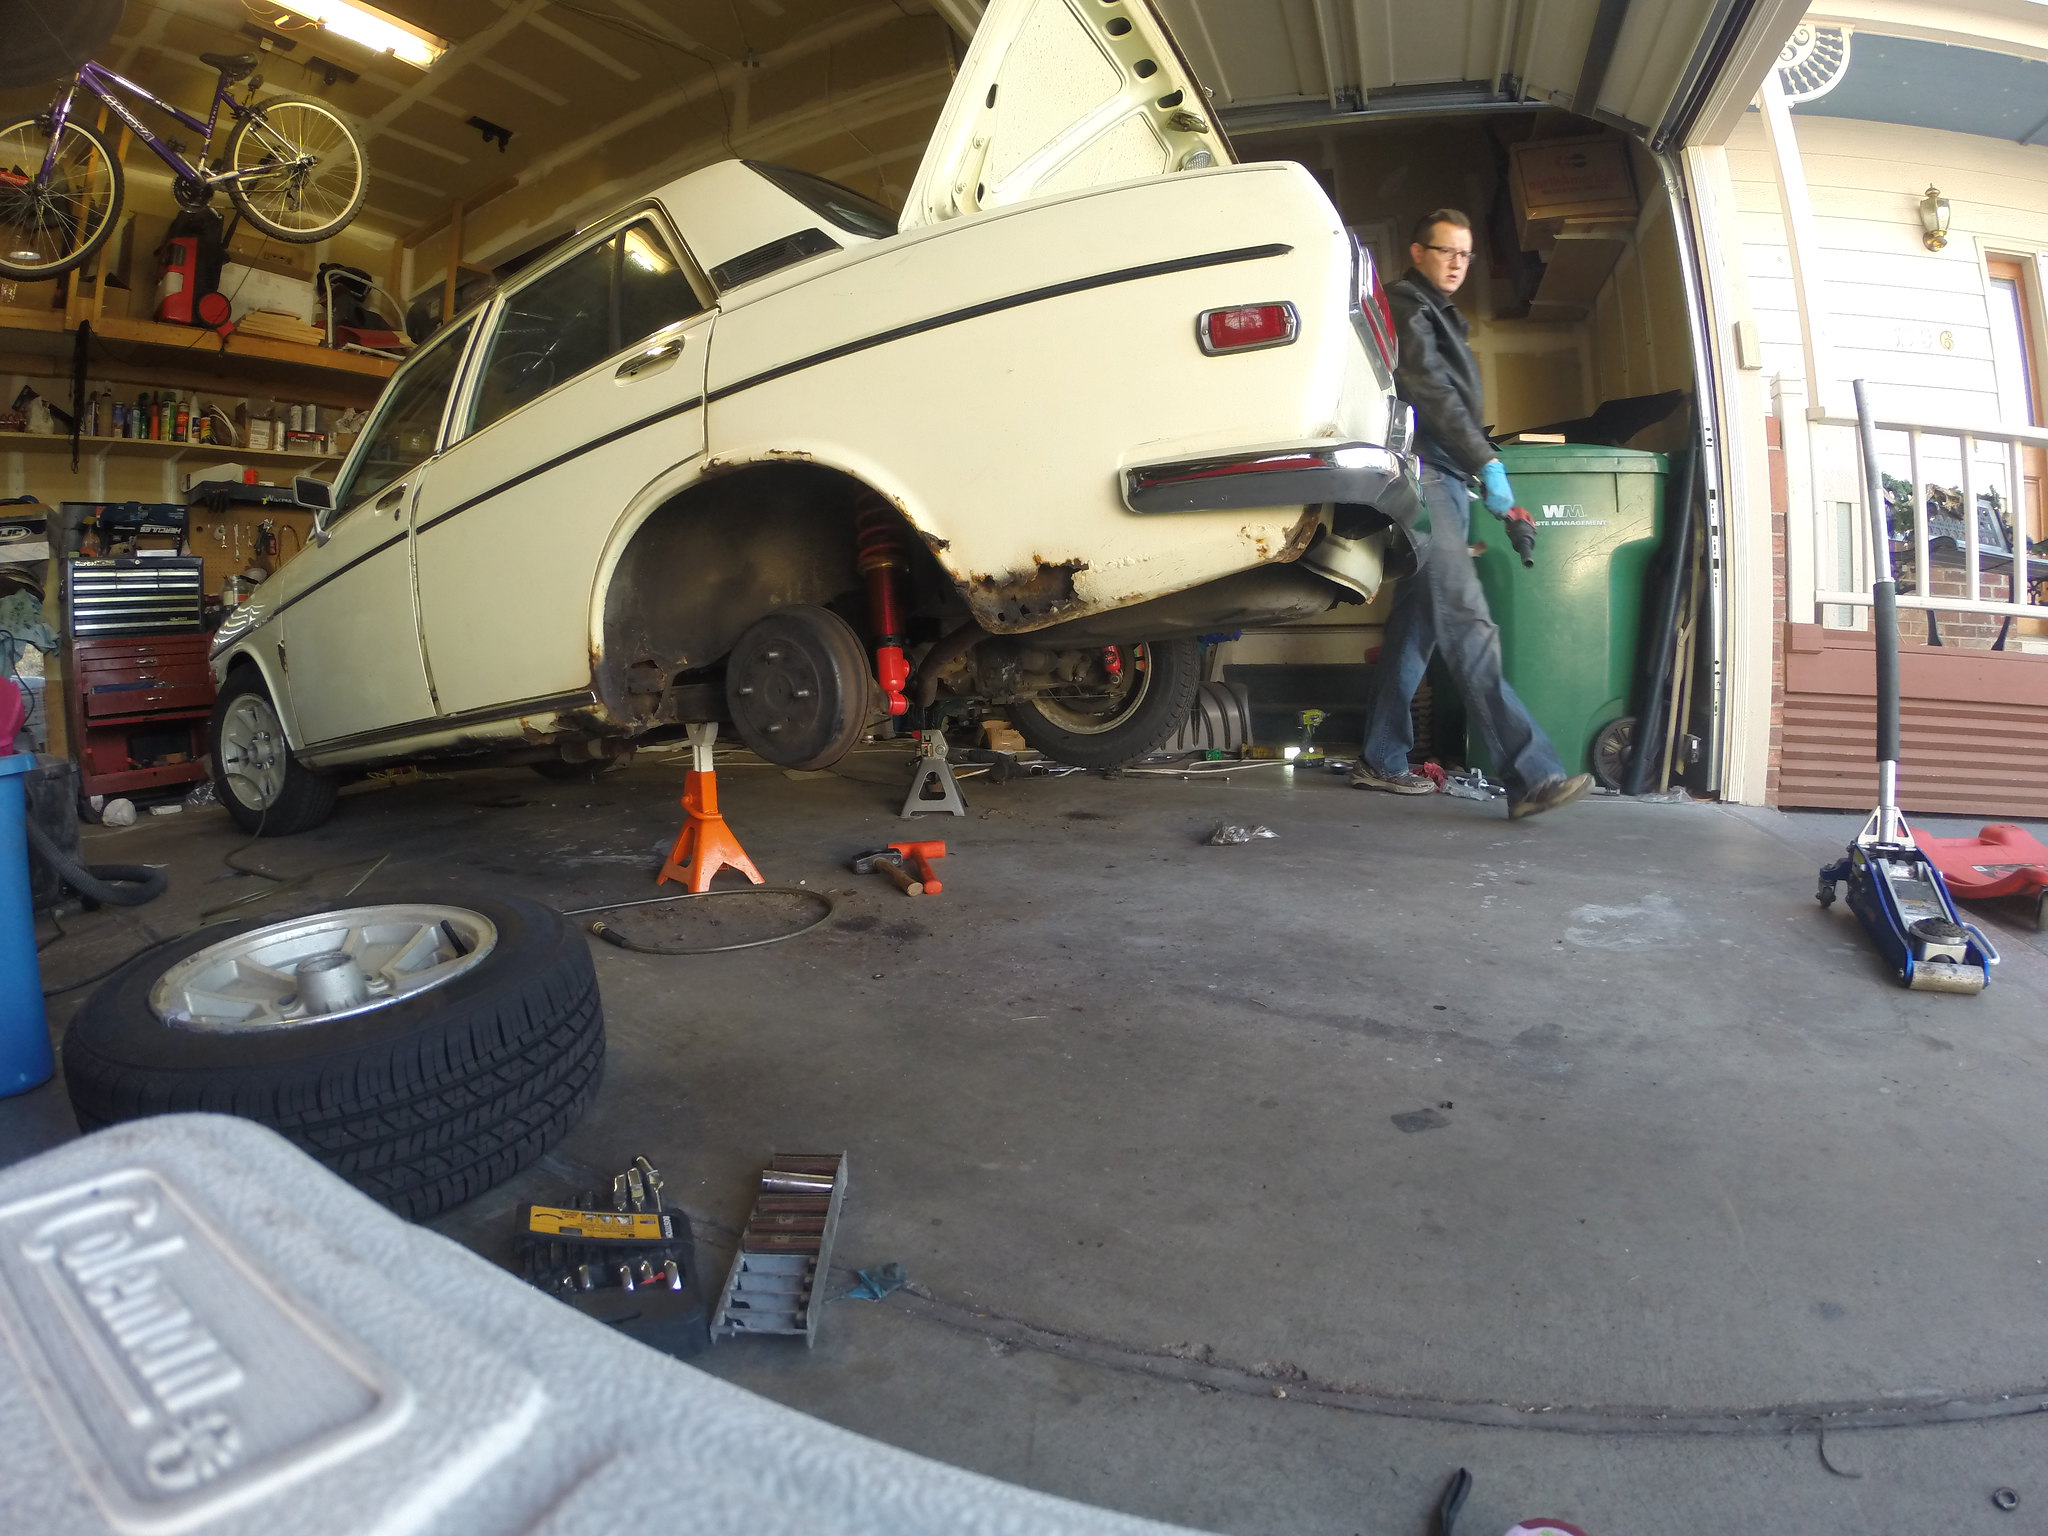
You asked for pictures of the rust. This is only the outside. There is some on the underside and inside the floor boards as well.
Driver's side rear door
Driver's Rear
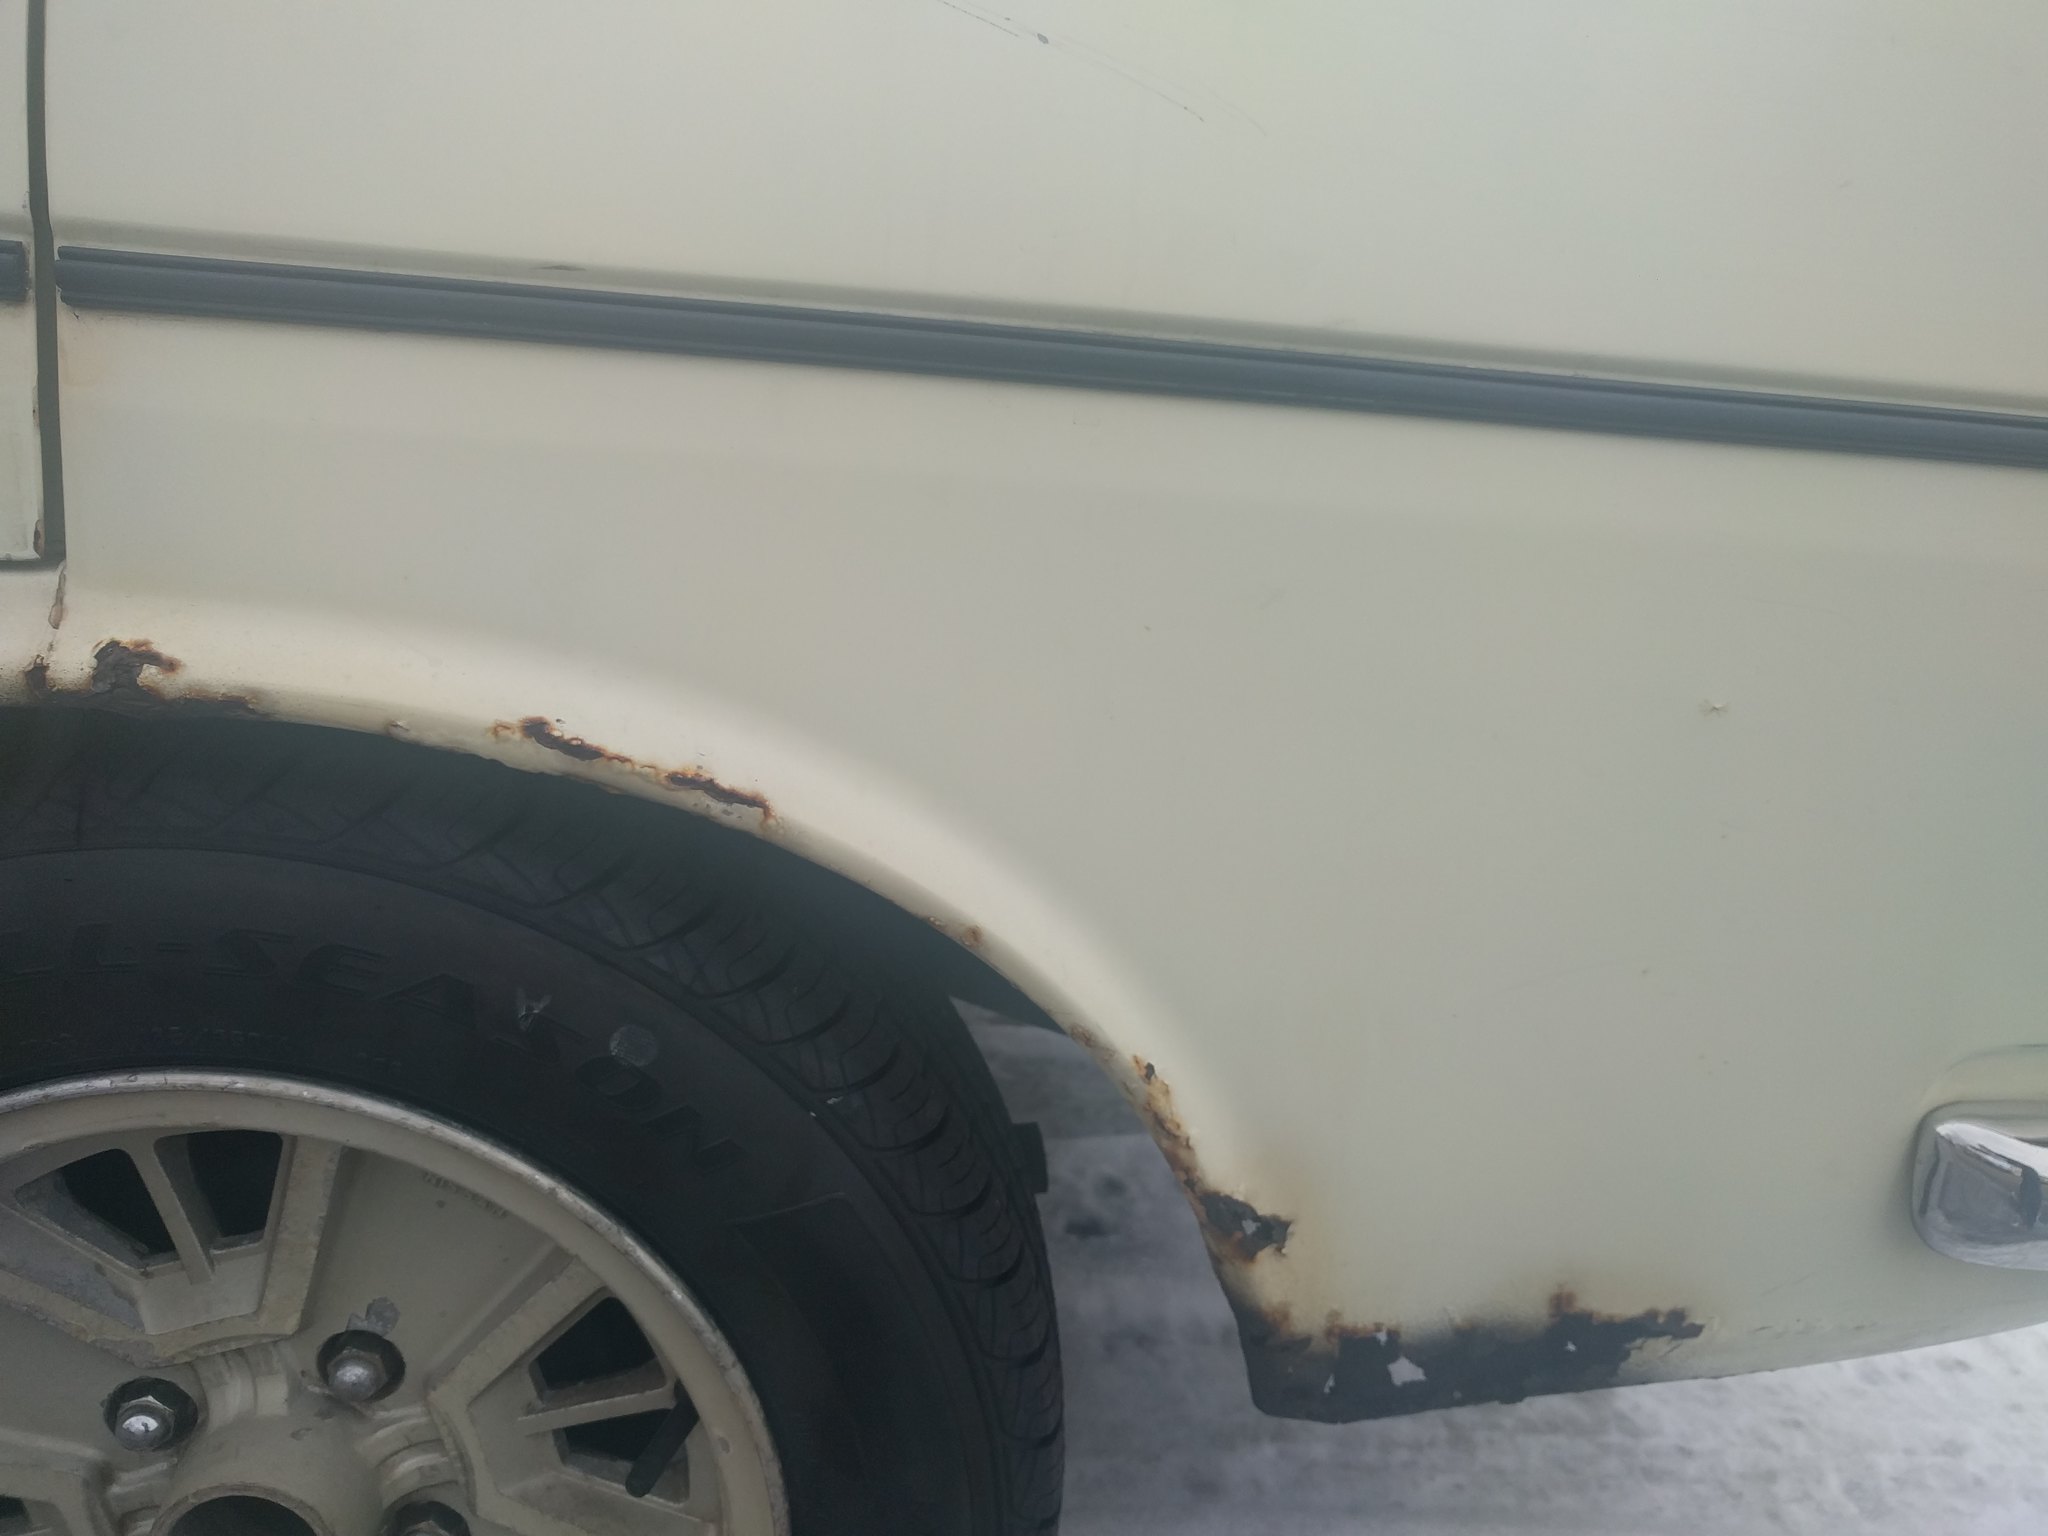
Driver's Front Fender
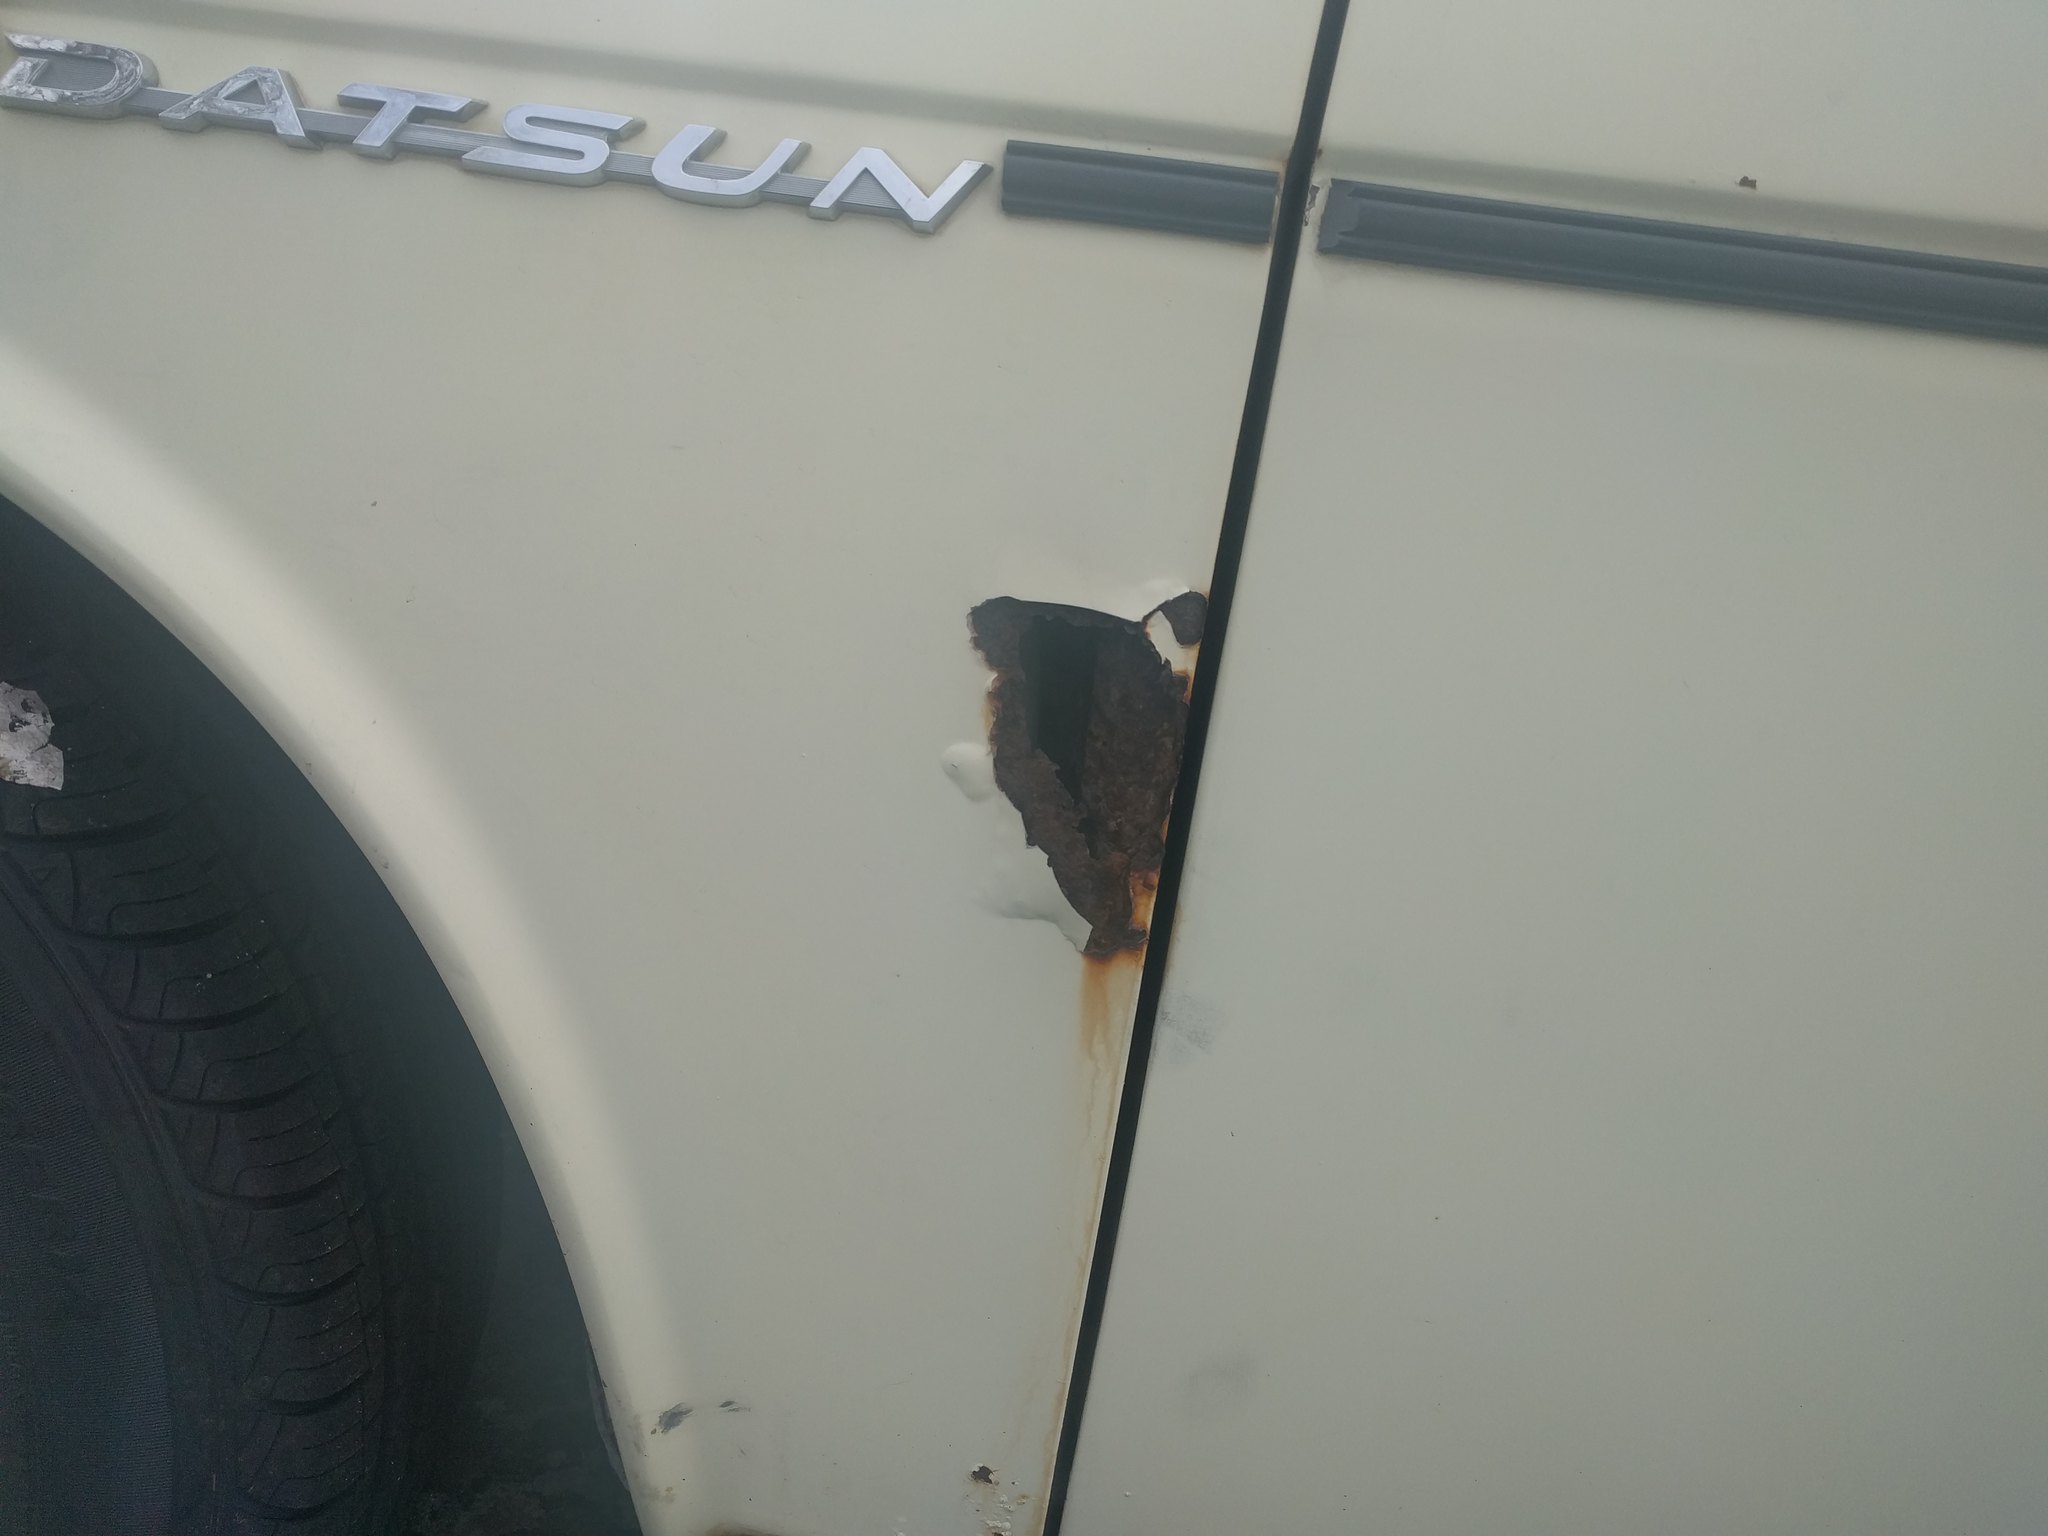
 Passenger's Side rear Door
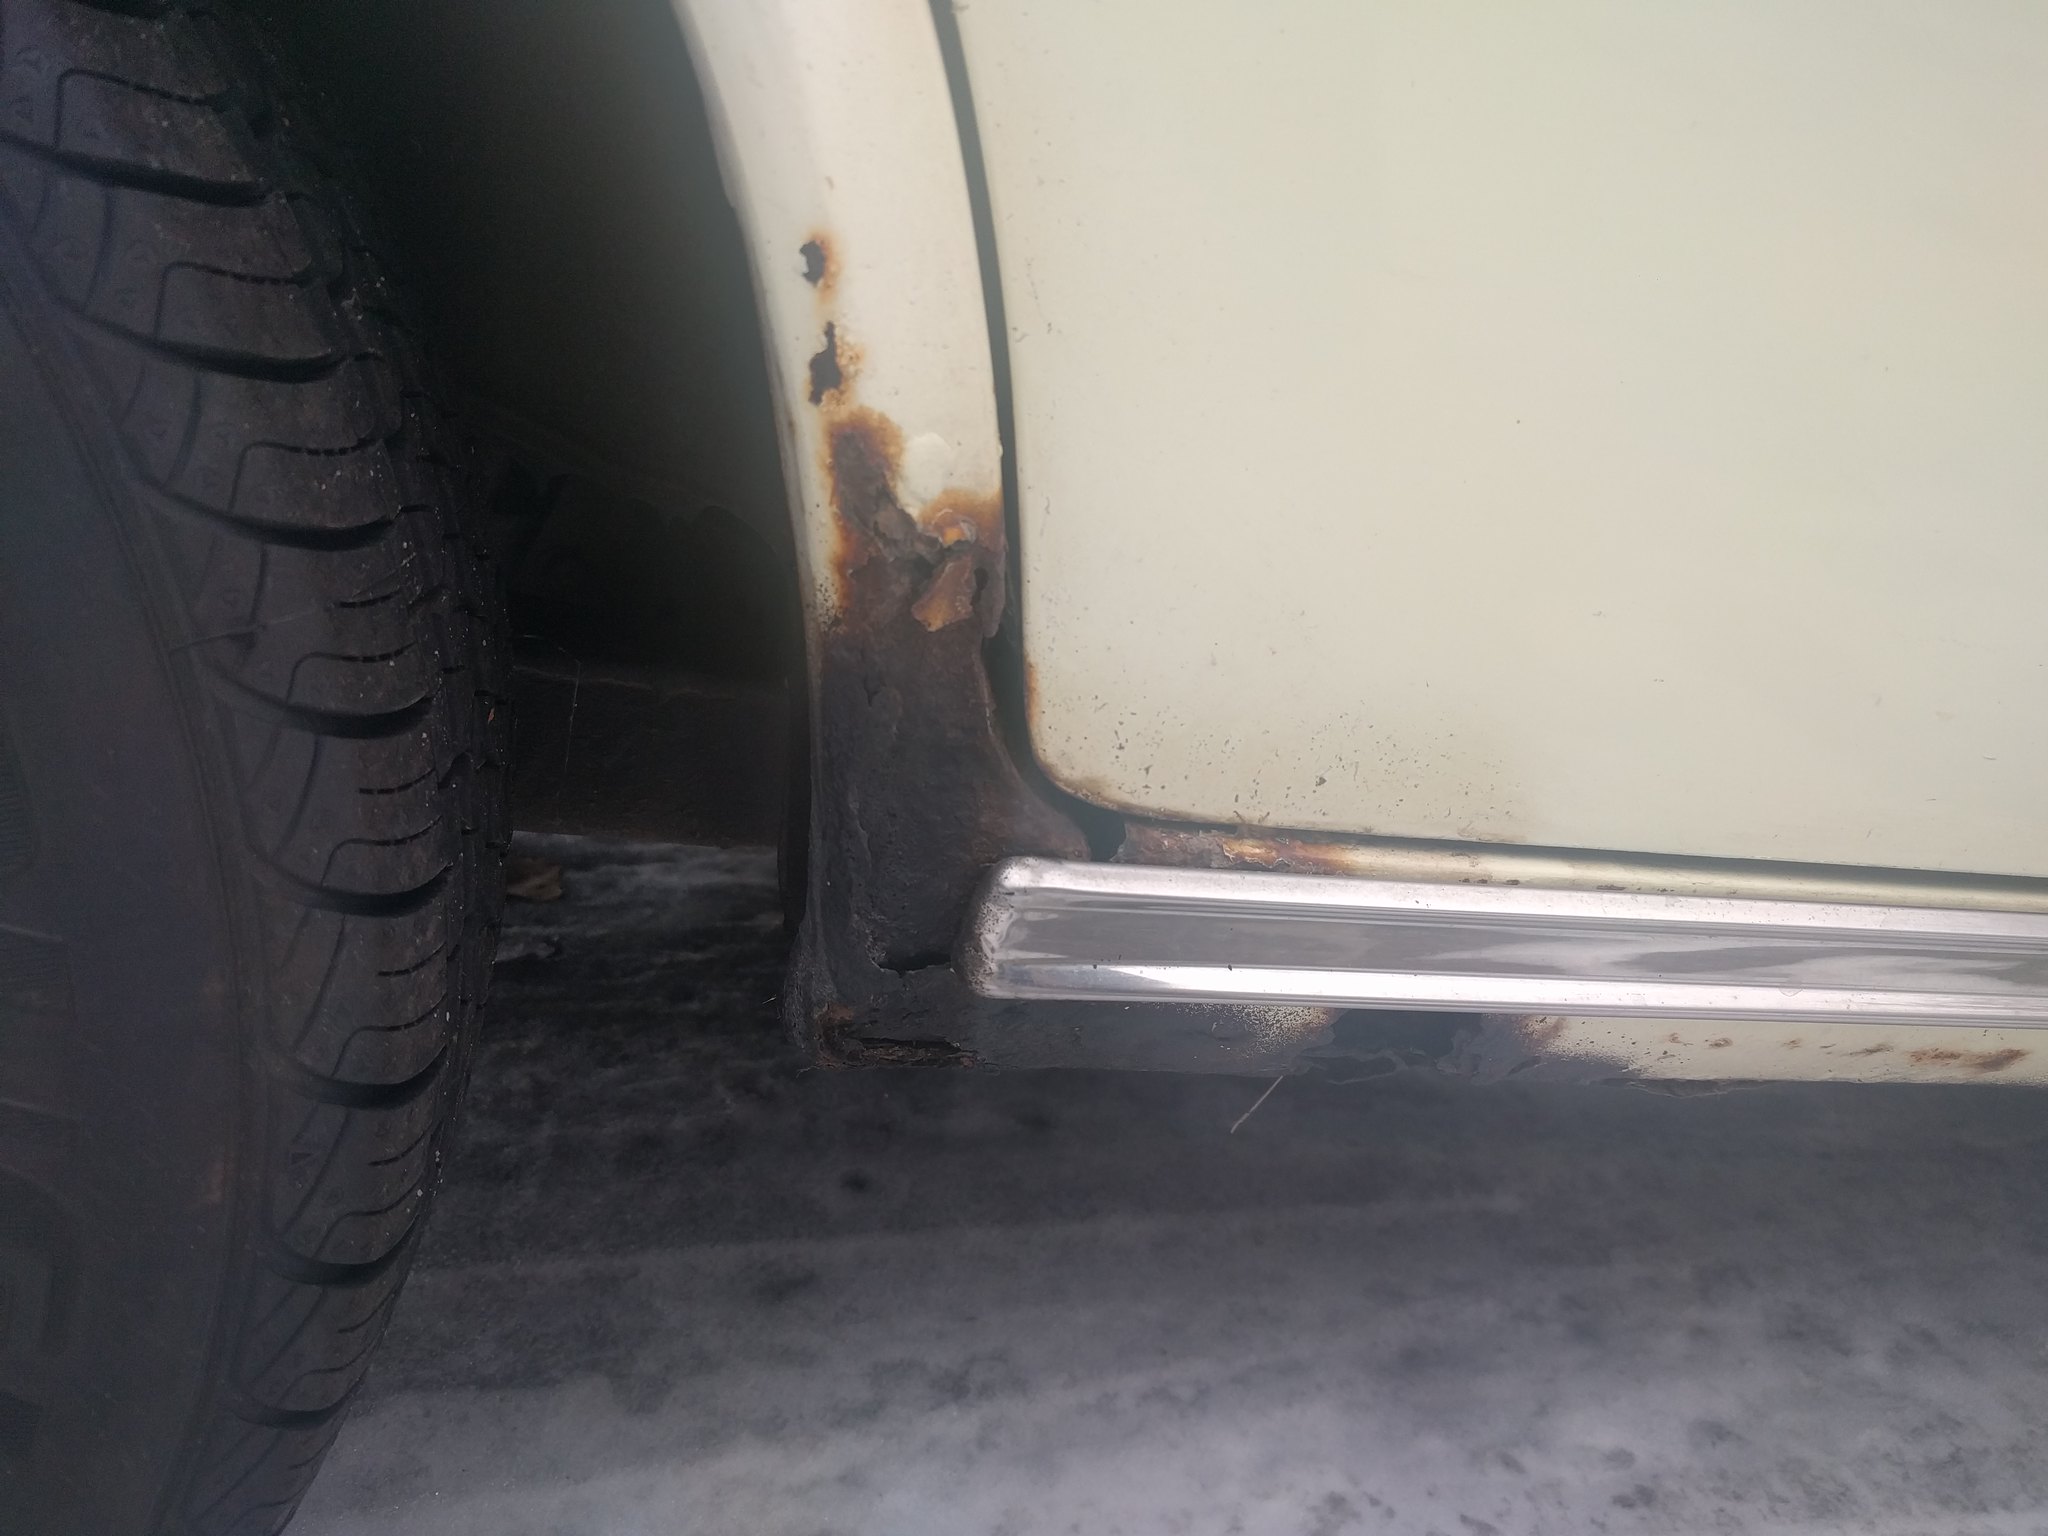
Passenger's side Rear
Thanks for posting this.... love me some 510, and a fellow Denver-ite to boot!

Good work saving it. They are a lot of work but it's all worth it.
Well work still progresses, in real life I am driving her daily now, just my project updates are falling behind.
Project Log (25 Nov 17):
Start Time: Not Recorded
End Time: Not Recorded
Today I got the tires mounted on the Datsun Iron Cross rims. I need the car to get running so I can move it out of the garage, because I will be gone for 2 weeks for work.\
I ended up going to Walmart & got some cheap all season tires to mount on the car. Brought the wheels home and mounted them and moved it outside.
Because I didn’t have a front dust cap I used a spray paint lid to cover the front wheel bearings, until I could get a dust cap for the car (I have no center caps for the wheels).
Project Log (09 Dec 17):
Start Time: Not Recorded
End Time: Not Recorded
Left for two weeks, I got a parking ticket for no tag on the car, and two tires went flat. The wife is amazing, took the wheels off the car, took them to walmart to get them sealed with some goop, and then moved the car into the garage.
Work is crazy and I have been away more than I have been home lately so little work is getting done on the car.
Project Log (14 Dec 17):
Start Time: Not Recorded
End Time: Not Recorded
When I got back from my trip I met Yenpit who was awesome enough to show me around his shop, and to give me a set of dust caps. I also traded my XXRs for a set of 17” wheels that were a better offset. I got the wheels home and they were in fact the EXACT same offset as my old wheels. I should have measured I was in a hurry and it was my own fault so now I have a set of 17” wheels I don’t even like as much as the XXRs and aren’t worth as much. I am usually pretty good at trades, every once in a while you just lose.
Project Log (17 Dec 17):
Start Time: 1500L
End Time: 1745L
Today I wanted to install the dust caps and determine if the mechanical fuel pump is still good. I also want this to be a daily driver so I am wanting a radio so I want to determine if I can swap in a stereo I already have that will at least give me aux-input.
To Do (Daily):
1. Add Dust Cap to Passenger’s side front wheel
2. Check mechanical Fuel Pump
3. Replace radio with updated radio
1. This was pretty straight forward. I removed the front passenger’s side tire, removed the temporary dust cap (spray paint lid) and then used a very large socket and a rubber mallet to tap the dust cap into place. Then put the wheel back on.
2. Pulled the mechanical fuel pump next. I didn’t see anything wrong with it so I went ahead and re-installed it and tried it out. It seems to work (Author’s note: as of 13 Jan 18, the car is stumbling on hard acceleration, this could be the mechanical fuel pump or I could be getting low on fuel, only time will tell)
3. Removed radio face plate and looked at it. I had to leave in about 30 minutes so I threw it all back together and went inside
I am hoping to get the car tagged soon, the wife wants/needs her garage spot back, and I want to drive this car
Notes: (Section for statements at the end of the day that don’t follow the to do)
- Future Projects (wants)
- I also attempted to remove the slack from the ignition coil mount so I could remove the paper “gasket” around the coil, but it will not tighten enough to keep the coil secured, so I left it alone for now
Images: N/A
Links to Timelapse: https://www.youtube.com/watch?v=aGgU50J05RA&index=3&list=PLLssIyjv-gNXYYNhGGEvCo3Otv7SUO5Xa

"- I also attempted to remove the slack from the ignition coil mount so I could remove the paper “gasket” around the coil, but it will not tighten enough to keep the coil secured, so I left it alone for now"
And i thought that was an actual ML beer can added for effect.....silly me. Be forewarned the more you do to this the moore LooseC will be looking over your shoulder.... ![]()

Apparently the coil has been replaced at some point in the past. I had to replace the coil in my Opel GT. Replaced the OEM Bosch brown top with a Pertronix Flamethrower. The new coil was a little narrower than the old one. Local parts store had new coil brackets for reasonable $ that fit the Flamethrower and just happen to line up with OEM bracket mounts.

I met Yenpit in the Chicago area once - super knowledgeable dude - almost met up in Michigan once
He had an orange 510 project that was impressive. Tap this guy for info.
I promise I haven't already abandoned the project.
Project Log (25 Dec 17):
Start Time: 1130L
End Time: 1445L
Working on the stereo today. I want to replace my radio with a CD player that has an auxiliary input
To Do (Daily):
1. The old radio came out easily. The stock dash hadn’t even been cut up so it pained me a bit to cut it, but it is my car. The radio was secured with the side mounts and volume/tune knobs as well as a metal strap on the back. The radio wire was very cleanly done so I attempted to preserve that
2. The radio was wired in with a nice adapter so I left that along. There is definitely extra wiring , but it is so well bundled that I am not going to trim out the extra right now. Of note there is a speaker in the middle of the dash that is not currently hooked up to anything. In the future I will likely remove that speaker.
3. To mount the stereo I used the side tabs that were located on the side of the old radio. I mounted them but realized on test fit that my stereo was sitting way father back so I had to mount the tabs much farther back.
4. The stereo and dash went back together very easily. It looks really good in there, and now I can listen to my tunes.
Notes:
Images:
Links to Timelapse:

Love those little cars, cant wait to see it all together.

I can totally understand wanting a CD player with an Aux input. I'm the same way but when I get my car I do have an added caveat... It also has to have Bluetooth capabilities. ![]()
In reply to Bill Mesker :
I had it on hand or I agree, bluetooth would be nice.

That car is Michigan Rust-Free! Excellent project!
yes a TON of rust
As I get my hand written notes types I post them, see below.
Project Log (10 Jan 18):
Start Time: 1300L
End Time: 1530L
I finally got tags so I can drive the 510 daily. It is missing quite a bit under acceleration I don’t know whether this is a low fuel issues (I have never fueled it up, I am trying to burn the old fuel off)
To Do (Daily):
1. Cut into the horn button mount additional slots to mount behind the steering wheel so I could mount the horn button, I used my dremel to slot it. I actually bought some cut off wheels so it was pretty easy to do.
2. I went to the junk yard and pulled two long battery cables. One from a 3 series BMW and another from a Volvo S60. The S60 was much harder. It also has a nice power distribution box. That will be good to use in other projects. The pieces were about $6.50 plus the cost to get into the UpullandPay. I will be using these to mount the battery in the trunk.
Notes: The car is running and driving which makes me less likely to work on the flaws and just enjoy driving it. But there is definitely some work I need to get done in the next couple months below I broke out the near term and mid-term goals for the car. I also ordered all of the wheel bearings so I can do the coilover swaps, as well as the rear brake swap.
Images: N/A
Links to Timelapse: N/A
Project Log (13 Jan 18):
Start Time: 0900
End Time: 0945
I want to get the shifter tighter. It is very hard to tell where I am shifting to currently.
To Do (Daily):
1. In the past the shifter boot had been spilt so there was no need to remove the shift knob, everything past that was just moving carpet and insulation out of the way.
2. The pin is held on by a C-Clip. I removed it easily and almost lost it onto the transmission, had to use a magnet to get it out. The pin slid right out
3. For the shim I tried 2 different washers, both were too thick to slide in, I then tried to make a shim from an aluminum can, which seemed to be much closer to the desired width
4. There was NO installing a shim. The aluminum kept folding over and not going in. I gave up, and put it all back together. This problem will be solved when I install the 280zx 5-speed transmission some day
5. Everything went together just fine. With C-Clips you have to be careful not to drop it before it is fully in place or you might lose it
Notes:
Images: Nope
Links to Timelapse: None today
Project Log (13 Jan 18):
Start Time: 1700
End Time: 2200
Decided to weld in my first patch panel. I want to relocate the battery to the trunk. The spot I want to put it looks like swiss cheese
To Do (Daily):
1. I thought I had already purchased cut off wheels for my new angle grider, I had not so the first thing I had to do is run to Harbor Freight to get more cut off wheels. I did use my dremel for the first portion, but it just ate the cut off discs too fast, and I ain’t made of money.
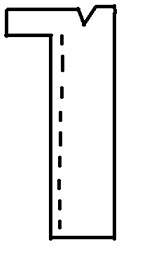
2. I used construction paper and crayons to make the templates. The Cut out looked like the first image in the images section (where the dotted line is a curve up to meet the raised section).
3. A friend of mine (Thank you Darrel) game me some metal so I traced the replacement piece onto it
4. I did not do a great job of bending the piece into place. I did use a vice and a piece of wood to shape it, which did give me a good surface to shape against (Another reason to cut out a larger piece to help with this
5. Tac’d in the panel after making several more cuts and shaping changes on it
Notes:
Images:
Links to Timelapse: No, I didn’t take video after the first couple hours as I was unhappy with my results and didn’t want any evidence of that.
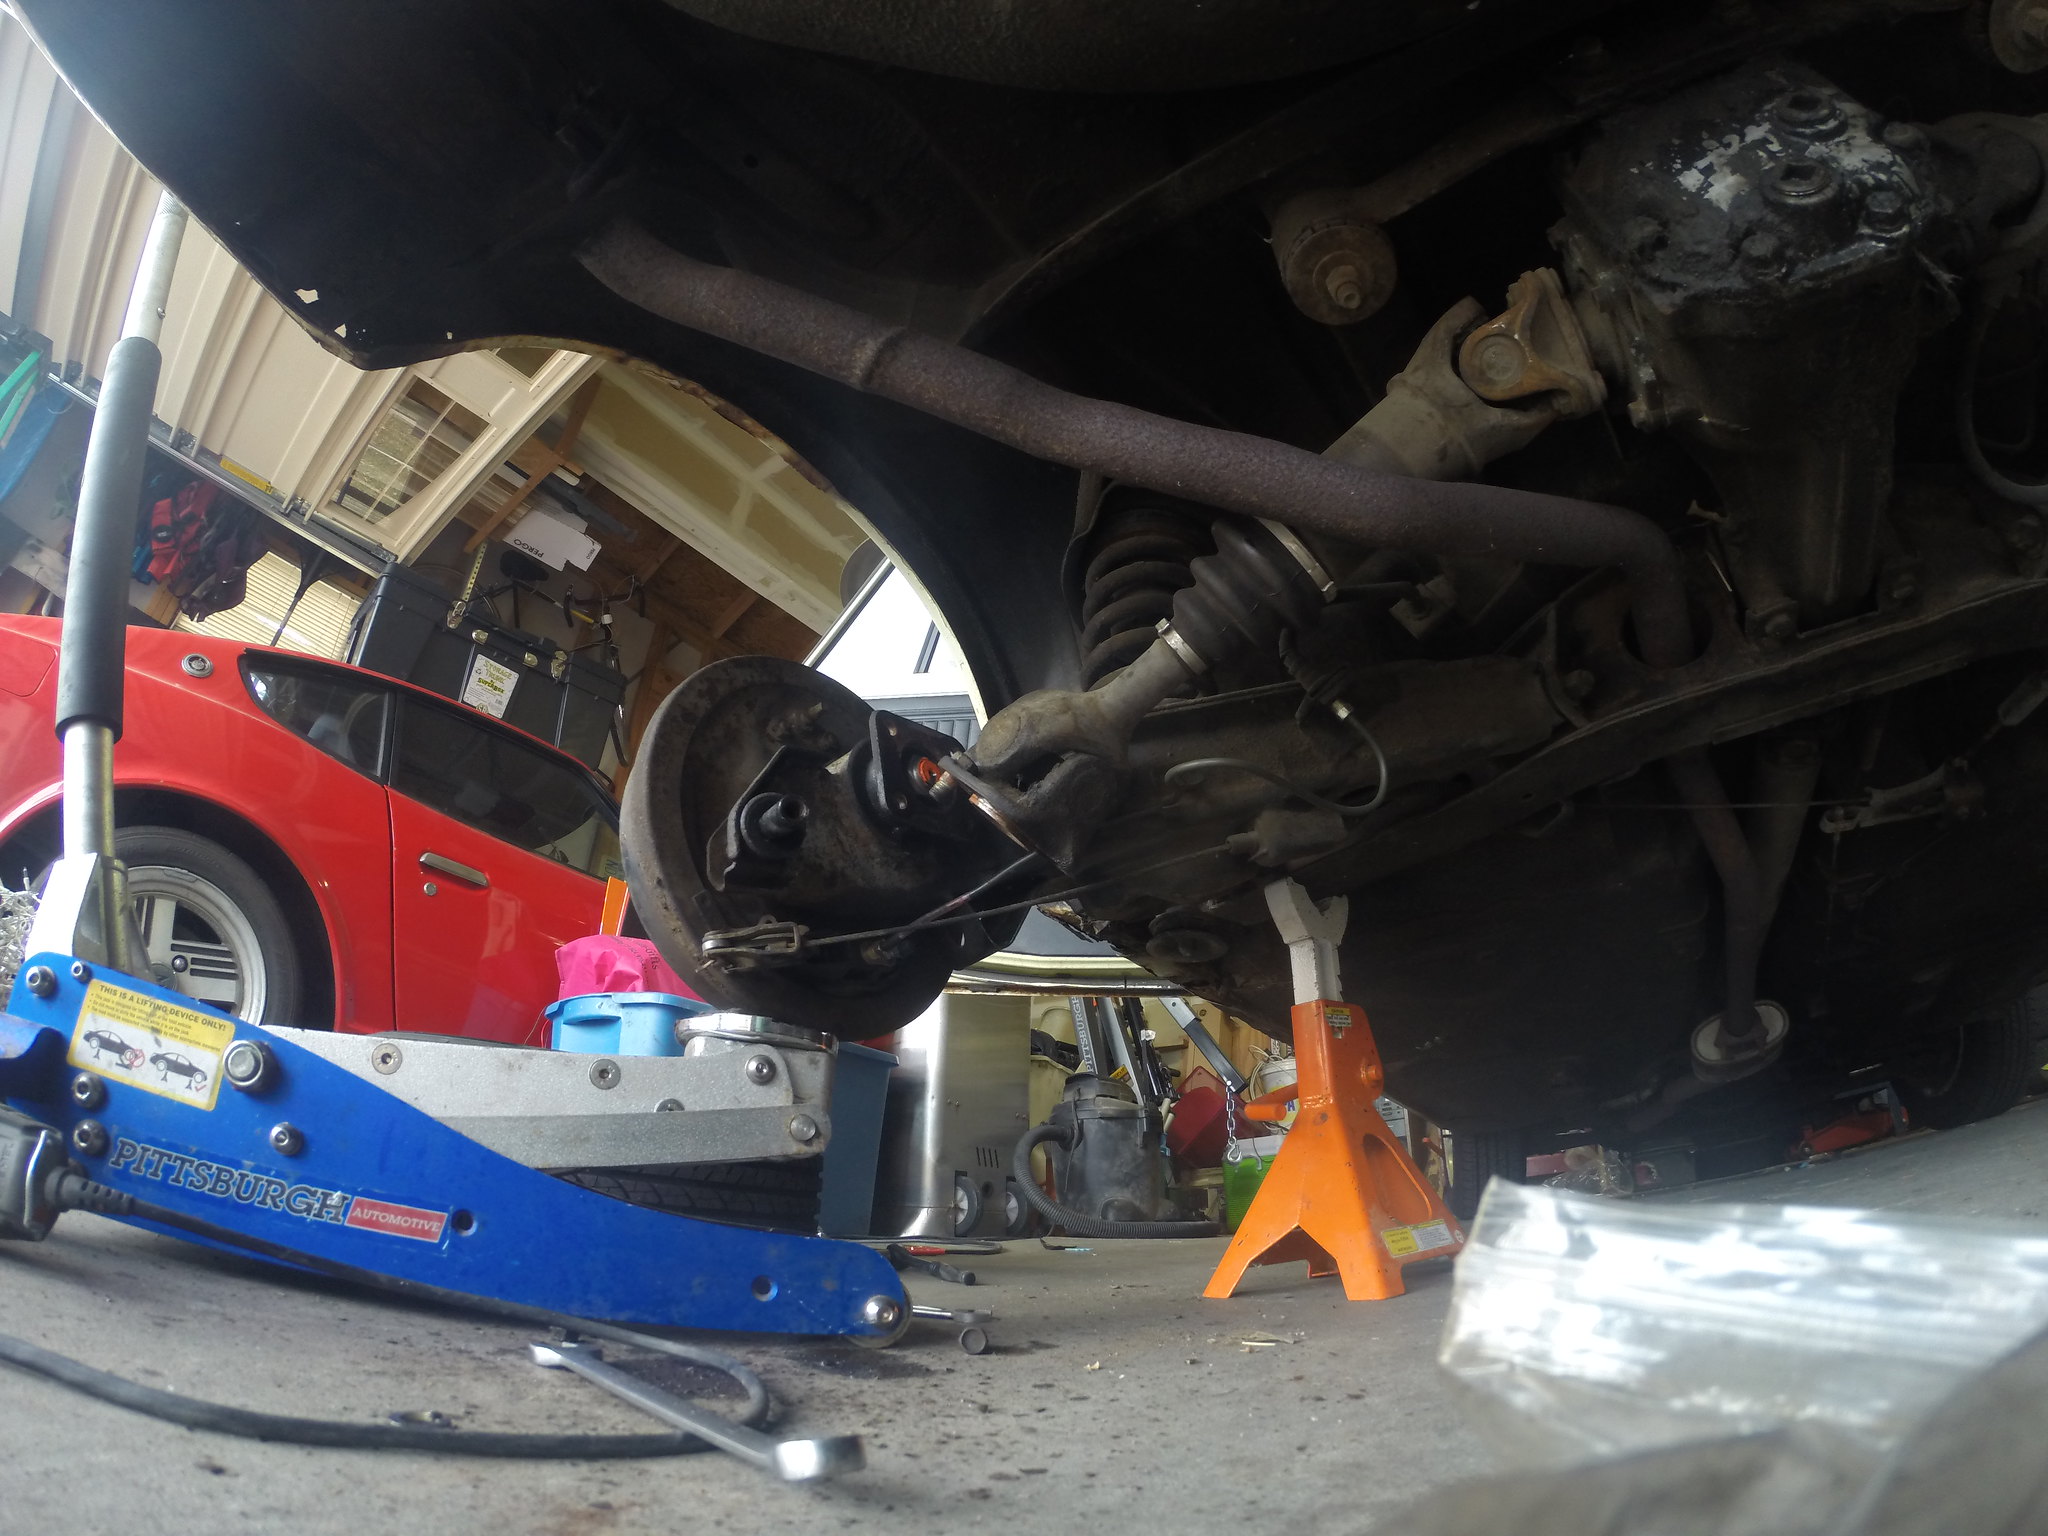
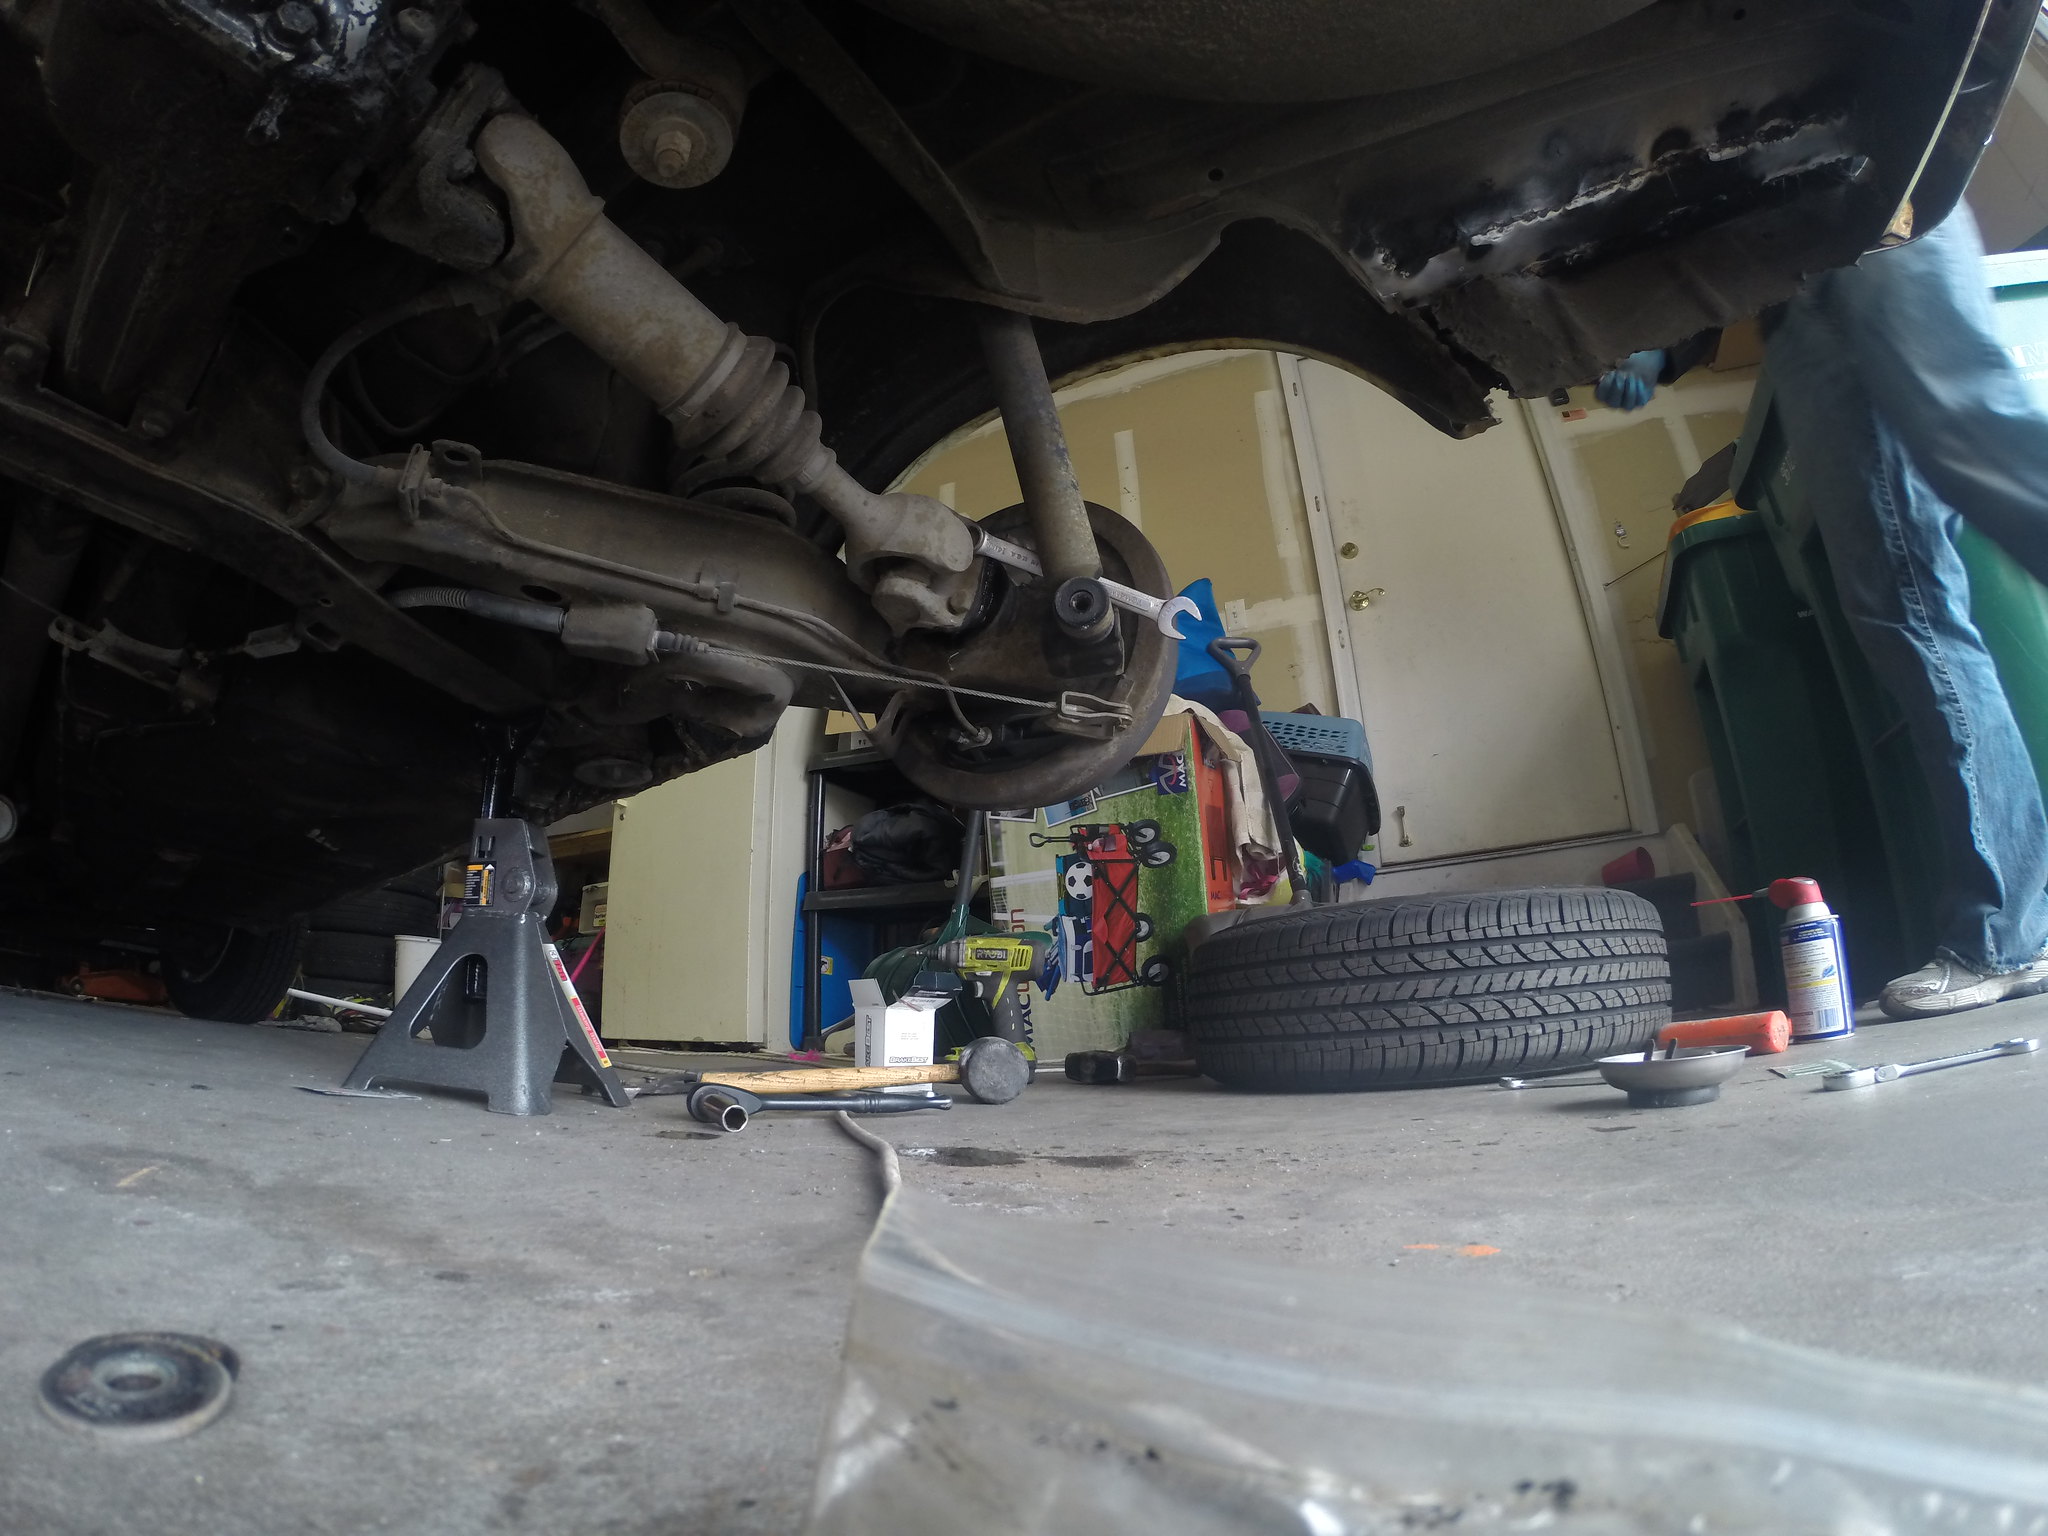
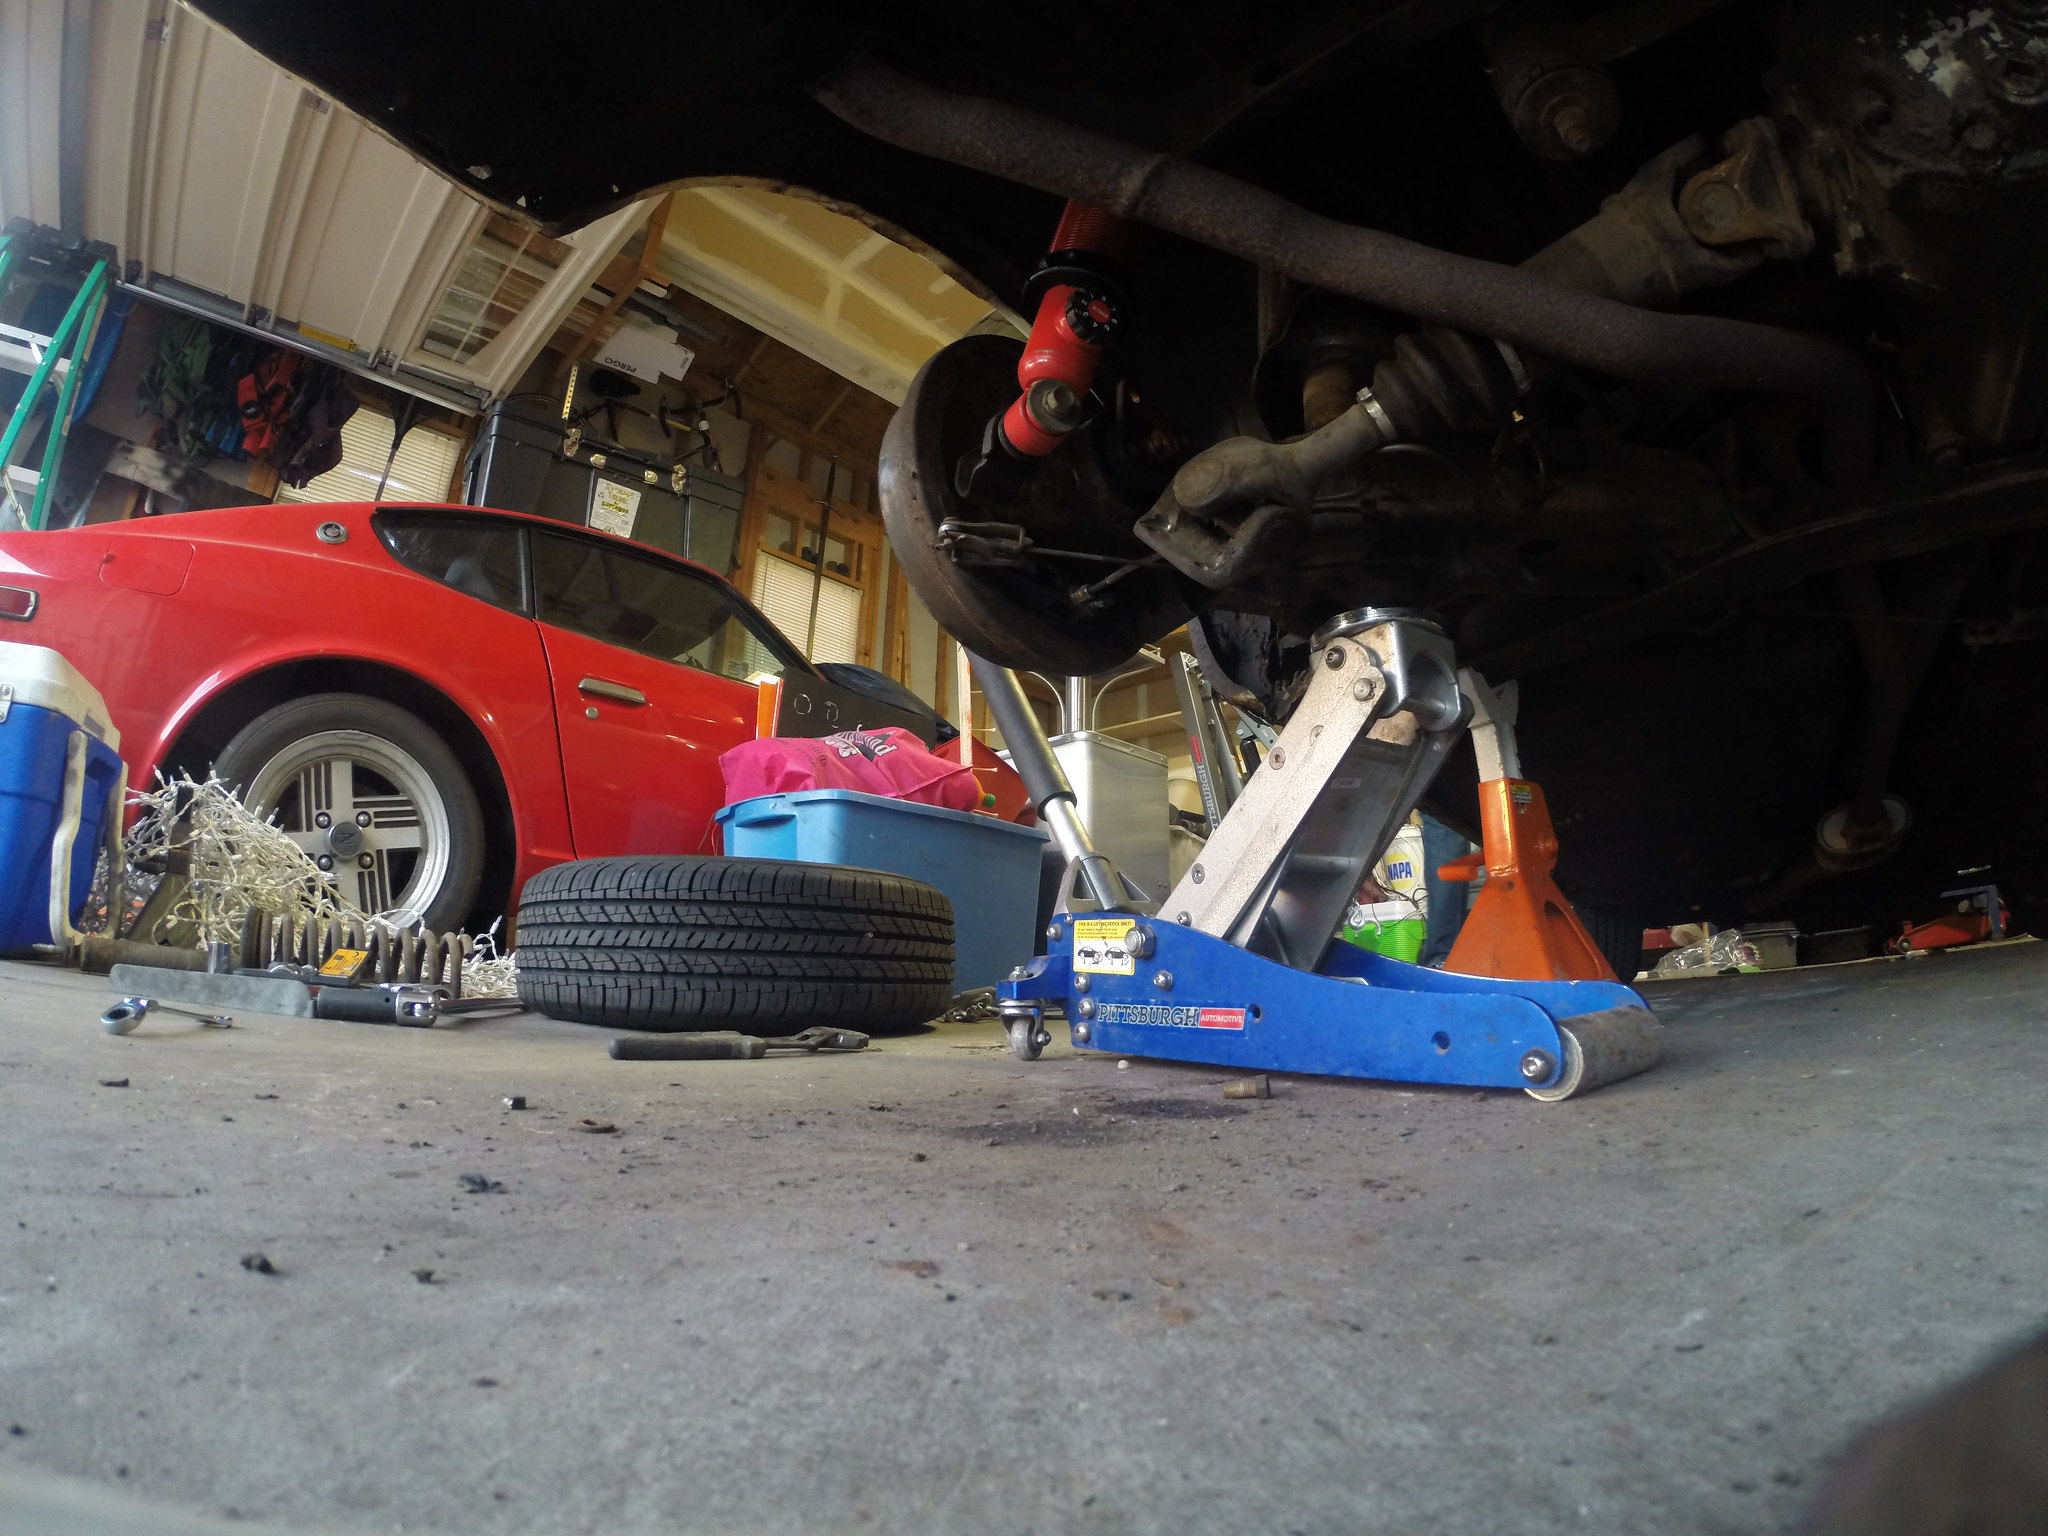
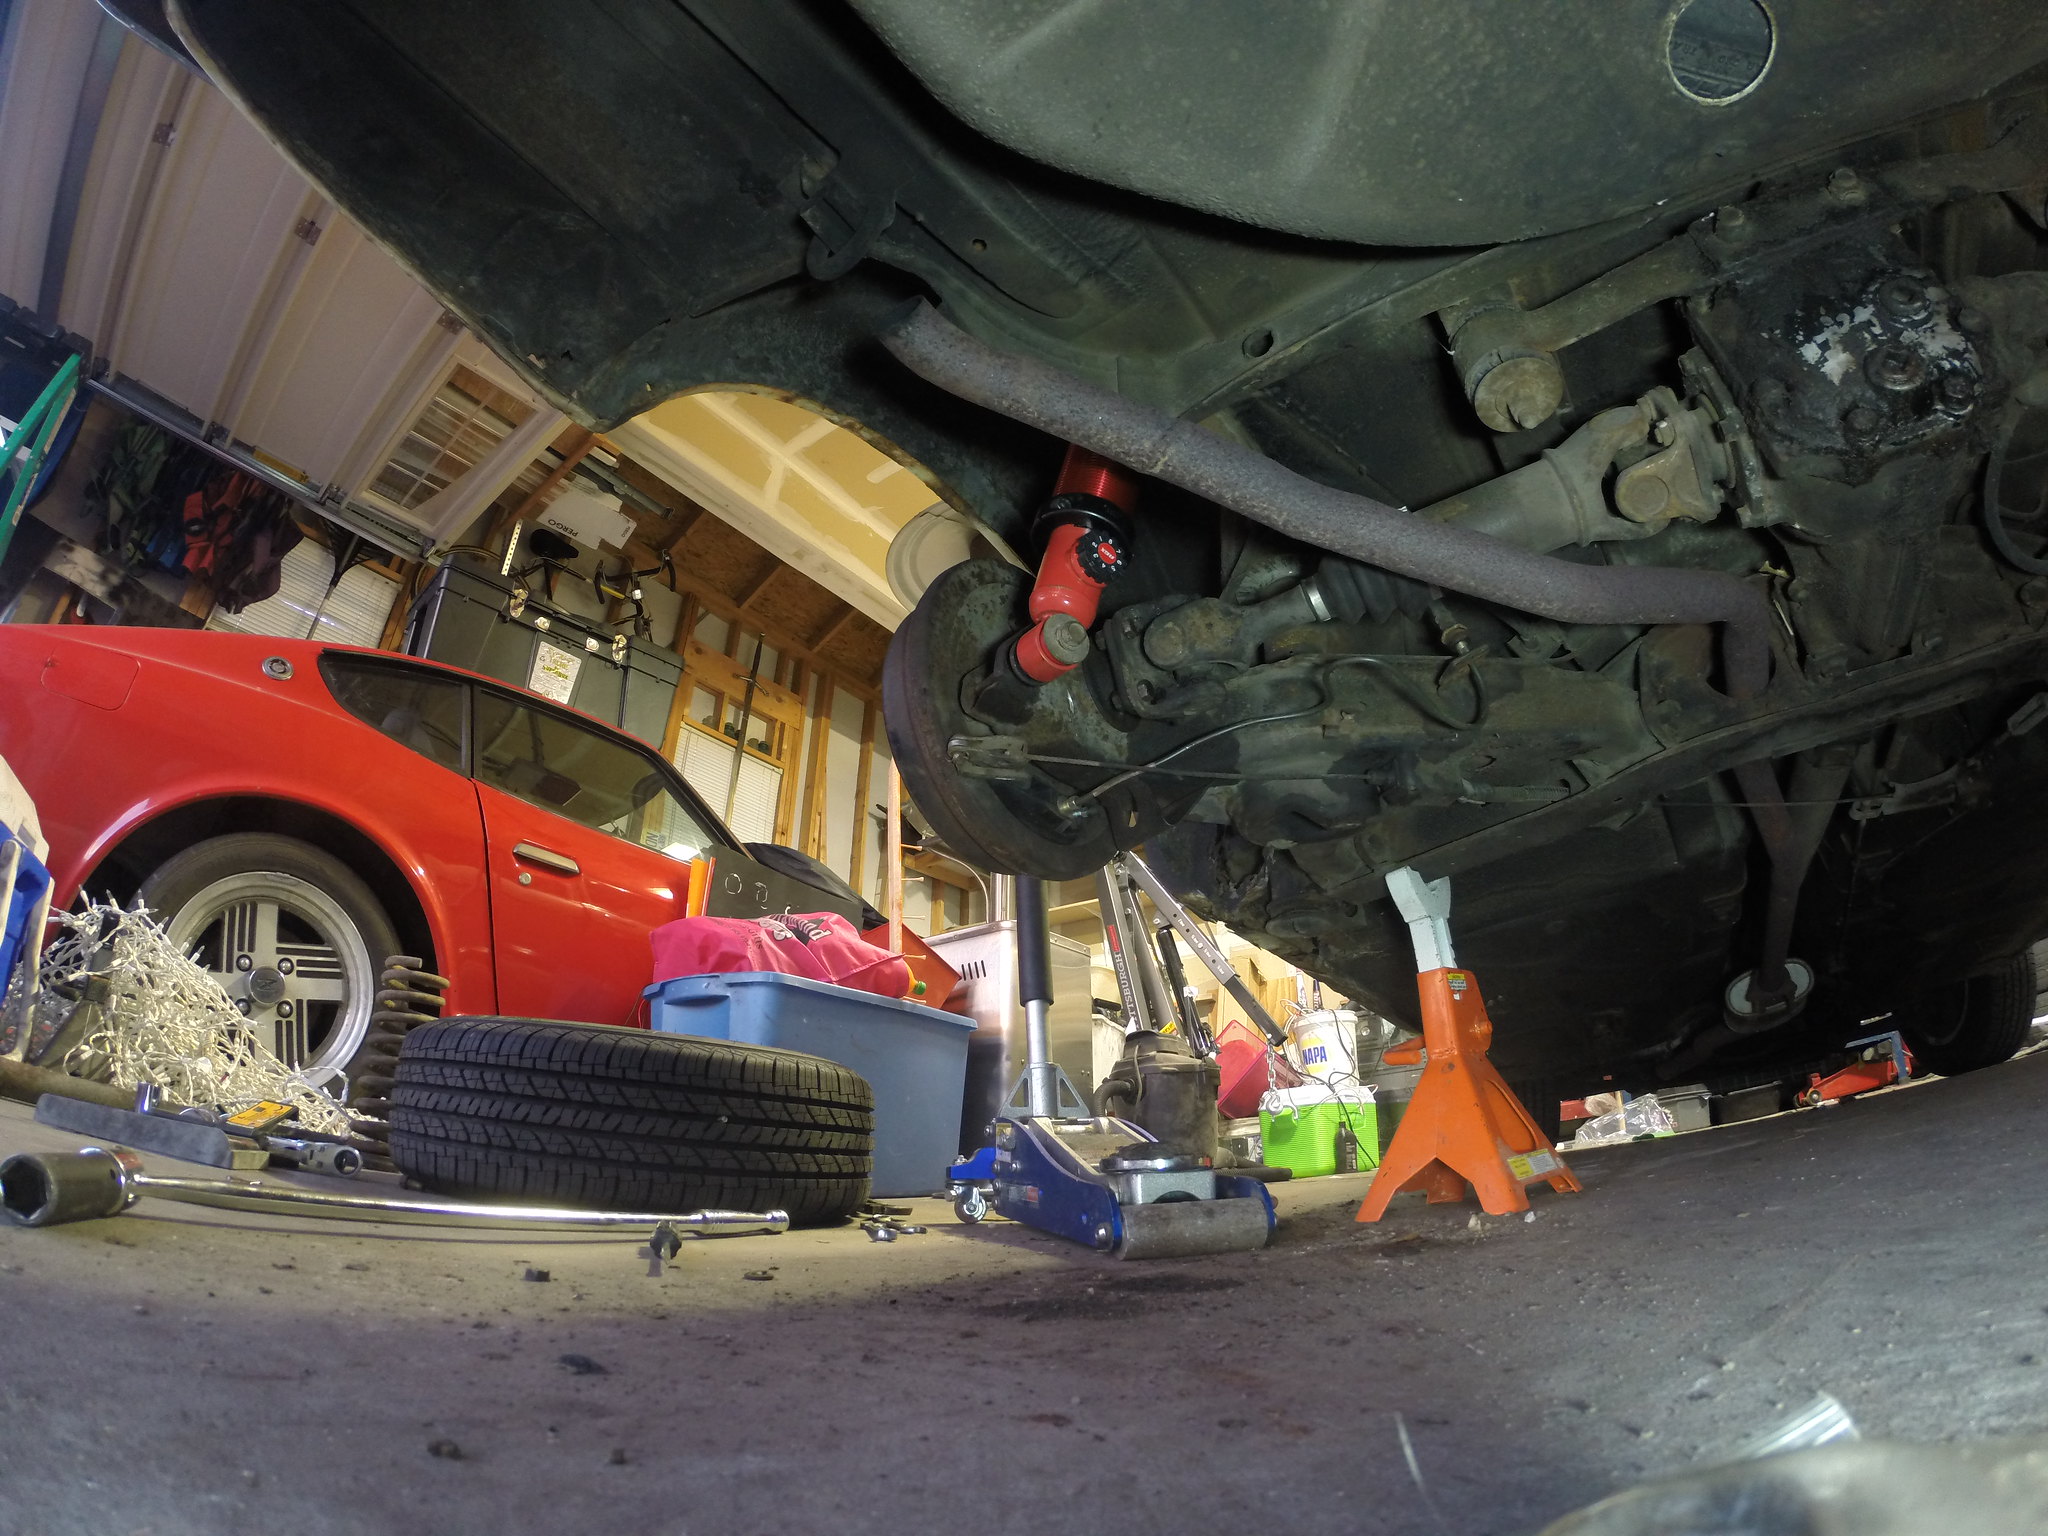
Project Log (19 Jan 18): Day 1
Start Time: 0930 End Time:1200
Start Time:1630 End Time:1700
Project Log (20 Jan 18): Day 2
Start Time:1130 End Time:1330
The first real upgrade on Benjamin Frank510. Changing out the rear suspension with some TechnoToy Tuning adjustable coilovers.
To Do (Daily):
1. Nothing significant to report, they came right off
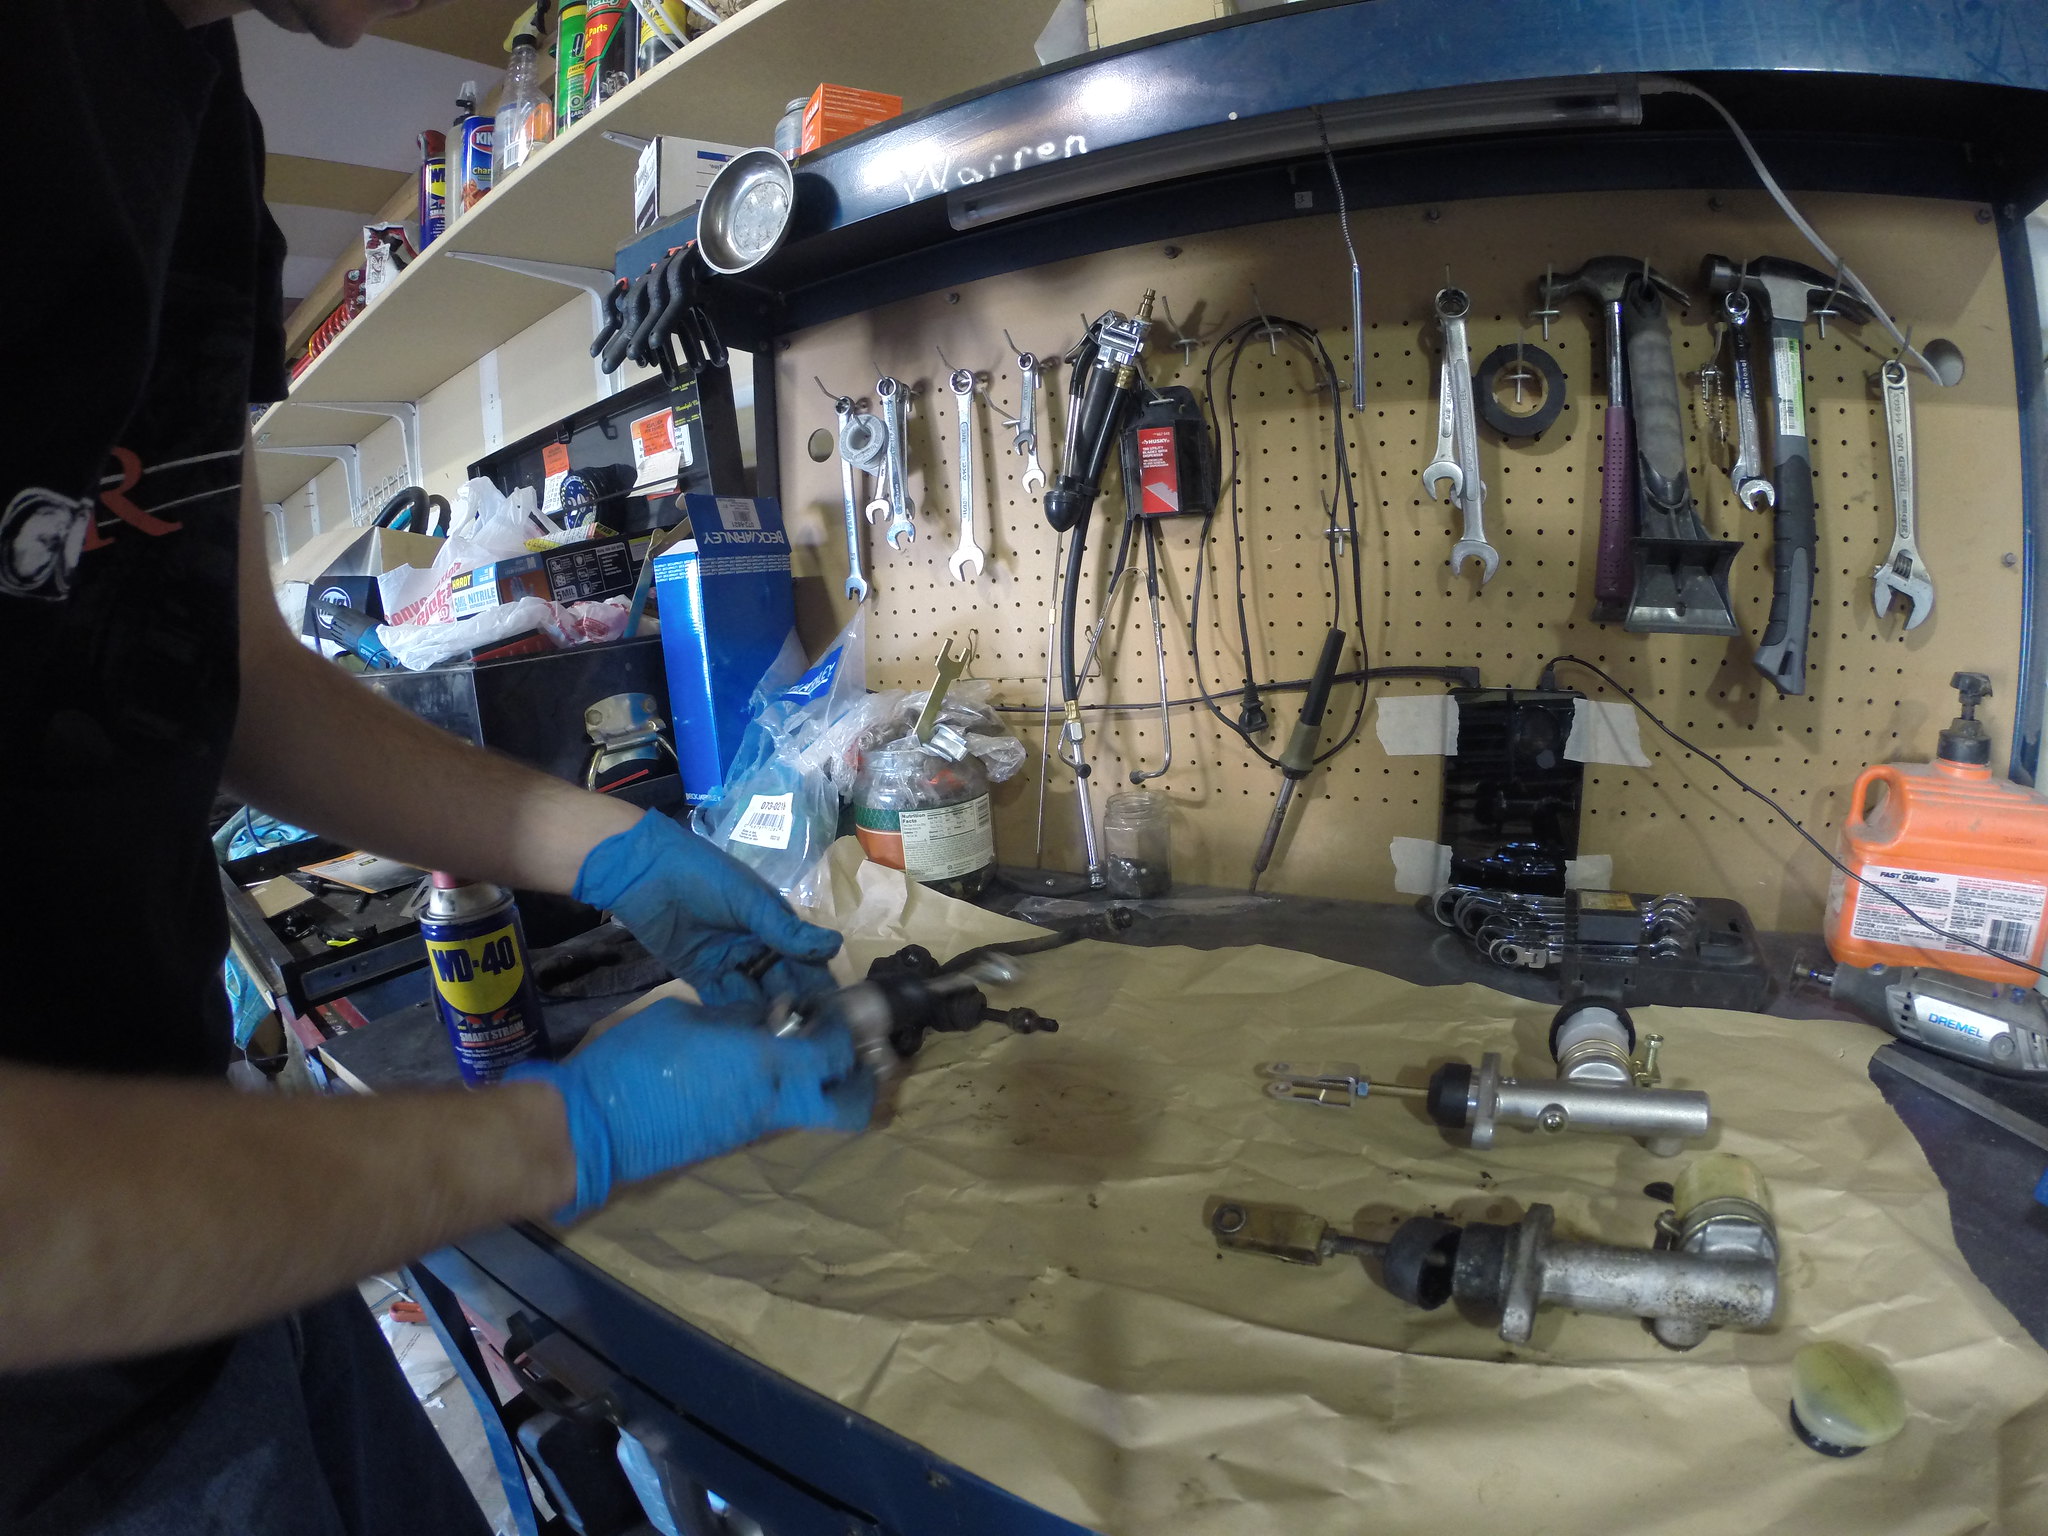
2. The shocks were actually taken off after the axles. They came off very easily. The jam nuts up top and the single bolt on the bottom were relatively easy to remove. I made sure to soak anything that was on the outside of the car in WD-40 to help me bust it loose.
3. These axles did not remove easily. The 14mm bolts and nuts were rusted tight and looked like the had been rounded off in the past (at least a couple of them). I was able to break most of them loose with my superior strength, WD-40, and heat. Not all of them came off and a couple had to be cut off with the dremel and the patience. I replaced the bolts/nuts with some bolts from Ace hardware. Each bolt/Nut combo was a bit over $1, but they are at least new and shiny.
4. Holy Cow! These were a pain in the behind to get off. I finally had to get my spring compressors back from a buddy who borrowed them many moons ago. It seemed that the rear control arm was bound on something and not allowing it to go all the way down. The driver’s side finally slipped off the jack with a thunderous crash into the ground (I still have all my fingers and toes), which unbound the control arm and allowed me to easily remove the spring. The passenger’s side I used a spring compressor and it came off a bit easier.
5. These went right in. I tried to keep the ride height up a bit more than “MOAR LOWER!” I set the struts on “1” for softest setting because I want it to be a comfortable daily
6/7. These went right back on no issues, just make sure to really tighten those bolts
Notes:
Images:
Links to Timelapse:
Work is still progressing. The engine is out, I am cutting out rust, and doing a ton of work on the car. I think the end result will be very nice
- Engine and Transmission taken out (lost a weber main jet I dropped it and I CANNOT find it)
- Cut out several rust spots in the engine bay (Not done there)
- Currently getting drive shaft shortened
- Cleaning and swapping things to the L20B and the 280ZX transmission
- Cut out the battery tray (will locate to the trunk)
- Removed front brake lines
End Goal: Rust holes fixed in the engine bay, L20B and 5 Speed swapped drive the car!

I absolutely loved my ‘71 510. It was my first car and took me rallying, ice racing, and a mess of other hooniganing that taught me car control (and wrench control). We called it the E36 M3 Box - I’d be honored to pass along that name to your car in the hope that it brings you as many grins as mine brought me.
You'll need to log in to post.


