1 2 3 ... 6
75280z
75280z New Reader
11/29/17 11:52 p.m.

I have been a huge fan of Datsuns since I was a kid. The first car I ever drove was a 1970’s 210 that my dad used to check oil wells in Kansas. I would shift or hold the wheel for him while riding along. It was one of my earliest memories of me and my dad.

The goal with this car is to accurately catalogue decisions, work, time, and money spent on the car. I am doing this real time with a paper log that I will keep with the car, but in an attempt to share this with others I am also writing it on the PC. I believe this document will capture the lion’s share of the information, but to really understand what was going through my mind, and see small drawn figures the paper log will likely be the definitive version of this document (though no introduction appears there).

The purchase was different than most of my car buying experiences in the past. In the past five years I have looked at no less than six to seven Datsun 510s. I am a frugal person that knows what I want to pay for an item if it isn’t that price I don’t buy it. The exchange usually goes like this:

                Me: Hey I am interested in your 510, I see it needs a lot of work. It is missing almost everything

                Seller: Yup, $4k is the rock bottom price, these things are skyrocketing in value, and I know what I have

                Me: Agreed, but that car still needs everything, I am essentially getting a chassis and title

                Seller: I know what I have, I had an offer of asking price +$100 last week

                Me: Why didn’t you take it?

                Seller: … (They then stock returning my calls)

This one went like this:

Me: Hey will you take half of what you are asking, I am not a flake and I can have the cash in hand

Seller: No man sorry too low of offer

Me: Understood, I could do minimum offer plus $500

Seller: I will let you know I have a potential buyer coming tomorrow.

Me: (Two days later) Hey did it sell

Seller: No the guy said it had too much rust

Me: Can I see pictures of the rust?

Seller: Sure (Author’s note there was/is a TON)

Me: I am still interested, but back at my original half price offer

Seller: I move Friday, if you can get it before then, yes

Me: OK, I will do that.

This was all over the course of a few days; it was the Sunday before the Friday I needed to pick it up when we decided on the price. I drove my 1996 Buick Roadmaster Estate Wagon the 500 miles to pick up the car. The trip from my place the Buick did great, it also turned into an impromptu family get together with five of the six siblings, which was great, and my kids loved seeing their aunts, uncles, and cousins. The car was very near my parents’ house which worked out great.

I knew the car was coming with an engine, some brakes, suspension, and an extra transmission. I was not prepared for what I received. The list of items will be added later that came with the car when I bought it.

The total for that list when I went jumping from website to website finding prices, is not what I paid for the car, it is much more. Needless to say I think I got one of those “Once in a lifetime” type of deals with the purchase of this car. When he said I could have the engine stand and engine hoist I somewhat lost my composure. I am truly blessed to have been given a simple opportunity like this. That is one of the reasons I wanted to make sure I write all this down.

I got it back to my parents’ house and realized, there was no way I was safely towing this car back with my family in the Buick and have an uneventful trip. I am lucky enough to have a father that would let me borrow his truck ad pull the trailer back. Before I arrived at that course of action I tried to get the car running and all of the large parts that I could bolted back on the car.

I first unloaded the truck at my parents’ house, and then unloaded the parts so I could catalogue. The list is above and is mostly complete, though there are some parts that I did not catalogue, as they were miniscule in the sea of other parts received.

I decided that it would be irresponsible of a gear head to not even try to get the thing started on day one. So I put together a checklist of things that I thought needed to be done to get it ready to go back to my house, and if lucky even drive there (Author’s note: Looking back there was literally almost no way I would have been able to drive that back, ahh the joy of a foolish plan). The original to do list is located below (Author’s Note: I changed the order of the list to allow completed items to be listed first)

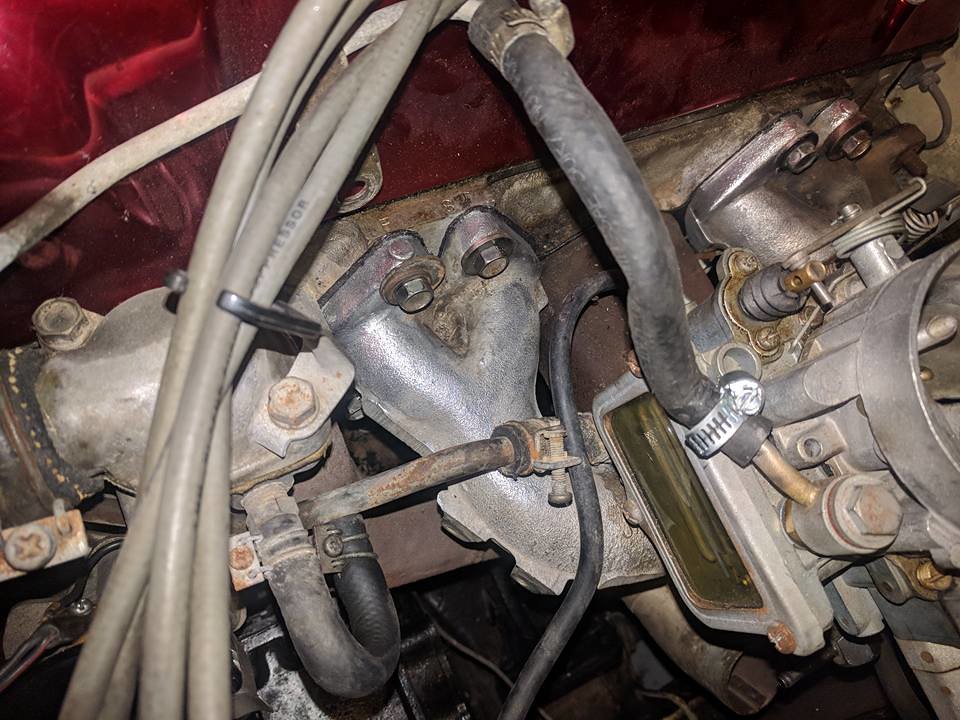
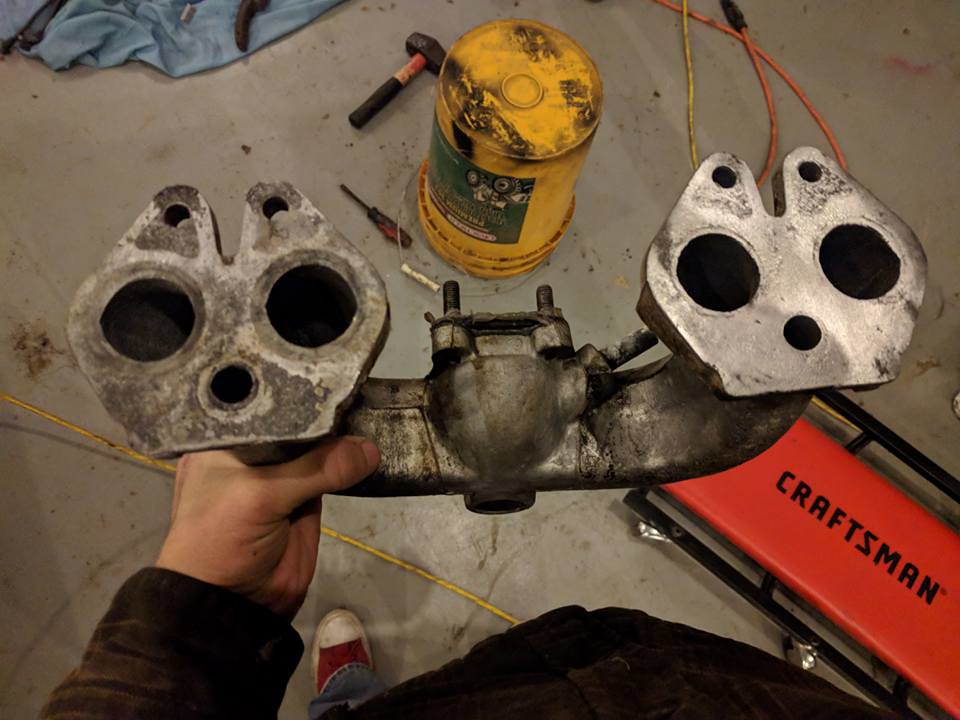
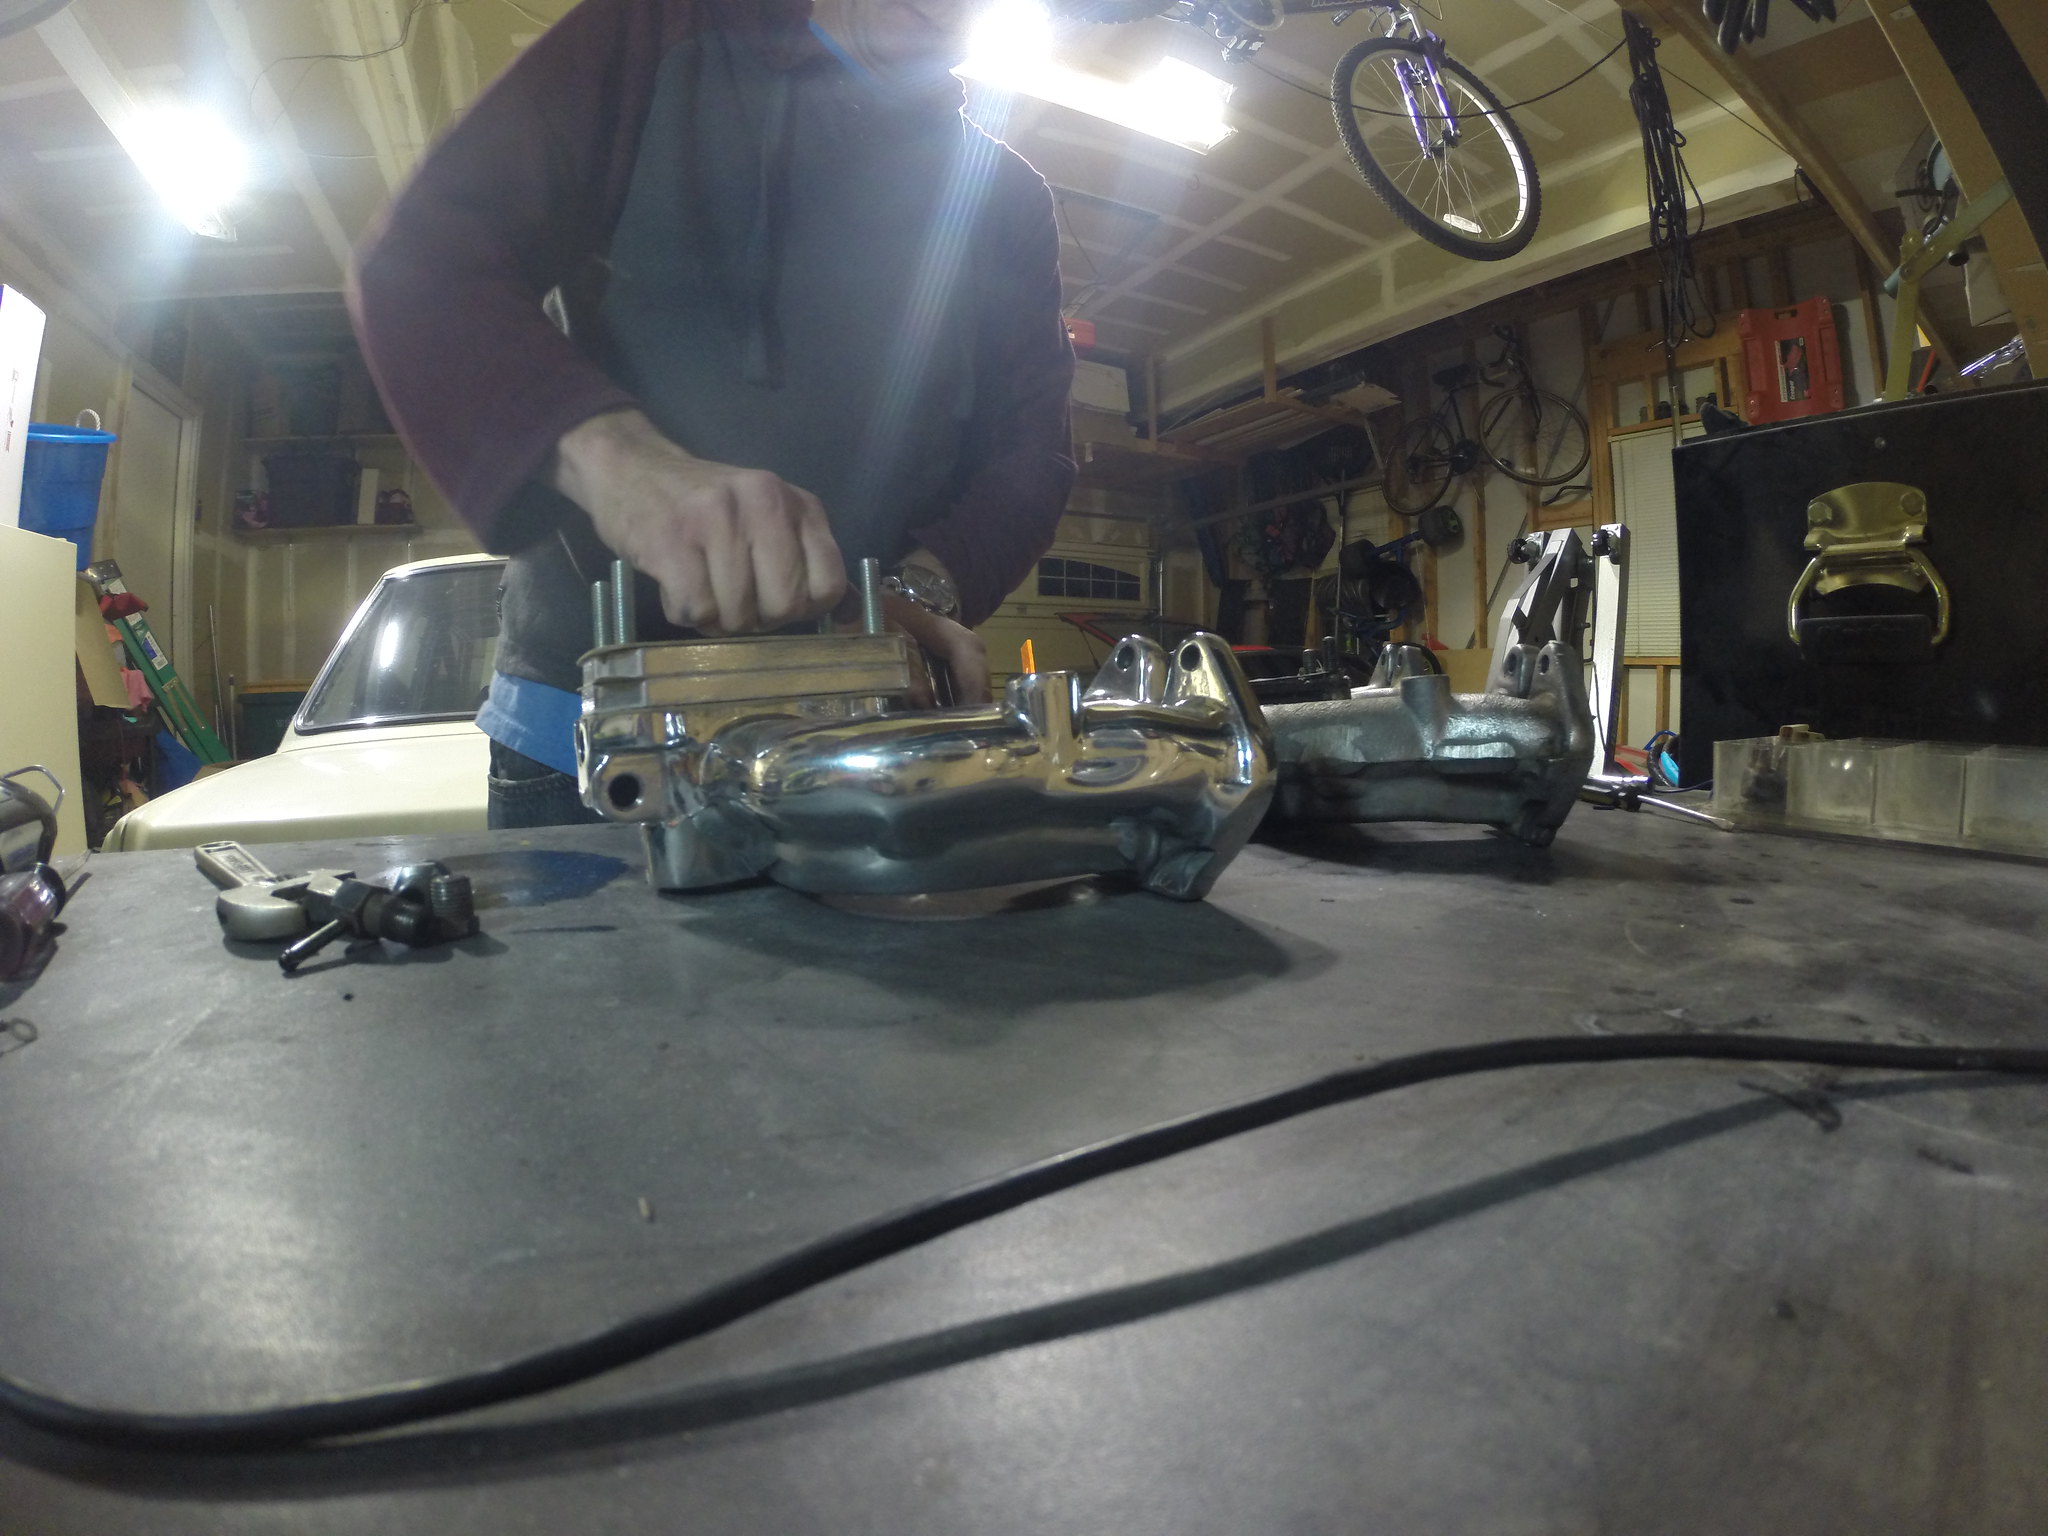
  • Mount Exhaust Manifold
  • Mount Intake Manifold
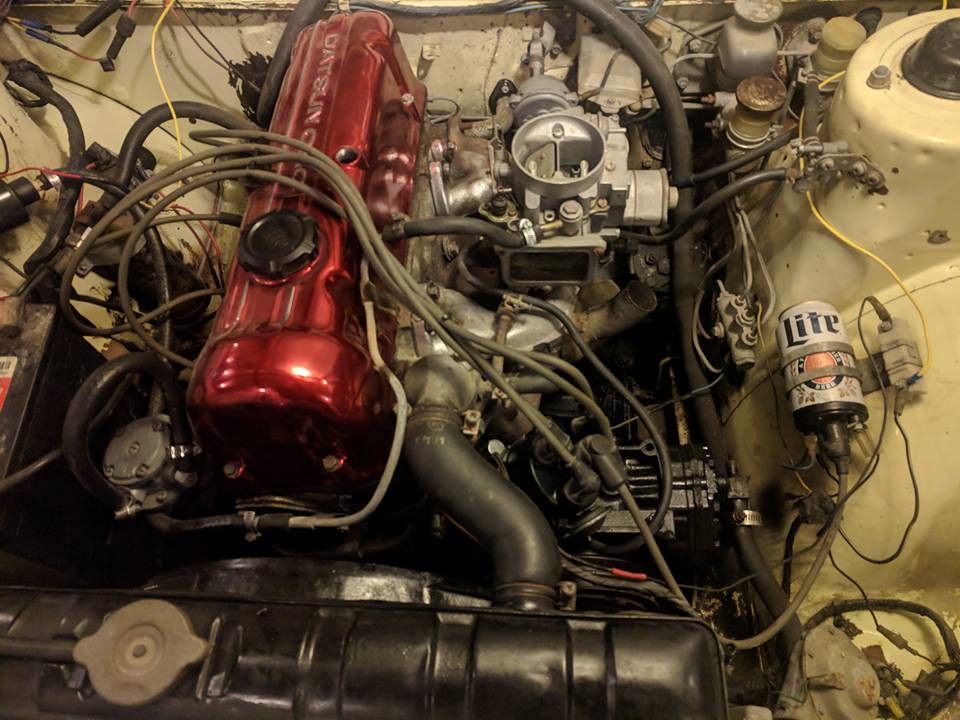
  • Install Spark Plug Wires
  • Check all fluids
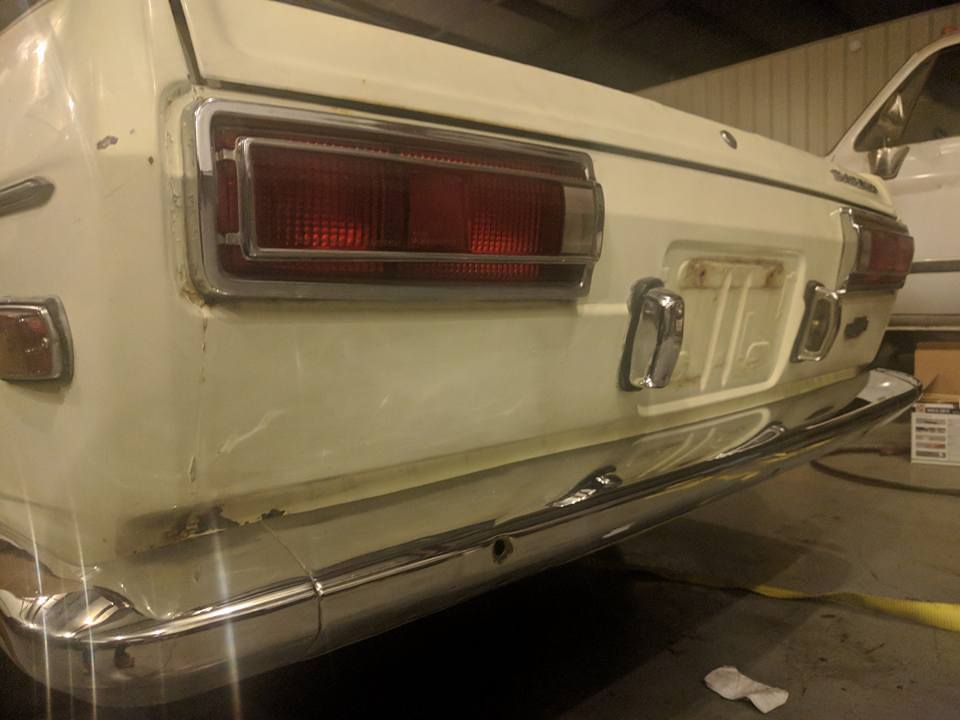
  • Mount front and rear bumper (space savings)
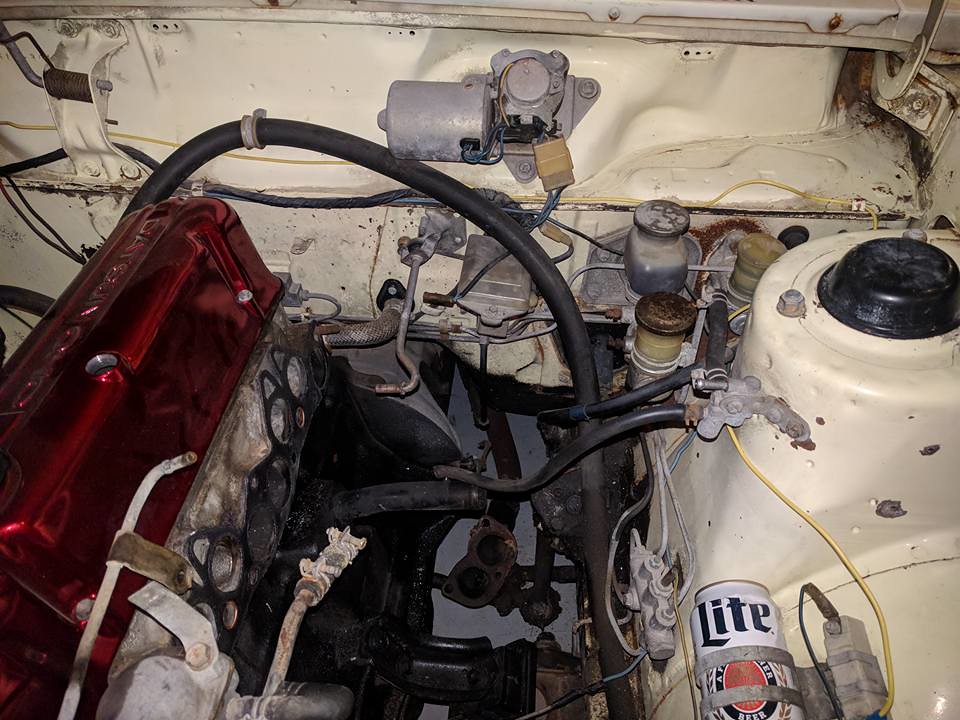
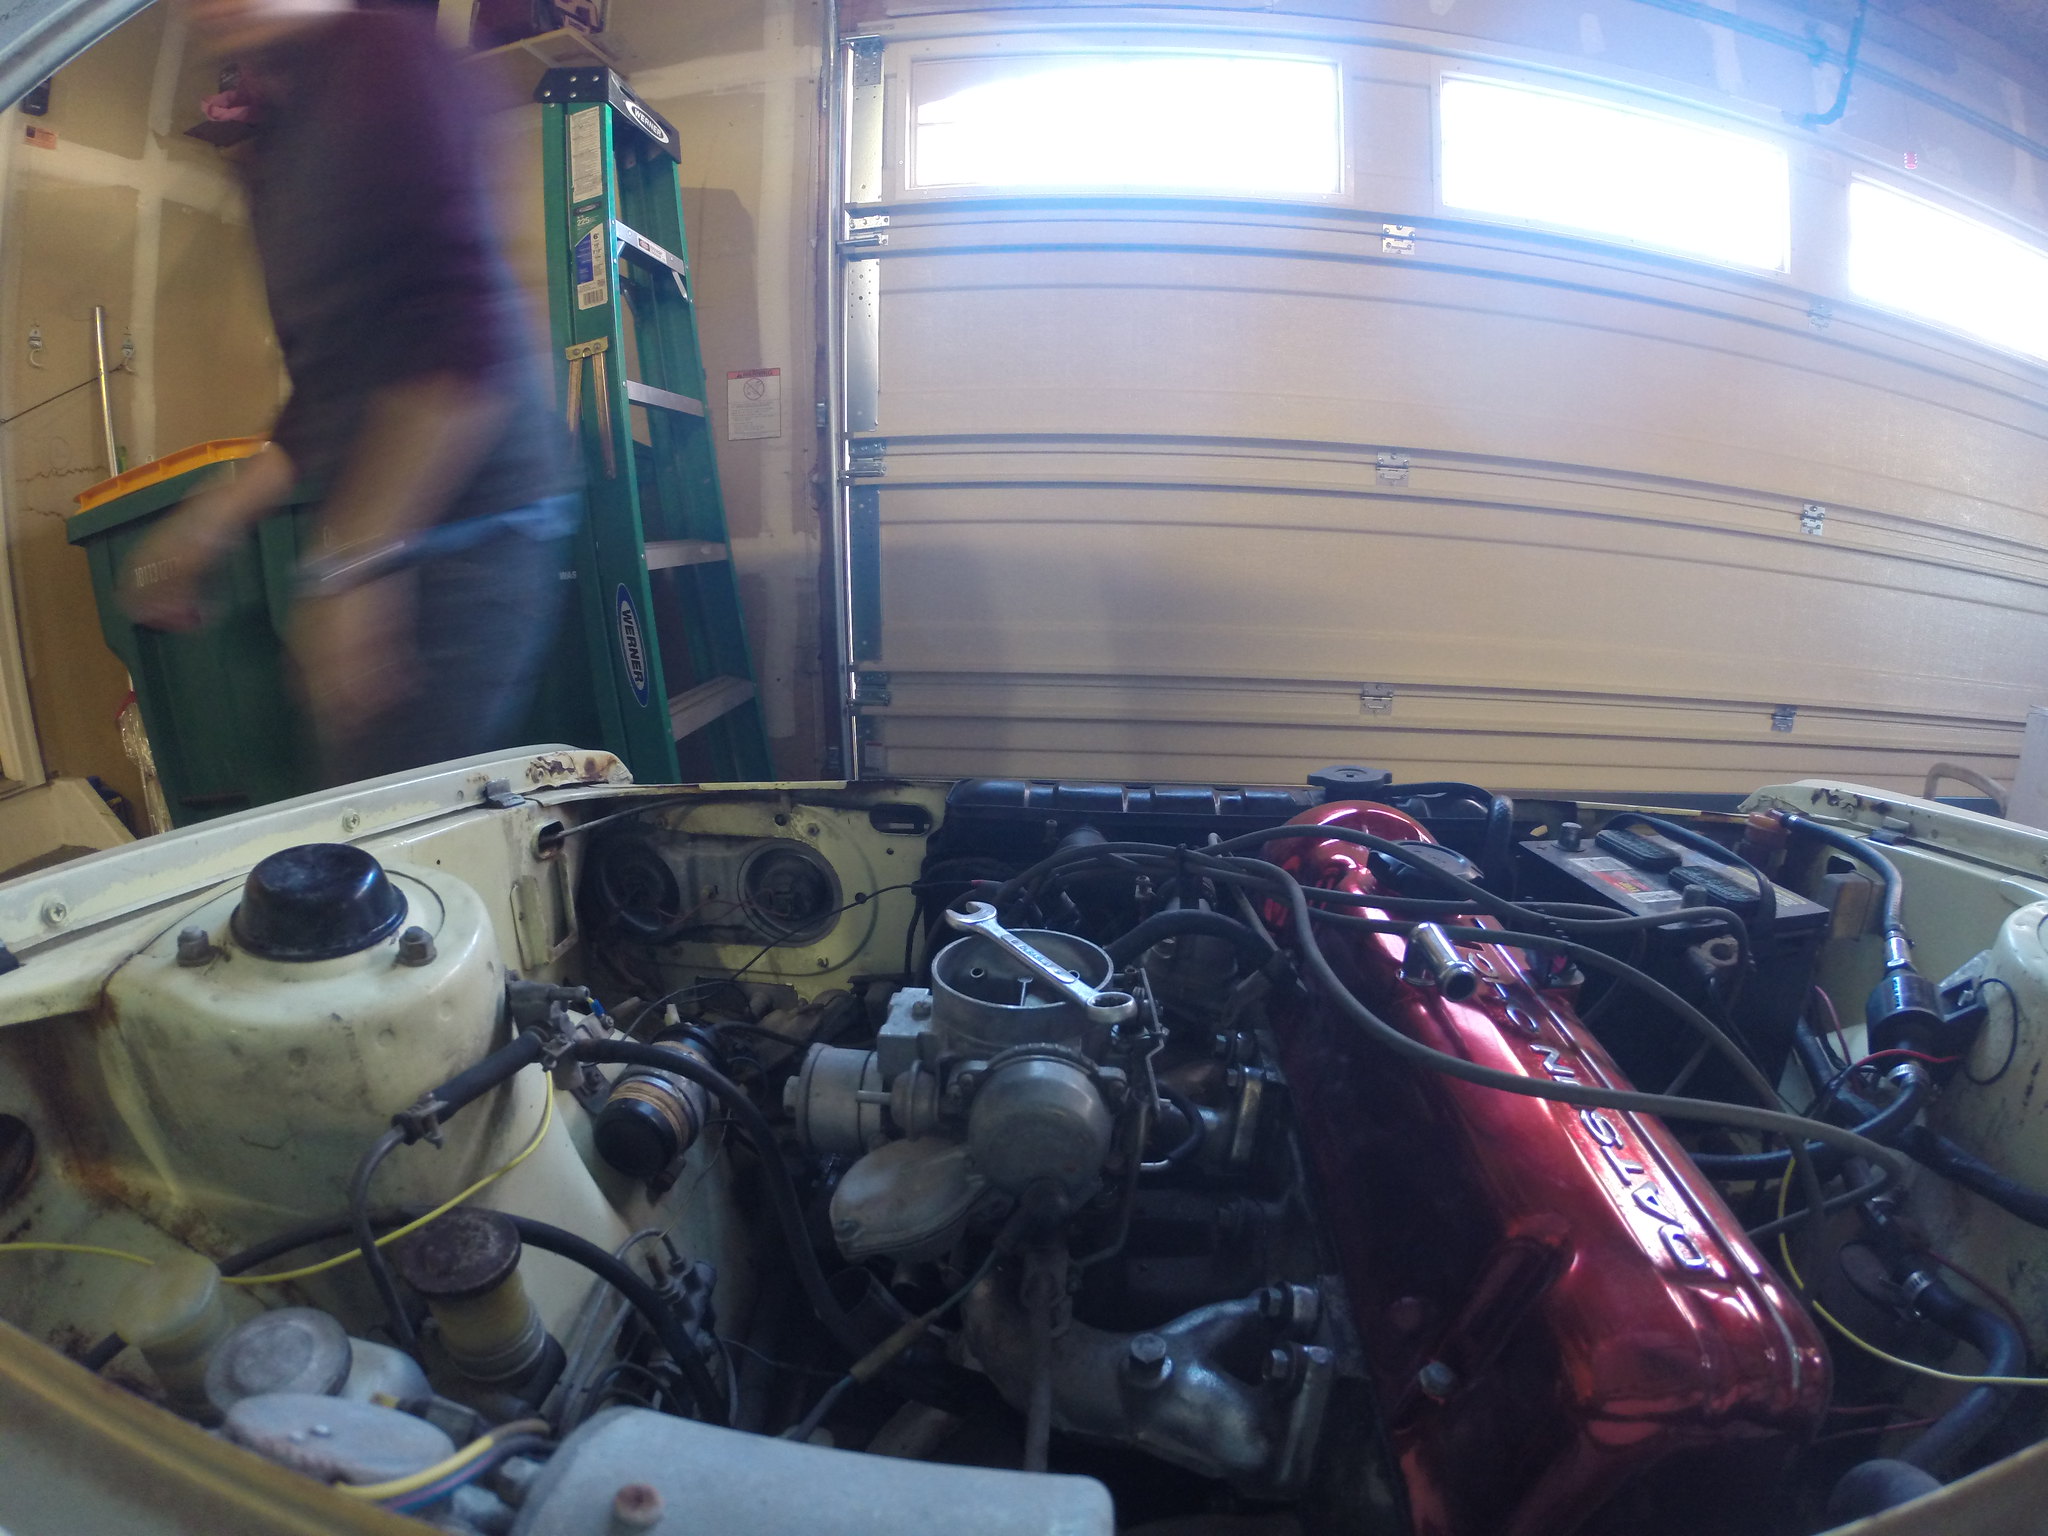
  • Remove beer can coil-cover
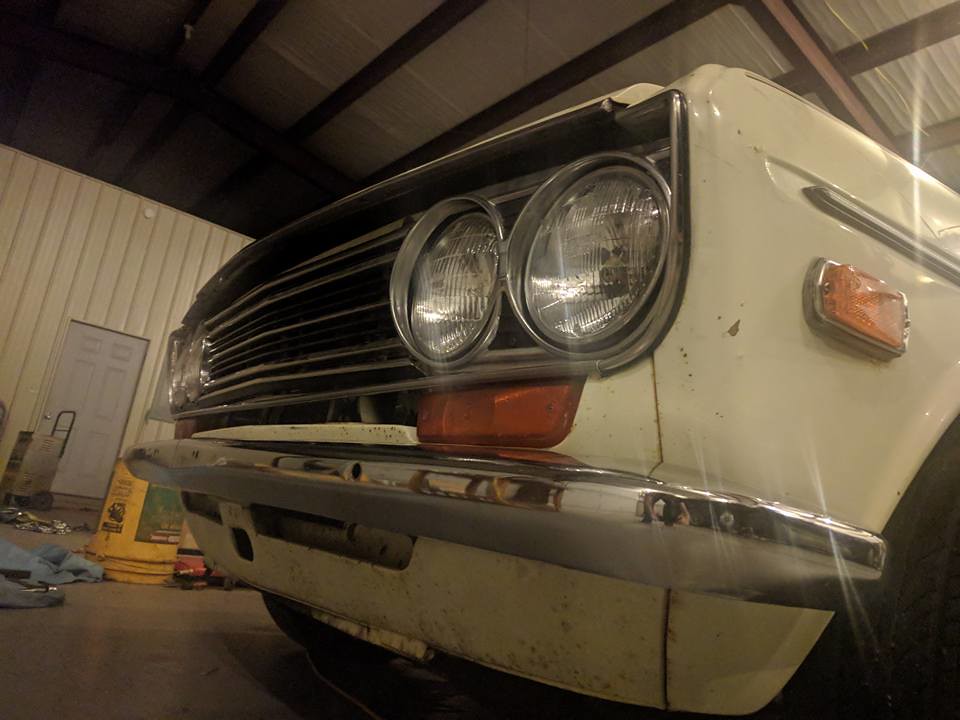
  • Mount Grill and Headlight surrounds
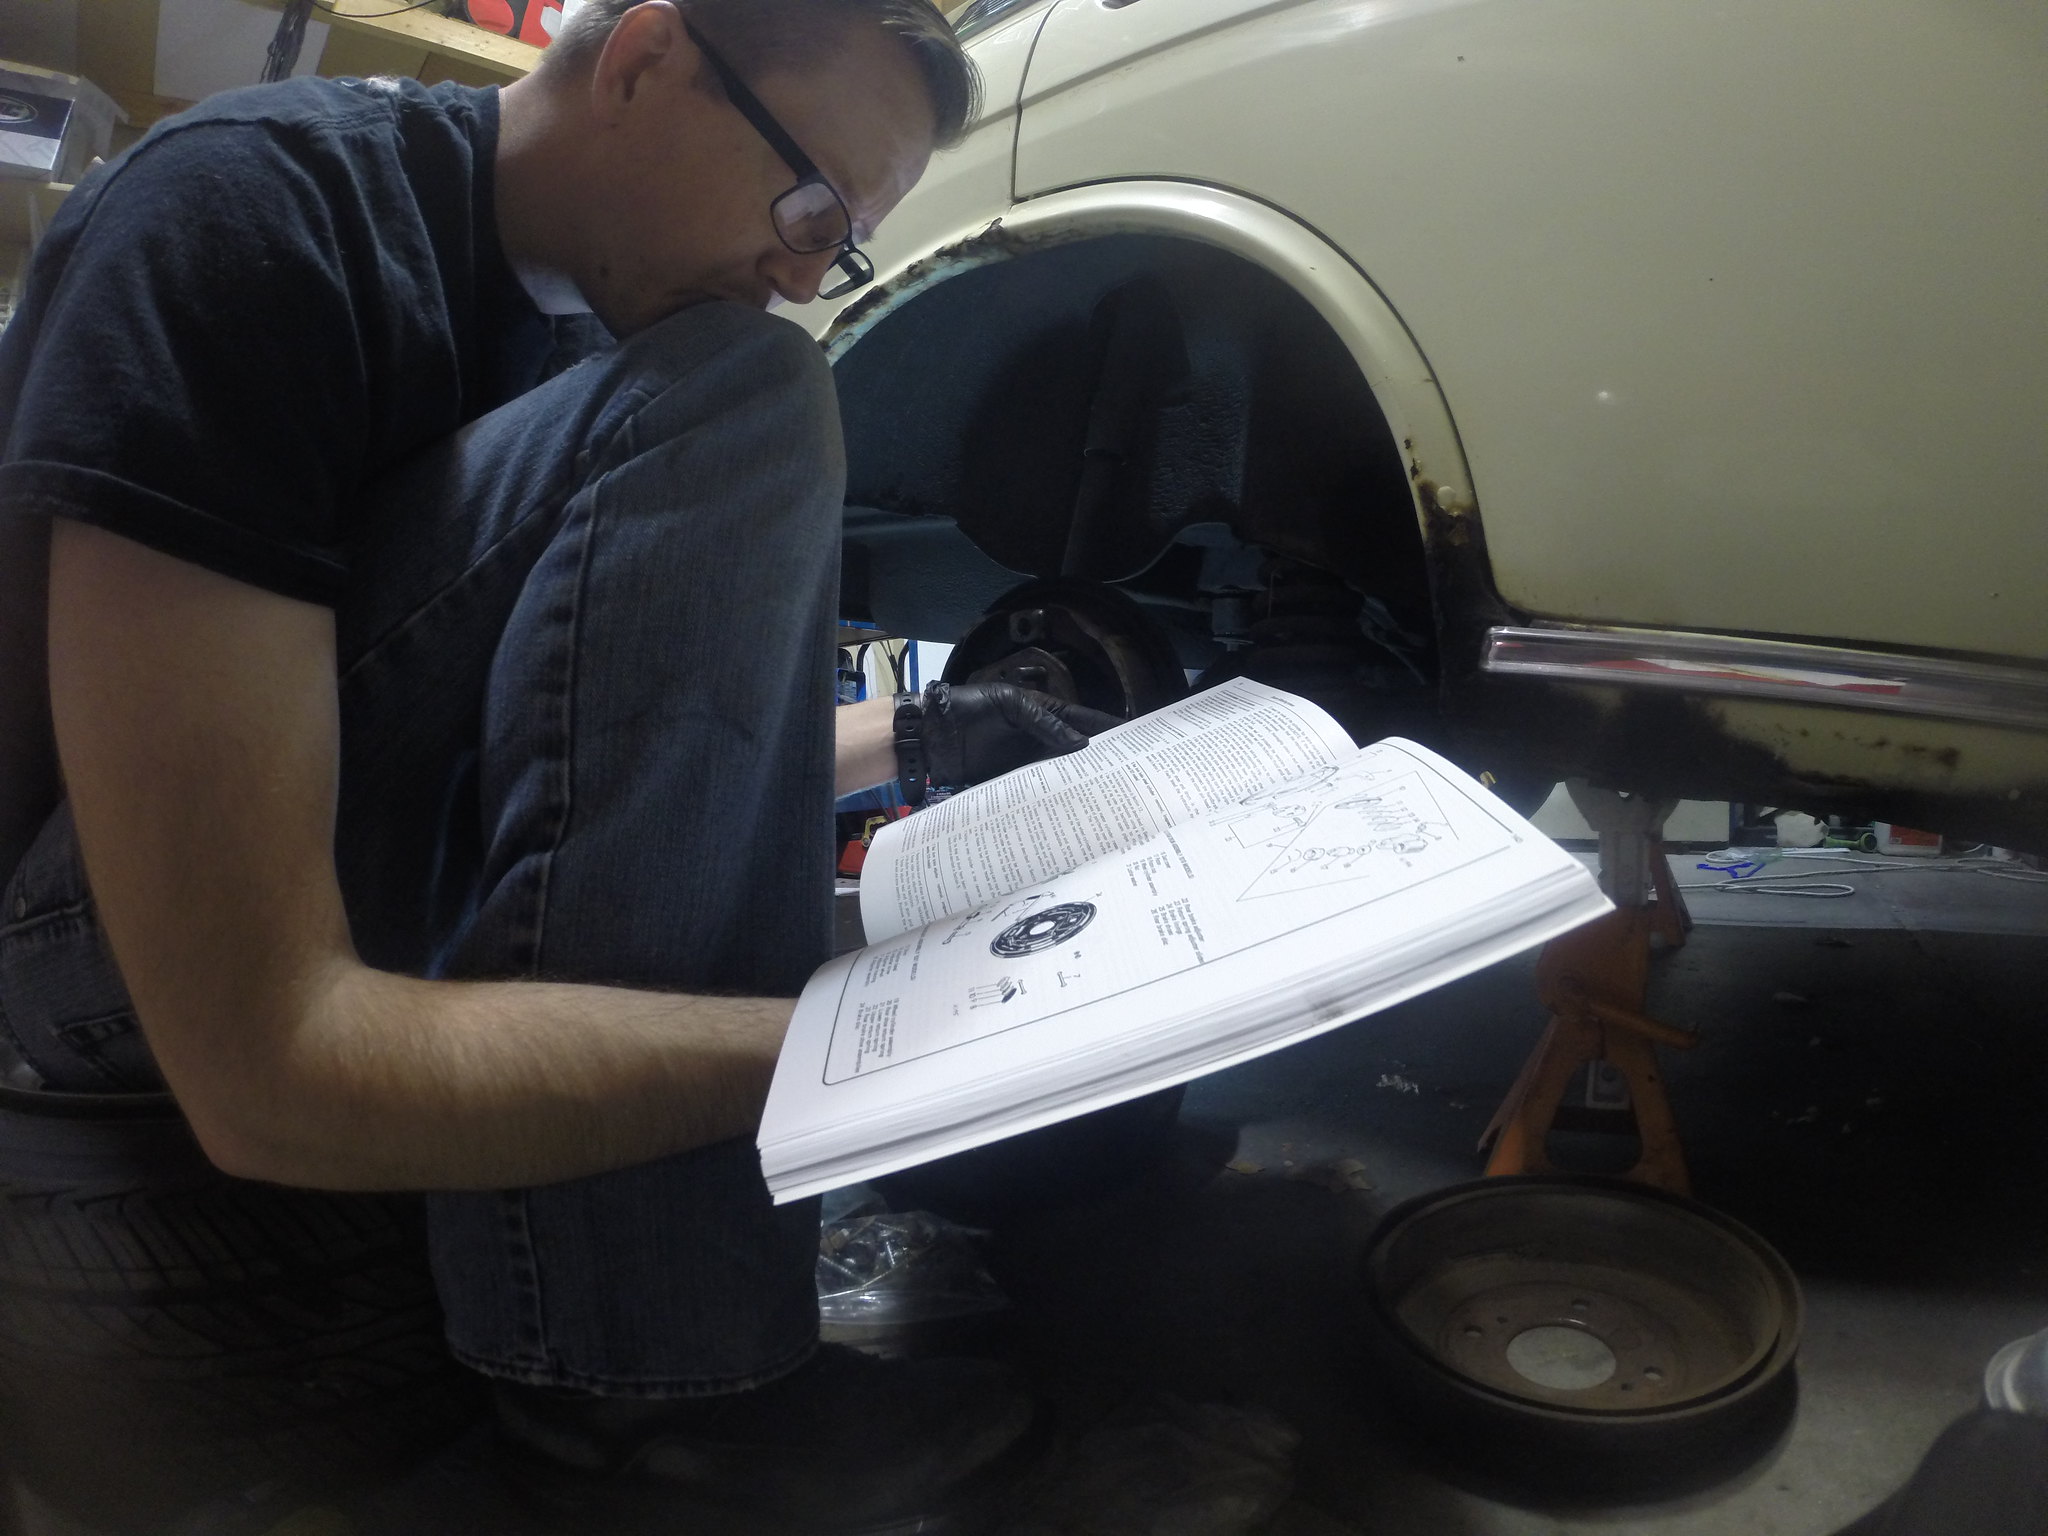
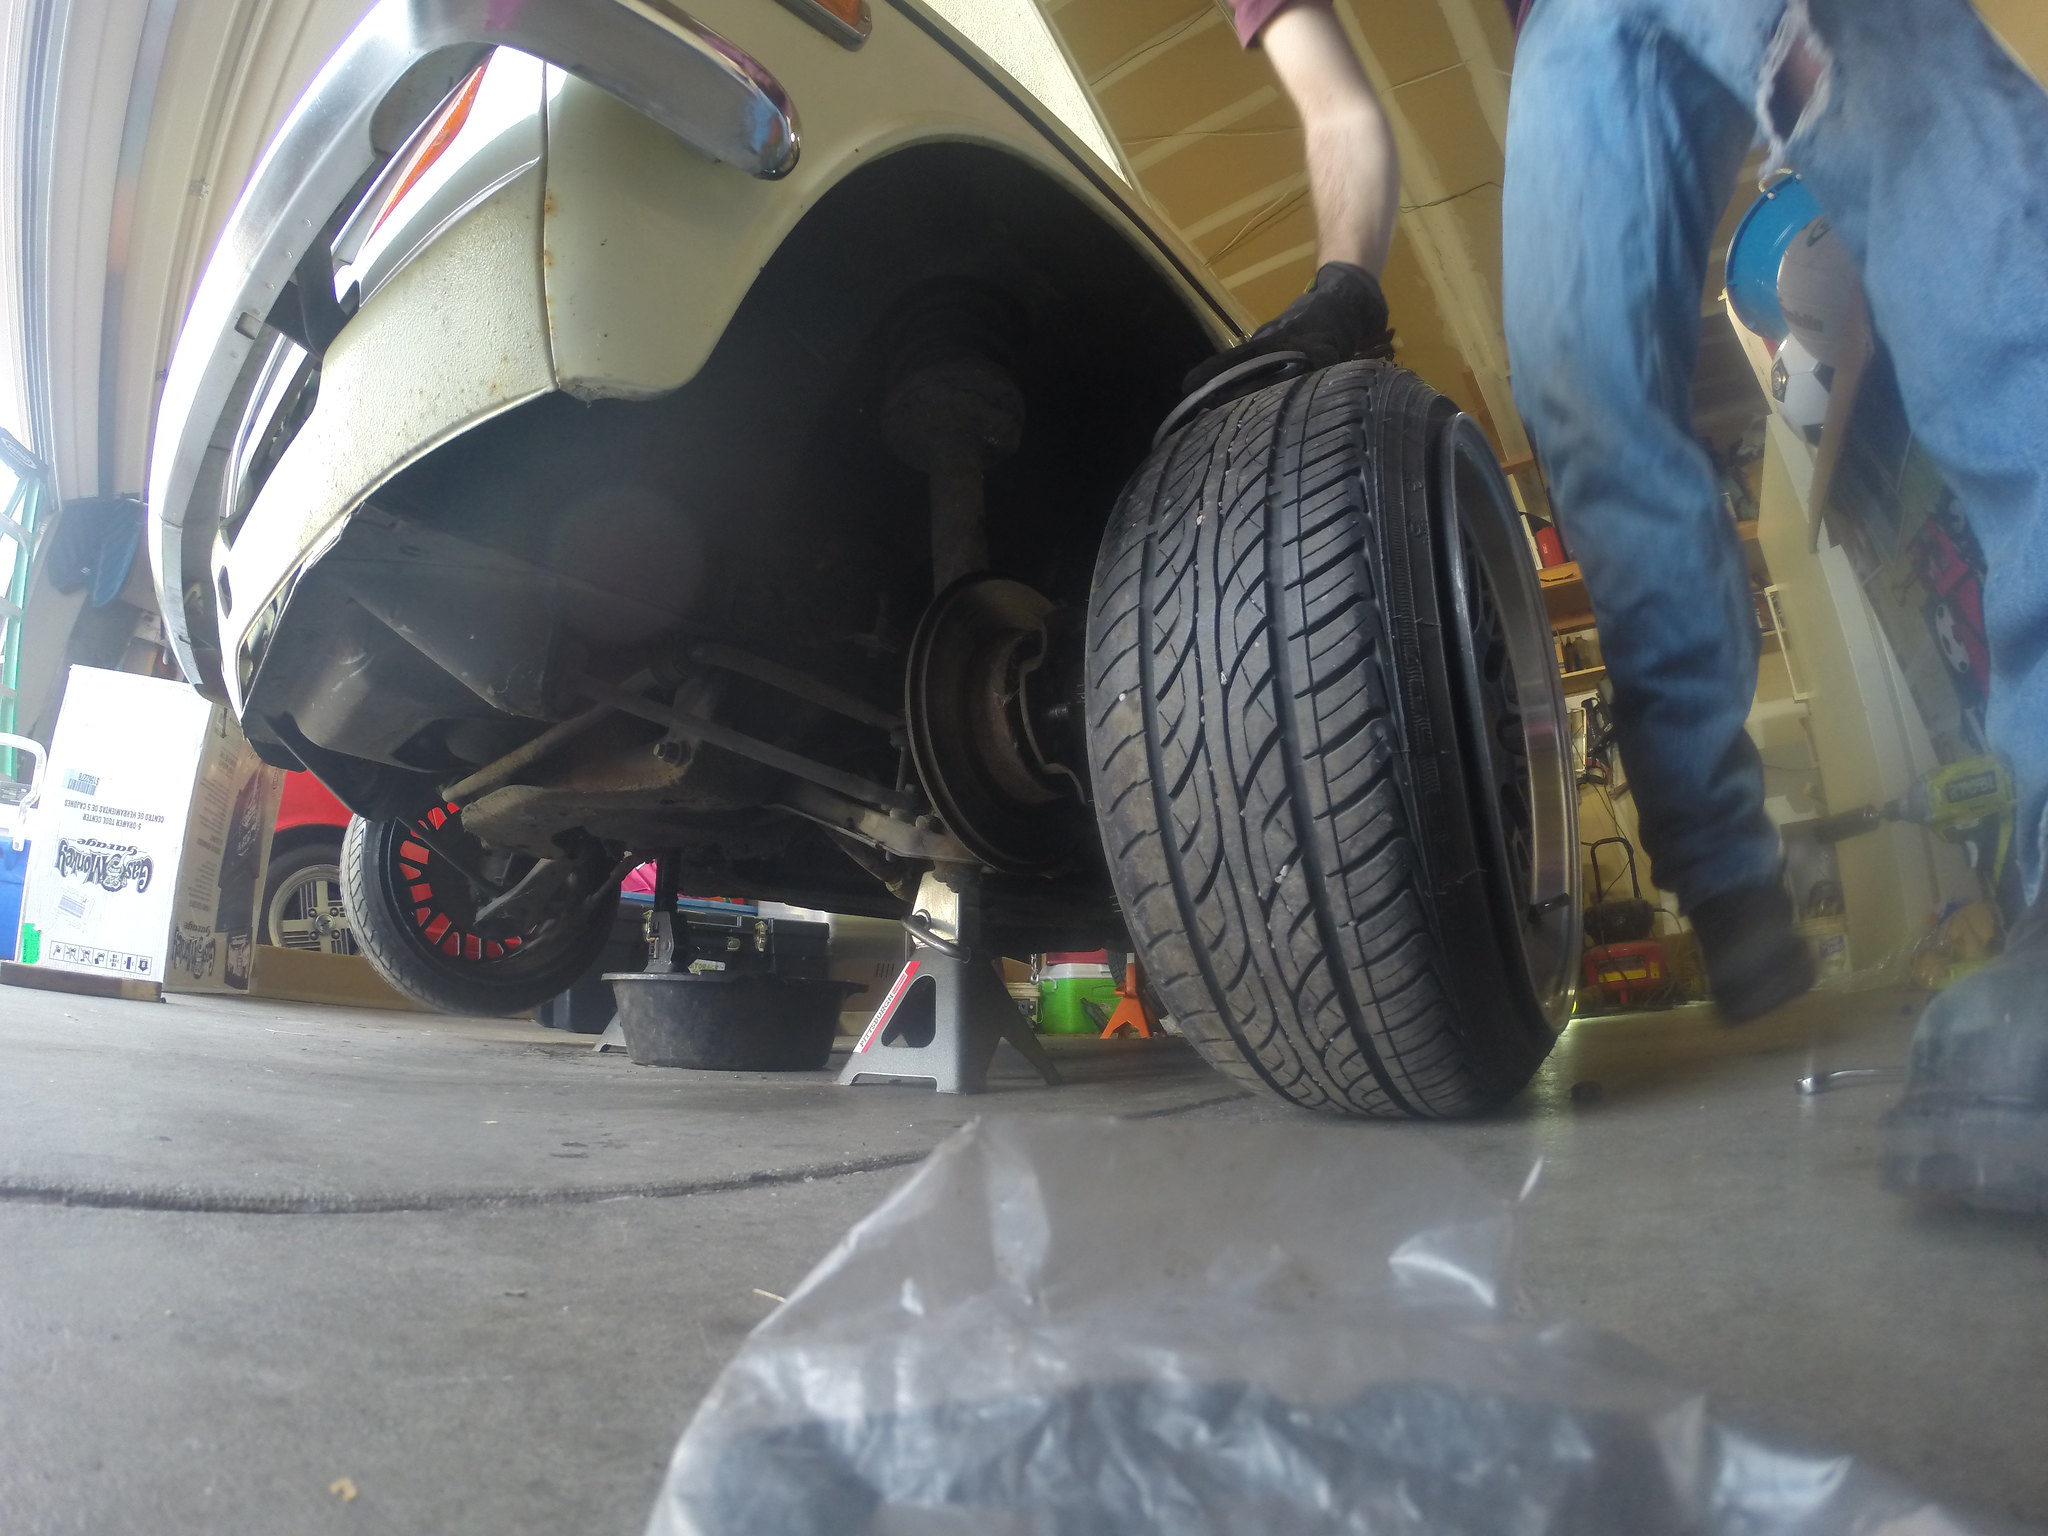
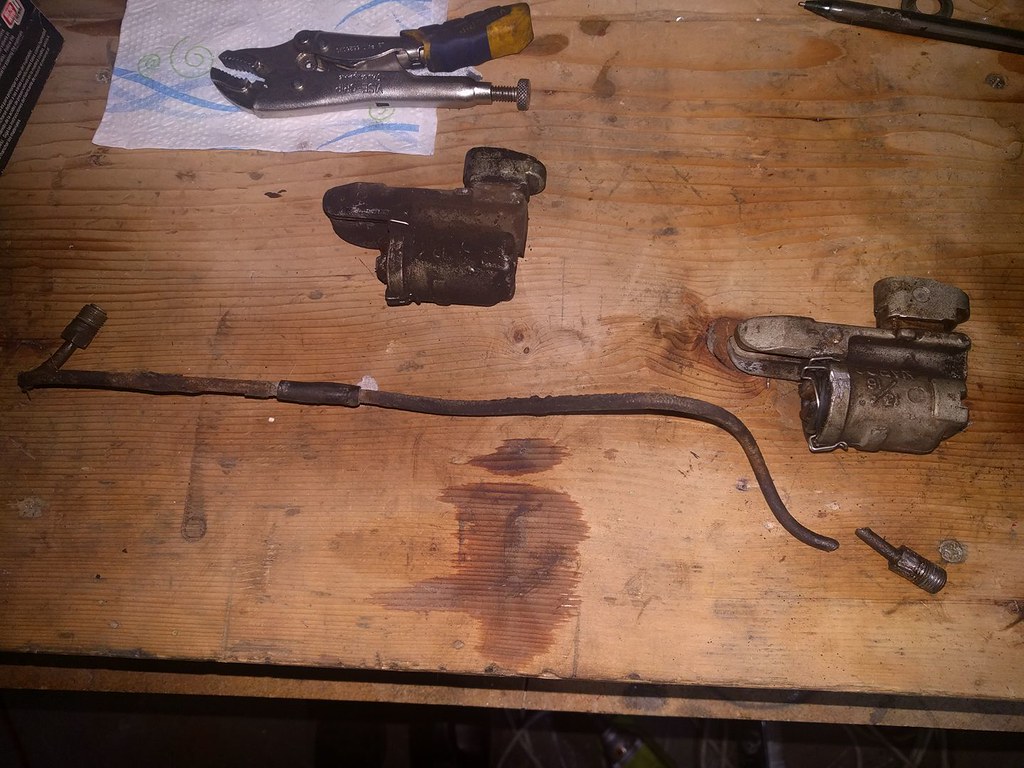
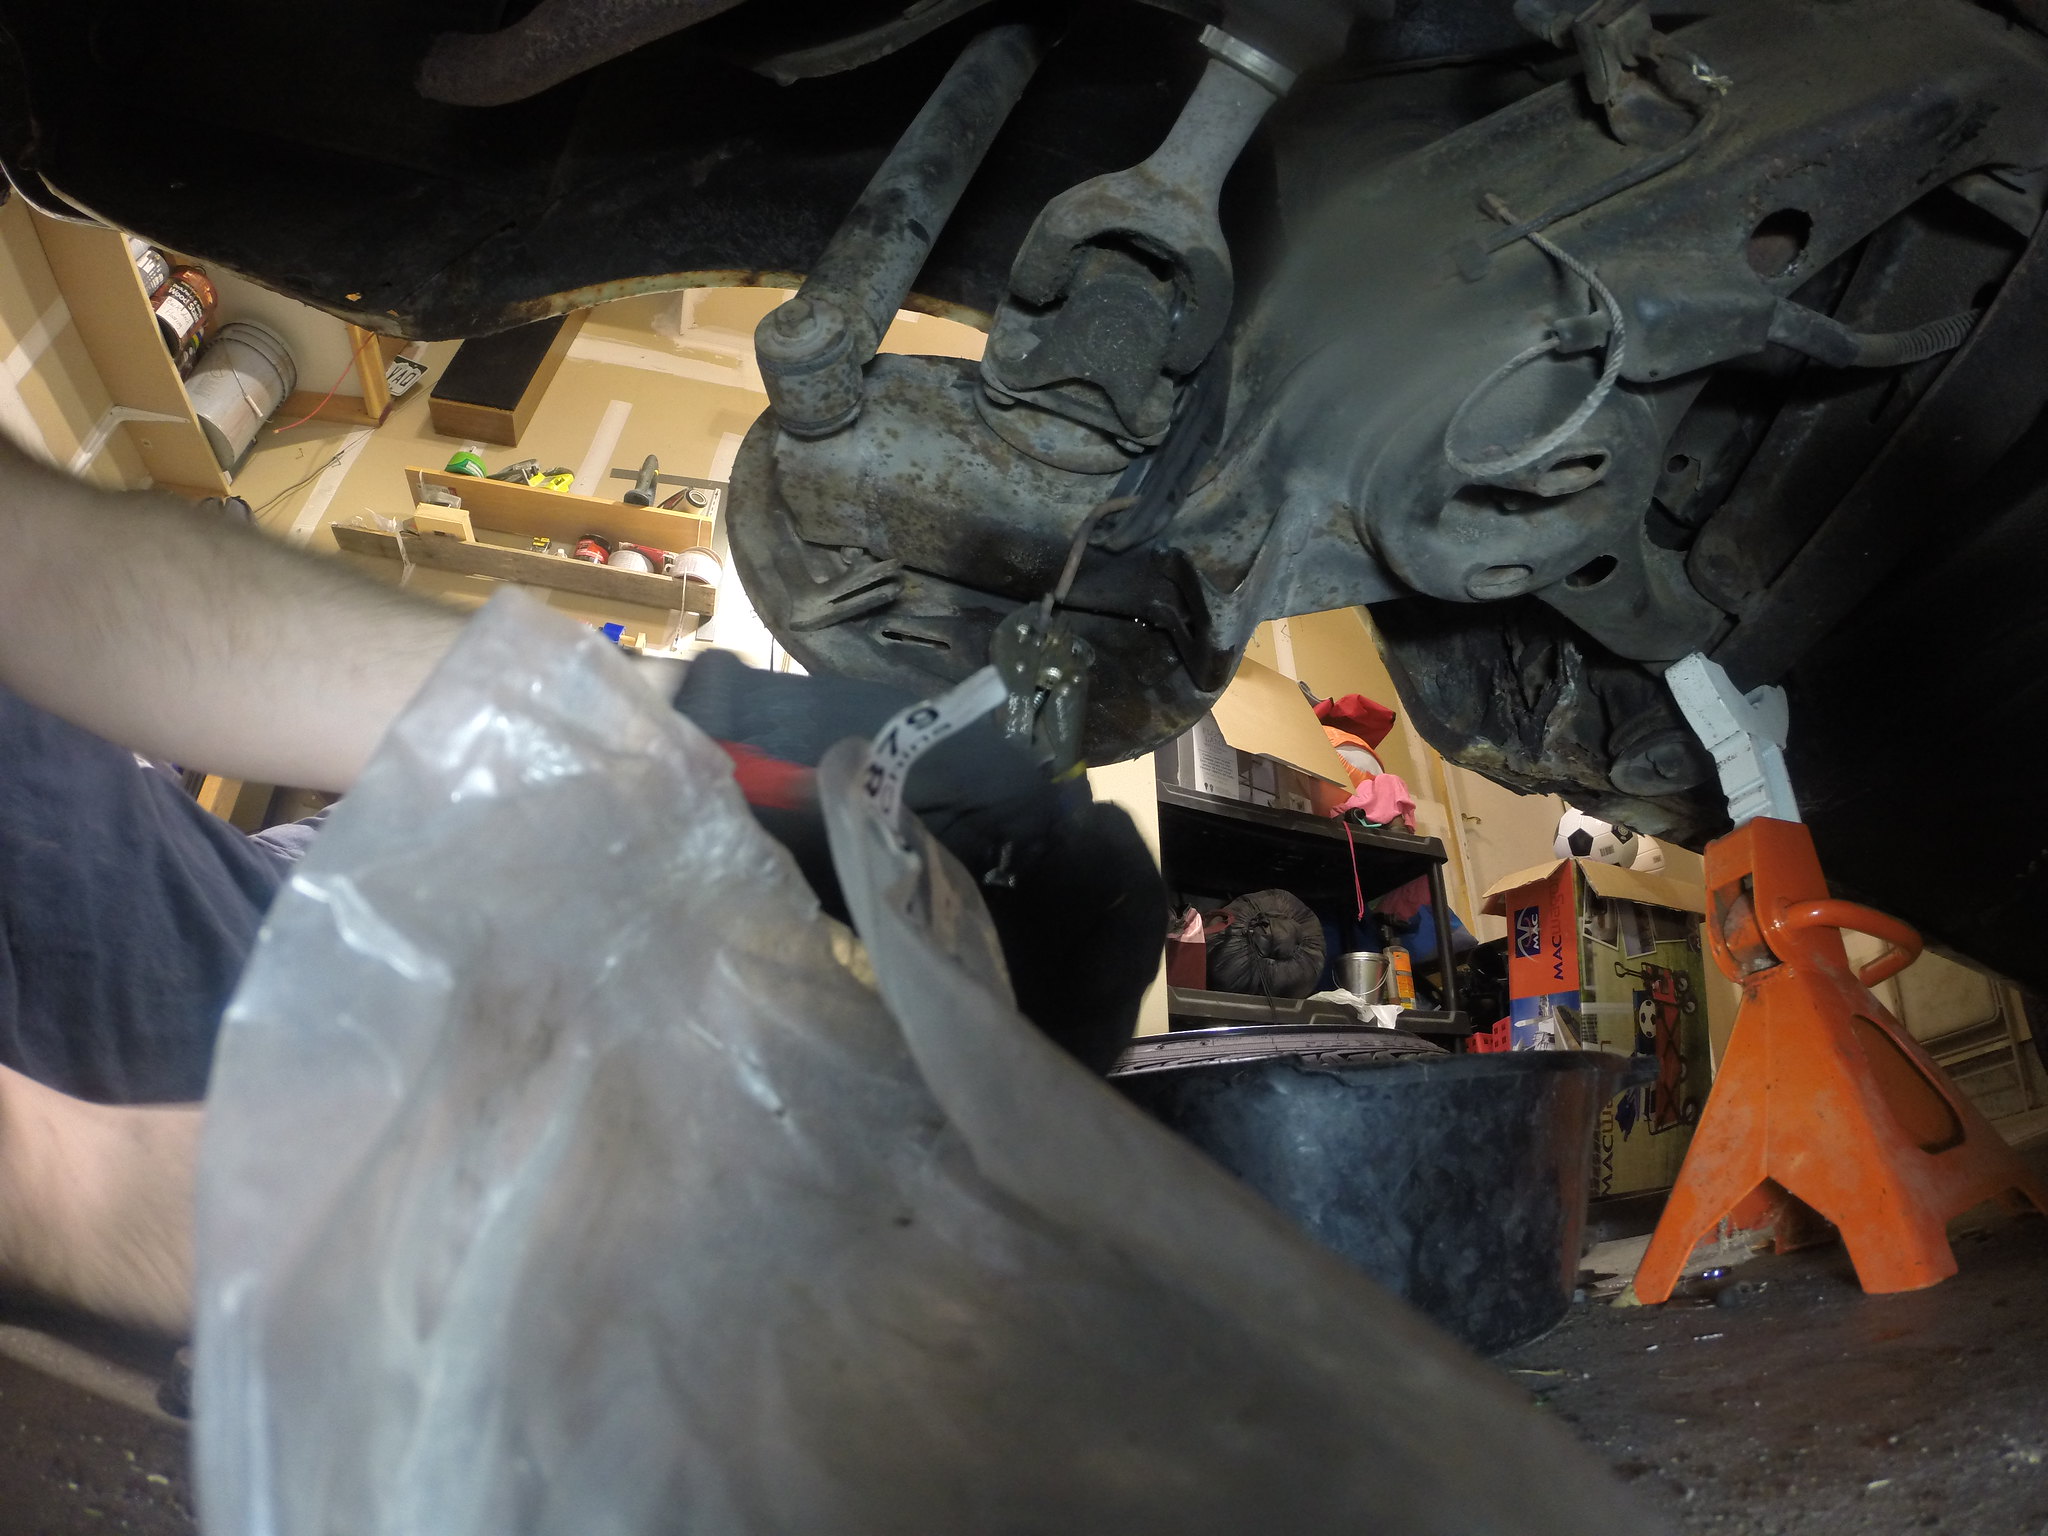
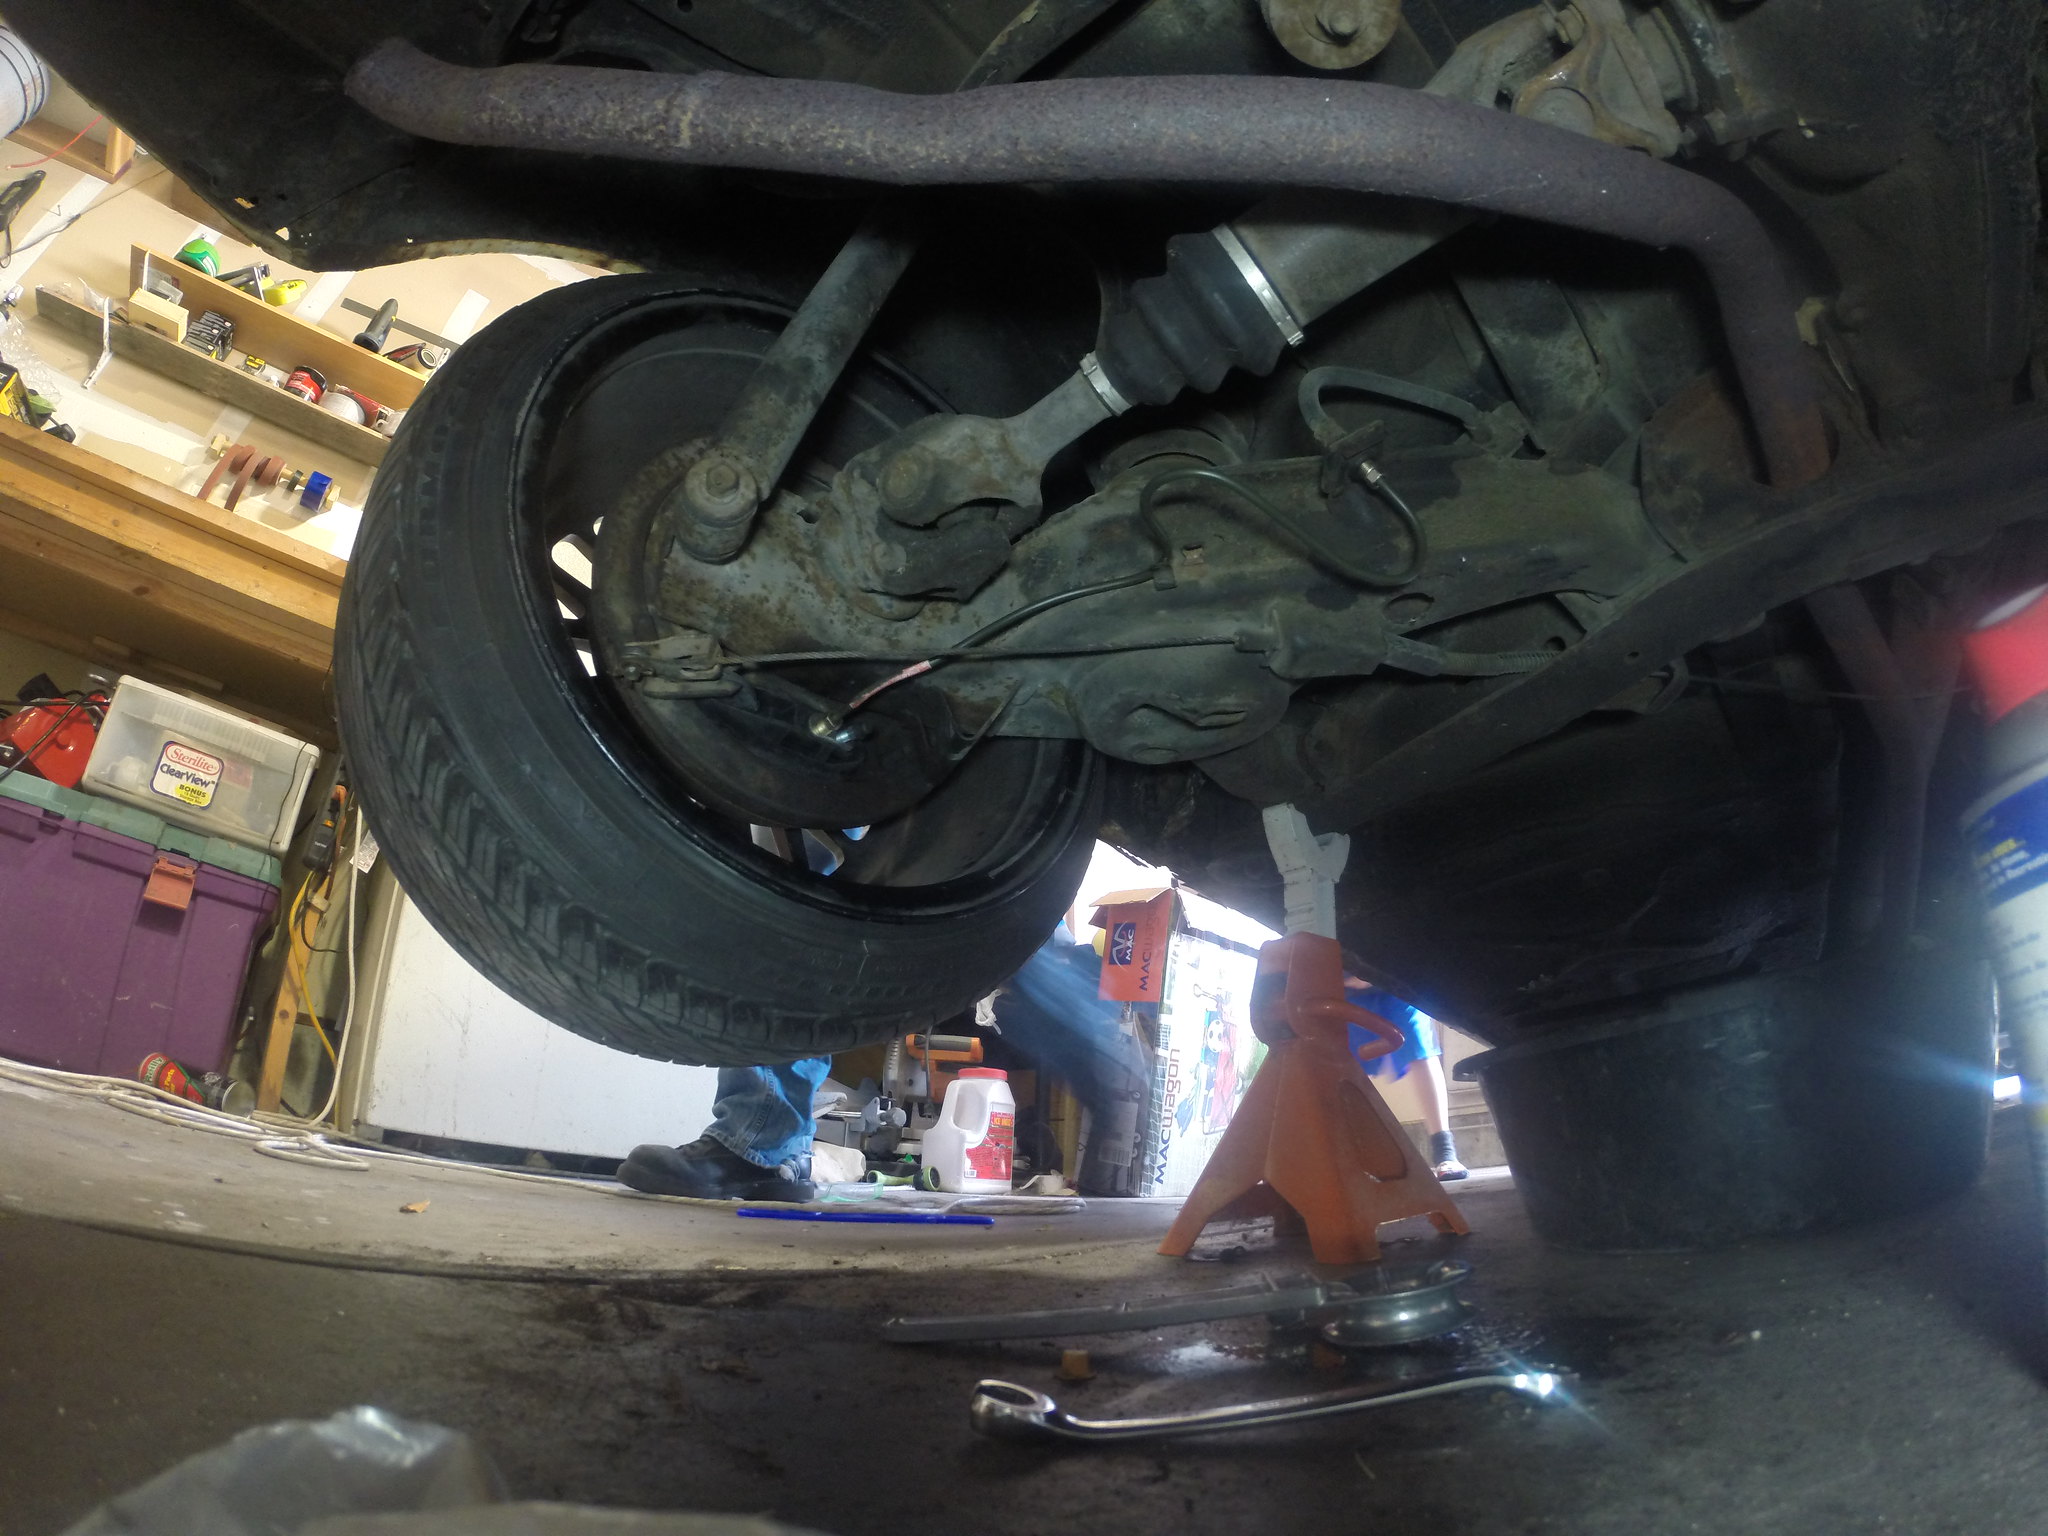
  • (Not Done) Check Brakes
  • (Not Done) Figure out what the red toggle does (Figured out XXXX Date)
  • (Not Done) Vacuum Car

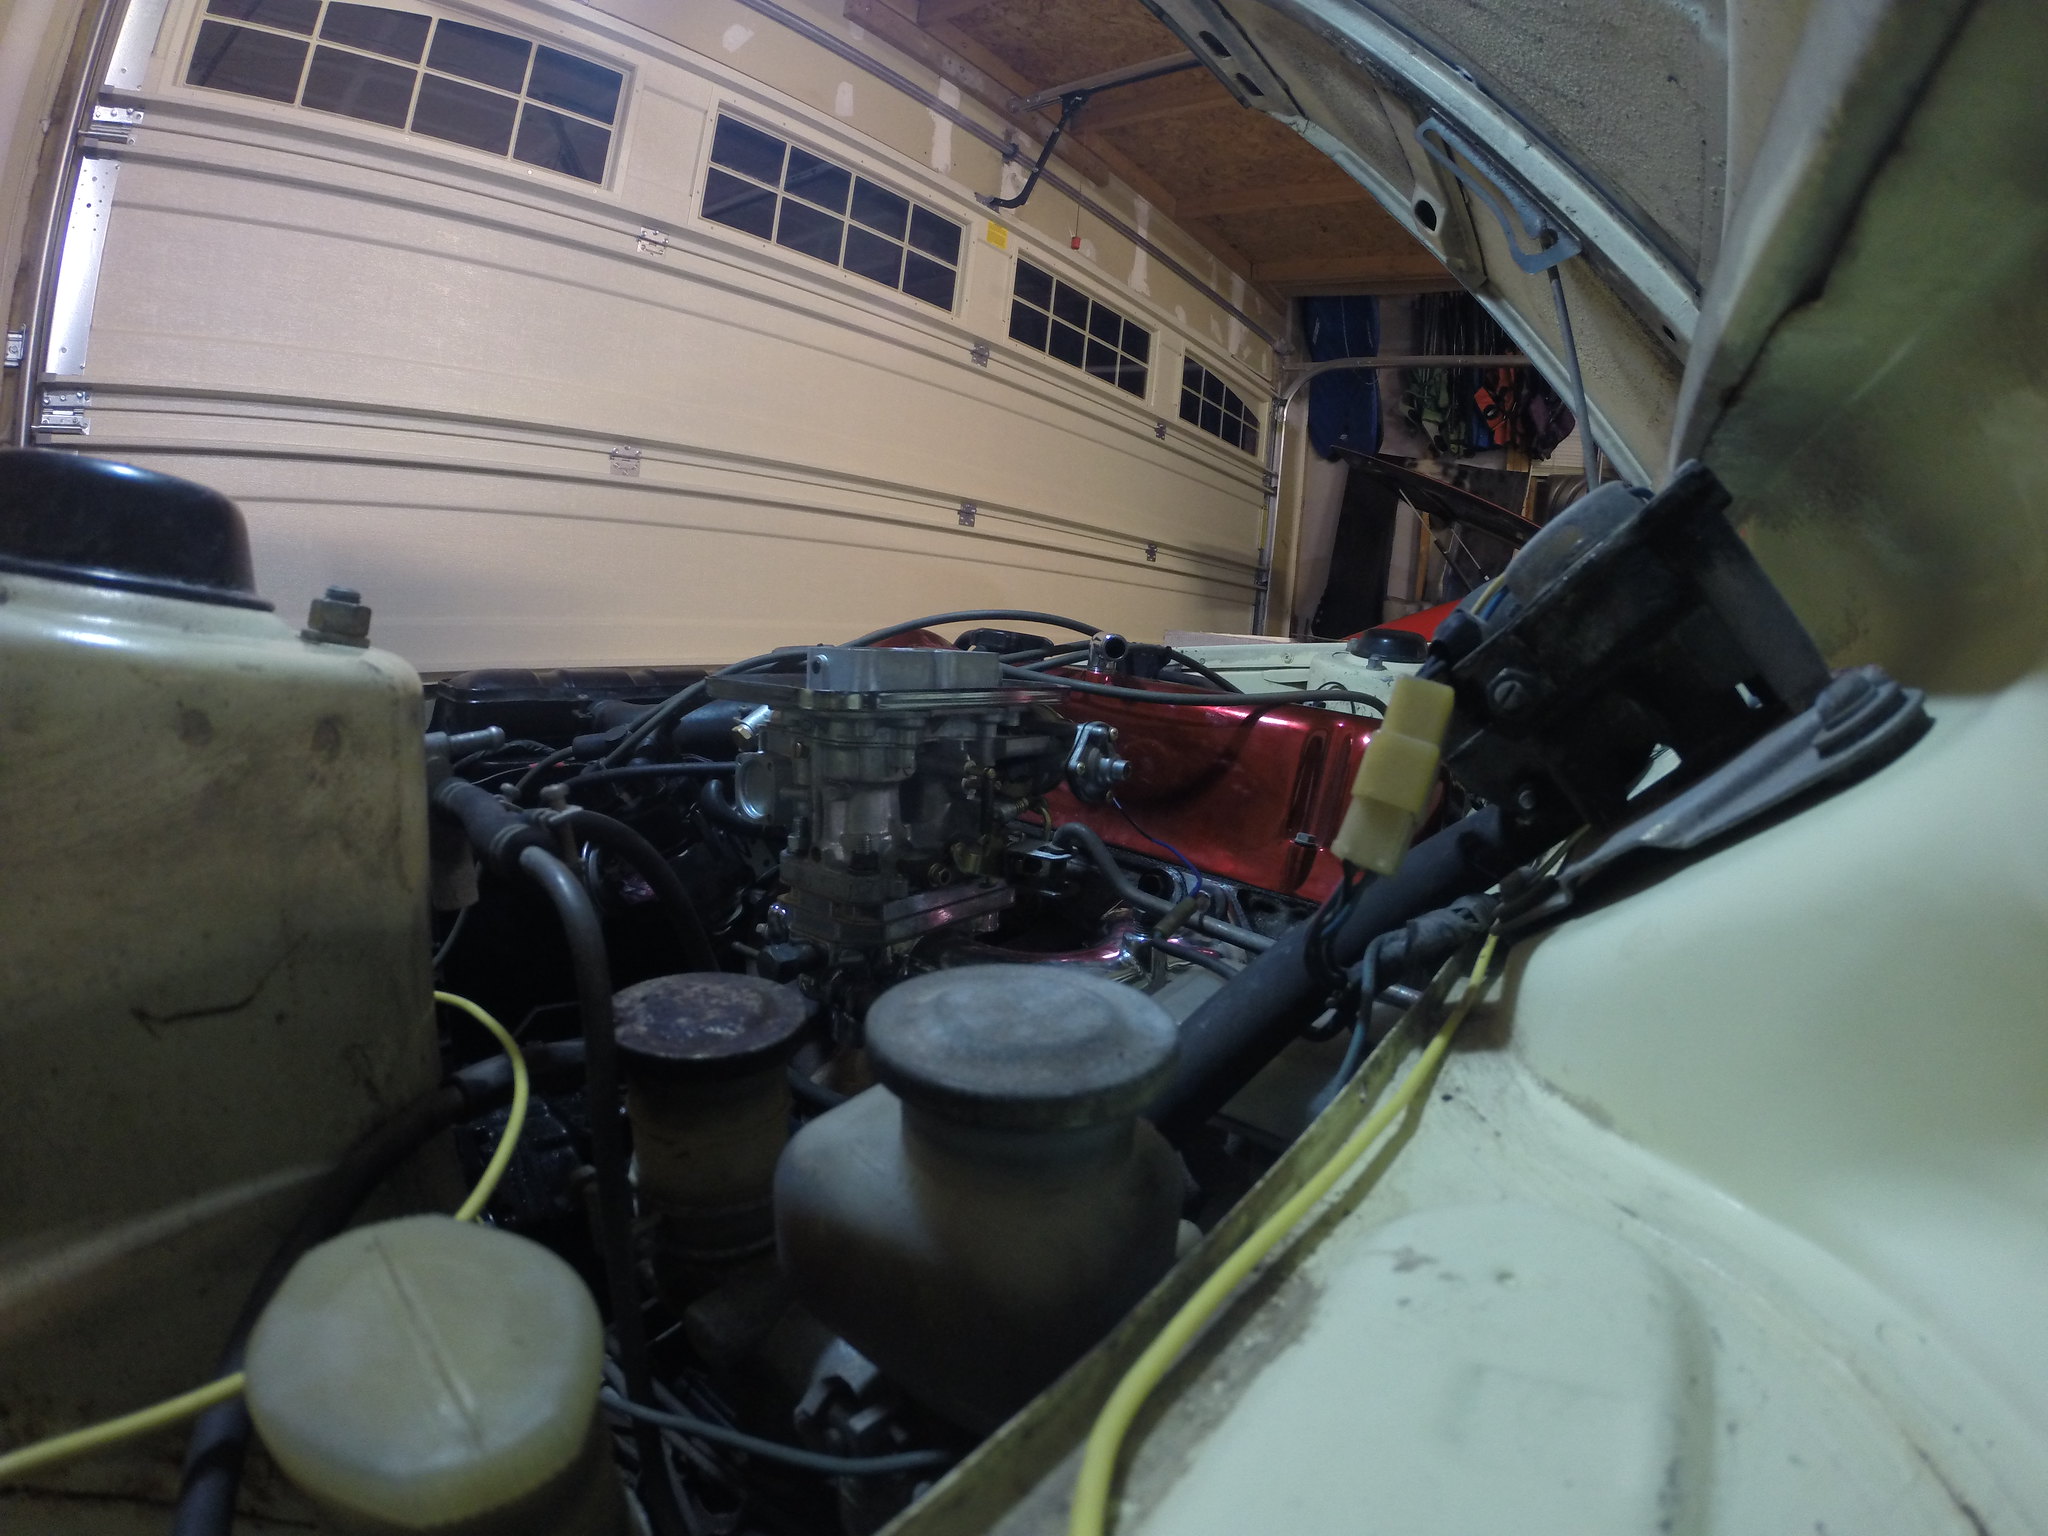
As you can see, I didn’t get the list of things completed. The car idled very rough but started, which I figured out later was something very simple. The exhaust was incomplete and not hooked up, but most importantly I didn’t have a lug adapter for the tuner lugnuts so I was unable to remove the wheels to check the brakes. Only an idiot would buy a non-running 45 year old car and attempt to drive it 500 miles without a thorough inspection of the driveline and brakes, I am stupid, not an idiot.

Some things that I immediately catalogued were:

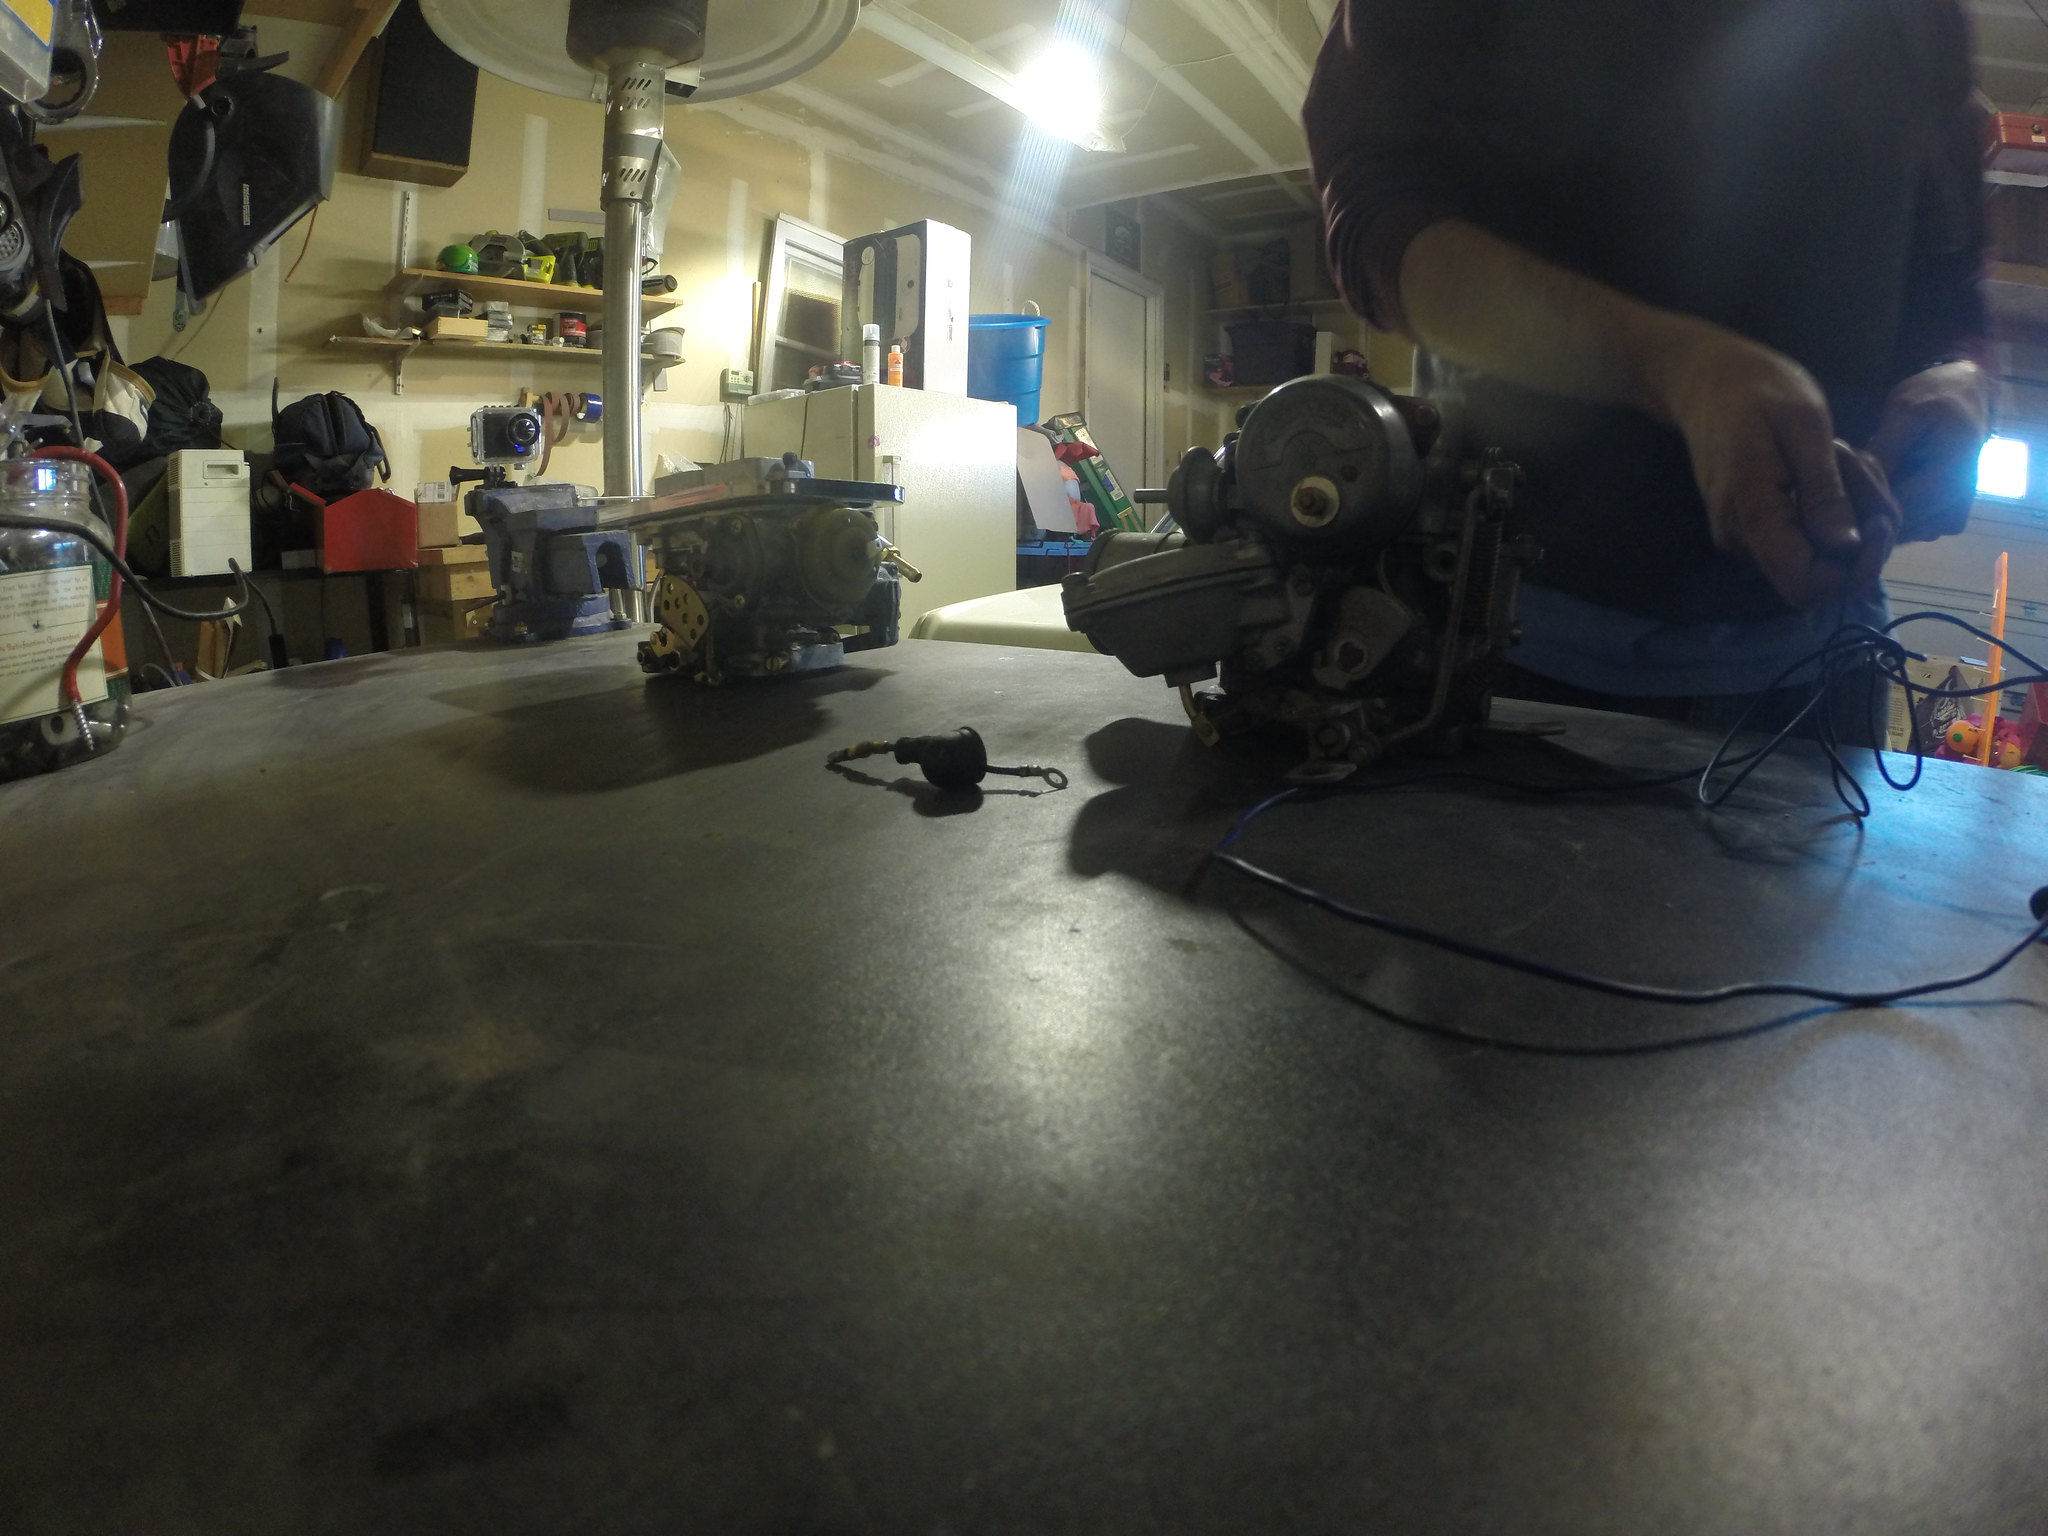
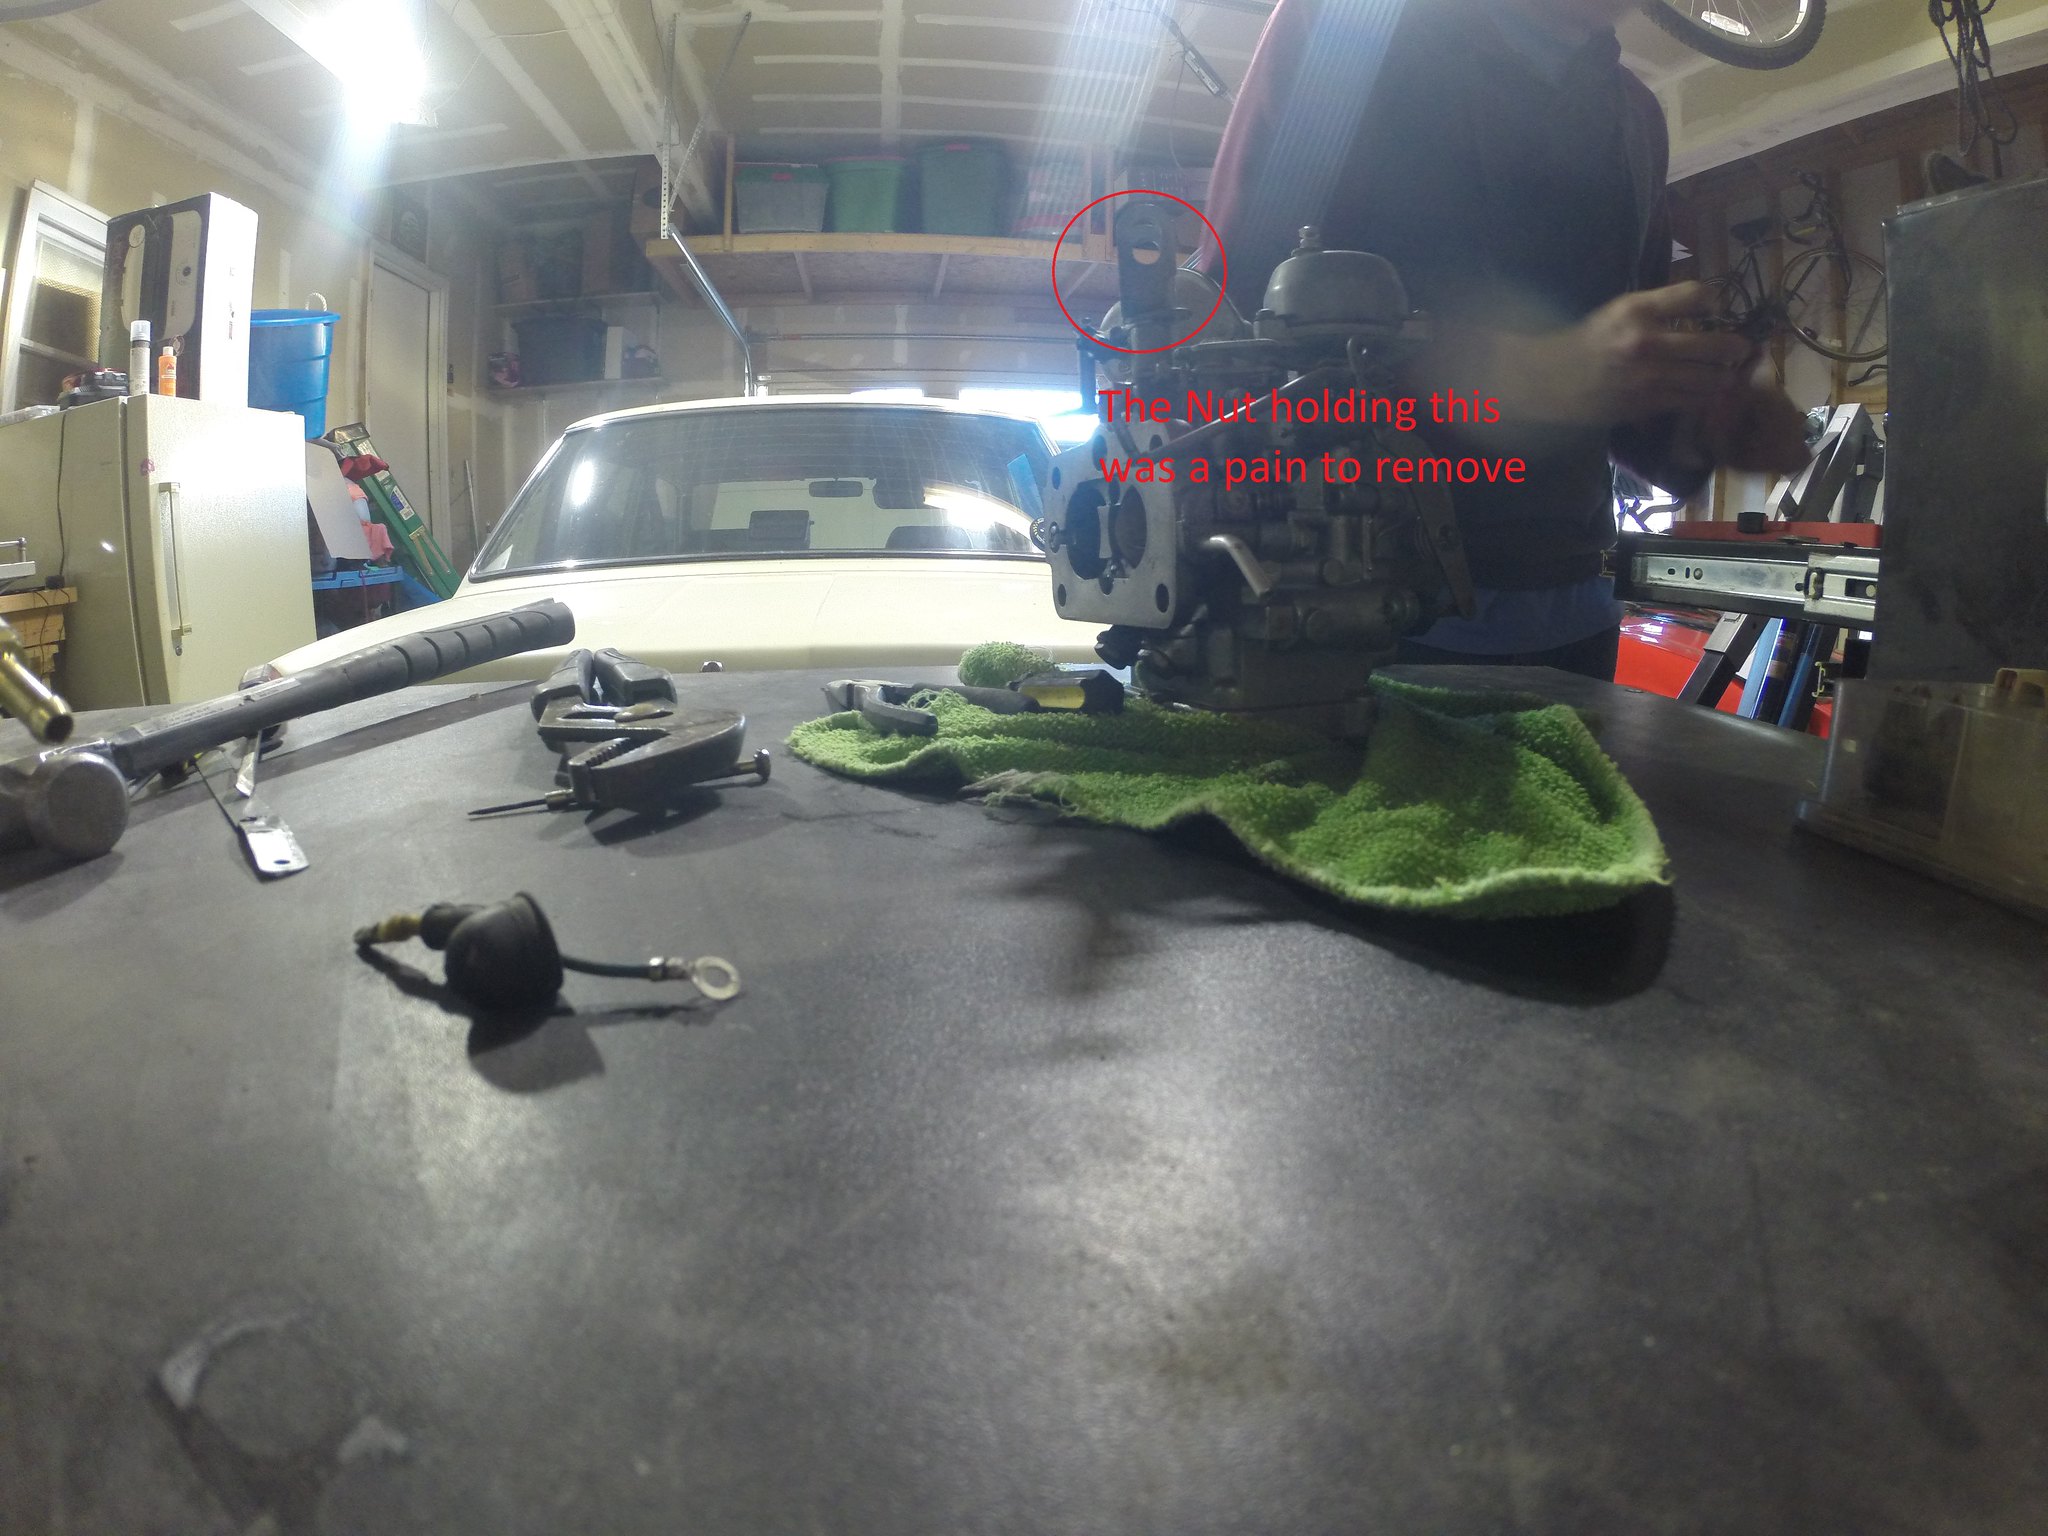
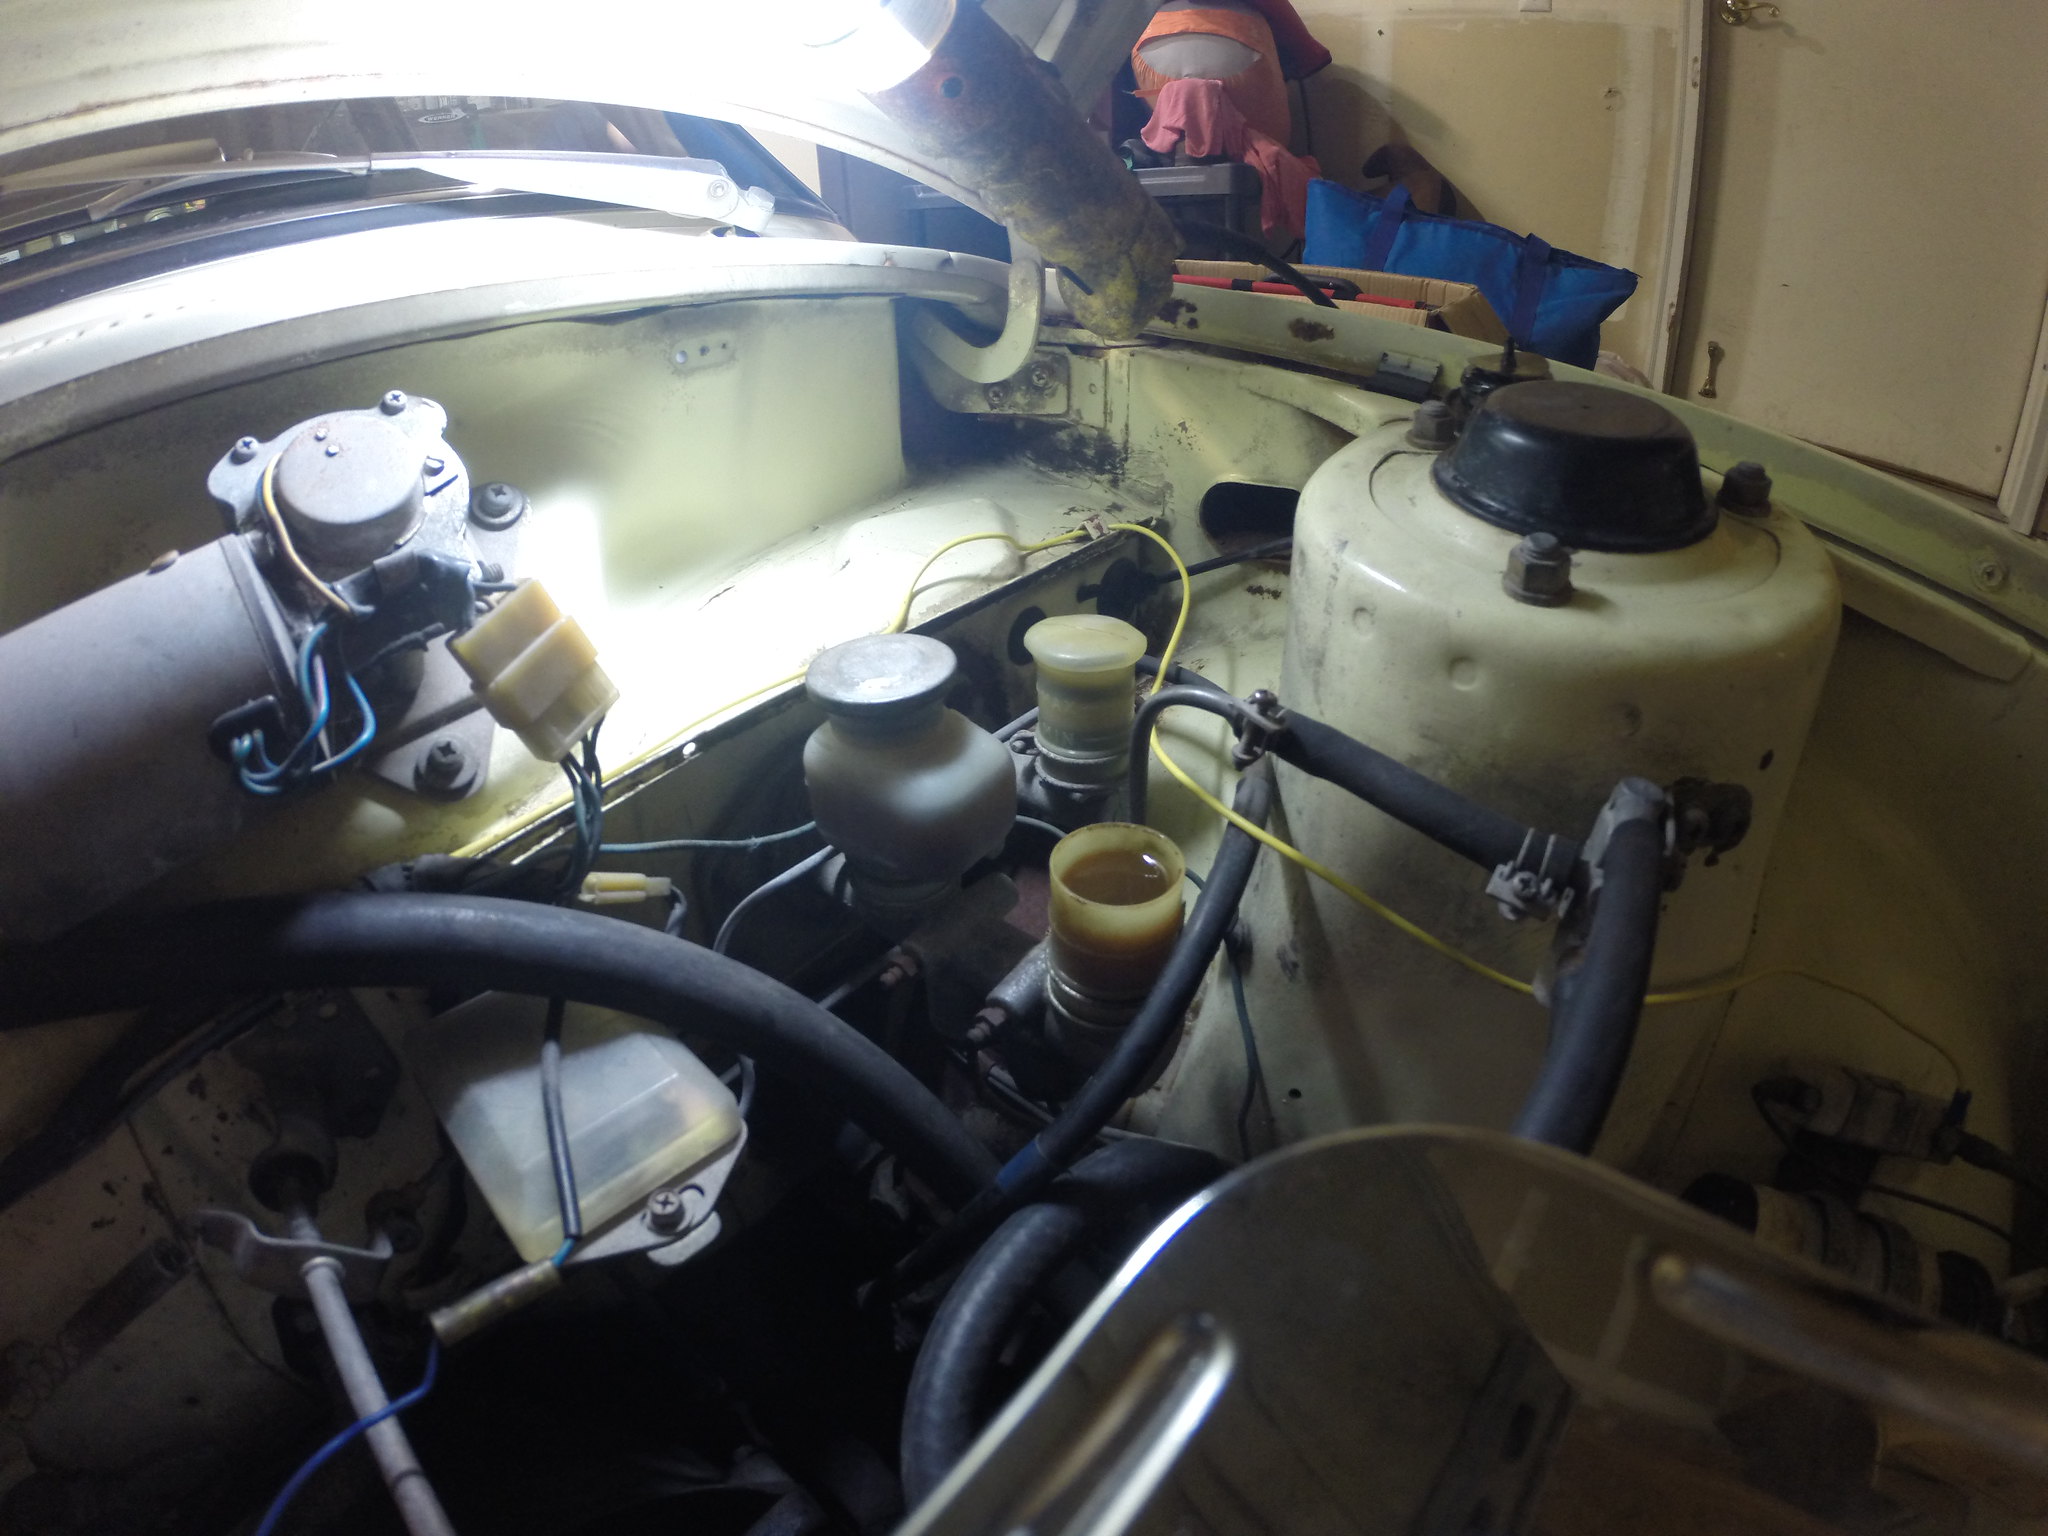
  • Stock carburetor is leaking
  • Missing exhaust nuts and bolts for manifolds
  • All lights work
    • Taillights
    • Brake Lights
    • Headlights (Dim and Bright)
    • Dome Light
    • Blinkers (though they did seem sticky)
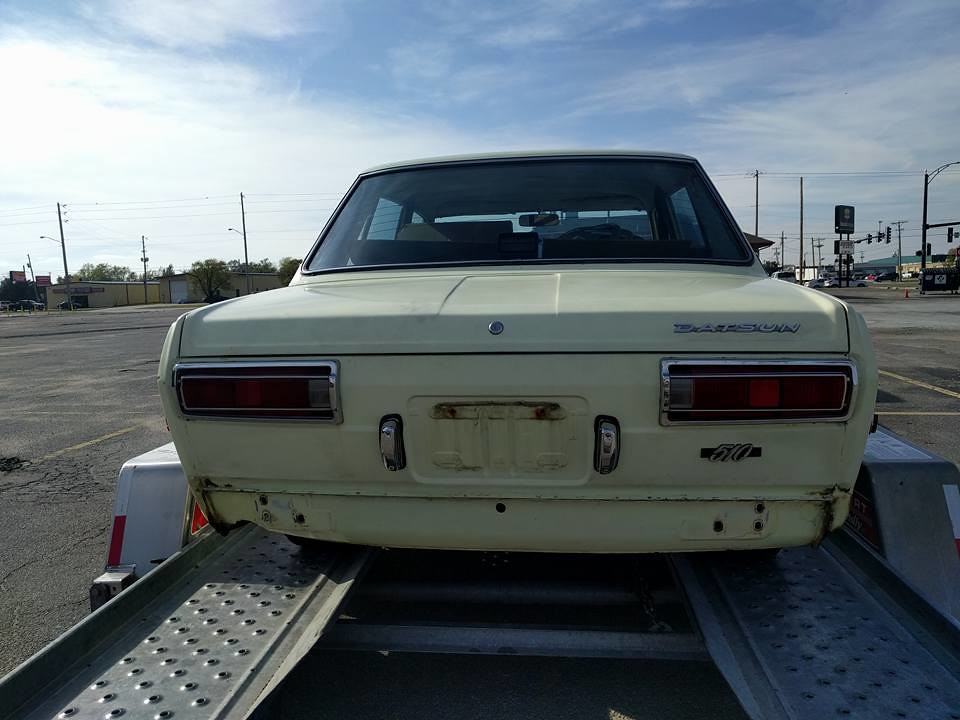
  • All glass is in good condition
  • The interior pieces are also in good condition
  • The ash tray had at least $15 worth of quarters in it (No lie!)
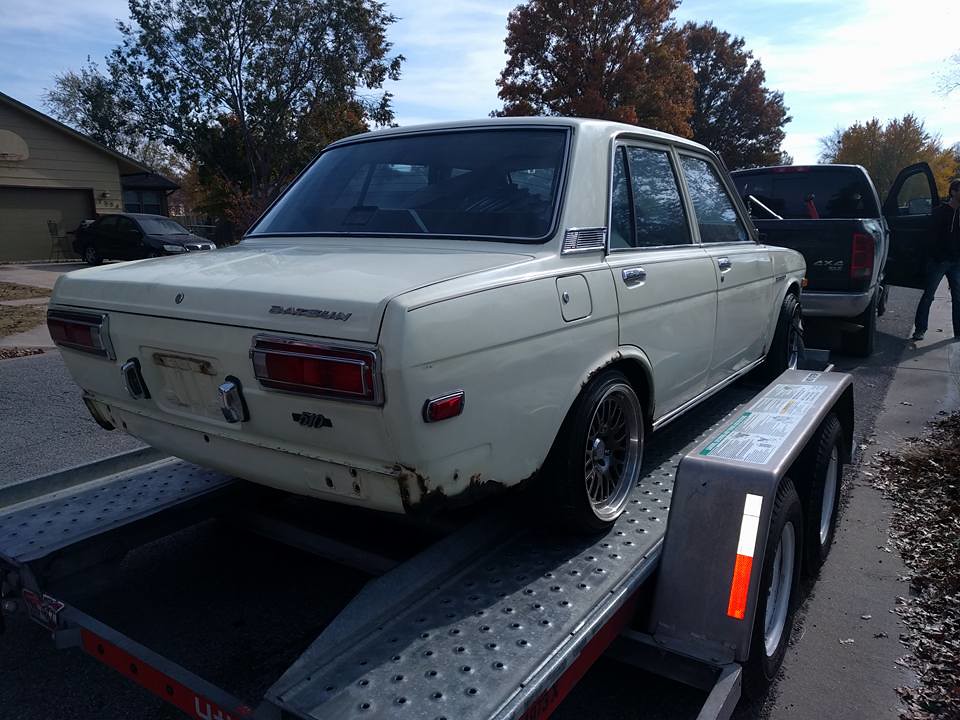
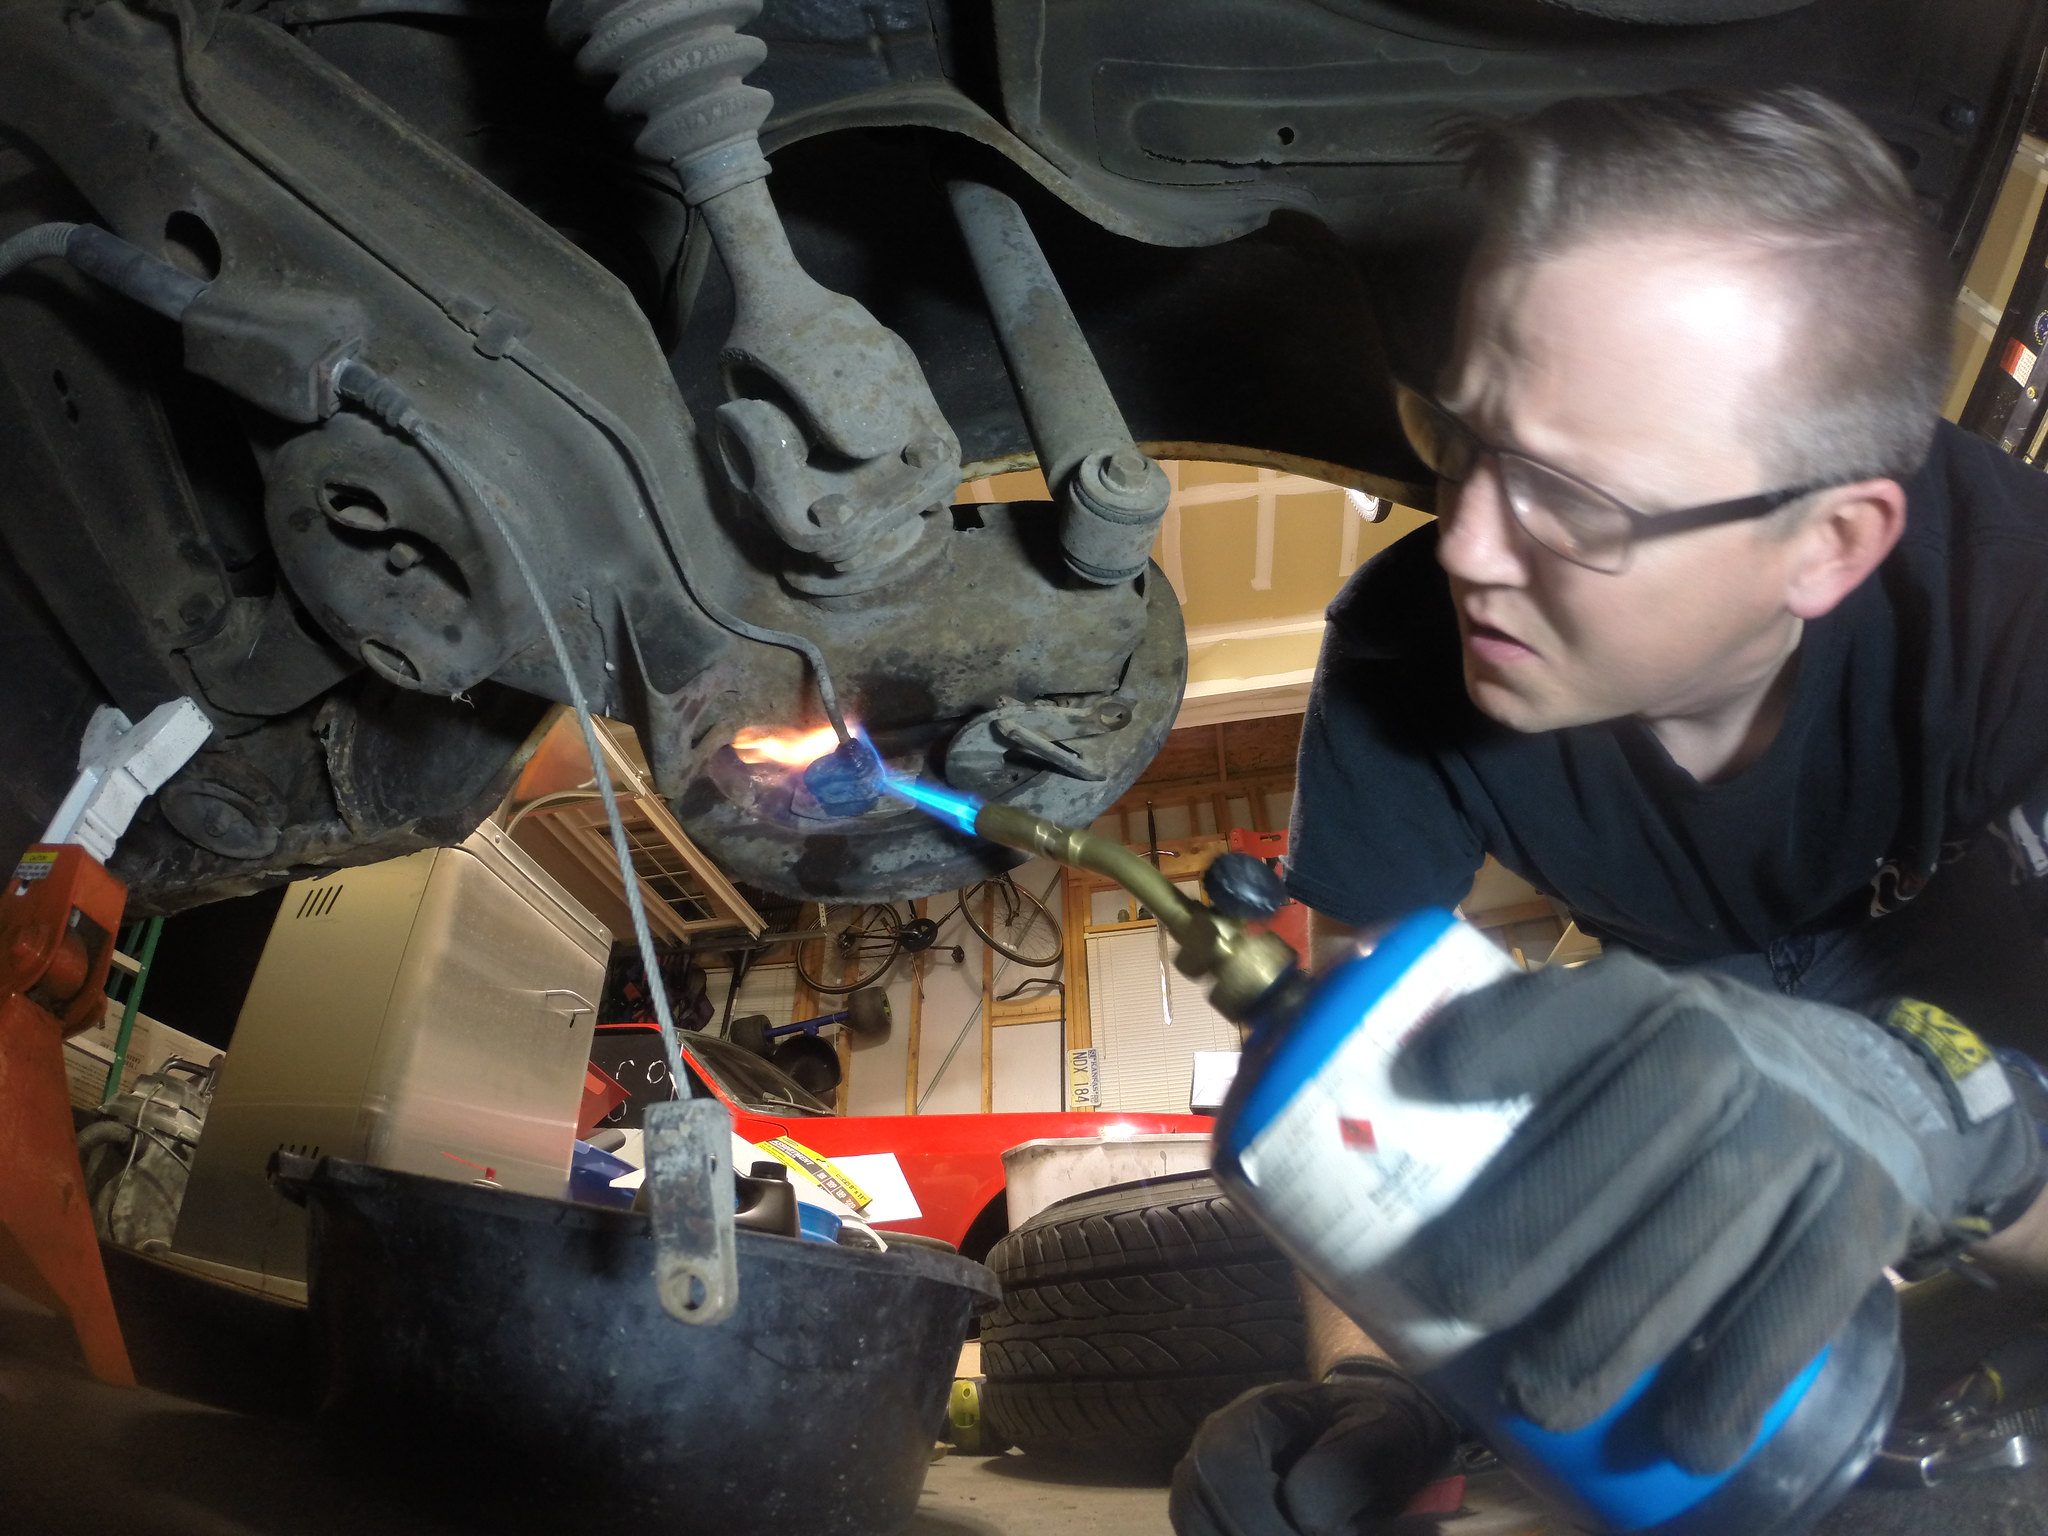
  • The rust is going to be a tough battle on this car
  • One blade of the radiator fan is broken off

My love of lists and checklists will become apparent as I move through this project. I start almost every day in the garage with a short checklist of things I want to get accomplished. I usually write these types of things on a white board, but I wanted to ensure that I would be able to pass this document onto any future owners or perhaps my kids if they decide they want the car.

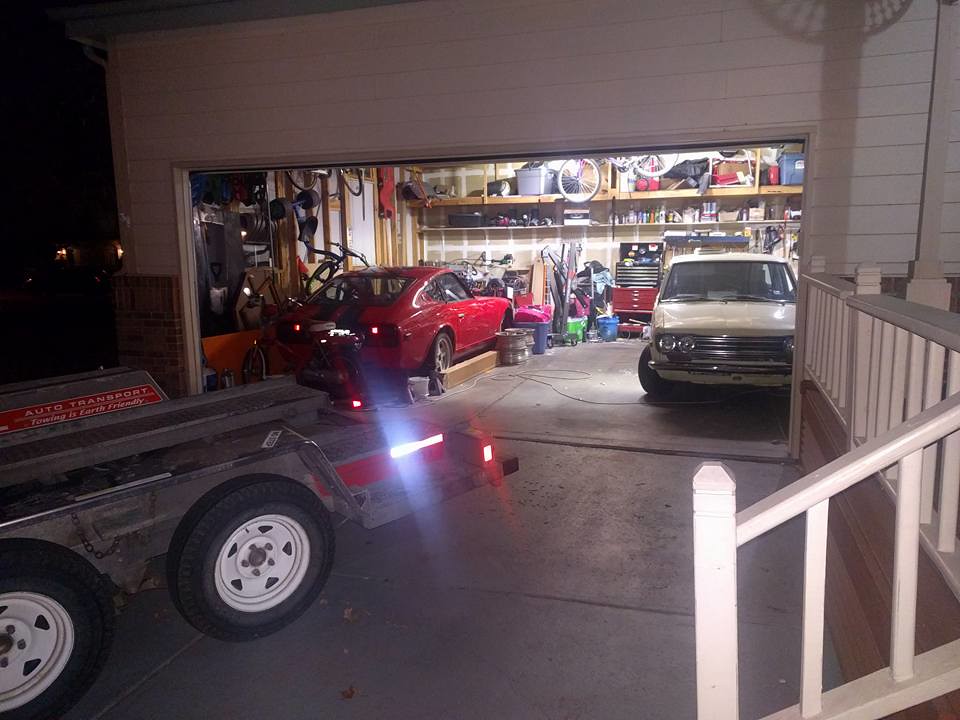
What I did next was the best decision I could have made. I packed everything back in the car, and loaded it on the trailer and spent the rest of the weekend with my family having a great time.

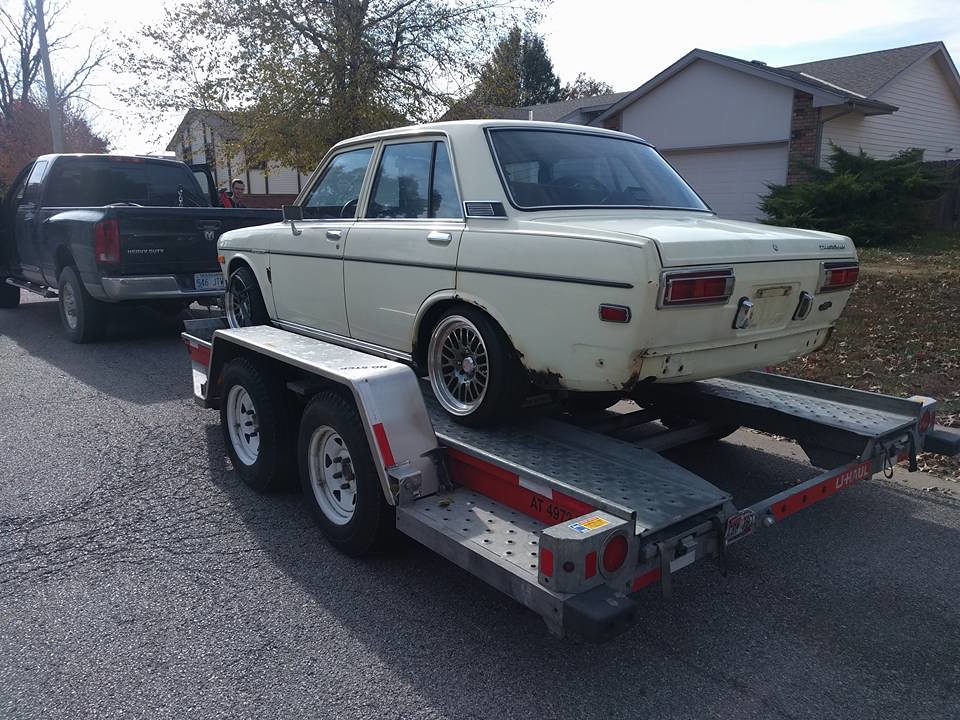
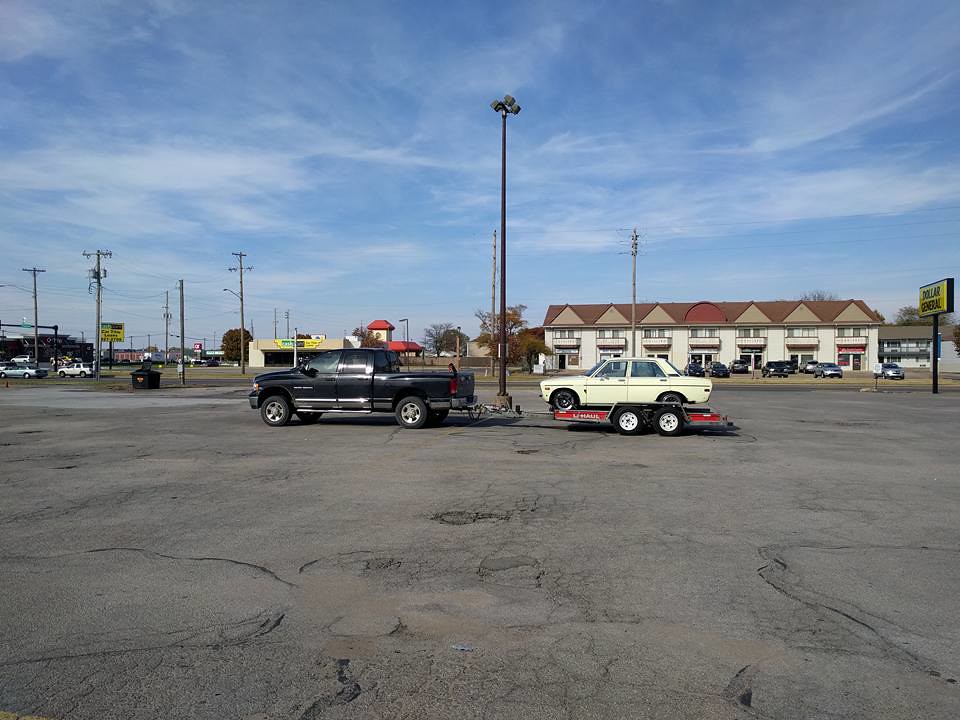
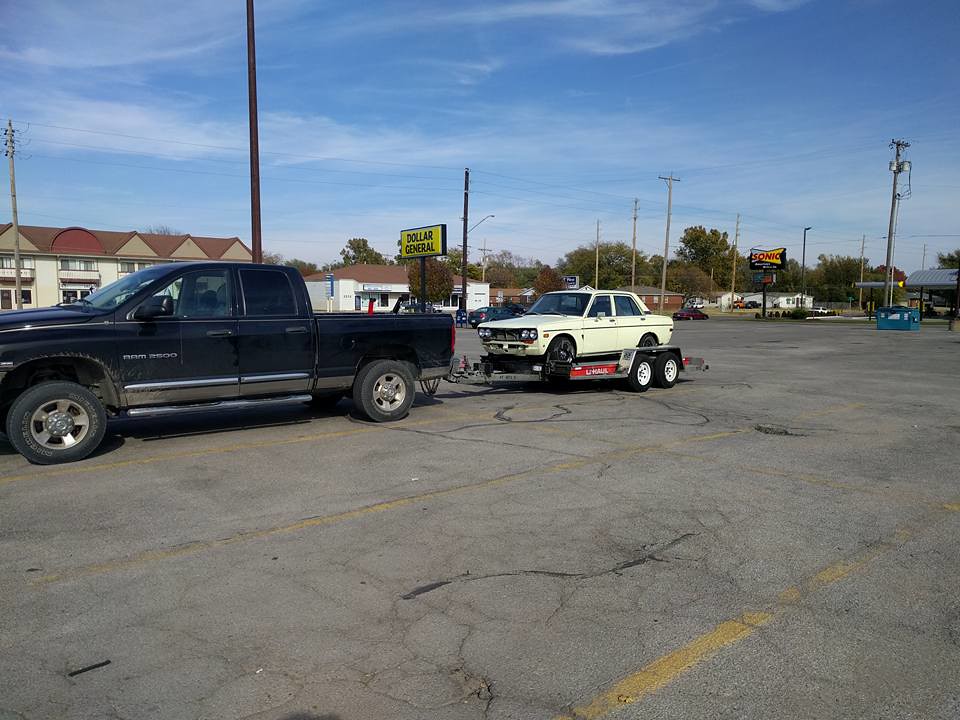
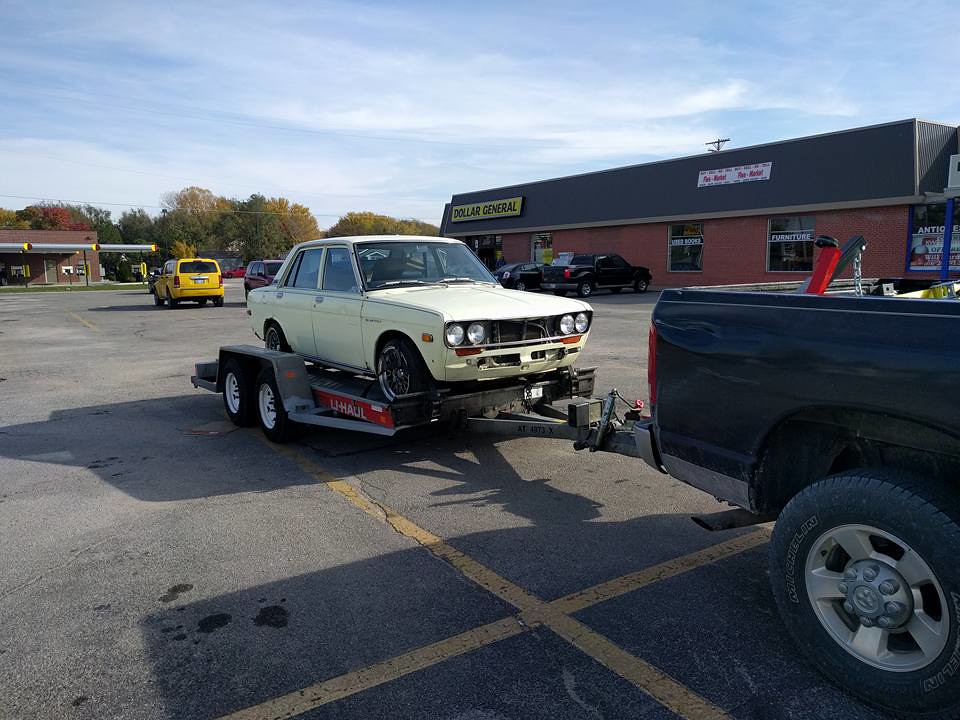
Sunday the 12 November 2017, I borrowed my parents’ truck and packed up my wife, kids, and new toy and drove the 500 miles back to Denver. It was an uneventful drive back which is the best thing I could hope for. The car towed very easily, and I had the car in my garage that night.

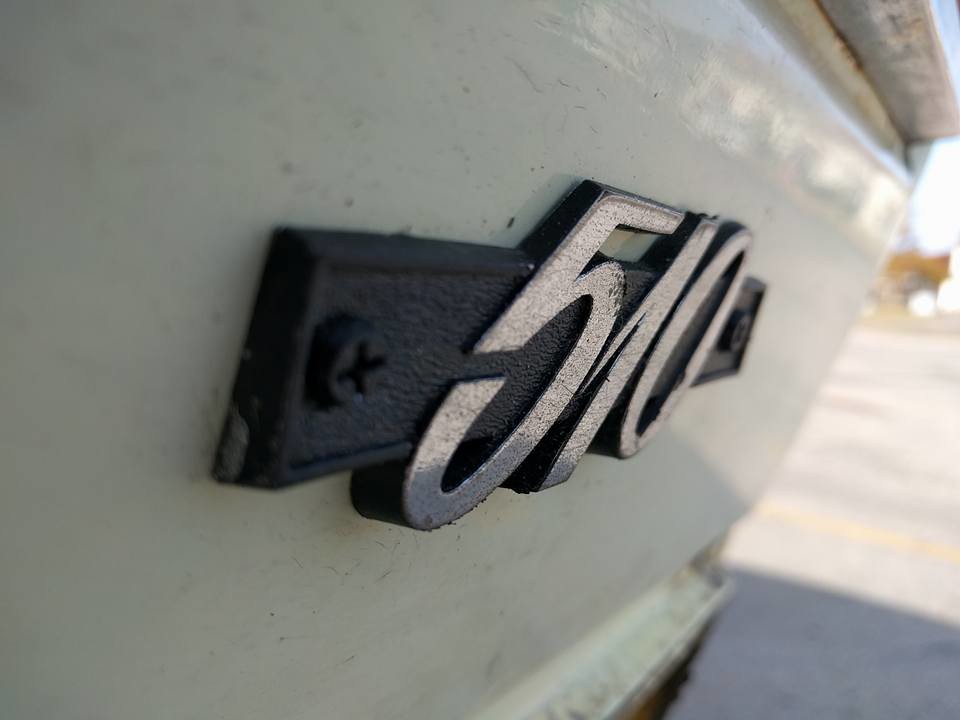
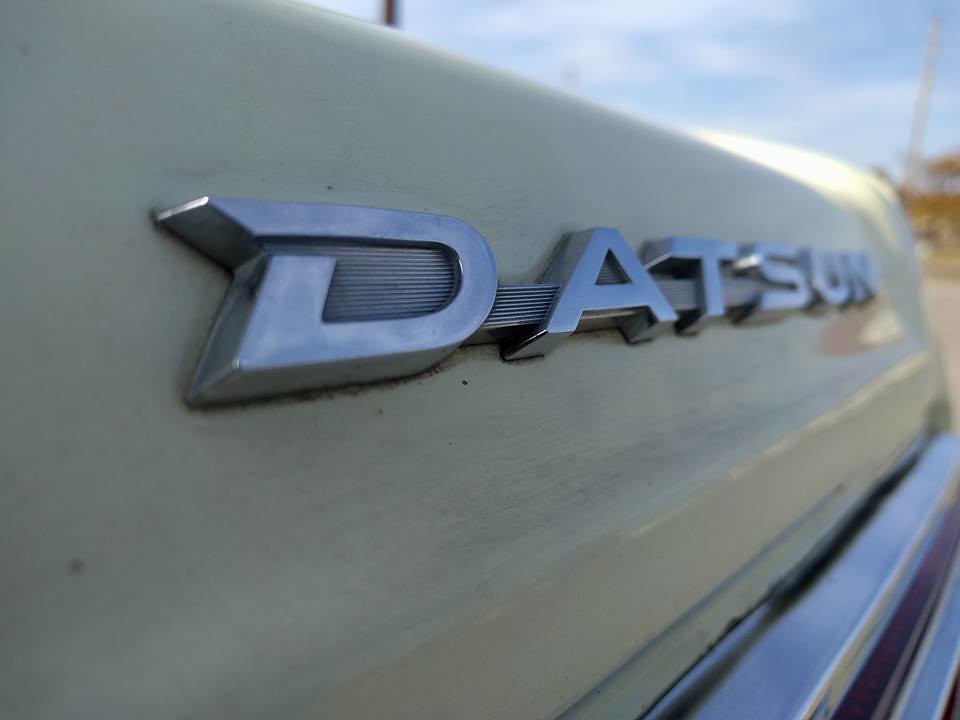
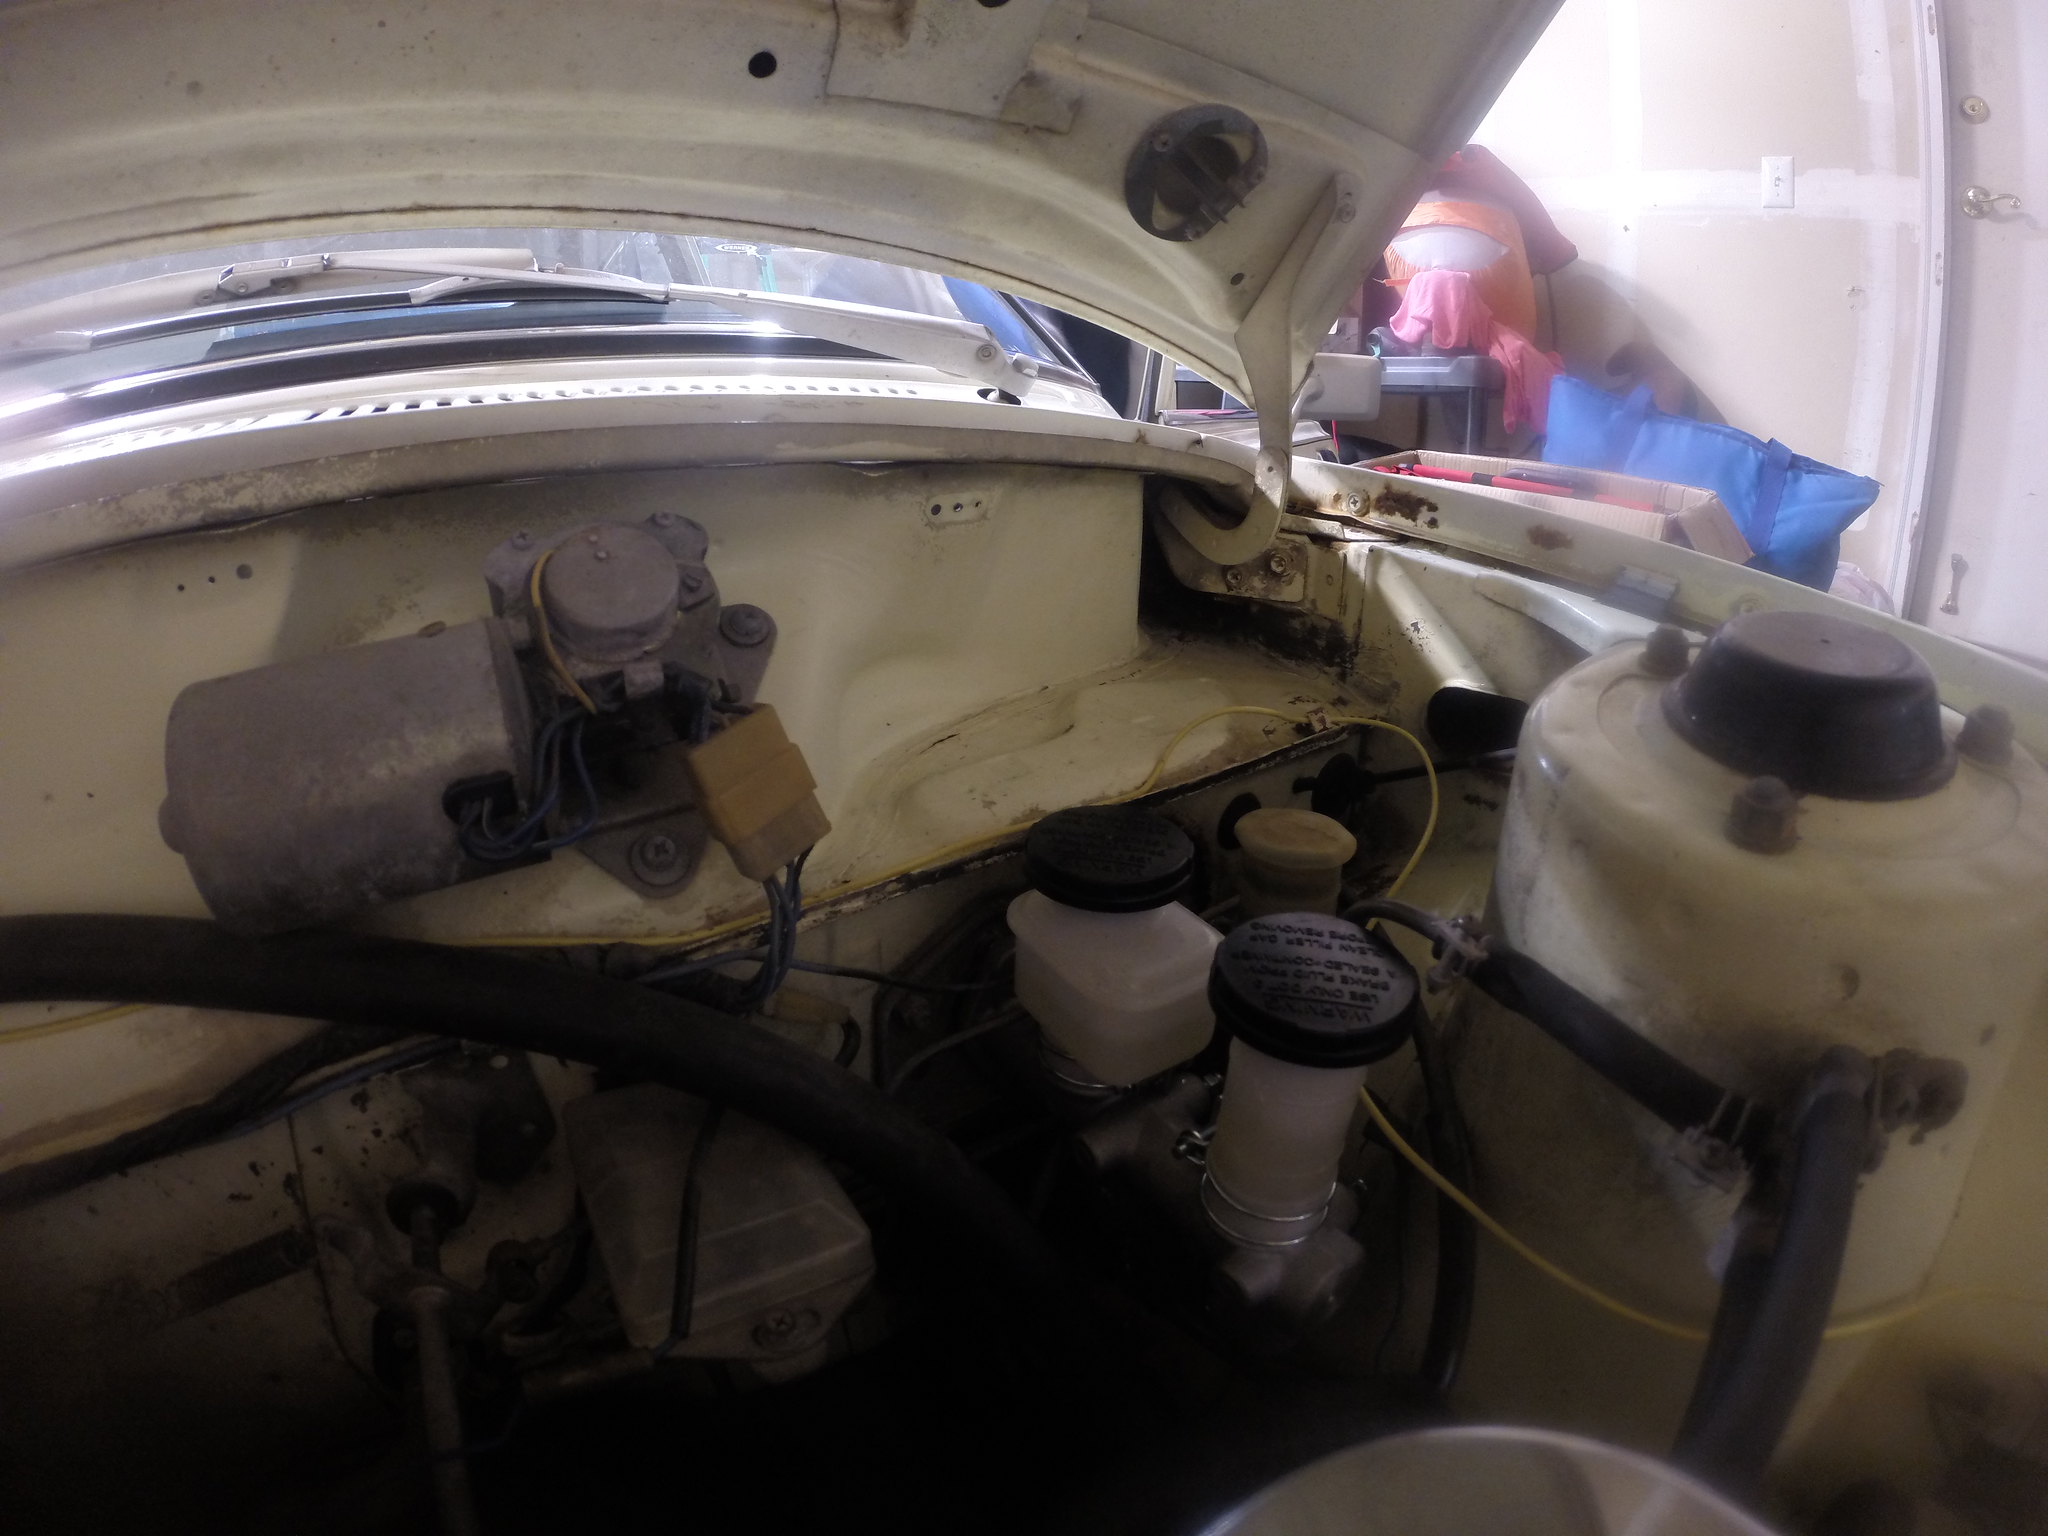
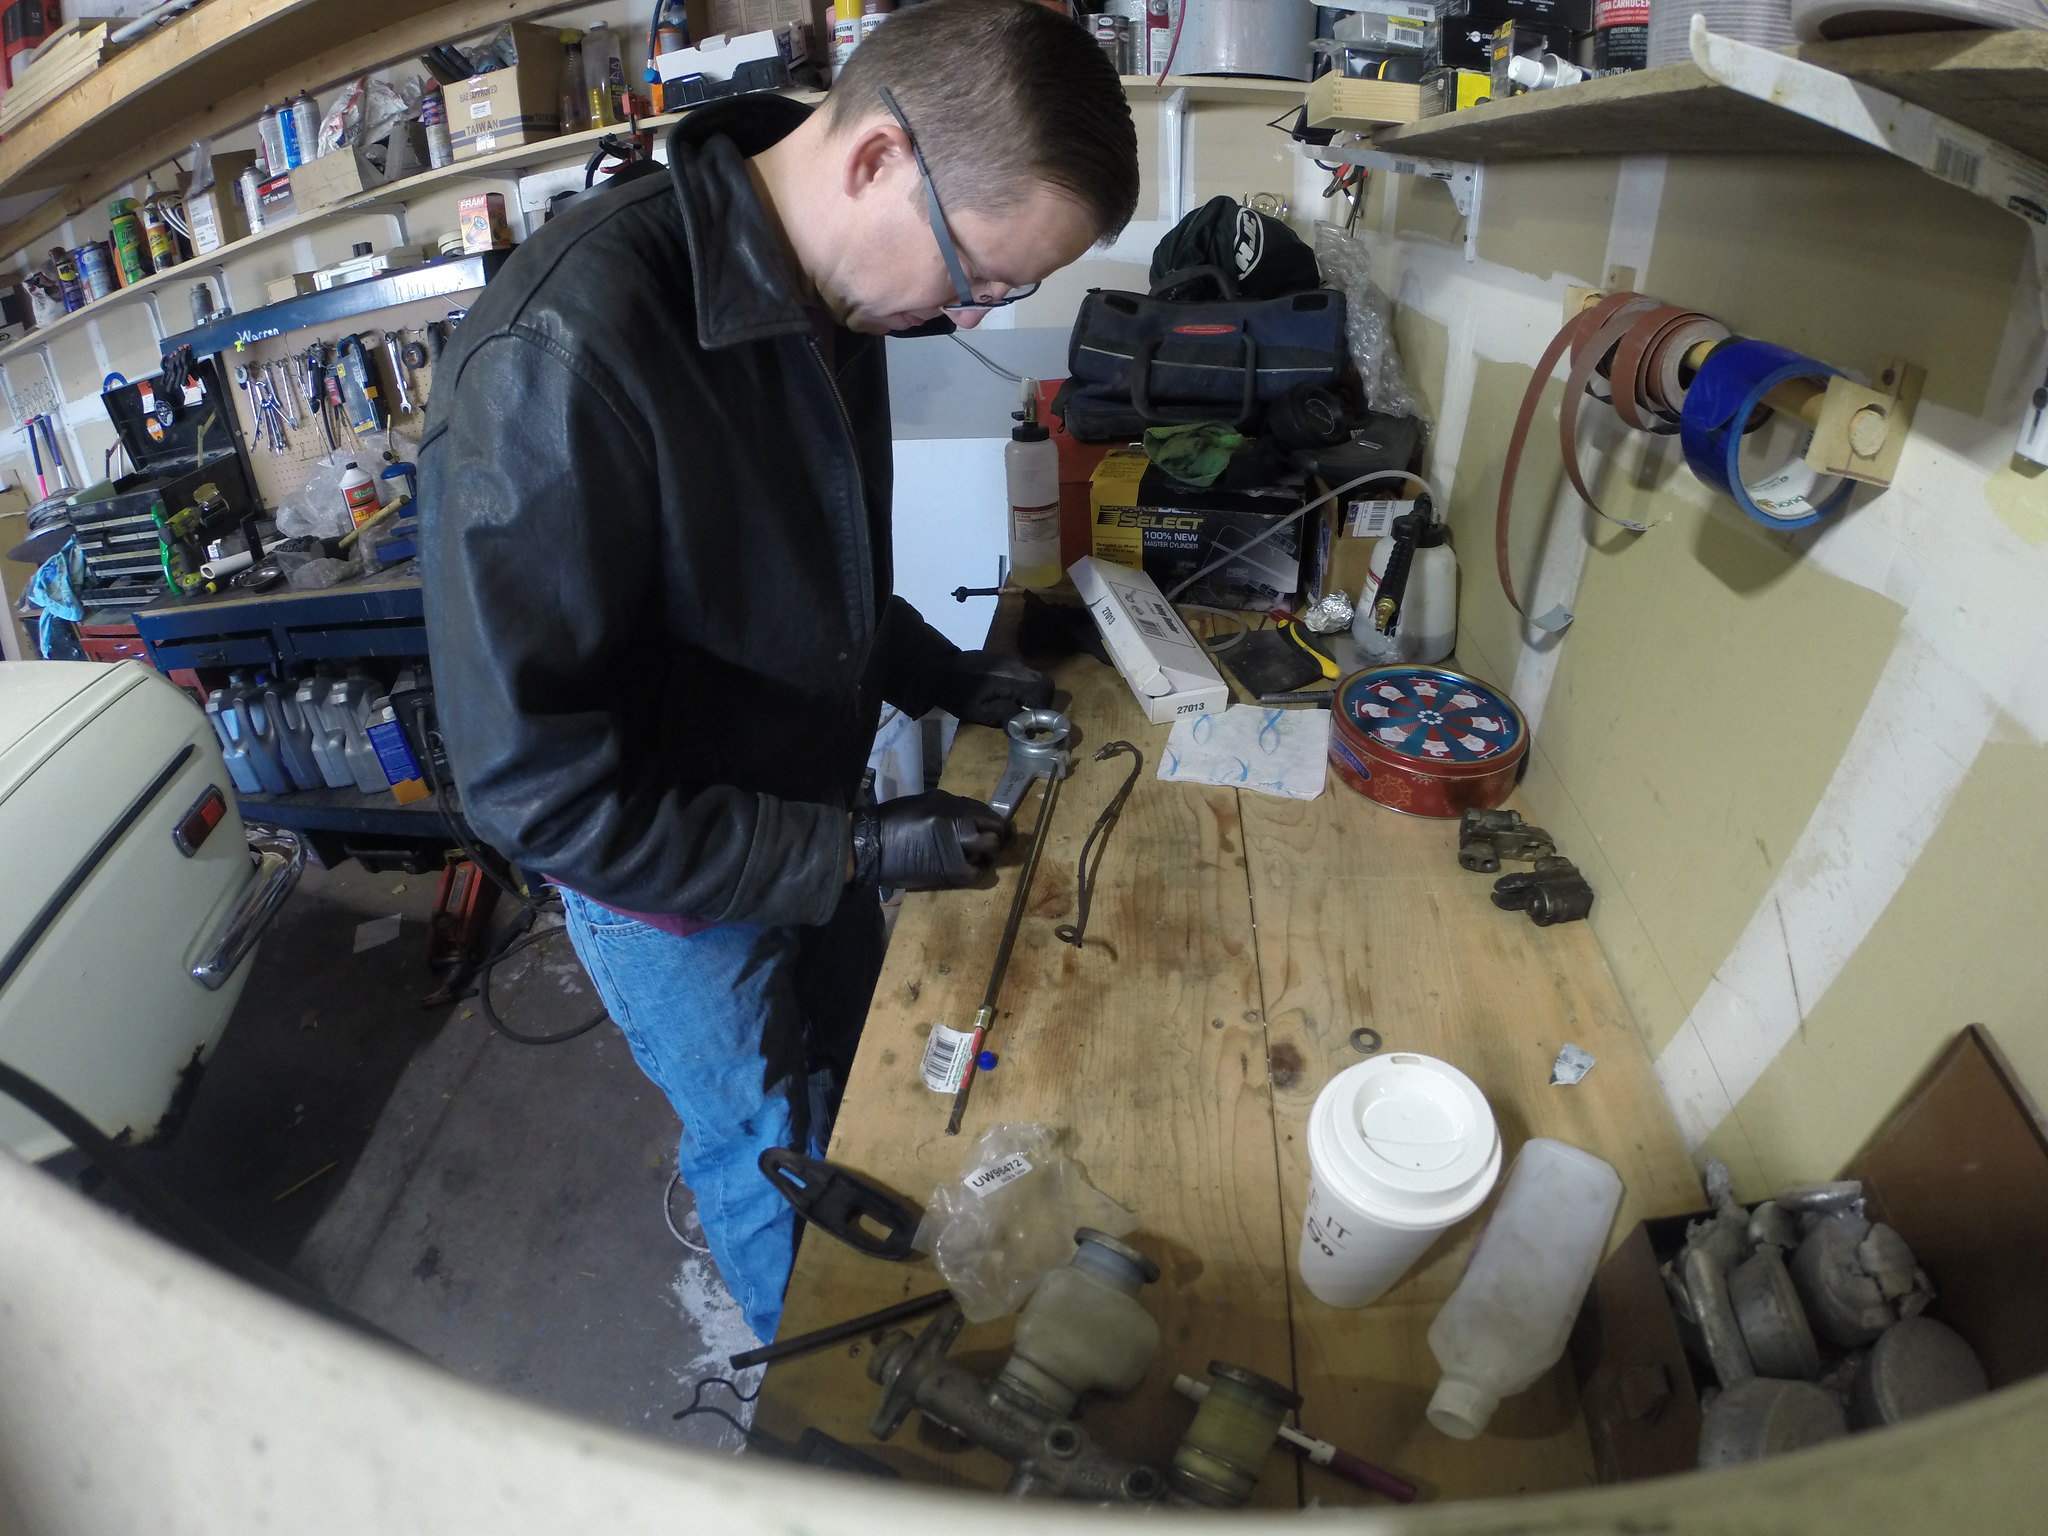
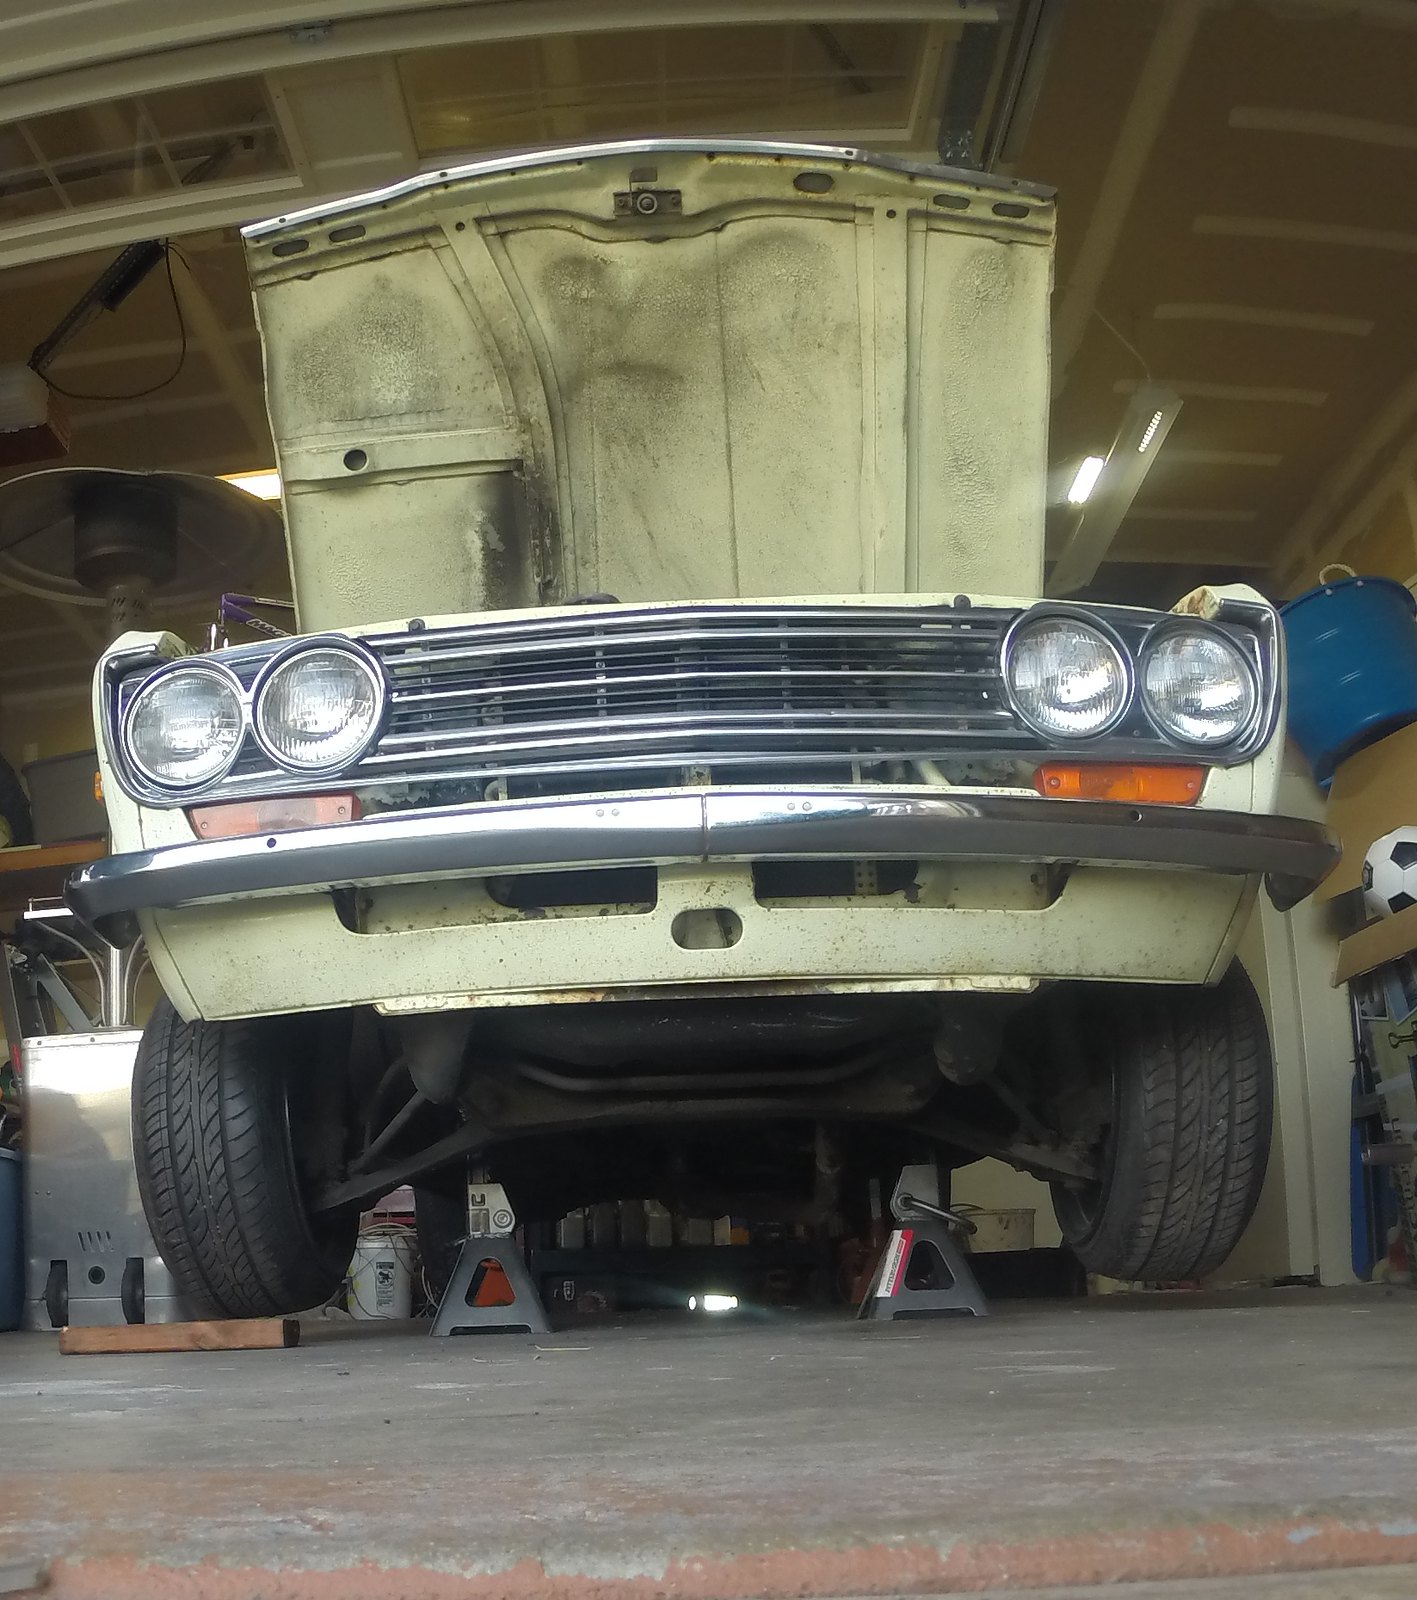
Here is where the log starts to get a bit different. I am going to switch from a narrative to more of a “Log Entry” type of log. I expect the template to change overtime as I determine what all information I need to get in this document. Please enjoy some of the pictures from my first couple days with the car.

karplus2
karplus2 GRM+ Memberand New Reader
11/30/17 9:11 a.m.

Awesome project! Looking forward to following along. I have always loved 510s. Sounds like you got a great deal. Glad it worked out for you.

maschinenbau
maschinenbau GRM+ Memberand Dork
11/30/17 9:51 a.m.

Love that Datsun! You're right about their values...almost as crazy as 240Z's. Meanwhile I'm waiting on my 210 Wagon to skyrocket in value...any day now...

ssswitch
ssswitch Dork
11/30/17 11:43 a.m.

Looks like a good score. I looked at a 4-door 510 a few weeks ago that was so rotten the back door hinges had fallen out of the column.

NOHOME
NOHOME UltimaDork
11/30/17 12:23 p.m.

Classic design that has come through the test of time. Love me some 510 resto-mod action and the 4 door does nothing to put me off.

Billy_Bottle_Caps
Billy_Bottle_Caps Dork
11/30/17 2:25 p.m.

Look forward to the build.

wbr911
wbr911 New Reader
11/30/17 3:59 p.m.

Nice to see a 510 on here. Been working on a 72 2 door 510 for the last five years its in at the body work stage. Rust is all repaired doing the final body work before it goes to paint. There are a few places selling body panels for them now i had to make most of the panels for mine. Looks like a cool project what are you plans for her keep her stock or engine swap and suspention

Datsun310Guy
Datsun310Guy UltimaDork
11/30/17 7:00 p.m.

Nice project - I have almost given up on getting a 510 as I really don't want to drop my retirement money on one.

Datsun310Guy
Datsun310Guy UltimaDork
11/30/17 7:02 p.m.

I bought a 1966 Datsun Roadster from a guy that had two roadsters and during the sale he told me the other Roadster was bought by a guy that drove from Toronto to Milwaukee and flat towed the Roadster back pulling it with a Datsun 510.  He said the guy followed up and said it was a really scary tow back.  

75280z
75280z New Reader
11/30/17 10:45 p.m.
maschinenbau said:

Love that Datsun! You're right about their values...almost as crazy as 240Z's. Meanwhile I'm waiting on my 210 Wagon to skyrocket in value...any day now...

Yeah those 210s are totally skyrocketing... I love them. Rather than quote everyone. I will just say thank you.


My plans are to get it back running and driving. Once that is done I will start incrementally working on making the car better. Things to fix:

  • Wheels
  • Brakes
  • Rust Holes
  • Exhaust
  • Suspension
  • Radio (I want some tunes)
  • L20B swap
  • 5 speed swap
  • Fender swaps
  • ????
  • Profit

The bottom line is I want a driver, that I can enjoy and work on. I can easily drive my Z if I need to take this one down for a week or two so all is good. Here are some pictures of the work from that first night.

75280z
75280z New Reader
12/1/17 12:53 a.m.

Log entry:

Project Log (12 Nov 17):

Start Time:

Not Recorded

End Time:

Not Recorded


I got the car home on Sunday evening. It was a solid 10 hour drive, as I kept the speed down a bit. The car towed fantastically. I had a buddy (Jaime) come by and helped unload. We got the car in the garage and situated fairly easily. I ended up using the cars starter to drive the car over the bumps in the trailer. Thank goodness a 1972 Datsun doesn’t have a clutch lock out.

To Do (Daily):

  1. (Done) Get the car home and unloaded

1. Nothing significant to report on

Notes:

  • I didn’t really unload anything from the car, just left it all inside the car, and unloaded the back of the truck
  • I started the Bill of Materials for all the items that came with the car. I didn’t complete it that first night, but it was over $9k worth of parts


75280z
75280z New Reader
12/3/17 10:16 p.m.

Project Log (16 Nov 17):

Start Time: Not Recorded

End Time: Not Recorded

  • Took the parts out of the car, I also sold the Moped to free up cash and make room in the garage
  • Brakes (front and rear) up on the shelves, as well as the rest of the parts
  • Cleaned garage:
    • Both Benches
    • Organized tools, still missing shallow metric socket set, haven’t seen them in MONTHS

Notes: None

Images: None

Links to Timelapse: None

75280z
75280z New Reader
12/3/17 10:18 p.m.

Project Log (18 Nov 17):

Start Time: 1500L

End Time: 1810L


The real work on the car started today at my house. There is a long list of things I would like to get done, but time will tell whether I do get it done or not

To Do (Daily):

  1. Replace Fuel Filter
  2. Pull and replace carburetor
  3. Redo vacuum lines (got done 19 Nov)
  4. Redo fuel lines
  5. Try to start the car
  6. Film intro video for the YouTube series

1. I did not end up replacing the fuel filter, while I have one on hand, when I went to the parts store they did not have one on hand so I delayed replacing the fuel filter for now. I need to get this done though, because the gas in this car is fairly old and I need to ensure that it gets out of there soon.

2. Carburetor work: The new carburetor looks to be brand new. I will need to swap some stuff over to it in order for it to work, such as:

  • Vacuum hoses
  • Vacuum attachments
  • Fuel Lines
  • Throttle attachment

The work took forever on the carburetor. The original nut that held the C shaped piece was a circular nut on a shaft that had a slot for a large screw driver to go across the top. I did not have an appropriate sized flat headed screw driver so I attempted to use anything and everything in my garage to get it loose, including a razor blade, which I immediately sliced my finger with.

I also realized the mounting bolts were a different pattern between the two carburetors which meant I had to also switch the intake manifolds as well. The swapping of intakes after getting the throttle adapter moved started at 1730L,

4-6. Nothing significant to report

Notes:

  • Carburetor Specifics
    • Brand: Weber Down Draft “Redline” 32 36
    • DGAv33b1: 036 15
    • I will keep it on the L20B if/when I swap that, and it came with the car

Old Carb


Old versus new


Took Maybe 3 hours to get this dang thing off!


New versus old manifold

 
New stuff installed

 
Links to Timelapse: 


75280z
75280z New Reader
12/8/17 9:38 p.m.

Project Log (19 Nov 17):

Start Time: 1500L

End Time: 1810L


Car now starts, but definitely runs rough. The new carburetor does help the engine out (Author’s note after the fact: The car was still not running well at all). The brakes don’t work at all. The car came with a new brake master cylinder, but it does not line up perfectly with the existing brakes lines so it needed to be massaged into place. I received a lug nut adapter from my friend today so I can start working on the brakes and wheels. I am going to take off the wheels today.

  • All of the fluids (brake and clutch) are disgusting, and look horrible. Either pure black or a rust color
  • I have been thinking about how to jack up a rusty car, I think I have found ways that won’t put a hole (another one at least) through the floor pan

To Do (Daily): Goal: Get the car idling and the brakes working

  1.  Replace Fuel Filter
  2.  Bleed and Flush Brakes
  3.  Do research on master cylinders
  4.  Redo vacuum lines (got done 19 Nov)
  5.  Run to parts Store
  6.  Understand Vacuum hose requirements on crankcase vent
  7.  Start thinking about fans and relays

1. I still did not change the fuel filter.

2.  I really am dreading this work. So I did not get to it today

3. The master cylinder is not exactly the same and I have read there are check valves that can mess up (lock your brakes or cause them to be mushy depending on whether it is a drum/disc brake)

  • The research I did was fruitful. I decided I would use the new master cylinder because the old was very rusty, and I already have the new one on hand.

4. The vacuum hoses got run, and now the car is idling a bit better (author’s note: Still wasn’t running very well at all)

5. I really needed to get coolant for the car as well as brake fluid I had run out. The overall trip to the parts store cost me about $55.23. I also bought some fuel hose and other things. I kept the receipt and placed it in the tracker.

6. PCV and Crankcase: According to Pg 103 of Chilton’s Datsun Repair & Tune Up Guide (Figure)

  • PCV goes to crankcase
  • Doesn’t appear to be critical if it is not hooked up, it should just pull air
  • Drove a need from the parts store for a vacuum attachment so it can be attached to the carburetor.
  • Author’s Note: Drawing created on original hard copy log

Notes:

  • The lack of exhaust makes it really difficult to run the car any length of time in the garage comfortably. I am usually working on the car during the evening after the kids go to bed, and two kids’ bedrooms are over the garage.

Images: Coming

Links to Timelapse: Coming

nutherjrfan
nutherjrfan Dork
12/8/17 10:25 p.m.

75280z
75280z New Reader
12/9/17 12:04 a.m.

I really do feel that way nutherjrfan.

75280z
75280z Reader
12/12/17 10:34 p.m.

Project Log (19 Nov 17): Part two

Start Time: 2000L

End Time: 2225L


To Do (Daily): None made, just continued work from earlier

  • Replaced brake Master Cylinder, went to bleed brakes, rear passenger’s side bleeder valve broken off. Will have to remove
  • The part run was $55.93. Two biggest items were fuel line and coolant
  • Considered doing the rear disc swap so I don’t have to deal with broken bleeder valve
    • Note: Decided against doing the swap based on the desire to do a bearing change when I do the swap
  • Removed check valve from master cylinder based on internet reading 
  • When installing the Master Cylinder I found metal shavings in one of the check valves
  • Clutch fluid checked, it is disgusting
  • I bench bled the master cylinder

Notes:

  • I am hoping to get it driving under its own power by next Saturday under its own power (25 Nov 17)
  • Thanksgiving is this week, doubt I will get much accomplished prior to Thanksgiving.

Images:

Links to Timelapse: None

75280z
75280z New Reader
12/12/17 10:39 p.m.

Project Log (22 Nov 17):

Start Time: 1700L

End Time: 2300L


Introduction:

Received the new wheel cylinders from O’Reilly’s yesterday. I decided to get the car driving before swapping the brakes. I also didn’t want to do the rear wheel bearings yet, and those should really be done while you are swapping the rear brakes.

  • Took off the wheels for the rear wheels for the first time today. The rear has a spacer on it, perhaps to push it out to align with the front?
    • Author’s Note: It was needed, which I learned when I put it all back together
  • I am sure you noticed that I have not been accomplishing everything on my to do lists, which is a common theme in my life, I decided it is most important to get the car starting and stopping before I leave for two weeks.

To Do (Daily):

  1. Install Passenger’s rear wheel cylinder
  2. Install Driver’s rear wheel cylinder
  3. Bleed Rear Brakes
  4. Flush Brakes
  5. Re-Install Wheels
  6. Check Idle RPM
  7. Clean the backseat (later addition)

1. The brakes came apart easily. The brake line did not come apart easily. I heated the fitting at least two times and hit it with penetrating fluid to get it to break loose. I still spun off the nut and will eventually need to replace that hardline (when I replace the rear drums with discs). I did not want to use the vice grips to break it loose, but it definitely forced my hand. Again it will get swapped when I swap the brakes.

  • The brakes are pretty easy to disassemble , just remember to remove the hand brake cable, and use a bolt to pop the drum loose
  • I had to reinstall the wheel cylinder because I forgot to run the rubber boot at least once

2. Took off the wheel and most of the brake parts very easily. This is when I determined the spacer was actually needed on the wheel; that is unfortunate.  

  • When attempting to remove the hardline, I broke it. 
  • I attempted to heat and cool the hard line at least two times. The nut was rusted to the hard line to bad and it finally broke the hardline about an inch from the nut
    • This is what happens when you don’t soak parts overnight
  • Just realized after I cleaned up my tools that I can still put the whole thing back together without that hard line, realized this @ 2131L. Hope you get a kick out of me realizing that
  • The brakes went back together way easier on the driver’s side than on the passengers

3.  By the time I broke the hard line all of the parts stores were closed so there was no way to bleed the brakes

4. I was able to flush the rear brake lines even with the giant hole in the brake line

  • The fluid came out a terrible rusty color

5. When re-installing the wheels I realized the spacers were needed to run the wheels, but more importantly the spacers leave almost no thread engagement with the lugs and studs that are currently on the car

  • This to me is a danger and I will be working to fix this very soon

6. I decided not to start to determine the idle RPM tonight, will do that tomorrow on Thanksgiving

7. Cleaned the backseat with the same leather cleaner I used on the Buick Roadmaster Estate Wagon it really cleaned up the back seat upholstery quite well.

Notes:

  • My kids Olivia and Cooper helped today doing the bleeding. Cooper actually helped quite a bit today when I was installing the passenger’s wheel cylinder I hope he learned something I explained how brakes worked with him.
  • Took a break from 1900-2000L
  • I measured the rear cross member pass-through for the exhaust. The inner diameter is 2.5”. That means that I can comfortably run a 2.25” diameter exhaust.
    • The current exhaust is 1.5” diameter
  • Checked under the back seat and brought of the center seat belt buckles that were missing
  • I am quite pleased with the work done today.

Images:

Links to Timelapse?

75280z
75280z New Reader
12/12/17 10:42 p.m.

Project Log (23 Nov 17):

Start Time: 0900L

End Time: 1215L


It is Thanksgiving today. I checked online and there was an AutoZone open a few miles from my house. While I don’t really love those shops having to open, I most certainly took advantage of it.

To Do (Daily):

  1. Bleed rear brakes
  2. Flush old fluid from front brakes
  3. Bleed front brakes
  4. Flush old fluid and bleed clutch
  5. Adjust and set up idle

1.  AutoZone did not have just the line to bend and cut to purchase in my size (3/16th Inch). So I bought a premade length with flares and fittings. It was a 20” line which is a bit long. I added extra bends to make it work. It attached very easily and should work well enough until I swap in the new rear brakes. Total cost was about $5.50

  • I would like to redo all the lines in the car in the future to ensure I have no issues in the future

2.  Nothing really to it. Both bleeder screws worked great. The fluid came out very rust colored, but was much easier than the rears.

3. This was also very simple took about 15 minutes per side. I believe one of the front brakes is a bit frozen, but with some use I think it will start working better. If the brakes don’t start working better I will look for a caliper rebuild kit for the front. Usually they aren’t very expensive on Rock Auto

4. Cleaned out the clutch master cylinder, it was pure black. Replaced the fluid and tried to bleed at the slave cylinder. The bleeder valve was completely corroded closed. So I removed the bleeder valve completely and it still would not push fluid out. I unclogged it with a tooth pick and then when the fluid started coming out I replaced the bleeder valve

5. I spent time reading Weber’s website to determine steps to correctly set idle. According to the website: (please read all before starting)

  1. Back idle screw to where it isn’t touching throttle
    1. Actuate throttle to ensure it isn’t touching throttle
    2. Turn Back until touching throttle stop
    3. Turn additional 1.5 turns
  2. Adjust fuel idle mixture screw all the way in (Do not over tighten)
    1. Turn back out 2 full turns
  3. Start car
  4. Adjust idle mixture screw in/out until car is running smoothly (by ear tuning)
  5. Adjust idle speed screw to desired engine speed
    • Note: Prop open choke, check timing after, enjoy life
  • I have alluded to this several times while writing. It was at this point I determined I had switched cylinder 3/4 spark plug wires with each other. Holy cow this thing runs MUCH better on all 4 cylinders rather than just two.

Notes:

  • Adjusted push rod for the brakes, I had forgot to tighten the jam nut
  • The wheels have to go. The spacers really make this car unsafe in my opinion
  • I am going to work to hook up old exhaust before moving the car out of the garage, I also need to burn off the old gas before long so I can get newer nice fuel in it
  • There seems to be a coolant leak (a new task!) and I don’t know if the thermostat is working (thermostat)
  • Front passenger’s dust cap is missing, and that is no bueno
  • I found good spots for the jack stand

Images:

The exact moment I broke the line


Links to Timelapse: 


75280z
75280z New Reader
12/27/17 12:13 a.m.

I have not been idle, but holy cow work has been crazy lately so getting videos edited and my super long internal monologues typed takes time. I actually have the next video done too. I will be typing up the notes over the next week and will post up soonish.
 
Project Log (24 Nov 17):
Start Time: 0930L
End Time: 1200L
 
Today was a light day. I just mainly cleaned the garage and worked to attach the exhaust. I wanted to get this car out of the garage so the wife could park in the garage while I was away for work for a few weeks. Mission Accomplished.
 
To Do (Daily):
1. Hook up exhaust
2. Clean up garage
3. Measure wheels and brakes
 
1. The exhaust was fairly easy to hook up. I am grateful that my pack rat nature didn’t allow me to throw out old Datsun bolts over the years. I was able to only attach with 2/3 bolts. I also attempted to use the exhaust gasket that came in the kit. It did not fit, so I removed and set to the side, as it would have definitely leaked. The circular holes were not big enough on the gasket
 
2. Put away tools, swept, and put up Christmas lights. Found the bolts for the Datsun 240z seats that came with the 510; will hopefully sell those this weekend.  
 
3. Measured offset/backspacing as well as brake fitment for FutoFab front brakes. Current wheel backspacing is 5.25” with the spacer the backspacing is right around 4.8”.
  - I am not comfortable with the wheels running that close to the suspension.
  - Planning on getting the offset closer to the 4.5” point (with no spacer, I don’t want to run a spacer)
  - Brake assembly is massive w/ needed inside room of ~14” total. A 16” wheel is probably a safer bet than a 15”
 
Notes:
  - I did get the seats sold that weekend. One less thing in the garage and more money to fix the little things in the project.
 
Images: No images really today. The timelapse will have to do.
 
Timelapse: 


sethmeister4
sethmeister4 SuperDork
12/27/17 8:29 a.m.

Oh man, it's about time we had a 510 build on here!  These are one of my favorite cars, and I'll be following along for sure!

loosecannon
loosecannon Dork
12/27/17 8:59 a.m.

Love it, posted so I get updates

75280z
75280z New Reader
12/28/17 11:47 a.m.

Thank you for the kind words. This spring should br a flurry of activity. I am lagging a few weeks behind by the time I get things typed and videos made. That being said I got the car tagged today so I can actually drive the car!

wvumtnbkr
wvumtnbkr GRM+ Memberand UltraDork
12/28/17 12:25 p.m.

Yay!


Cool project.


Can we get some rust pics?  It looks fairly good from here...

75280z
75280z New Reader
12/28/17 5:13 p.m.

In reply to wvumtnbkr :

I will see what I can do!

1 2 3 ... 6

You'll need to log in to post.

Our Preferred Partners
TUorGH9SEKNYzrfKB7UTEXyab5vuCc06UvKVT55sH9WgGw78AjkAORpRos4HAuok