


berkeleying brilliant.
I am blatantly stealing this.

berkeleying brilliant.
I am blatantly stealing this.

Me too. Should have all the parts laying around!

Pretty sure it's all Mad's fault. I've had the sink in for almost a year and haven't had any urge to make it better until he started talking about kitchen sprayers.
We should probably send mad a thank you card then. With pictures of our sprayers.
And the faucet is going to be mounted to a 2x6. Can't think of anything better or cheaper.
Edit: it was vwguybruce. Thats who we address the cards and Lowe's receipts to.
weekly update time:
didn't spend no money, so budget remains the same.
first up, I started by finishing the majority of the workbench top. pretty much, just around the sink. still have to create the final edge, and install the sacrificial layer.
then I got to the fun stuff. first up was building the shelf in the cabinet for fluids. used 3/4 OSB chunk and some 1.5 strips of 3/4 pine left over from making face frames. then, loaded the cabinet. this cabinet already had shelf pin holes drilled throughout, and I had some leftover shelf pins from something at some point. it was more amazing that I actually found them than having them.
[URL=http://s54.photobucket.com/user/dusterbd13/media/20150924_165723_zpsrk5czyxn.jpg.html] [/URL]
[URL=http://s54.photobucket.com/user/dusterbd13/media/20150924_165712_zpsvonvv5cb.jpg.html]
[/URL]
[URL=http://s54.photobucket.com/user/dusterbd13/media/20150924_165712_zpsvonvv5cb.jpg.html] [/URL]
working my way down, I used the shelf that was included with the cabinets for the next cabinet with shelf pin holes. loaded that with my specialty tools that are in cases. (pulley puller, mastercool, dremel, etc.) no pictures. use your imagination.
after that, I decided to tackle the conversion of false drawer fronts to actual drawers. I was asked to make some detailed posts about this, so here goes to the best of my ability.
first, remove the false drawer fronts. sit them aside for later. you'll need them. mine were held in with a couple of crappy brackets and screws. I saved the screws, tossed the brackets.
[URL=http://s54.photobucket.com/user/dusterbd13/media/20150919_134605_zps0hnzratm.jpg.html] [/URL]
you are now left with a pair of rectangular holes in your face frame. grab the tape measure. measure length, width, and height. subtract 1 inch from all these measurements. you now have the outside dimensions of your drawers.
I wont go into building drawers in detail, plenty of guys have explained this a lot better than me. basically, its a dado'd slot to fit a bottom in four pieces of wood that are then joined together. I used scrap hardboard for the bottoms, and leftover cull ply from my storage door for the sides. I also cut the dado on my AMF dewalt radial arm. that was scary, but cool at the same time. it did really well, but needs a better fence before I try it again. held it all together with pocket screws and glue.
heres the completed drawers.
[URL=http://s54.photobucket.com/user/dusterbd13/media/20150925_182736_zps6i4pbbko.jpg.html] [/URL]
[URL=http://s54.photobucket.com/user/dusterbd13/media/20150925_182727_zpsj705e7d2.jpg.html]
[/URL]
[URL=http://s54.photobucket.com/user/dusterbd13/media/20150925_182727_zpsj705e7d2.jpg.html] [/URL]
after this, its time to get the slides mounted. now, they make a plastic bracket that slides over the end of the slide and screws to the back of the cabinet. would have been 20 bucks for the pair for this pair of drawers. I aint got 20 bucks right now, so plan b.
plan b was to make a spacer/riser block. the distance between the slides at the face frame was 2 inches. so the spacer/riser needed to be 2 inches thick, and hang down 7 inches to give me a level drawer slide. made it from a scrap of 1/2 ply and scrap 2x6. pocket screwed to the workbench top, and of course, glued. I then installed the slides.
[URL=http://s54.photobucket.com/user/dusterbd13/media/20150925_183700_zps6aosn38z.jpg.html] [/URL]
[URL=http://s54.photobucket.com/user/dusterbd13/media/20150925_183703_zpslbisno3x.jpg.html]
[/URL]
[URL=http://s54.photobucket.com/user/dusterbd13/media/20150925_183703_zpslbisno3x.jpg.html]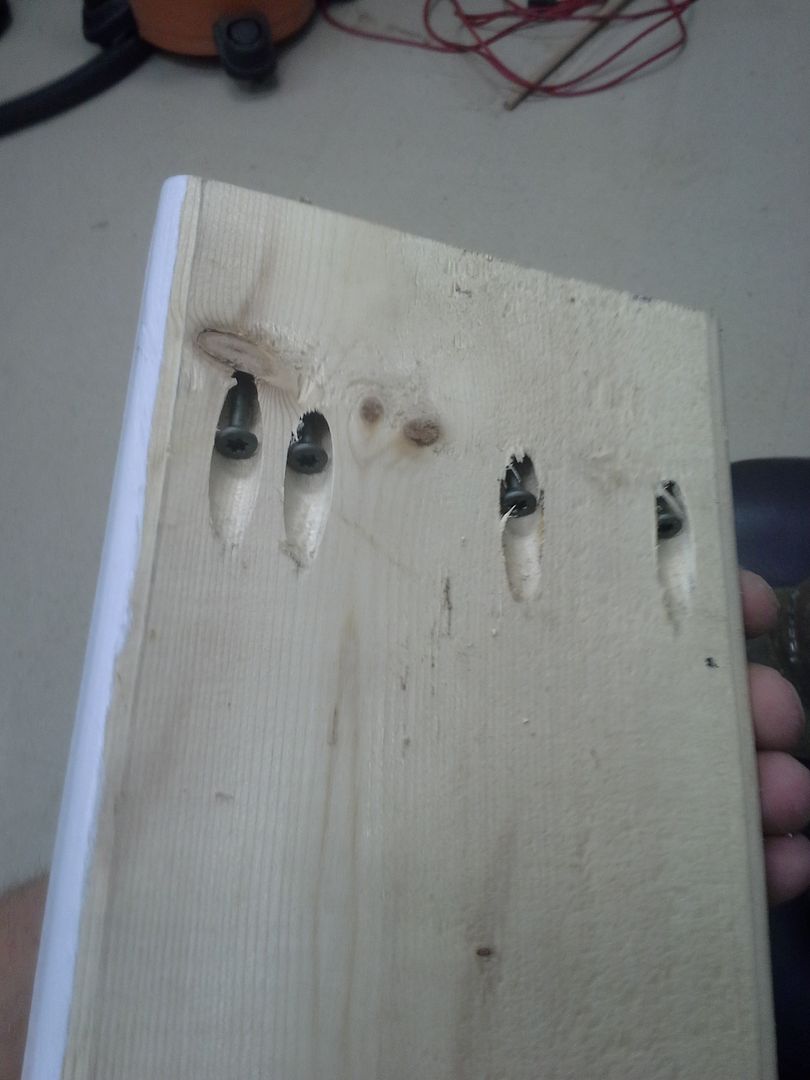 [/URL]
[URL=http://s54.photobucket.com/user/dusterbd13/media/20150925_185336_zpsn1hxdql3.jpg.html]
[/URL]
[URL=http://s54.photobucket.com/user/dusterbd13/media/20150925_185336_zpsn1hxdql3.jpg.html]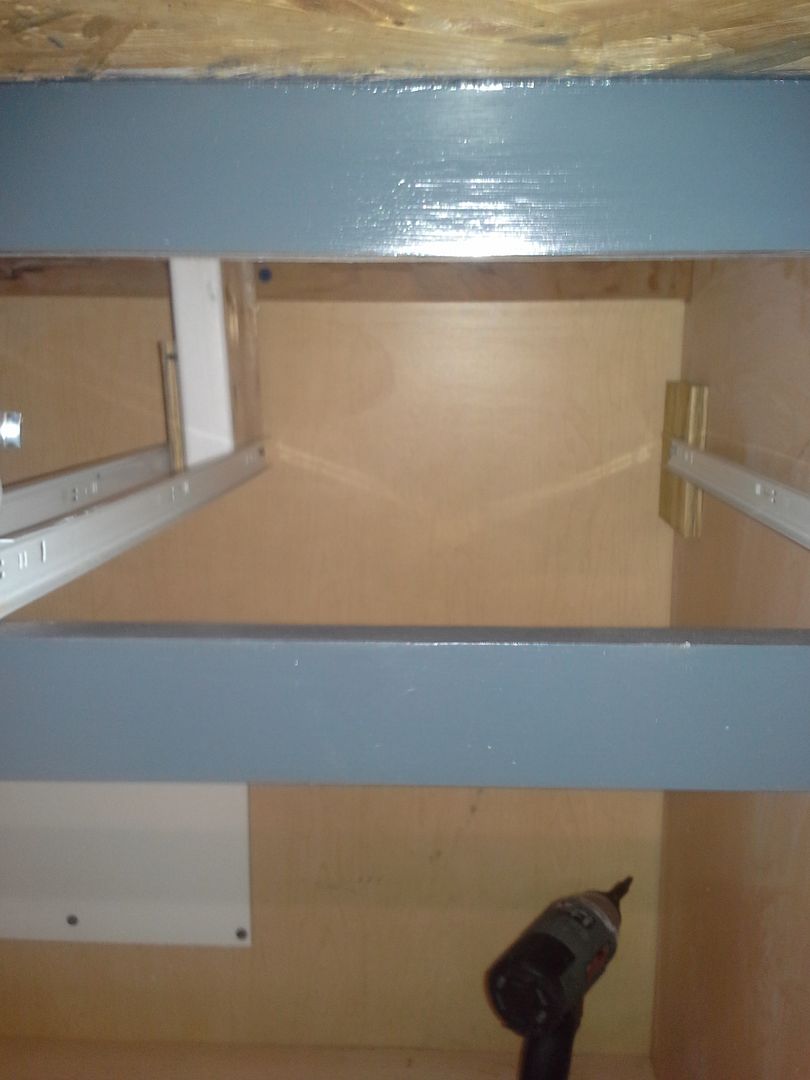 [/URL]
[URL=http://s54.photobucket.com/user/dusterbd13/media/20150925_190905_zpsqcutu9il.jpg.html]
[/URL]
[URL=http://s54.photobucket.com/user/dusterbd13/media/20150925_190905_zpsqcutu9il.jpg.html]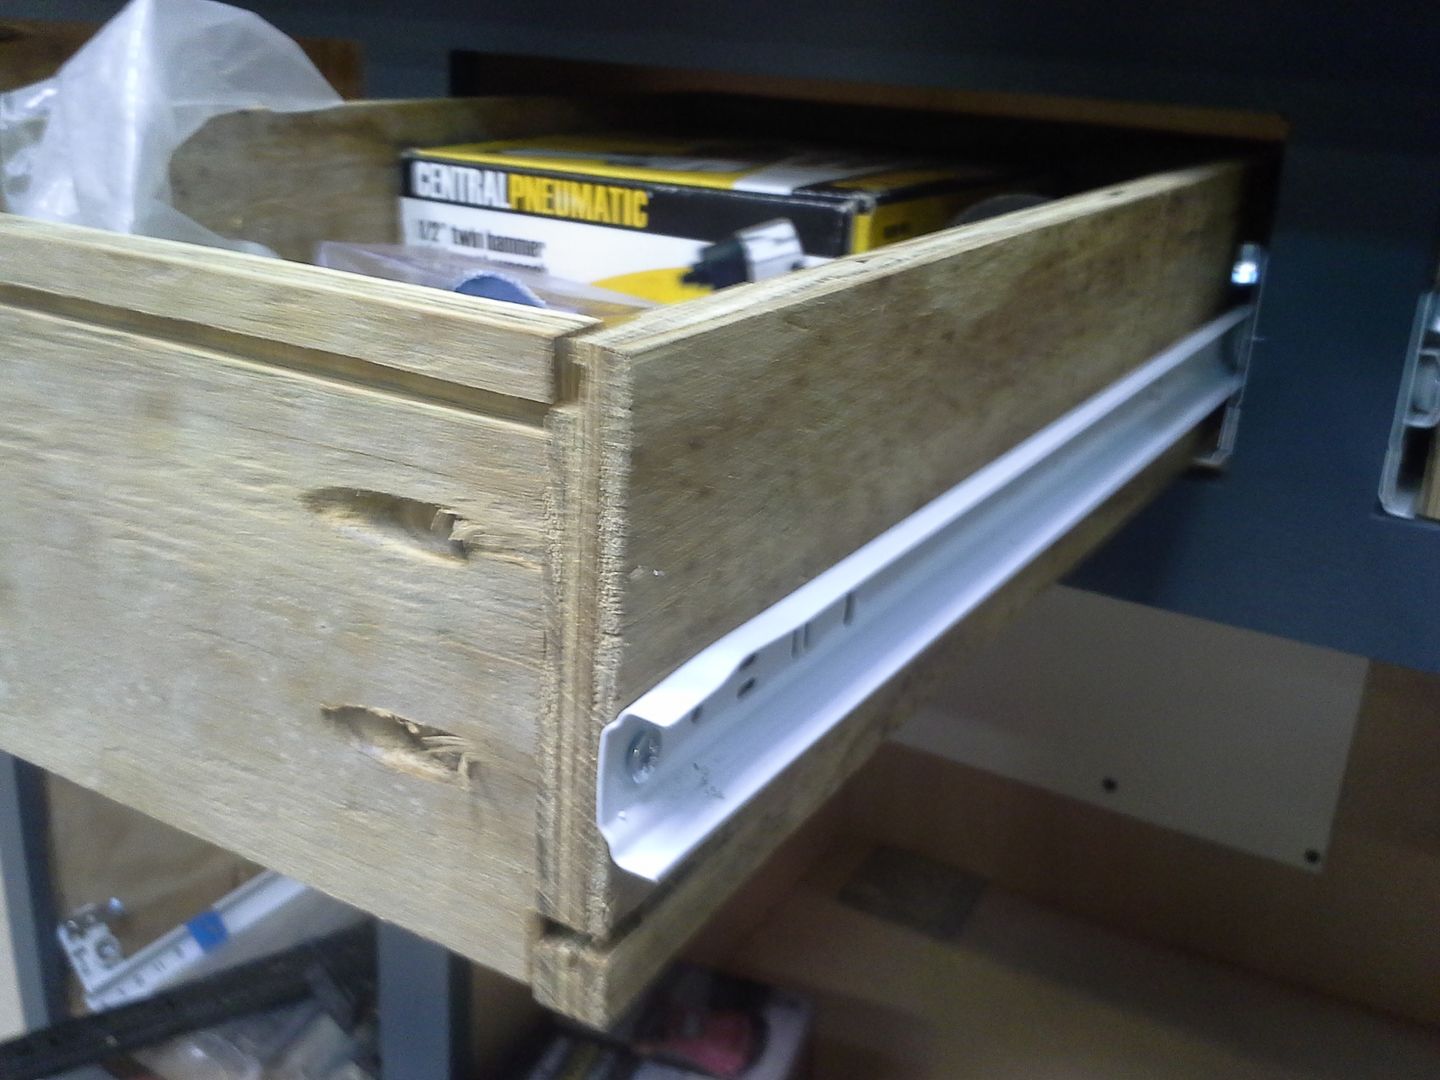 [/URL]
I then loaded up the drawers. one is air tools, the other is flashlights and fastener-ing stuff (staple gun, pop rivets, push pins, zip ties, etc)
[URL=http://s54.photobucket.com/user/dusterbd13/media/20150925_190910_zpsndwjoyug.jpg.html]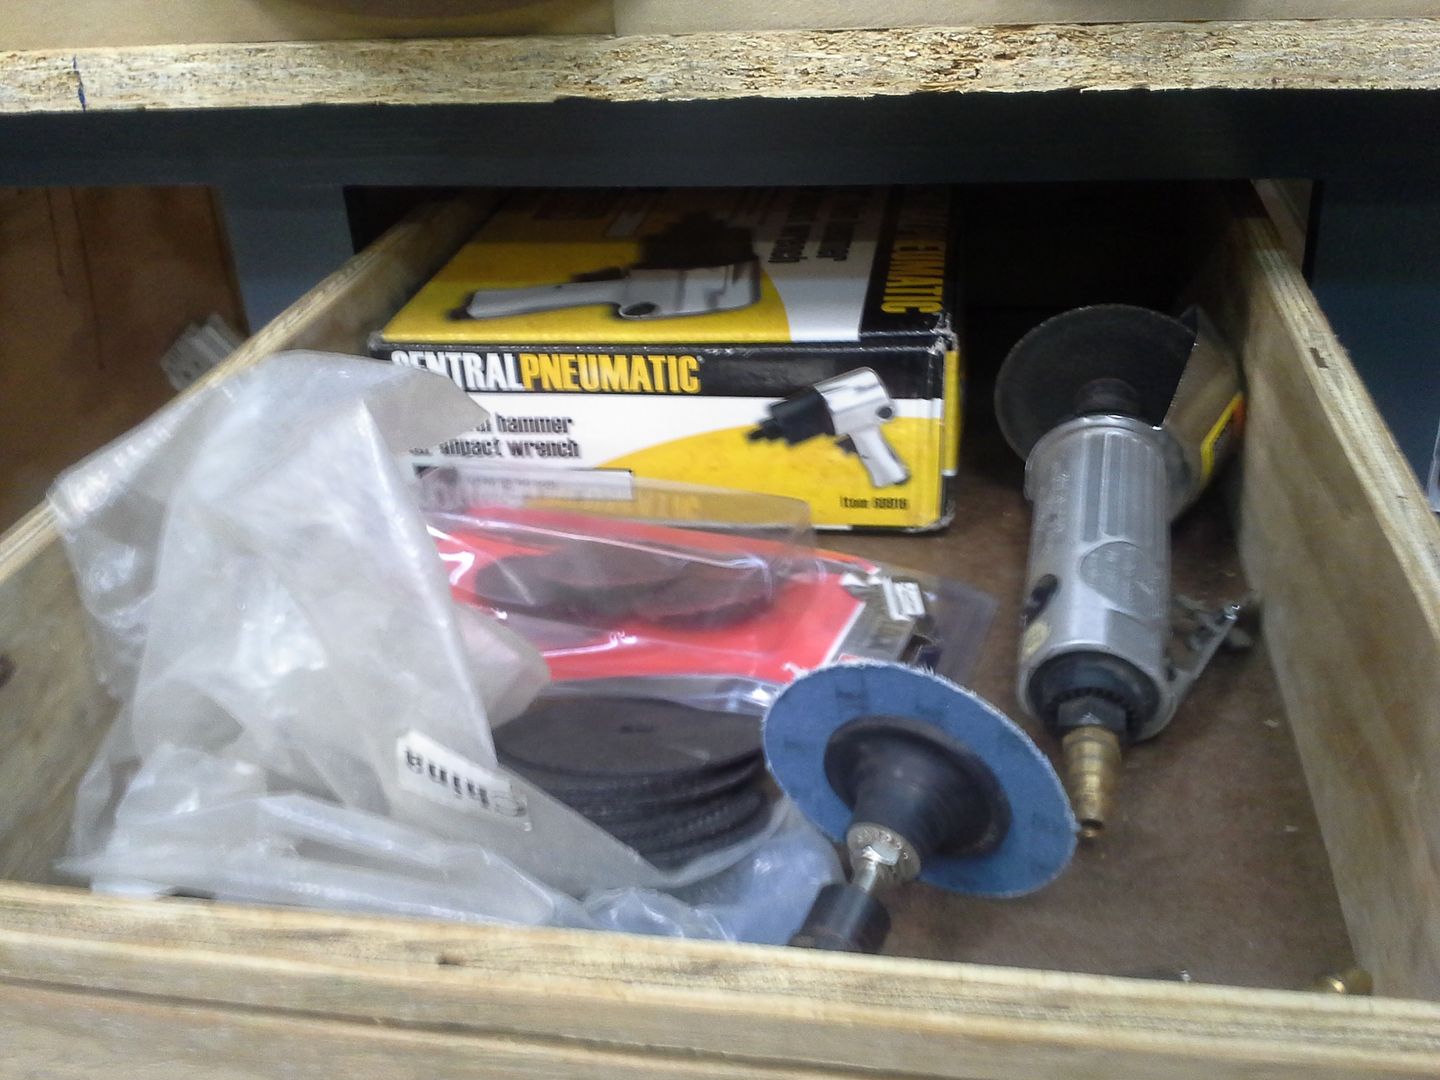 [/URL]
[URL=http://s54.photobucket.com/user/dusterbd13/media/20150925_190917_zpsw8v9sb6l.jpg.html]
[/URL]
[URL=http://s54.photobucket.com/user/dusterbd13/media/20150925_190917_zpsw8v9sb6l.jpg.html]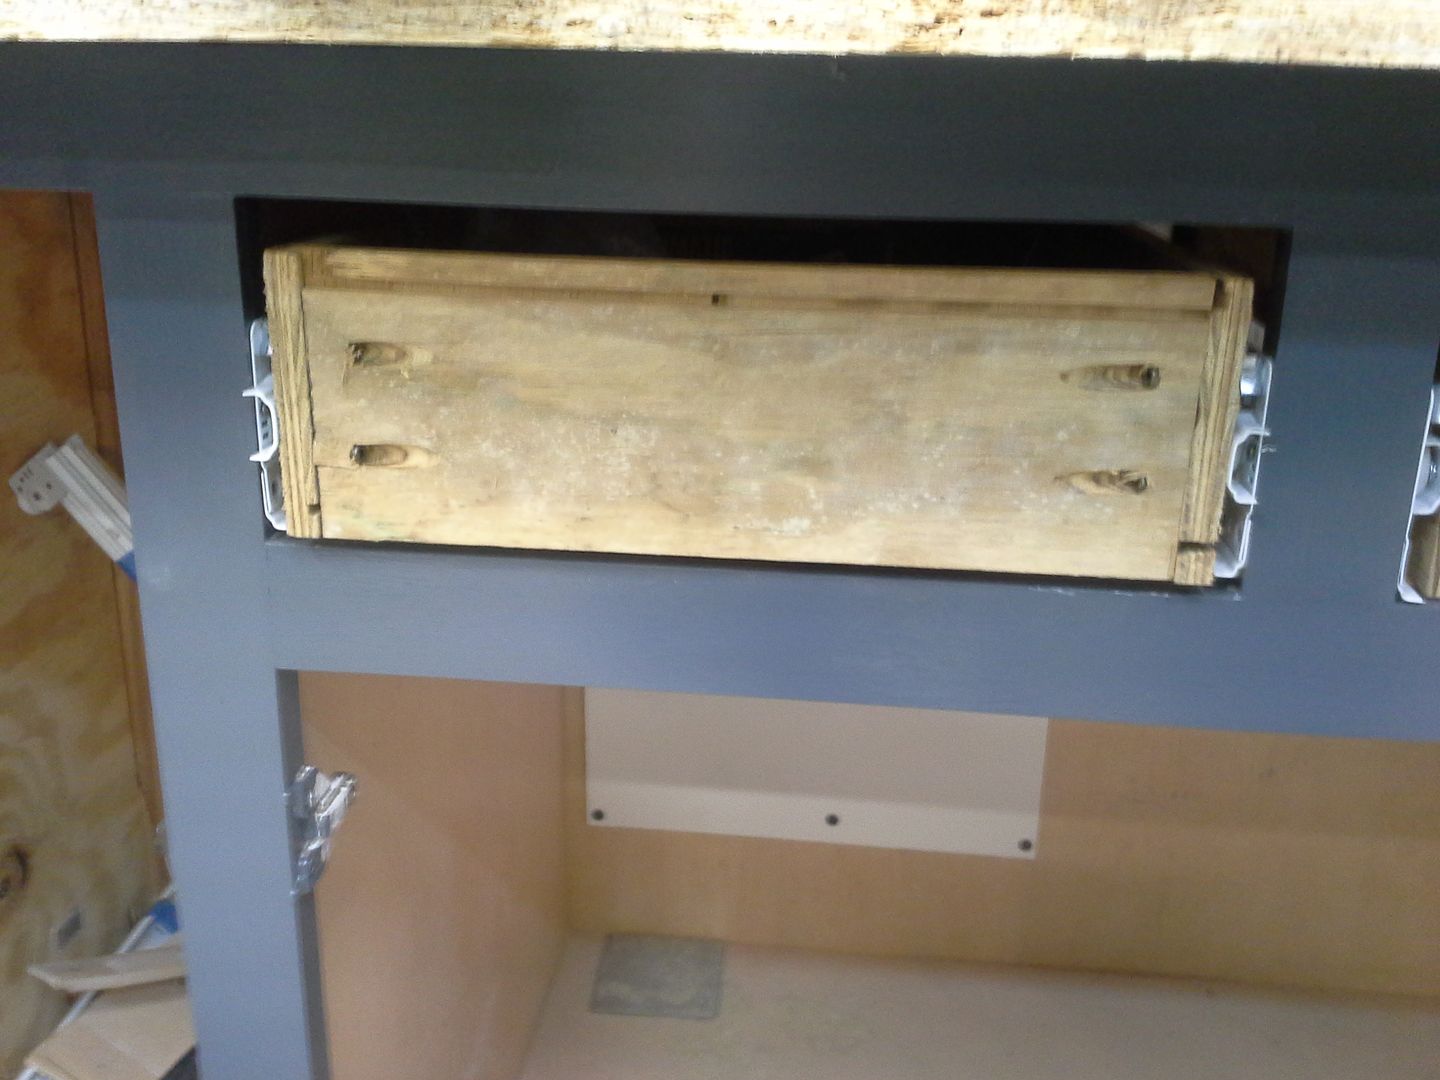 [/URL]
I later eyeballed the original false drawer fronts and installed them, making the drawers look like they started there. and that's how you turn false drawer fronts into real drawers!
up next was continuing to use up materials I had on hand, and make homes for things.
first was my jack stands. they've always lived underfoot, under bench, etc. generally messy and in the way, but an absolute necessity in my shop. I had a plan.
1.5 wide chunks of furring strips, screwed and glued to 3/4 OSB, installed in a cabinet. on drawer slides.
[URL=http://s54.photobucket.com/user/dusterbd13/media/20150926_124134_zps79ep1iqi.jpg.html]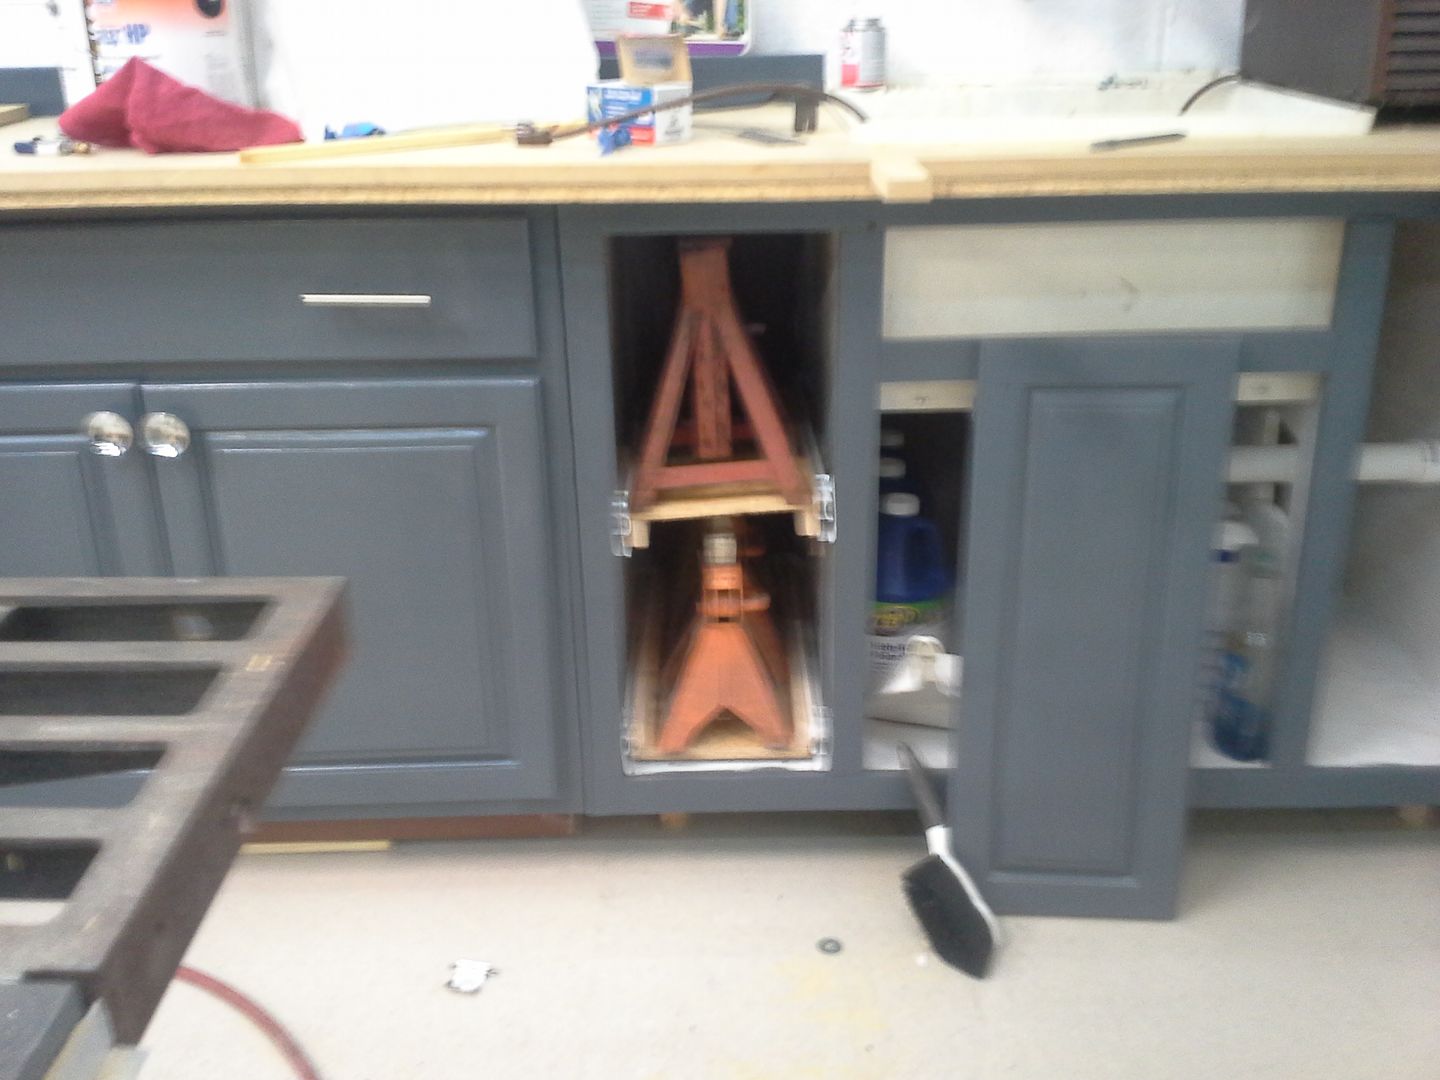 [/URL]
[URL=http://s54.photobucket.com/user/dusterbd13/media/20150926_124147_zpsghytywiq.jpg.html]
[/URL]
[URL=http://s54.photobucket.com/user/dusterbd13/media/20150926_124147_zpsghytywiq.jpg.html]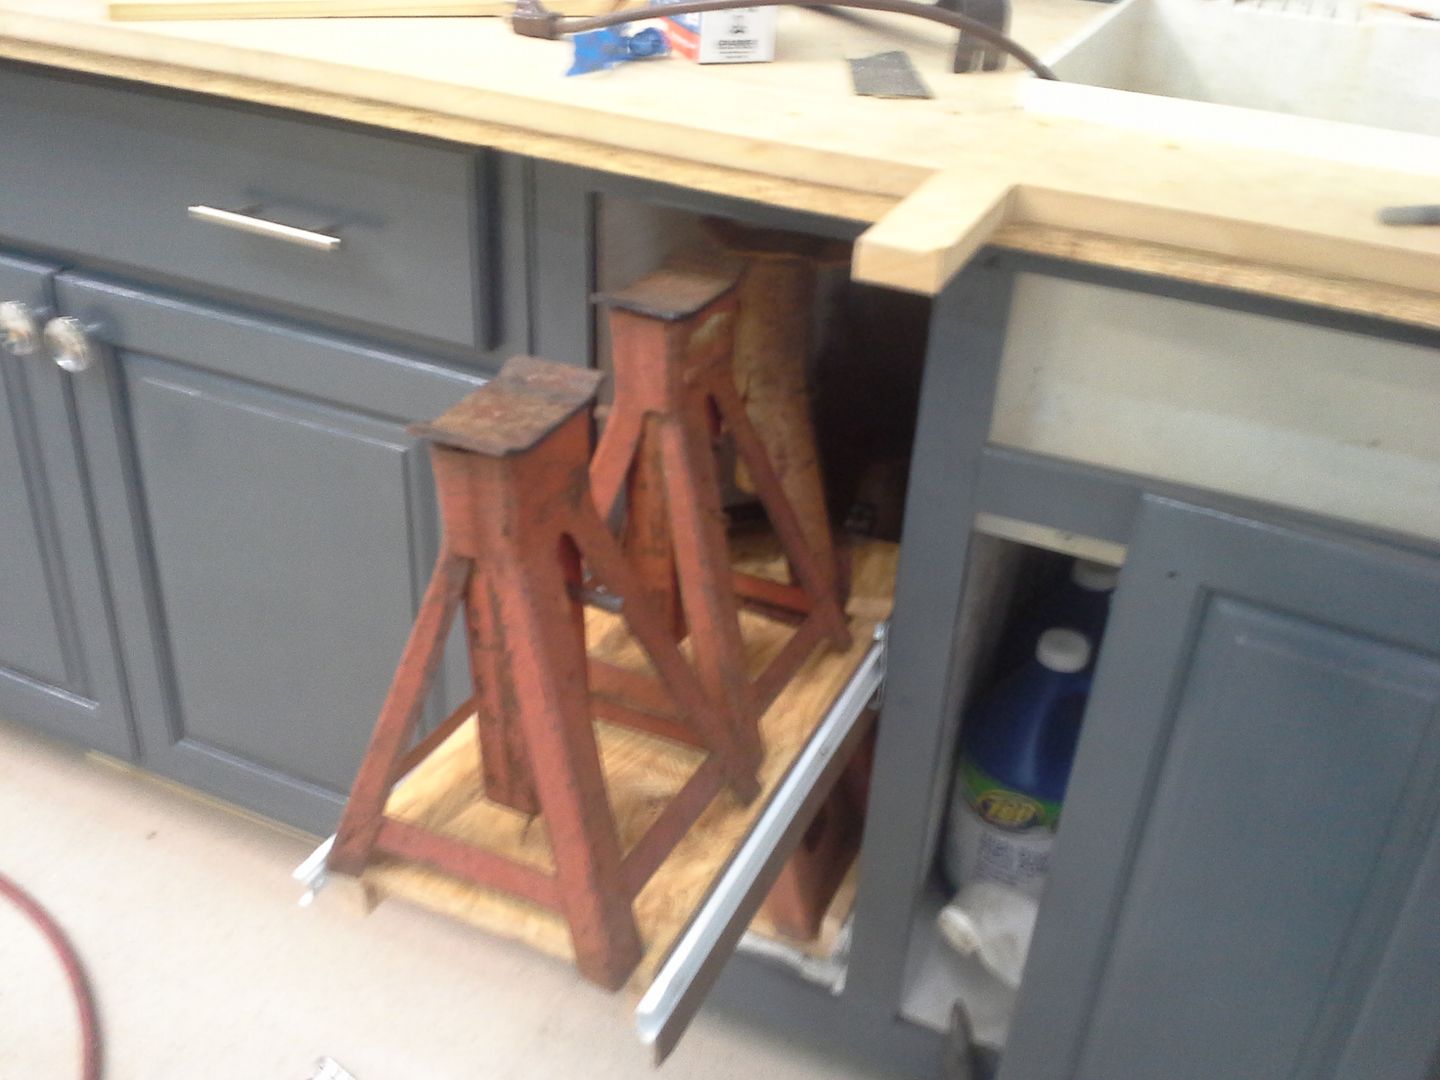 [/URL]
added a leftover door on leftover hinges that came with my free cabinets. hated it and ripped it off pretty quickly.
[URL=http://s54.photobucket.com/user/dusterbd13/media/20150926_132016_zpsfqxlu0nl.jpg.html]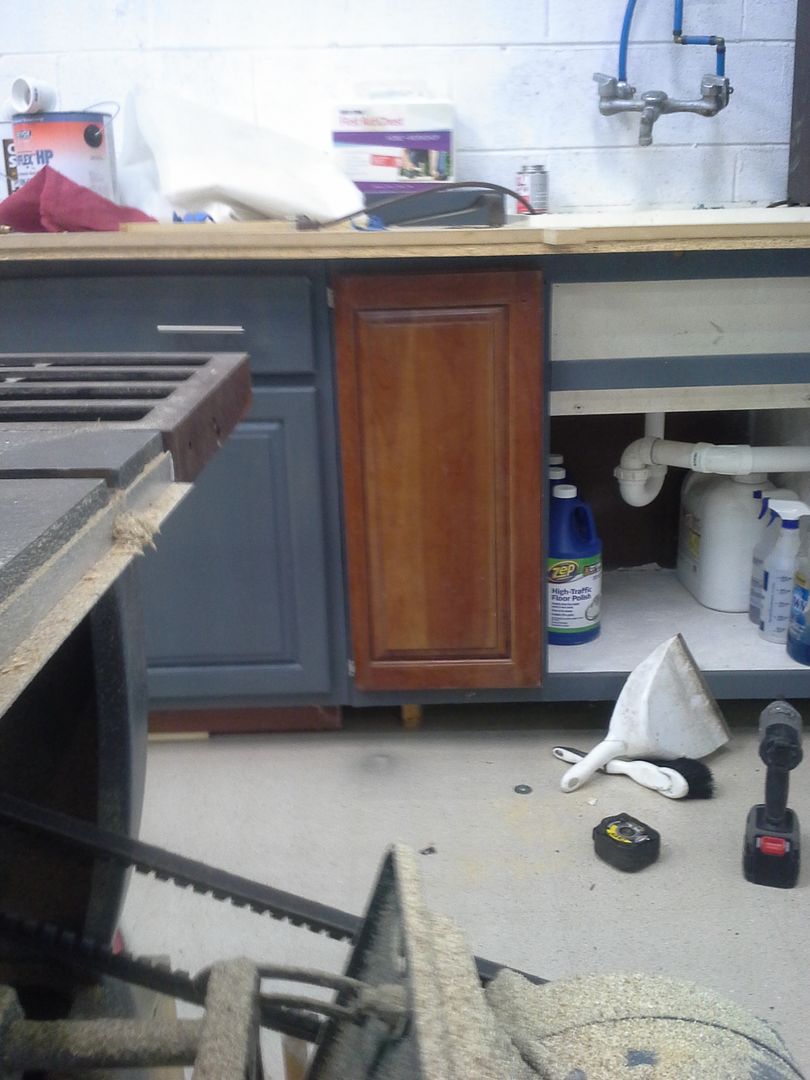 [/URL]
[URL=http://s54.photobucket.com/user/dusterbd13/media/20150926_132028_zpsayx2zosv.jpg.html]
[/URL]
[URL=http://s54.photobucket.com/user/dusterbd13/media/20150926_132028_zpsayx2zosv.jpg.html]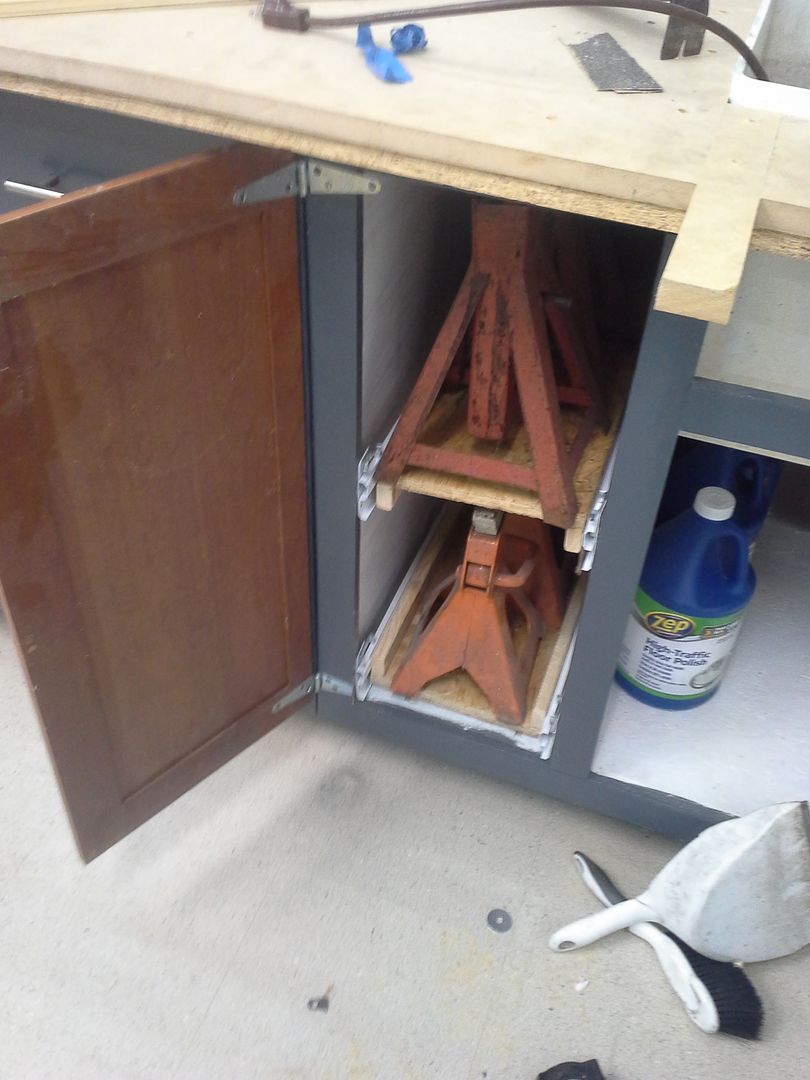 [/URL]
somewhere in here, I started installing hardware. you all remember the drawer pulls I got from habitat. also hanging out in my shop was some nifty vintage hardware. scored this stuff from a warehouse clean out sale with a bunch of other crap. there was a box with a mortising attachment and a dial-a-dado blade (new in package from the 70's!) in a kitty litter pan full of stuff. asked how much, and guy said $5 for the whole pan. I bought it. in the pan was three boxes of brand new hinges, and a couple of sheets of door pulls. near as I can tell from the artwork, this stuff is mid 50's to early 60's vintage. which is perfect for this shop. I may need to source more of the door pulls though.
anyway, nifty vintage stuff:
[URL=http://s54.photobucket.com/user/dusterbd13/media/20150926_080232_zpsmfckgmtm.jpg.html]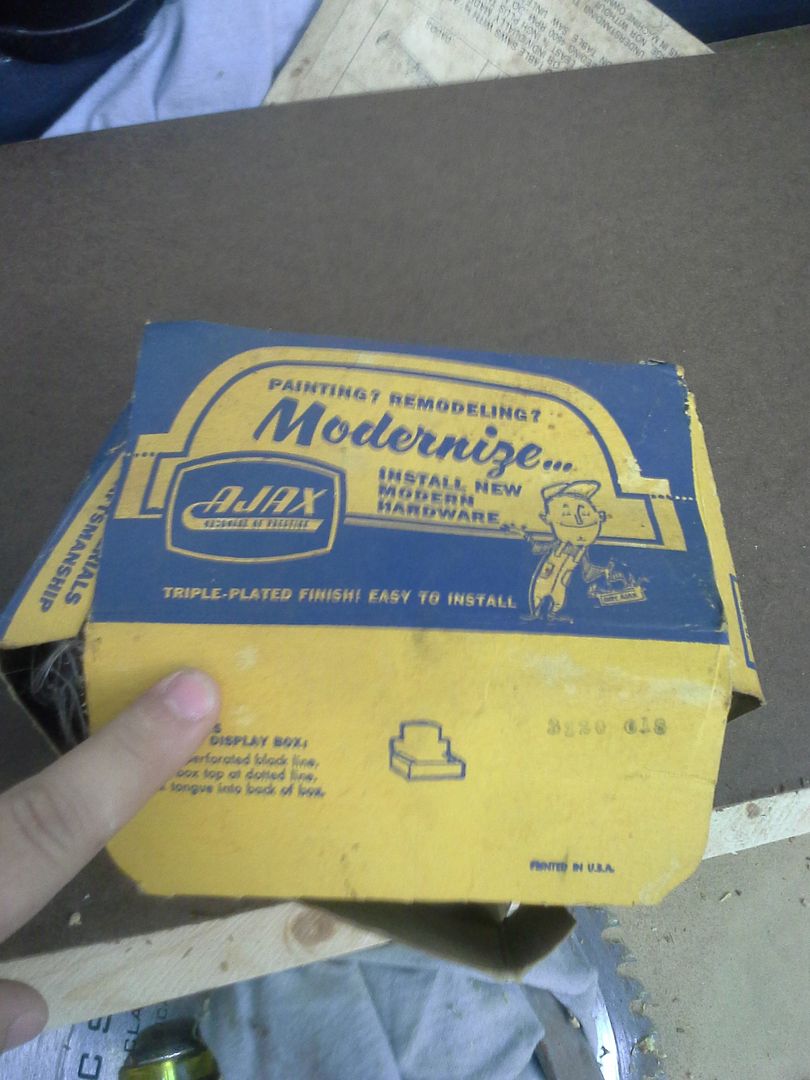 [/URL]
[URL=http://s54.photobucket.com/user/dusterbd13/media/20150925_193403_zpscfk5wadk.jpg.html]
[/URL]
[URL=http://s54.photobucket.com/user/dusterbd13/media/20150925_193403_zpscfk5wadk.jpg.html]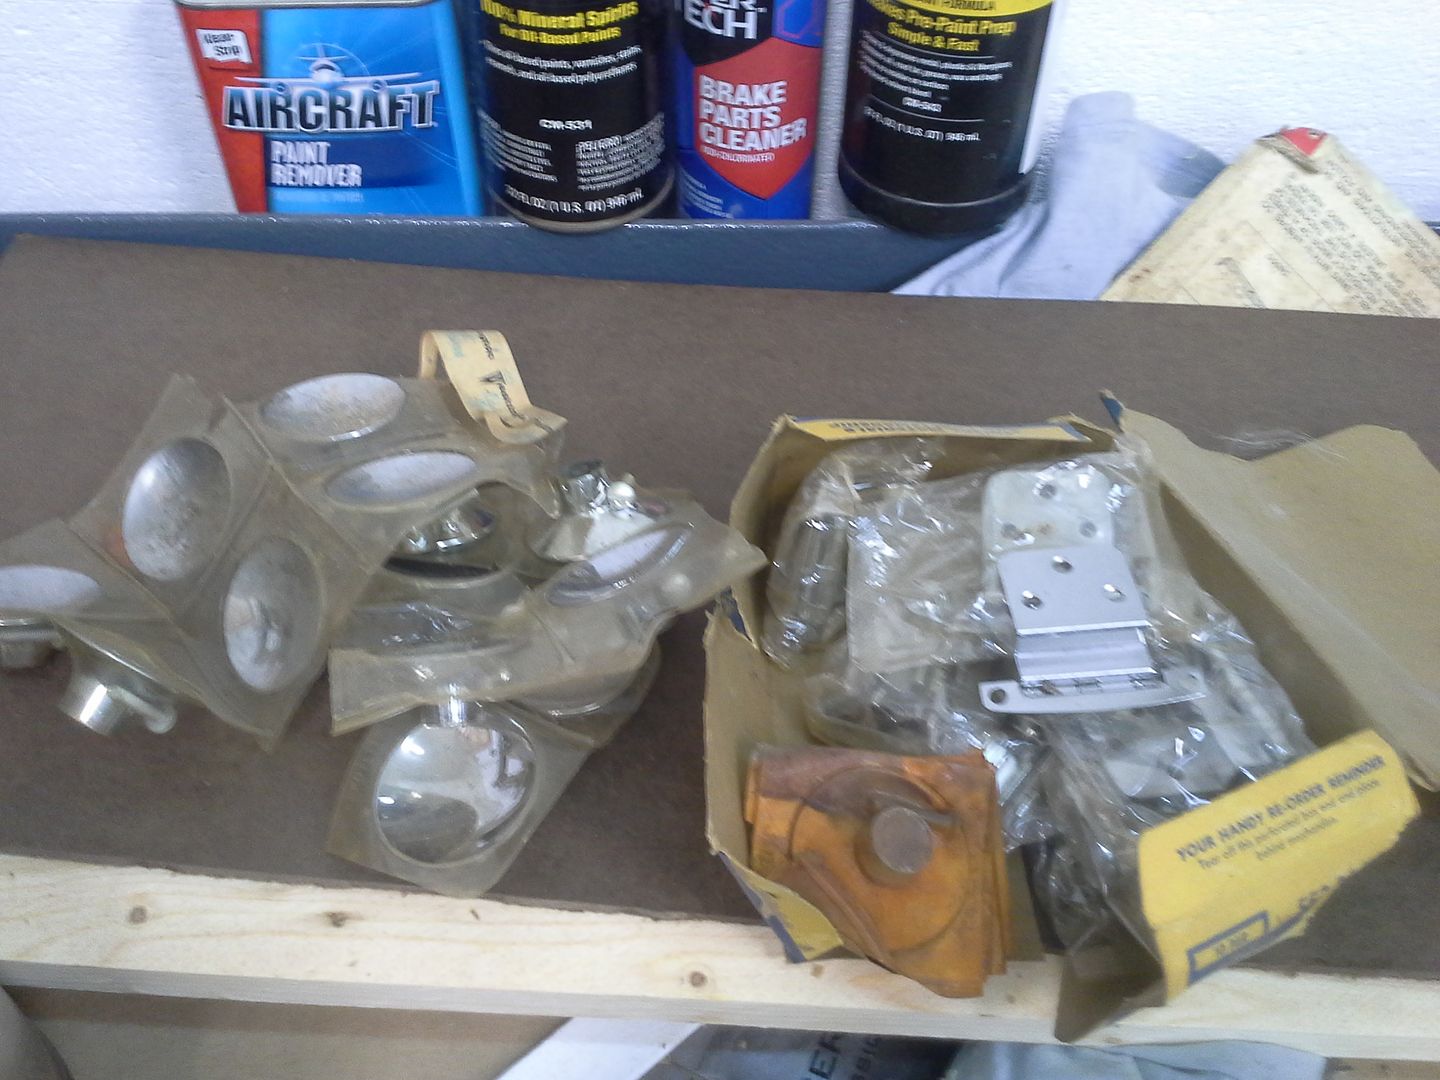 [/URL]
[URL=http://s54.photobucket.com/user/dusterbd13/media/20150926_080215_zpscxiqxmtd.jpg.html]
[/URL]
[URL=http://s54.photobucket.com/user/dusterbd13/media/20150926_080215_zpscxiqxmtd.jpg.html]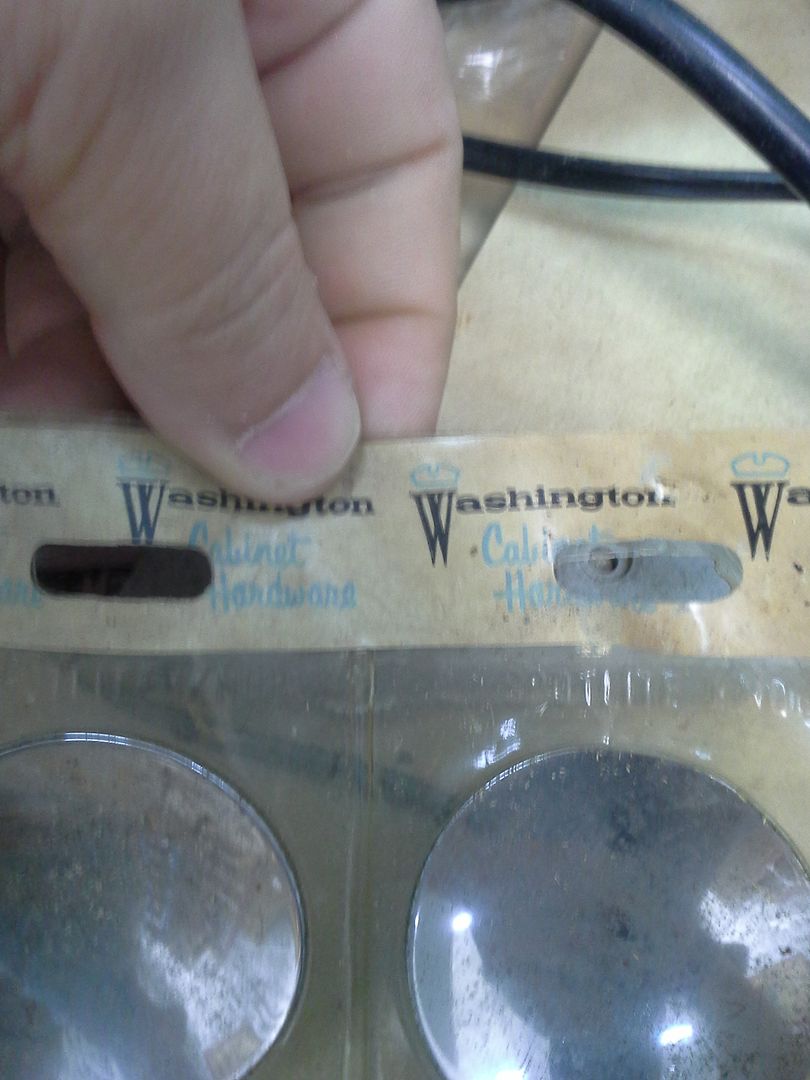 [/URL]
and nifty vintage stuff installed:
[URL=http://s54.photobucket.com/user/dusterbd13/media/20150925_193839_zpsty4pcnyt.jpg.html]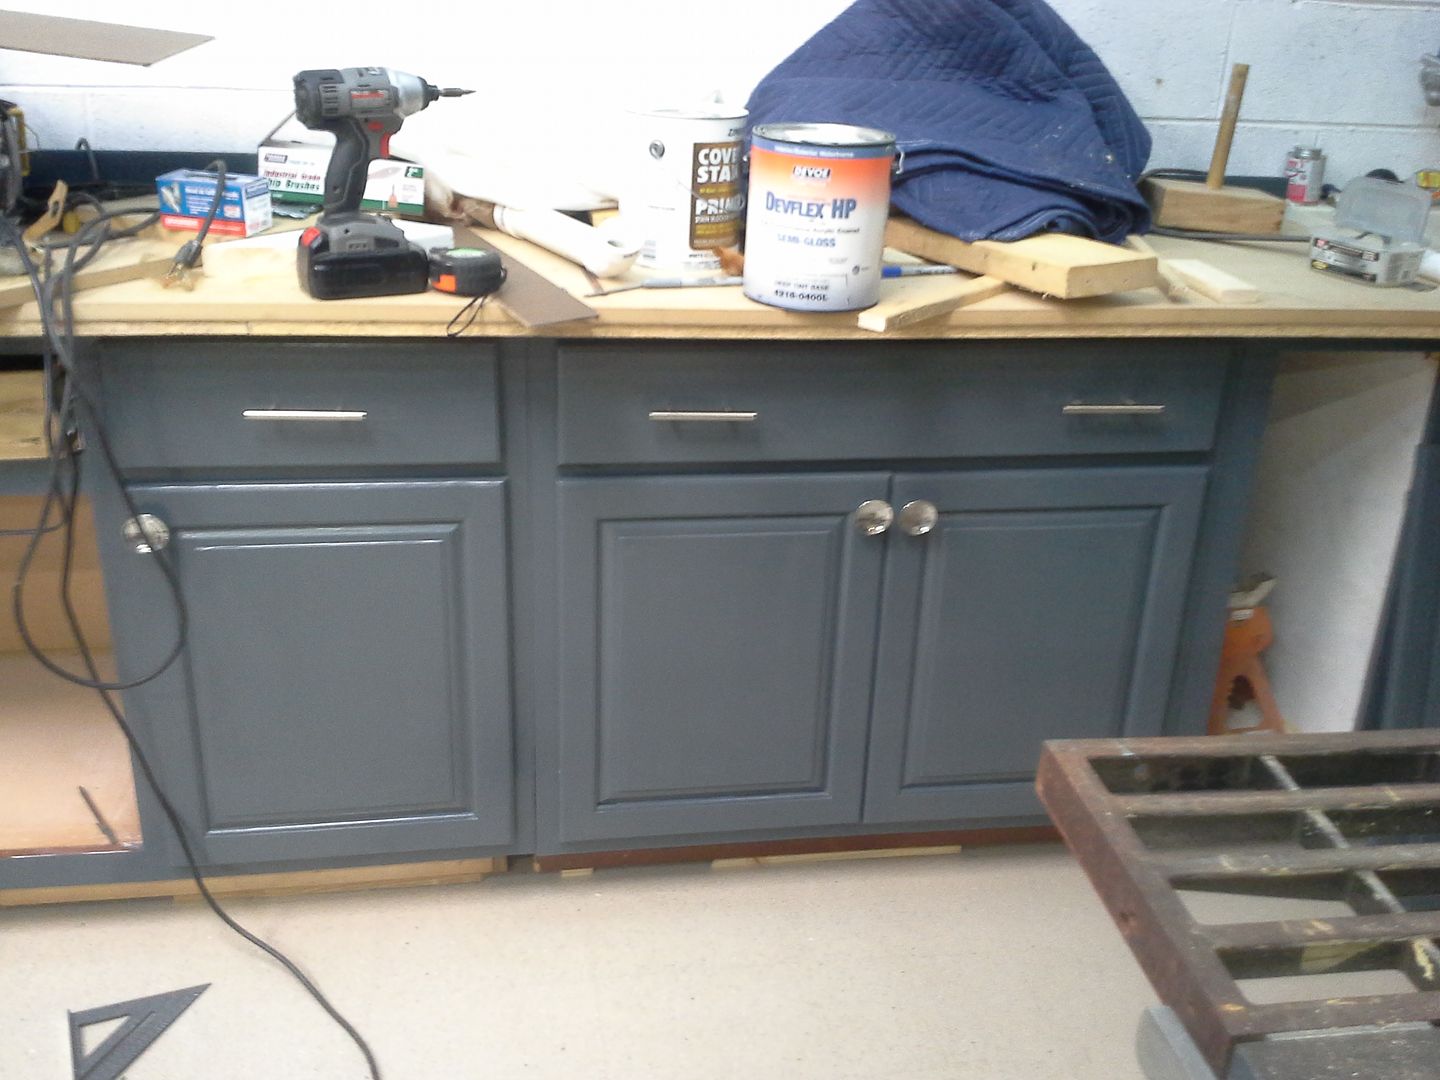 [/URL]
continuing down the row, I made storage for my rags next to the sink. some scrap pine and hardboard. hung a door that just happened to be the perfect size.
[URL=http://s54.photobucket.com/user/dusterbd13/media/20150926_132055_zpshcmhc4xg.jpg.html]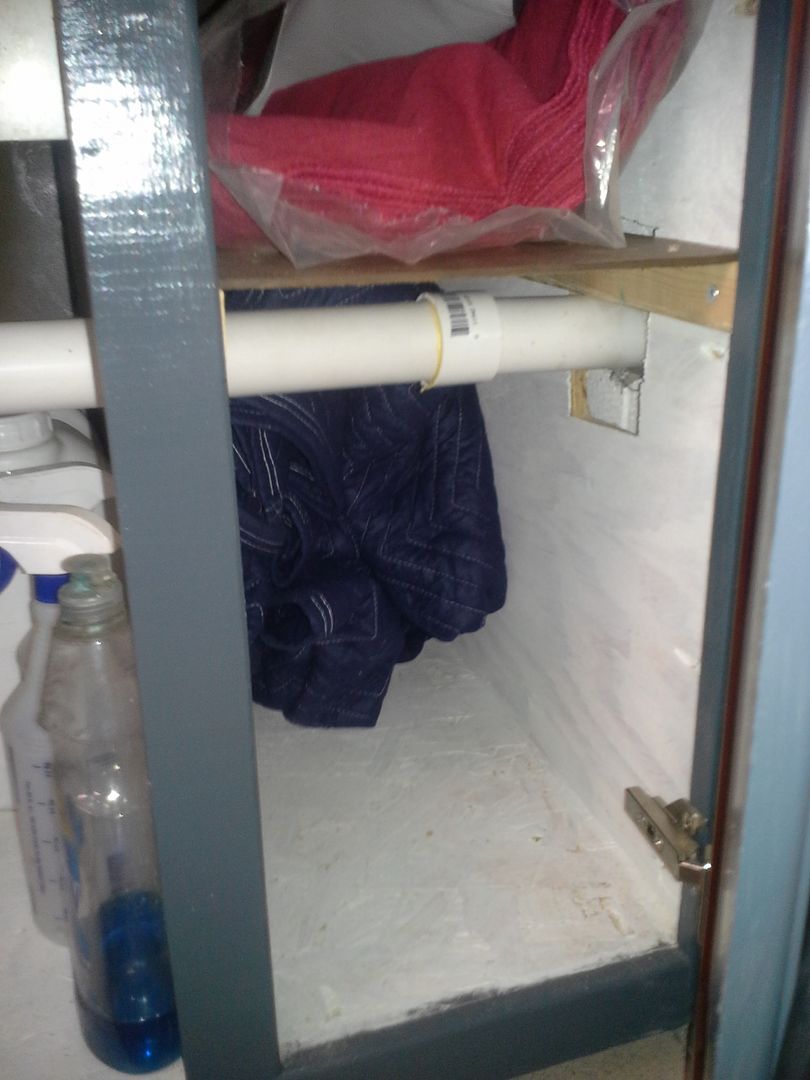 [/URL]
[URL=http://s54.photobucket.com/user/dusterbd13/media/20150926_132034_zpsbea22pzf.jpg.html]
[/URL]
[URL=http://s54.photobucket.com/user/dusterbd13/media/20150926_132034_zpsbea22pzf.jpg.html]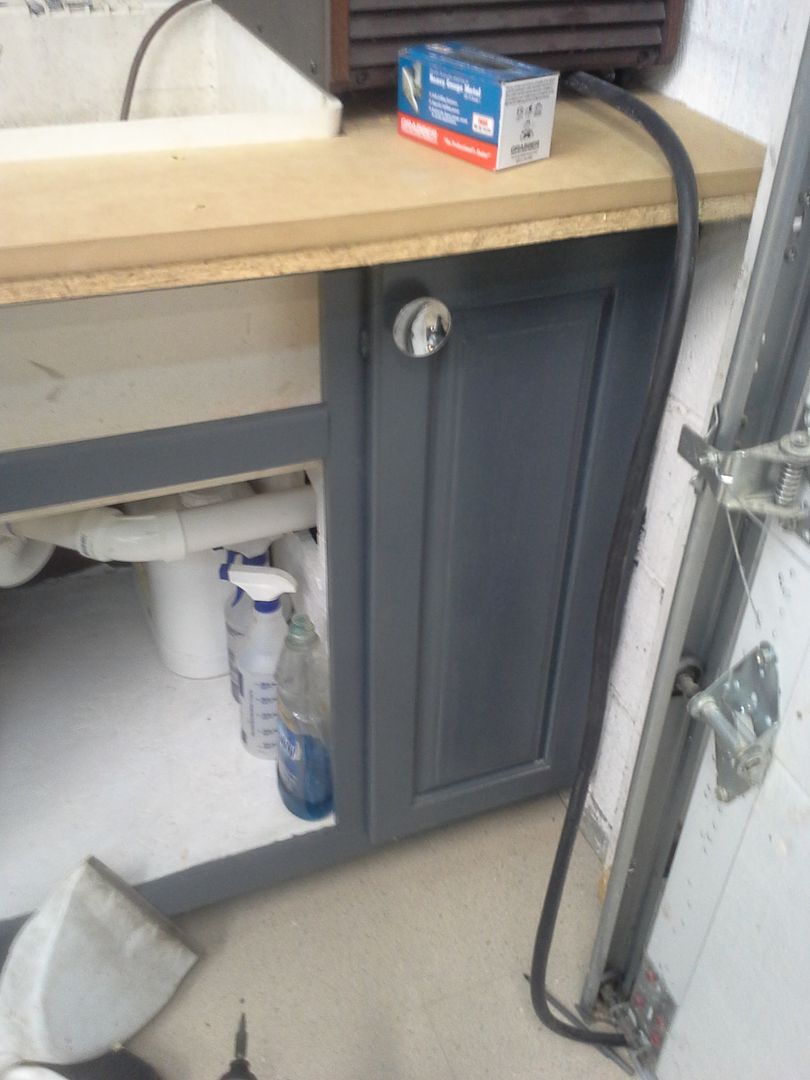 [/URL]
next was making storage for my welder. full extension slides, 3/4 OSB, and you guessed it, screws and glue.
[URL=http://s54.photobucket.com/user/dusterbd13/media/20150927_124329_zpsdjams4dp.jpg.html]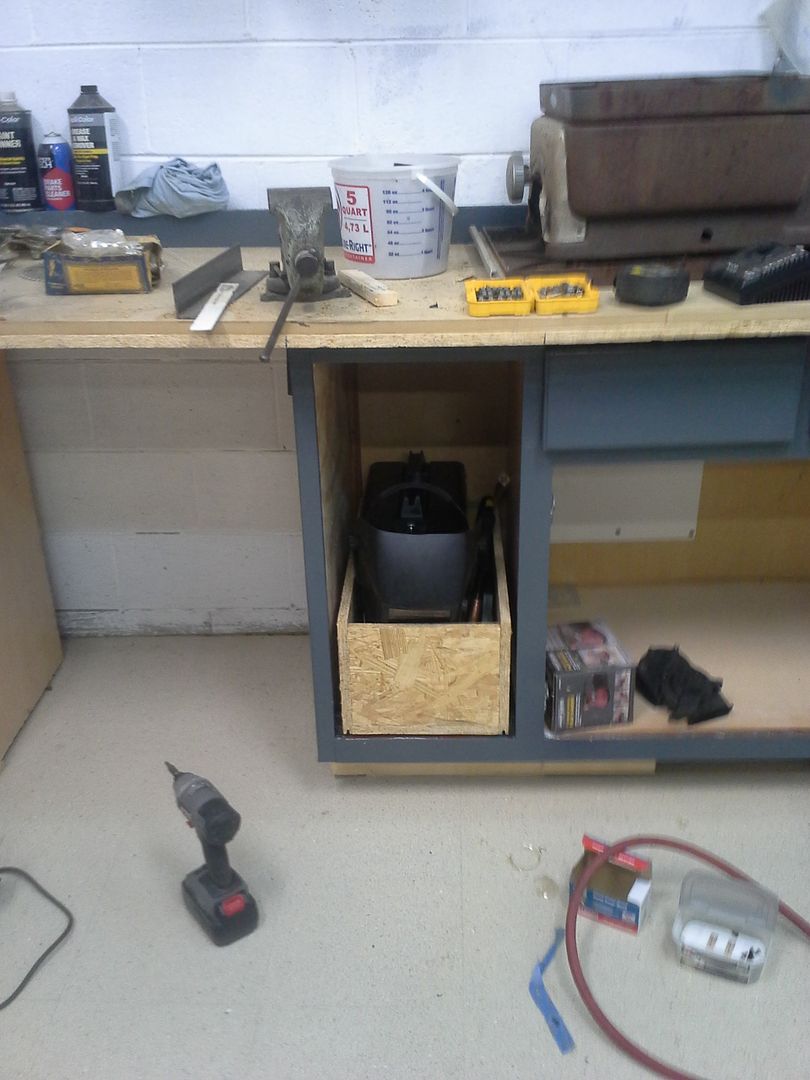 [/URL]
[URL=http://s54.photobucket.com/user/dusterbd13/media/20150927_124339_zpsvqarkwaq.jpg.html]
[/URL]
[URL=http://s54.photobucket.com/user/dusterbd13/media/20150927_124339_zpsvqarkwaq.jpg.html]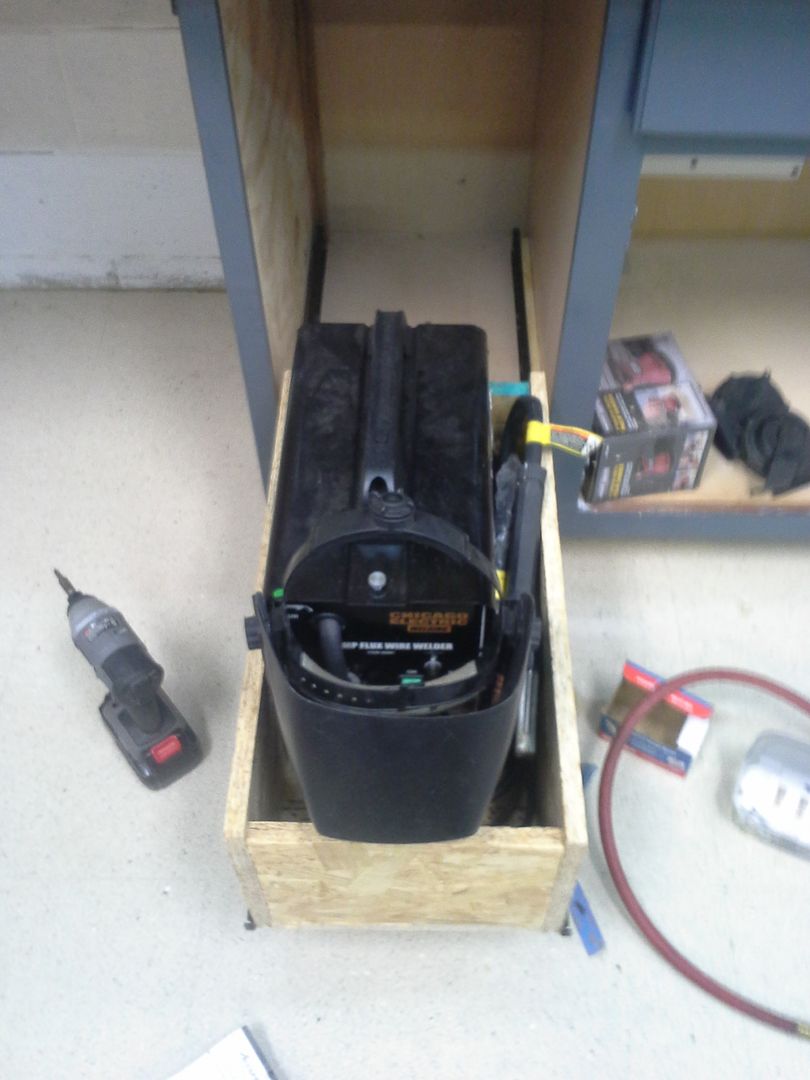 [/URL]
I got froggy yesterday and decided that I was going to make doors for all the cabinets that were missing theirs. took those nifty vintage hinges, and a leftover 1/2 sheet of 5/8 ply. first, I cut the door planks to 3/4 bigger in width and height, then put my dial-a-dado in my table saw. discovered that my throat plate would not clear the dado, and that due to my 50's craftsman saw, a new throat plate will be very difficult to create. so I did something stupid and dangerous. cut without a throat plate. DO NOT DO THIS!!!
I secured some scrap to my fence, and set the dado for 3/8 wide and deep, cutting a rabbit the whole circumference of the door panel.
[URL=http://s54.photobucket.com/user/dusterbd13/media/20150927_132643_zpscpxgxdn3.jpg.html]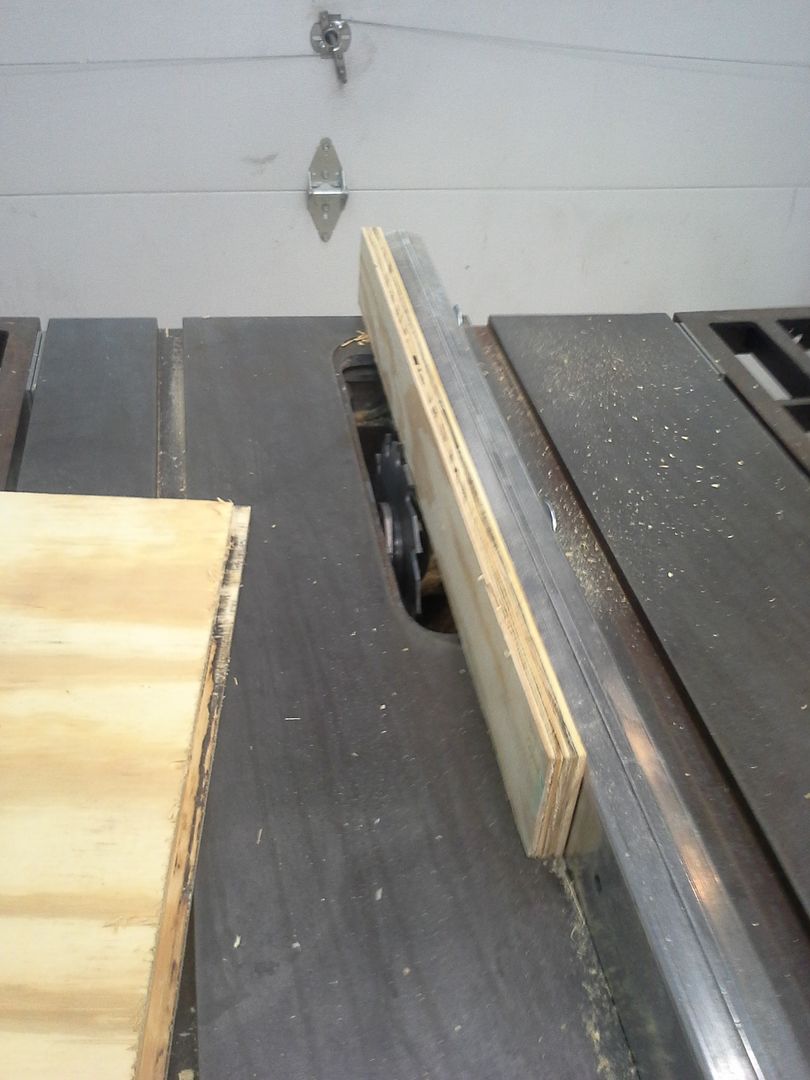 [/URL]
[URL=http://s54.photobucket.com/user/dusterbd13/media/20150927_132638_zpswjdraza4.jpg.html]
[/URL]
[URL=http://s54.photobucket.com/user/dusterbd13/media/20150927_132638_zpswjdraza4.jpg.html]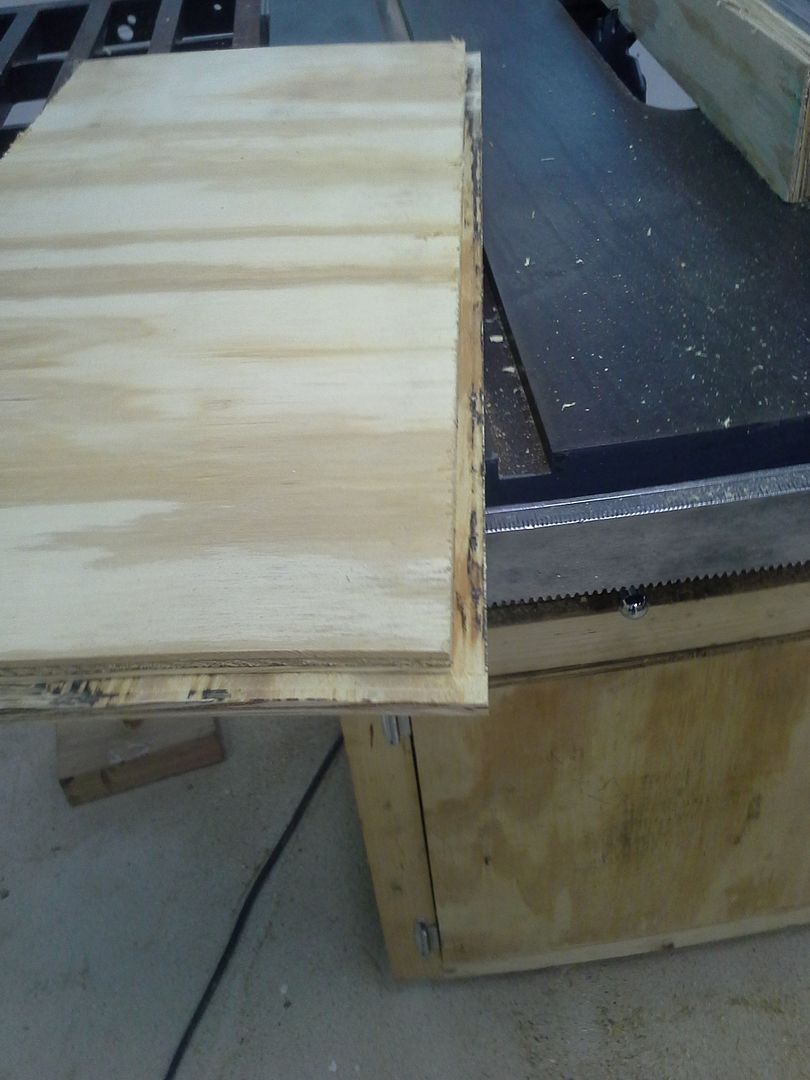 [/URL]
the rabbits allow the door to be inset into the frame for dust control, as well as the hinges fitting properly. they look really, really good.
[URL=http://s54.photobucket.com/user/dusterbd13/media/20150927_155647_zpscrjcjdbu.jpg.html]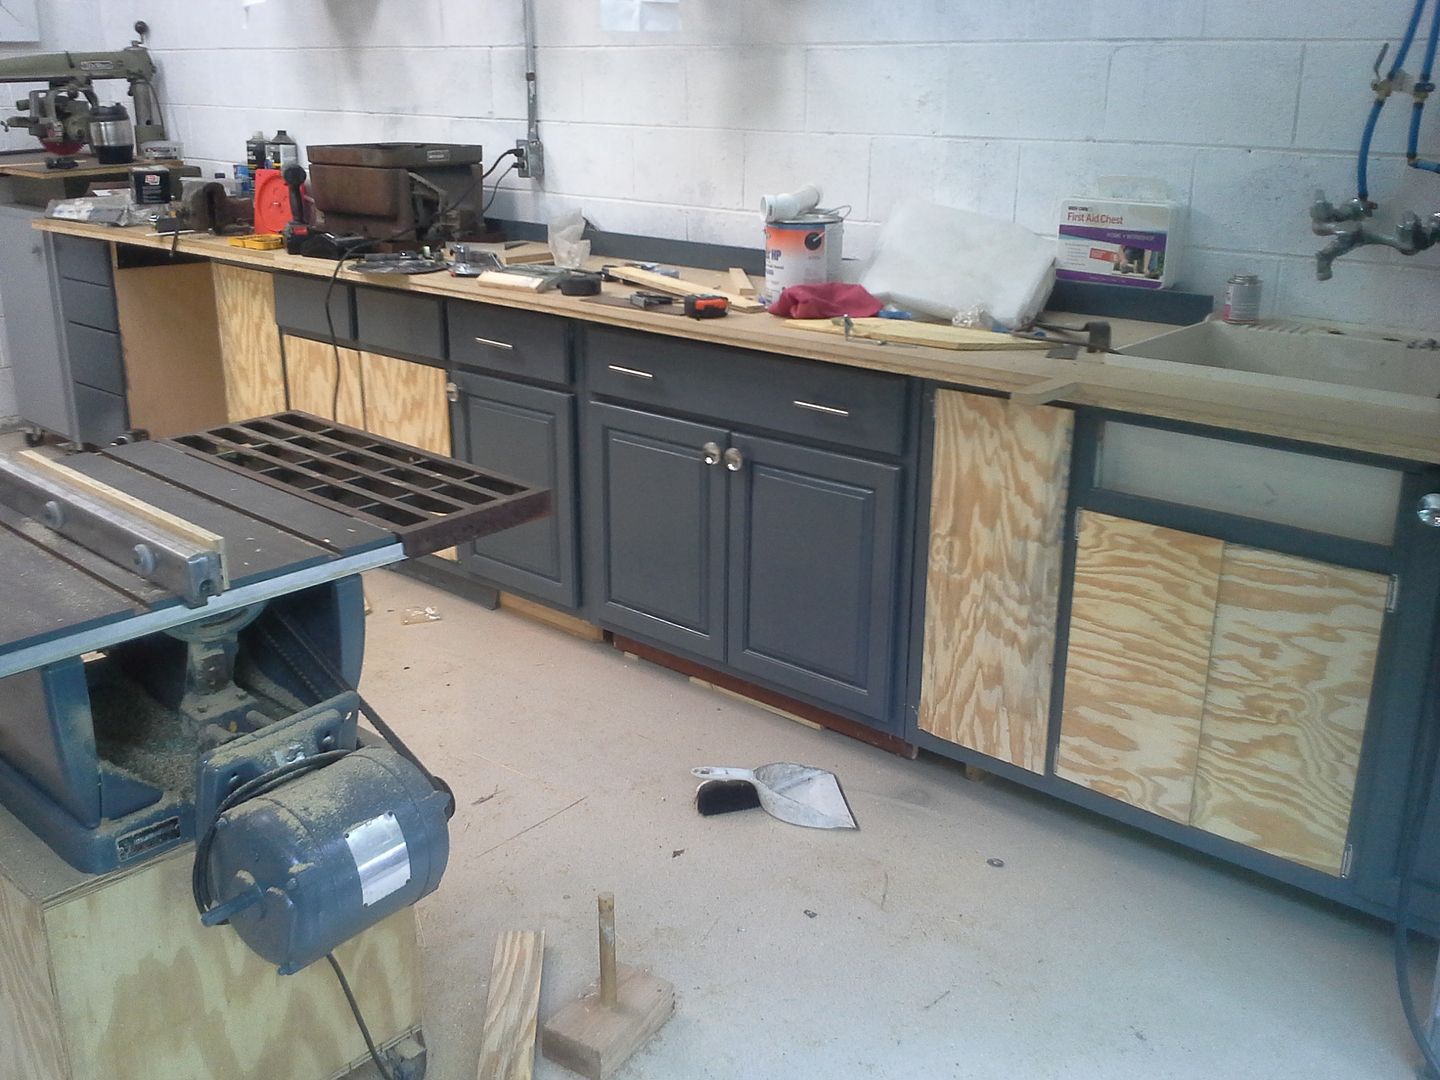 [/URL]
[URL=http://s54.photobucket.com/user/dusterbd13/media/20150927_155702_zpsgcytw8qv.jpg.html]
[/URL]
[URL=http://s54.photobucket.com/user/dusterbd13/media/20150927_155702_zpsgcytw8qv.jpg.html]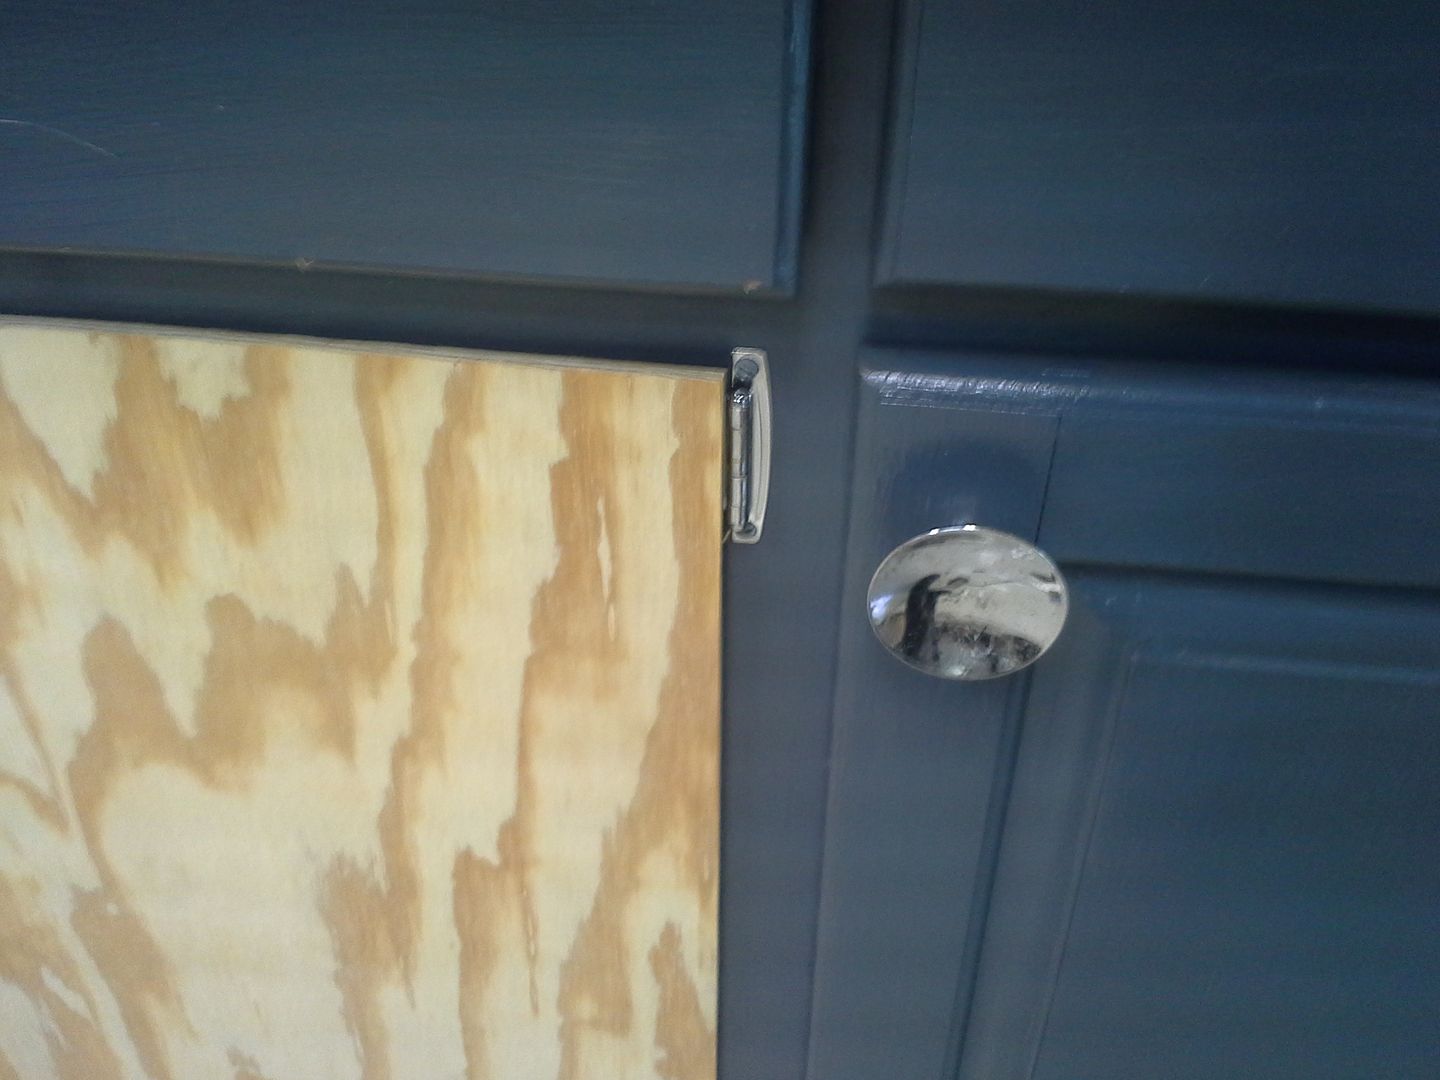 [/URL]
my daughter came down, and asked if there was anything she could do to help other than clean. so I put her to priming. she got the table saw cubby primed, and the doors all primed. and herself. and spots on the floor, and....
[URL=http://s54.photobucket.com/user/dusterbd13/media/20150927_165519_zpsirwgzfle.jpg.html]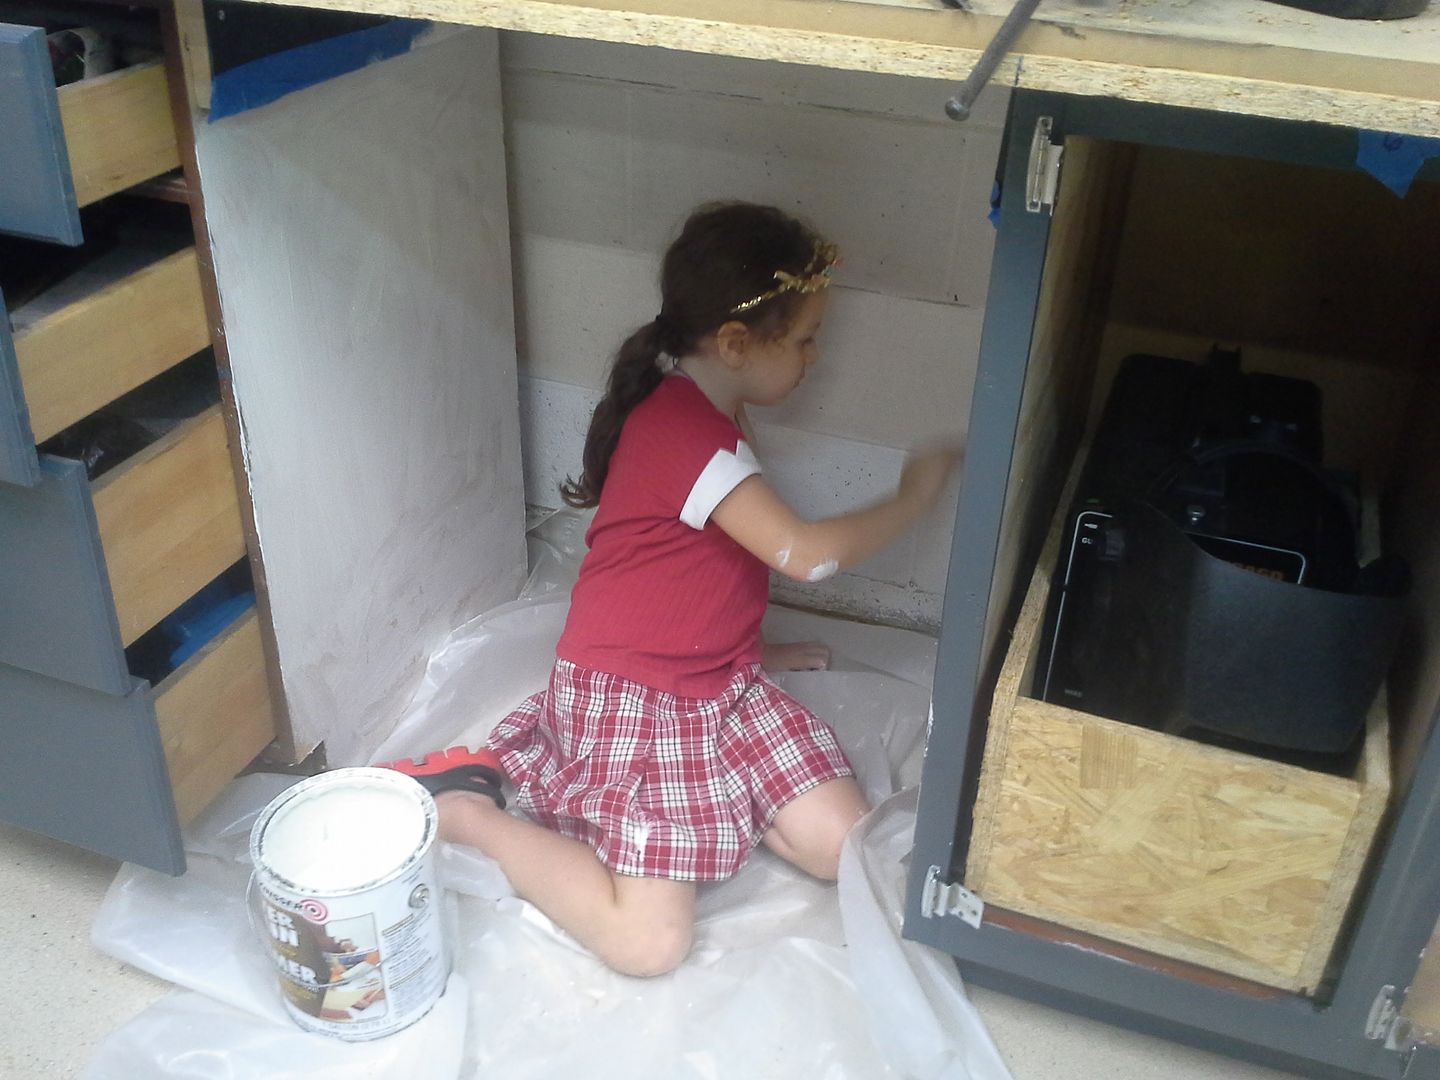 [/URL]
that's all for today.
Michael

i'm sure your wife flipped when she saw your daughter painting in those clothes :P
I wish the sprayer was my idea...
The door on the jack stands was great not sure why you ripped it off. I would have just painted it to match the rest of the cabs.
It was too big and didn't really match. I made another door. Someday I'll make the other four doors match the ones I made. I just like the flat style a lot more.
Did the false drawer to real help?
Dusterbd13 wrote: Did the false drawer to real help?
Yeah. On the list this winter is to add more lights and paint my garage... once we sell the wife's mustang.
You find her a vintage mustang yet?
Depends on what we get to haul the kiddo's. Dad's offered his 1996 minvan for free. but then started to argue when I told him what I'd do to fix it. (like getting junkyard seats to fix the broken frames on his... etc...)
another Family friend has a e46 of some kind that has 200k miles on it. It's been kept in perfect condition. 1 year of not paying for a mustang could go a LOOONG way to paying for the next car... (or student loans...)

Looks great. Everything has a function! Jackstand storage is killer.
Could you post up a picture of your wheel cribs and the lumber dimensions? I need higher than jackstands and recall you having an elegant solution.
so, a rare twice in one week update!!
money spent: $8 on screws and a dowel from home depot.
new total:839
so, we have some storms coming today/tomorrow. last time this happened, I had 4 trees fall on the house and truck. this time, I at least wanted to protect the truck. kinda like it these days.....
I couldn't get the thing in the shop, the shop was wrecked, and I still had some stuff to finish. and organization that needed to be done.
first, I mounted my faucet. finally. I couldn't come up with a better plan that a 2x6, so I used one. tapconned it to the wall after painting it white. screwed the faucet to it, and done. I also used a leftover ford C4 billet shift lever from locar for my towel hook. I think that's a pretty sweet repurpose of spare crap taking up space.
[URL=http://s54.photobucket.com/user/dusterbd13/media/20150929_183117_zpsknvywruc.jpg.html]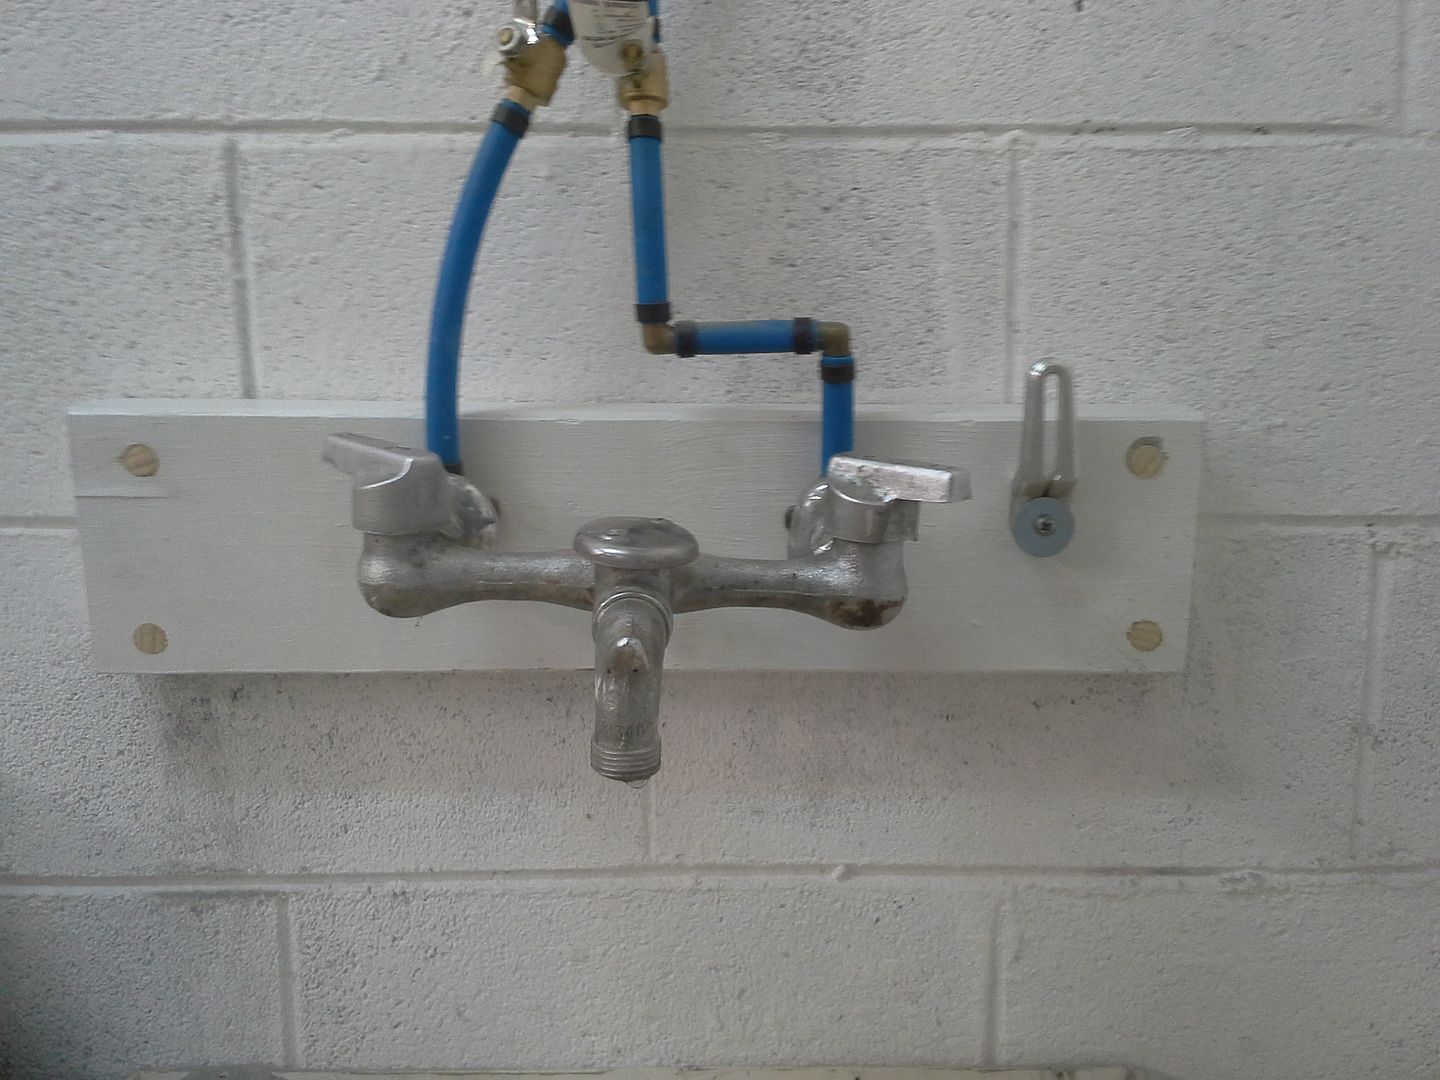 [/URL]
you'll notice wood plugs in the tapcon holes. I couldn't find anything I liked that was cheap and the right size to plug the countersink holes in here and the frame to the door to cold storage. the cheap/easy button was making my own solid plugs. bought a chunk of 5/8 dowel rod bored the 9/16 holes out to 5/8, cut little pieces on the band saw, and pounded them in with a wooden mallet. need to put a topcoat on everything yet, and they will disappear.
[URL=http://s54.photobucket.com/user/dusterbd13/media/20151002_075623_zpsx2dqx6dd.jpg.html]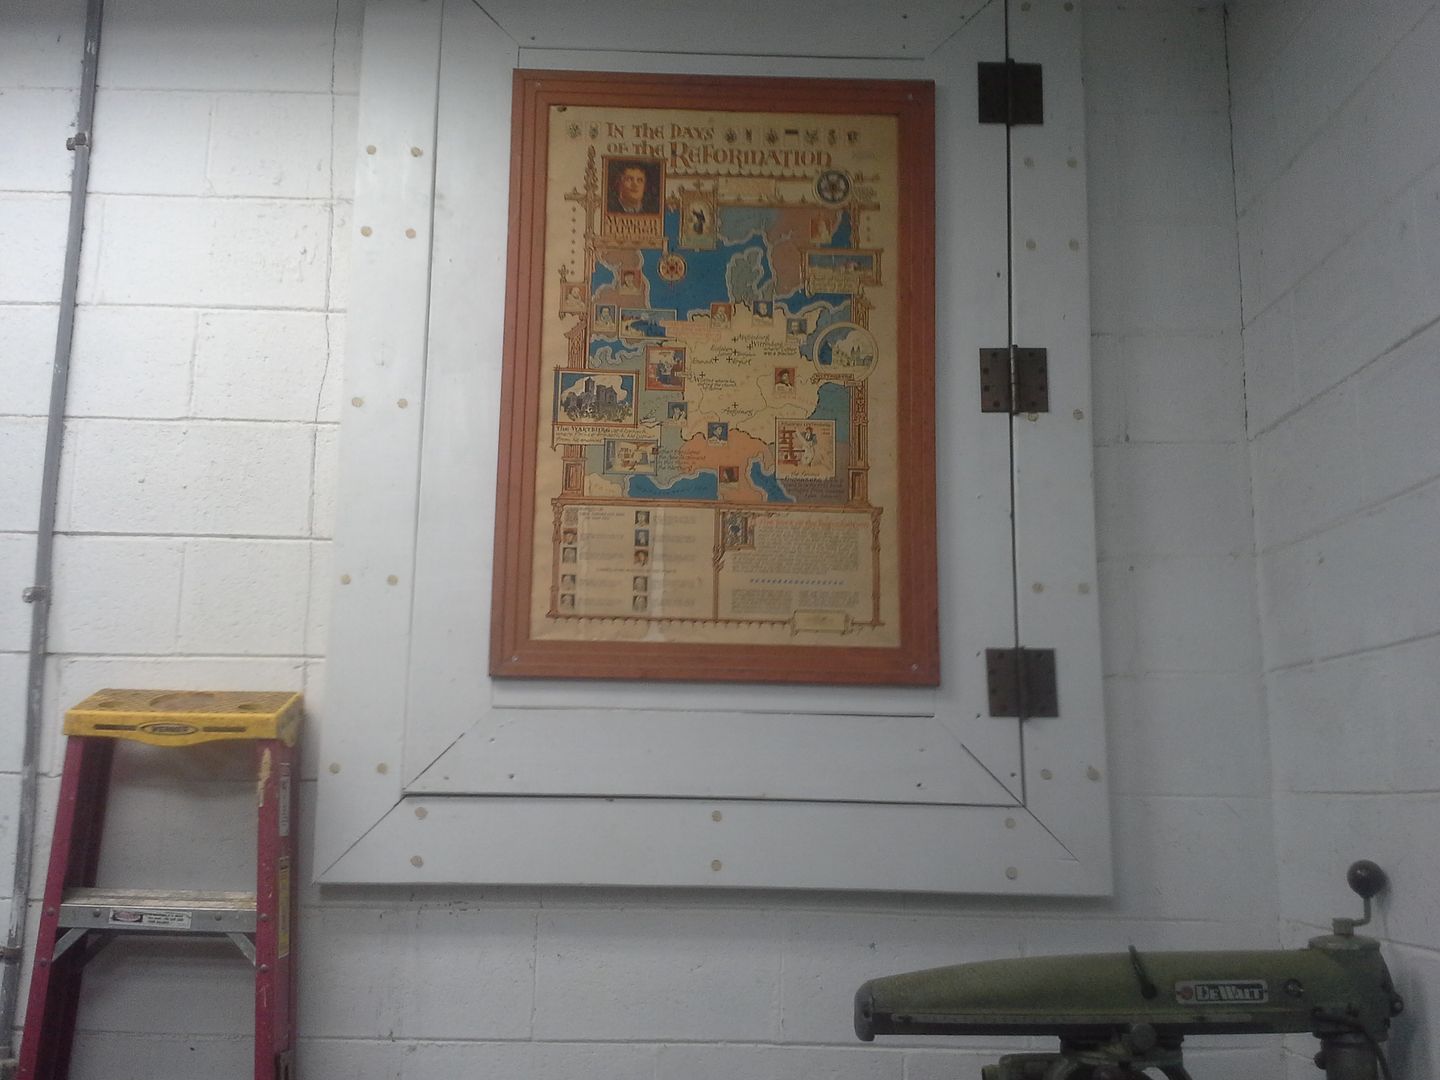 [/URL]
then on to finishing my workbench. primed and painted the new doors, put a white topcoat on the table saw hole, and added all my hardware. had to buy some screws for the drawer pulls. the ones in the box were too short.
I also got the sacrificial layer put on. just tempered hardboard. I cut to general size, and ran my router down the edge. I do have to find a way to trim around the sink better. absolutely FUBAR around the sink. its really horrible, and will need replaced. but then again, its a sacrificial layer, so its not all that important....
anyway, suggestions on how to do this easily and accurately?
[URL=http://s54.photobucket.com/user/dusterbd13/media/20151001_074211_zpsqbitnczl.jpg.html]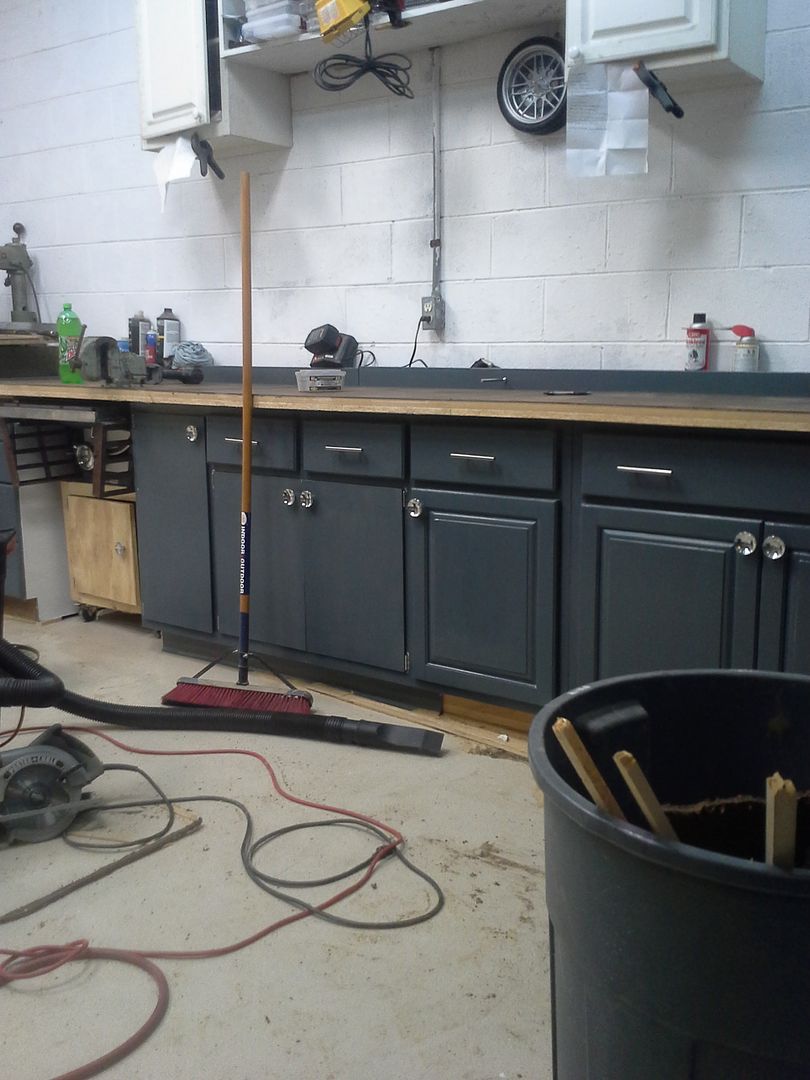 [/URL]
[URL=http://s54.photobucket.com/user/dusterbd13/media/20151001_074216_zpshiu9wyaj.jpg.html]
[/URL]
[URL=http://s54.photobucket.com/user/dusterbd13/media/20151001_074216_zpshiu9wyaj.jpg.html] [/URL]
[URL=http://s54.photobucket.com/user/dusterbd13/media/20151001_074223_zpszdv4eduq.jpg.html]
[/URL]
[URL=http://s54.photobucket.com/user/dusterbd13/media/20151001_074223_zpszdv4eduq.jpg.html]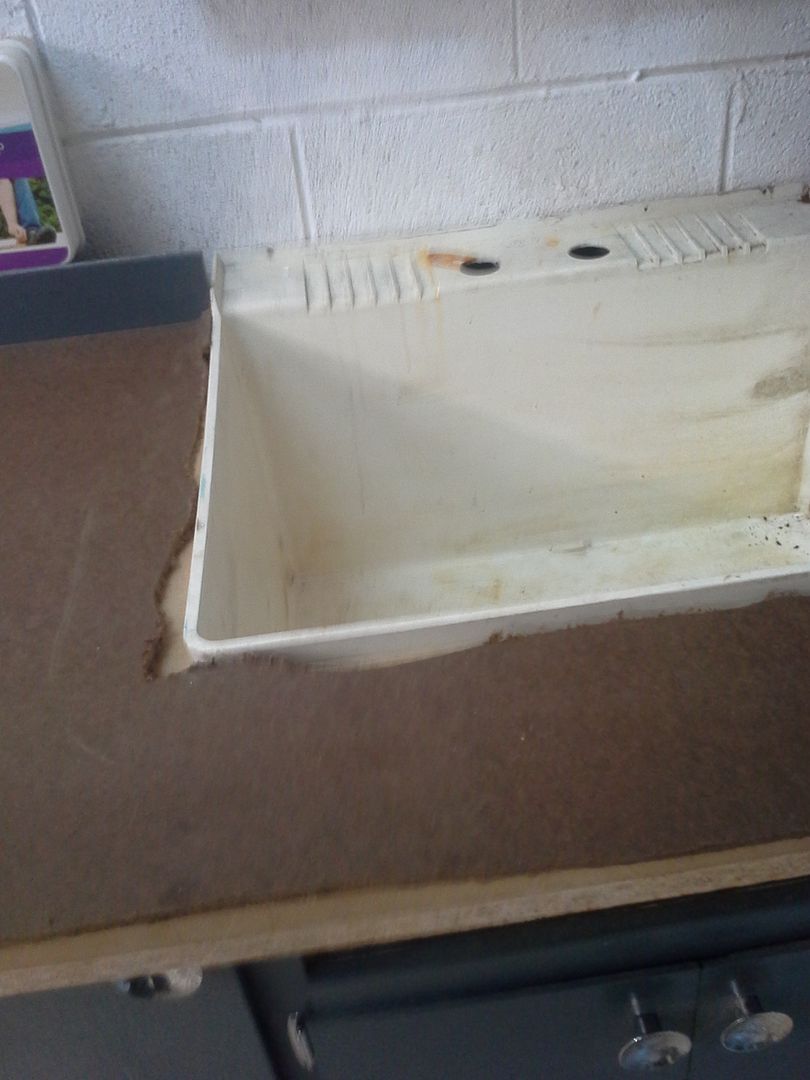 [/URL]
then on to cleaning, organizing, and scrapping. I tried the frosted covers that came with my four bulb fixtures. cut light output dramatically. now in the scrap pile outside the door.
[URL=http://s54.photobucket.com/user/dusterbd13/media/20151001_172520_zpshnq9qeh3.jpg.html]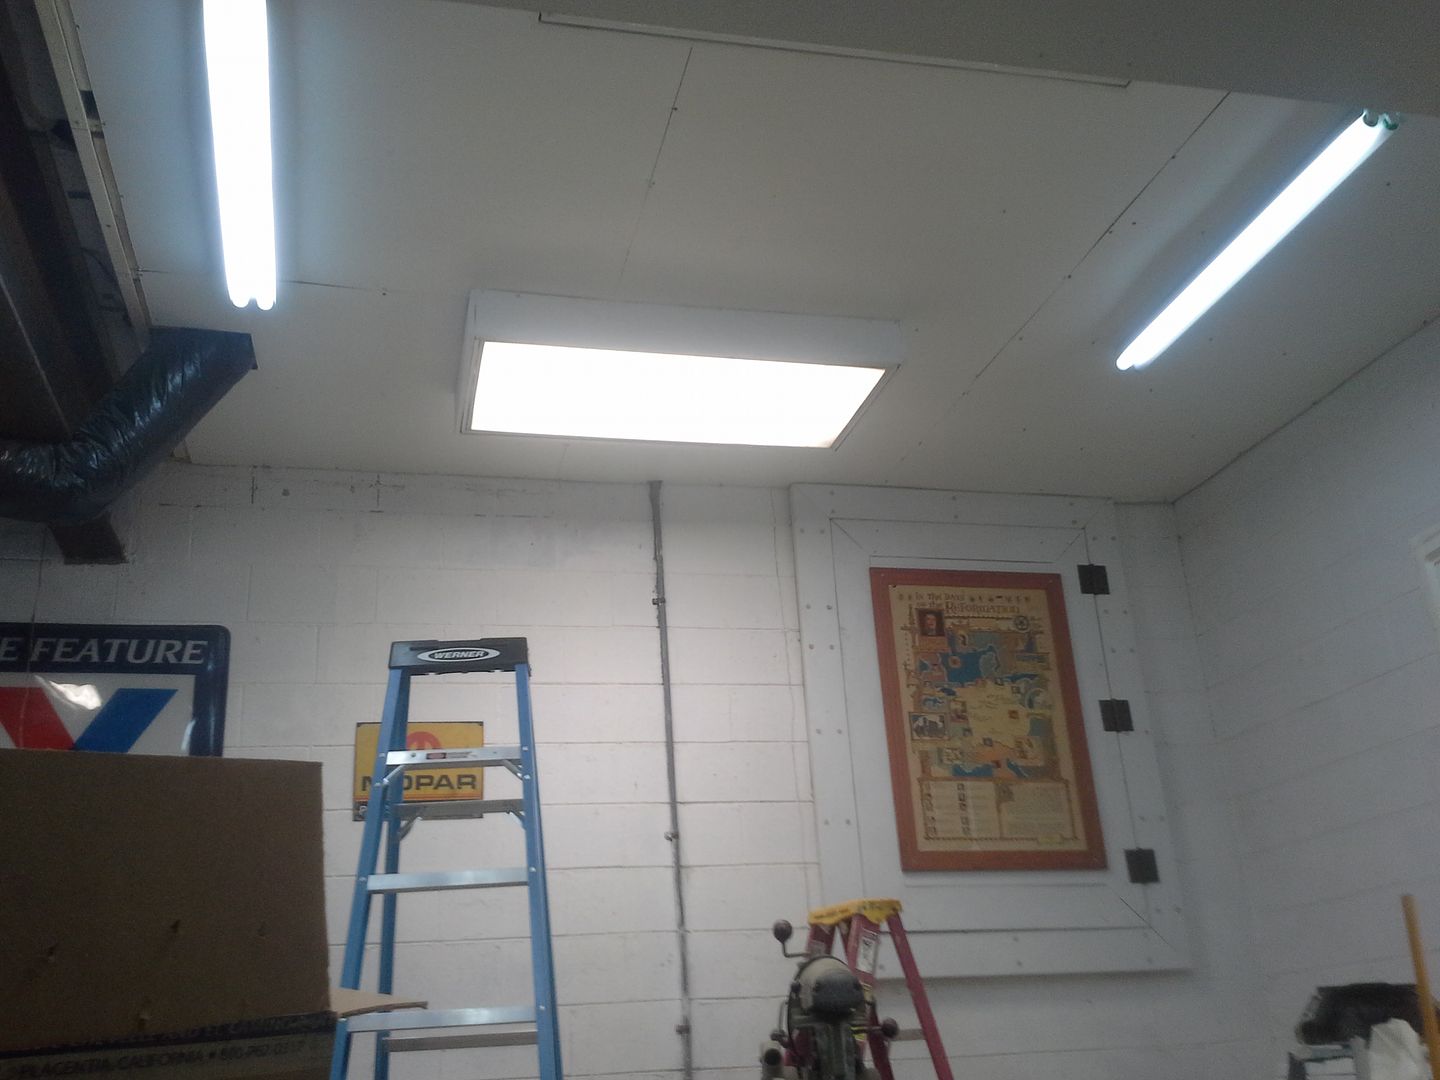 [/URL]
drug my great grandfather tarasi's bench vise out of the pile of crap its been living under since I started this project. got greasy, dusty, and nasty. hit it with Castrol superclean and a stiff bristle brush. I thought the think was black or grey. this is the color it came back. it will live on in unrestored glory, though the non-moving part of the vise is missing the pipe jaws. anyone know if/where I can get a set? its a wilton torco that's been in the family since the mid 50's.
[URL=http://s54.photobucket.com/user/dusterbd13/media/20150930_183603_zpsaaikubx9.jpg.html]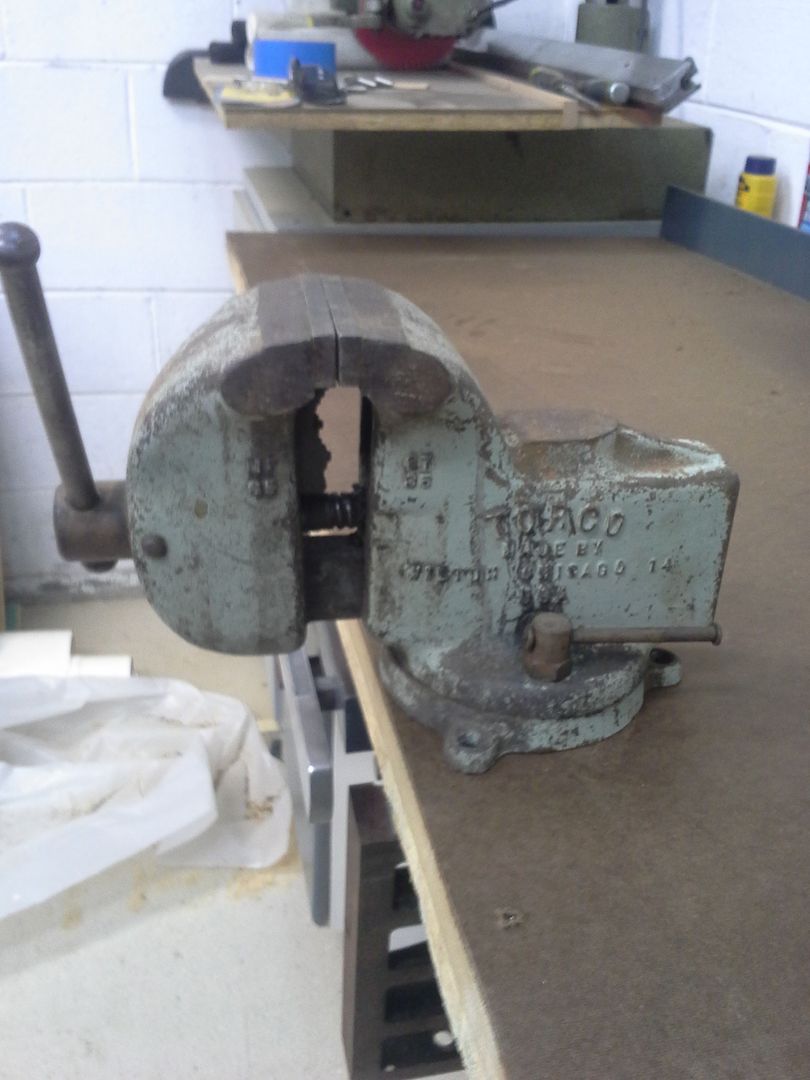 [/URL]
hung one of the four foot fluorescents from the decade old temporary wall cabinets above the workbench. they were temporary a decade ago, and temporary now. need to save some money to build their replacements, but rest assured that they are mostly going away. they came out of the laundry room when I renovated it after moving in. the center open part came from the same church as the art and hinges.
[URL=http://s54.photobucket.com/user/dusterbd13/media/20151001_172525_zpsysiyqavz.jpg.html] [/URL]
a whole lot of sweeping and organizing later, as well as filling up two trash cans with debris, I was able to pull the truck in. I guess now is the time to get it fixed, finally.
before the "completed for the time being" shots, ill let you know why im stopping here for a while. I have found that I have run out of my thoughts concerning the renovation, other than vague generalities. there's more space in what I've already built that's not being utilized, but I don't know what to put there. there plenty of things that need to find a home. floor needs finished. ceiling needs finished. air needs plumbed. but I need to work out of what I've done for a little while to see what I still need, and what is working/not working. its already radically different than any version ever before, and I need to get used to it. finishing the floor and ceiling wont impact anything else, nor will re-whitewashing the walls. but past that, im not sure what I want/need other than the planned cabinets on the work bay side that I've been doing.
it feels so weird to walk into this shop now. so different from the hole I started with this spring. its a good feeling, so ill bask in it for a little while whilst I figure out where to go from here.
so, the completed for now shots!! (the piles of stuff on the new bench are all the parts for the truck. I figured the best home for them is on the truck, so....)
[URL=http://s54.photobucket.com/user/dusterbd13/media/20151002_075533_zps3ufzpsgn.jpg.html]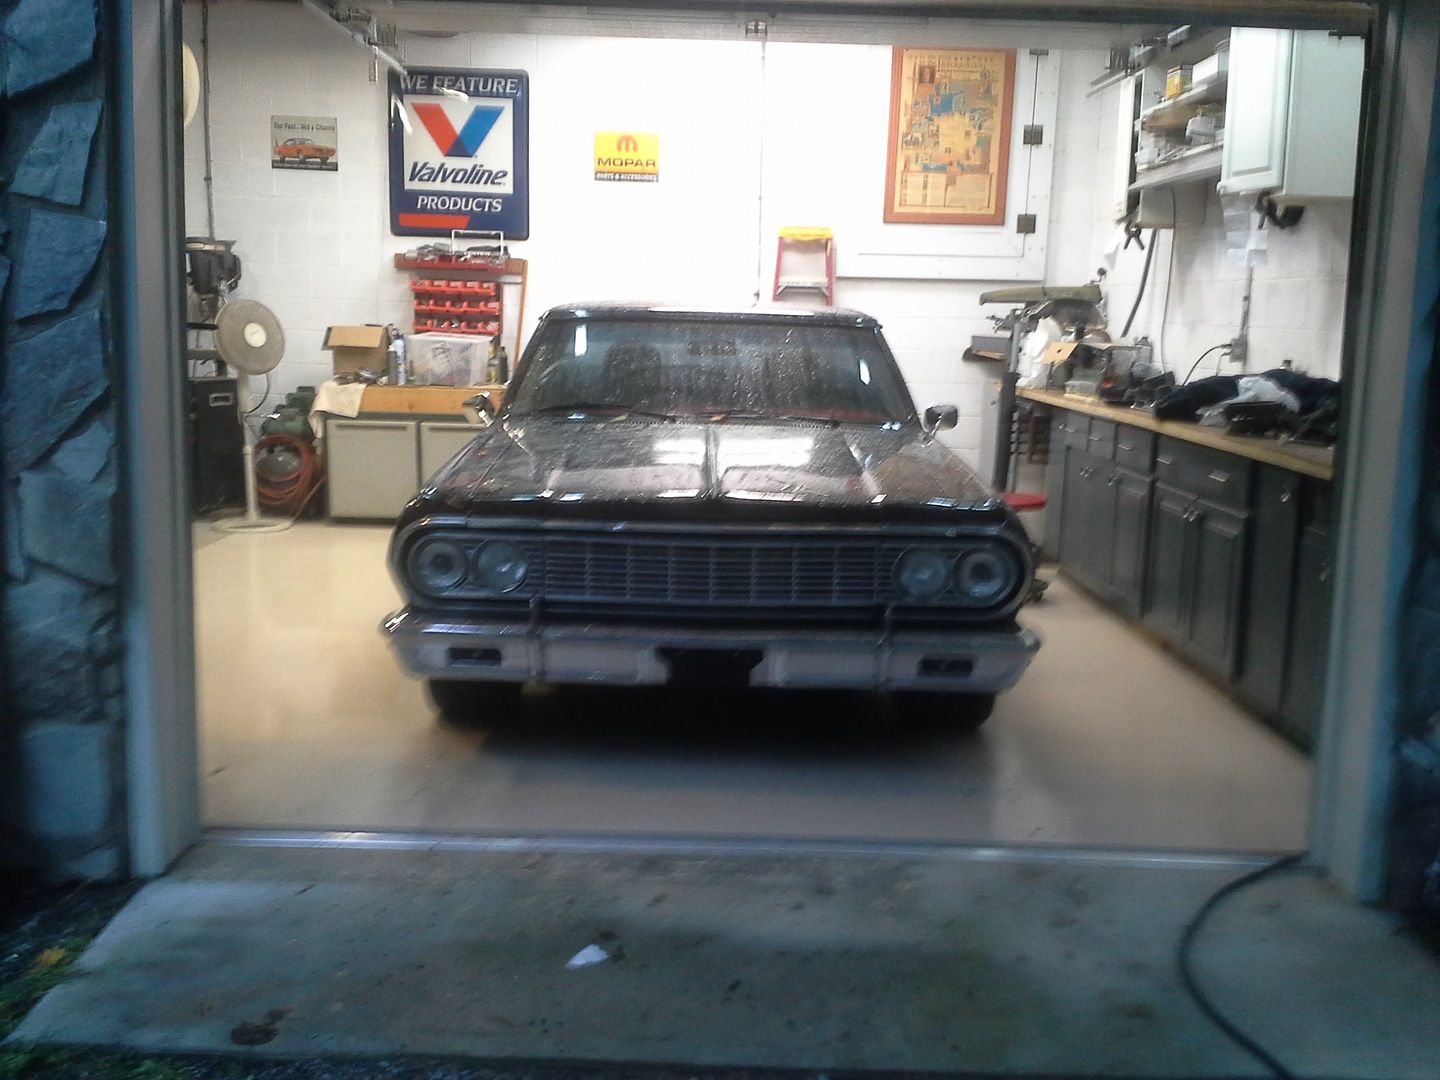 [/URL]
[URL=http://s54.photobucket.com/user/dusterbd13/media/20151002_075539_zpsh6wqmwmr.jpg.html]
[/URL]
[URL=http://s54.photobucket.com/user/dusterbd13/media/20151002_075539_zpsh6wqmwmr.jpg.html]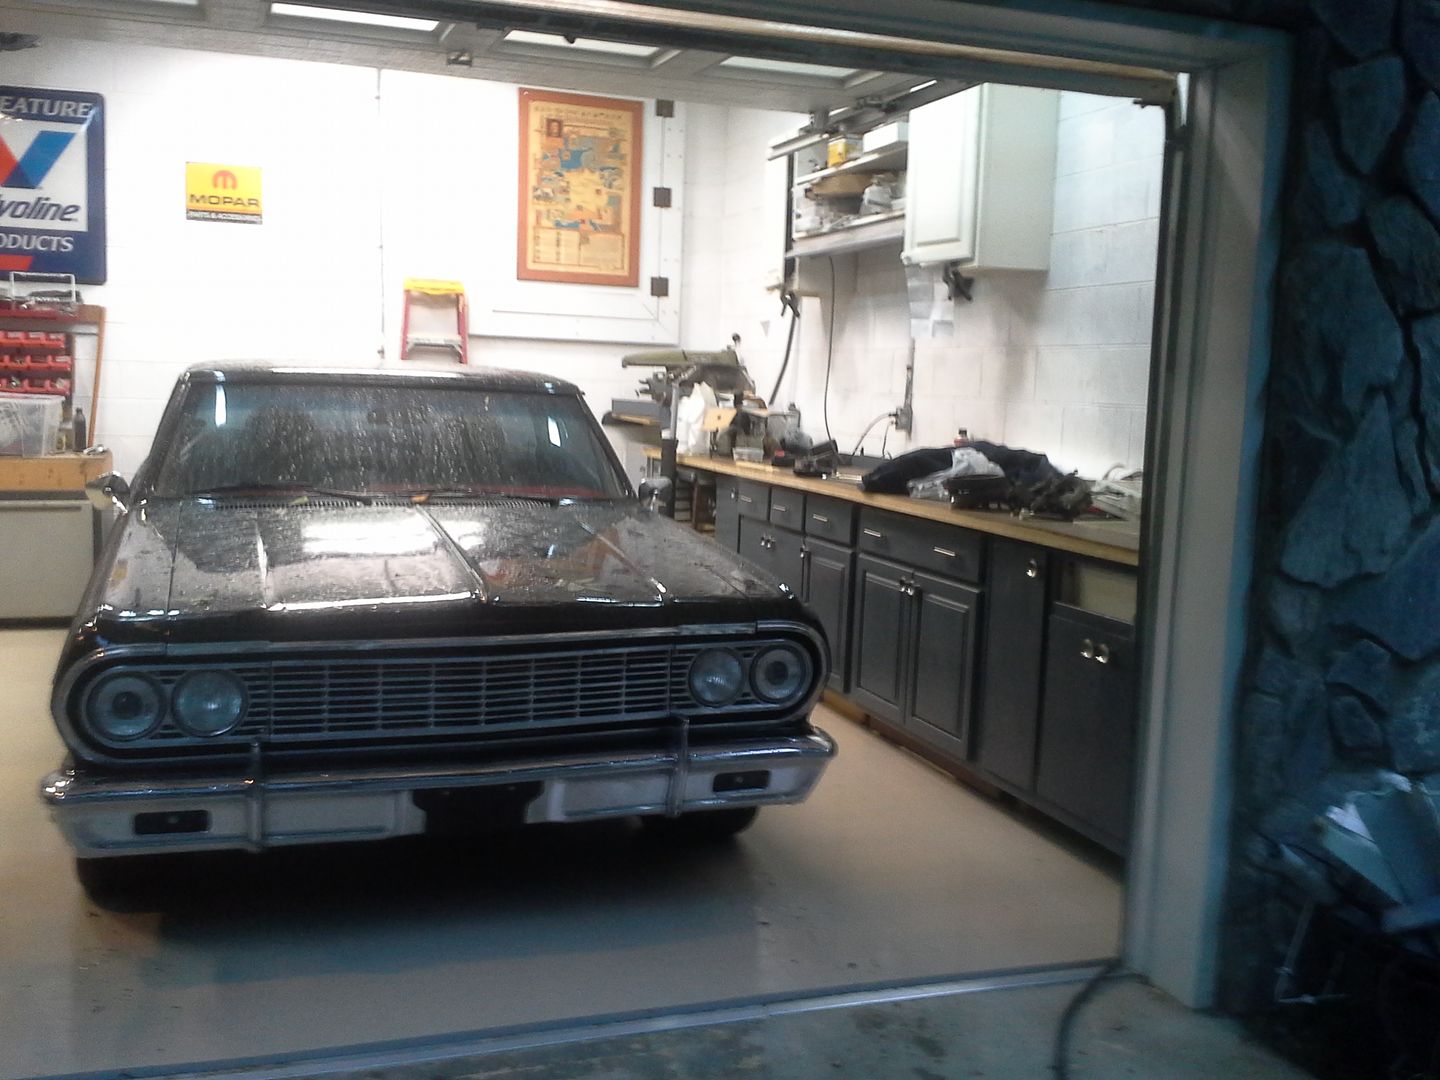 [/URL]
[URL=http://s54.photobucket.com/user/dusterbd13/media/20151002_075610_zpspdrodpay.jpg.html]
[/URL]
[URL=http://s54.photobucket.com/user/dusterbd13/media/20151002_075610_zpspdrodpay.jpg.html]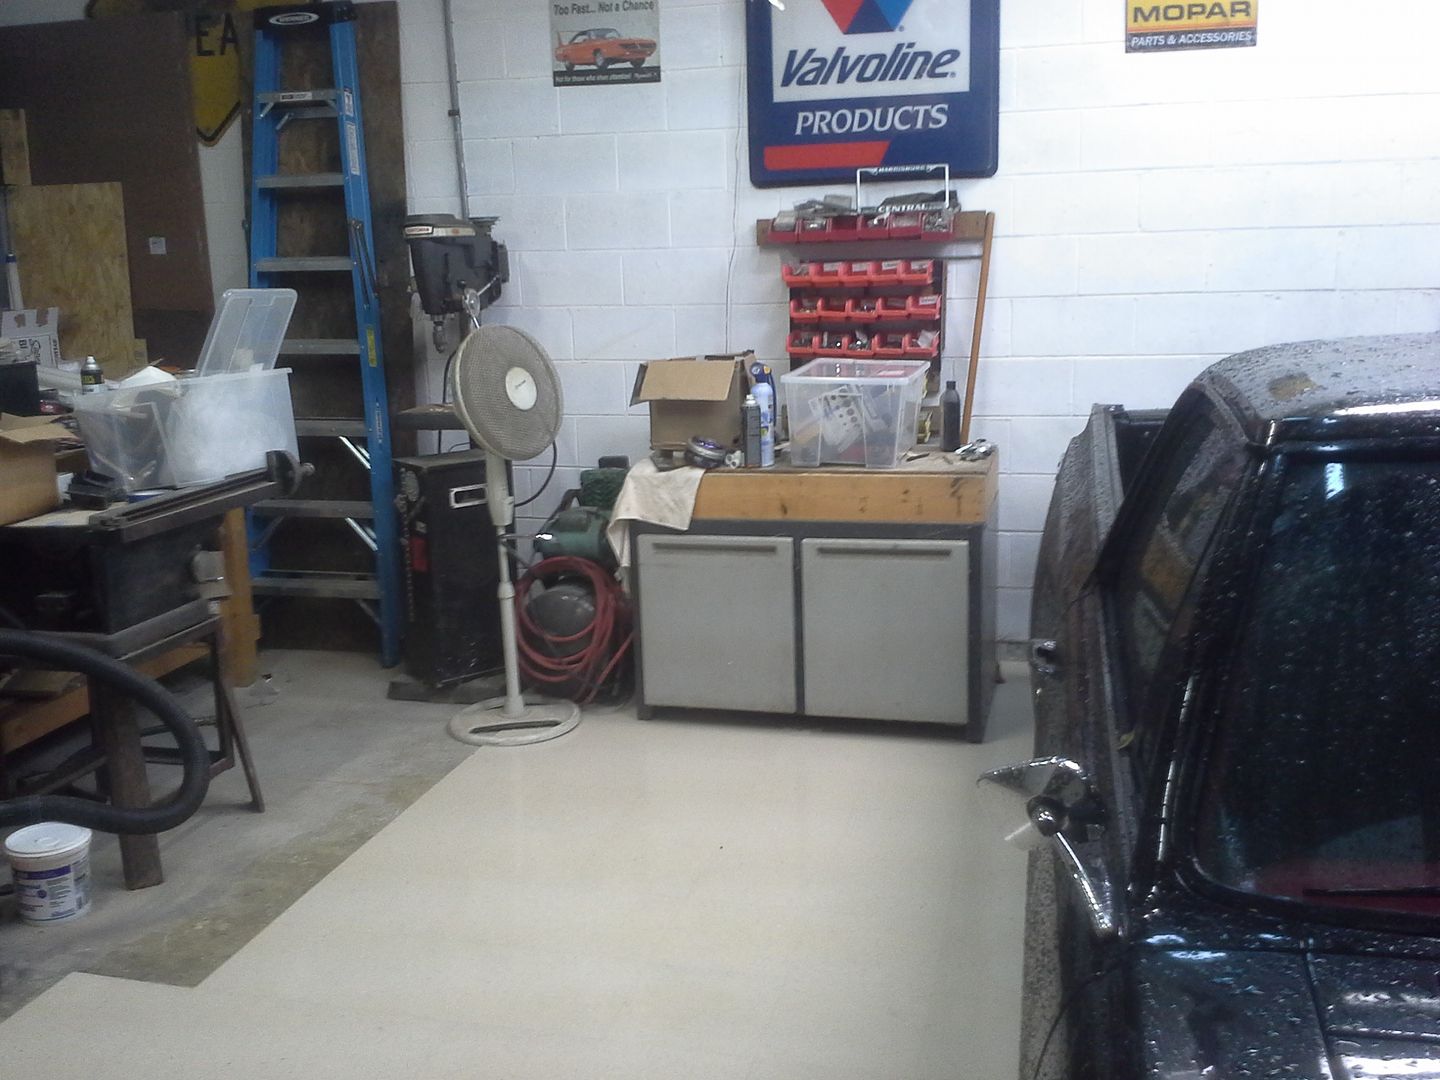 [/URL]
and the next challenge after the truck:
[URL=http://s54.photobucket.com/user/dusterbd13/media/20151002_075605_zps2xrj8kr9.jpg.html]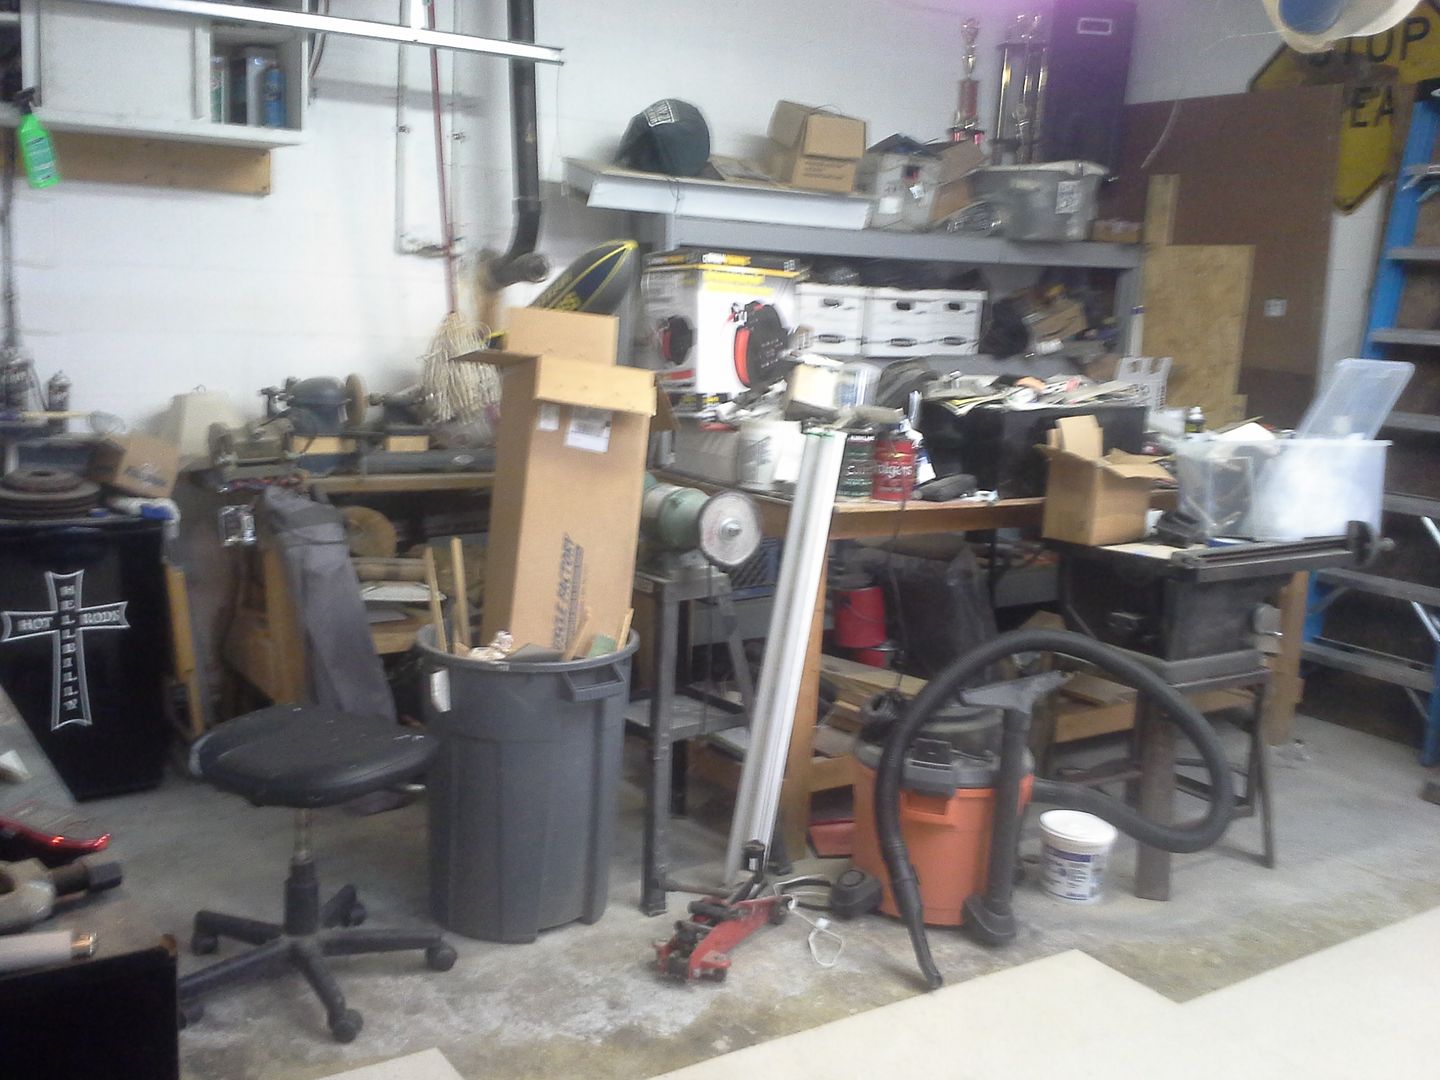 [/URL]
VWguyBruce wrote: Looks great. Everything has a function! Jackstand storage is killer. Could you post up a picture of your wheel cribs and the lumber dimensions? I need higher than jackstands and recall you having an elegant solution.
might not have been me. I have built a couple of sets of cribs, usually out of 2x6 stacked like Lincoln logs, sized to allow whatever I was working ons tire package to sit down in about 3 inches. if I remember right, it worked out to 24 inch long pieces of 2x6.
you may be thinking of rad caps or not a ta.
and thanks for the compliments. I really appreciate it. hopefully ive inspired someone, or given back some good ideas to replace the ones ive stolen.
Michael
Dusterbd13 wrote: anyway, suggestions on how to do this easily and accurately?
Make a template. Cardboard like cereal boxes or beer cases. It will be stiff enough to hold shape when transferred from around the sink to the new piece of hardboard. Clearly you still need to measure veeeery carefully to get it the right length down the sheet, but it should get you within 1/16 or so all around the sink which is caulk distance.
As for the stopping and thinking, good plan. Sometimes you need to sit back with a cup of coffee (or whatever you contemplate with) and decide what the space NEEDS. No use working hard on something you don't feel strongly about. It'll come to you.
A template is genius. I don't know why I didnt think of that before hardboard destruction.
Thank you.
And I know it will fall into place. Just tonight while cleaning up parts for the truck, I realized that the dehumidifier is in the way of using the sink comfortably, and I need some sort of parts drying rack that doesn't allow water to drip onto the workbench.
And my normal"stare and think" involves a diet mountain dew and a radio. It will be even better to stare and think while doing something IN the shop, instead of on the shop. You know, let it percolate in the old noggin.
Do you do similar things in your shop project? (Can't really call it a rennovation, you all but bulldozed it)
There's a lot of coffee and staring and thinking. More than once I've taken very long breaks (days, weeks, years) because I can't quite decide how I want something. Figuring out how to DO it is easy once I can decide what it is I want.

No clue how I missed this when it started, but great job!
The transformation looks great. Thanks for walking us through
Thanks! Im pleased with how it's going so far.
Hoping to keep entire budget for renovation under 1500. Don't know if I'll be able to pull it off though. the ceiling work really adds up. And I have yet to do electrical.
If you're going to the Challenge, I can give you a bunch of electrical stuff. Romex, outlets, boxes, PVC bits for conduit. It's taking up space. Email me to let me know what you need.
I really appreciate the offer, Bruce. Unfortunately, I can't afford to make it to the challenge this year. Just not enough disposable income.
Now, if you would still be willing, there might be someone coming back from the challenge via north Carolina. If you're game, I'll see if I can find it a ride closer to home than Florida, texas, or Atlanta.
And then i need to figure out what I need. Never done electrical in a building setting before. Built a lot of wiring harness for cars, so I know I can, but just not familiar.
Did you get the PM I sent you about the CF vinyl? Just about to try something For Evan and I want to leave a big enough piece for you.
Duster, where'd you get that door hardware?
Deuce: haven't checked email in a few days. So I don't know if I got it. Will check and respond in the morning. But don't worry about leaving me a piece. Just an idea i was kicking around, but I've got enough irons in the fire, and it would wind up just laying around for a undetermined length of time.
Mad: which hardware? The knobs and hinges were a warehouse find, drawer pulls were habitat. Will have some spare drawer pulls and hinges if you want some.
thanks, the hardware pulls/knobs. I like how it looks with that blue/gray.
at some point I need to come buy and get those shocks for Tuna. Just no time man.
You'll need to log in to post.


