1 2
Keith Tanner
Keith Tanner GRM+ Memberand MegaDork
10/1/17 7:25 p.m.

Pulled out of the "guitar and bass gear" thread, I figured I'd do a separate build thread for this. Like most of mine, it's going to be more a journey of discover with help from knowledgable GRMers than a how-to.

The guitar is a Framus 5/59 "Sorella" archtop built in May 1966. It came out of an estate sale. It's in good shape for its age, but it is old. Here's the current list of things that need to be done:

  • reseat most of the frets
  • build a new pickguard
  • replace some binding
  • get the tuners moving smoothly
  • make a new truss rod nut cover (Framus sells some, but they're not what would have been on this guitar)
  • see what I can do to feed the finish
  • get it set up properly

It was suggested that I should start by trying to humidify the poor thing, as it's probably been sitting in a garage in our desert climate for years. I locked it in a gig bag with a wet sponge for a bit over a week, but not much changed.

Let's take a look.

It would appear you guys now have my fingerprints thanks to this photo.

Keith Tanner
Keith Tanner GRM+ Memberand MegaDork
10/1/17 7:30 p.m.

The plan is to press the sprung frets back into place, and since some of them are right at the top of the scale I figured that would be easiest to do with the neck off. Luckily, it's a bolt-on. I'm waiting for some parts from Stewmac, but in the meantime I figured I'd take care of the tuning machines.

They were just...crusty. So I went after them with some metal polish, emery paper and Tri-Flow lube. Here's a before (right) and after (left).

The gears got a polish on their friction surface so there would be less friction.

Reassembled and lubed, they look much better. They feel a whole lot better, too, although it'll take strings to tell for sure. I also straightened out a number of bent pegs and lubed the truss rod nut.

Keith Tanner
Keith Tanner GRM+ Memberand MegaDork
10/1/17 7:35 p.m.

This thing has a zero fret, which is interesting. I like the idea. Unfortunately, now that I have the guitar apart and I'm looking at it closely, I can see that it has a roughly fitted replacement nut that wasn't filed down far enough on all strings. 

From what I can tell, this should be set up so that the string juuuuust touches the zero fret. The nut takes care of the side-to-side location and the brunt of the load. As you can see, that's not the case here - there's a gap between my straightedge and the zero fret. No wonder I was getting some string buzz. Anyone have any suggestions before I start filing?

This is where I am now. I'm about to head off to Laguna Seca for a week so no further work until I return, but I'd love advice and suggestions. Particularly on what can be done to help the finish and that nut dressing.

Keith Tanner
Keith Tanner GRM+ Memberand MegaDork
10/1/17 9:06 p.m.

Fun fact I couldn't find anywhere. The Framus 5/59 Sorella has a 14" radius neck. Maybe someone will find this tidbit someday and it'll be useful.


Keith Tanner
Keith Tanner GRM+ Memberand MegaDork
10/22/17 11:23 p.m.

Okay, I'm back. First, we work on frets.

Here's my custom-made fret setting tool.

And how to use it. I put some thin cyanoacrylate glue along the edge of the fret so it would wick into the gap and hold the fret down. Easy to use and fairly effective, although a couple of the frets are in a spot where it's hard to hold the neck in a vise. A nylon face hammer stepped in for those.


Keith Tanner
Keith Tanner GRM+ Memberand MegaDork
10/22/17 11:37 p.m.

Now to fix the binding on the low side of the neck. The original binding had broken at the 12th fret and was long gone as you can see in the first post. Stewmac provided some ivory biding that was pretty close in color, so I glued it on. Making a bit of a mess.

Now this is fun. Like an old Gibson, the binding follows the side of the frets. So it's time to file it down to match the edge of the neck and the frets. I shaved it with a razor blade first, then filed and filed. As you can see, I had to go back and reseat a couple of the frets after the first go-around. I also started up high on the neck - that's the 12th fret with the marking in the picture. This was because I figured way up high on the low E string was the least crucial part of the neck, and it was a good place to make mistakes. I scuffed the fingerboard a bit as I got a feel for the filing, but that was easy to sort out later.

With the binding filed, I added dots for the fret markings - I'm sure these have a much more sophisticated name, but they're fret markings smiley I drilled a 1/16" hole and glued in a piece of black plastic, also from Stewmac. Then trimmed it with a razor blade.

With the glue dry, more filing to the dots to bring them flush. I've done the ones to the right of the photo.

The final binding and dots. There's still some glue  on the edges of the neck that I'm trying to get off. I may have to sand down the neck to get rid of it, but I'm pretty happy with how the new binding turned out, especially as it was my first attempt.

Keith Tanner
Keith Tanner GRM+ Memberand MegaDork
10/22/17 11:49 p.m.

Not shown: I spent some time adjusting the slots in the nut so the strings would be in contact with the zero fret. I also oiled the fingerboard to feed that poor dry wood and polished the frets. Turns out Eagle One Nevr-Dull does a good job at taking off some of that extra glue.

I reassembled the guitar and tried it out. So much better! It was a cranky thing to play before, now it's much more of a sweetheart. No more string buzz and I can probably drop the action a little bit. I'm still working on getting the truss rod set - tighten, then rest. But it's much more pleasant. The refurbished tuners work far better as well.

The A string is showing some unusual behavior - if it's in tune when open, it's sharp on a fretted note. I think it's not quite contacting the zero fret, as I can hear the change if I fret the zero fret with my thumbnail and that would explain what's going on with the pitch. I'll check that tomorrow and probably just drop that slot a little bit. 

This is the first peek at the new truss rod cover. Currently, it's just a piece of hand-shaped raw aluminum but I have some plans.


Tony Sestito
Tony Sestito PowerDork
10/23/17 9:04 a.m.

Nice work! That thing looks great!

Jumper K. Balls
Jumper K. Balls PowerDork
10/23/17 10:08 a.m.

Not sure how I've missed this thread. Great work.


On the nut. Go ahead and cut the slots as deep as you care. You want a good deal of pressure on that fret. The nut only serves to locate the string, the zero fret sets the height.

Keith Tanner
Keith Tanner GRM+ Memberand MegaDork
10/23/17 10:21 a.m.

Some of my reading indicates that you still want the nut to carry some of the load so that it's easier to tune - but there's definitely little downside to being too deep. I'll be dropping that A string for sure tonight.

My mantra for this whole thing is "how would Jumper K Balls do it"?

wearymicrobe
wearymicrobe UberDork
10/23/17 10:26 a.m.

That nut was put on so someone could play with Slide Guitar I am sure of that. More depth on the nut as well as Balls has said. 


Other then that really cool and fantastic job. There are a few ways to polish in the top if it is french polished but I am not sure if it was sprayed on that one, I am guessing it was. 

Jumper K. Balls
Jumper K. Balls PowerDork
10/23/17 11:43 a.m.

In reply to Keith Tanner :

You flatter me sir.

Keith Tanner
Keith Tanner GRM+ Memberand MegaDork
10/26/17 11:45 p.m.

The truss rod cover has been given a makeover thanks to the electro-etching tank. This actually initially developed a very interesting hexagonal pattern, like crystals. I may play with that in the future. But now it looks a little more appropriate to the guitar. The F is from the Framus logo on the headstock.

You can't really tell from the picture, but the slot for the A string got some attention and the intonation problems are sorted.

RossD
RossD MegaDork
10/27/17 7:29 a.m.

Purrrrrttty!

Keith Tanner
Keith Tanner GRM+ Memberand MegaDork
12/3/17 7:22 p.m.

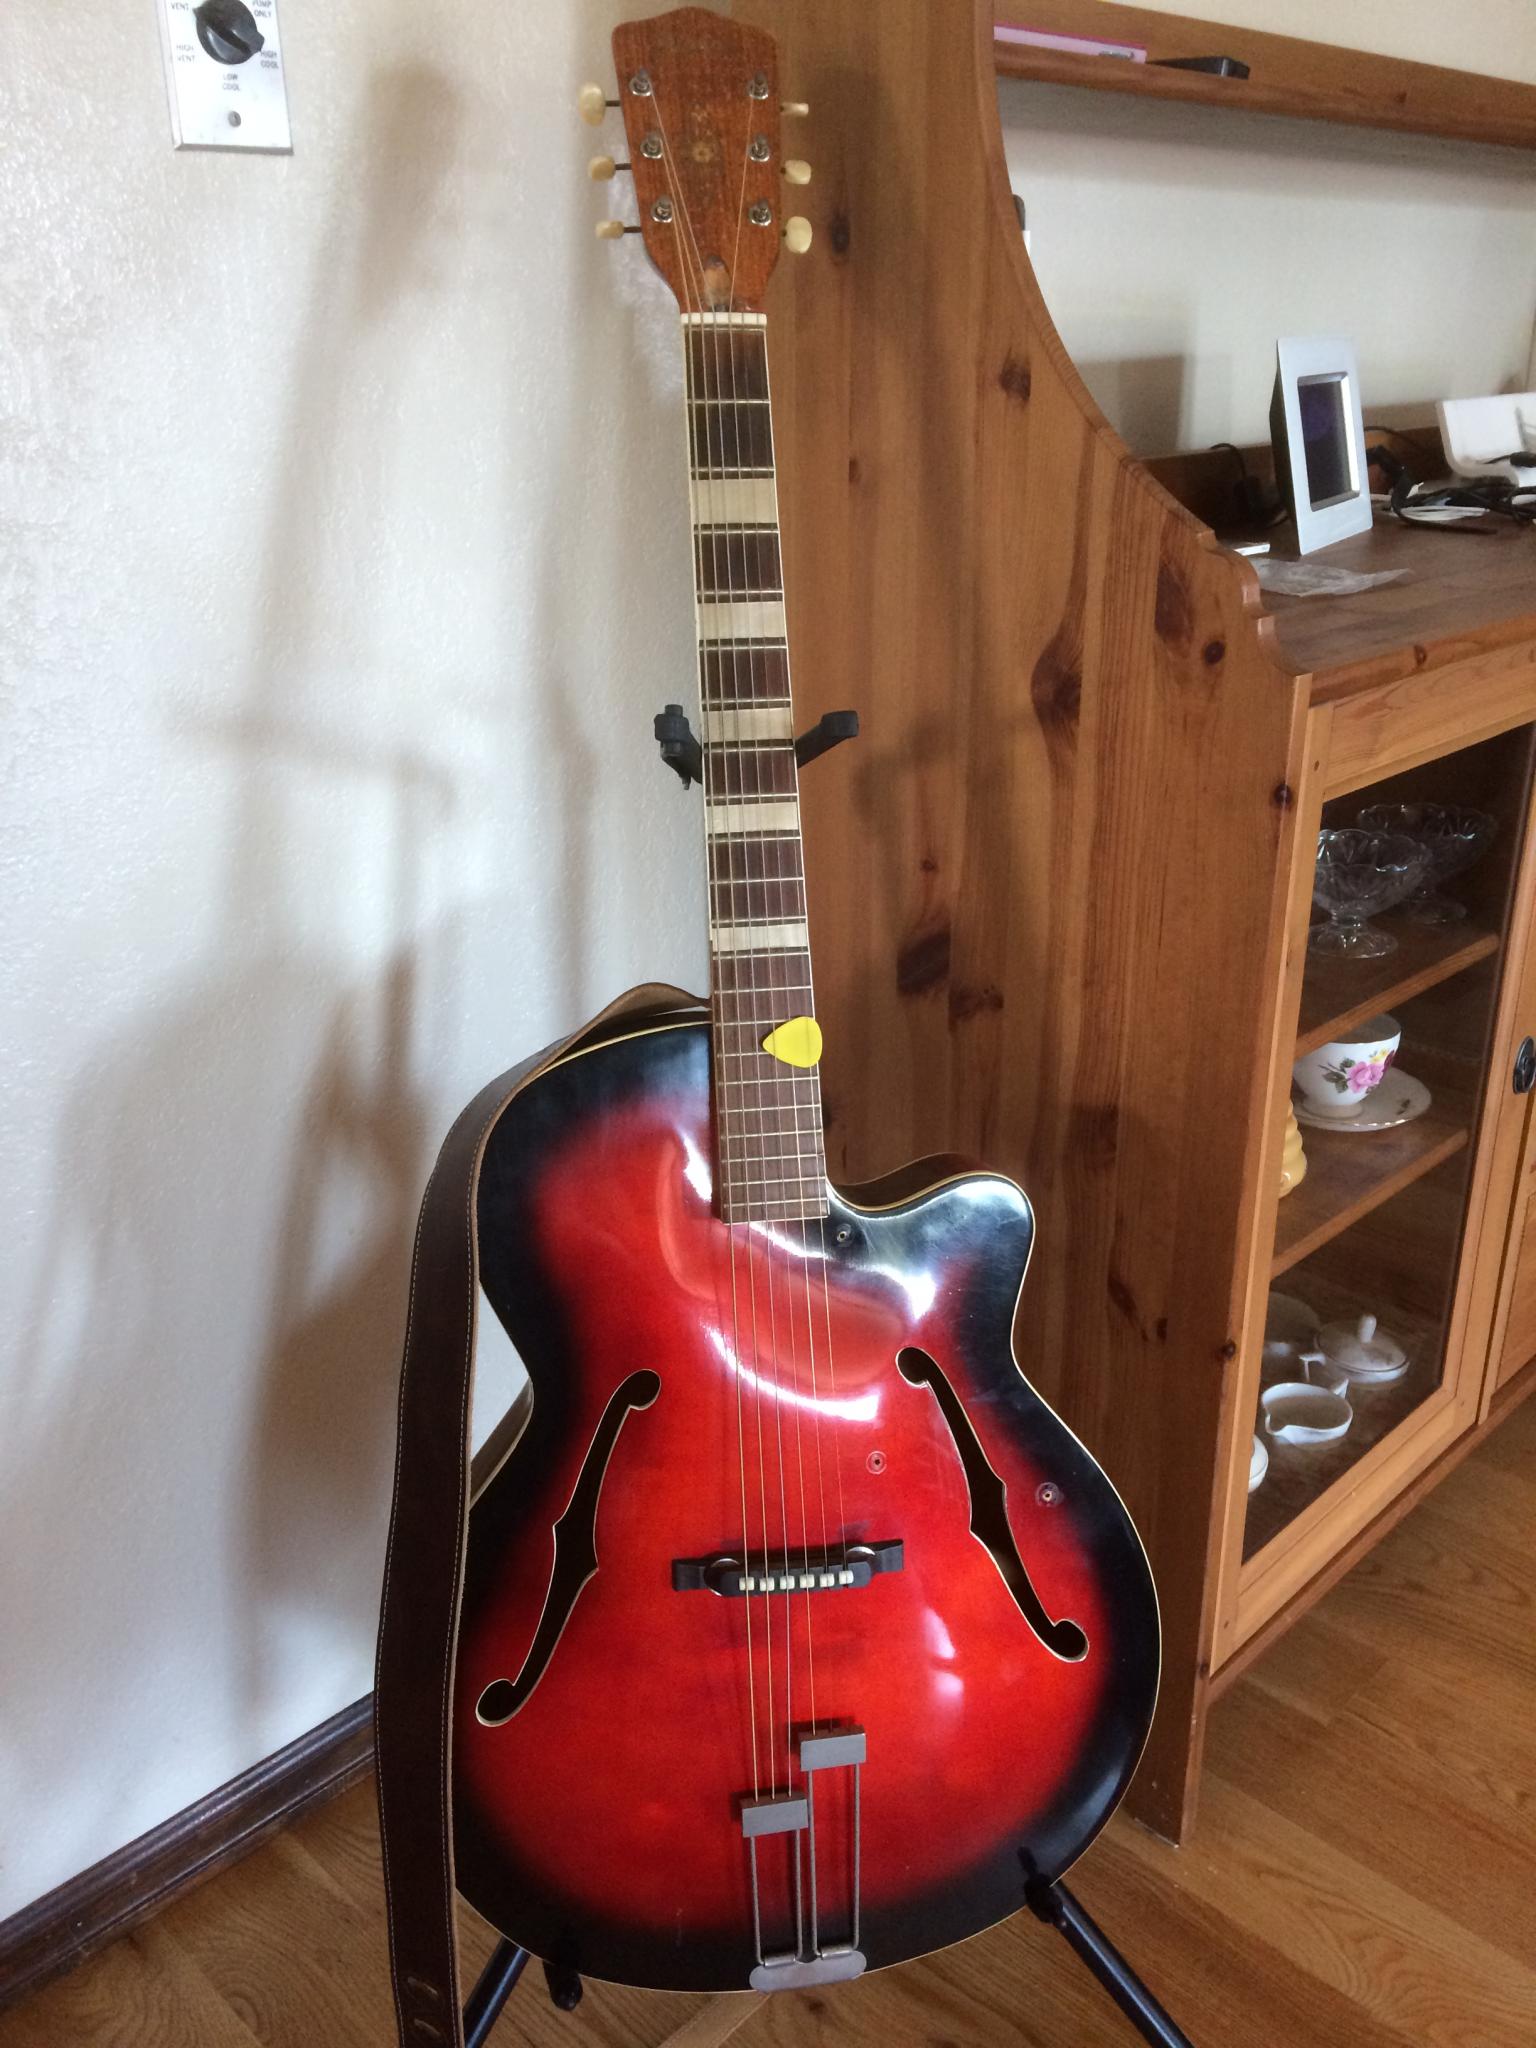
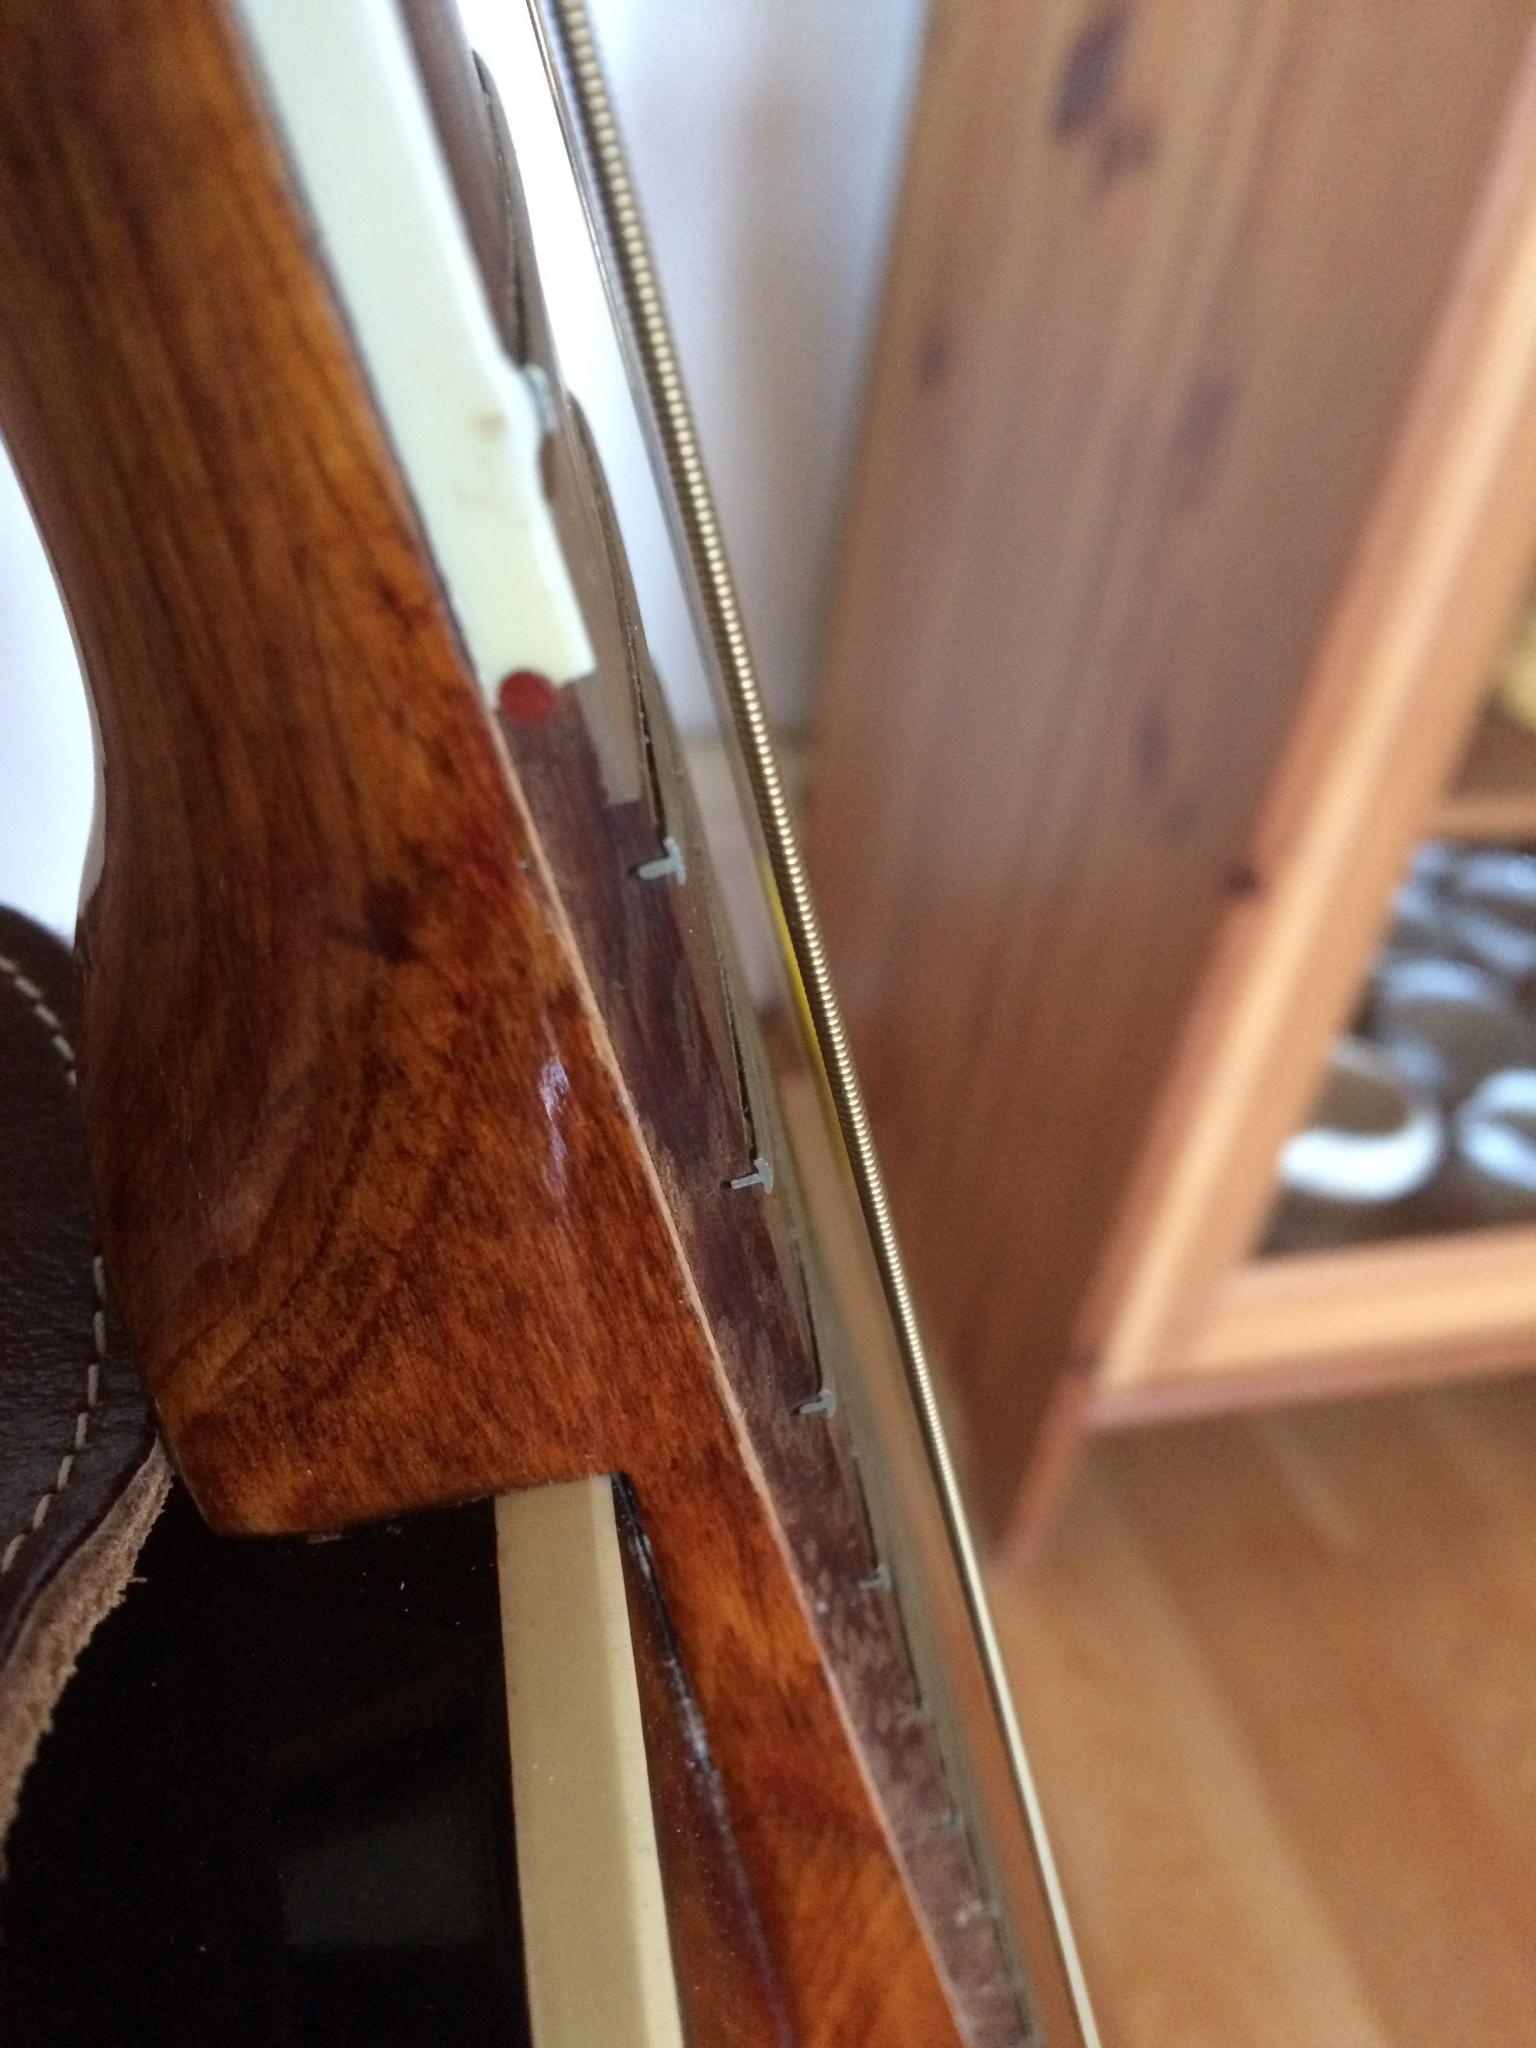
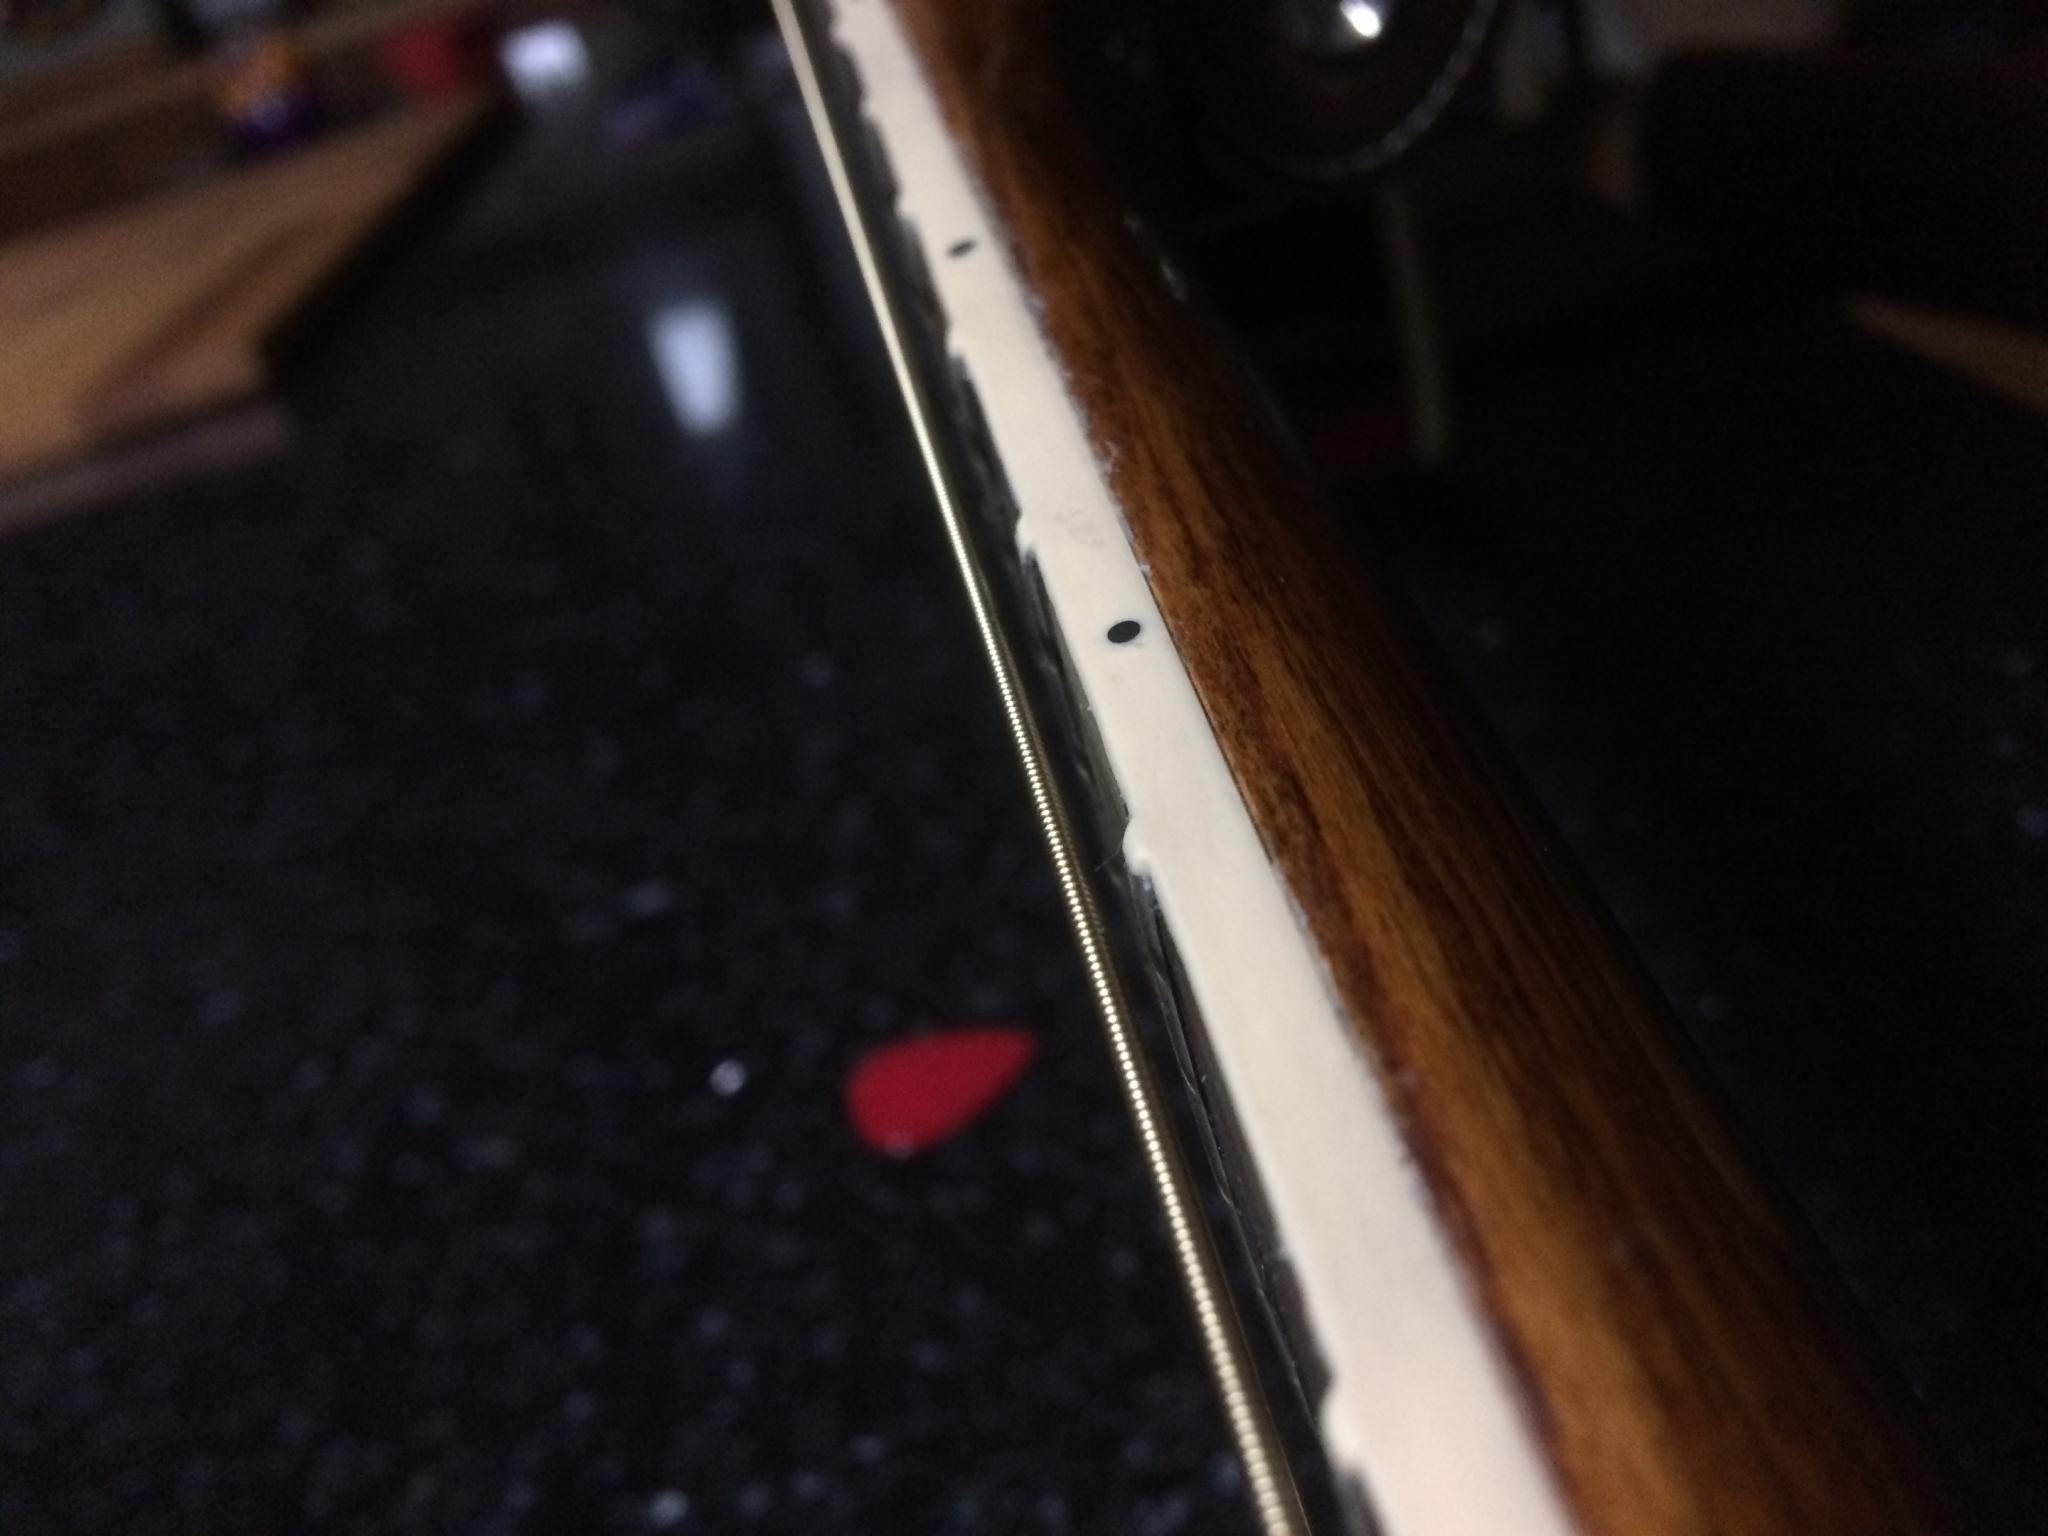
Time to make a pickguard! I spent a bunch of time looking at pictures of these guitars. Looks like they came with several different styles of pickguard over the production run. The holes in the body gave me clues.  Here's what I had to start with.

Looks like it was one of these.

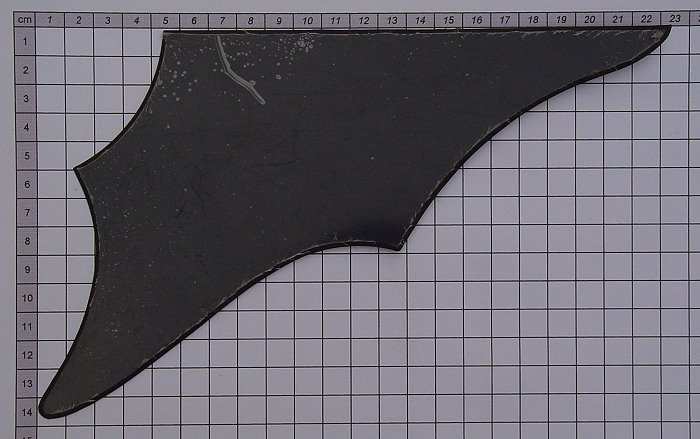
This is a European replacement part. It's not quite right, but that dimensioned picture helped get the basic shape and scaling right.

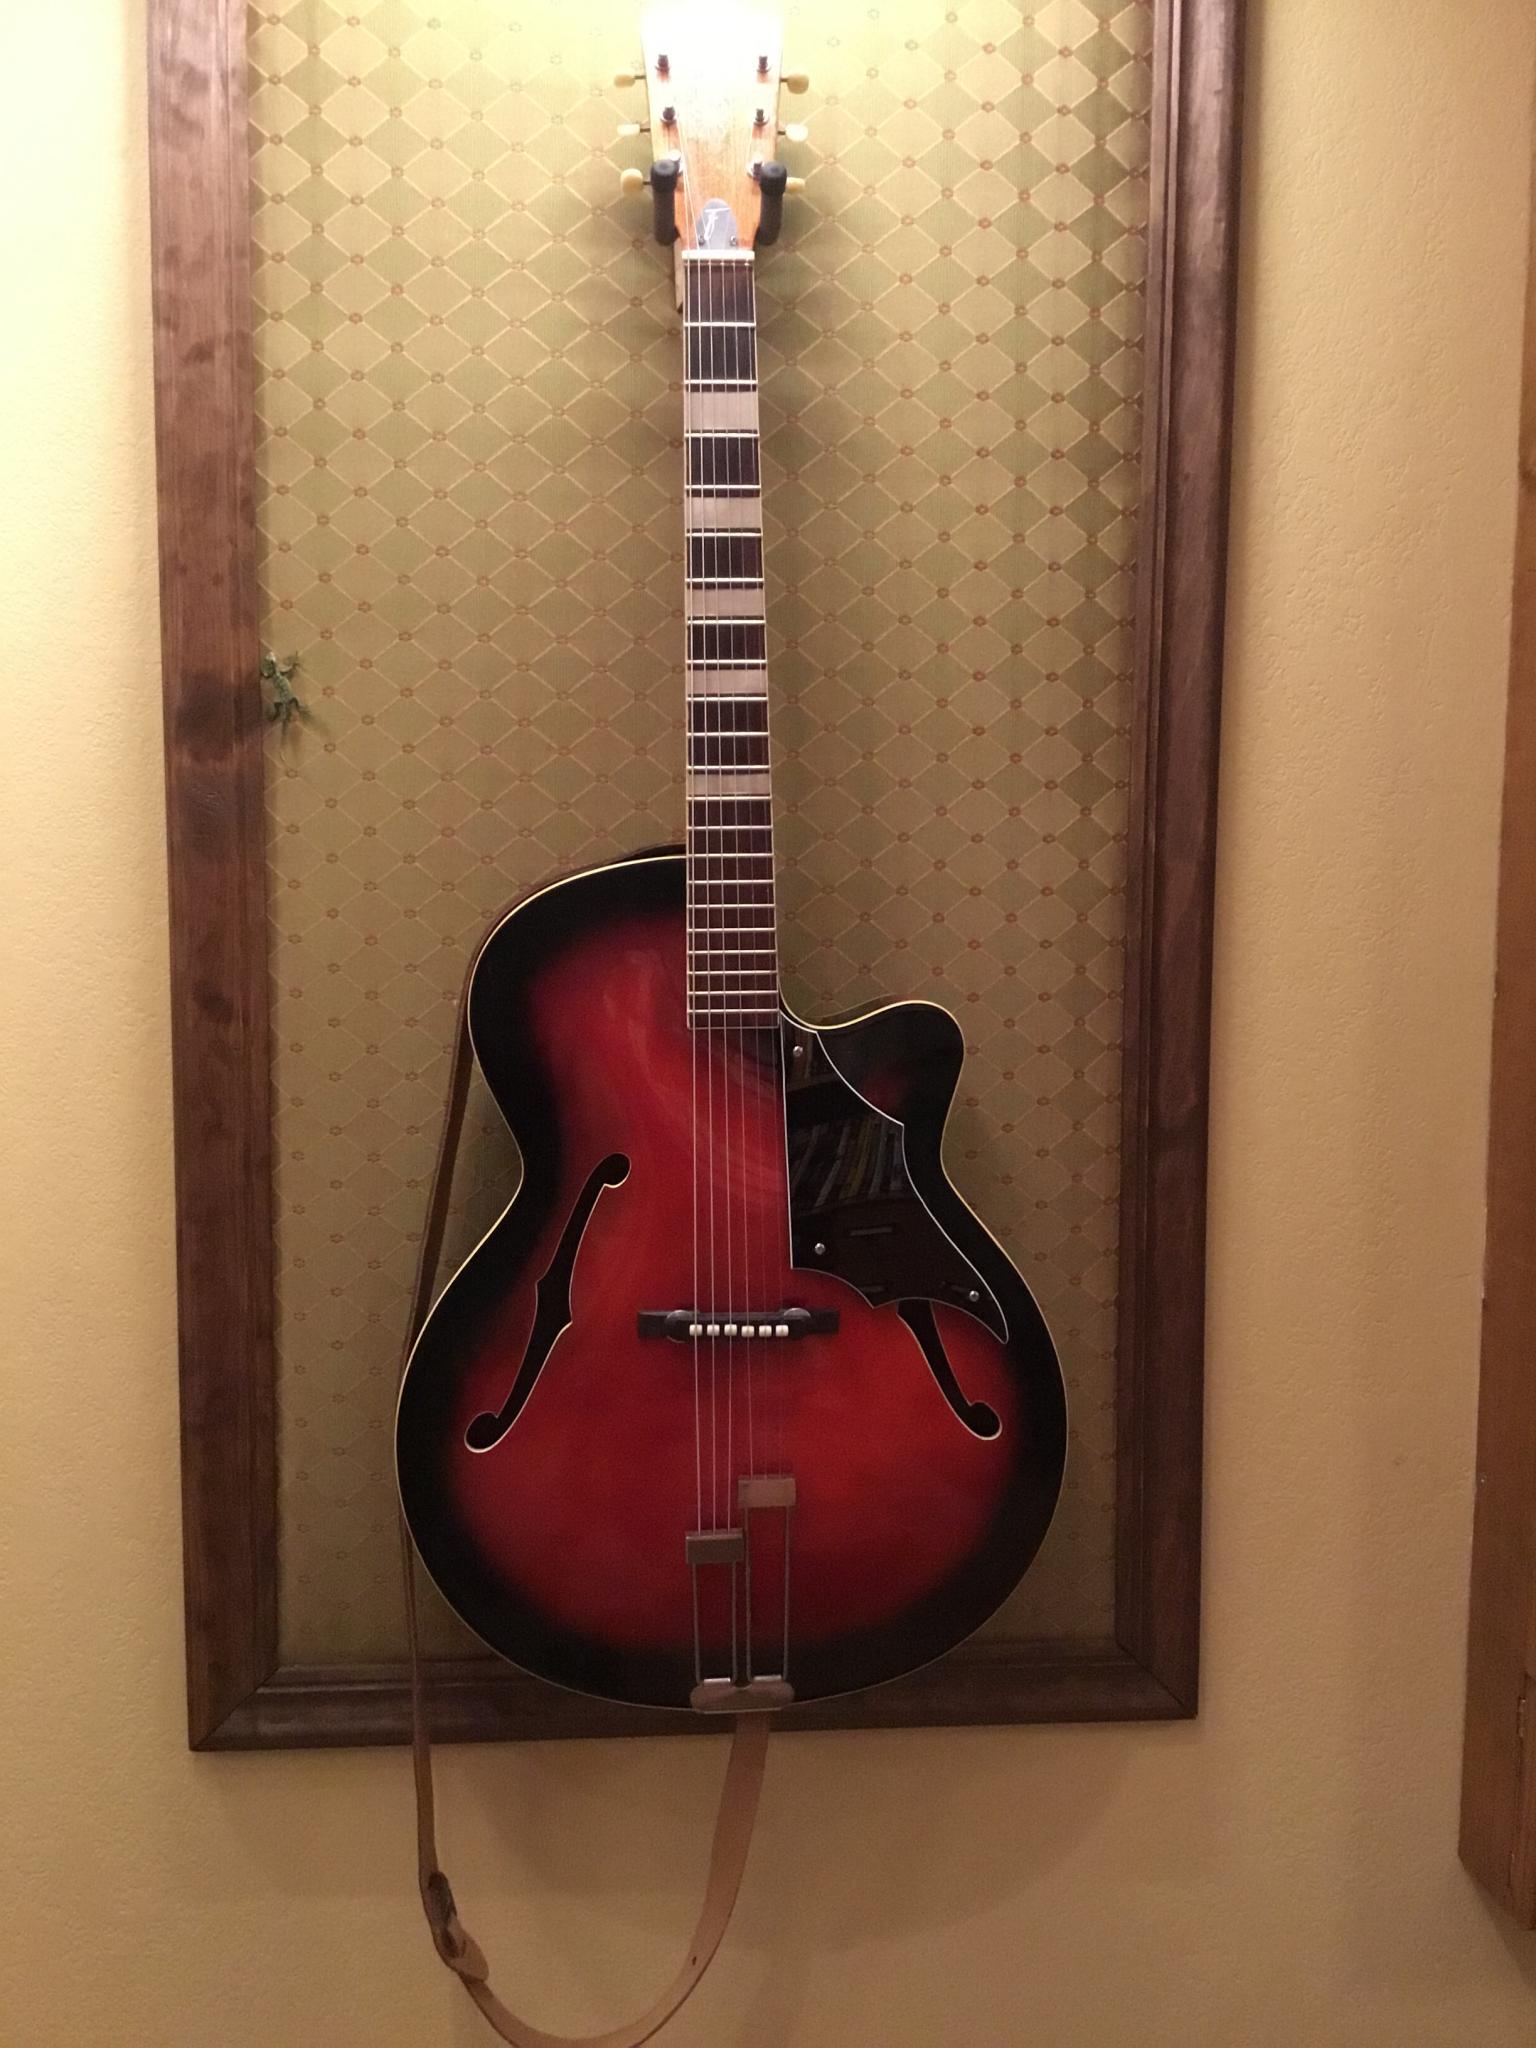
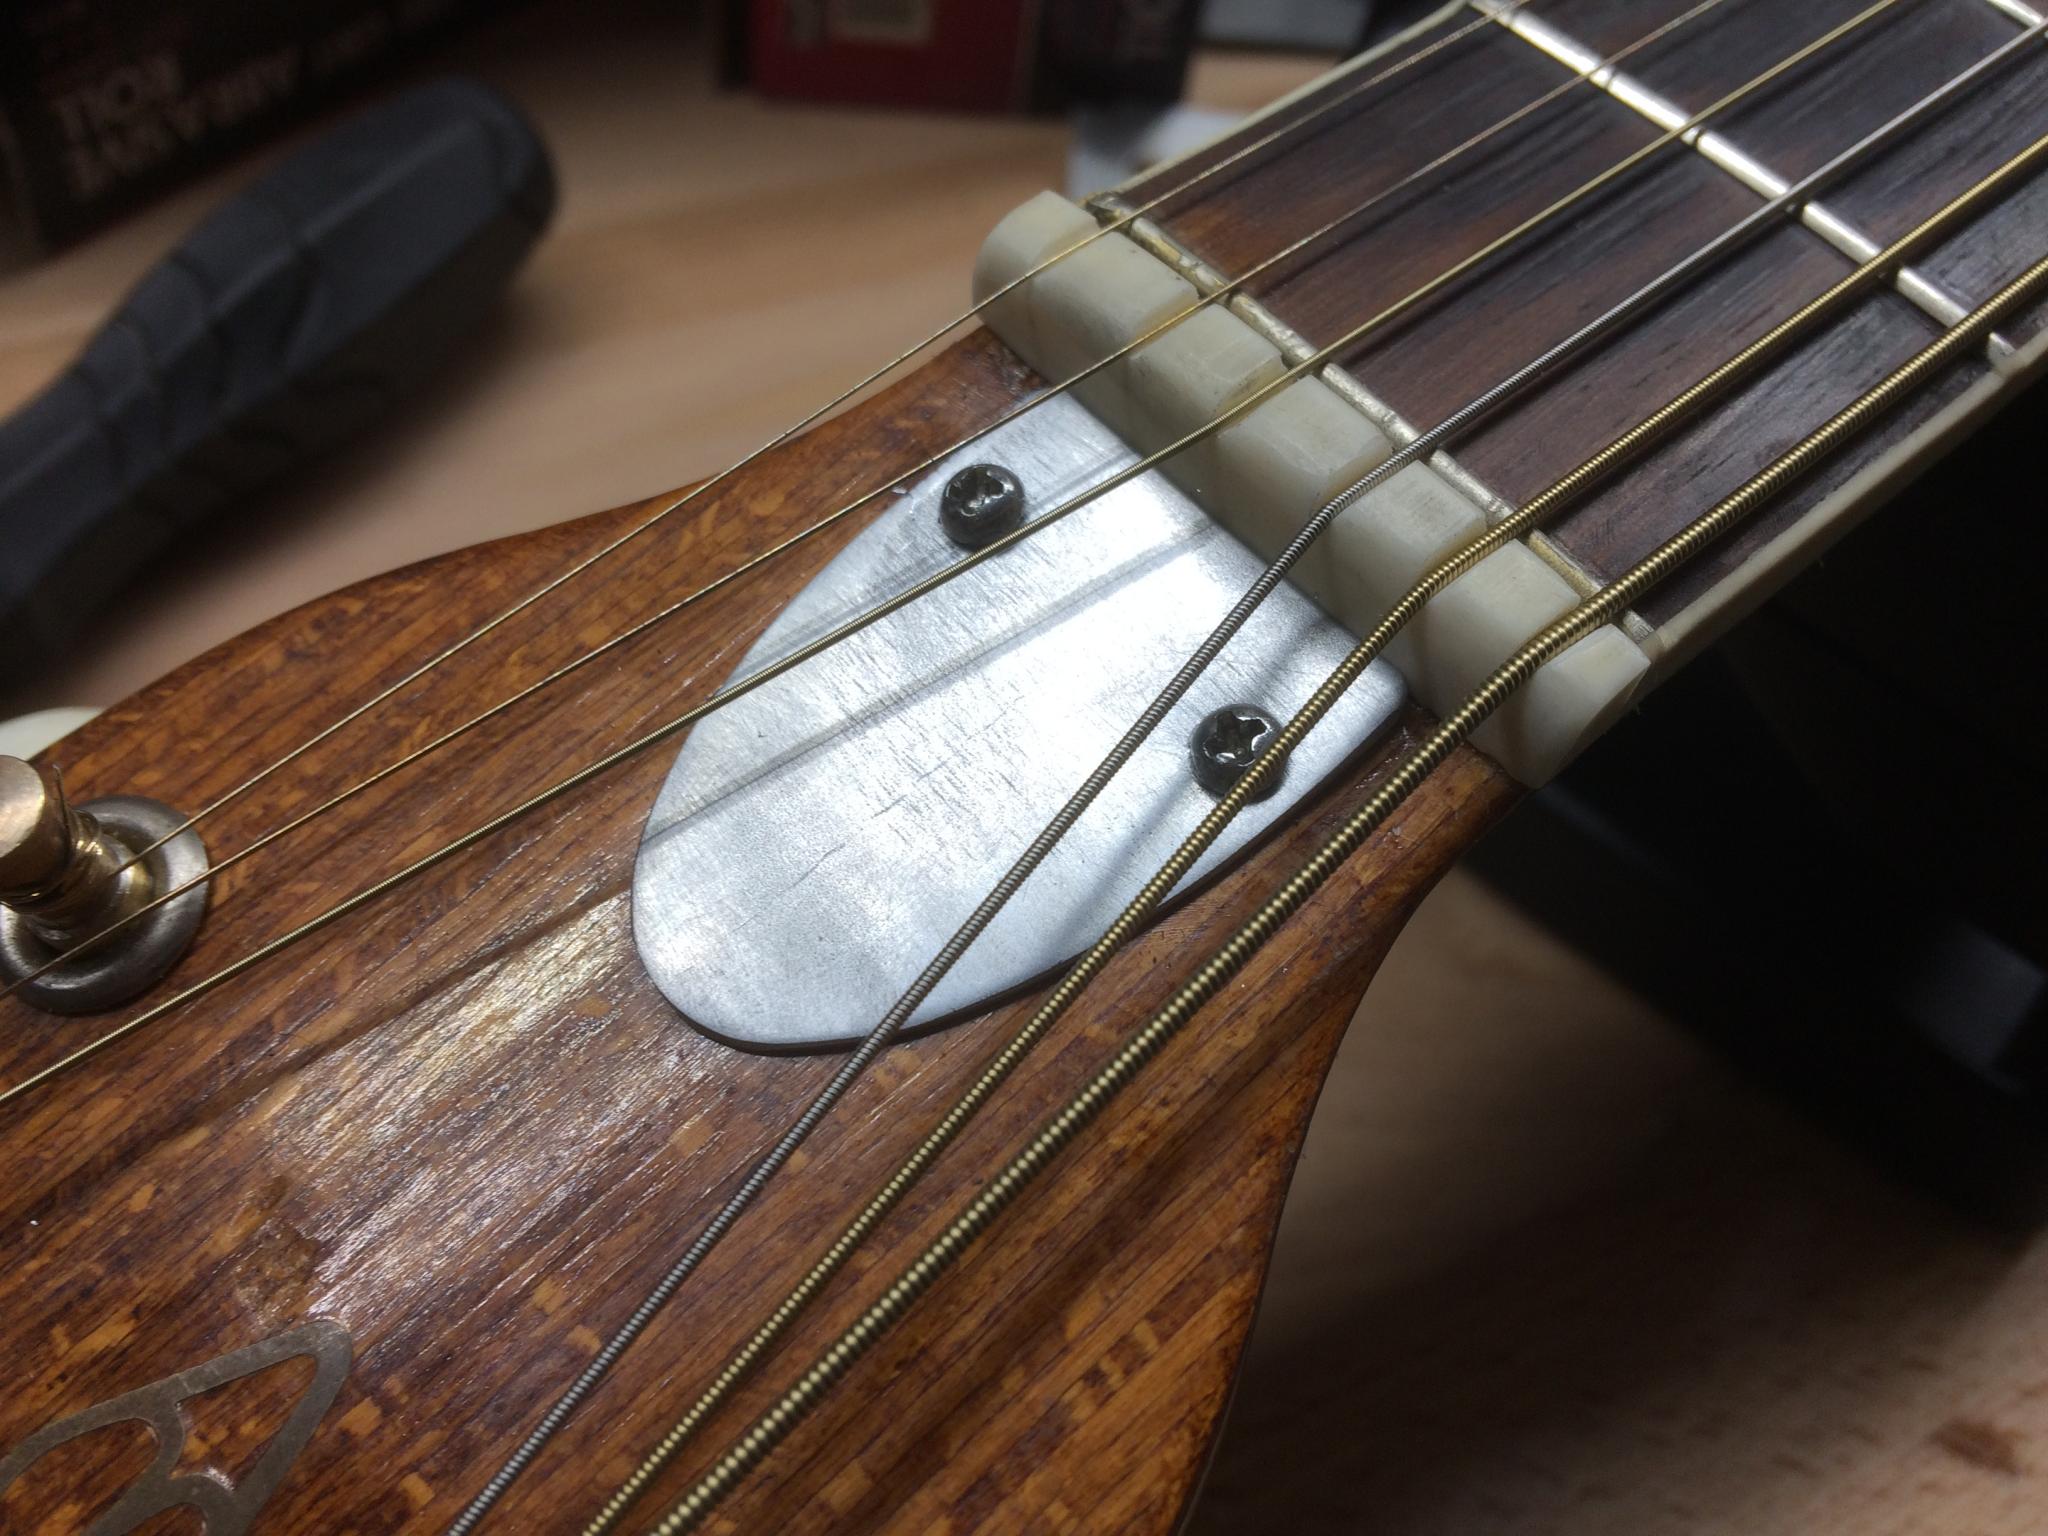
I ordered some tortoiseshell to make the guard - then found another picture of it done in black which looked awesome. So then I had to order some black laugh This one even has the same...string anchors? I don't know the name. But it's obviously contemporary to time.

Finally, time to start working. Step one, figure out the shape.

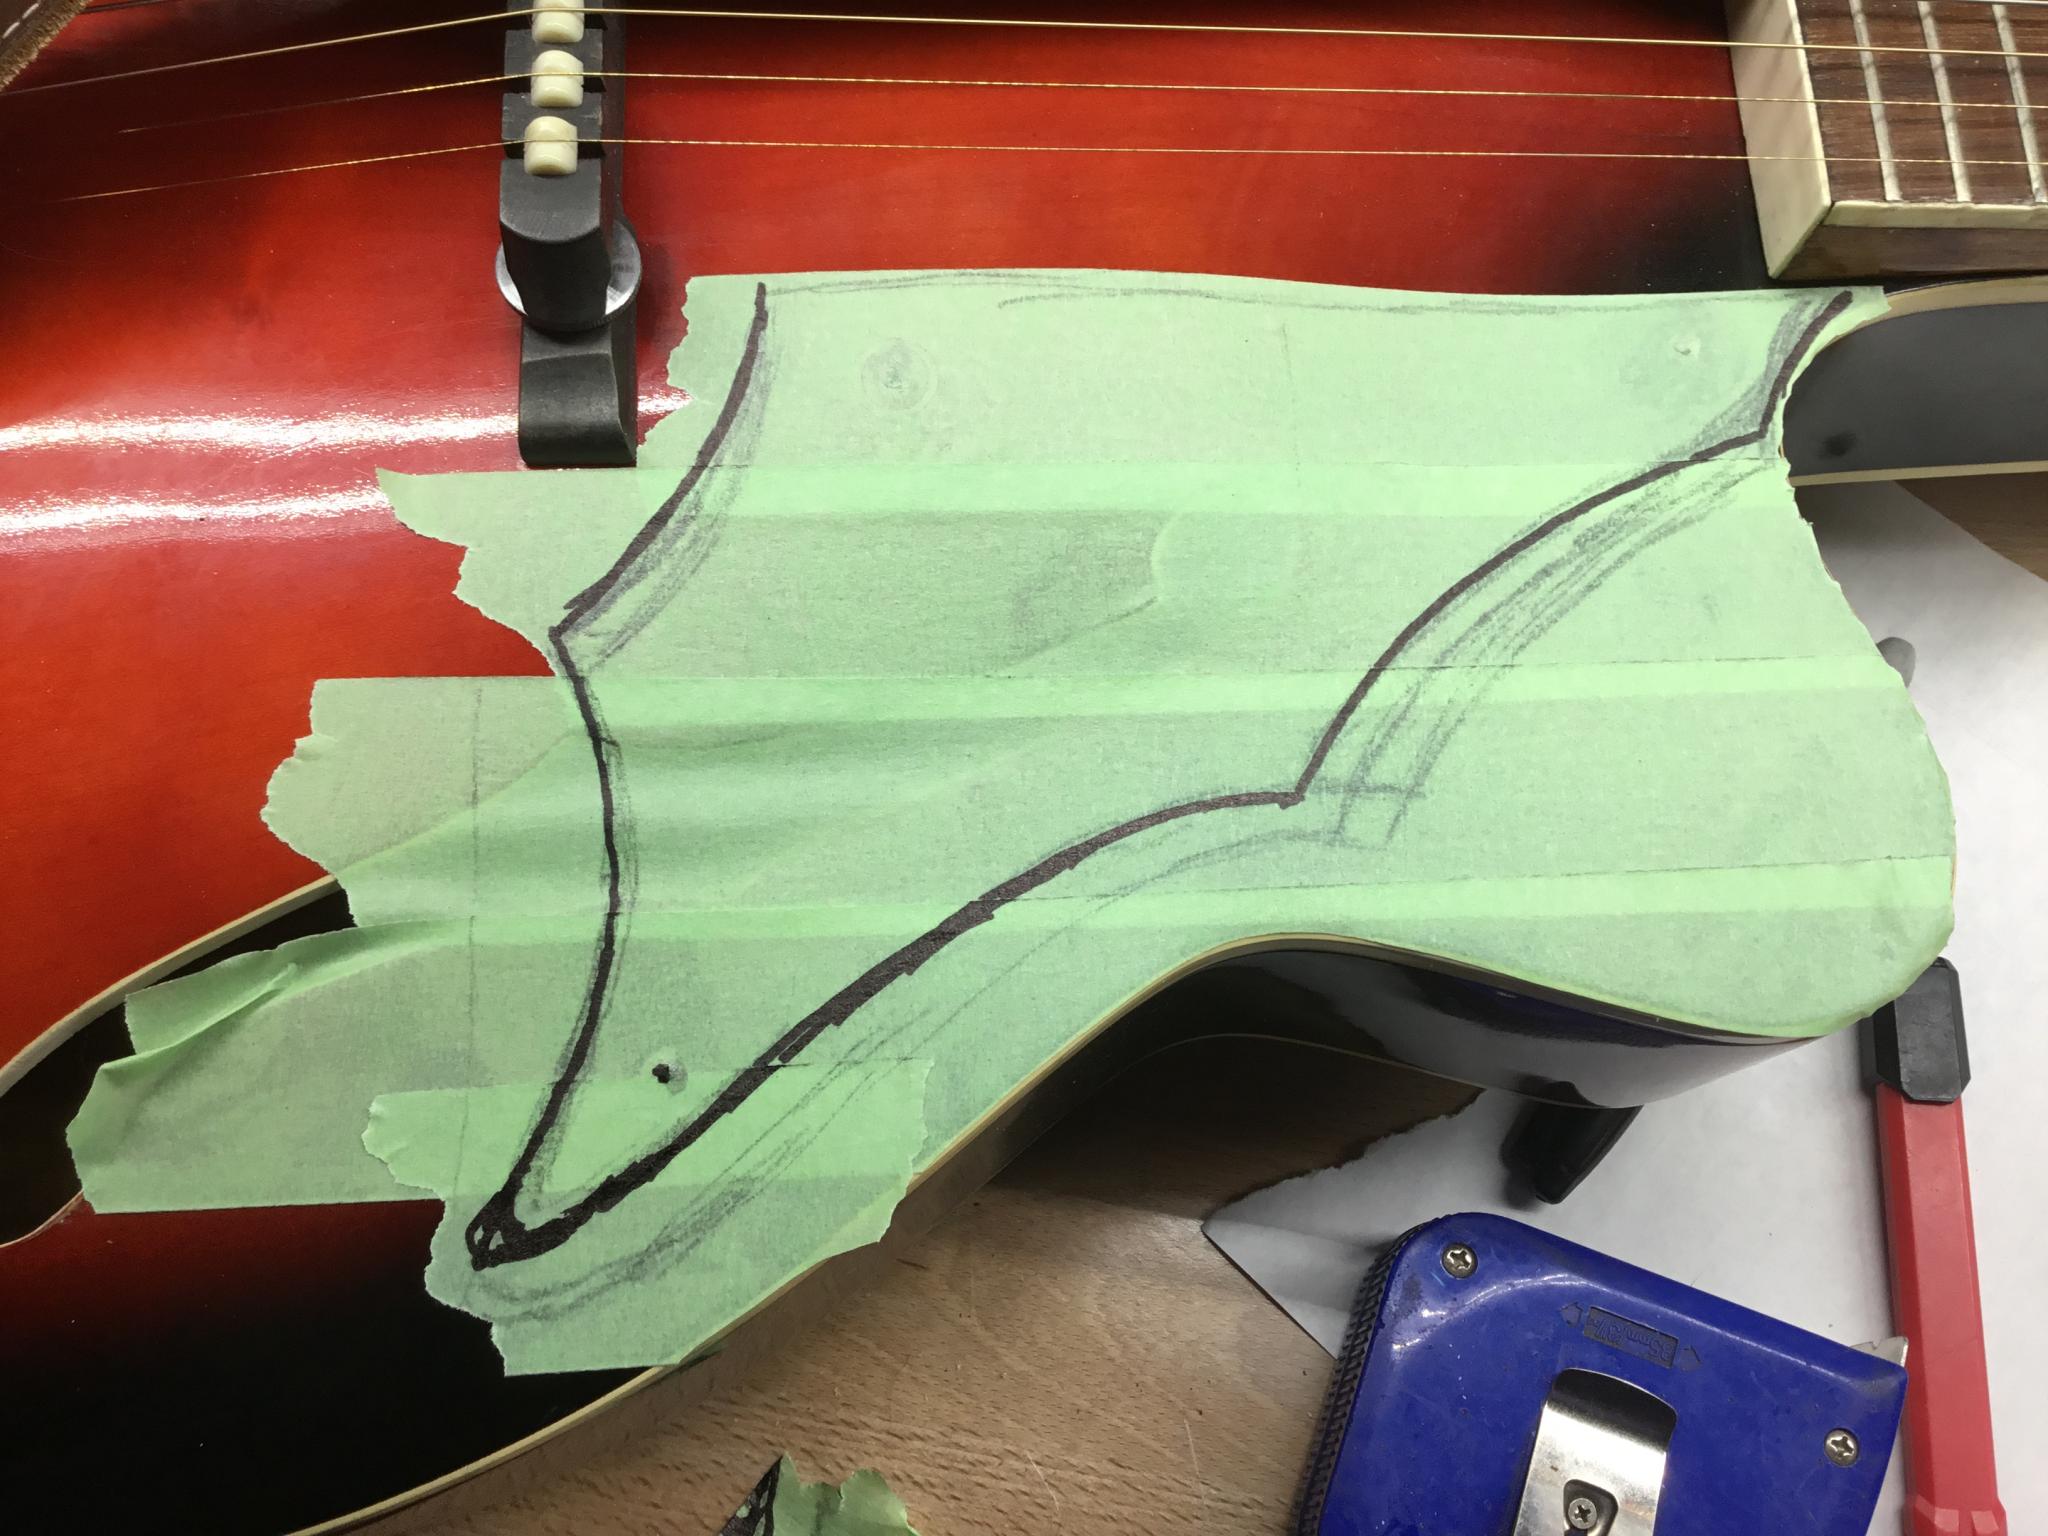
I transferred that to some 1/4" plywood and cut it out.

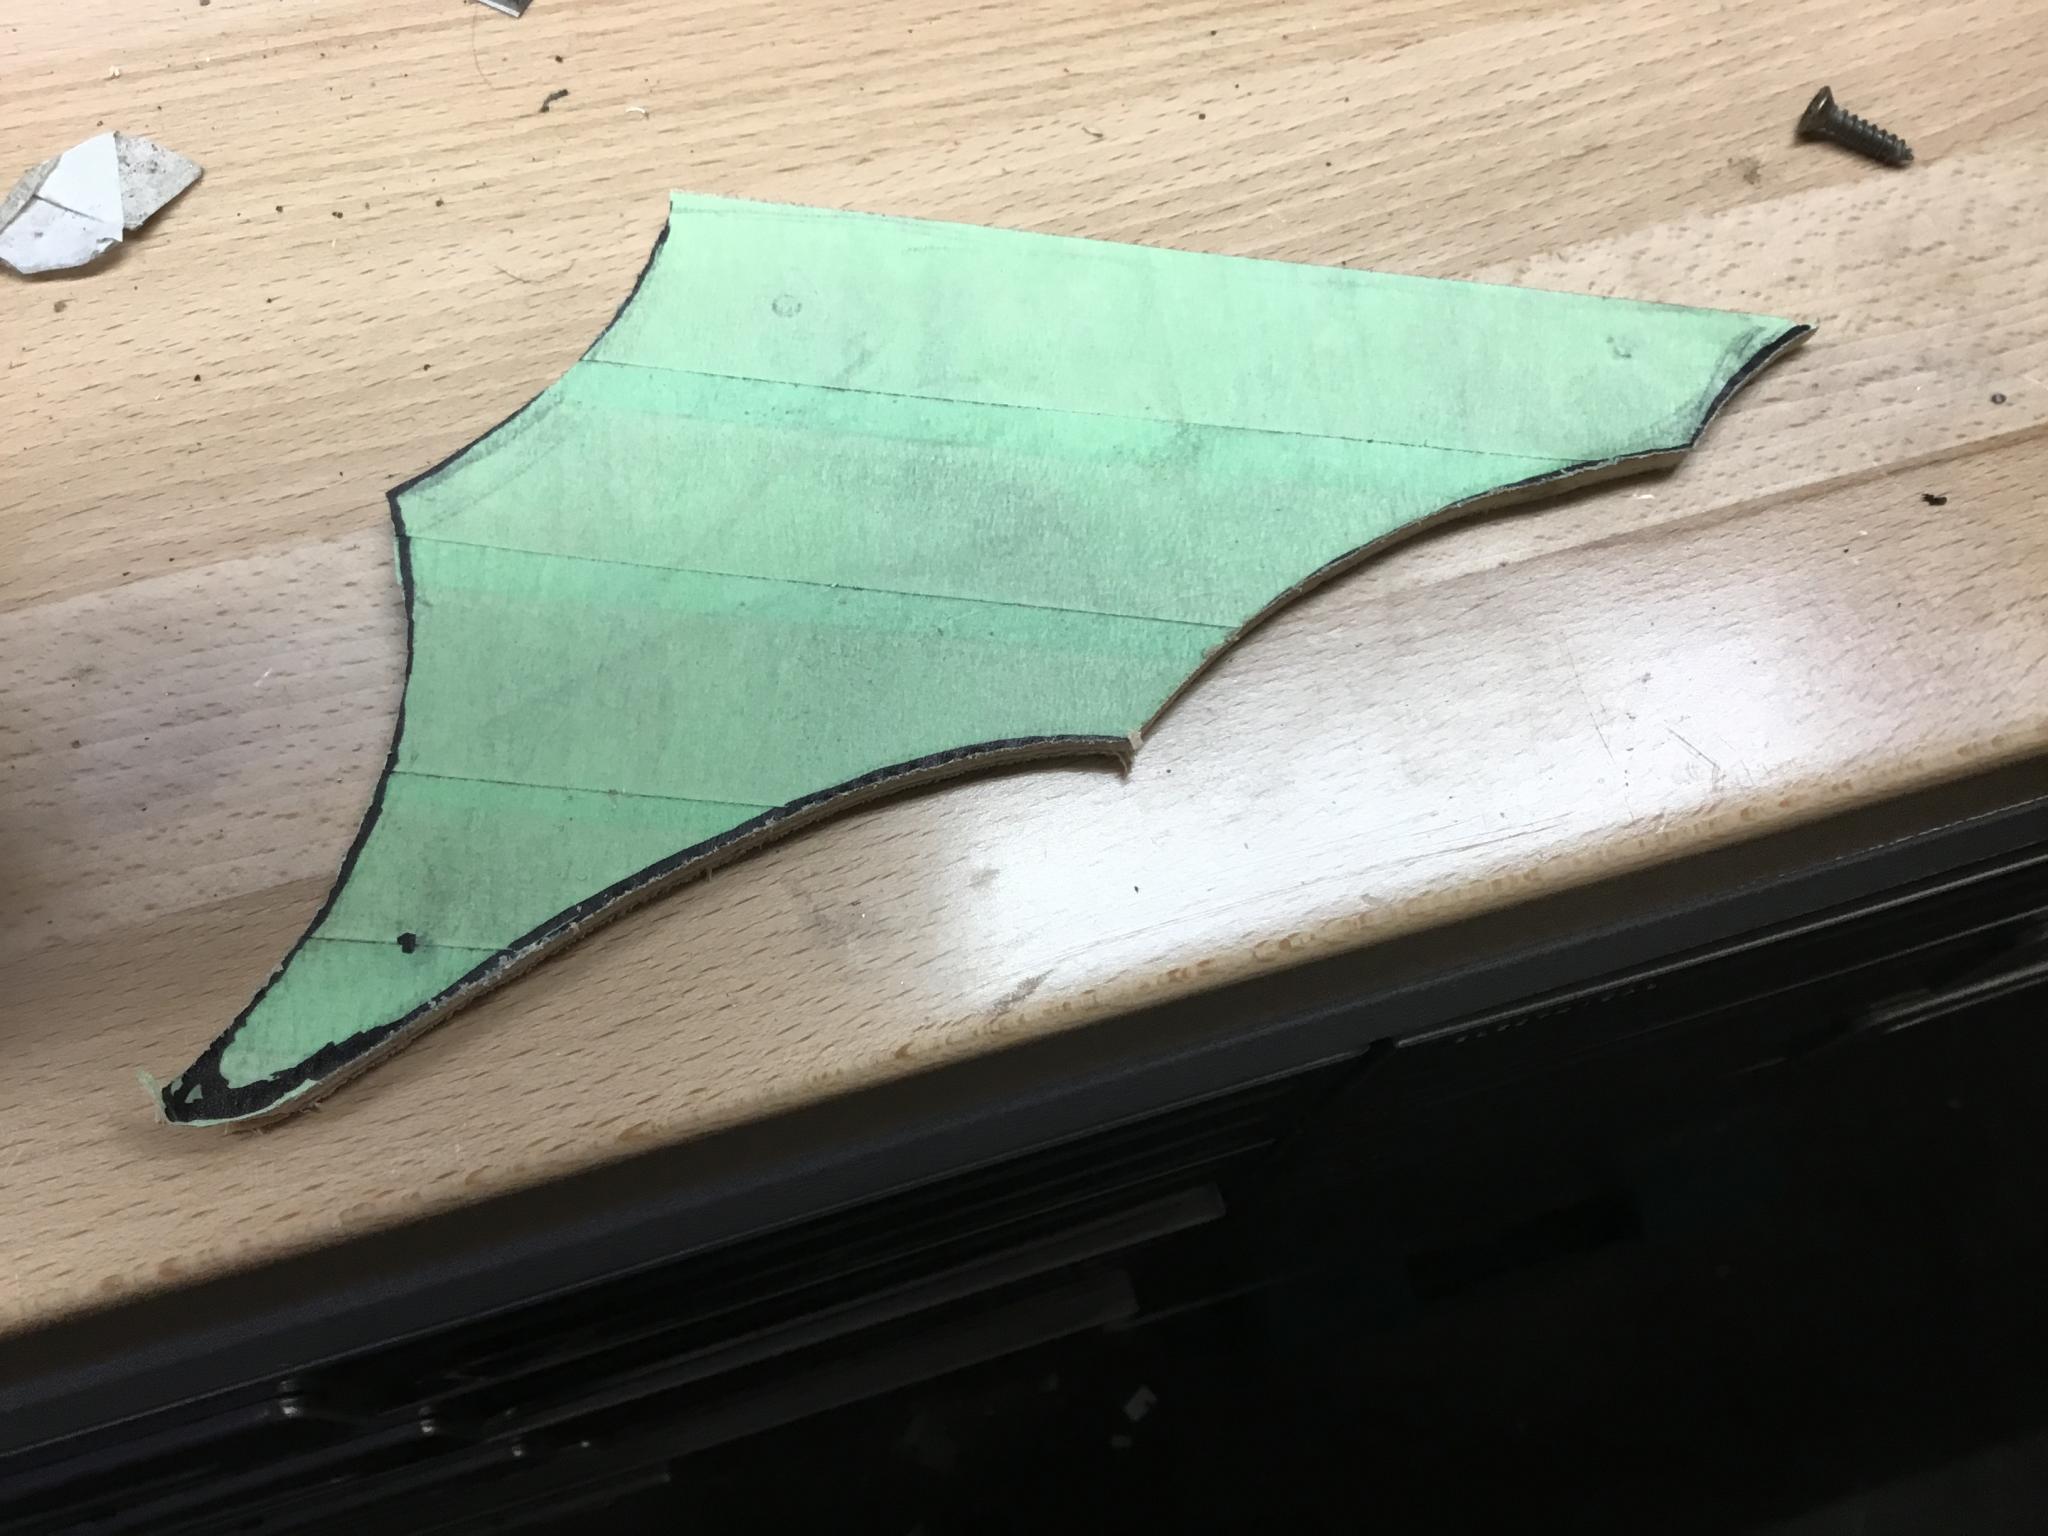
Spent some time fine-tuning the shape. The roller on the top of my belt sander sort of works like a moderately large diameter spindle sander, making it really easy to get good curves. Then I did it again with another template, and finally the third one looked the way I wanted. It's not a perfect copy of the original, but this one had the right flow to it.

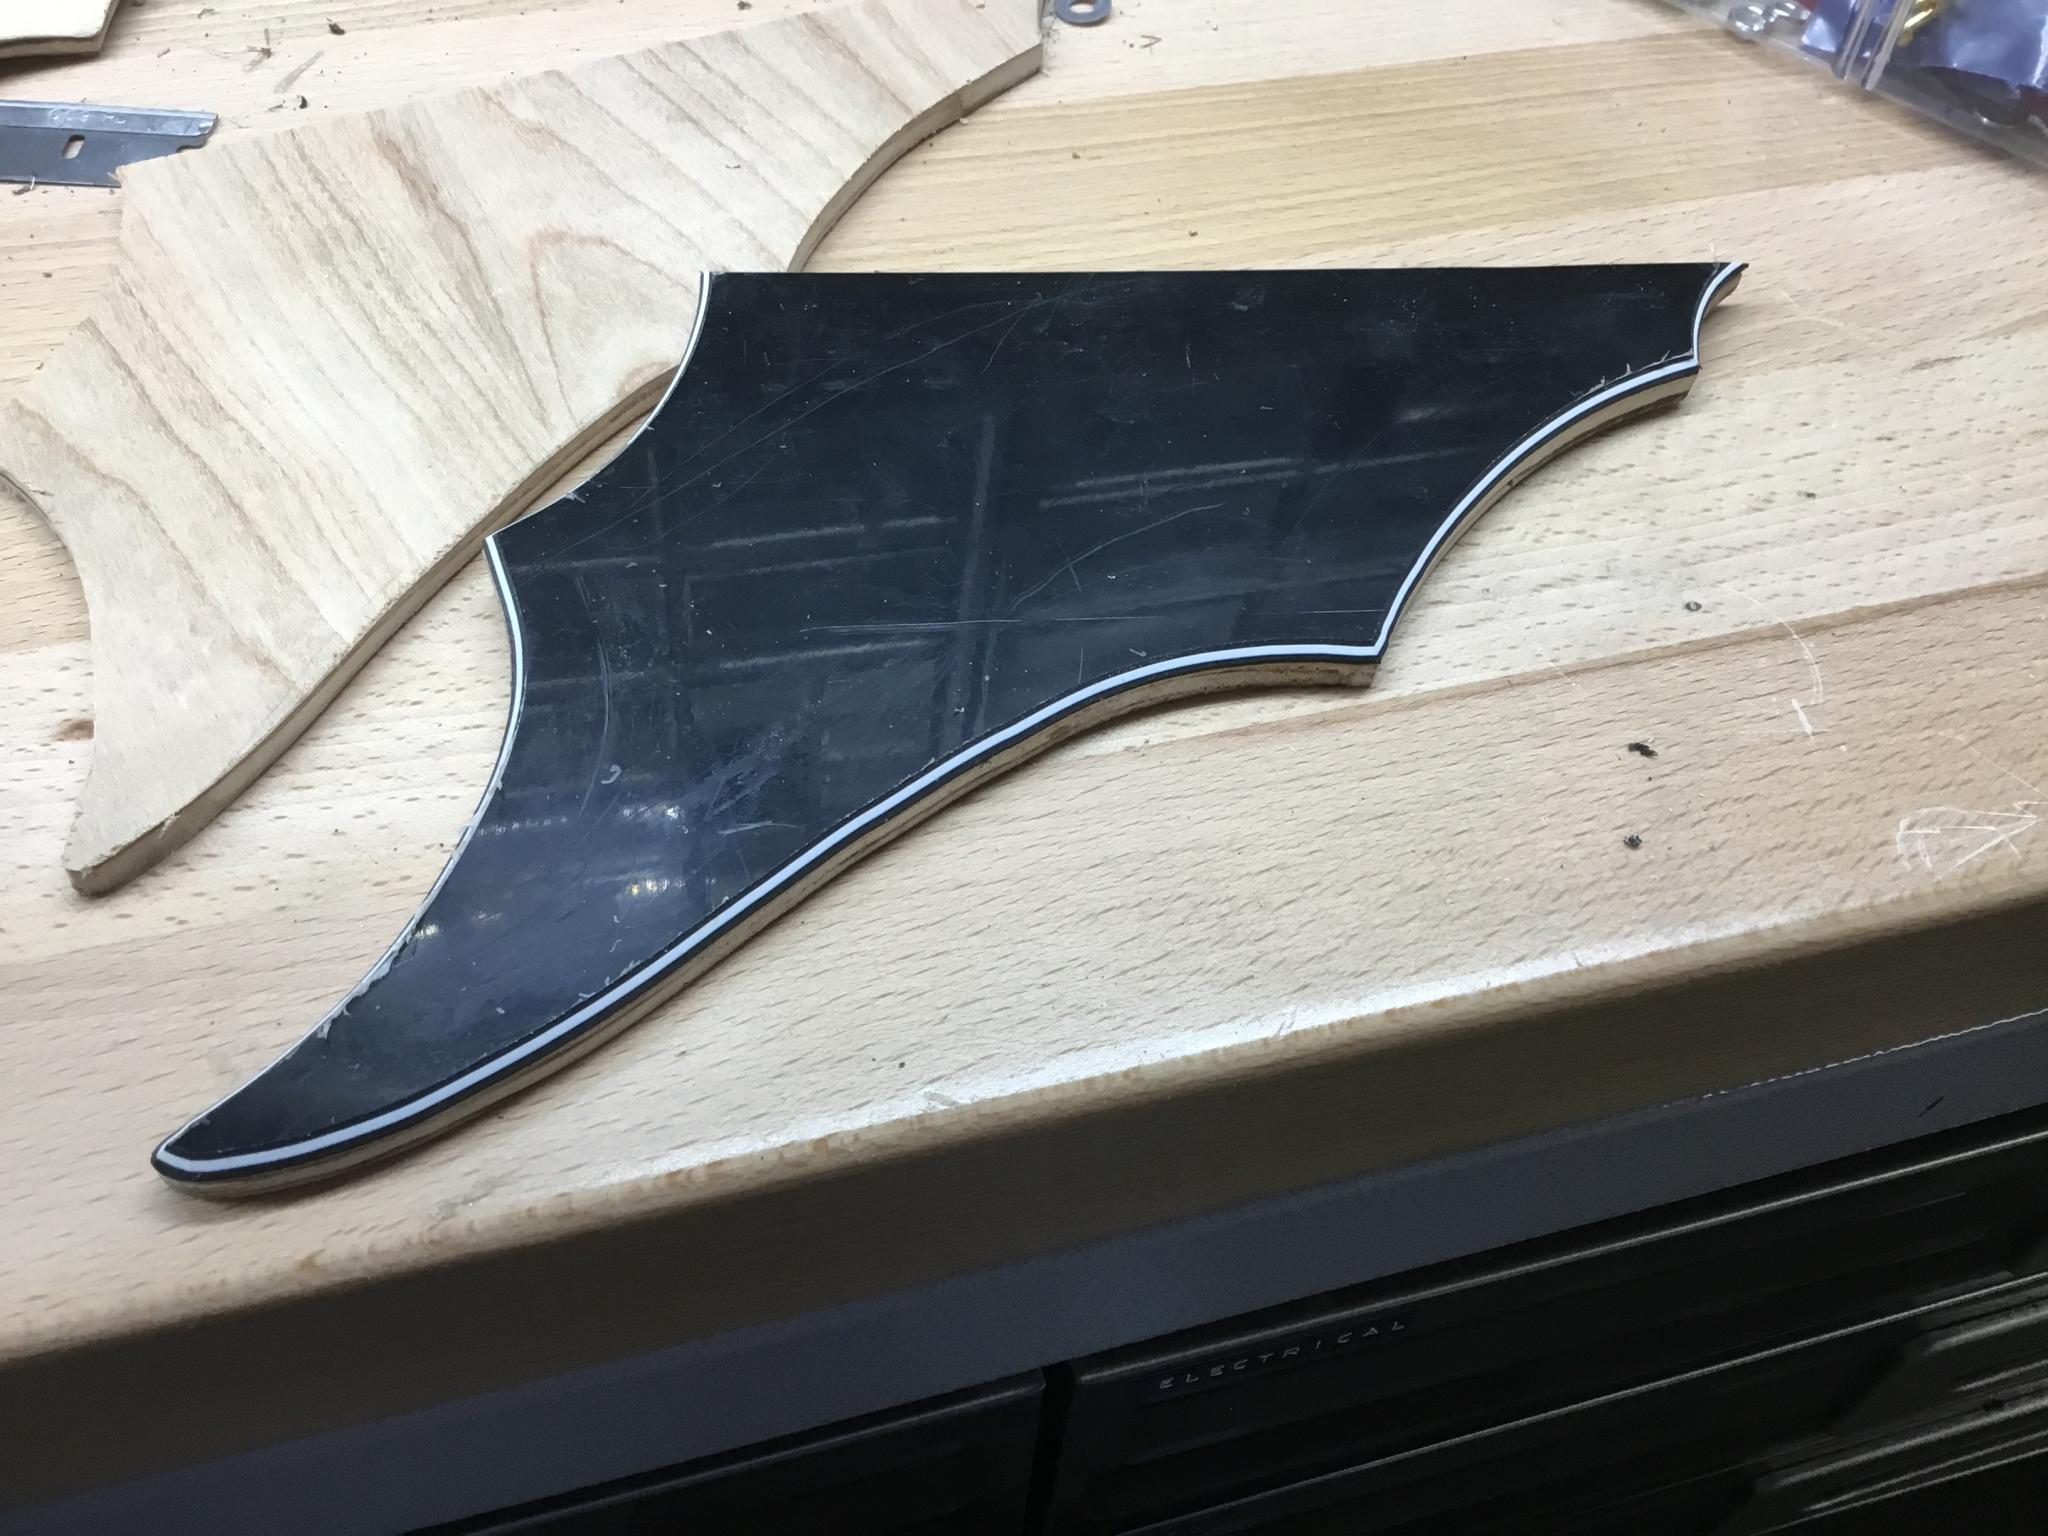
I used double-sided tape to attach the pickguard material to the template. Cut it out with the jigsaw, then used a flush trim bit on the router to make it a perfect copy. This shot is halfway through the flush trim, although you can really only see the rough cut.

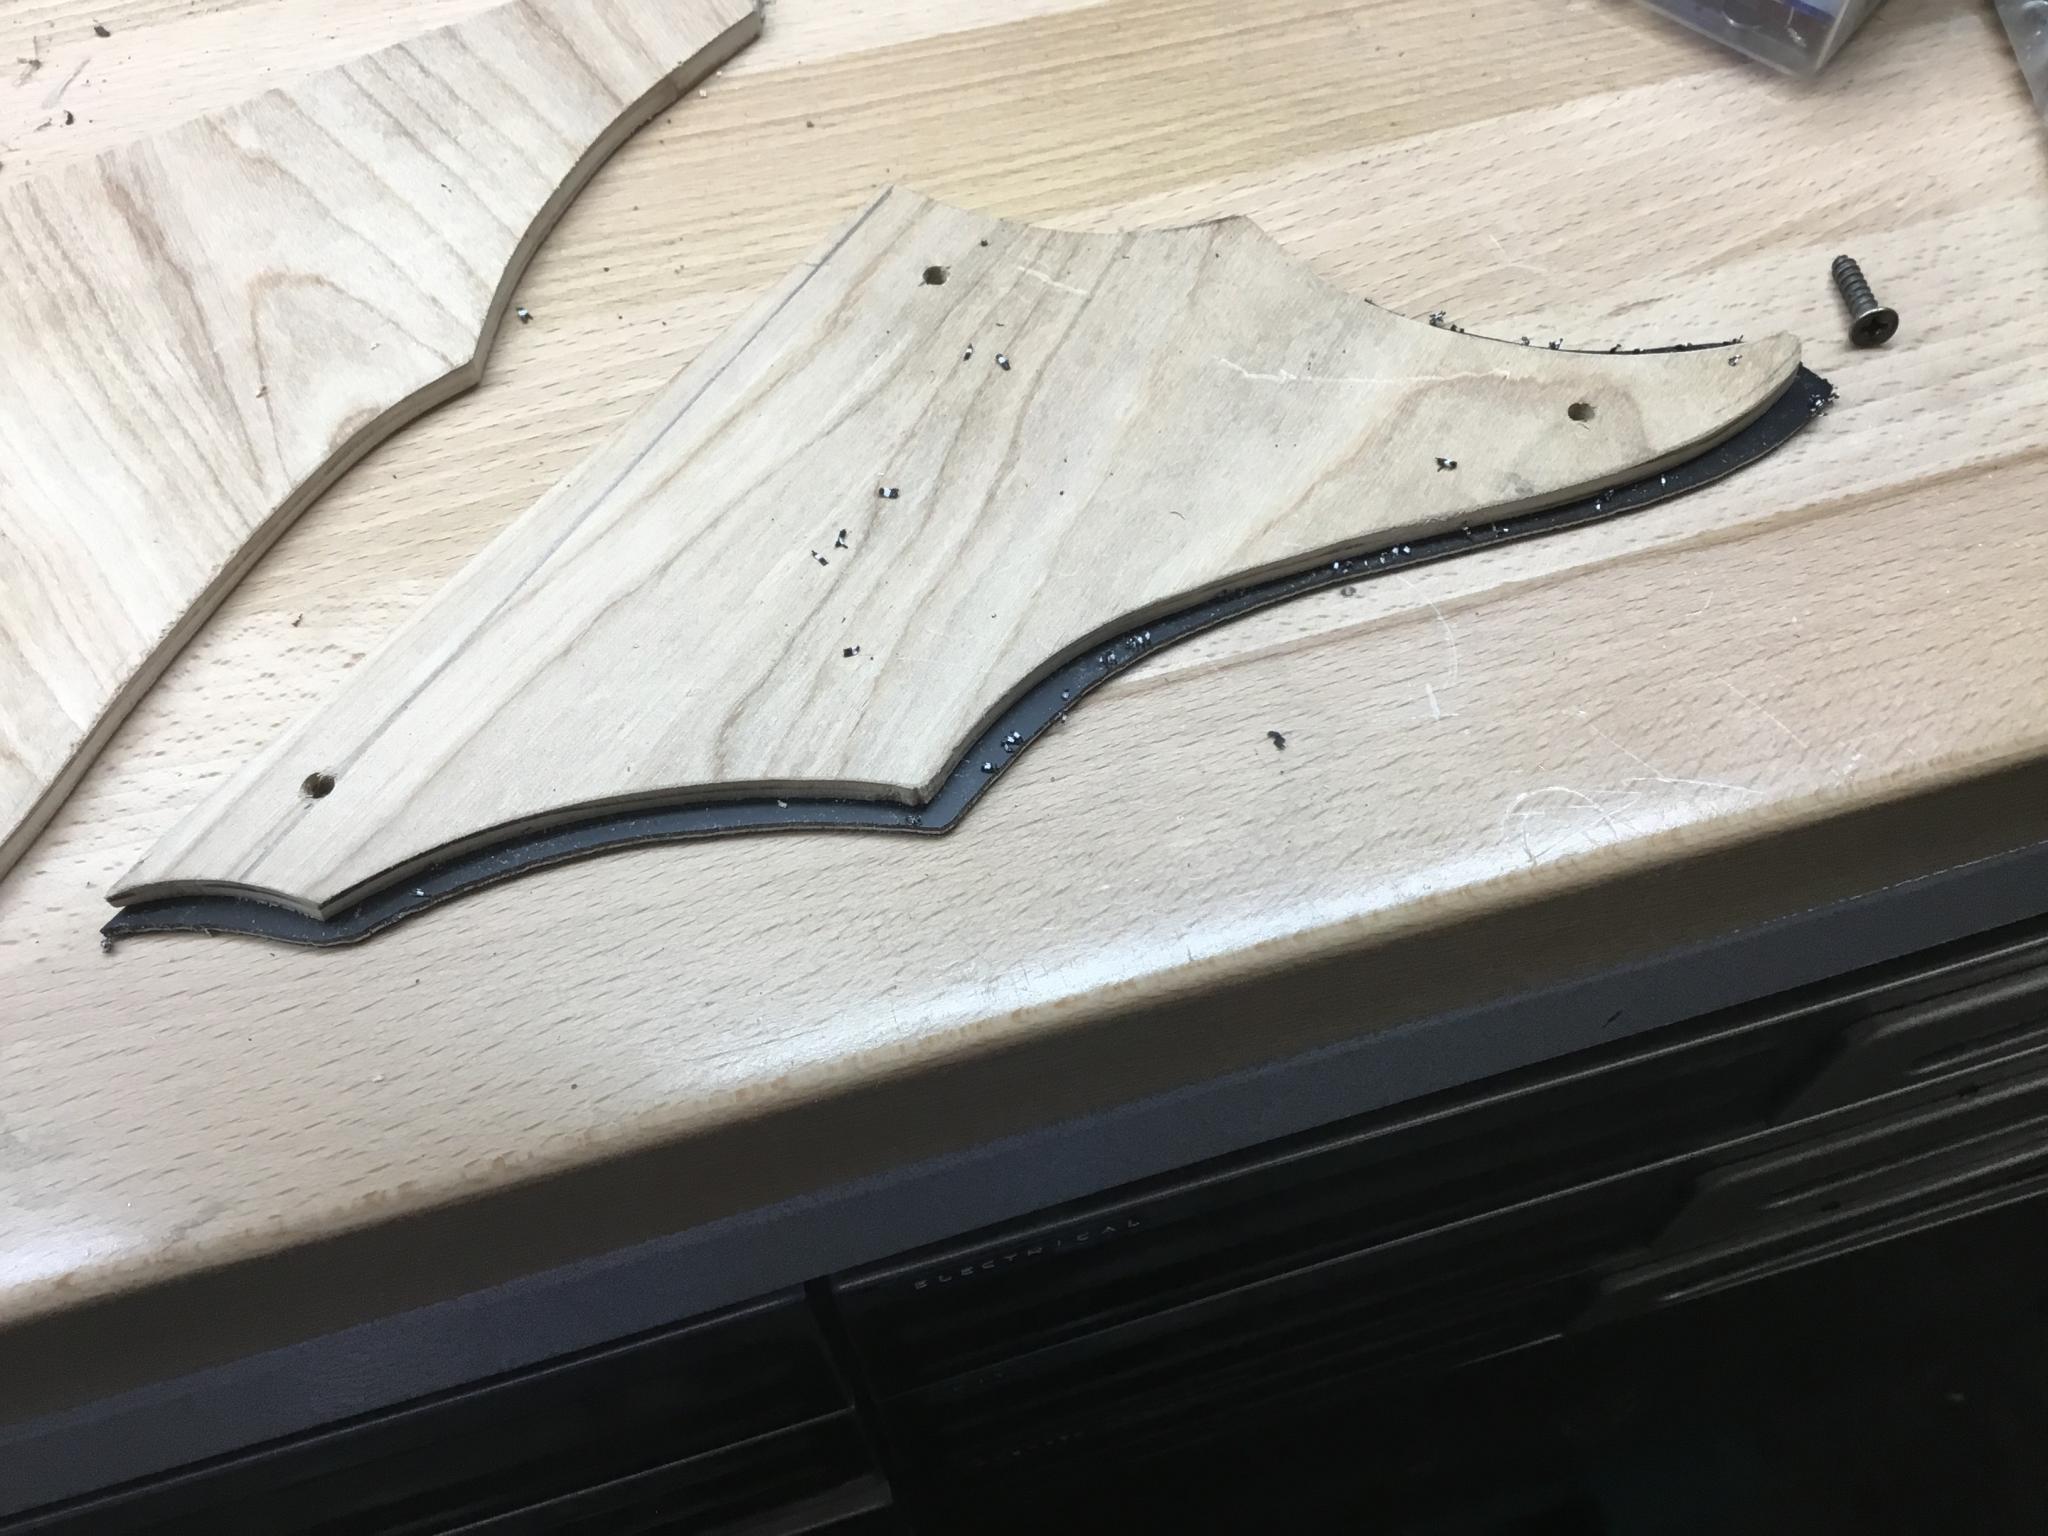
Swapped out the bit on the router to a 45 degree and put a chamfer on it. After all the fine work on the template this was remarkably quick and easy, almost like I'd done it before instead of reading web pages. I only got my router about a year ago, I can't believe it took me this long.

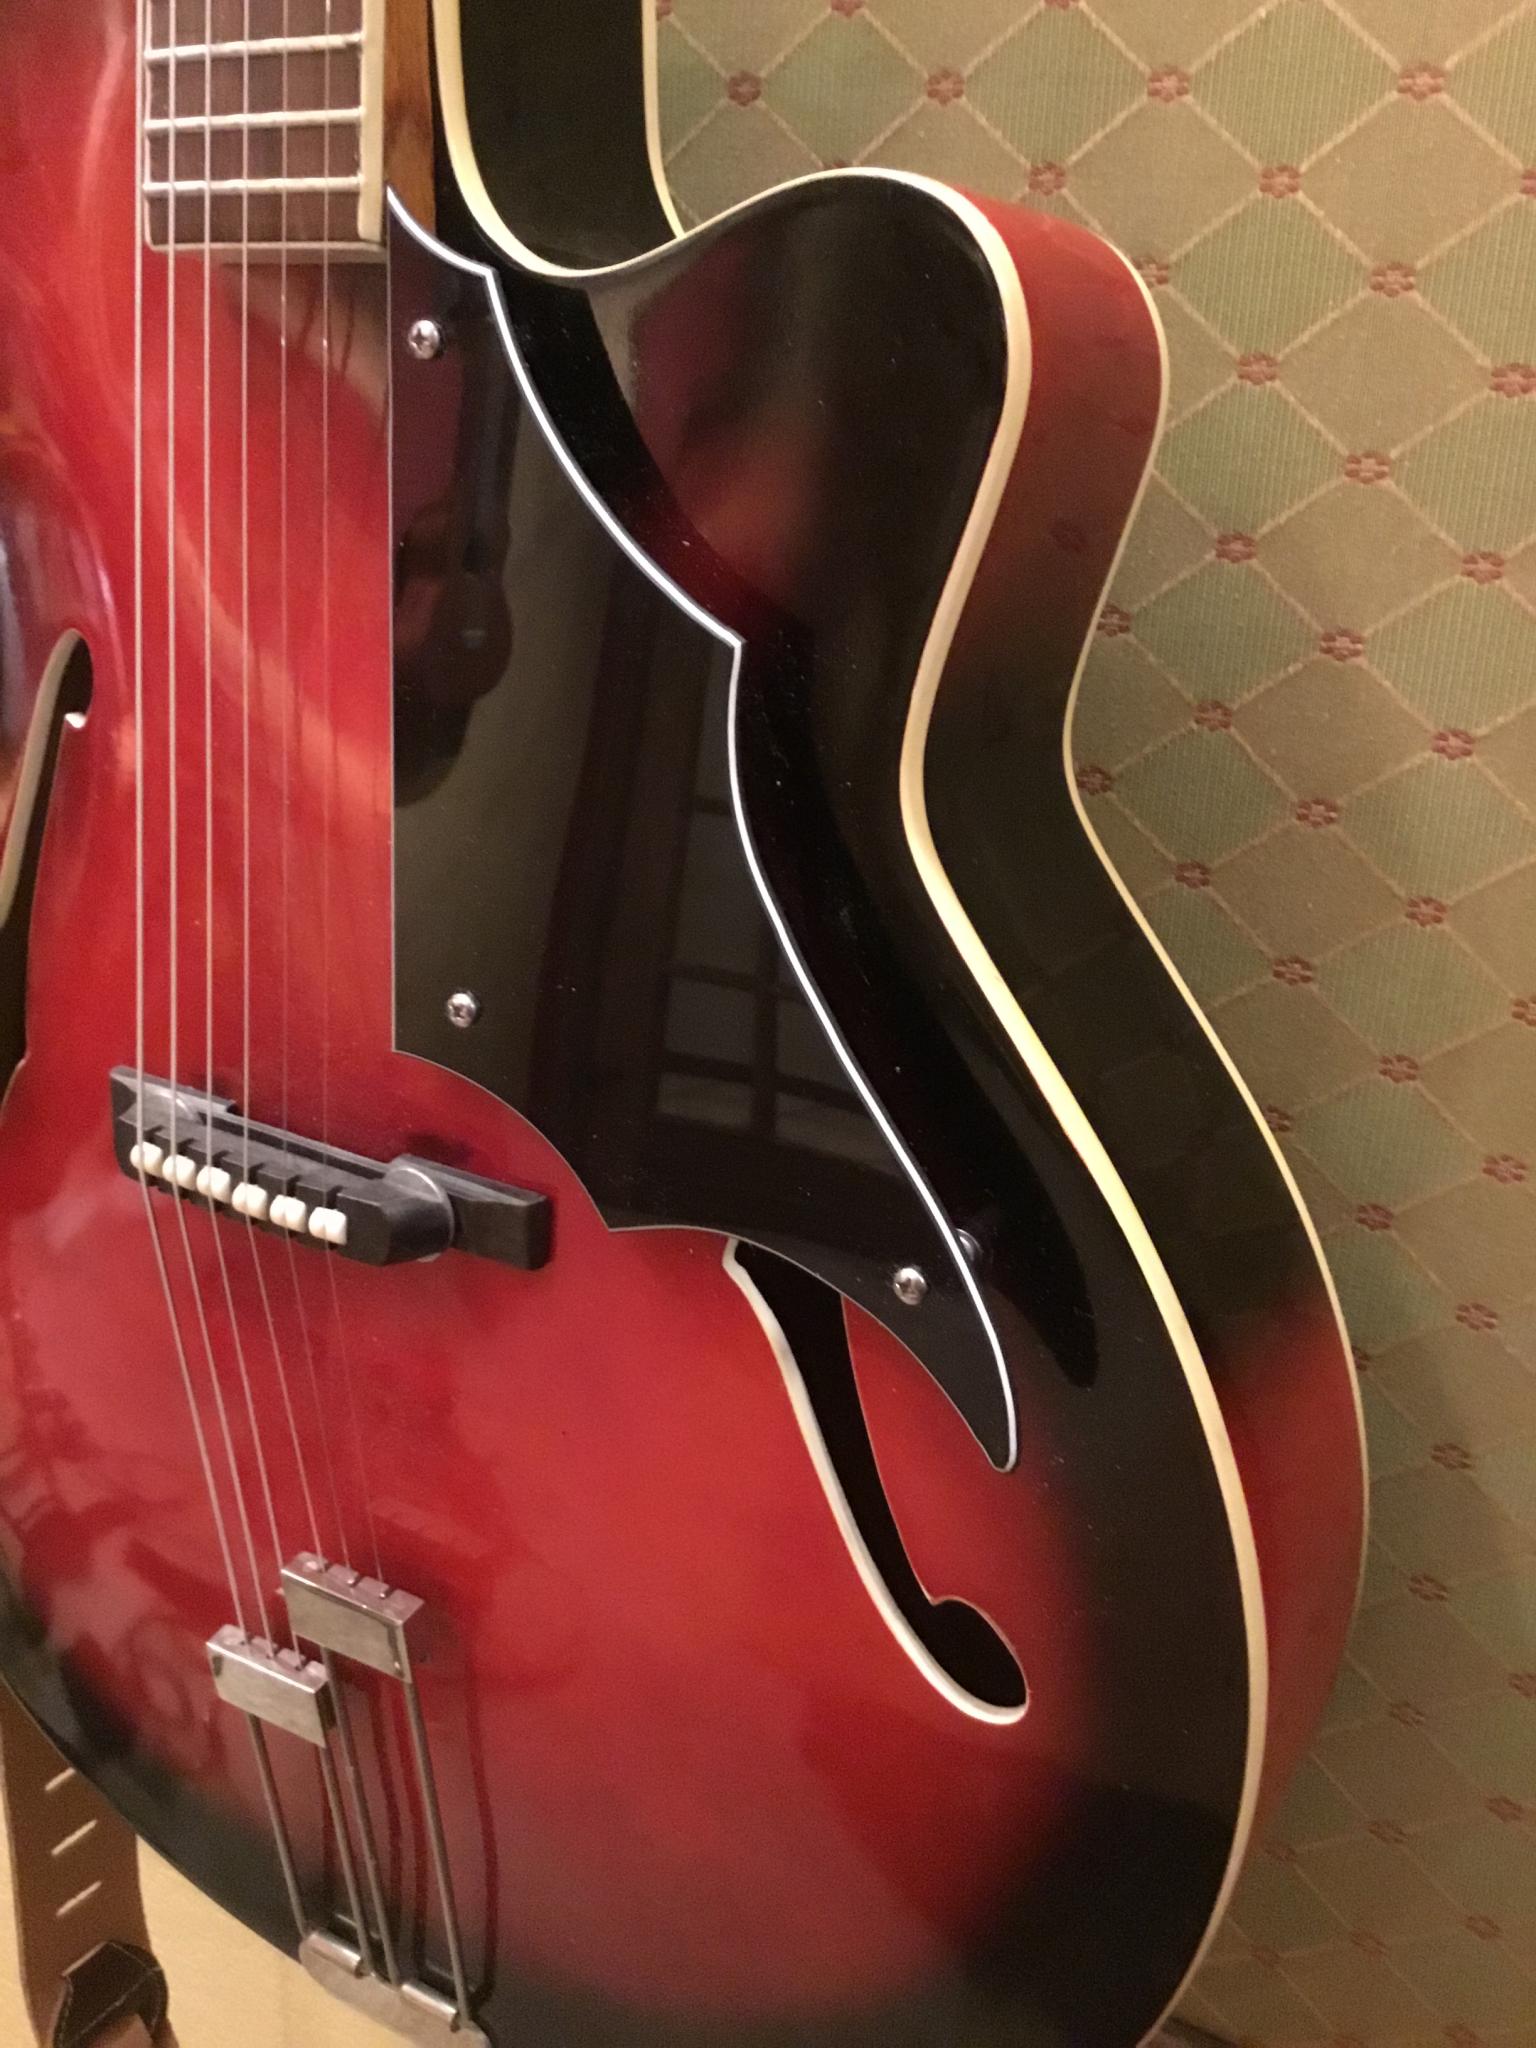
It's not perfect at the rounded tip, but a careful touch-up with the sander sorted that out. There's a protective plastic film on top that's peeling on some of the edges, the black surface is perfect. That router bit gave a really nice finish.

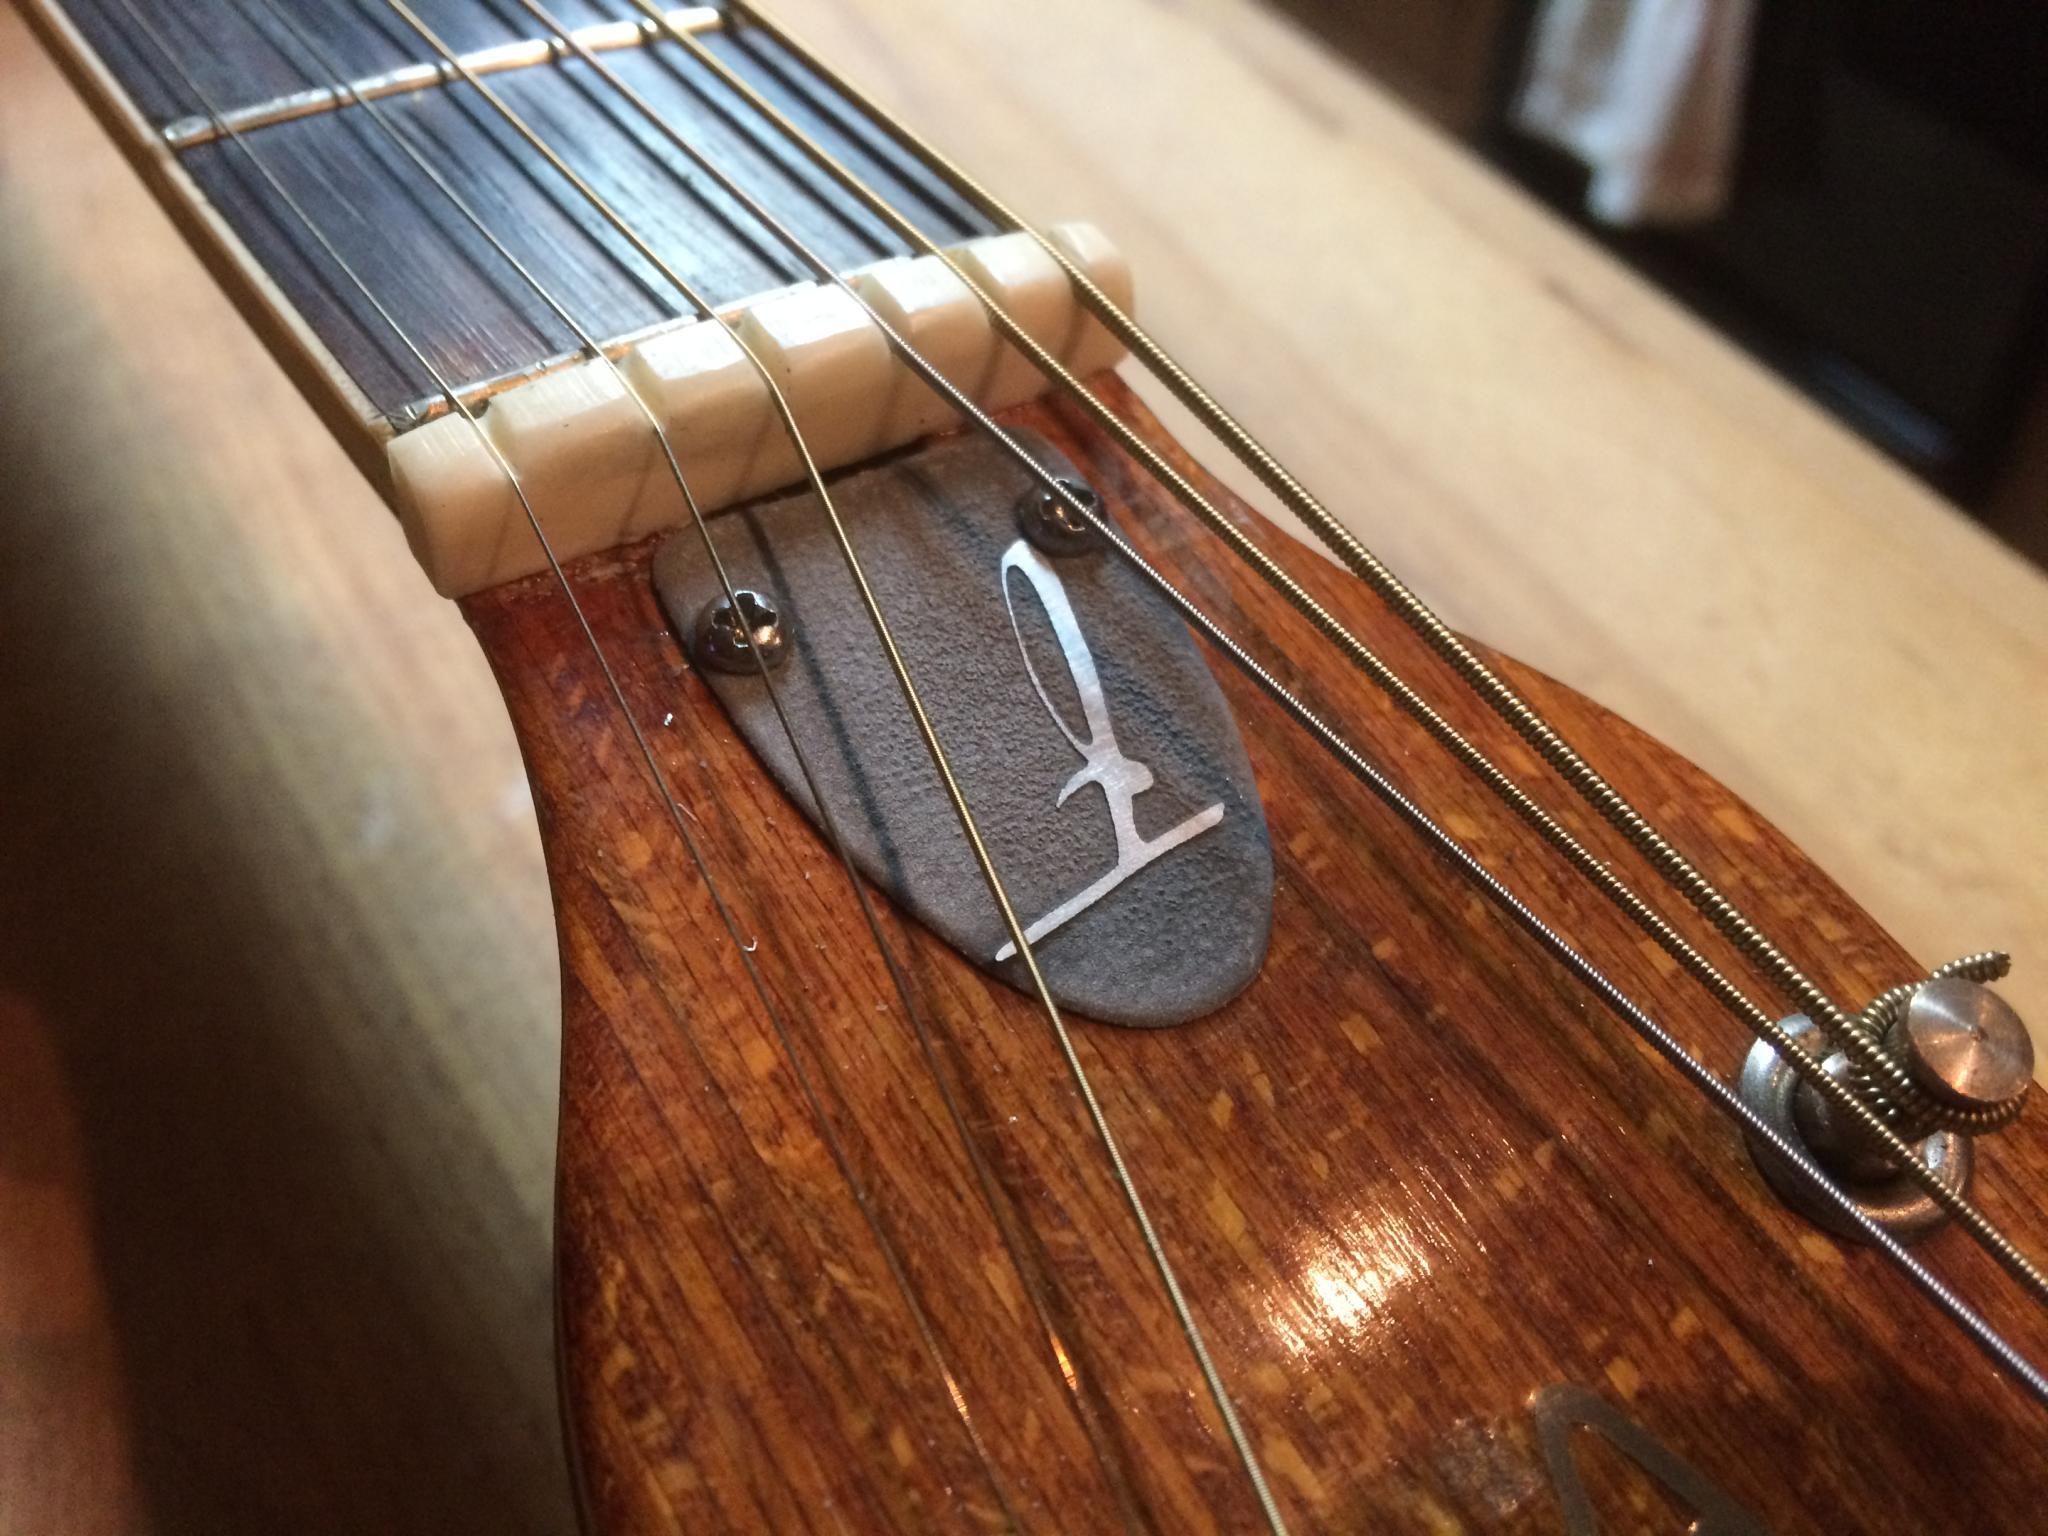
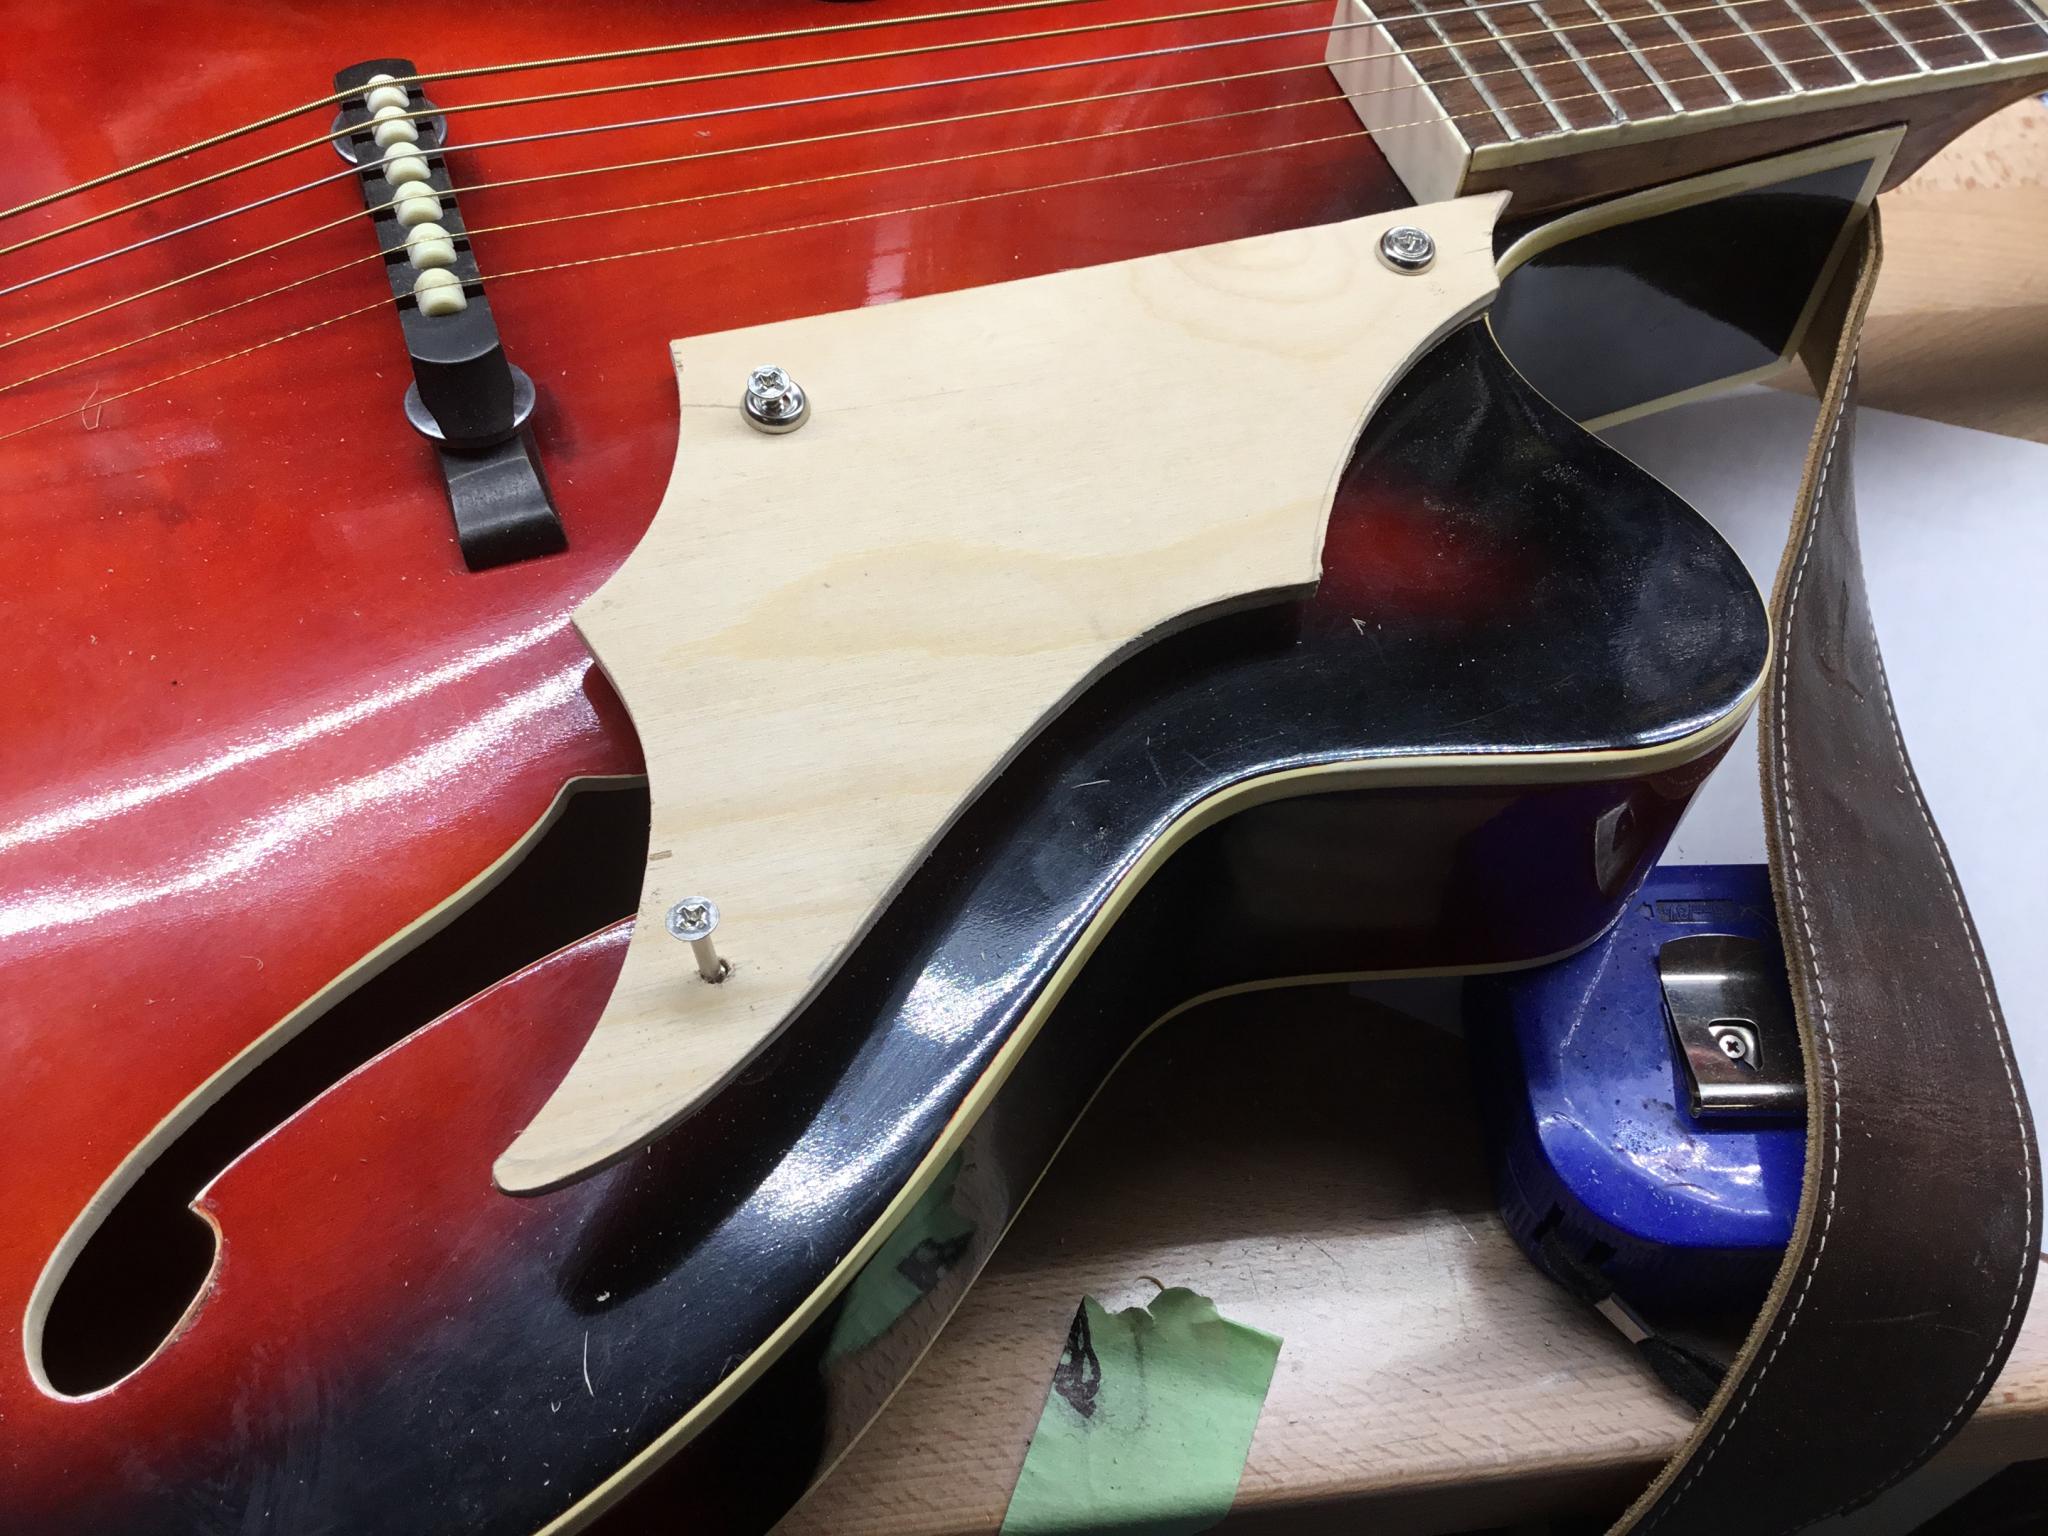
Home Depot provided some nice stainless screws and some aluminum spacers to use as standoffs. After a bit of playing around with lengths, it's done. I'm amazed it worked out so well. Since I still have the template, I can easily make another if I need to for some reason. Maybe I'll make a tortoiseshell one just because I can! 

Jumper K Balls
Jumper K Balls PowerDork
12/3/17 8:32 p.m.

Looks damn good!

Ransom
Ransom GRM+ Memberand PowerDork
12/3/17 9:45 p.m.

That looks fantastic!

dculberson
dculberson PowerDork
12/4/17 9:59 a.m.

Awesome!

Is that a real lizard?

Keith Tanner
Keith Tanner GRM+ Memberand MegaDork
12/4/17 10:12 a.m.

Ha! No, just a plastic one. I stuck it on there because it made me laugh.

Tony Sestito
Tony Sestito PowerDork
12/4/17 2:24 p.m.

Amazing work! That thing looks beautiful now. 

LanEvo
LanEvo GRM+ Memberand HalfDork
12/4/17 3:41 p.m.

Considering all the excellent work you've done with the binding and everything, it should be pretty easy for you to fab up a new nut. It looks like the previous owner really botched that one: too big and blocky. You can buy blanks from Stew-Mac for a couple of bucks.

HikerDan
HikerDan GRM+ Memberand New Reader
12/4/17 4:10 p.m.

Nice work! The pick guard looks terrific, black was a great choice!


Keith Tanner
Keith Tanner GRM+ Memberand MegaDork
12/4/17 4:25 p.m.
LanEvo said:

Considering all the excellent work you've done with the binding and everything, it should be pretty easy for you to fab up a new nut. It looks like the previous owner really botched that one: too big and blocky. You can buy blanks from Stew-Mac for a couple of bucks.

Thanks a bunch, it wasn't bothering me...before wink Maybe I'll do that next time I have the strings off.

Keith Tanner
Keith Tanner GRM+ Memberand MegaDork
12/14/17 4:14 p.m.

Question - probably mostly for Jumper, but anyone can help.

The neck on this thing just isn't straight. It's pretty good, but it takes a little curve up somewhere around the 18th fret so it's almost got a little S bend to it. Any tips/suggestions on how to straighten out a neck? I suppose I could strip off all the frets and start sanding, but the binding would still show the curve. Can I heat or steam it and press it into shape?

Jumper K Balls
Jumper K Balls PowerDork
12/14/17 5:11 p.m.

Does tightening or loosening the truss rod change anything?


Ok re-read. if it goes up after the body joint that would typically call for a neck reset. Plastic deformation of the wood at the neck joint. 

I see the bridge is adjusted almost all the way down. is the action still a little high?

1 2

You'll need to log in to post.

Our Preferred Partners
UDUboBj3IUHOb15kyXTOnARaLoVhrIyivFb5gkn9xsEVqXeYdXP7jI9C7DseI5fl