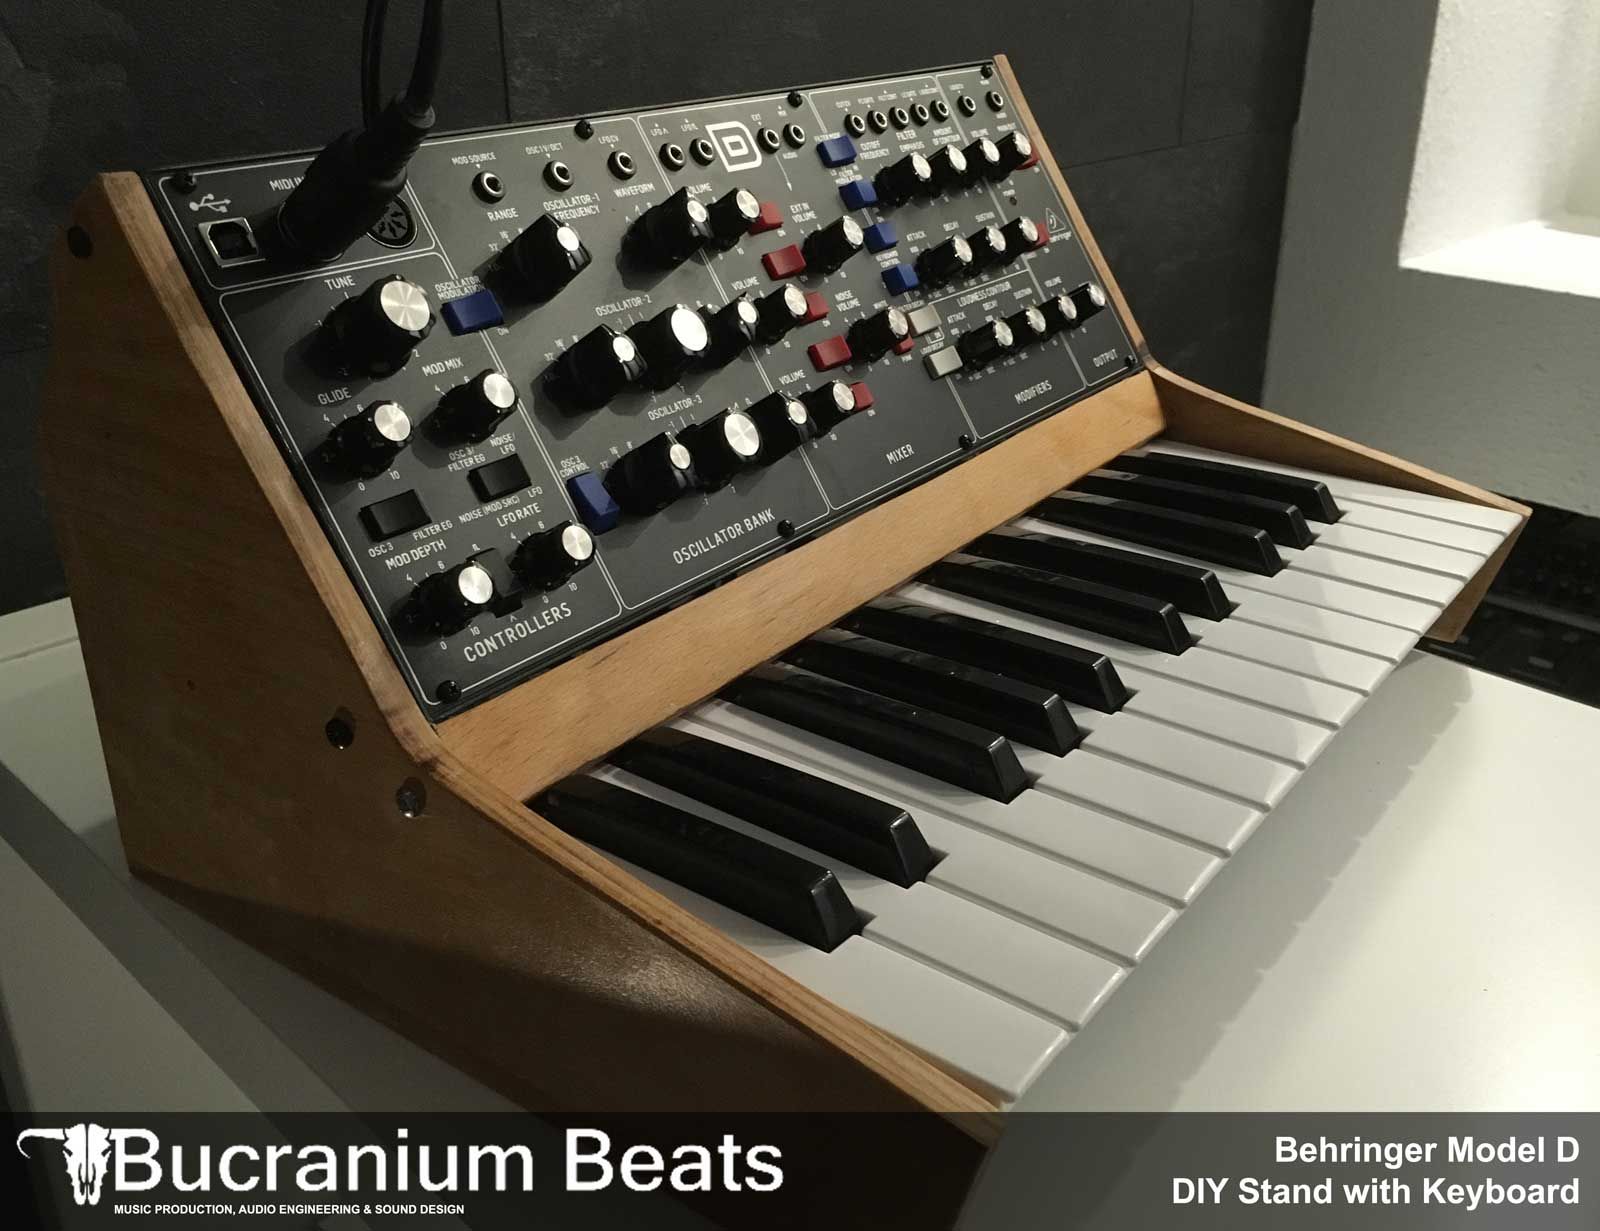
I love the weirdness of analog instruments. It's why I spent many, many hours soldering up a proper 808 clone a while ago. And in a moment of weakness a while back, I picked up a Behringer Model D synth. Just because I like to twiddle knobs. It looks like this.

I run it with a MIDI controller of some sort. Usually a Q25 keyboard because it's a nice size, my Roland PC-200 is just too long and I'm not really a very good keyboard player. Because it's only a monophonic synth, you're only playing one line at a time so there's no need to let two hands roam around.

Problem: while this works, it's just not aesthetically satisfying. And it's a bit messy to set up, there are cords all over the place. Which is the nature of electronic music, but since this is simply something for me to noodle around with, I want something different.
Here's a real Minimoog, which is what the Model D is emulating.

So there's the setup.
You can buy these cases for the Q25/Model D combo but they're a little too "wood shop" for me. I mean, the originals weren't examples of fine woodworking, but this doesn't work for me. Especially those buttons, which are for octave shift. They're rubbery and light up red when you press one.

This thing has great style even if the execution is a little rough in spots. Problem is that it loses the pitch and modulation wheels along with the ability to octave shift. It does point out that the width of the modern synth (built with surface mount components, so far more compact than the original) is almost exactly two octaves in a normal keyboard, which is handy. It's built to fit a eurorack, this may not be a coincidence. I don't know.
So the plan is to match the style of the Bucranium housing with the wheels. This will be fun.

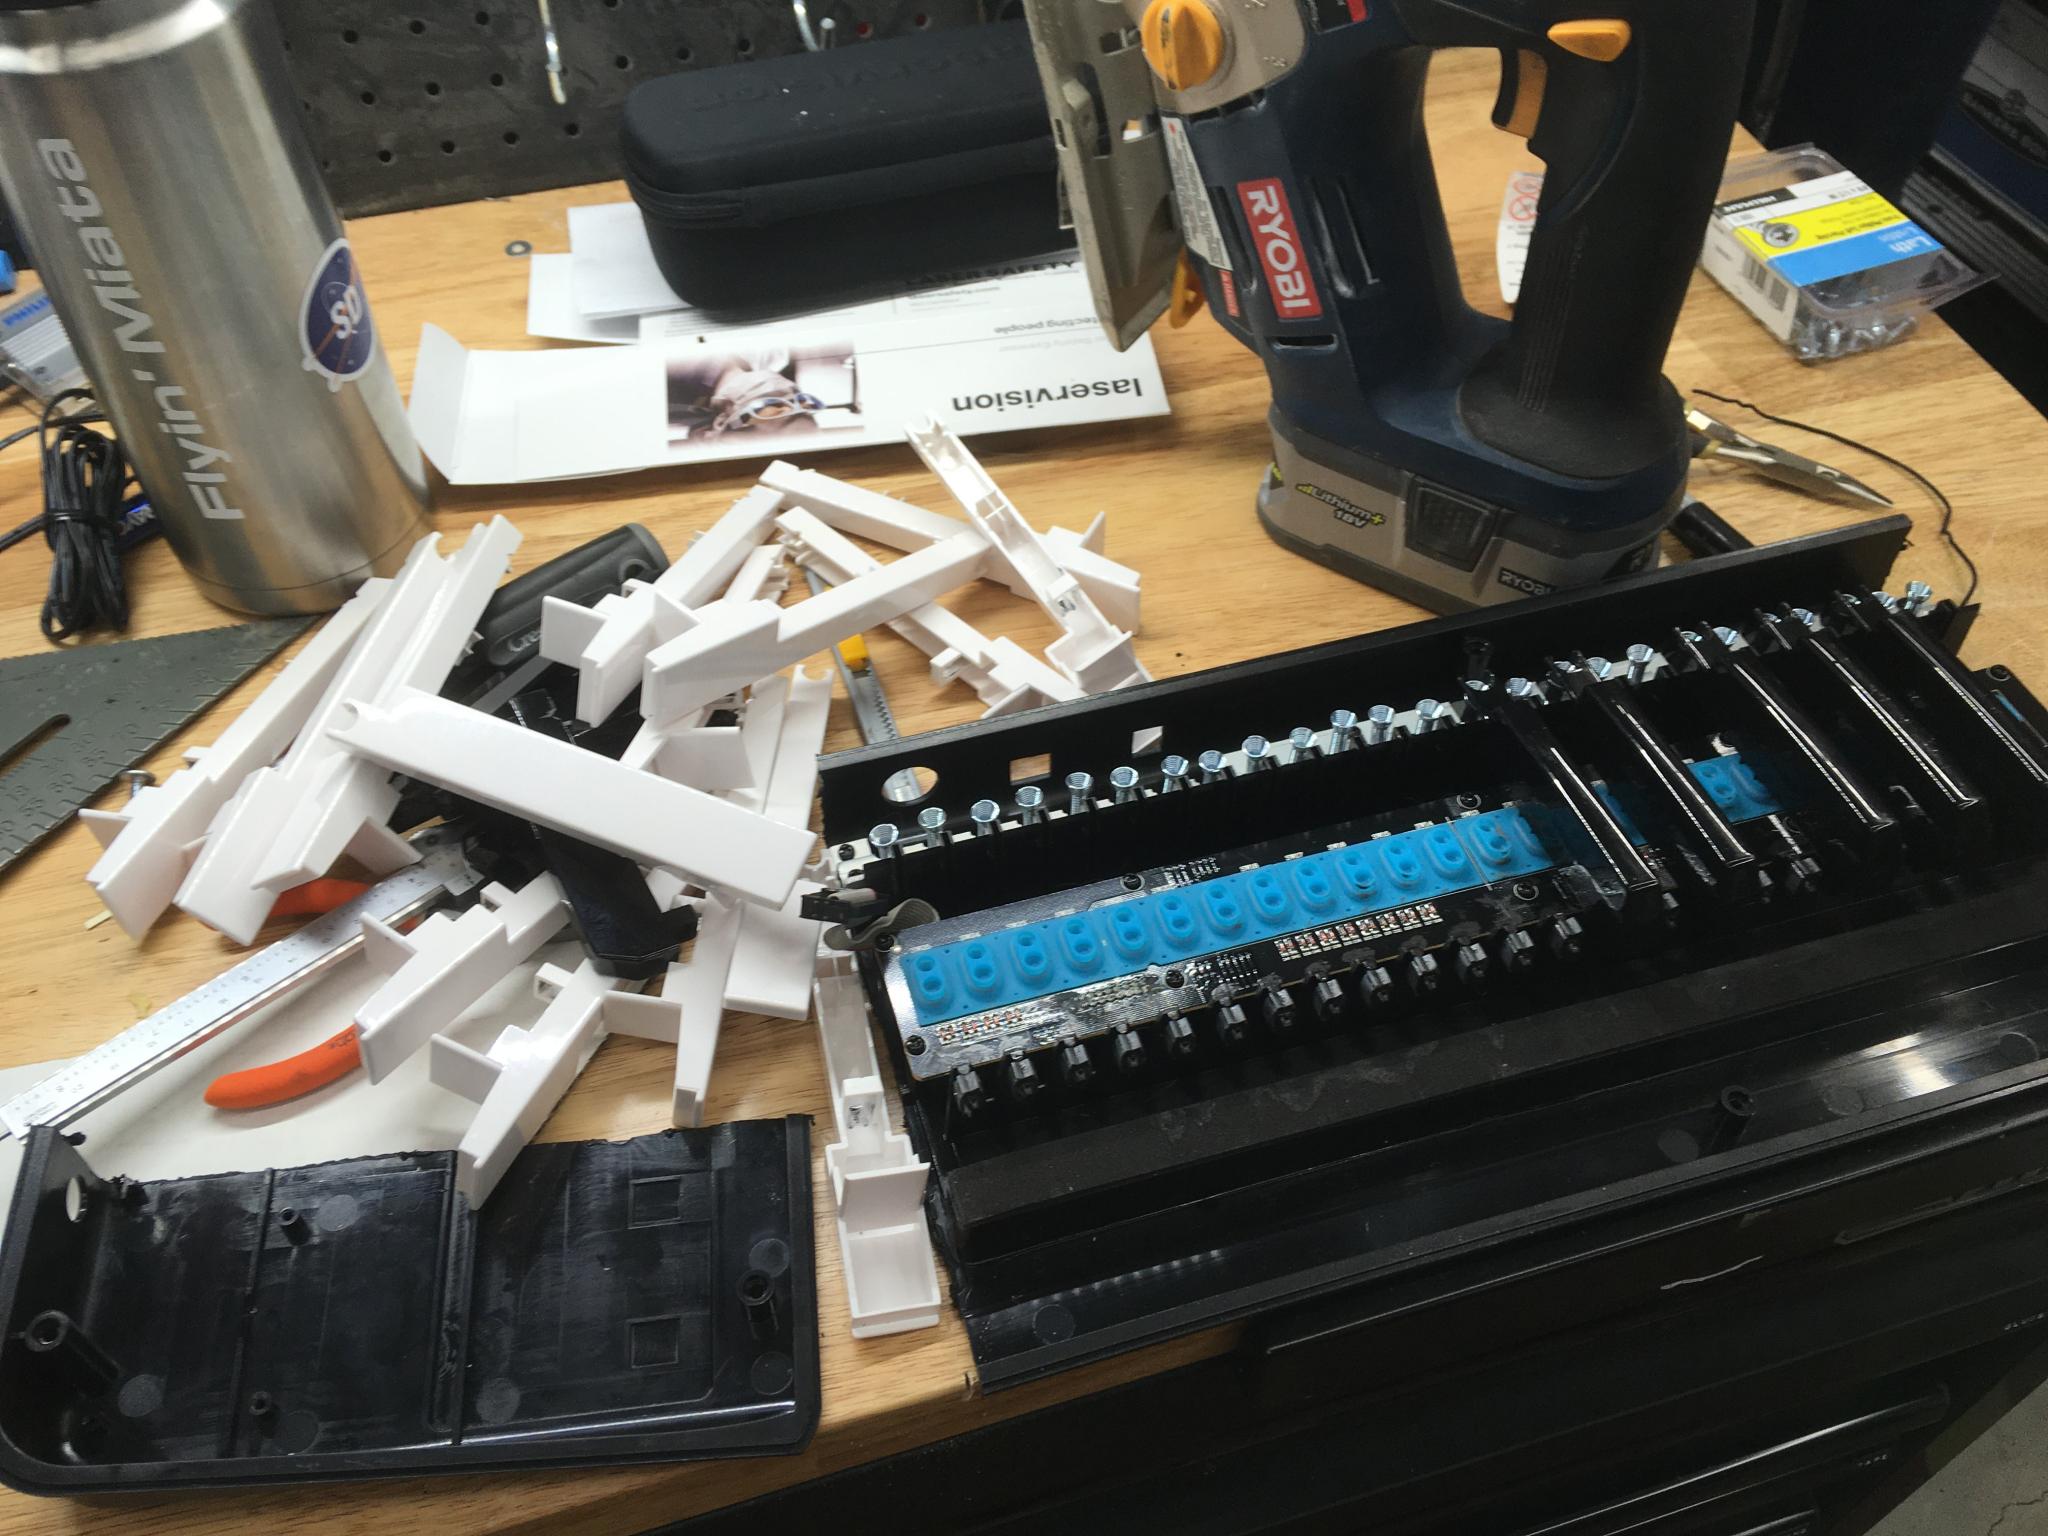
Step 1: Void the warranty.
I took the keys off the keyboard and just kinda kept dismantling. It's fairly modular which is good. In order to snuggle right up to the keys, I needed to get rid of some excess plastic. I cut off most of the sides and the rear, and trimmed the front right up to the edge of the key rest. That last bit is fairly important so I used the router with an edge trim bit to get it perfect.
Cardboard Aided Design. Turns out that having the synth panel at 45* looks about right.
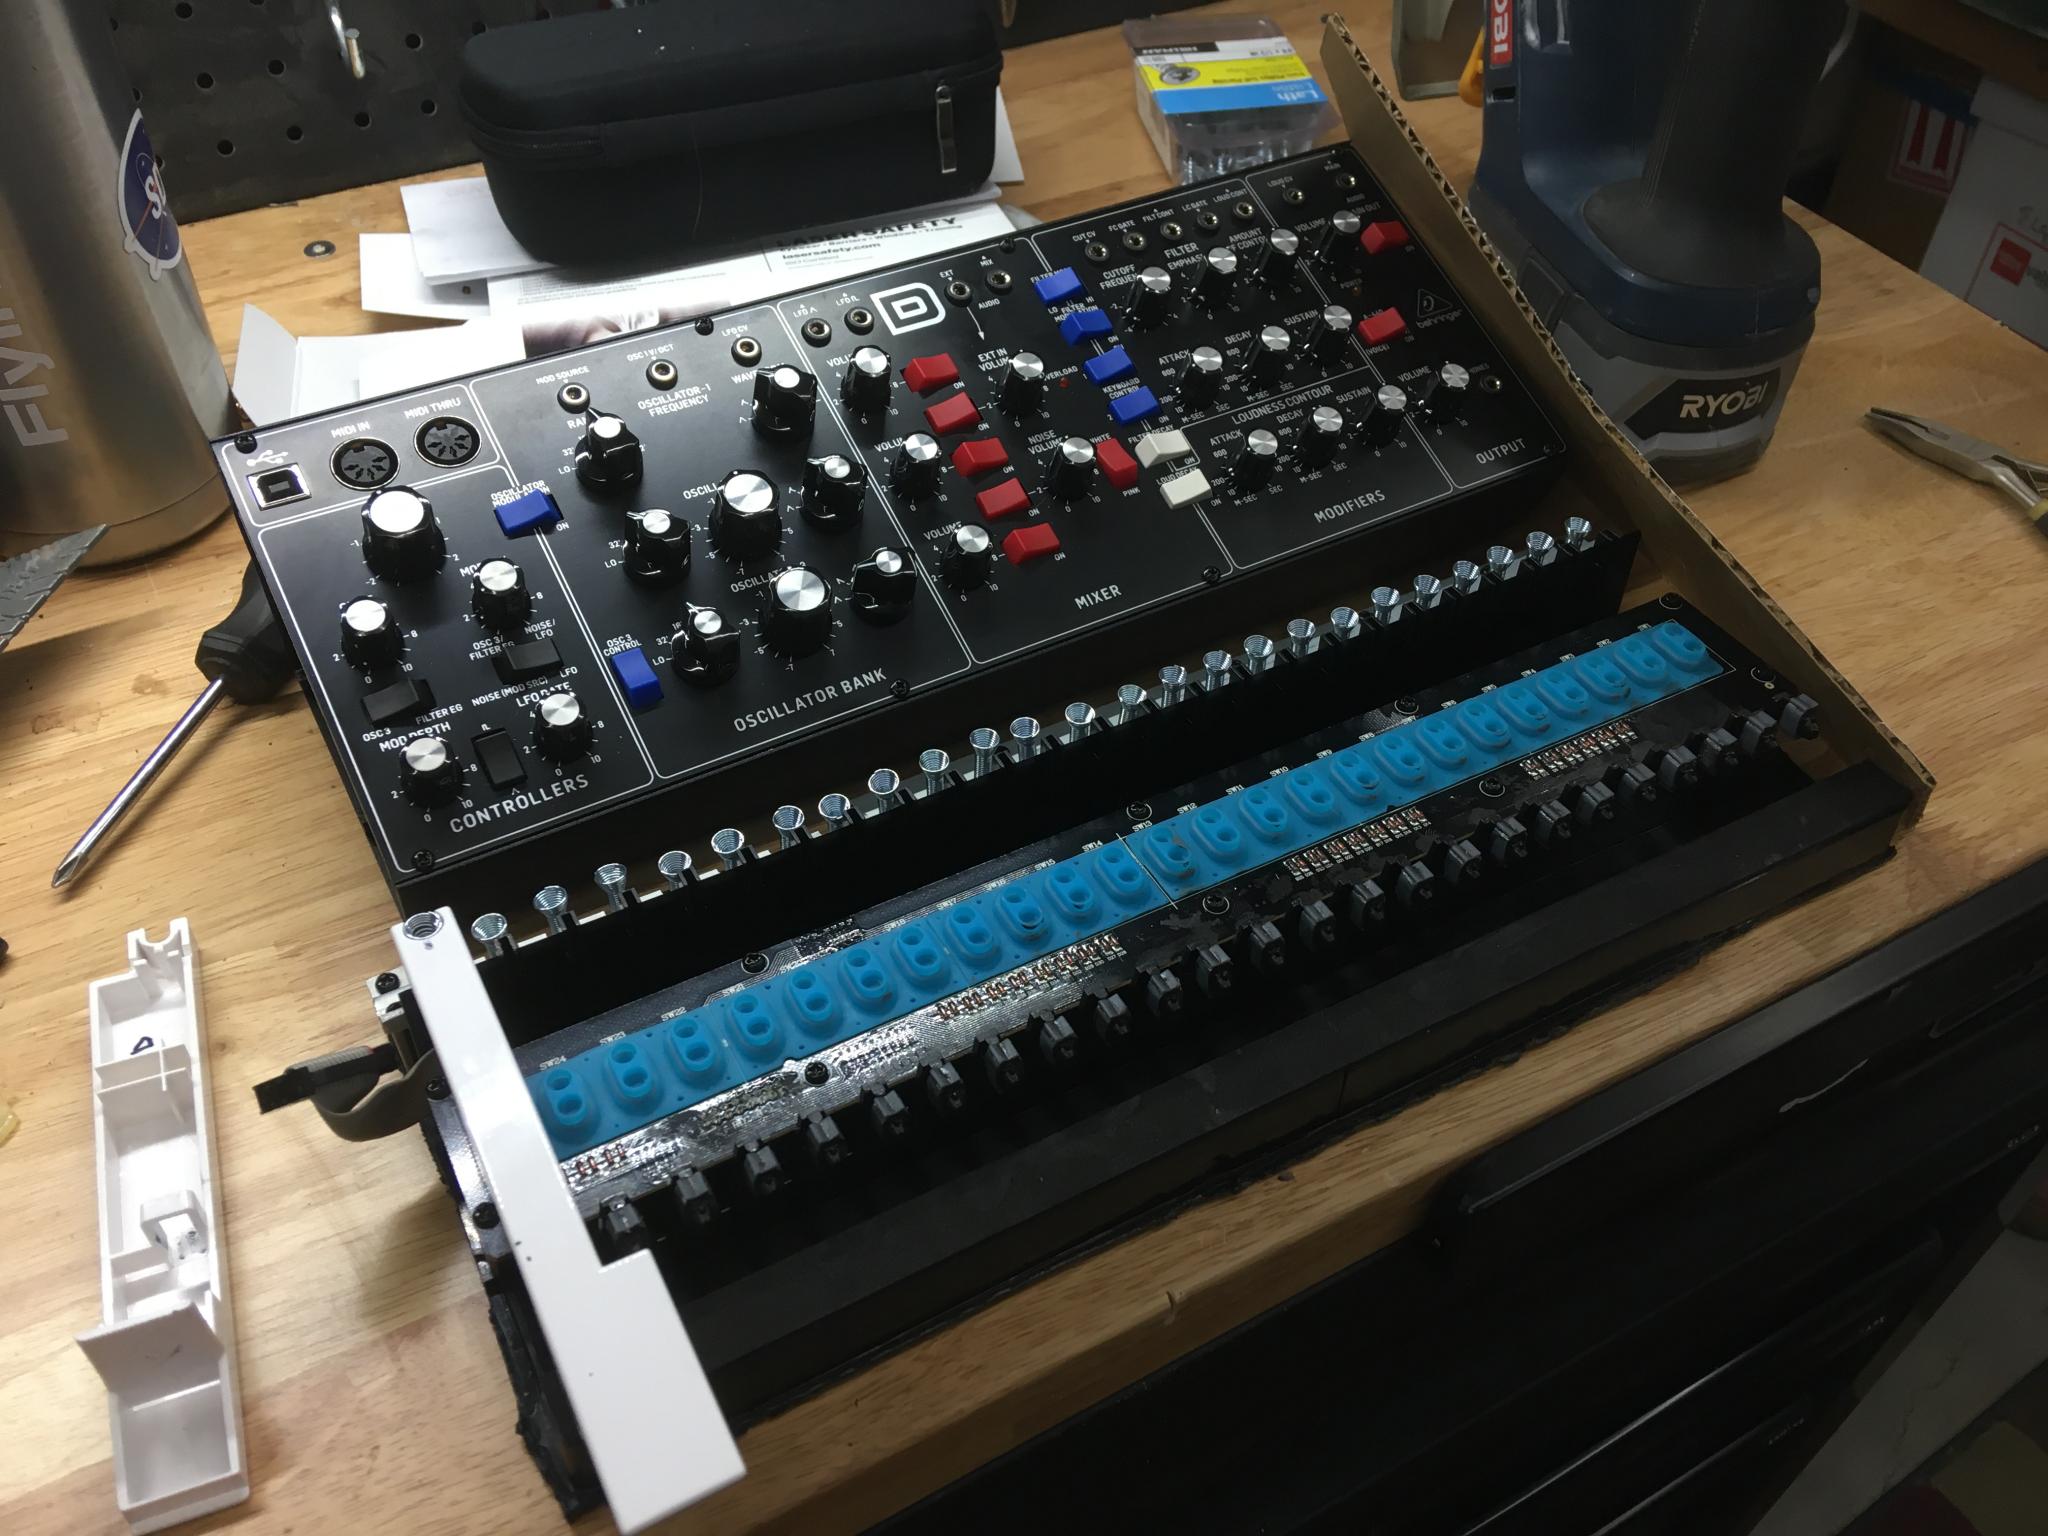
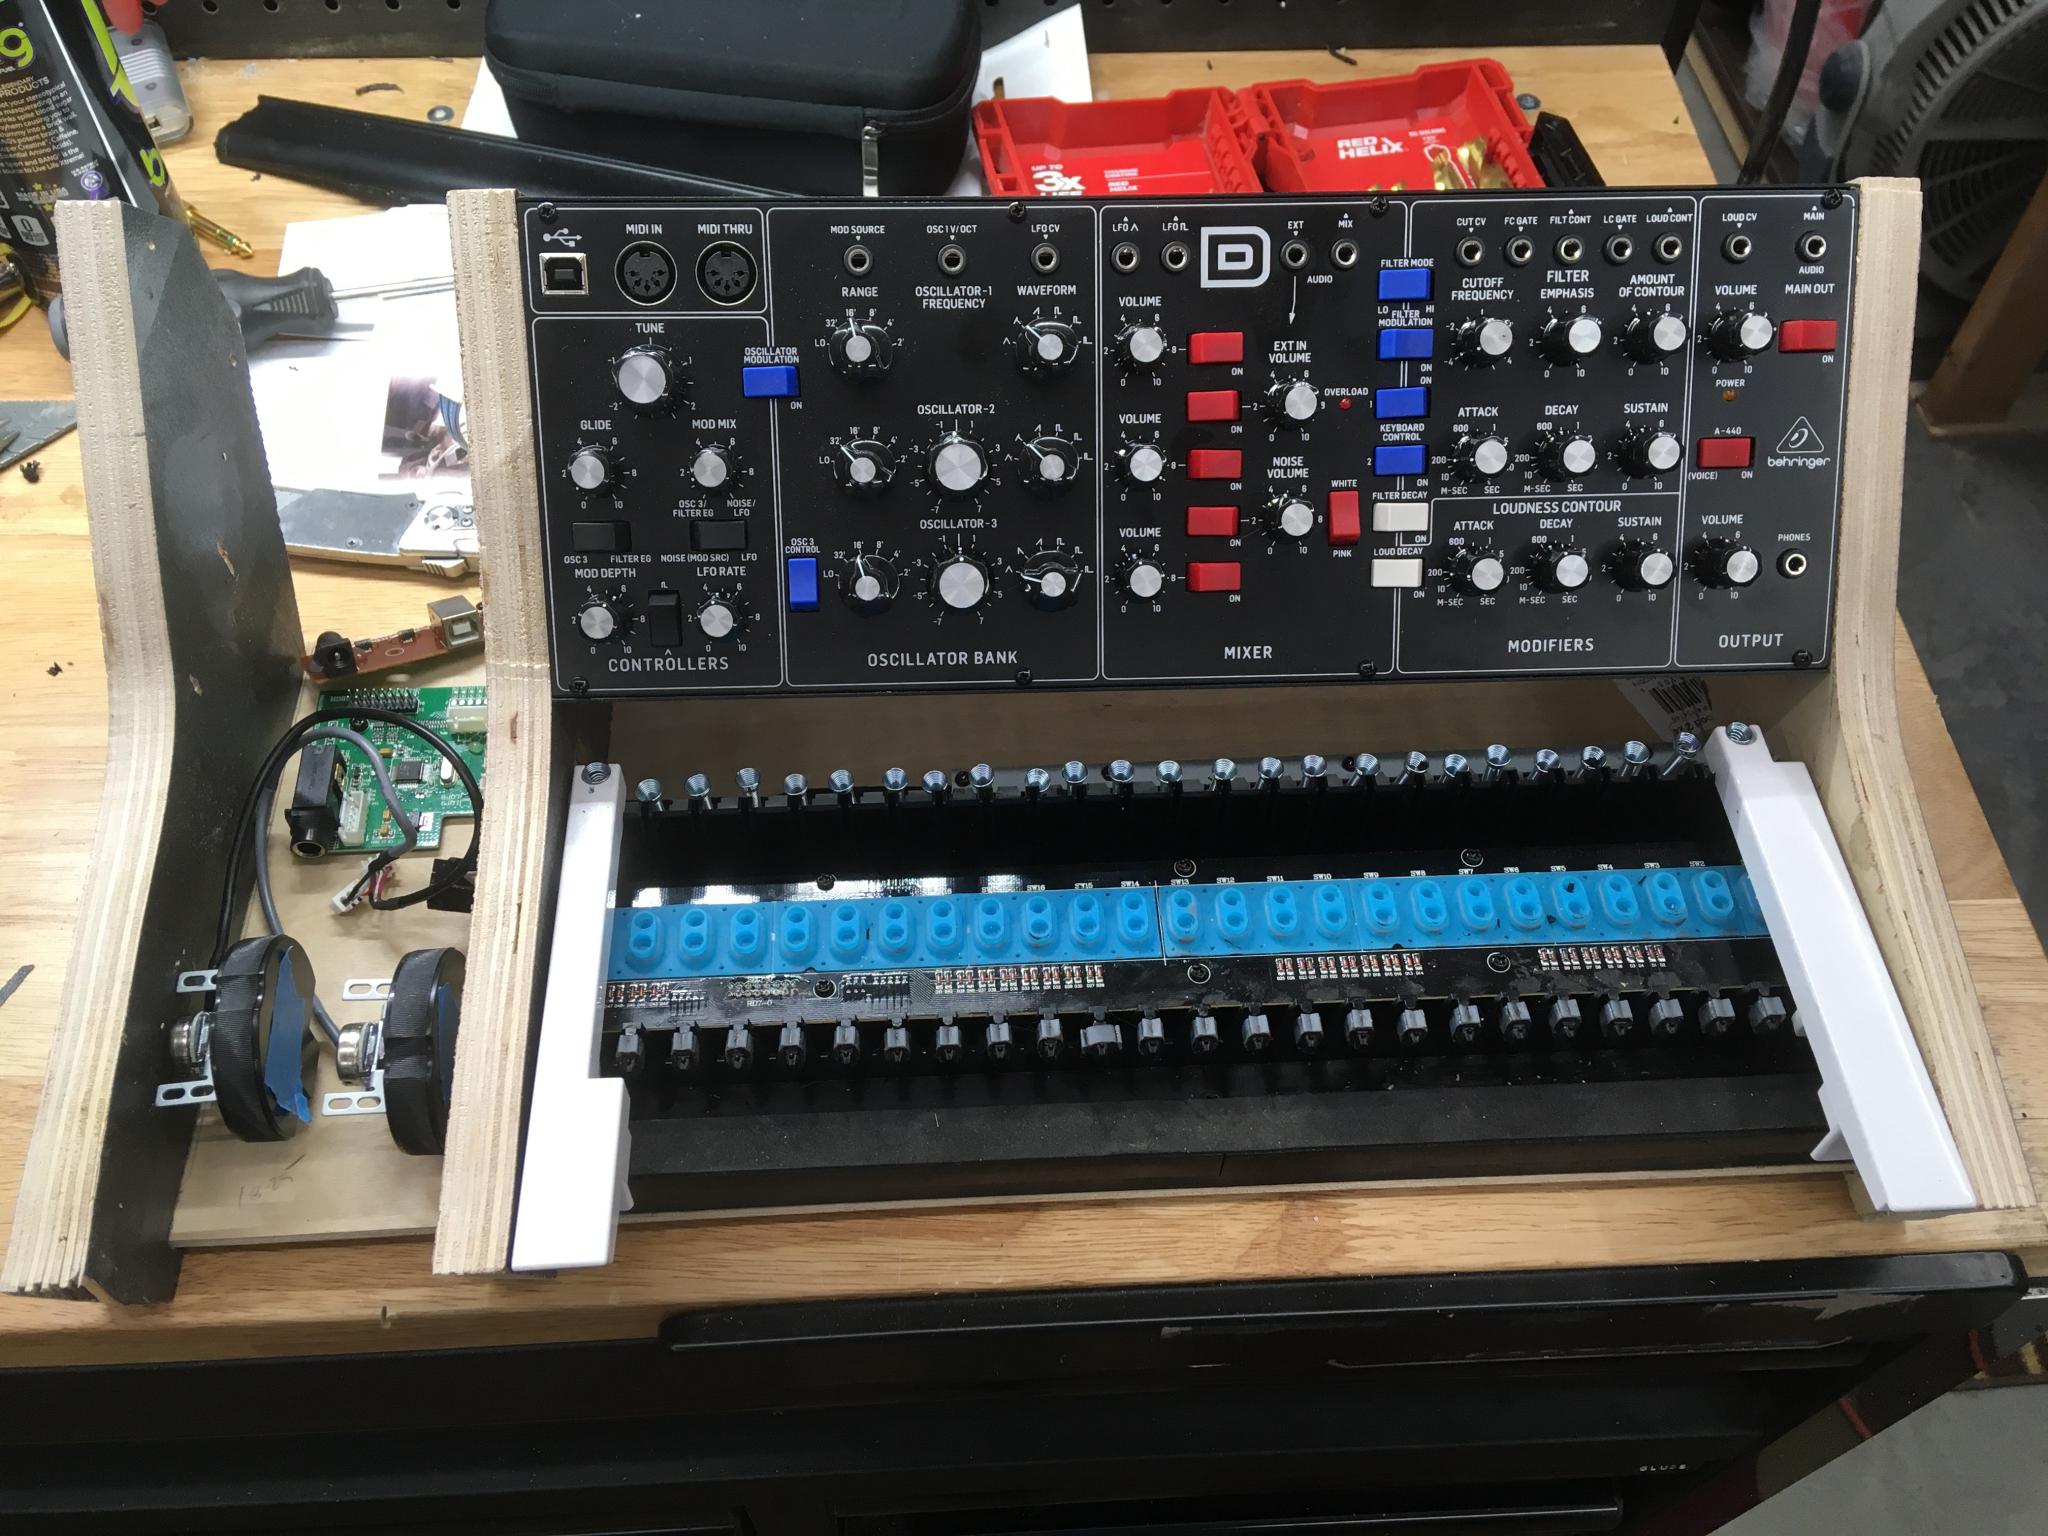
Next step was plywood. I screwed the remains of my keyboard to a piece of 1/4" plywood, then made three copies of my cardboard template. Since the synth is supported by these pieces, I couldn't do just two. The plywood is just for mockup, I'll recreate these out of 1/2" oak later.
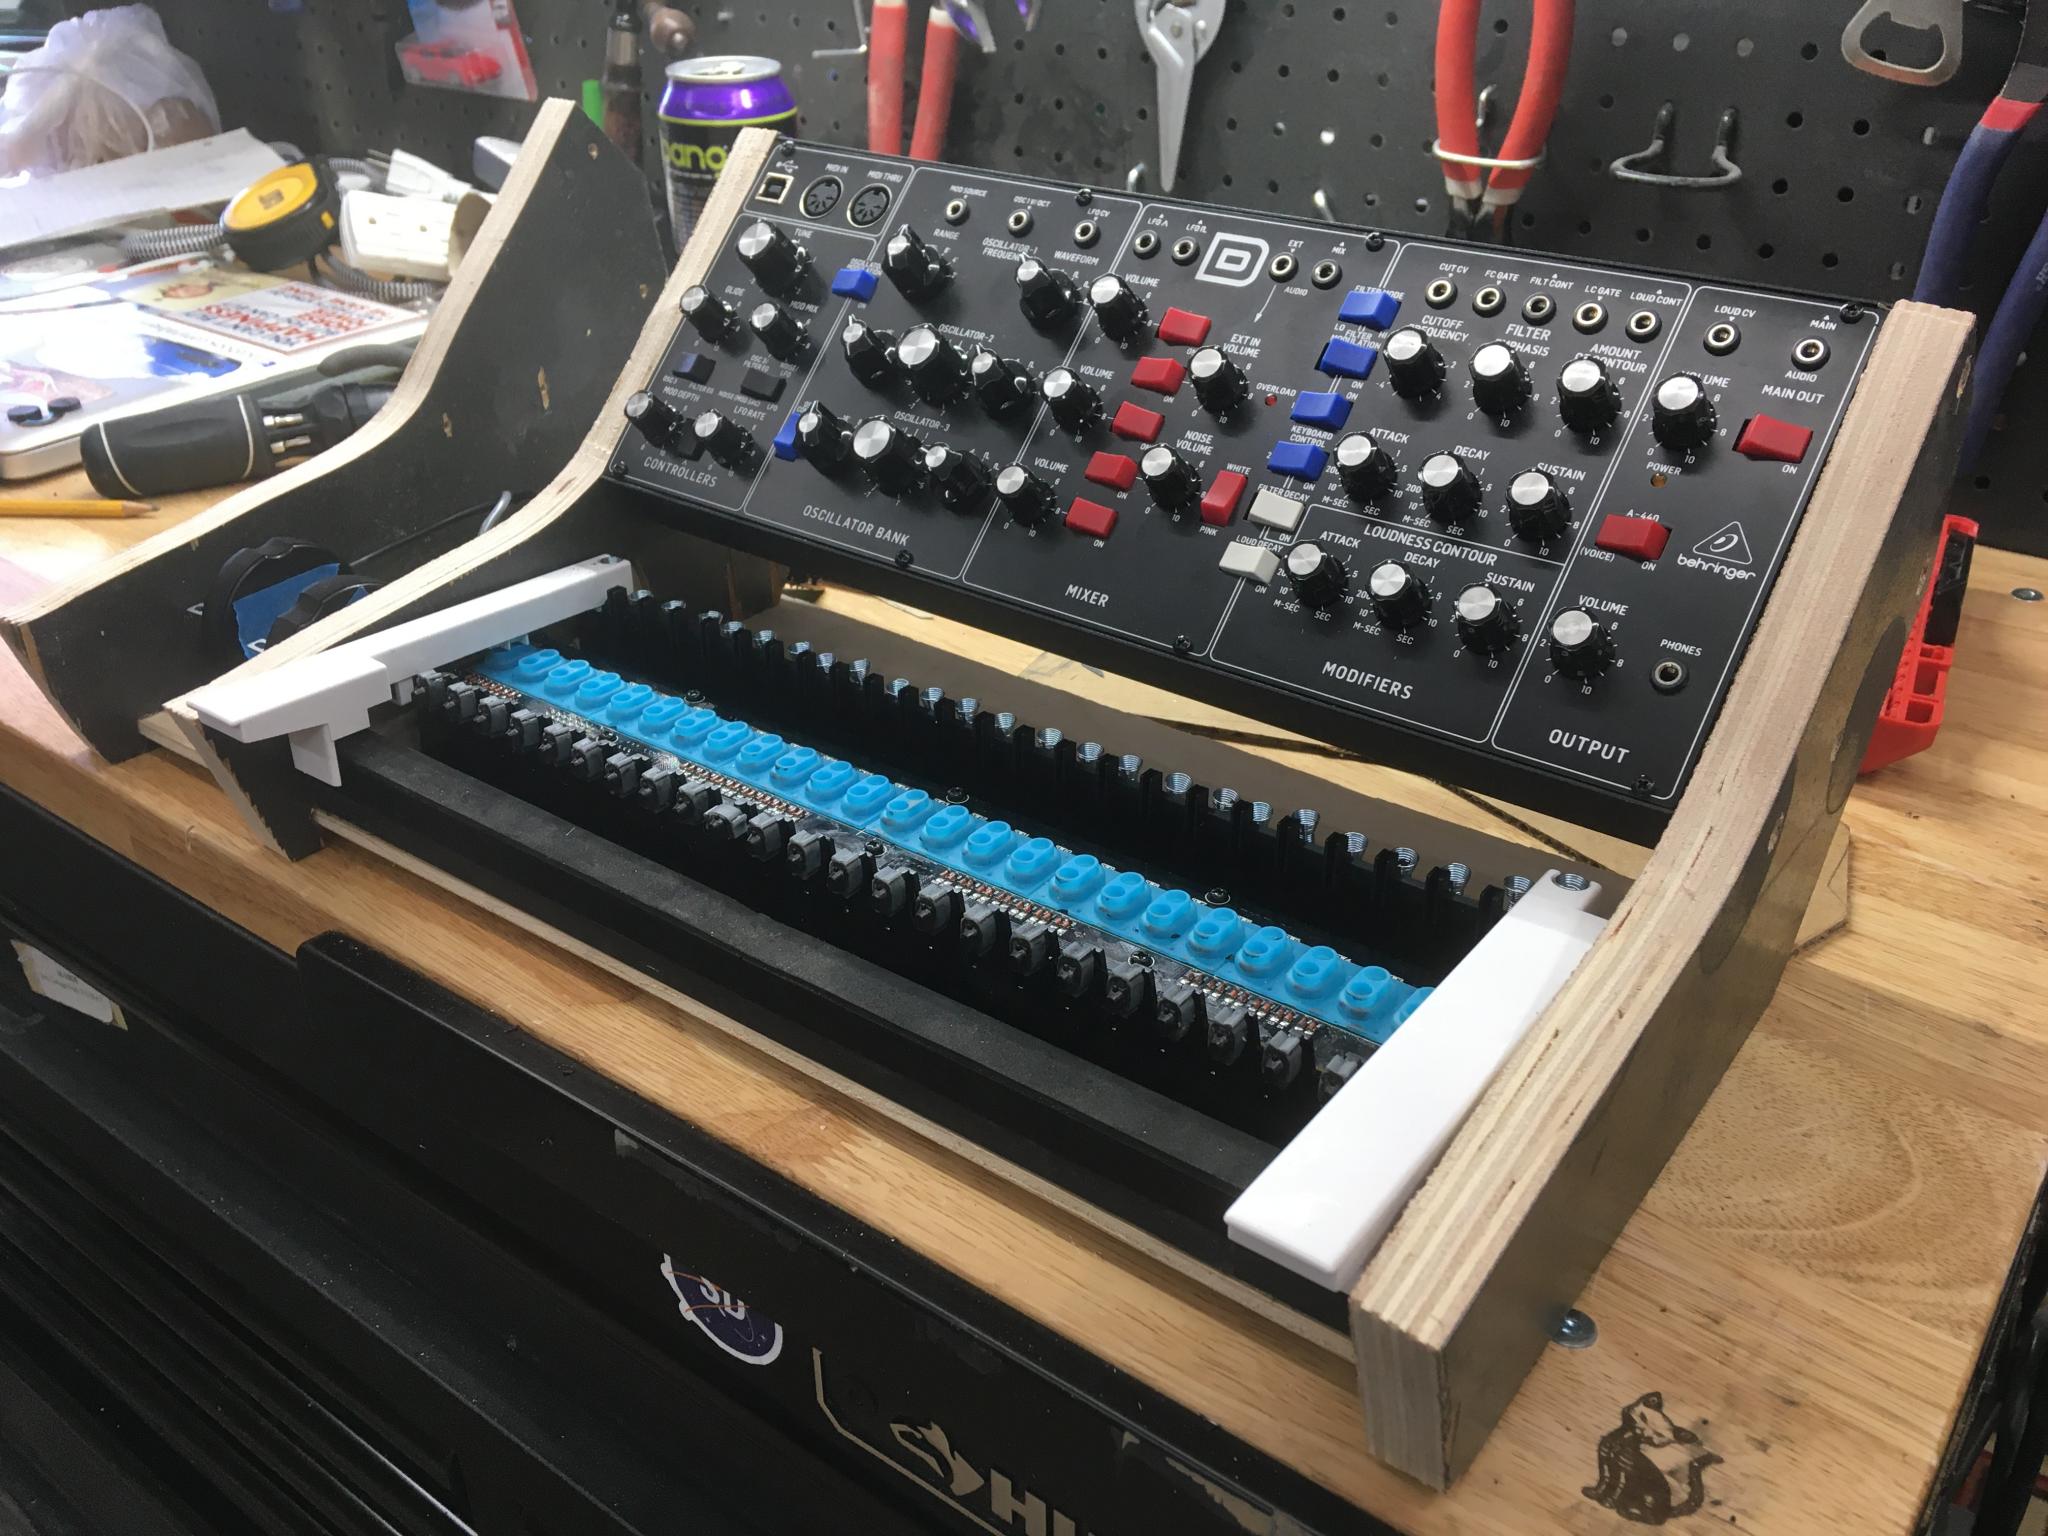
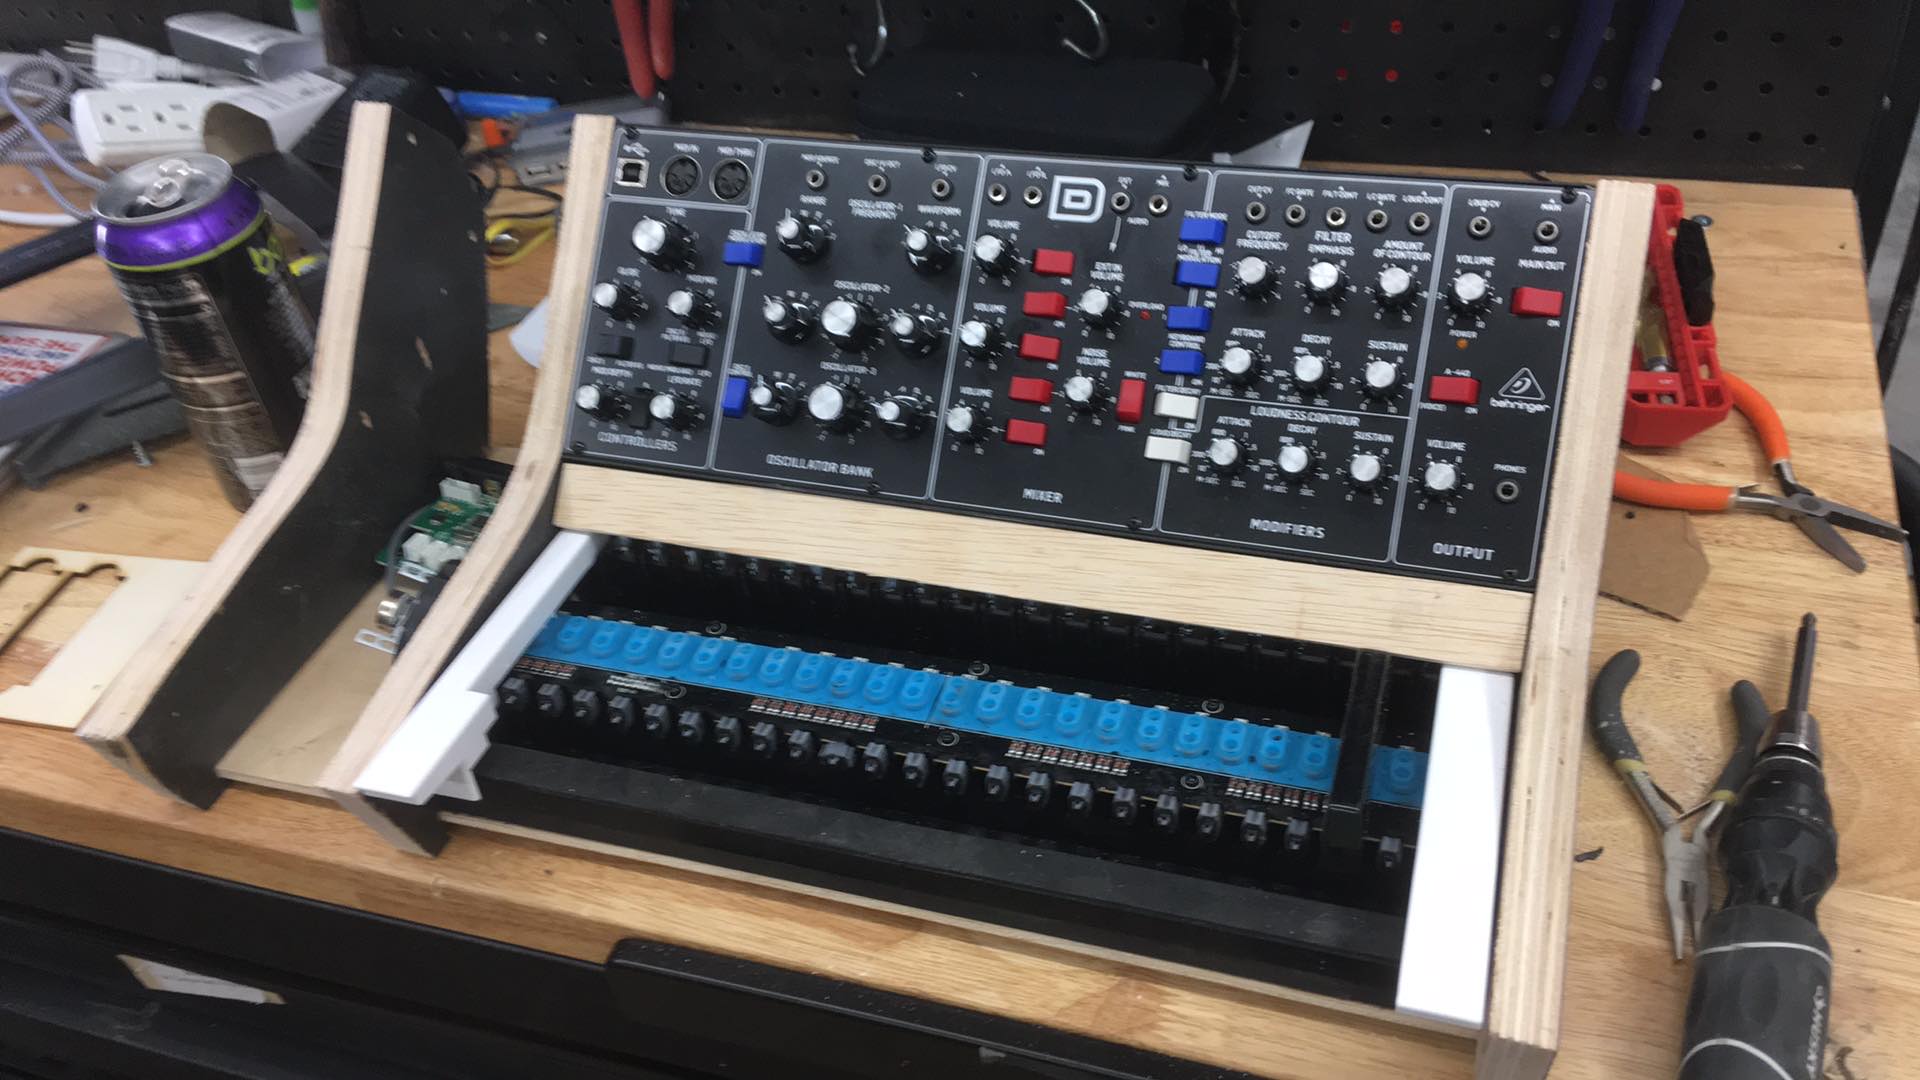
Another view of the overall layout. I had to spend a fair bit of time with the router to embed some of the protruding parts of the keyboard mechanism into the uprights and get that snug fit. The main structural element is the synth, which is a metal case that has mounting screws on the side. I'll add some more wood.
Blurry picture that shows the wooden piece between the synth and keyboard. This has a 45* cut on the back to allow the keys to move. I'll put a legend on there showing key assignments in data mode - you can transpose, change MIDI channel and other stuff, and I might want to keep the ability to use the keyboard to control other devices.
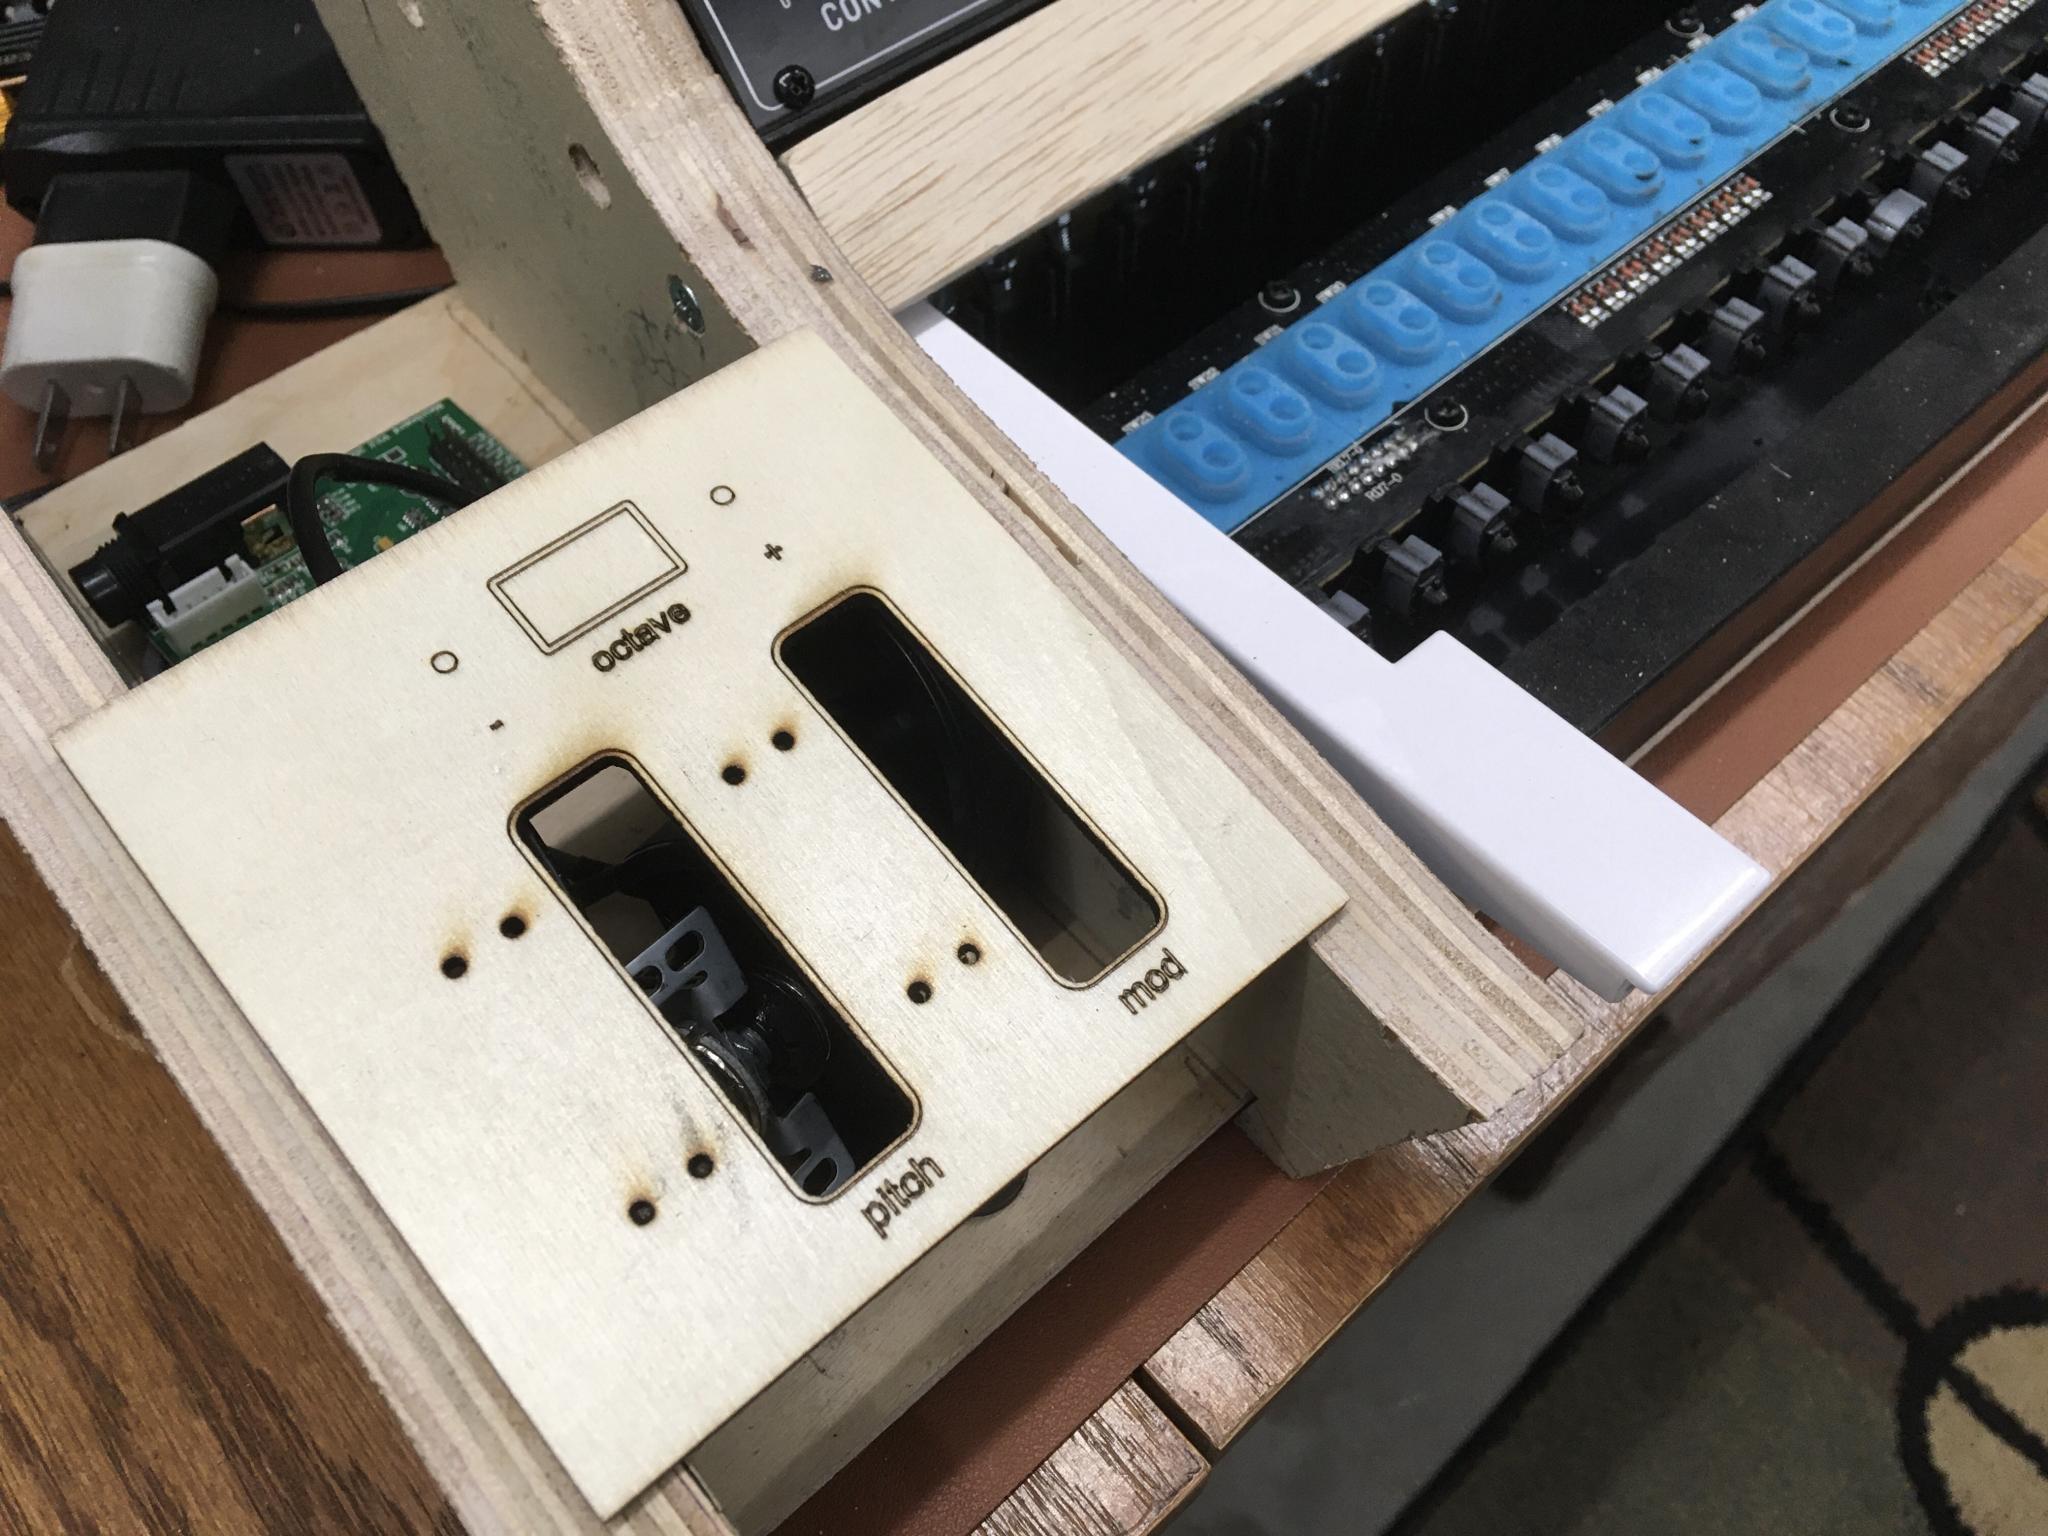
Used the laser to make a mockup of the lower control panel with the wheels. I have some switches coming that will hopefully match the ones on the synth, as well as some 2.5mm LEDs to indicate the octave shift. I will likely make the final version of this out of acrylic.
That's a few hours of work. I'll continue on later. Switches should be here in a few days, but in the meantime I'll keep up with the woodwork.
Looks like a fun project.
Let me know if you need anything. I have some experience in building custom Eurorack cases...
https://www.flickr.com/photos/stretta/sets/72157627123253728/with/5905053155/
Oh, COOL. What's your part in that, creator of the cases or user or assembler or what?
I haven't really looked into Eurorack at all, I'm not even sure what the parameters are. This is intended as more of a standalone tabletop build, kinda like the 808 or the original Minimoog.
Also, I'd love to see a desktop trebuchet video.
I was given some parameters to follow and the rest was designed, built, delivered and assembled by me with the exception of the welding. The user is actually my brother who is now a professor of Synth at the Berkley School of Music in Boston which is also where I delivered said modular.
Yes, I also built the trebuchet as a gift to his son so I don't have any video but it does work very well.
Stupendous. I know what I'm reading tonight. I love the style and execution.
If anyone has not clicked on that Flikr link, click now.
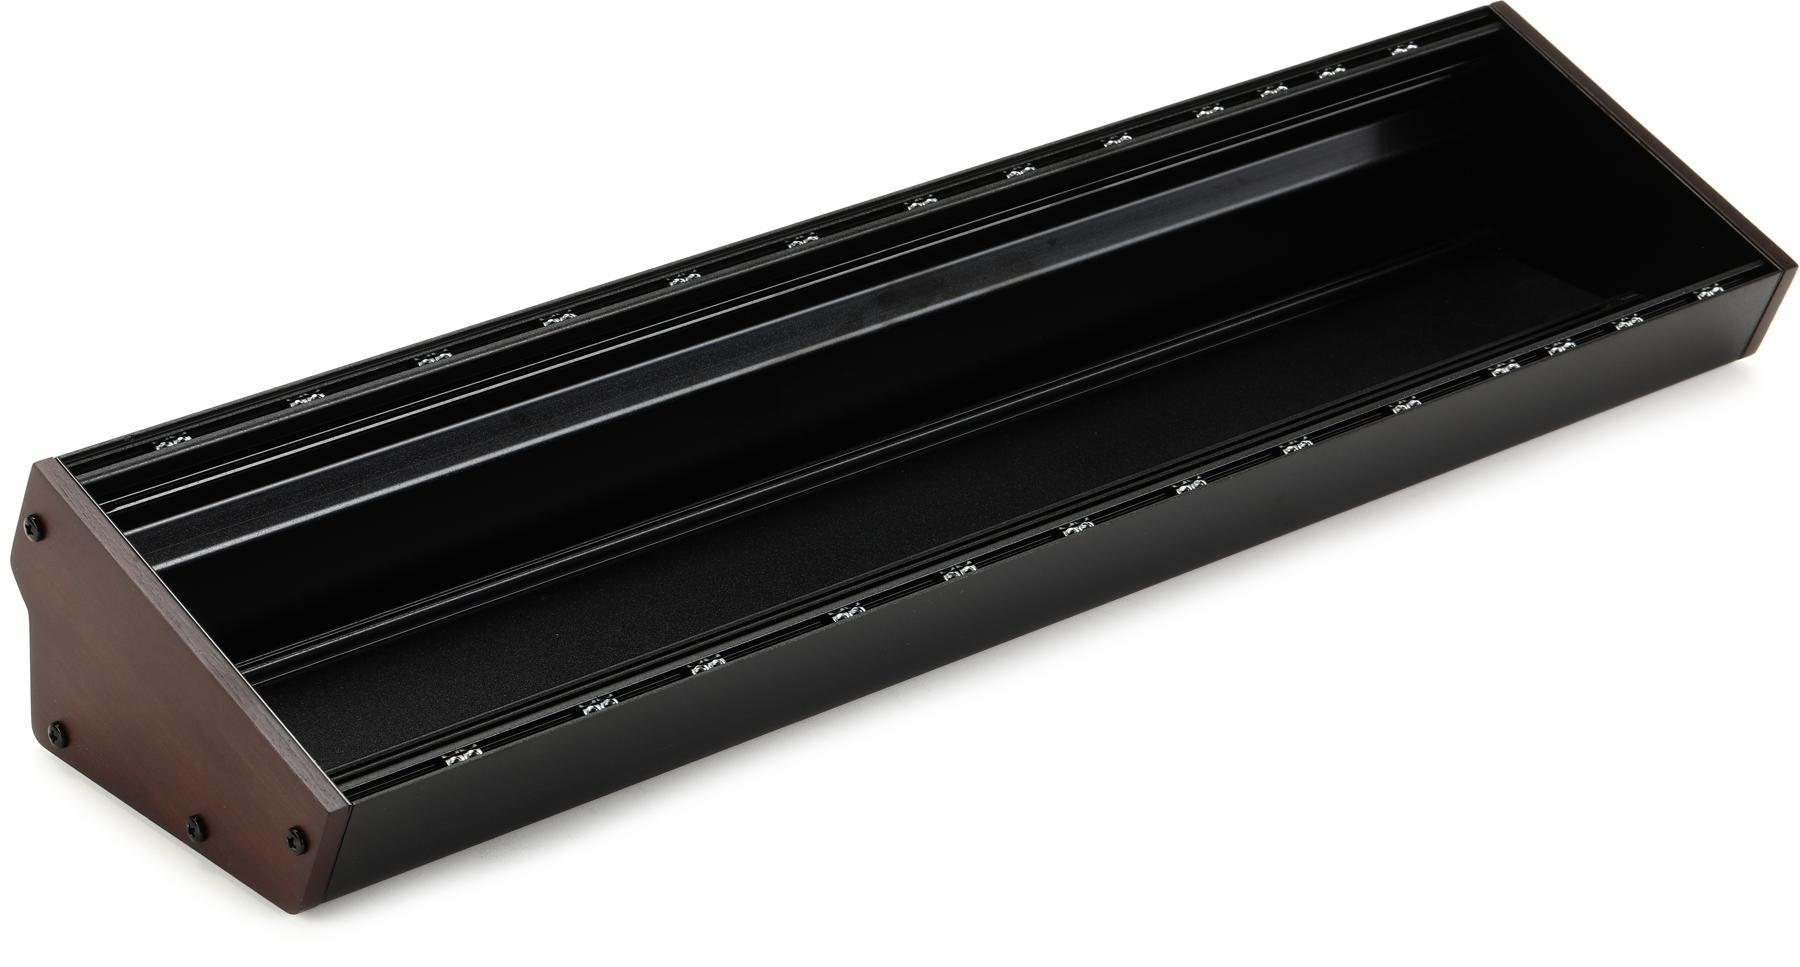
For those who prefer a photo preview...

The top picture is the 2940 and the bottom is the 1512.. The numbers represent the number of hp (horizontal pitch) available in each enclosure.
Google tells me that an HP is 0.2" (which seems very non-Euro). So the 1512 has 302.4" of space, which is over 25 linear feet of synthesizers if I understand this right :) And that's the little one...
The build threads are fantastic stuff. I can either put my tail between my mediocre woodworking legs and go hide or I can try to level up. I'll go with the latter, I think. The standards have been raised. Now I have to figure out ways to make this better. I did win the Industrial Arts Proficiency award in Grade 8, so I am not without skills. My mom still uses that knife block I made 
Keep in mind that I'm only using the plywood sides on mine to work out basic concepts - I've sketched some paper notes to myself and have a decent 3D model in my head, but I like to have something I can pick up and play with. The good wood is sitting and waiting, although it's not spectacular walnut or anything. The switches and other bits will arrive over the next couple of days and I'll make a final decision on some of the components involved. I might rethink some of the wiring inside as well as how I'm handing the two extra panels - I could easily make them out of black acrylic, or I could do wood, or I could do powdercoated steel. The last would be the hardest to execute with the tools I have, especially since the cutout for the wheels will have to be precise. More planning as I wait...
A few thoughts...
That Model D can be taken out of the metal shell and mounted on a rack. Here's an off-the-shelf "skiff" that's 104 HP (21") wide with the Model D for scale.
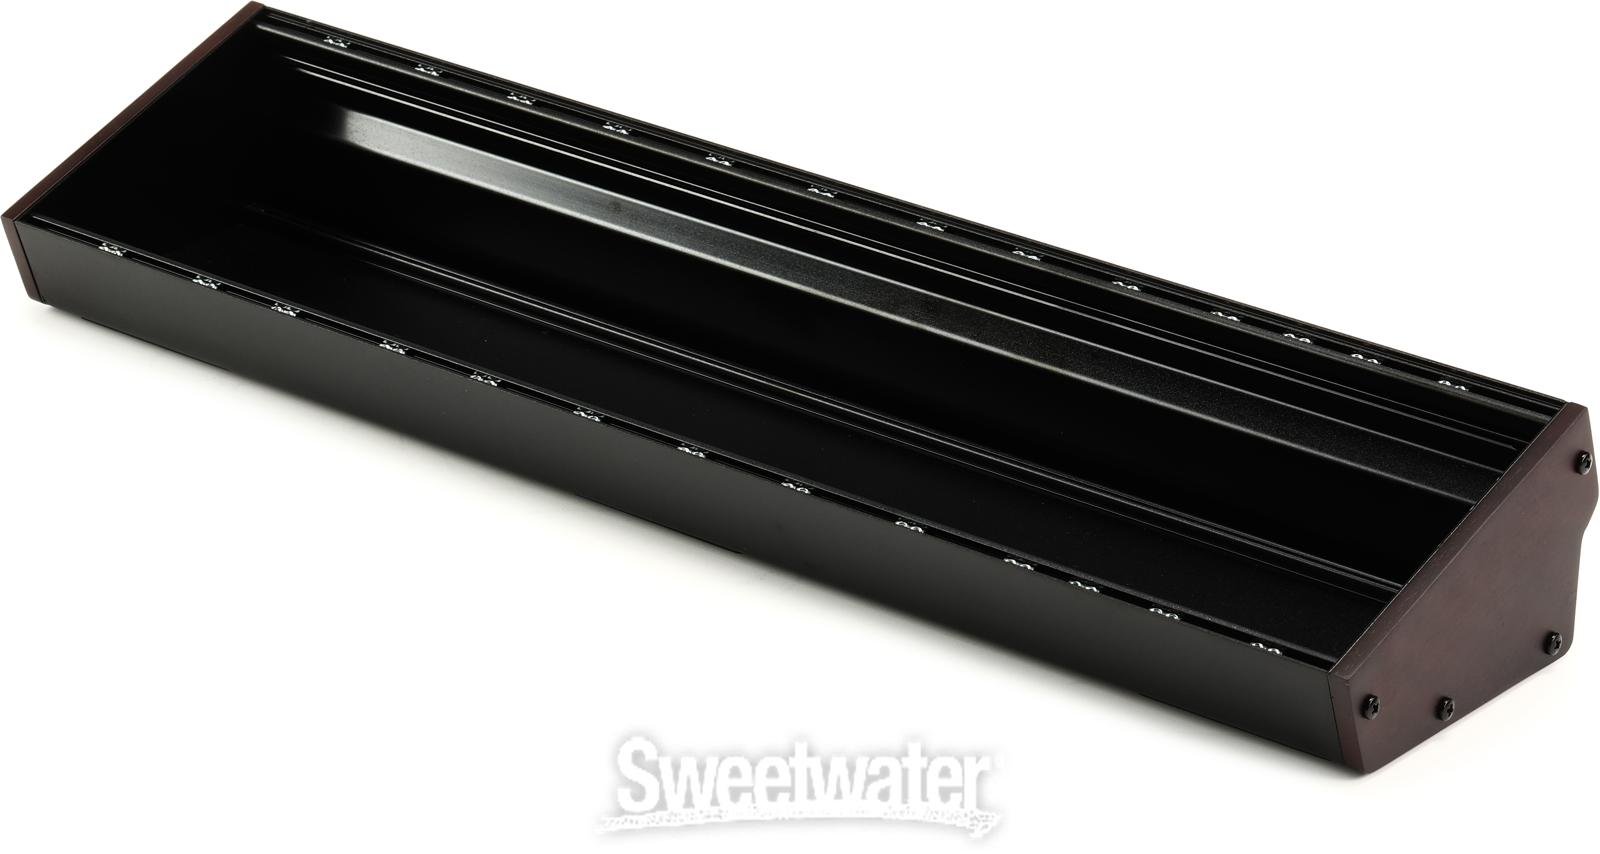
Basically, the Model D comes in a 70 HP wide version of this skiff already with a few extra holes in the back for outputs and a power in. Because this extrusion is fairly stiff, I'm using it as a structural element. But thinking back (I don't have it in front of me), the exposed parts of the keyboard have the same height as the Eurorack units. So I could pick up this 104 HP skiff, cut it down to 91-ish HP and use it as a single piece across the top, then add a shorter (18-ish HP) chunk beside the keyboard. This would give me a way to mount my pitch/mod wheels and the upper panel that's consistent with the Model D and would make it more flexible in the future. I'd still need a wooden cap for the left side of the keys, but it wouldn't have to go full height and I could make the upper section continuous. That would change the style, though.
Hmmmmmm...

The 1512 is 3-19" Eurorails placed end to end. I made the boxes from wood and then mounted the rails to them. Doable, but a pain to execute. The 2940 is a different deal altogether. I had custom aluminum boxes made and powder coated to hold all the Eurorack rails and modules. Much better overall and easier to deal with. Down side was cost but really streamline the overall build. In both cases, the front boxes are shallow to allow comfortable clearance for your legs and low enough for proper arm height. The front boxes hold the modules you actual "play" so it needs to be ergonomic. In both cases, the boxes were structural to the rest of the design
There are many skiffs and other enclosures you can find in the Eurorack community if you prefer modifying an existing design. Wood end caps are easy to make so I wouldn't get too hung up on that. Then you have the debate about sliding nuts vs. threaded slide in bars. There are pro's and cons both ways so it's a matter of preference. Sliding nuts can be replaced if damaged or cross threaded but are a total pain to get into position when you are mounting modules. Threaded bars are much easier to deal with but if you cross thread one hole, well, the threaded rail is on the way to being toast. So long as you are careful, it's not an issue. You can get the threaded bars and rails from TipTop.
104HP is a very popular size so it's a great choice for a smaller setup. Plenty of room to mount enough modules to make things interesting but your applications is a bit different. You'll see a lot of guys use portable cases that are 2-4 rows of 90 to 104 HP which gives them a decent suit of tools to play with.
You can make the panels out of just about anything. Aluminum sheet is the norm with acrylic coming in a distant second. Durability is the key since these things take a beating. Yes, you would have to anodize the aluminum parts but if you have many items to anodize, it's pretty cost effective for what you end up with. My guess is you won't have enough to warrant the expense.
Anxious to see what you come up with as your final design. Happy to be a sounding board for you if you need it. PM me if you want to discuss off line.
Mike
I am going to try to avoid falling down some sort of Eurorack analog synth rabbit hole here :) I'm hoping that this will be a fairly finished product and not scaffolding for a bunch of weird modules in the future. That is a possibility of course.
The plan is still basically the same - I guess from a Eurorack viewpoint, it's two rails on a common end cap with an embedded keyboard. 2U, is that what it's called? Right now, I'm looking at the aesthetics of the thing, whether I want that upper rack to be continuous or whether the middle rib will remain and bisect it. The former would make the keyboard more distinct from the synth, the latter would come across as a synth with a little sidecar. I'm going to make a cardboard mockup of each to see what I think. I've ordered a chunk of rail that will let me build it either way. Going full Eurorack also opens up the option for a more integrated power supply.
I have the ability to anodize at home but I need more practice. I could also simply shoot it with black paint and laser that off. I'm more worried about making accurate cuts for the wheels, but I have a nibbler so it should be possible. That's the sort of thing that can be swapped out later if it doesn't turn out well.
Sorry, I may have pushed a little hard on the Eurorack which was not my intent however, caution should be exercised as it does open up the problem of "Shut up and take my money" when it comes to Euro modules. I've been told it is quite addictive... Thank goodness I just build the cases, I don't own a single piece of synth equipment...
Carry on and experiment until you feel it's right for you.
No worries, it's opened up an interesting avenue. I hadn't approached from that direction, and I had not come up with a satisfactory method of mounting the auxiliary panels yet so there's that solved.
Question about the end caps - how are you mounting them without visible screwheads or dowel plugs? I've got some plates that are on the end of the Model D, I suppose I could use them to attach to the end caps from the inside.
Posting here again because it protects my wife from this stuff...
The Eurorack talk shook free a few new ideas. So here's an alternate way to build this setup - use a three octave keyboard and put the wheels up top in the skiff. It looks like a standard size 37 key keyboard is pretty close to that 104 HP width, and that would leave me with just under 7" to play with for the wheels and any extra controls I put up there. I'm going to wait for a couple of specific components to arrive so I can decide if I want to integrate them. That would mean I killed a Q25 for no reason, but it's an interesting alternative.

I mount the panels from the inside where possible. If not, the fasteners need to be an interesting and attractive component that complements the overall design. when attaching from the inside, they need to be very low profile so it doesn't foul the electronics on the inside.
Change in plans. For a few different reasons, I'm going to go with the 3 octave keyboard. It means I'll probably have to lose one of my planned tweaks but it wasn't critical. We'll see, it may still be possible.
Looking at my packaging, putting a chunk of rail beside the 2 octave keyboard wouldn't work unless I raised the keyboard and that would probably look chunky. The 3 octave keyboard will be more useful and will only bump the overall size of the unit by about three inches. Overall width with the end caps will be right at 22".
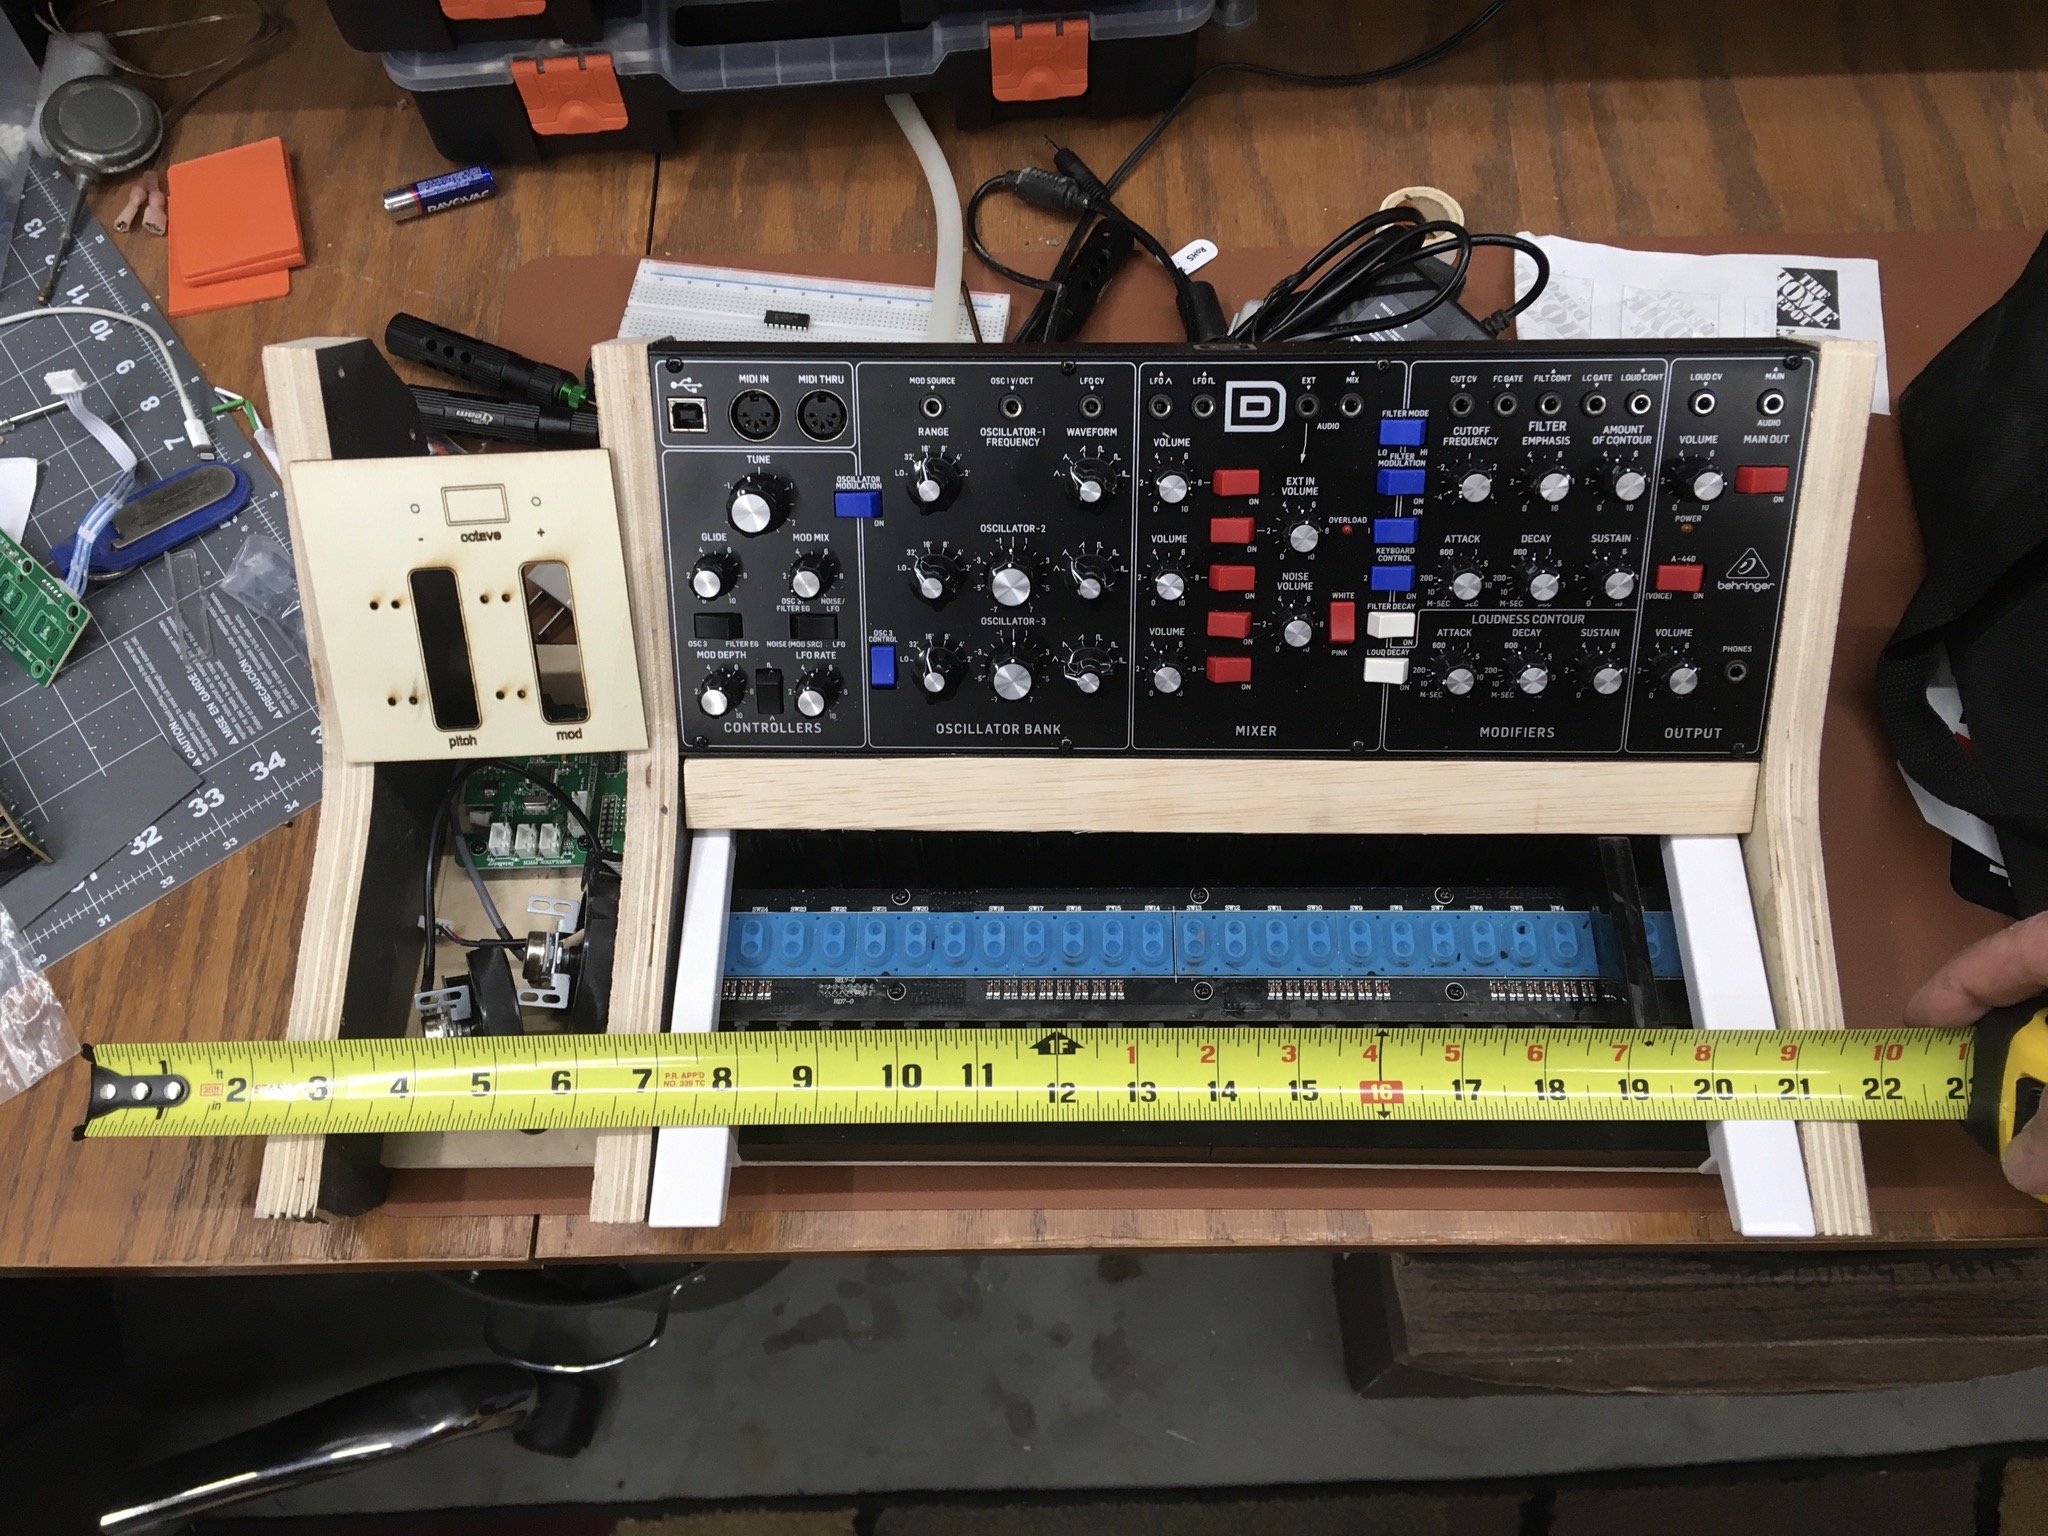
It'll also give it a much cleaner look - closer to the Bucranium "micromoog" wheel-less option I posted originally. I'll keep the 45* angle between the rail and the keyboard and try to keep the same pseudo mid century styling.
The keyboard I, umm, modified was a 25 key Alesis. Because I know how modular it is inside (you can see that each octave is basically a separate circuit board) and the size of the keys and the outputs, I hunted down a used 49 key version on eBay. I'll cut that down to 37 keys. If I need a bigger keyboard for other things, I have my Roland.
This will also accidentally give me a standard 104 HP Eurorack setup with an integrated keyboard and 34 HP of free space. Potential for major rabbit hole action there. I'll use some of that space for my wheels, but who knows...
So, a shift from the original plan, but I'm very happy with this direction.
If you would prefer to have both hands on the keyboard, here is another alternative to consider.
https://effigylabs.com/
Full disclosure - I had a hand in parts of the case design and was at the rollout in 2019 at NAMM. I can tell you the ability to manipulate pitch and mod at the same time with your foot is very liberating. Every electronic keyboard user who tested this setup was blown away.
Edit: Giving yourself another octave will be beneficial longer term and will make your time in front of the keyboard more enjoyable.
It's only a monophonic synth, so only one hand is needed on the keyboard. And honestly, with my skill level a MIDI sequencer is pretty much required to do anything more than bleep and bloop and annoy my wife. So the extra keyboard space isn't that critical - as noted, I do have a 4 octave controller that I can patch in when required, the goal here is to make a unified desktop unit that can stand alone without being embedded in more wires than necessary.
The biggest problem with the Model D right now is that my music room has turned into a home office, so everything has been stashed away. If I can turn the D into a Minimoog-style monolith that just needs a power cord and a set of headphones, it's much easier and convenient to drag out, use, then put away. And it looks better so there's a better chance it will be allowed to permanently occupy the small amount of space available.
Sounds like the build for your brother kicked off a decent side business!
Well, it could have.
I started down the path of taking what I had learned building the large enclosures and applied it to the smaller case market. I worked with multiple suppliers and vendors to help address the areas I was not equipped to handle, created multiple designs and then I stopped. Life got in the way of sorts but I was quickly loosing interest because a mass produced product felt a bit empty and lacked excitement. Creating the one off custom enclosures was a great experience and maybe someday I'll revisit it however, I have other activities I'd like to pursue and the case business wasn't a real money maker so I left it behind for now.
Like many on this forum, I have a garage in need of organizing and reconfiguring so I can get back into the workshop and actually do something productive.
I totally get where you are coming from with the footprint of the enclosure and the need to keep it to a minimum without all the cords and extra mess associated with it. For some, it's an obsession and takes over their entire life, for others, it a nice distraction from time to time and as such, needs to be easily unearthed from it's hiding space and quickly brought to life with a minimum of effort. These are key elements to ensuring the hobby gets enjoyed for years to come. You have the right set of parameters to make a fun instrument that will entertain you for years to come.
I'm waiting for the skiff and the donor keyboard to arrive - but a box showed up from Mouser electronic supply along with an Amazon box.
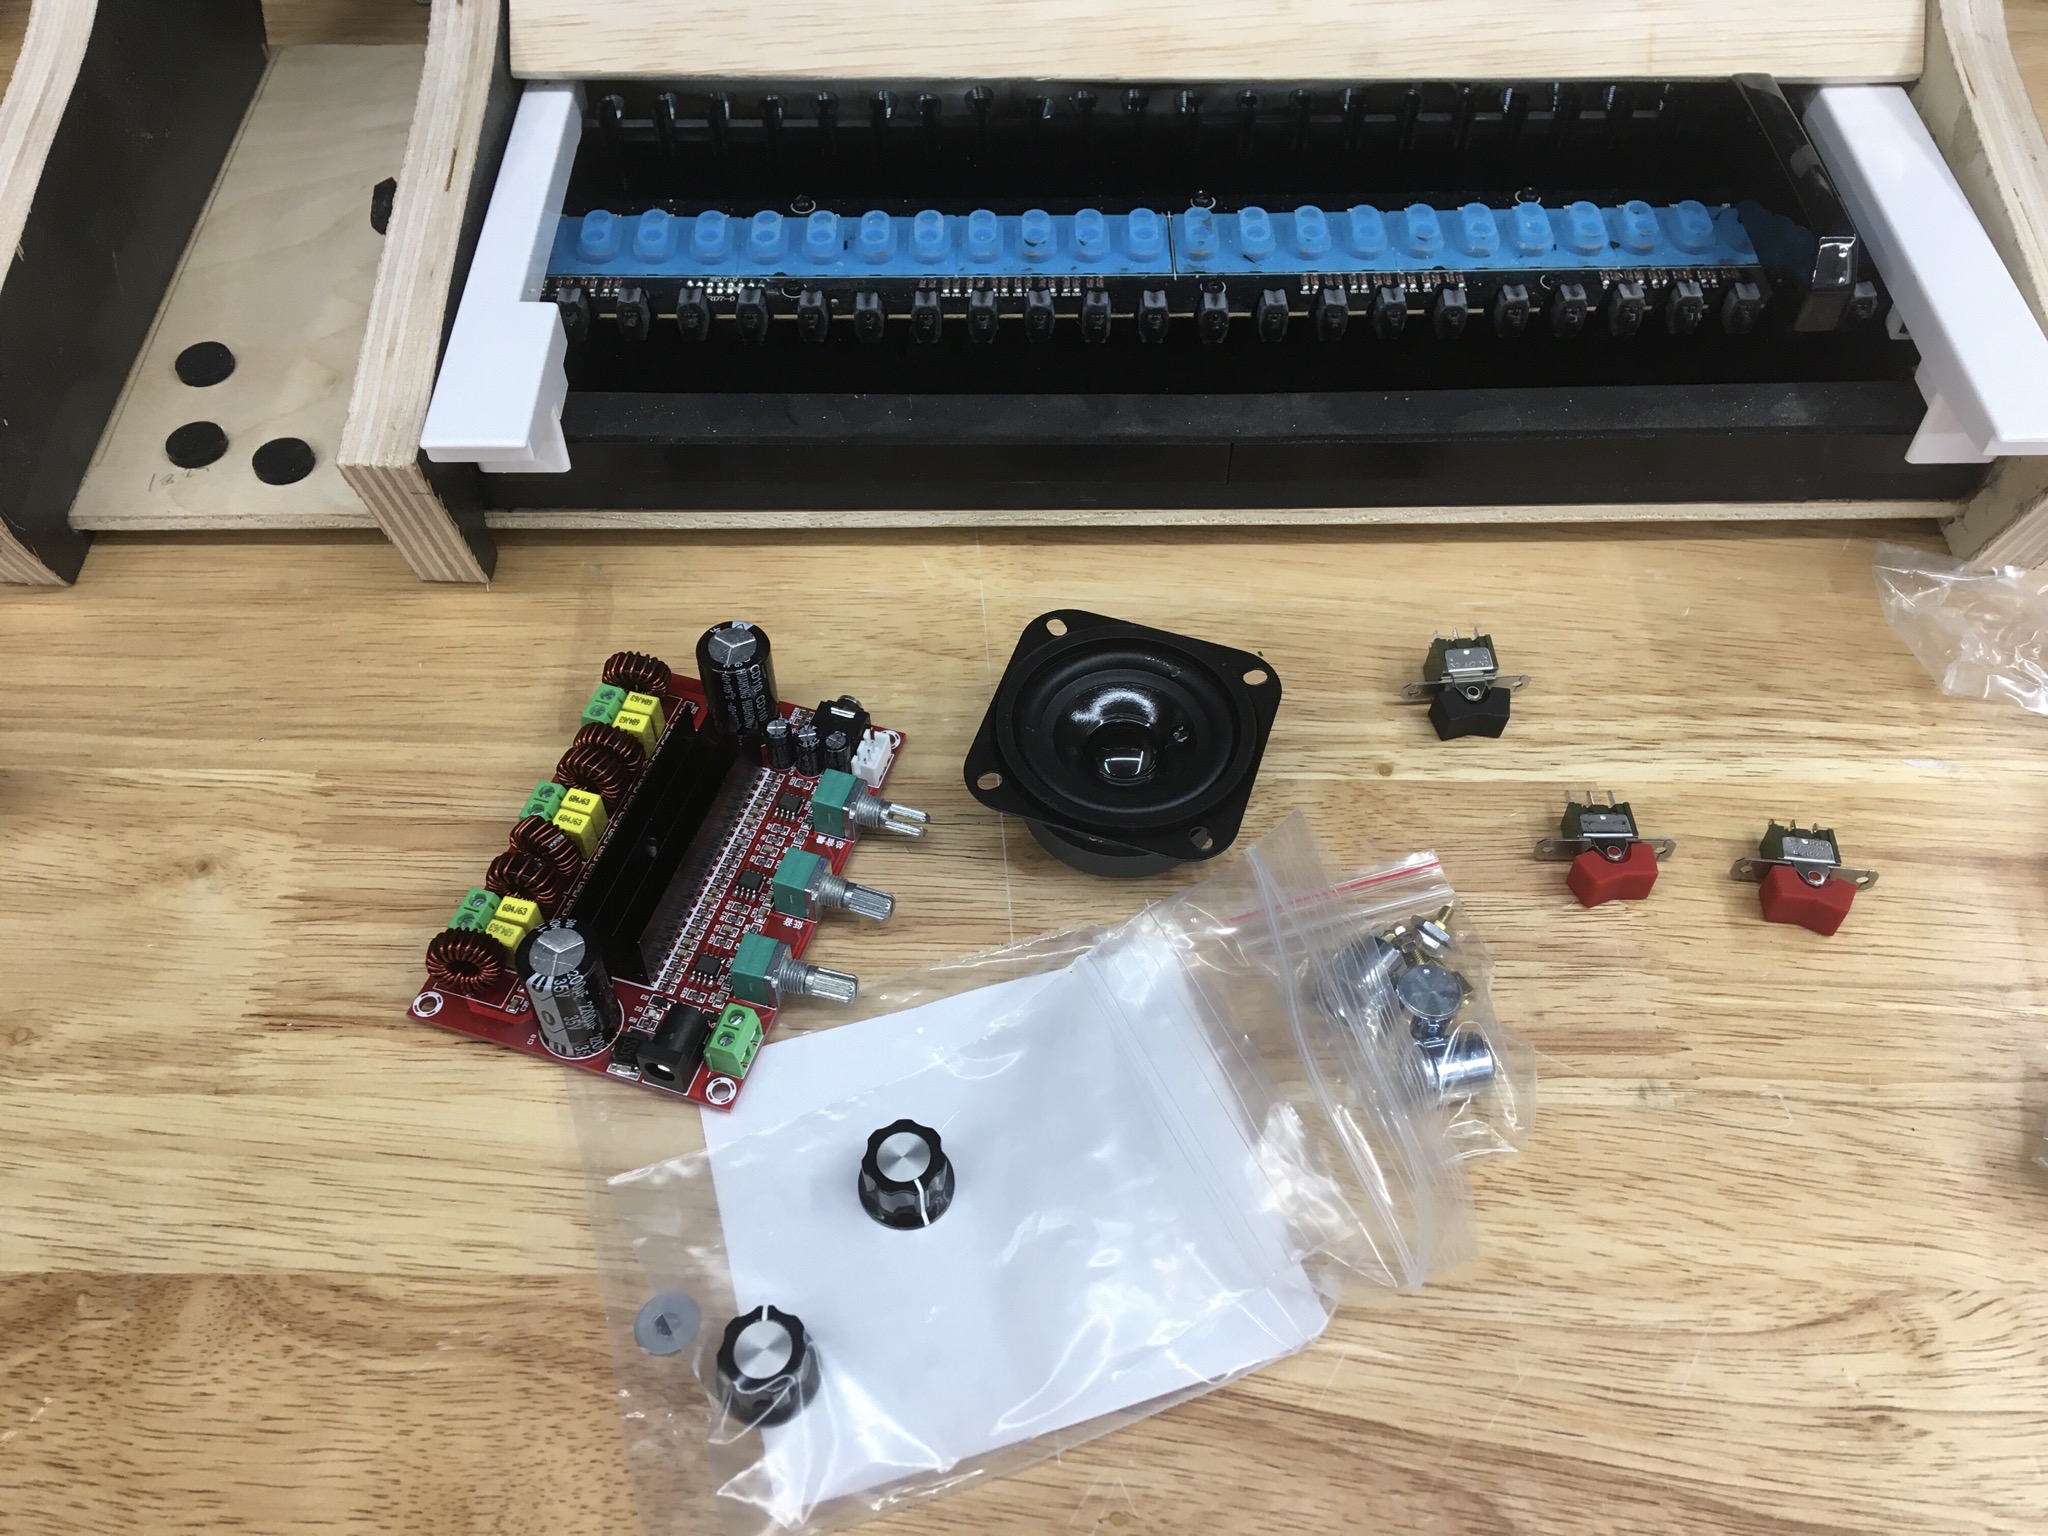
My original thought was to put a tiny amp and speaker in the case so I can make blooping noises without any other components. The original 2 octave design had a fair bit of extra room inside. The new three octave may not because there's more keyboard, so I'll do a little layout planning.
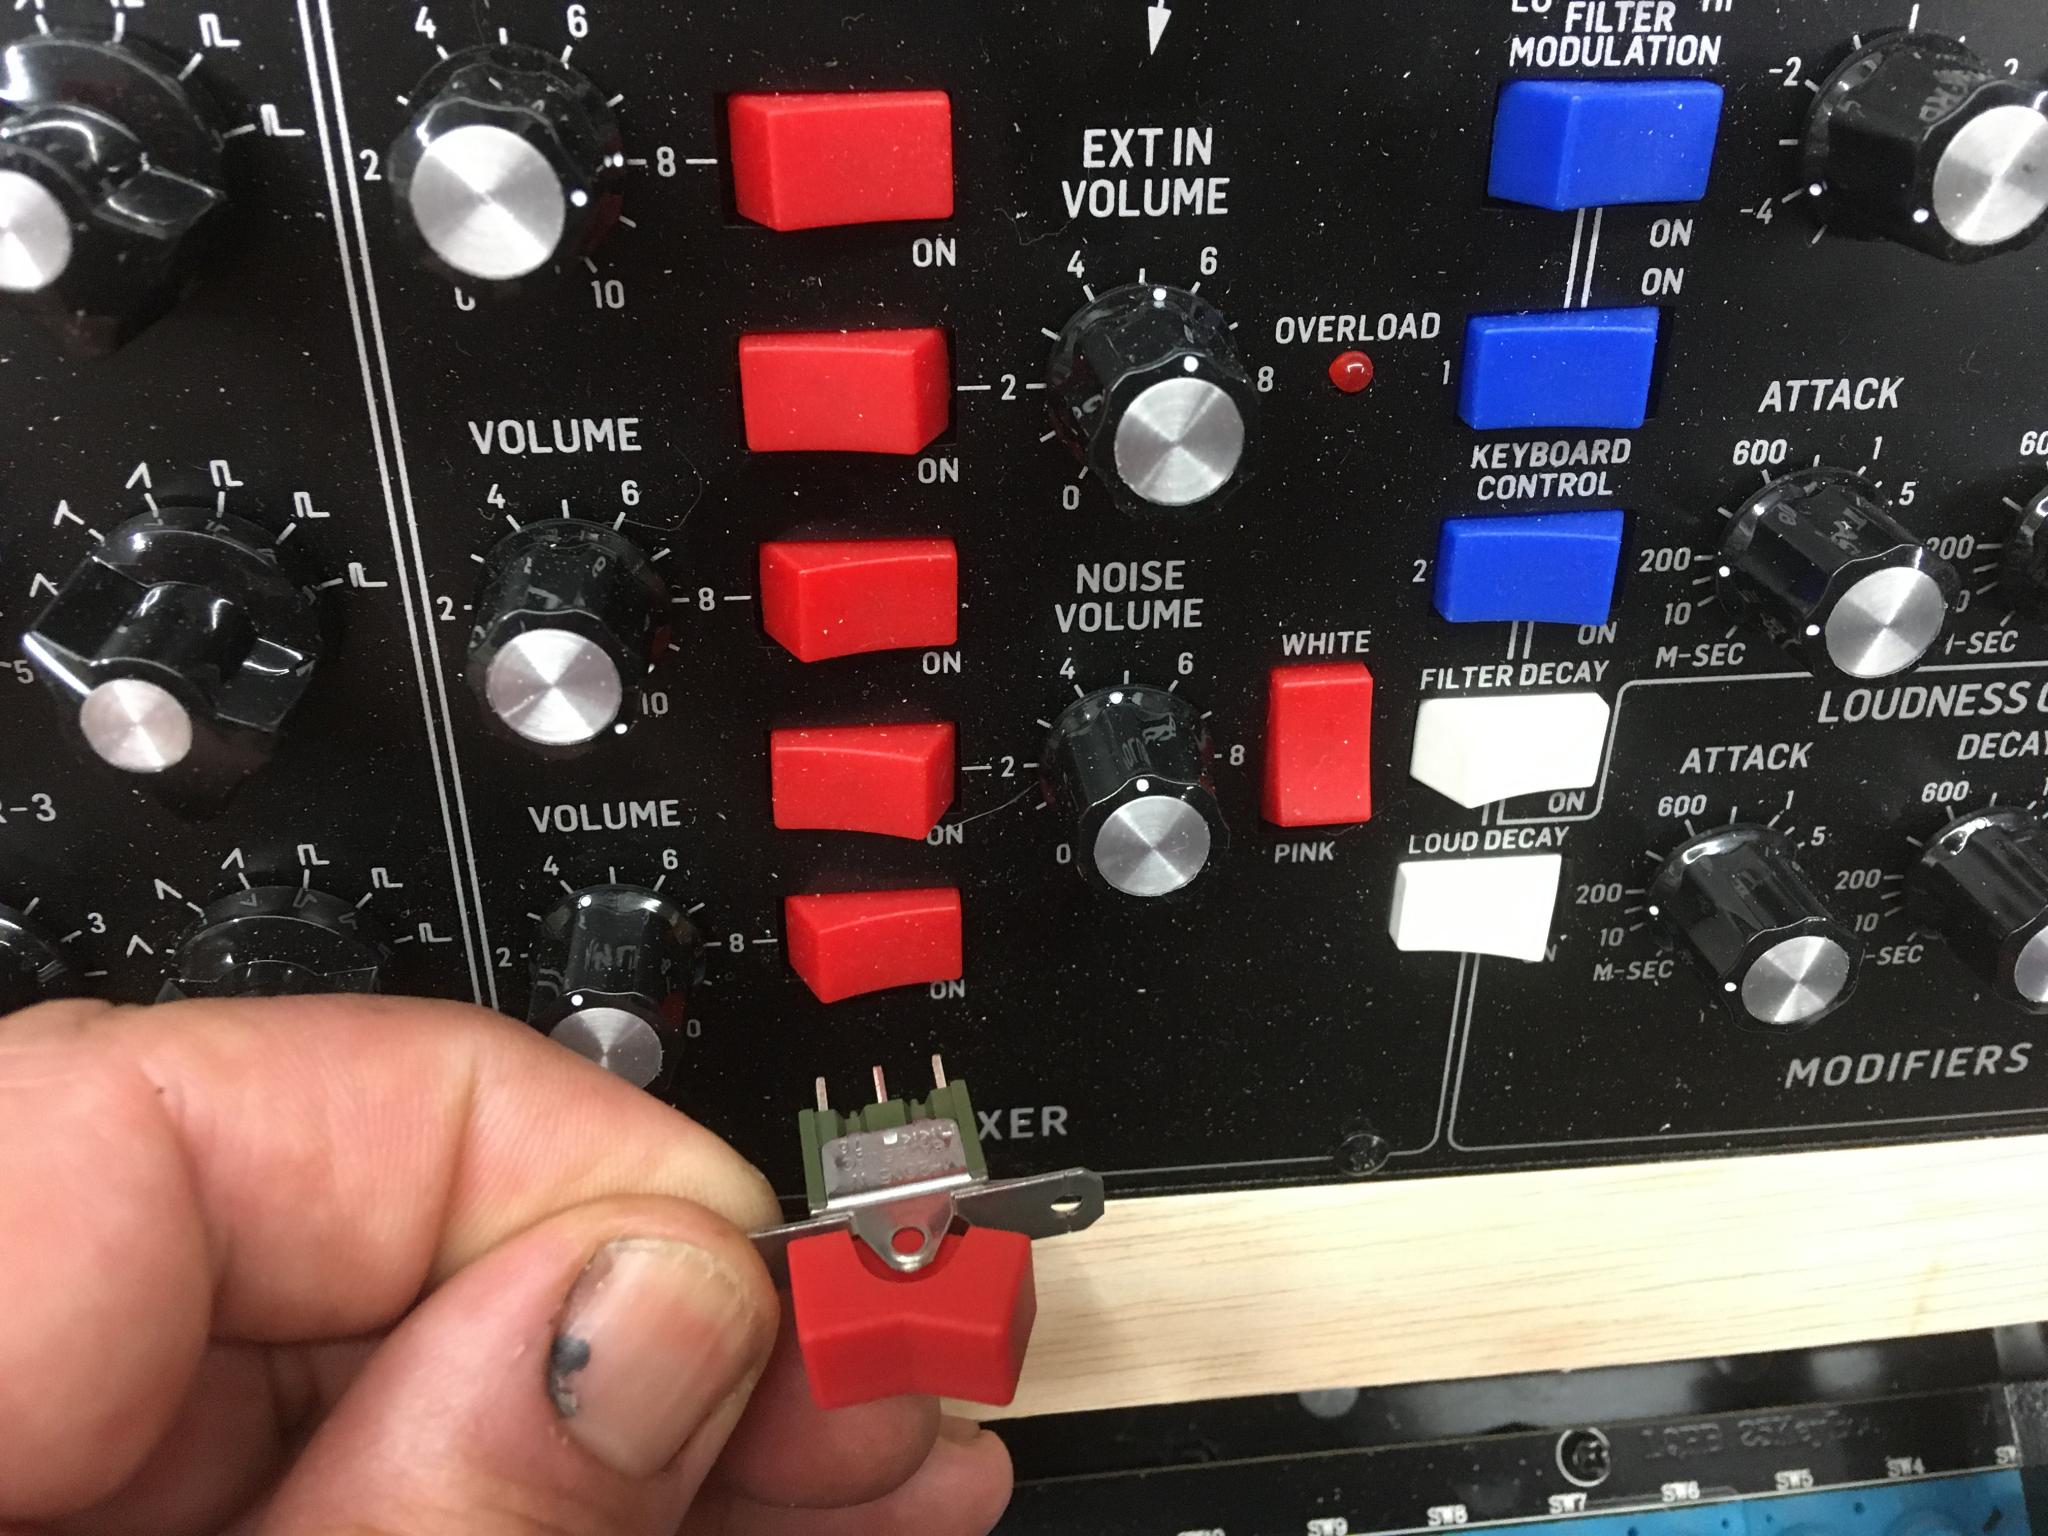
The knobs I picked up for the amp match pretty well. That's it beside the tune knob.
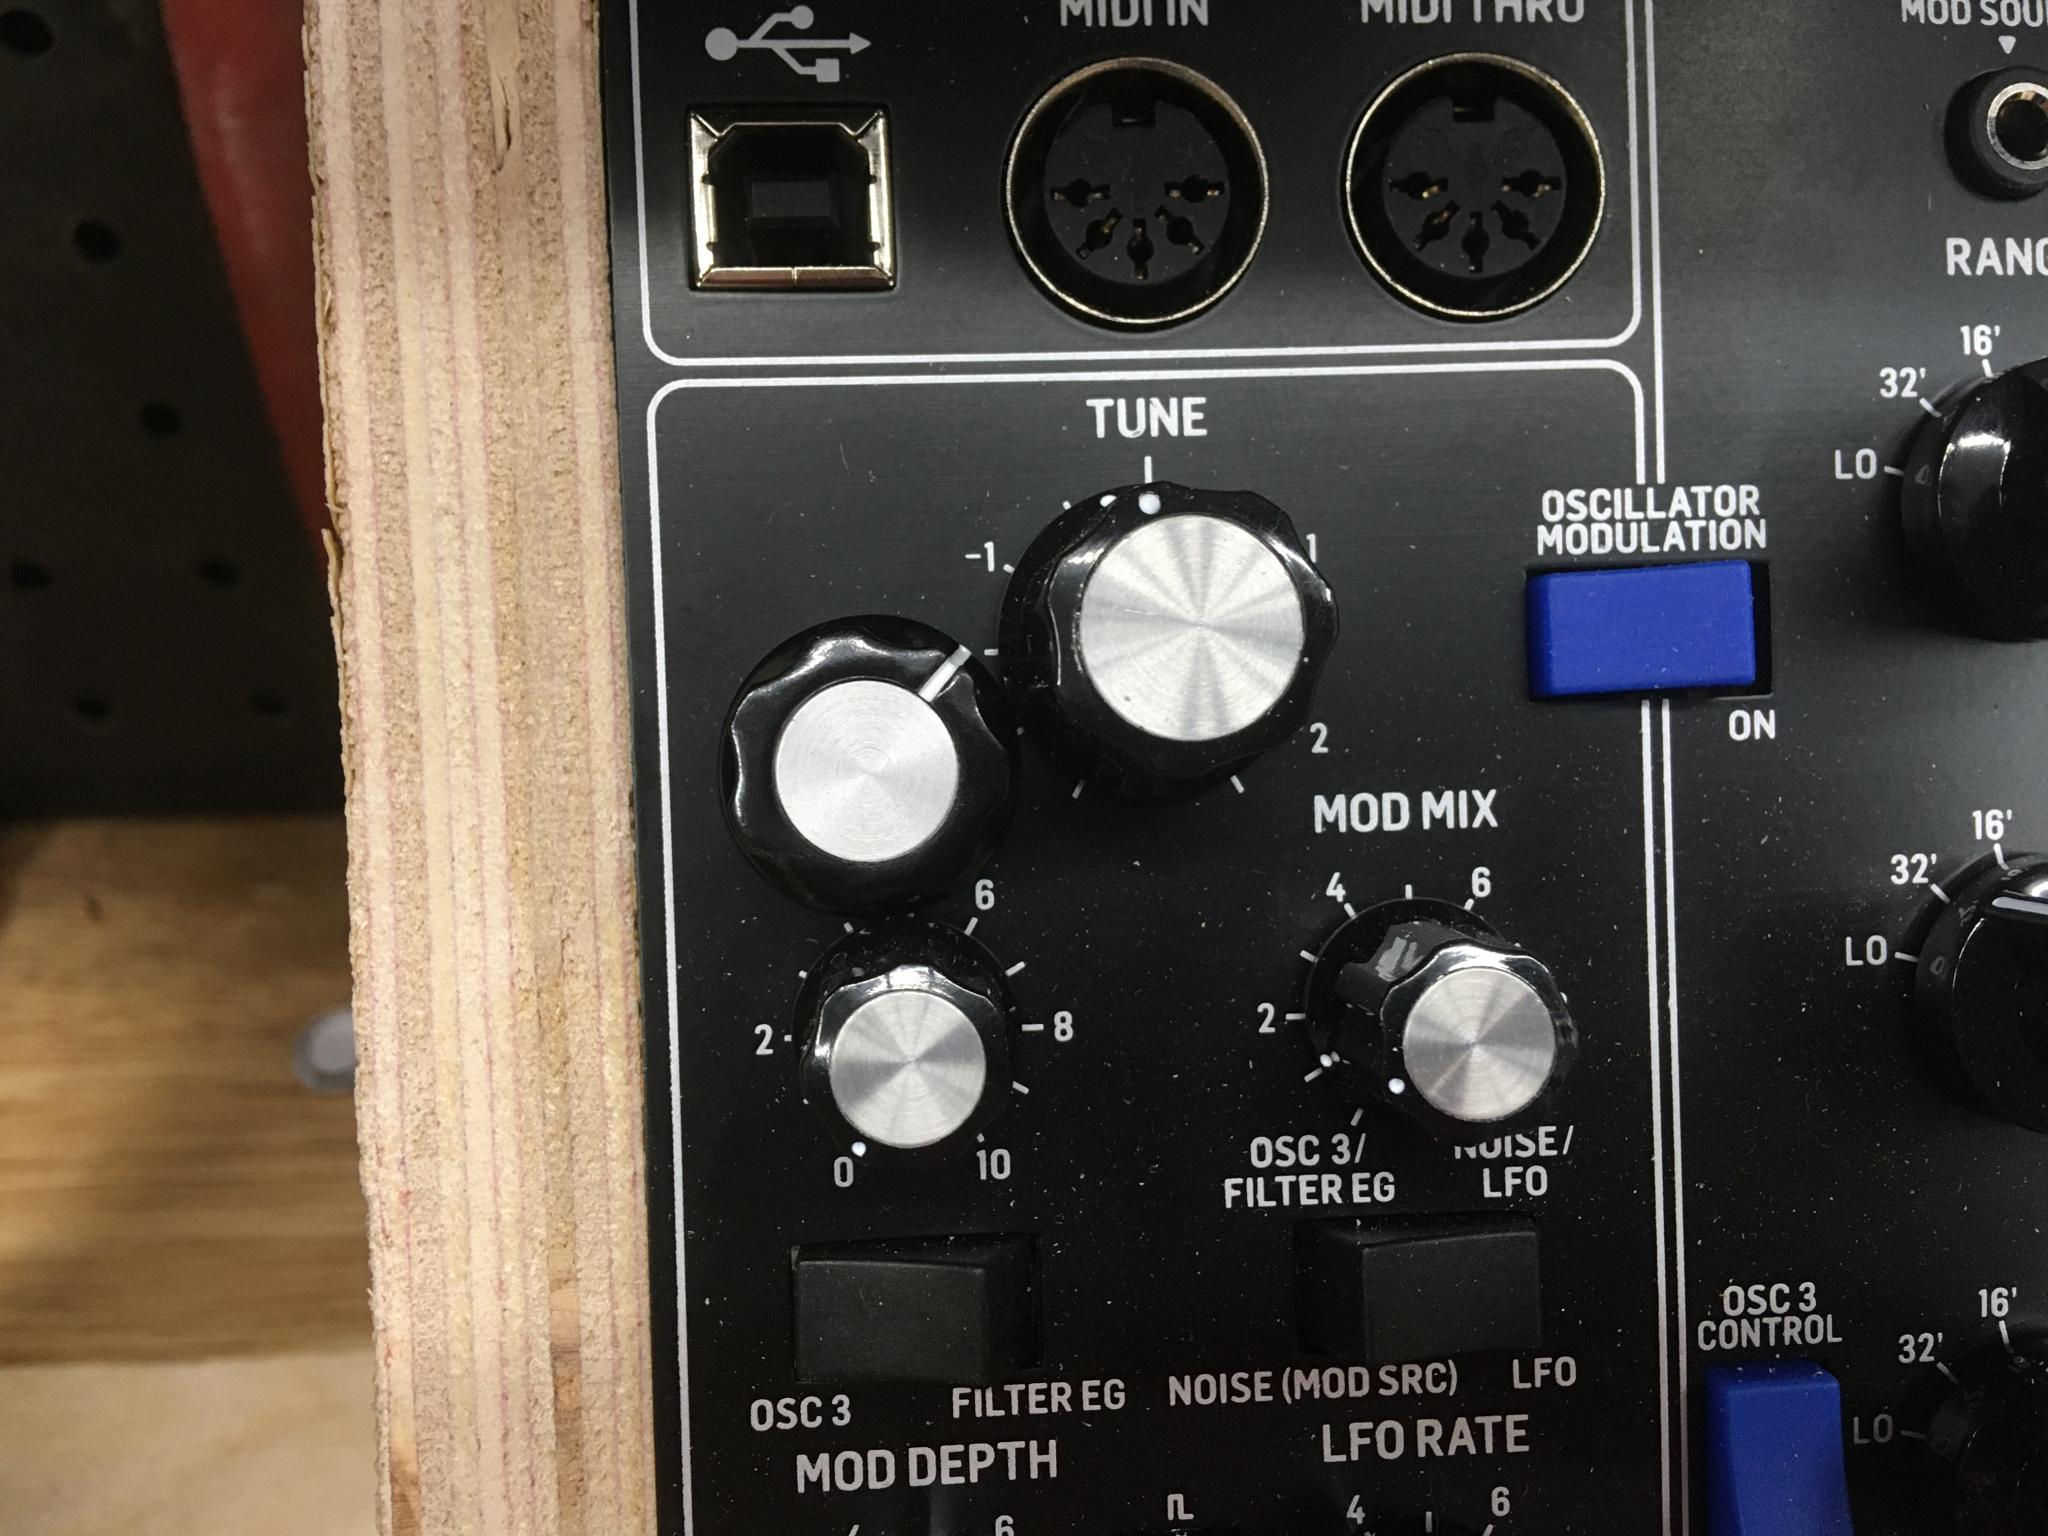
The switches will be used for octave selection, possibly a power switch and a mode trigger for the keyboard. I'm pretty happy with the match, although I'm not sure how I'll mount them. Maybe a custom circuit board. Looking at the inside of the Model D will probably help.