Keith Tanner
Keith Tanner GRM+ Memberand MegaDork
1/1/17 10:50 p.m.

Aka how I spent my Christmas break. Well, that and replacing three doors and fixing the damn Grand Cherokee.

I'm going to start by stating that I am not a woodworker or upholsterer, although I have recovered the seats on an NSX and I won the industrial arts award in Grade 8, so I obviously am semi-pro. I apologize in advance for what you are about to see.

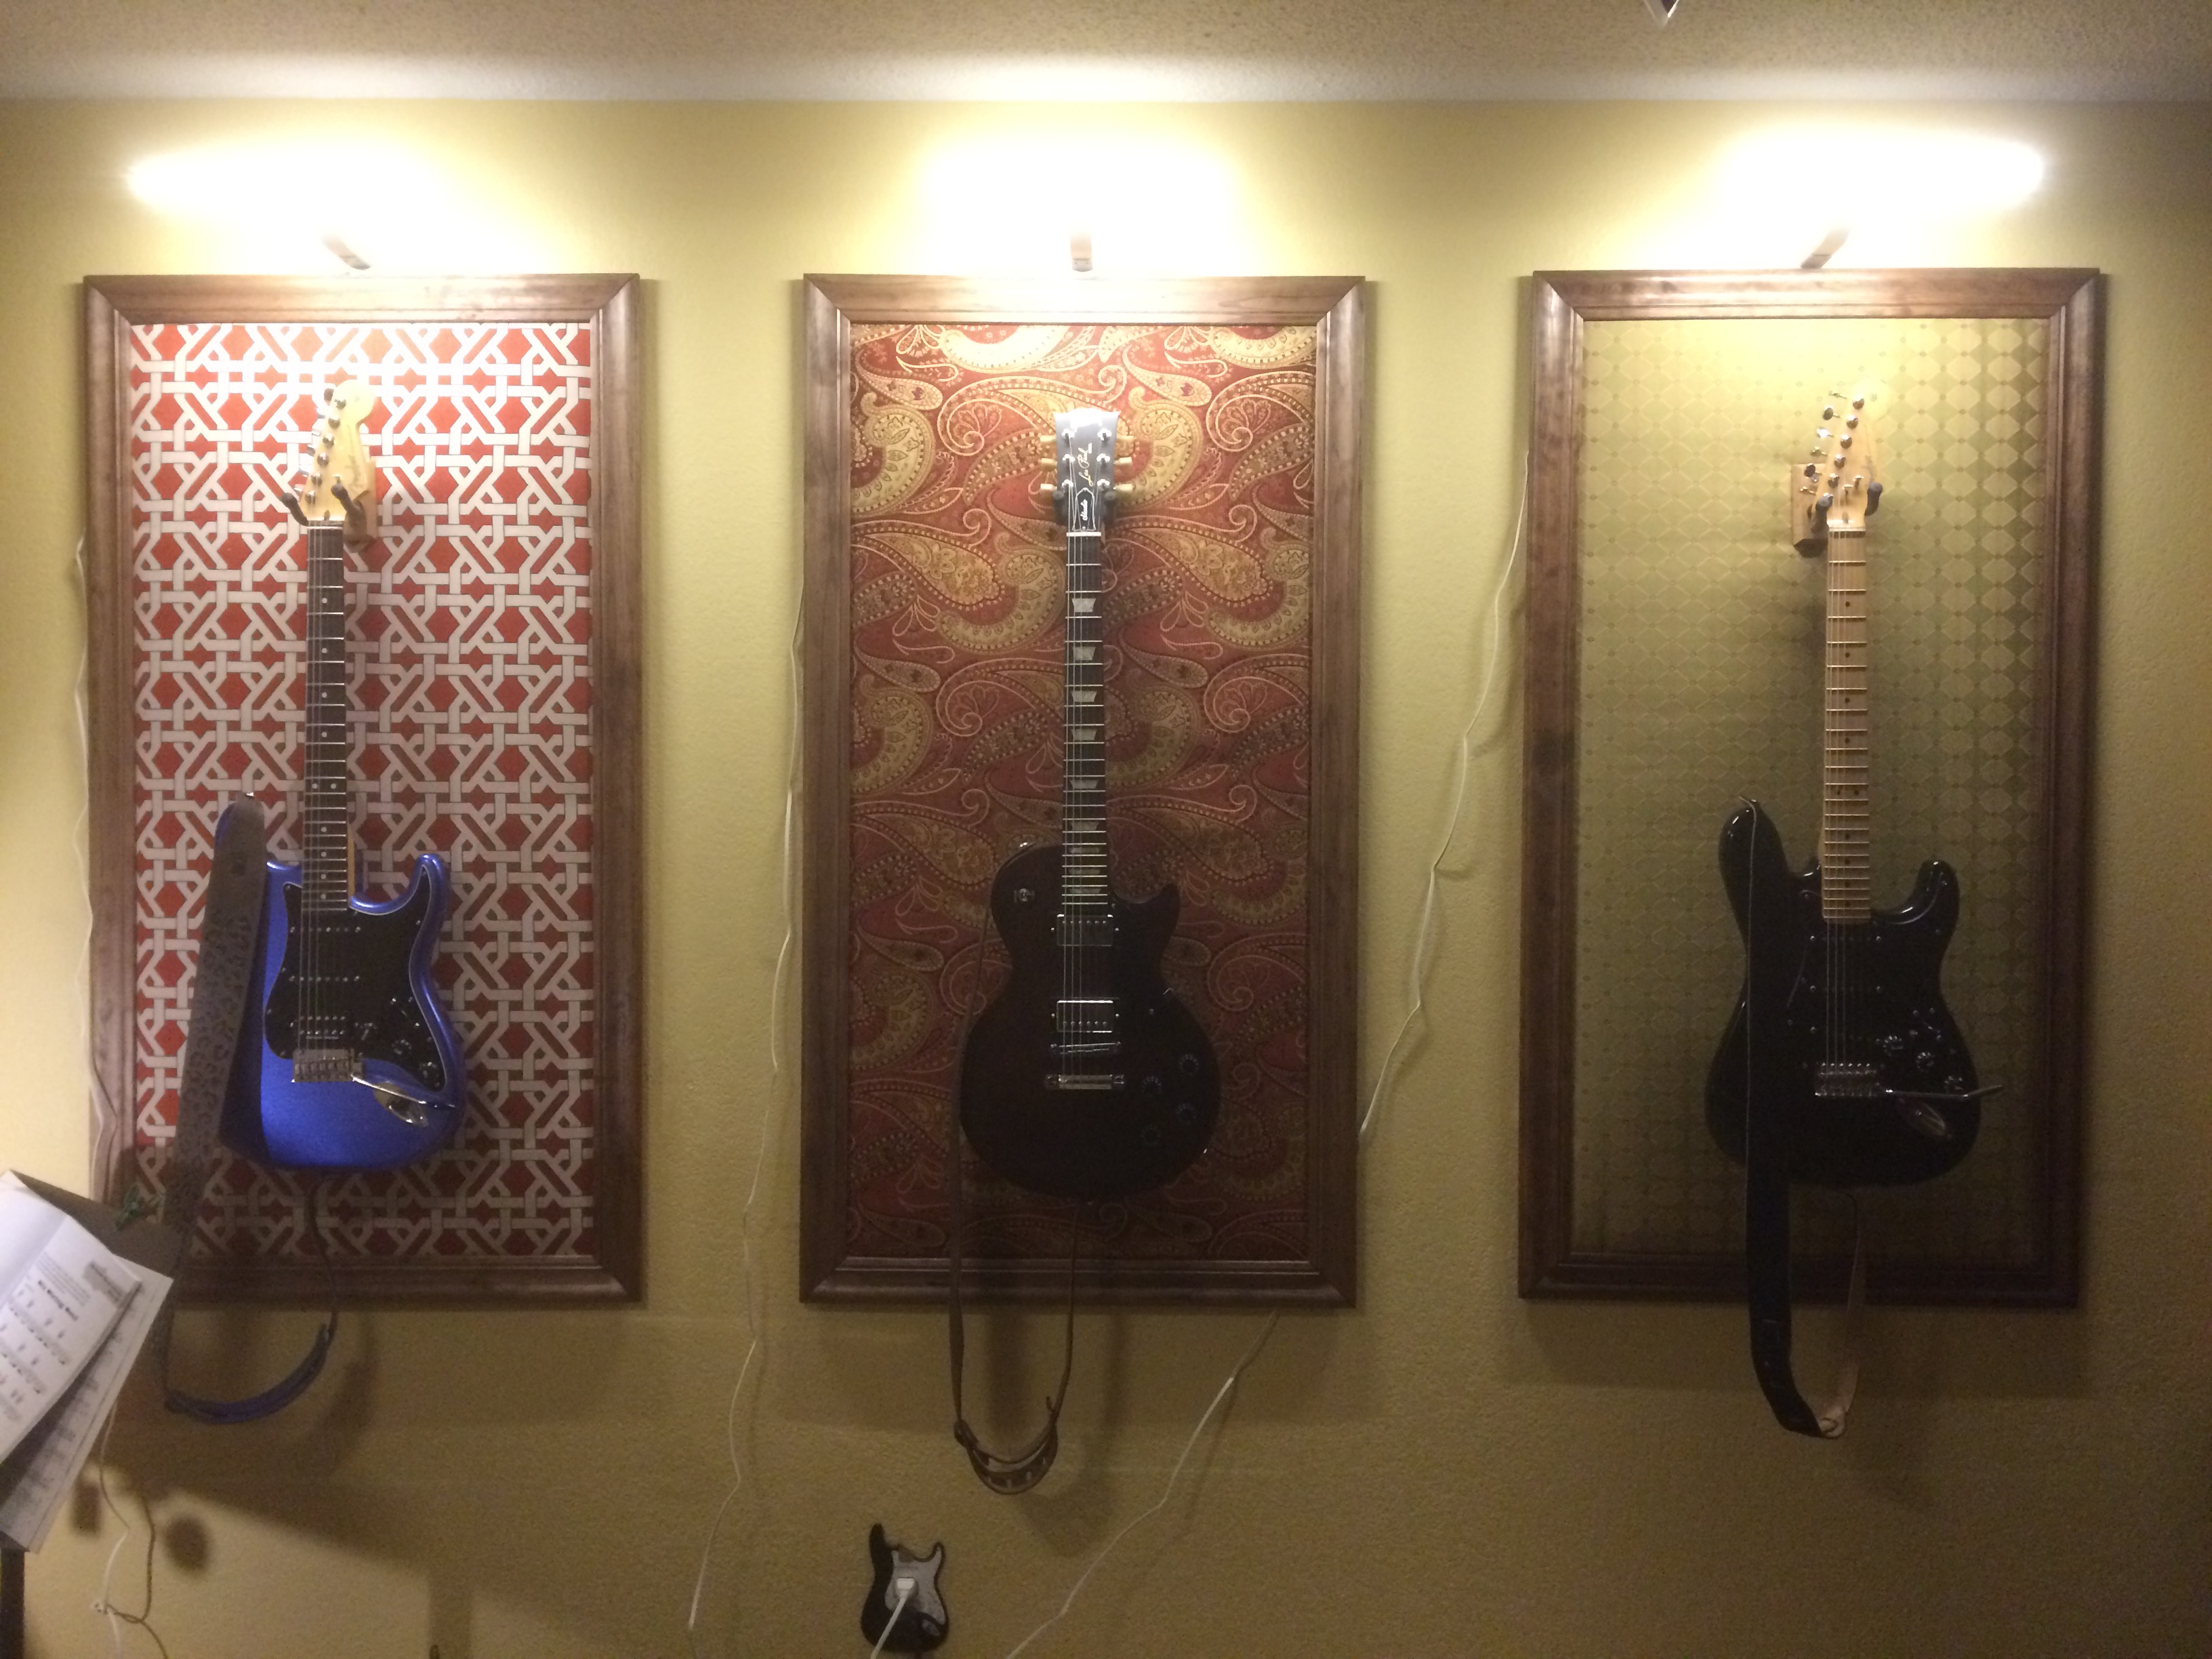
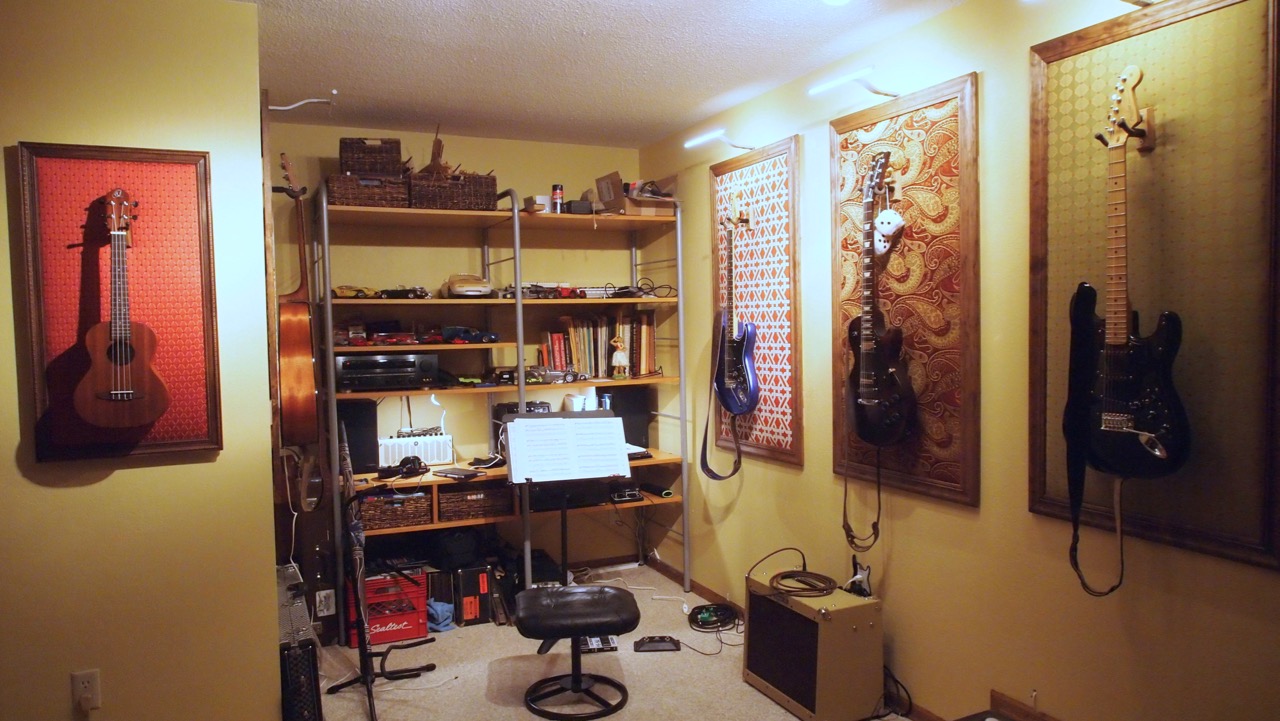
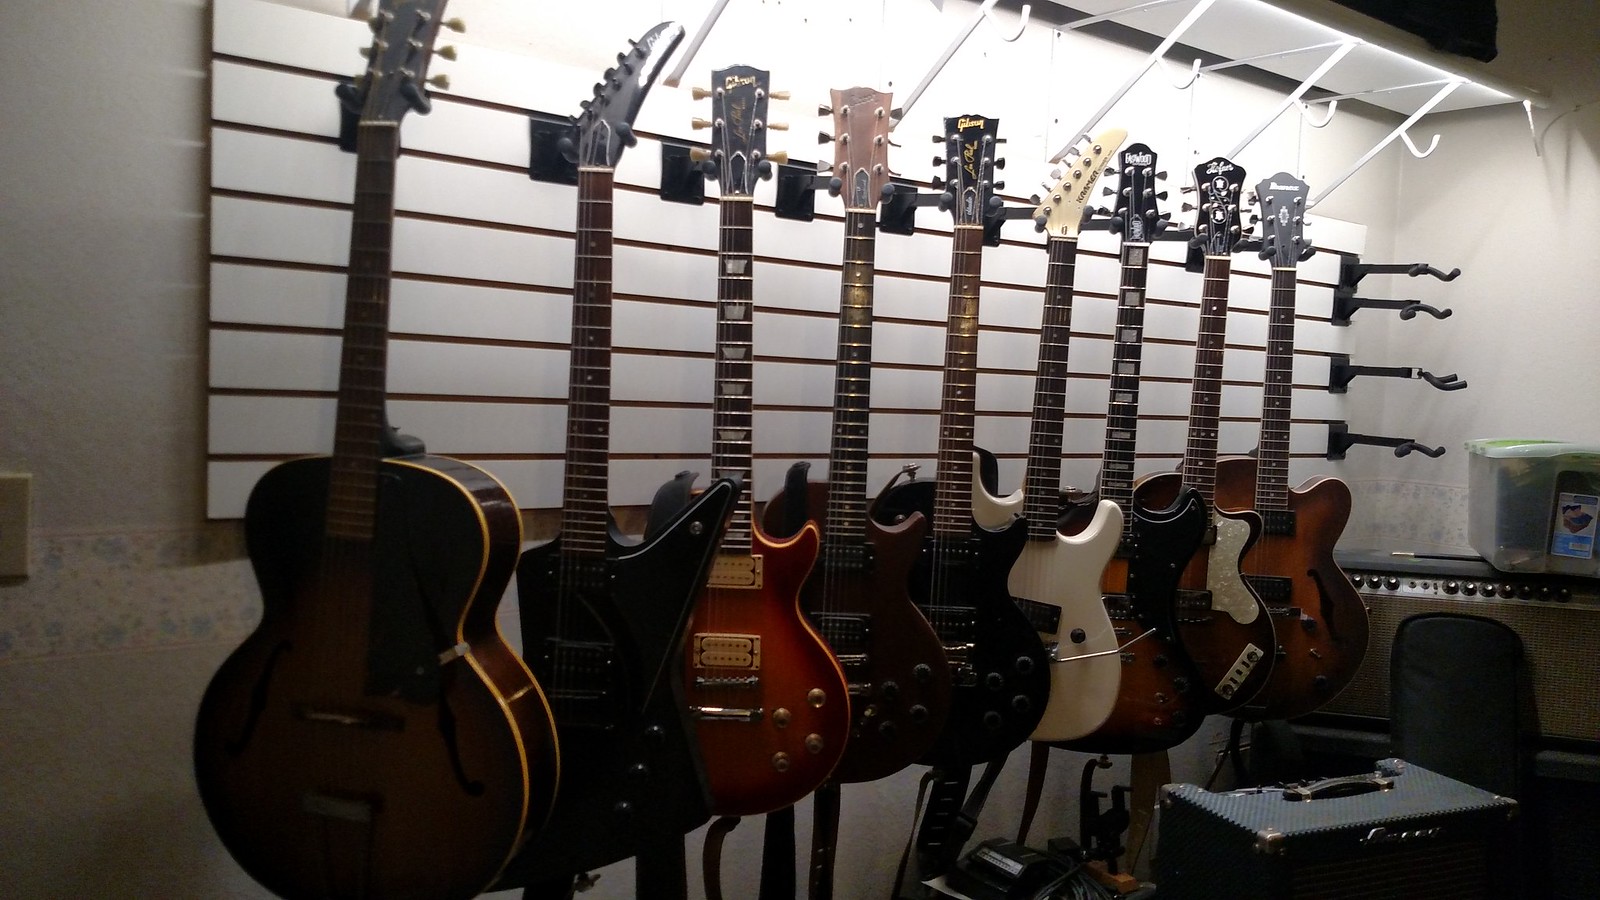
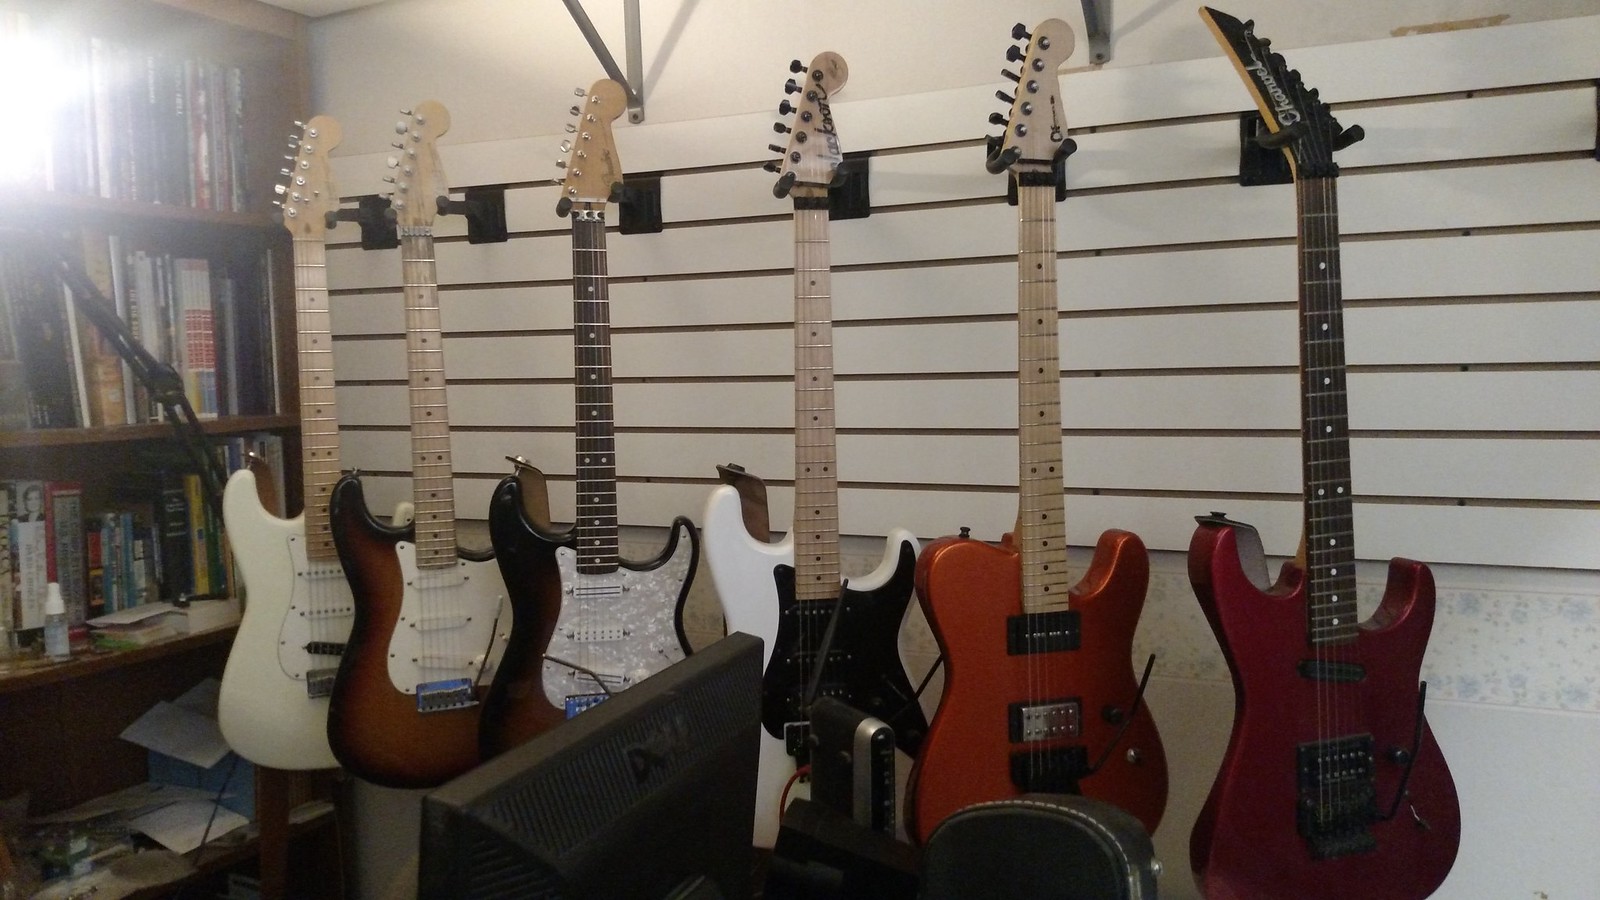
So I've been hanging my guitars on the wall because they're pretty and it's cool. But it was just a bit blah.

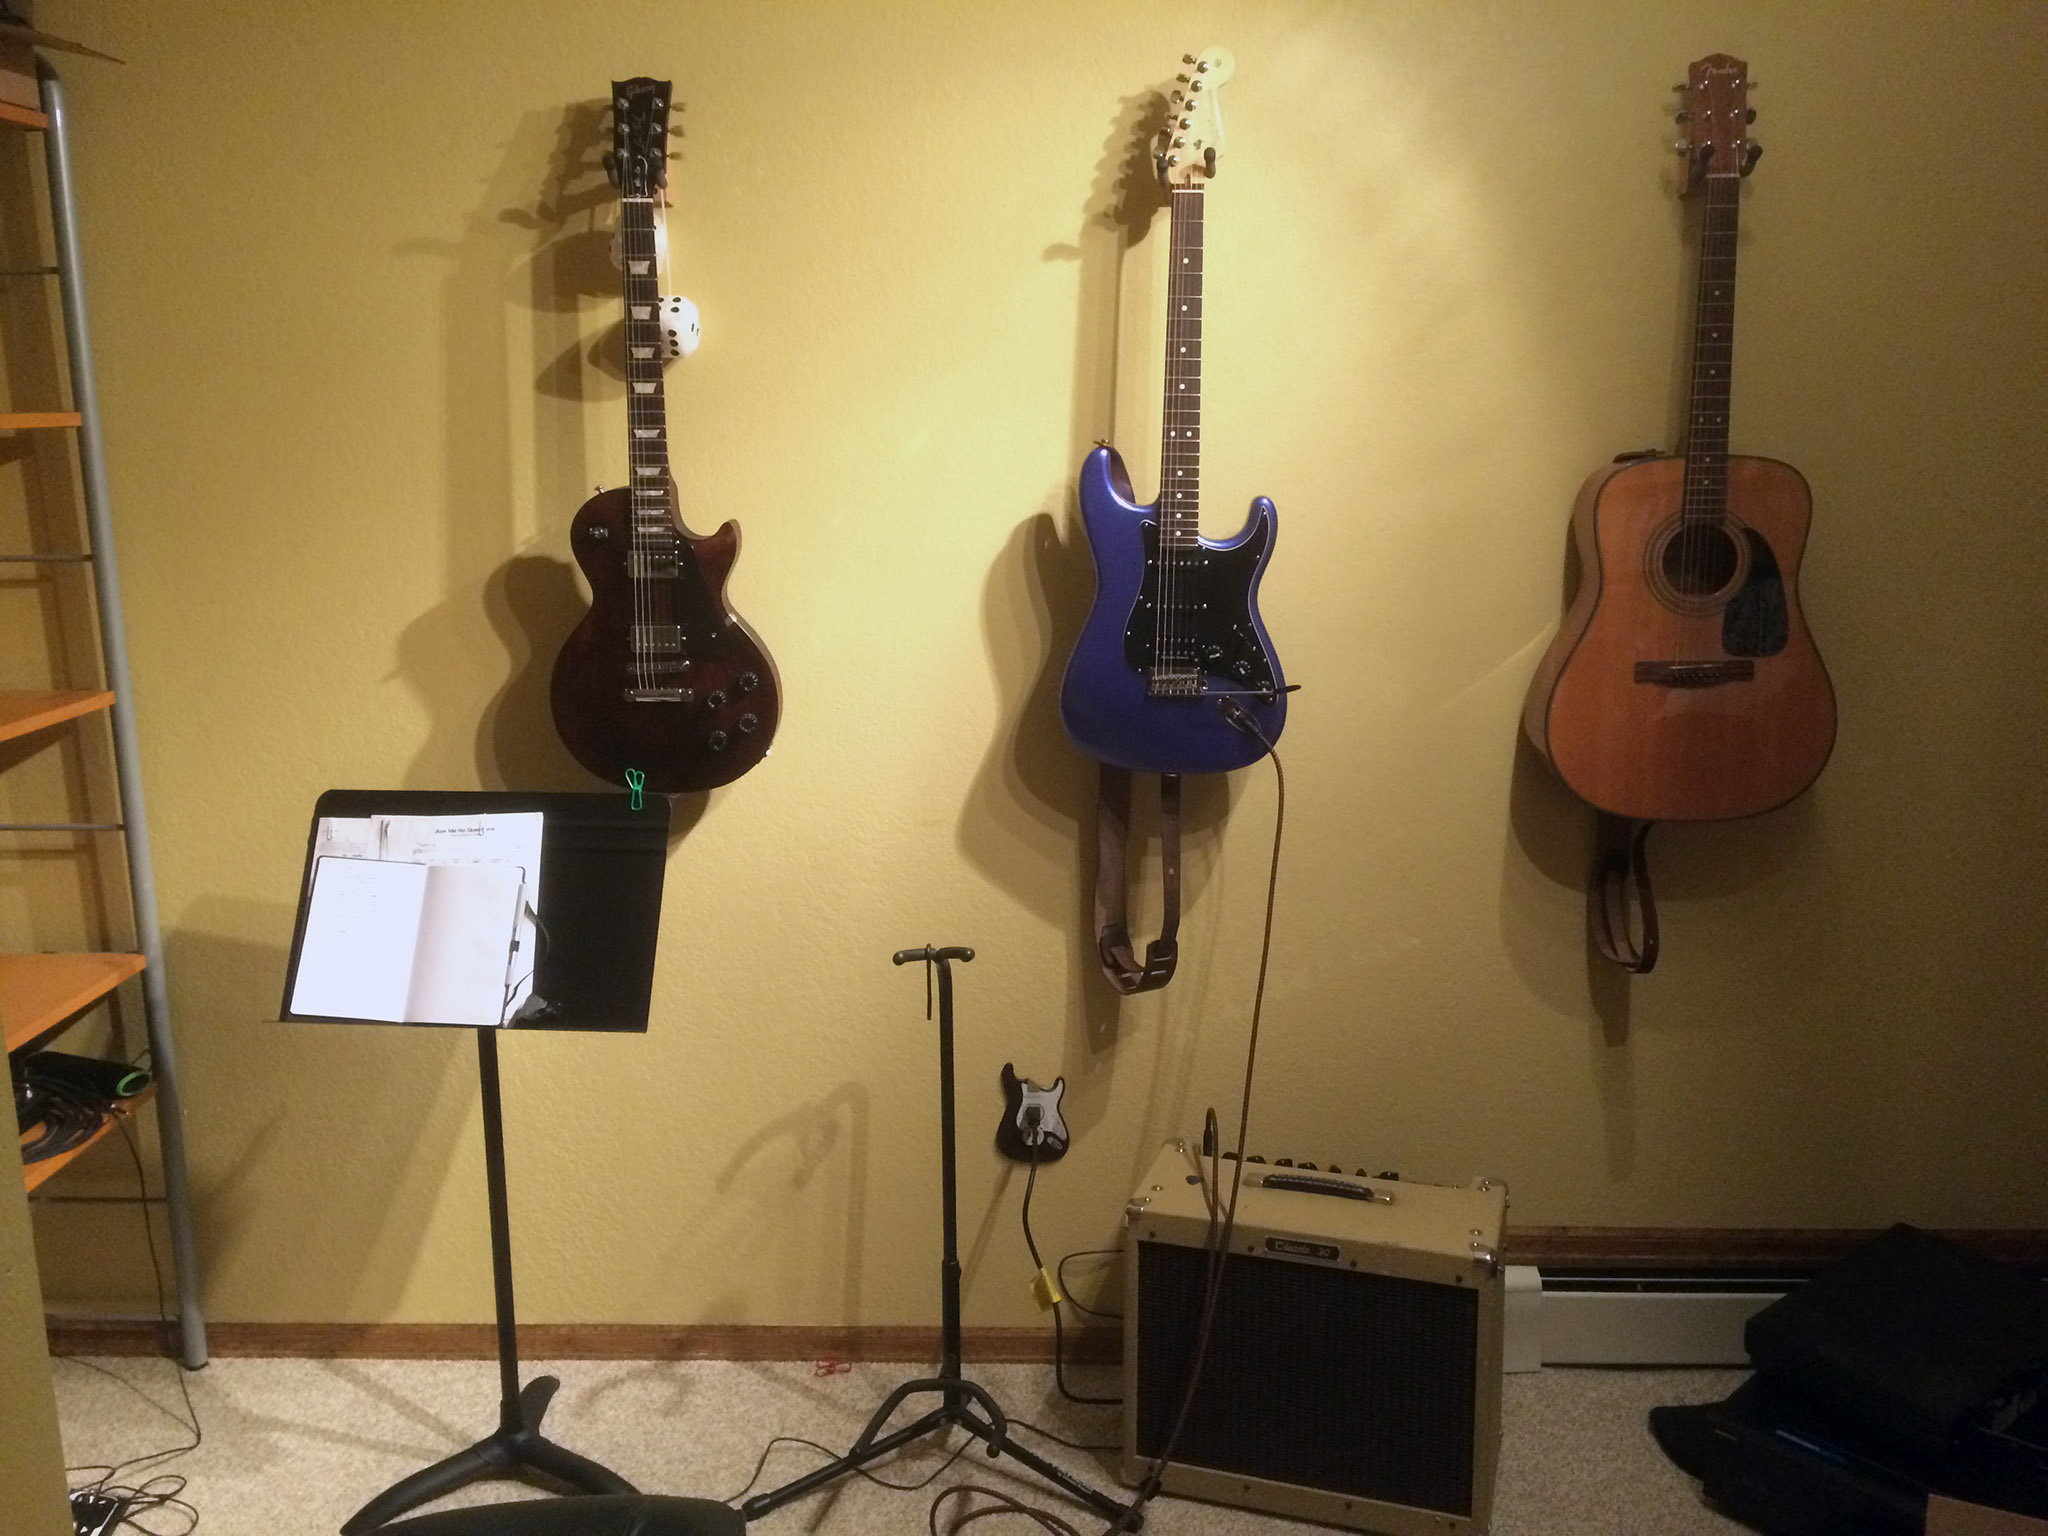
I've seen some guitar frames online and at a local music store. I decided to make some of my own.

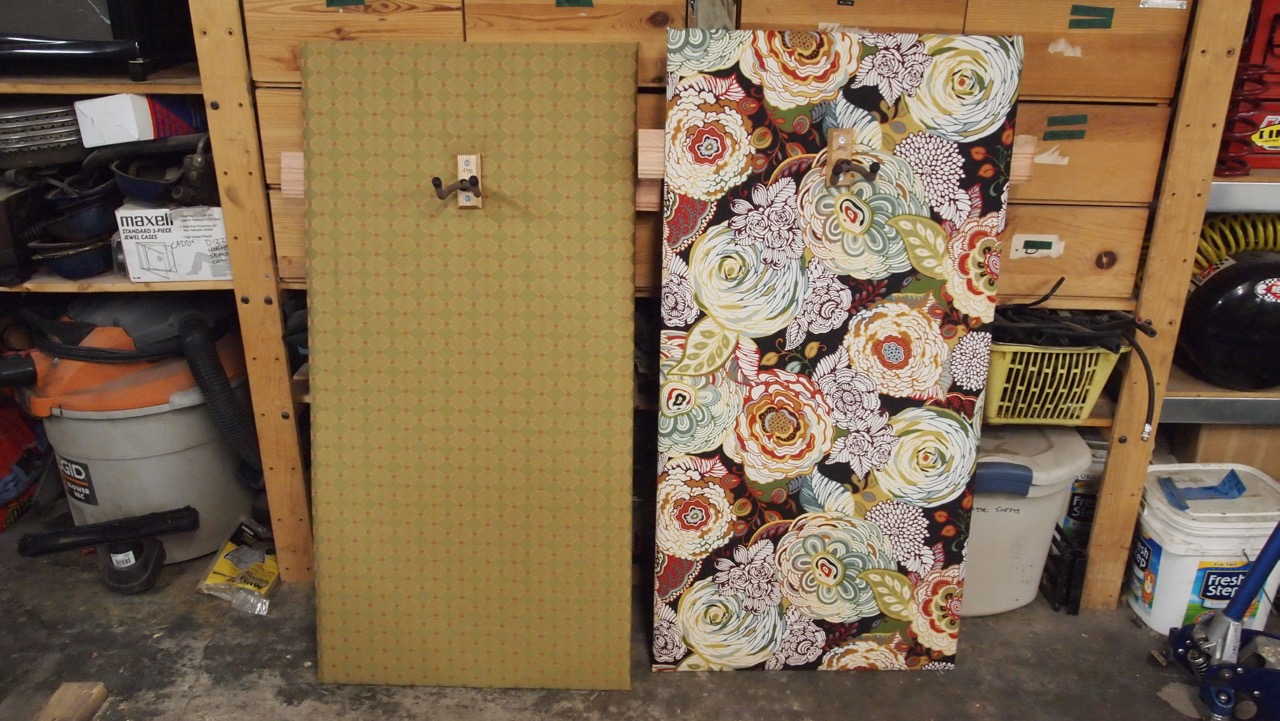
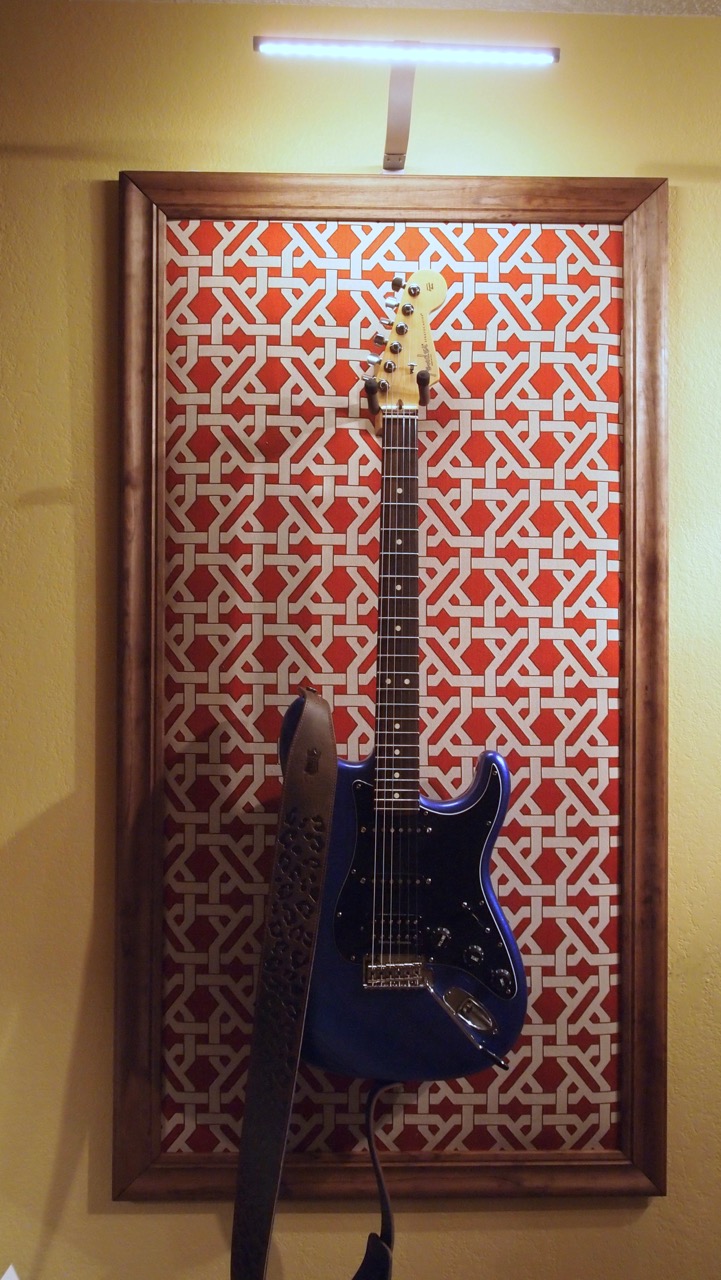
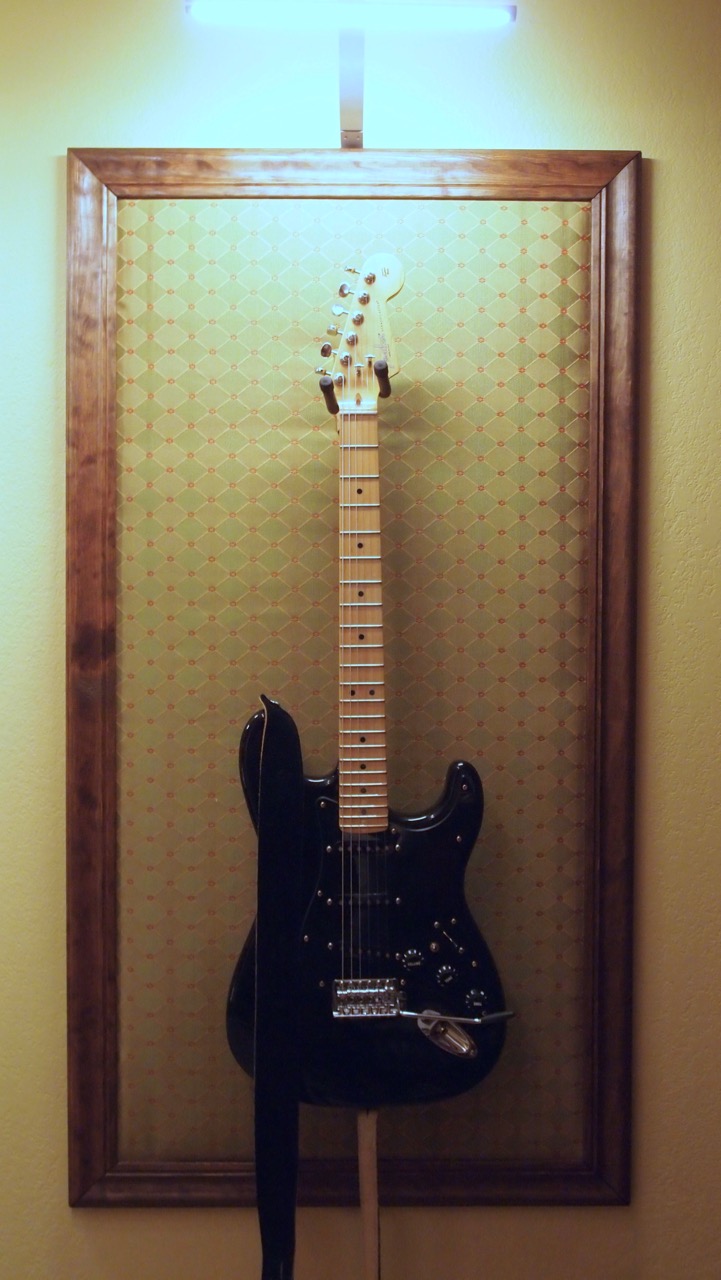
For the backing, I chose fabric. I'd originally planned on some sort of painted background, but my wife Janel suggested the fabric and, well, she was right. Choosing the fabric was fun. We ended up with both duck (I don't know what that is) and upholstery fabric. If you get a normal fabric that's sold in 42"(ish) width, you'll need a yard and a half. If you get upholstery fabric, it's sold in 54" widths so you only need a yard.

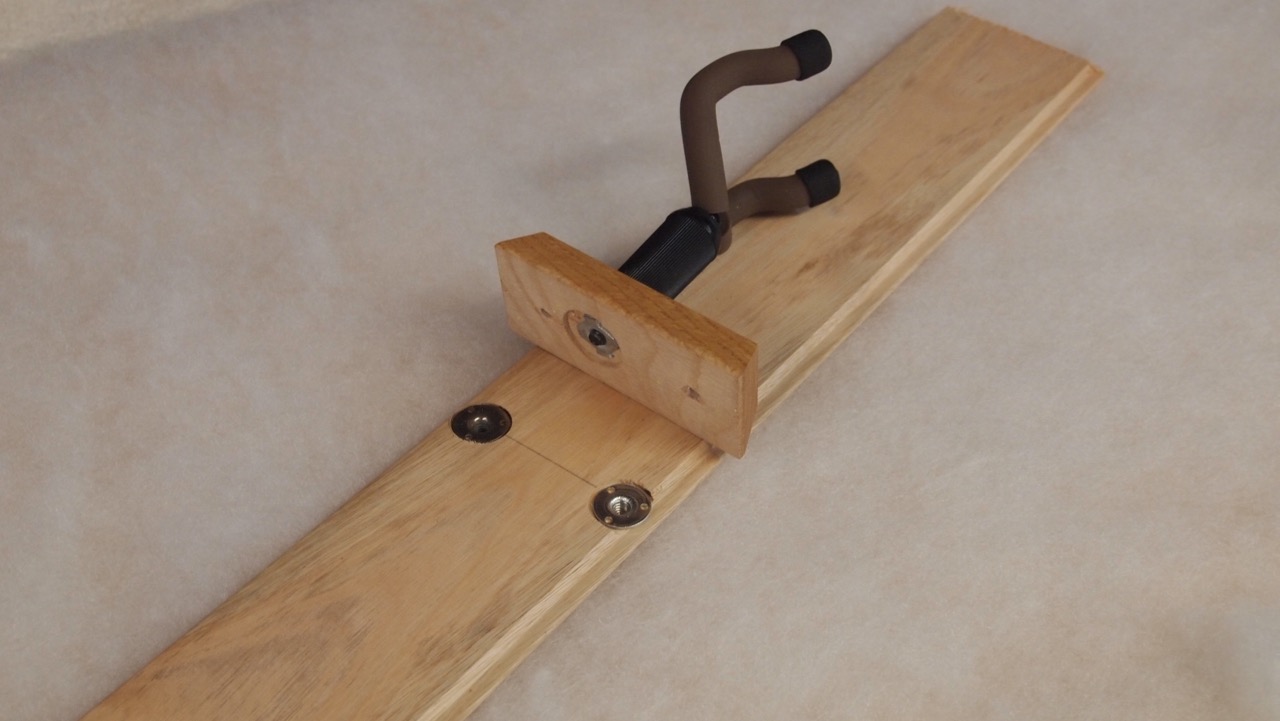
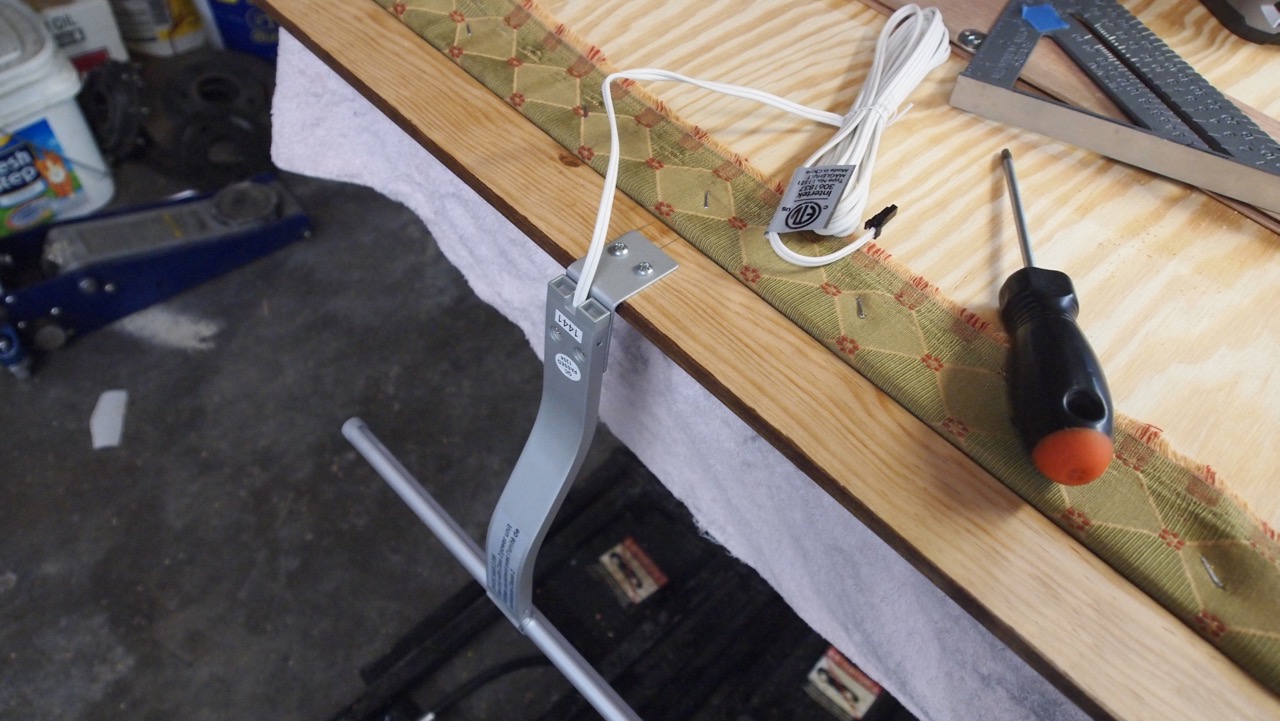
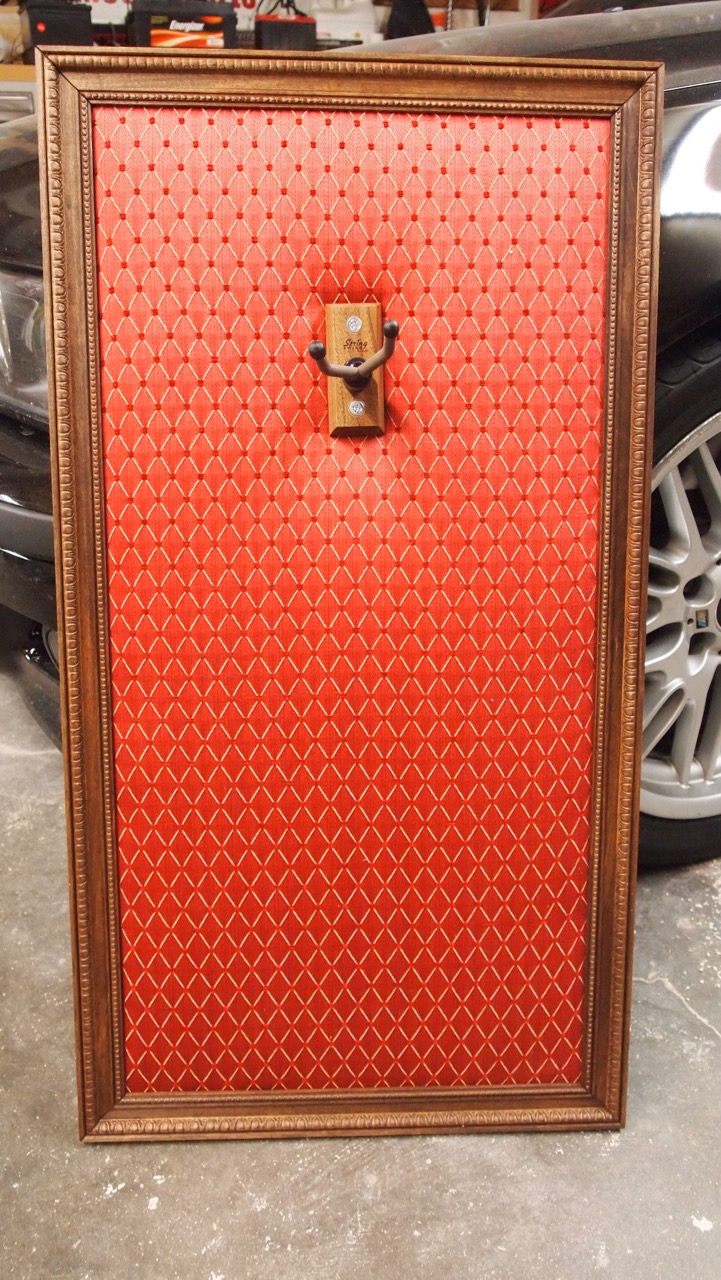
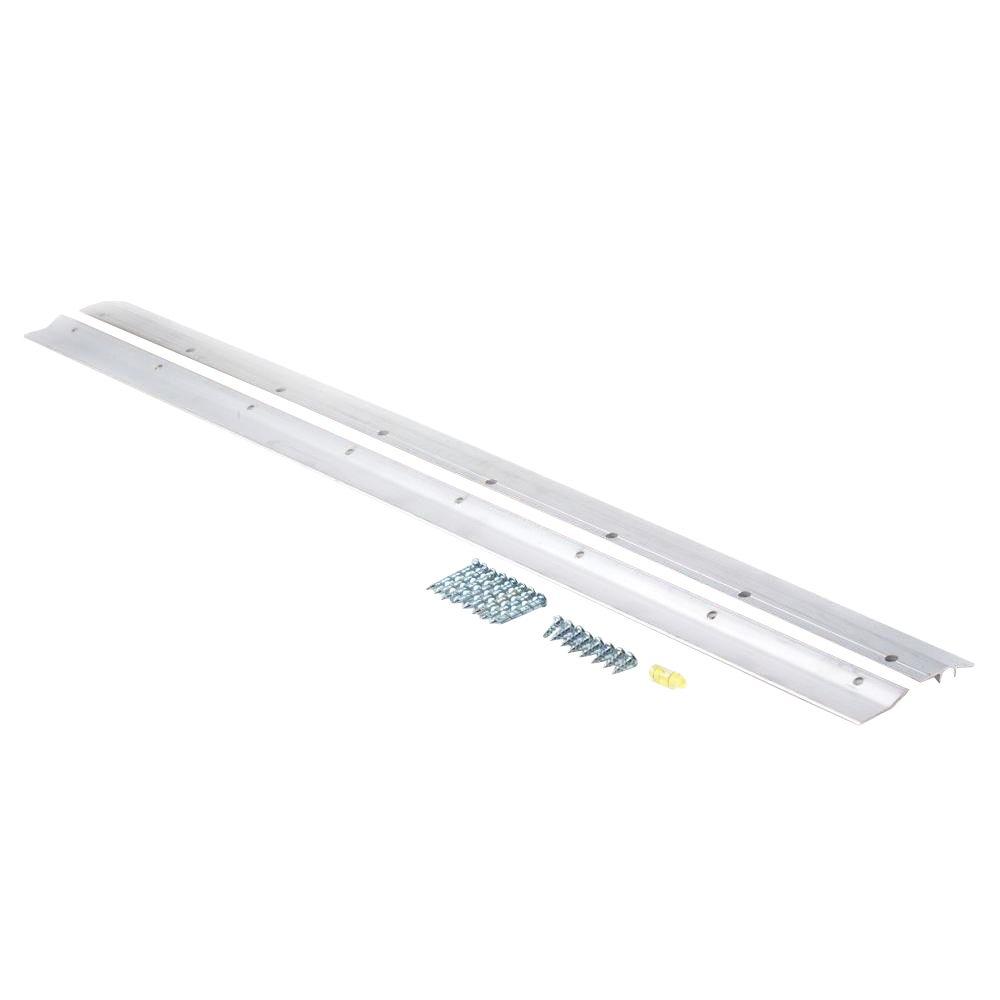
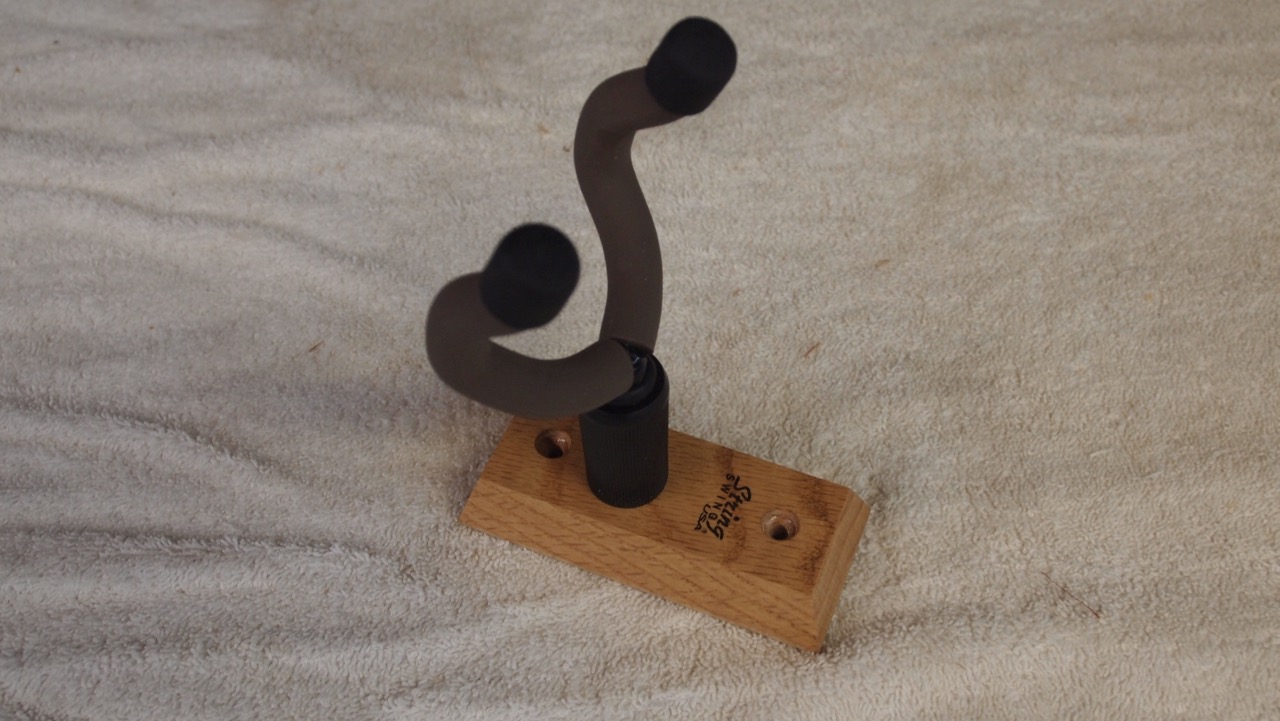
First, we start with a guitar hanger. Really, the only thing you buy here is the hook. The wooden base would be simple to replicate. But you get it all, and I'll use it all.

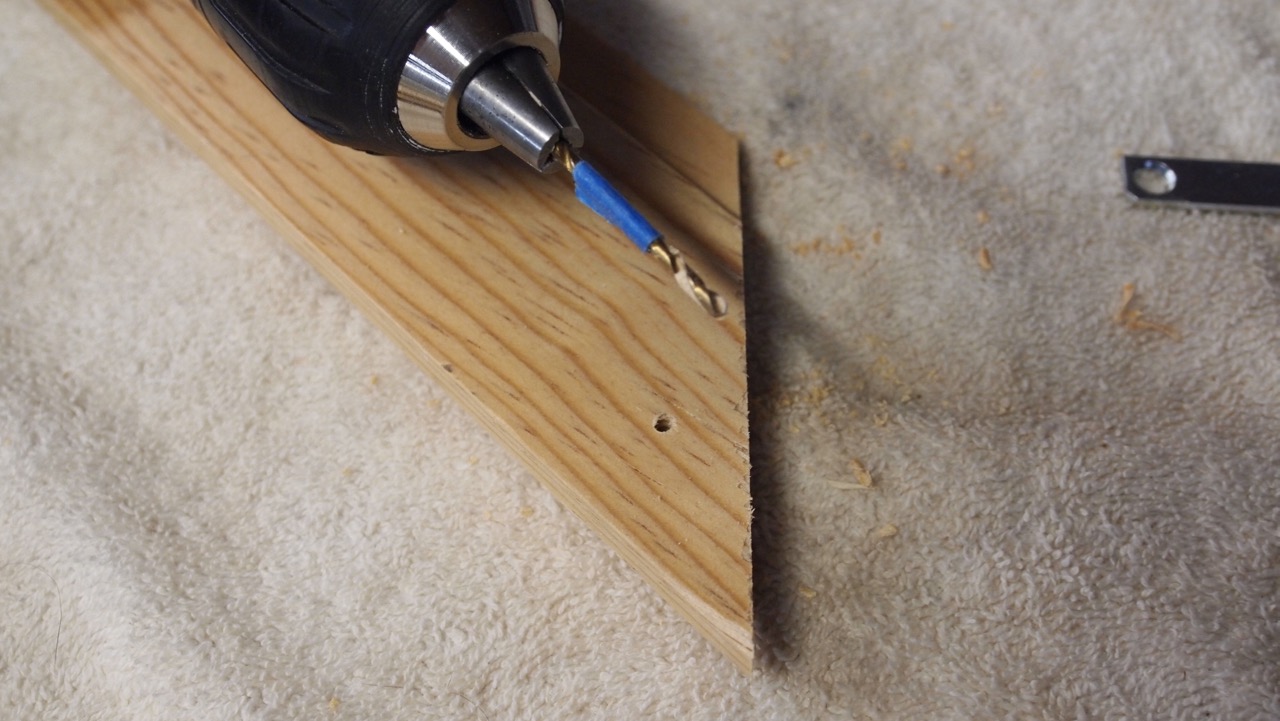
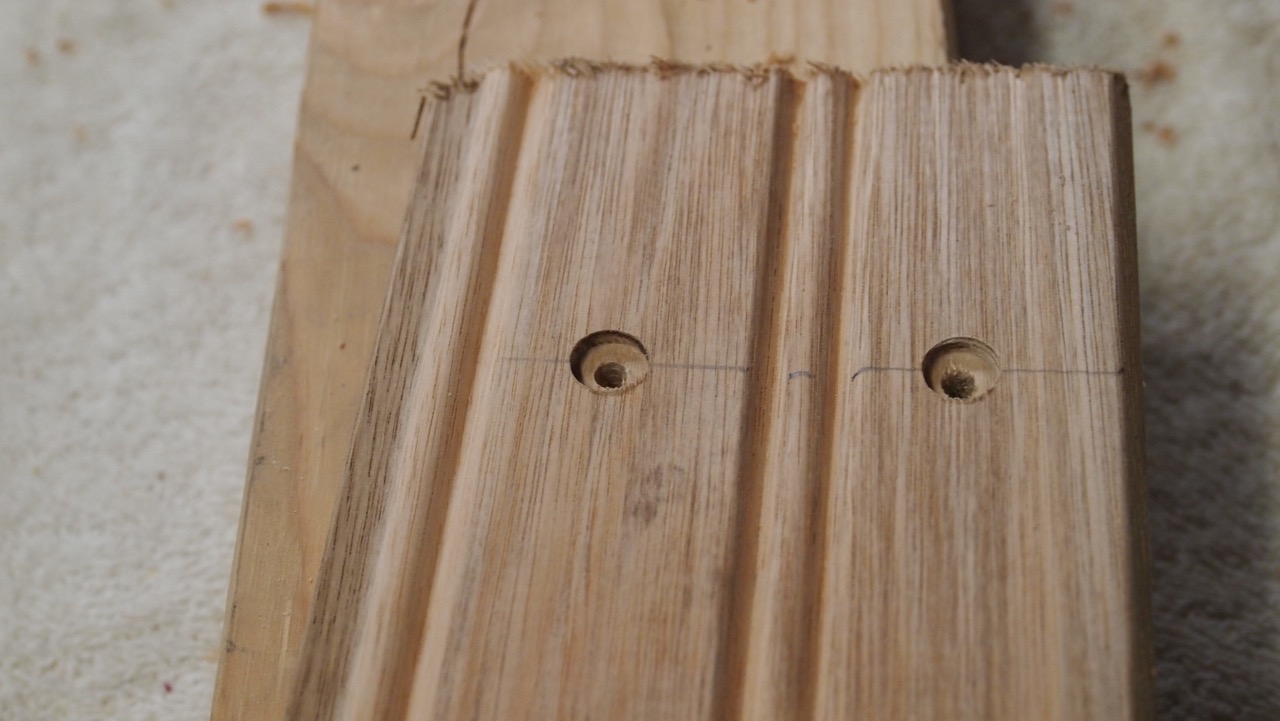
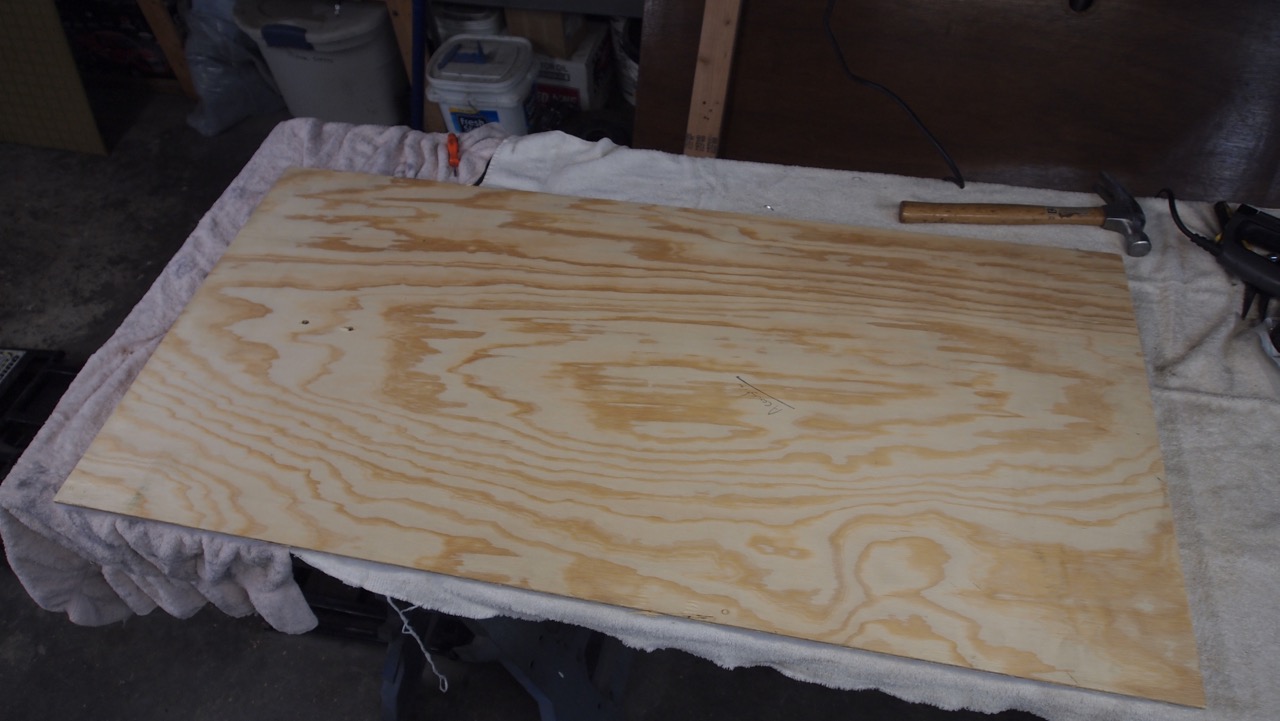
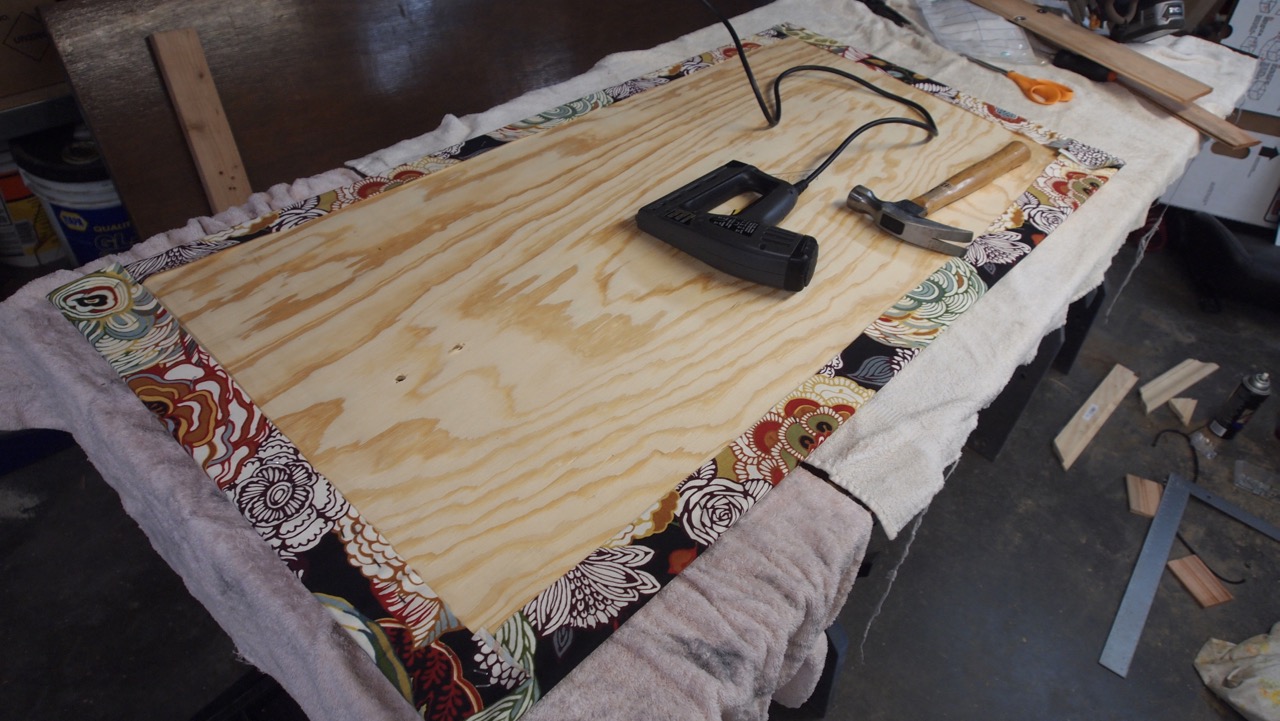
I figured 2x4 would be a good size. I used both 1/4" MDF and 1/4" plywood. Doesn't really matter as long as it's flat. Step one, locate the hanger and drill a couple of holes. This varies by guitar, the acoustic wanted the hanger in a very different place than the electrics. Please note that the hammer was not involved in the hole-making process.

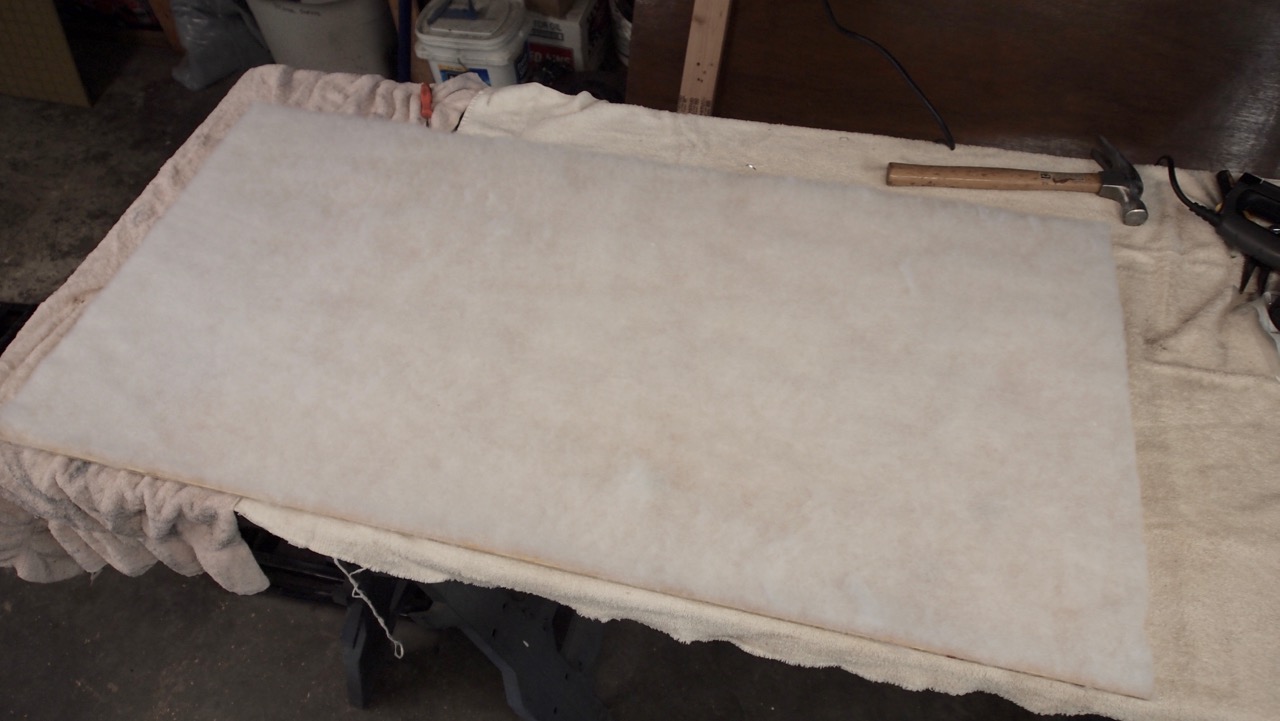
Hose it down with 3M 77 adhesive and glue on some batting. I used 1/2".

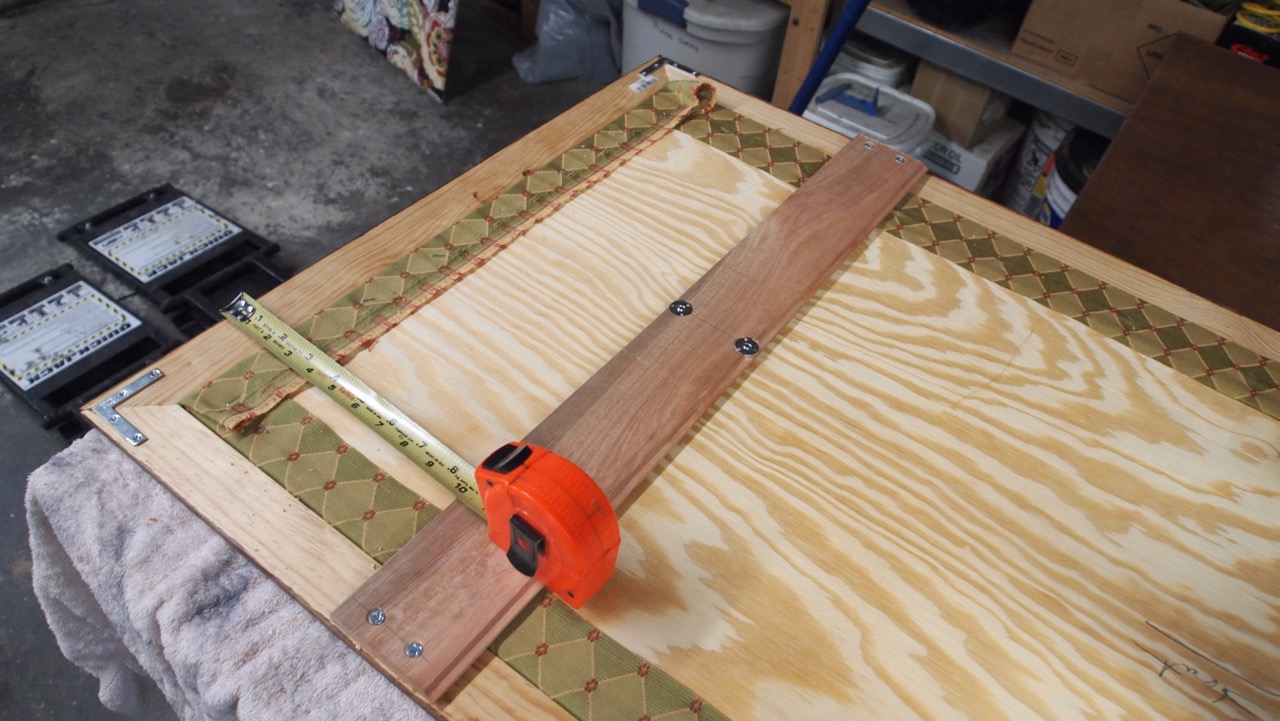
Lay the fabric out face down, and flip the backing board over. Now use a staple gun to attach the fabric to the plywood. This works best with a fair bit of tension on the fabric so it's not all floppy, but that will probably vary depending on the fabric. Make sure it's straight if you have a linear pattern.

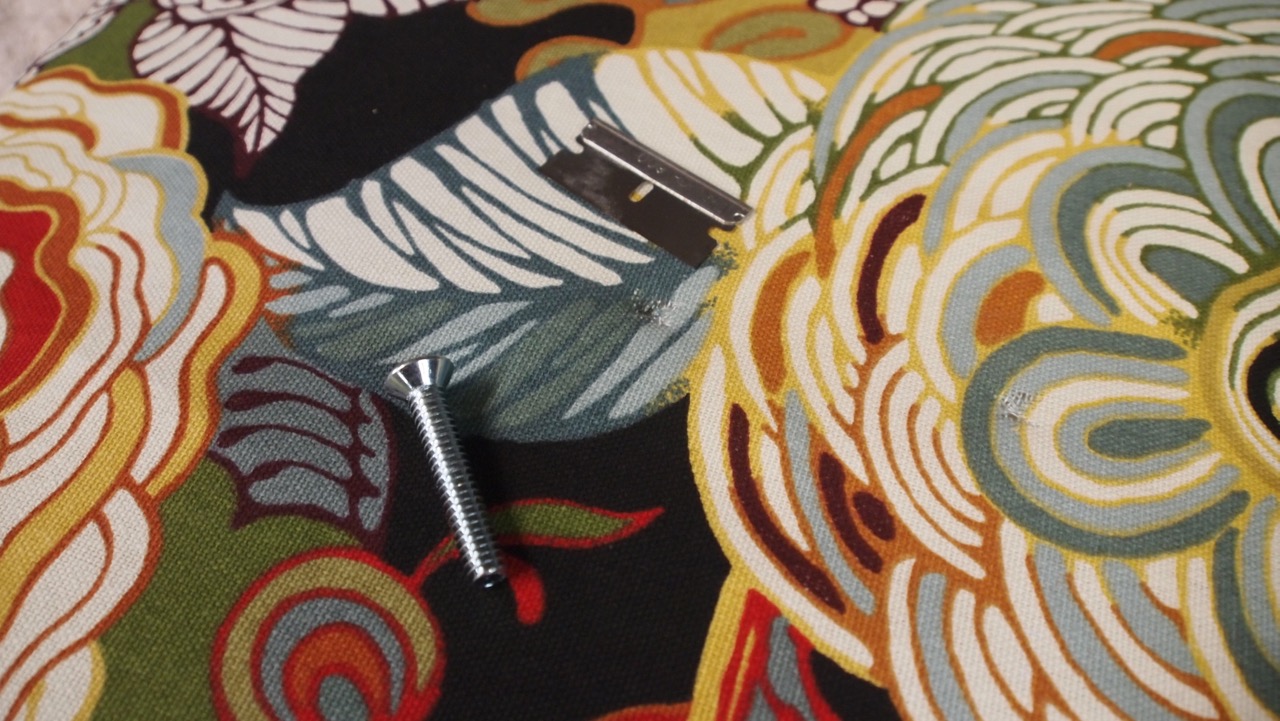
Flip it over and poke a screw through the two holes in the back, then use a razor blade to cut the fabric.

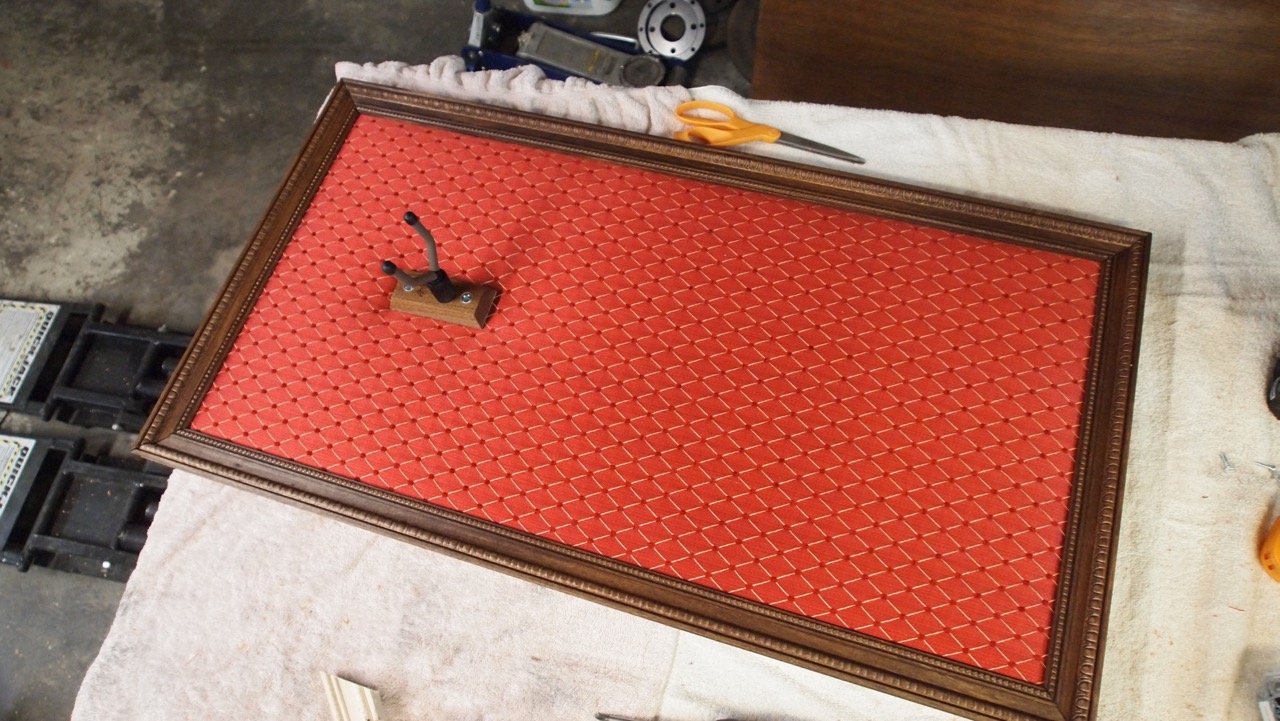
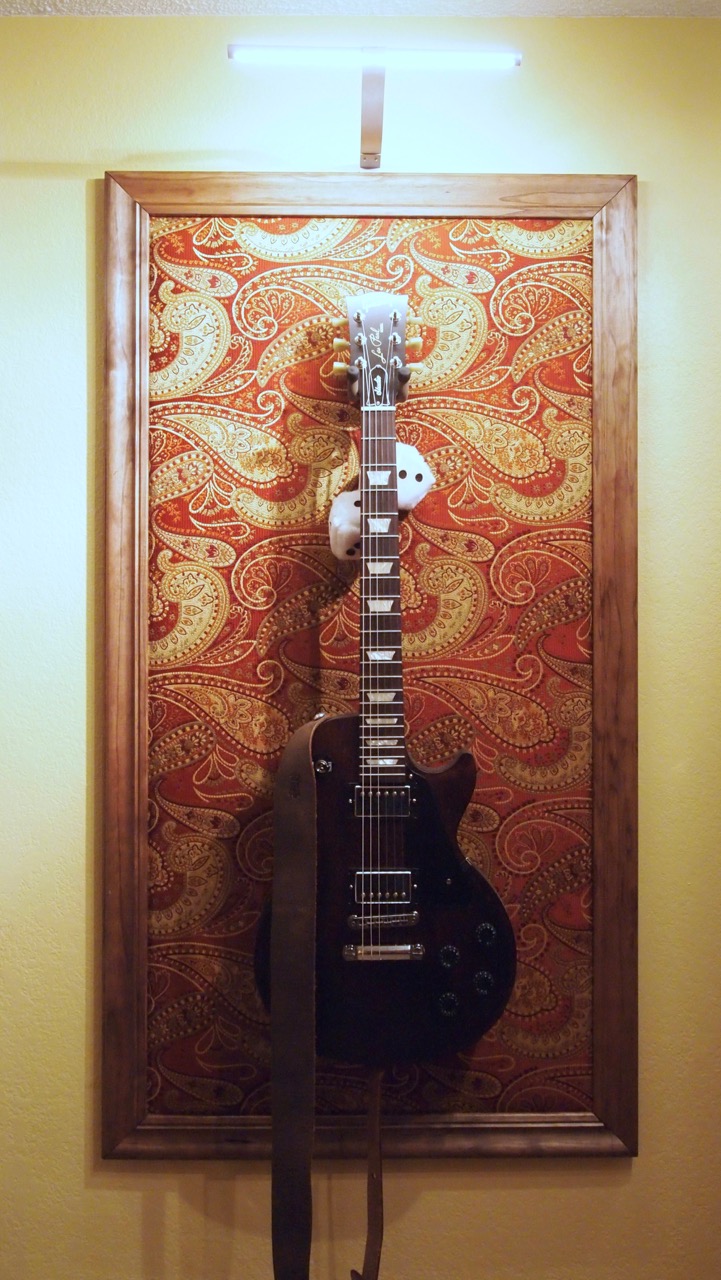
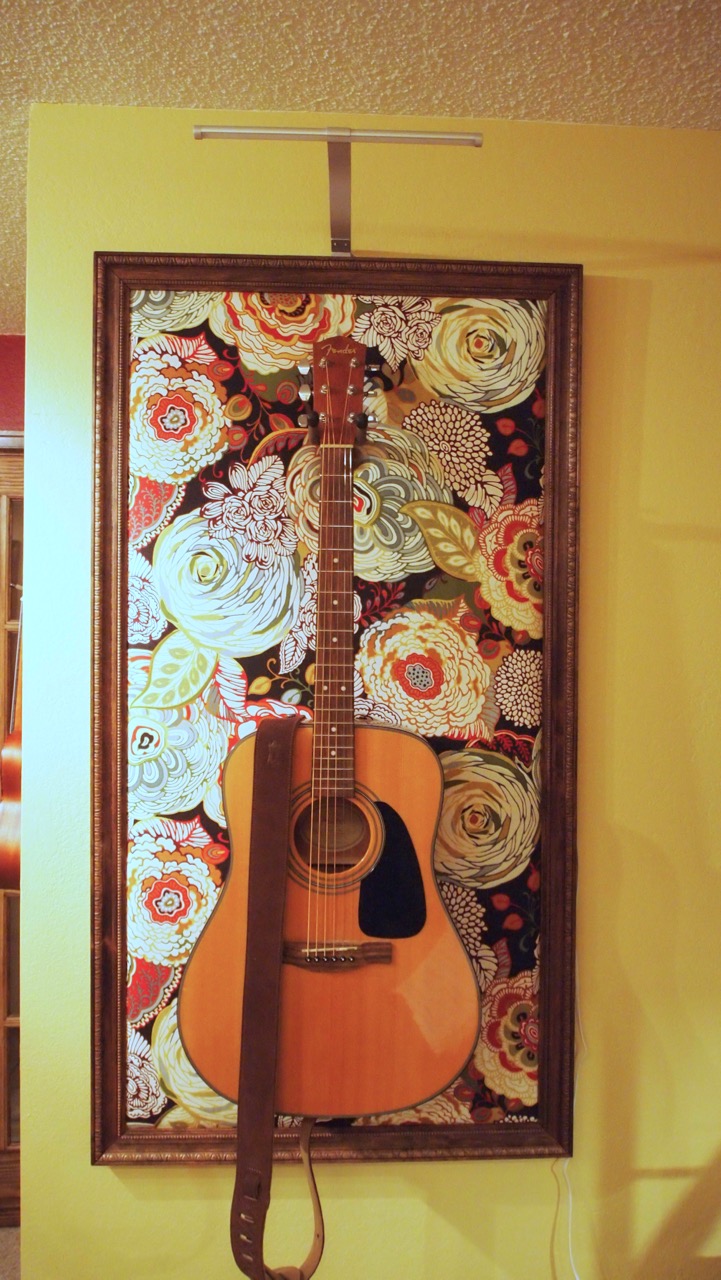
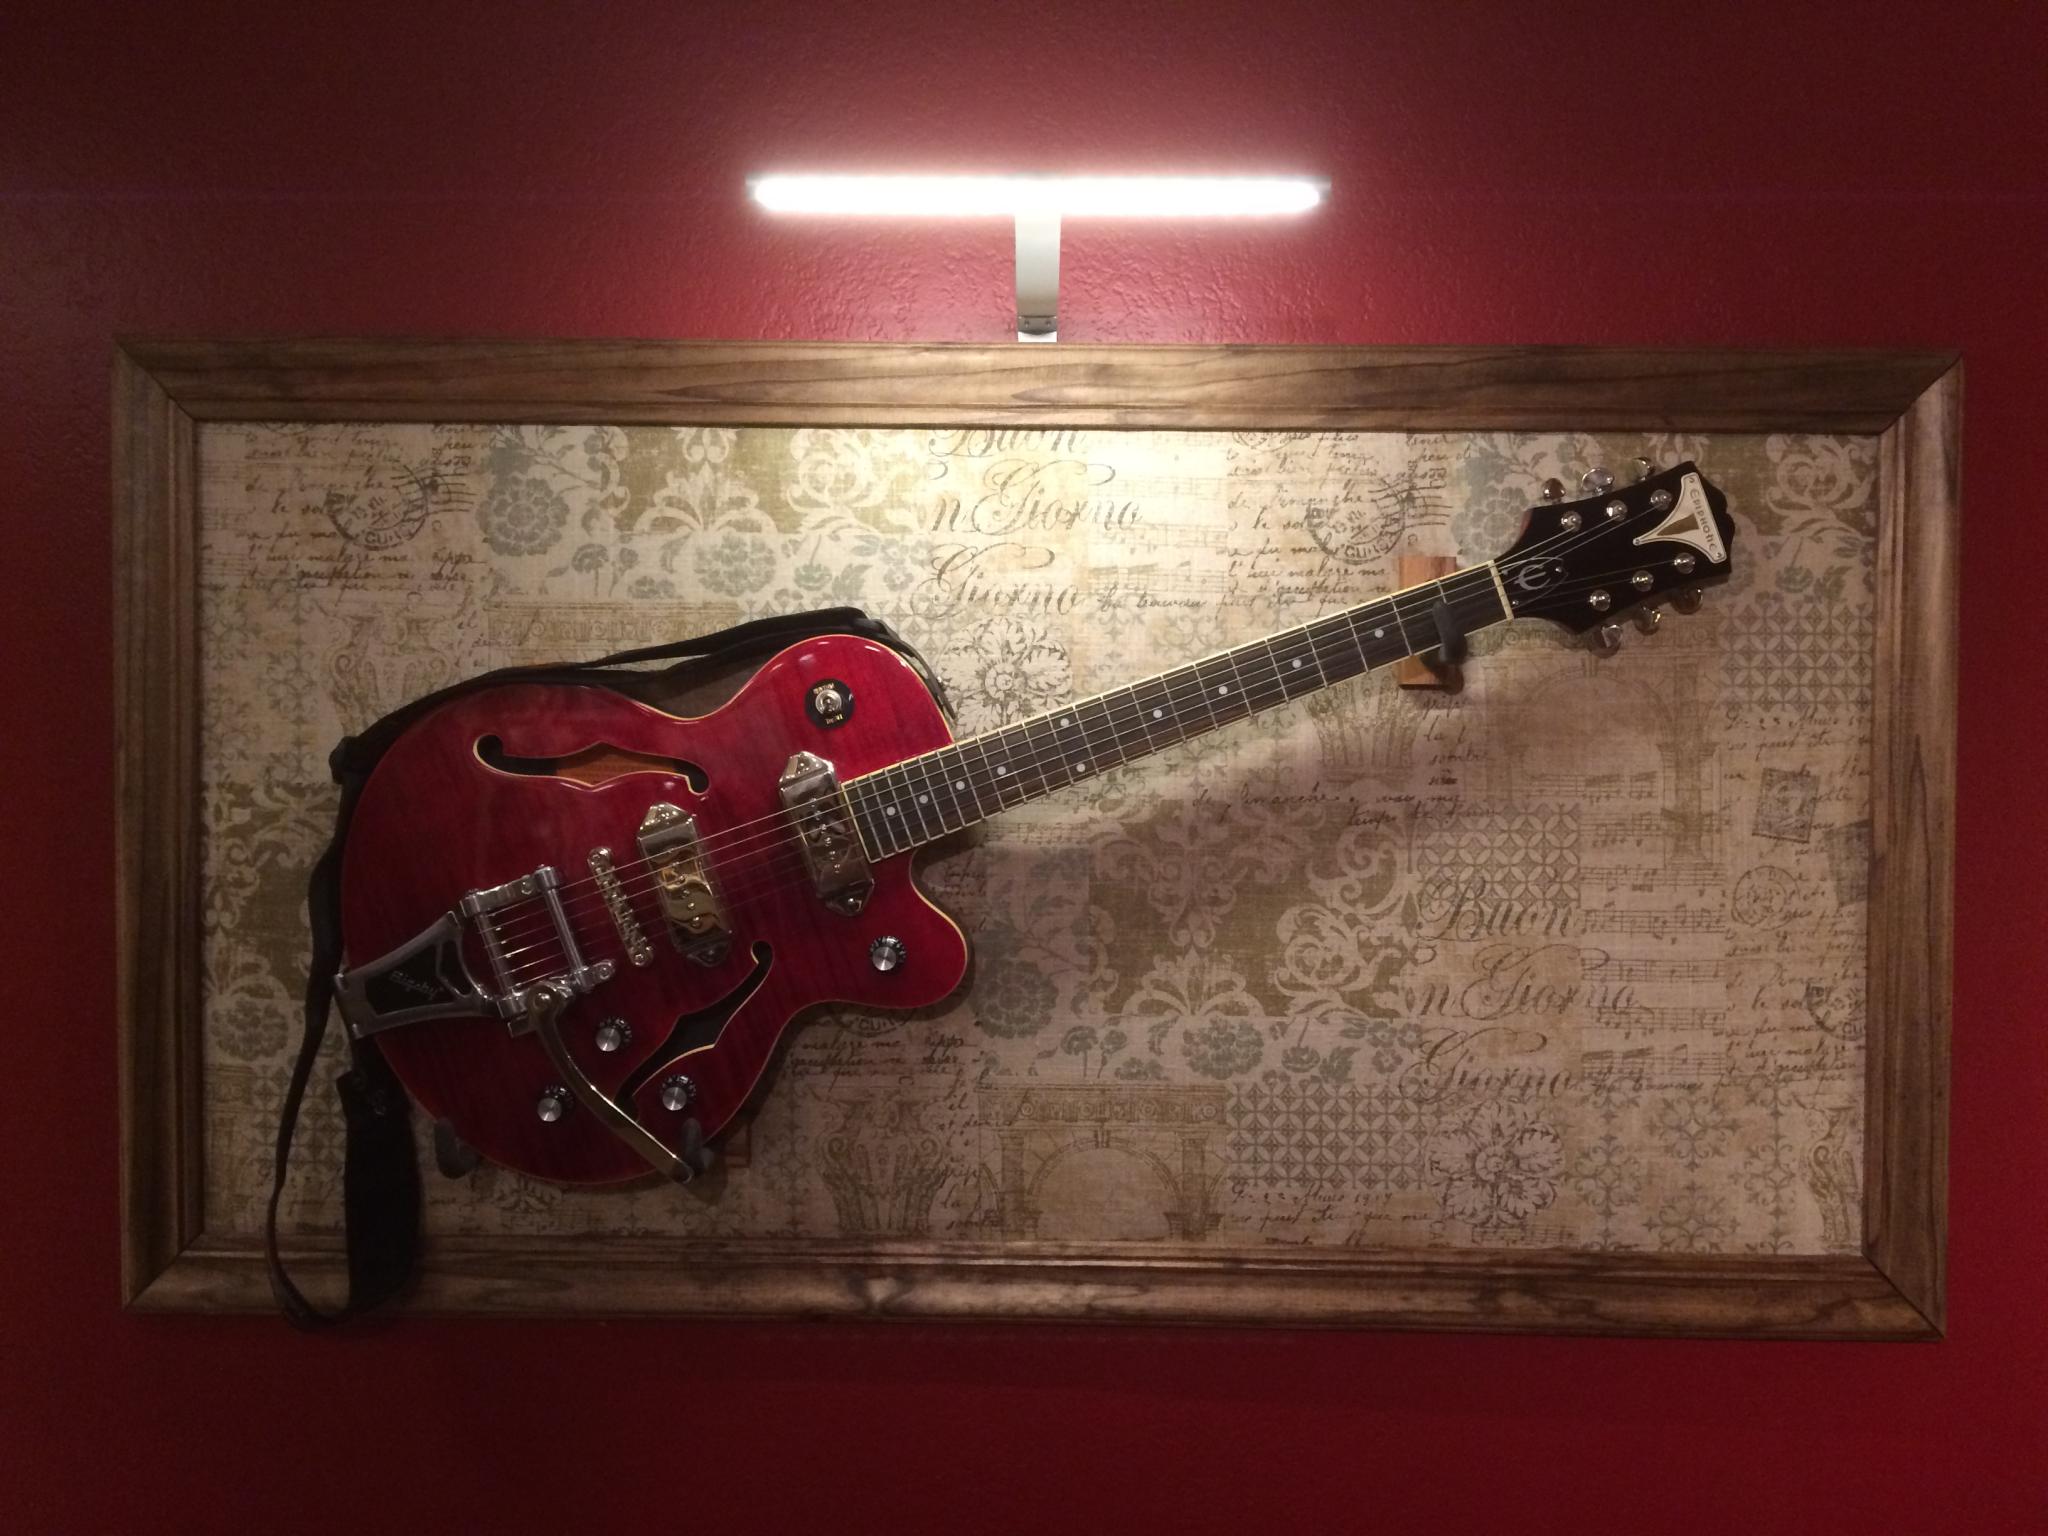
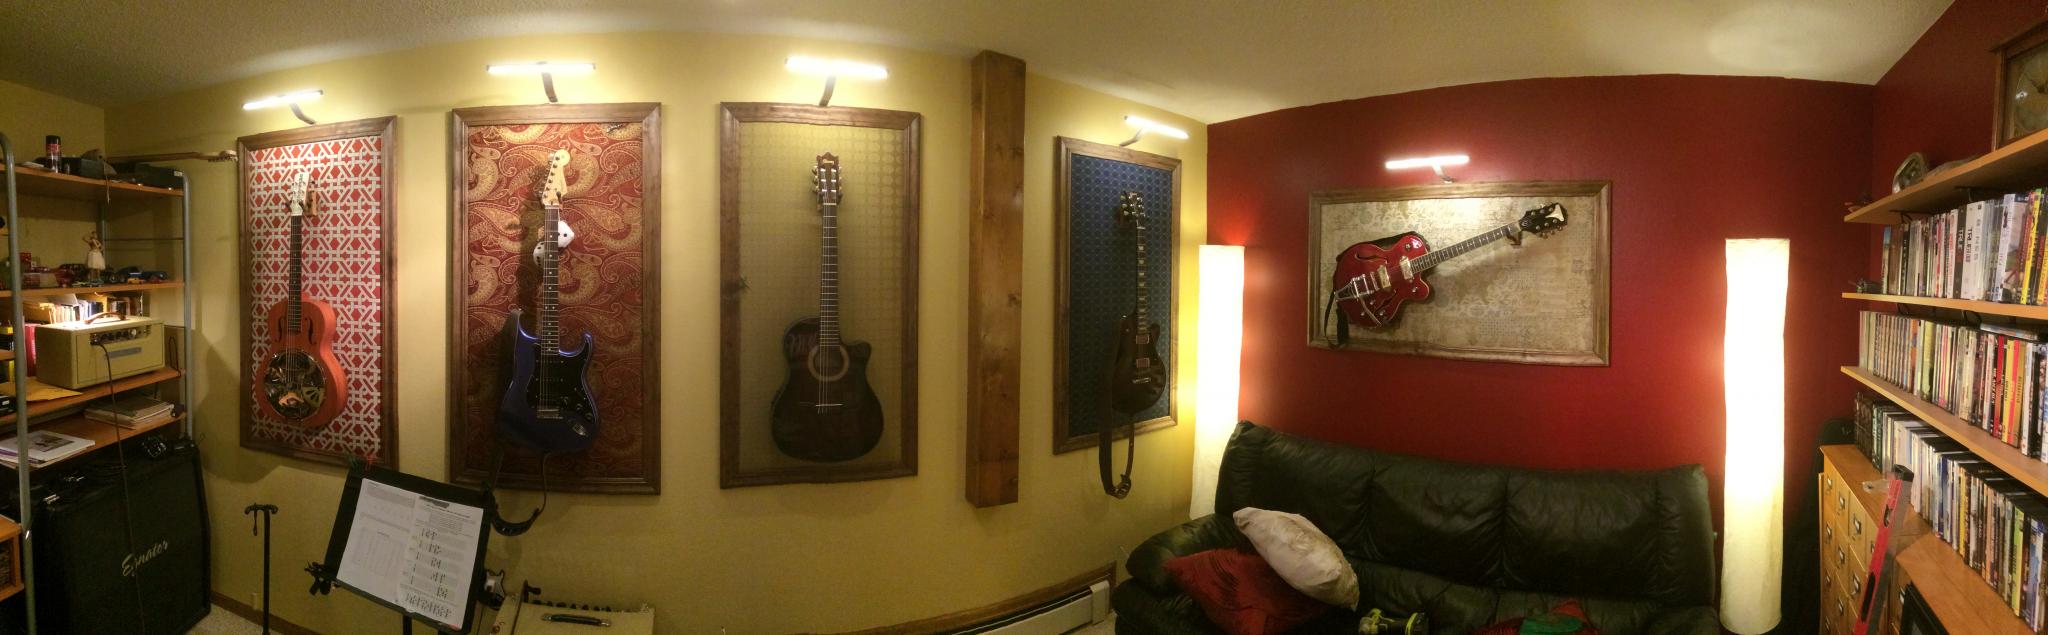
Here are a couple of finished panels with the hooks loosely in place (and not straight).

Keith Tanner
Keith Tanner GRM+ Memberand MegaDork
1/1/17 11:00 p.m.

Time for the frame. Most of these were built with chair rails from the molding section of the big box store. Trying to find straight pieces of lumber was an exercise. The reason I went with the chair rail was because it has a 1/4" step on the backside which lets the panel slip inside. Local hobby/framing stores refused to sell me frame molding, but I didn't try every store.

I also used some generic moulding, that required routing the step on the back. I got the router for Christmas and I now will be cleaning sawdust out of my shop and off my cars until Memorial Day.

I built the first frame using a hand saw and a miter box. Then I remembered my father in law has a miter saw. Much more pleasant.

To hold the frame together, I used some simple right angle brackets and a lot of care to keep it square. There is undoubtedly some woodworky way to make this better, but it worked. I can also disassemble the entire thing easily if needed.

Pilot holes for everything to prevent cracking. Wood and I don't get along, it likes to crack on me. This prevented any problems. The blue tape is a depth indicator so I don't drill all the way through.

Time to stain the naked wood. No photos, please.

Keith Tanner
Keith Tanner GRM+ Memberand MegaDork
1/1/17 11:18 p.m.

Now, how to hang it? I want two things: a solid mount for the guitar and a fairly flush mounting with no visible fasteners. I came up with a fairly odd solution.

Wainscoting. This has a tongue in groove design and is fairly thin at 1/4". I figured I'd put a piece on the back of the frame and another on the wall, then snap them together. I chose some eucalyptus wainscoting because it's a much stronger wood than the more common pine. Step 1 was to drill some holes that match the holes in the guitar hanger. Screws go into T nuts, and I countersunk the T nuts so they didn't protrude out the back of the wood. This face will be flush against the wall. This way, the hook is mounted directly to the mounting system.

The piece of wainscoting that gets bolted to the wall also got countersunk fasteners. Eucalyptus is really hard stuff.

Now, I laid the frame down and put the backing panel in place. Run screws through the hook, through the backing panel and into the piece of wainscoting. Lots of measuring to make sure it's level. Then more pilot holes, more countersinking and I screwed the wainscoting to the frame. Now everything is locked together.

I added a second strap on the back a little further down that attached to both the panel and the frame to tie them together. In case you haven't figured the mounting system out yet, I then attached two matching pieces of wainscoting to the wall and slipped the tongue of the pieces on the frame into the grooves of the wall piece. Tight fit! It's locked in solid and the frame only sits 1/4" off the wall. It's actually fairly hard to remove. The guitar's cantilevered weight is attached to the piece of wood that's locked into the wall piece, and the rest of the frame and backing panel are also screwed to it.

I also added some LED lights to illuminate the artwork. This was a simple matter of attaching a bracket. These Ikea lights run off a central transformer and can be all triggered together via a remote control.

Finished! This is the ukulele frame, it's only 16x32 instead of 24x48. You can see how important getting the pattern straight is, this was the last one I did and by far the straightest. The paisley and crazy flowers were a lot easier.

Keith Tanner
Keith Tanner GRM+ Memberand MegaDork
1/1/17 11:30 p.m.

And voila! The wires for the lights were run through the wall once I had everything sorted out.

Don't mind the funky color, I didn't get the white balance right. The combination of halogens, cool LEDs and a tan wall is a weird one.

Ian F
Ian F MegaDork
1/2/17 3:23 a.m.

Cool. My display is a bit more "retail" in appearance.

The "Gibson wall":

IMG_20161226_185658120

The "Fender wall":

IMG_20161226_184715198

Plus two more electrics and two acoustics I haven't hung up yet... and a couple of more "project guitars" that I still need to assemble. Yeah... I need to sell a few.

jakebrewer
jakebrewer New Reader
1/2/17 5:34 a.m.

Those look awesome!!

Woody
Woody GRM+ Memberand MegaDork
1/2/17 7:16 a.m.

Nice job!

Keith Tanner
Keith Tanner GRM+ Memberand MegaDork
1/2/17 11:28 a.m.
Ian F wrote: Cool. My display is a bit more "retail" in appearance. The "Gibson wall": IMG_20161226_185658120 The "Fender wall": IMG_20161226_184715198 Plus two more electrics and two acoustics I haven't hung up yet... and a couple of more "project guitars" that I still need to assemble. Yeah... I need to sell a few.

With that many guitars, you'd need an awful lot of wall space to hang them all purty like

I'm hoping my setup will hopefully keep the size of the collection under control by providing some constraints. Plus the music studio got a new door with lots of glass in it, so Janel can now see in and I need to keep it pretty to maintain spousal approval!

Ian F
Ian F MegaDork
1/2/17 12:21 p.m.

In reply to Keith Tanner:

The slatwall replaced some nice "Ultimate" hangers that were mounted to studs. They did look nicer, but I only had room for 8. I could squeeze these a bit tighter if needed. Right now, I have my eye on three that need to go: the red/pink Charvel, the white Kramer and a USA Strat not pictured. Unloading those will make wall room for my ESP and two more Fender-ish projects when completed (a Tele and a Dave Murray "Powerslave Tour" Strat copy).

And in moment of weakness over Christmas, I ordered a new Kiesel/Carvin headless guitar. On a more positive note, I got my old Ampeg combo amp back (slightly visible in the top pic) over the holiday, which has been out of commission for years. Next, I have to get rid of the metal "pending eBay stuff" shelves and reorganize the amps so I can actually use them easier.

Keith Tanner
Keith Tanner GRM+ Memberand MegaDork
1/2/17 1:51 p.m.

It's quite possible you have a problem I'm not judging - not on THIS forum full of enablers and being one myself - just making an observation.

84FSP
84FSP Dork
1/2/17 2:36 p.m.

Really creative display idea to show them like the art pieces they are.

SteveDallas
SteveDallas New Reader
1/2/17 4:37 p.m.

Oh. Great. Another project. The fetching Mrs. Dallas saw that over my shoulder. Thanks a lot, Keith.

This is gonna take a while. Looks like those Flyin' Miata orders will have to wait...

HikerDan
HikerDan GRM+ Memberand New Reader
1/2/17 5:42 p.m.

Very cool concept and nicely done! Thanks for sharing this.

mtn
mtn MegaDork
1/2/17 9:20 p.m.

That looks more difficult than it looks. As in, you made it look pretty easy, which is a bad thing.

I'm now searching for some fabric.

Fitzauto
Fitzauto Dork
1/2/17 10:01 p.m.

Those frames are awesome. Mind if I copy them?

Ian F
Ian F MegaDork
1/3/17 6:18 a.m.
Keith Tanner wrote:

Is that a factory David Gilmore replica or one you put together?

Keith Tanner
Keith Tanner GRM+ Memberand MegaDork
1/3/17 9:27 a.m.
Fitzauto wrote: Those frames are awesome. Mind if I copy them?

The only rule is that you post pictures when you're done! It wasn't all that hard to do, but it took me a long time to figure everything out. The hardest part was getting the tension of the fabric right - I ended up having to redo the first one. Basically, lots of tension. Staple one long side, then give it a good solid pull on the other. I'm happy with the mounting system from a functional point of view, but it would be nice if it were invisible. Really, I should have built something out of steel for that part so it could be thinner. Maybe I still will. I did consider using two pieces of wood chamfered at 45 degrees so that they could lock together that way - it would be easy to mount/remove the frame and it would stay in place, but my concern was that it might be easy to bump the whole thing and knock it off the wall.

Ian F wrote:
Keith Tanner wrote:
Is that a factory David Gilmore replica or one you put together?

DIY. Squier body (edit: now American Strat body), American Fender neck, all the expected electrical bits, upgraded trem block, cut-down arm, a bunch of shielding. The original was a partscaster as well

Keith Tanner
Keith Tanner GRM+ Memberand MegaDork
12/5/17 1:49 p.m.

Revisting! A few more guitars moved in and I needed more frames. And I have made it much easier the second time around!

Here's the key, discovered while I was at Home Depot picking up some parts for Janel. They come in a few lengths and are low profile, strong (I think this one's rated to 300 lbs load) and easy to use. I mean, duh. They're a little hard to find in the store, but if you know to look they appear.

The first part of the build is much the same - fabric on the 1/4" backing, build a frame. But this time, I attached the hanger directly to the 1/4" backing using T nuts. The guitars don't weigh all that much really. Then attach the aluminum extrusion to the hanger via a screw through the 1/4" backing so it's nice and solid, and also to the frame itself at the ends. I also added a couple of small metal tabs to the back of the frame to hold the padded center bit in place. Sorry, no pictures but I can shoot one if desired.

The end result is that it's less expensive to build, faster and easier to build, easier to mount on the wall and can be repositioned easily. I'm kicking myself for not doing this last time. The downside is that it's not as solid, but going to a slightly thicker backing and/or doubling up on the mounting hardware would help if you wanted to do pull-ups on the hangers.

I also built one in a different format. I apologize for the terrible picture. The hanger is from Hang Em High.


Ian F
Ian F MegaDork
12/5/17 3:09 p.m.

Wow.  Very nice!

EastCoastMojo
EastCoastMojo GRM+ Memberand Mod Squad
12/5/17 3:14 p.m.

Very cool!

Skervey
Skervey HalfDork
12/6/17 9:17 a.m.

Sweet project might get added to my list of one day projects!

You'll need to log in to post.

Our Preferred Partners
AXFECfn5wHuCevIZgLHcx7ZnEFY1hOZlHDLk7qxkOg6XZQB0HVK3zhzr717U9cxr