
DrBoost
UltimaDork
2/8/15 10:38 a.m.
My son wanted to build a hovercraft for his science fair project. I thought that sounded stinkin' cool so I said 'let's have at it'. Here's the build so far.
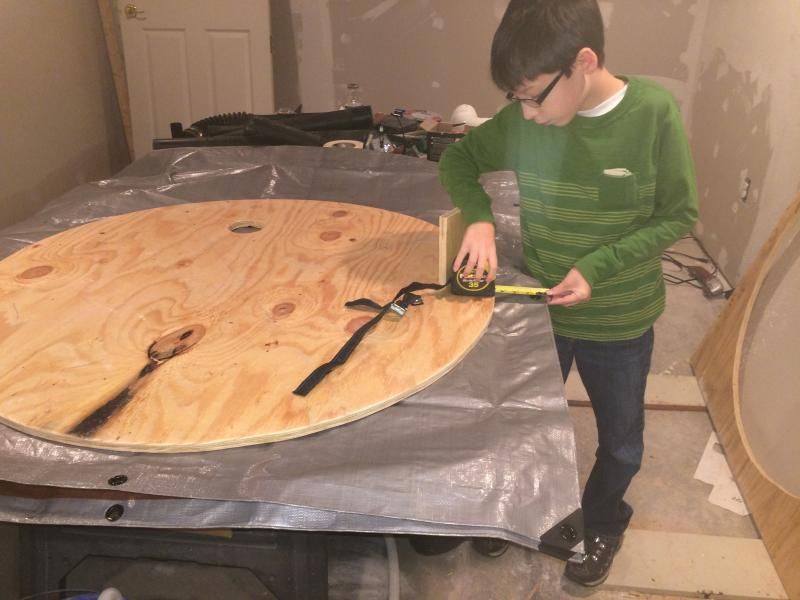
We used 3/4" plywood for the deck. Since we had no idea how much lift the 25cc leaf blower would give us and we didn't want to end up with such a large deck that we didn't have enough air for lift. We decided to cut the sheet in half, and cut a circle out of the 4X4 sheet.
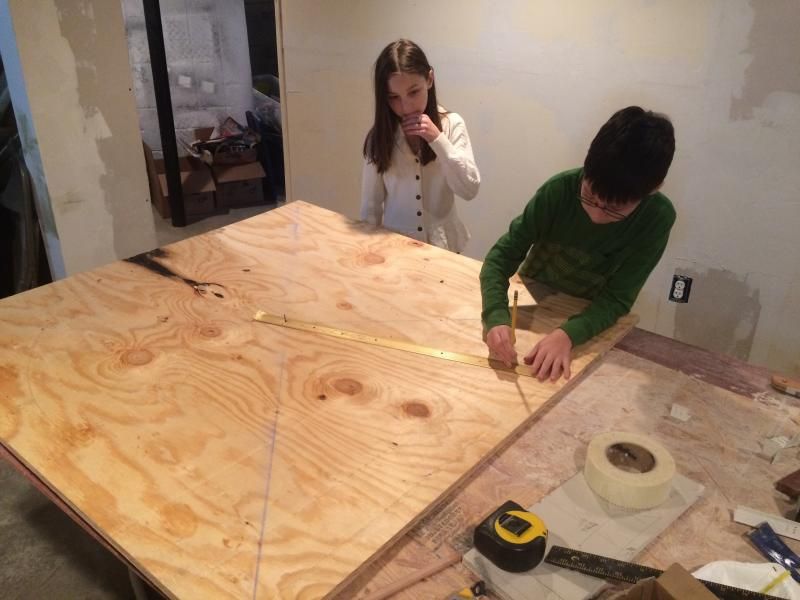
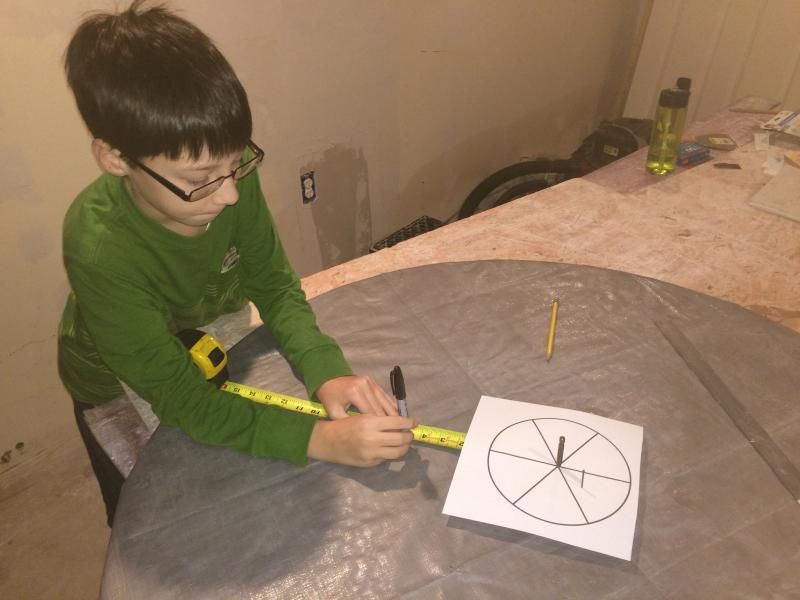
We snapped chalk lines to find a center point. Then we used a metal strip with some holes drilled as a compass and drew a circle and used a jig saw to make the deck.
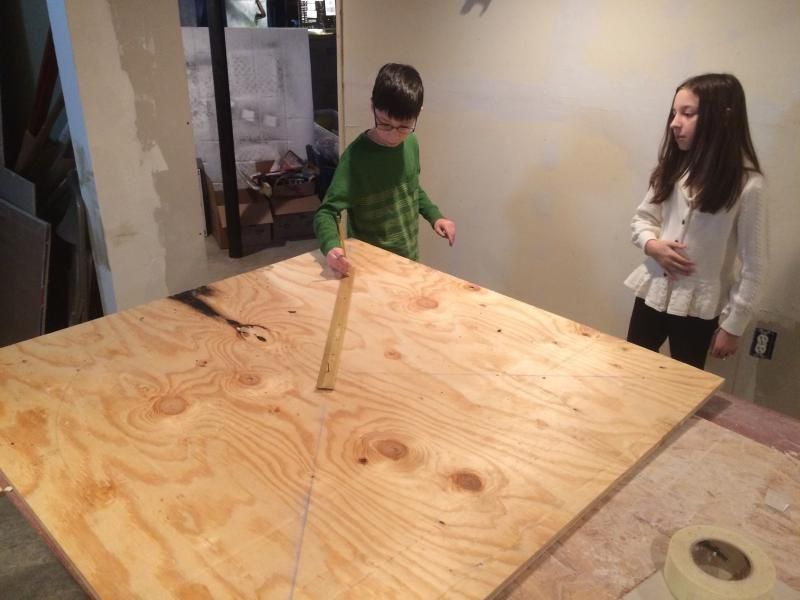
 We ended up with a 42" plywood disk. Since we wanted to have both lift and thrust, fitting everything on the small disc was a challenge.
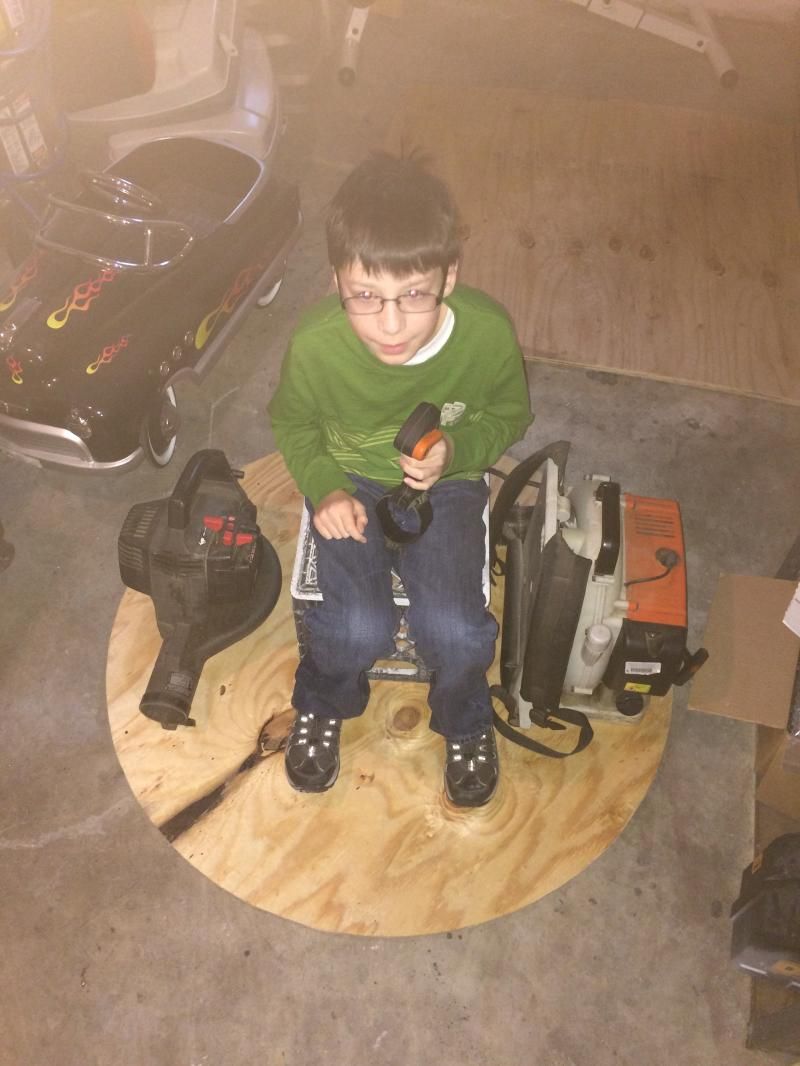
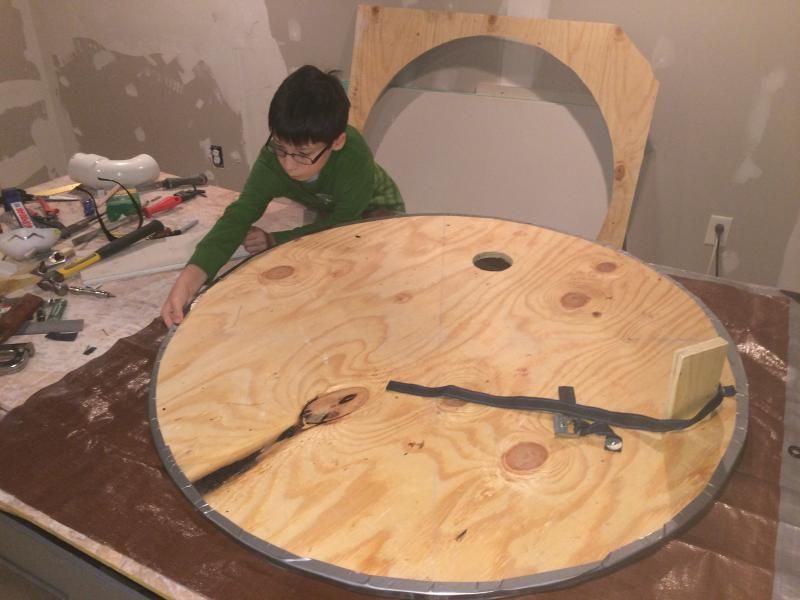
The layout is decided, now let's start mounting stuff.
DrBoost
UltimaDork
2/8/15 10:49 a.m.
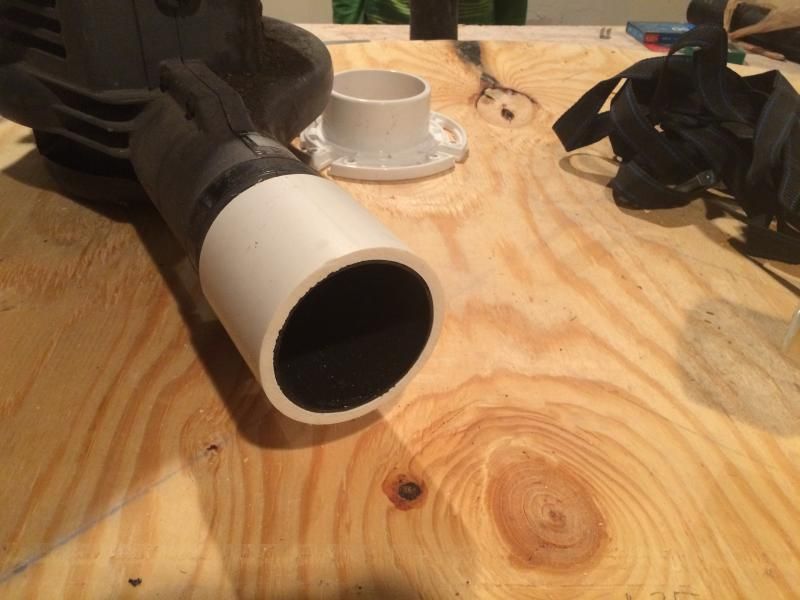
It turns out that the tube on a Craftsman 25cc leaf blower fits perfectly inside a 3" PVC pipe. So, we simply cut the appropriate length off the tube from the leaf blower, cut a hole in the deck for the PVC elbow and connected it all together. The piece on the right is being discarded. The small part that is reinstalled in the blower is being used.
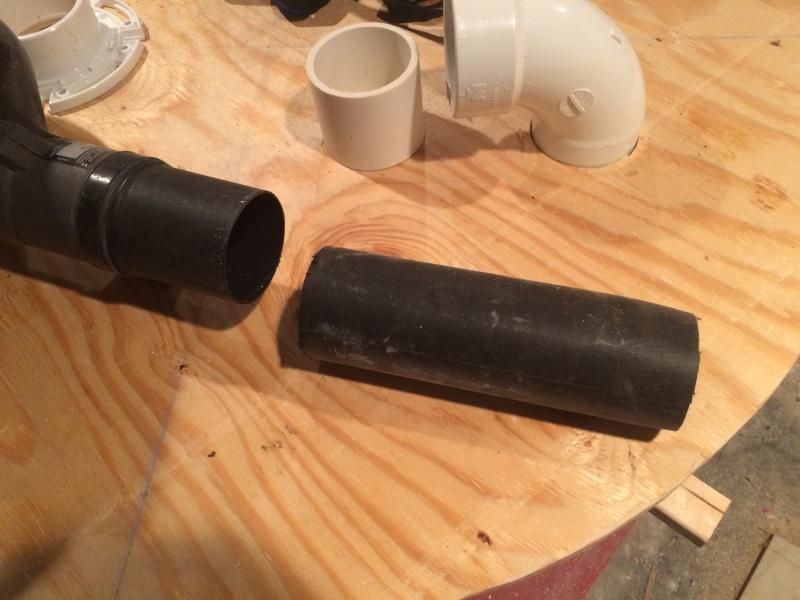
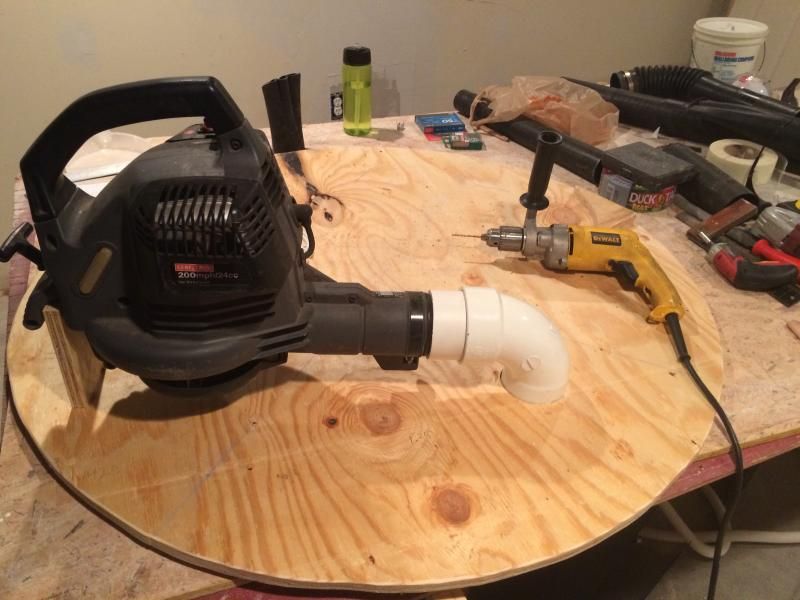
We used a 90 degree "street elbow" to go into the deck. That meant we cut a piece of 3" PVC as a sleeve to join the blower to the PVC elbow.
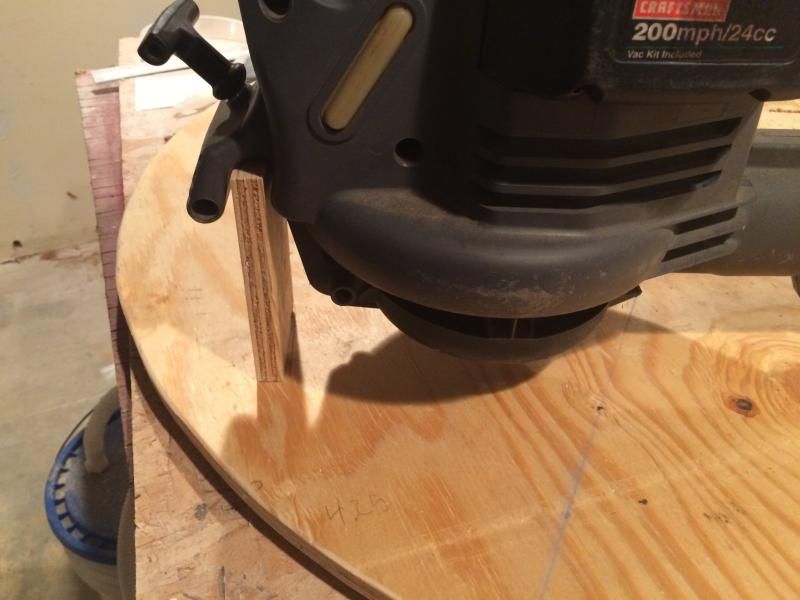
With such a short run of pipe, we didn't have to do much as far as support. We took a scrap piece of plywood and fit it under the handle to get the air intake off the deck.
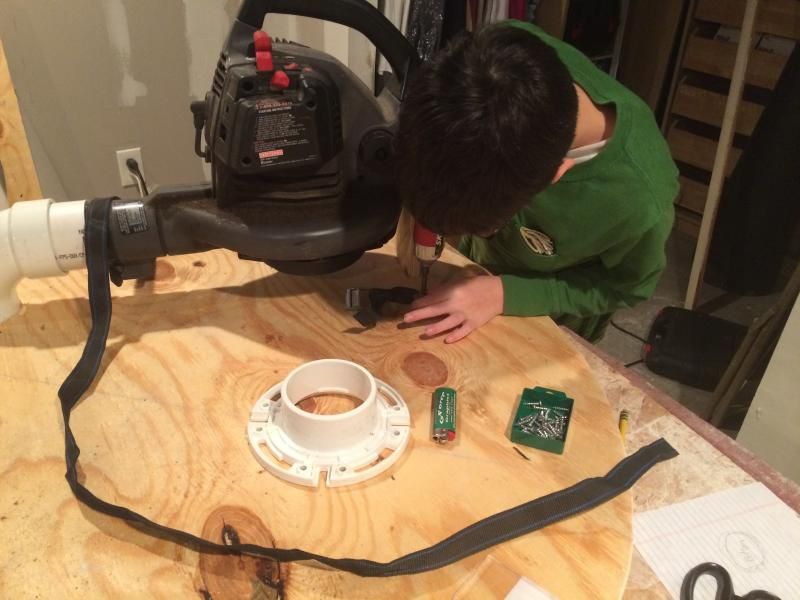
I grabbed one of the many cheap nylon straps I have in the garage. It's not a ratchet-type strap, just a pull-through. We cut it to length, and used washers to screw it to the deck.
More to come....
This is so cool!
At some point, could you see if the engine will lift 200 pounds... 'ya know for bigger kids.
So is the idea that leaf blower 1 provides inflation and leaf blower 2 gives extra lift and forward propulsion?
great project
next up, waiting for son to say... but dad, needs moar powah
DrBoost
UltimaDork
2/8/15 2:38 p.m.
Now time for Dad and son to put on our skirt!
Other posts I've read talked about using 6 mil plastic. I went to Home Depot and the only 6 mil plastic rolls were HUGE, and not terribly cheap considering I'd be using about 5% of the roll and tossing the rest. So, We decided to get a reinforced tarp. Pretty cheap, and it was 10 mil. WIN!!
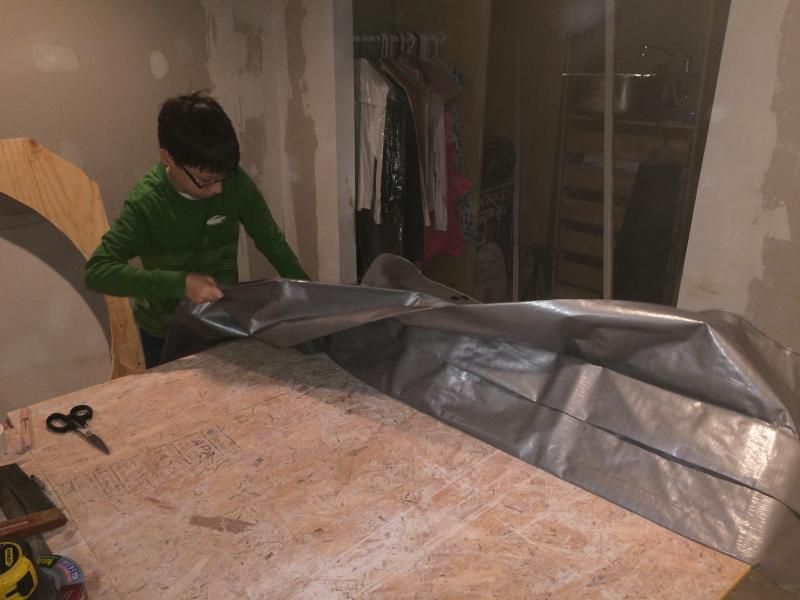
He cut the tarp about 3" larger than the disk.
Here's the rabbit hole I just want down. Do you spell disk with a k or a c? I looked it up. If you care, you can do the same.
Now back to our scheduled programming.
We wrapped the tarp up and over the disk and, didn't really pull it tight, but didn't intentionally leave slack. But before that, we filed and sanded the top and bottom edges to reduce the risk of the wood wearing through the tarp, and put a layer of duct tape on the edge.
Then we simply stapled the tarp to the deck. A. LOT.
DrBoost
UltimaDork
2/8/15 2:51 p.m.
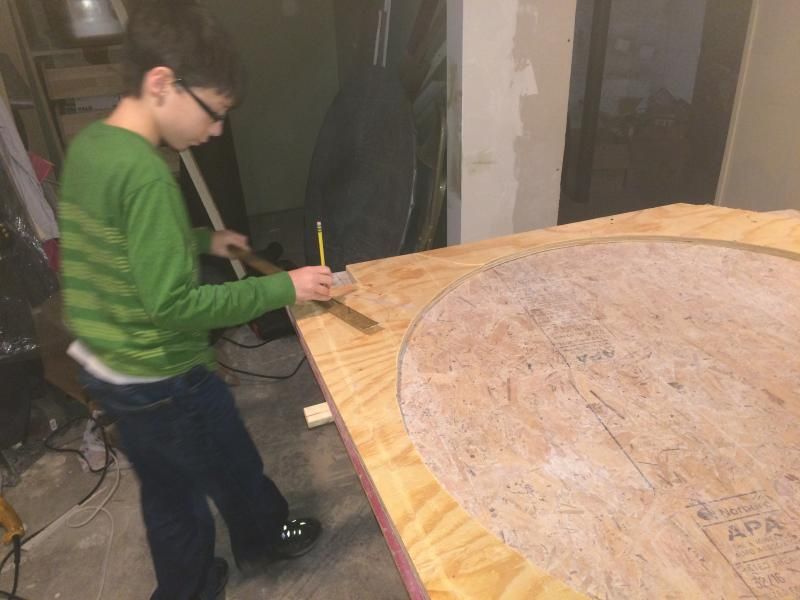
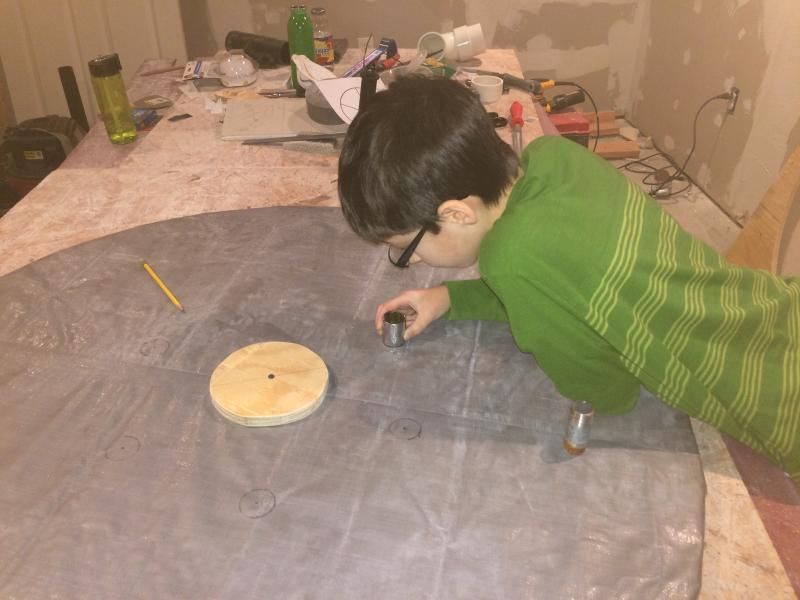
When you fire up the lift engine you can't just have the skirt inflate, you gotta have holes to blow the air out and build pressure under the skirt. But if you just cut holes and fire up the lift engine you'll end up sitting on something that'll resemble a top (the spinning kind or top). The air has to get trapped under there. So, grab the scrap wood you have from cutting the main deck and cut a smaller circle out of one of the corners.
Attach the circle to the center or the underside of the deck, running the screw through the skirt. What this does is create a hollow under the deck in the middle. Imagine a bagel, but in half. Your deck is flat, the skirt is bowed around in a circle (maybe think innertube) with a hollow in the middle.
Note approximate where the half-way point between the edge of the smaller circle and the edge of the deck is. That's where you'll have some contact between the skirt the the ground. We reinforced that area with duct tape.
Now, somewhere inside of the half-way point you just reinforced, cut some holes to allow the air to escape the skirt. This is how that hollow area will be fed pressurized air.
We decided on 6, 1.5" holes evenly spaced around the circle. I printed out a 6-segment circle and used a phillips bit to center it. Extended the lines to the skirt and started cutting.

After all that is done, we put duct tape over the staples that attach the skirt to the deck.
Here's the first test flight.
Link to video
DrBoost
UltimaDork
2/8/15 2:54 p.m.
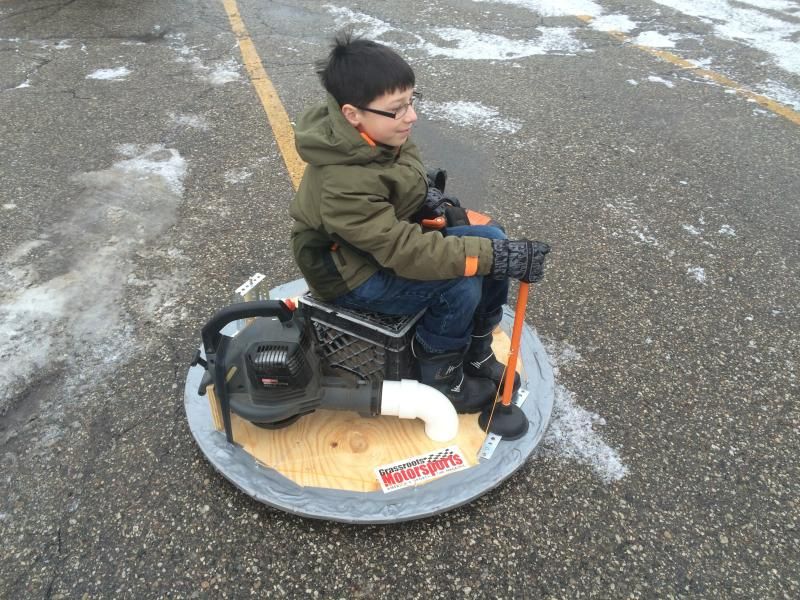
It works!! It'll lift my 60 lb son with no problem. Even at idle, though there is some friction at idle. It will not fly the 60 lb son on unpacked snow, but it will fly my 45 lb son on snow.
And this is just for you fujioko. It will lift me, and I'm a little north of 200 lbs.!!
So, here's the approximate parts list as of now.
4X8 sheet of plywood - $23?? (you can use this for two crafts)
Tarp - $12 or so (you can get 5 or 6 skirts out of one 10'X8' tarp)
Duct tape - $5
Staples - $ a few
3" PVC street elbow - $3
3" PVC pipe - $7
We're working on thrust and steering now....

jmc14
Reader
2/8/15 3:40 p.m.
My kids are all grown. I miss doing projects with them. It's great that you and your son are working on it together.
I built a hovercraft for my 7th grade science project. (1968-I'm old) I lived north of Phoenix and I scavenged almost everything I needed from items that were dumped in the desert. It lifted a little and friends pushed me around on the schools outside basketball court. I had a blast.
Keep having fun!

jgrewe
Reader
2/8/15 8:13 p.m.
With enough raw materials for at least two, does that mean there will be a race at some point?
Nice job, that's awesome! Can't wait to see the completely finished product!

84FSP
Reader
2/9/15 8:36 a.m.
So cool - must have video evidence of this in action!
Its a hovercraft, I want to see it go on water!
This gets me excited to do this with my son when he gets older.
DrBoost
UltimaDork
2/9/15 1:16 p.m.
84FSP wrote:
So cool - must have video evidence of this in action!
Did you see the video in my post above?
DrBoost
UltimaDork
2/10/15 4:59 p.m.
Ok, so when I last updated, we had flight, but only hover. We had to figure out how to mount the second blower, duct the air out the rear, and direct the thrust so he can steer.
What you're about to see might seem hack-ish, but remember. This is a father-son project. One of us has the mind of a 12-year old, the other is a 12-year old. Here we go:
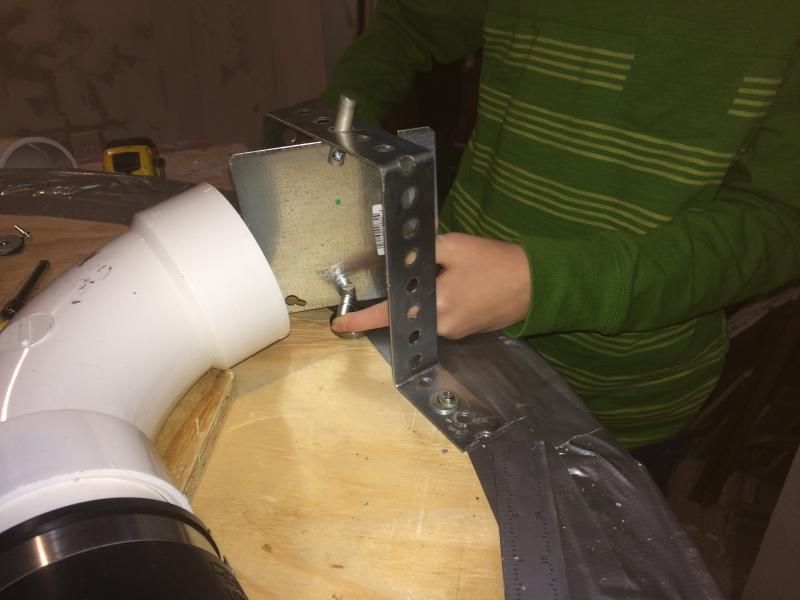
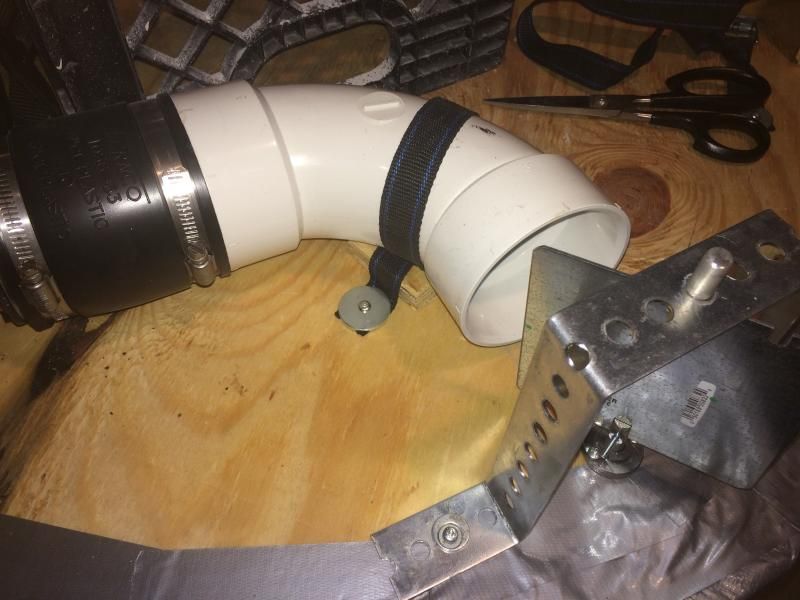
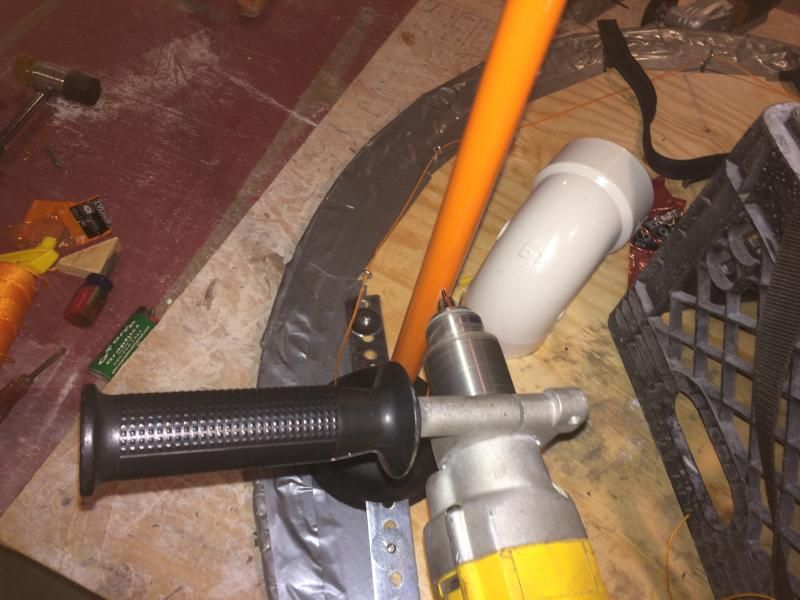
I welded up some z-brackets to bolt the blower to the deck, that had the thrust air going perpendicular to the desired direction of travel. It's back to home depot! We picked up another 3" elbow, a rubber union and laid it out like so.
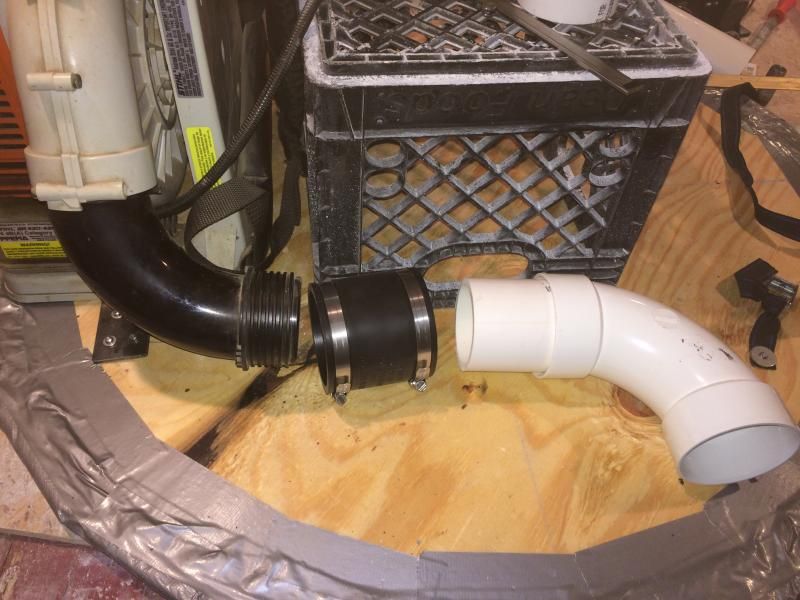
The rubber union is a perfect fit for this blower. We cut a piece of the 3" PVC pipe we had from the lift portion of the build. The thrust air now exits out the rear of the craft, at the center.
We discussed how to direct the thrust. I wanted to blow the air through a much larger PVC pipe that was not connected to the thrust pipe. The larger pipe would pivot, changing the direction of travel. I think I was kinda thinking about how I think a jet-ski works. Well, the boss veto'd that idea. I'll say this, after figuring out how to execute his idea, I realize that my idea would have worked (maybe) but would have been a royal pain in the butt, and a space hog (for sure). He insisted on a rudder.
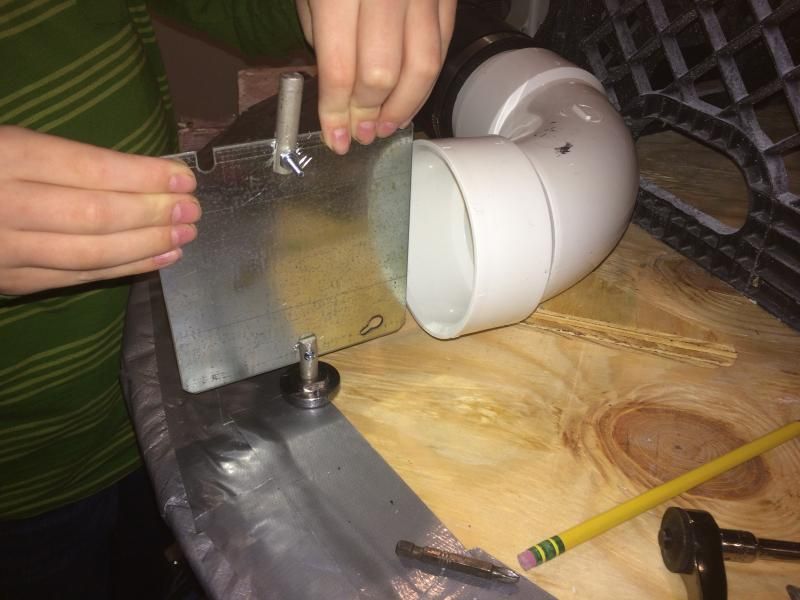
So, we walked the isles of the depot looking for something to make a duct out of. We came up with an electrical box cover, 4"X4".
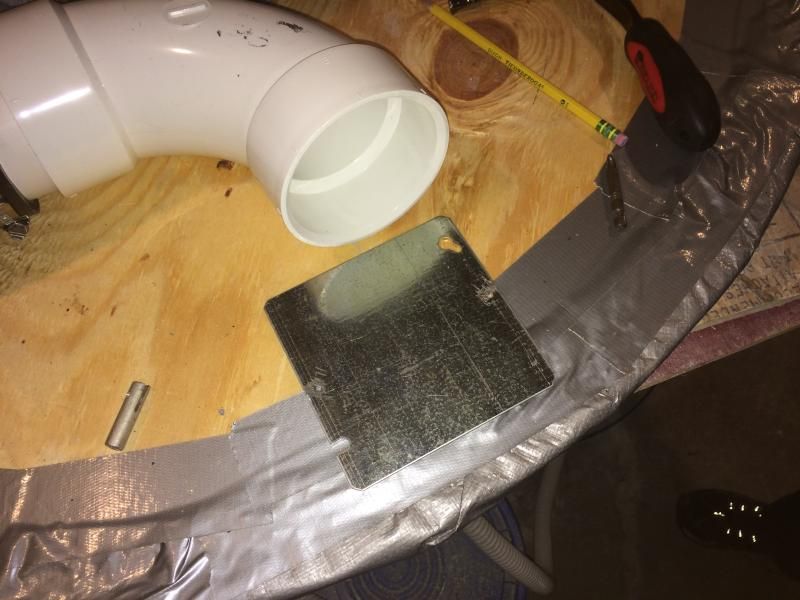
Sturdy enough, cost a buck, and sized right. Sweet. Good going Jake!!
Now, how to mount it. I had aluminum rod in the garage, but you could buy it from HD as well, nothing exotic. I slotted the rod to accept the rudder, then drilled a hole through the works so he could bolt them together. This picture shows it with the only thing you can't just buy at home depot, more on that next.
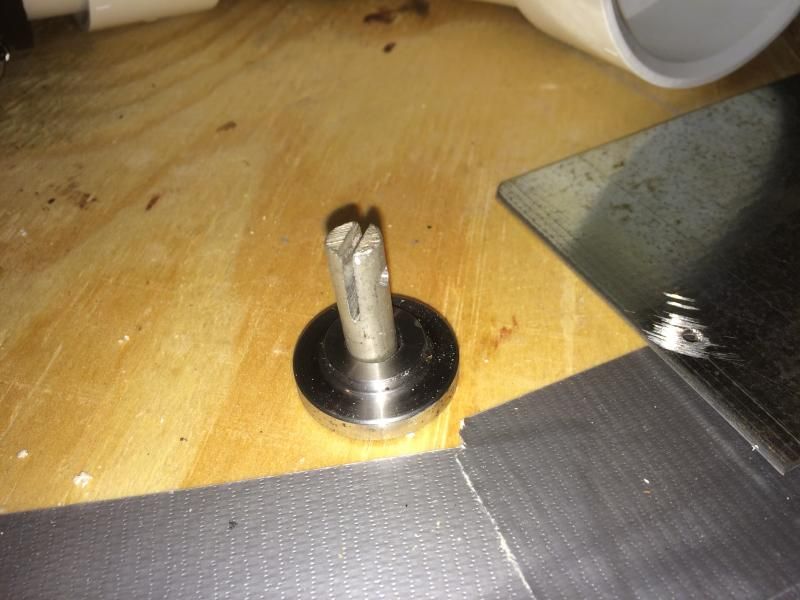
I was just going to use a Forstner bit to put a 1/2" deep hole in the deck to accept the rudder pivot but I had some bushings that a buddy made for me when I did an engine swap on my snow blower. I only had to drill the center hole larger to accept the pivot, and drill two holes on the stepped down portion so I could mount it to the deck.

DrBoost
UltimaDork
2/10/15 5:06 p.m.
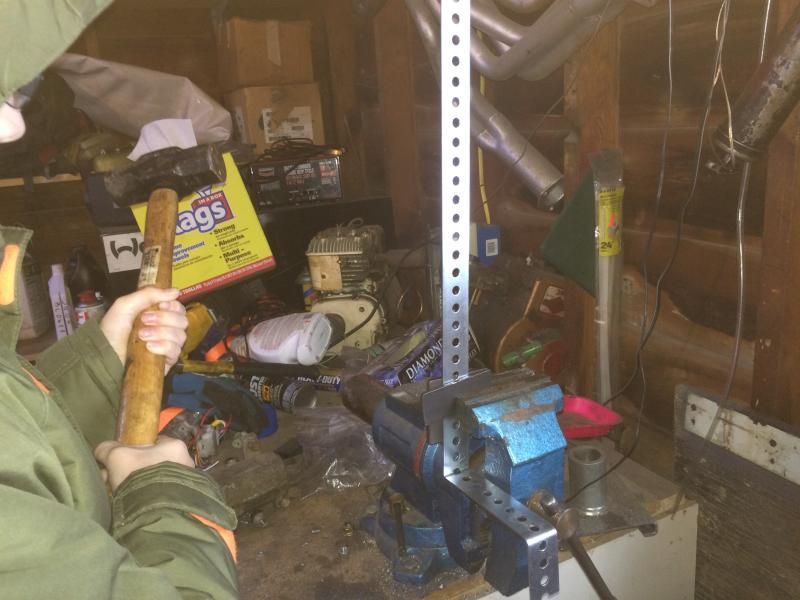
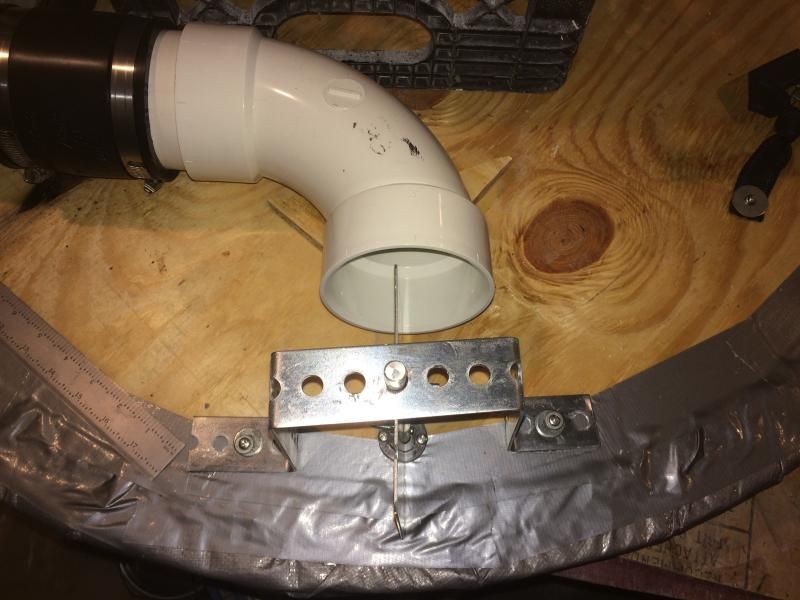
Now we had to secure the rudder at the top.
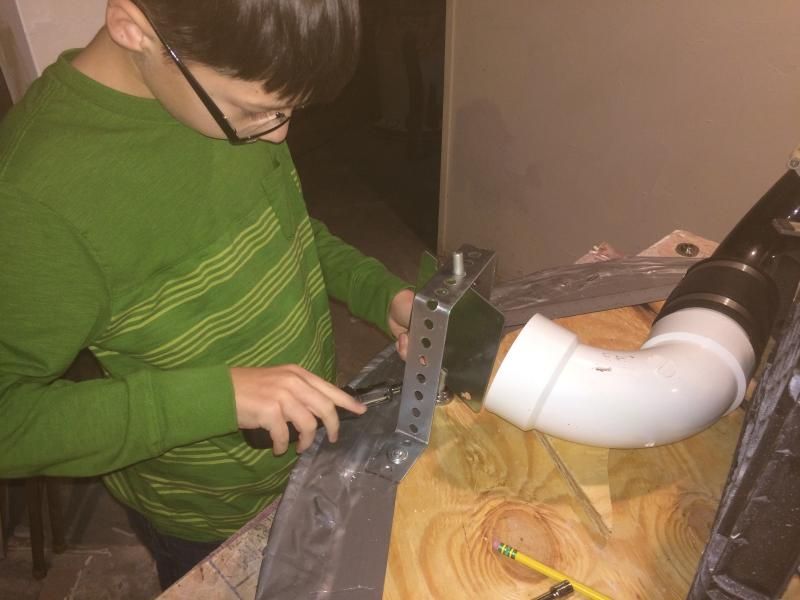
Again, from HD comes a perforated strap (?) that worked well. He put it in the vise and bent it into a top hat-like shape. Wow, the garage is a mess.
We bolted the strap to the deck, while passing the aluminum rod through the top-center hole.
Now we're off to figure out a control mechanism.

TMo
New Reader
2/11/15 1:56 a.m.
Looks like you guys are having fun.
This is the kind of project and quality time your kids will remember for the rest of their lives.
Good Job!

java230
New Reader
2/11/15 9:26 a.m.
Awesome! I built one as a kid too. They are way fun
DrBoost
UltimaDork
2/12/15 3:29 p.m.
Ok, for anyone that still cares (or is willing to pretend to haha) we got the steering figured out, here's an update.
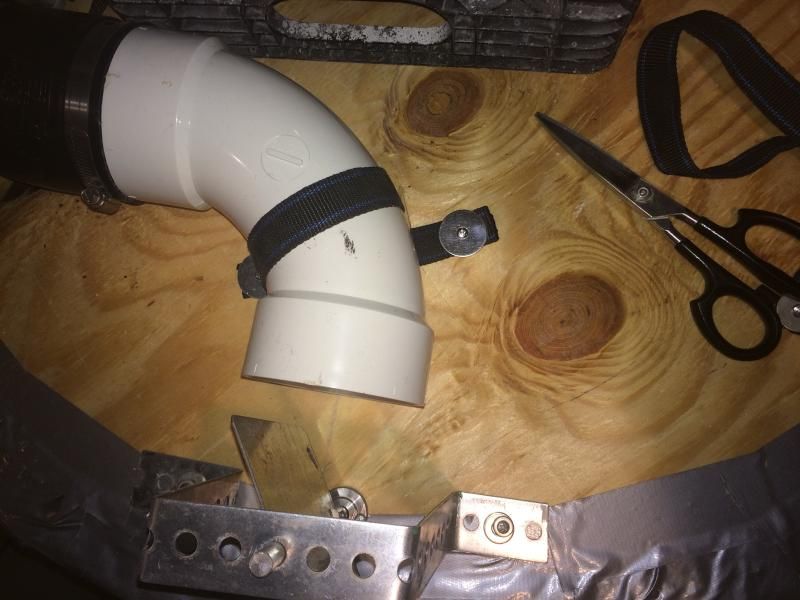
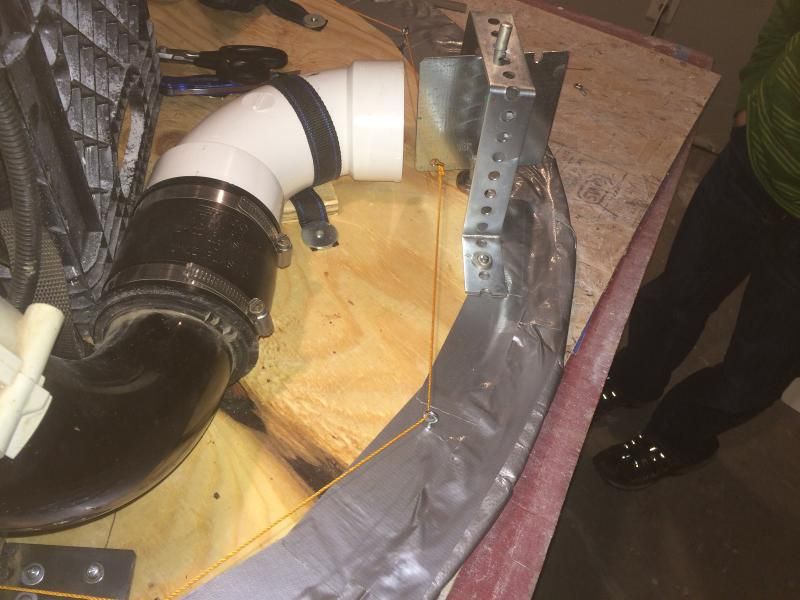
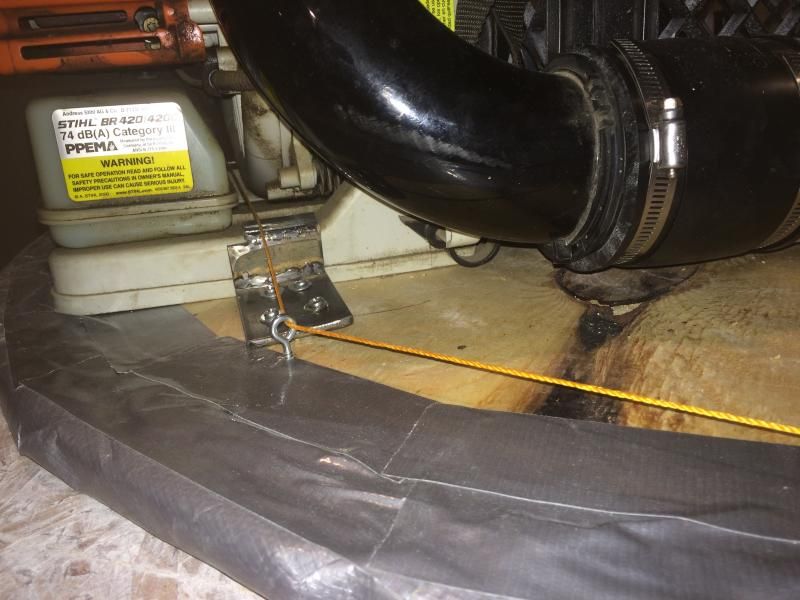
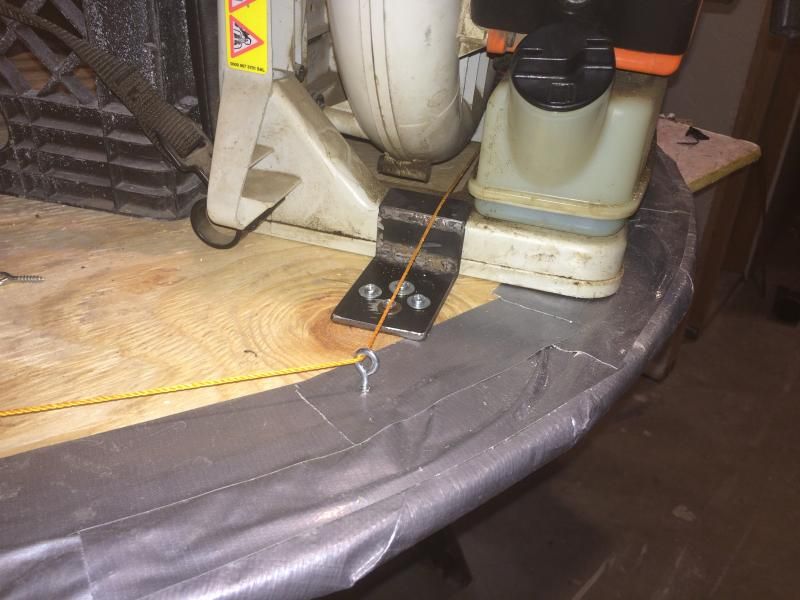
The first order of business was to secure the thrust pipe to the deck. After We cut some more of the nylon strap and wrapped the strap around (not up and over, but around) the pipe and screwed it to the deck. The pipe is very secure now.
Jake and I decided to run string from the control stick to the rudder for control. We picked up some mason's string from the depot and some eyelets.
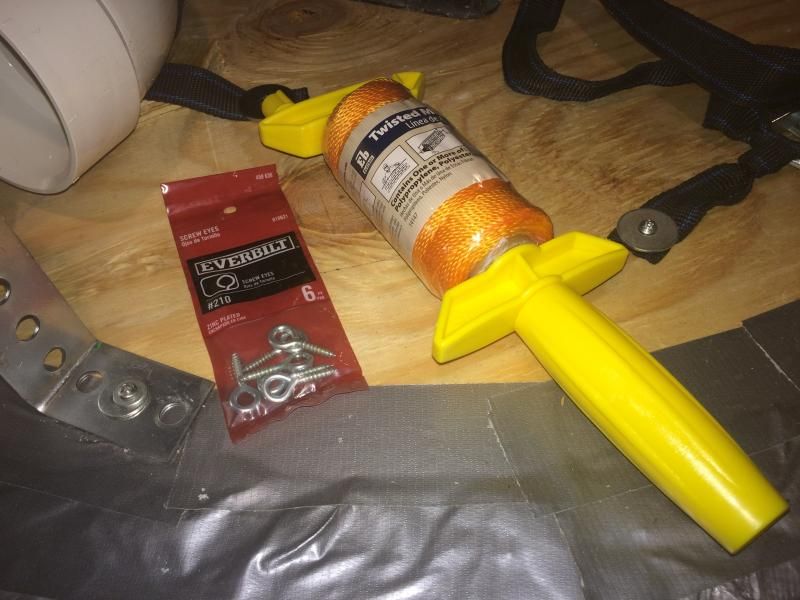
After Jake pre-drilling we screwed the eyelets in the deck to route the string out of the way of feet and bystanders that have been run over.
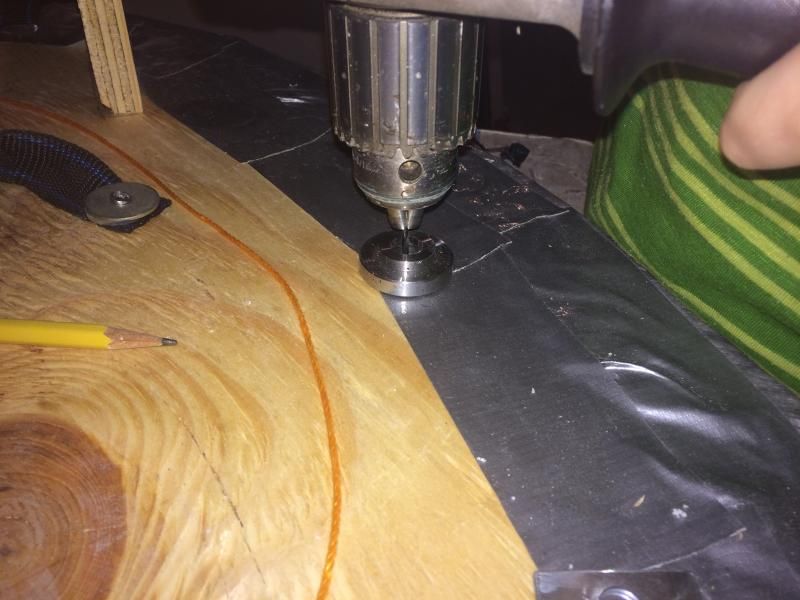
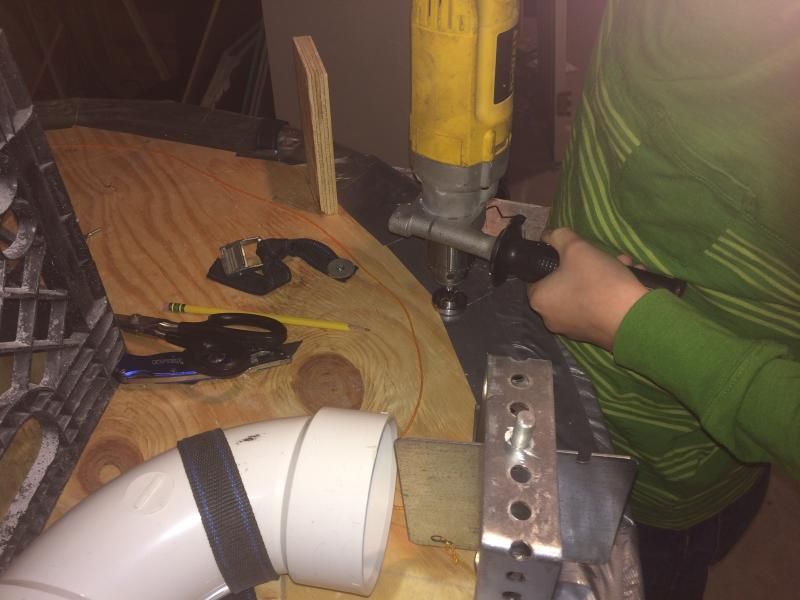 I set up a spare bushing I had as a drill stop since the drill was pretty heavy for a skinny 65 lb kid.
After drilling holes and screwing in the eyelets we secured the string to the rudder.

DrBoost
UltimaDork
2/12/15 3:45 p.m.
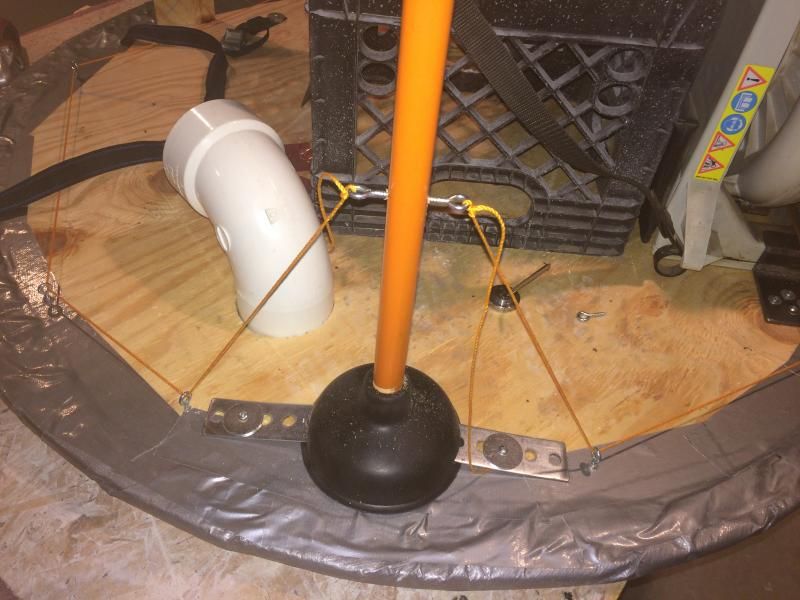
Now we ran the string through the eyelets up to the control stick. We went under the lift motor, and through the thrust motor.
Now, about that control stick. I wanted something simple, cheap, and self-centering, if possible. What to do, what to do???
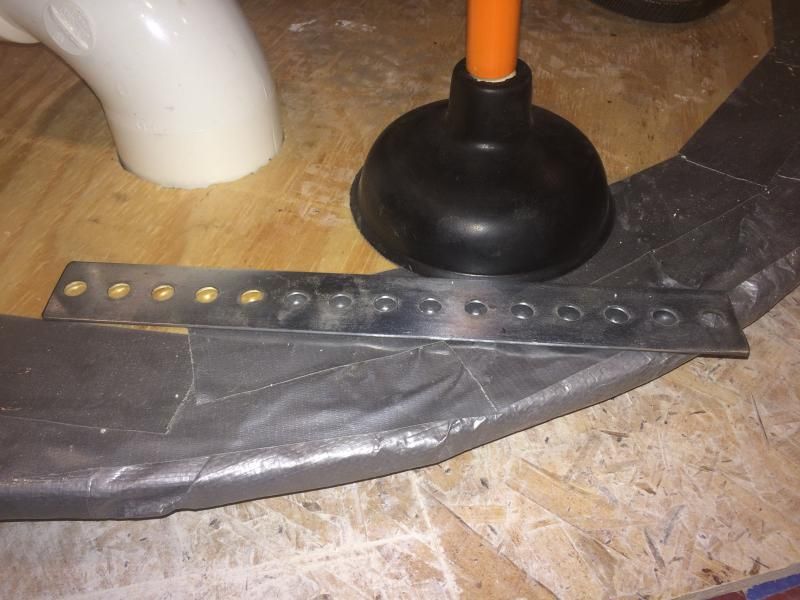
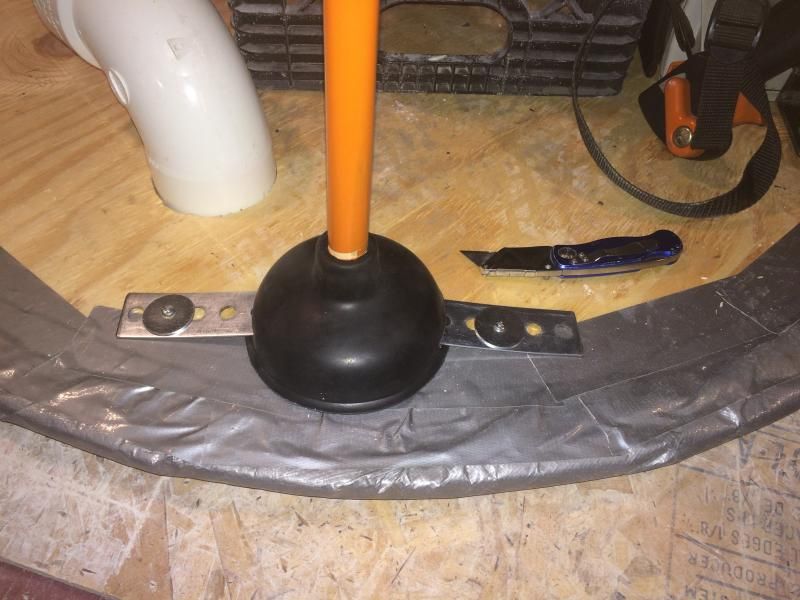
We decided on an idea that I'm sure will get some jokes, but hey, it works. Plunger anyone?
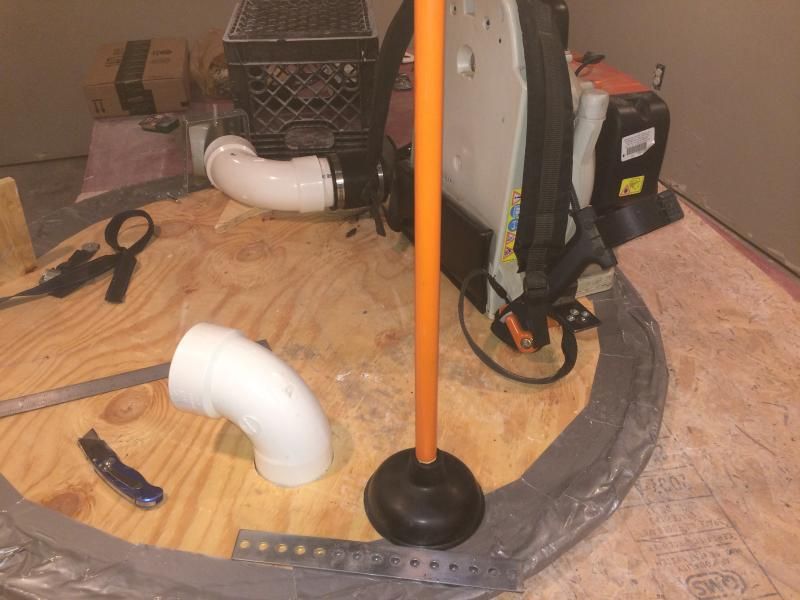
Think about it. Have you ever stuck a plunger to the floor (or your brother's head)? You can pull it all the way to the floor and it'll spring back to center! So, we cut slots in the plunger cup, slipped some of the perforated strap we used for the rudder cage though it and screwed it to the deck.

Now we have our control stick, time to drill a hole through the handle and screw in two more eyelets.
Before drilling the hole we measured the linear travel of the rudder, about 2". Then we temporarily attached the strings to the control stick so I could illustrate the difference between attaching the control strings down low vs. up high. He immediately got the point. Attaching it up high would make very small inputs possible, but would result in kinda lazy response. Attaching them down low would make the steering very quick, and very twitchy. I was proud that he came up with that on his own. So, I let him make the call, and we mounted them in the middle of the two extremes.
The lift motor is not mounted in this picture.
IT WORKS!! Here's a LINK showing the rudder in action.
We finished too late to do a final test flight. That'll be this weekend.
DrBoost
UltimaDork
2/12/15 3:54 p.m.
I'll post vids of the completed hovercraft flying.
This is awesome. Now I gotta go find some leafblowers and hope they can lift 135 lbs.
DrBoost
UltimaDork
2/17/15 4:32 p.m.
After waiting for the weather to break, we got out to test the thrust today! IT WORKS!!! Not as well as we thought, but it lifts (better than we thought), and has thrust (not as much as we thought it would). We need to make some adjustments on the control strings and the thrust duct work, but for a 12-year old, I'd say this is GREAT.
Nice job Jake, you should be proud!
Sorry, no video. Totally forgot.


