
NOHOME
Dork
12/20/12 4:15 p.m.
Here is a little project I am working on.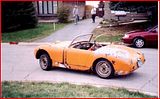
Upon further inspection, the entire car had been covered in roofing tar.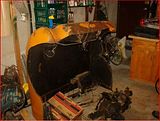
Edit: if anyone knows how to insert larger pics from Photobucket, let me know. If I click on the Photobucket image to get the larger pic, it wont give me the image information.
So, off to the metal dipper we go:
You have to be logged into your Photobucket account.
NOHOME
Dork
12/20/12 5:04 p.m.
I was? Or so I thought?
OK, now I got it!
So, this is what came out of the dip tank.
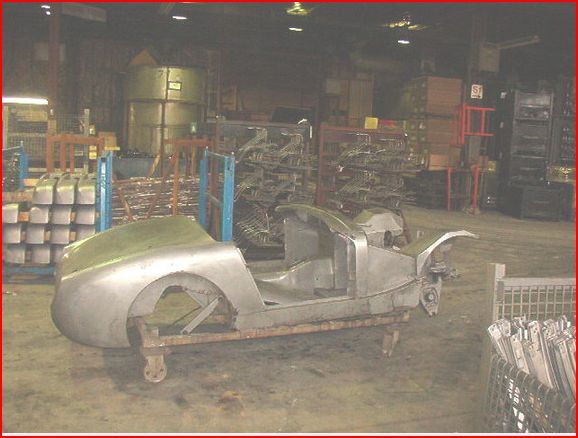
Looked pretty good at first what with no rust paint or bondo. But there were a few flaws.
Seeing as how this is my first restoration job, and I have never welded anything at this point in my life, I could be in over my head.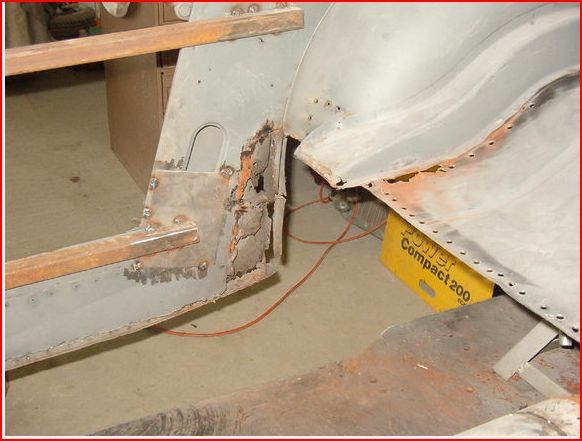
Your optimism is inspiring.
Wow. You're good at metalwork, right? 

Awesome! I love spridgets and bugeyes in particular!
Hey don't worry you can fix all that. Just get yourself a decent little mig and some scrap sheet to practice on. A harbor freight pneumatic puncher/flanger will be your friend. Punch a series of holes in some scrap and practice your plug welding until your technique and machine settings are perfect. Practice, practice, practice.
You can order repair panels for a lot of what your going to need. The Spridget is well supported. Mass produced car bodies are mostly spot welded together and reproducing them plug welds is pretty easy. For small panels that aren't available you can fab them with some tin snips, a bench vice and a set of body hammers.
For the patch areas that aren't spot welded just practice butt welds with scrap.The key I've found is to make a bunch of little tack welds that are widely spaced. Keep jumping around, don't try to weld a continuous seam. Just keep adding tacks in between until you have a completely welded panel. It does take skill, but patience and correct machine settings go a long way.
That last word I have is fit up. You know they say LOCATION, LOCATION, LOCATION in real estate? Well in weld repair of car bodies it's FIT UP, FIT UP, FIT UP! If you spend the extra time making weld joints perfect then your welding job will be 100% easier. I know I've been in the position where I say to myself "I'll just fill that with weld" and I always pay for it later.
I look forward to more updates on your Bugeye's progress!
how are you fixed for the rest of the parts? I'm slowly rebuilding mine, trying to have it ready for the spring. If you need any help with technical info I have the factory manual somewhere.
NOHOME
Dork
12/20/12 7:05 p.m.
This is a bit of a ringer of a post in that I am a fair ways down the road. Just figured some might like to follow in a "fast Forward" build thread.
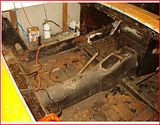
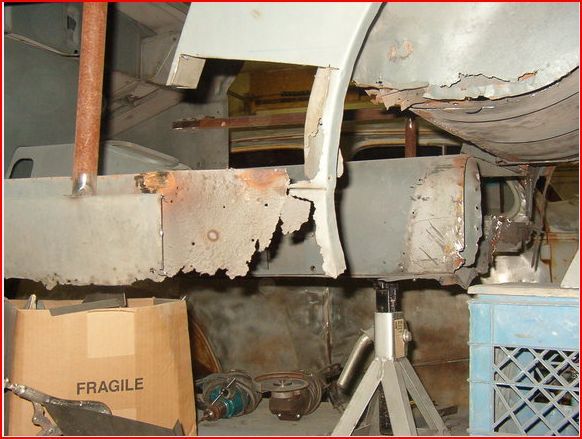
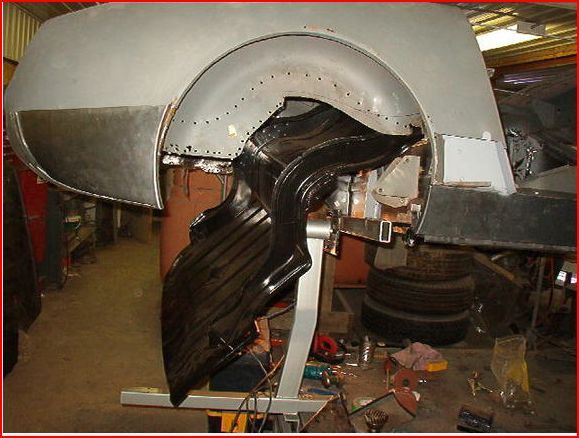
So, we are going to start putting some of the rust back.
 <img
<img
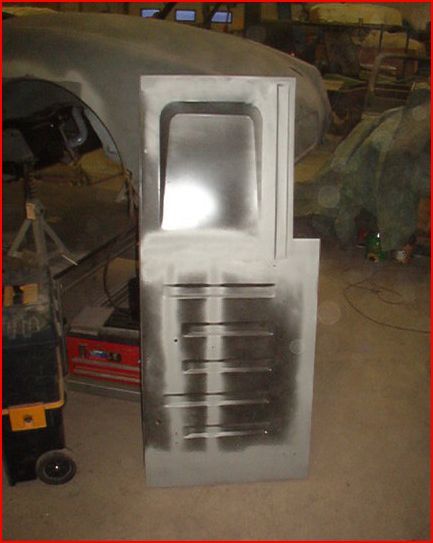
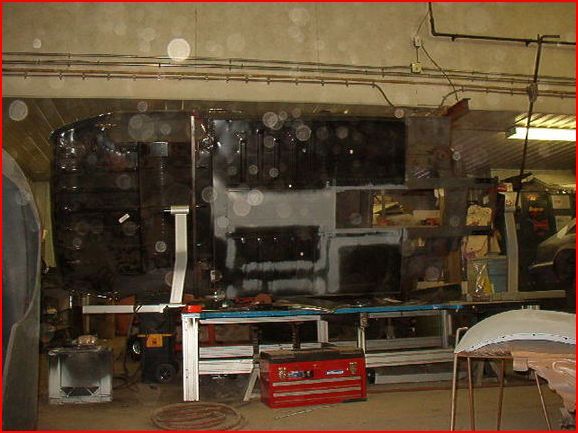
Which brings us up to the point where the thing is solid enough to go on a rottisserie.
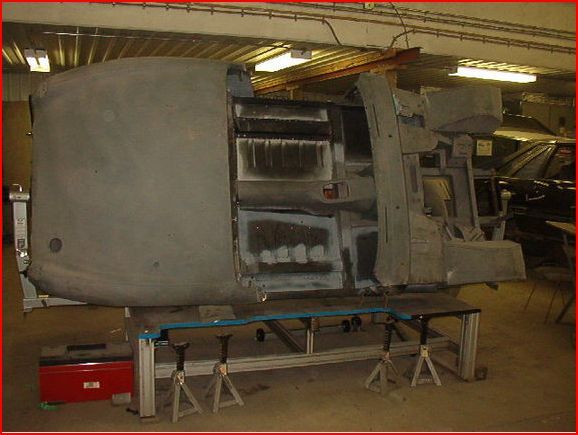
Tomorrow we will tackle the back trunk area...
NOHOME
Dork
12/21/12 8:34 a.m.
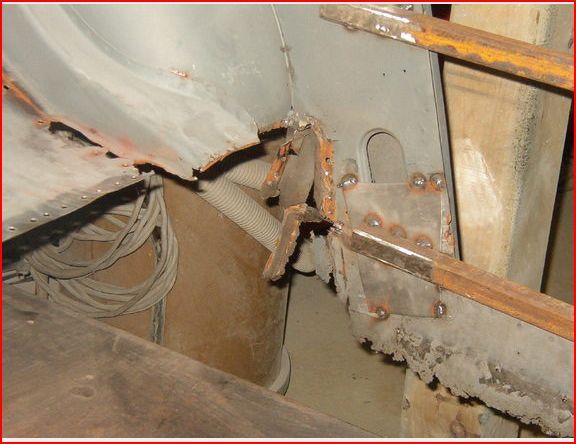
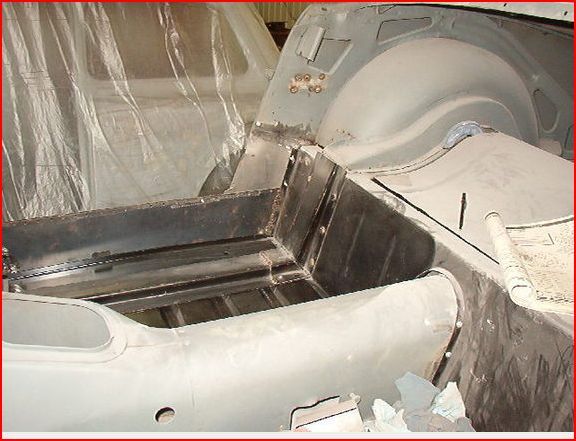
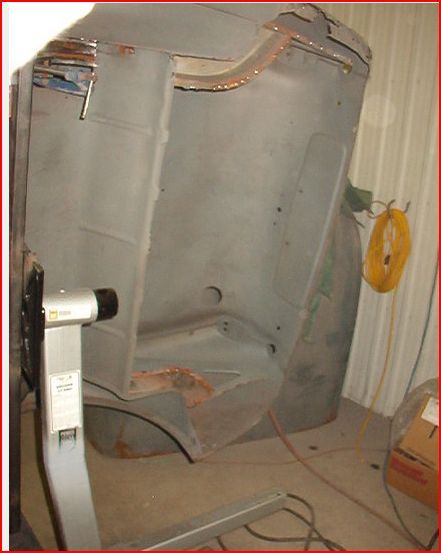
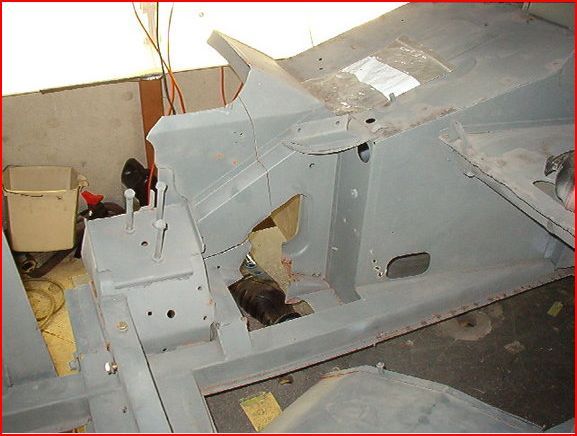
So, we left the car with a solid center tub and up in the air where I can work on it. Recall that the trunk has some small rust holes that needed to be dealt with.
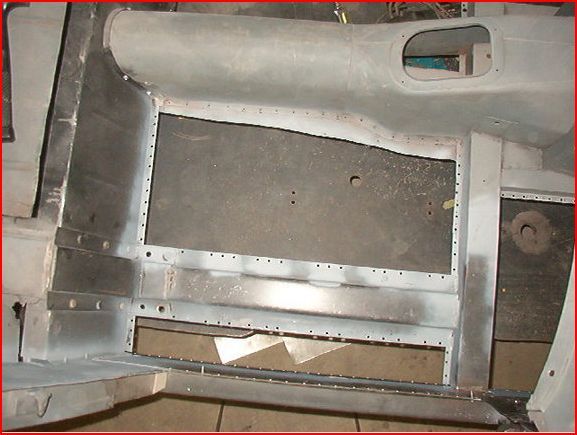
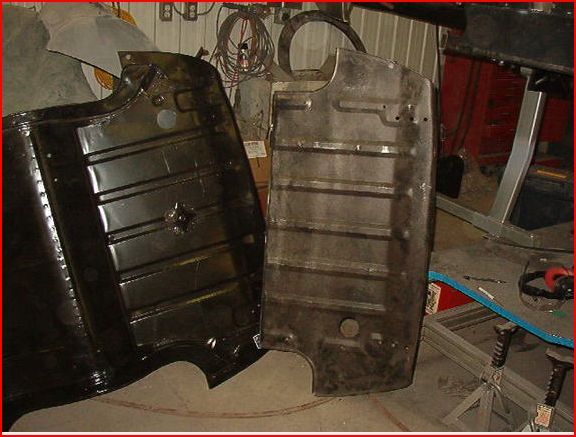
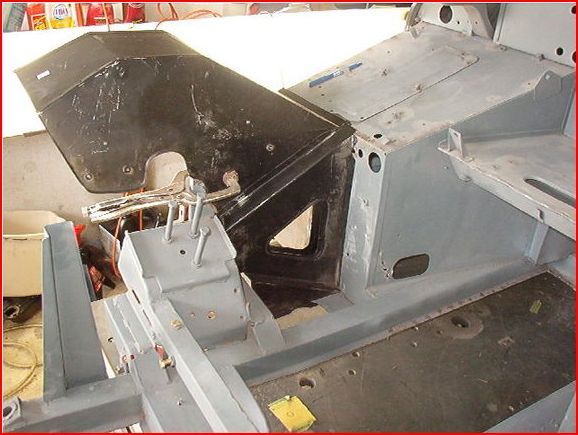
So, I cut out the old and test fit a repair panel.
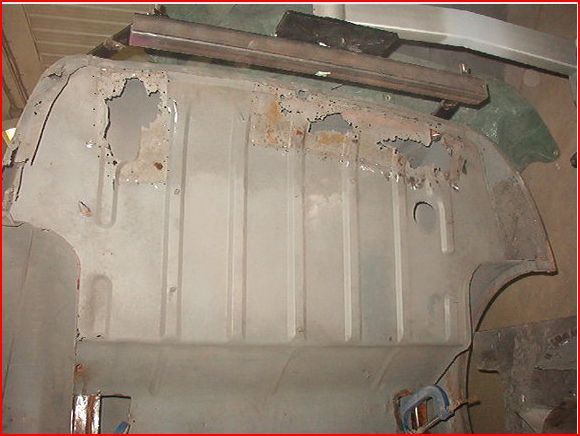
But that left me with a stretch between the repair panel and the rear bulkhead that was a bit sketchy. So I went looking for a BIGGER repair panel.
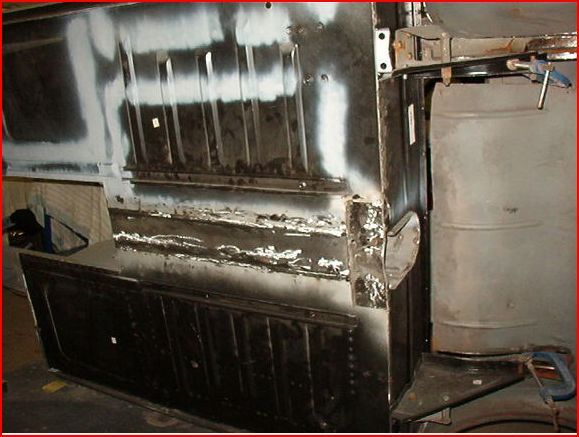
 And with the help of multilingual cursing, jammed the blessed thing in place
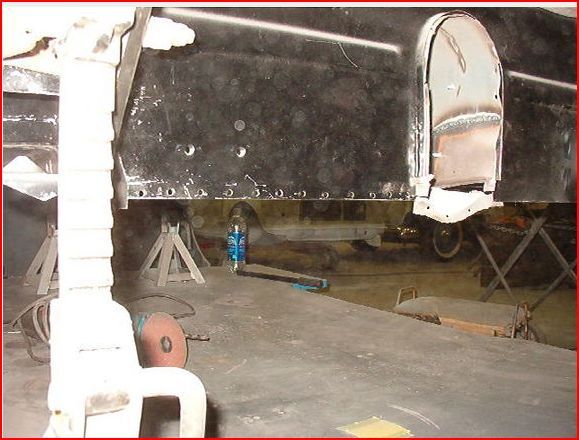
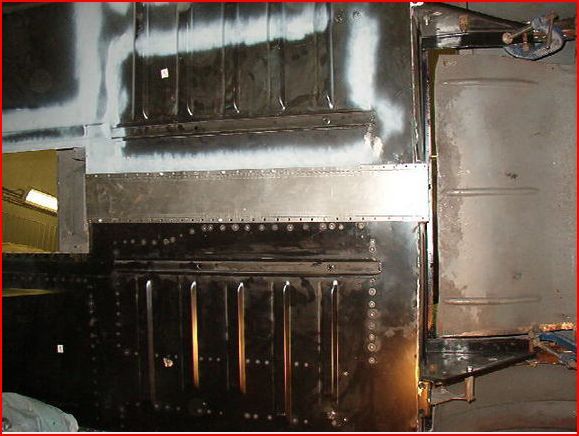
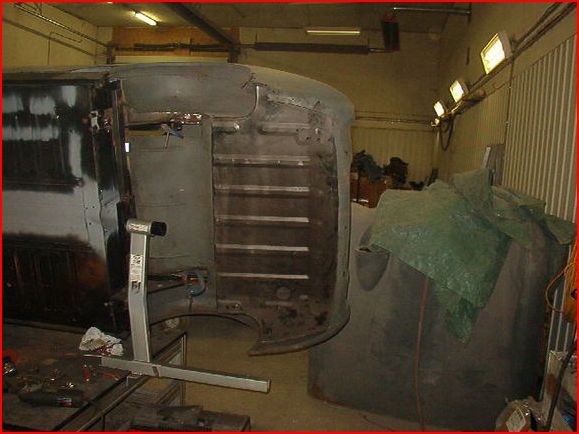
 At this point, the car has pretty much a new frame from the back panel up to the front firewall. Sorry for the crappy pic.
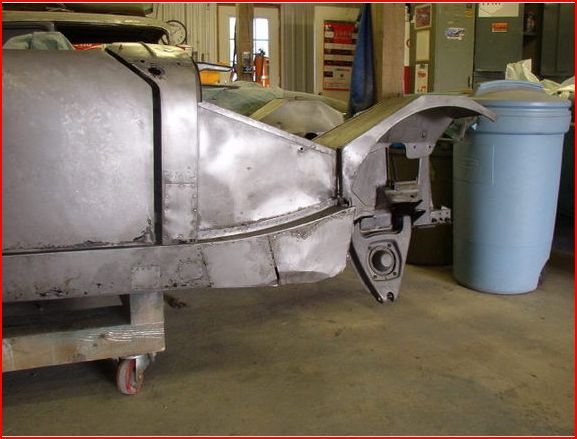
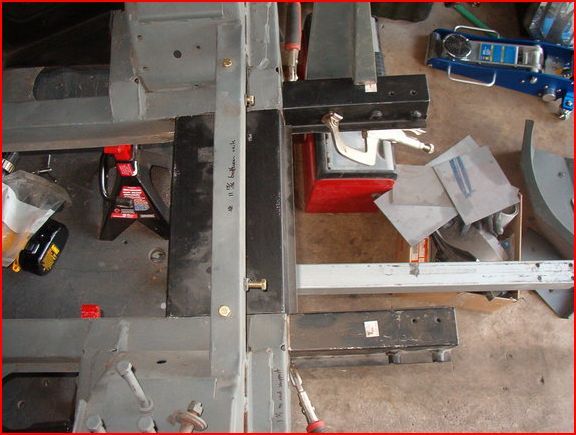
Unfortunately, there are some issues forward of the footboxes that need attention. Quick rough cut with the sawzall and a few spotwelds later we have new tin up front
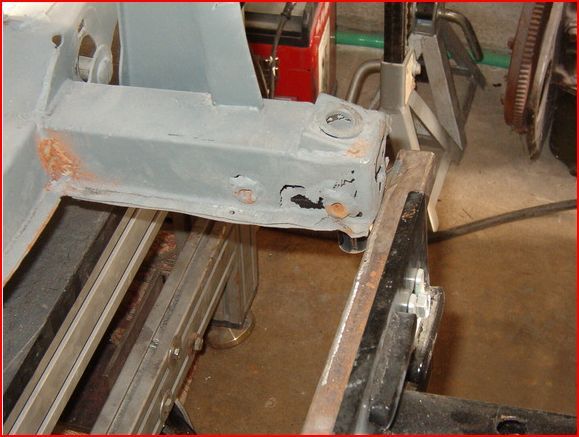
And a few details to clear up at the front of the car. These frame stubs rot out like crazy and the front frame crossmember tends to get beat to crap from being low and jacked up on.
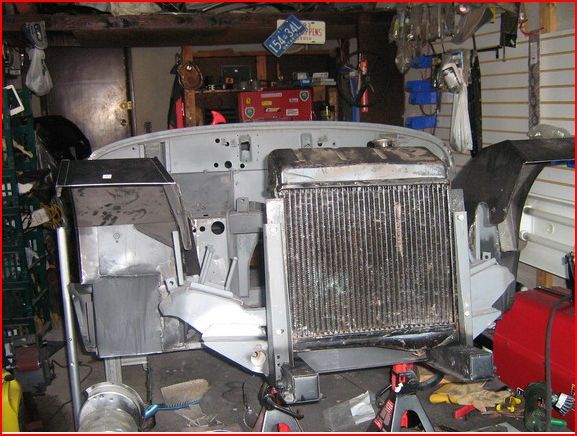
 Quick test fit to make sure the rad still fits between the goalpost.
 Next will be the doors needing a bit of sorting


