Nice work! There's keeping old junk on the road and then there's turning junk into not-junk, and to me that's a higher level of achievement. Not too many people are willing to do metal repair to something like this. Good on ya!

Nice work! There's keeping old junk on the road and then there's turning junk into not-junk, and to me that's a higher level of achievement. Not too many people are willing to do metal repair to something like this. Good on ya!

Re: Vigo
And I see why, I'm not sure I'll ever do it again! (Actually I probably will, I'm a sucker)
So Moving on, Lets just call the sheet metal good enough and move on.
Pic dump for closure.
And finally...
This calls for a celebration!
And after all those refreshing Duffs, I need to build a creature comfort for the garage.
I couldn't find all the pictures I was looking for but just assume "all" rusty areas are welded, POR-15'd, and some even have undercoating on top of that!

That's the classiest garage urinal I've ever seen. And somehow fitting to be included in your pick up thread. ![]()
Nice work on the patches - they look great!

You need a better backstop for that urinal. Or maybe I need better aim. ![]()
Cool project. I've had a thing for Caddies since I was in high school (when they were new). I've never owned one, but did help my dad search for one several years ago. He wanted it for hauling stuff for the house and just knocking around in. The best one we found local to him was sitting in a grocery store parking lot sporting a for sale sign. It didn't look bad at first, but appeared to have been dropped on a log at some point as the underside had a rounded dent completely across that bent the chassis. Pity, because that was the most rust-free example I've seen in years. We never found one worth buying.
Yeah, I've never found a rust free example either, hasn't stopped me from buying three of em though!
So a friend had given me this a year or so ago. And it's finally time to put it to work!
I dug out the fuel tank from the attic and hit it up with the wire brush and some degreaser.
Turned out pretty nice. I was going to use tank sealer inside however, there really isn't a drain at any lowest point in the tank. This was also super annoying when trying to get the last of the fuel out...

Also, it really didn't look too bad inside, I guess tanks full of oil don't rust as much.
So I prepped and painted the outside, helper #2 shown in background.

And then... I finally re-installed a part!
That was just a few months ago and motivation has been through the roof since then.
There is a serious visible light at the end of this tunnel now.
I put the hard lines back on the rear axle and threw that in there too.
And, ta-da! It's on it's wheels, (well the back ones anyway)
So now that the reconstruction has begun, on to some of the exciting stuff. Cleaning!
So while he was out jogging, my brother called me and asked, "Do you wand a Sand-Blast cabinet?" Hell yes I do!
Some guy had it in his font yard with a FREE sign on it, FREE!
It needed new glass and some tuning, but the price was sure right.
Started cleaning up the old backing plates, which I ending up trimming and torching the bolts to get apart without pressing the hubs apart. The previous owner had upgraded the brakes already and the bearings were fairly new.
The parts didn't look as nice as they worked though.

More blasting,
That's more like it
A wire wheel and paint on the A-arms, and the Hubs.
And some new old stock seals, heavy emphasis on the old.
Oh yeah, and my brother brought over a powder coater and I bought an old oven off of CL.
I guess he is paying me back for the years of Dodge Truck storage.
First attempt at Powdercoating. I may have missed a spot.
More parts.
High Temp paint on new rotors...
And drum roll please...
I probably stared at the truck for 30 minutes at this point. It's happening! It's Happening!

Keep it moving! Looking great. These are getting more and more sought after among the vw tribe. Nice work on the blasting and the powdercoating. Is it as easy as it sounds to do nicely?
Easy? Sure. Time consuming, oh yeah. Powder coating already cleaned, brand new parts is probably easier/ faster than spray paint to do well though.
Now that the front brakes looked so nice and shiny, the rears look pretty gross.
So I pulled all that apart,
Here you can see the "Drop plates" the previous owner put on. I'll leave them for now.
To the blast cabinet!
4 Hours Later...
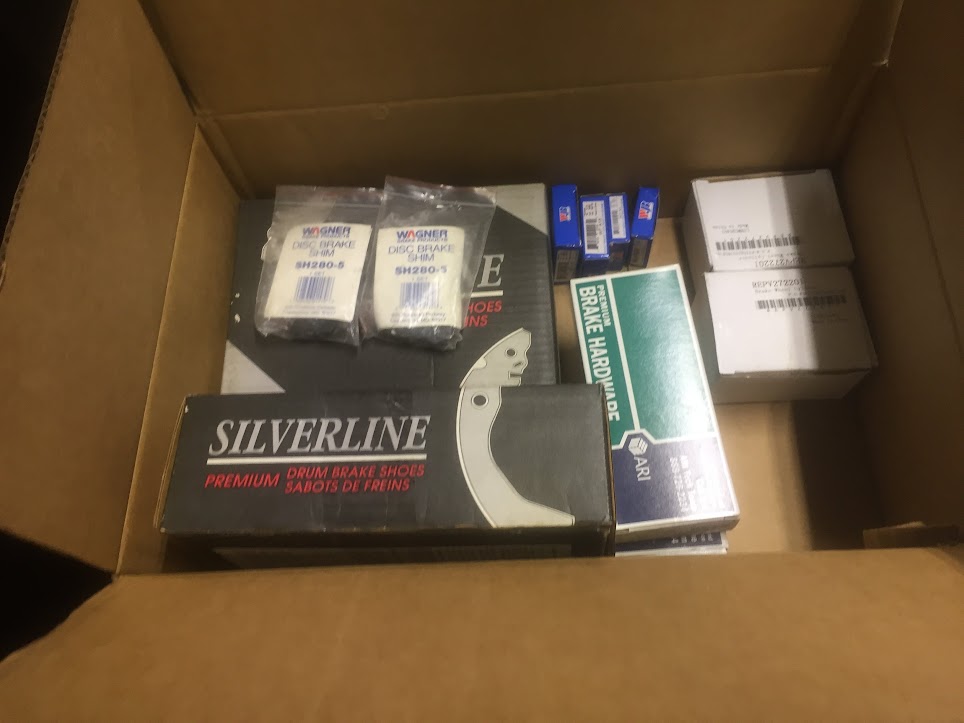
I had ordered all of the drum parts already and they were just sitting around.
For some reason I got doubles of springs and shoes. Oh well. That's not a problem.
What is a problem, is that the PO had already upgraded the rear brakes to 200mm and I ordered all of the parts for a 180mm drum.
So, there's that. Well after a little mixing and matching, I used the old shoes and drums with the new springs. It's temporarily functional.
Uh, whatever. I threw it all back together because I can fix that later. Right now, I just want it to roll.
In a related note, does anyone wanna buy a set of freshly powdercoated rear drums for a rabbit? Comes with replacement springs and two sets of shoes!
I'll post pictures in a bit.

Never seen "drop plates" before. I suppose those are easier than leaf spacer blocks. Keep up the good work. As an El Camino owner I have a soft spot in my heart for all ute/cruck/trar things.
The truck actually has leaf over axle, so blocks will only make it taller. These drop the truck an inch lower than I'd like but so would swapping the axle to the top. So aside from making custom springs this is the best option for now.
Here are the brake parts if anyone needs them.
And I recommend you measure your current drums, you know for fitment.

maschinenbau said:Never seen "drop plates" before. I suppose those are easier than leaf spacer blocks. Keep up the good work. As an El Camino owner I have a soft spot in my heart for all ute/cruck/trar things.
Yeah, they're fairly popular in the VW Rabbit truck world. Since they're FWD, the rear axle is basically just a stick with axle stubs bolted to the end. By relocating the axle stubs "up" relative to the stick axle, you maintain stock clearance from axle to body, stock shock length, etc. Also as noted, the factory configuration is axle under spring, so lowering blocks have an inverse effect, and doing an axle flip means a minimum 4"+ of lowering by the time you bolt the axle on top of the springs, which is often more than someone may be after if they don't want it slammed.

xflowgolf said:maschinenbau said:Never seen "drop plates" before. I suppose those are easier than leaf spacer blocks. Keep up the good work. As an El Camino owner I have a soft spot in my heart for all ute/cruck/trar things.
Yeah, they're fairly popular in the VW Rabbit truck world. Since they're FWD, the rear axle is basically just a stick with axle stubs bolted to the end. By relocating the axle stubs "up" relative to the stick axle, you maintain stock clearance from axle to body, stock shock length, etc. Also as noted, the factory configuration is axle under spring, so lowering blocks have an inverse effect, and doing an axle flip means a minimum 4"+ of lowering by the time you bolt the axle on top of the springs, which is often more than someone may be after if they don't want it slammed.
That also works on early Chrysler FWD cars and trucks, especially minivans and the Rampage. The bonus with the trailing arm cars is that it maintains the suspension geometry, which gets weird under braking when it is lowered too far.

subscribed
So now that the truck is down on all 4 wheels, I can take it outside.
Why is that important? Pressure washing!
Here's a decent before picture, I had only cleaned up the wiring harness at this point. Take note of the state of the steering rack too. Gotta fix that up.
And after the first round of pressure washing, below.
I still found some dirt and more rust so I rolled it back outside for a date with the sand blaster.
Much better.
Later that night, my brother came over and I was talking about rebuilding the steering rack. He said, well, while I'm here, why don't we just put the engine in?
OK
At this point i realized that I'm going to have to fab up all of the engine mounts except one. I had mistakenly believed it was the other way around. Oh well.
The front mount from the stock 1.6
And the placement of the side engine mount. It looks ridiculously tight, but that's just the angle. This is actually the easy one. You can backdate the old mount with an angle grinder and it bolts to the side of the block.
Alright, Time to pull the engine back out and get to work!
Oh man, the joys of mk1 VW passenger side engine mounts.
My Rampage has a rear axle flip PLUS a small 'lowering block' but I tend to take lowering pretty far. I used to be on the extreme fringe before 'stance' was a thing. ![]()
The bolt pattern on your rear axles looks like it might be almost exactly the same as the one dodge uses. I'm not sure what Dodge and VW's relationship was in the 70s but the 78 Omni really seems like a Mk1 VW built with the benefit of hindsight. Many similarities. People even use Mk1 VW coilovers to lower them. The 1.7vw engine that was used briefly in Omnis was said to have a chrysler-specific cylinder head (not sure it's true), and then shortly after dodge comes out with their own larger 2.2 which was similar to the 8v vw in many ways.
Excited to see this moving along!!

Can you flip the rear axle and use a longer spring shackle to raise it back up?
I know someone who has one of those with that engine in it. His is lifted rather than lowered though.
In reply to Vigo :
I had that same thought just yesterday, that I could use a small lift block to bring it back up an inch. (or using a longer shackle like Crackers suggested.) I feel like that solution, just, bothers me. I guess using two stones for one bird kinda thing. Oh well, we'll have to wait and see if the tires rub the fenders (I believe they will), that will bother much more and then I'll be forced to pick another solution.
In reply to Tk8398 :
I am also a fan of lifted Caddys, but that would require 4 wheel drive...
So with the engine back out, I can start working on the side mount.
Here you can see the two bolt holes that are exposed on the left side of the picture. These holes don't do anything on the 98 Jetta and are a carry over from the old style engine mount I am backdating to. There are two more holes underneath the timing belt cover, and to get to those, I need to take the timing belt off.
In order to take the timing belt off you need to do three things, lock the Camshaft in place, lock the crankshaft in place and use a pin to set the injection pump. Now you can buy a kit with all of these tools for around 150$ but that's a lot of money for some very simple tools. For example, Here is how you can lock the camshaft in place.
Good ol' zip-ties.
as for the injection pump pin, I went a little more high class.
I measured the hole with calipers and found a slightly larger piece of aluminum laying around to mill down. I've seen guys just use a deep socket of the right size but I couldn't find one that fit perfectly.
And because I have a knurling tool, Knurl all the things!
I think this will less help with removing the pin than it will remind me that this is a tool and not scrap to be milled down into something else!
Fits well and now I know I can remove the Injection pump gear.
As for the Crankshaft lock, I cheated. This one would have taken a bit of time/ trial and error to make. Also this tool by itself was only 15$ at Metalnerd.com. They are an awesome company with a very helpful staff so I recommend you give them your money if you need tools for your Audi or VW.
Of course to get to this point I had to remove all of the V-Belt and serpentine pulleys.
This should be an easy step but the Allen heads on two of the bolts inside the crankshaft were stripped.
And if there's one thing I've learned from watching RoadKill, it's that you can fix it with fire!
Also I found a post online that you can use a 12mm 12 point socket over the VW allen heads.
A 18v impact driver broke it free easily after that.
One properly wrecked and removed bolt.
I'm bouncing around a little bit since I'm still working on the side engine mount and this is done.
That dirty banged up steering rack.
I ordered new boots for it a few weeks back and just got around to pulling it apart.
It was functioning fine but you can see the boots were Fubar.
The rack itself needed some brake clean and some spray paint.
Ordered the wrong size boot! CRAP.
But an extra week later...
Hmm, maybe I should install it? But then I won't be able to see how nice it looks.

I'm digging this build! I know nothing about these, but I've always thought they were cool! Can someone tell me why they're called Caddy's? I'm having trouble figuring that out, even though I've heard it for years. Just never thought to ask. ![]()

In reply to sethmeister4 :
It's the Euro term used for pickup. Not sure the derivation beyond that.
Last week my bother came over and we rolled his project truck out, "Major Repairs" or just the "The Major", andgaveit a much needed bath.

This was convenient timing since a few days prior, we discovered this...
If you can believe it, this is after my brother pulled some of the gunk out with a screwdriver.
So apparently, these TDI motors have an EGR system that basically pumps diesel soot into an oily intake manifold, thus making this lovely concoction.
Here are the runners and the head isn't any better.
Time for step one,
Much better...
But not quite satisfied. So I threw it in a bucket of Heavy duty degreaser for a day and sprayed it again.

I believe that's what we call good enough. If you stick your finger inside the runners they still come out covered in black soot but I don't think it's impeding flow anymore.
Alright, back to work on those engine mounts!
You'll need to log in to post.