Keith Tanner
Keith Tanner GRM+ Memberand MegaDork
7/4/15 4:41 p.m.

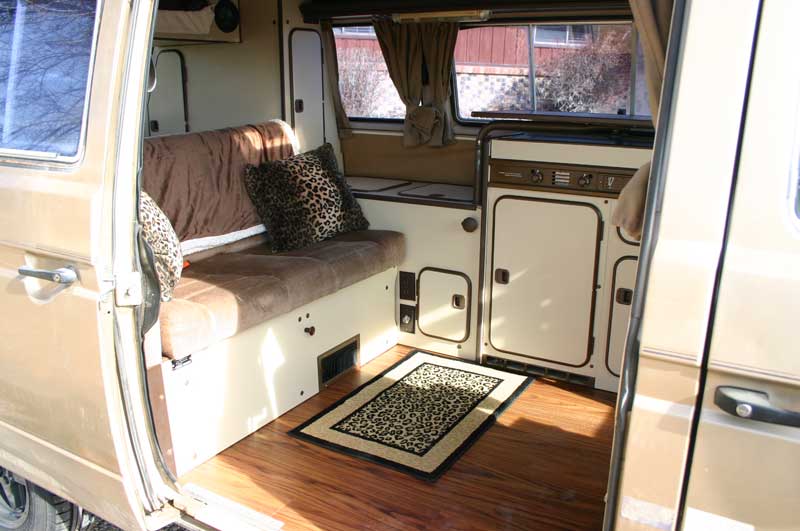
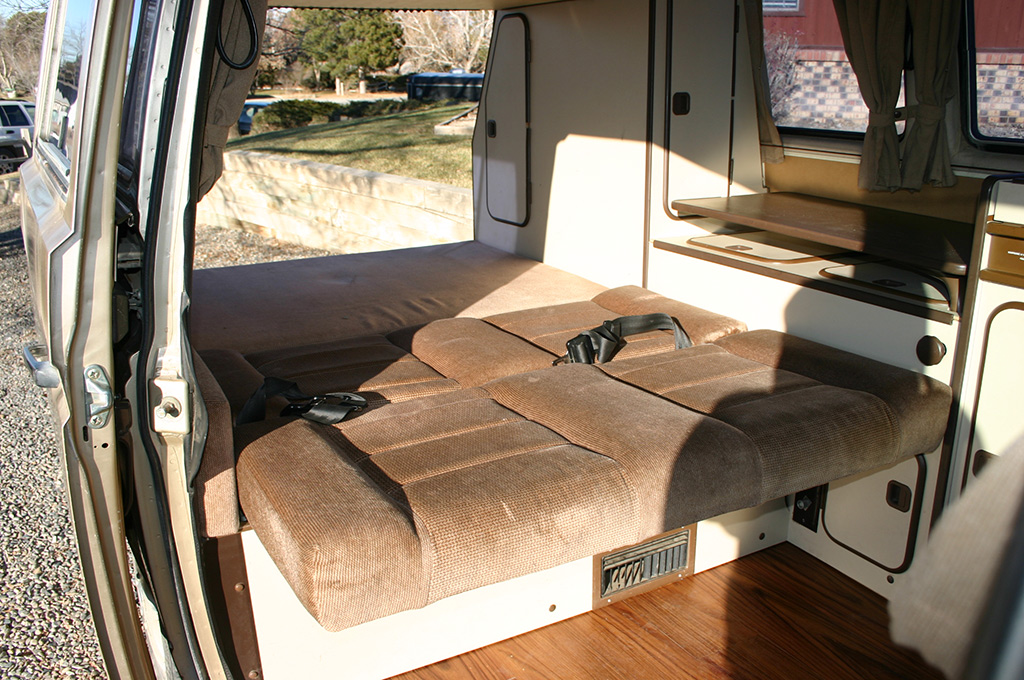
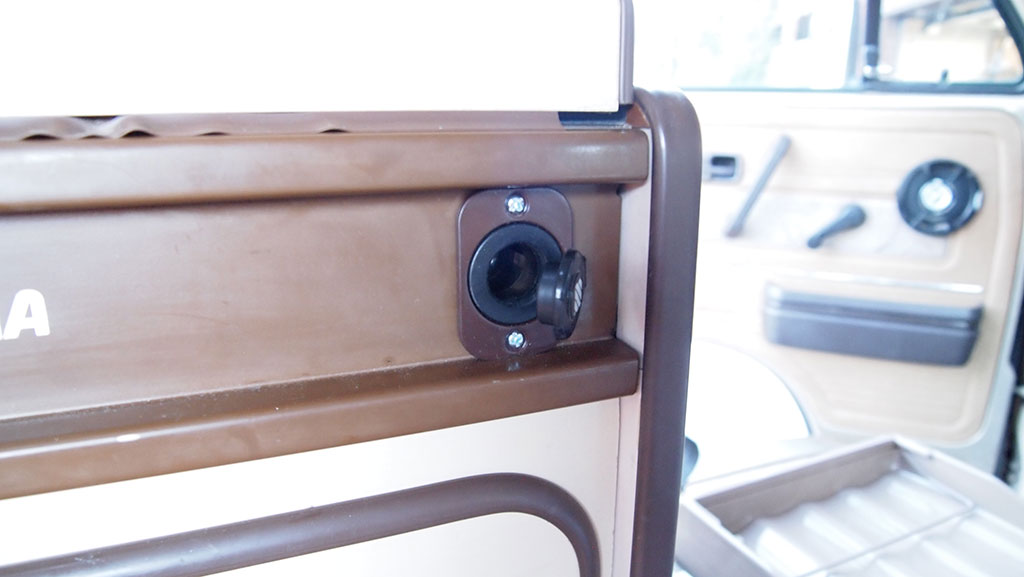
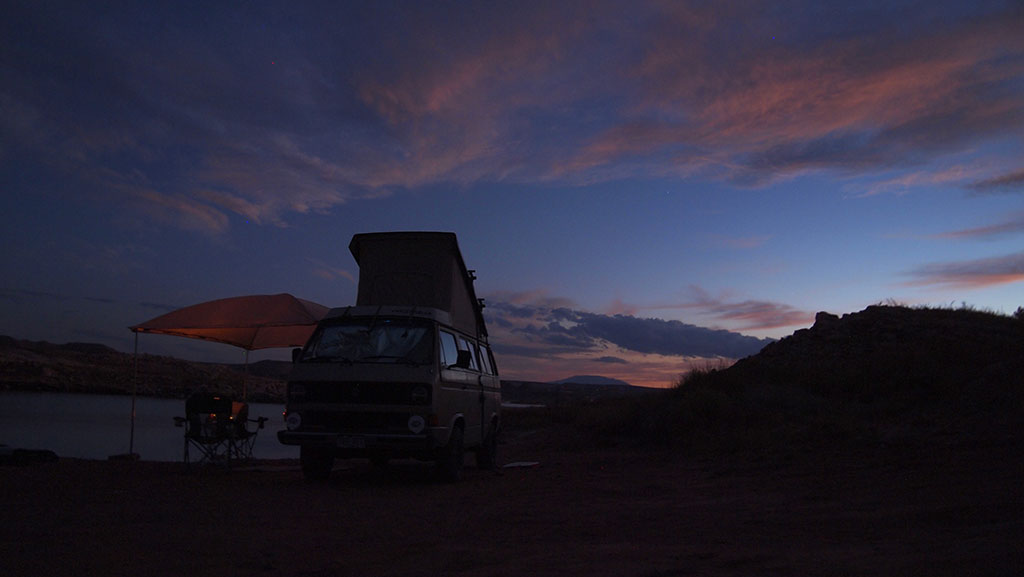
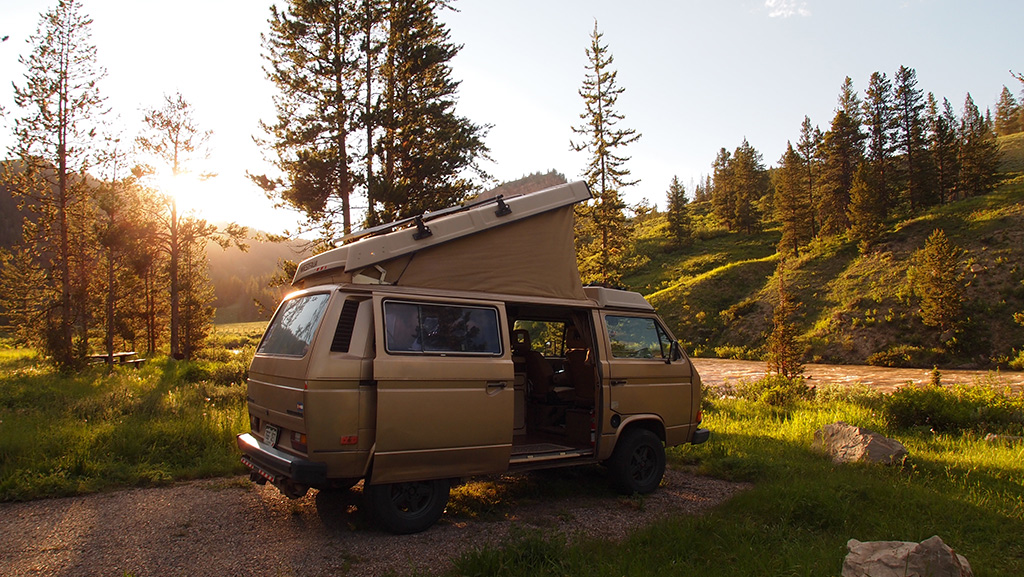
As some may know, I've got a 1985 VW Vanagon Westfalia with a Subaru engine (previous discussion). Wonderful little thing, with everything you need for fun weekend getaways but without the size, expense and fuel economy of a big RV or trailer. I've been playing with it for the past 4 years, tweaking everything from the size of the sway bars to how the rear table mounts.

If there is demand, just ask and I'll expand this thread into "fun projects on a Westy". For now, we're going to concentrate on one thing. This is a retrospective look at a series of cascading modifications.

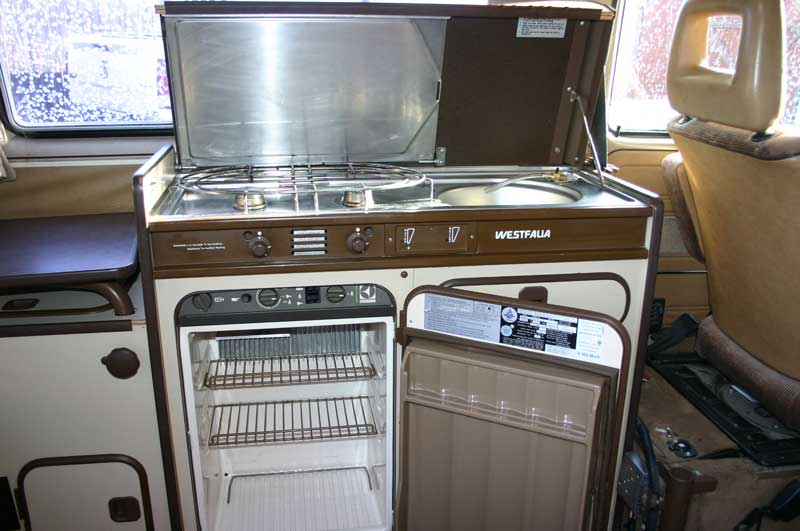
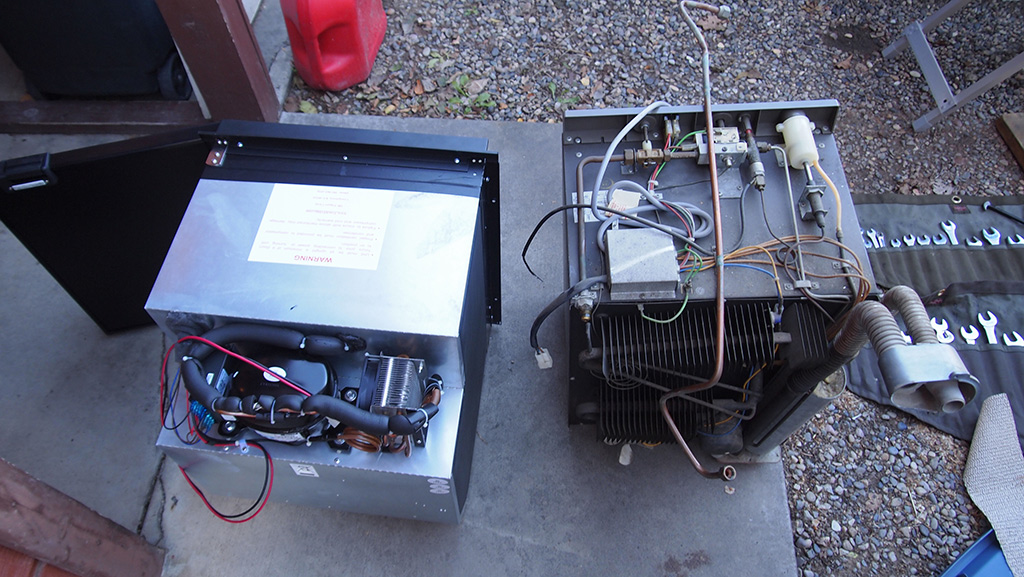
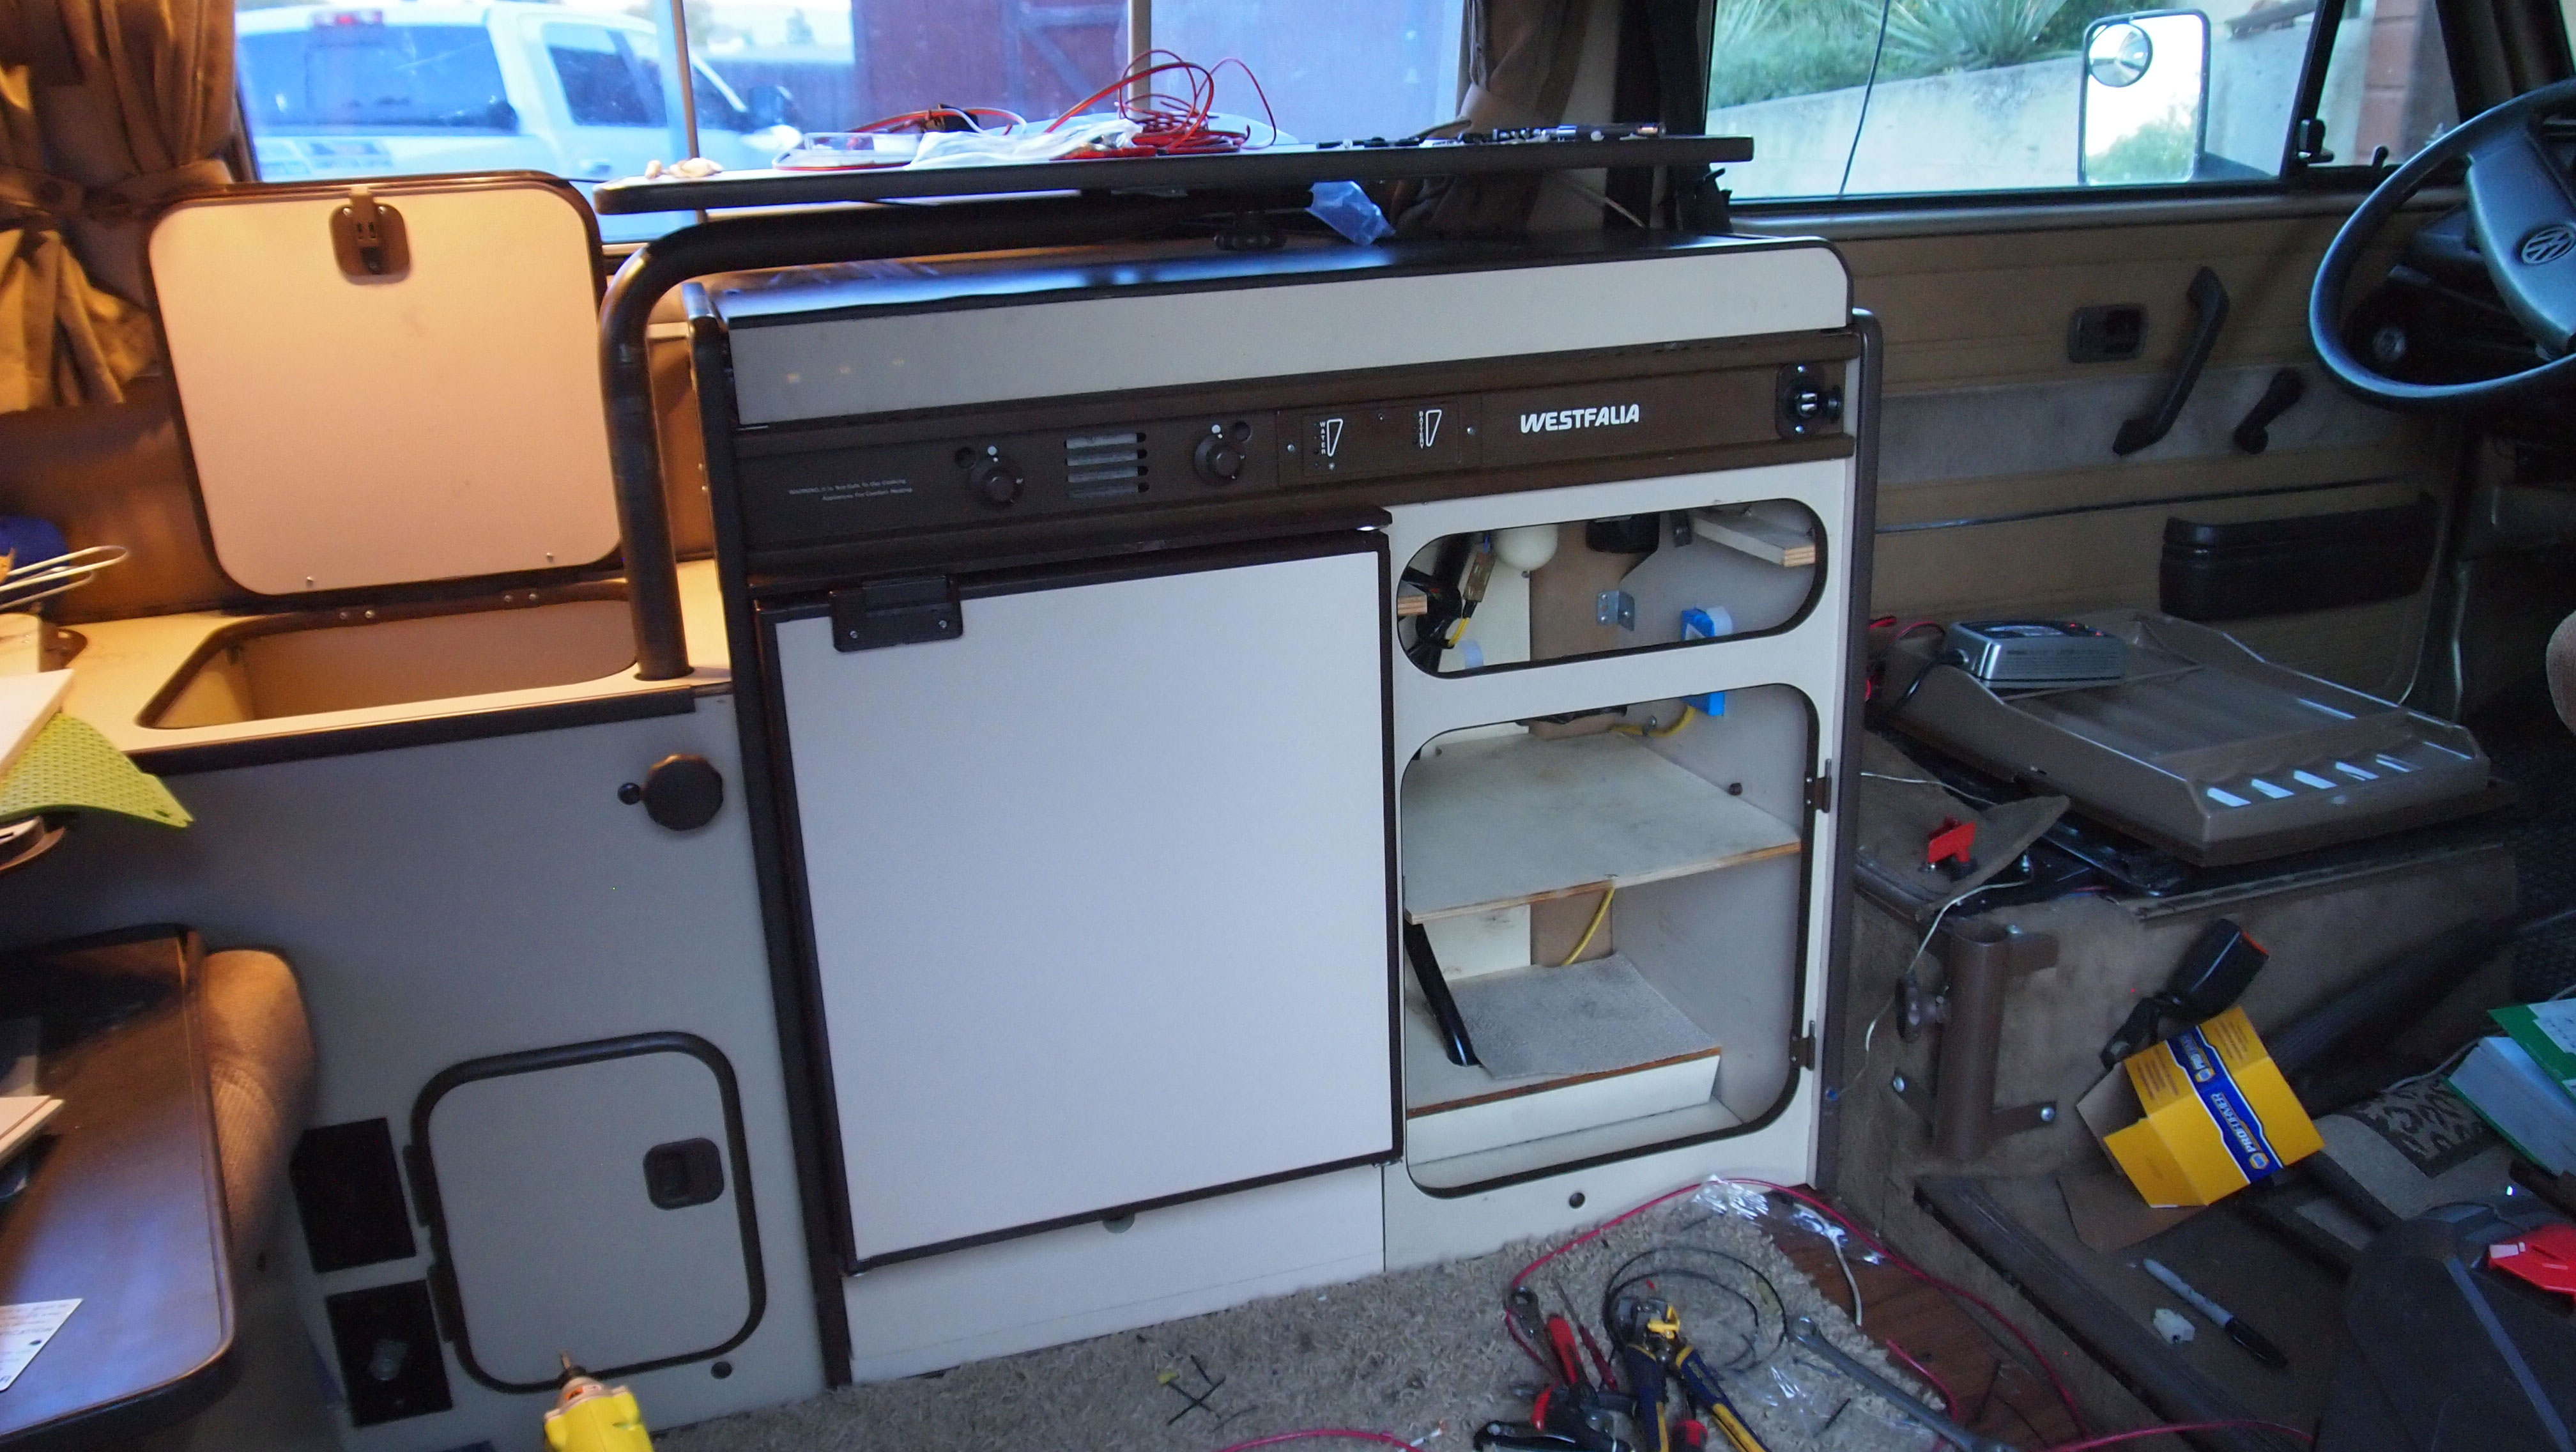
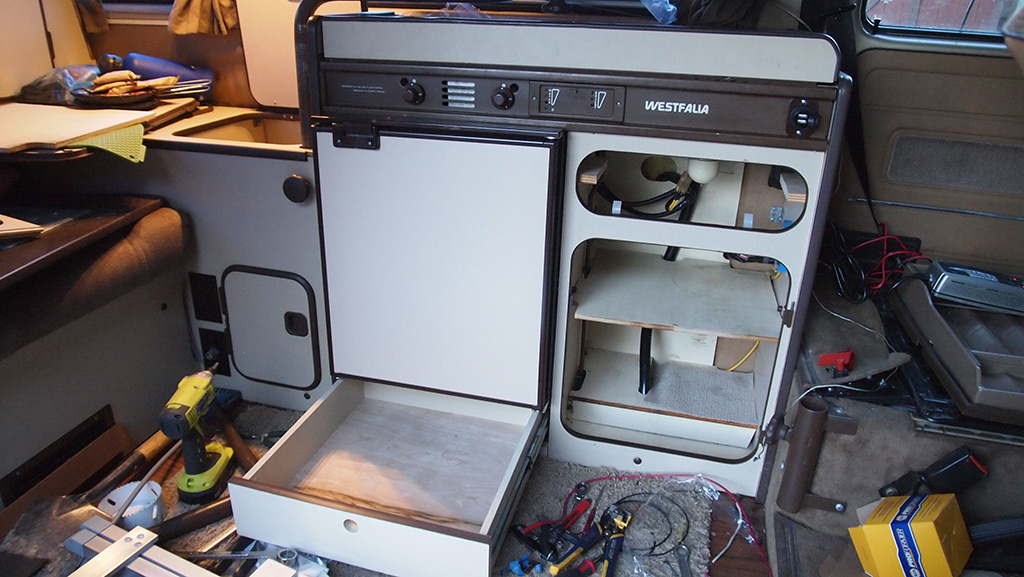
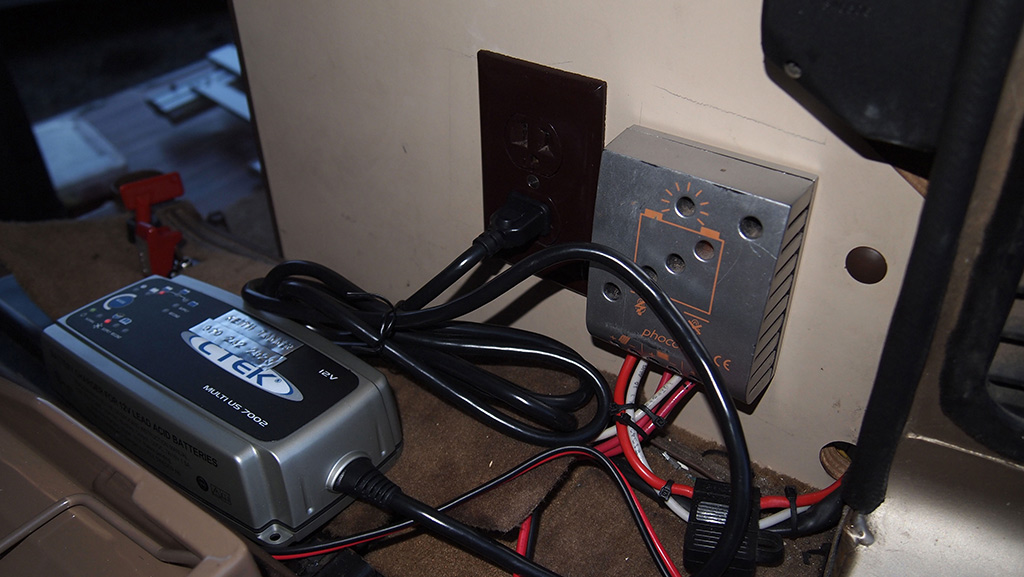
The fridge that Westfalia used is an absorption style. This is pretty neat in that it can run on propane, 12v or 120v. Perfect for a camper, especially if you're off-grid. But there's a limit to how much it can drop the temps. Figure a 40F drop. That's great if you're camping in 70F weather - but if it's 100F outside (and possibly even hotter in the van), that means that the inside of the fridge is 60F. Plus they can be a bit cranky at times, and their 12v power consumption is massive.

Westy owners do all sorts of things to optimize these - rotating ice packs from the top to the bottom of the fridge, constant monitoring of the internal temp, fans inside the fridge, etc. I didn't want a fridge I had to mess with.

Keith Tanner
Keith Tanner GRM+ Memberand MegaDork
7/4/15 4:57 p.m.

On the solar side, the previous owners of our van owned an alternative energy company. It came with a 6' long solar panel that could be plugged into a socket on the top of the van to recharge the "house" battery. There was a little controller on the back of the driver's seat that showed the state of charge with three little LEDs and would beep every time you dropped an LED. There were also some home-brewed LED interior light setups.

Here's what we were dealing with. I didn't take any "before" shots that were intended to be used specifically for this build. You can see the controller mounted to the carpeted plinth upon which the driver's seat sits - it's the grey box with many holes.

Keith Tanner
Keith Tanner GRM+ Memberand MegaDork
7/4/15 5:04 p.m.

Time for the upgrade. I decided to install a modern compressor fridge. This is a scaled-down version of what you use at home - unless you're off the grid and running a propane fridge, in which case you're probably not reading this anyhow. Considerably more effective at making cold - even with the ability to make ice cubes. On purpose. I had the choice of a couple of good options from Truckfridge, the TF45 and the TF65. The numbers refer to their capacity. The bigger TF65 requires more modification to the cabinetry, but runs the same hardware so it has the same current draw.

About that current draw. The original Westfalia fridge was reasonably parsimonious with propane and a total current hog on 12v. It drew something like 16 or 17A continuously. Given that I had a 40Ah battery to run it, that meant it would only survive about 2.5 hours before it would completely flatline the battery. Not cool, especially if you don't realize this ahead of time. The Truckfridge draws 2.3A when it's running, and at typical settings it runs about 30% of the time. That means an average of under 1Ah, which makes the house battery good for days.

To add insult to injury, I discovered some odd wiring for the house battery including the fact that the stereo was running off it, but the battery wasn't being charged by the alternator unless you threw a switch. Not cool. At some point during the van's time with us, I added a solenoid to gang the two batteries together when the ignition was on. On our first long trip with the fridge running on 12v, this thing literally went up in smoke. It was designed for golf carts and had some spectacular specs, but I think it overheated from the constant draw.

The Truckfridge wouldn't run on 120v or propane, only 12v. No worries, I had that house battery and on-board solar. We are good to go. So I ordered one, then proceeded to tear into the van.

Keith Tanner
Keith Tanner GRM+ Memberand MegaDork
7/4/15 5:14 p.m.

The first step was to get the old fridge and cabinet out. This made the van look pretty derelict. The exposed insulation is behind the fridge, I had to trim the interior paneling back so the fridge would fit. You can also see the backside of the city water hookup, which in theory would allow me to hook up to a hose and use that for interior water instead of using my onboard tank. I discovered that this had been disconnected from the system, which would have led to an instant flood had I ever used it. Exciting. The new fridge was too bulky to allow this to be used, so it was repurposed.

The kitchen.

Here are the two fridges compared.

The old fridge had a pretty bulky mechanical backside, which meant that the new one is a whole lot more space efficient. Excellent. It also has a true freezer.

Keith Tanner
Keith Tanner GRM+ Memberand MegaDork
7/4/15 5:30 p.m.

I didn't take any pictures of the next part. I tore the cabinet down all the way, then moved the central wall over by approximately 1" to deal with the slightly wider Truckfridge. This wouldn't have been necessary with the smaller TF45, but I was willing to do the work for the bigger unit. Luckily, it's a pretty easy job and doesn't impact the door or drawer on that side. This also gave me the chance to reinforce the cabinet a bit.

While this was going on, I pulled the black trim off the front of the Truckfridge and painted it brown to match the other trim in the van. I had also sourced new laminate that slid into the front and matched the factory stuff.

The picture makes the new laminate look a little bit lighter, but it doesn't look that way in person. The new fridge door sits proud of the cabinet, but it looks original unless you know what original looks like.

The original fridge had a control panel above it to control the power source and light the pilot light, etc as well as a grille underneath for an air inlet. I didn't need that, so the new fridge could sit higher. I built a drawer to go underneath. This is all new storage space.

The new fridge did need some air circulation to run. By happy coincidence, there's a perfectly placed inlet from the original one. There's also a vent up above. Sweet.

Completed. Again, I've never seen that color mismatch in person, it's something the camera brings out. If you didn't know, you'd think this was stock.

Keith Tanner
Keith Tanner GRM+ Memberand MegaDork
7/4/15 5:35 p.m.

Ah, but there's more. There's a closet in the rear quarter of the van that's accessed through a tall, narrow door. It's a bit awkward due to the shape and the table is in the way most of the time. It even has a hanger rod. I guess you could hang your vintage Greatful Dead shirts there, but it's really just not that useful despite being the largest volume storage area in the van.

It's the narrow door that is (of course) blocked by the table in this pic.

But now we have a spare door off the old fridge. Some genius in the VW community figured out you could put it on the side of that closet, and voila. Big access that can be easily reached. It's the big rectangular door in this picture.

While I was doing all this, I relocated the solar controller to a less conspicuous location behind the driver's seat - I don't have any pics of the original location. I also added a 120v socket beside it. That way, when we're plugged in to shore power, I can attach a charger to the house battery to keep it topped up. The battery has pigtails on it with a quick release so the CTEK charger just plugs in. It all stays behind the seat, neat and tidy. I could have a Truckfridge that runs on 120v as well as 12v, but I spent the extra money on the charger because it works on all my cars.

While I was wiring, I added an extra 12v outlet to the front of the kitchen cabinet just because you can never have too many. It runs off the house battery for recharging stuff.

The old city water setup that had never worked anyhow and wouldn't fit with the new fridge was turned into a socket for the solar panel. The one on the roof was goofy - it was at the highest point of the pop top but you couldn't get the panel out without popping the top, leading to some clambering around. This was a much cleaner solution.

To recap: The new fridge is more energy efficient. It's cooler inside the fridge and now we have a freezer. It has more space inside. And more storage space outside due to the new drawer, as well as more usable space due to the relocated door. And it's easier to hook up the solar. How awesome!

EvanB
EvanB GRM+ Memberand UltimaDork
7/4/15 5:47 p.m.

Thanks for making me search CL for Westfalias again. I vote for a build thread on the whole thing.

Keith Tanner
Keith Tanner GRM+ Memberand MegaDork
7/4/15 5:52 p.m.

Time for the first camping trip. This was just a weekend trip, but I was eager to try out the new setup. To set the scene:

The fridge worked great. We put a bunch of food in it, and it stayed cold overnight. But the next morning, when I deployed the solar panel, I found the house battery was still discharging. I couldn't keep up with the load from the fridge, causing us to run purely off battery power for the fridge. No problem there, the battery was up to it. But only barely for our weekend. Had we been on a road trip where we'd changed campsites every night, the alternator would have charged it up. But we were stationary, well off grid and solar was our only option other than just idling the van. The solar wasn't cutting it.

When I got home, I tried to get an idea of how much power we should be generating from the panel. I couldn't find a model name or anything to identify it. So I hooked up an ammeter and started measuring the output. And it turns out solar panels are really interesting things. Having it angled towards the sun instead of flat on the ground makes a big difference. So does a shadow - not having the whole thing in shadow, but even the shadow of a hand on the panel can kill the output of the whole thing. It was fun to play with.

The most important thing I learned, however, was that the absolute most I could eke out of our panel was about 1A (13W) of power. That's enough to keep up with the draw from the fridge when deployed perfectly, but not enough to get ahead and charge the battery. So it was time to look into a more efficient setup.

Keith Tanner
Keith Tanner GRM+ Memberand MegaDork
7/4/15 5:53 p.m.
EvanB wrote: Thanks for making me search CL for Westfalias again. I vote for a build thread on the whole thing.

I'm not going to apologize. These things wiggle their way into your heart. There's a reason most of them have names. Ours is Westy The Wonder Bus.

Keith Tanner
Keith Tanner GRM+ Memberand MegaDork
7/4/15 6:07 p.m.

The new solar system had to produce enough power to recharge a heavily depleted house battery while the fridge was running. For bonus points, it should have a bit of extra capacity. It should also be easy to deploy and monitor.

100W is a pretty typical size for panels these days. That converts to roughly 6-7A of usable power in ideal conditions. Take 1A average off to run the fridge and we have 5A left. 8 hours of that would recharge a 100% depleted house battery, which shouldn't happen. The panels are also a useful size for mounting.

For monitoring, the old controller had to go. It only had red/yellow/green LEDs, no real information. It turns out there are two types of controllers - PWM and MPPT. The former is less expensive and less efficient by about 30%. The latter requires all the panels to be the same size. I really wanted to go MPPT, but I didn't really need the extra efficiency and I had that socket on the side of the van. I figured that if I needed more power, I could throw an extra panel in the van and use that to bolster the main panel. So I went PWM. I still wonder if that was the best decision, but there you go.

I decided to permanently mount the panel to the roof of the van. It wouldn't be as ideal as a detachable panel that could be placed in the perfect position, but that was a pain in the butt to do and the panel took up storage space. Besides, our pop top gave us the right angle if we had the van parked the right way.

The panel is a Renogy mono crystalline unit. You can get these as a package for a killer deal including cables, panel and controller. For some reason, most controllers are positive ground including the ones in the package. No problem if I wasn't tying this into a vehicle electrical system, but I was able to find a negative ground unit that played nice with everything else. A solar expert might be able to explain the thought process behind the positive ground controller, but I stuck with my comfort zone.

The van has roof racks, so I simply bolted the panel to the racks. There's enough room on the side for our various toys, and I can always unbolt it.

The new controller. I have much more information about what's going on - current load, battery discharge rate, current solar (photovoltaic, aka PV) output, battery state of charge and historical info about the amount of power used. It'll cut the load if the battery voltage drops below a certain point to protect the battery. It's a bit odd in the state of charge calculations, but I've been happy with it.

Keith Tanner
Keith Tanner GRM+ Memberand MegaDork
7/4/15 6:21 p.m.

So, how does it work?

The new setup got its first real test this spring. We took a 10 day trip to Yellowstone, Grand Teton and environs. The fridge was loaded with 4 lbs of frozen meat, a bunch of fruits and veggies, chocolate milk, white milk, cheese, eggs, etc, etc. We never would have been able to keep that meat frozen before, never mind the sheer volume of stuff that was in the fridge. We didn't have to buy any new food during the trip other than an emergency graham cracker resupply due to higher-than-expected consumption of s'mores.

A coworker was on a long Westy trip in the same timeframe with a stock fridge. He lost a fridge full of food when the flame went out on his propane burner, and was shopping every couple of days.

The solar was rock solid. One unexpected side benefit to the permanently mounted solar panel is that it's working all the time. We spent most of our day moving around the park, short distances of driving then long parked periods as we hiked around. One day we drove less than 15 miles, which wouldn't have recharged the battery via the alternator. I wouldn't have deployed the old panel every time we stopped, but the permanent panel just took care of business.

Once I was comfortable with the ability of the system, I could just forget about it. The only concession we made to the solar setup was moving the van forward by 5' at a heavily shaded campsite during the day when we'd put down roots for a couple of days. Probably not necessary, but there you go. It was just...easy.

The solar got a lot of attention. You always meet other Westfalia owners when you're traveling in one, it's a friendly community. A few of them wanted to know more about the solar setup, as that panel is pretty easy to see when the top is up.

ssswitch
ssswitch Reader
7/4/15 9:00 p.m.

Man, I love me a good Westy but they are so unbelievably expensive, especially with a great EJ22 swap like you've got here. There are a few turbo (EJ257 - the STI motor) Syncro Vanagons running around here. A friend of mine has two T3 Weekenders and is always on the lookout for a cheap T3 Westy, but that's a whole different kettle of fish.

You should post the other projects you've done with this. The interior work is super high quality.

I am also curious why so many solar panels are positive ground. I asked an electrical engineer friend just now and he said it was probably "to slow oxidation due to the galvanic series," which I think means wizard magic.

Keith Tanner
Keith Tanner GRM+ Memberand MegaDork
7/4/15 10:07 p.m.

It's probably the only vehicle in my fleet that's actually appreciating. Prices are all over the place, but they're definitely trending upwards. I might have missed out on air-cooled 911s, but we bought this one well. The price would have been good for a VW-powered van, never mind one with a Subaru swap. We got it out of a fairly remote Colorado ski town, one without quite so many trust fund babies as places like Telluride.

I'll do a build diary for it, although the stuff from four years ago will be a bit vague...

Wally
Wally GRM+ Memberand MegaDork
7/4/15 10:22 p.m.

I love it. I wish I had picked one up when I had the chance.

dyintorace
dyintorace GRM+ Memberand UberDork
7/5/15 6:47 a.m.

Great stuff Keith. Maybe the basis for the next book??

Keith Tanner
Keith Tanner GRM+ Memberand MegaDork
7/5/15 7:56 a.m.

Dunno what I could say that hasn't already been said!

Build thread for the Westy: https://grassrootsmotorsports.com/forum/build-projects-and-project-cars/1985-vw-westfalia/103371/page1/

Toyman01
Toyman01 GRM+ Memberand MegaDork
7/5/15 7:59 a.m.

This is a timely thread. I was looking at truckfridge.com this morning thinking to replace the Dometic in the Alaskan camper. I've got a 12V fridge and the solar setup, but it's a top load and integrating it into the cabinets would be a challenge.

Your upgrade was nicely done. Thanks for the ideas.

You'll need to log in to post.

Our Preferred Partners
TssgId5C34vlt3qute9PCpkDxVYVIZZAG8sNdrJ1Pk7K3yhgRovjUa2SCONOyej0