


maschinenbau said:Oh I just realized you haven't gutted the doors yet. You can keep them functional with hinges and get them pretty darn light. They will be floppy though.
Any way to retain all the glass while doing so?

maschinenbau said:Oh I just realized you haven't gutted the doors yet. You can keep them functional with hinges and get them pretty darn light. They will be floppy though.
Any way to retain all the glass while doing so?

Don't need Side Glass use a Window net.
Thats a possibility. However, window nets are not budget exempt, and with no roof theres no attachment. Additionally, im trying to minimize work and expense for after the challenge goals. Thinking ahead, which is much different than what im good at.
Challenge budget so far:
previous challenge budget: 1135.71
recoup: 822
ok, some parts came in.
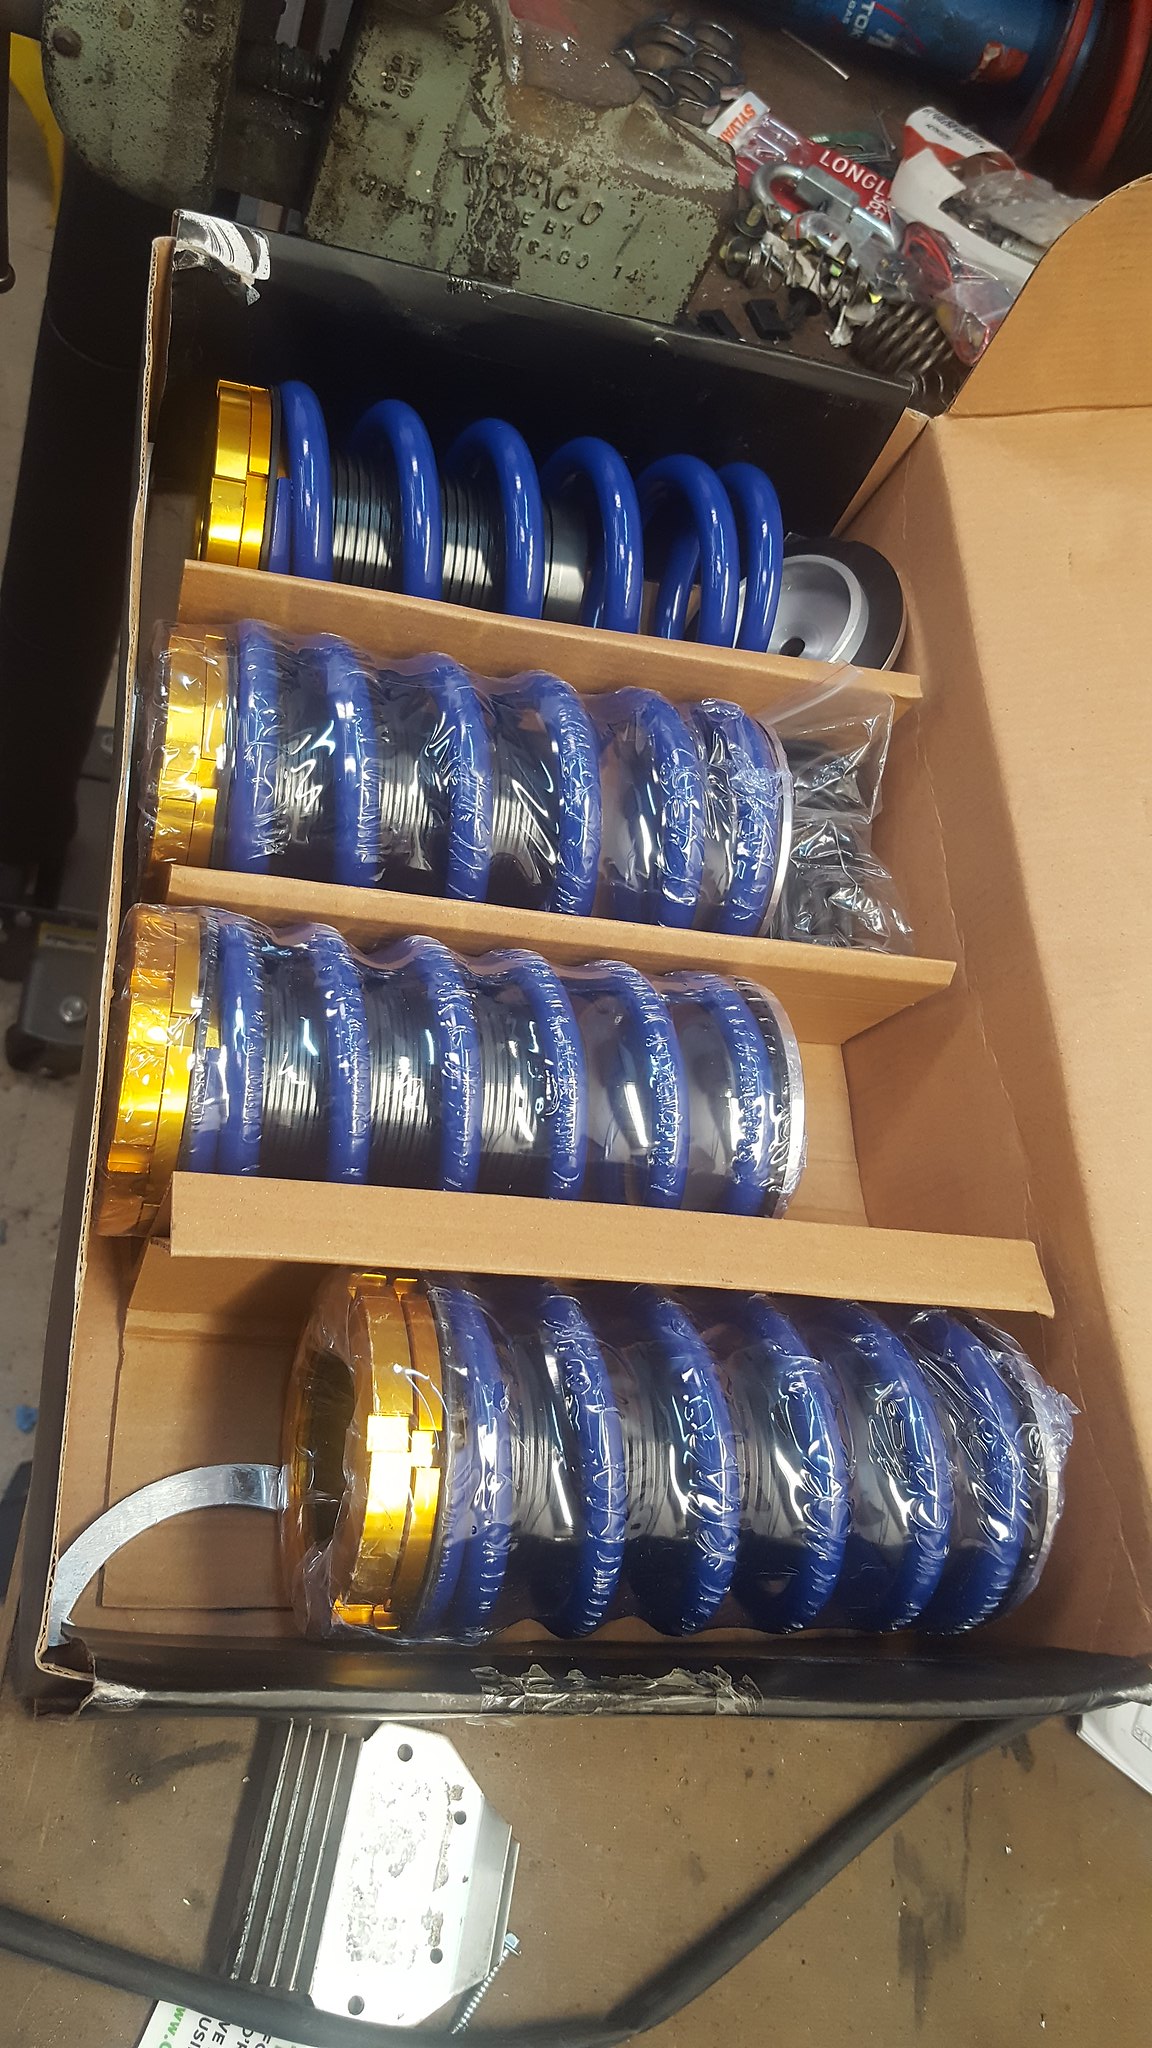
amazon coilover kit with unknown rate springs:
 20180117_153520 by Michael Crawford, on Flickr
I tried the measuring process to determine what spring rates. Seems like 450/250 is what they are, near as I can tell. No way to know for certain with the equipment I have on hand though.
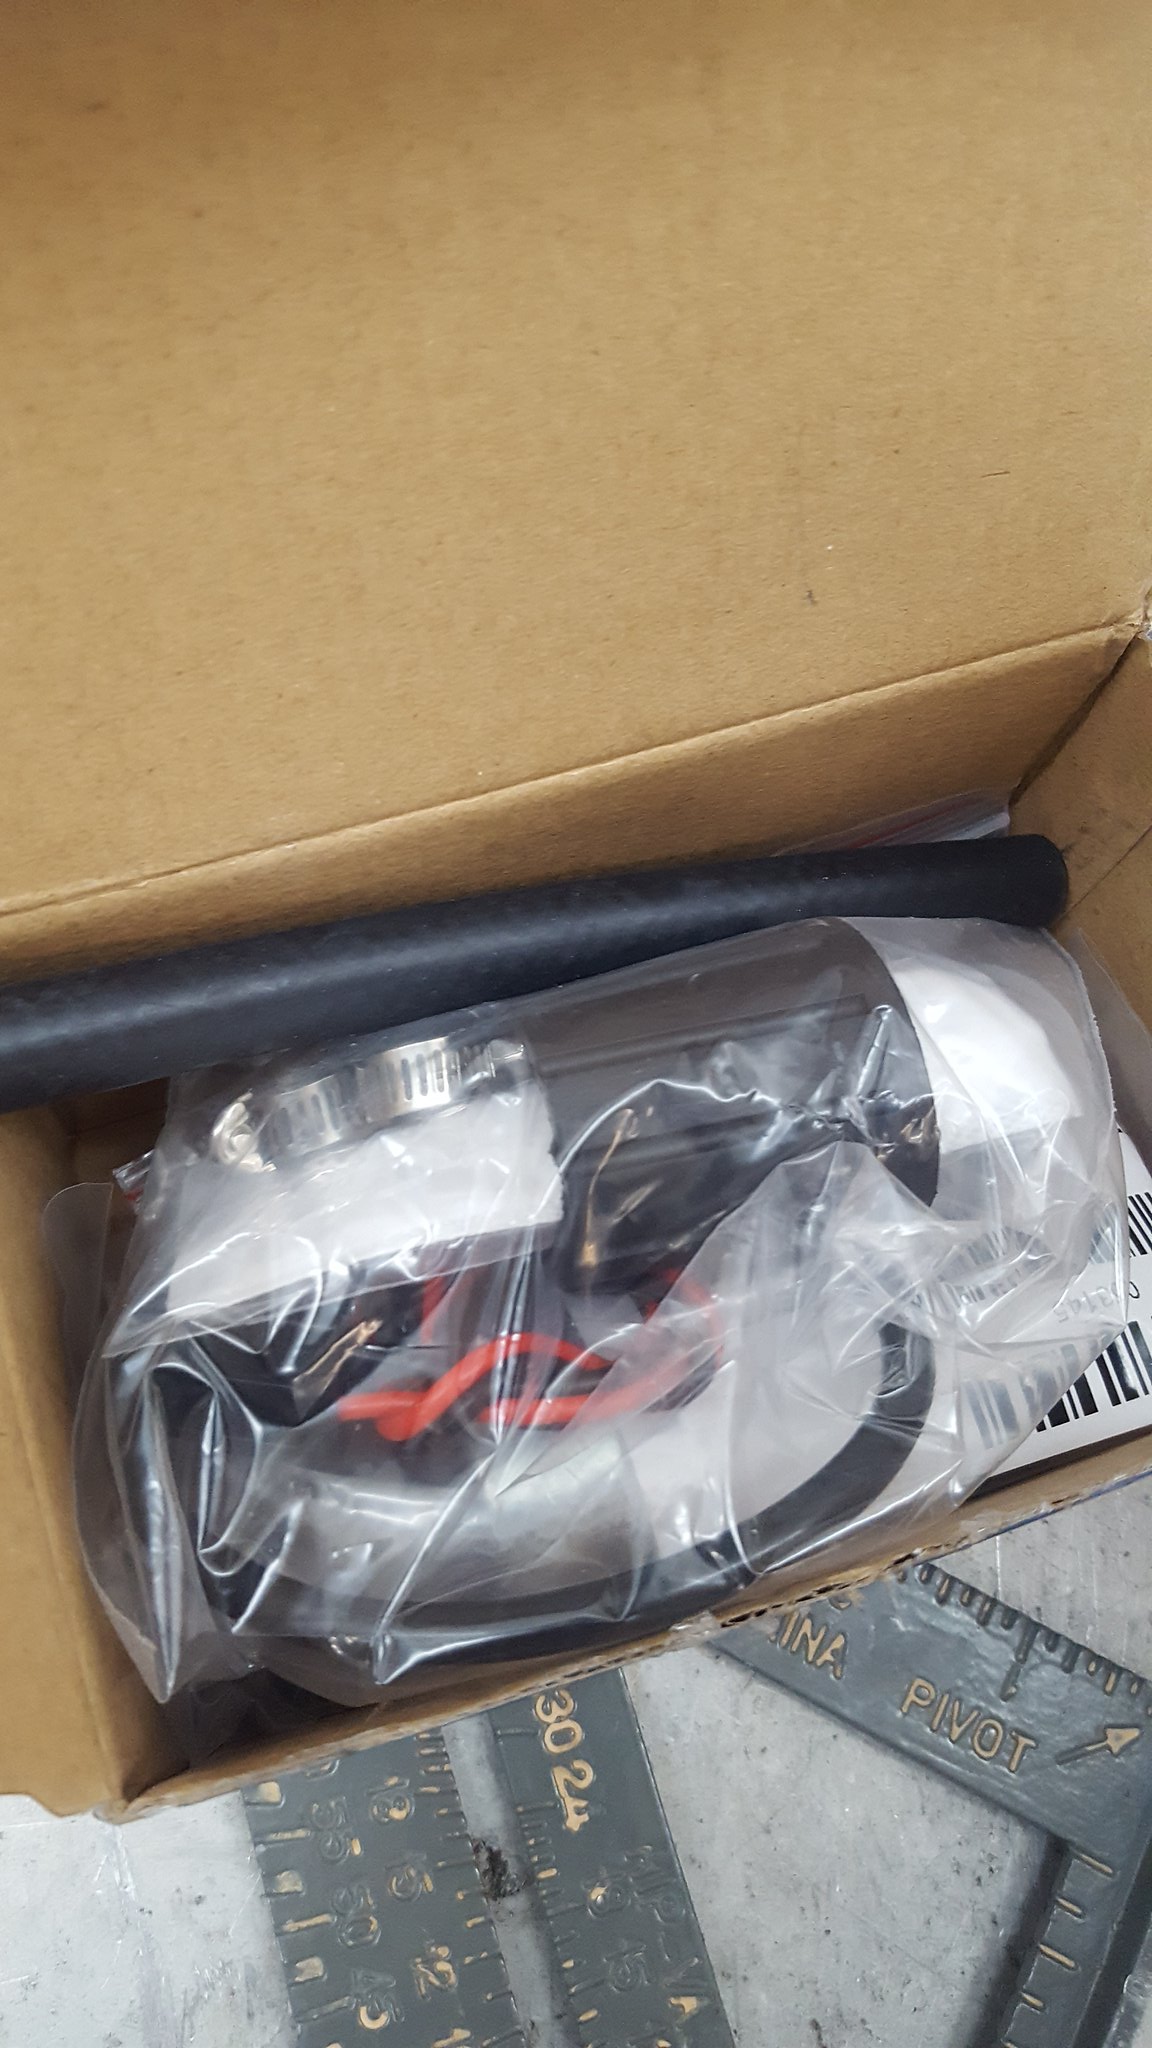
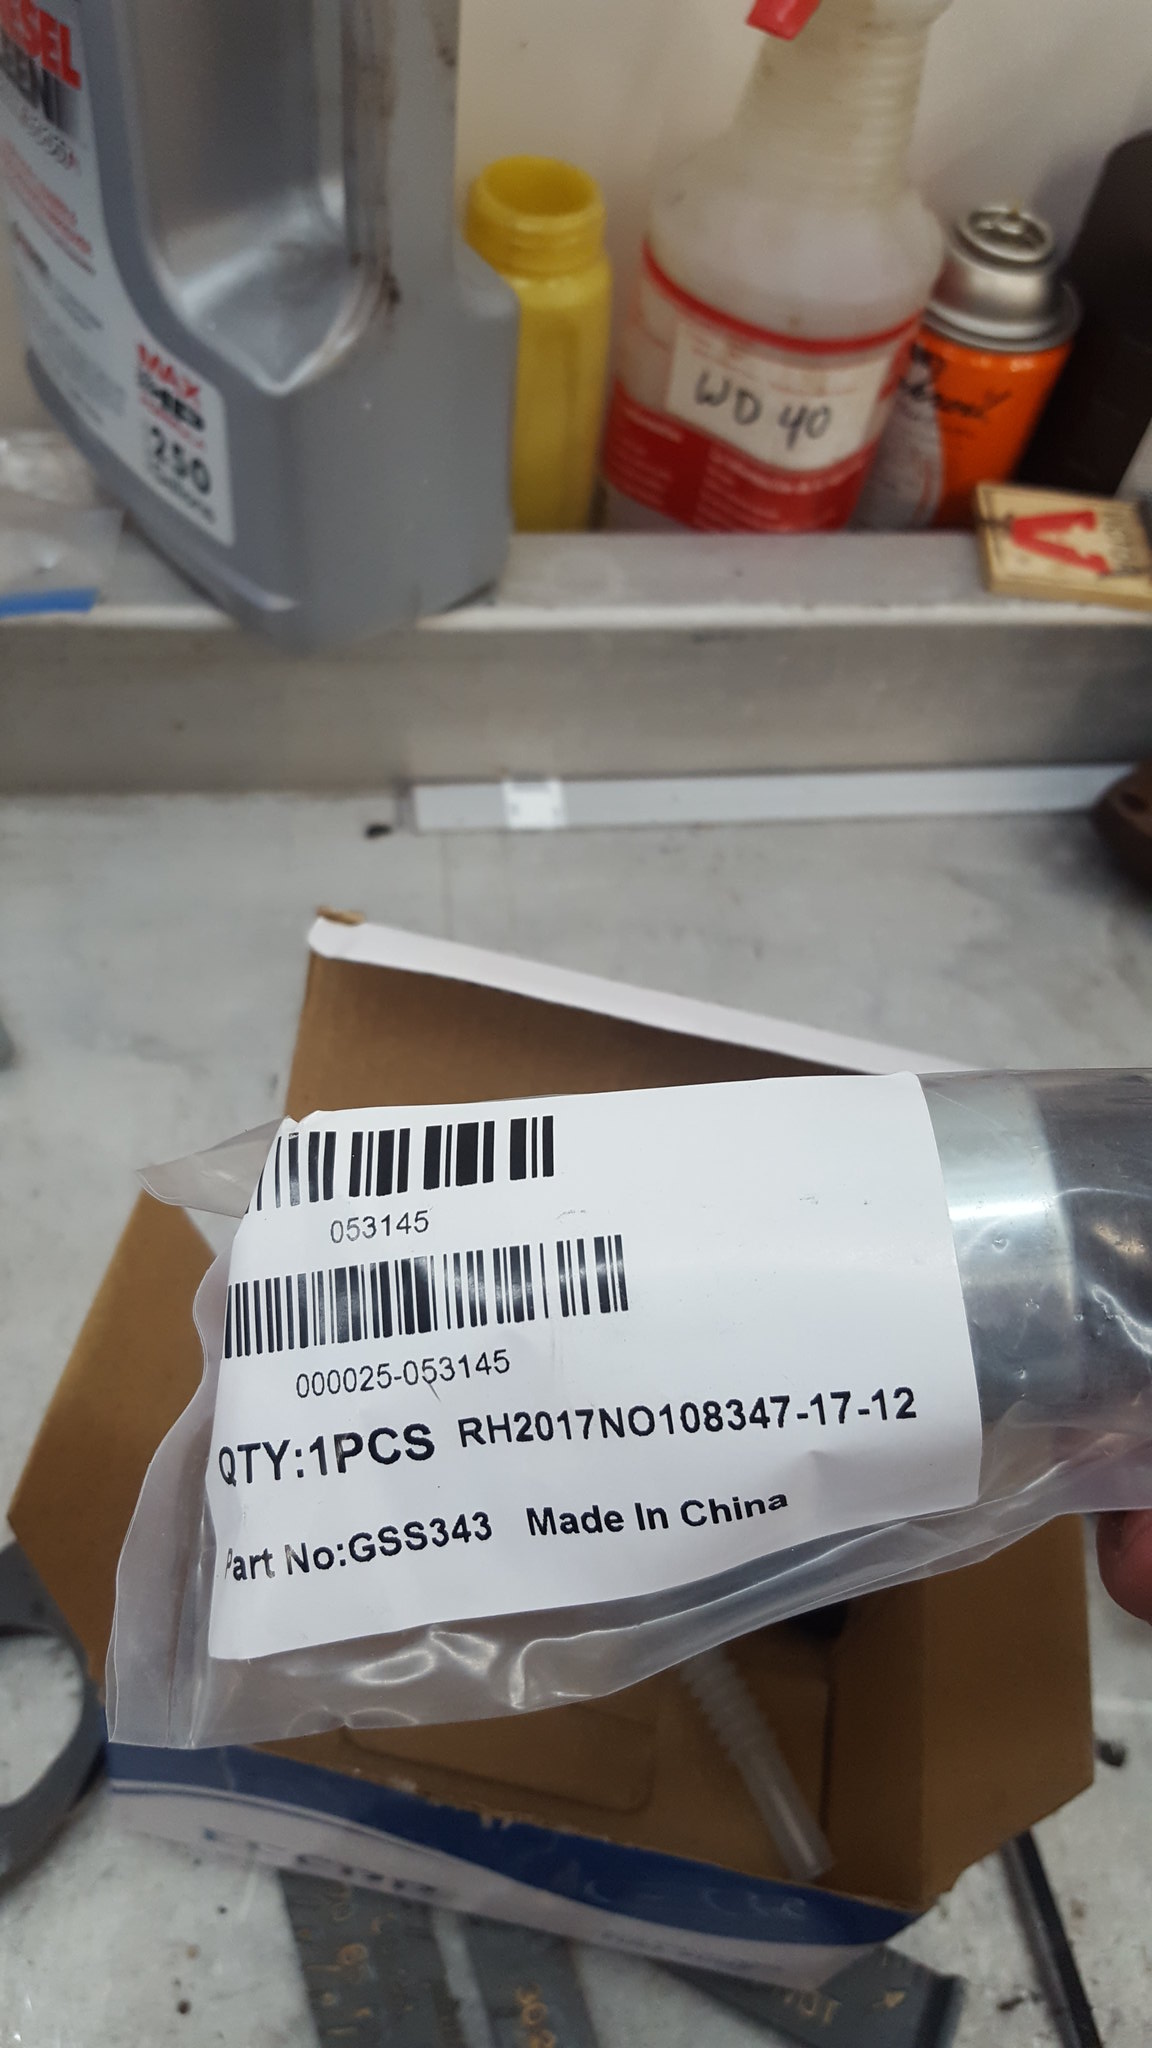
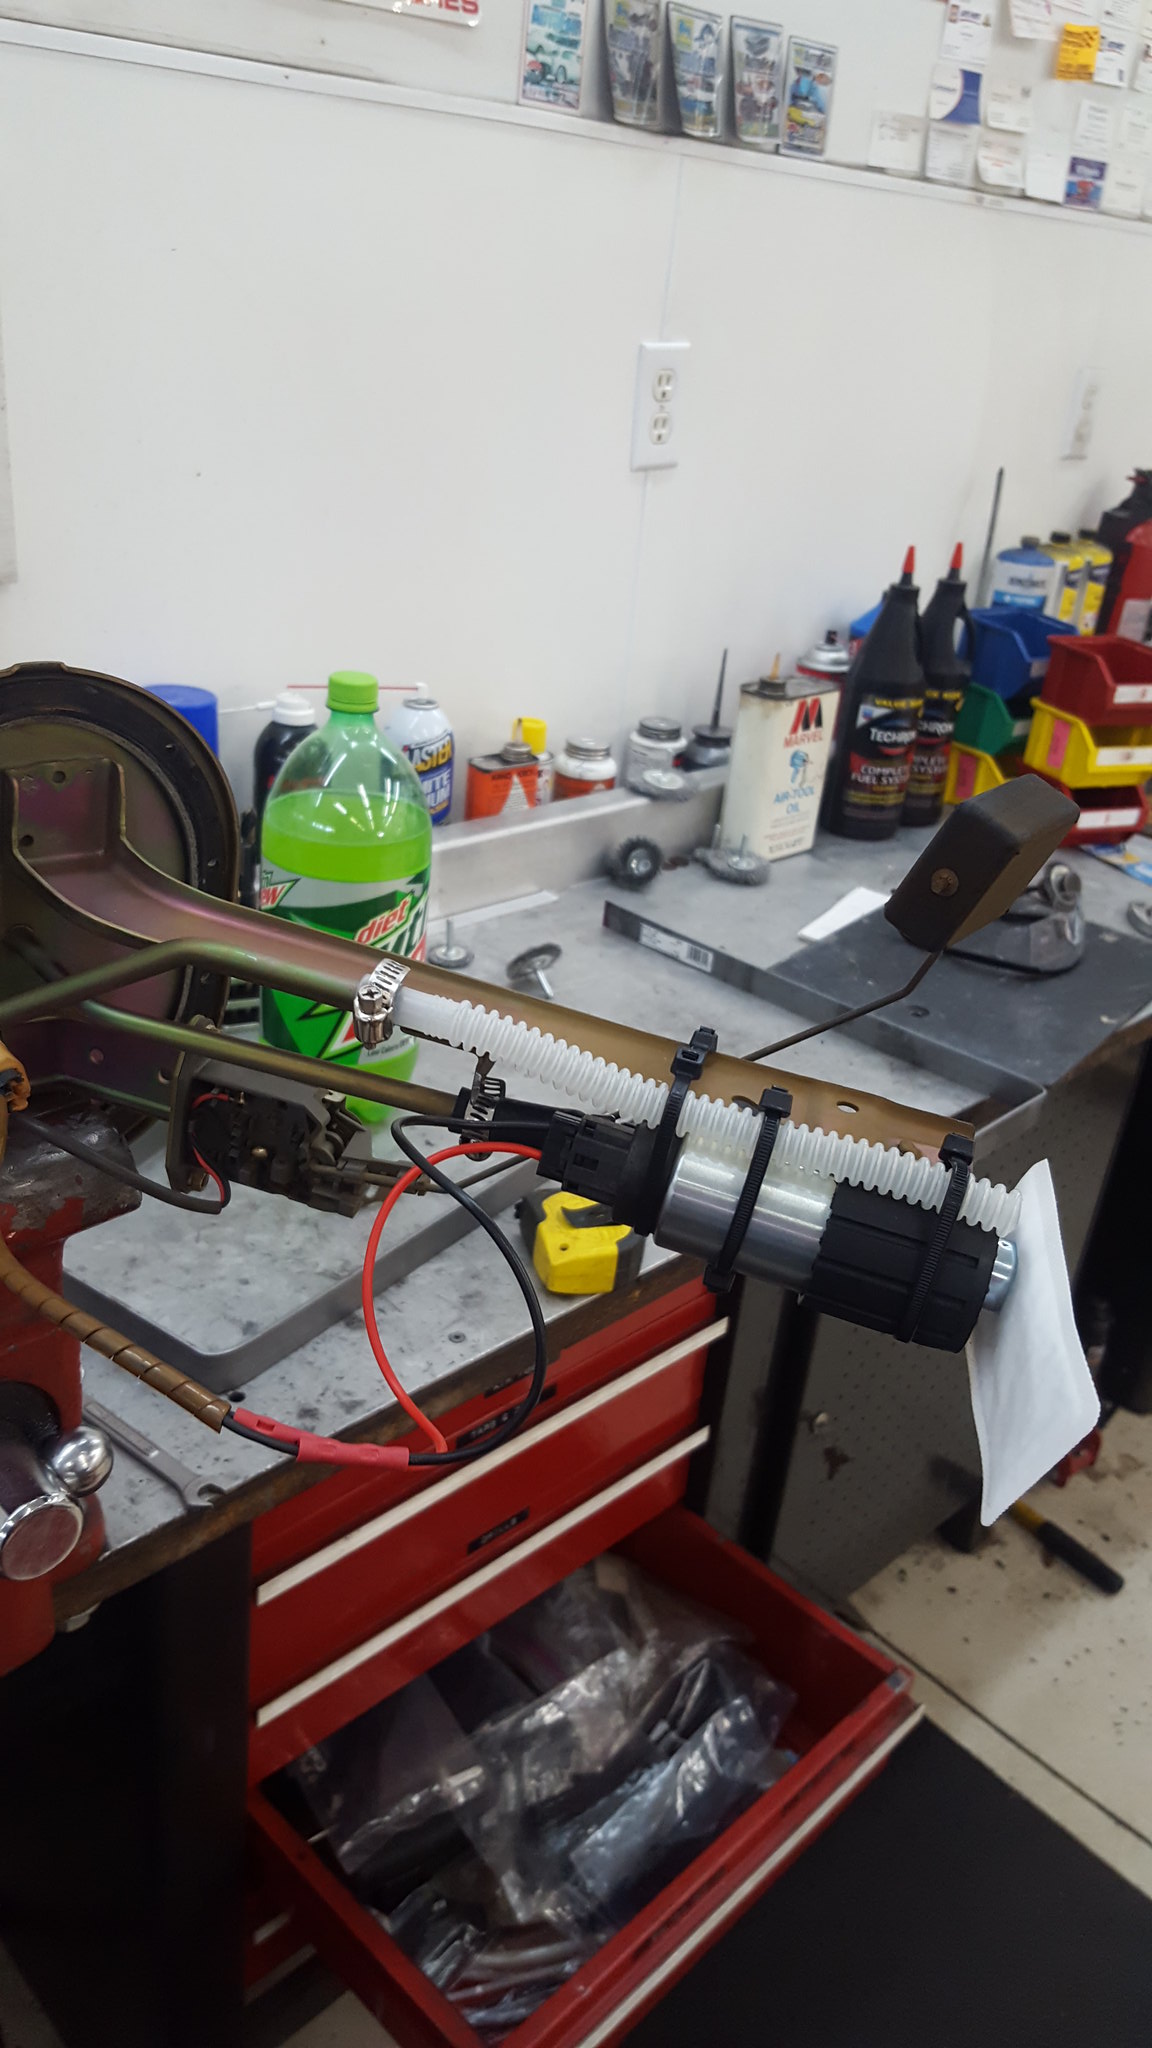
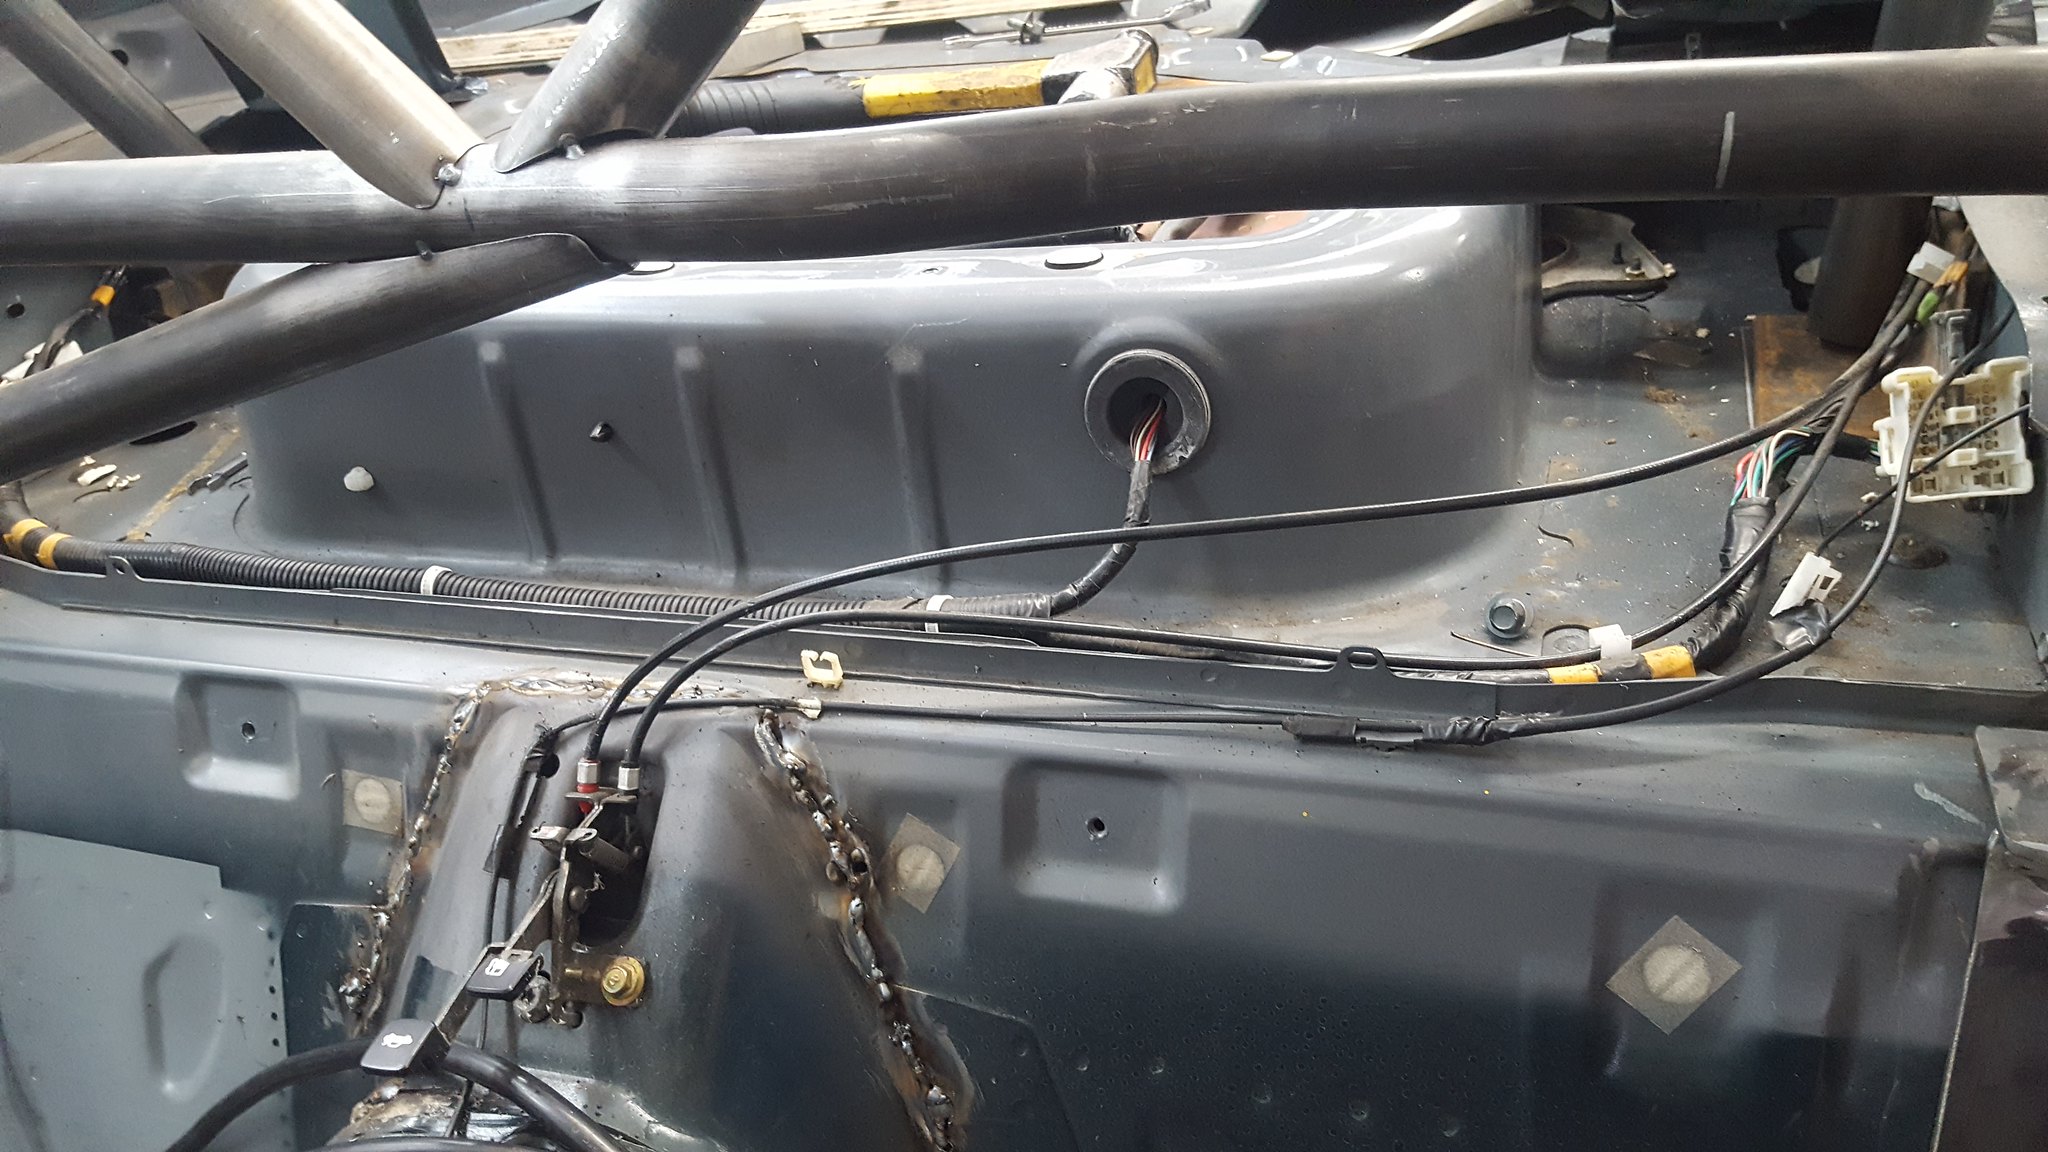
Fuel pump came in as well. This is the 14 dollar ebay special that's supposedly 255lph. Hopefully it is, but it will work. I went ahead and installed it, as well as deleted the in tank fuel pressure regulator. I unfortunately didn't label the outlet/return on the top of the tank, so if someone knows which is which, id greatly appreciate it. I already put it all back together to close up the fuel tank, which brings me to...
 20180120_095954 by Michael Crawford, on Flickr
 20180120_100003 by Michael Crawford, on Flickr
 20180120_102313 by Michael Crawford, on Flickr
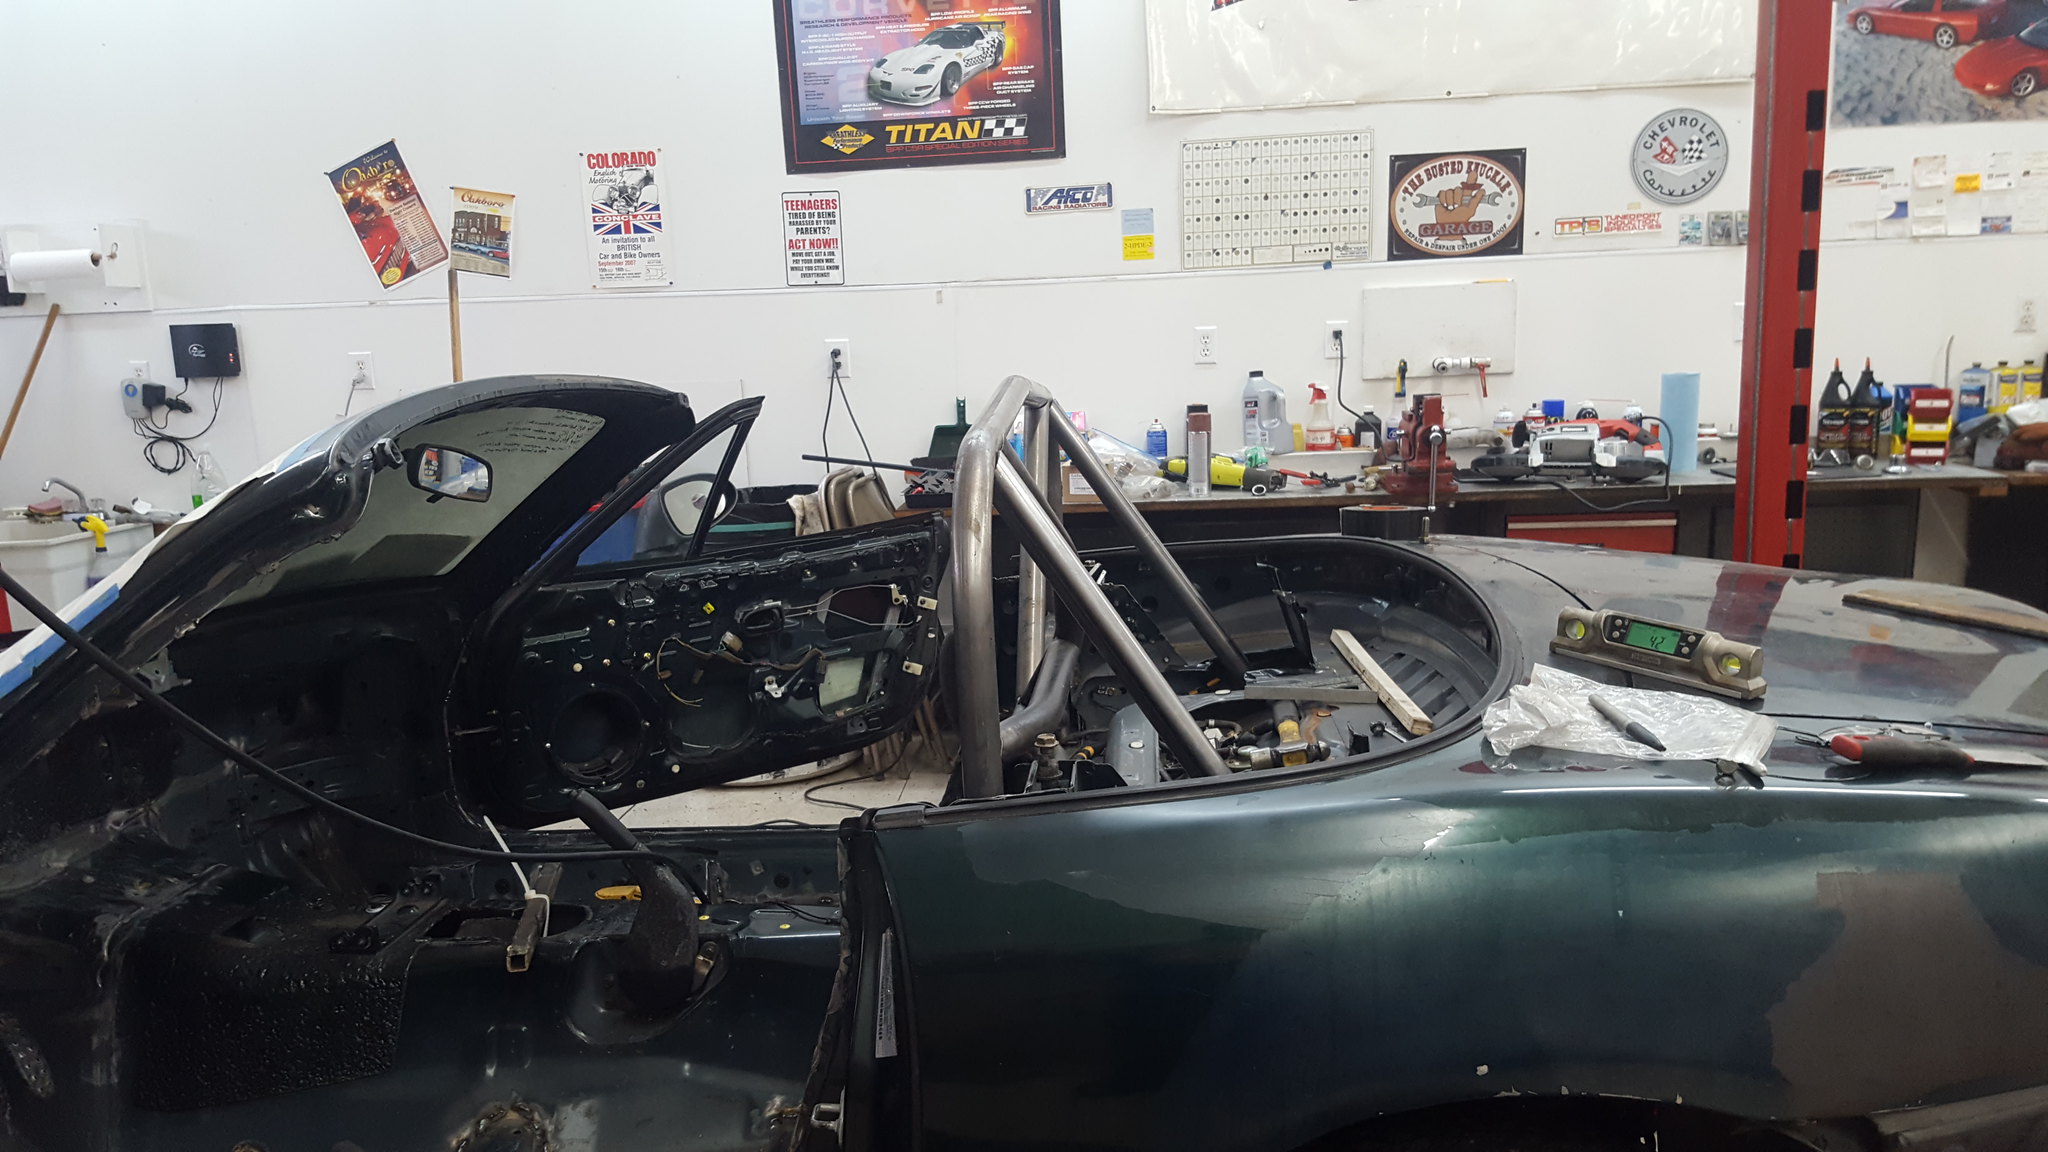
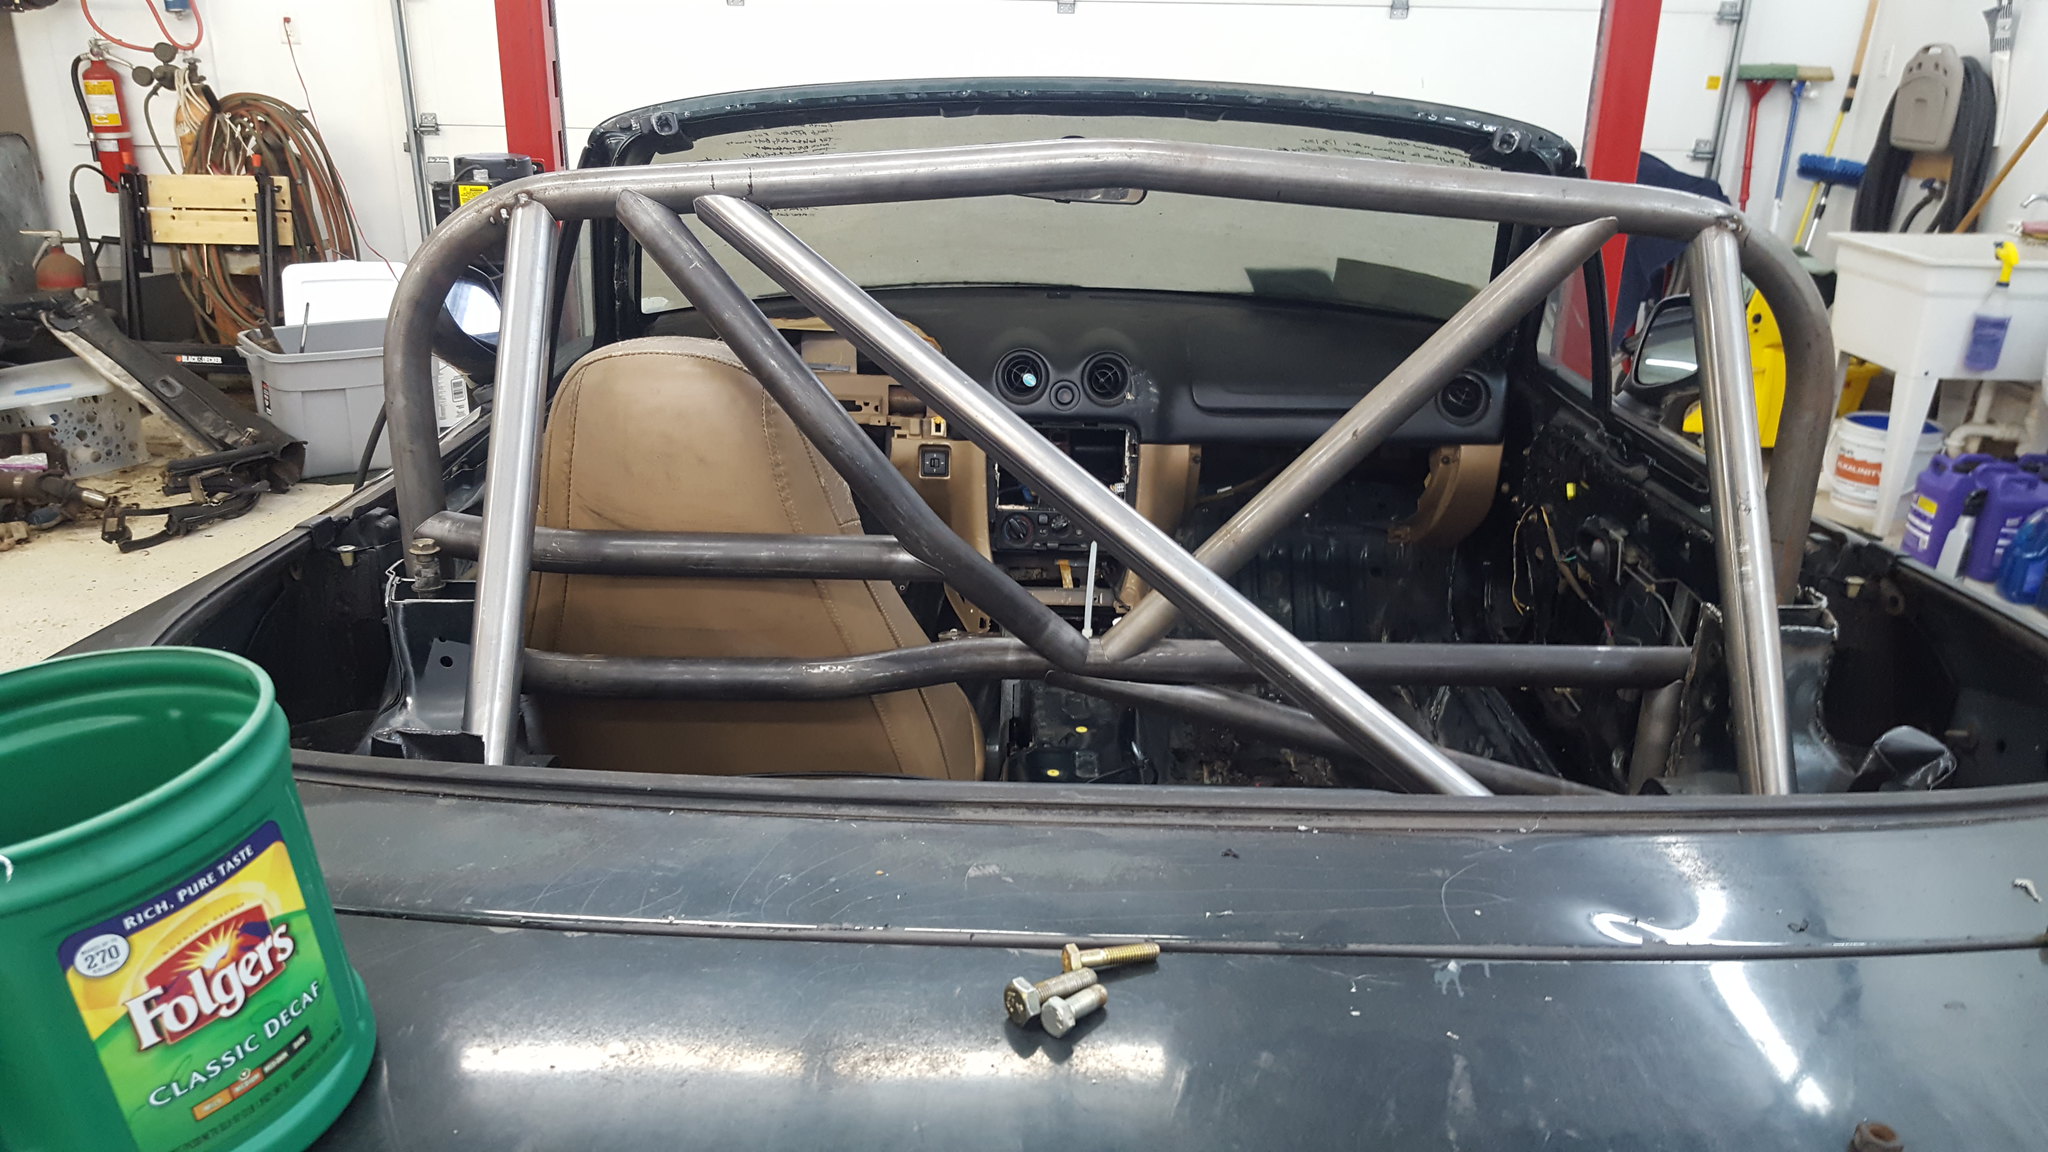
spent all day Saturday (well 4-5 hours) working on cage tubes. Got the rear feet made, downtubes, and uninterrupted diagonal from the drivers side main hoop to passengers floor. I was planning to do a full X, but im concerned about the weight im adding. Additionally, with the door bars, im not sure ill have enough tube left from what I got with the purchase. The setup is not fully welded yet, and there's some news on that. Dad has a friend from church that is a professional welder in a pipe facility. He had come over when we were fighting with the welder to give us some help. He offered to weld up the cage when we got that far. So, hes supposed to stop by a few nights after work in the next couple of weeks and do the welding for us. Which means that getting it finished takes highest priority. I also wanted to make sure that I liked how its laying out. I would have loved to make the rear legs extend further, but with it being a bolt in I could find no good way of doing it where the feet would be a solid dual plated connection. So I essentially copied my hard dog instead.
 20180120_134620 by Michael Crawford, on Flickr
 20180121_101930 by Michael Crawford, on Flickr
 20180120_134634 by Michael Crawford, on Flickr
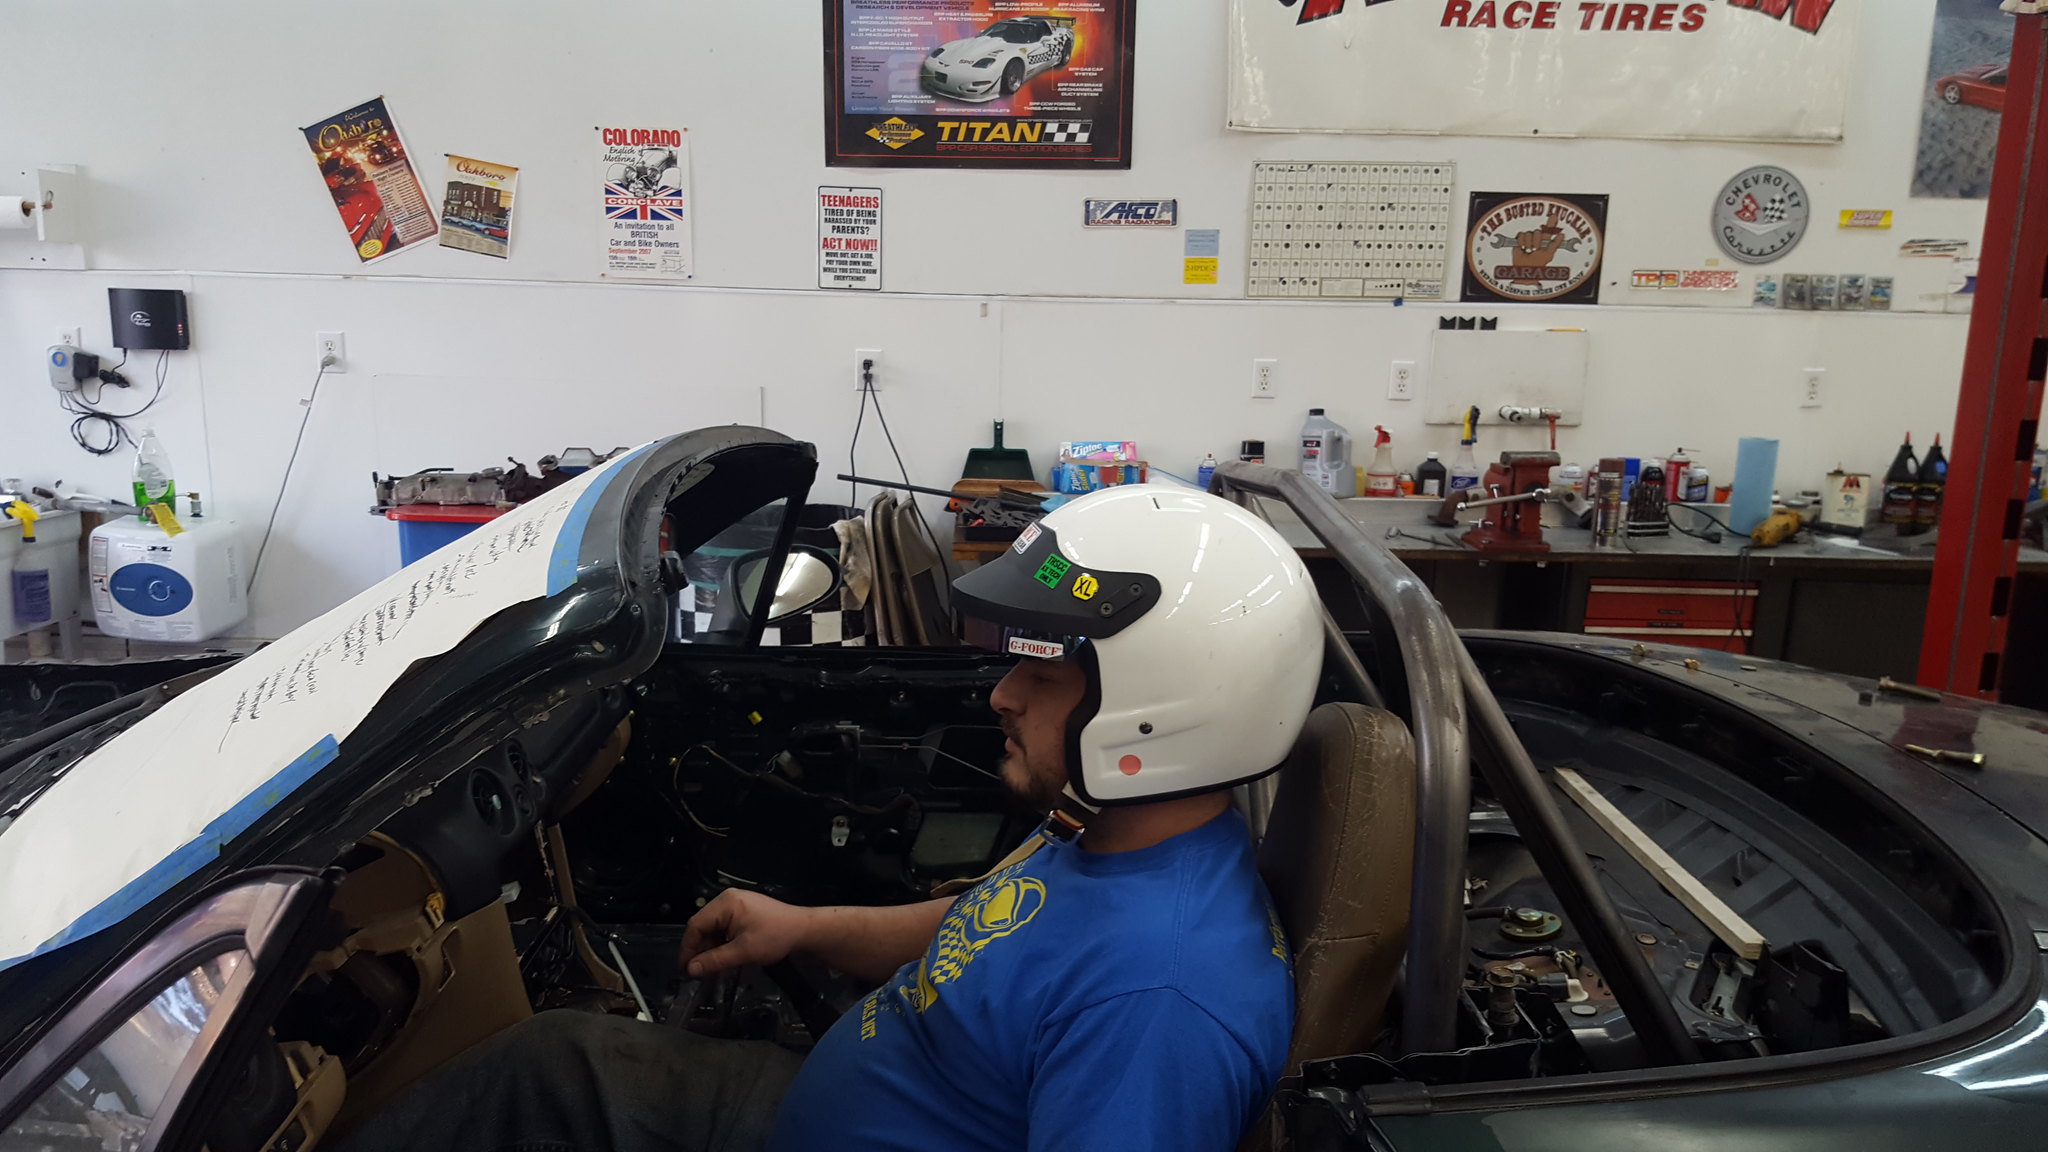
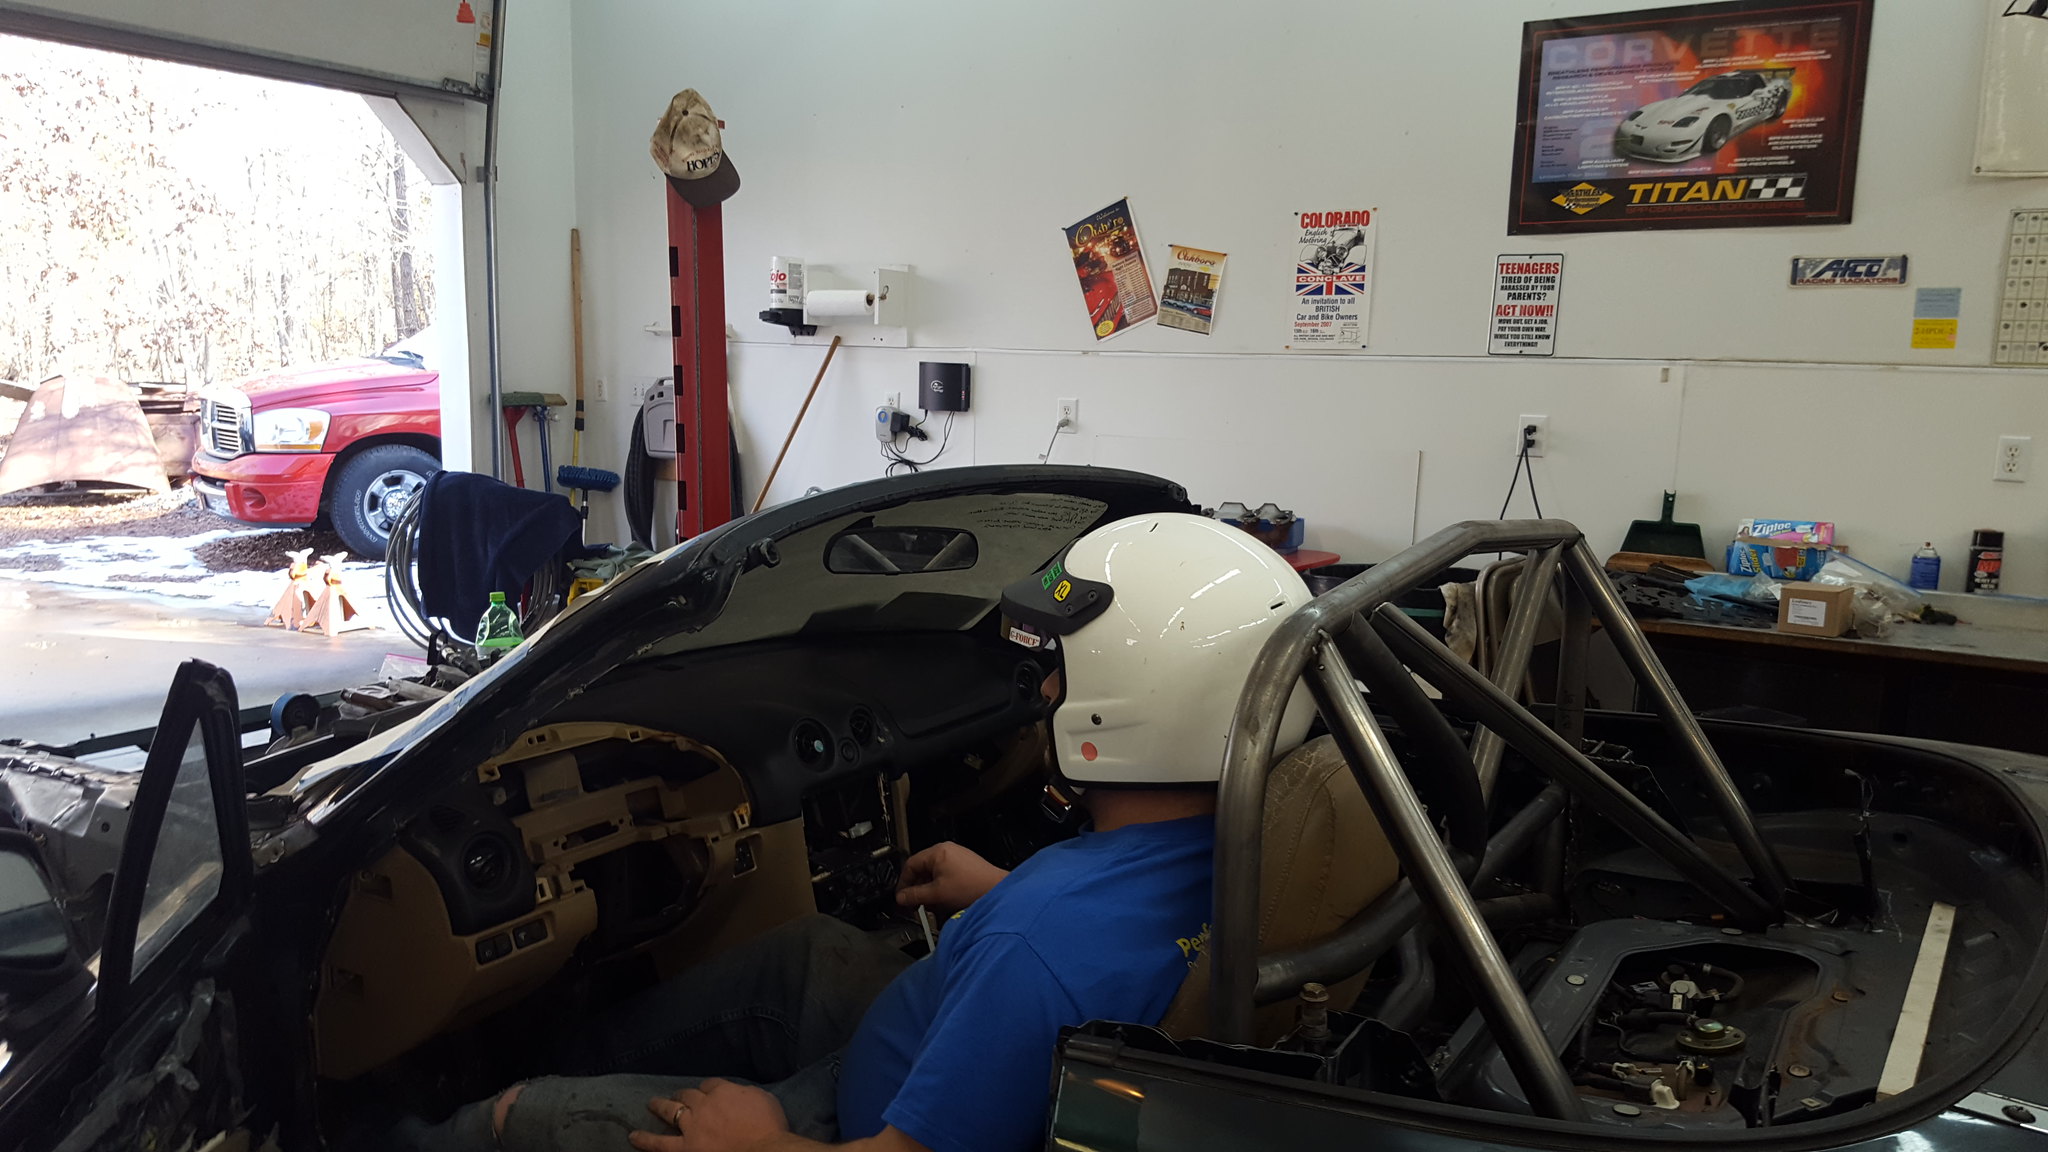
today I took the drivers seat, dash, my helmet, etc with me to family lunch. One of the next big hurdles is headers, and the other is door bars. Ill explain headers in a minute. For doorbars, NHRA requires the bar to pass between your shoulder and elbow. So I took the seat and helmet with me so I could find my driving position. This unfortunately brought to light a few things I had suspected, but was conveniently ignoring.
im fat.
My helmet sticks about 3 inches above the windshield/rollbar
the harness bar isn't in the right location, as its too low.
Here's pictures showing what im talking about:
 20180121_133607_001 by Michael Crawford, on Flickr
 20180121_133615 by Michael Crawford, on Flickr
im pretty sure that this is greater than a foamectomy can solve. Am I right? Am I relegated to finding an aluminum seat and mounting it directly to the floor? I'm not opposed to that in principle, but would much rather keep the stock seat if at all possible for budget reasons.
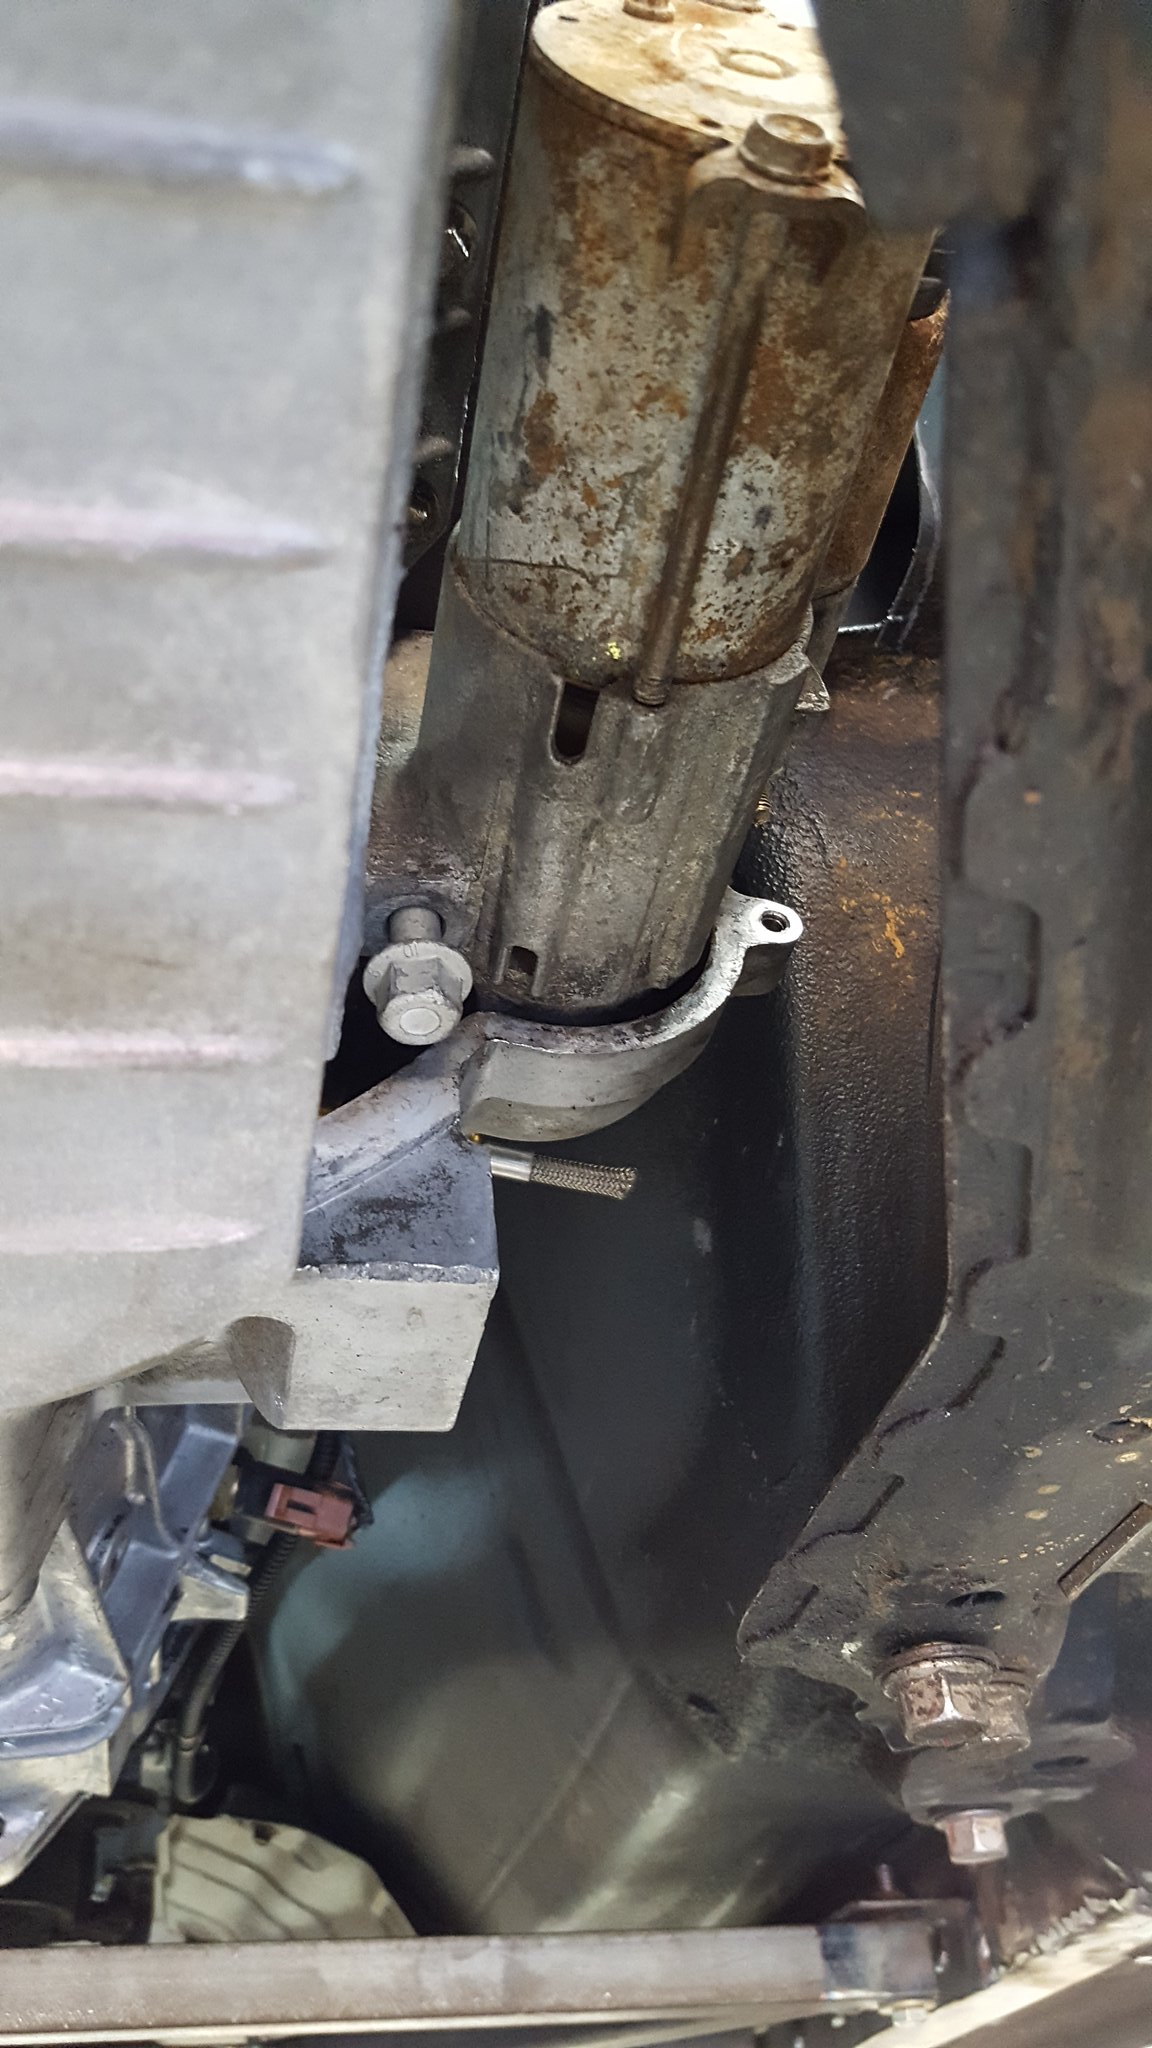
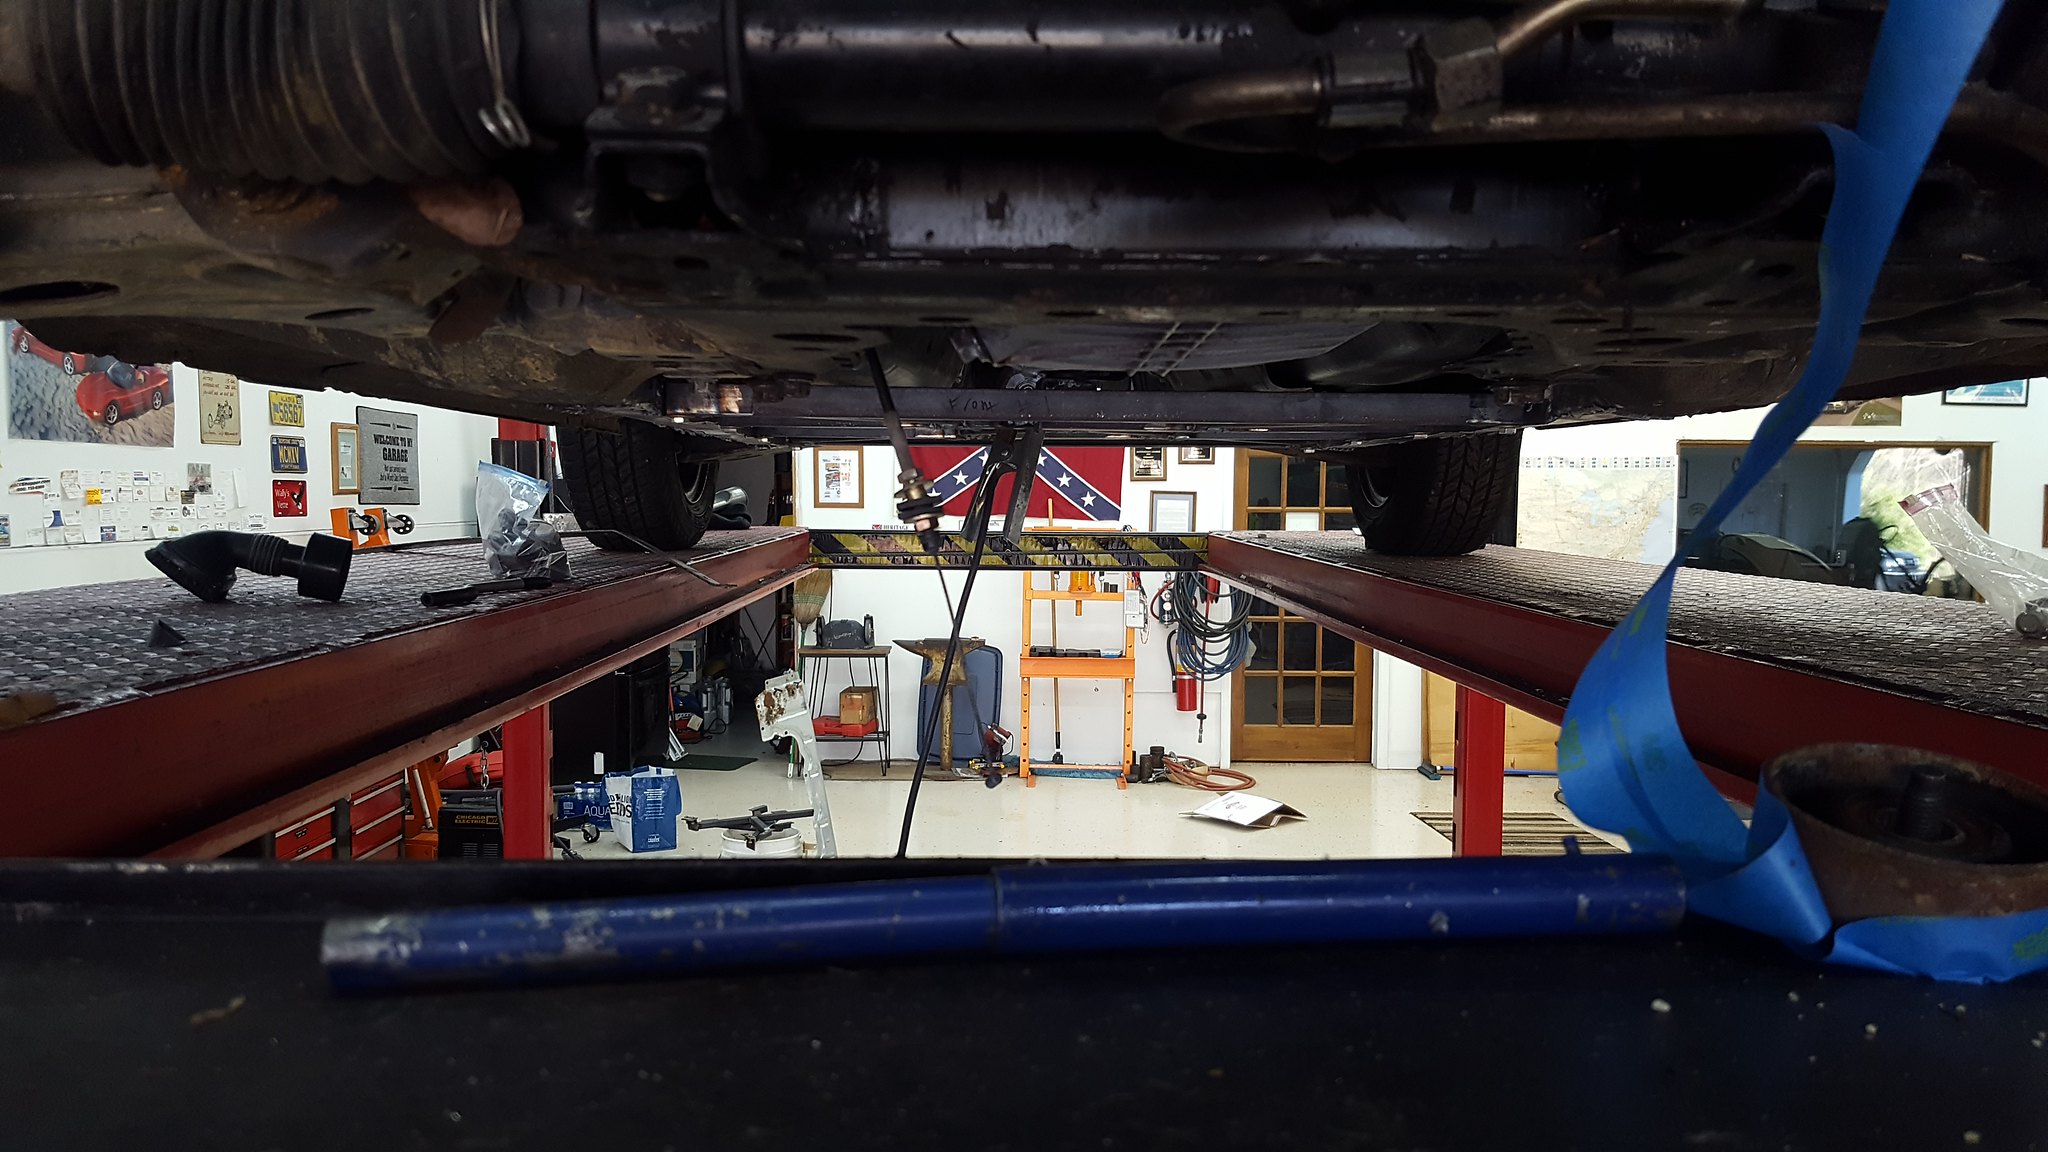
The reason I put the dash in is that I also need to get headers built. Im planning an entire day for each header, being focused and zen like on one at a time. Not working on anything but the header that day. To do this properly, you need as much E36 M3 in the way as possible. Like everything that the headers need to clear. In this case, all that is located on the drivers side: steering shaft, oil filter, starter, motor mount, alternator, water pump, lower radiator hose. The passengers side is wide open, which is good for when I get boosted. (for those that have forgotten, this is a multi stage build. NA. NA N02, FI N02). The drivers side is going to be a cast iron bitch regardless of which end of the engine I choose to exit from.
Anyway, started by bolting in a starter. I didn't realize how small this thing was until today, and just how much room it DOESN'T occupy.
 20180121_150125 by Michael Crawford, on Flickr
 20180121_150448 by Michael Crawford, on Flickr
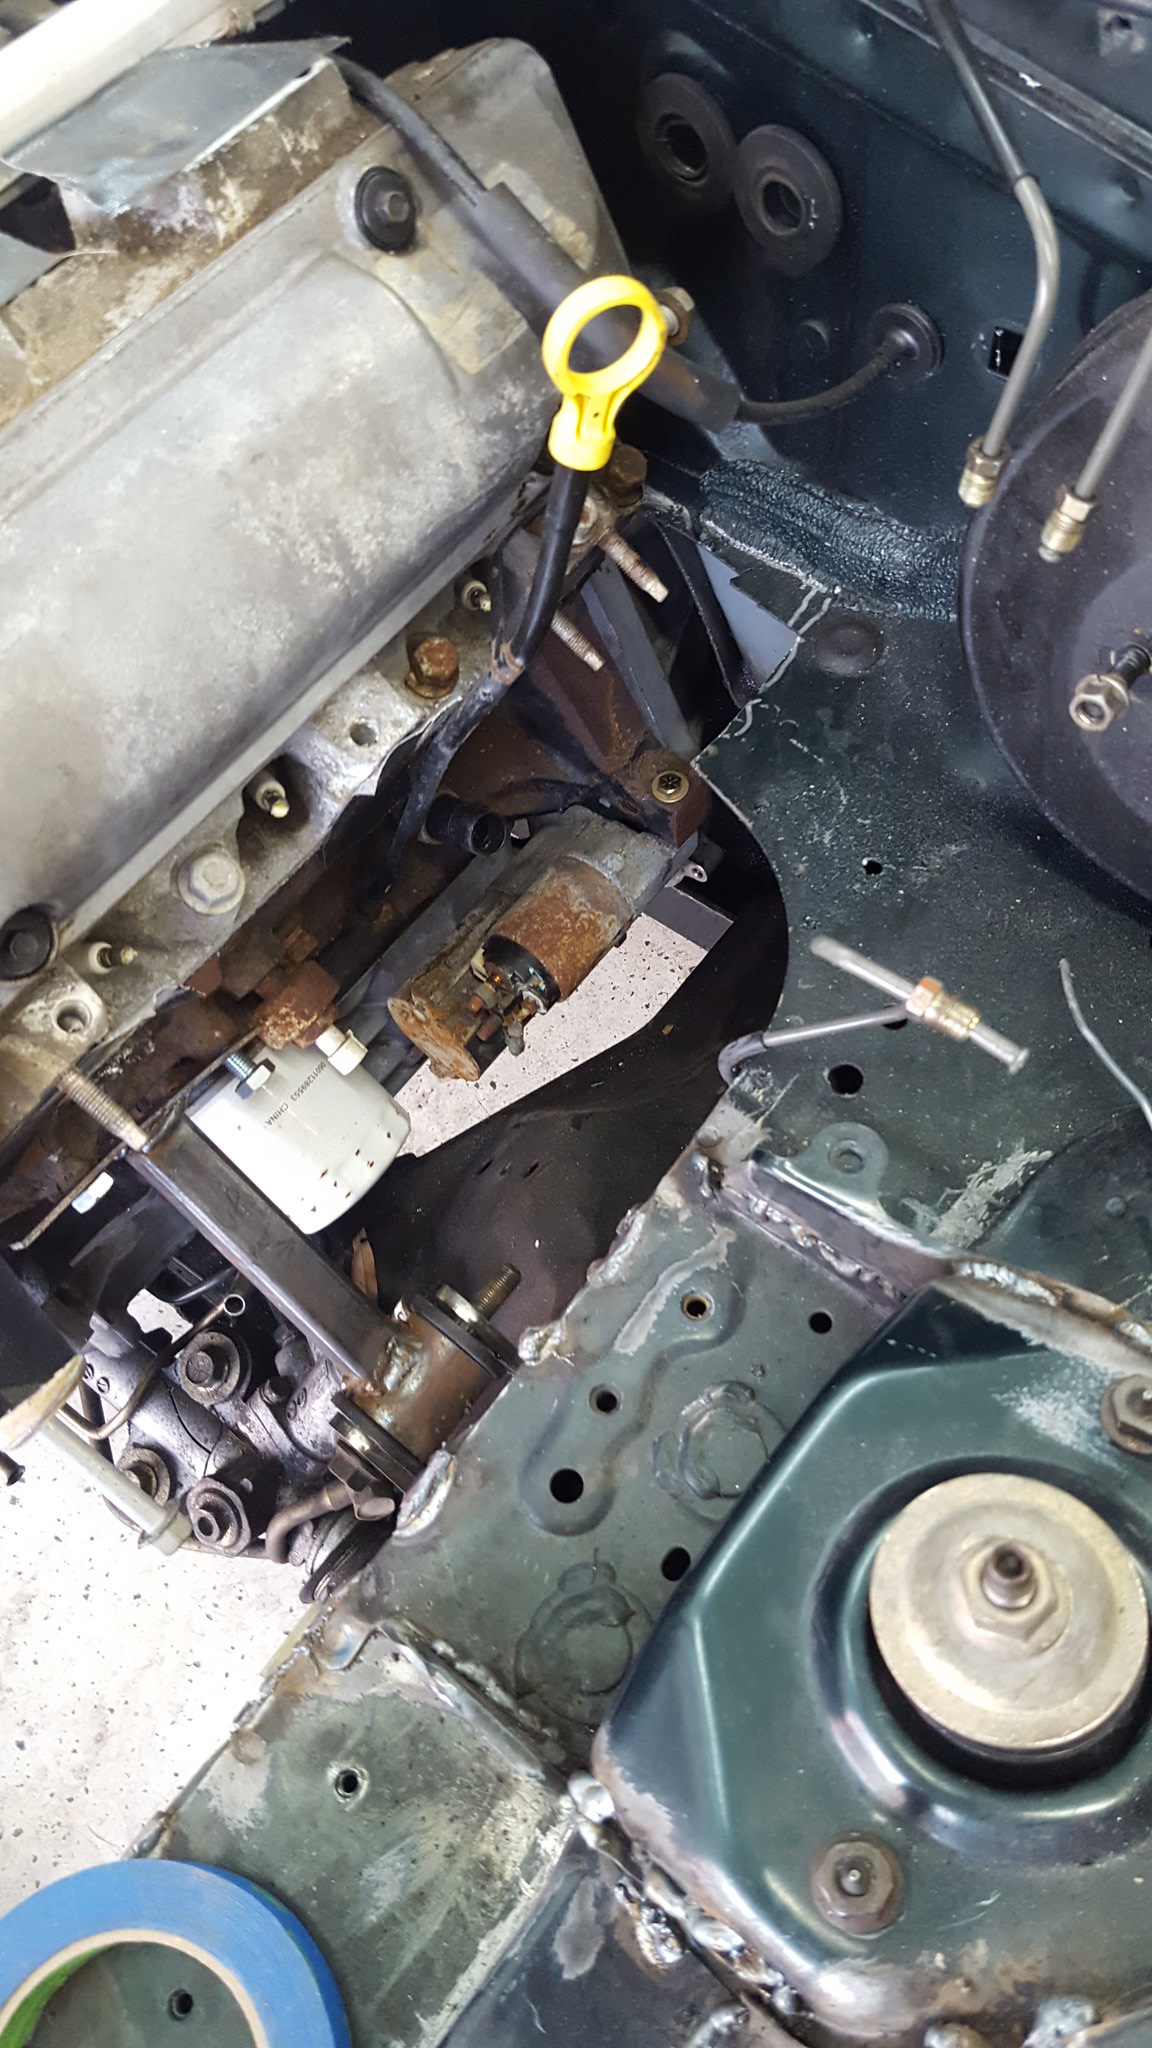
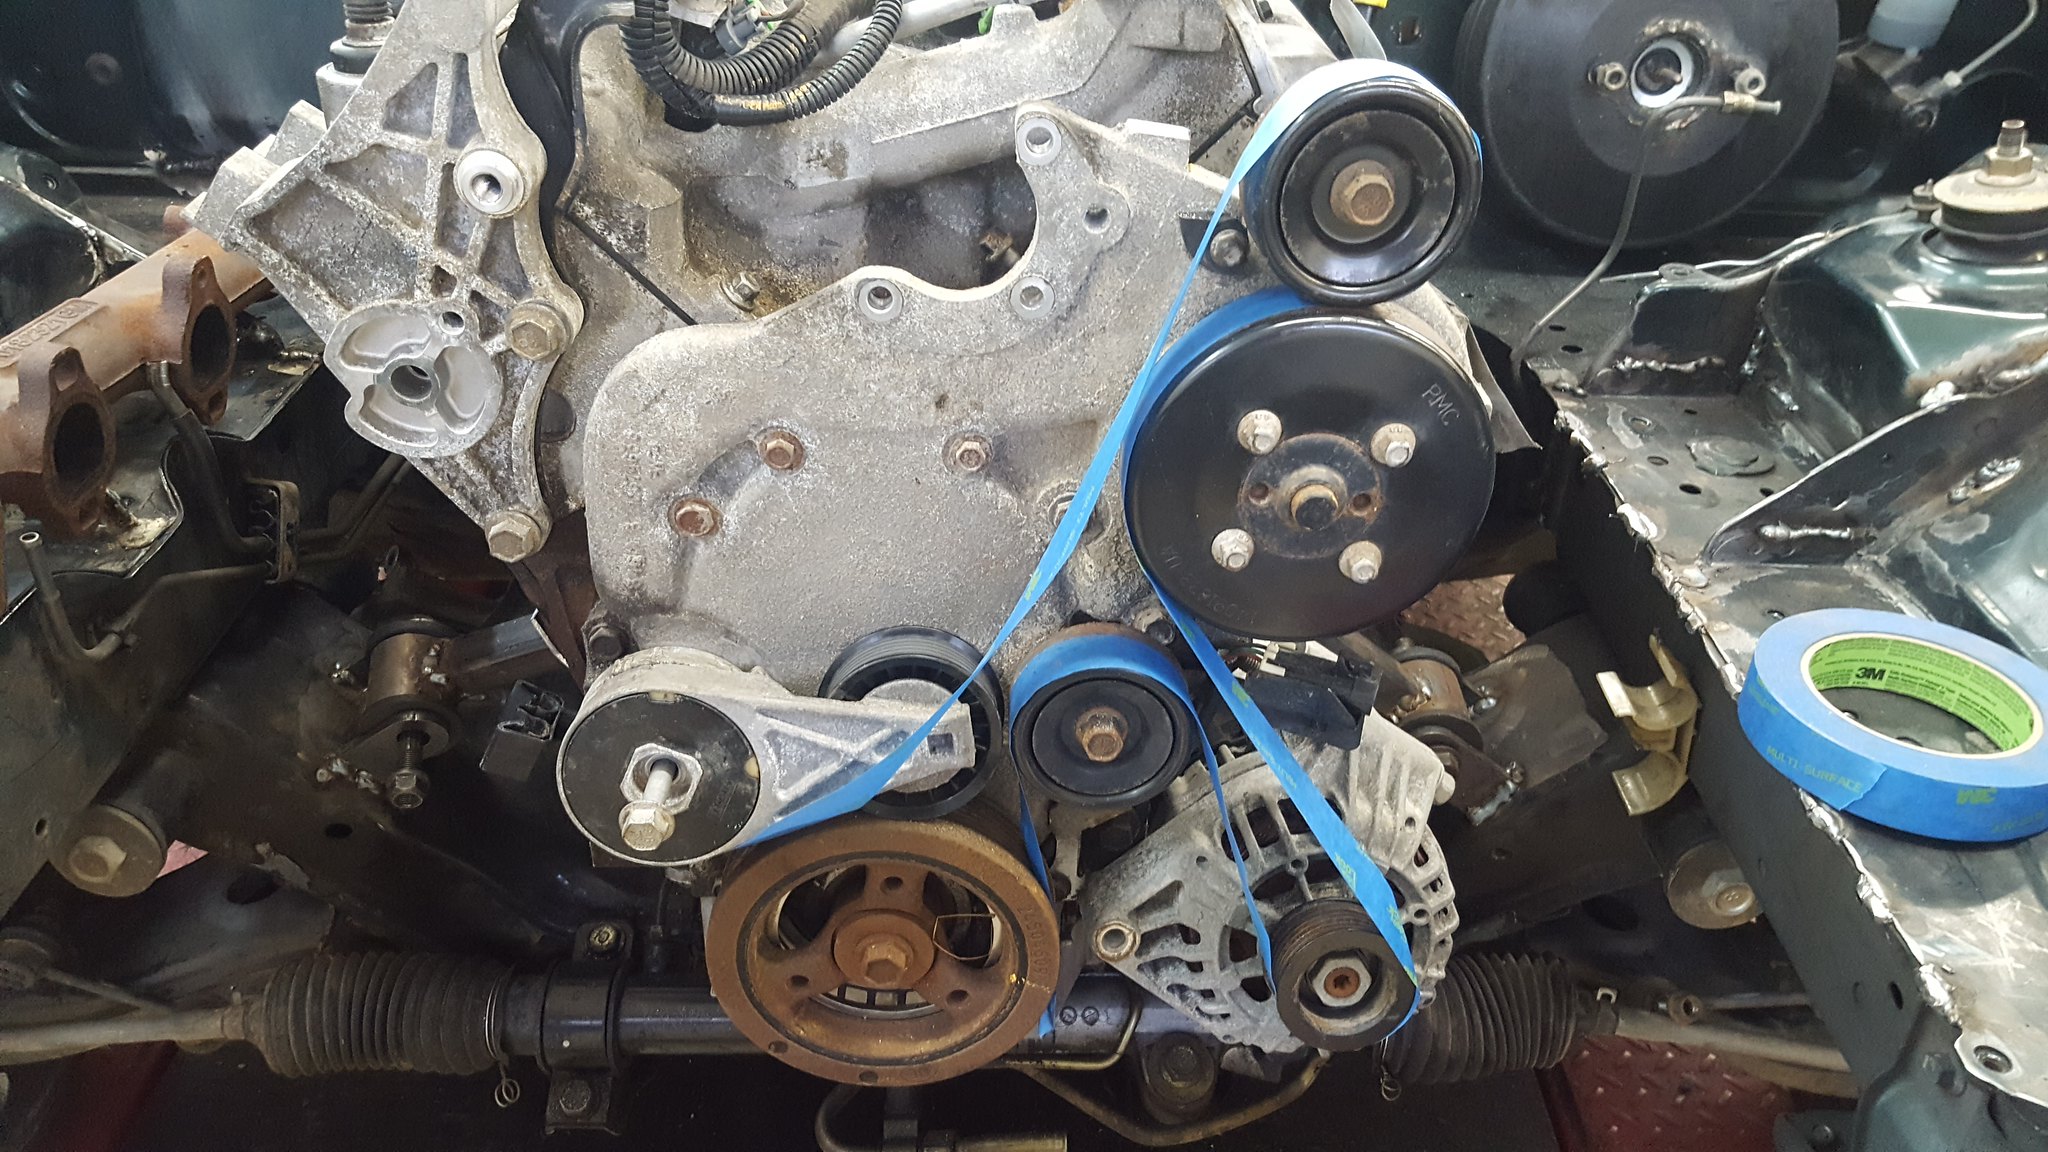
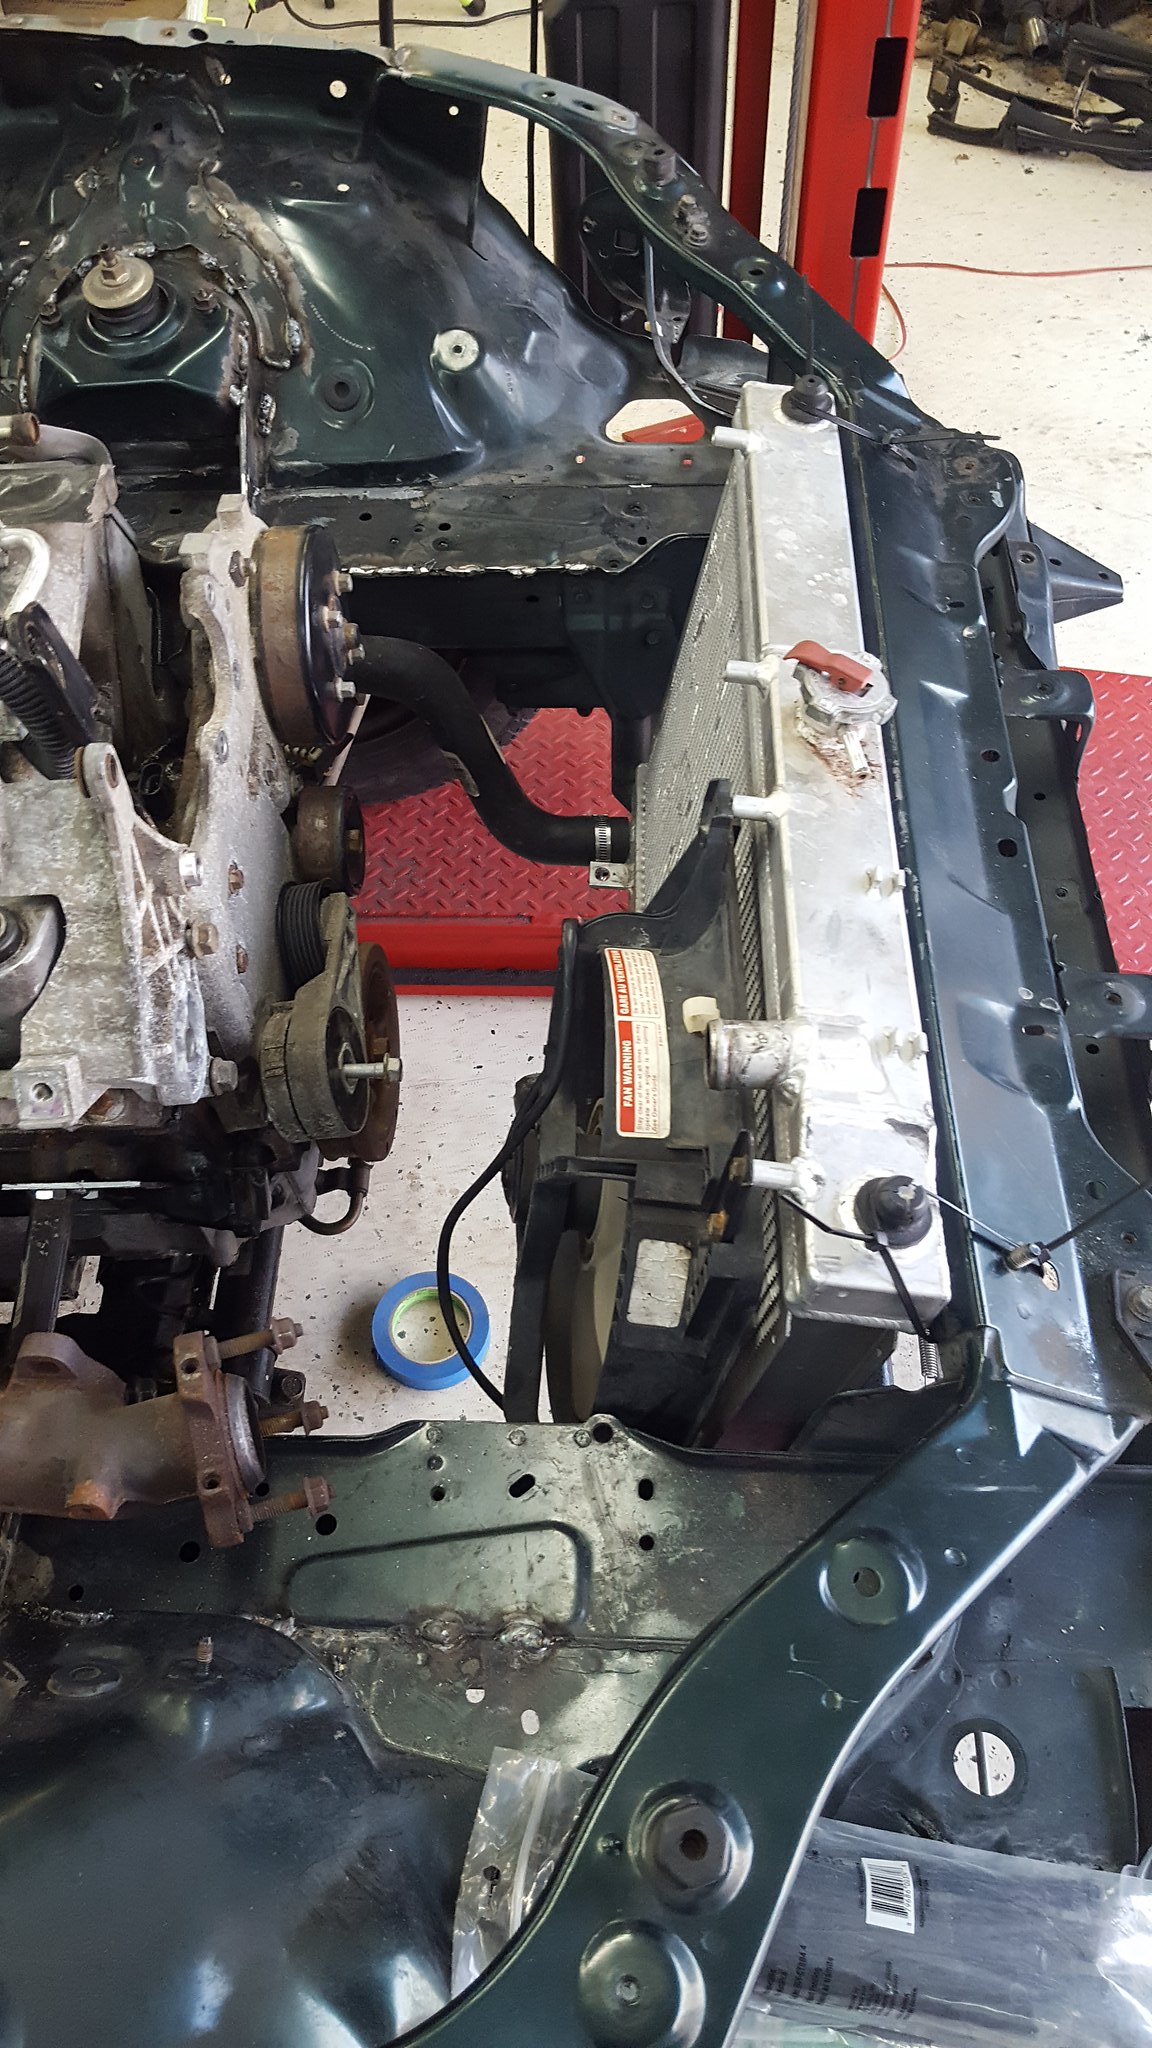
I then went on to accessories. Another thing ive been avoiding due to the mental gymnastics required for a serpentine system. I did hear a good tidbit about designing these though. If the pulley is smooth, and it drives an accessory, it HAS to run on the backside of the belt to keep it rotation correct. Same with grooves. Which means the idler pulleys are fair game to monkey with, but water pump and alternator are not. I've also been led to believe that the more belt wrap you can get on an accessory, the better it will perform. So, armed with that staggering amount of knowledge, all the idlers and tensions that came with the engine, an alternator, some zip ties, and some painters tape, I went to work. After staring at it and getting more and more turned around, I decided that id try the factory brackets and see what that got me, in addition to all the factory accessories. It at least let me know where things were put by GM, and how the belt went on. I then ditched the AC compressor and PS pump again, as I have no intention of using them. They are now in the scrap pile. Permanently. I relocated the alternator to where the ac compressor lived previously and zip tied it into place. Put the tensioner in the alternate location on the timing cover, and started creating a belt with the blue painters tape. This is where we wound up:
 20180121_111422 by Michael Crawford, on Flickr
the uppermost idler will need to be converted to grooved, and have a mount made. The alternator will fit properly with a fully depowered rack using some spacers and a custom bracket. I will need to source a tensioner that tensions in the opposite direction and is clocked differently. And possibly add an idler in the center of the really long belt run to keep it from flapping like a pissed off peacock. But, its entirely doable, and relatively simple compared to a couple of others ive built.
While I was up there, I needed to also figure out the clearance to the radiator and how the lower hose needed to run. Oddly enough, after cutting about 2 inches from one end, and 4 from the other, the factory 99 radiator hose fit perfectly. It also appears that the 2003 escalade hose that guys are running on stock engine coolant reroutes will work perfectly for my back of the engine thermostat. I need to get that sorted, by the way. But it does fit!
 20180121_151048 by Michael Crawford, on Flickr
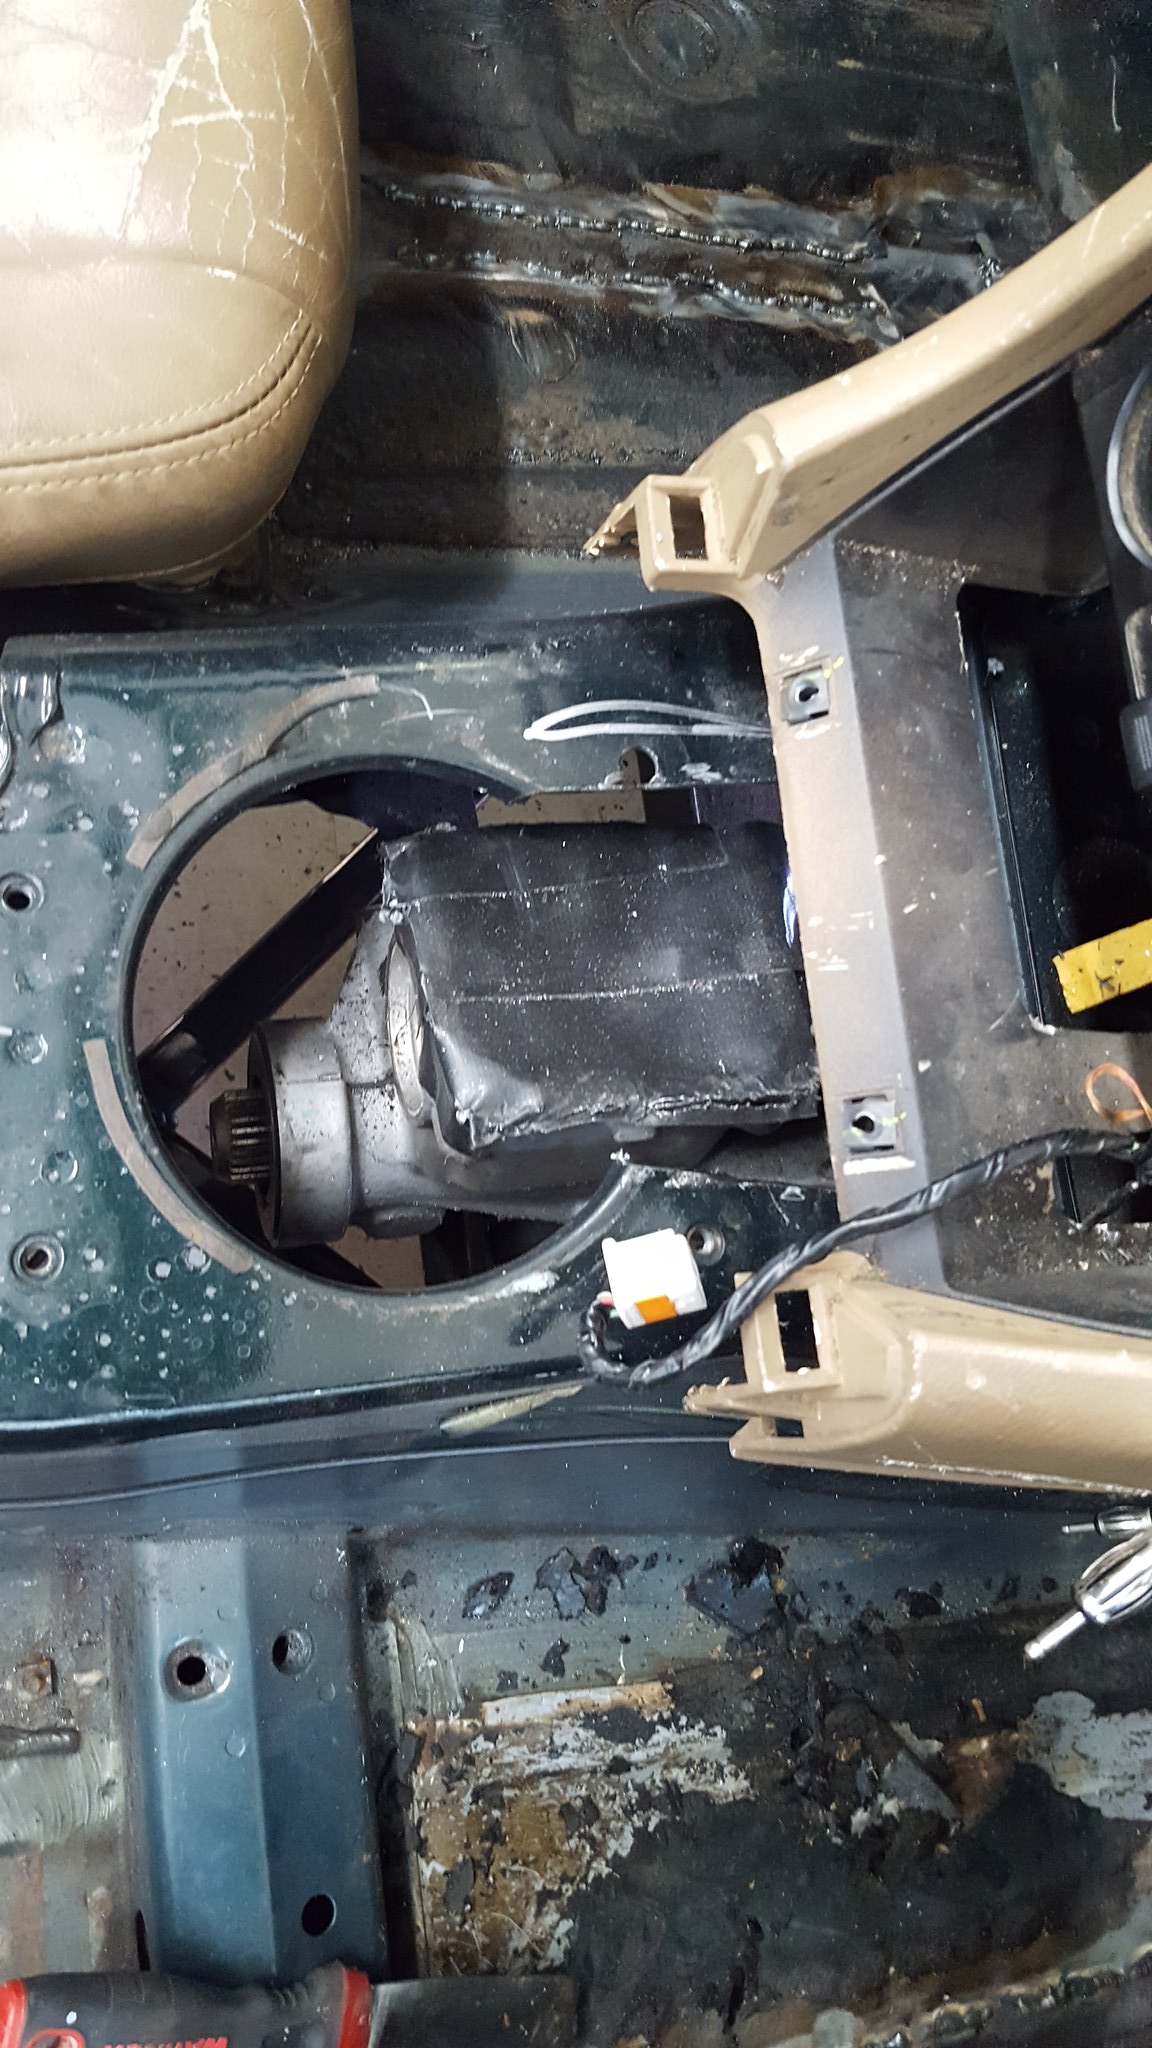
last thing needed to do before building headers was finally make the transmission mount instead of the trains being ziptied to a stick over the shifter hole. Which meant I finally needed to cut the tunnel for clearance.
 20180121_150509 by Michael Crawford, on Flickr
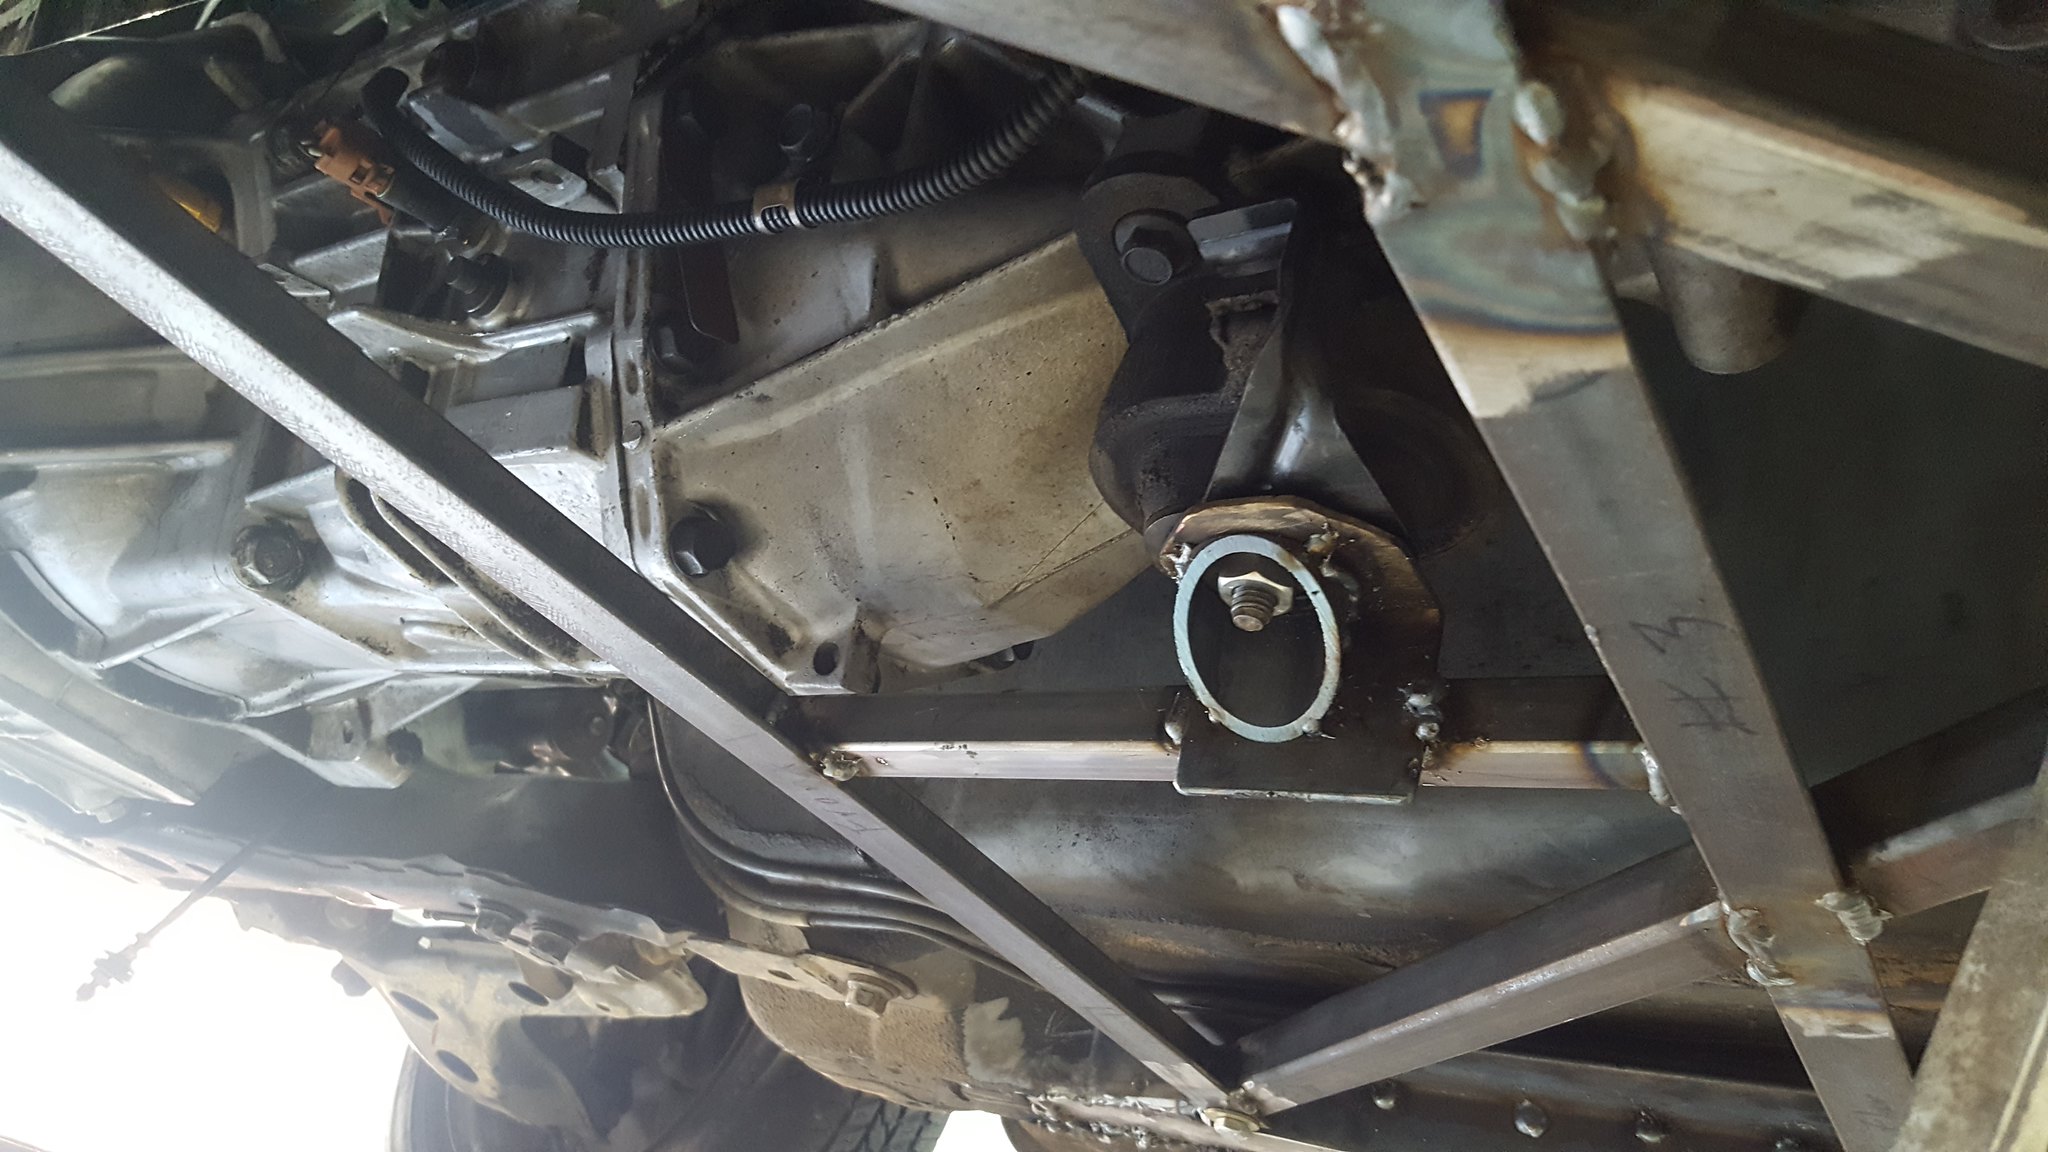
I then went ahead and made a mount from scraps in the five gallon bucket of fab metal. Piece of 3/4x3/4 square, chunk of 2x2 angle, and a wedge shaped piece from mitering the rear downtubes yesterday for a gusset. And a nut for the magic bolt bin. And the trans is firmly mounted!
 20180121_144402 by Michael Crawford, on Flickr
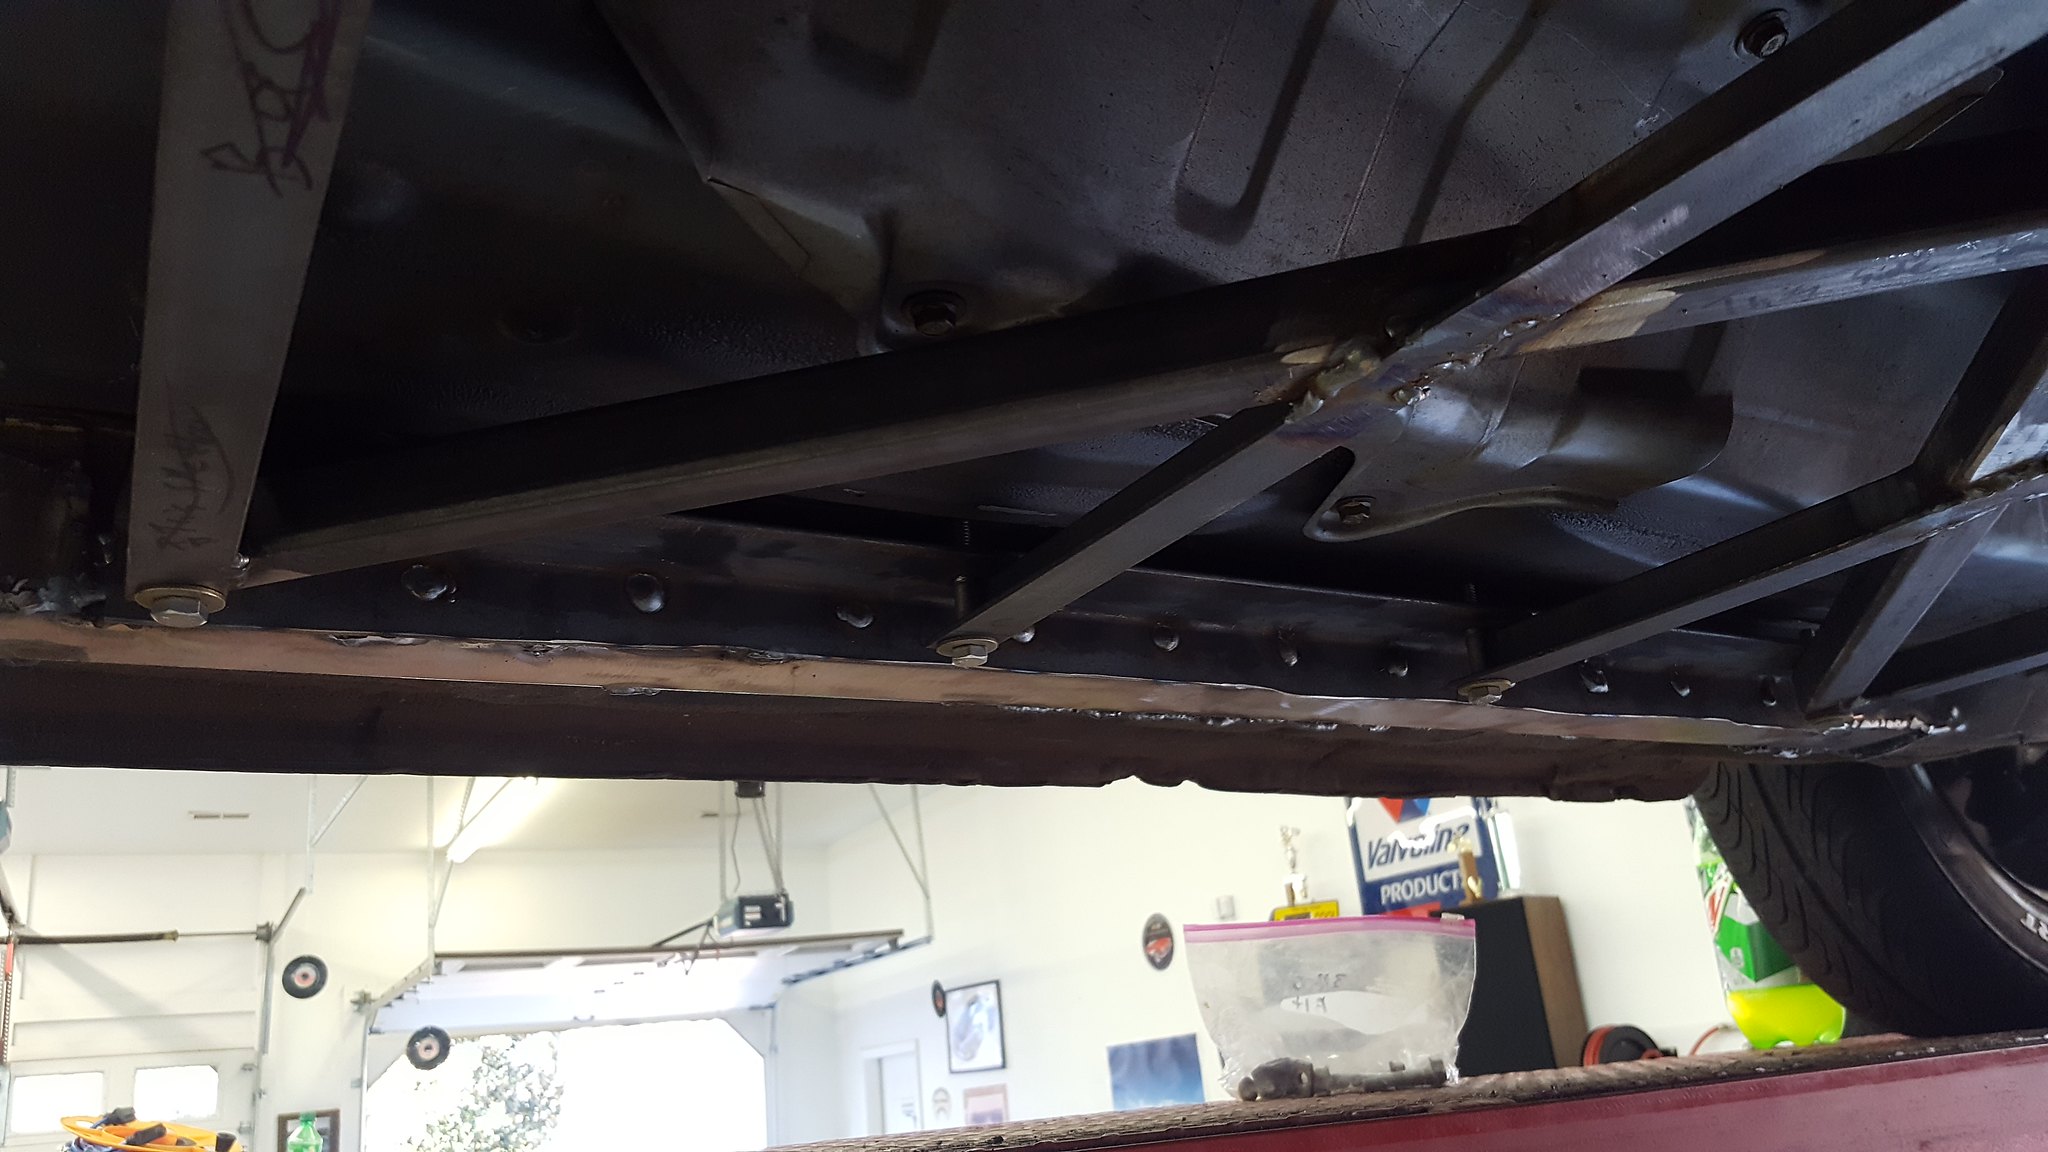
while I was under there I finished welding in the butterfly brace rails.
 20180121_144354 by Michael Crawford, on Flickr
flat bottomed goodness
 20180121_144414 by Michael Crawford, on Flickr
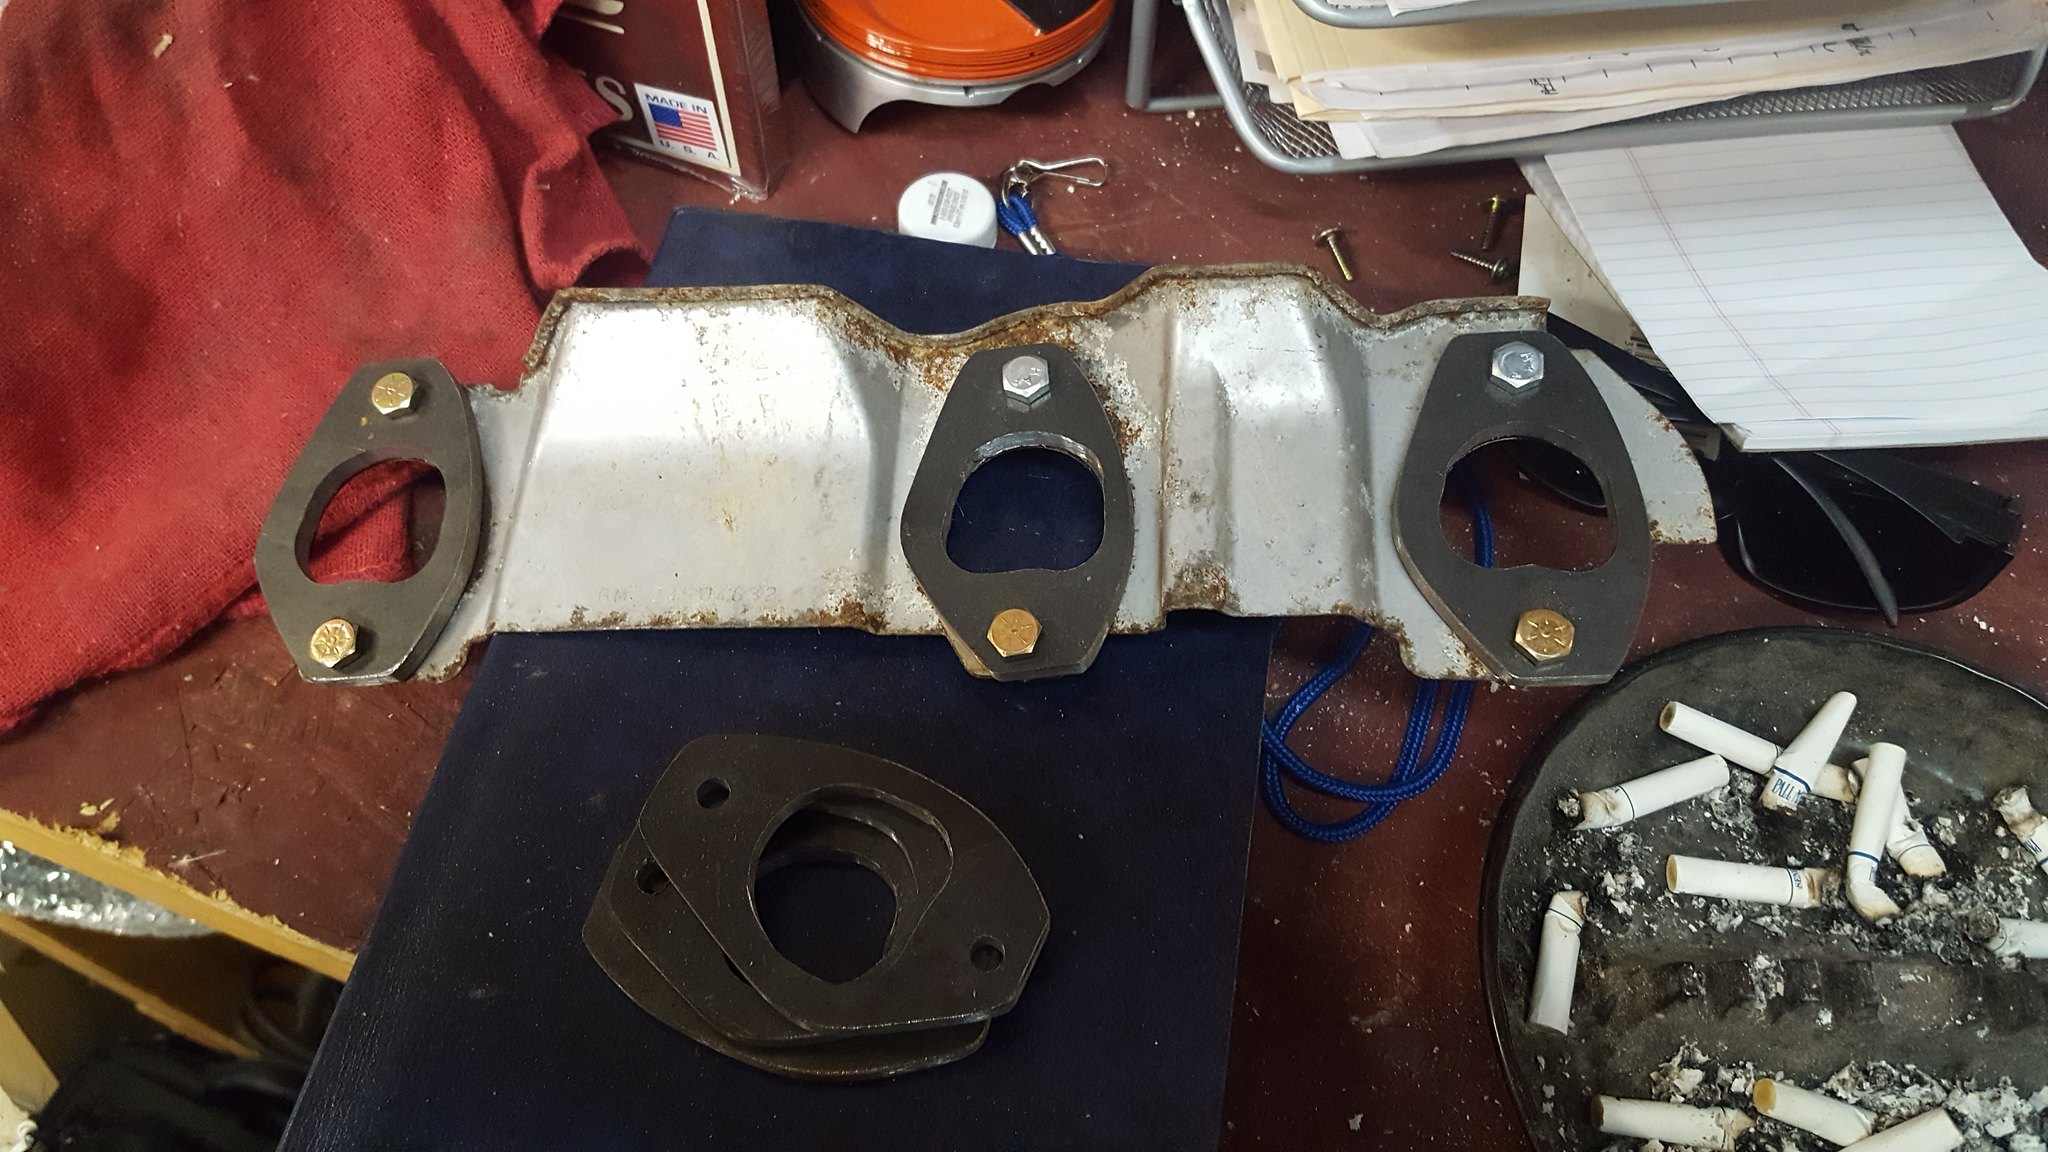
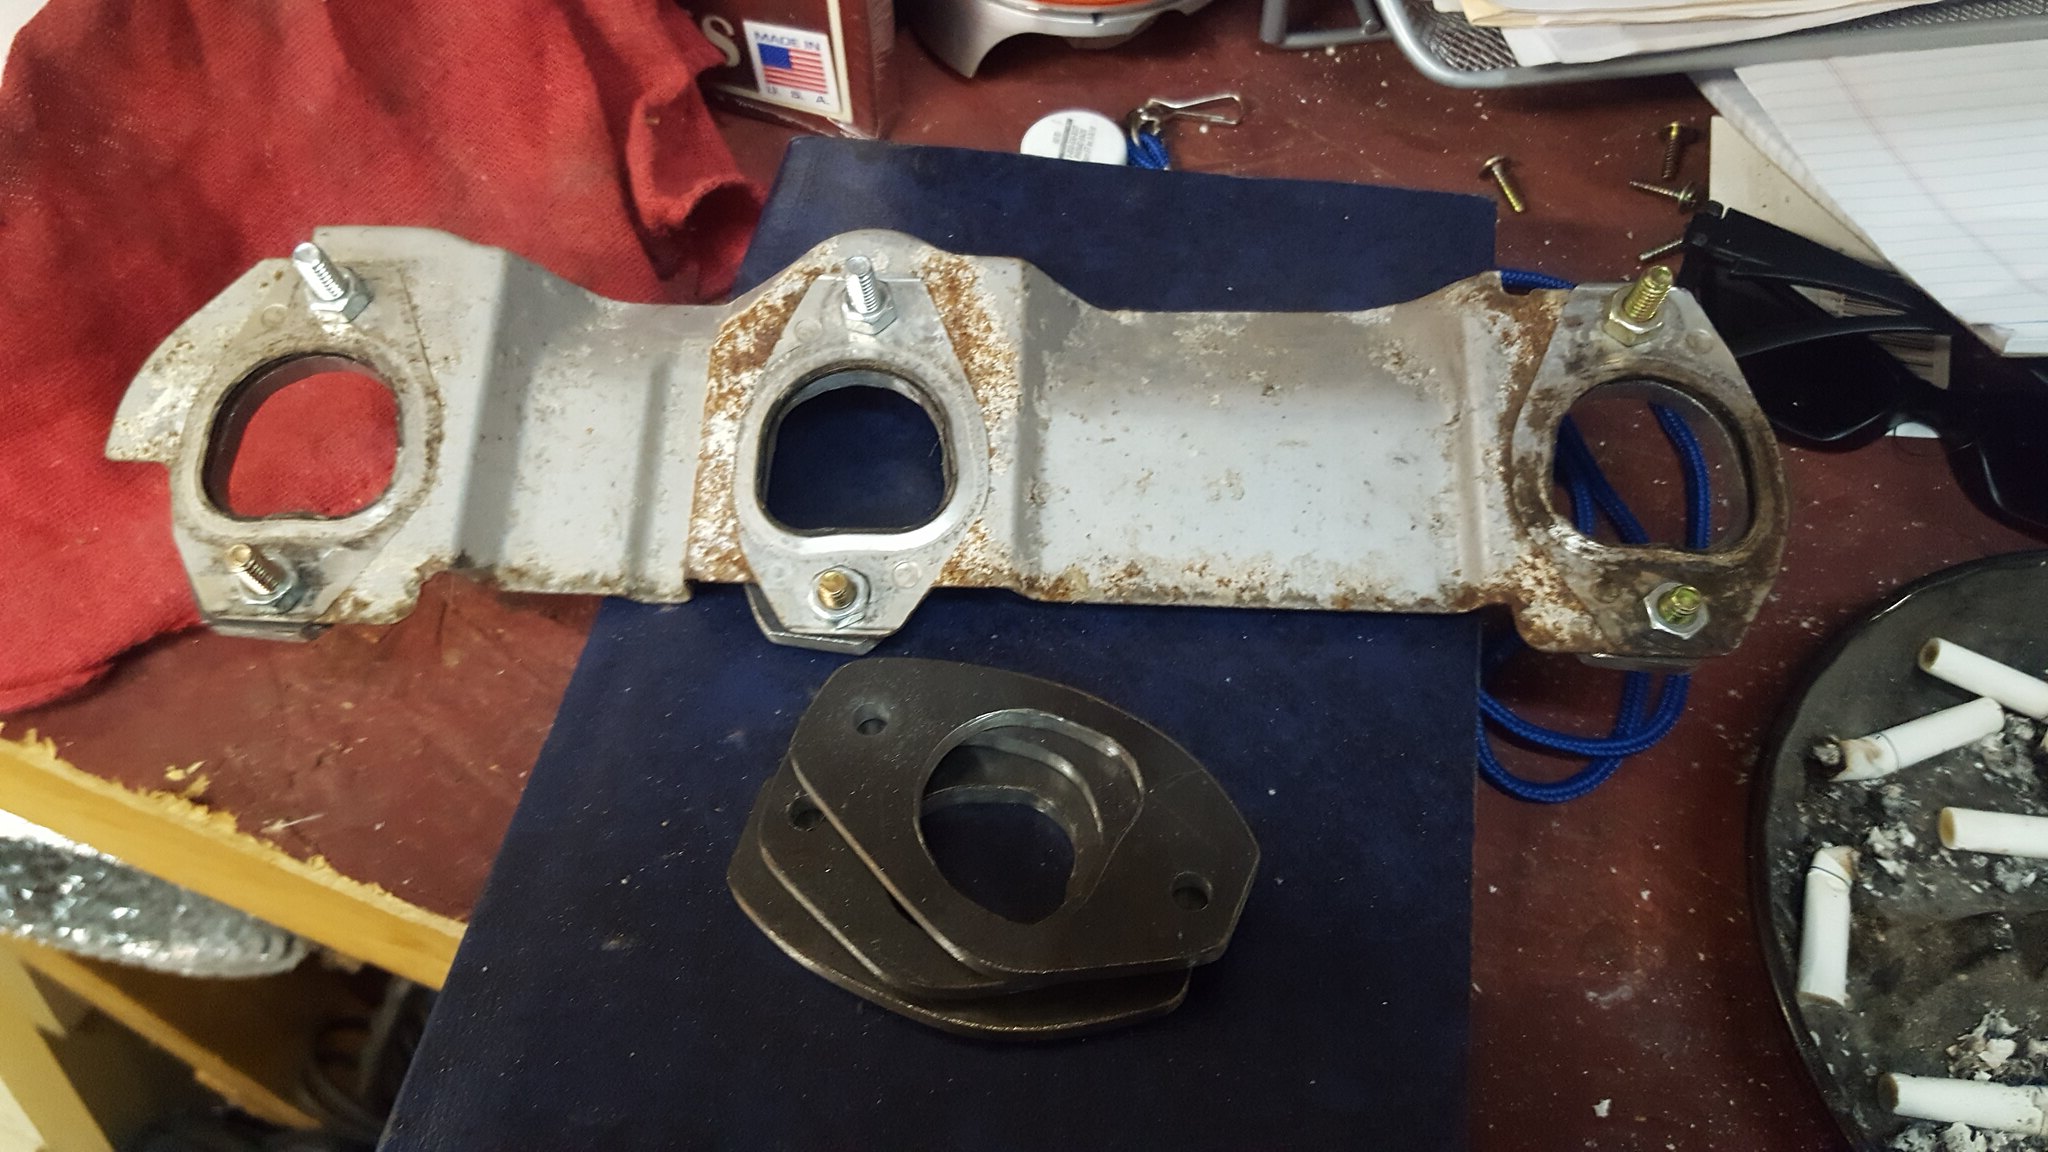
a friend of mine here in town has been helping me make my header flanges. These were done on his mill, and so far hes refused payment. They will be added to the budget one way or another, just a matter of how much.
 20180116_170759 by Michael Crawford, on Flickr
 20180116_170752 by Michael Crawford, on Flickr

More heat please. Glad to see you are grinding the mill scale off. If you are welding with one hand, use two to guide the bead.
Pete
some areas definately need more heat, but we cant seem to do sheetmetal to thick steel with enough heat for the thicker without vaporizing the sheet metal.
i try to grind the mill scale whenever i can. i will say that my overhead welding sucks. badly. ium really not happy with the welds on mt trans mount portion of the butterfly. they will probably get ground down and redone.
granted, all the welds are getting ground down, and any we find questionable are getting redone.
any tips for sheet to thicker? im all ears, and making most of this up as i go.

Try to keep the weld on the thicker material then work the puddle over to the thinner material. Easy to say but you'll get the hang of it with some practice.
I need to get over there and check this out in person soon. I've got an aluminum racing seat if you want to try it out. Let you check for fitment, both of it in the car and you in the seat lol. Make you a deal on it if it'll work for you.
In reply to untchabl :
Id love to on all counts. Ill buy the soda.
After all, this car used to be yours.....
Ill try that weld technique. Some areas we got great penetration to the subframe connectors. Others not so much. Especially the last leg that nohome pointed out. I think part of the problem there was having the welder on an extension cord.
Hey I got a Kirky Seat For A Fat Guy, I was going to do the Pour in a bag foam thing, too make it fit. But it won't fit the Space I have Available in the Vette. Your's if you want it.
In reply to GTXVette :
If it won't fit in the vet I'm concerned it may not fit in the Miata. Would you mind taking some measurements across the bottom in the back at the max spaces?
While looking for foamectomy drop results during a wait, i found guys are removing the seat sliders for a roughly 2 inch drop. In addition to the foamectomy, i may be able to make the stock seatwork.
Although the hunt is still on for a light aluminium seat that fits me and the car. Cause the stock seat is 40lbs.
For Now 22" comes to Mind across the seat bottom, but the trans tunnel on My Vette has been Umm Modified.
I will look Tomorrow.

I have a suggestion regarding your intake/hood clearance issue. The LX9 upper intake manifold is quite a bit taller than the other 60v6 intakes. I wouldn't marry myself to it if I were in your position. The stock Rendezvous (3400) manifold would provide better clearance, and since you plan to boost this pile anyway, the flow advantages of the LX9 upper are less important.
In reply to Left Ventricle :
I had no idea the 3500 intake is taller. Ive thought about sticking with the stock 3400 parts for now for budget and simplicity reasons, and i think you just helped me make up my mind.
Gtx: 22 will be tight, but ill wait for you to confirm.

Why have an idler between the alternator and crank?
The secret to welding thick to thin is to let gravity and capillary action do the work. Once again, you go in plenty hot on the thick panel and let the molten metal fall in place where-upon it will get sucked into the seam by capillary action.
I had a hell of a time getting started with welding because I kept turning the heat down as the solution. Thing is that by turning the heat down, you have less of the molten liquid goodness that sticks the panels together, and what little you do have freezes up quick because it is such a small mass.
Go in hot on the thick stuff. Move the gun towards the thin panel while watching the bead. You will see the bead get sucked on to the thin panel. Let go of the trigger. Go back to the top and starting with a half overlap, repeat the process.
Pete
In reply to wvumtnbkr :
Honestly, belt wrap. I figured wed need it. And it was already there. With the idler, wrap on the crank and alternator were increased by about 50%.
Pete: im going to try that, as well as pass it on to dad.
Alrighty Mikey,
18" wide/17"front to rear Seat bottom, 27" from bottom of Pan to Shoulder Harness Opening 37" to the Top Of Seat. there is about a 45 degree portion from the seat bottom to the Back Upright it may be 5"
Awesome. Ill measure it next time I'm at dads.
I am going to pick on you here so apologies in advance, but this is a common situation and we are all guilty of it:
Prepping the weld seam is not nearly as much fun as doing the welding, but it needs to be done to a high standard if you want nice welds. Complicating things is the reality that the backside of the seam has to be as clean as the front if you want to do weld-porn. ( not really needed most of the time)
The picture shows both paint and seam sealer in the weld seam. These materials vaporize into a flammable gas that bubbles up through the weld bead and then contaminate the shielding gas making your inert Argon/Co2 mix not inert anymore. The smoke also makes it harder to see the puddle and control what you are doing.
Seam sealer is best dealt with by burning it out of the seam with a torch after you have wire-wheeled the bulk of it.
TIG welding, as much as I don't have the patience for it, has taught me the value of wiping the seam with acetone in order to degrease the metal. Huge difference welding clean steel that does not contaminate the bead and the shielding gas. Once you get on to it, you wont want to weld crusty stuff unless you have to.
Pete

I was just coming in to check and see if you were needing those header flanges yet. Guess I am off the hook! Looks good.
In reply to singleslammer :
Yes sir. I was going to try to find your email again to let you know we got them done locally. I appreciate it anyway!
In reply to NOHOME :
Those were the first seam welds dad did. They have gotten significantly better as he has gone on and gotten practice and tips. Some of the early ones may need to be redone if possible. Or, if not, fresh welds in addition to the previous.

came here expecting Honda minivan content
In reply to solfly :
Now that you say that, i laugh at the thread title.
Hopefully you stay regardless of the lack of minivan content.
You'll need to log in to post.


