In reply to Dusterbd13 :
Nothing a grinder and some more welding time can't fix.

In reply to Dusterbd13 :
Nothing a grinder and some more welding time can't fix.
It's a challenge car. Get it done well enough to work for its purpose. You can always go back and make them pretty later.
Couldn't you wrap them?

Very true on all counts. Wrapping is in the plans for heat management.
The other thing im not happy with is how much they moved even with bolting them to the cast manifolds. Ive had to enlarge the holes a lot to get them to bolt back up to the heads. The openings now no longer match the gaskets. So much more work will be required to make them even marginally acceptable.
In reply to Dusterbd13 :
Add heat and apply force (maybe with a backhoe) to get them tuned back to where they should be.

Dusterbd13 said:
I also know myself well enough to know that if they work, the will be ignored until such time as they stop working.
Story of my life.

Dusterbd13 said:wheelsmithy said:
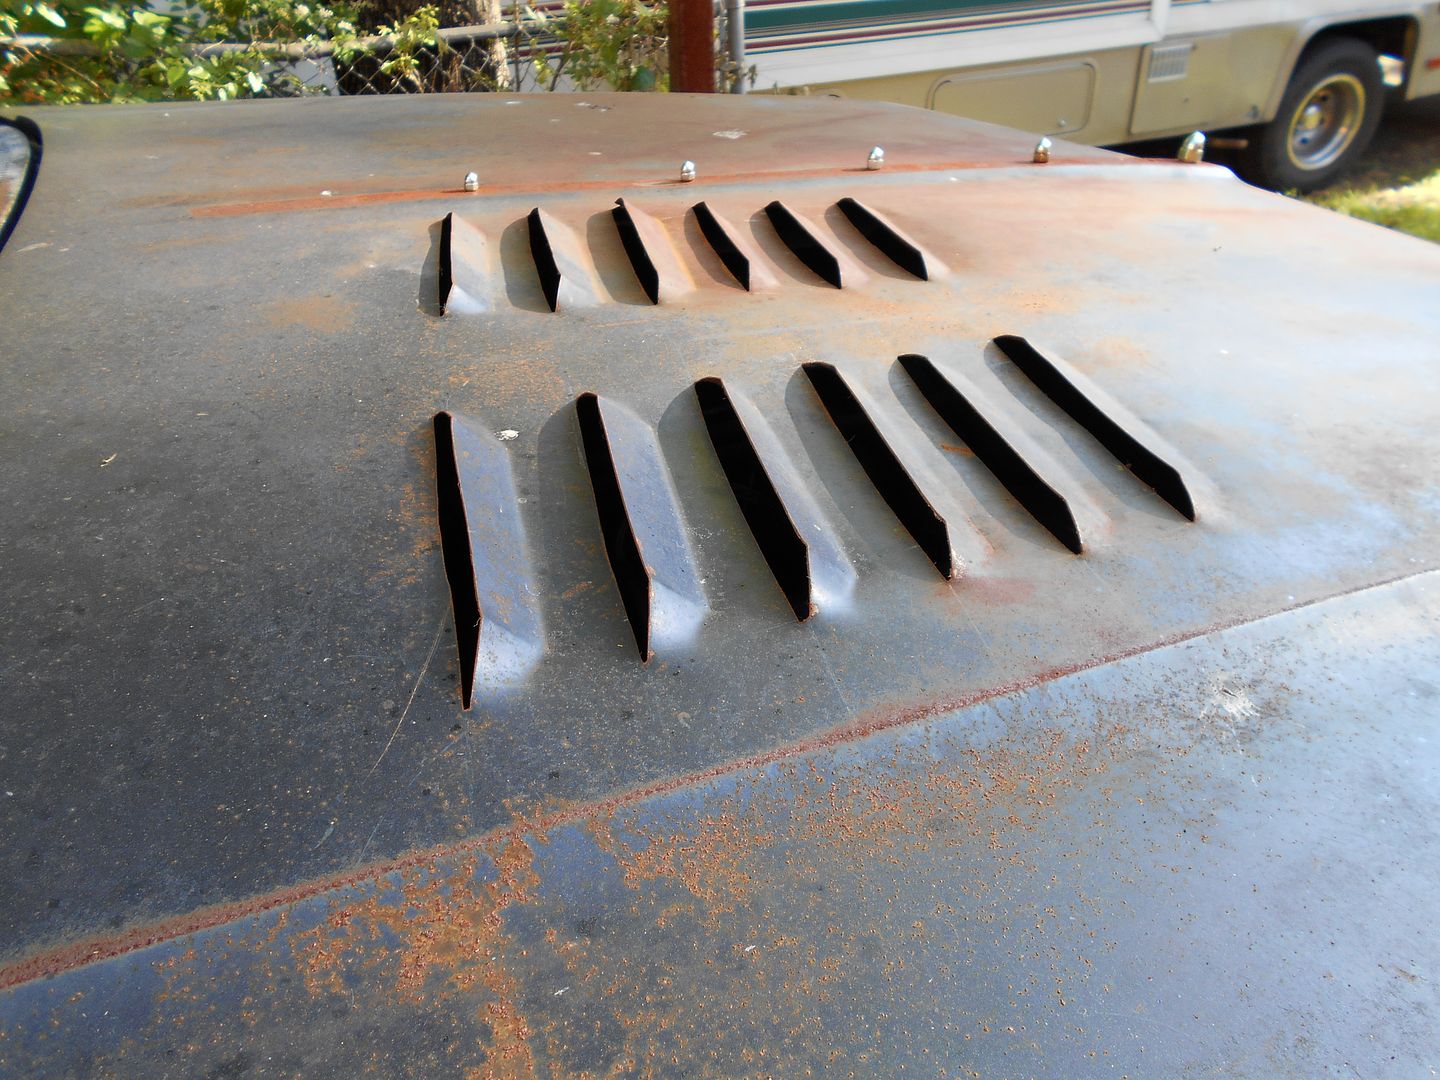
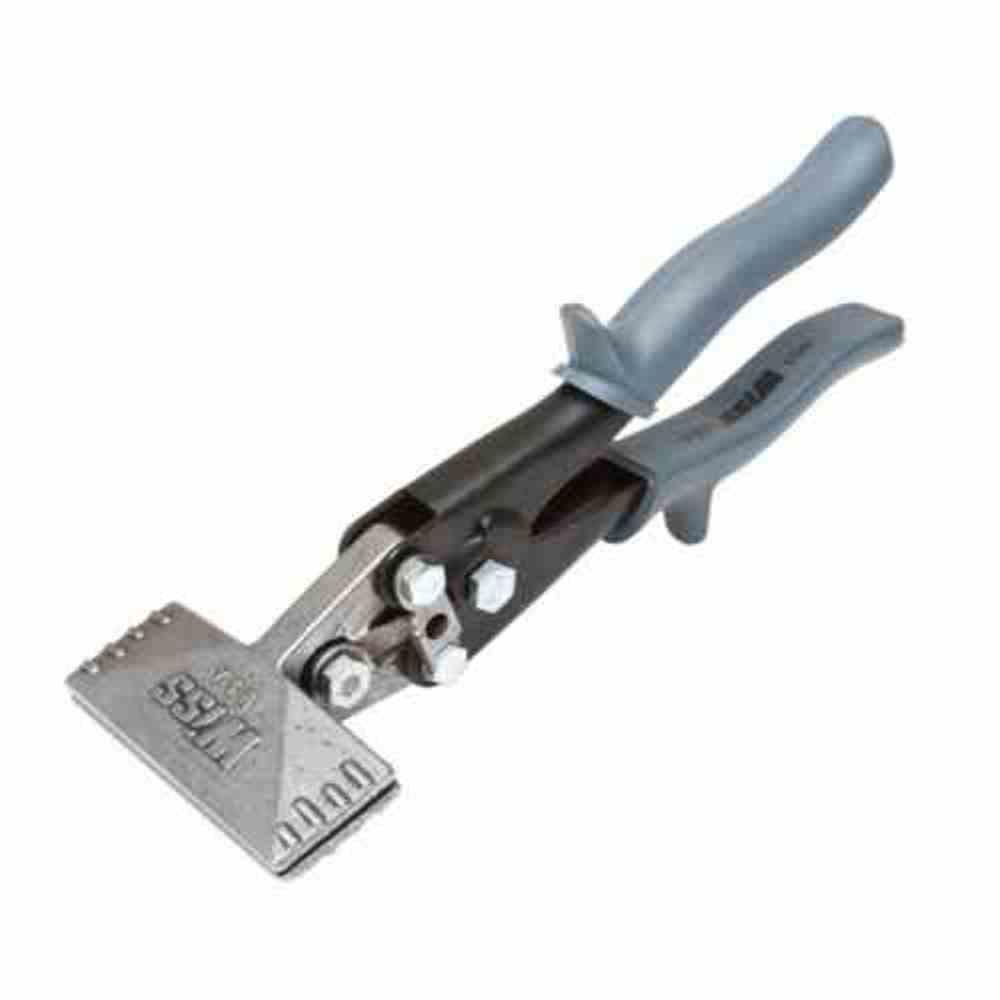
Above are a set of louvers I did on my crappy Dodge truck. I used one of these:
Basically, Mine worked out OK because it was a flat surface. I cut the slot the width of the jaws(long side), plus 2X the length (short side) of jaws in the picture. I centered the jaws, and just pulled the pliers up. I believe better results than I got are attainable with heat. FYI, the negative(flat) space equals the positive (bent) space when you are doing your layout, if that makes sense. I hope this makes
I want to make sure that im understanding you. You cut a rectangular shape that is 3 inches wide (width of jaws) by 2 inches deep (jaws are 1) inserted the pliers, clamped down, and pulled up. Right?
Sorry, Mike, been away a couple of days. This is from memory, but here goes. The pliers I used were 6" wide by 1" deep. I made my slits 8" wide, and 2" apart. I had to hammer the pliers into the slot, and beat them until they were centered, and the back edge of the jaw was flush with the slit. The plan was to make a 45 degree triangle to make the transition from flat to louvered. In actuality, it was more like 30 degrees up, and the rest just ended up wherever it did. I hope this makes some kind of sense.


Nice tuck sir.
Lol
It is definitely leftover truck parts
Practice makes perfect. Now onward to the Silverado. Keep juggling those balls my friend.
Silverado exhaust is done. 20 minutes.
Took me much longer to add hangars and the turndown on this exhaust.....
Back from the dead!!!!!
Spent today doing final welding on the exhaust. And other stuff. Full update tomorrow night, but just wanted to be a tease.
Challenge budget so far:
previous challenge budget: 1326.58
recoup total: 800
new money:
had a driveshaft made: 220
3 sway bars: 20
new total: 1566.58
recoup: 800
so, its been a minute. But im back on this one. Trying to regain momentum, but struggling. Especially with everything thats been happening in life.
However, over the past week, ive found my bearings on this project again. Got the exhaust all final welded and ground down.
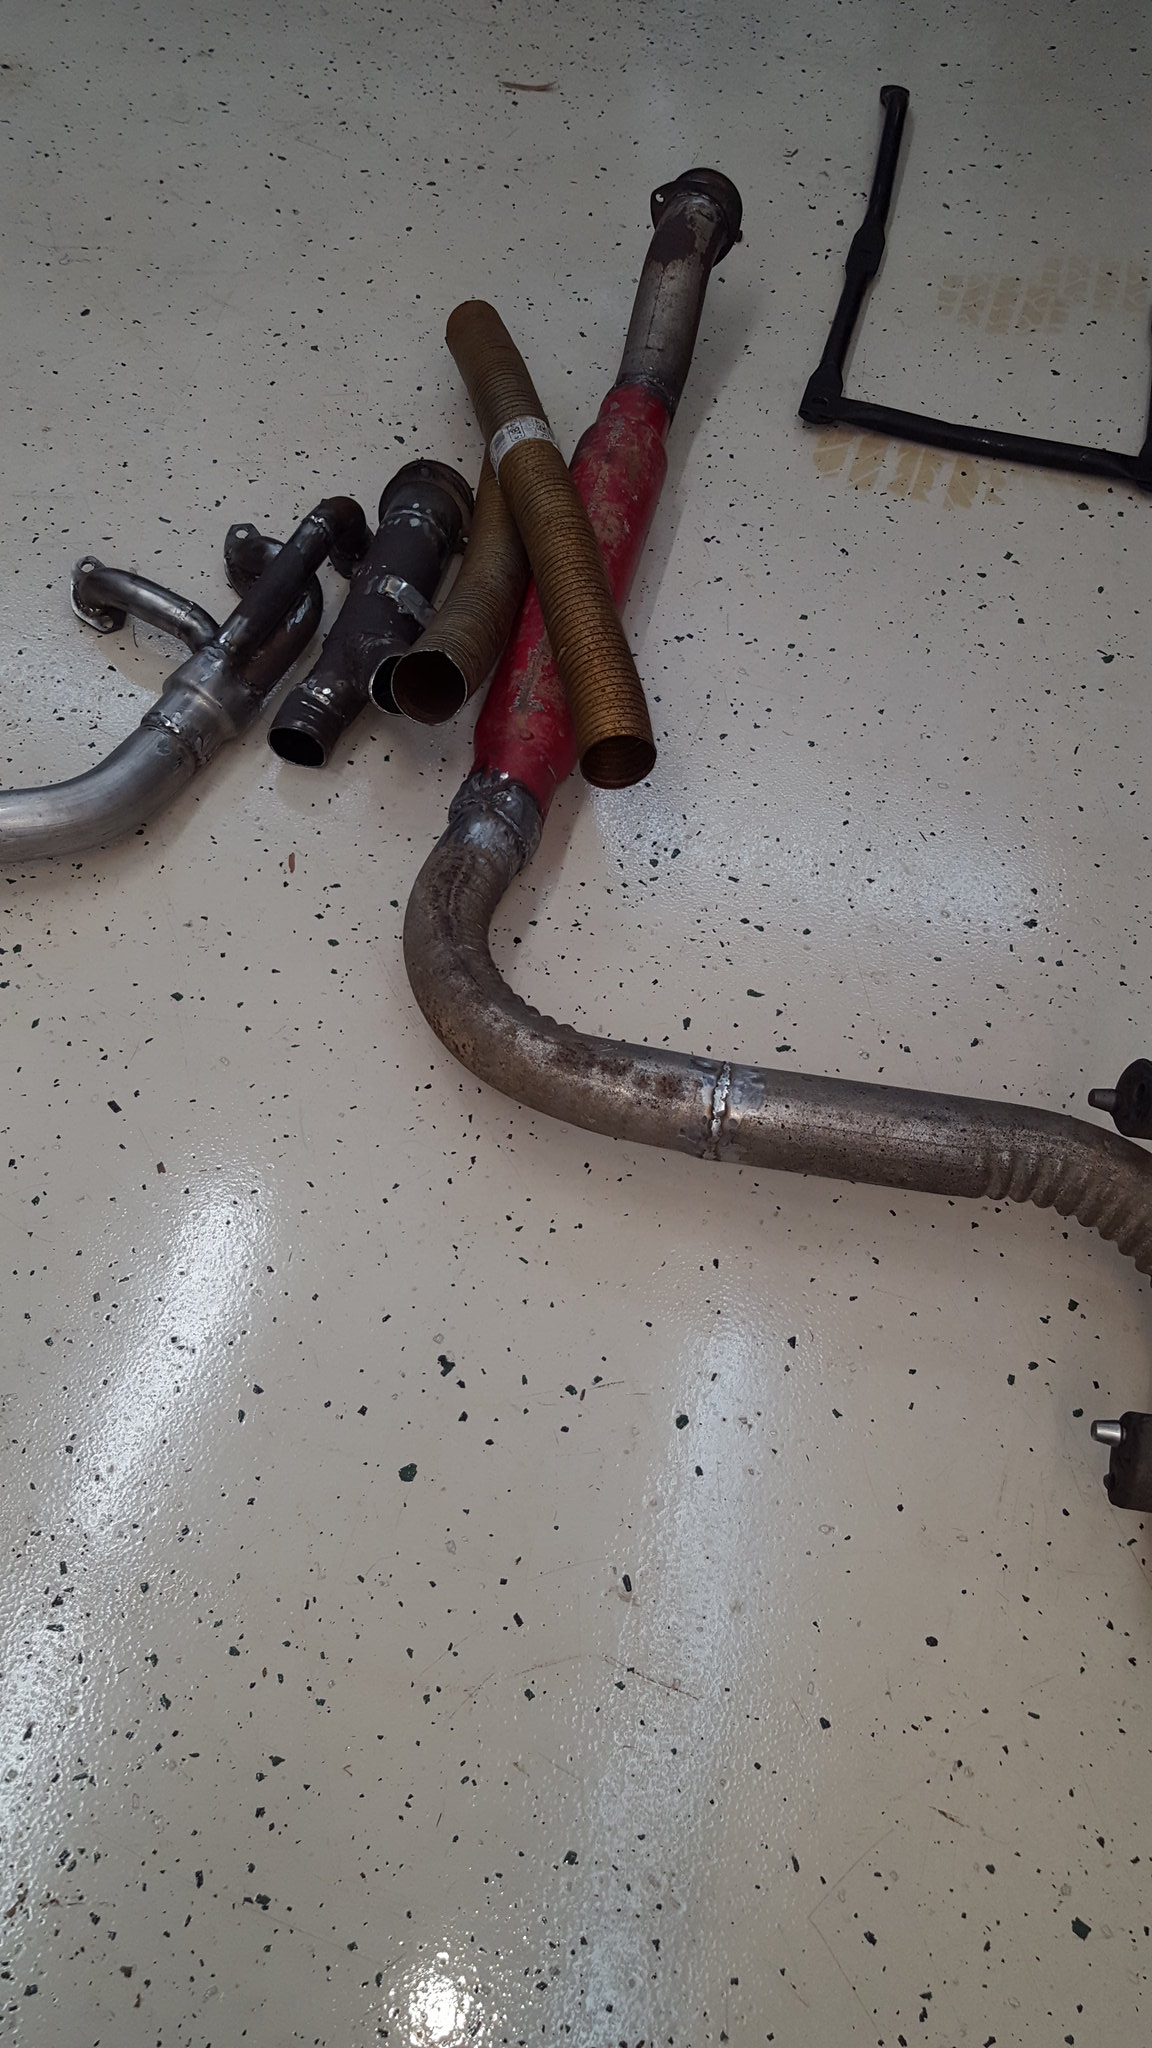 20180408_081012 by Michael Crawford, on Flickr
got the alternator mount mocked up and tacked in
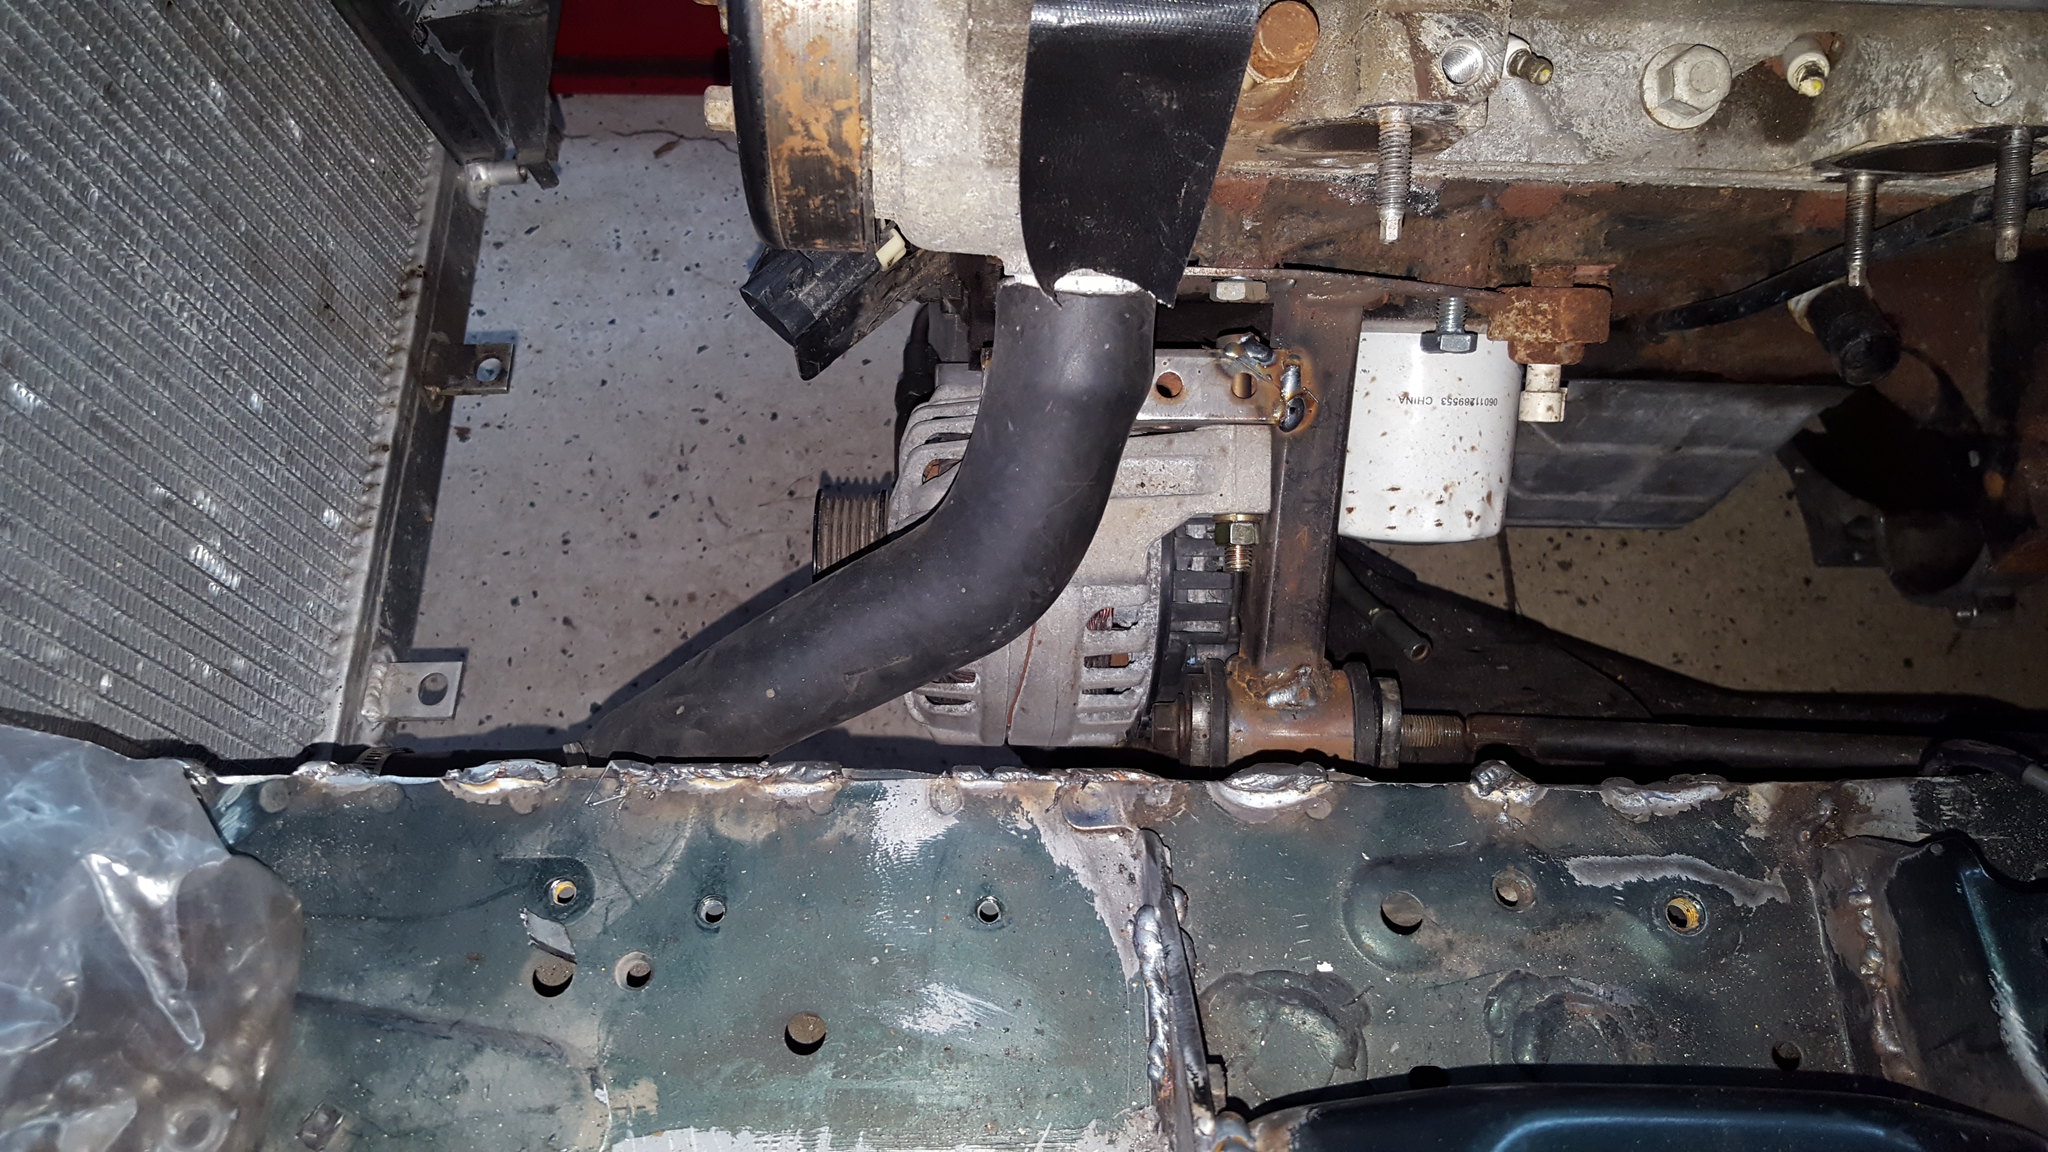 20180408_081042 by Michael Crawford, on Flickr
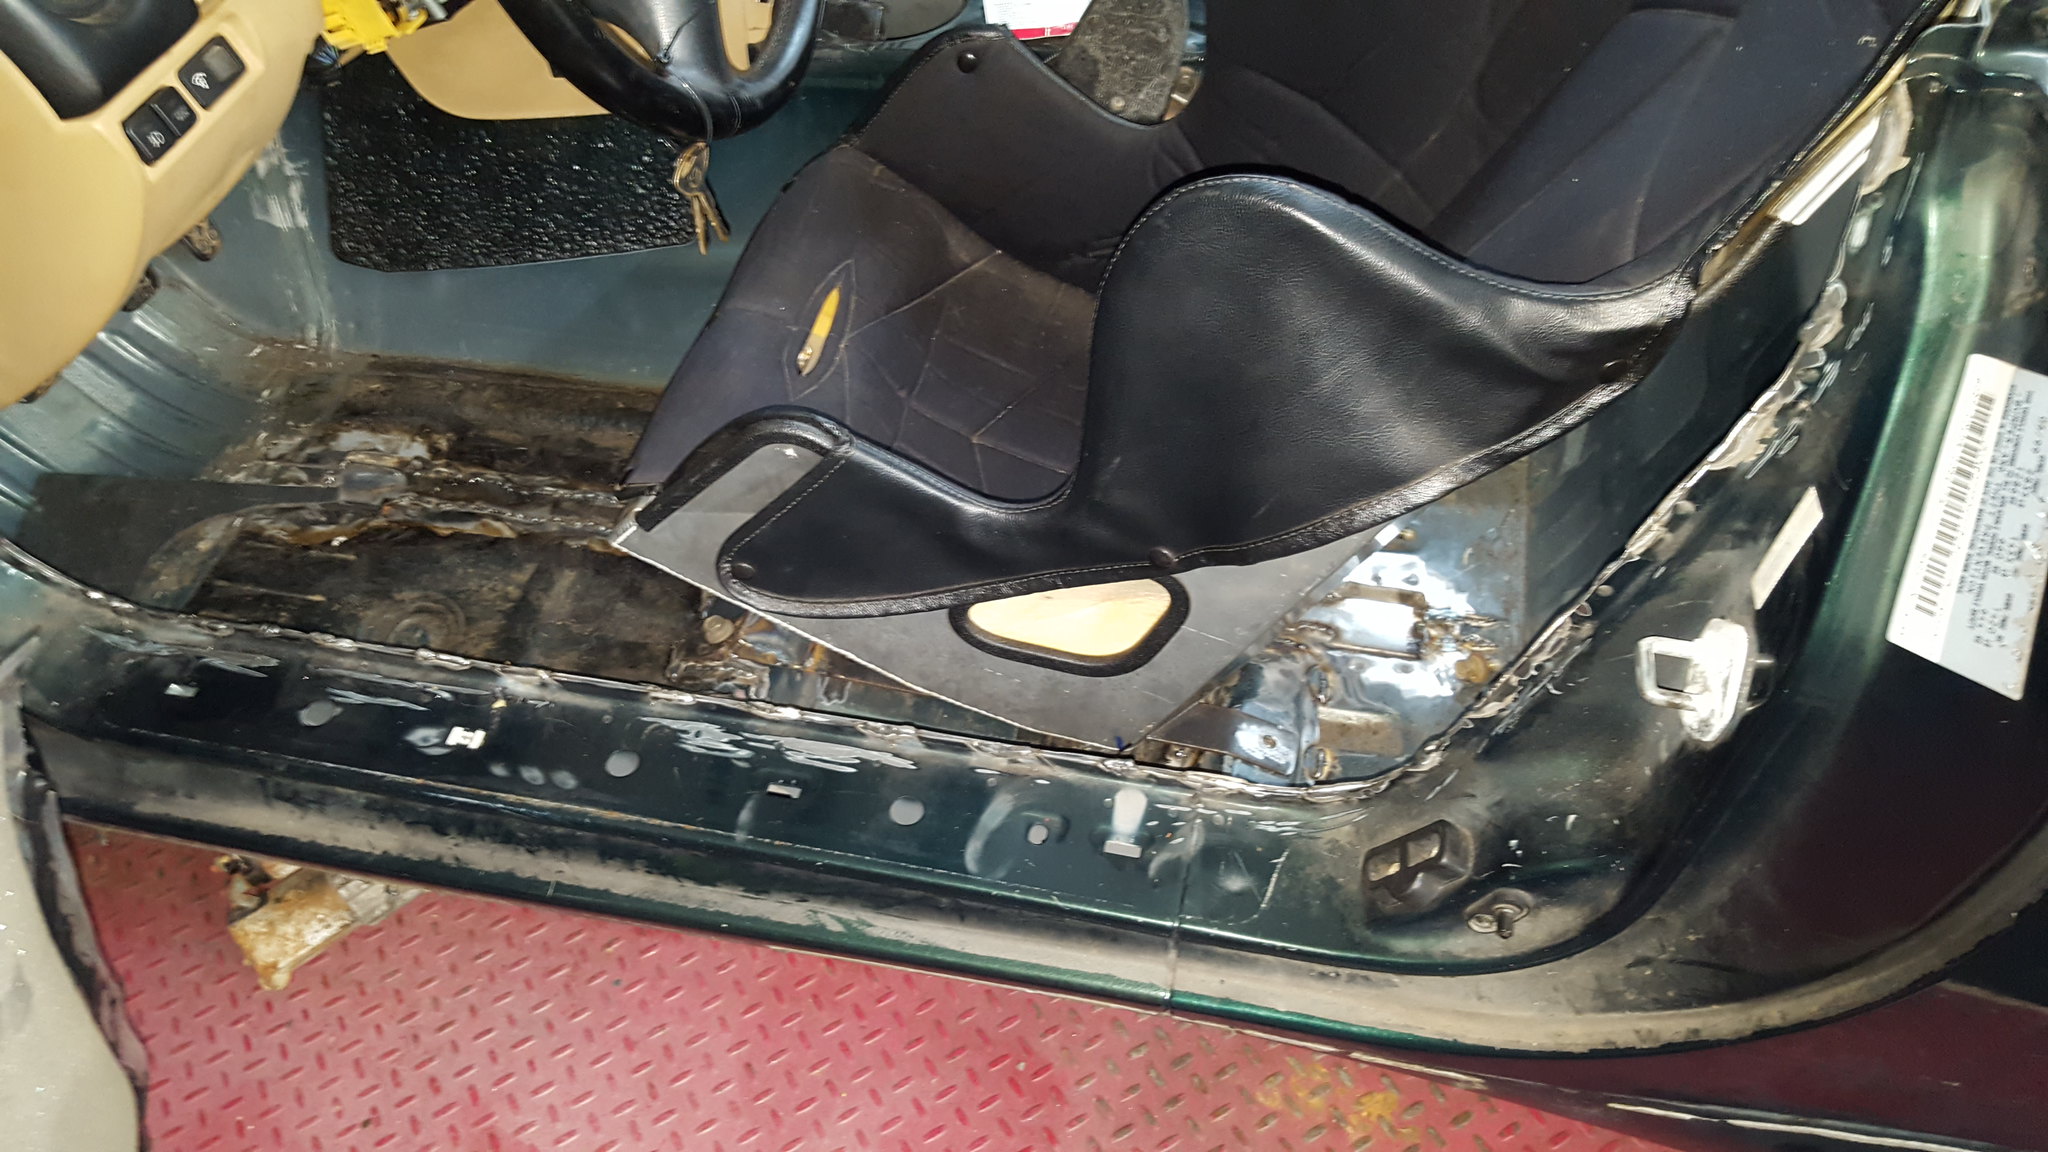
seat is mounted
 20180408_081027 by Michael Crawford, on Flickr
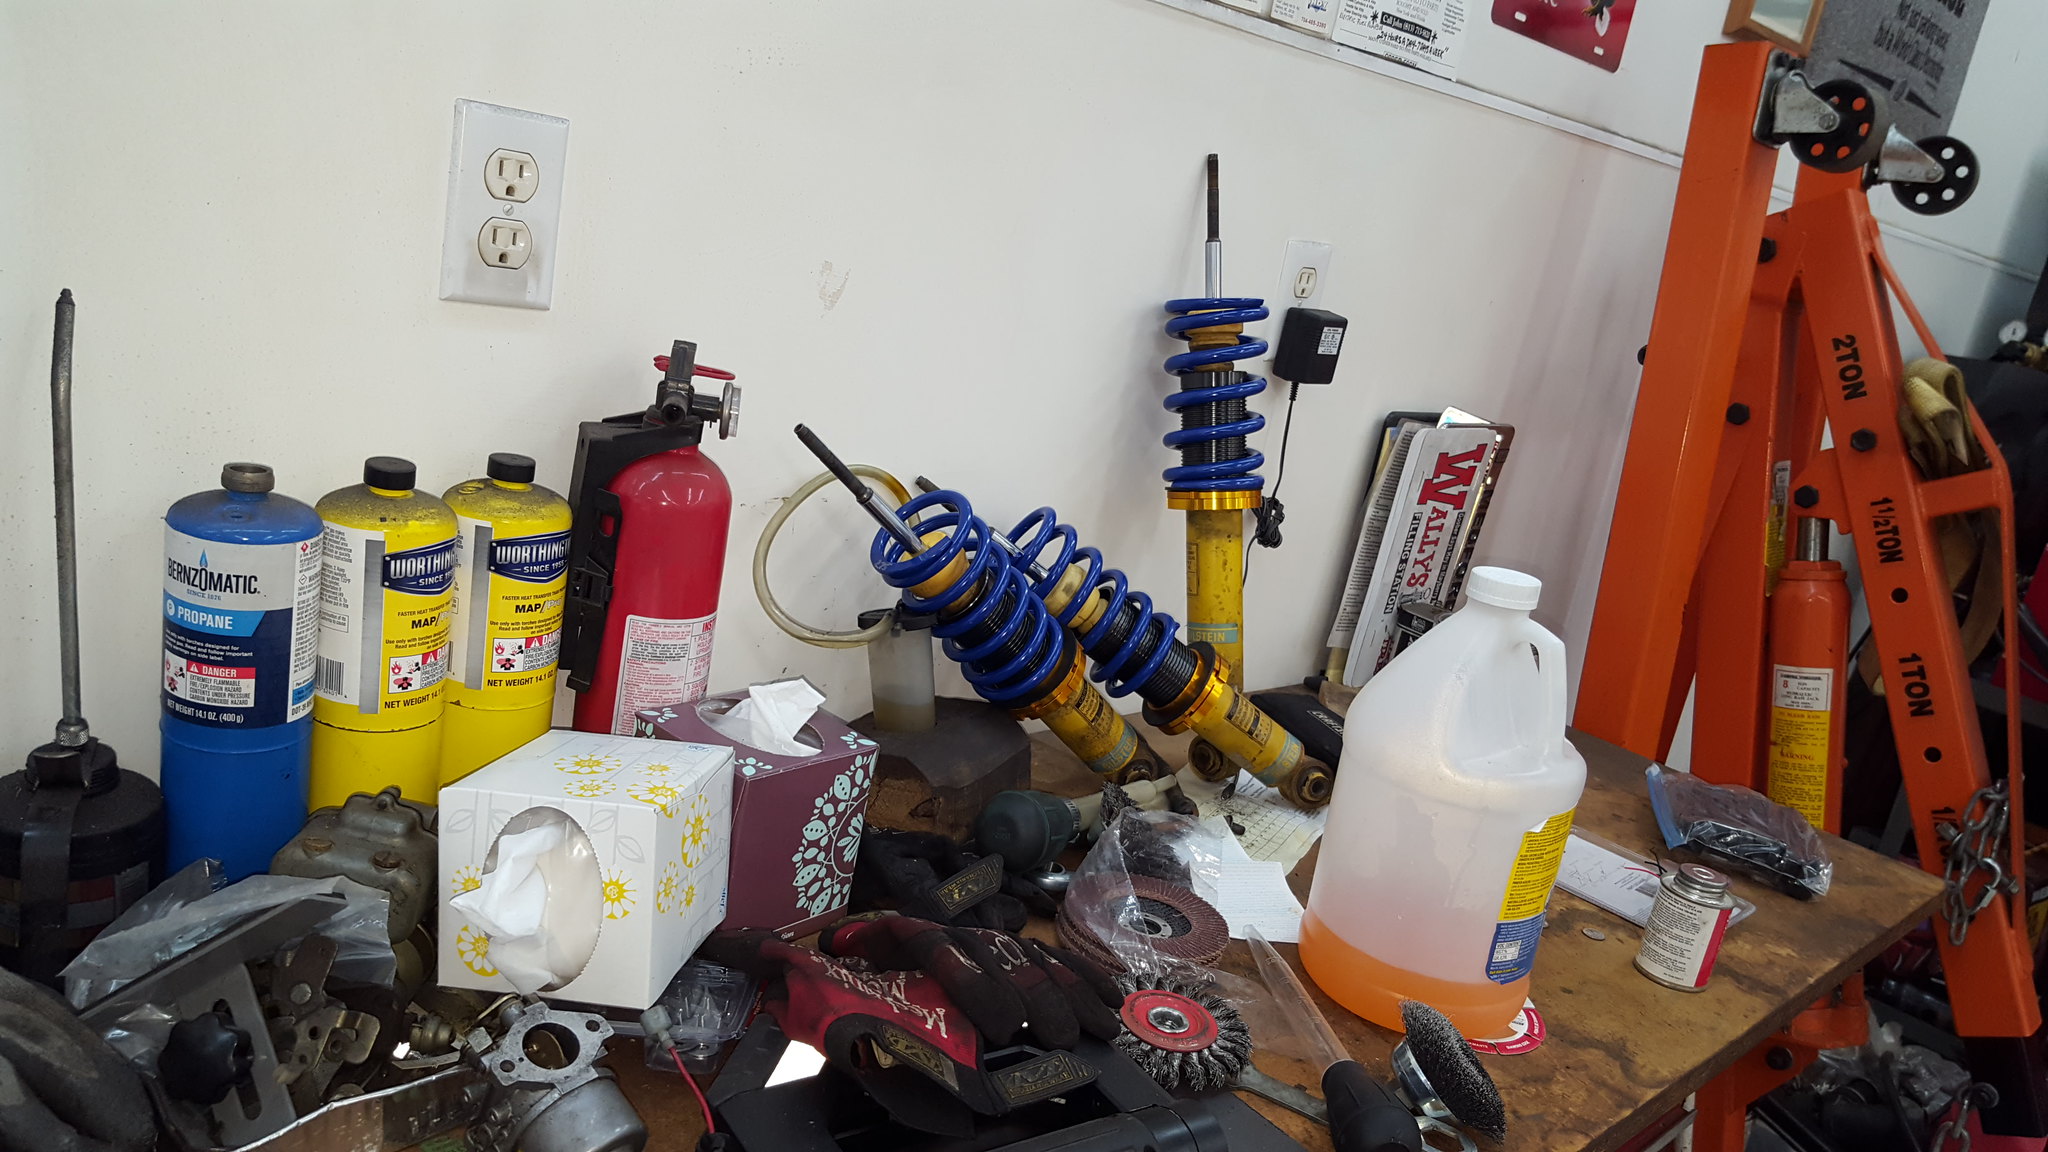
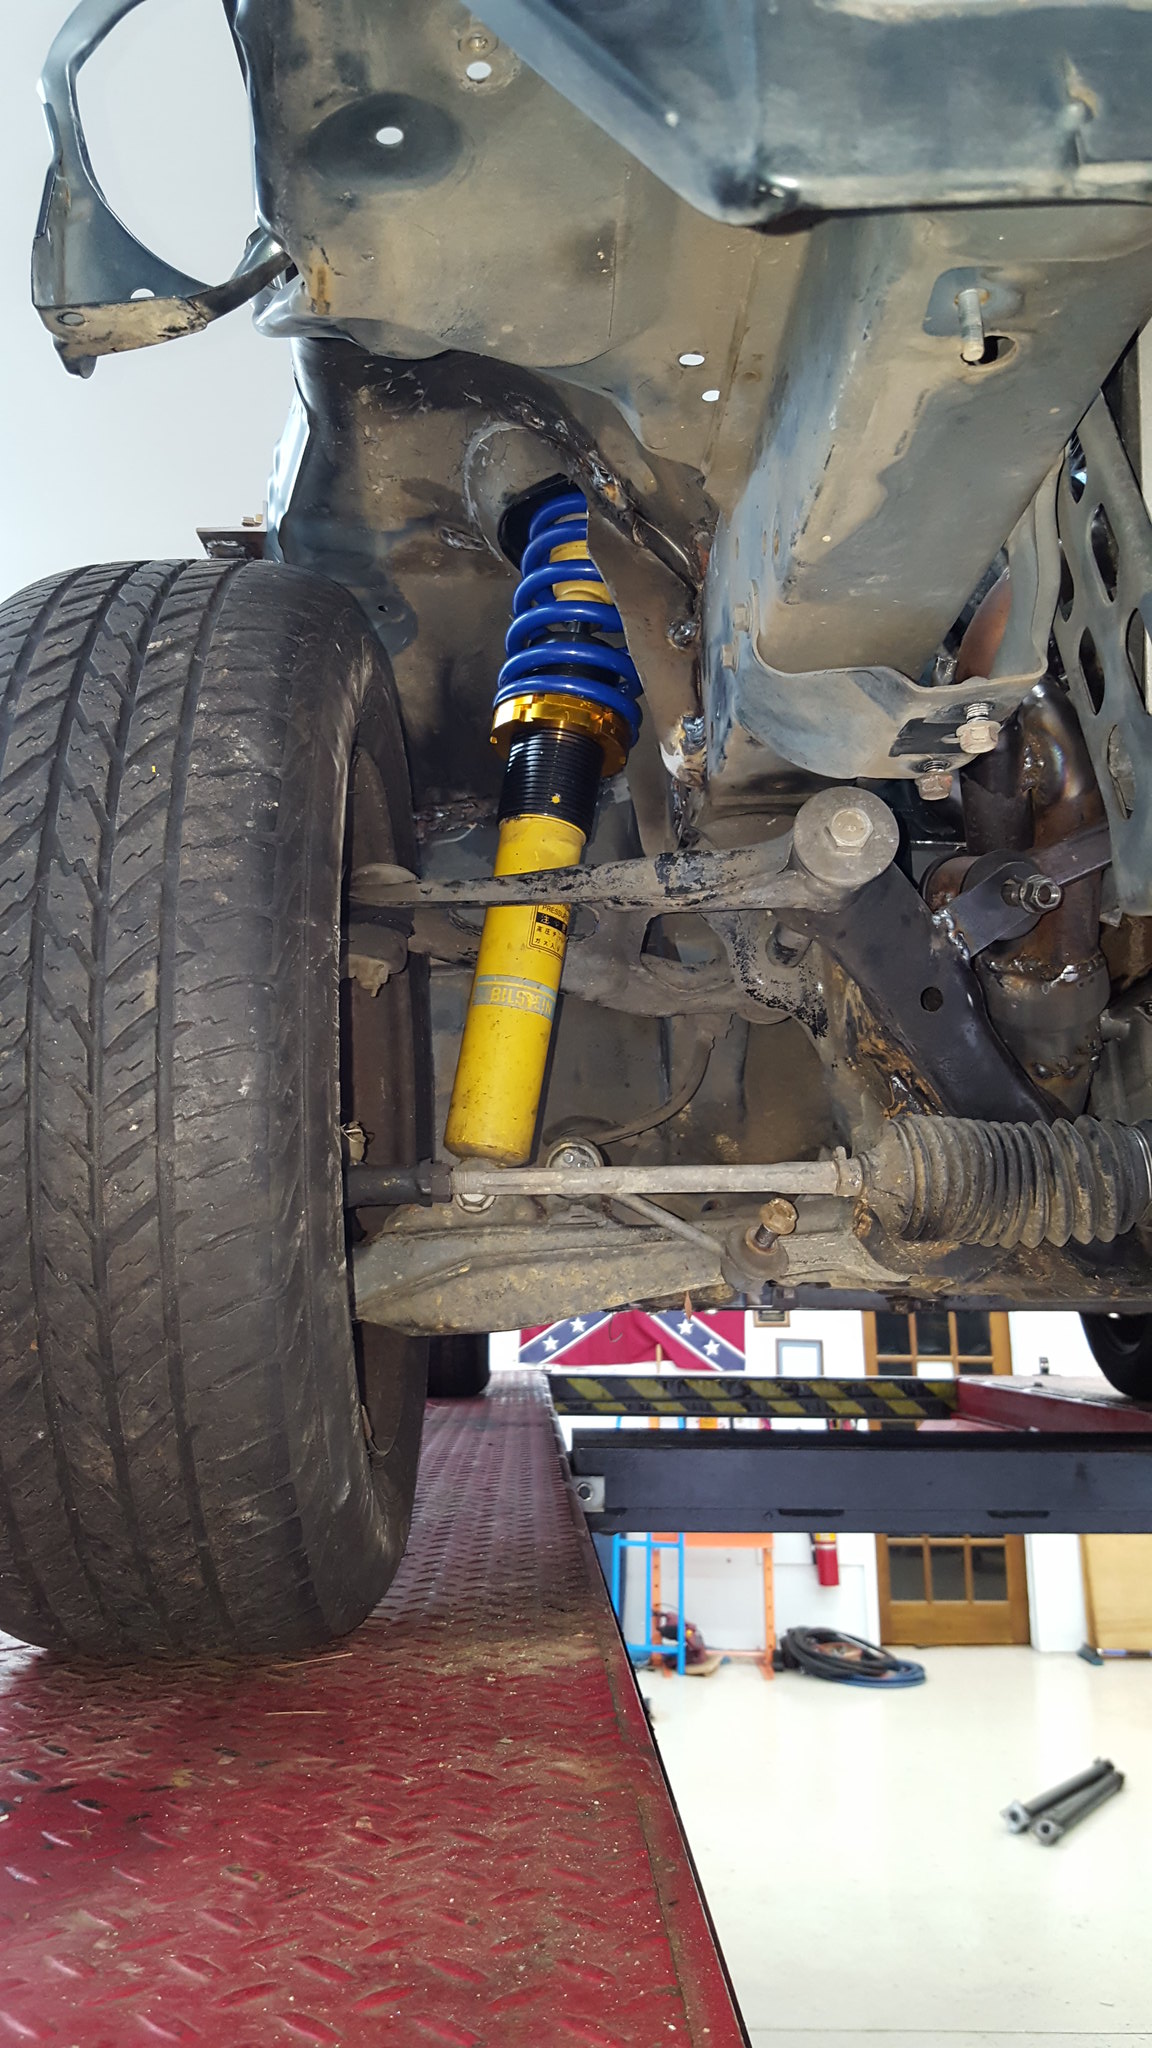
and got the coilovers put together.
 20180407_114910 by Michael Crawford, on Flickr
 20180407_114901 by Michael Crawford, on Flickr
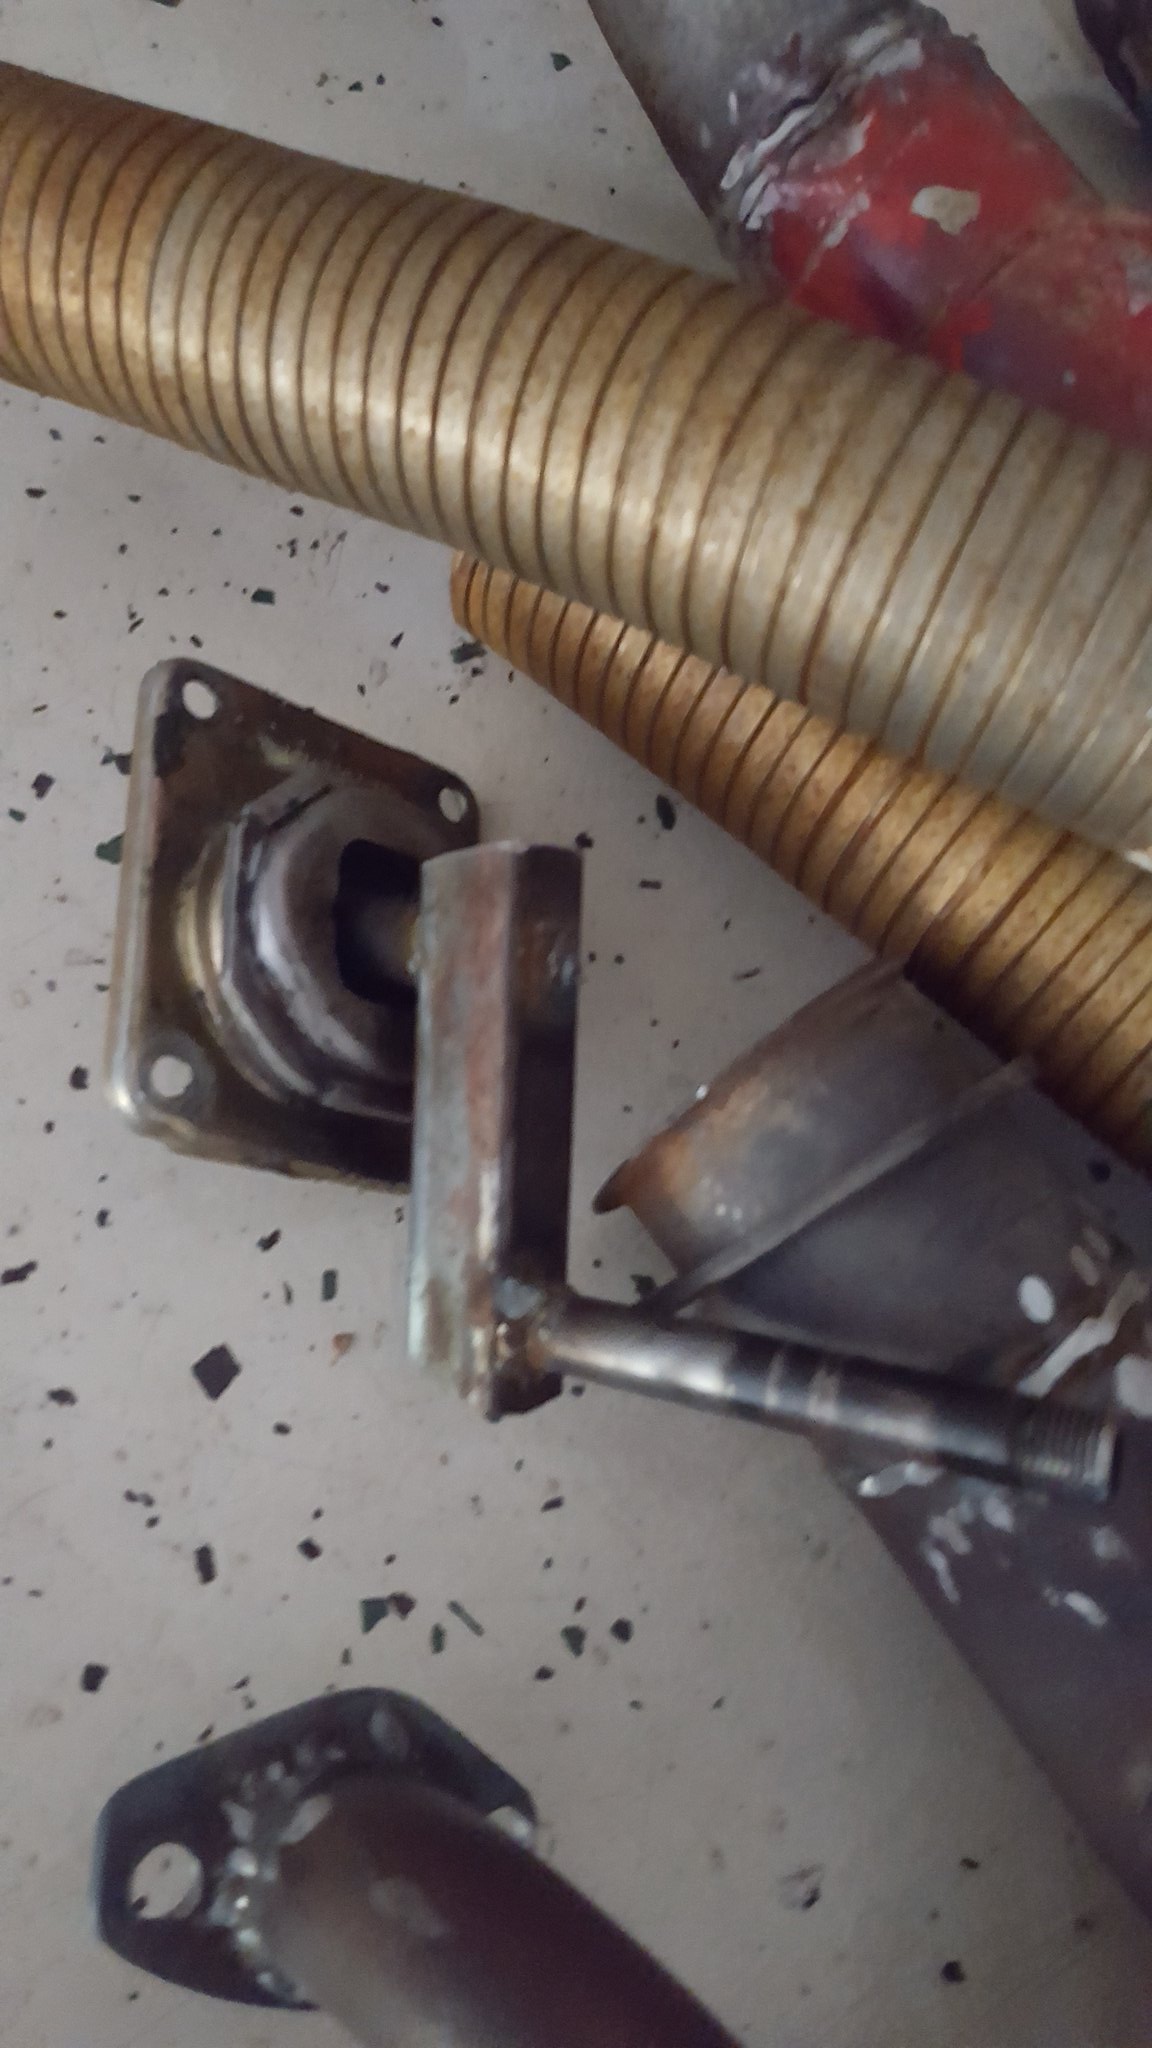
lastly, I began on the shifter. Needs to have the handle about 4 inches back, so I cut it apart right where the console will clear, and plan to put a dog leg in it with a 1x1 piece of steel.
 20180408_081819 by Michael Crawford, on Flickr
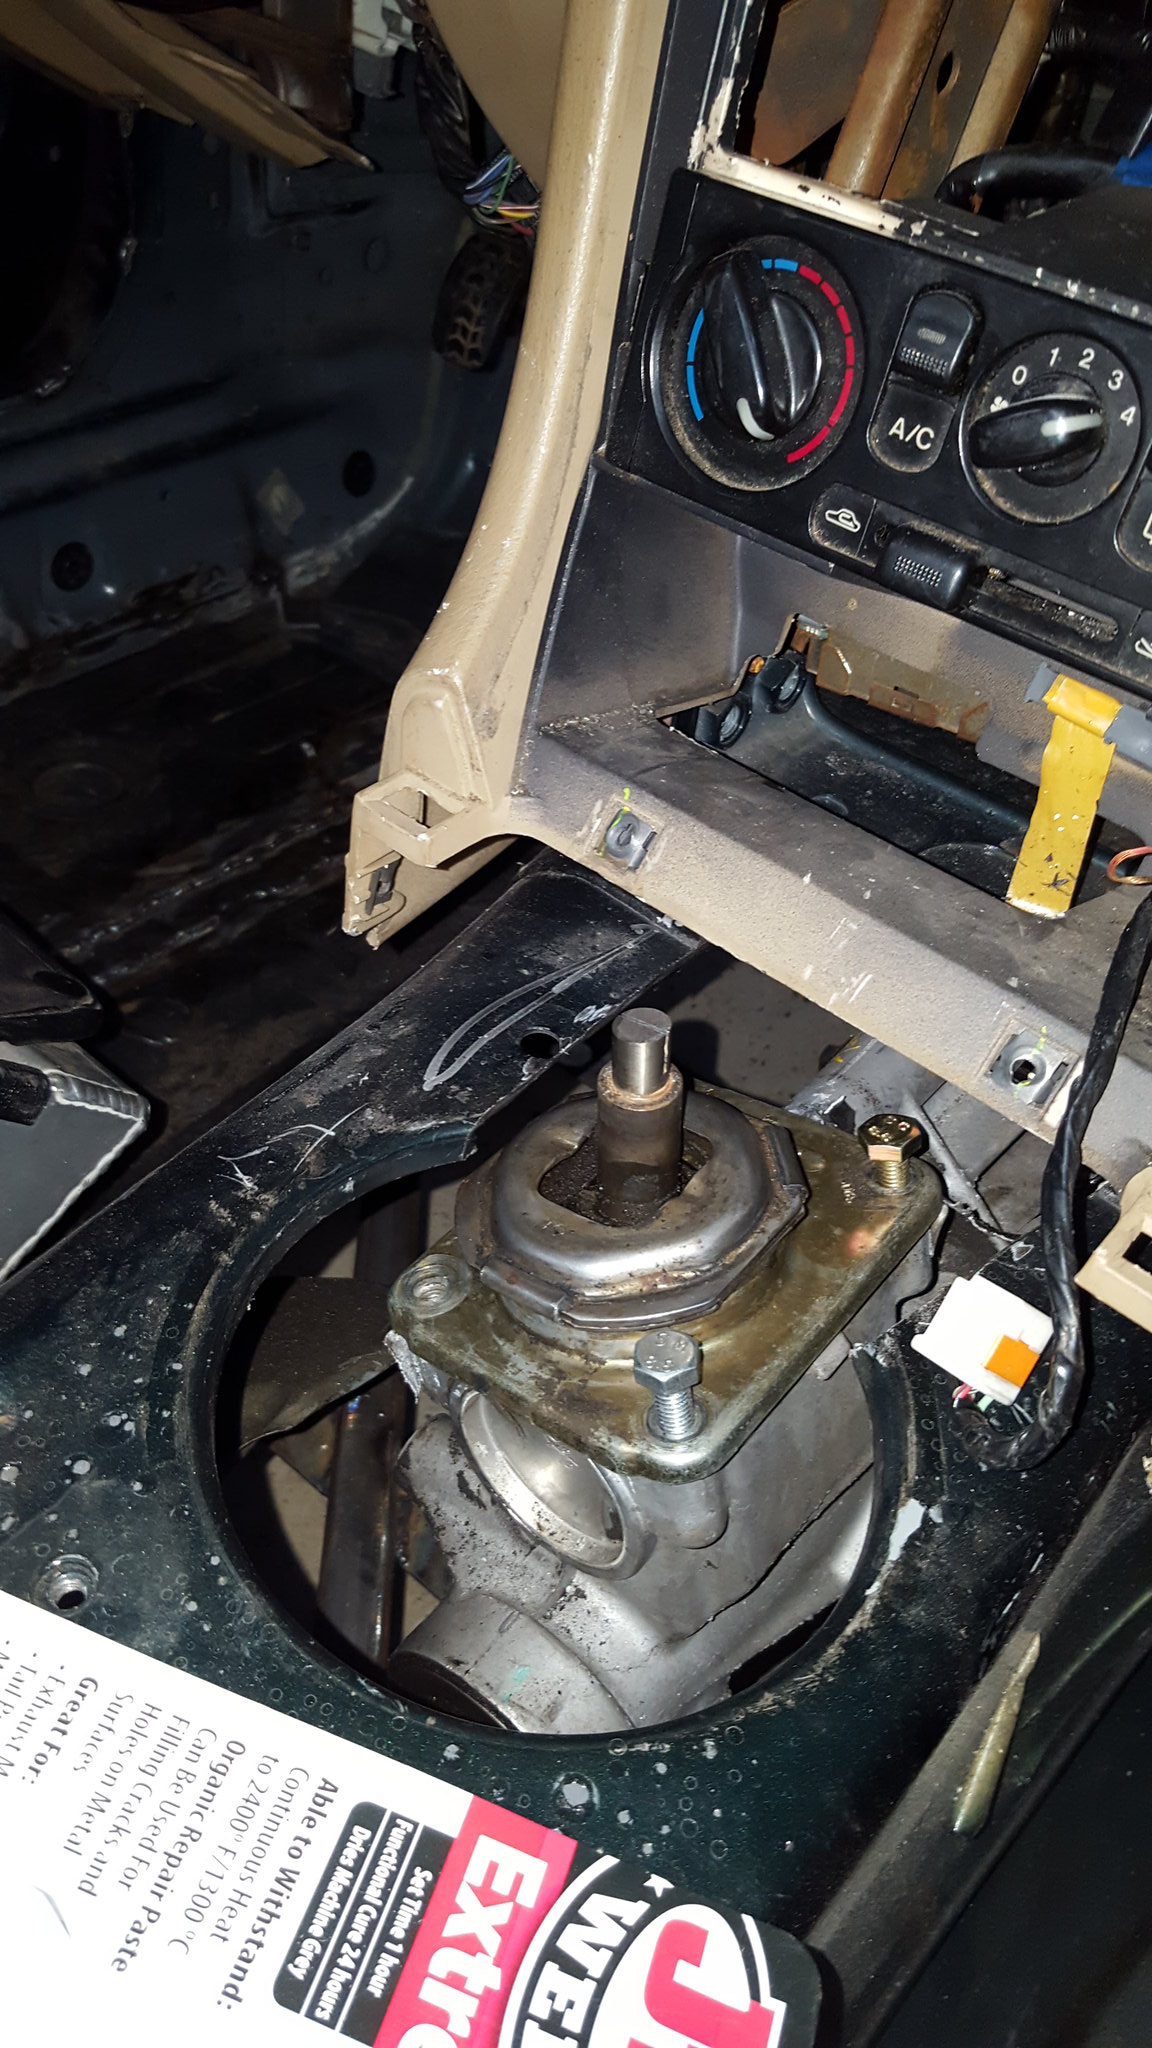 20180408_084015 by Michael Crawford, on Flickr

Sweet!
I can't wait for first drive around. This thing is gonna be quick!
In reply to wvumtnbkr :
Neither can I! Hopefully it's quick enough to actually be kind of scary.

Every time I see this thread, I hope for a challenge minivan. Love the build all the same
In reply to monknomo :
Thanks! I know its not mid engine minivan awesome, but.....
I have lots of work ahead of me....

Challenge budget so far:
previous challenge budget: 1326.58
recoup total: 800
new money:
had a driveshaft made: 220
3 sway bars: 20
new total: 1566.58
recoup: 800
im leaving the last budget update just as a reminder to myself.
This weekend saw small, but major progress.
First, I finished my shifter.
 20180414_175135 by Michael Crawford, on Flickr
fits my had perfectly, and provides nice short throws.
The reason this was so major is that this was the last thing that needed to be fabricated to mate the new Gmv6 drivetrain to the miata. The last thing. The rest is simply connecting the dots.
This means that I can now focus on finishing the seam welding, finishing the crossmember surgery, finsihing the firewall, clean, paint, etc. but all pushes it towards the light of first fire! Due to the challenges of the last few months, I don't believe its on track for the $2018 challenge any more. I have far too far to go in the next few months, which would leave me with no testing time. Which is why we didn't finish higher with the AMC. And with as off the wall as this one is, I definitely need testing time. So, im going to keep plugging away at it. See where/when it gets done, and how much time till the show I have.
But first, I probably need to deal with this.
 20180414_175157 by Michael Crawford, on Flickr

In reply to Dusterbd13 :
The 2018 Challenge can be testing time... then bring it back!!!
Kinda what we did with the amc.
Except this time i dont want to kill myself getting it ready.
Im more than happy to be a crew member at large, much like seth did last year. And bring the challenge truck down for parts runs for competitors.
In reply to Dusterbd13 :
Sounds like fun too.. I'd be quite happy with having you as a pit crew member, put me on the list if it works out that way.
In reply to a_florida_man :
Regardless of entry status, you're on my dance card. I owe you for last years challenge.
In reply to Dusterbd13 :
Thank you, but there is no 'owe', just fun.
I had so much fun, I felt like I should have paid you guys..LOL.
Seriously it was like Christmas when I was 8, but it lasted 2 days!

Seriously it was like Christmas when I was 8, but it lasted 2 days!
What A Great Analogy. And we Get To Wait A Whole Year to do it Again, but starting Today , Let The Count Down Begin! 180 Day's /6 month's
Challenge budget so far:
previous challenge budget: 1326.58
recoup total: 800
new money:
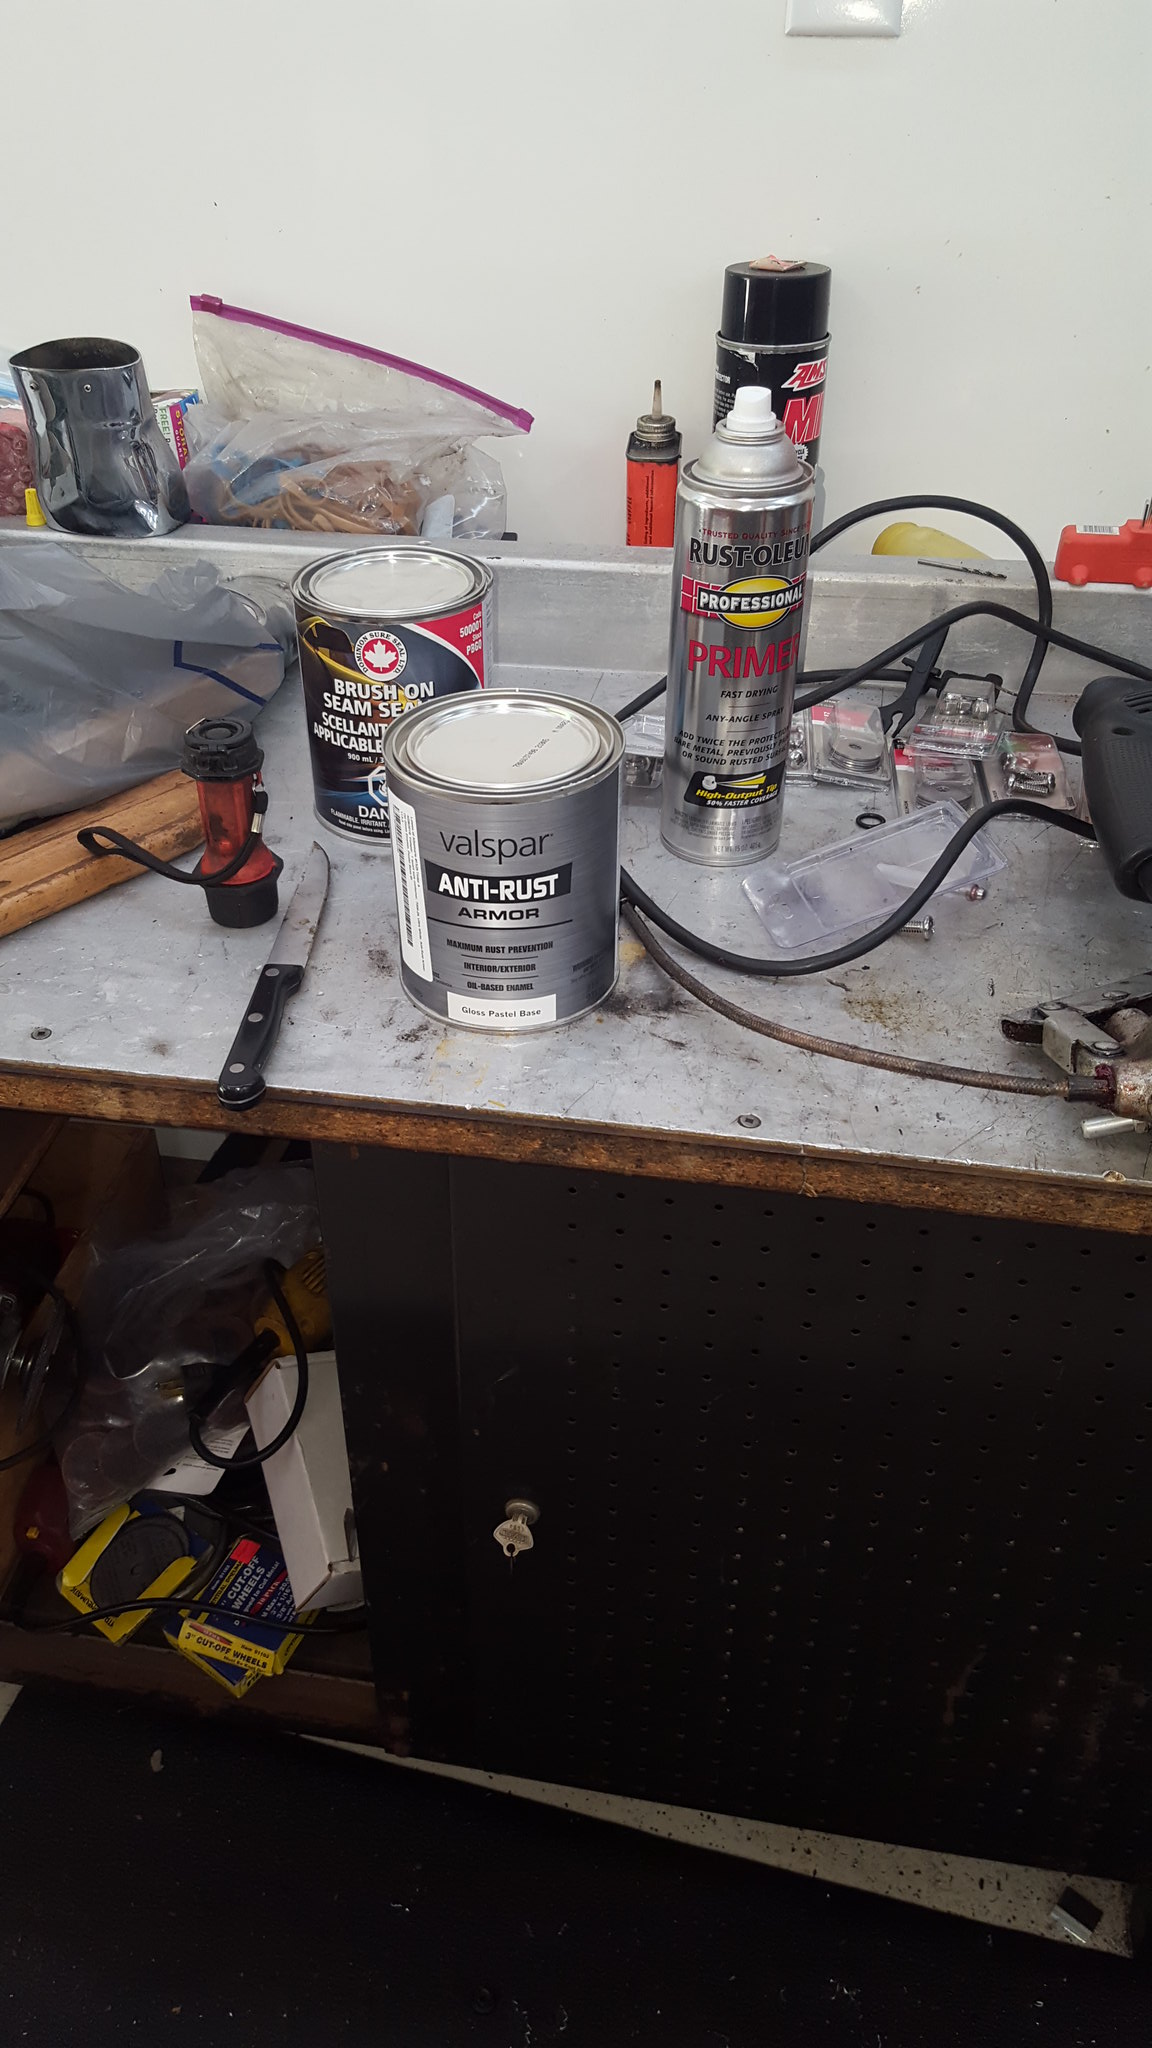
seam sealer: 33.61 from amazon
primer and exhaust paint (free from trash day)
white valspar: 14.97
black valspar: 32..50
safety red: 9.97
goody box of 3400 parts: free (wvtumbler wouldn't take my money, but I owe him beer when I meet him)
hydraulic clutch fittings: amazon 18.99
36 inch clutch line, ebay: 15.75
new total: 1692.37
recoup: 800
for those that care, the current budget total is everything that ive purchased for this project. I have not prorated my latest supplies, as I don't know how much I am going to use yet. But im CERTAIN I wont use the full gallon of black. Also, the budget still contains things that I no longer plan to use at this time, like the SAFC. But im keeping it all tallied in at this time for my own records.
Anyway, a couple of times a year my town does hazardous materials pickup free on curbside. So I went riding around as its also a good time to score bulk trash items as well. Didn't really get anything good except some rusty metal primer and silver high heat paint in half used cans from a couple of blocks over. So I used the high heat on the exhaust. Its damn near chrome. Not a fan, but who will see it?
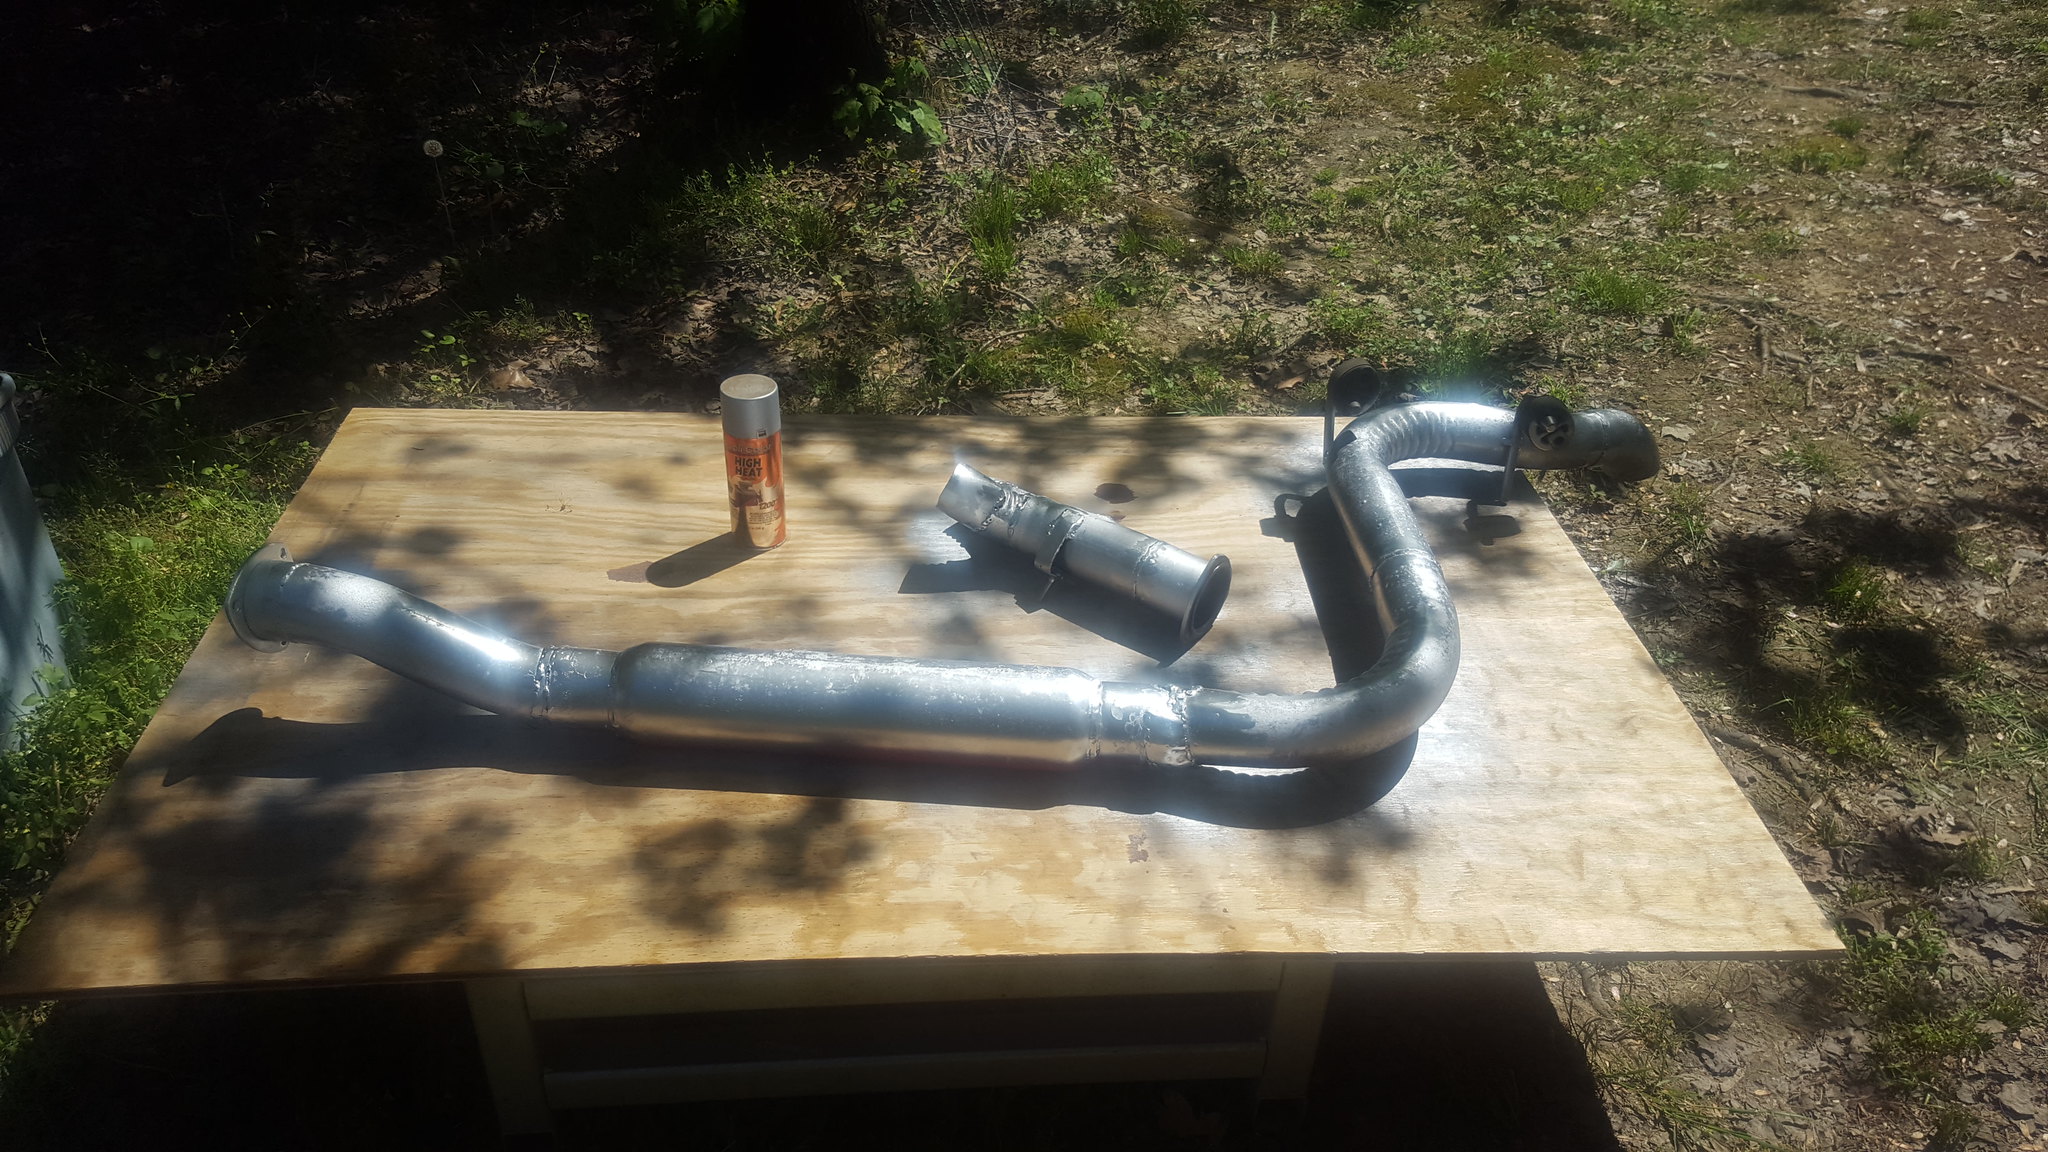 20180420_151121 by Michael Crawford, on Flickr
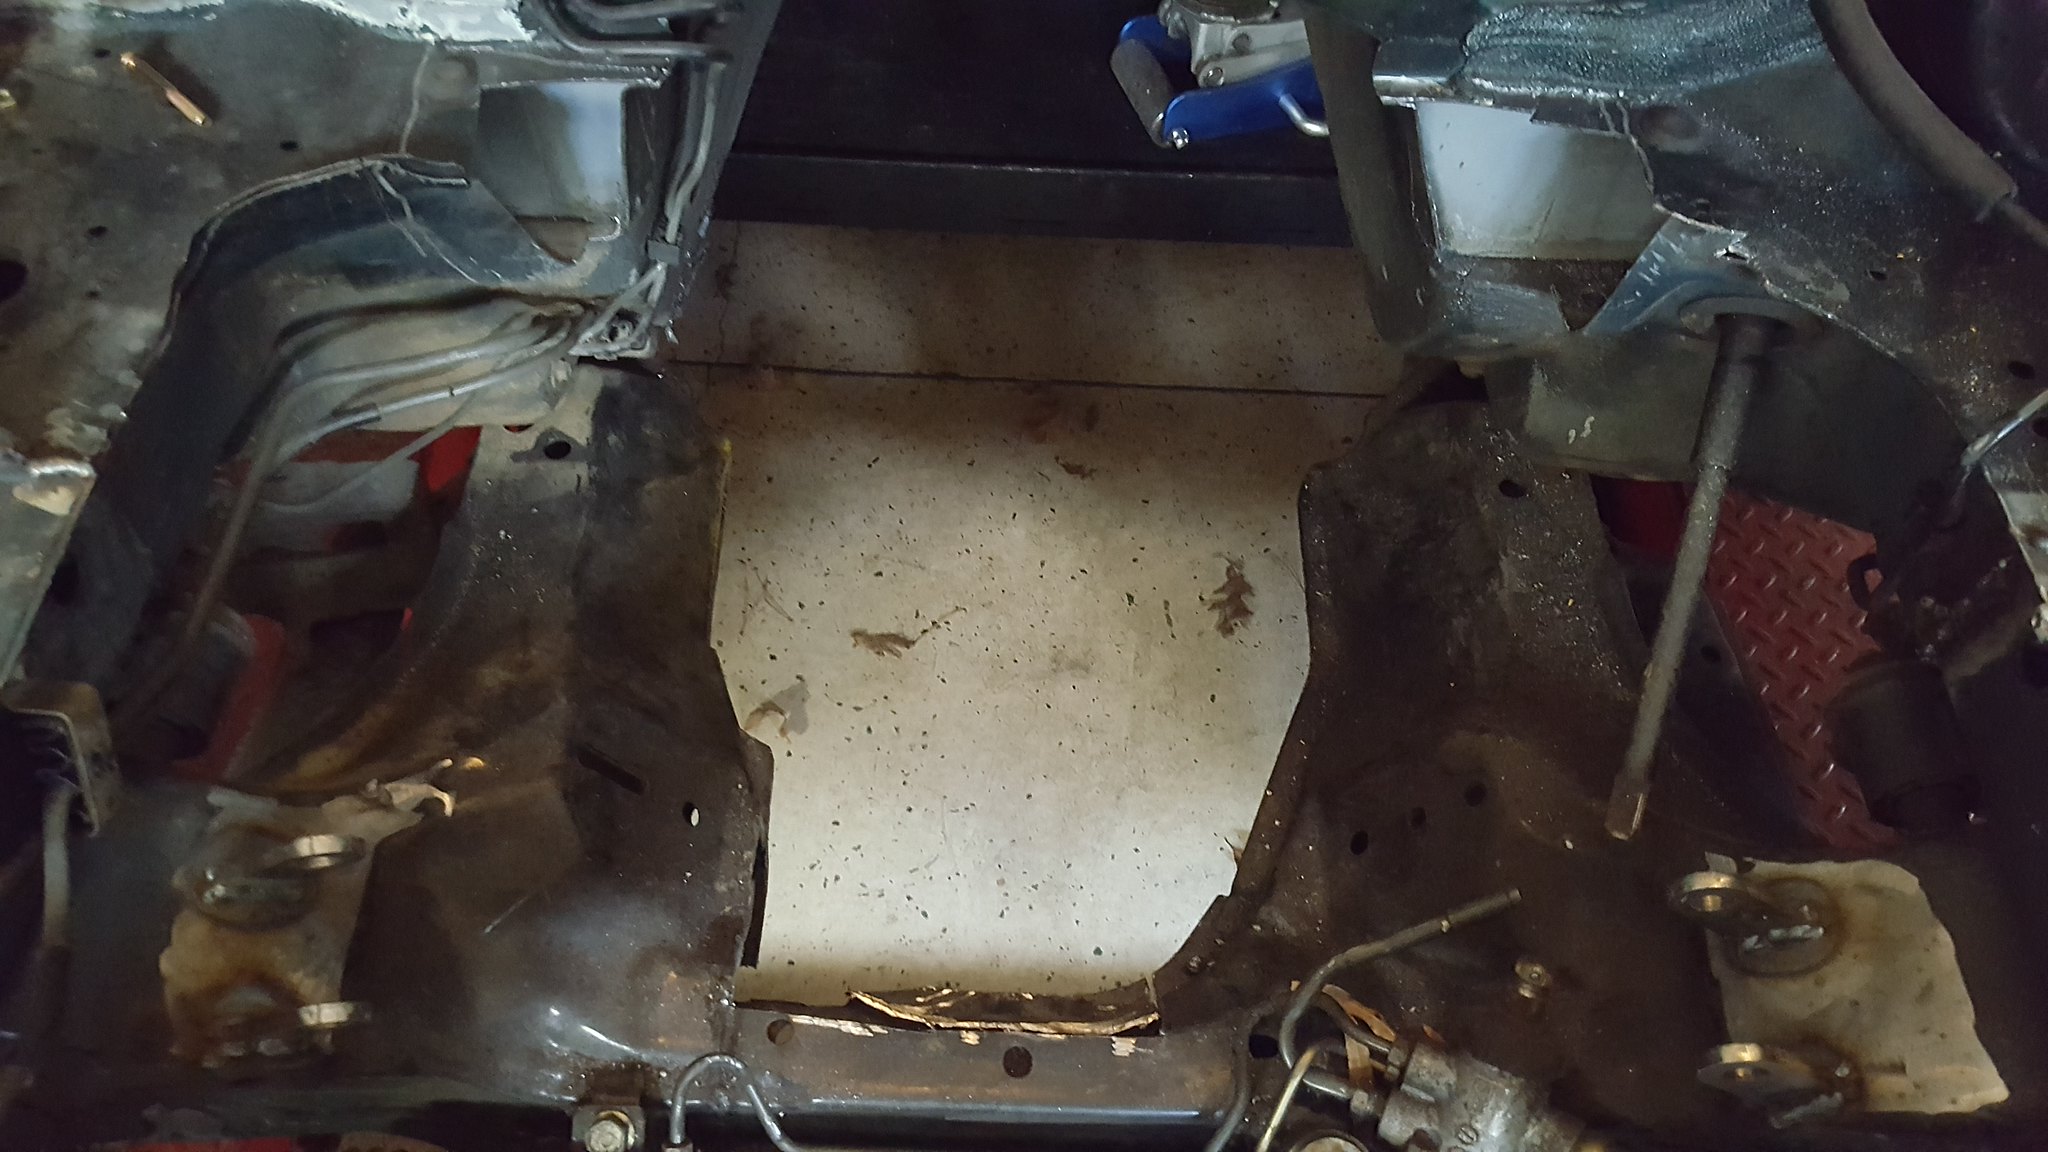
ive also begun the tedious task of grinding down welds. And re-welding some spots that need it. And welding some spots that I missed. Or dad missed. Or we both missed. After grinding and im happy with them, im shooting them with the free rusty metal primer. That then tells me whether I need to grind more, or im good. Again, tedious. The passengers side is fully welded except for capping the wing I cut in the engine bay. The driver side has a ways to go yet. While welding, this happened.
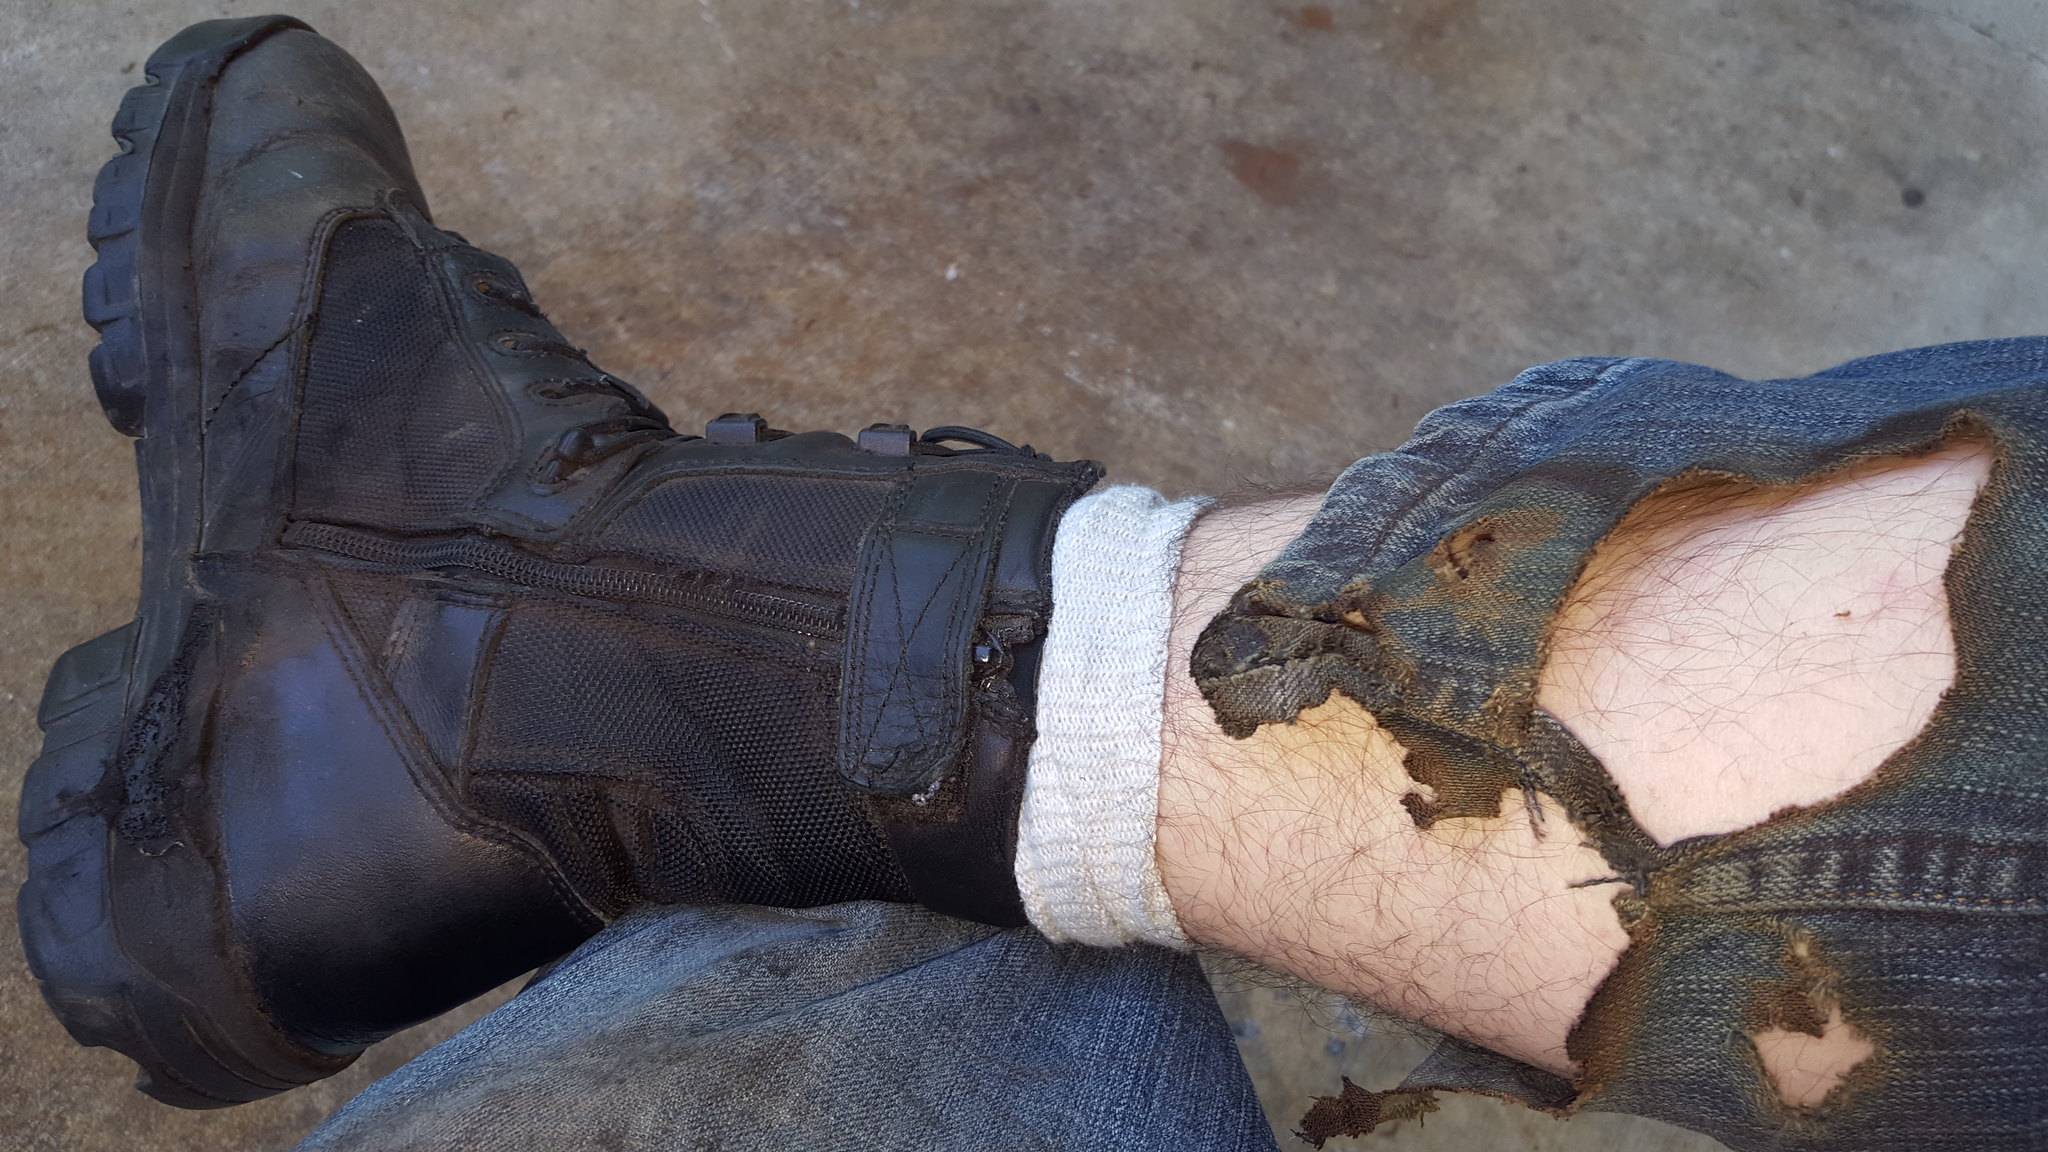 20180427_183342 by Michael Crawford, on Flickr
that sucked. But no injury, just a hot foot and some lost hair. But here's the passengers side after grinding and welding
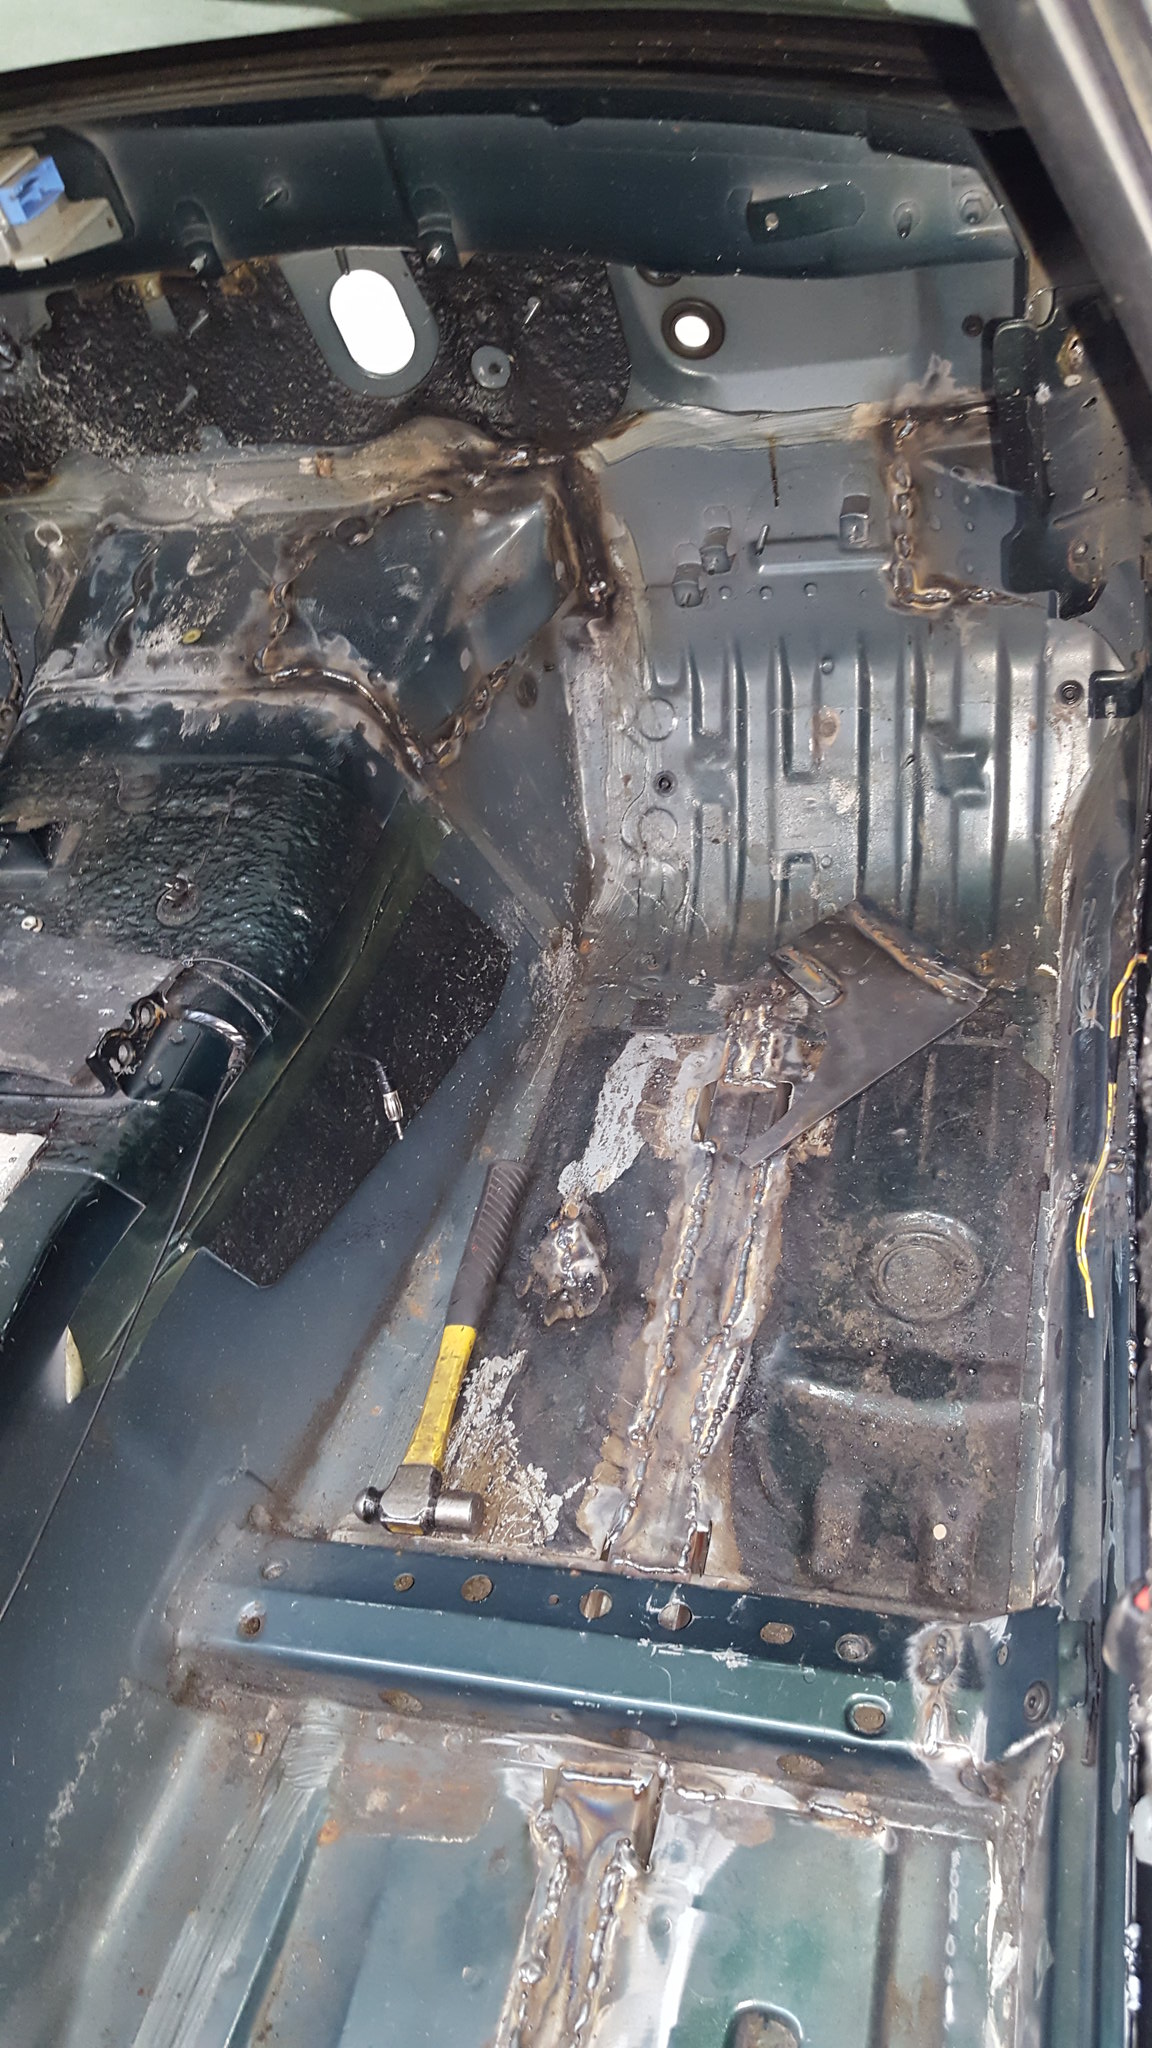 20180427_183209 by Michael Crawford, on Flickr
 20180427_183219 by Michael Crawford, on Flickr
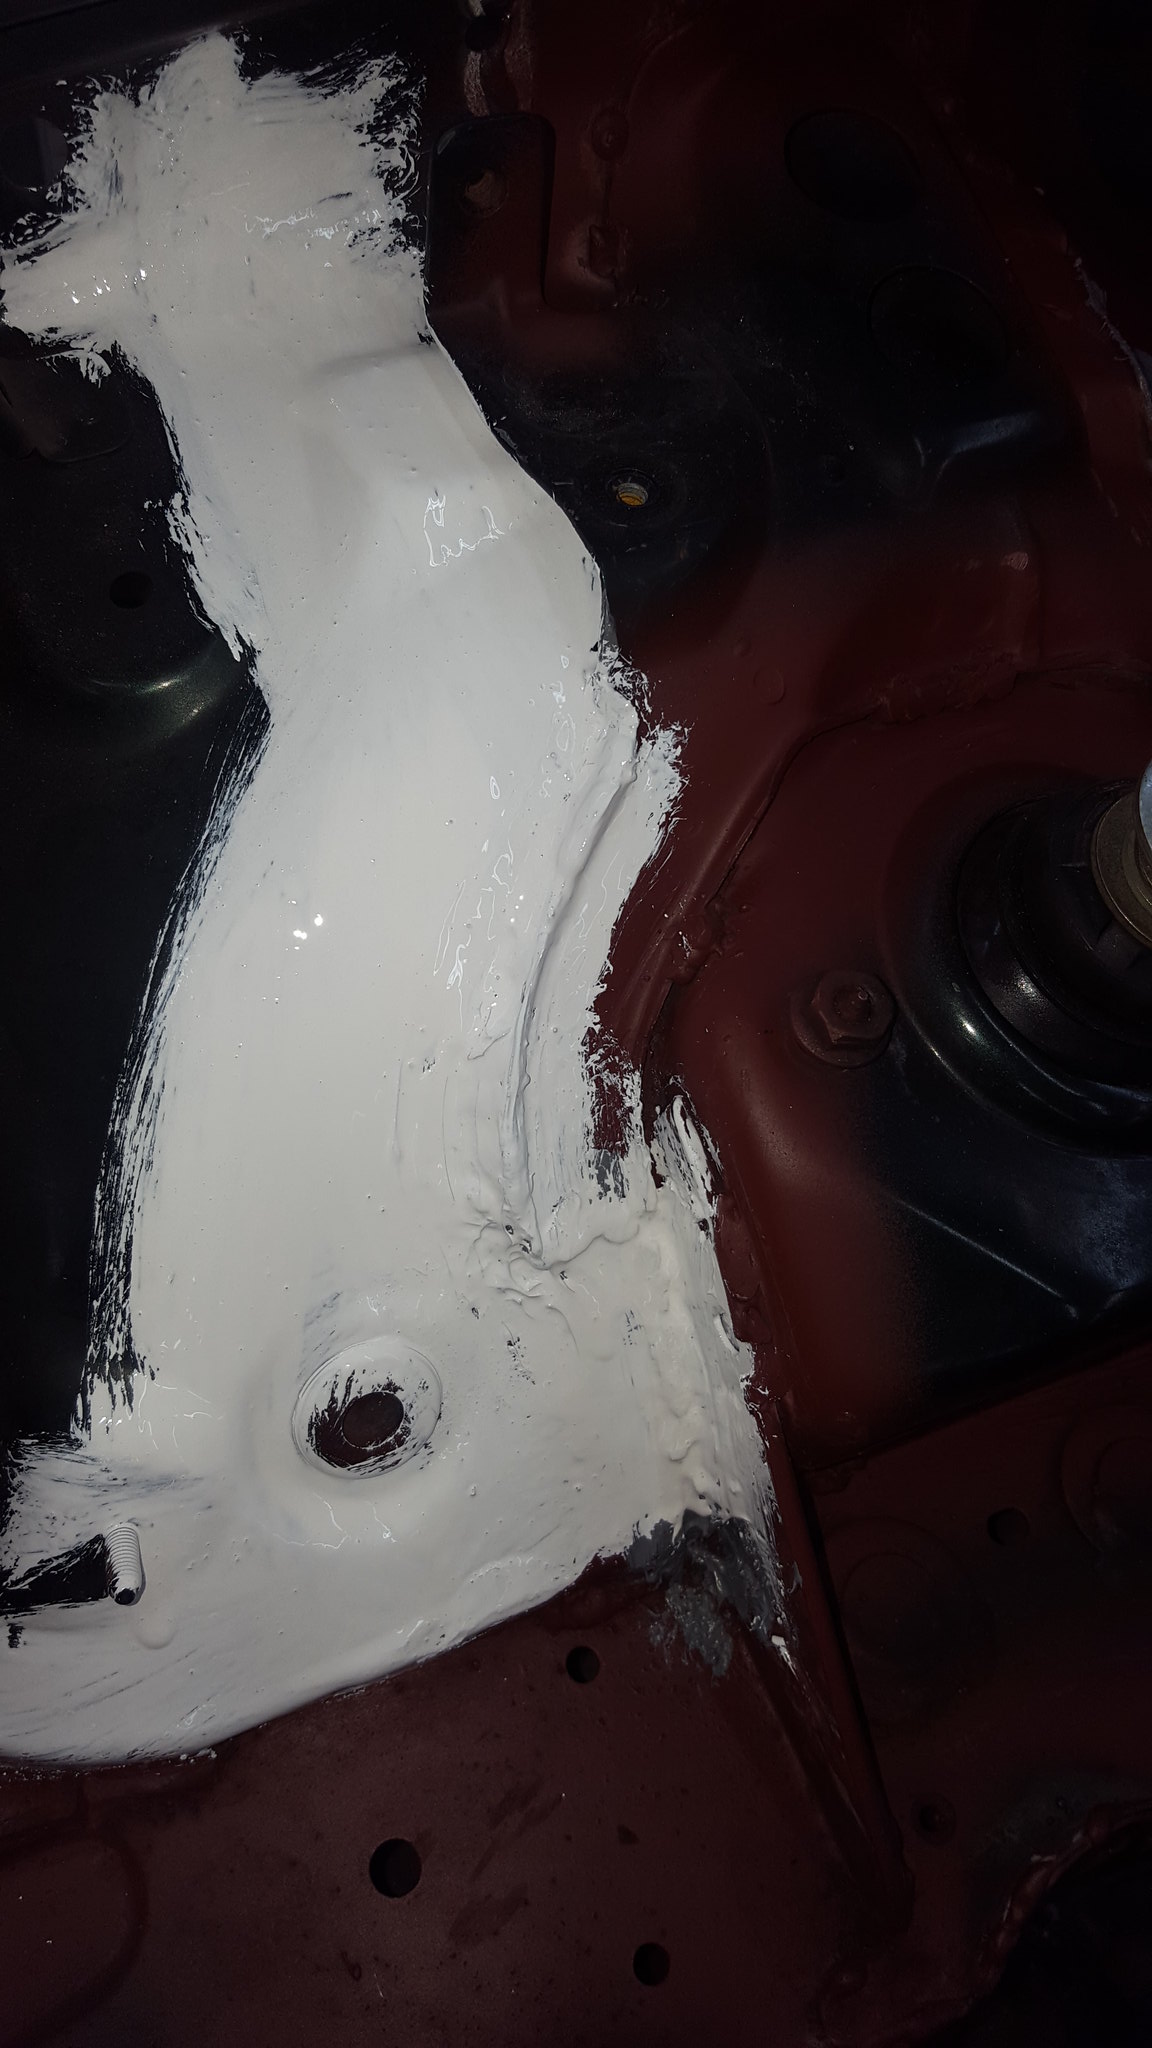
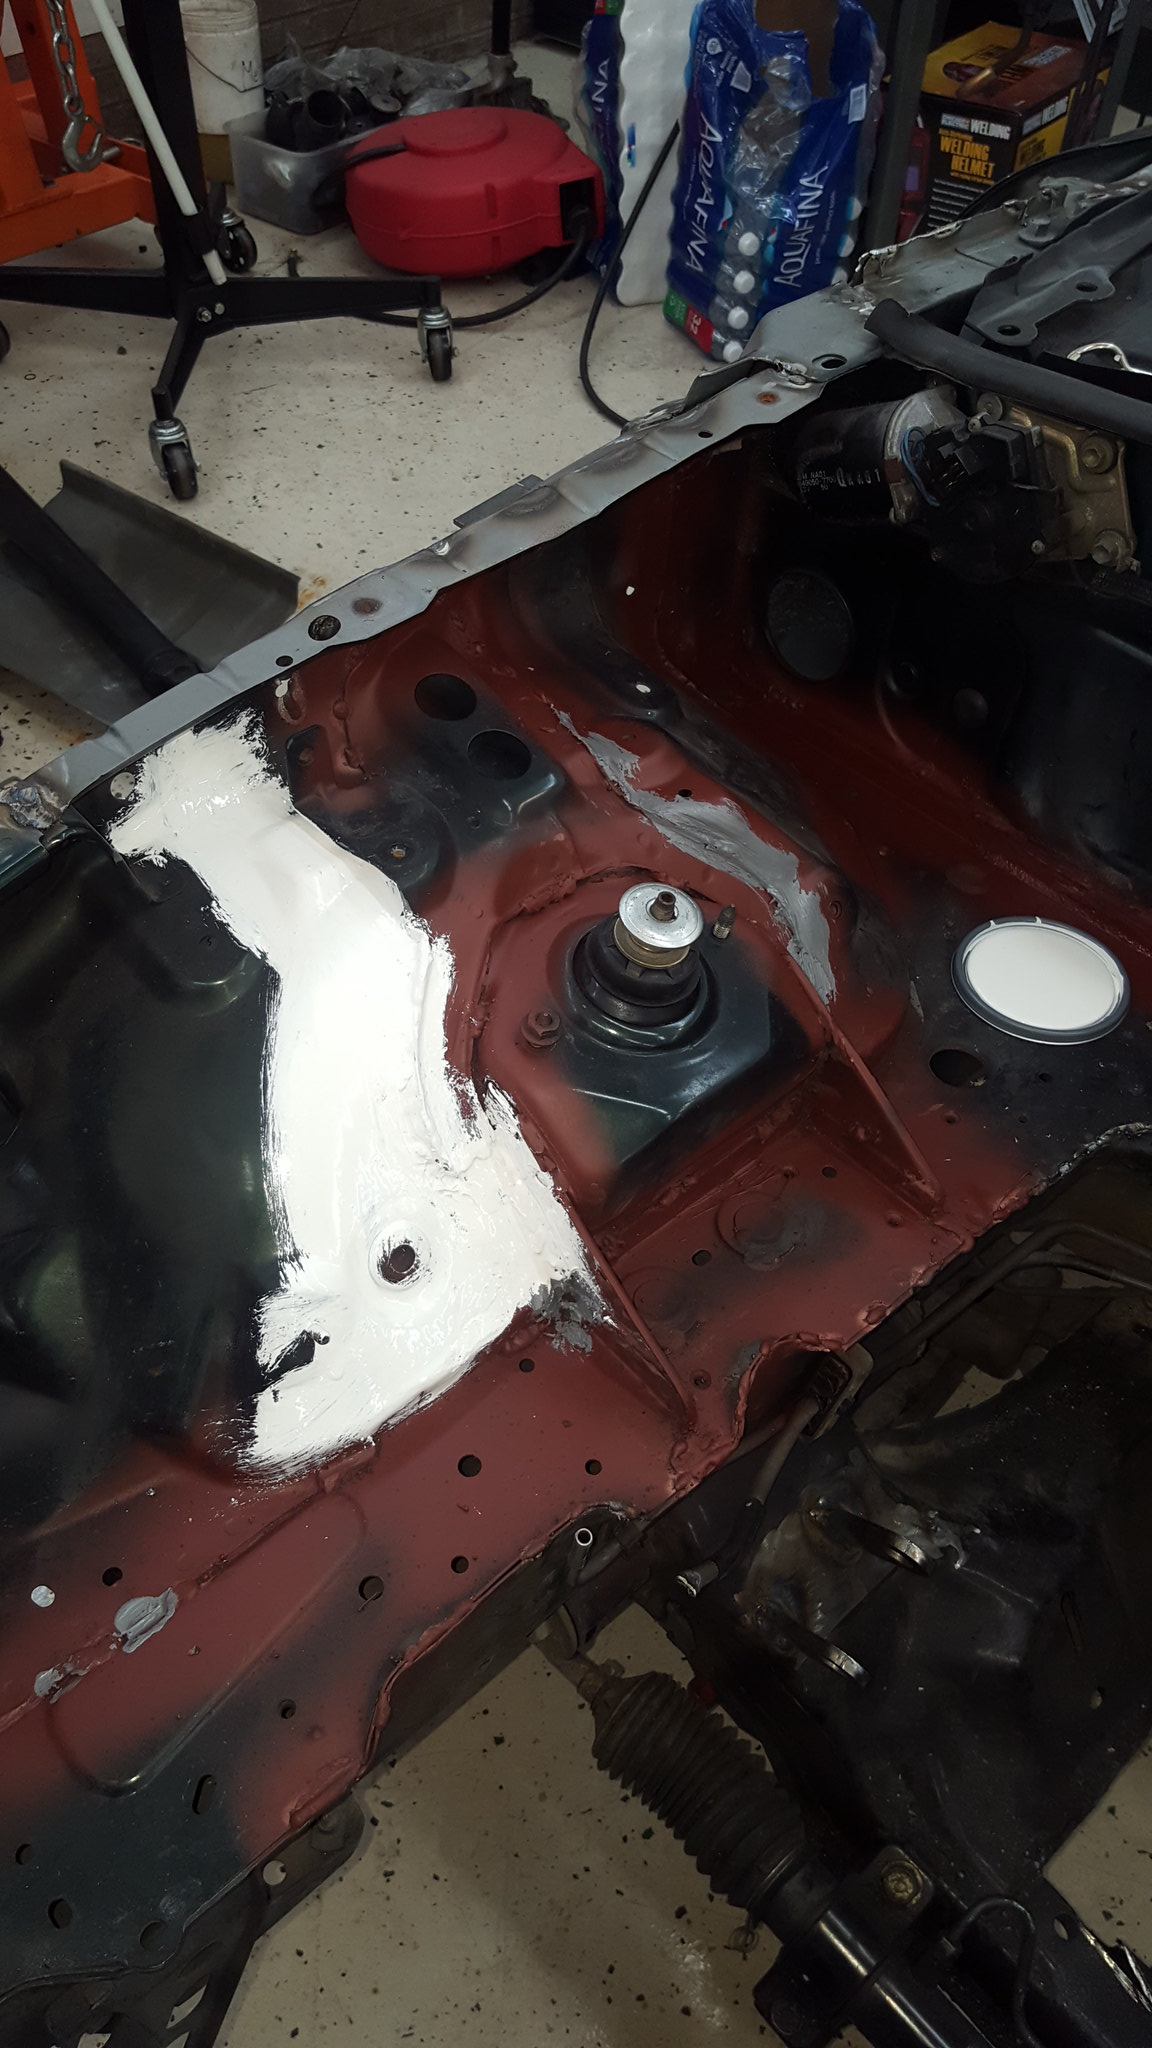
apparently I didn't take a closeup of the ground down welds primed. But I experimented with a section I though was good enough. Used a cut down 1 inch brush and out some seam sealer down on the welded joints, then covered in my white vlaspar. Its good enough for my race car. But I learned much from these small sections, so the rest will be that much better.
 20180429_124608 by Michael Crawford, on Flickr
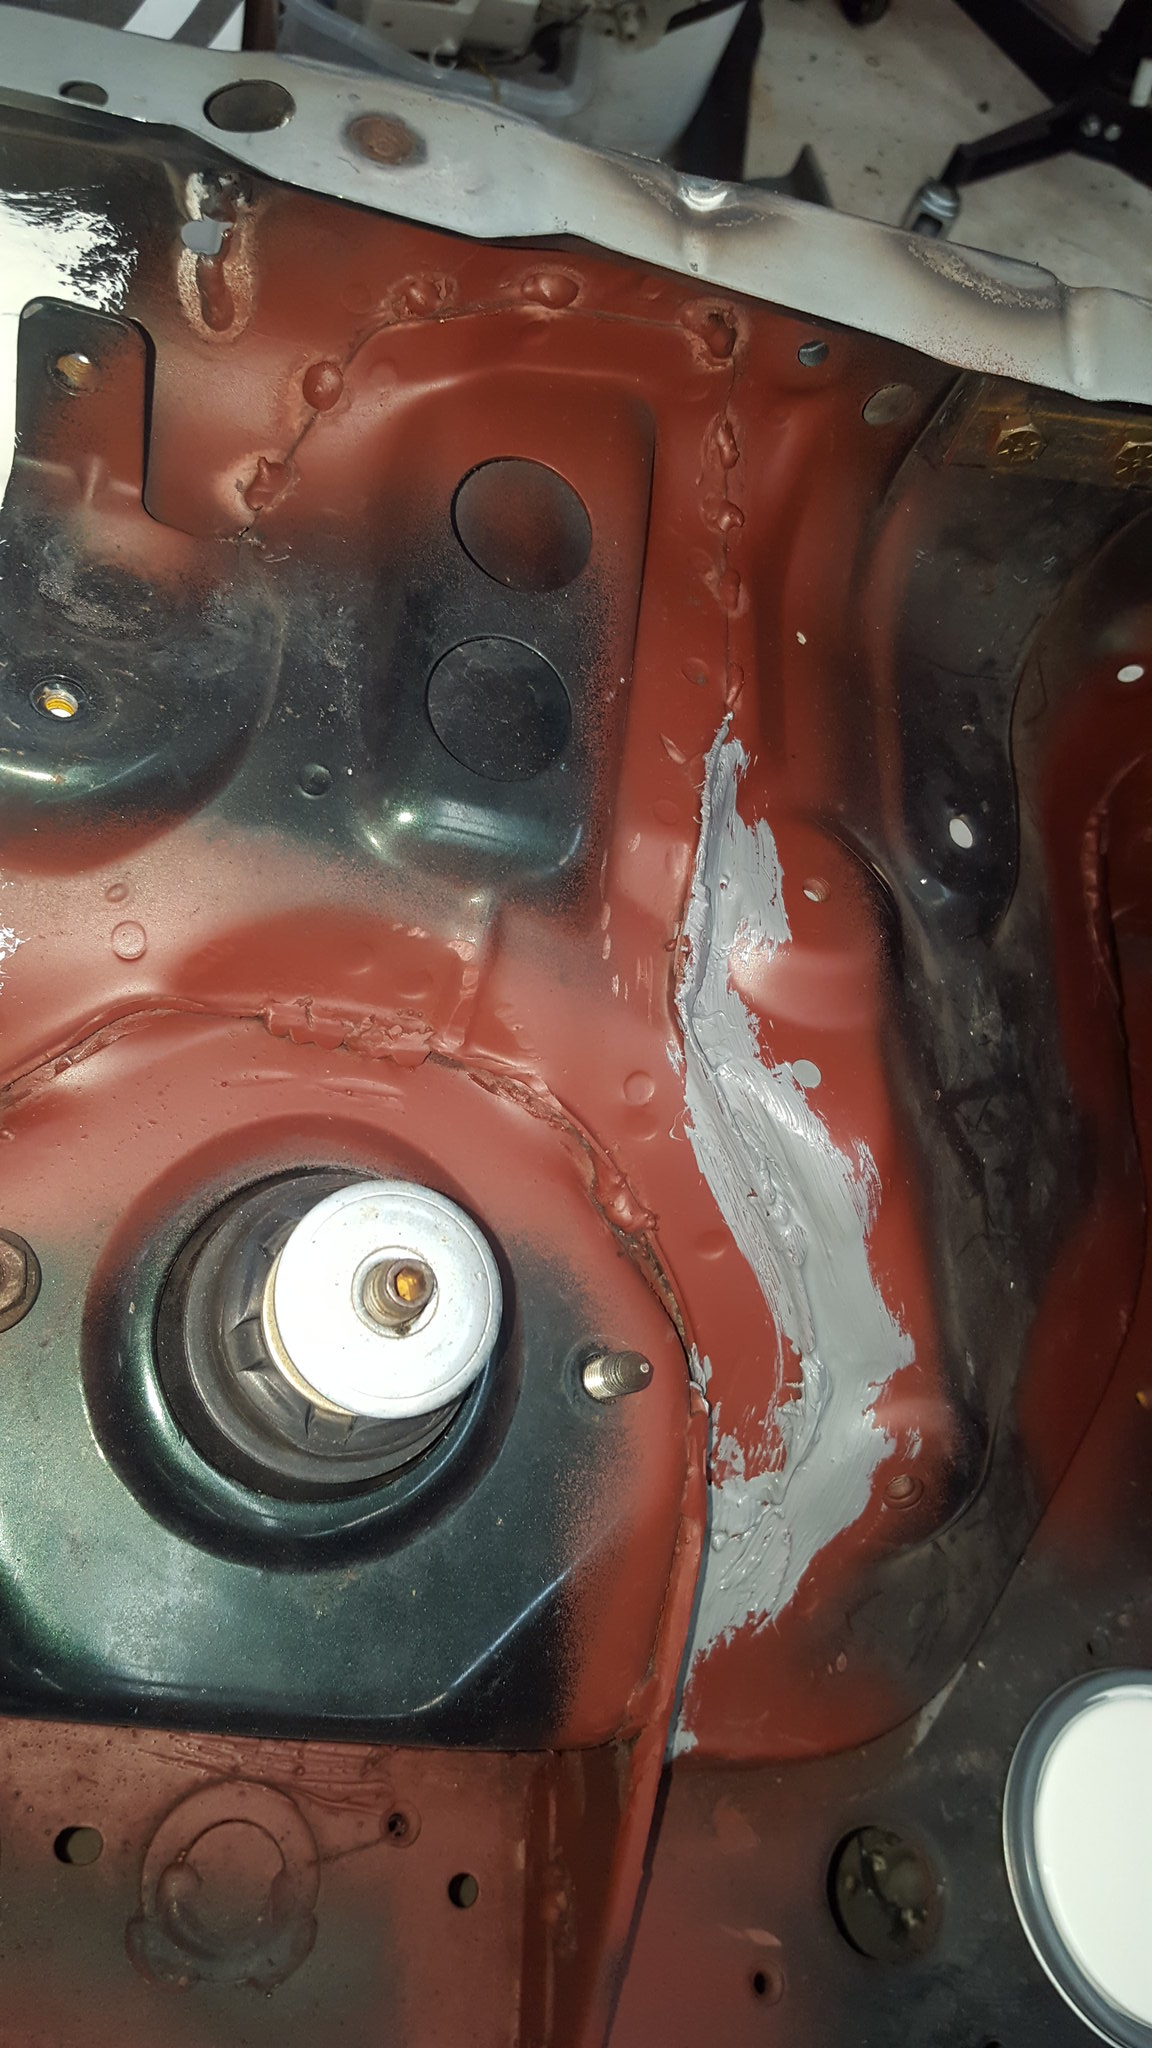 20180429_124508 by Michael Crawford, on Flickr
 20180429_124502 by Michael Crawford, on Flickr
 20180429_124455 by Michael Crawford, on Flickr
ive also ground down and primed the underside
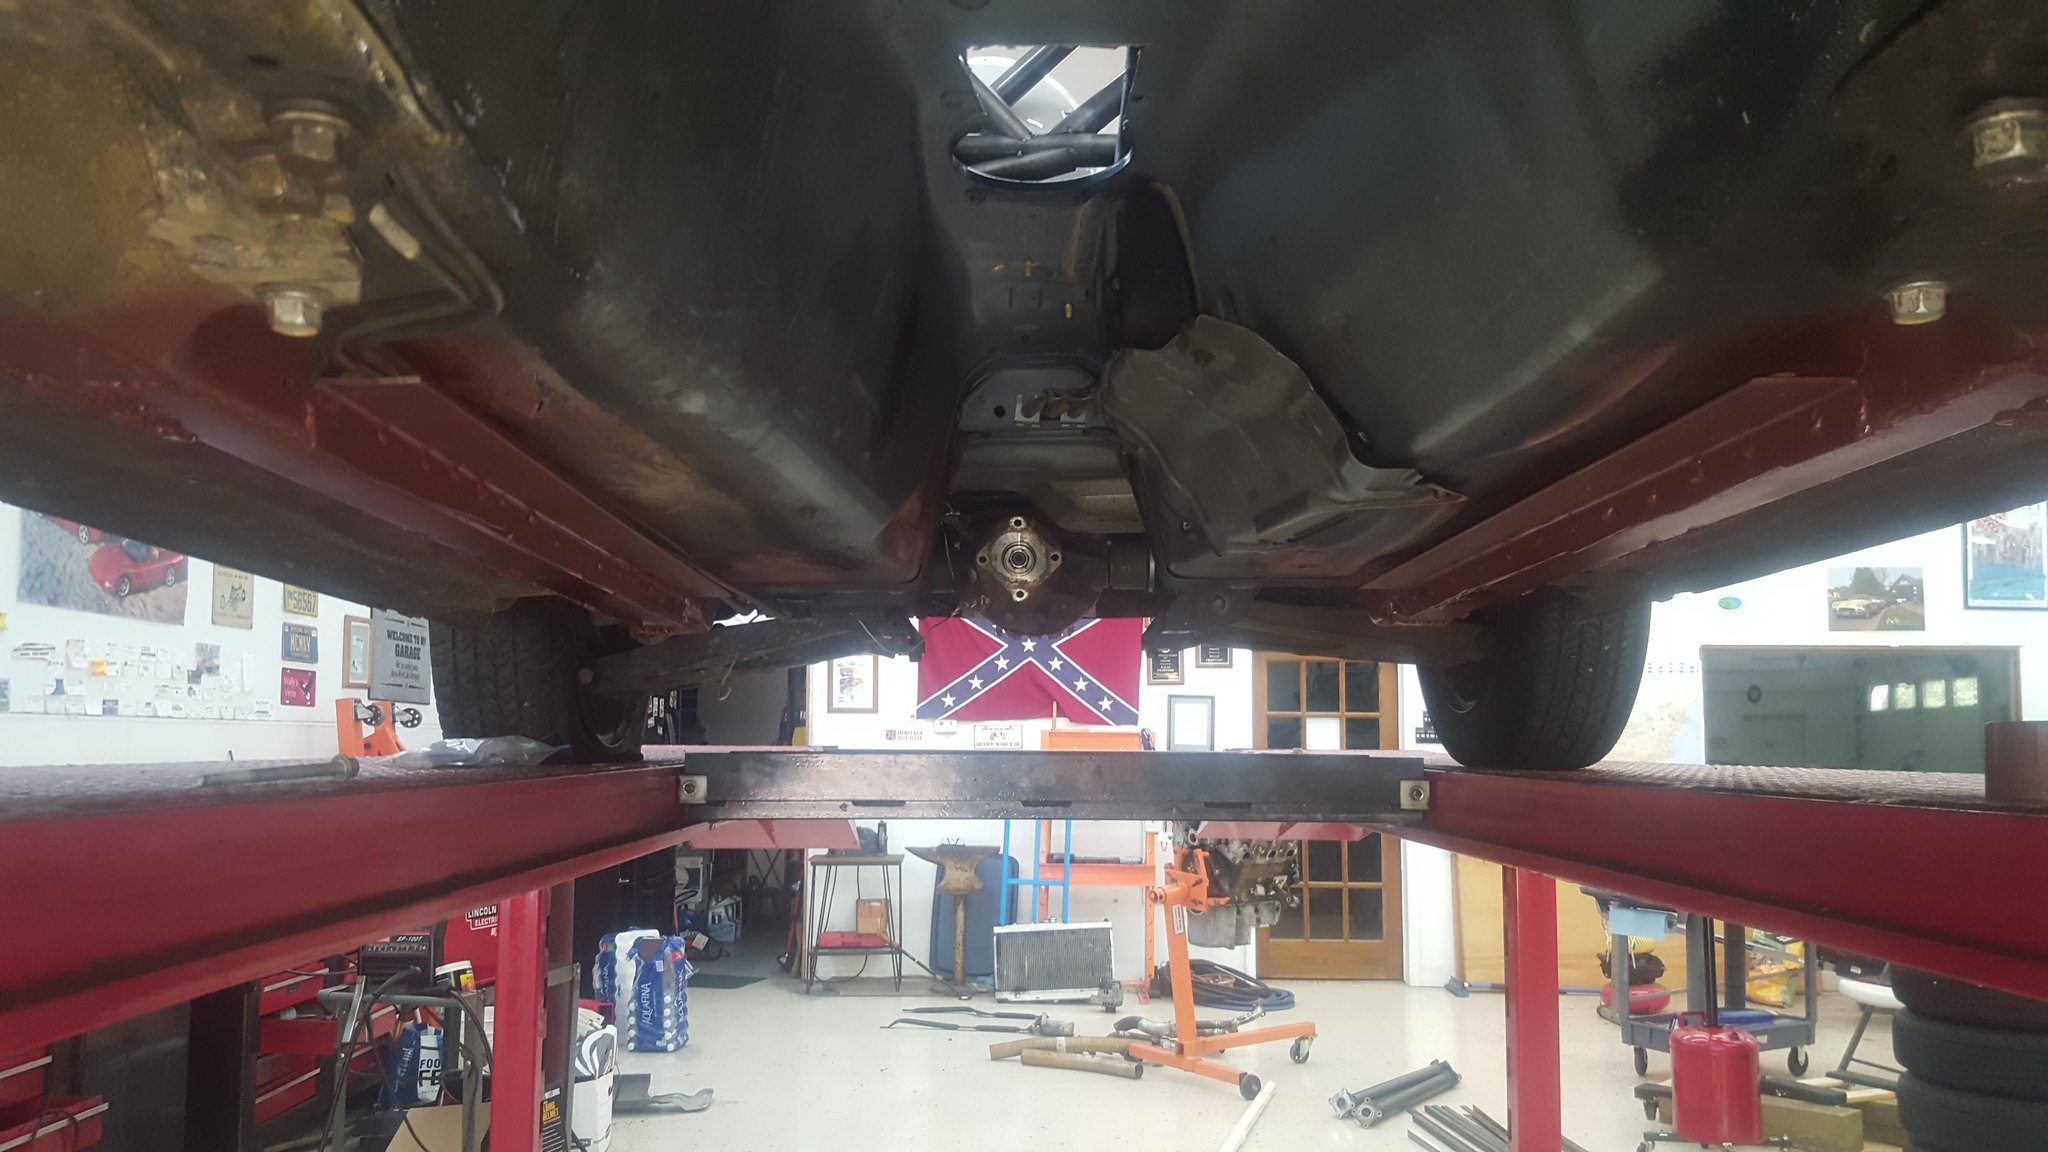 20180420_151337 by Michael Crawford, on Flickr
and the butterfly brace
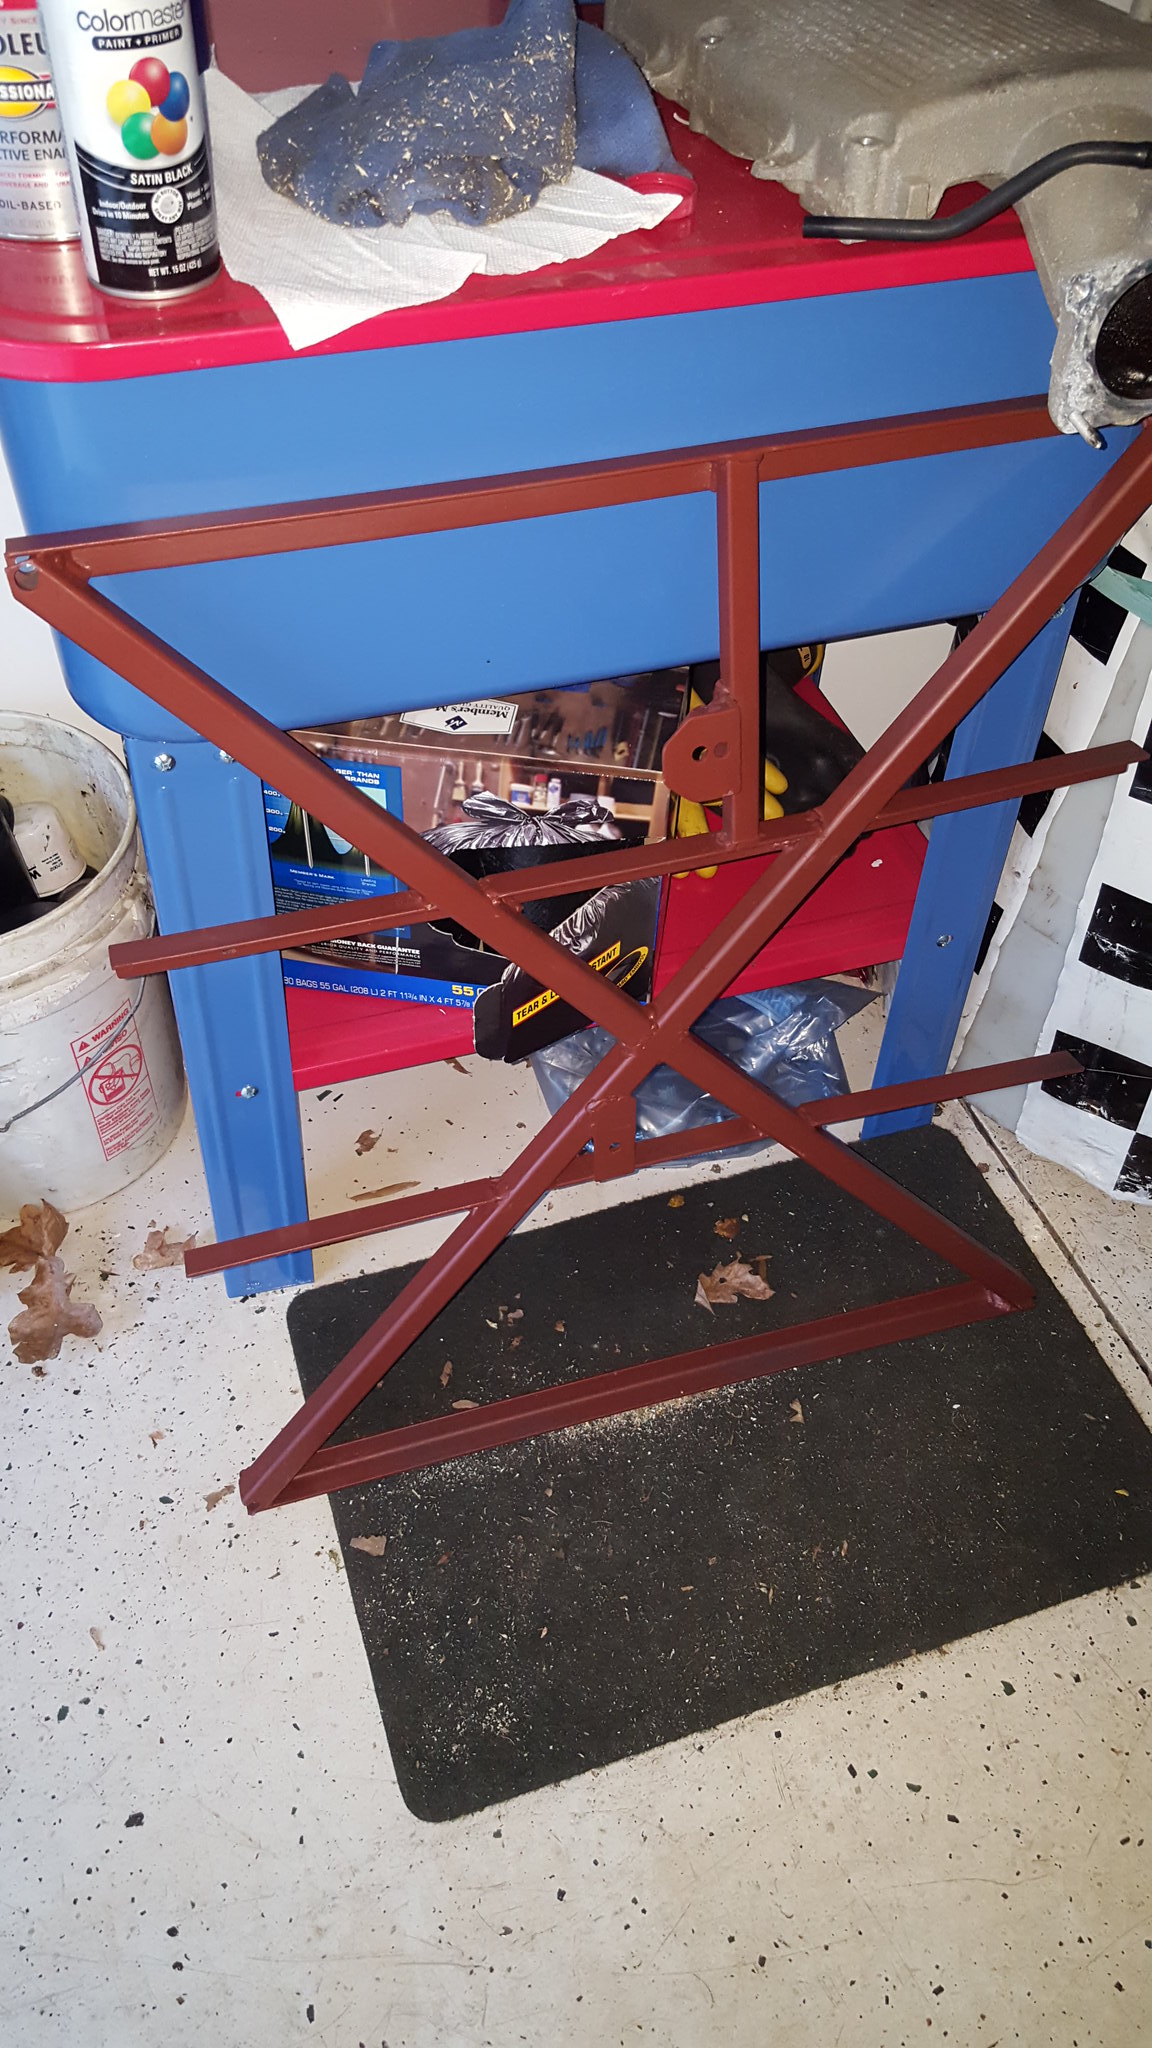 20180427_192724 by Michael Crawford, on Flickr
im painting the butterfly, frog arms, seat mount, tow hooks, and engine lift points red. The trans tunnel and engine bay will be white. The interior gloss black. The car has a definite theme coming, and its laid out in my head pretty fully, but it will be quite a while until the full look is realized. But its a tribute to the man I admire the most in this life, and that has fostered my love of cars, god, and family.
Lastly, ive been collecting parts. Hydraulic clutch line stuff. Gaskets. Some maintenance parts. Lots were given to me by a fellow forum member that did this same swap in a chumpcar RX7. I want to say a big public shout out to ROB!!! thanks man, and as I said I owe you beer and a burger next time were in the same state.
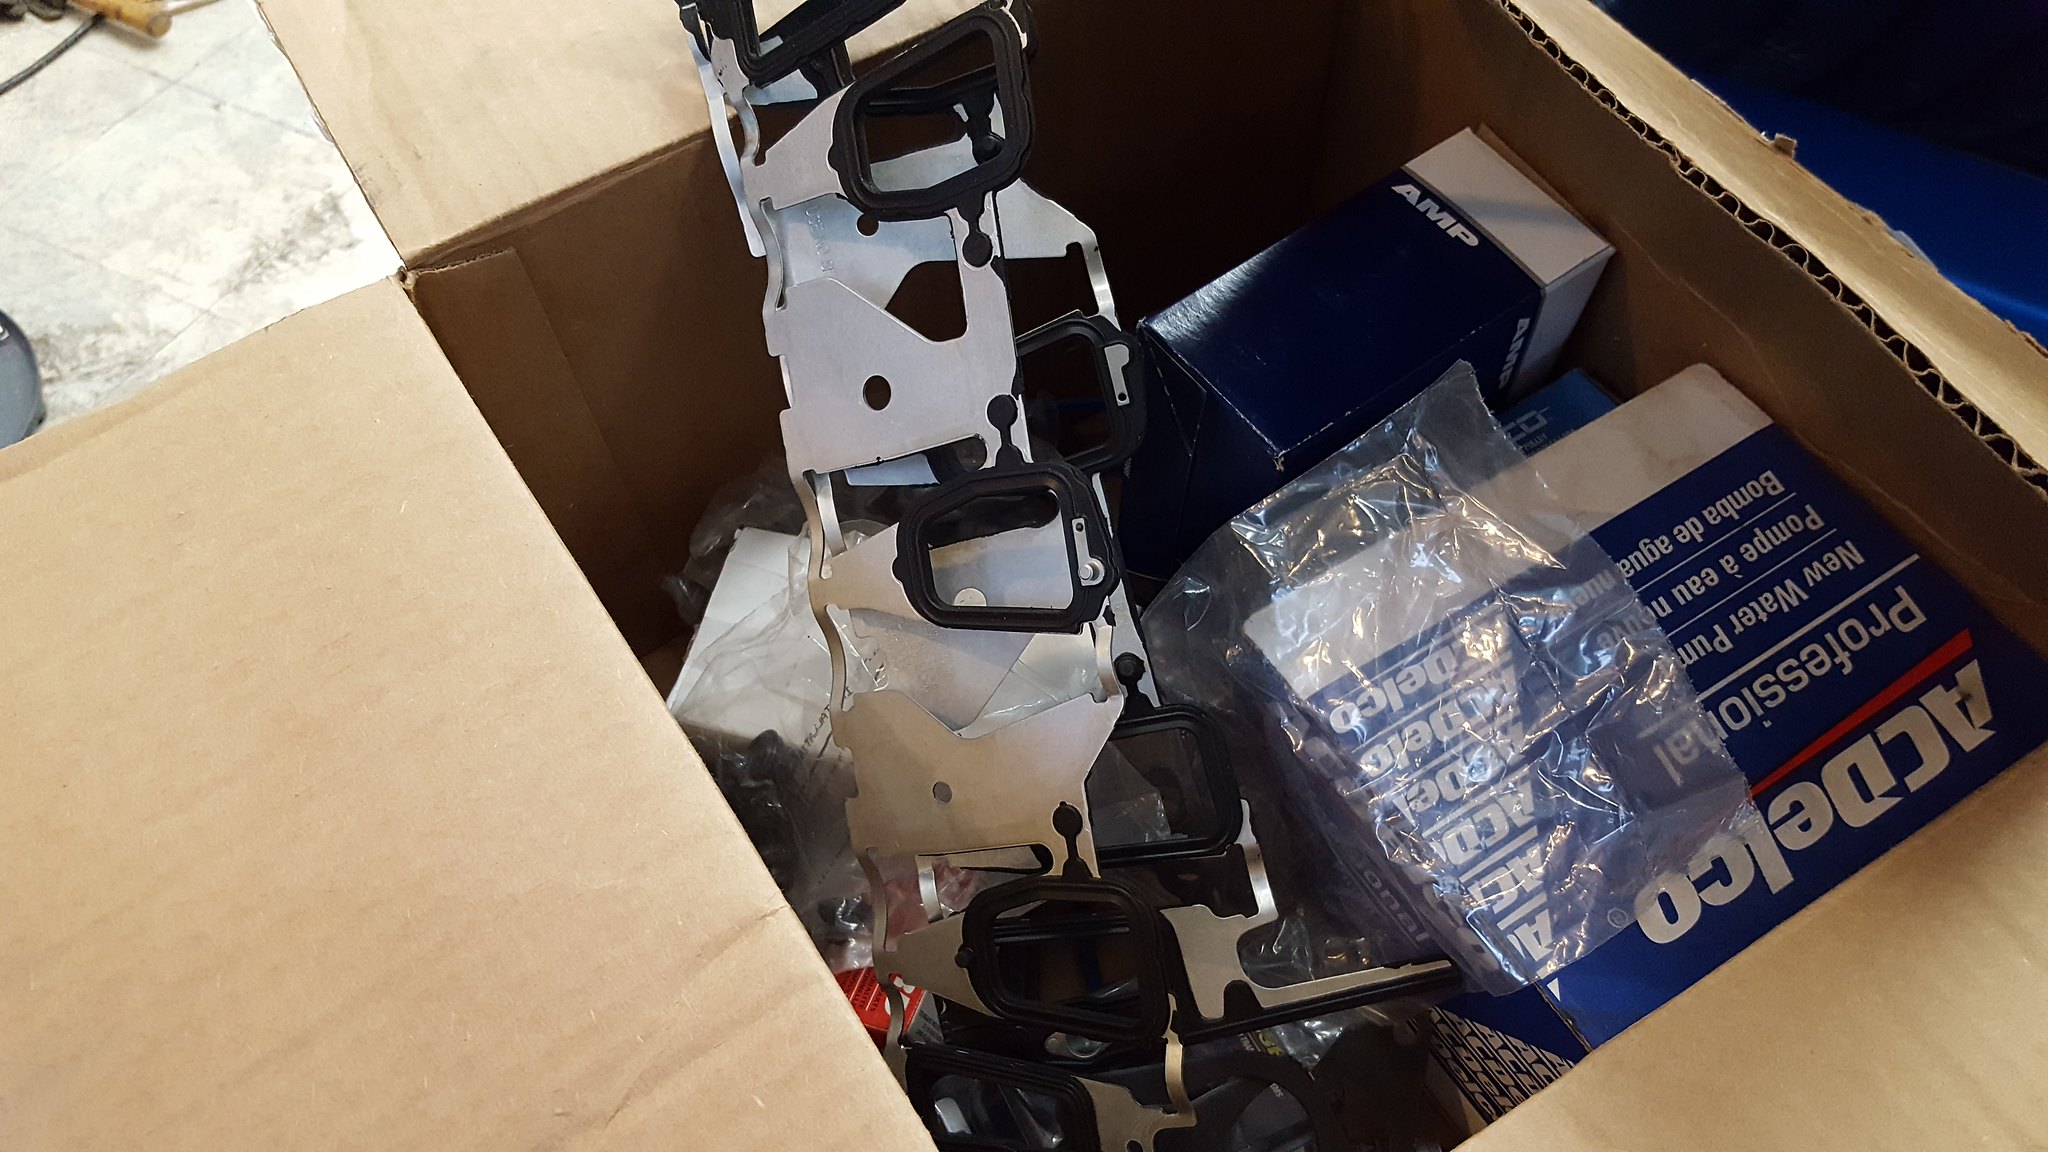 20180416_181453 by Michael Crawford, on Flickr
until next time friends. Itll be a couple of weeks until the next update, as were headed to Colorado for vacation at the end of the week. Meeting the rest of the family out there for my parents 50th wedding anniversary.
You'll need to log in to post.