


you going to do the coolant reroute while you have the car drained?

you going to do the coolant reroute while you have the car drained?

MrChaos wrote: you going to do the coolant reroute while you have the car drained?
^'Splain me this please.
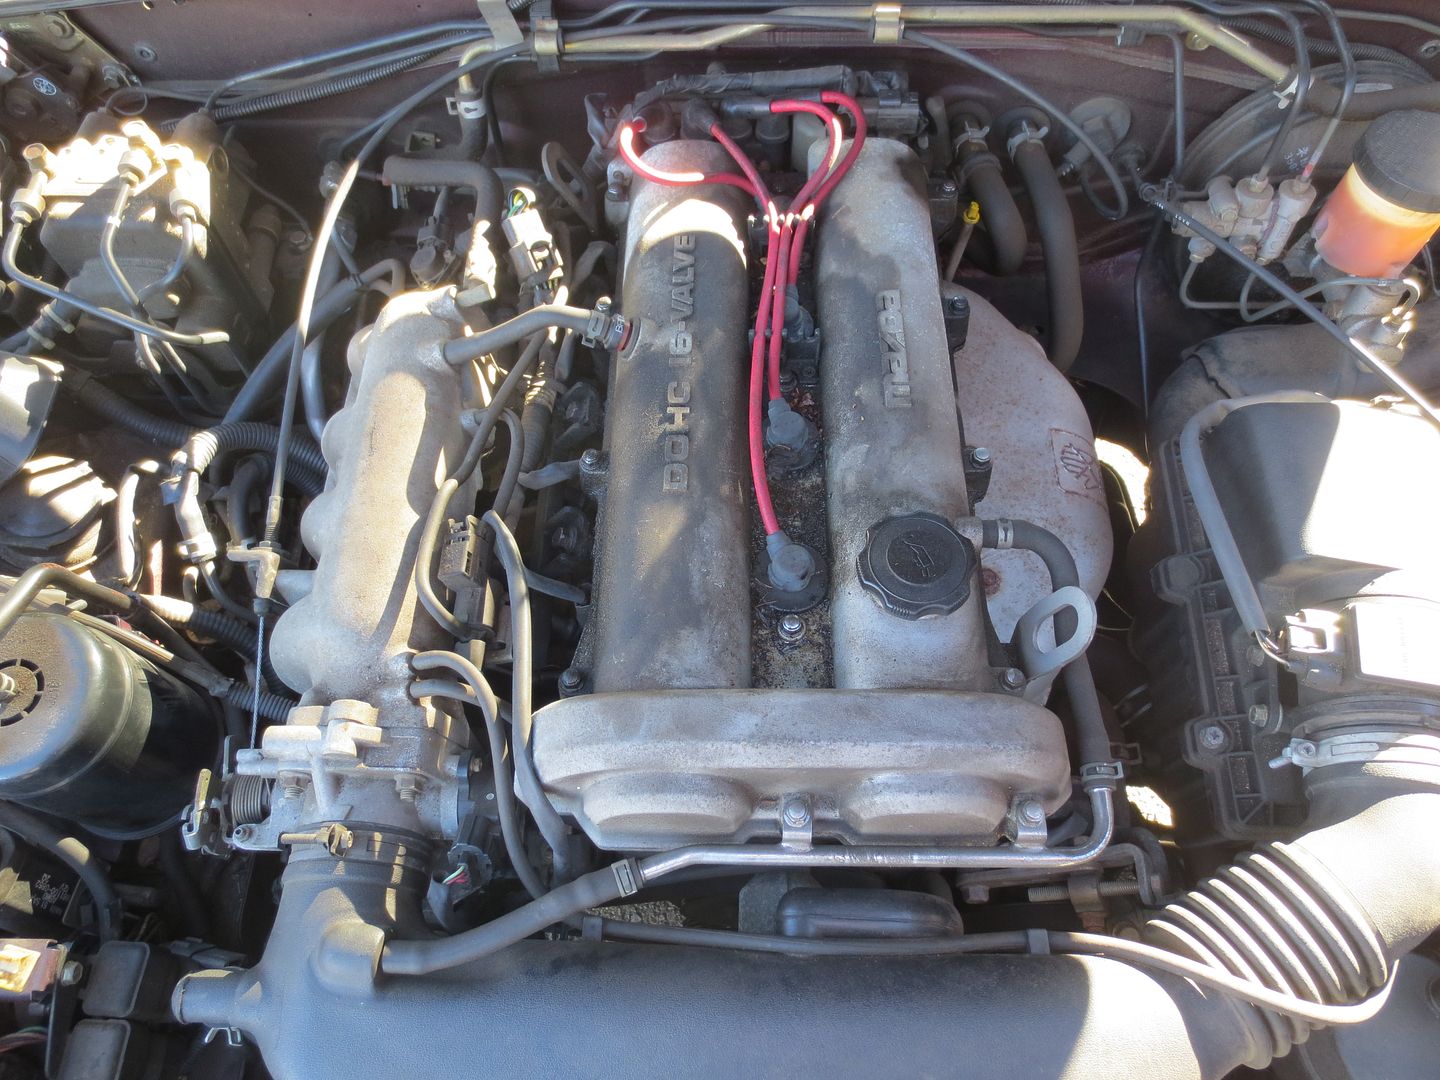
Here we go with the timing belt, water pump and new hoses. No real surprises.

I broke the little locking tab off of the CAS connector. I'll have to fix that.![]()


The valve cover gasket was leaking badly.

I followed Mazduece's lead and cleaned it up with WD-40 and a toothbrush.

I'm fairly pleased with the results. The dark areas that remain are pitting, so that's not going away, but I'd prefer to leave it in bare aluminum rather than painting it. This is as good as it's going to get.

One minor surprise: The thermostat seems to have ingested part of its gasket.


So this is where it sits at this point. The radiator, timing belt, water pump, and cam pullies have been removed, along with some of the hoses. I still need to remove the old cam, crank and CAS seals, as well as the heater hoses. I had one of those fail on another Miata, so I want to change them while they're at least a little easier to get to.

I've also been eyeballing the power steering pump. I didn't have any immediate plans to depower the rack (I've done it twice before), but it sure would be easier to do it now with all this stuff out of the way. No decision yet, but I did order a belt for "A/C no PS" just in case. This would also be a good time to make the cruise control go away.
Now it's bedtime.


Do you still have the four little hoses that go from the back of the head to the oil warmer, throttle body, thermostat inlet, and then the mixing manifold. I've had a couple of those blow out on me, one of them at the track.
How's the tensioner pulley?
In reply to codrus:
I bought the hose kit and I think it includes all of them.
The 22 year old timing belt was stretched but really didn't look too bad. The pulleys feel ok but they will be replaced anyway.
https://www.flyinmiata.com/flyin-miata-m-tuned-coolant-re-route-kit-nb.html
explanation on the flyin miata kit
MrChaos wrote: https://www.flyinmiata.com/flyin-miata-m-tuned-coolant-re-route-kit-nb.html explanation on the flyin miata kit
That's the first time that I've heard of it, but unfortunately it falls way beyond my current budget.

Why make the cruise control go away? I can't imagine its that big of a weight savings and if you ever want to sell the car its nice to have installed...
docwyte wrote: Why make the cruise control go away? I can't imagine its that big of a weight savings and if you ever want to sell the car its nice to have installed...
I never really use cruise control in any of my cars and, in a Miata, there's no other place to put you're right foot than on the gas pedal anyway.
It's easy to remove, and easy to replace. It also frees up some space under the hood, eliminates a source of vacuum leaks and provides another switchable 12v power source.
IIRC, you can do a DIY coolant reroute for about half the price of the M-tuned kit using a BEGI spacer, a particular Kia housing, and some miscellaneous hoses & fittings. It's kind of a PITA to do with the motor in the car though.
I bought the full nine piece coolant hose kit. The only one that was hard to get at was the center most heater core hose. It was a little easier to get at with the valve cover, coils and CAS removed, but still a bear to get off. I was able to change one on the side of the road once with everything in place, but I wouldn't want to do it again.
The old hose and clamp are hidden back here between the cylinder head and the firewall.

I reused most of the original spring clamps, but for this one hose, I used a Jubilee Clip to make things a little easier next time.

I only had a little bit of time today, but I'm slowly making some forward progress. The new water pump is in place, along with new cam seals, crank seal and a few new hoses.

Also, the cruise control is now safely stored away on the floor of my basement.

I'm not sure exactly what's going on here, but it's Friday night and I really like this picture.

With the new seals in place, the cam gears, engine tin and new timing belt installed, I had to stand on the end of my Flyin' Miata Crank Tool in order to get the crank bolt down to 126 foot pounds without slipping a tooth on the new belt.

After turning the engine and then setting the belt tension, everything was looking good.

As soon as I reinstalled the valve cover, I knew that I had made the right decision when I chose to leave it in bare aluminum, rather than painting it.

There are still a bunch of loose ends to tie up, like a few more hoses, along with the thermostat and radiator, and then setting the timing, but I'm starting to see the light at the end of the tunnel.
I think it's looking a lot better under the hood now than it did back on Page 1...![]()

Woody wrote: I think it's looking a lot better under the hood now than it did back on Page 1...
Agreed! Nice work.
I have a simple goal for today: I need to replace the last two, small coolant lines. They go to the oil cooler, which is under the notoriously hard to access oil filter. As a bonus, it's 12 degrees in my garage right now, which is usually my cutoff point for working outside, but there's no wind in my garage, so I'll give it a shot.
Three hours and forty minutes later, I have successfully removed four tiny hose clamps and two small hoses.![]()
These are the offending hoses:

And this is where they connect to the oil cooler, behind the alternator and under the intake manifold.

Once I got the original spring clamps off, they were fused to the little pipes. A combination of cutting, pulling and scraping finally got them to come off, but it really did take three hours and forty minutes.

The new ones went on in less that two minutes each. And I used Jubilee Clips again.
I've reinstalled the radiator, a new thermostat, the rest of the coolant hoses, the spark plug wires and the airbox. I still need to fill the system with coolant and adjust the timing. At that point, I should be done with the engine for a while.

The car is still sitting with the driver's side up on a ramp and the passenger's side on a jackstand. I removed one of the wheels in my effort to access the miserable little coolant lines.
The aluminum wheel was fused to the steel brake disc and I had to pound the carp out of it to get it off. Fortunately once it did come off, I found that the discs and pads have almost no wear on them. I may take them apart for a clean and lube, and they will be replaced for summer track days, but these will be good enough for the winter.


Since the wheel is already off, I'm going to replace the leaky clutch slave cylinder, the rubber fluid line and the steel line loop with a braided and coated clutch line from 949Racing/SuperMiata.

The red plug wires are spiffy.

Nice score!
Let me know when you are selling it, I've been casually looking for one that color.
Greg Voth wrote: Nice score! Let me know when you are selling it, I've been casually looking for one that color.
This may actually be my least favorite color for NA Miatas, but I think I'm going to be hanging on to this one for a while. I missed having a track car that has cheap consumables, and this was sort of the perfect storm of low miles, no rust, and an easy transaction.
Woody wrote:Greg Voth wrote: Nice score! Let me know when you are selling it, I've been casually looking for one that color.This may actually be my least favorite color for NA Miatas, but I think I'm going to be hanging on to this one for a while. I missed having a track car that has cheap consumables, and this was sort of the perfect storm of low miles, no rust, and an easy transaction.
People seem to love or hate that color. My wife and I like it so she's on board.
I noticed you move through cars with some regularity so if you do decide to move on let me know. I've traveled for much worse. This one, thanks to the work your doing seems like it will be a great solid driver.
You'll need to log in to post.


