Ben_Modified wrote:
Lof8 wrote:
Ben, you build some awesome stuff! Do you ever sell off the completed projects or just have em piled in a shop?
Thanks, I do sell them from time to time. The V8 Bug Volksrod will be sold when it is done and road tested for a couple months.
How much are you selling it for? 
NoPermitNeeded wrote:
Ben_Modified wrote:
Lof8 wrote:
Ben, you build some awesome stuff! Do you ever sell off the completed projects or just have em piled in a shop?
Thanks, I do sell them from time to time. The V8 Bug Volksrod will be sold when it is done and road tested for a couple months.
How much are you selling it for?
I'll have to break out the box of receipts to figure that out!
Frame progress
<img src="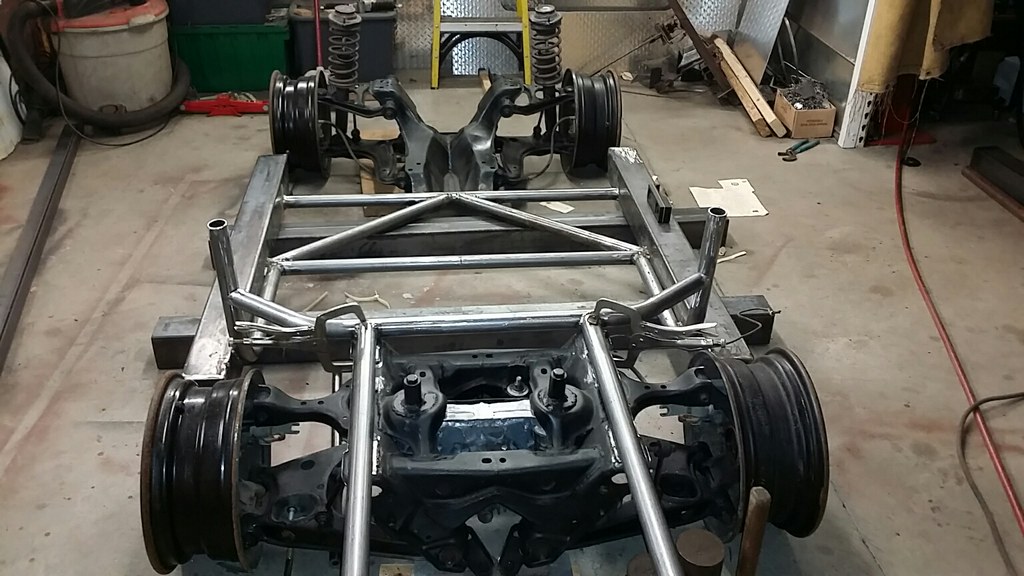 " />
<img src="
" />
<img src="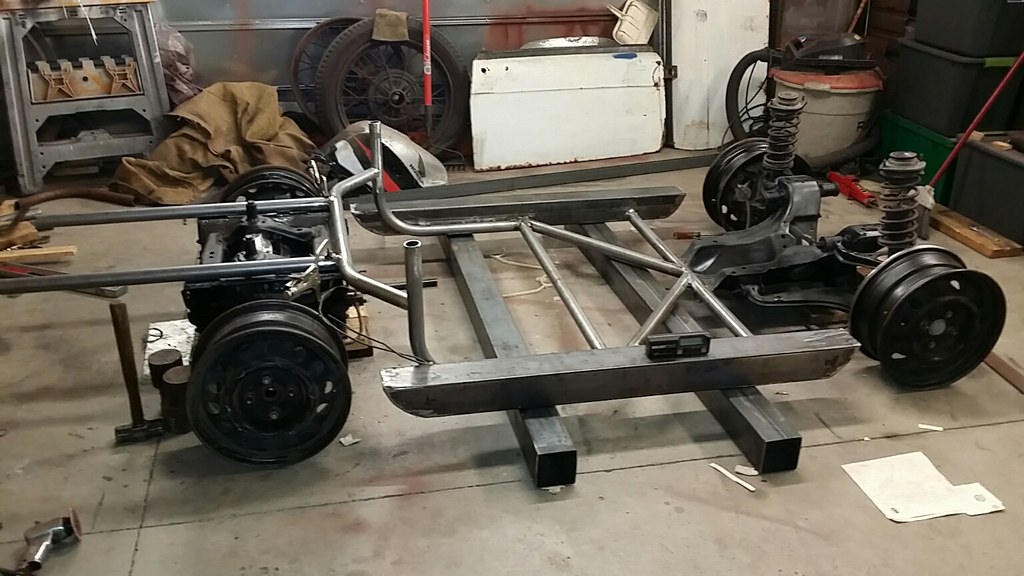 " />
" />
My Project Vidoes are here:
Freed the engine from the bike frame
<img src="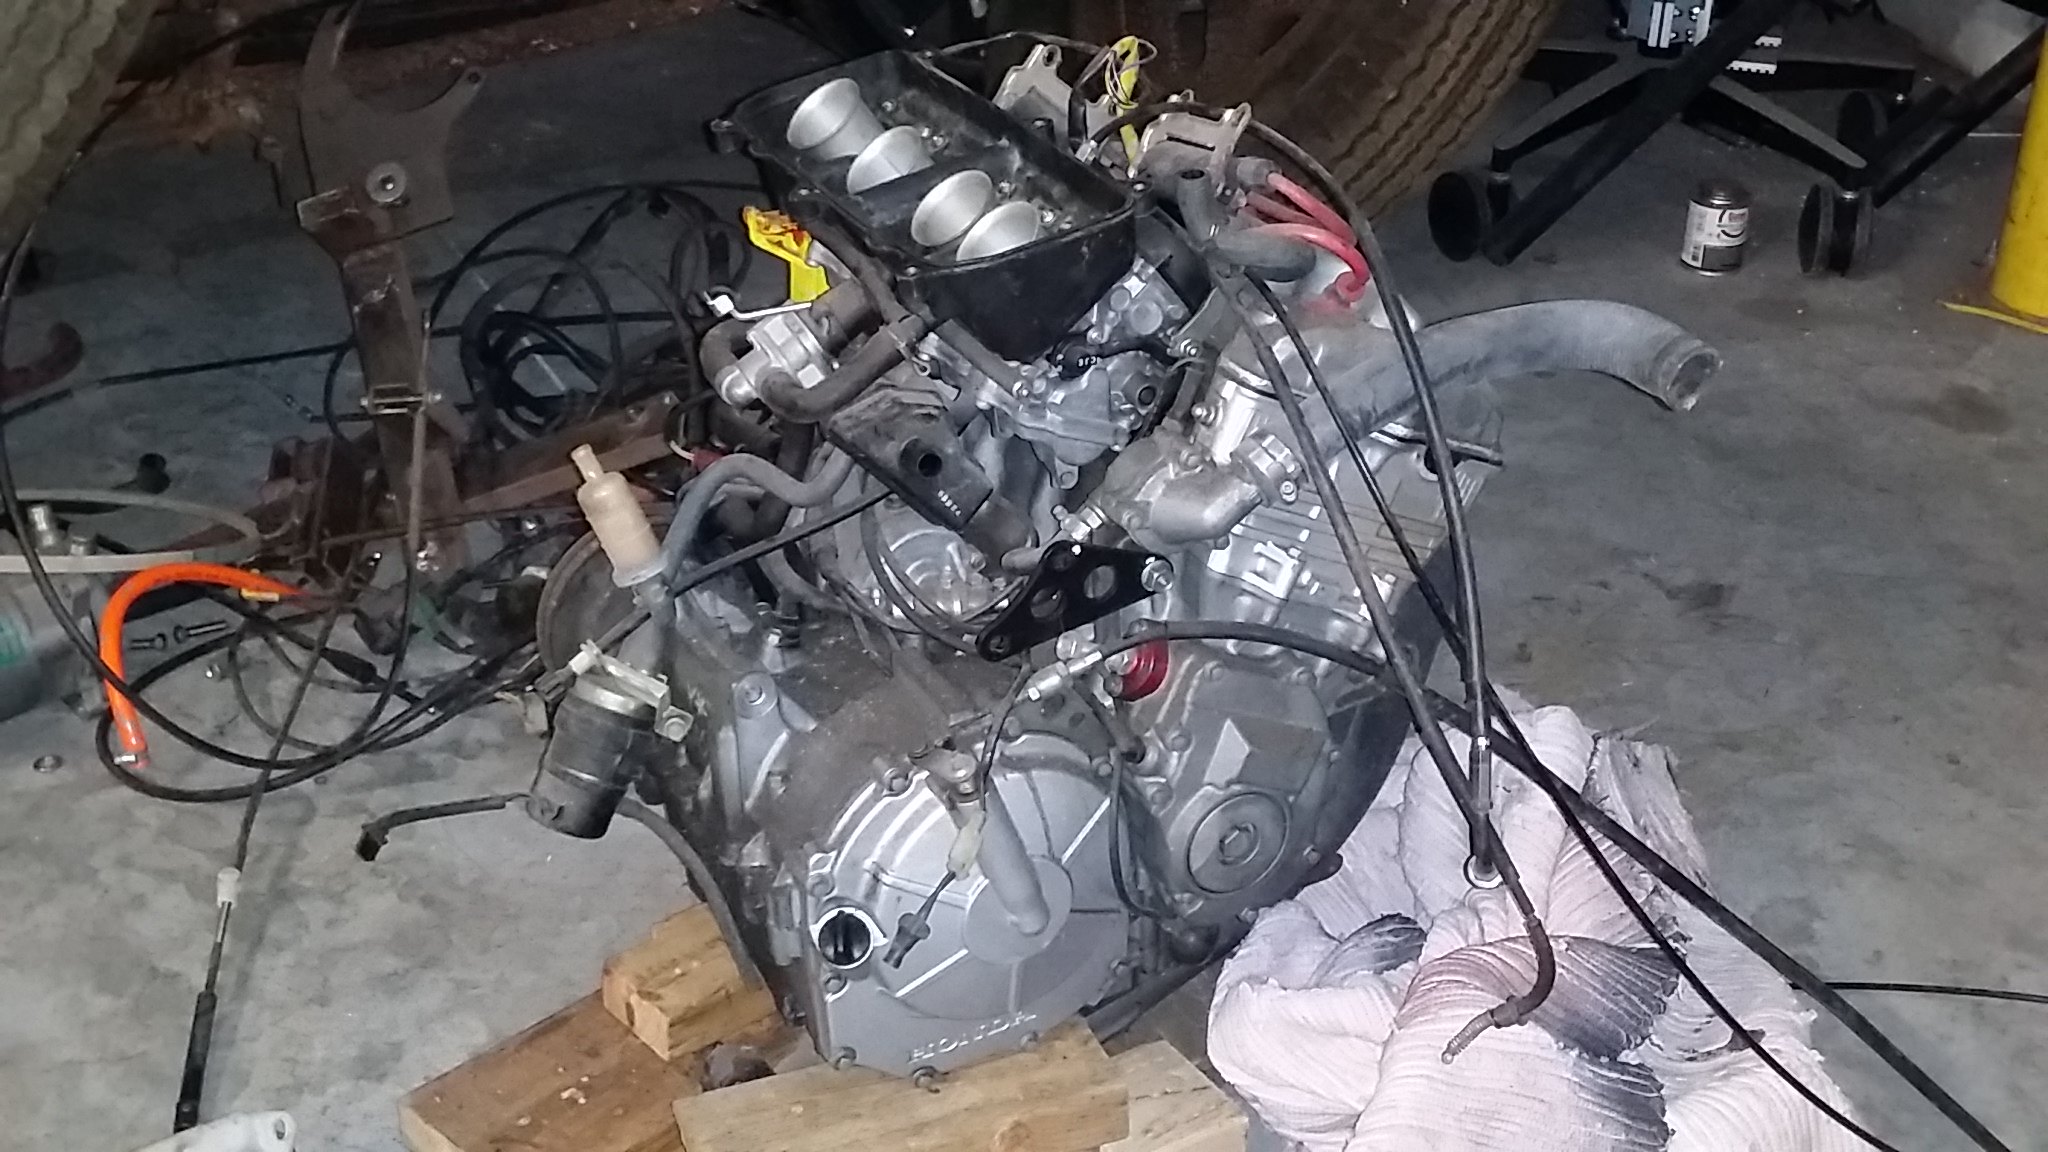 " />
" />
My Project Videos are here:
Making up cross members and engine mounts
<img src="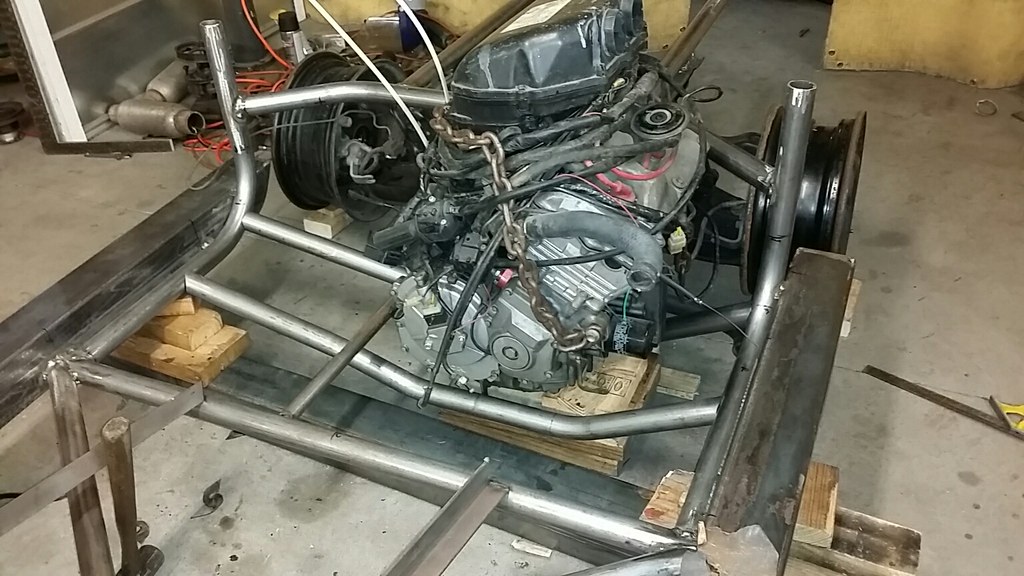 " />
" />
Some temporary bracing in place
<img src="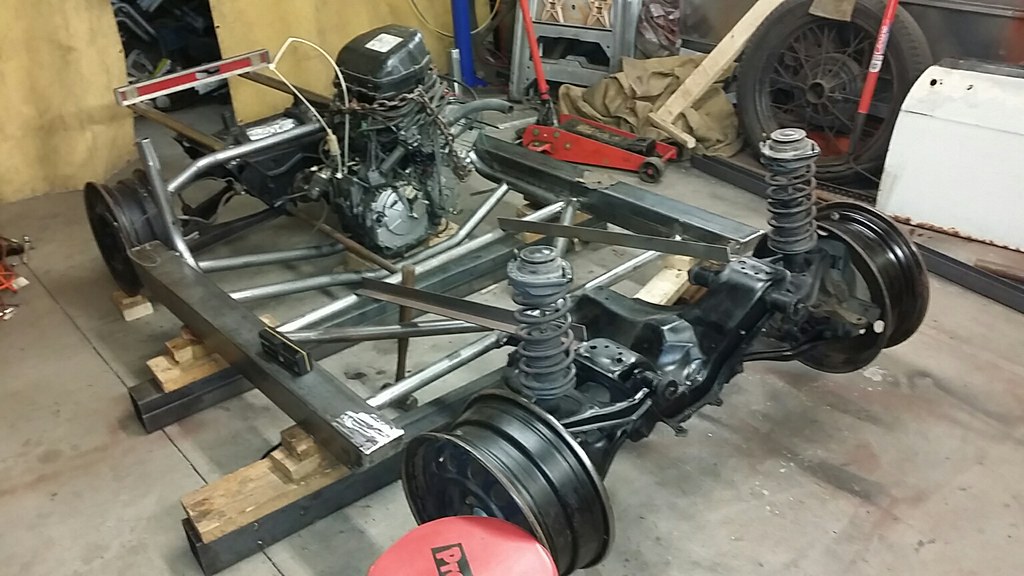 " />
" />
My Project Videos are here:
Do you have to re-baffle the oiling system since the motor is now oriented sideways? I remember former GRM tech editor Per Schroeder having a problem with oiling in a Kawasaki engine on a B Mod car since it now corners on a relatively flat plane.
Not too worried about it. If it is a problem, the dwarf car racing folks have custom oil pans and floating pump pickups
Progress on the engine mounts
<img src="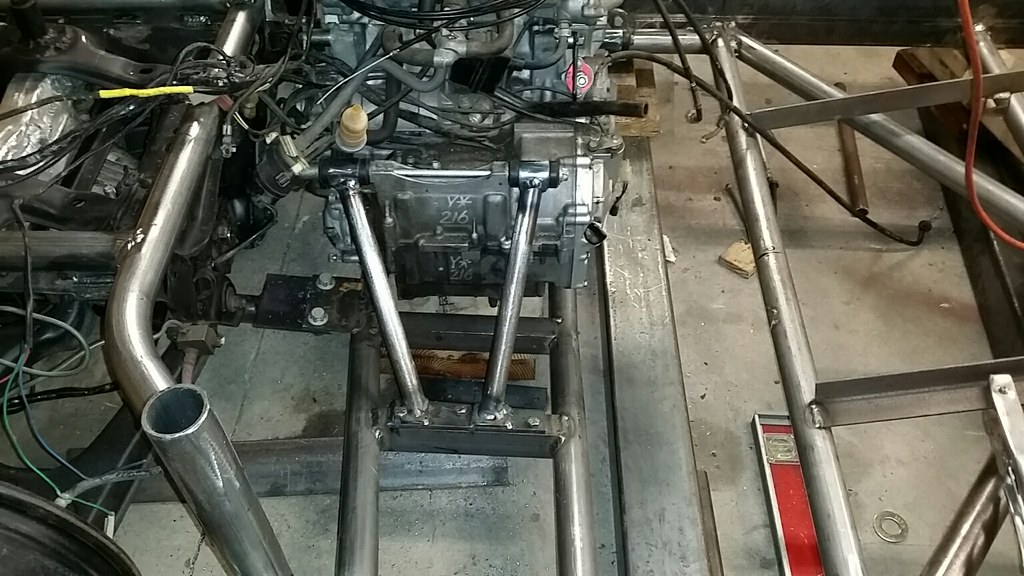 " />
<img src="
" />
<img src="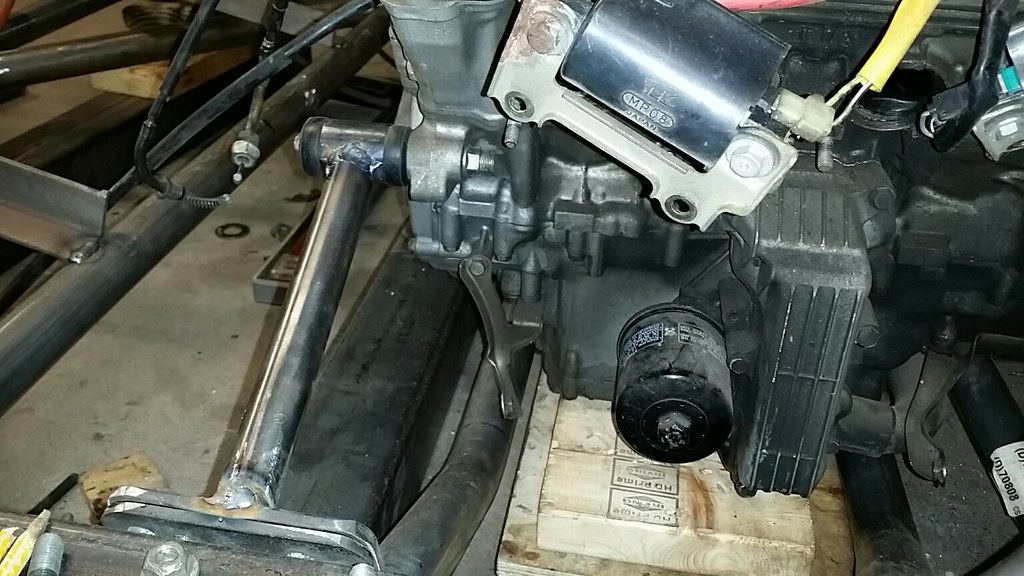 " />
" />
It was too hot to install the rubber bushing here
<img src="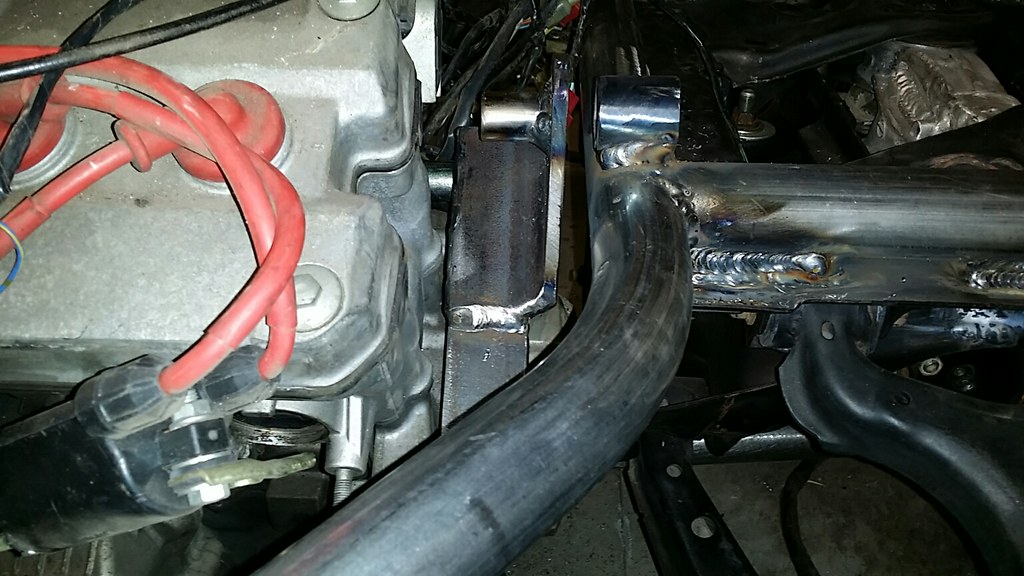 " />
<img src="
" />
<img src="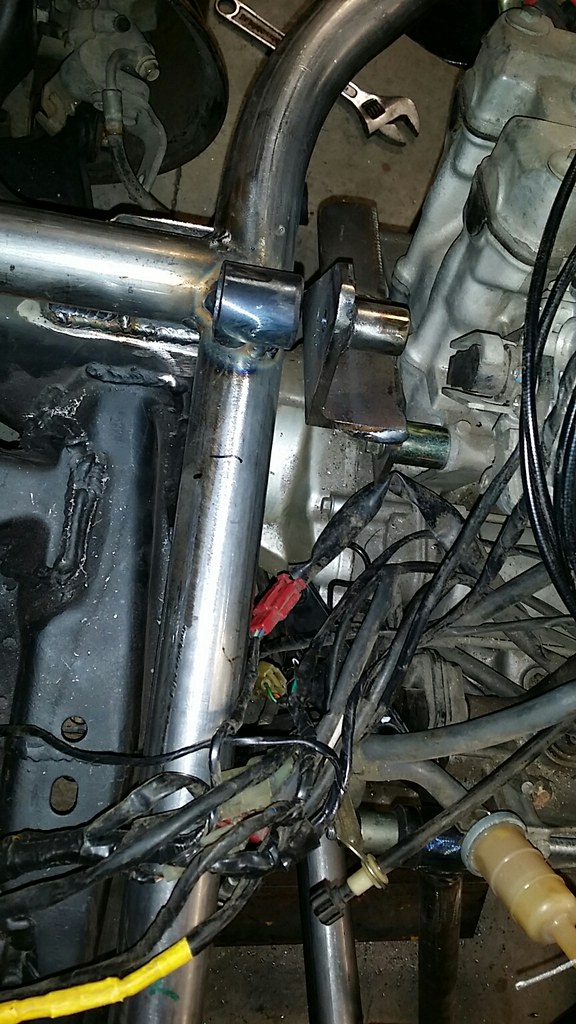 " />
" />
Also installing a brace from the bottom of the rear subframe to the rest of the chassis. I will cap of the open ends
<img src="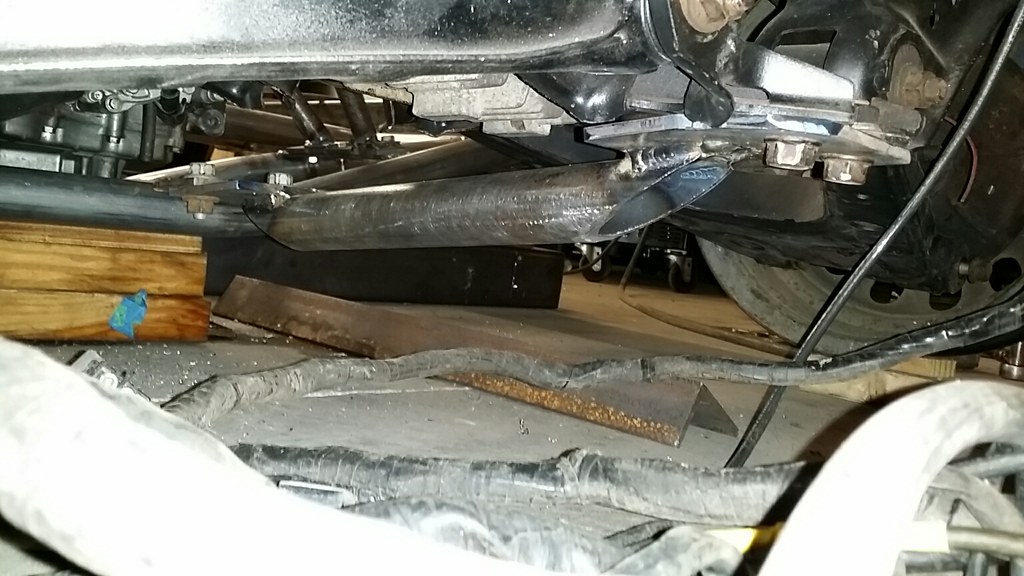 " />
" />
Braced the body for the rocker panel removal
<img src="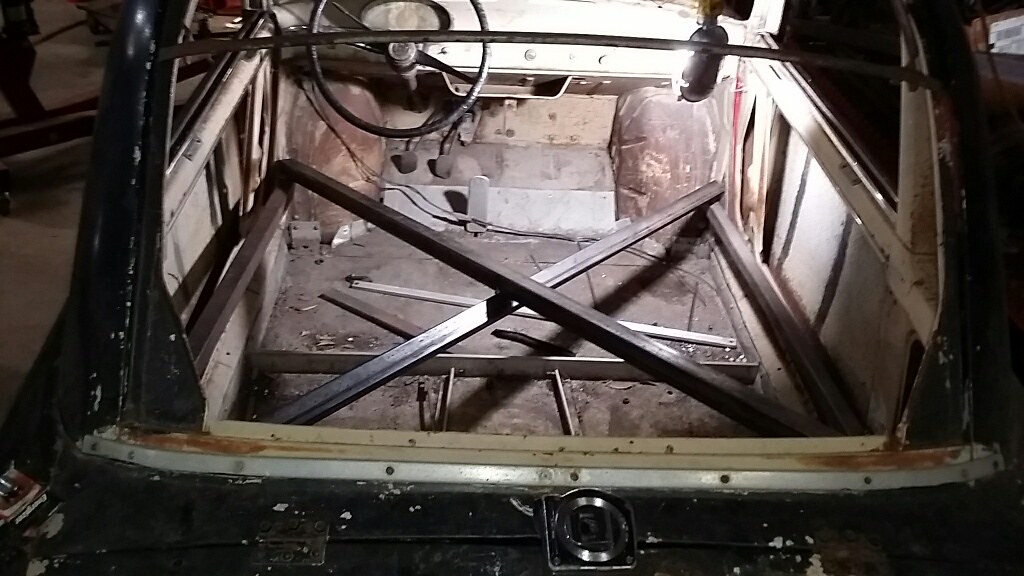 " />
" />
My Project Videos:
Started separating the body from the make shift chassis. Found a stash of walnuts in both rocker panels
<img src="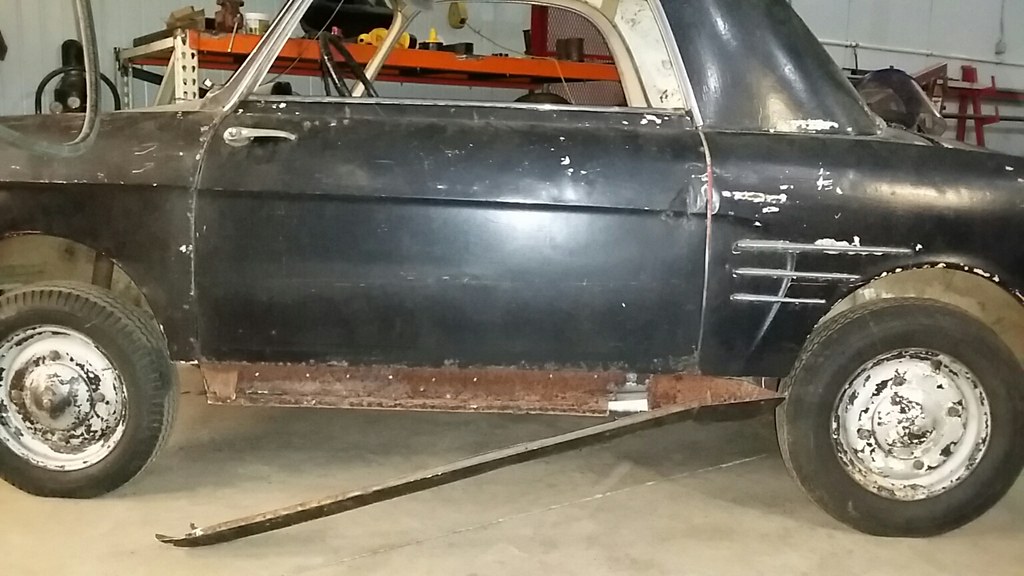 " />
<img src="
" />
<img src="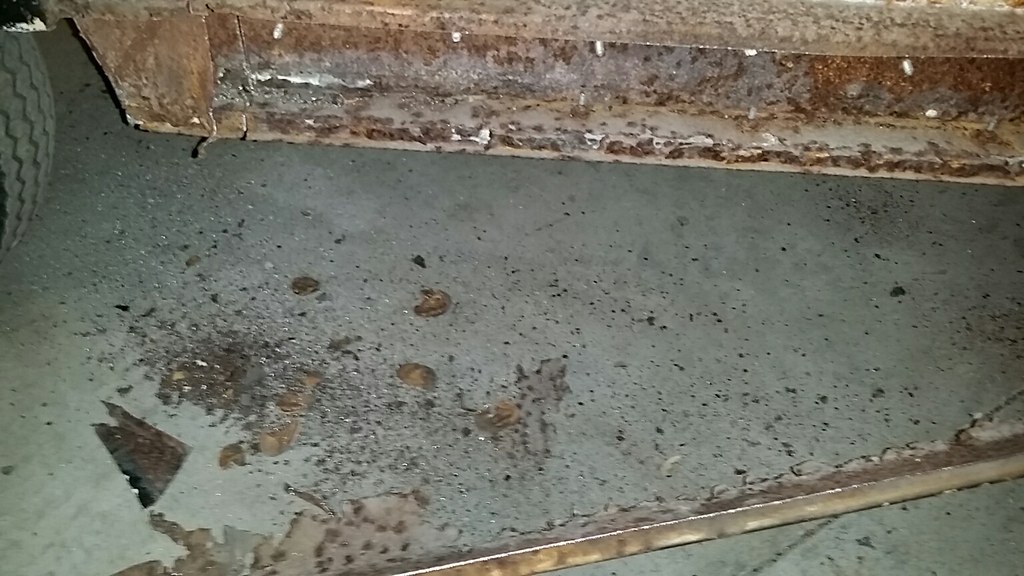 " />
<img src="
" />
<img src="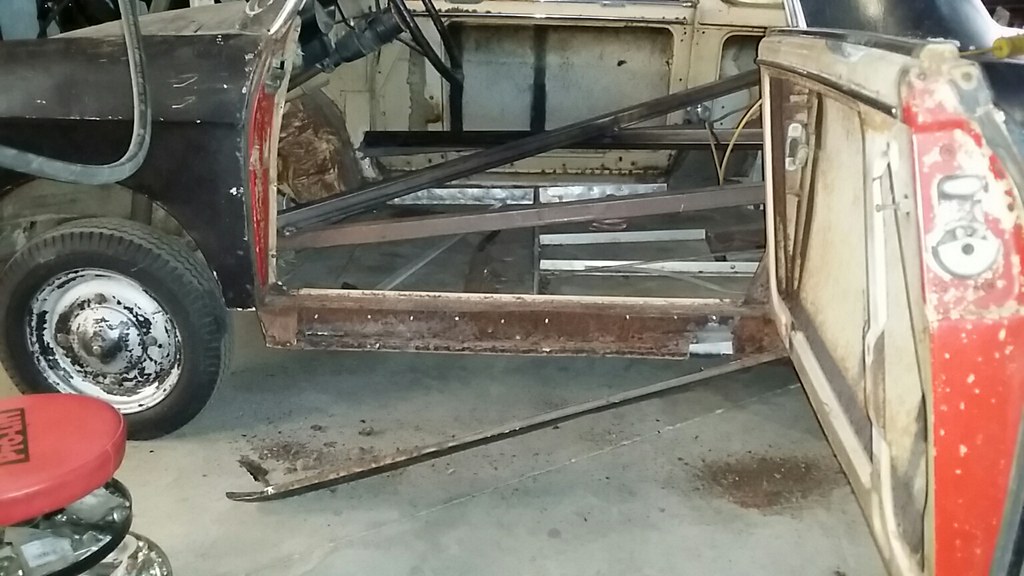 " />
" />
My Project Videos
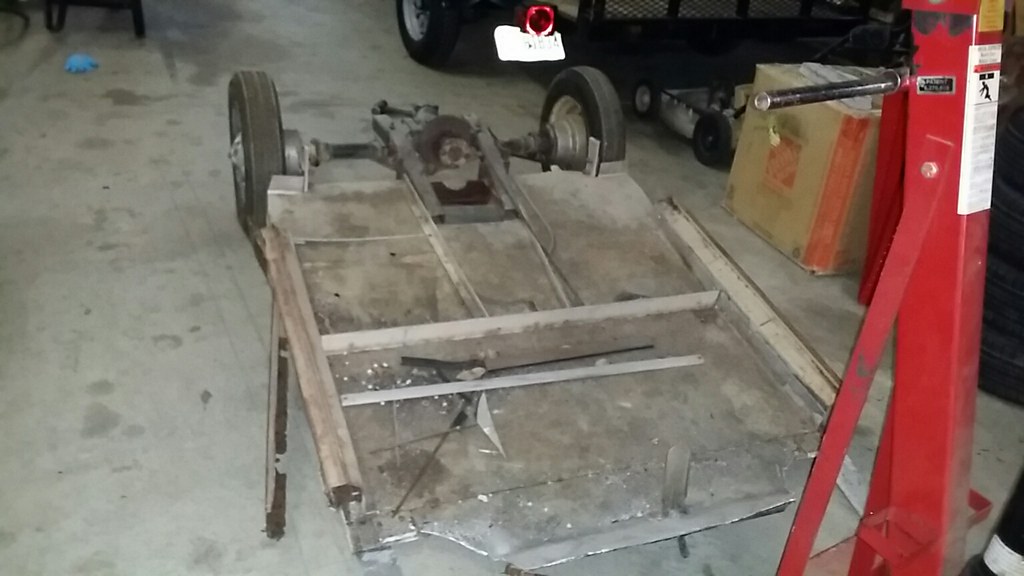
The body is off
<img src="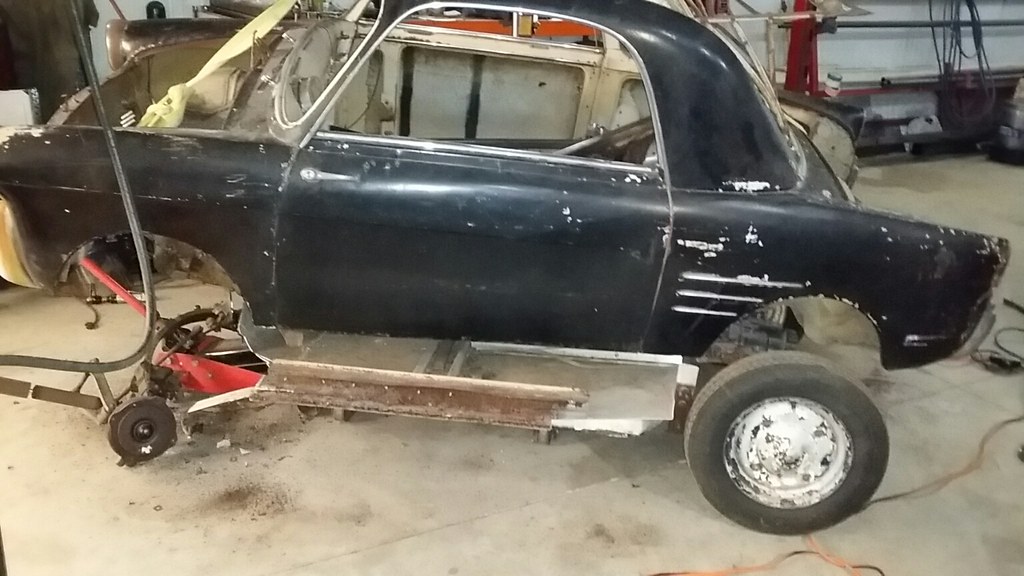 " />
" />
Anybody need some cushman truckster to autobianchi wheel adaptors!
 <img src="
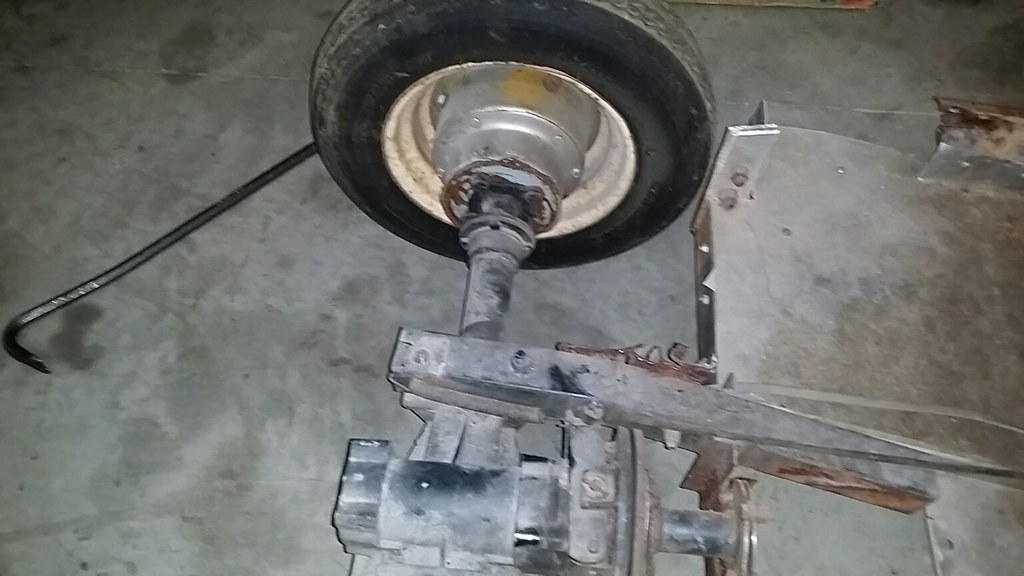 " />
" />
Fitting the body to the new chassis
<img src="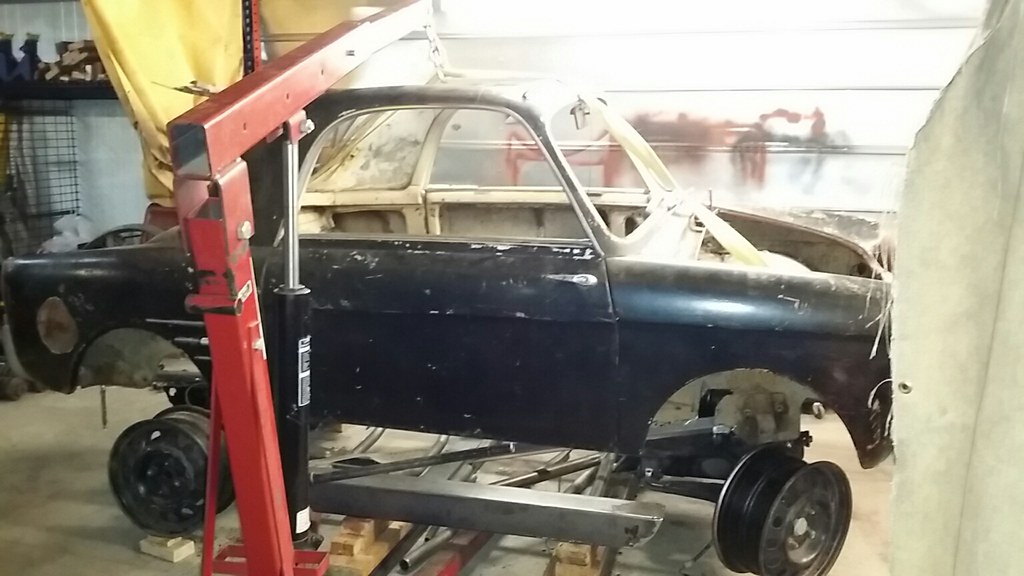 " />
" />
www.BenModified.com
<img src="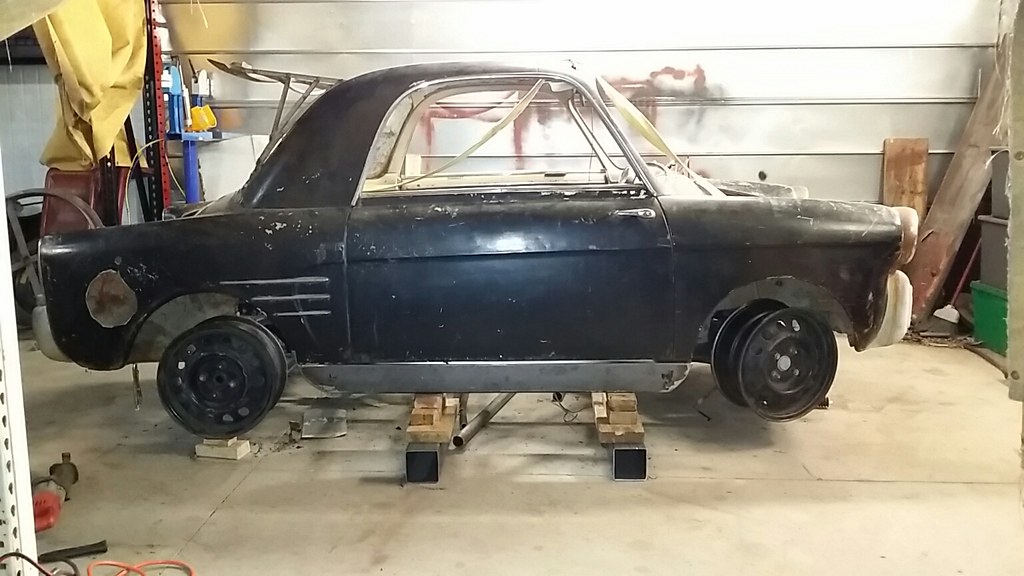 " />
<img src="
" />
<img src="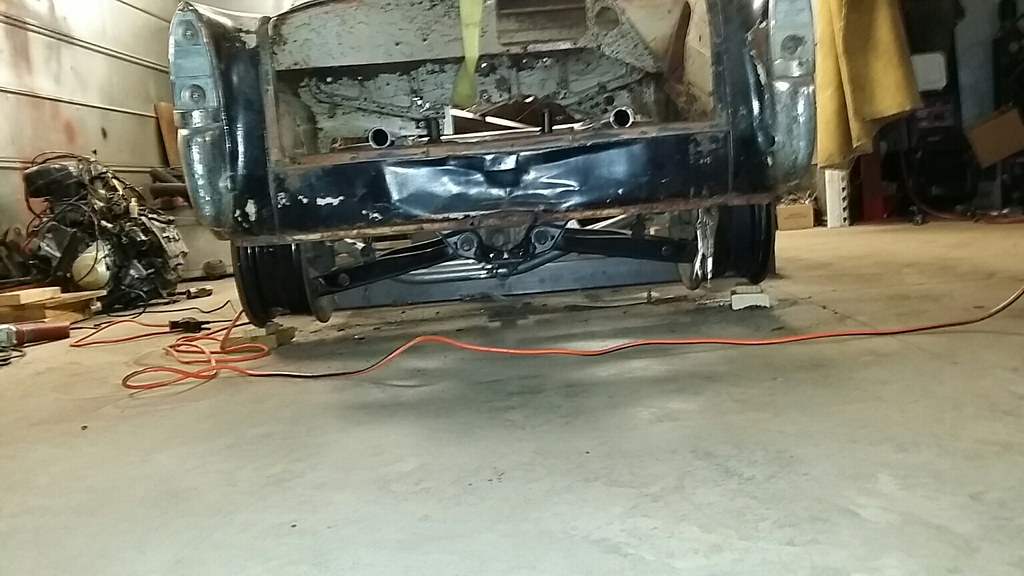 " />
" />
My Project Videos
<img src="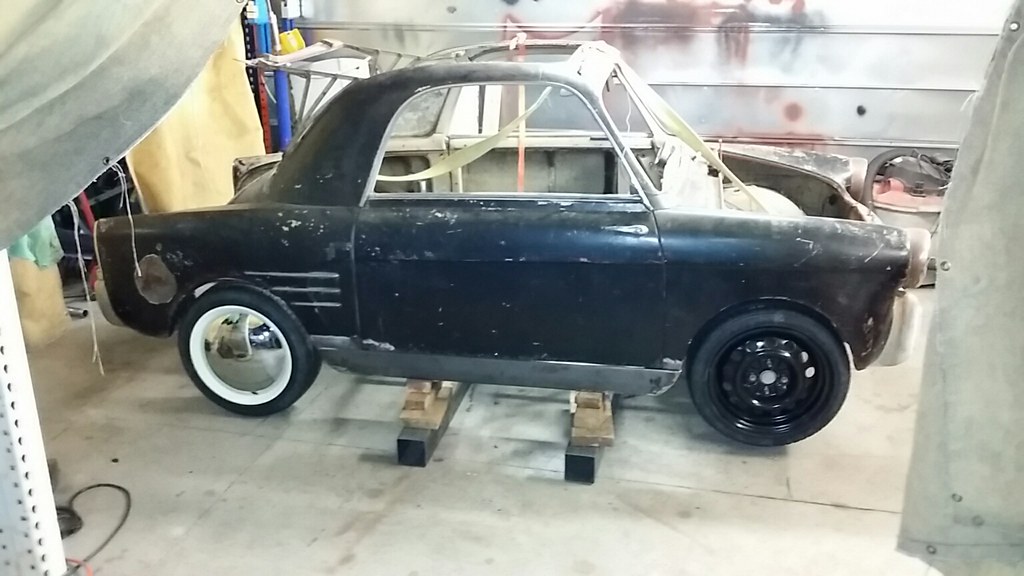 " />
" />
Took the body back off again and trimmed out all of the unnecessary metal. Also cut out the inner rear wheel wells so that the tires will fit
<img src=" " />
<img src="
" />
<img src="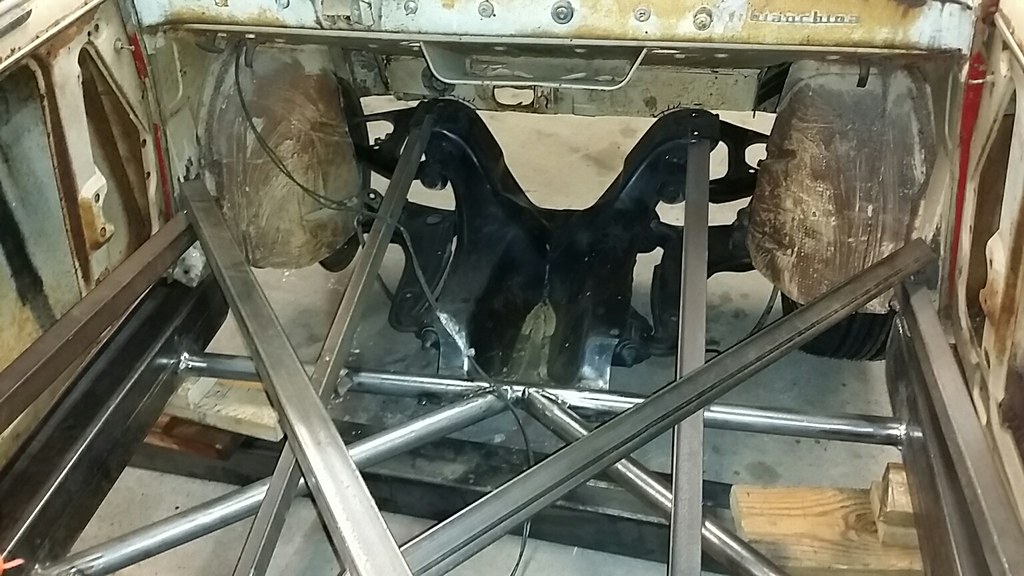 " />
" />
<img src=" " />
" />
Also ground off a ton of undercoating..what a mess. Time to start on the cage and get to welding the body and chassis together.
My Project Videos
Ok so how much room is there between the motor and seating area?
"Don't expect any rapid progress on this build."
Five weeks later, dropping the body onto the newly built chassis.
?!?!

Keep it up!
Ben_Modified wrote:
It is only a 600cc but it will do for now...Also found the perfect set of tires, 165/50-14. Same overall diameter as the oem 12's and V rated for $48 each!
V-rated, huh? Ben, you are a real optimist!
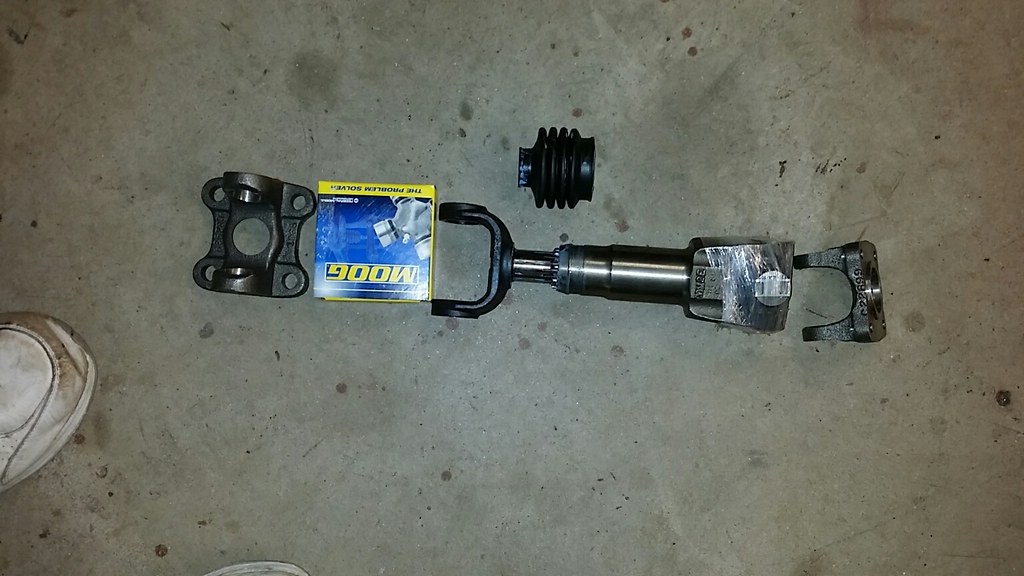
The new 1310 series rear yoke has the right bolt pattern for the Miata diff but the bolt holes are drilled for 1/2" bolts and the Miata 5/16" (8mm). Machined some insert to take up the slack.
<img src="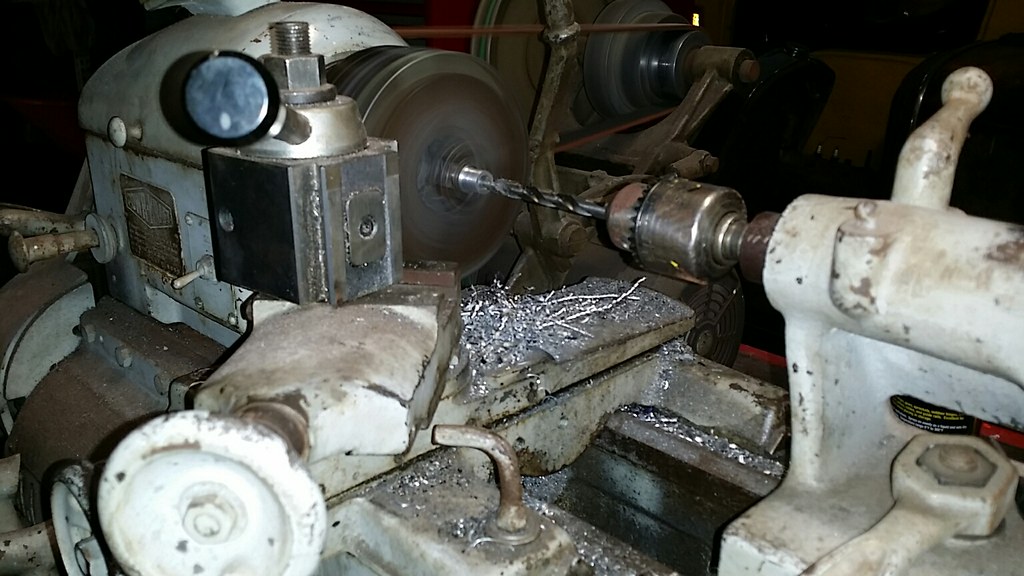 " />
<img src="
" />
<img src="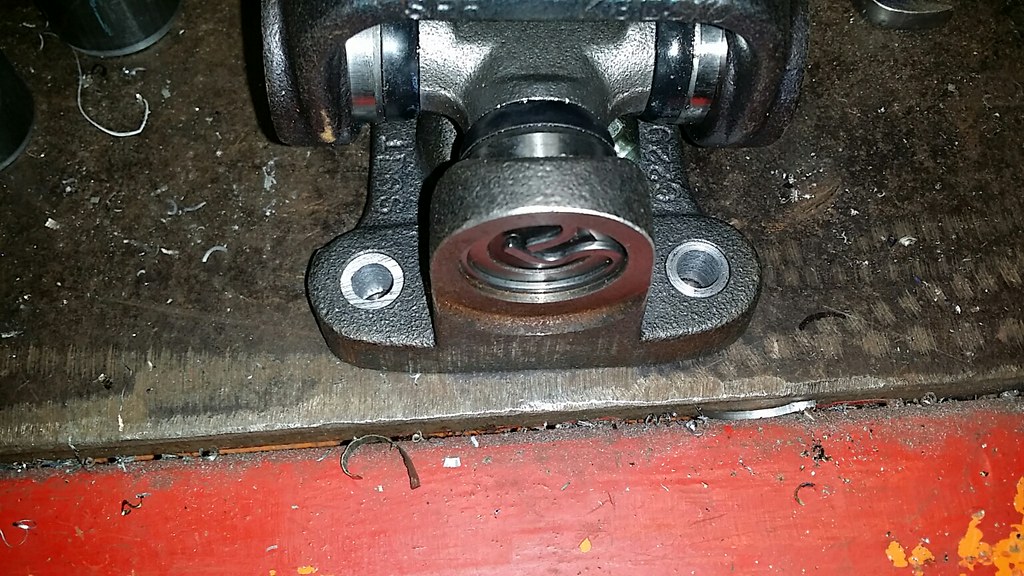 " />
" />
Videos are Here:
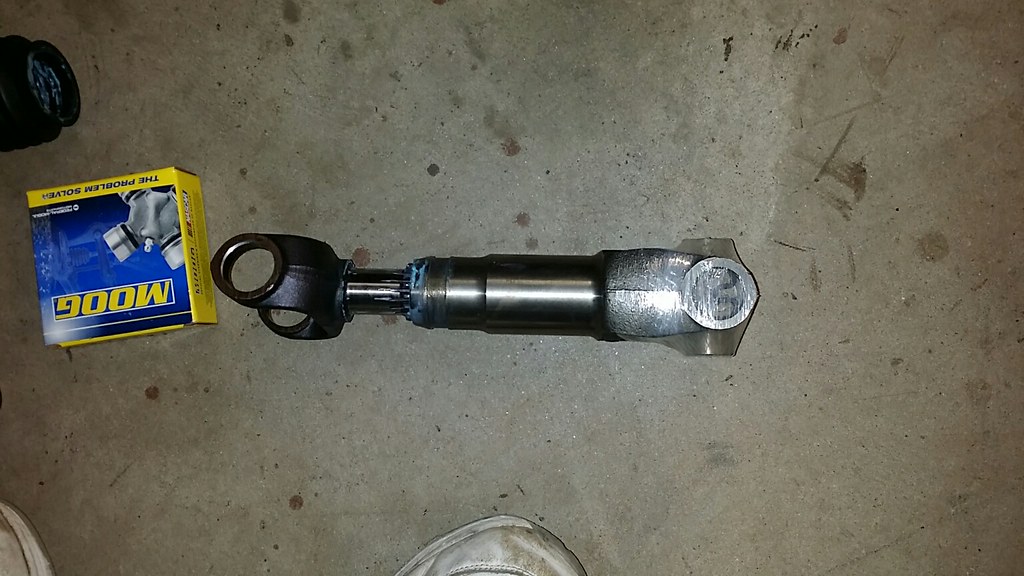
Machined a bushing to align the driveshaft and diff flange. The original Miata driveshaft has a male pilot bushing but the new spicer 1310 series has a female. This sandwiches in place. Started with a 2" dia round bar
<img src=" " />
<img src="
" />
<img src="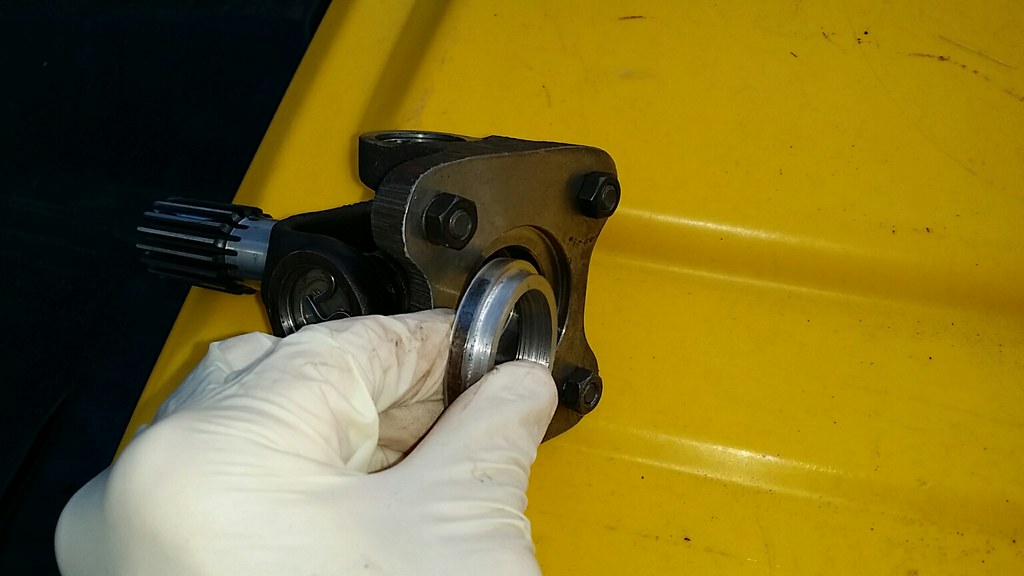 " />
<img src="
" />
<img src="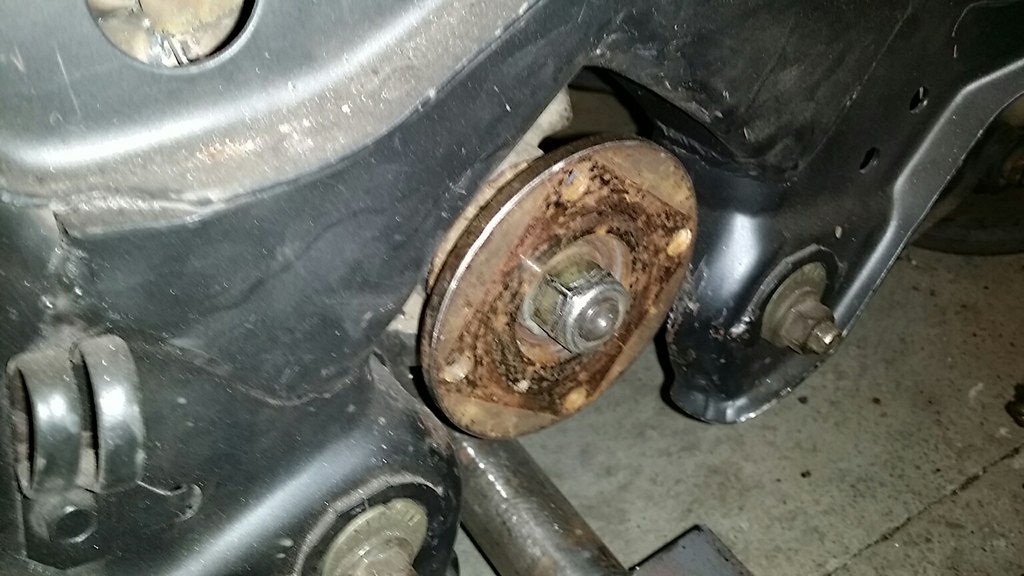 " />
<img src="
" />
<img src="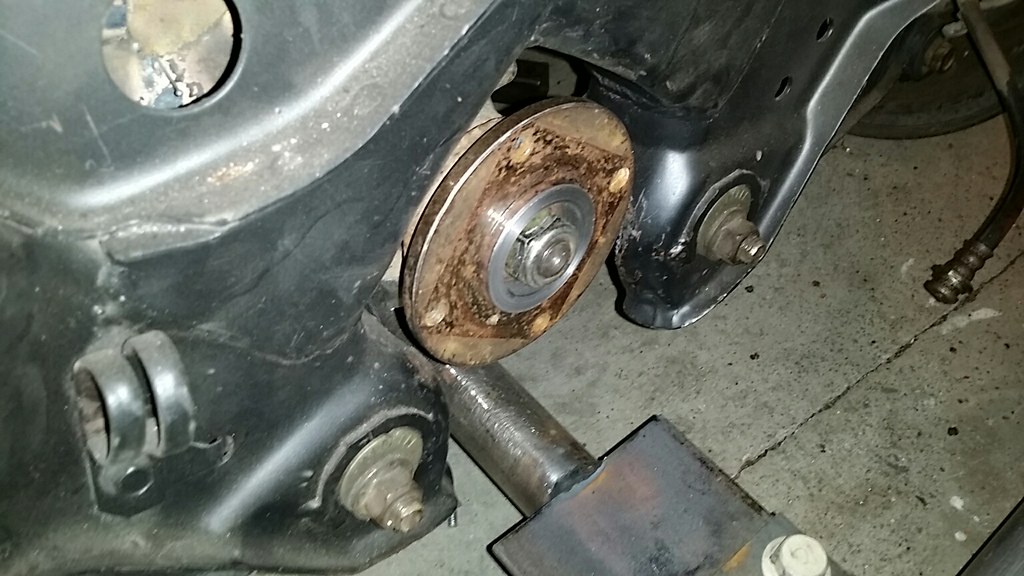 " />
" />
My Build Vidoes
Ben - do you ever sleep??? Your projects seriously put my little chassis swap to shame!
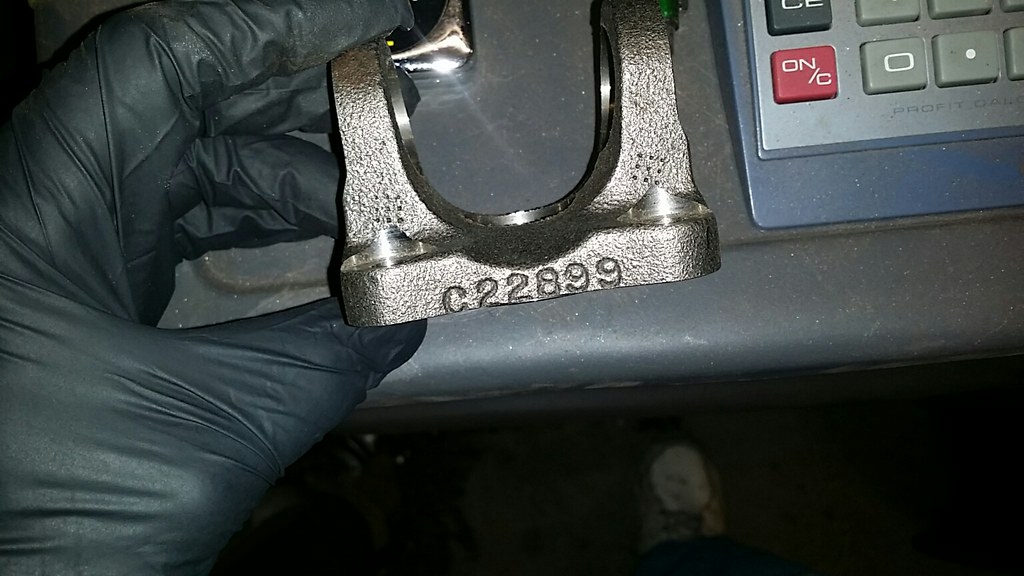
Finished up the rear yoke
<img src="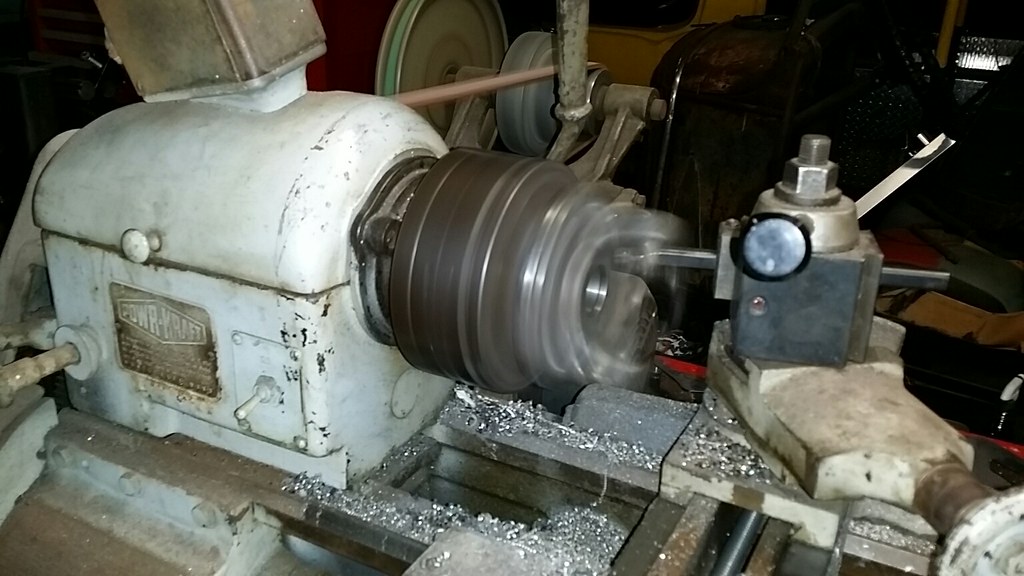 " />
" />
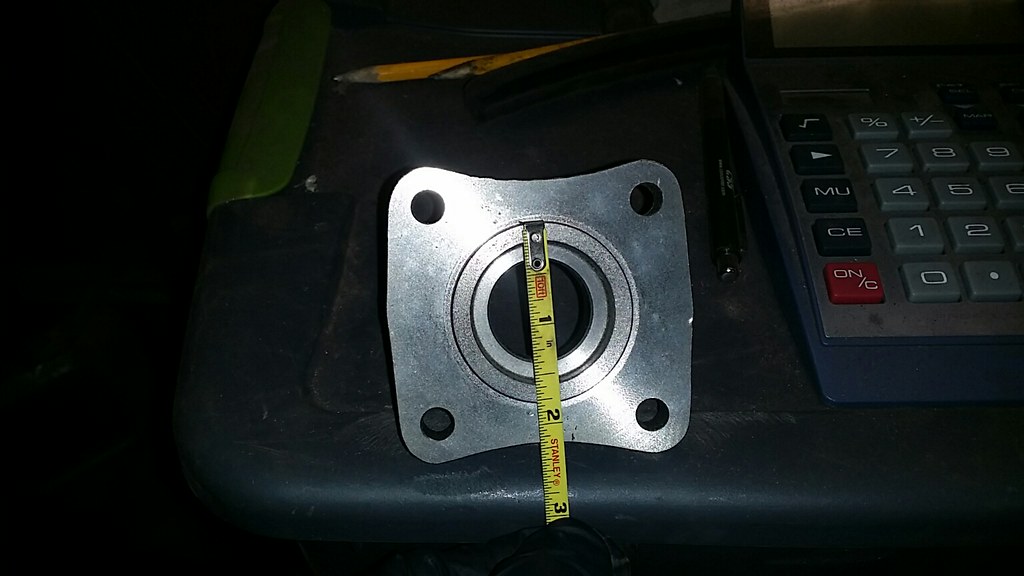
Trimmed it down around the perimeter
<img src="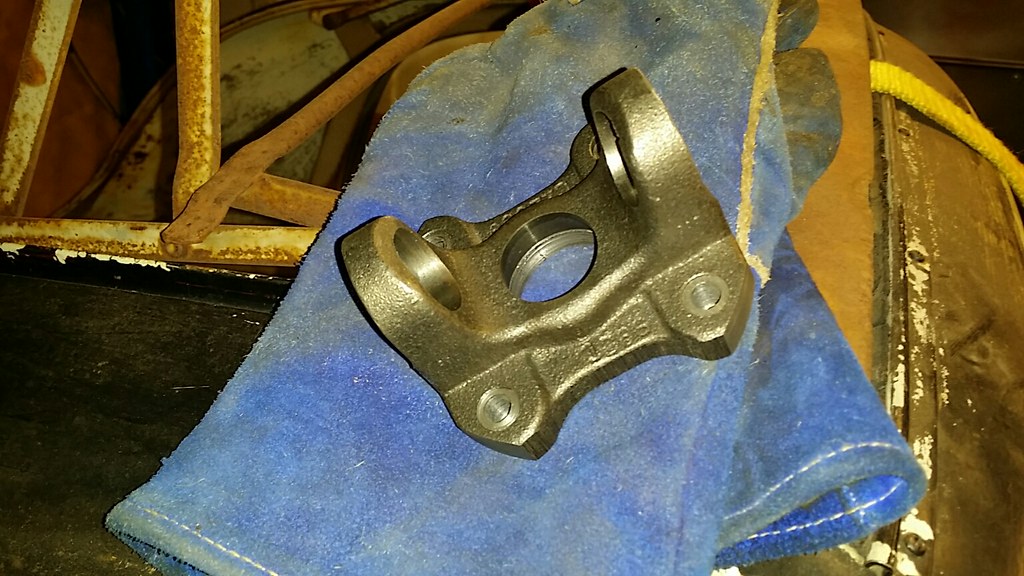 " />
" />
Pilot bushing in place
<img src="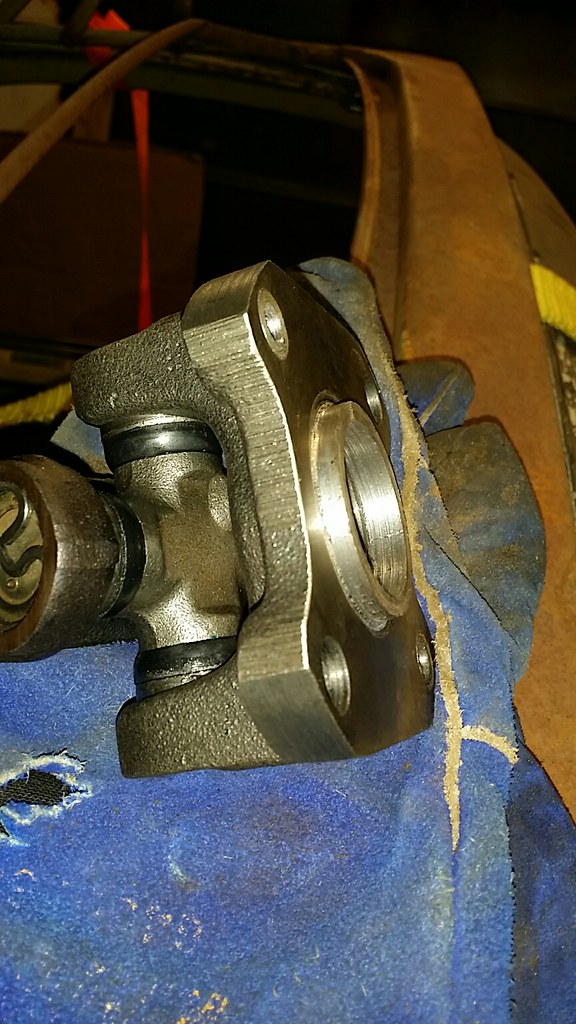 " />
" />
<img src="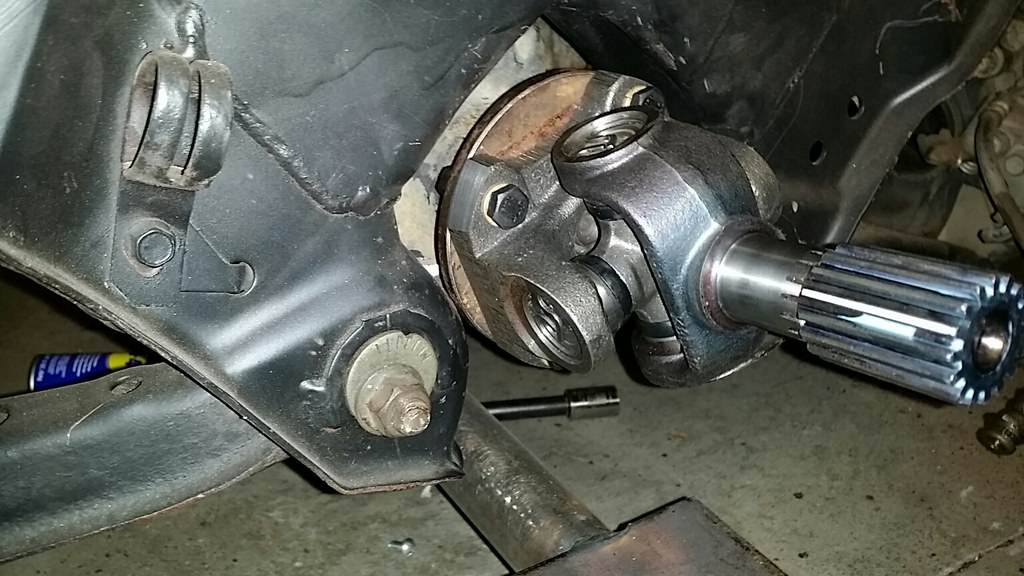 " />
" />
Project Videos
Progress on suspension. Made upper spring/shock mounts from 1/4" thick 6" wide flat bar. In the front, tubing comes up from the subframe to a brace that will bolt in place. It will be removable to extract the struts without separating ball joints and tie rods.
<img src="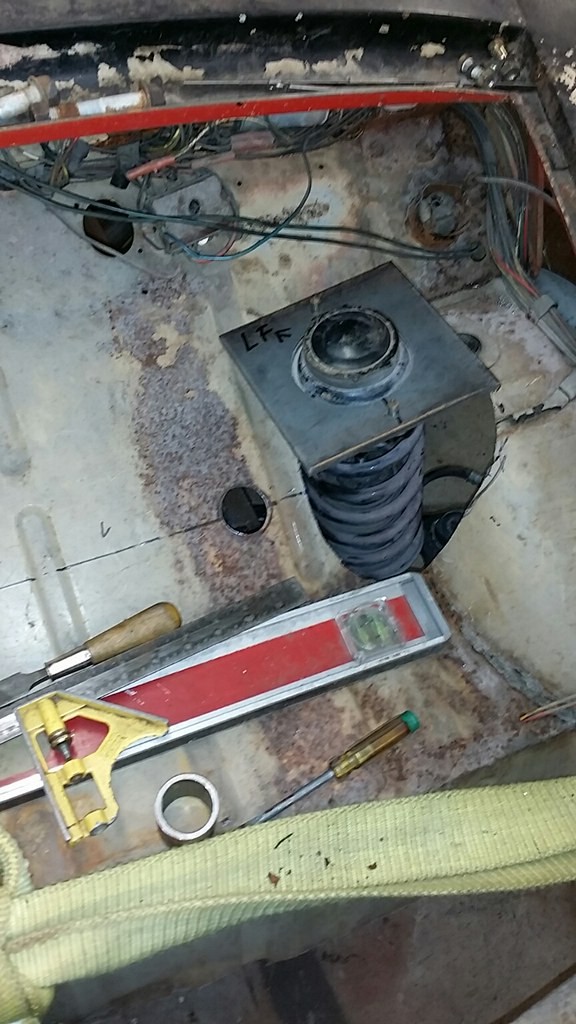 " />
<img src="
" />
<img src="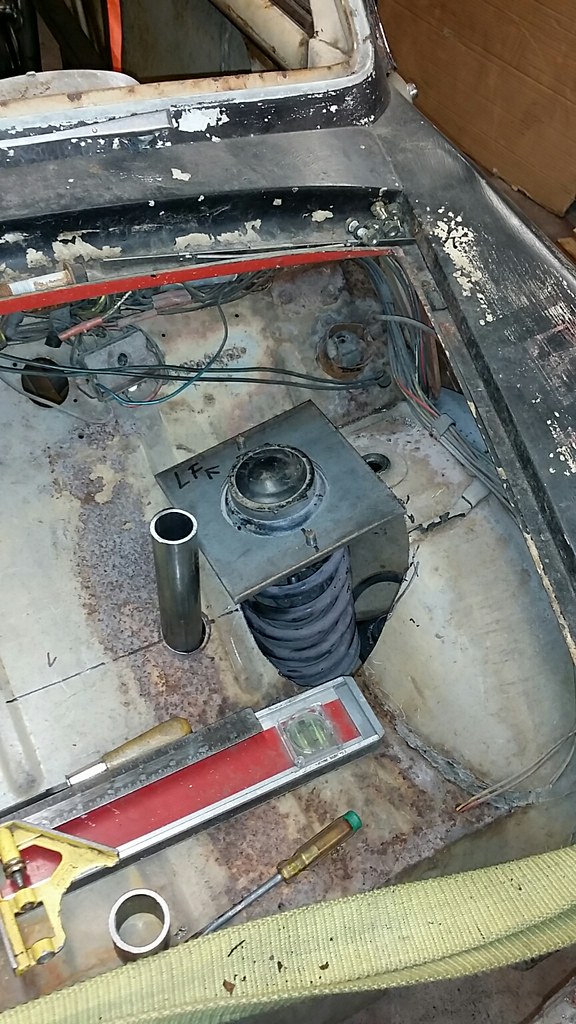 " />
" />
The brace will be clamped in place temporarily to determine proper ride height.
Once determined, a flange nut will be welded into the top of the trimmed off tube. Will also weld a plate over the 1 1/2" hole thru which the bolt will go.
<img src="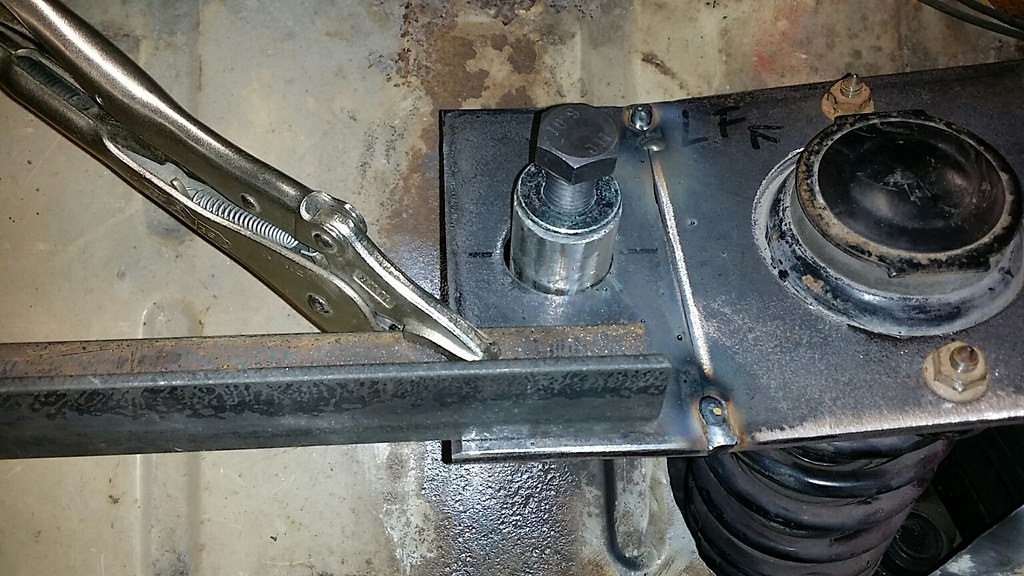 " />
" />
<img src="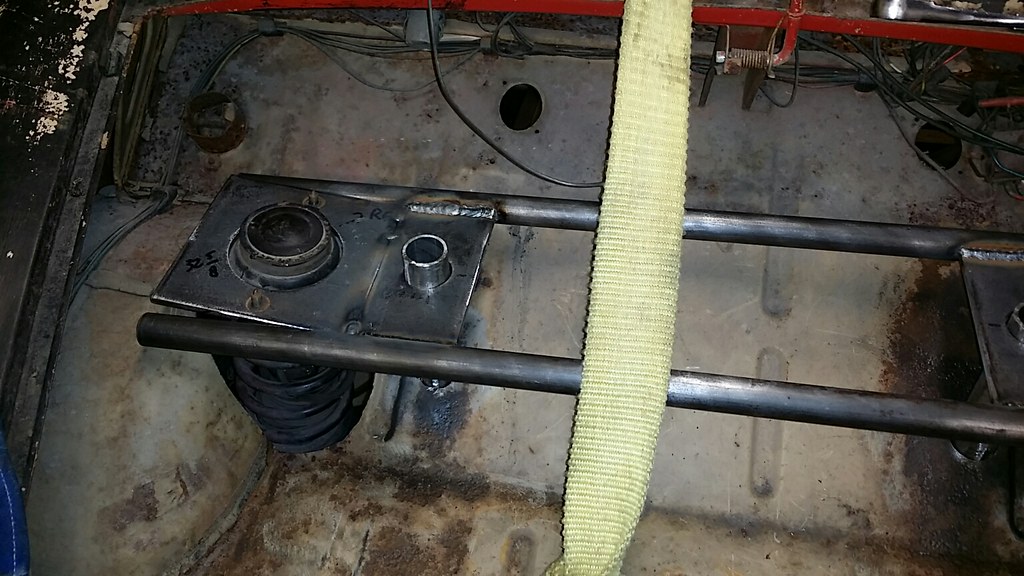 " />
" />
Heated and bent the ends of the tubes to match the strut angle
<img src="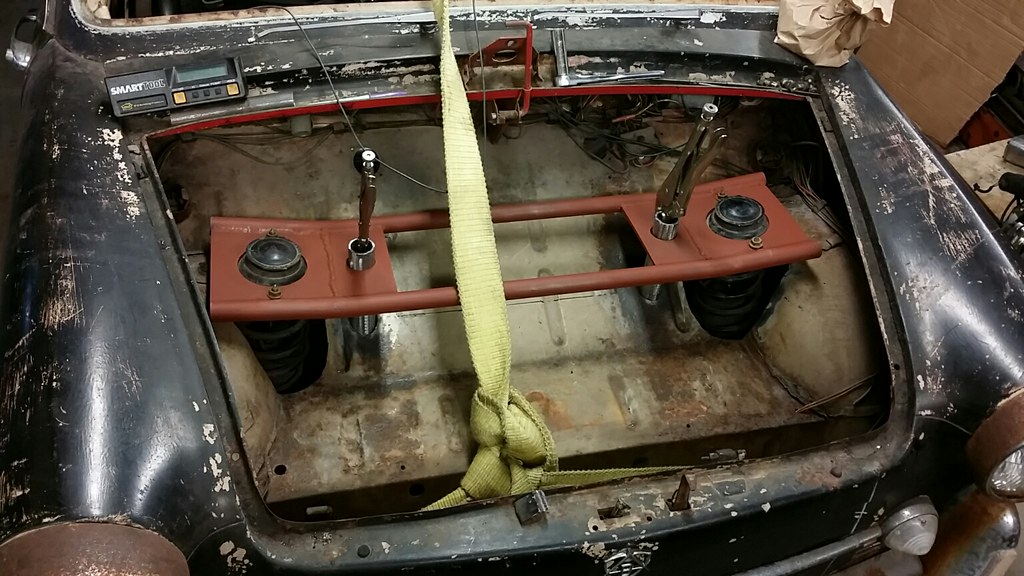 " />
" />
Started on the rear supports also. Mostly done, just need a couple of gussets.
<img src="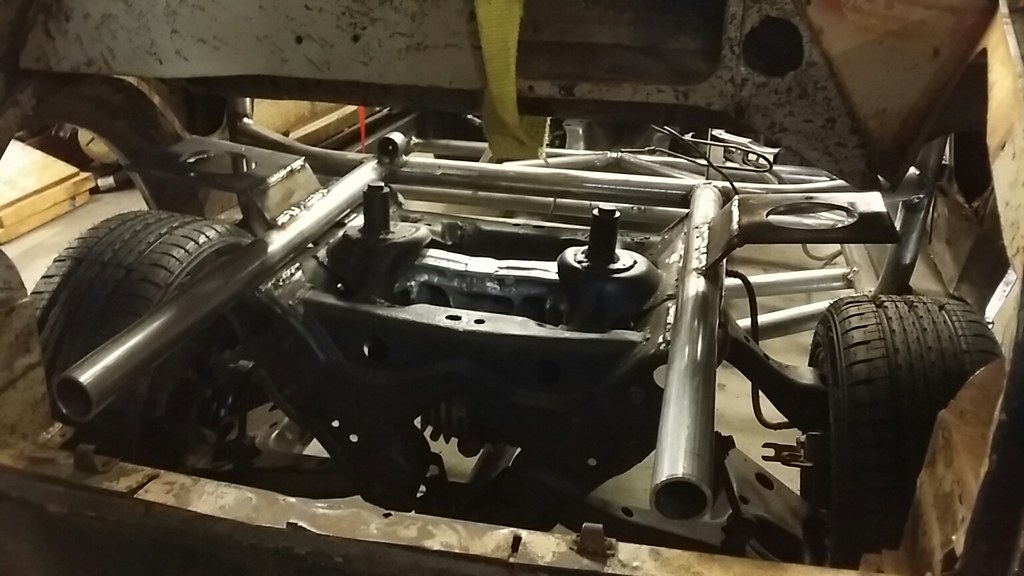 " />
" />
The supports are out from under the car. The front is on its wheels and the rear in on a floor jack waiting for the gussets.
<img src="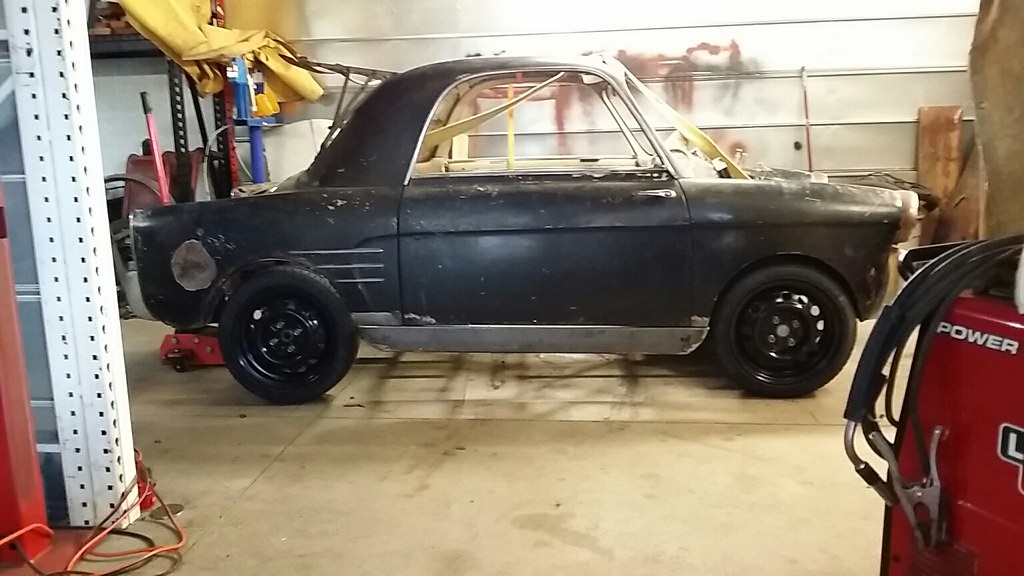 " />
" />
Project Videos
Ben, I'm in Awe of everything you build/post. Truly creative. Is this what you do for a living?
Indy-Guy wrote:
Ben, I'm in Awe of everything you build/post. Truly creative. Is this what you do for a living?
Thanks! no, not for a living, just decades of learning things the hard way.
I feel like I need to work much harder on my relatively easy projects now. This has really come together.