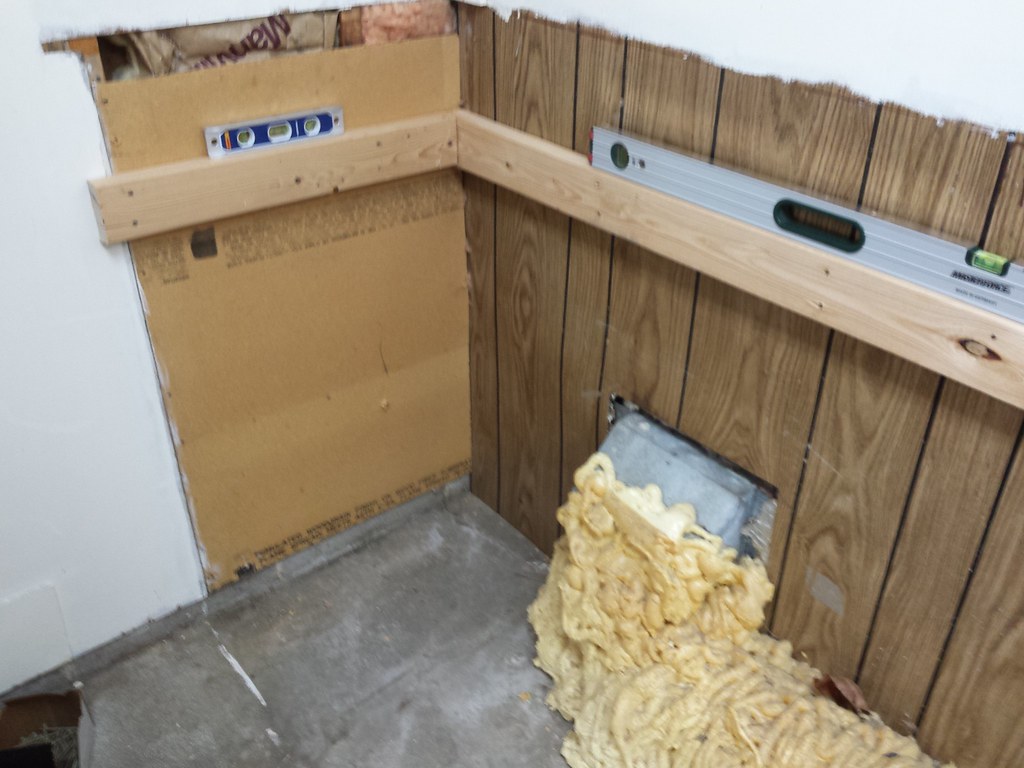
So we indiscriminately painted the garage a cream white. After doing that I realized the work bench was next on the chopping block. So lets tear it out!
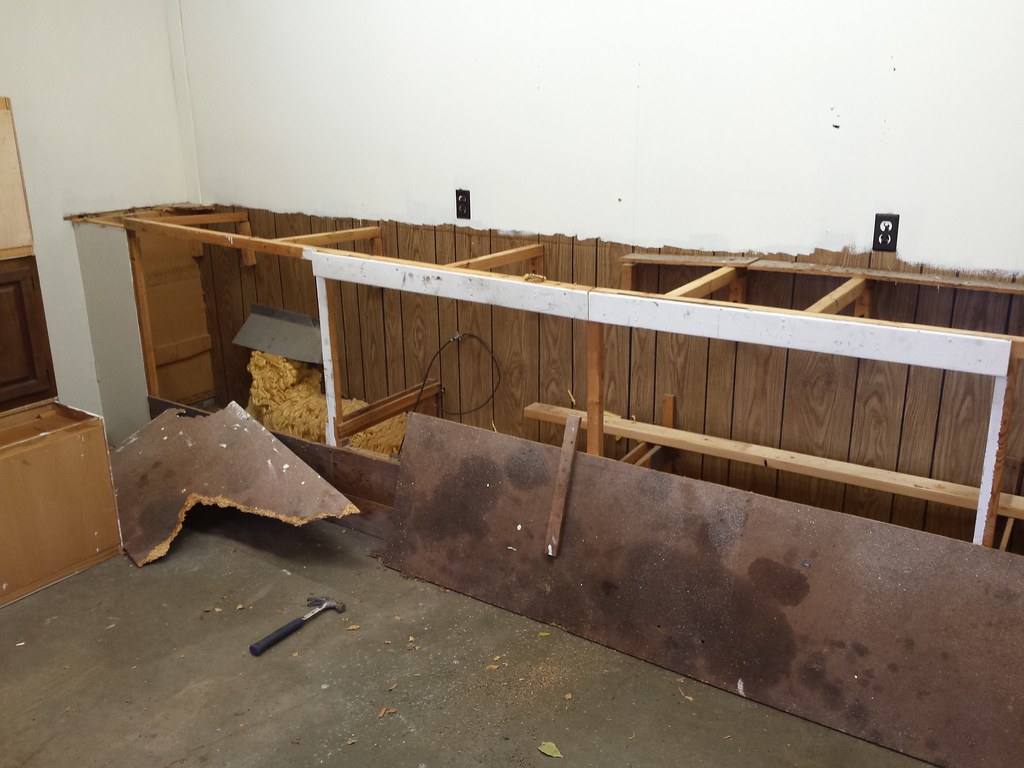 The top was just particle board and the 'framework' holding it up wasn't much better. I'm talking about one of the horizontal runners from the back wall to the front of the counter wasn't long enough so they nailed a 1" long piece to it then nailed it in. Wow.
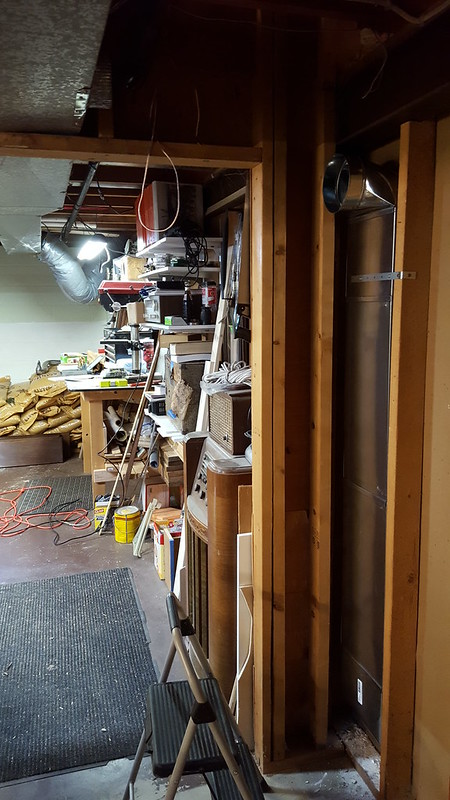
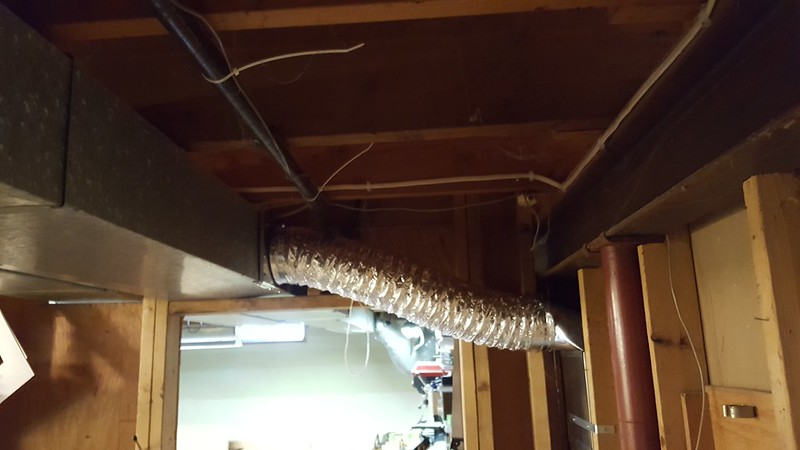
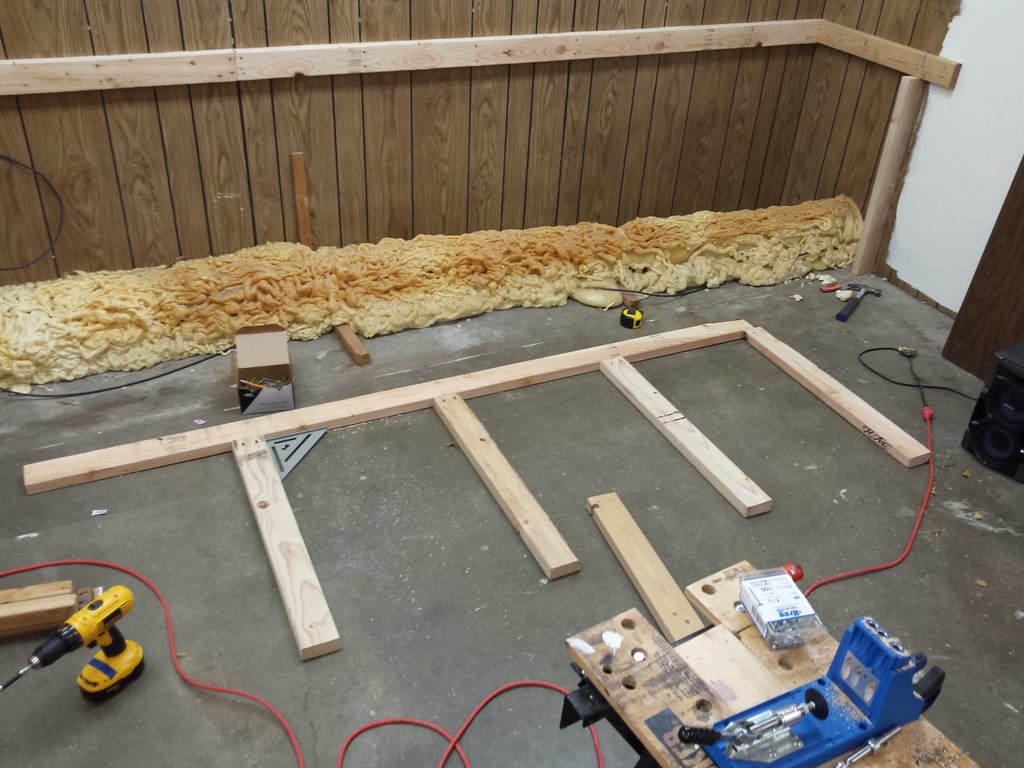
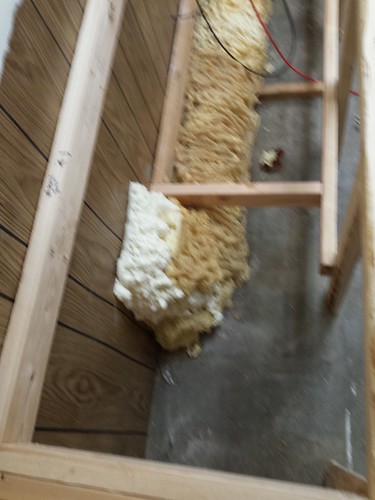
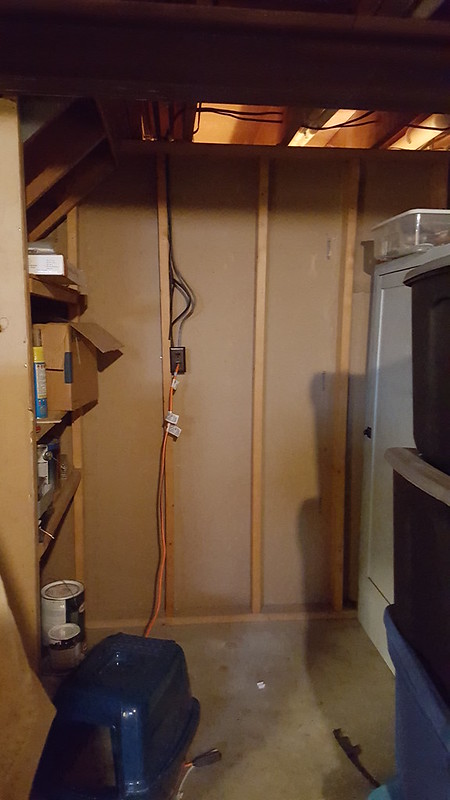
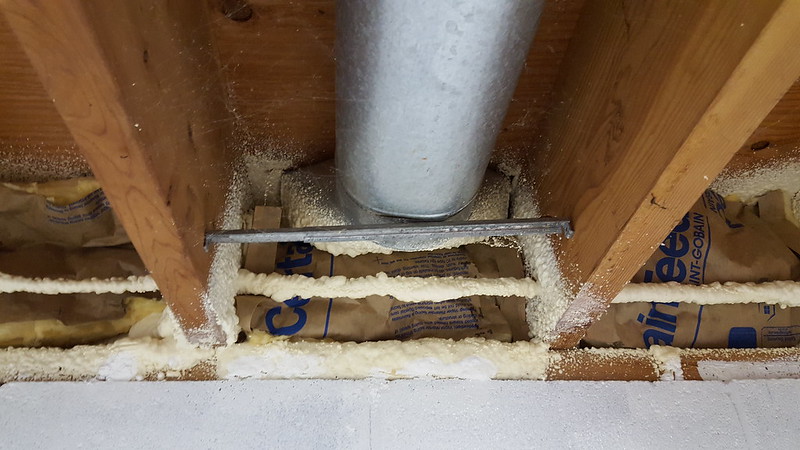
You might have notice the pile of spaghetti. That's because there is a duct serving the room behind the wall. When I bought the house, the bench was all enclosed with one big shelf, and sliding wood paneling for doors. The duct had it's own 'chase' and was filled with batt insulation. I found lots of mouse E36 M3 and dead mice when I pulled it all a part. Never again. So rather than doing something that made better sense, I got some two part spray foam and covered it. With a couple cans of Great Stuff to top it off. It works and I haven't seen any mice messing with it so its here to say. Whatever... hind sight.
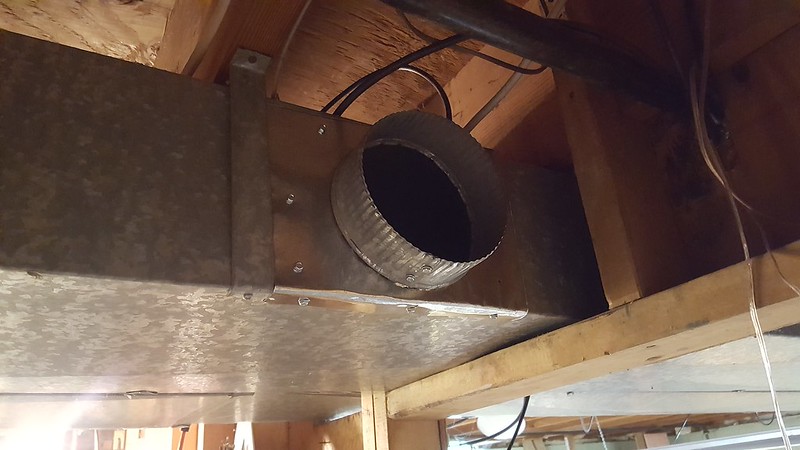
 I got it all ripped out. I removed the piece of flashing over the duct where it enters the other room. I don't know what it was doing there. I shot some more, sigh, great stuff on it.
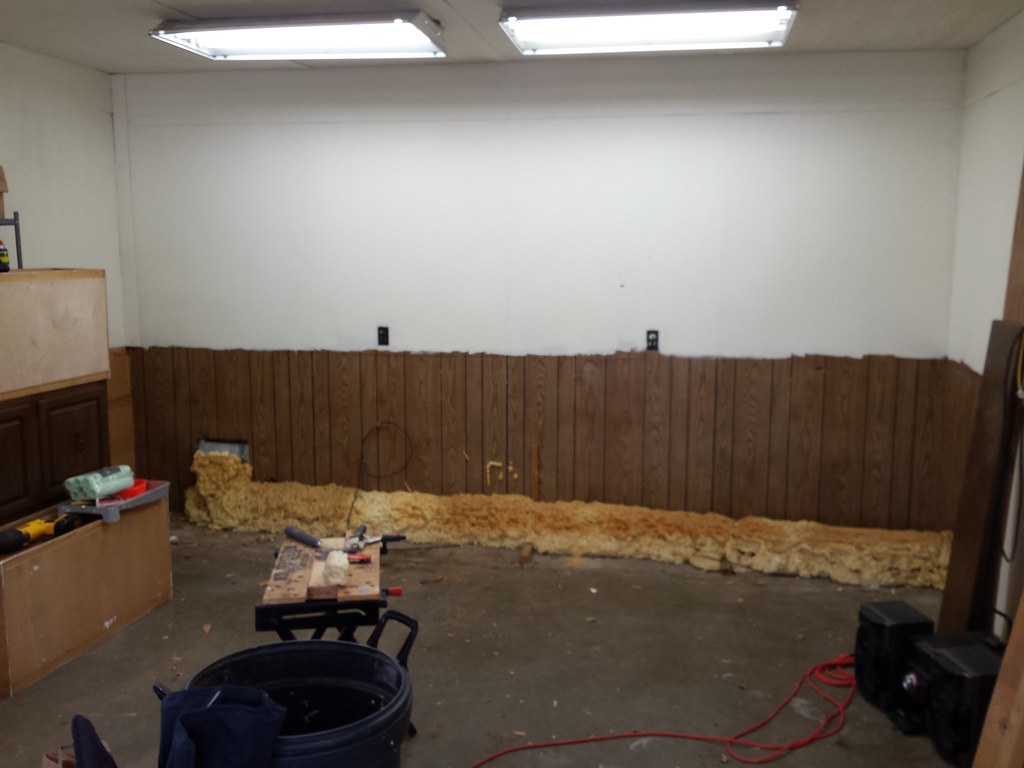
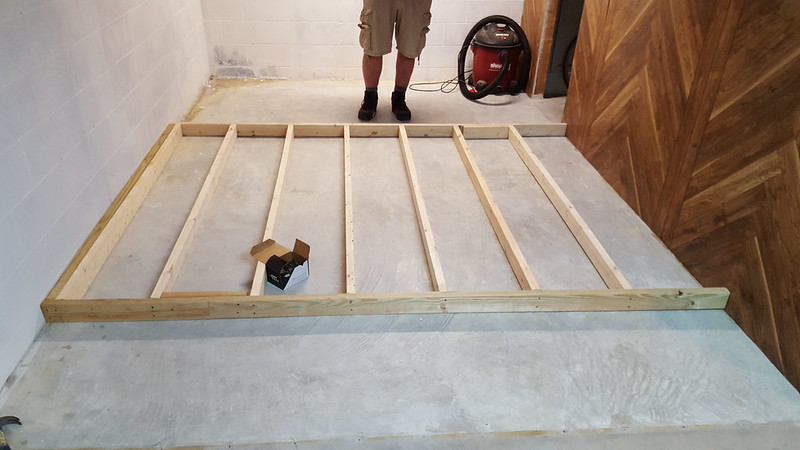
 I started the bench by nailing 2x4s to the walls, making sure they were level.
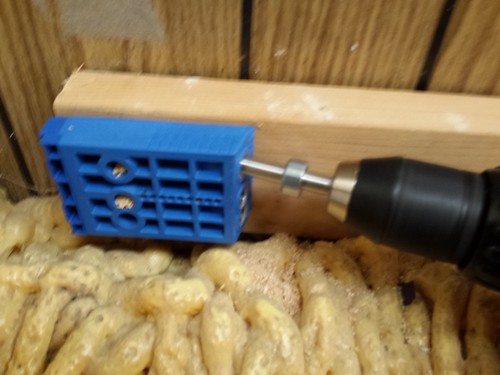
 Did I mention I use my pockethole jig a lot more then I ever though I would. Here is the front face of the bench getting screwed together. I use a small chop saw to cut the boards. Also: Millimeters are way better than inches.
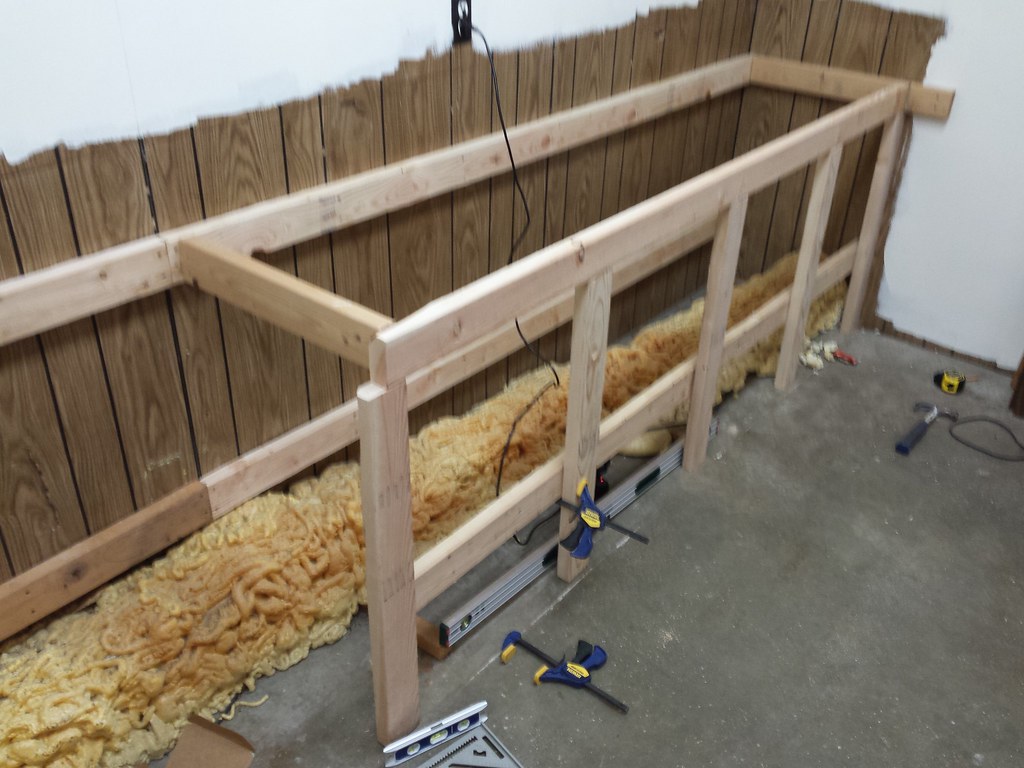 Secure it with a board to the back wall and screw a 2x4 to the bottom to locate where the shelf shall be.
 More of the same.
 I forgot something that I should have done before so I screwed the jig to the board and used it like that. It's a versatile tool.
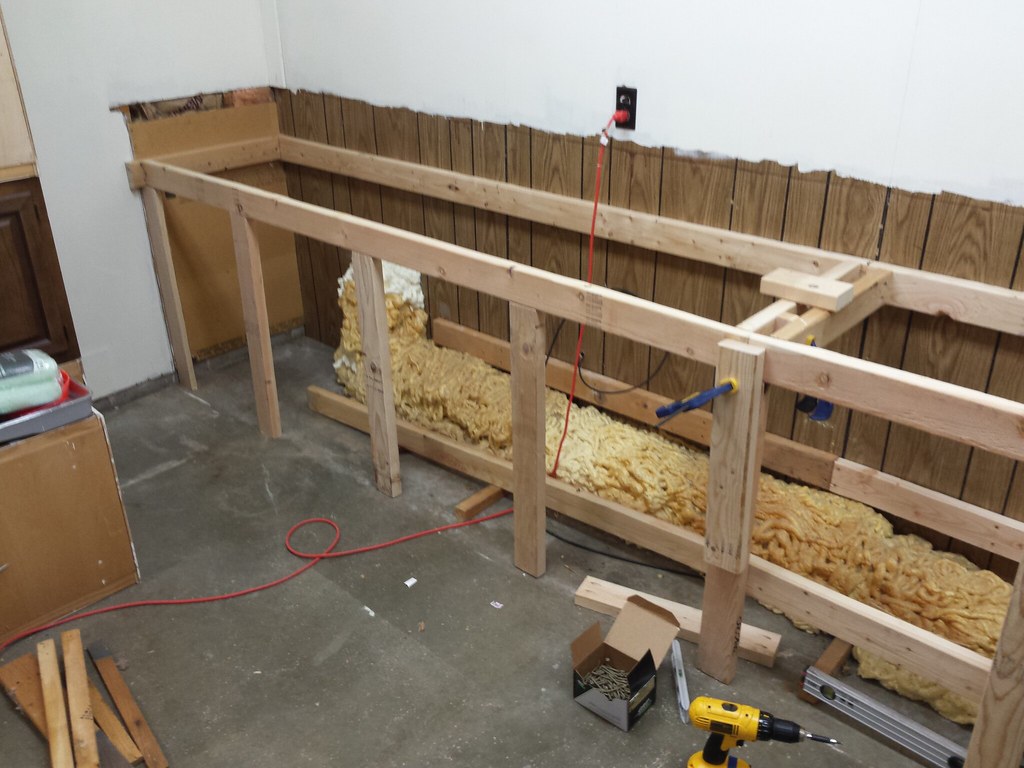
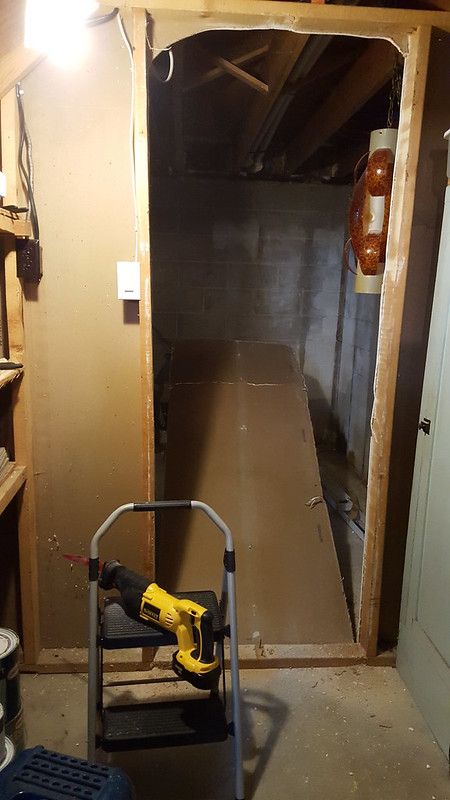
 This will be an open to the floor area to slide taller things in. It turns out my small air compress wheels into it nicely, and the floor jack fits along side the duct.
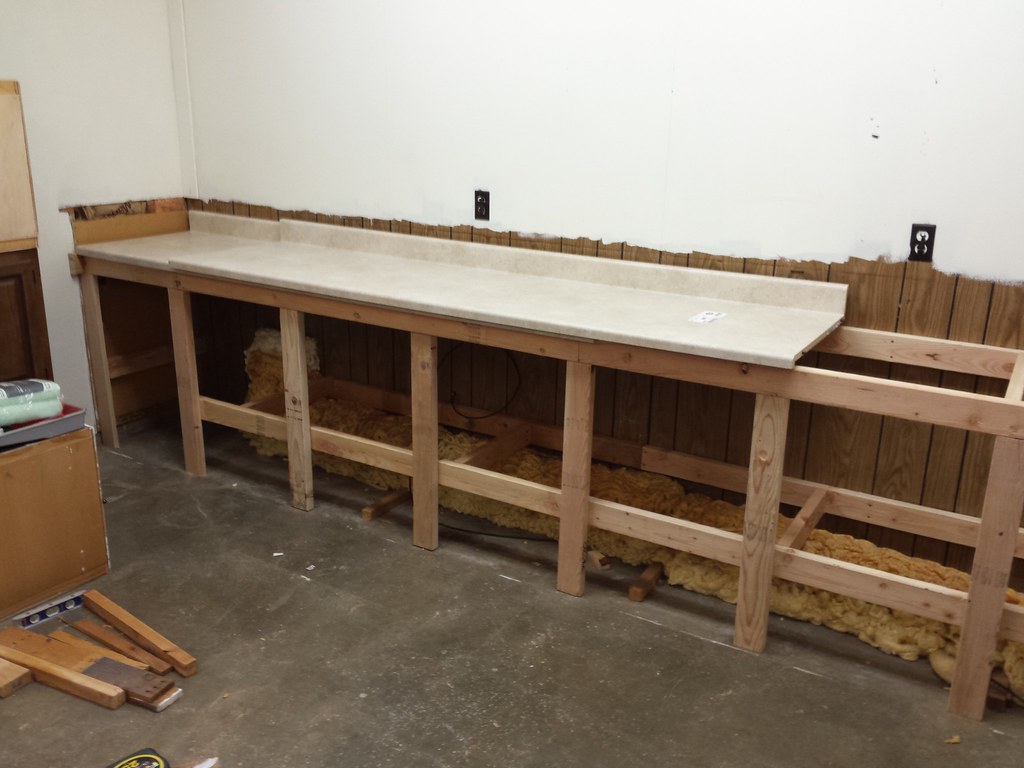 I went to HomeDepot/Lowes/Menards and bought the cheapest total of 16' of matching counter top I could find. Under $100. Done. I used the recip saw to take the inch or so off of one end. The '2 by' at the sides interfered with the lip of the counter top so I notched the counters with a hand saw. They are out there because there weren't enough studs to be attached within the length of the bench.
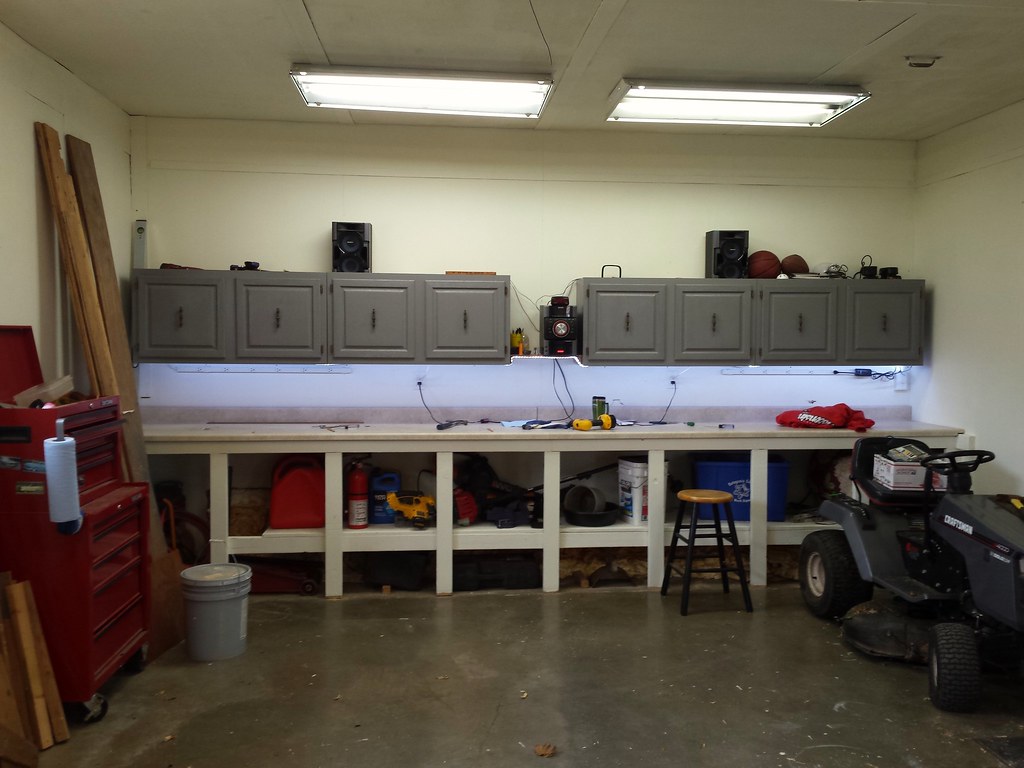
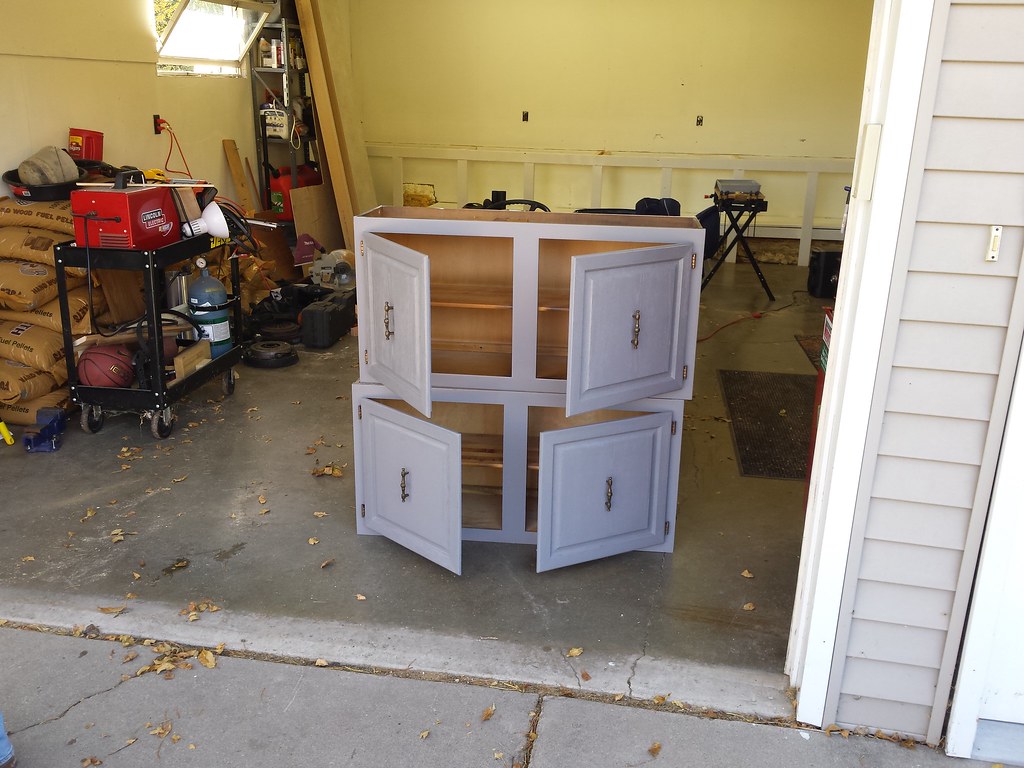 I painted the 2x4s and the rest of the wall while the wife painted the cabinets. I grabbed the cabinets off of CL for $15 apiece.
 I grabbed another one from a yard sale for $2.
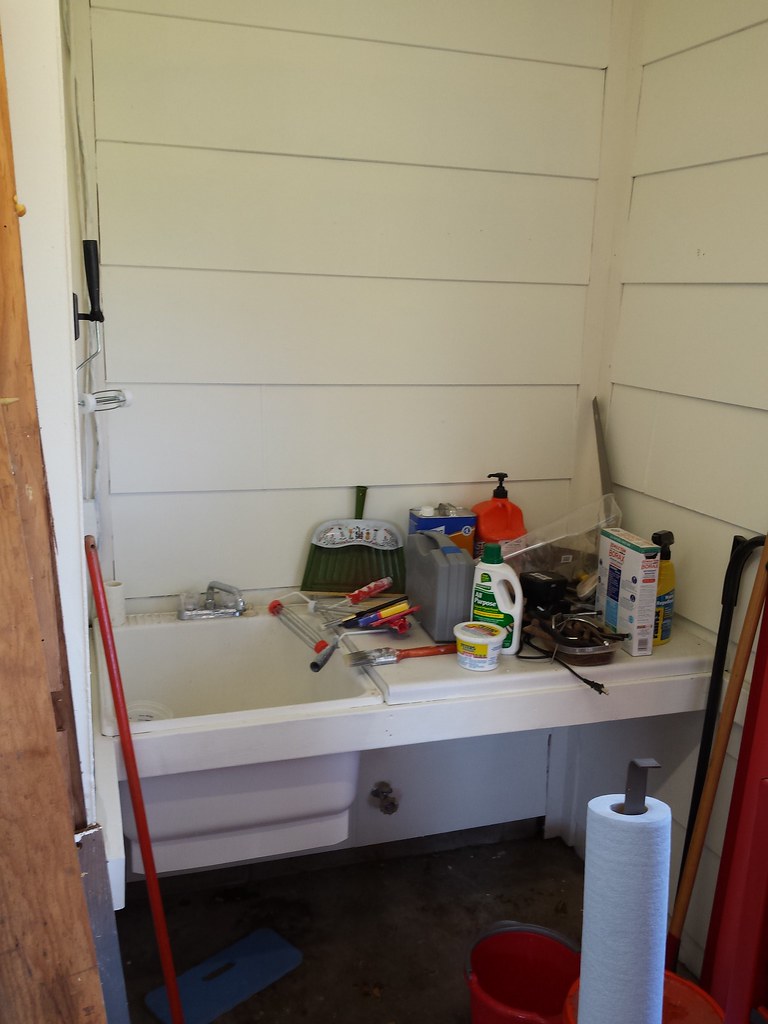 Here is the laundry sink I mentioned earlier. The $2 cabinet will be mounted above that. I think it will receive some shelves from the cabinet to the wall for some extra storage as the height between the shelves is quite short. Like "I'm glad my can of turtle wax fits in there" short.
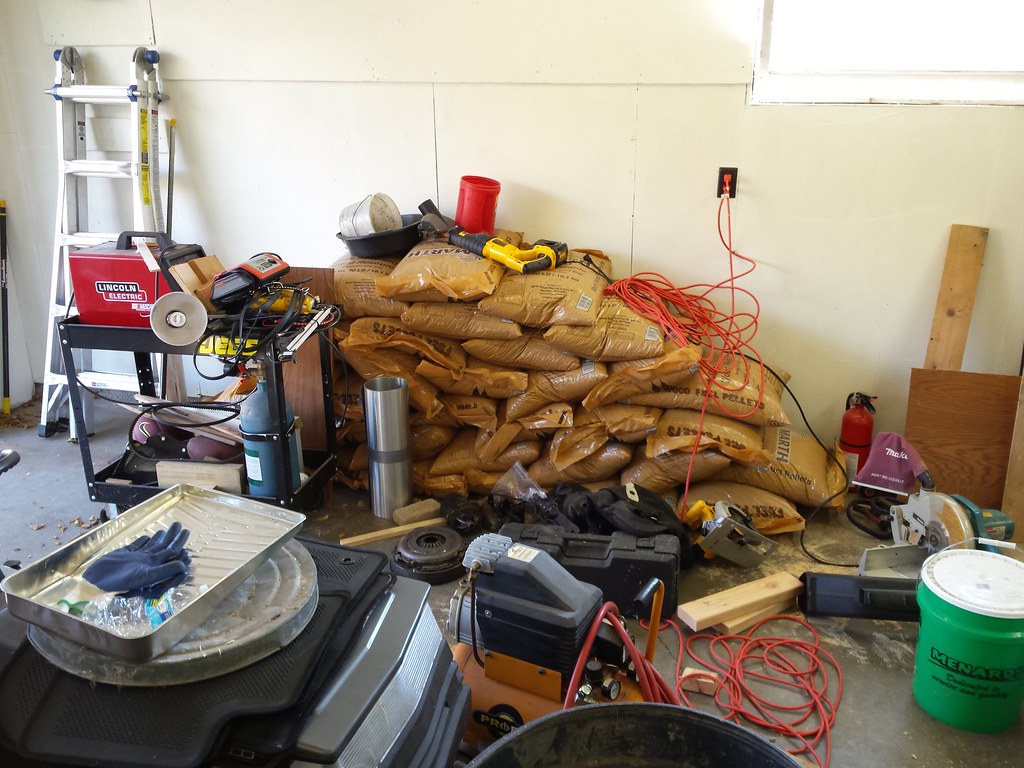 I like my pellet stove. Luckily a buddy stopped by and he helped lug the 3/4 tons of pellets down stairs. Since we didn't use the stove too much last year, grabbing a bag from down stairs every couple of weeks is not a big issue (it's in the room beyond the back wall)
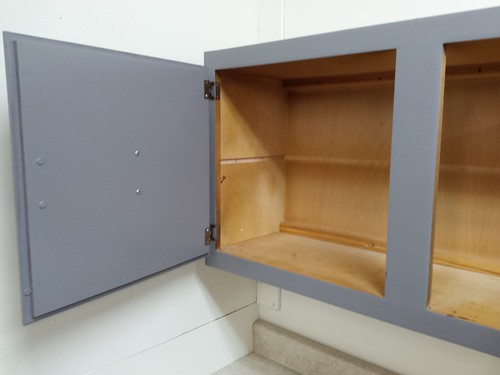
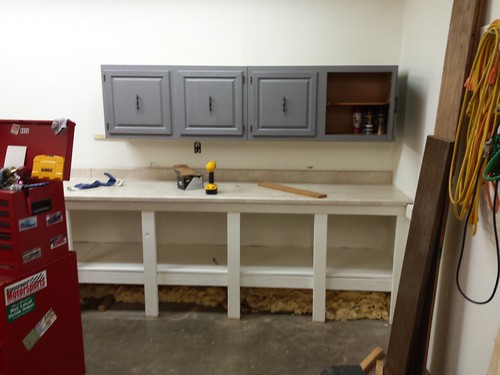 I started hang the cabinets using a temporary board screwed to the wall to set the cabinets on. Then just screw the cabinets to the wall. I ended up putting an extra board on top and using pockethole screws, adding some extra bracing to each cabinet; that 'sturdied' them up quite a bit.
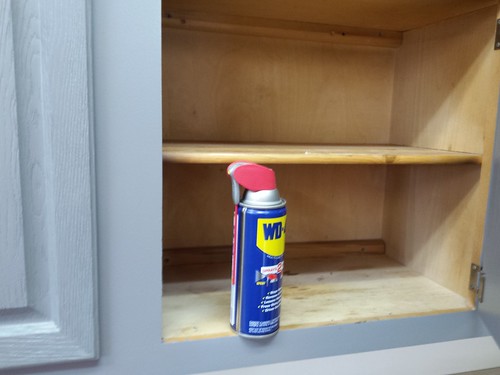 Well it turns out I bought lots of cabinets with small shelf spacing. Well at least spray paint cans fit. I cut out the shelf in two and left the other two.
 I used a recir saw and cut it close to all the way through. Then just hit it with a hammer and they popped right out, then pulled a couple of staples out of the back. Nice and easy.
 I bought some 2'x4' sheets of 1/2" plywood and made some shelves too (ripped an inch off with a straight edge and the circular saw). The stereo wants to be up on the top of the cabinets but there's an issue. Once the display is above eye level, it completely disappears.
Confessional:
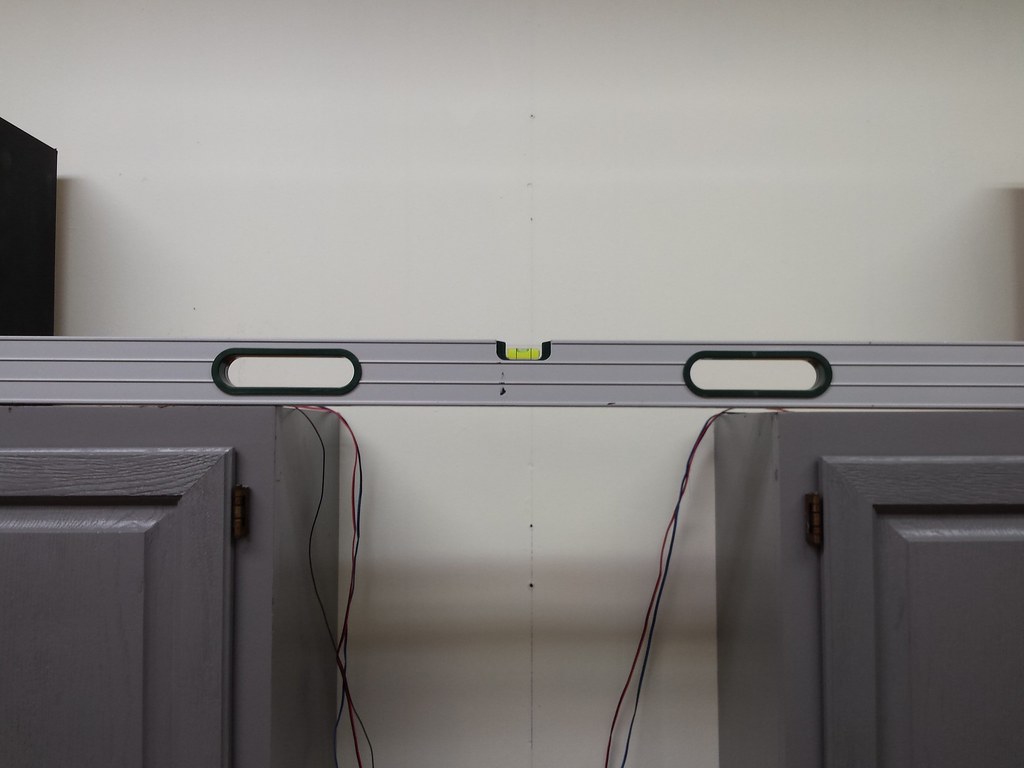 Not quite perfect. Oh well. (Notice the air between the right cabinet and the level as well as the bubble.)
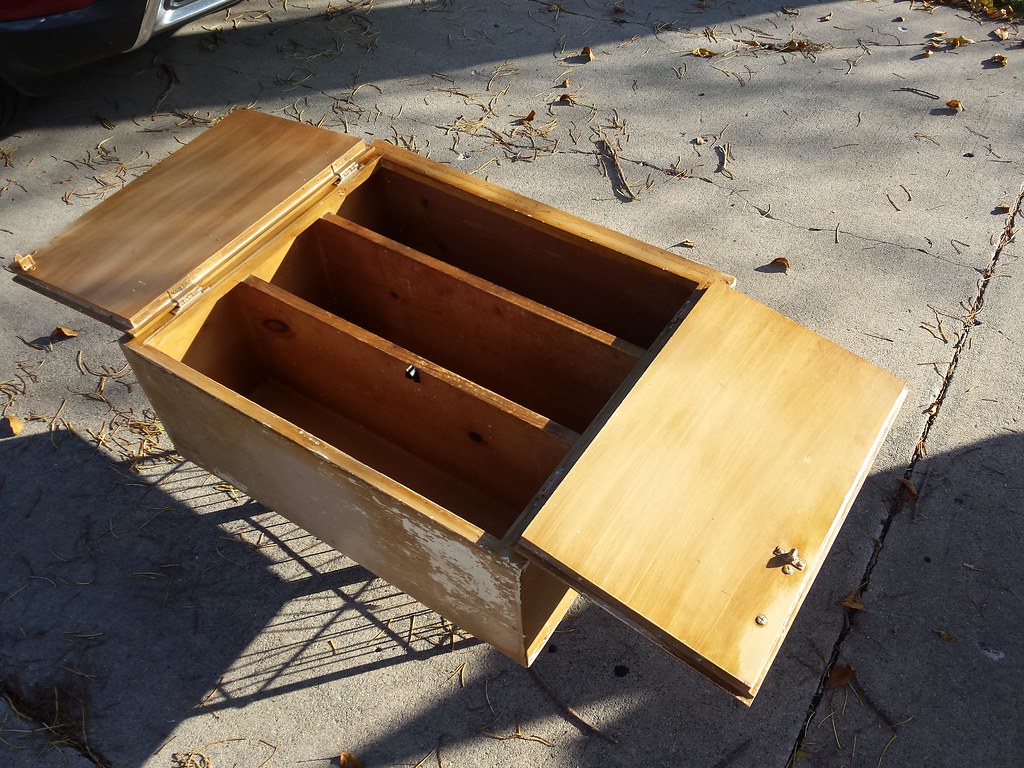
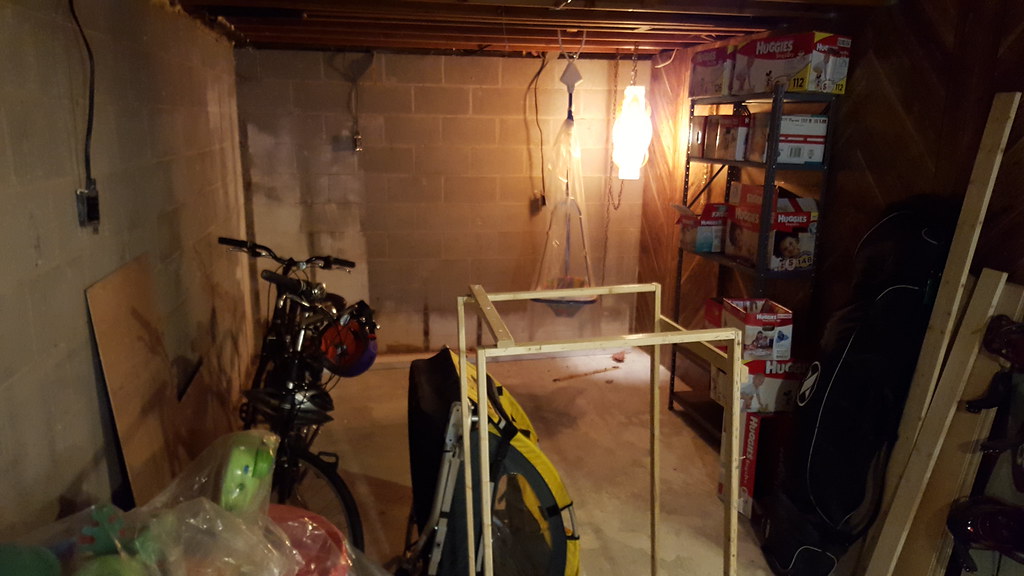
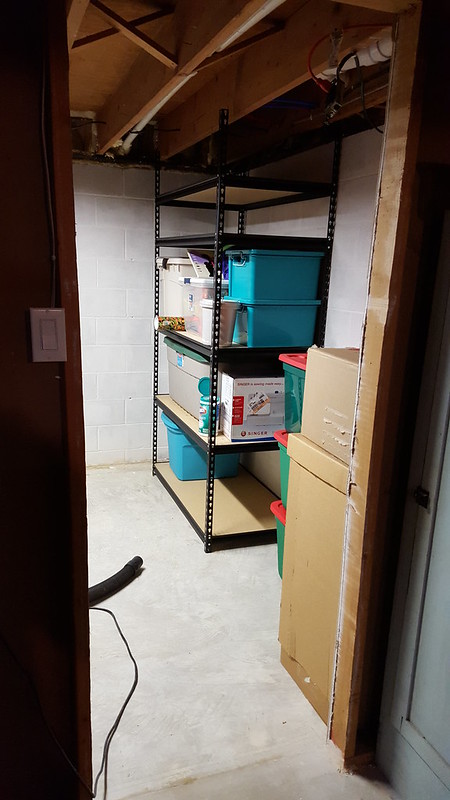
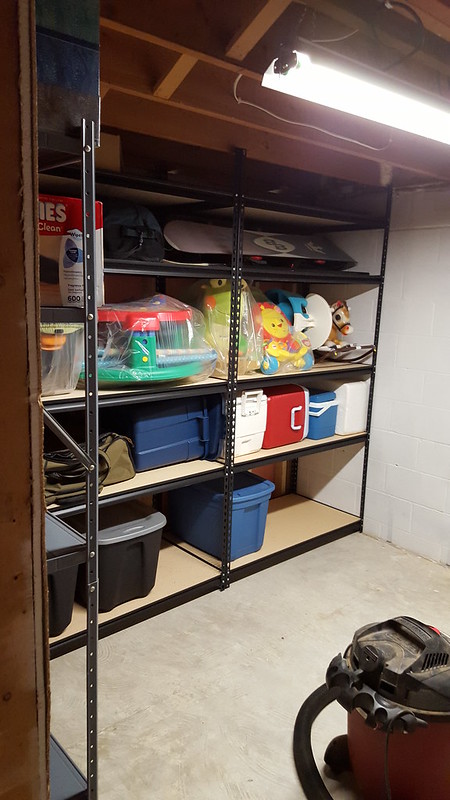
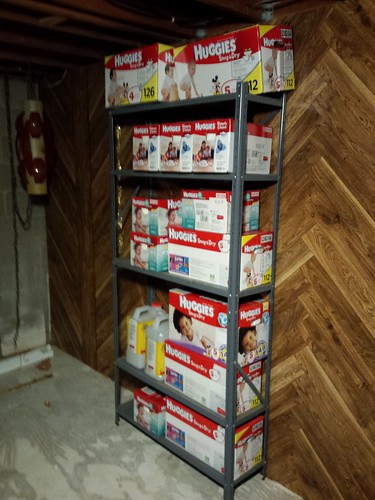 I've started to come up with a 'nothing on the floor but the lawn mower and vehicles..and the garbage cans' rule. So this shelf was in the garage and now it's going down stairs in the basement. Something I've learned over the years is that people don't know how to use these cheap stamped shelves. It's very easy to get a good sturdy shelf out of them if you do one thing: Screw them to the wall. Also if you don't have a guy for your diaper needs, I recommend getting a guy.
  I got guy.
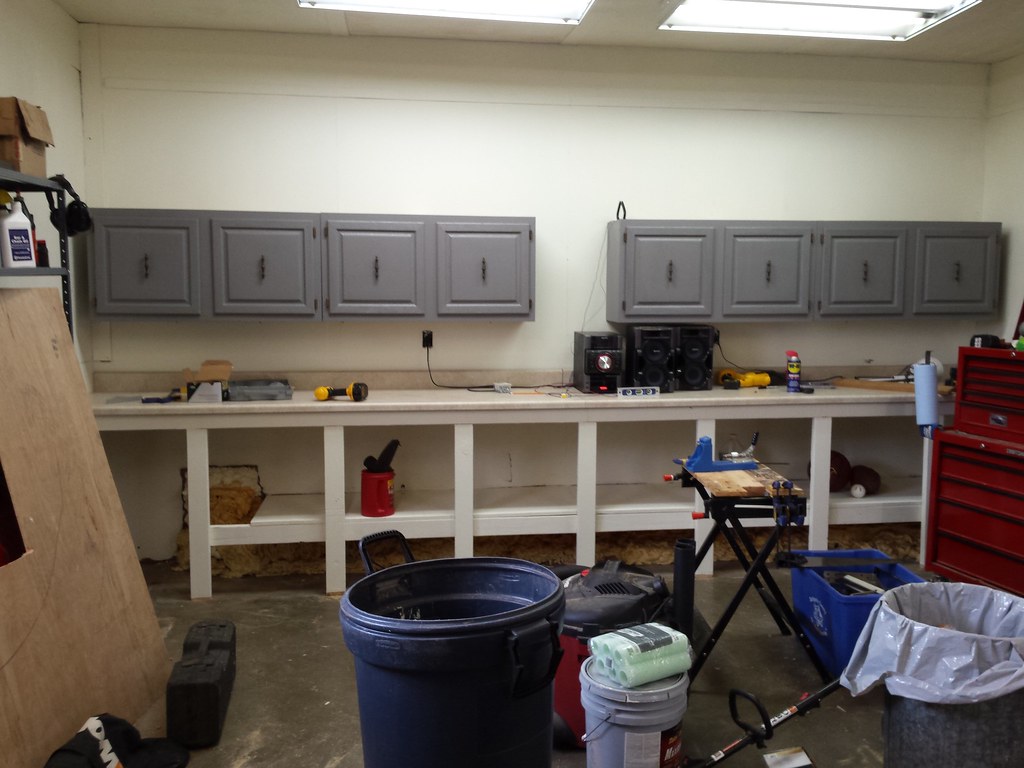
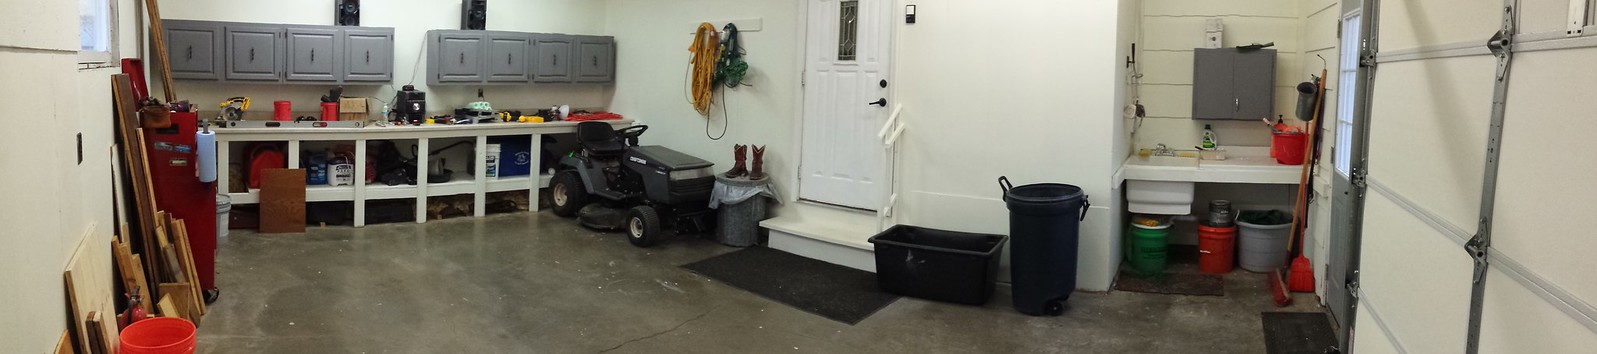 Here is a progress shot. I still need to go through all the old wood and decide if any is worth keeping. My rule of nothing on the ground might get an exception below the sink. Le sigh. I could probably get that stuff under the bench...
 I reused the wood I removed for a shelf between the cabinets. There wasn't a lot of material to screw to, so I used a couple of boards beneath the shelf for blocking.
 Trying to utilize some existing storage.
 Bought some more storage stuff.
 My wife didn't like the gold trim on the window in the door. There was an $80 rebate on an entry door she liked, so we went a bought it. Turns out it's the exact same door but with a different window. Well almost the same. The old one was an out swing and with an almost 1 year old child, having a door that swings out and two steps down to hard concrete didn't seem like a good combination. So now the new door swings in. What started out as a 'beautification' project turned into a safety project.
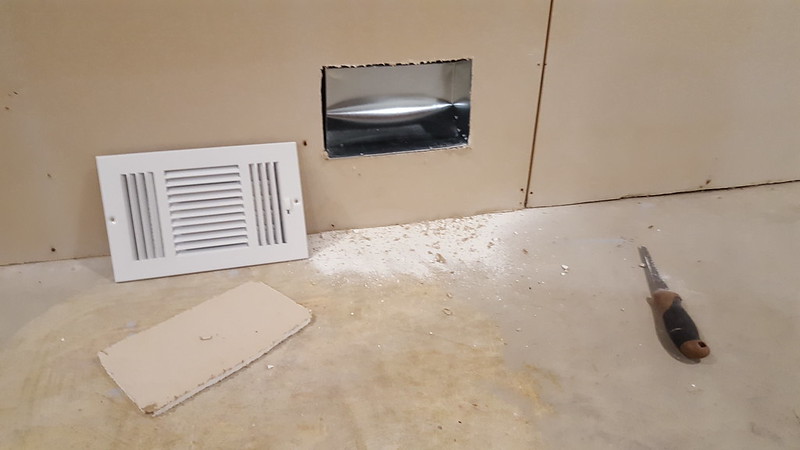
The door was an easy project. Pop trim off on the inside. Take out a couple of screws, cut a couple of nails, and push the door out. Find the extra screws beneath the adjustable sill after ripping the sill off of the rest of the frame. Oh well, it's going to the Re'Store and it's still usable. The opening was actually tight enough, I was barely able to get the recip saw blade in there. There was no shims used previously and not used presently. We need to trim the brick molding with some caulk and some 1/4 round.
 After someone on here bought some LED strips from Amazon for cheap, I bought some too. I grabbed an old AC/DC wall wort out of the bin the basement and a new PVC surface mounted box and light switch from HomeDeLowes. I did some soldering and wired it up. I grabbed two 48" power strips and mounted them up too.
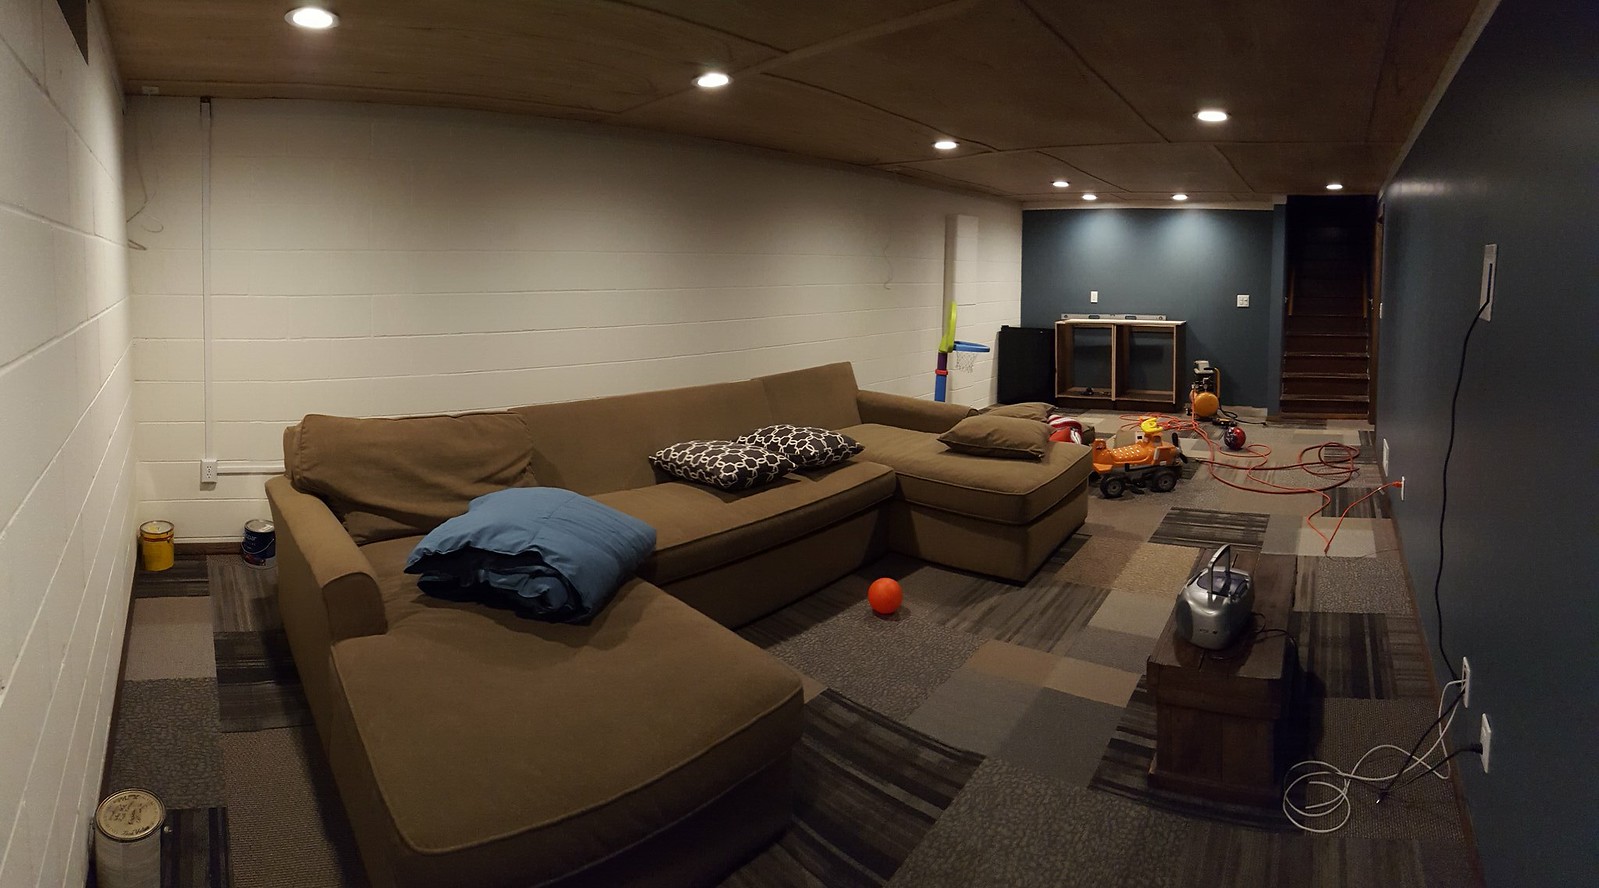
That actually brings this up to date as I just did the door and LED strip this weekend. I'll start on making cabinet doors for below the counter top soon. I plan on using some thin-ish plywood set into some 1x4 using a dado blade and more pocket hole screws. It'll look sort of 'shaker' style.

Sorry about the blurry photos and spelling/grammatical errors. We are all friends here right? 


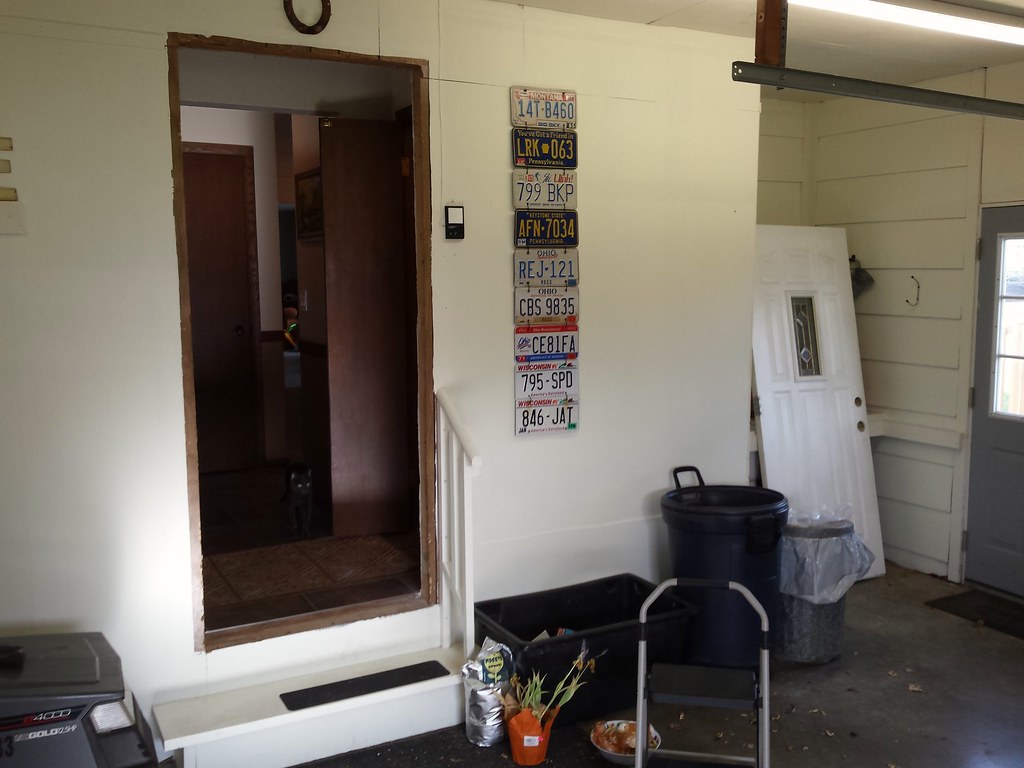
 Here's the garage before much work was done to it. I had a plumber friend install a powder room in an old closet (on the other side of the wall, to the right of the white door), and decided to add a laundry sink and bit of counter top. Barely visible on the right hand side.
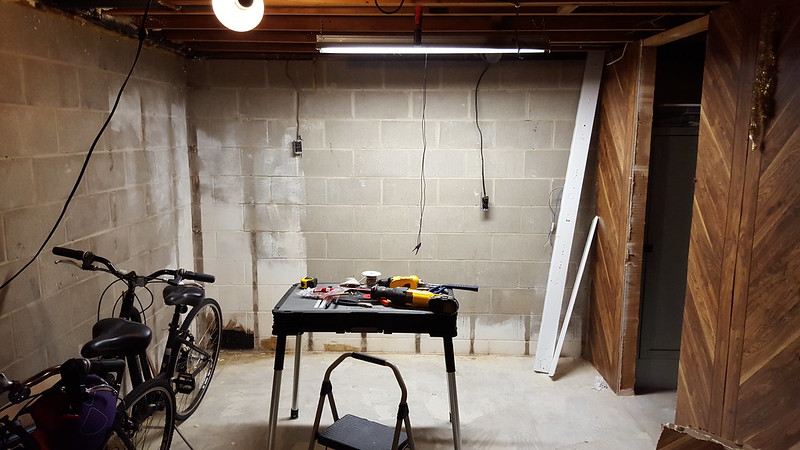
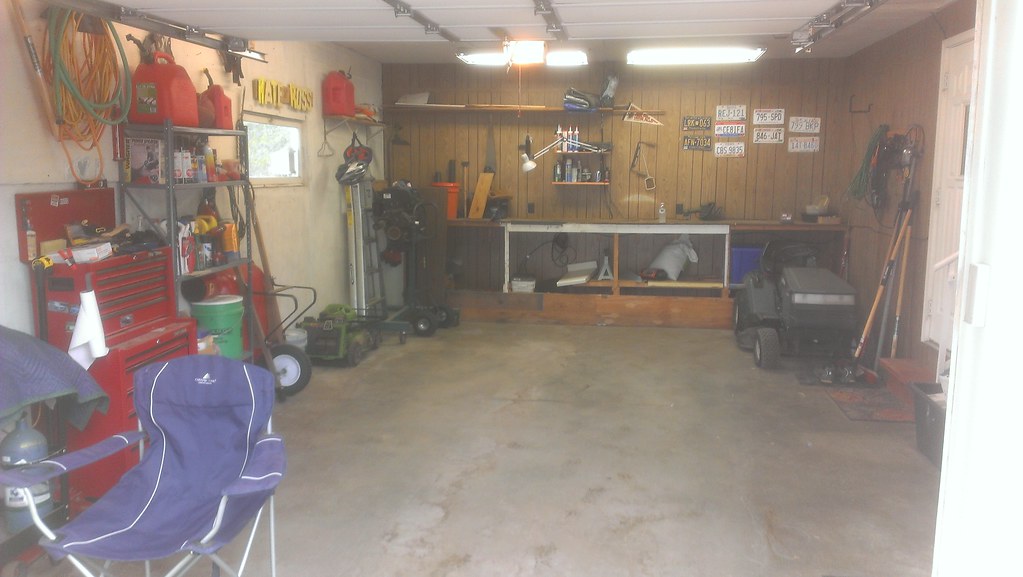 The back work bench was a disaster and was built by nothing but a nail clippers, hopes and dreams, and a dash of garbage. Some of my own doing, but mostly not.
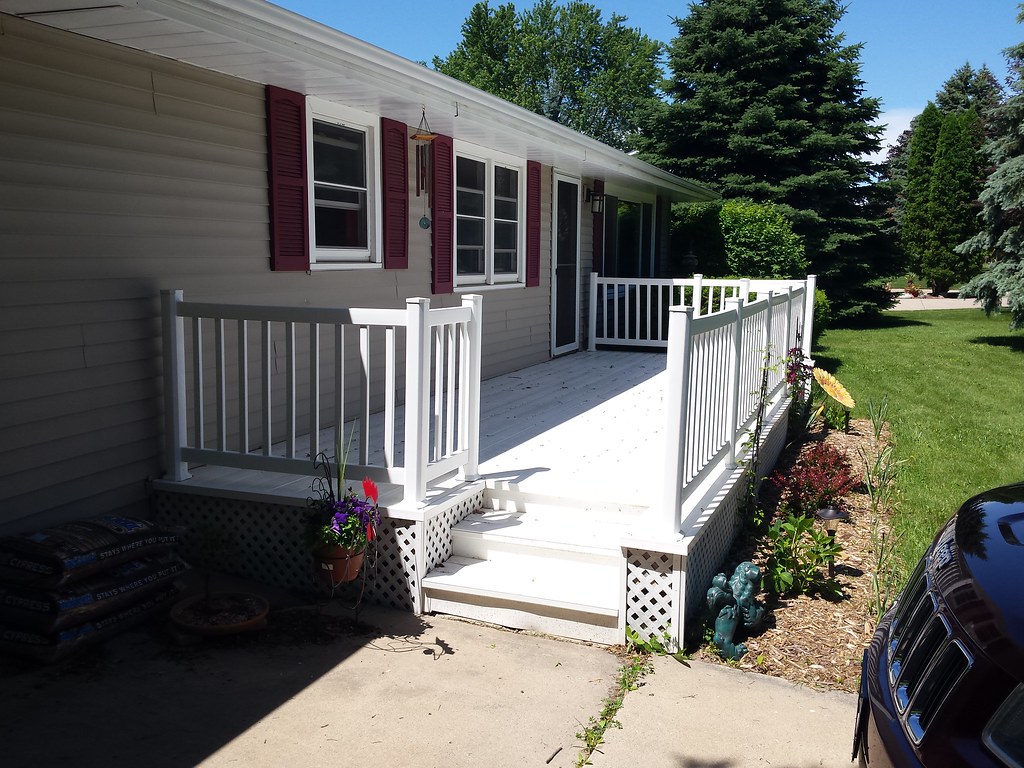 Why I hate this deck:
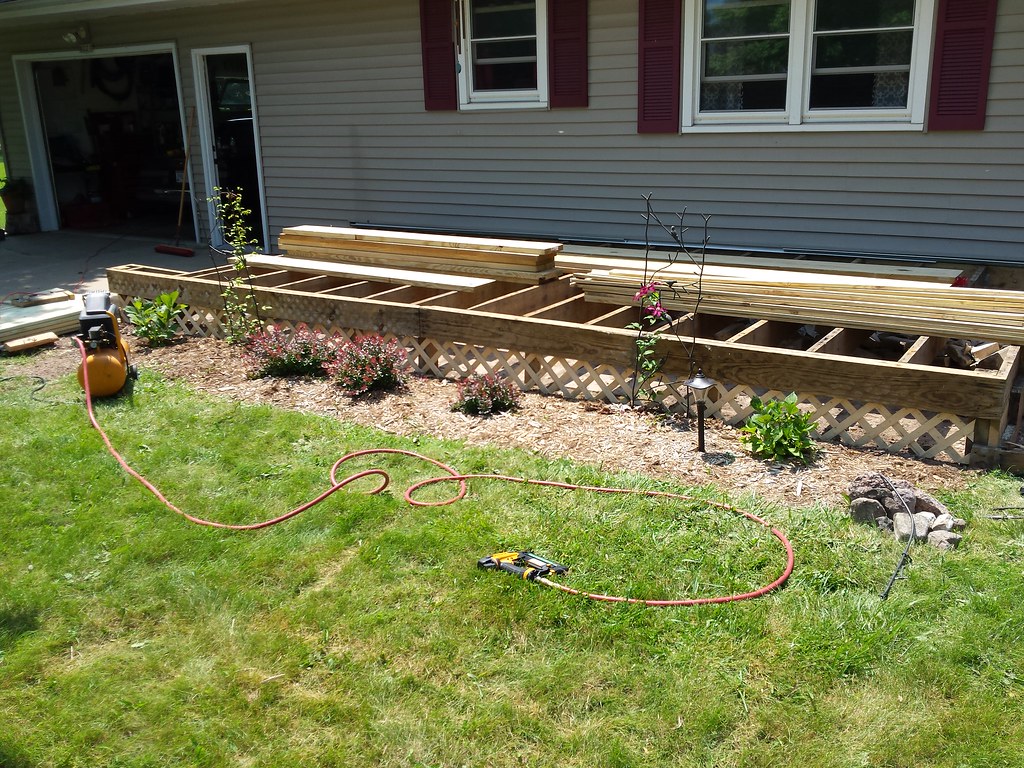
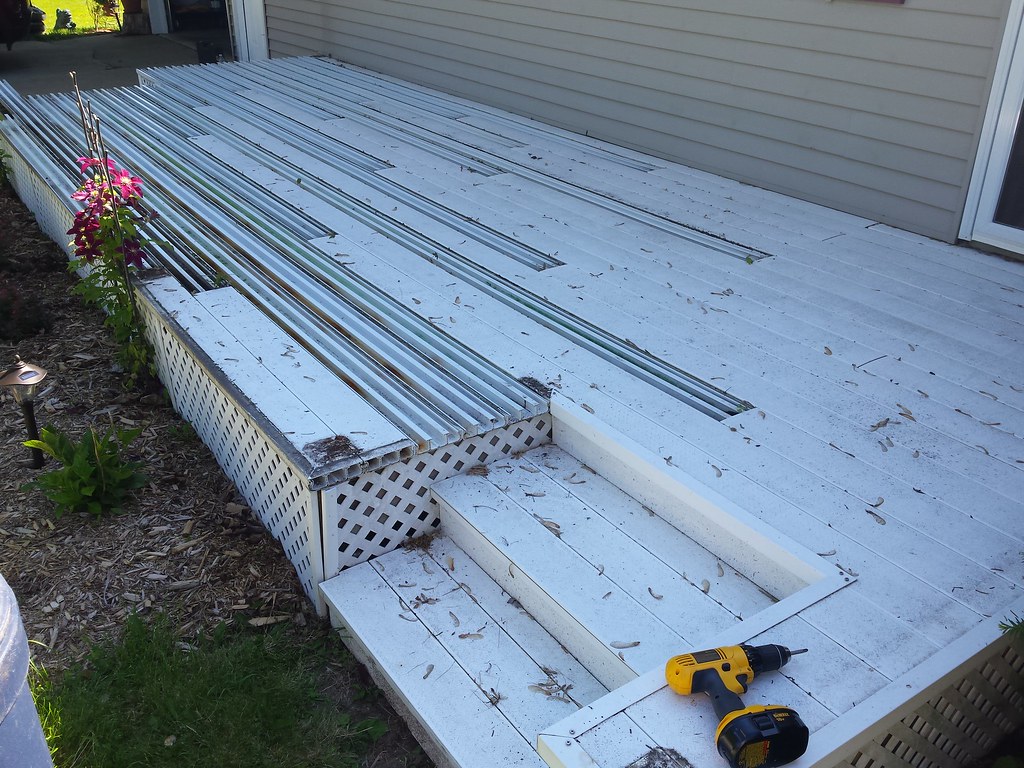 At this point vinyl was breaking and most of the screws were snapping. Since my wife and I both share a hatred of this deck, I didn't even need to call her at work to tell her all of the vinyl was coming off and we would re-deck the deck.
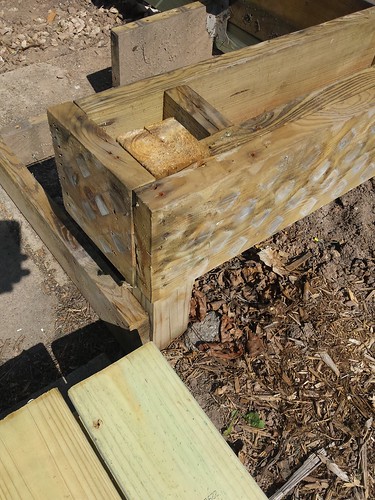
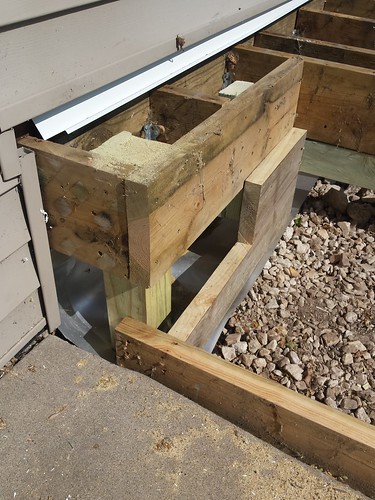
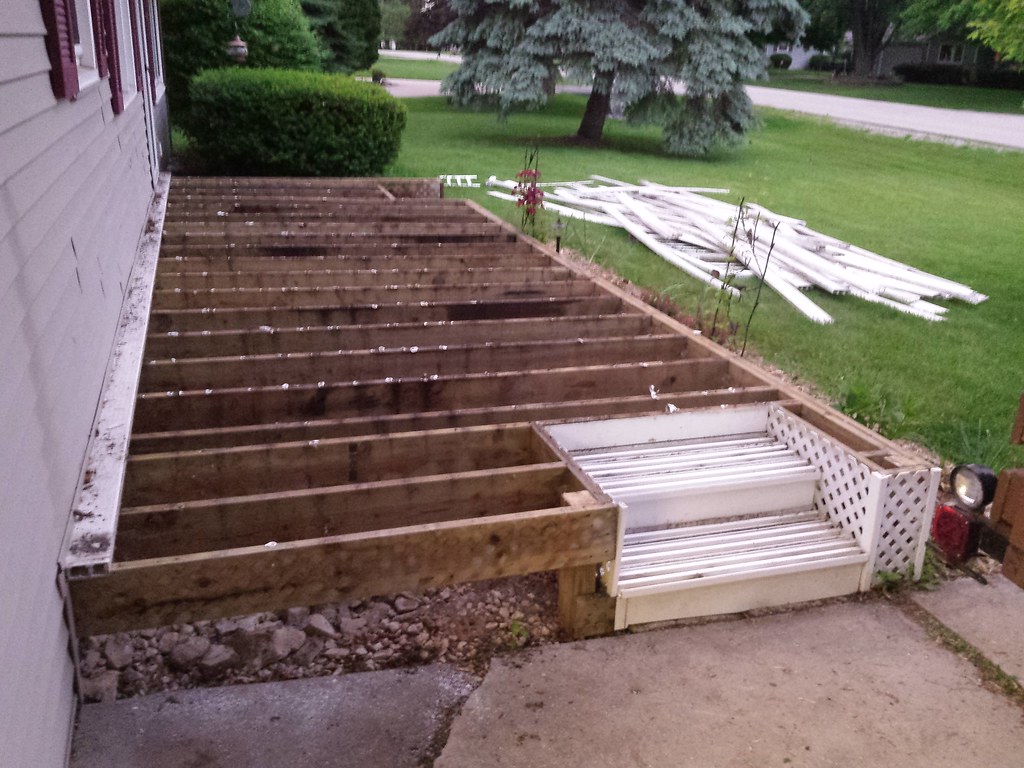 That's after a days work of breaking E36 M3. The frame of the deck appears to be good for the most part. A couple of leveling issues but nothing a floor jack and recip saw can't handle. One of the surprises was that the old side walk was under the steps at the driveway leading to the front door. The old concrete steps at the front door look like they were partially demoed and used as 'fill'. So to get the sump pump out the front, I'd either go up and over, under, or through the old sidewalk. I picked over. Hopefully it won't bite me this winter.
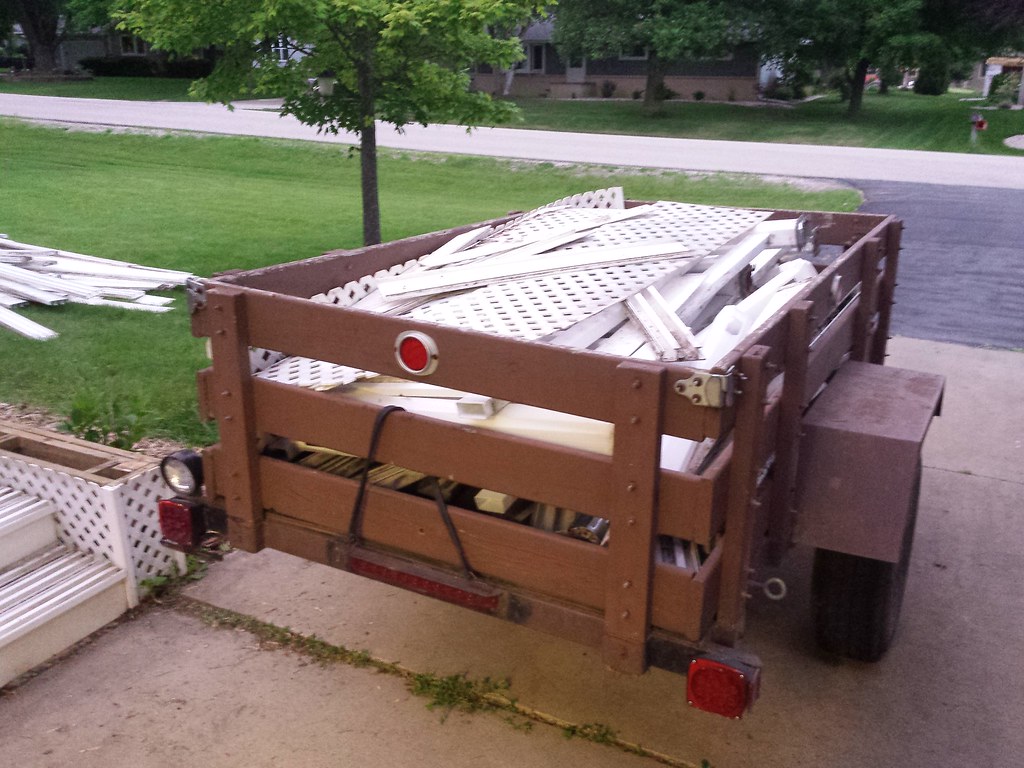 4'x8' trailer full of junk!
 The ditch witch trencher was worth the $100 easily. It took longer to get the run down from the hardware store worker than it did the trenching.
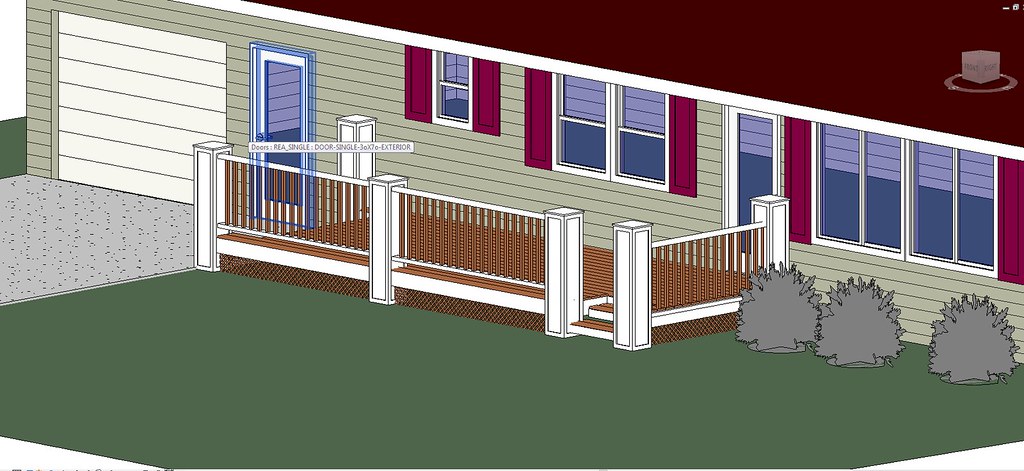 One of the architects mentioned it might look better if I put three railing sections on the front. So my final design has an extra post. That helped a lot because I bought prefabbed railing sections that were the perfect length, they would have been too short other wise.
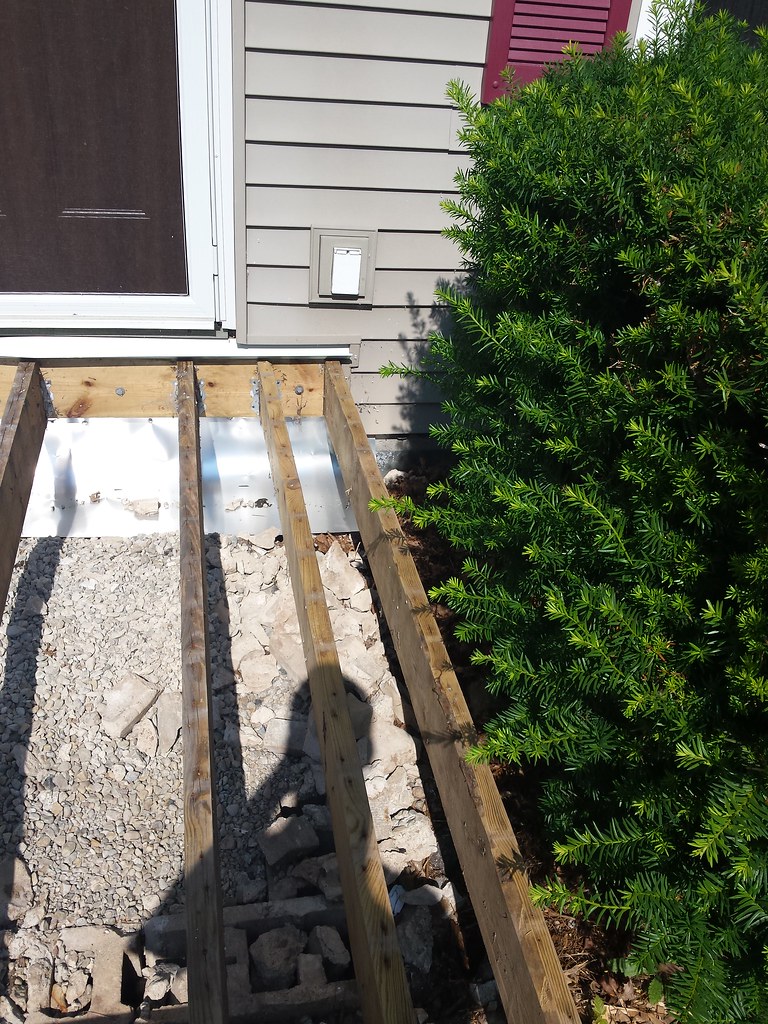
 Since my dad was over helping, I gave him the task of widening the stairs at the driveway. This was a great decision. It really opens up the deck and makes it feel a lot bigger (16'x9').
 Cut some lattice with my circular saw and brad nail it up. And start throwing decking at it.
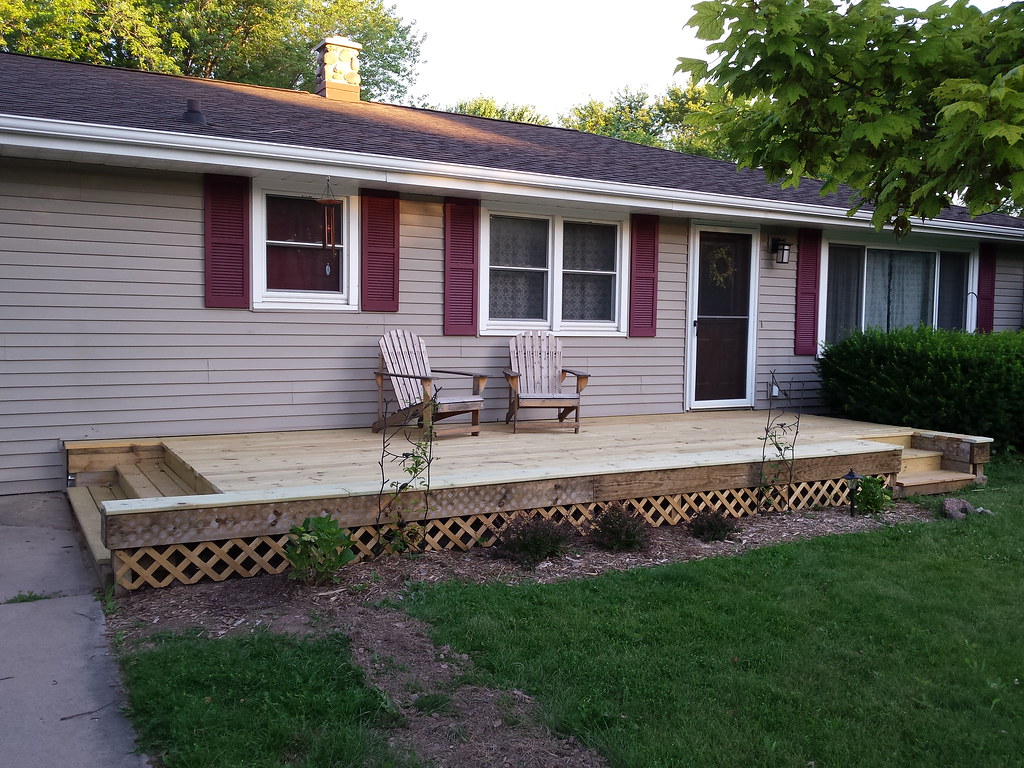 BOOM we have a deck. Now I don't think we need a railing per the letter of the law, but I think I'll be nicer with it.
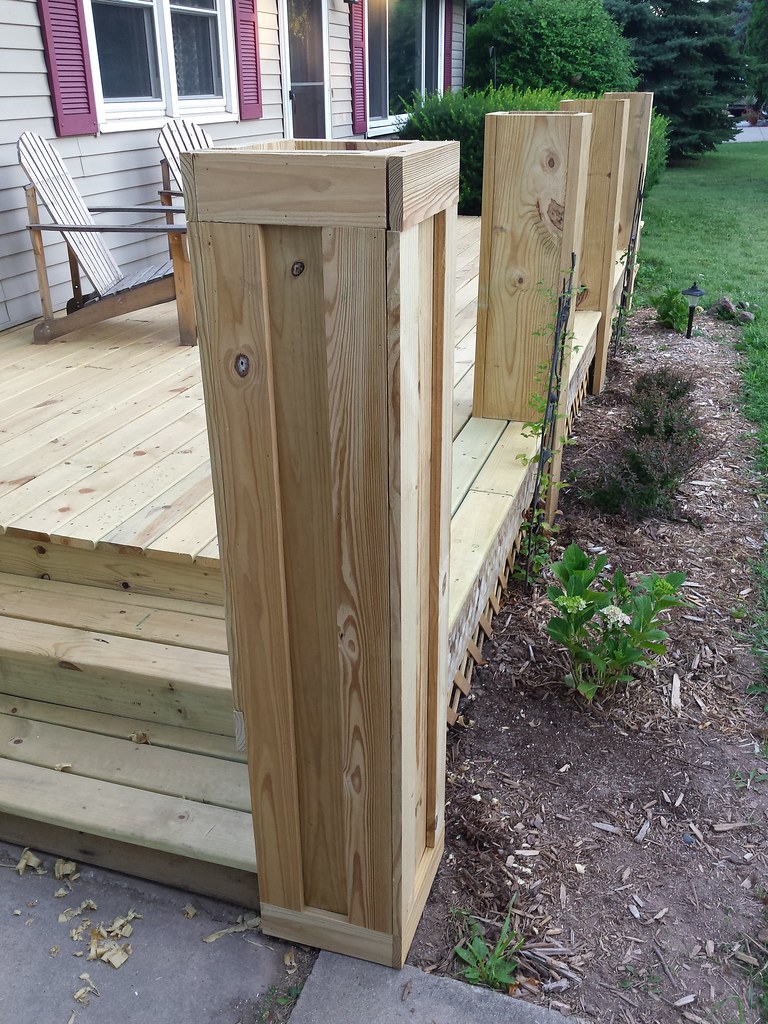 I was a bit hesitant building these post. I didn't like many of the ideas of trying to get a 4x4 post through the decking and attached to the existing frame work. If I'd built all of it at one time, I've done something completely different.
 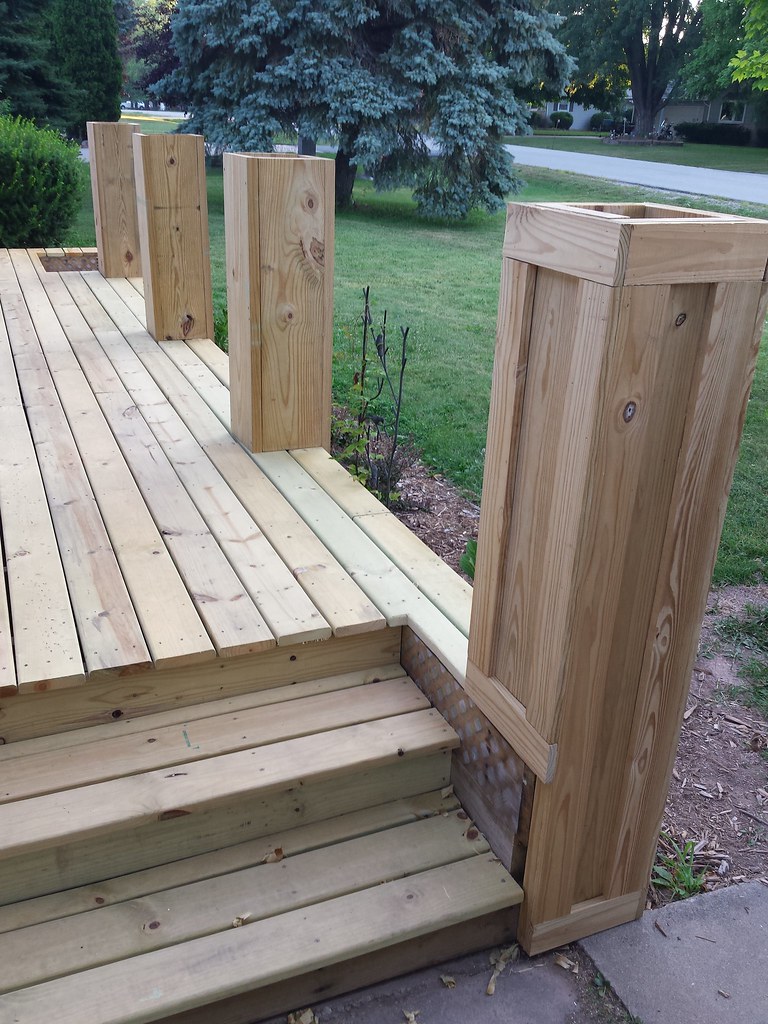 I goofed. I thought I'd be okay with a '2 by' board coming down into the steps. I wasnt. Once the trim would be on it, it felt like a tripping hazard. That's why the board and the trim stop level with the top of the decking. Oh well.
 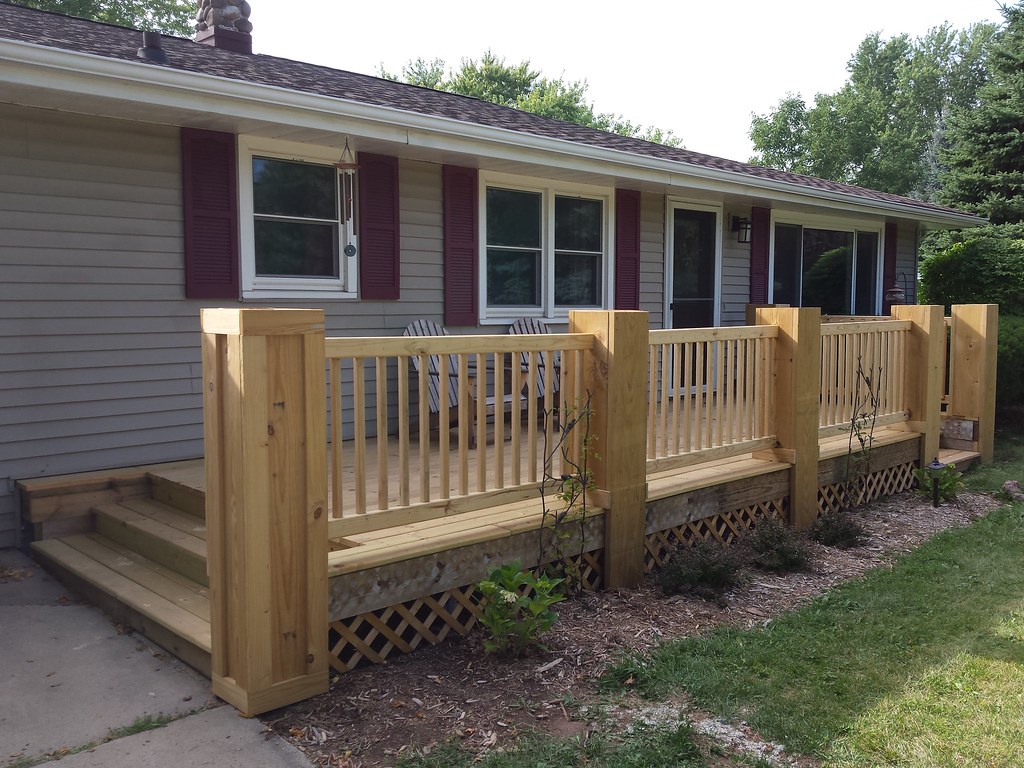 So I power through it and get the railings up. You can see the same bit of trim mishap at the 'grass' stairs. (I'd like a side walk again to these step or at least a stone stoop.)
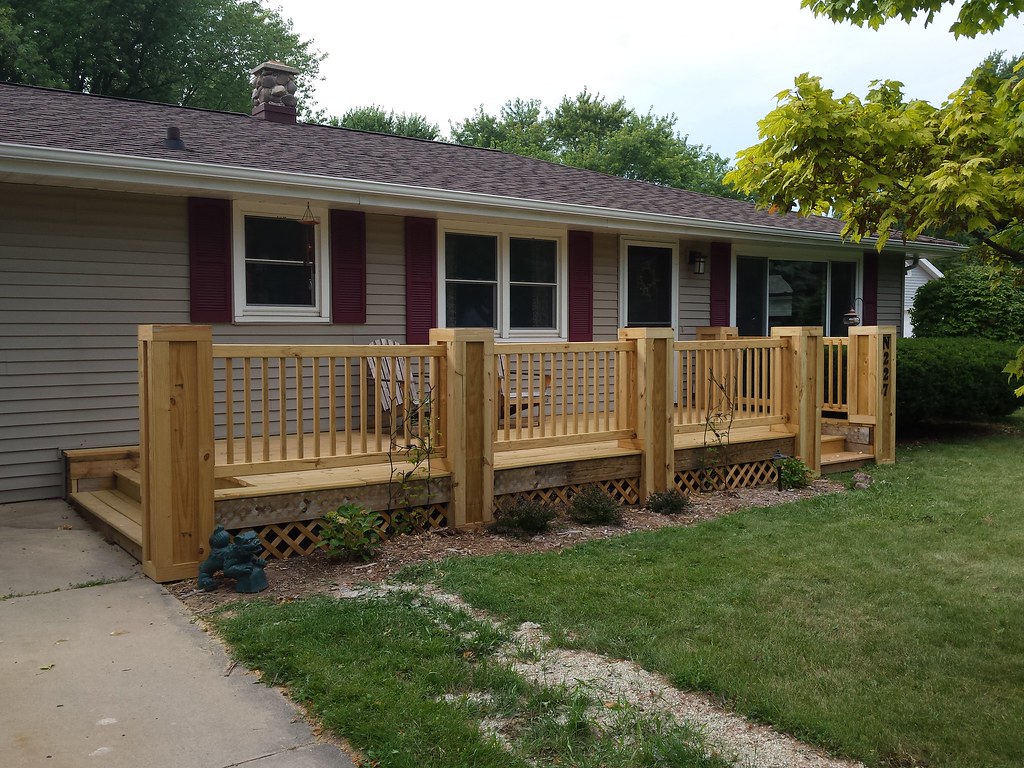 Got all of the trim work done and got the house numbers up. I wasn't sure about the tops of the post. I was waiting for something to come to me, when it came to my wife.
 Plastic flower pots wedged into them, and with mums! Easier than cutting wood!
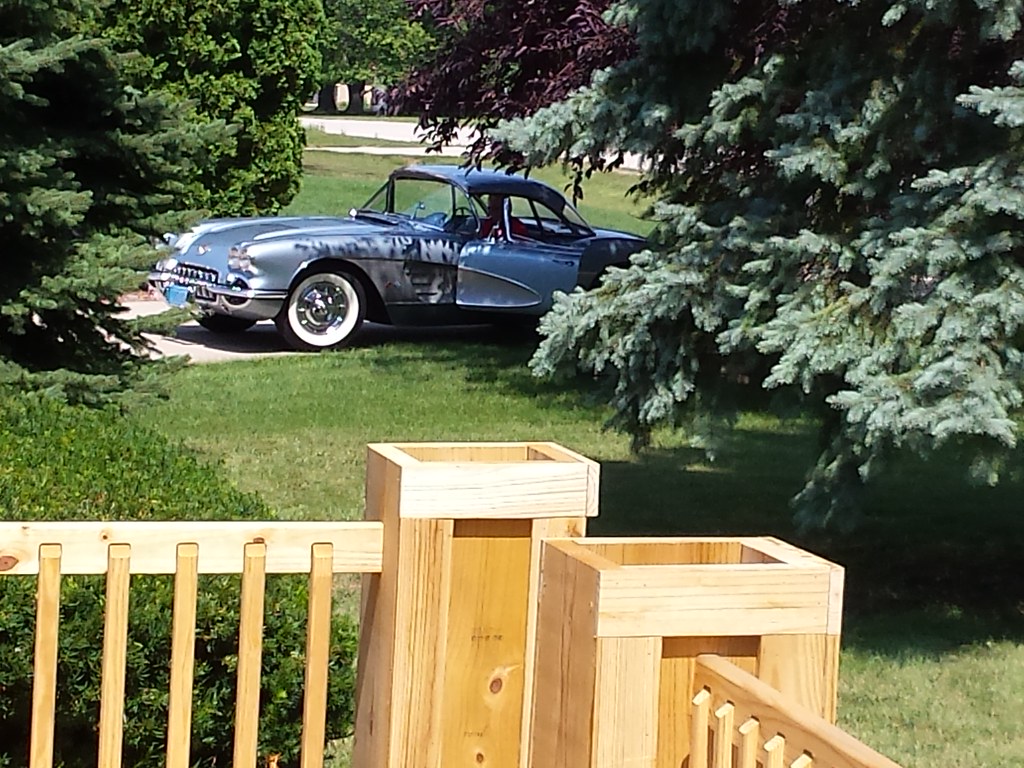 I caught my neighbor with one of his corvettes while taking pictures of the deck.


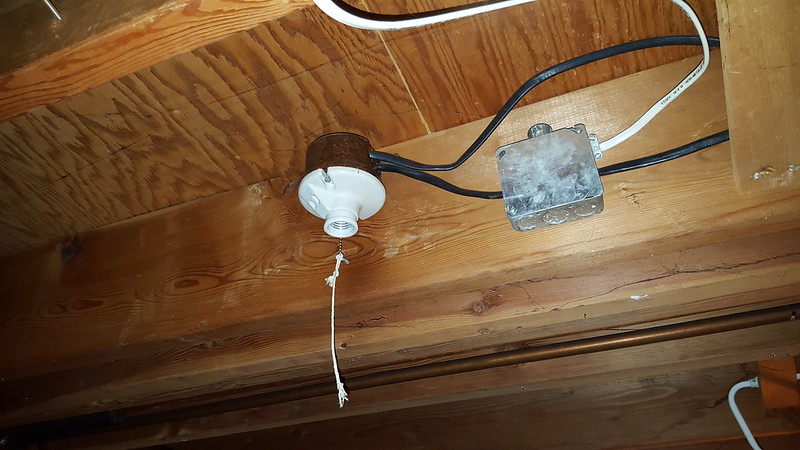 This is the old light socket that stopped working (hence the thrift store '70s light hanging in the corner, groovy), it will get a light switch at the new doorway. I only had to rewire twice to get it all to work.
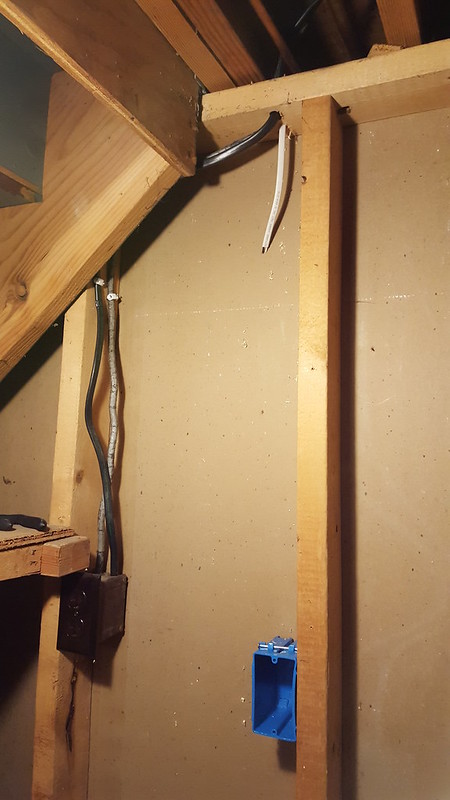


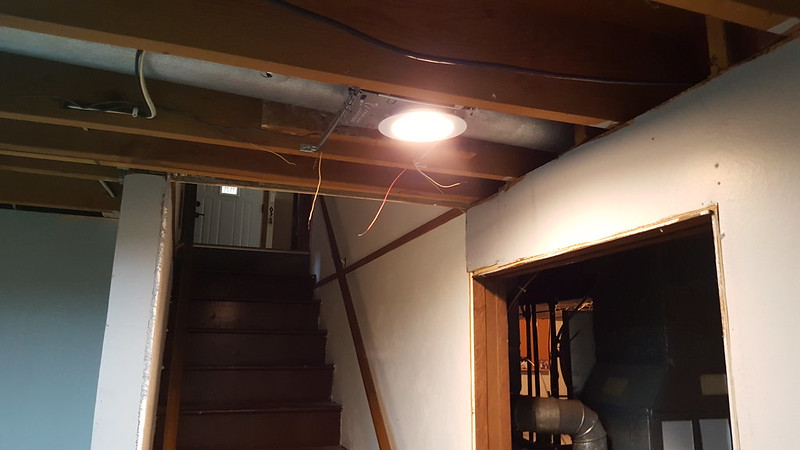 The extra wires hanging down are for the door bells. I'll have to extend the wiring to the other side of the wall and reinstall the transformers. Don't worry the wiring has no power to it!
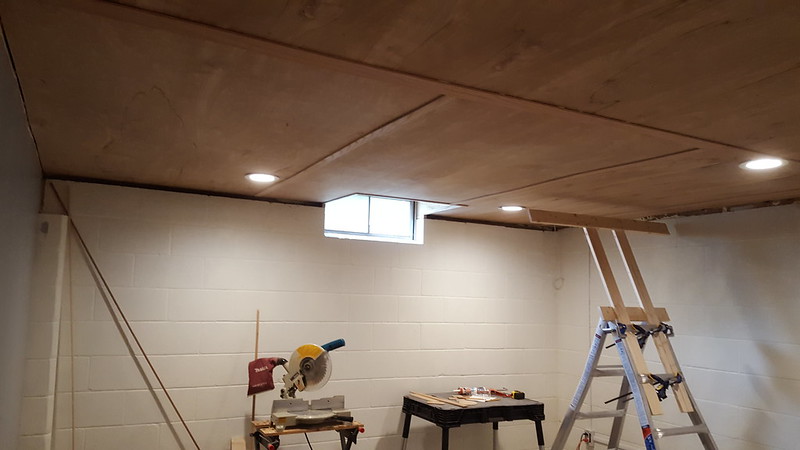
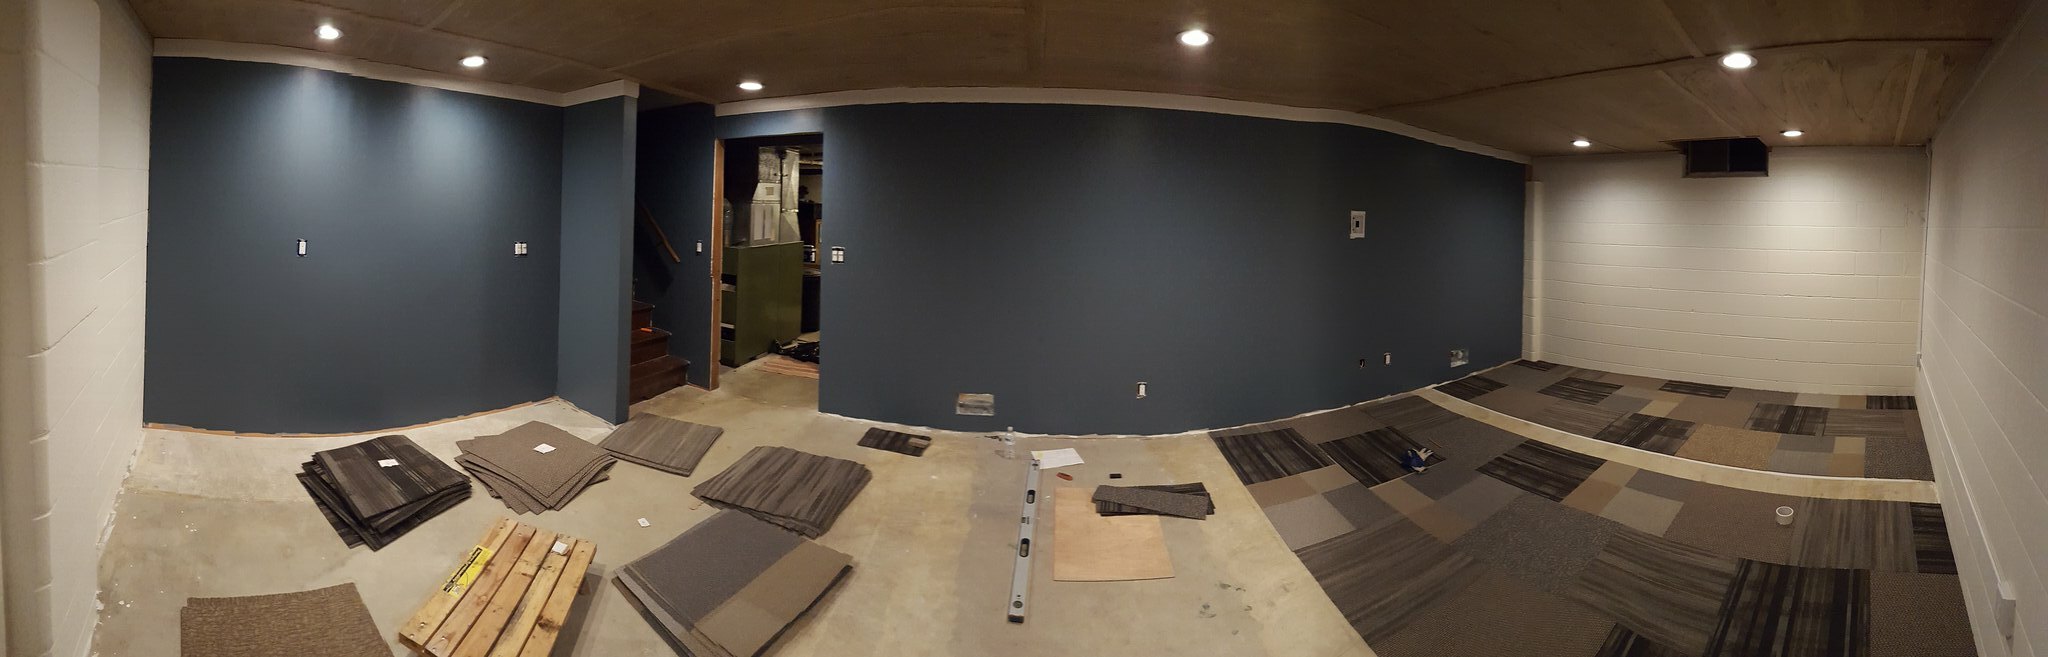
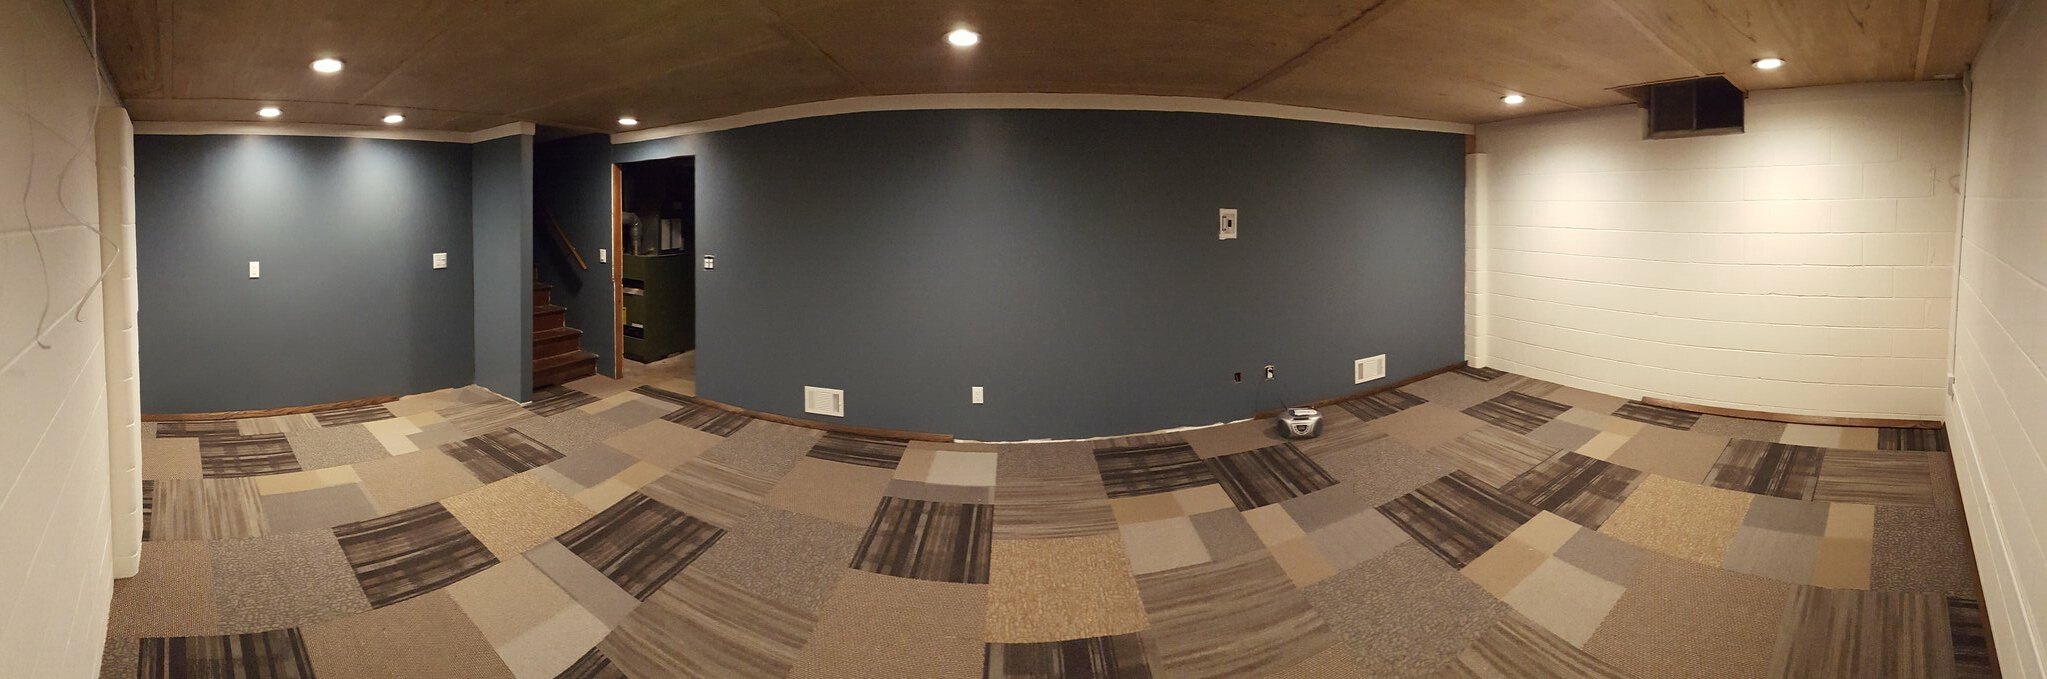
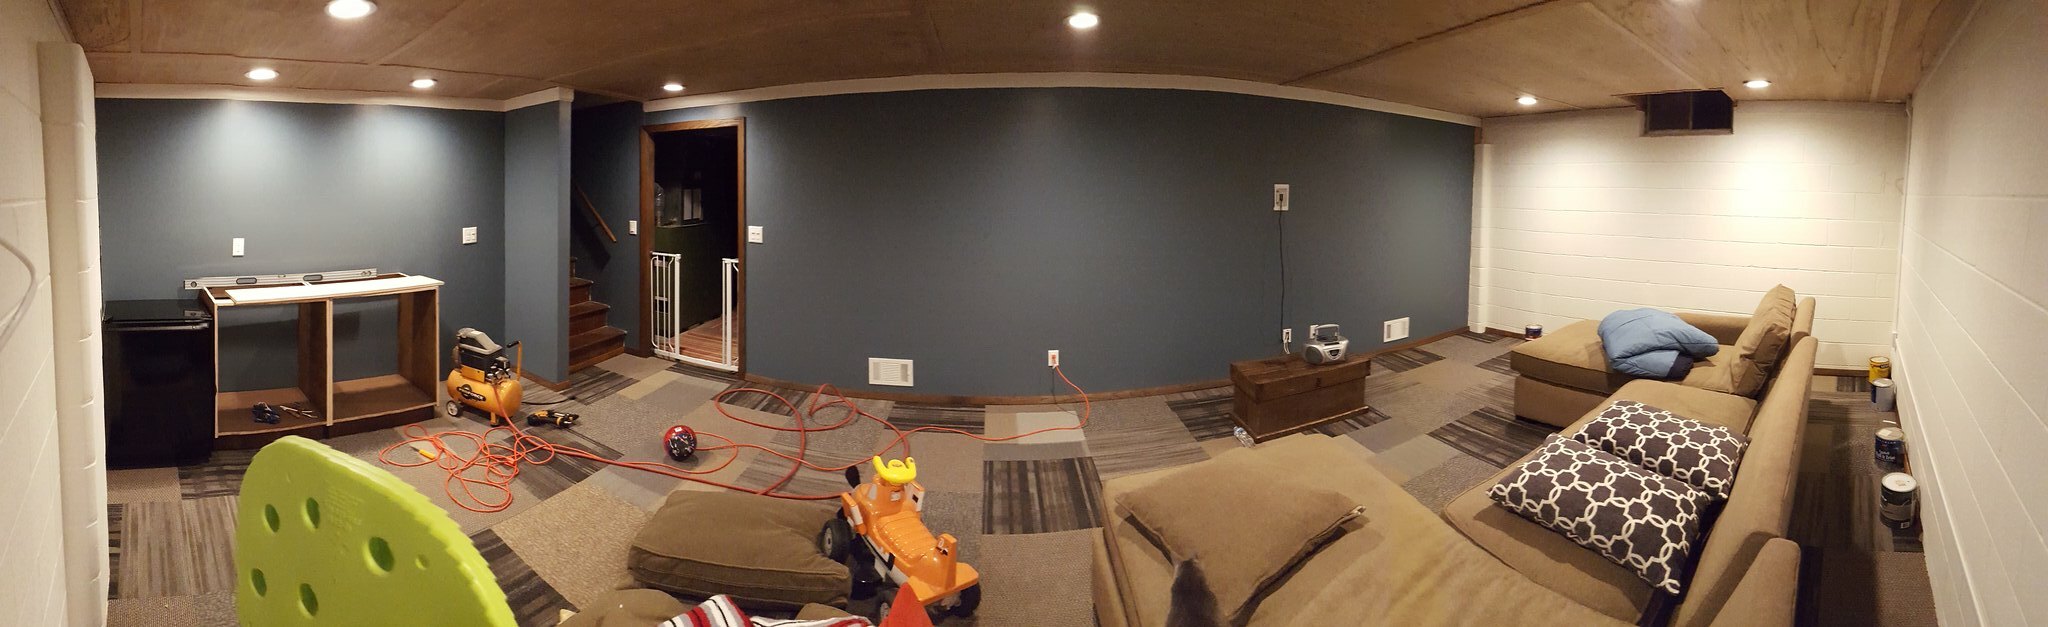
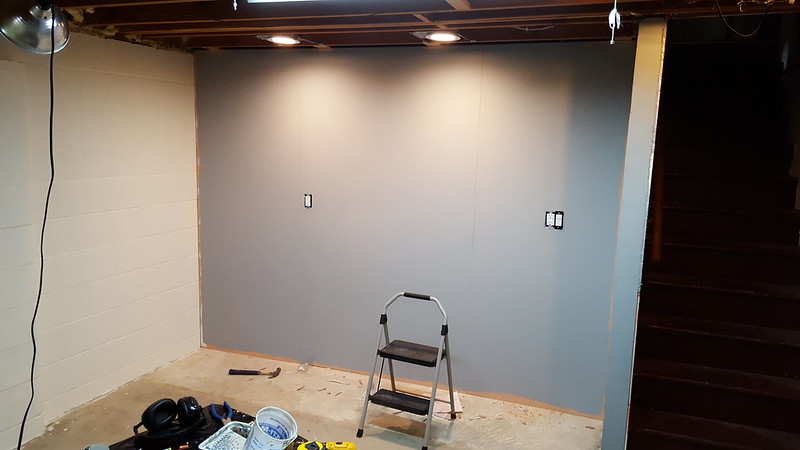
 So after getting the electrical sorted for the basement family/play room, I nicked the primer on the panelling and it popped off with enthusiasm. E36 M3. I knew that there was drywall behind the paneling but didn't really want to do the finish work of mudding it. But that is now where we are at, after a Father's Day cookout, we stopped and bought some mud and supplies.