1 2 3 4
Run_Away
Run_Away GRM+ Memberand HalfDork
9/4/16 12:10 p.m.

The bow in the lower A pillar is bothering me. I want to fix it.

How do I do that?

Bend it straight with some sort of clamp? Pound it out from the inside and hope I don't tweak the whole pillar? Cut it out and weld it back in? Bring it to work and play with the torches to shrink and pop it back out?

No progress yesterday, but I did move everything around and got the trailer/cab inside the garage. Now I can work later (gets dark early now) and out of the bugs and wind. It's also raining all today and tomorrow. Hope to get some more work done today and tomorrow.

Crackers
Crackers New Reader
9/4/16 5:02 p.m.

You're about as foolhardy as I am. I adore these trucks. I learned how to back a trailer in a 69, and want to find another to modernize and use as my work truck.

That bowing could probably be fixed by stretching out the straight sections above and below the bow with a hammer/dolly. That's a more "correct" way to do it considering its a shrinkage issue but I'd probably fix that, faster, shrinking with a torch. Hammer working that would probably just make a mess unless you do a lot of it.

Run_Away
Run_Away GRM+ Memberand HalfDork
9/7/16 10:18 p.m.

With everything inside now I could work in the rain and dark. Hammer and dolly on the inside of the pillar got rid of the bow

I need to bring home my 2" air grinder and some roloc disks to finish this area up. Grinding down welds with a 4.5" grinder at full speed isn't easy for the more delicate areas.

I also welded in some metal on the pitted areas here. Is this a bad idea?

Moved to the drivers side. Here I discovered a difference between the two cabs. My '69 cab has a much more pronounced body line beside the windshield, the '71 cab just has a gentle dip.

I made sure it all lined up everywhere else and used a chisel and hammer to try and make the transition from the one piece to the other a bit more gradual.

Run_Away
Run_Away GRM+ Memberand HalfDork
9/7/16 10:19 p.m.

The bottom of the pillar wants to sit about half an inch too far back

Welded and ground

Oldredchevy
Oldredchevy None
9/25/16 12:04 a.m.

My dad owned this truck for 27 years. I can't believe it's in Canada! I know a lot about this old truck.

Run_Away
Run_Away GRM+ Memberand HalfDork
9/25/16 10:41 a.m.
Oldredchevy wrote: My dad owned this truck for 27 years. I can't believe it's in Canada! I know a lot about this old truck.

Really!? PM sent!

Run_Away
Run_Away GRM+ Memberand HalfDork
9/25/16 2:31 p.m.

Fitted the passenger side inner brace

Some tacks

Plug weld from the front

Fully tacked

Ground

Primed

Random holes in the pillar, as well as cracks by the hinges.

Run_Away
Run_Away GRM+ Memberand HalfDork
9/25/16 2:32 p.m.

Flattened and bent some old copper plumbing from my house. The crack on the drivers side lower hinge was over top of the free-floating plate, and I didn't want to weld the two together.

Run_Away
Run_Away GRM+ Memberand HalfDork
9/25/16 2:33 p.m.

Filled all sorts of holes in the wing panels, including the radio antenna hole.

The drivers side wing had rot up by the base of the windsheild

Run_Away
Run_Away GRM+ Memberand HalfDork
9/25/16 2:35 p.m.

Starting to get better at spot welds, I turned the welder way up. Must be pretty poor wiring to the garage. Penetration is better now.

Welded in and ground. Leaving the top part loose until it's fit to ensure best fitment. Then it's just a matter of lining up the old spot welds to fit it up

Small hole on the trough thing on the drivers side wing. Drilled it out and tried filling it with weld using the copper pipe as a backing rather than cut a small round plug.

I've got patch panels for the lower A pillar bits, but I'm going to leave replacing those parts until the floor is located properly. That way the gaps will be nice and even.

It means I won't be able to get to the back side of the weld for the inner wing, but I'm choosing fitment over better protection.

mblommel
mblommel GRM+ Memberand HalfDork
9/25/16 2:51 p.m.

Great work!

bearmtnmartin
bearmtnmartin GRM+ Memberand Dork
9/25/16 3:12 p.m.

Small welders can benefit from running a heavier power cable. The manufacturer keeps the price low by using a lighter guage but performance suffers. I have seen a big difference on two welders by upsizing the cable.

Run_Away
Run_Away GRM+ Memberand HalfDork
9/25/16 4:32 p.m.

In reply to bearmtnmartin:

Can you elaborate? Are you talking about the power cord for the welder itself? My garage is detached and everything runs on a single 15A circuit, so the lighting is shared with the welder. I don't weld while the air compressor is running. The house has no external outlets, so I'd have to crack and window and run an extension cord from inside if I wanted another circuit.

Run_Away
Run_Away GRM+ Memberand HalfDork
9/25/16 5:05 p.m.

Welded the drivers side wing up and primed while it was mocked into place.

The passenger side wing had rot too.

All welded

Back side

Ground

Primed. I made the upper hole where the dash bolts through too big, but it looks nicer than the ugly square I had before. It's all going to be hidden up under the dash anyways...

Welded the drivers side wing into place

Back side of the welds

Run_Away
Run_Away GRM+ Memberand HalfDork
9/25/16 5:06 p.m.

Welding the passenger wing into place. Just have to line up the old spot weld on the leading edge for this side.

I apologize if I'm jumping all over the place. It's difficult to write this up in order as I'm usually working on 2-3 sections at once so I don't get too impatient waiting for welds to cool. This way I can weld one side, weld the other, grind one side, grind the other and repeat. Keeps my busy.

Added a few more welds along to top of the drivers side

Ground down the inside on the drivers side

Same on passenger side

More welds along the top of the passenger side

Overall look.

Next up is the inner cowl panel, seen here mocked up

Just have to line up the old original spot welds

The passenger side has a bunch of rot on both the tip of the wing and the inner cowl as seen here

There's also some holes more along the middle of the inner cowl I'll have to patch. This support here I forgot to have blasted and coated. The stock blower motor fits inside of it.

Not sure what I'm going to do about it. I'm not planning on re-installing a factory style heating unit, I'm going to convert to a Vintage Air system that's all contained in the dash. If I end up using it and send it out to be blasted and coated, I should send the dash along with it to save money. Which means I need to make up my mind on putting in a dash with the factory uncut radio, or a dash that's already been cut and mount something like a double DIN unit.

Crackers
Crackers New Reader
9/25/16 6:22 p.m.

Do you think you're still on schedule for the cab welding?

Run_Away
Run_Away GRM+ Memberand HalfDork
9/25/16 7:29 p.m.

No, because I'm sitting here on the computer recovering from the flu now instead of out there working in the 11 deg C/50 deg F rain

It would be really nice to get the floor tacked into place by the end of October, but that probably won't happen. If this was only project maybe, but my Sentra needs lots of attention too, with the same deadline.

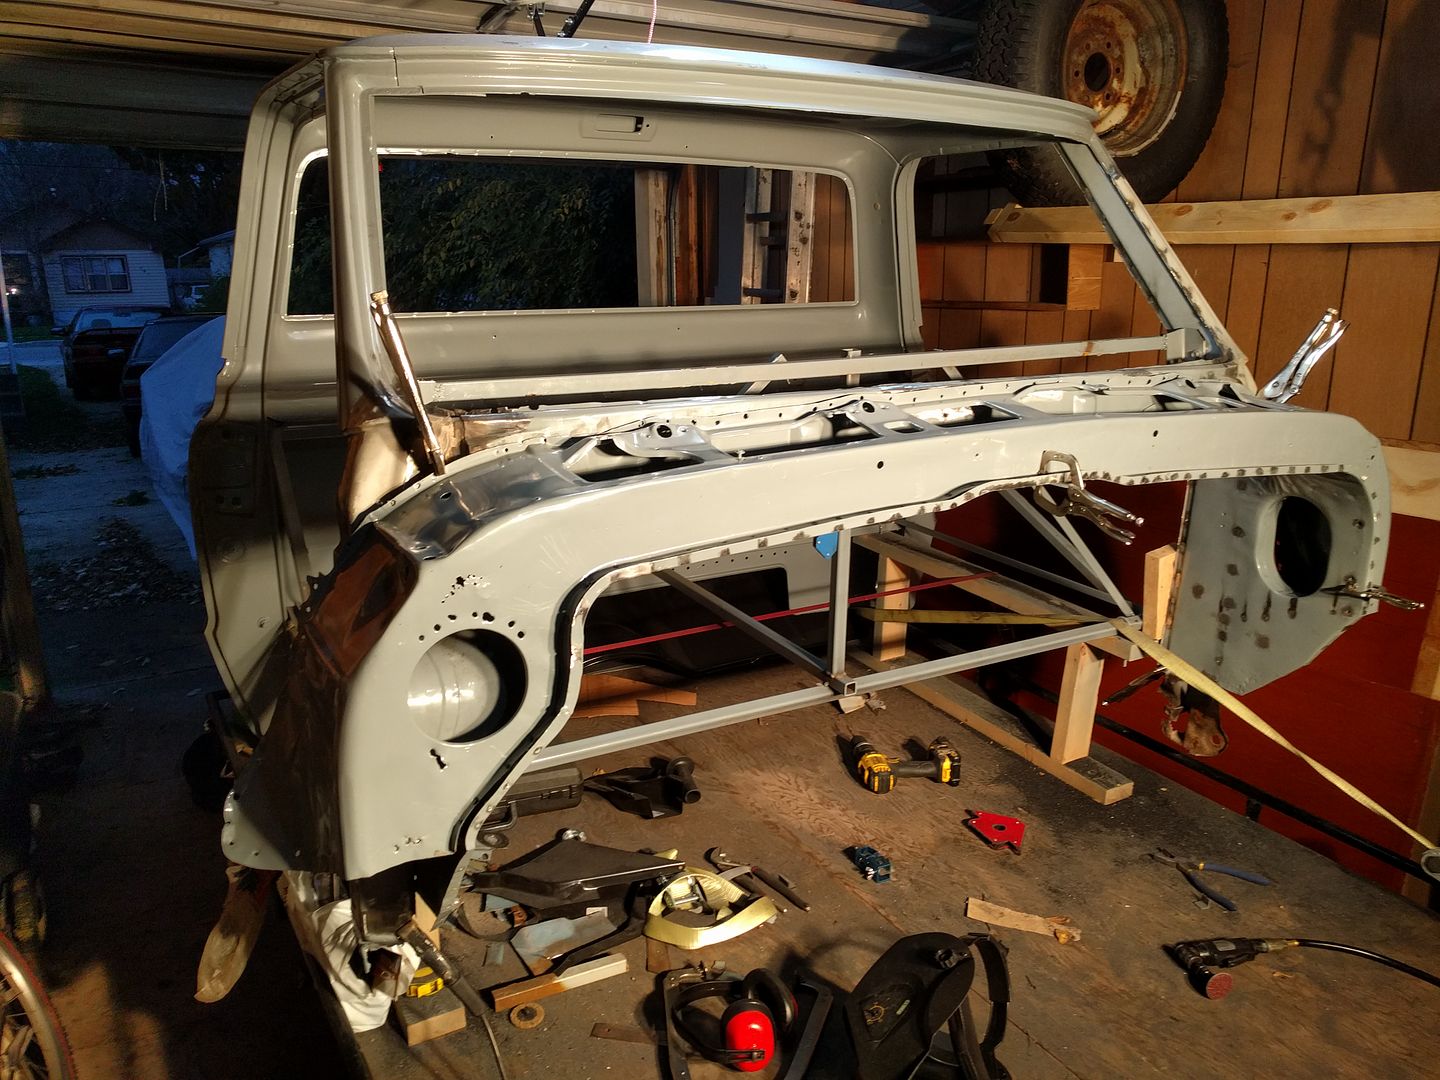
Here's my rough mental timeline of things to come:

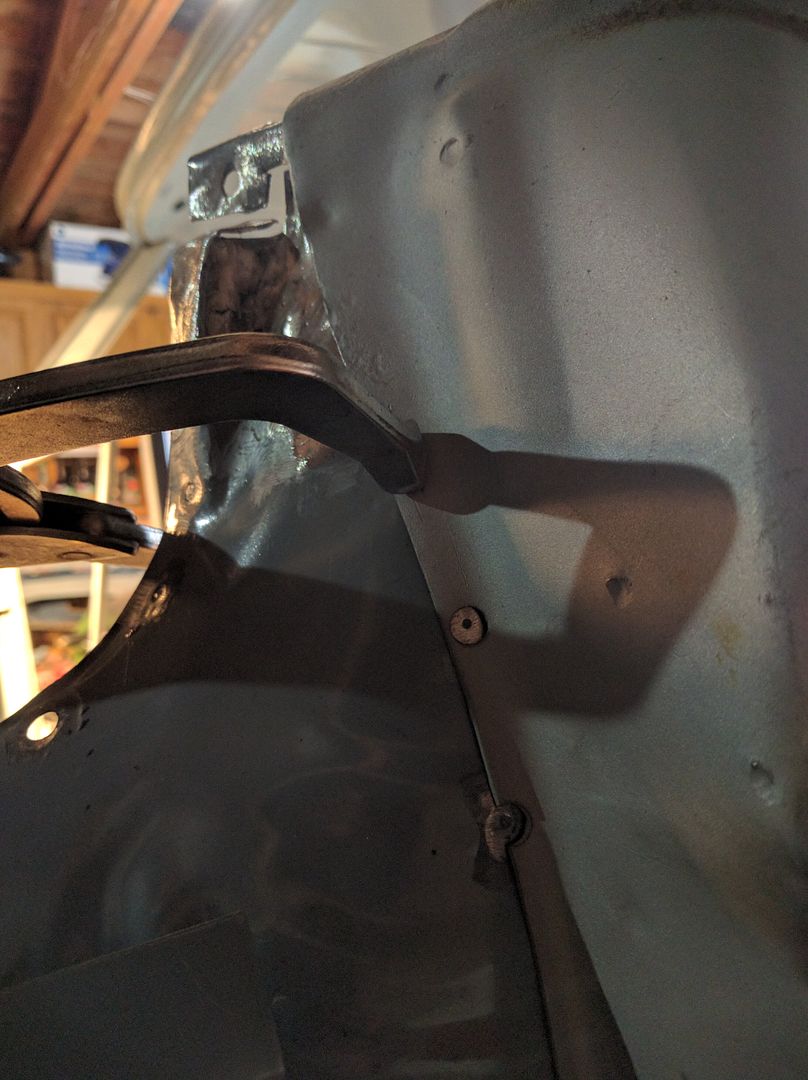
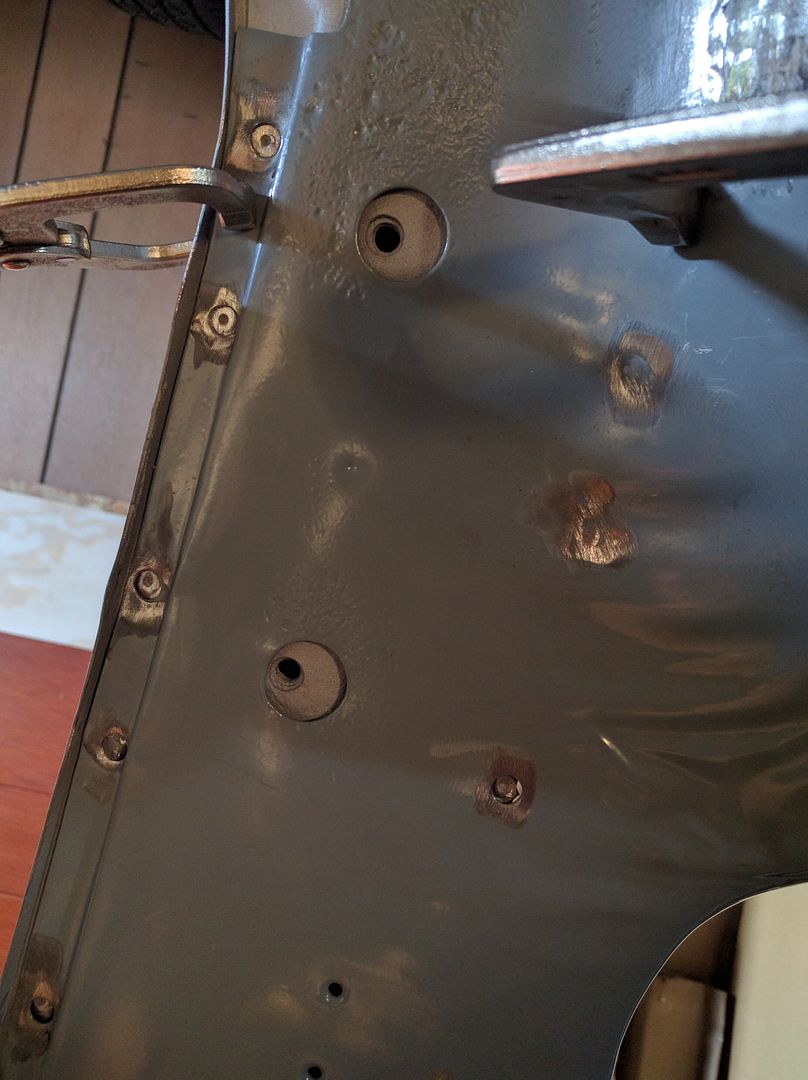
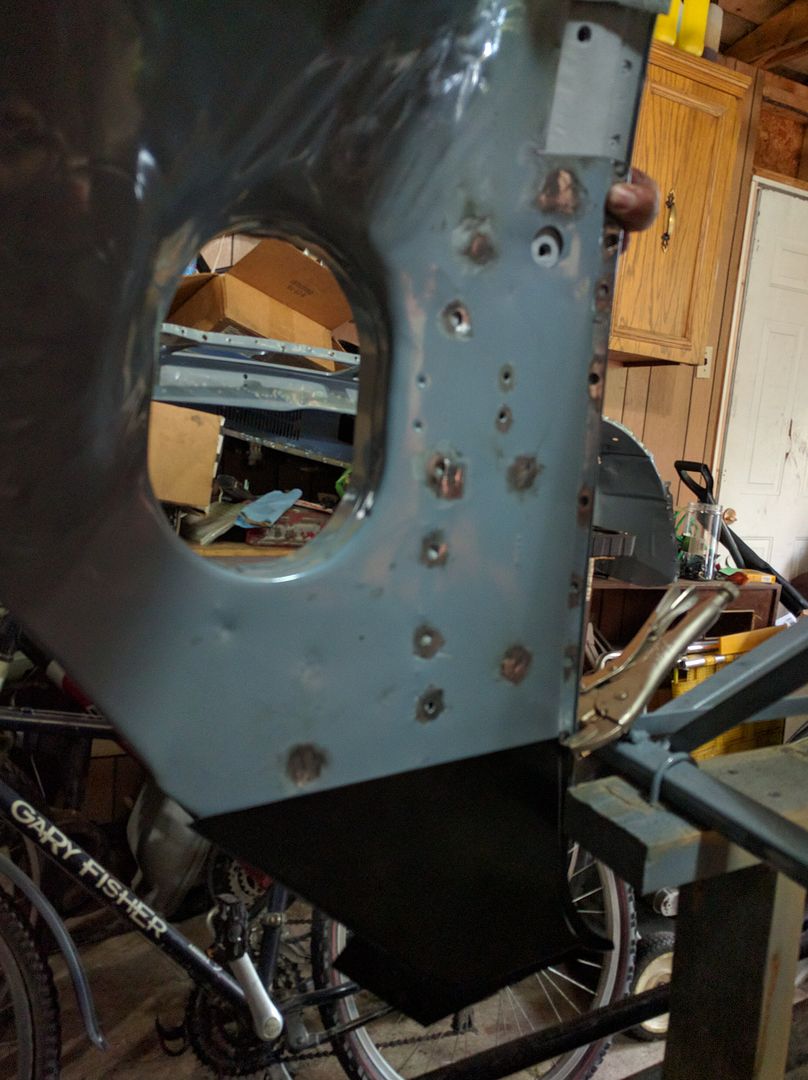
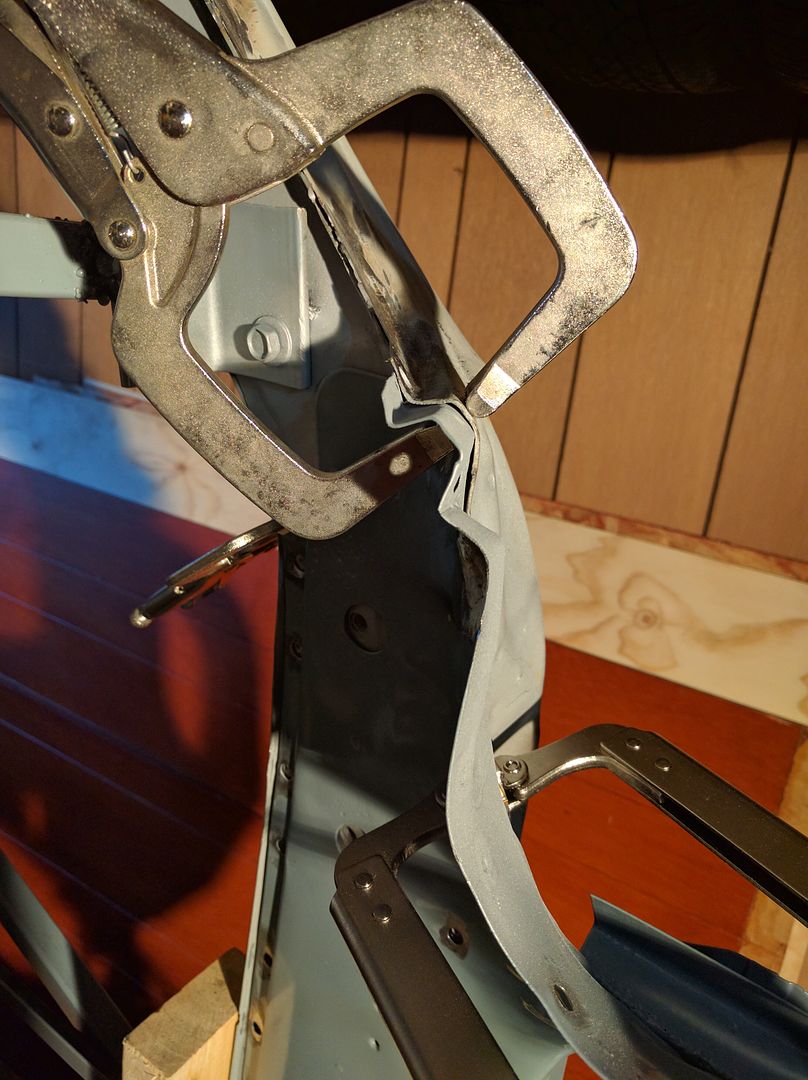
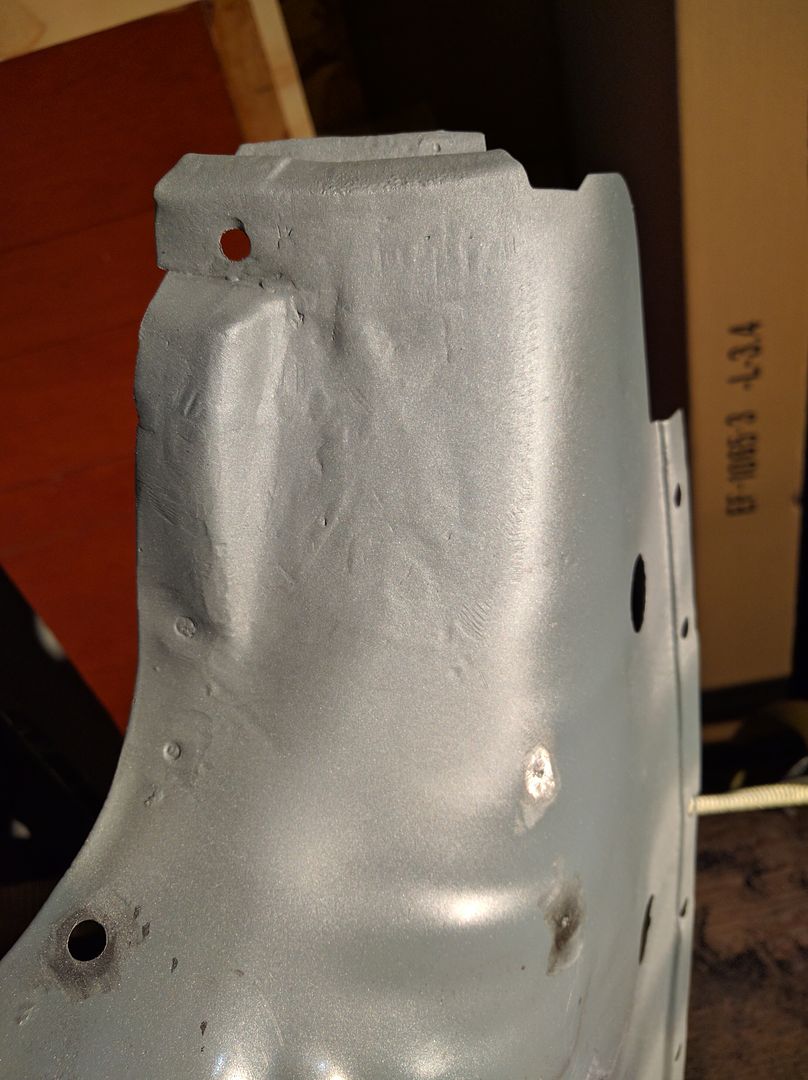
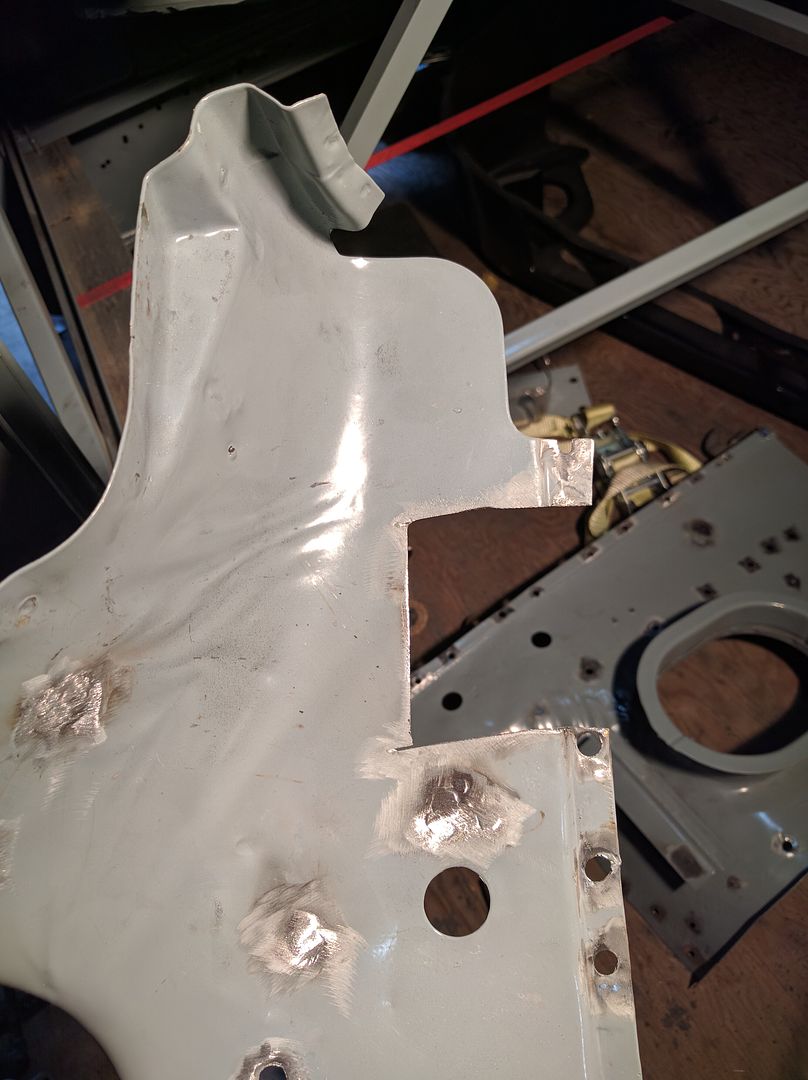
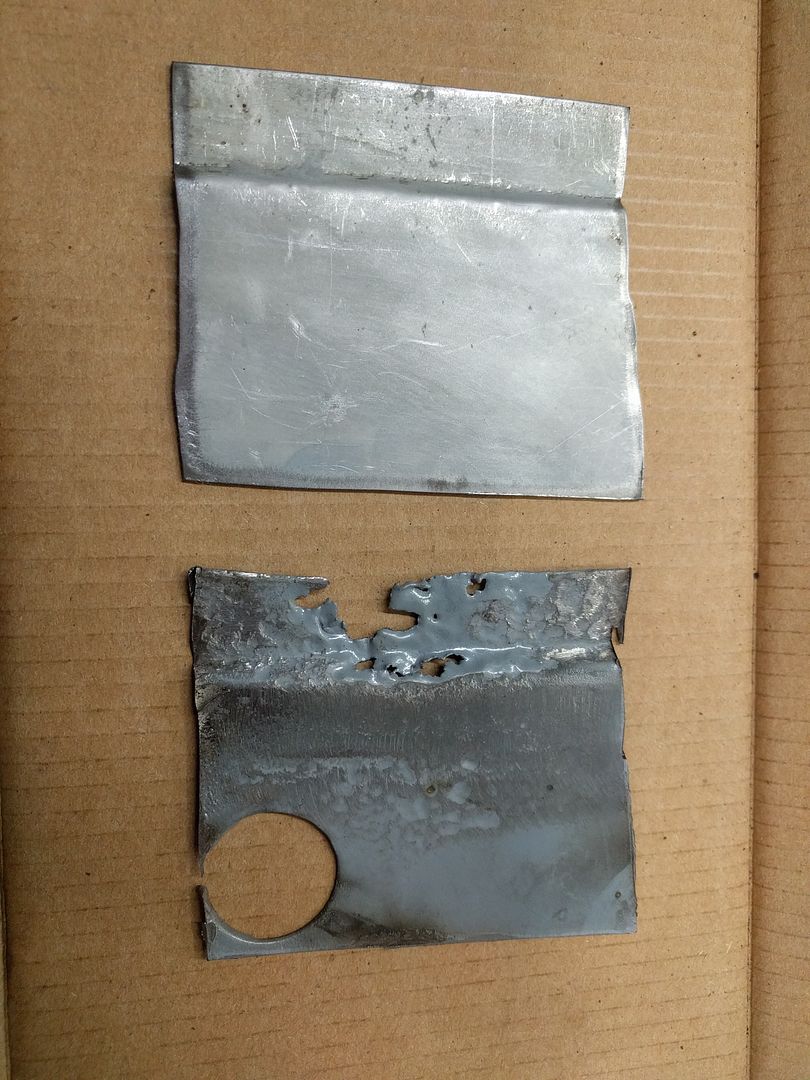
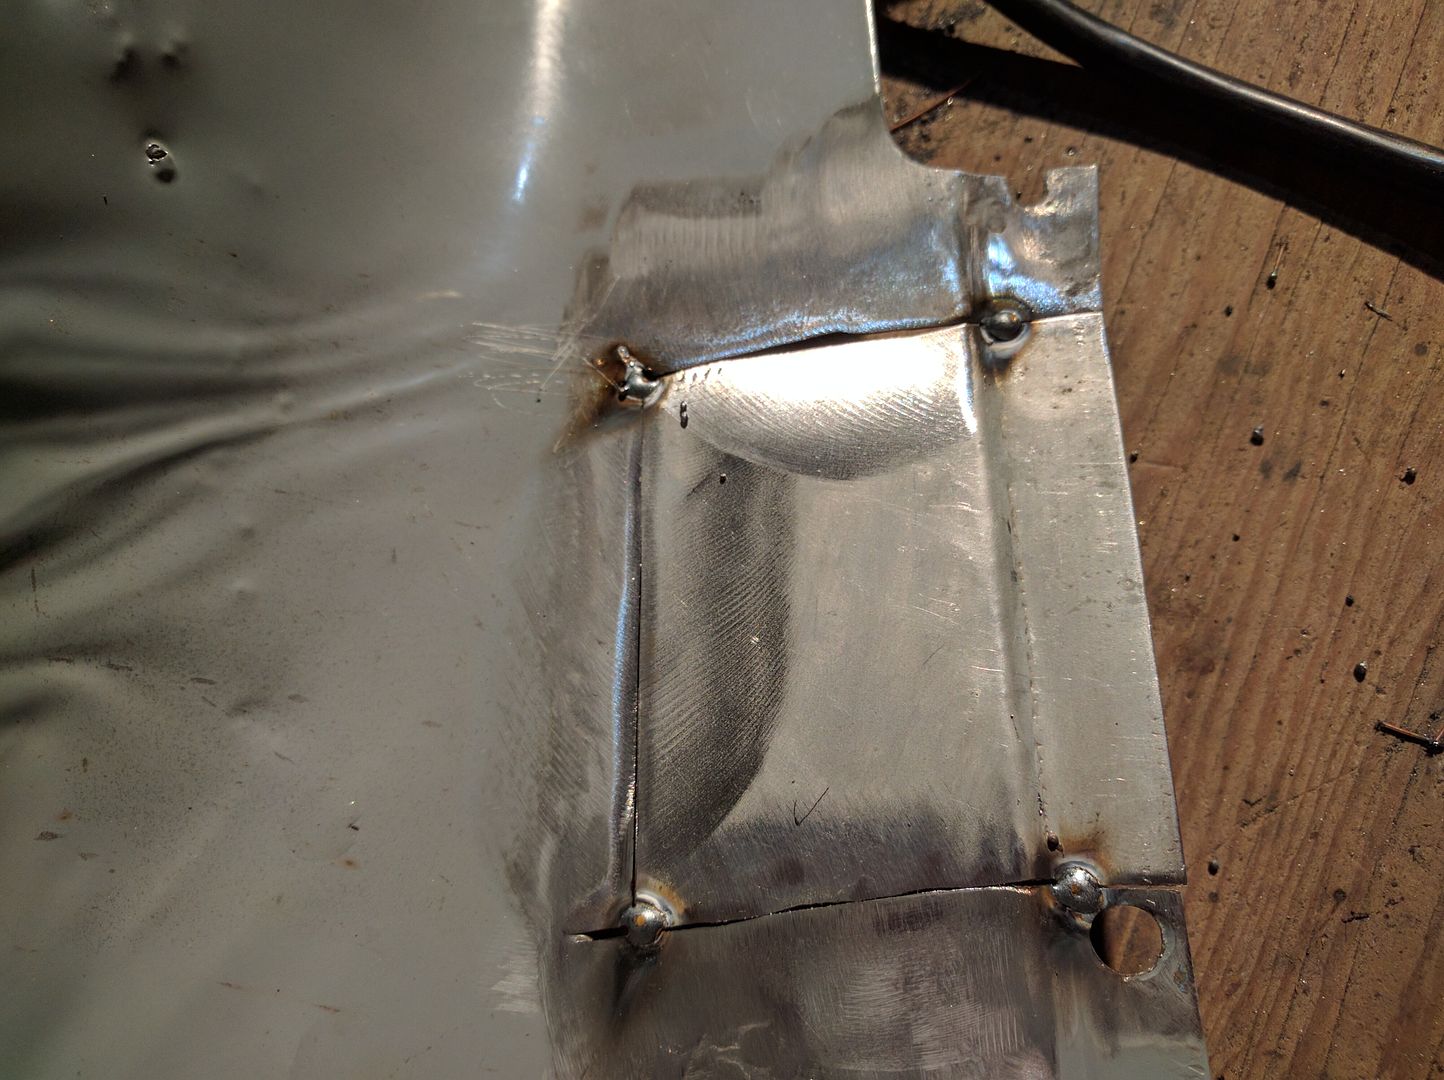
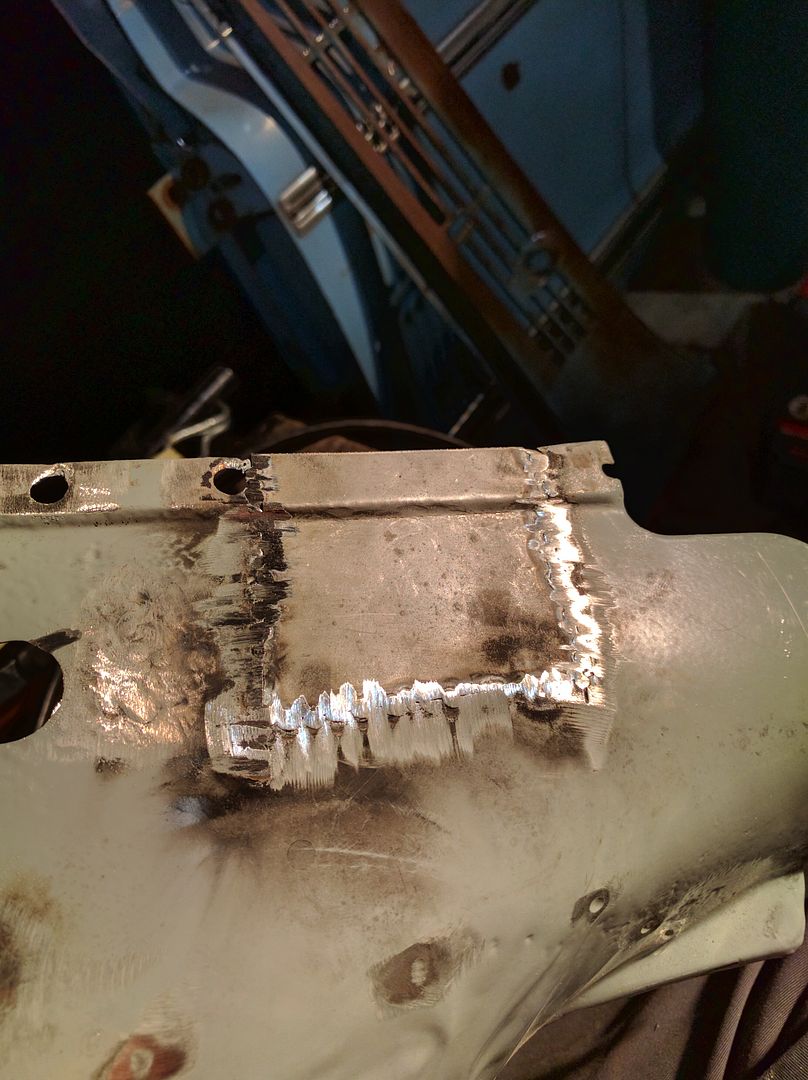
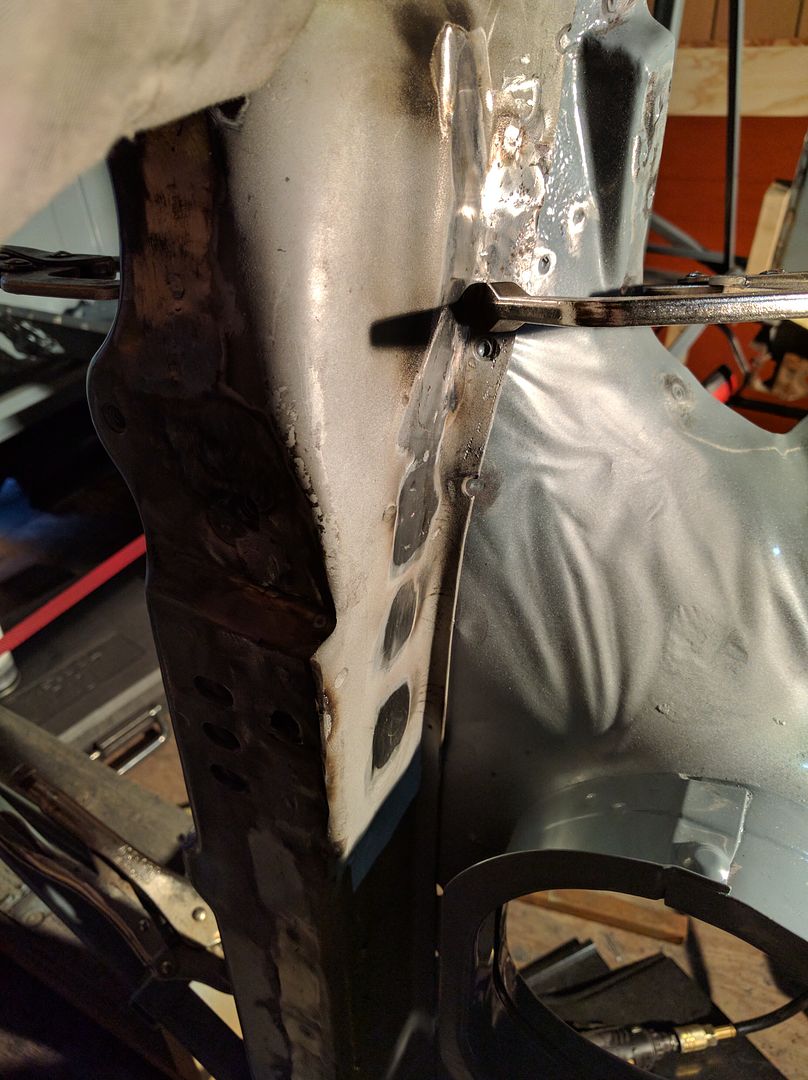
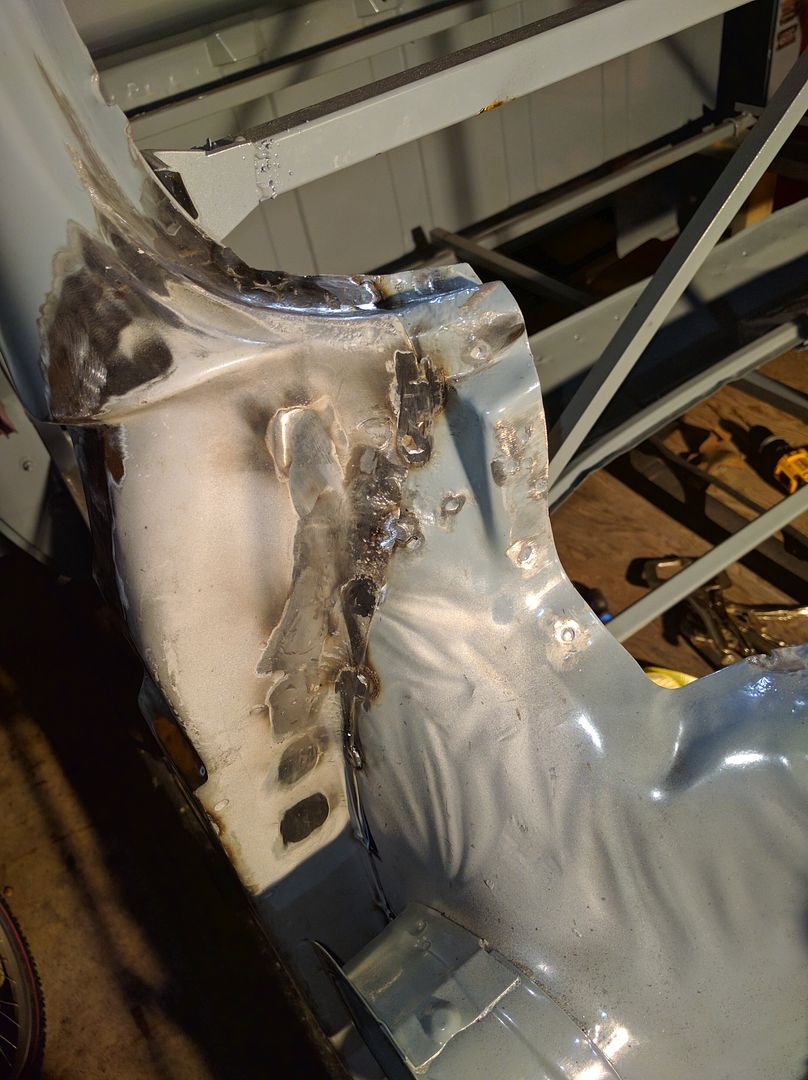
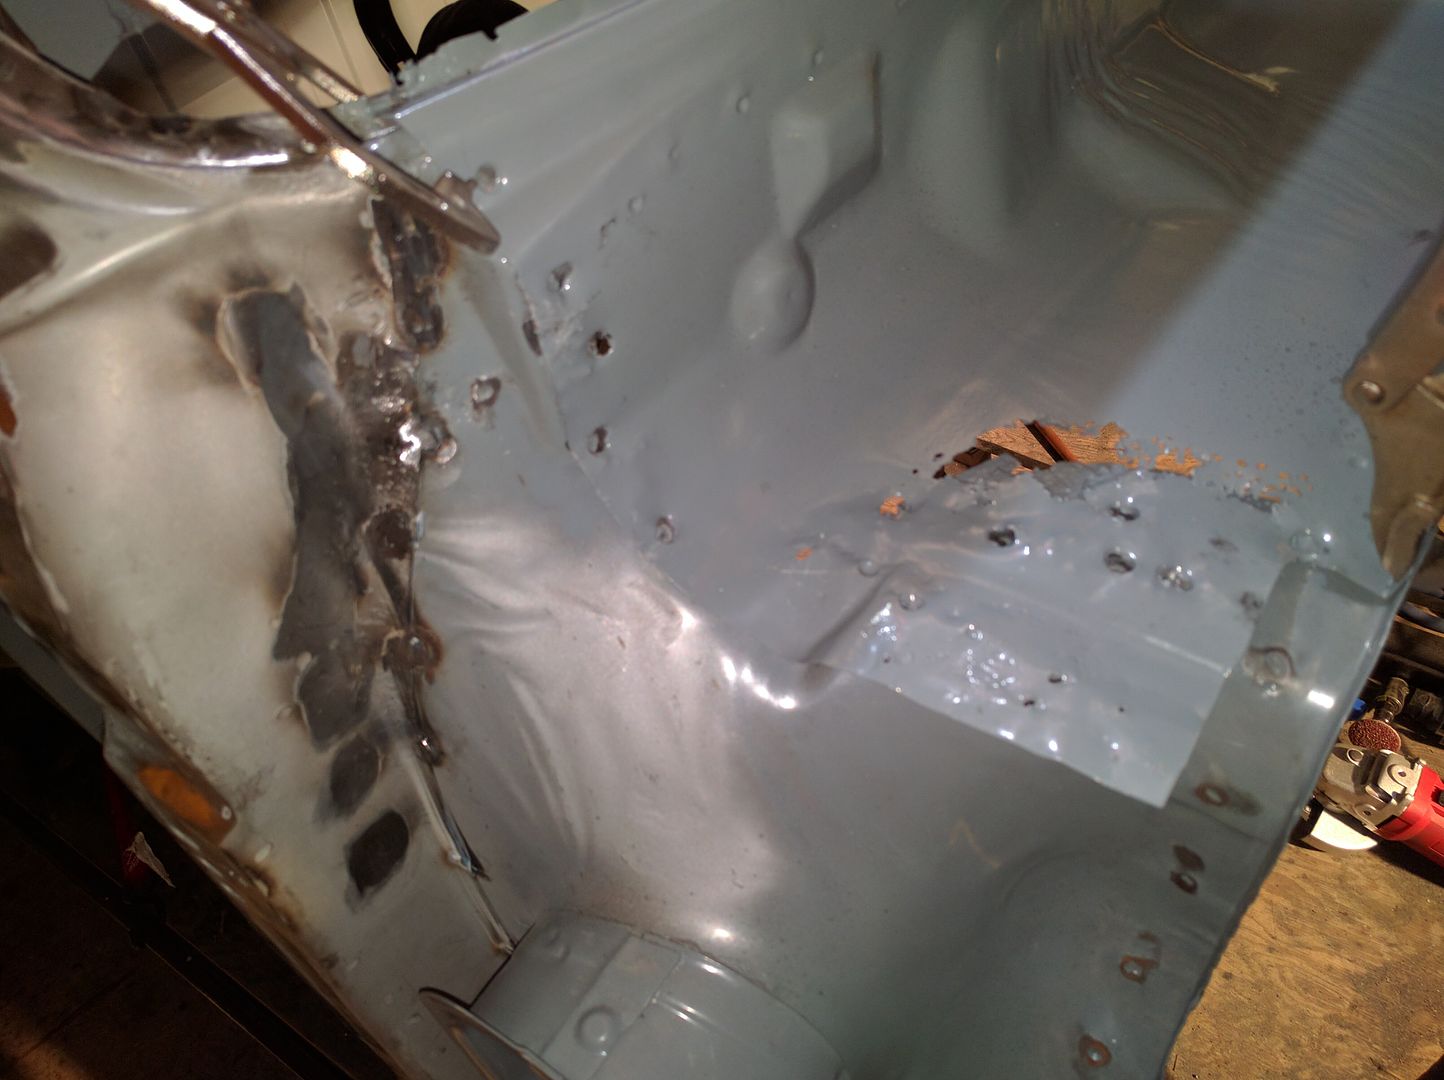
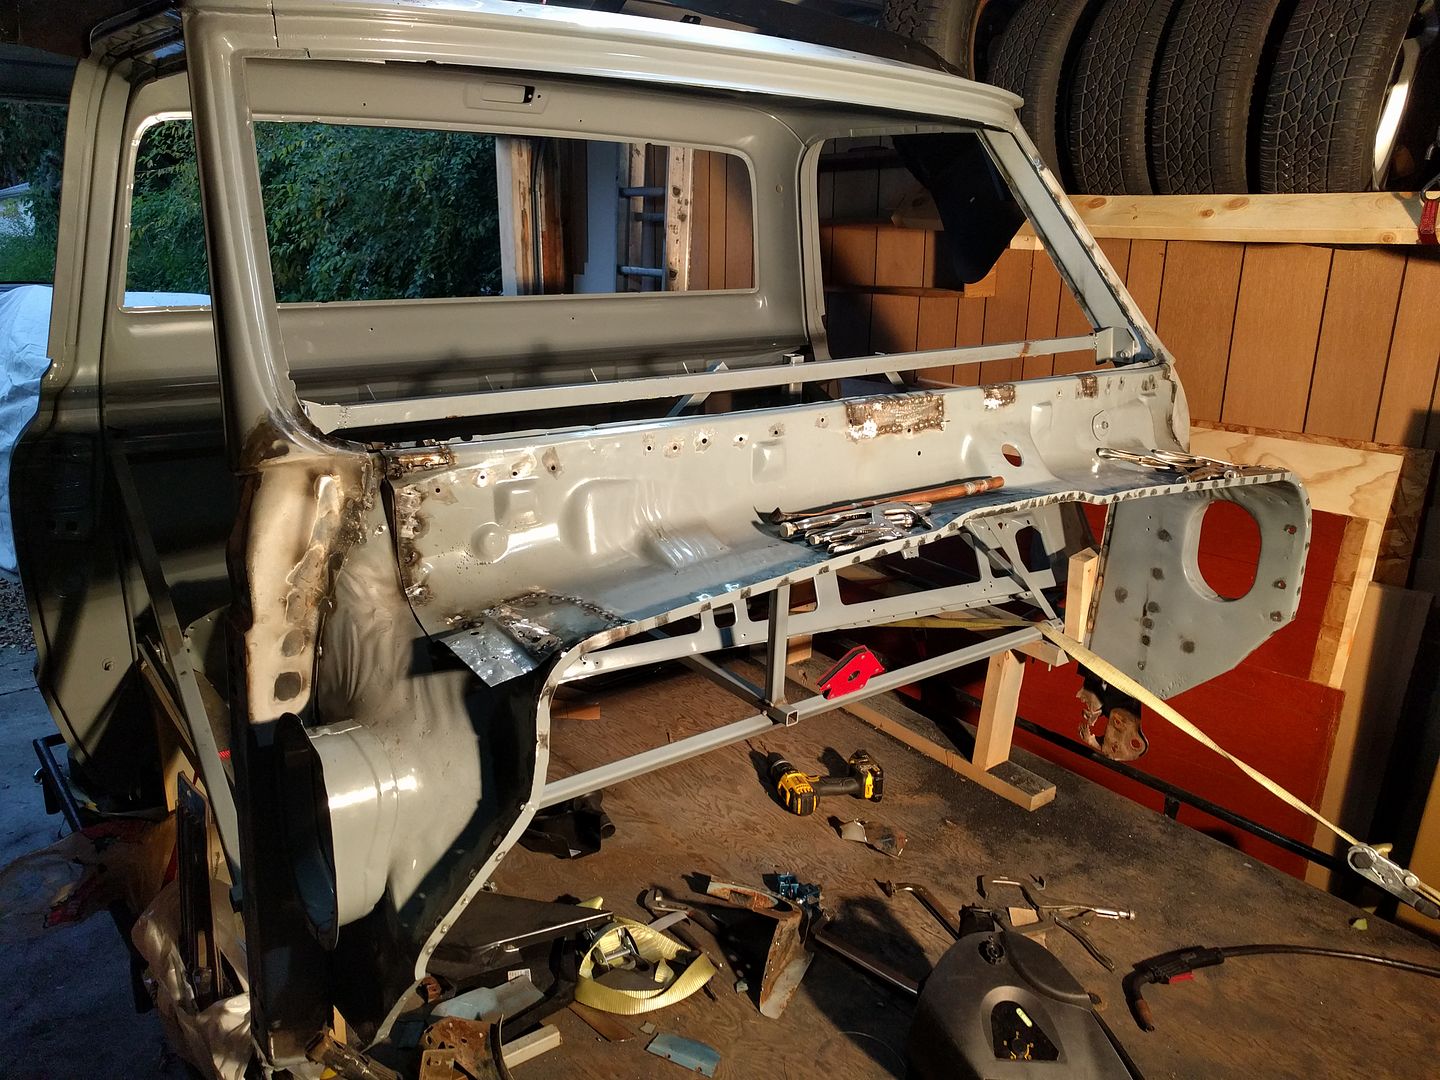
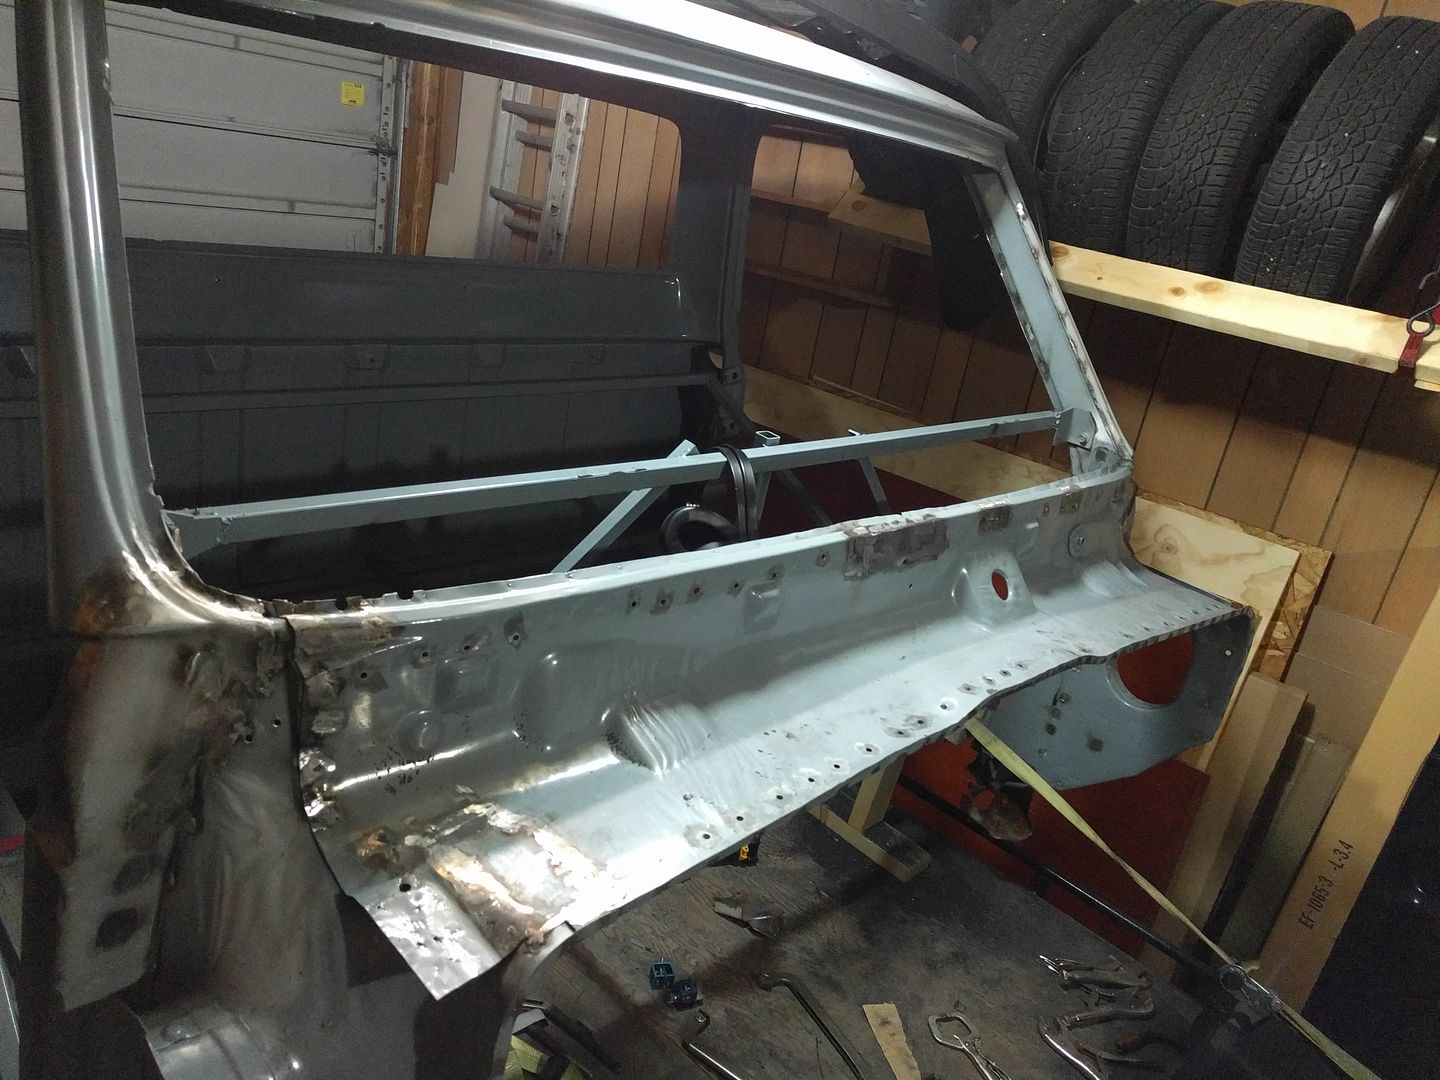
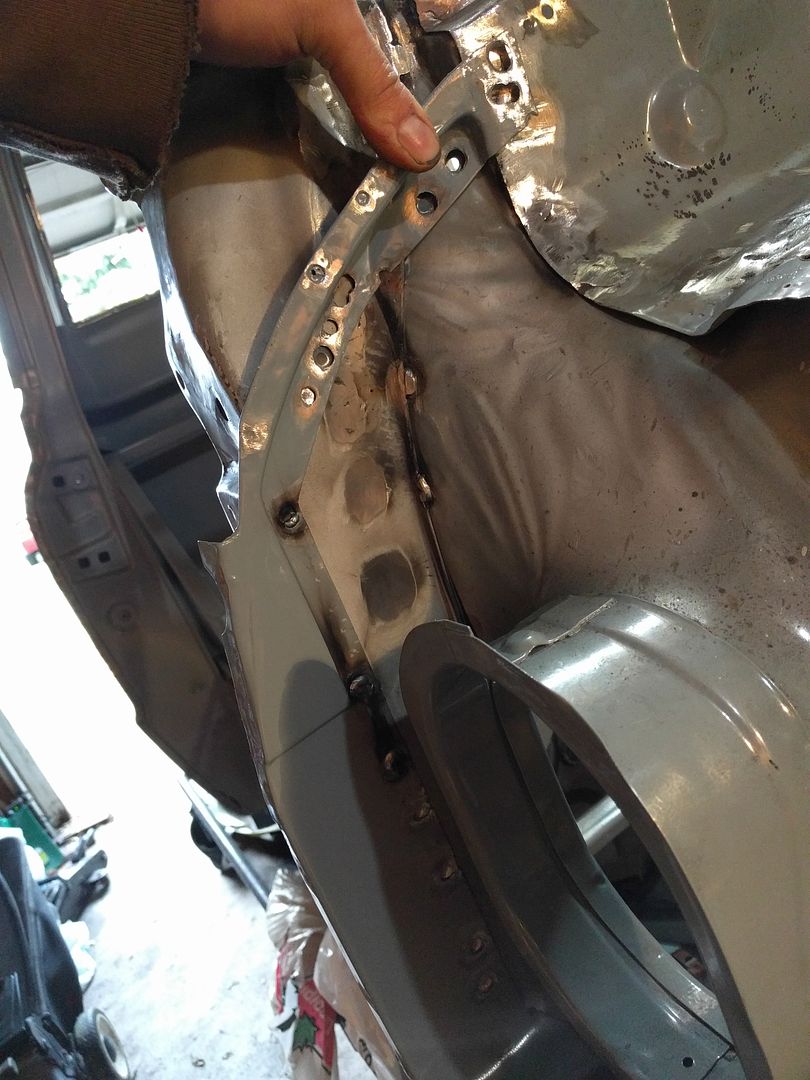
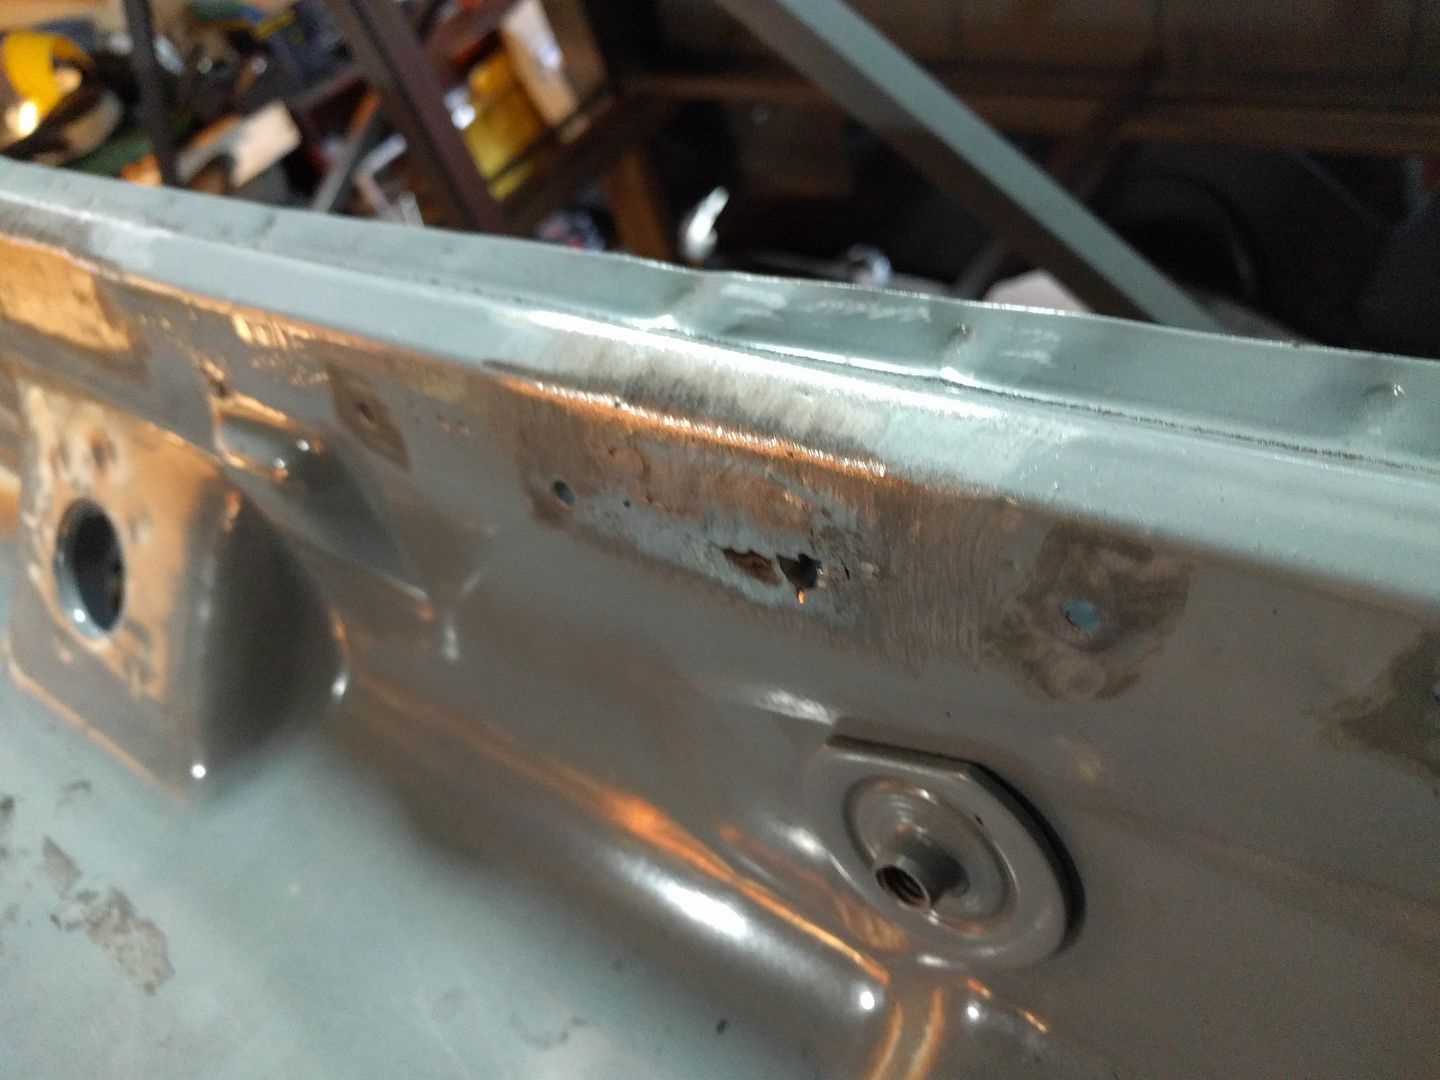
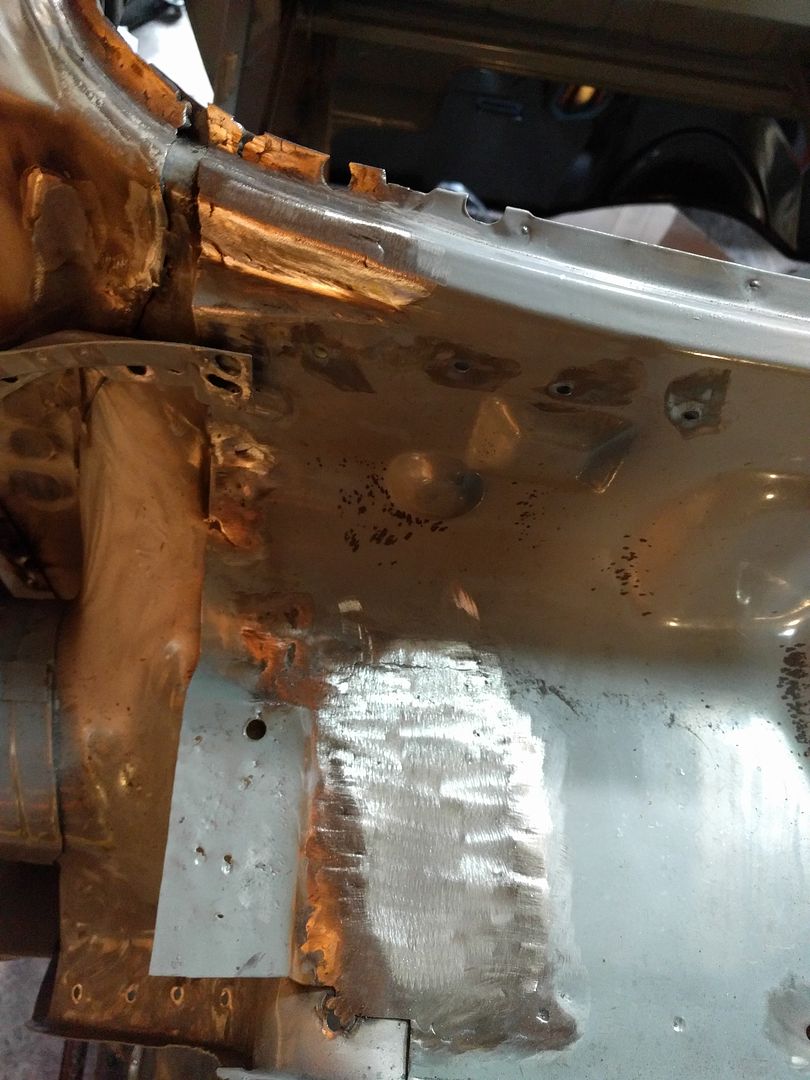
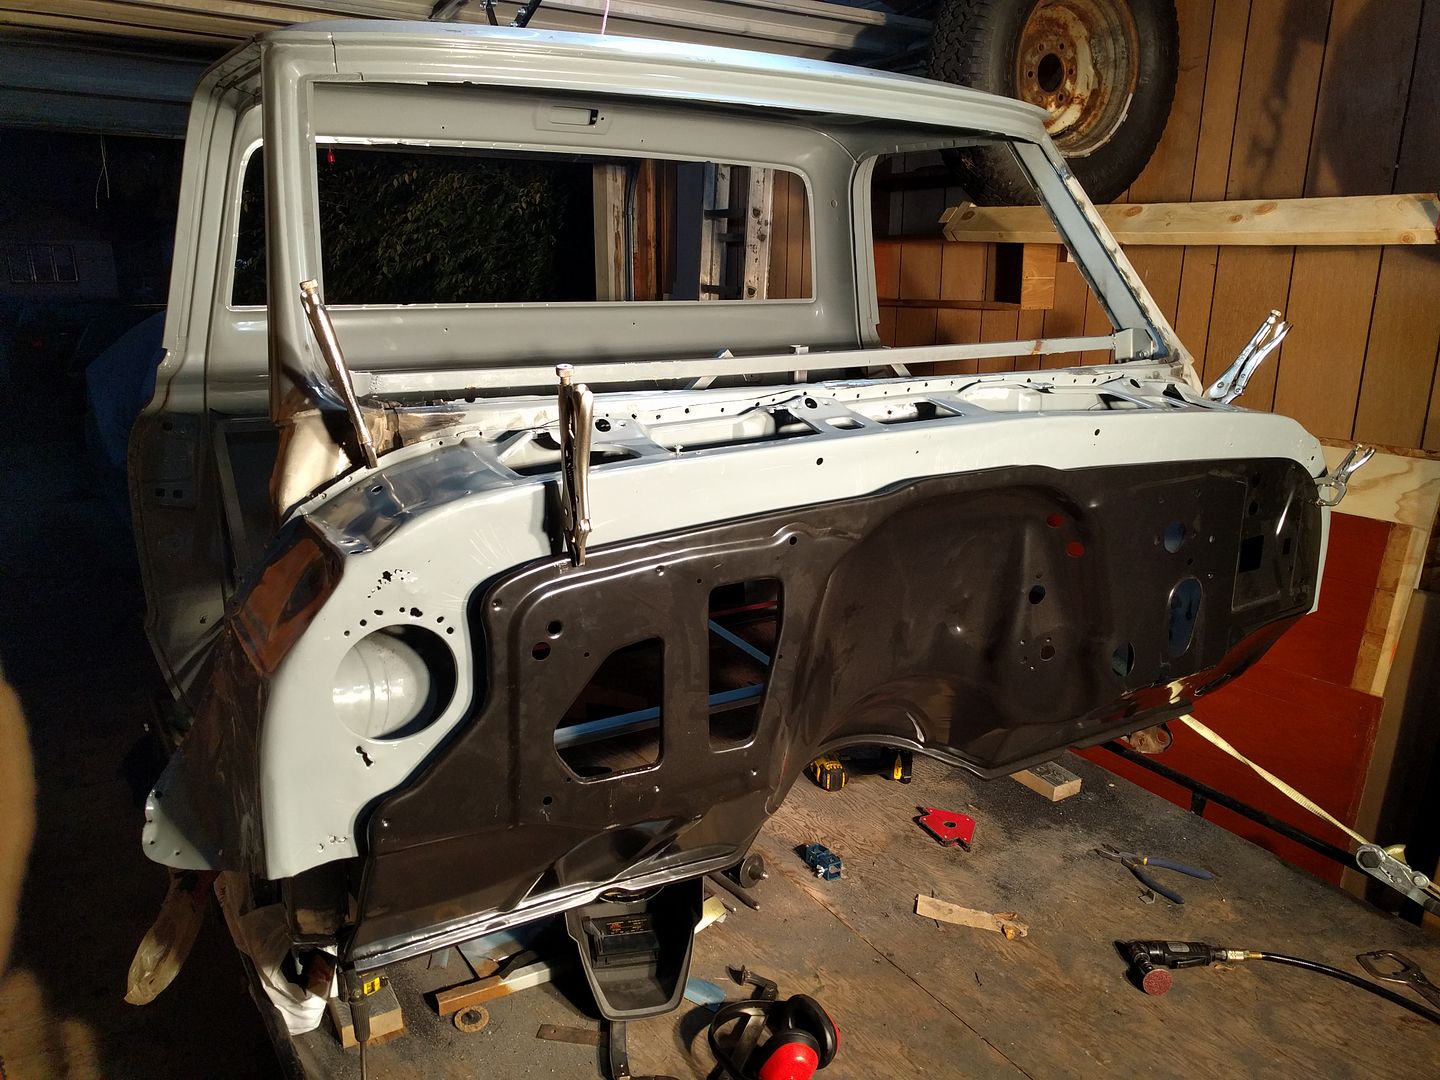
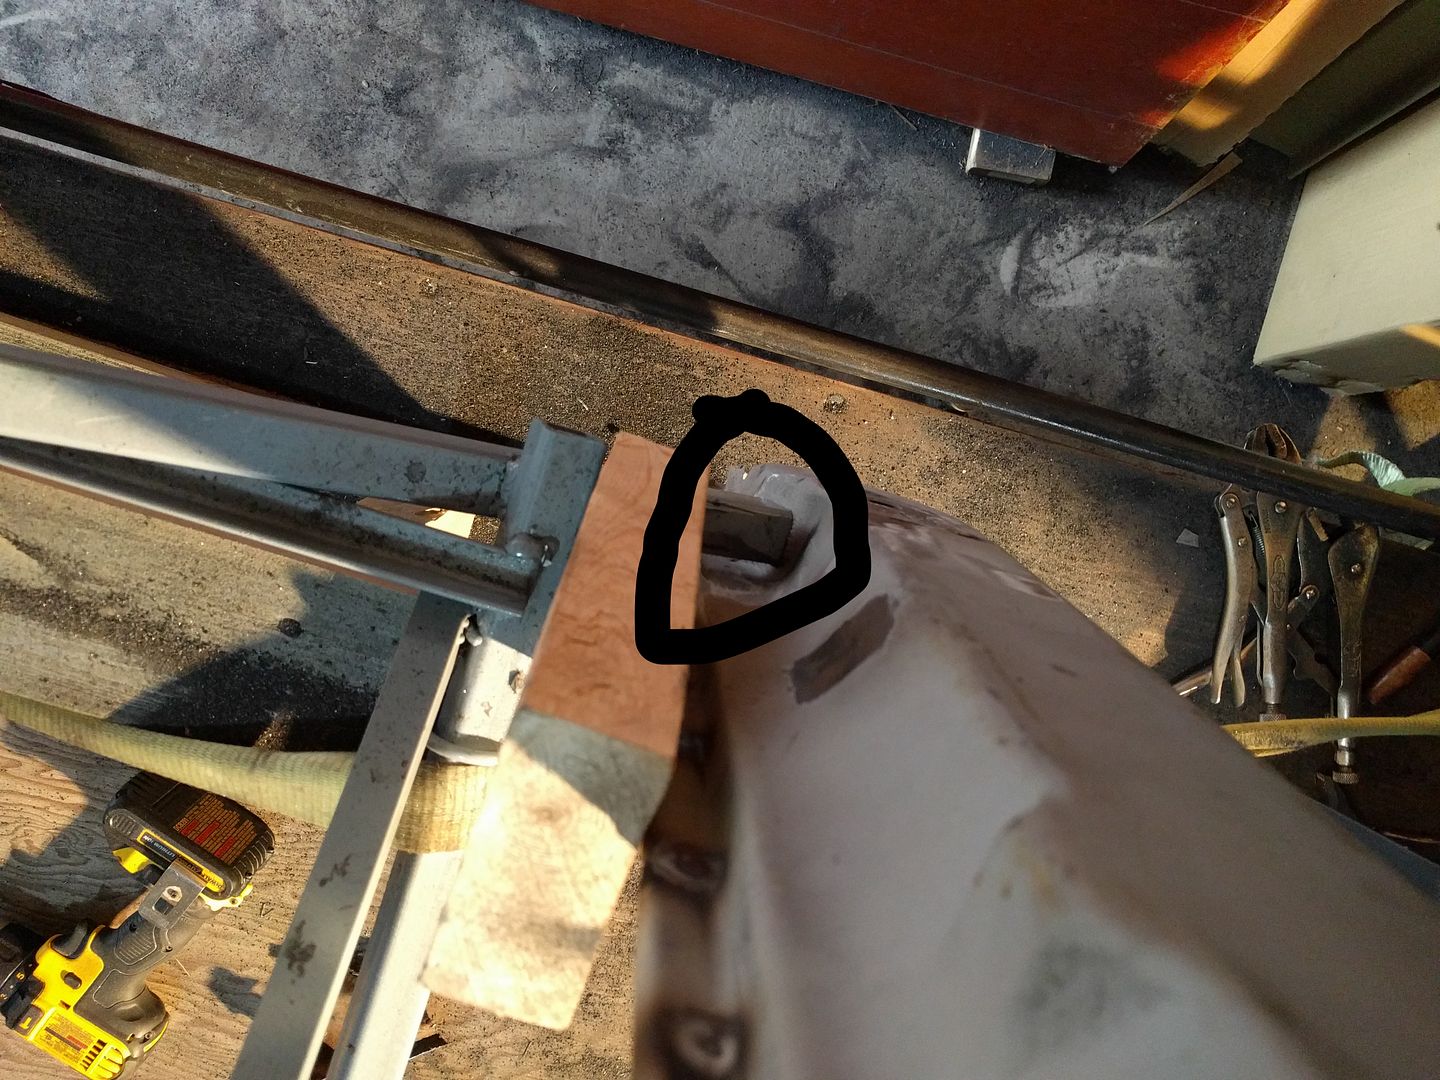
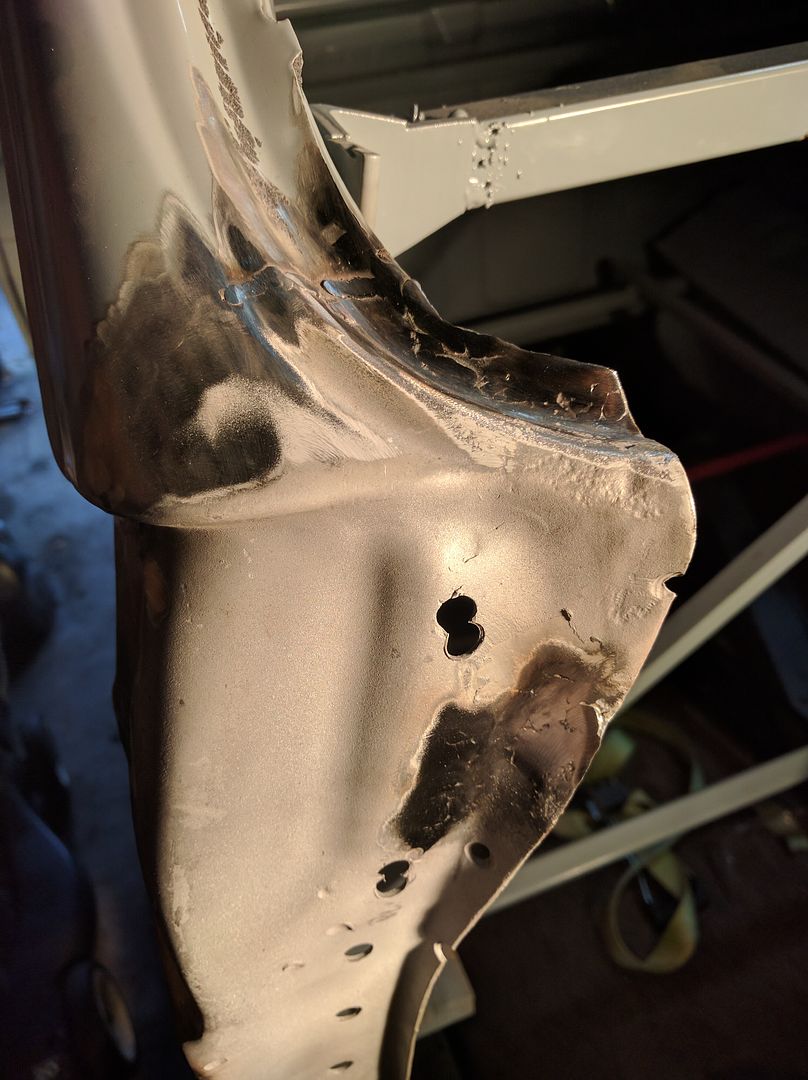
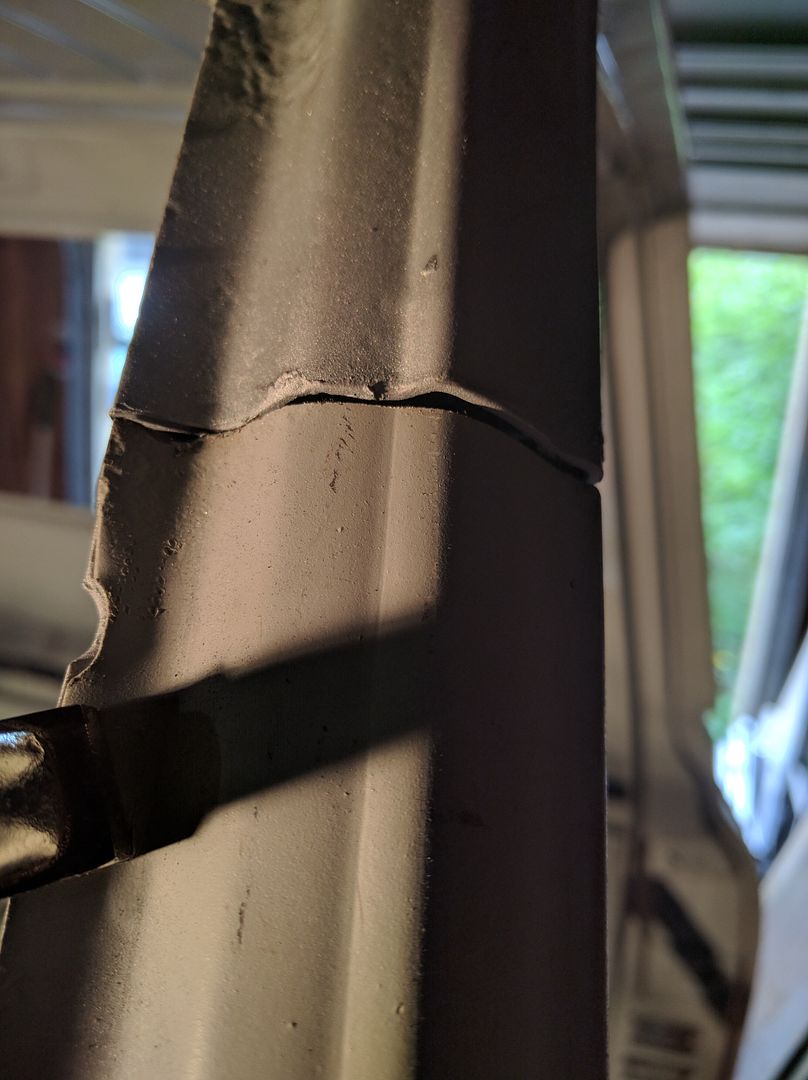
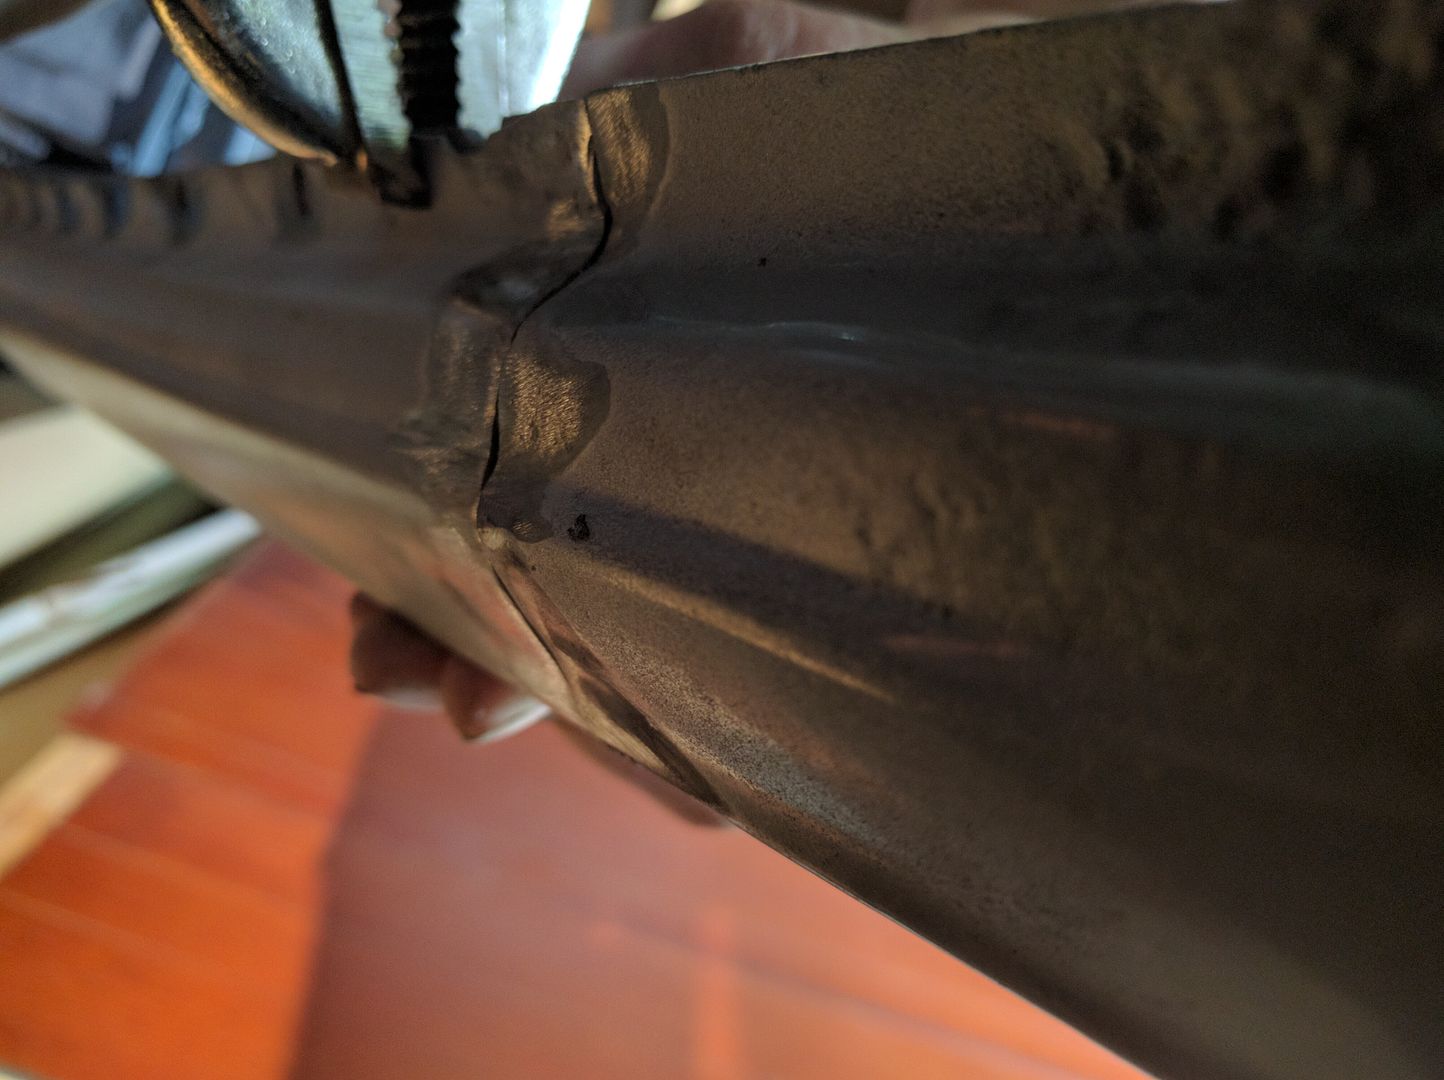
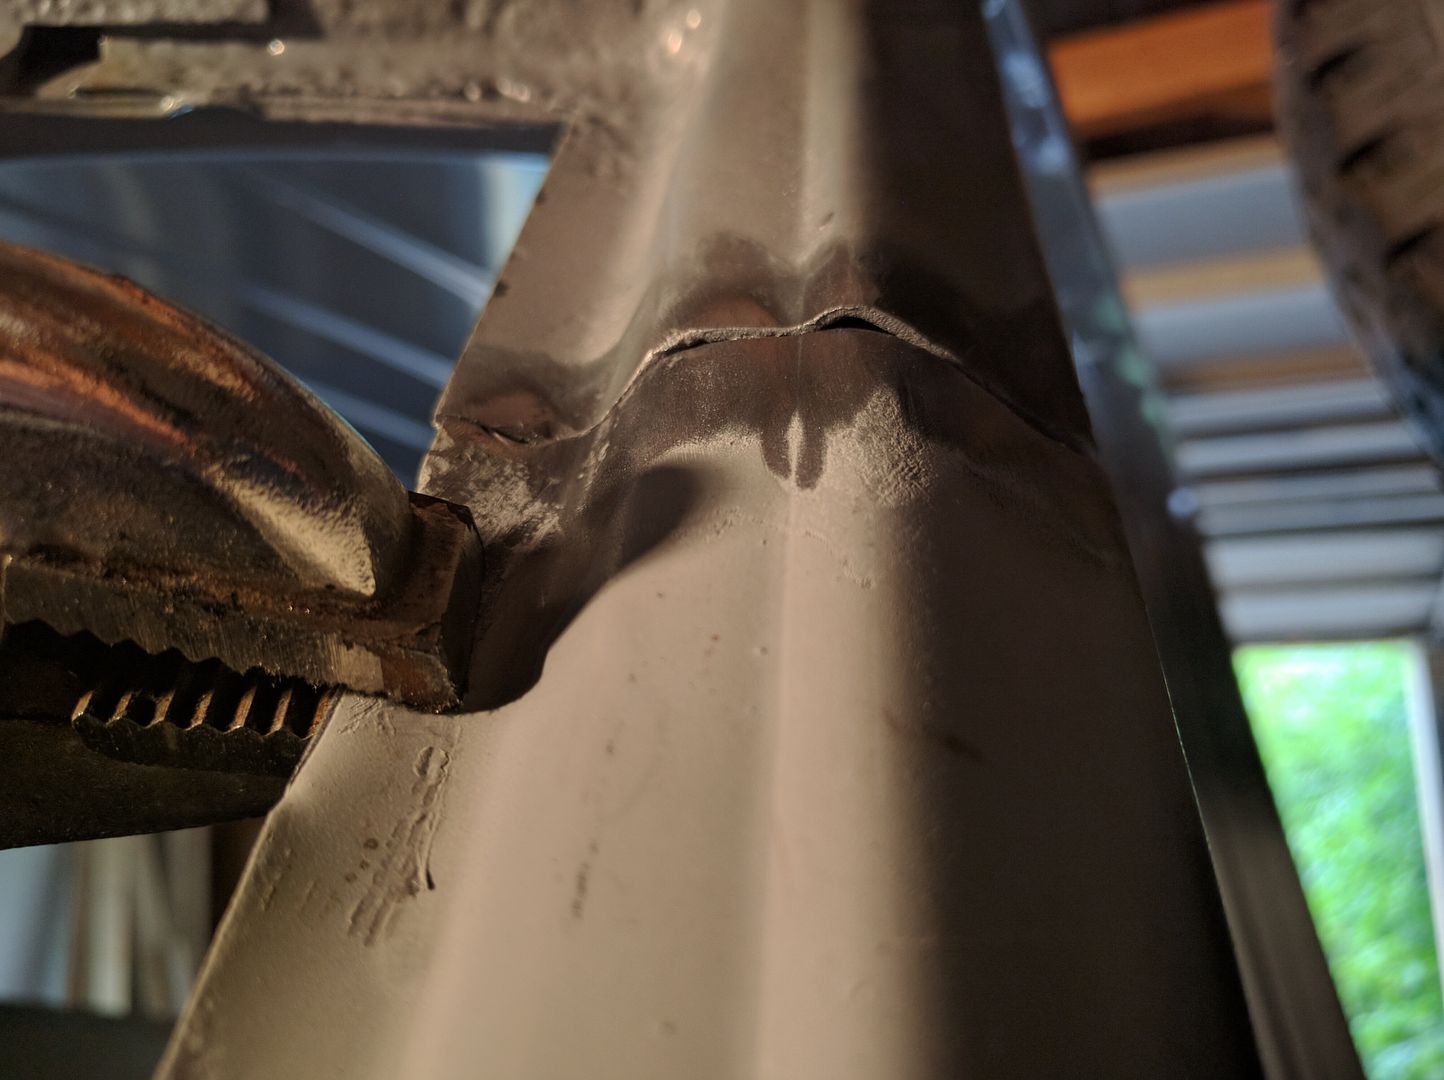
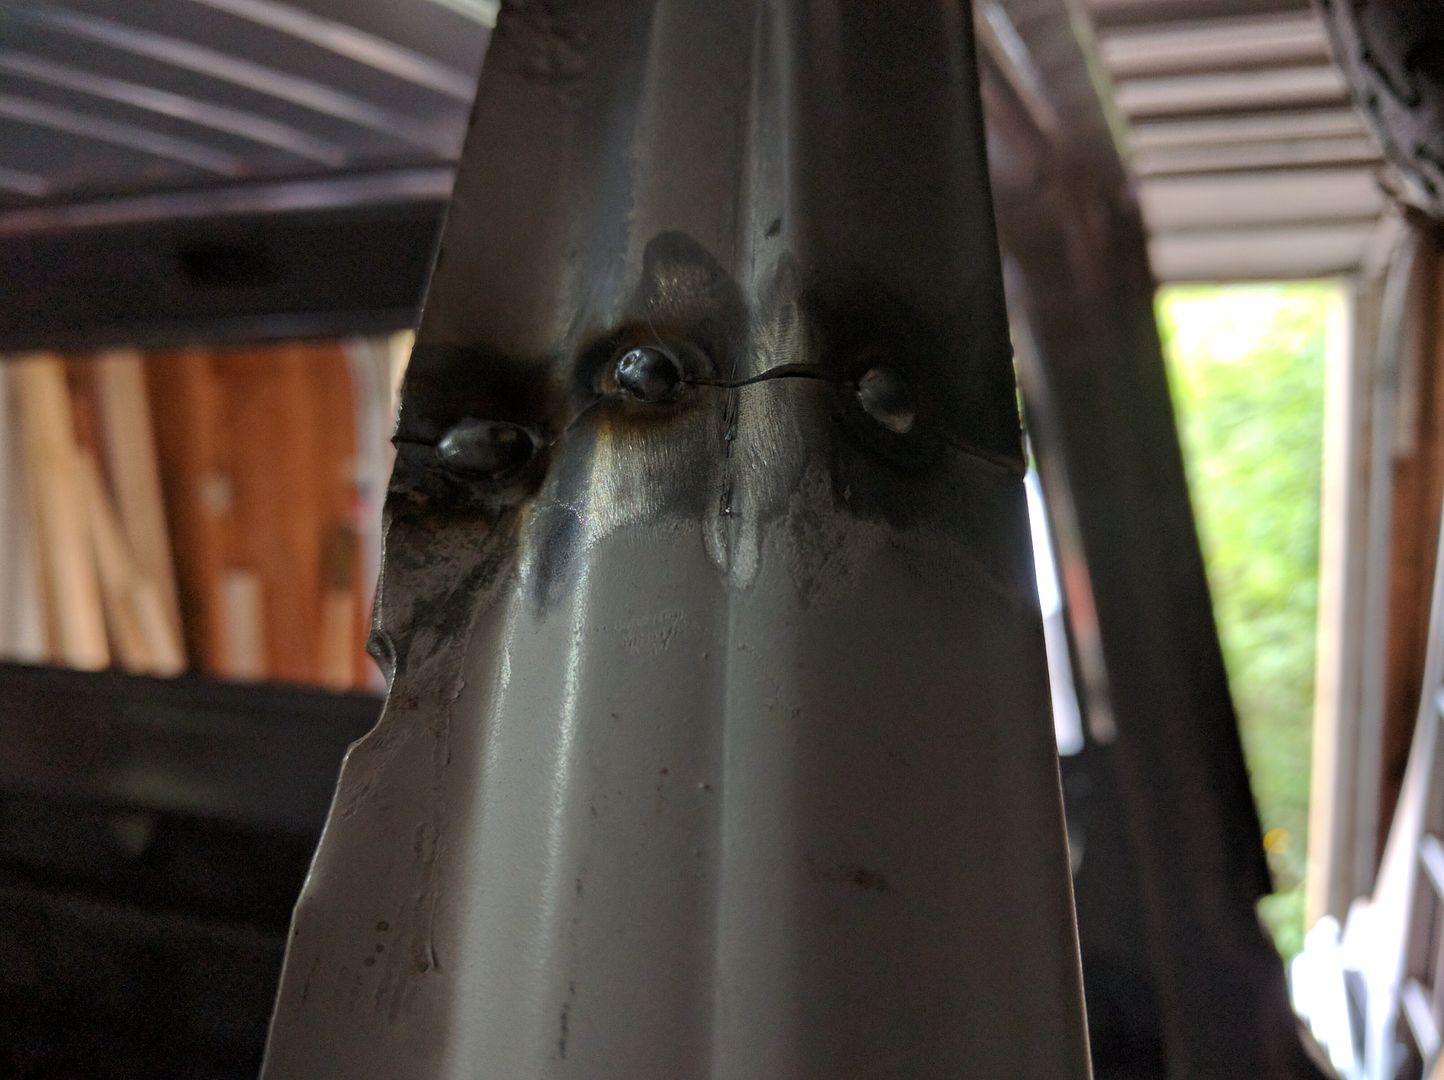
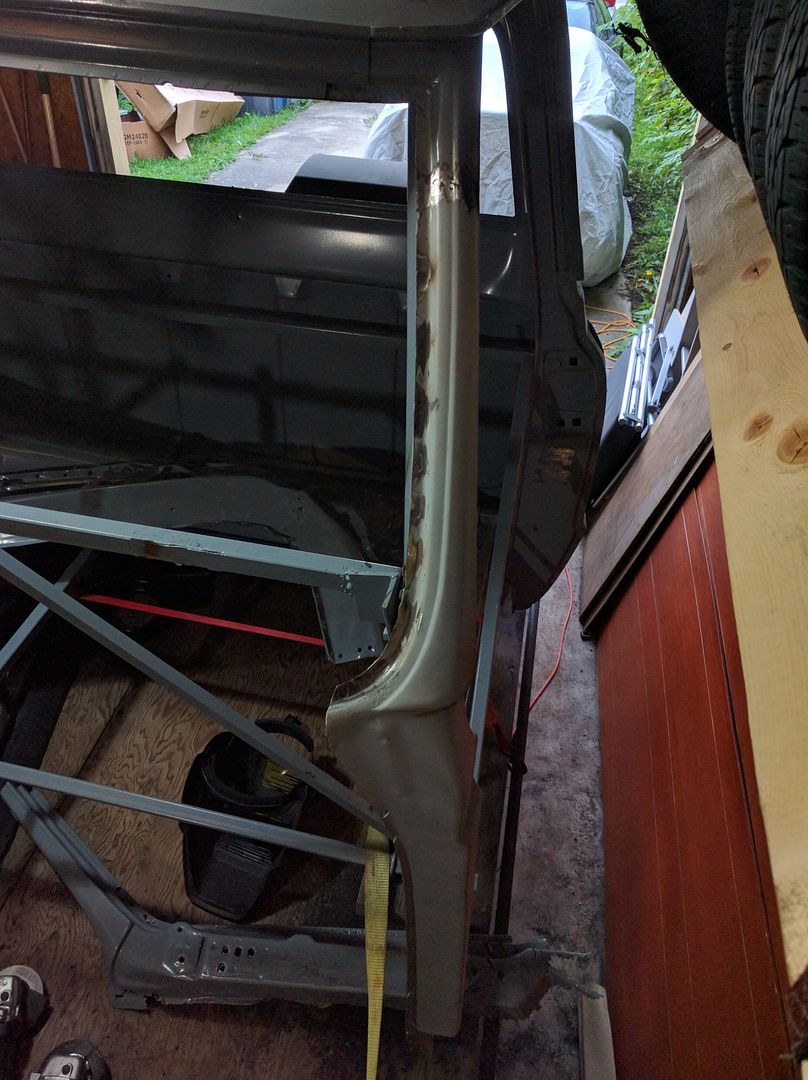
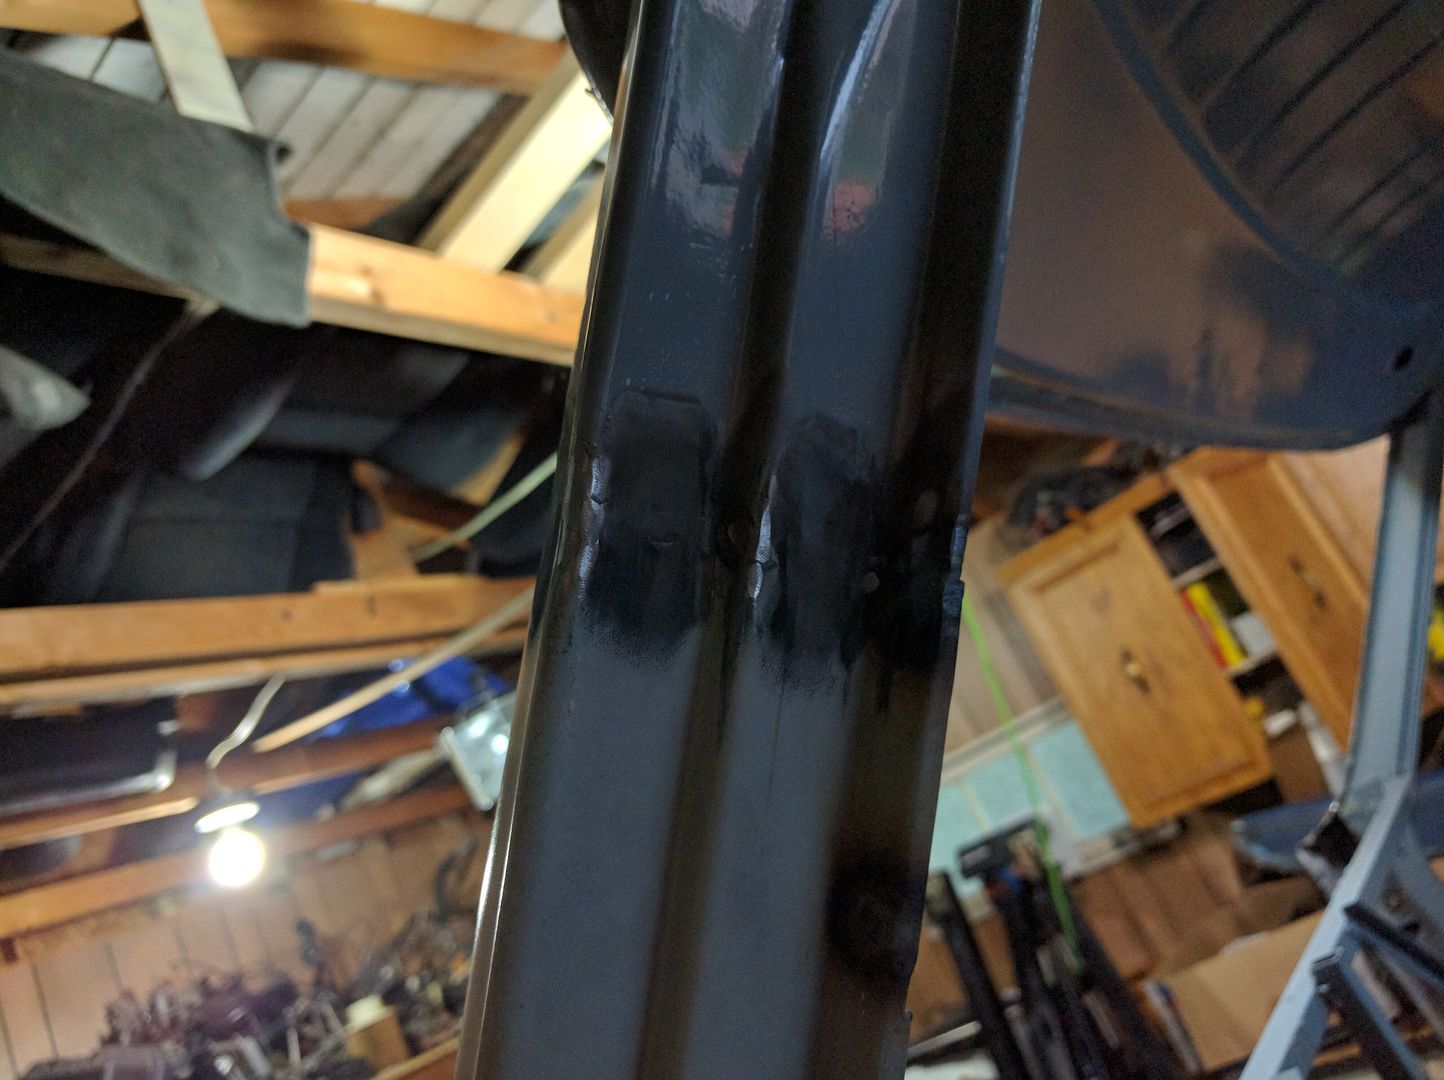
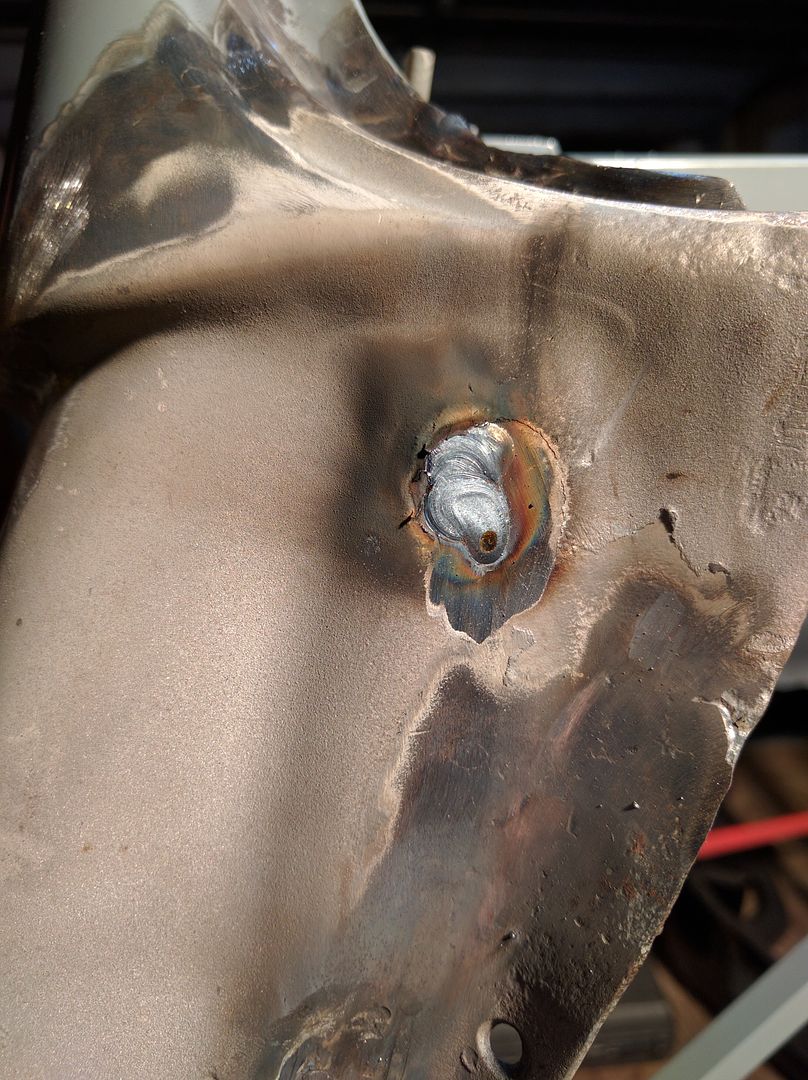
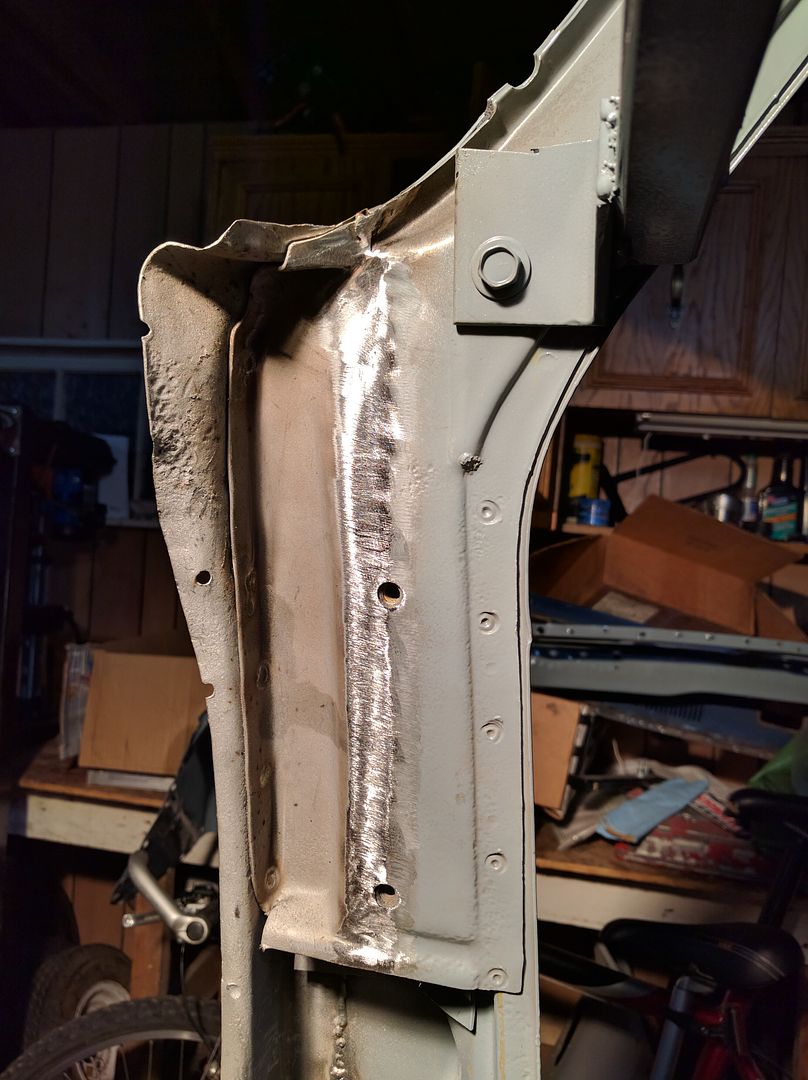
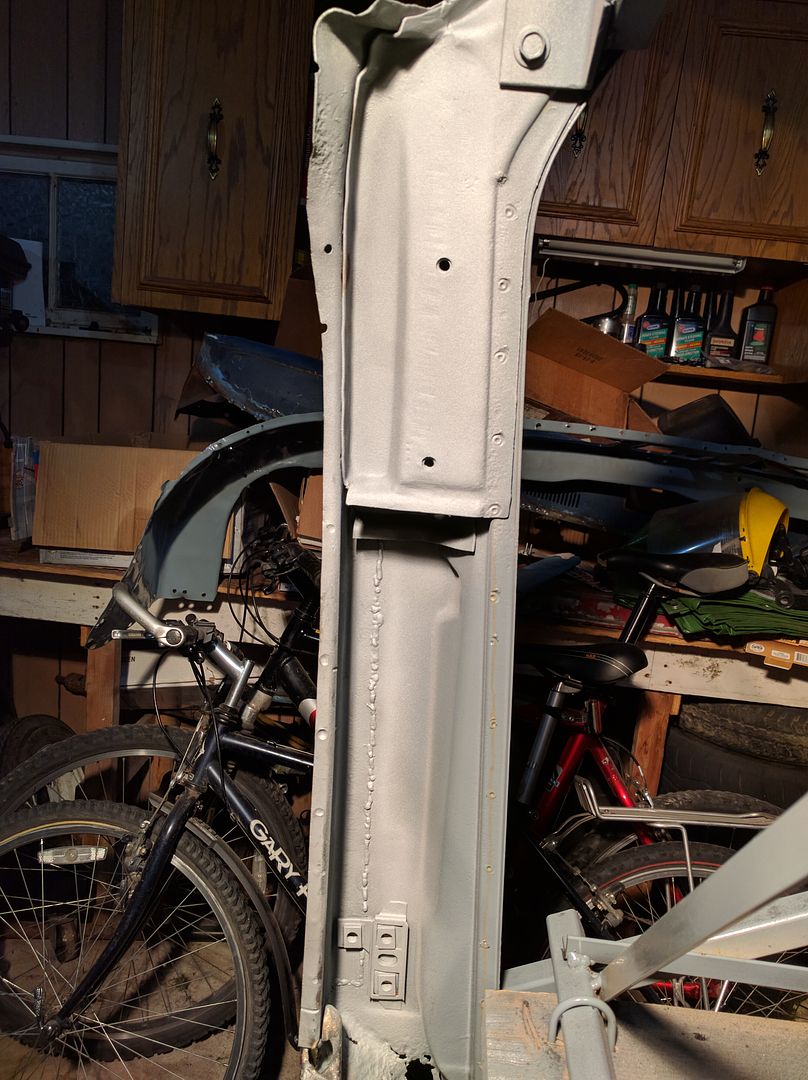
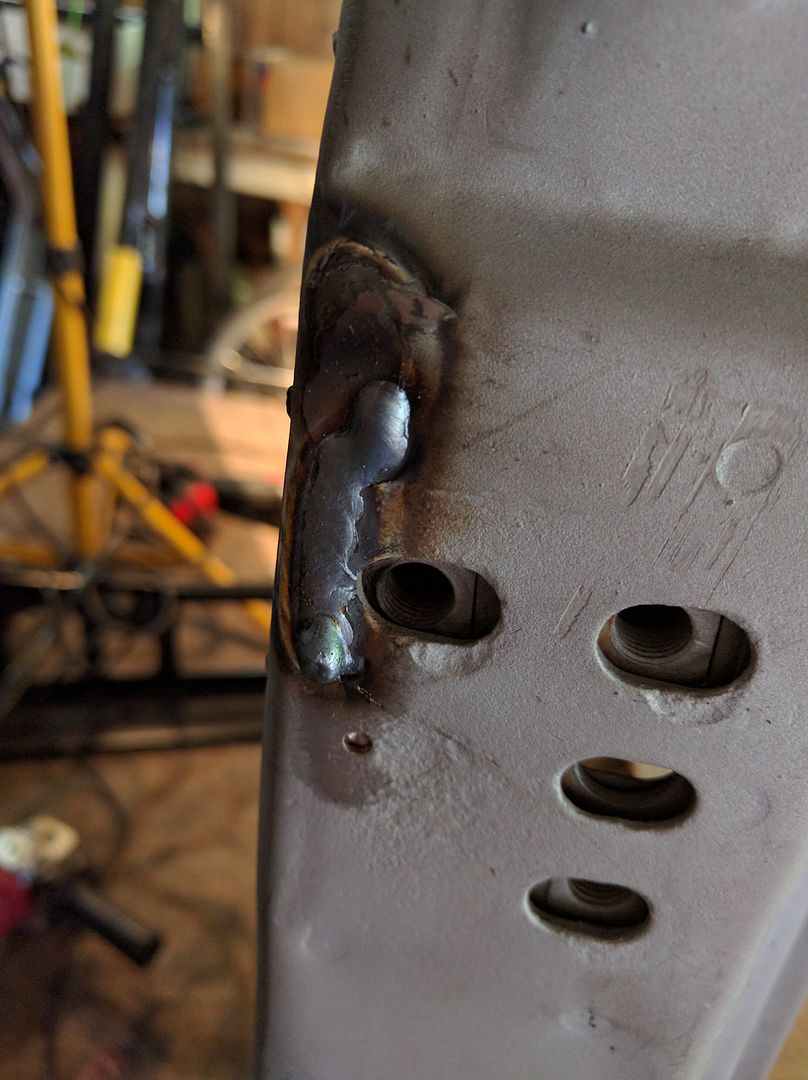
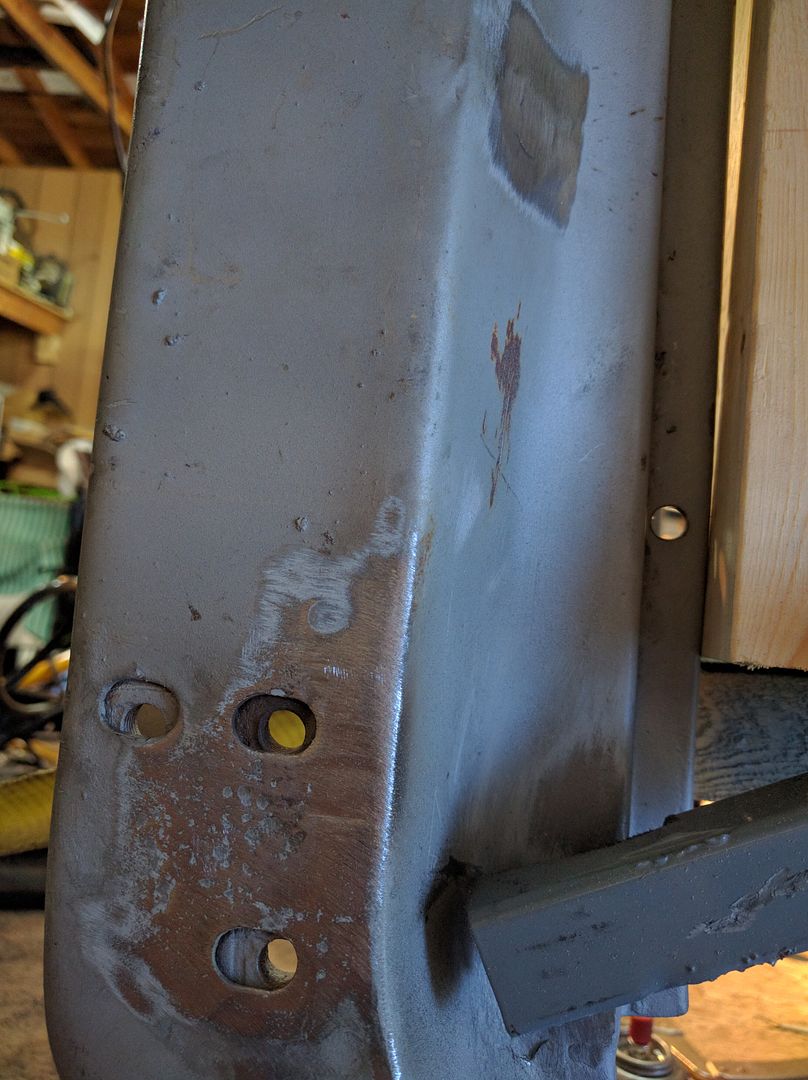
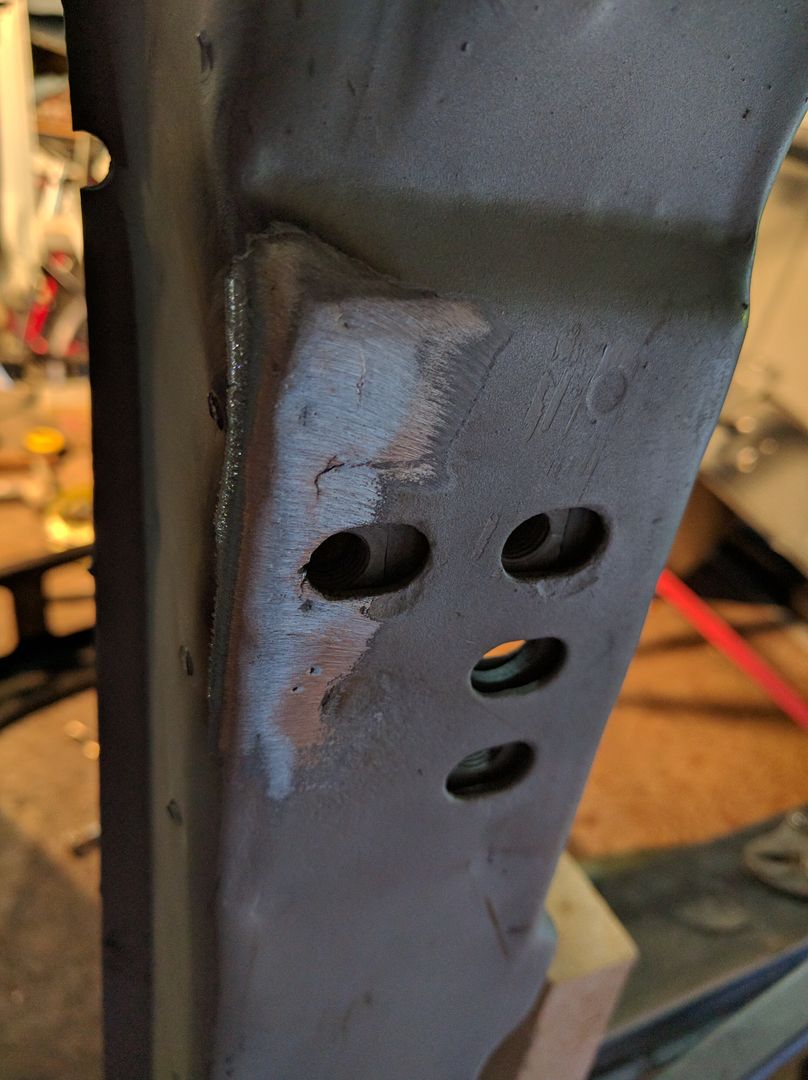
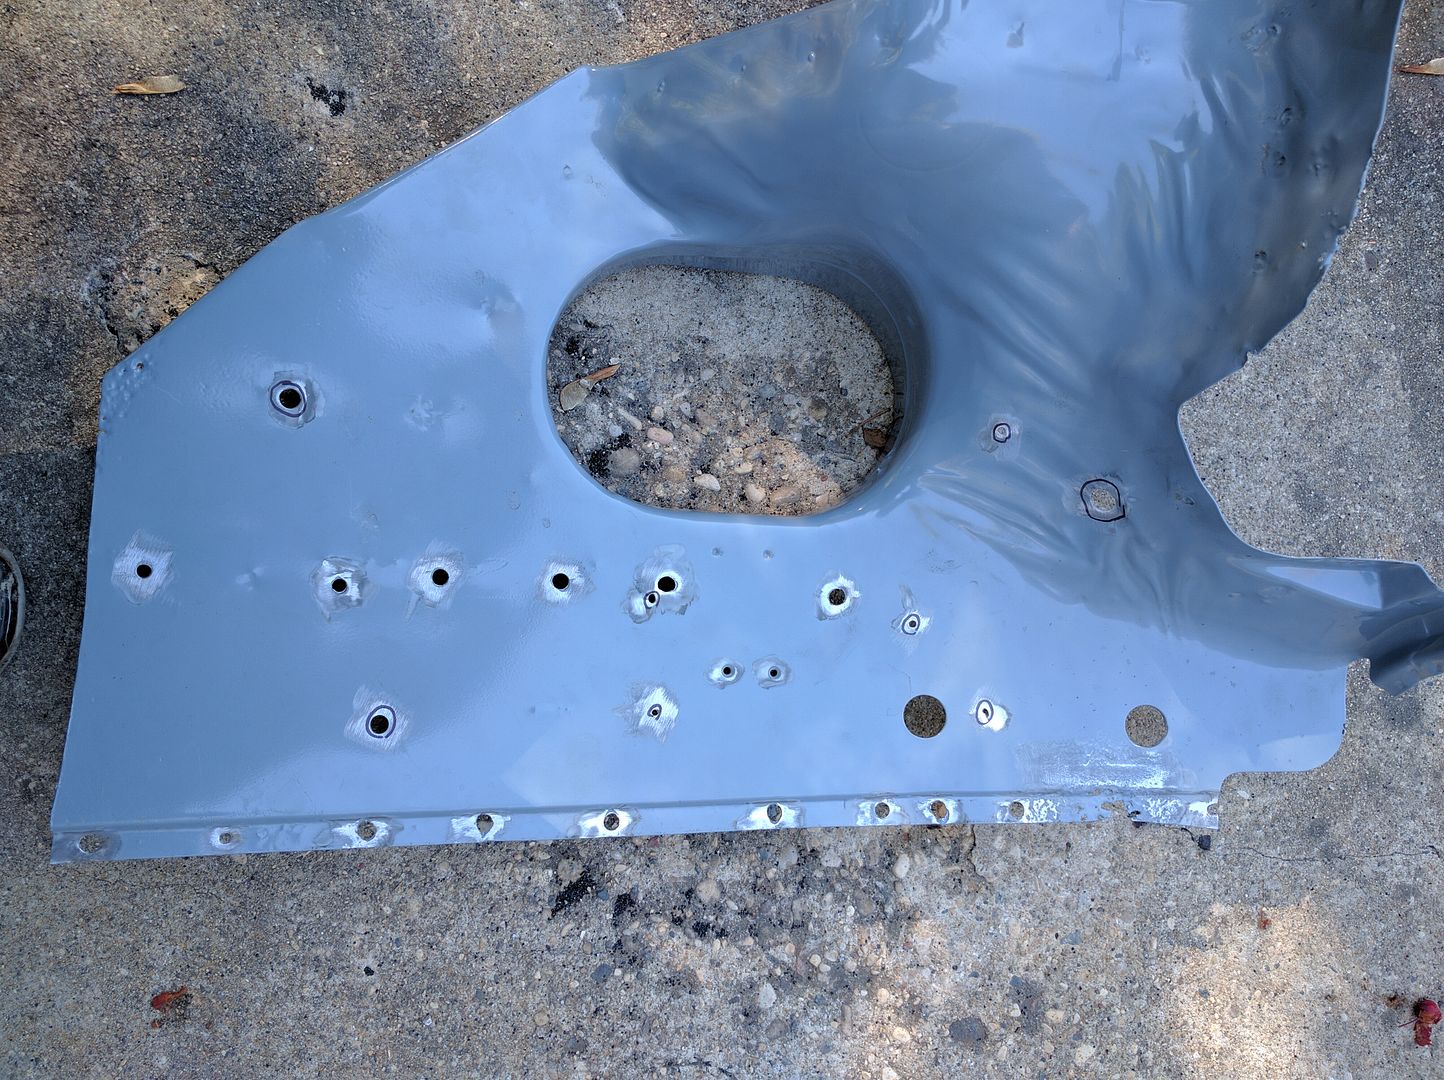
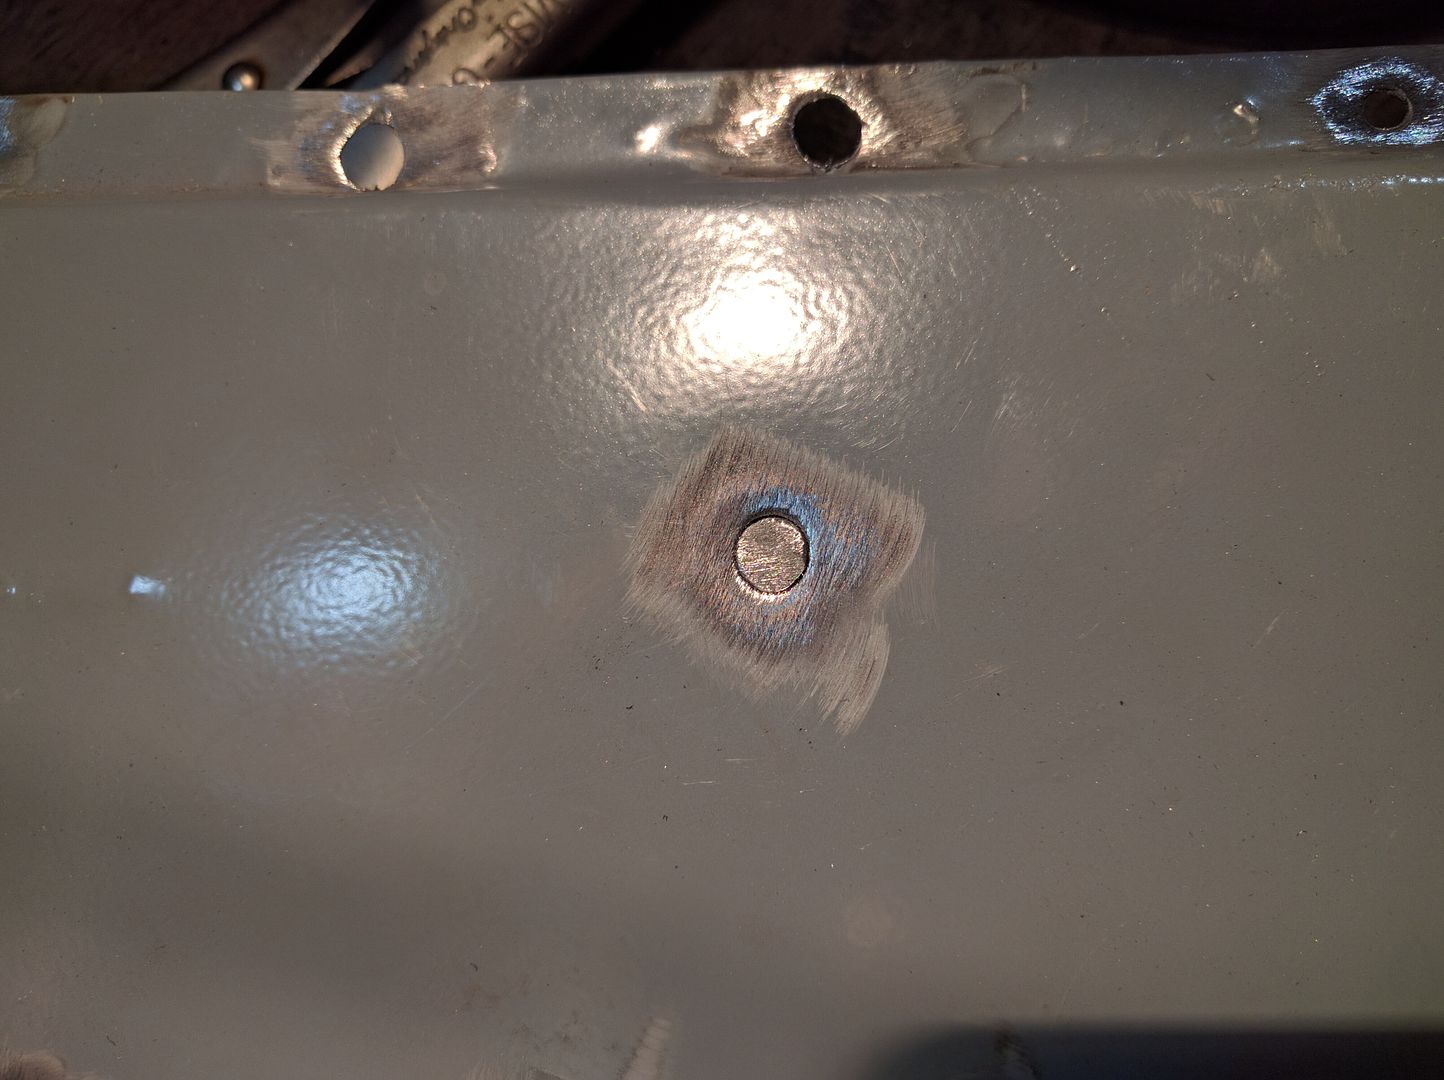
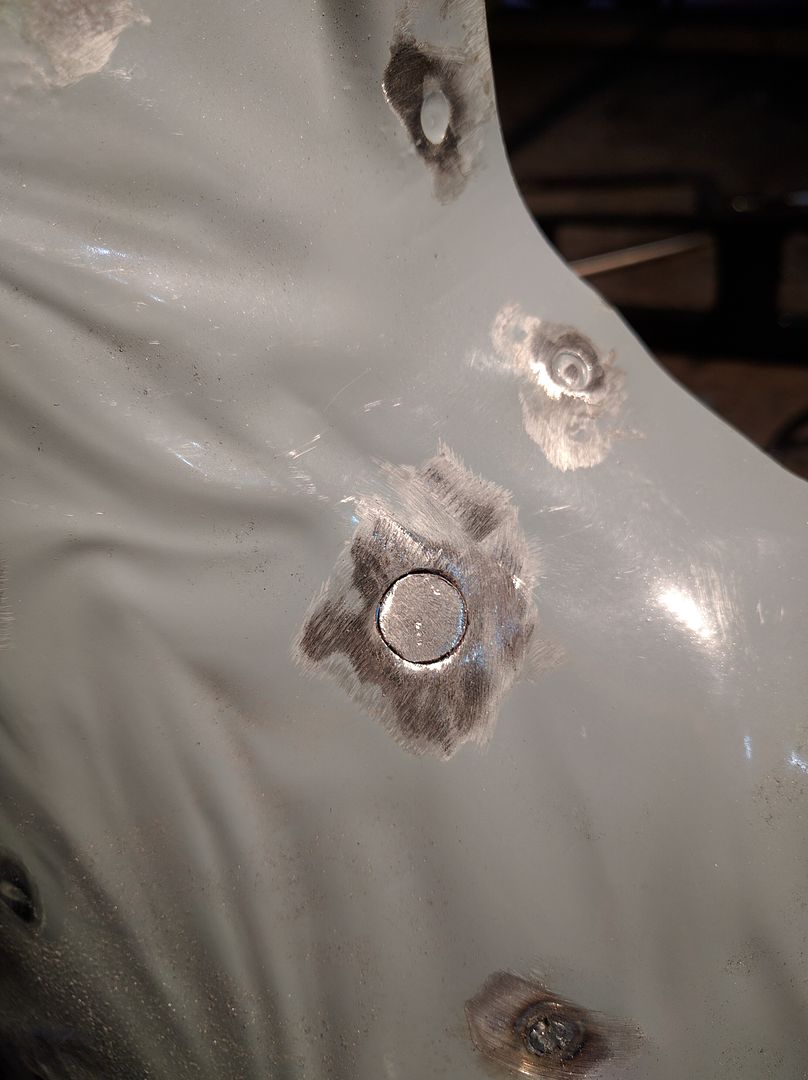
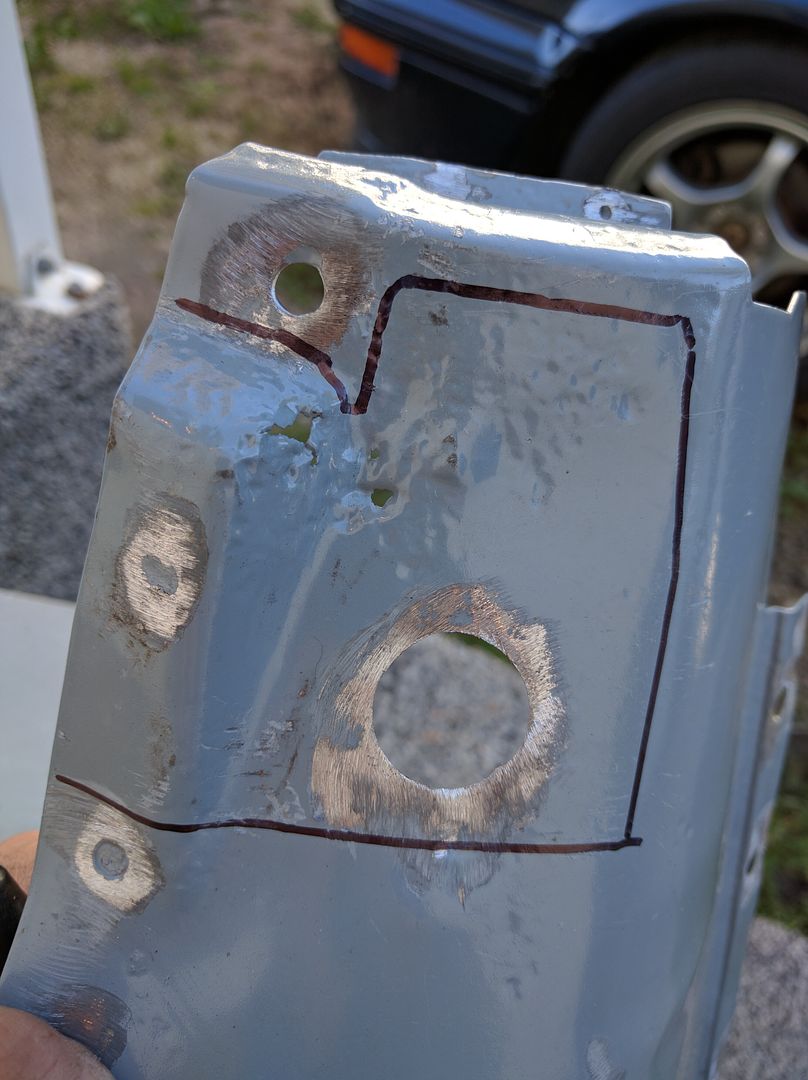
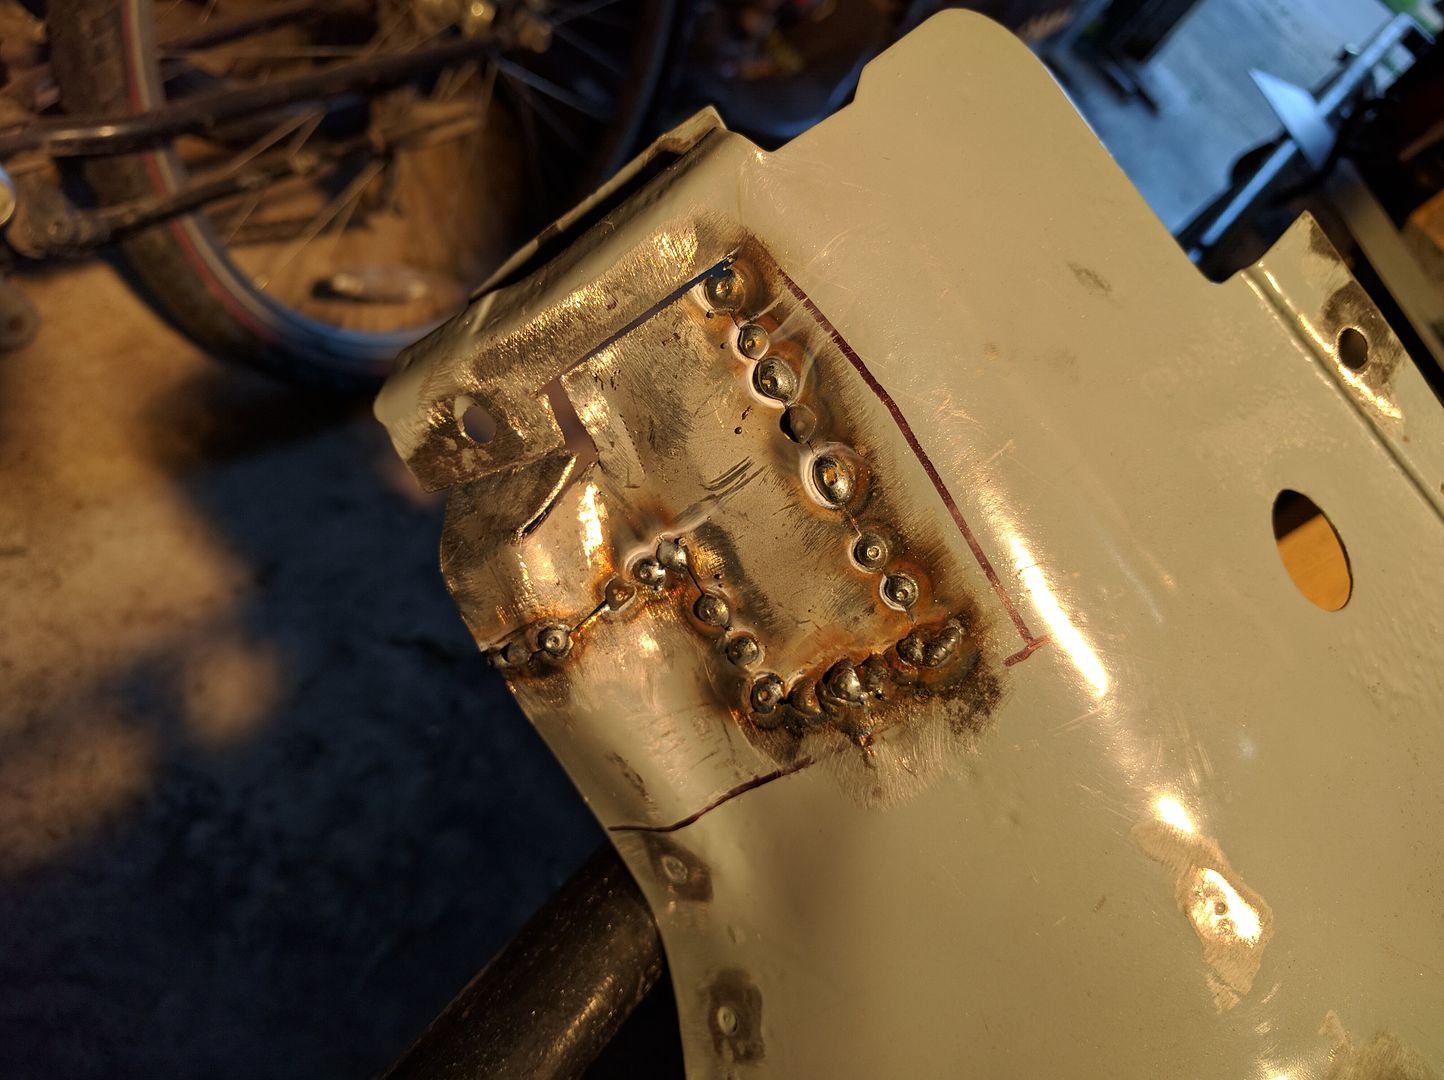
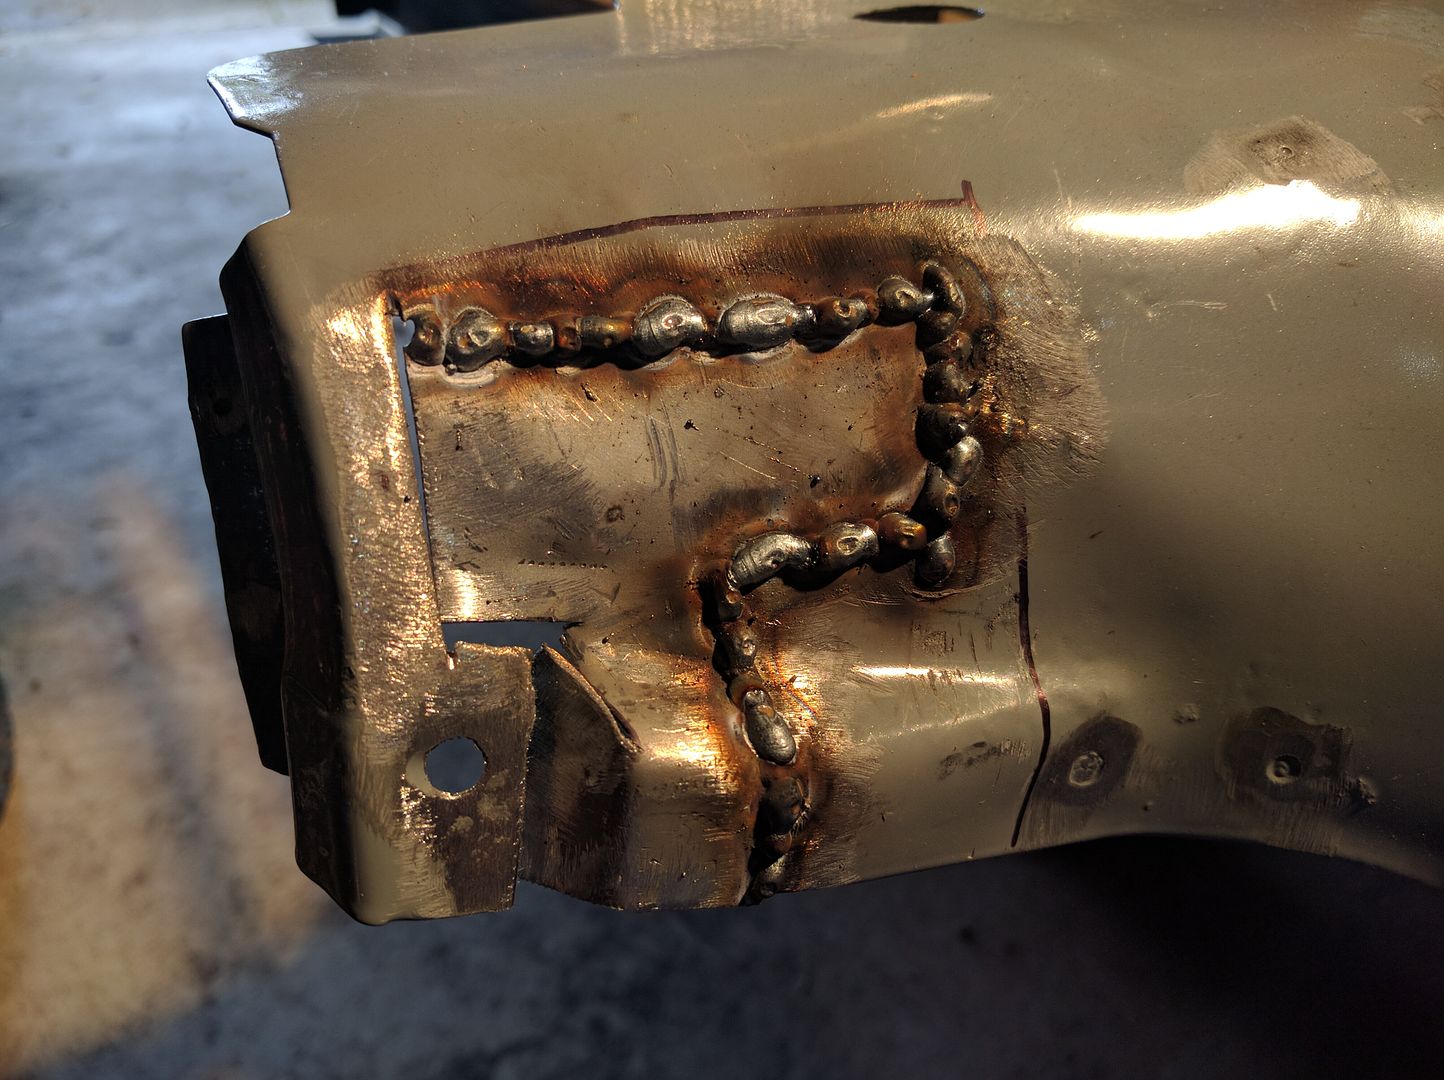
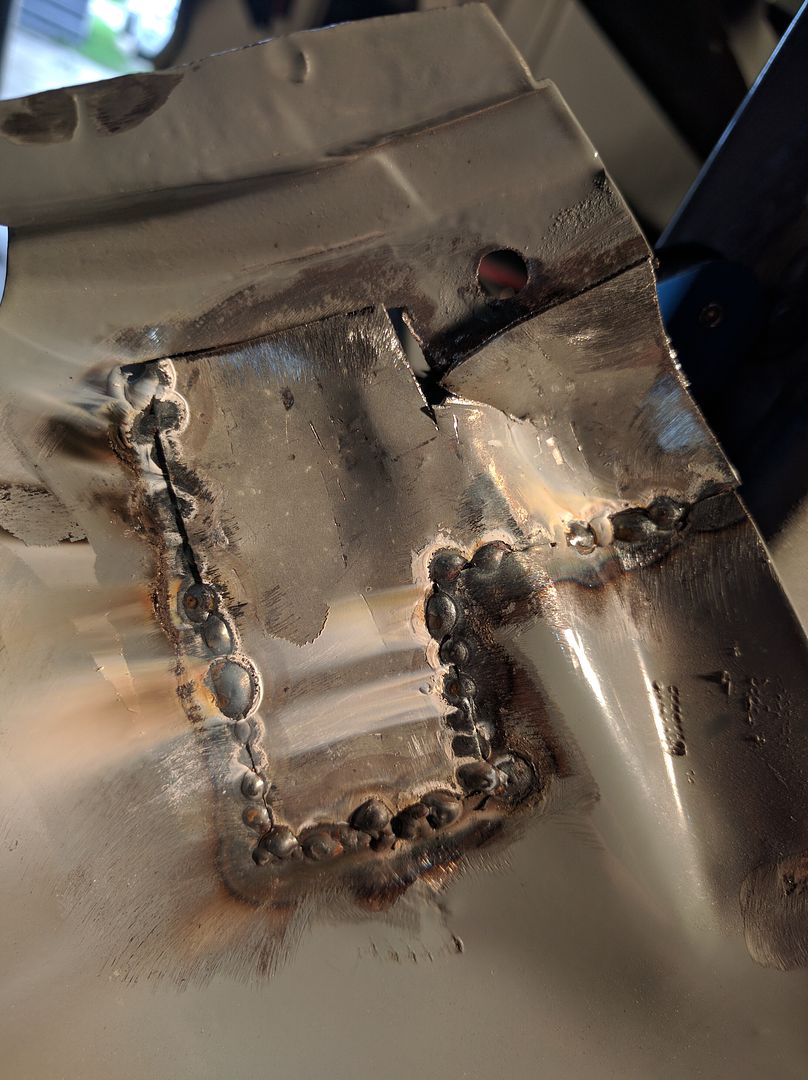
-patch up inner cowl, weld into place

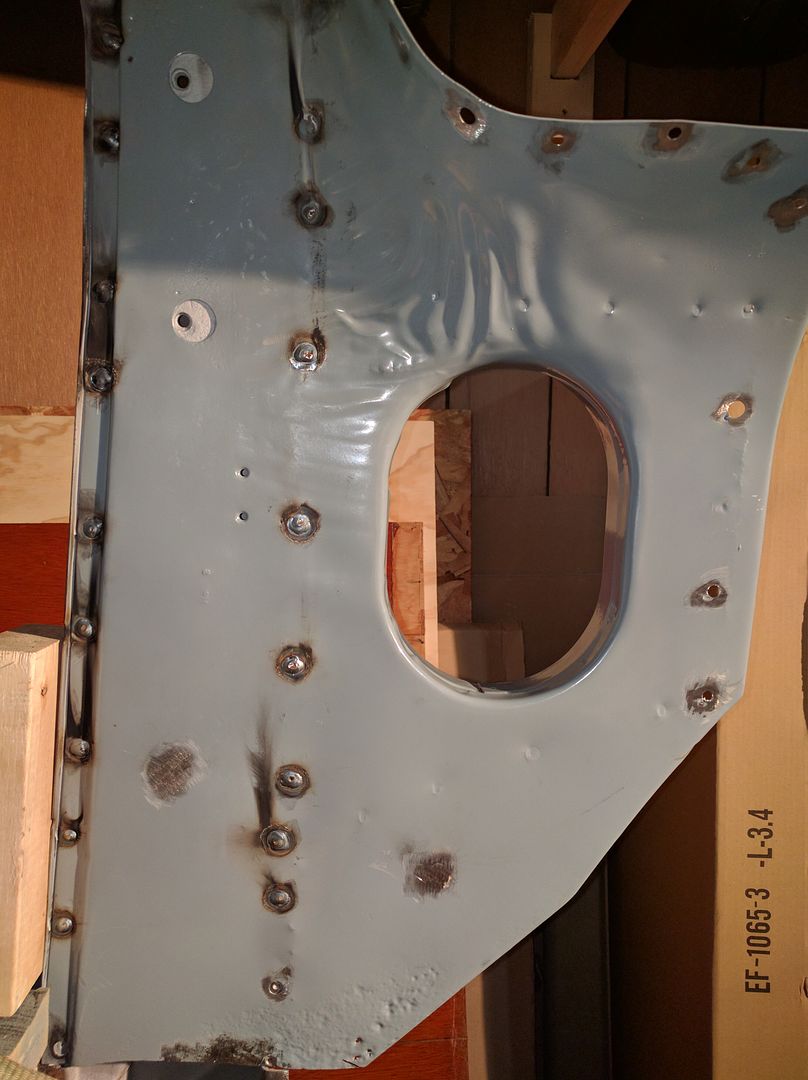
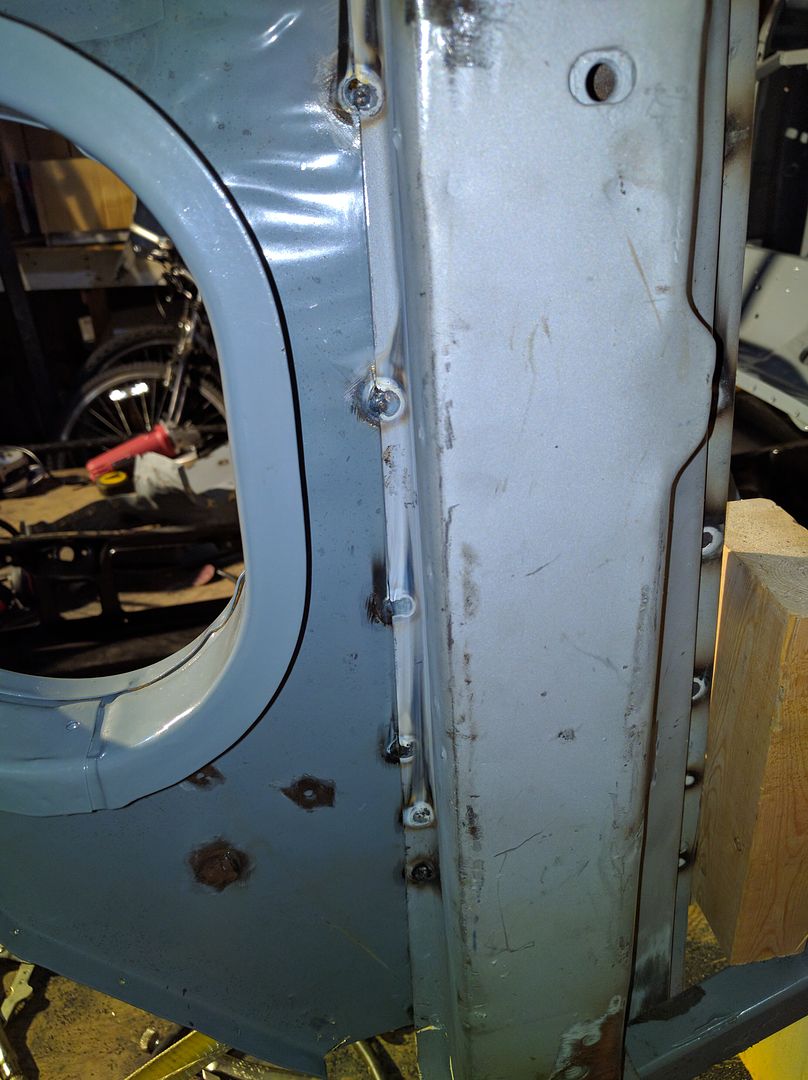
-weld outer cowl side supports into place

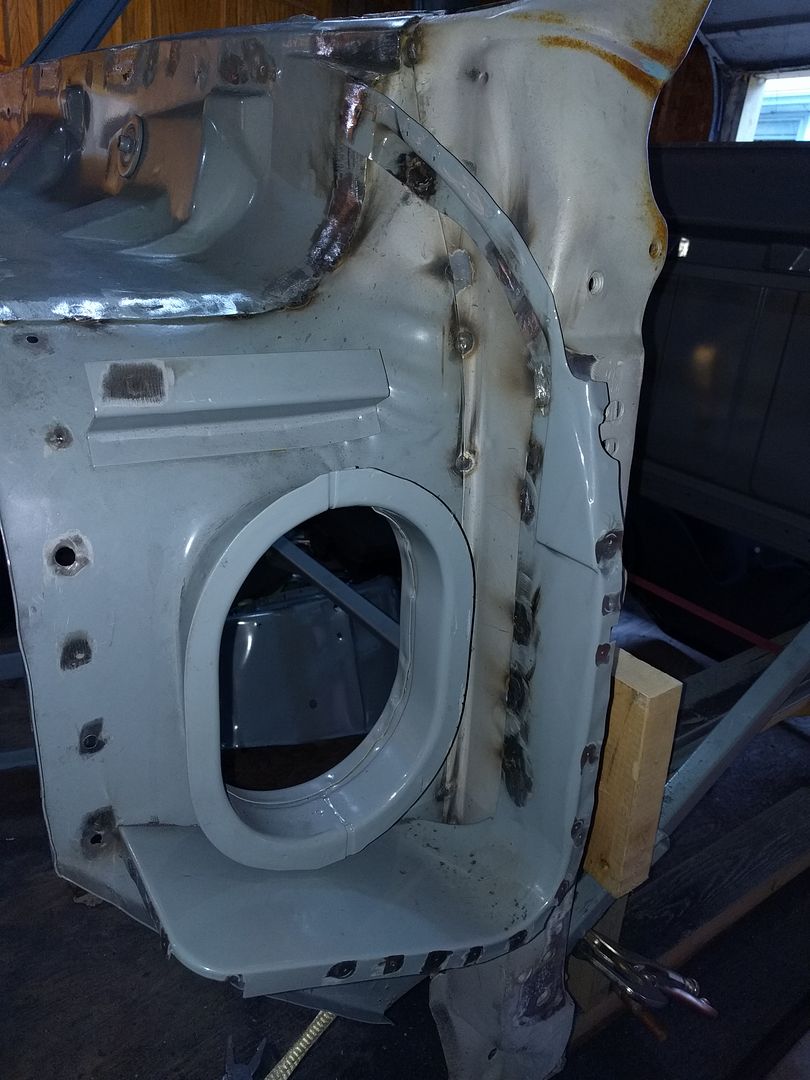
-weld outer cowl on? or weld firewall on.

-weld firewall on? or outer cowl. Not sure which order is better

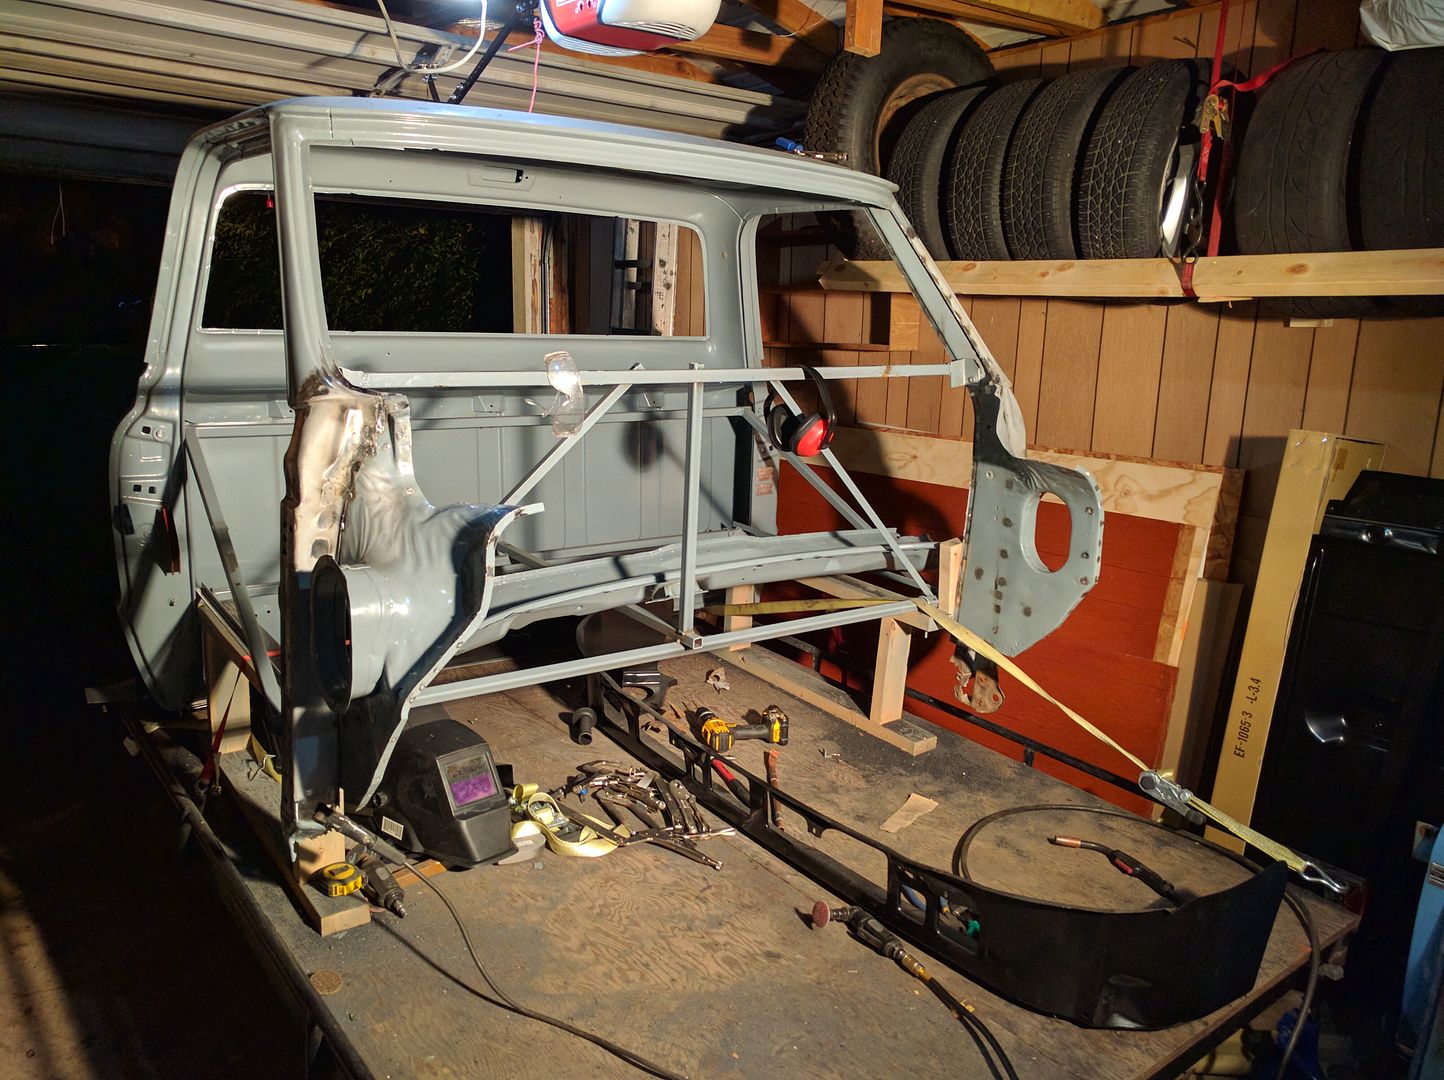
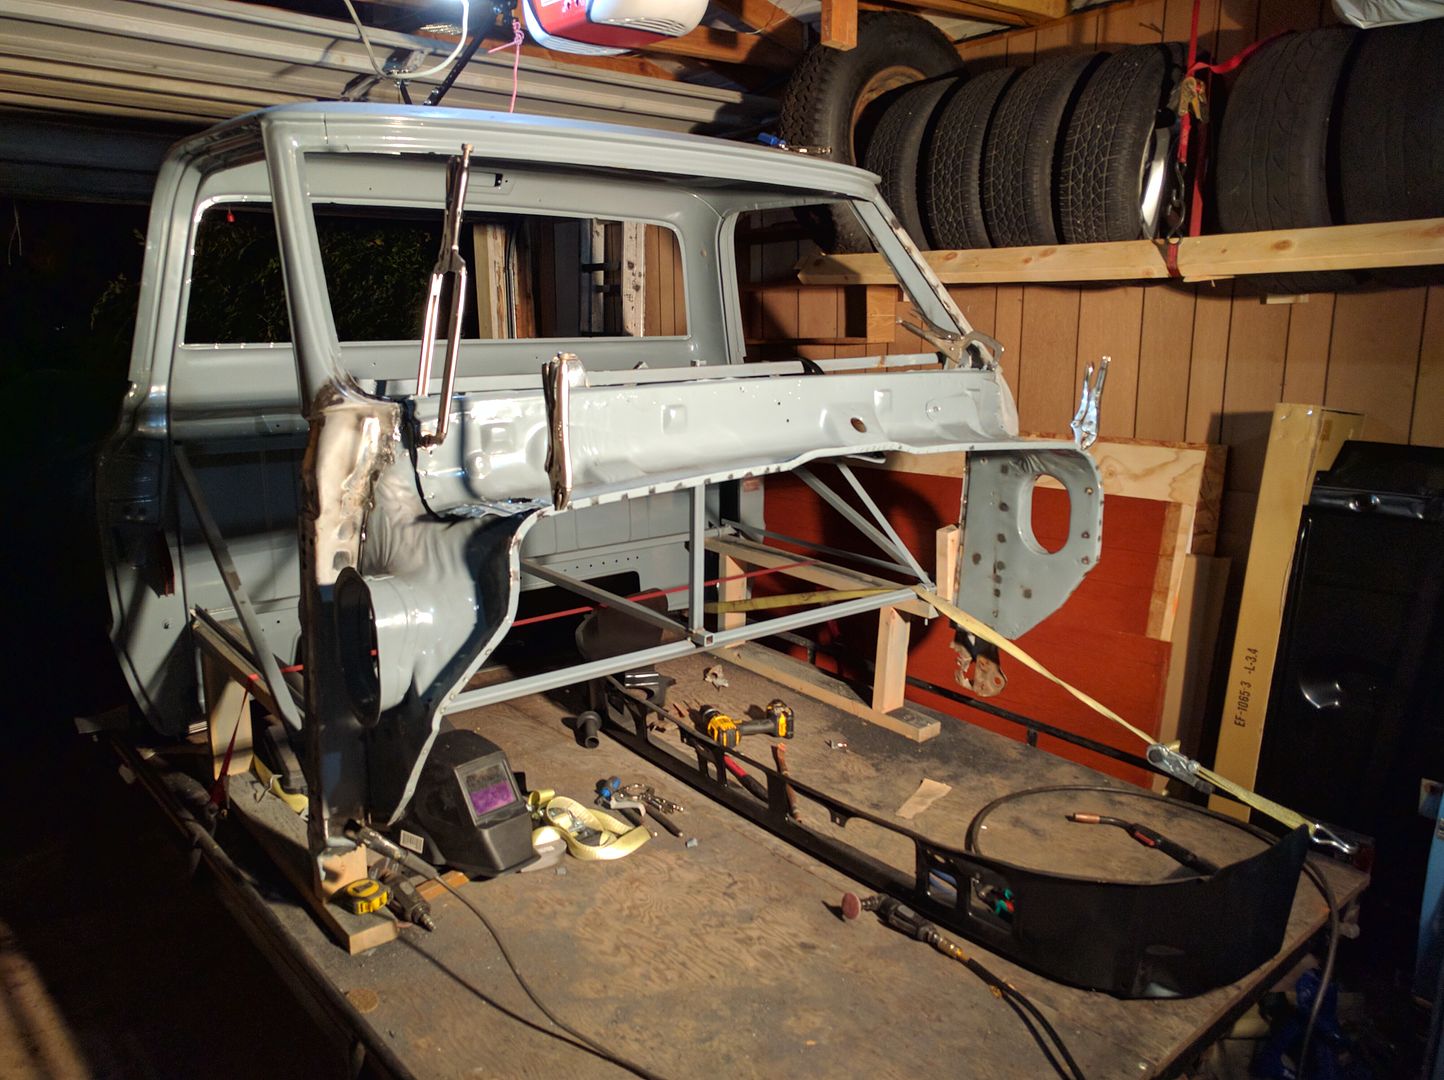
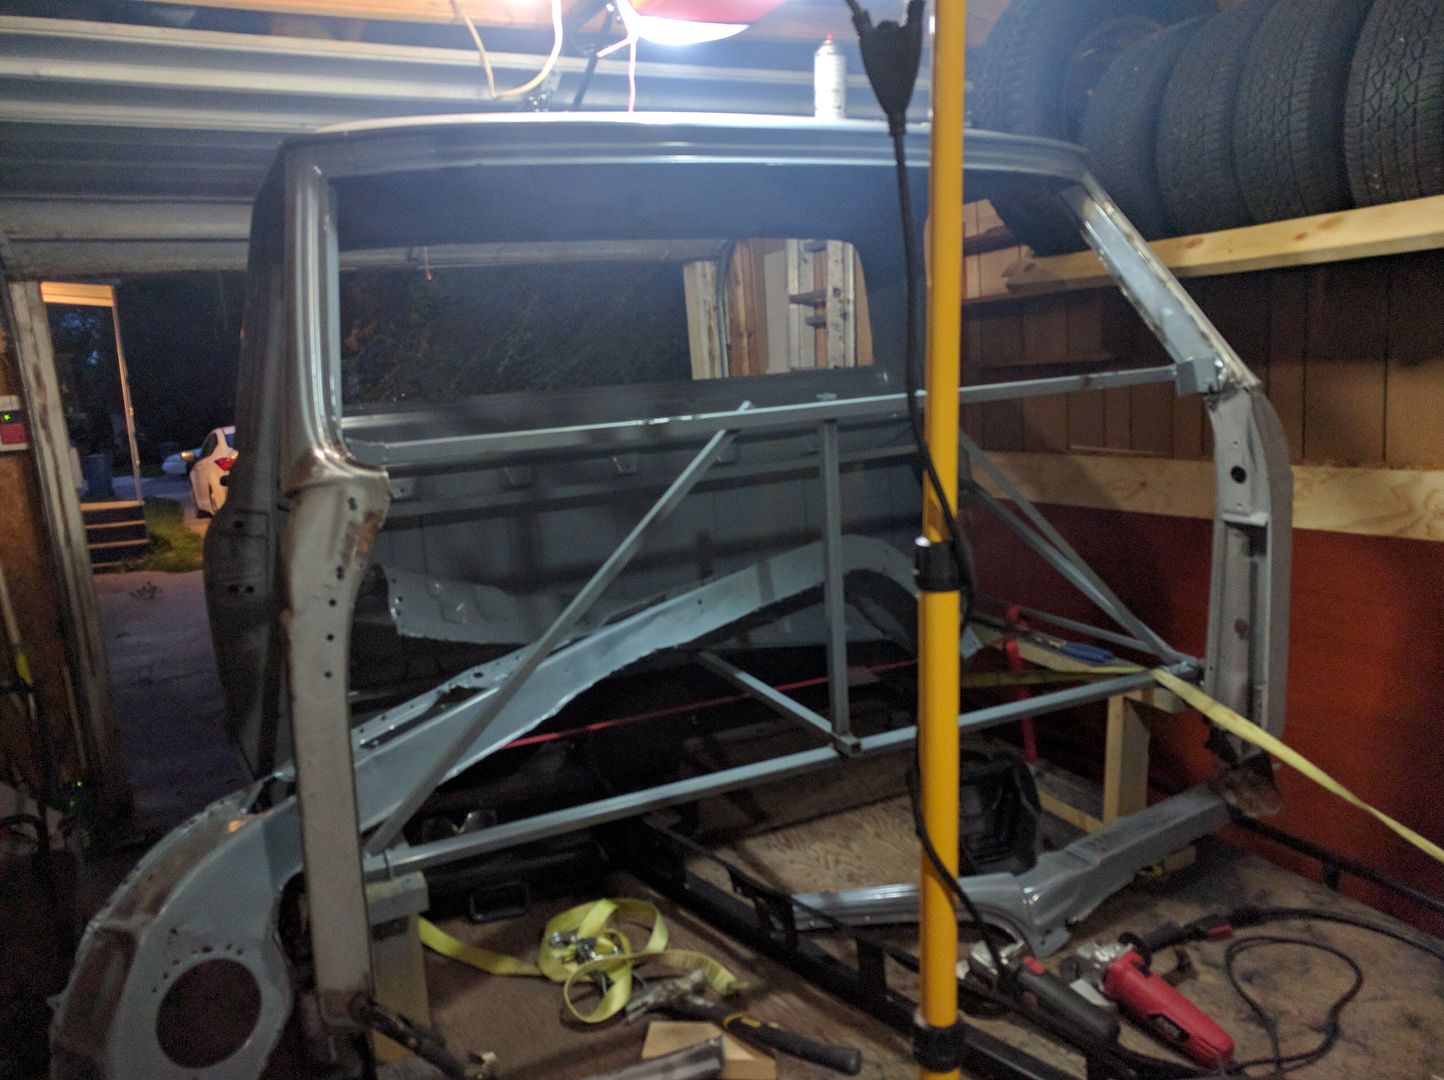
-mount floor to chassis, lower cab onto floor.

-measure things 1000 times, because can't hang doors with the way I braced the cab. Maybe put the front clip back on to check

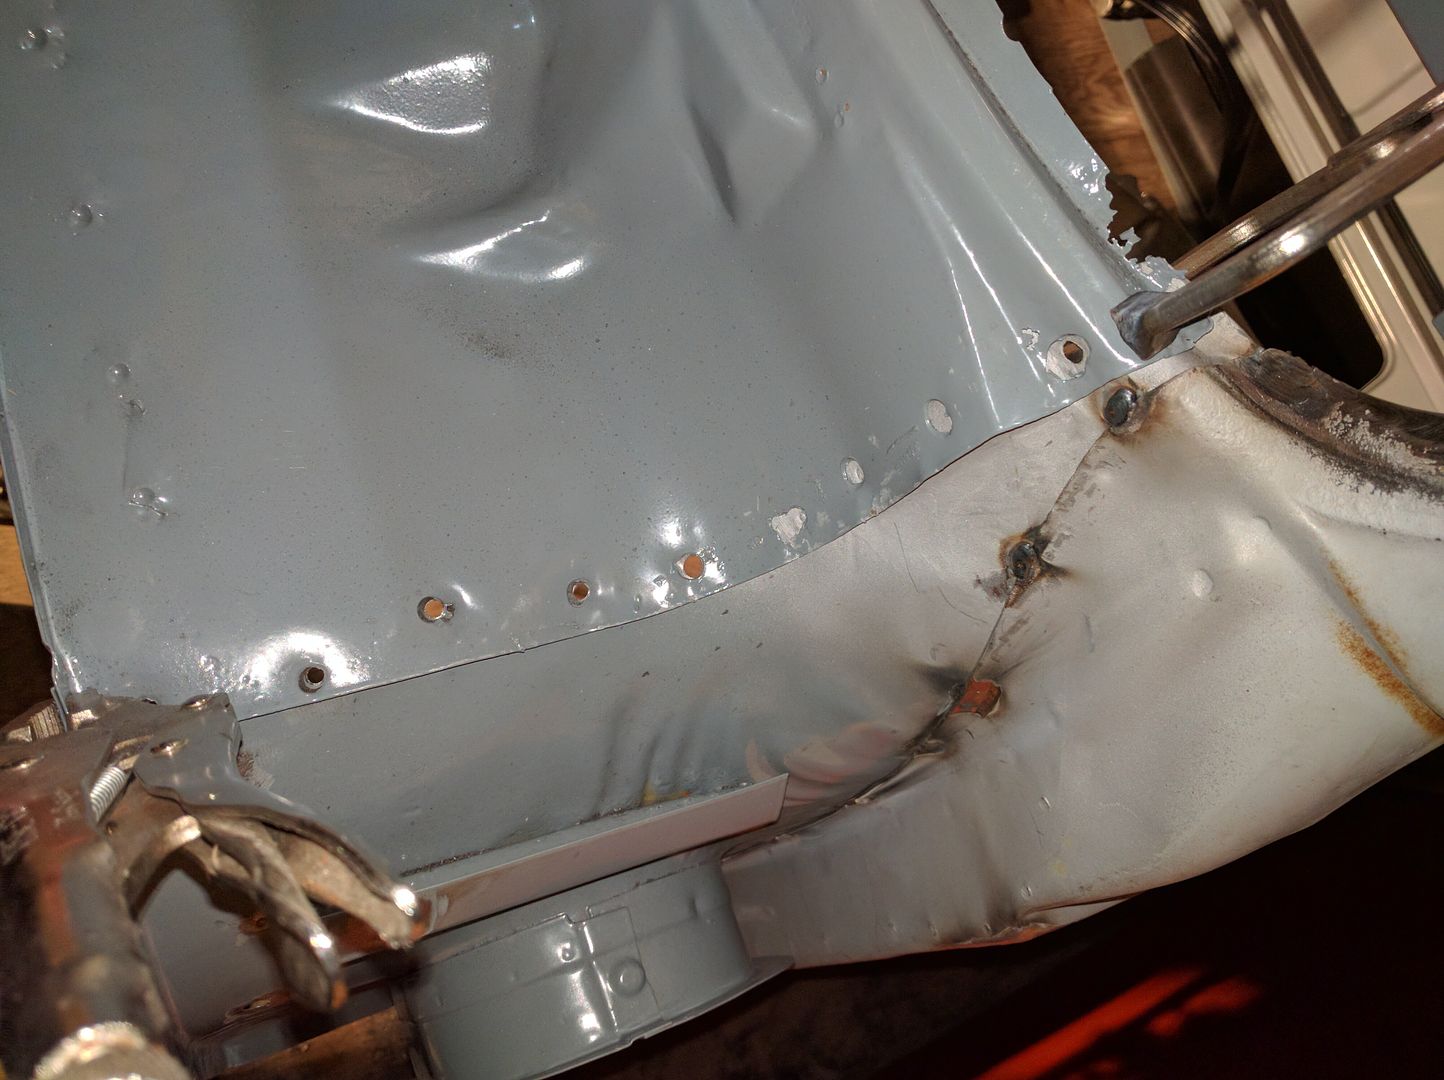
-tack floor into place

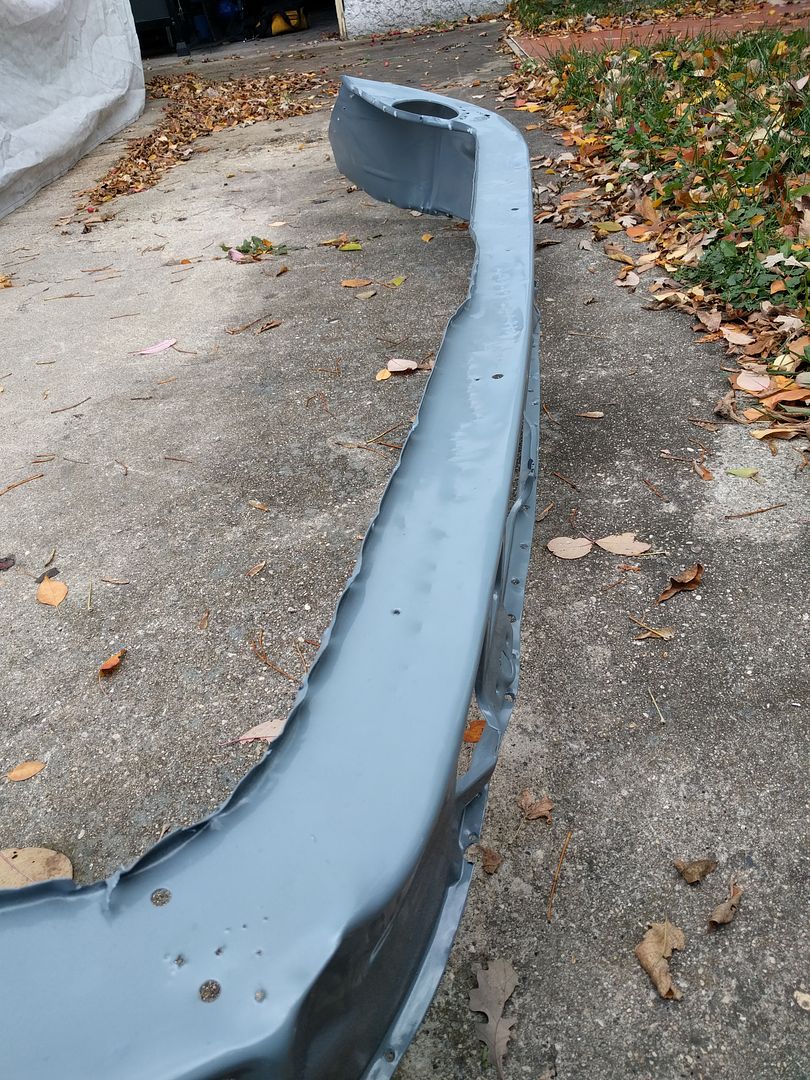
-weld in the floor extension pieces that run up the bottom of the firewall

-weld seem between floor and firewall. There will be fitment issues here from the two aftermarket pieces, guaranteed

-remove cab bracing

-hang doors, cross fingers

-if doors miraculously fit and if I don't have to slot out holes, shim things, and weld a bunch of filler rod to the edges of the doors to make things fit I can move on to patching small holes here and there

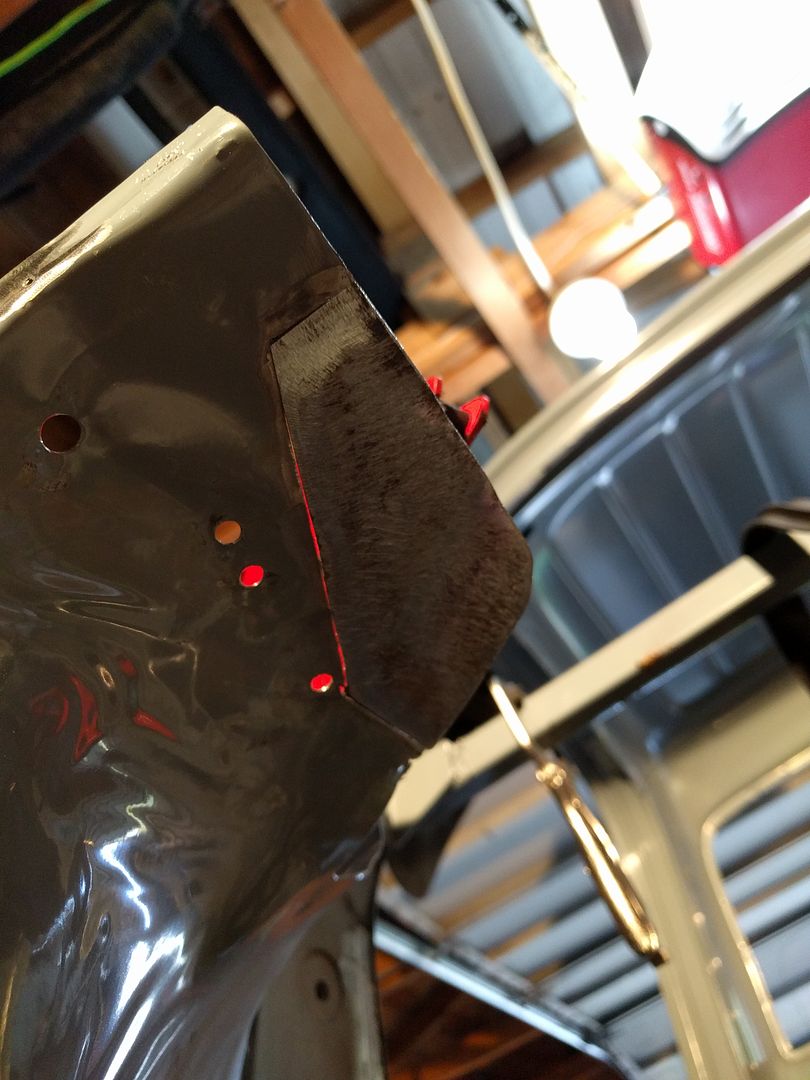
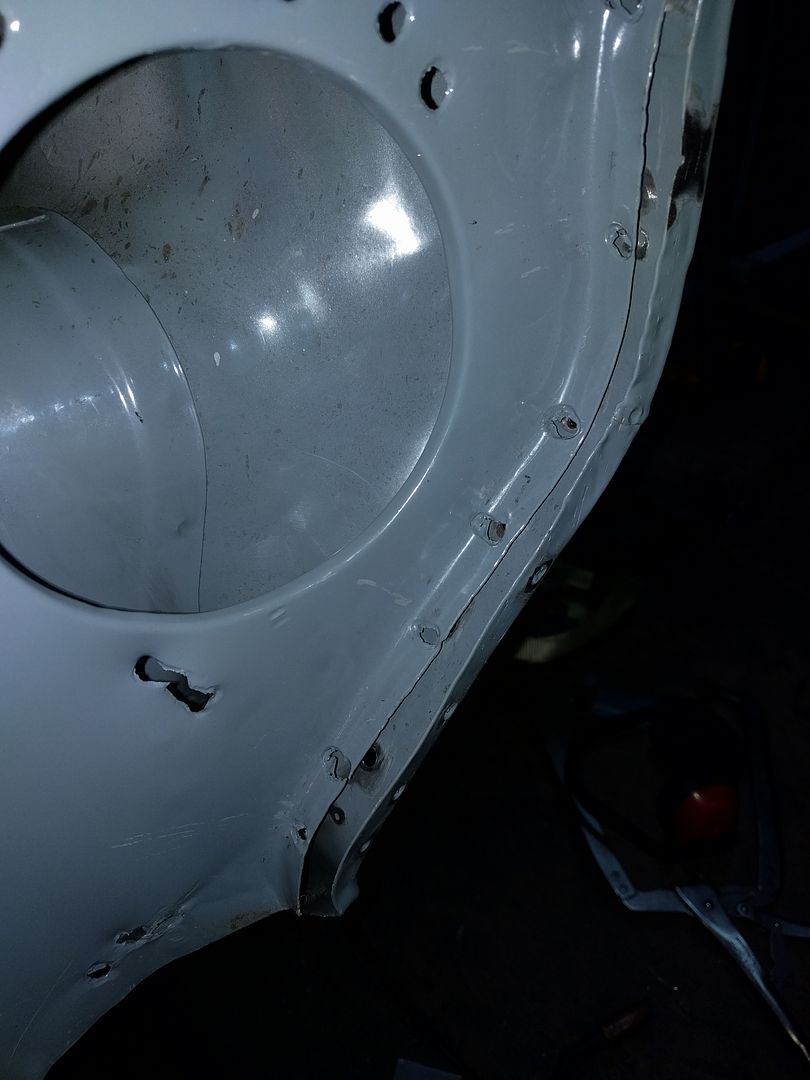
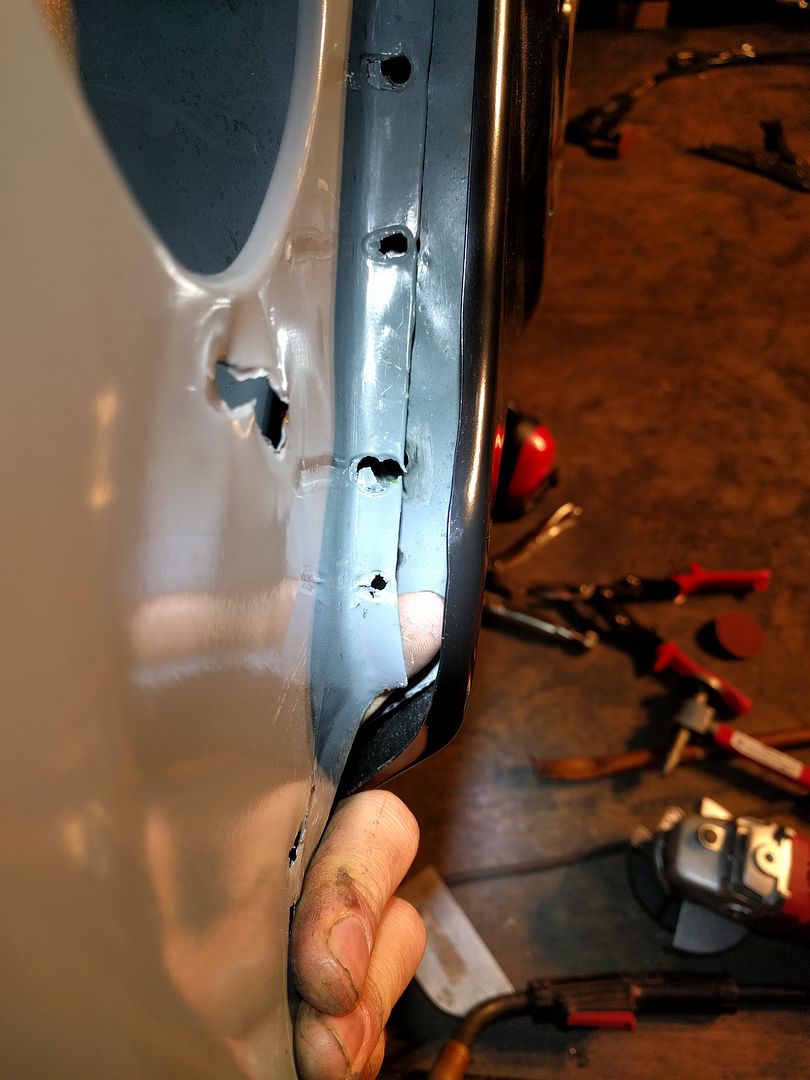
-replace/patch cab corners

-with doors in place, fit and weld in outer rockers

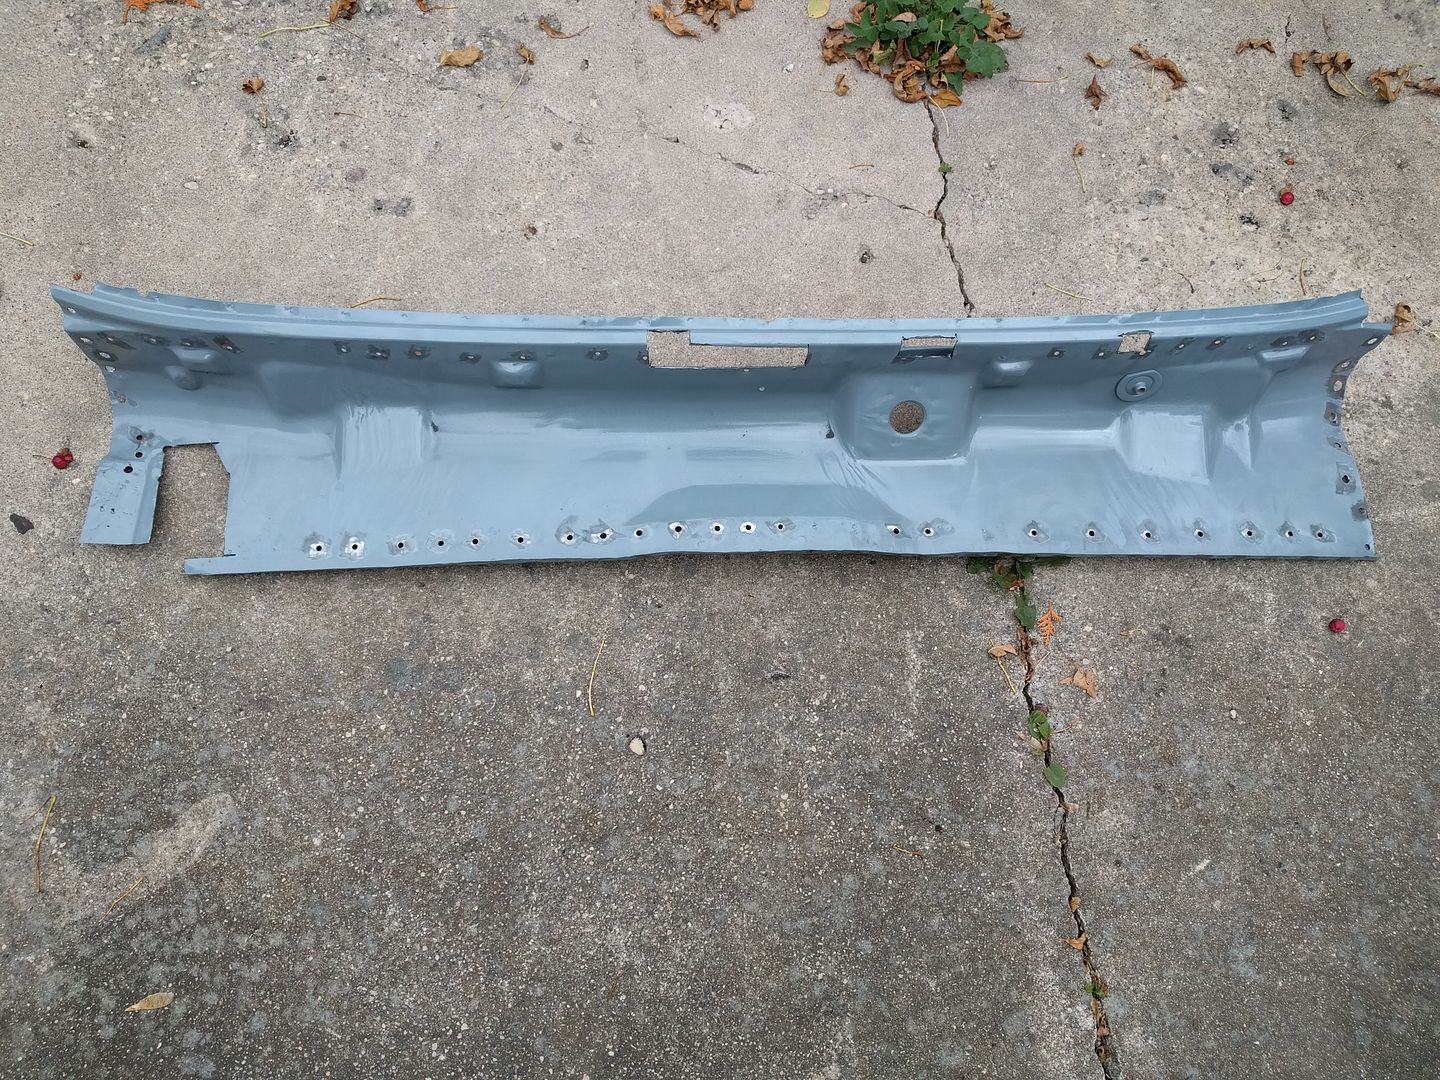
-fit and weld in dash

-paint

-assemble

All work will stop around when snow flies (~end of October/beginning of Nov) and only resume in spring. Wish I had a nice insulated workspace to keep plugging away at it all winter!
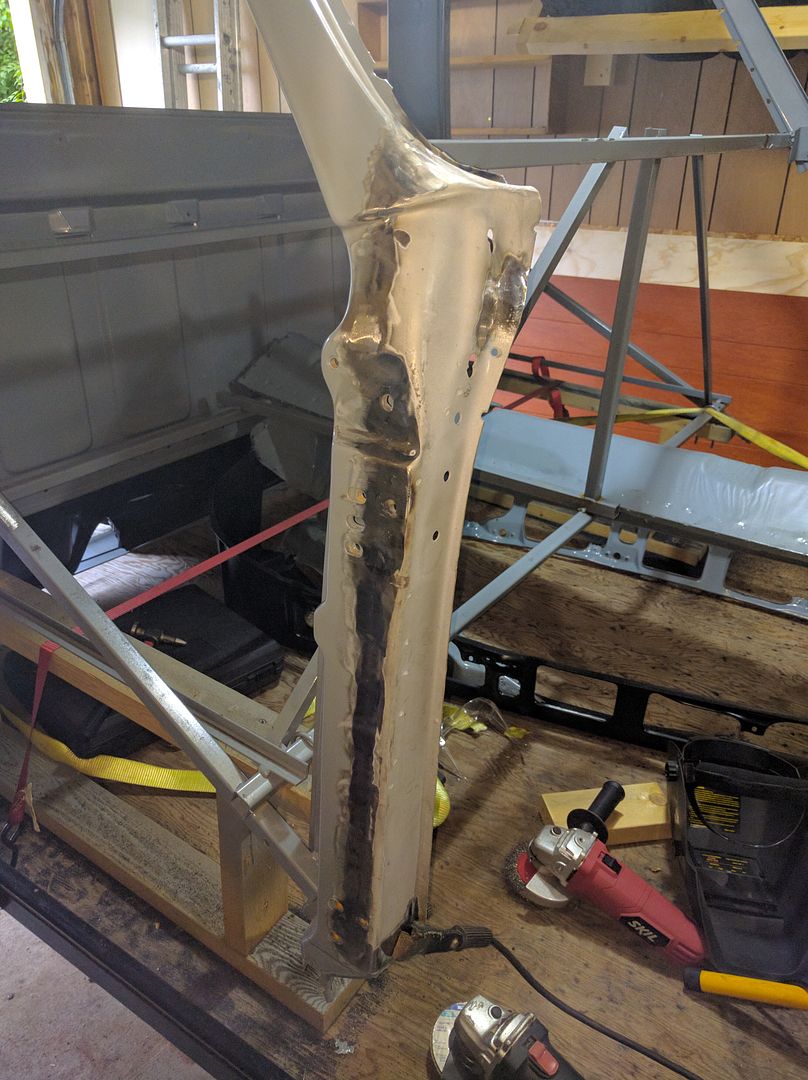
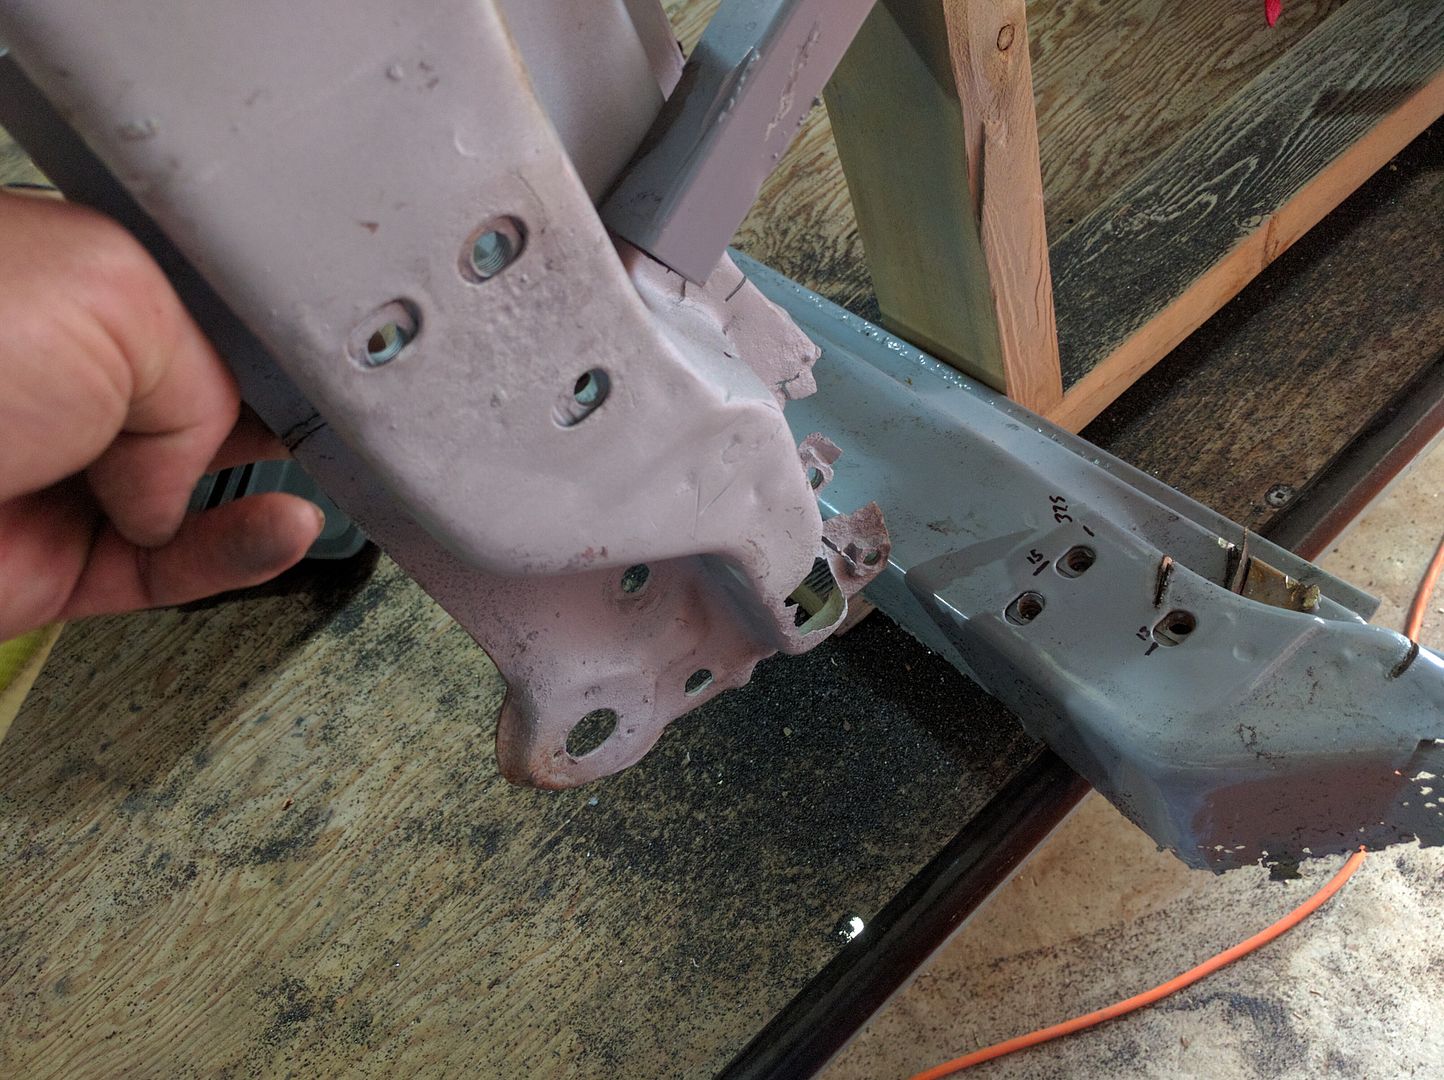
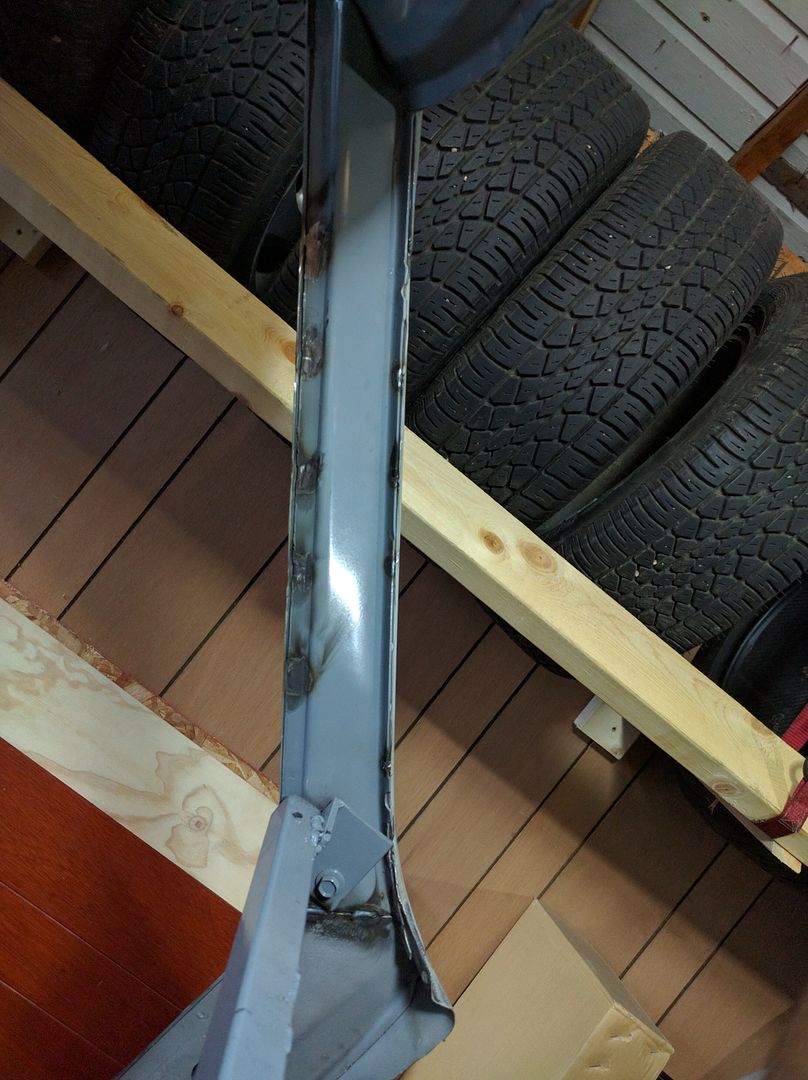
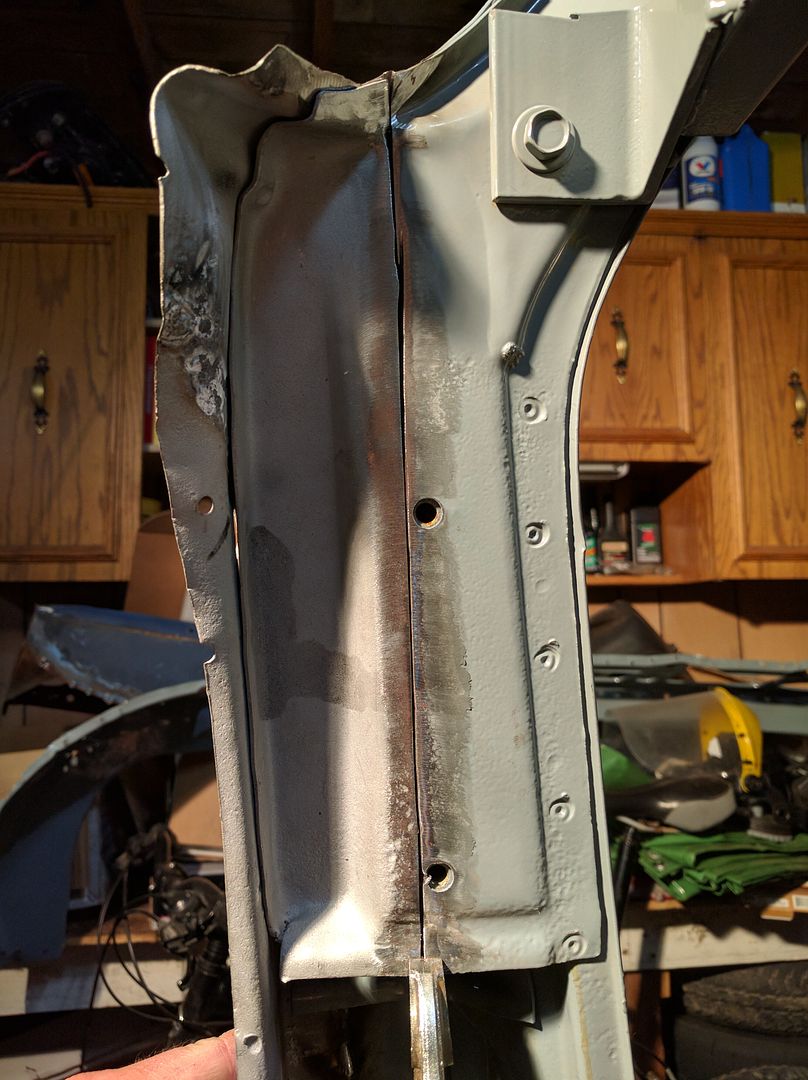
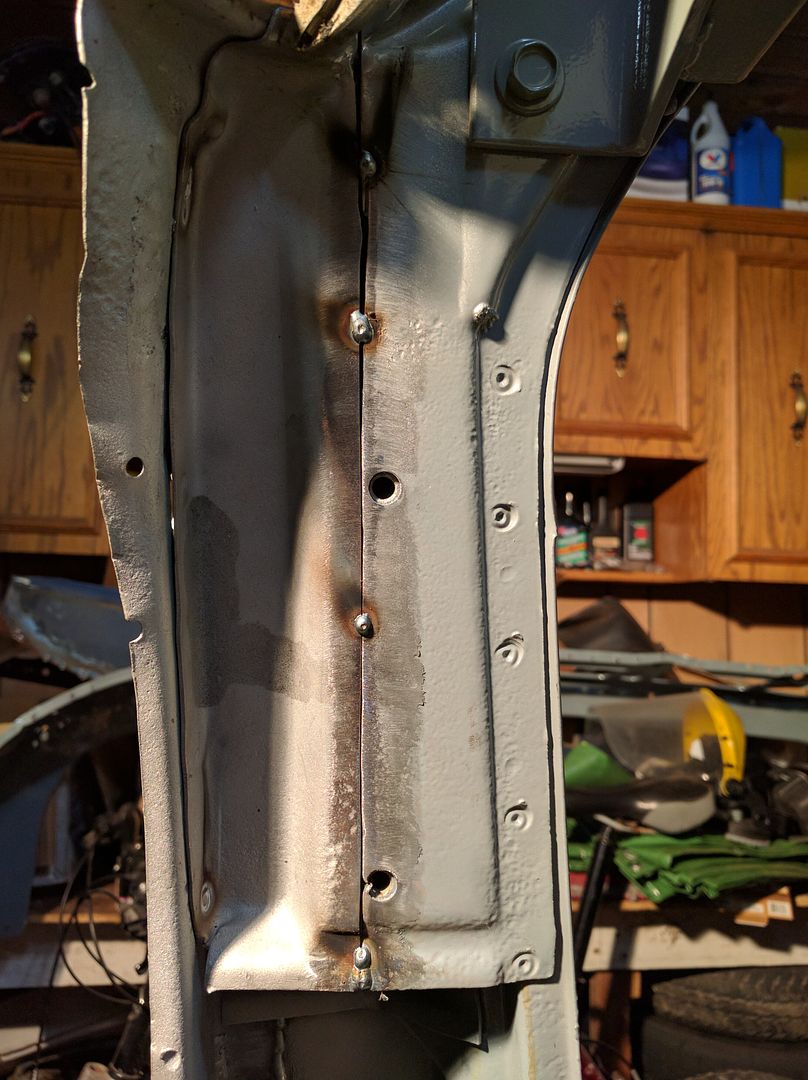
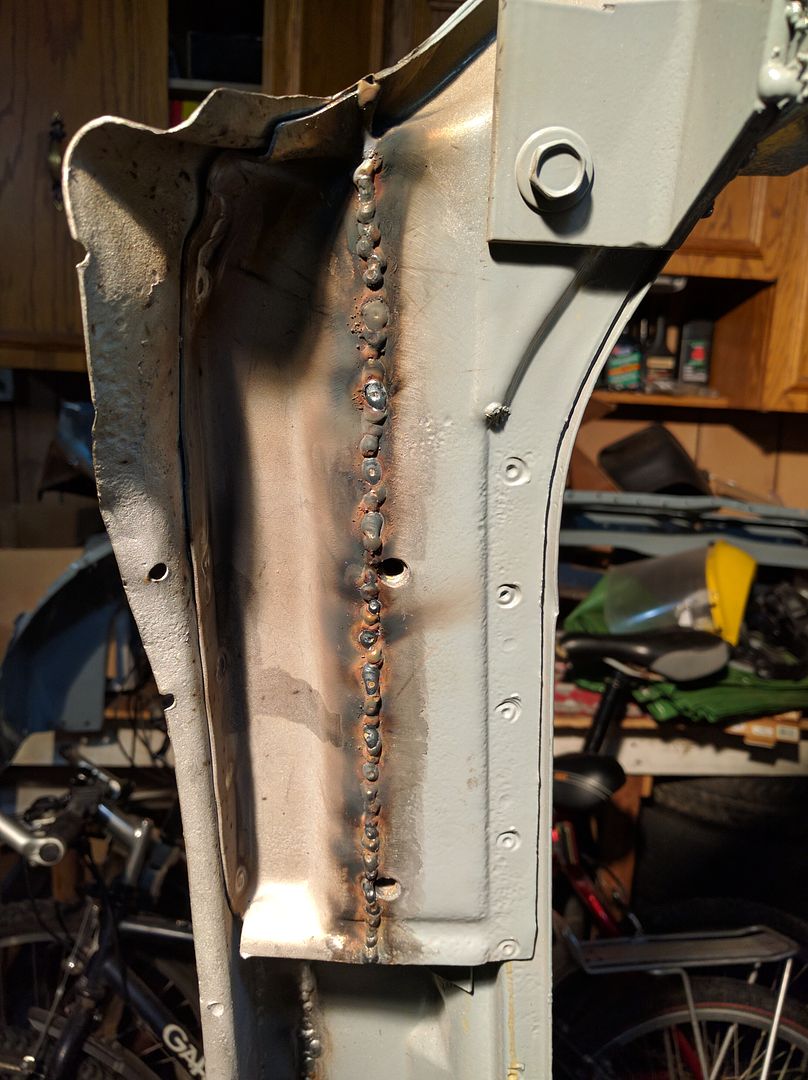
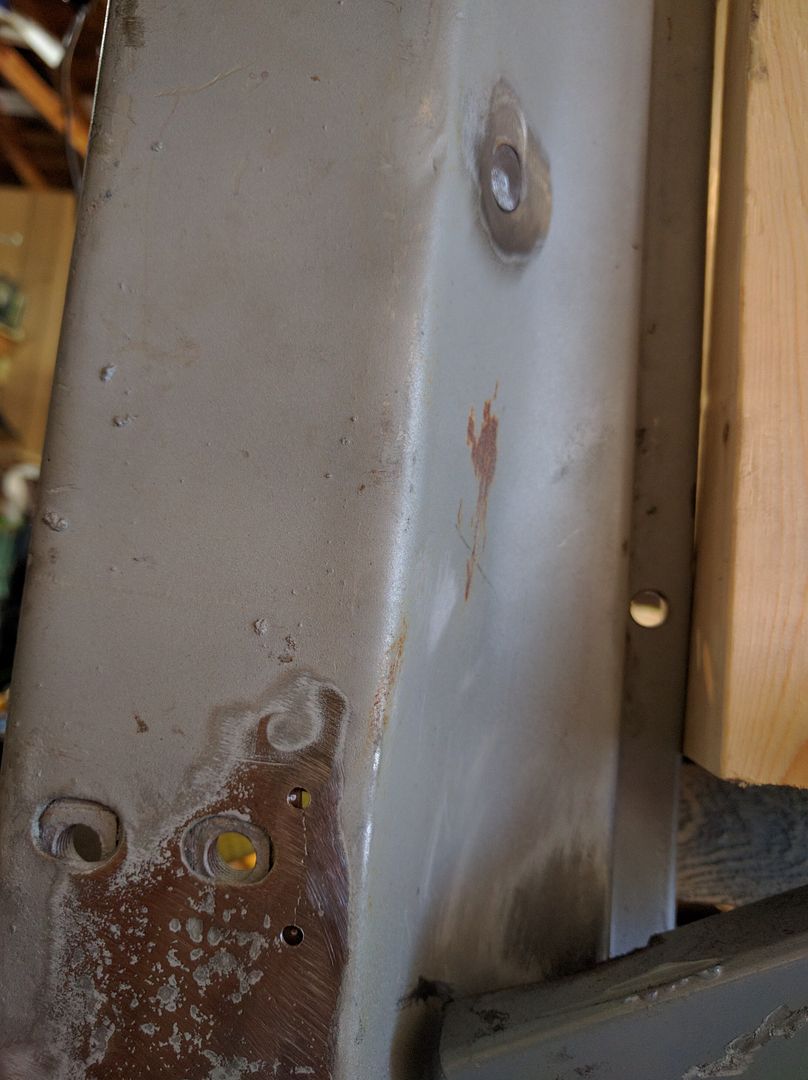
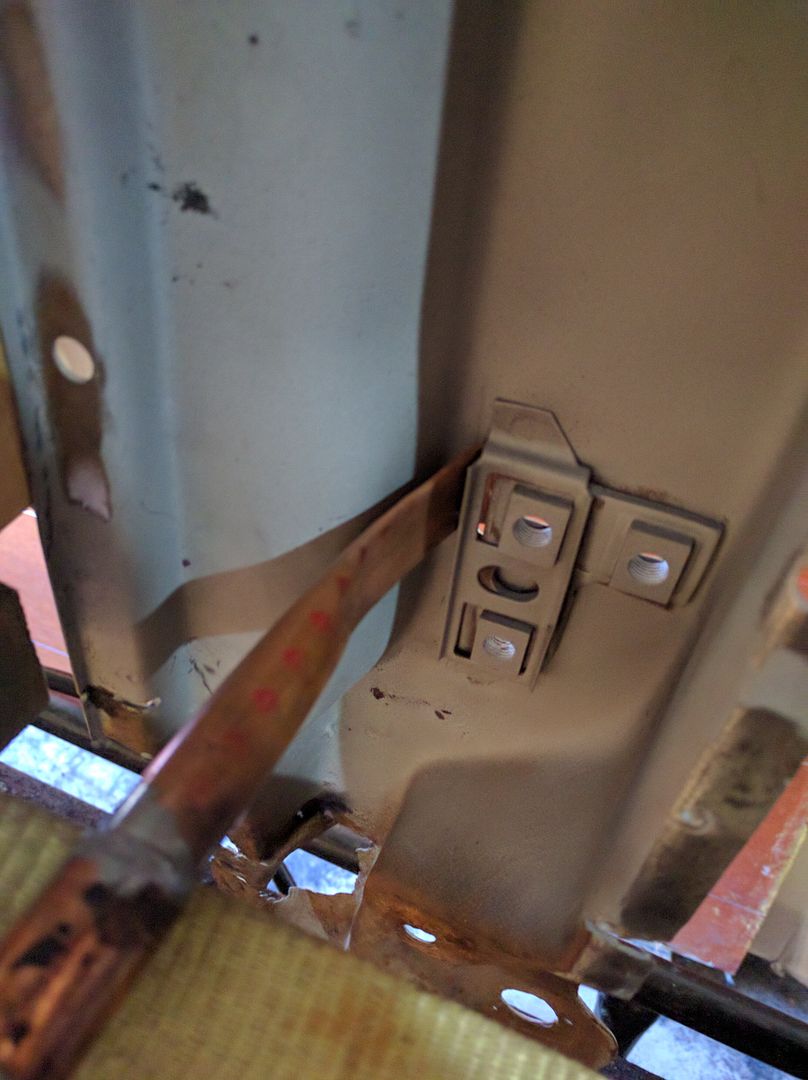
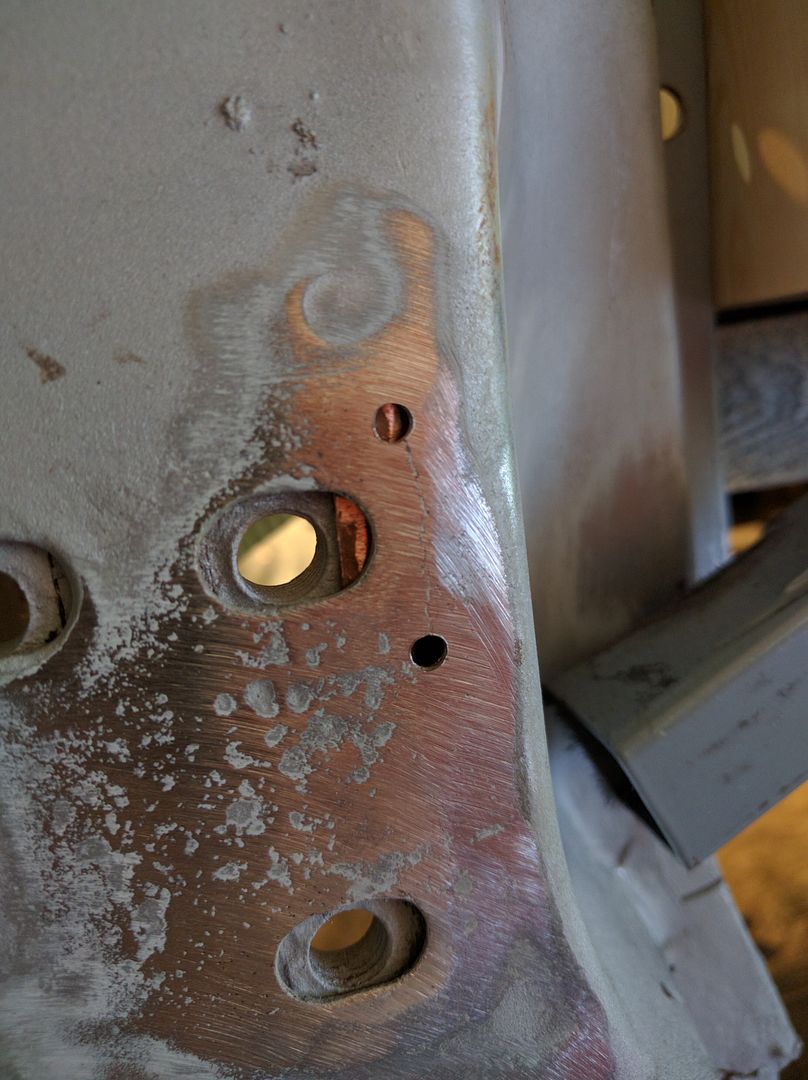
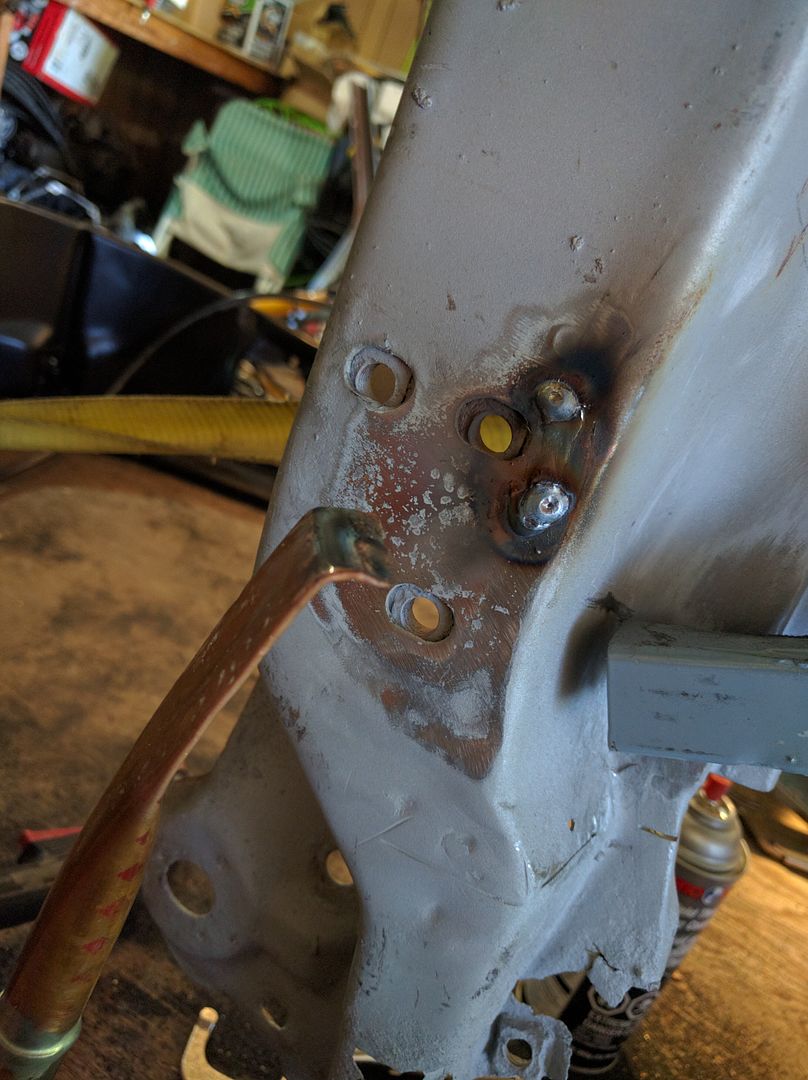
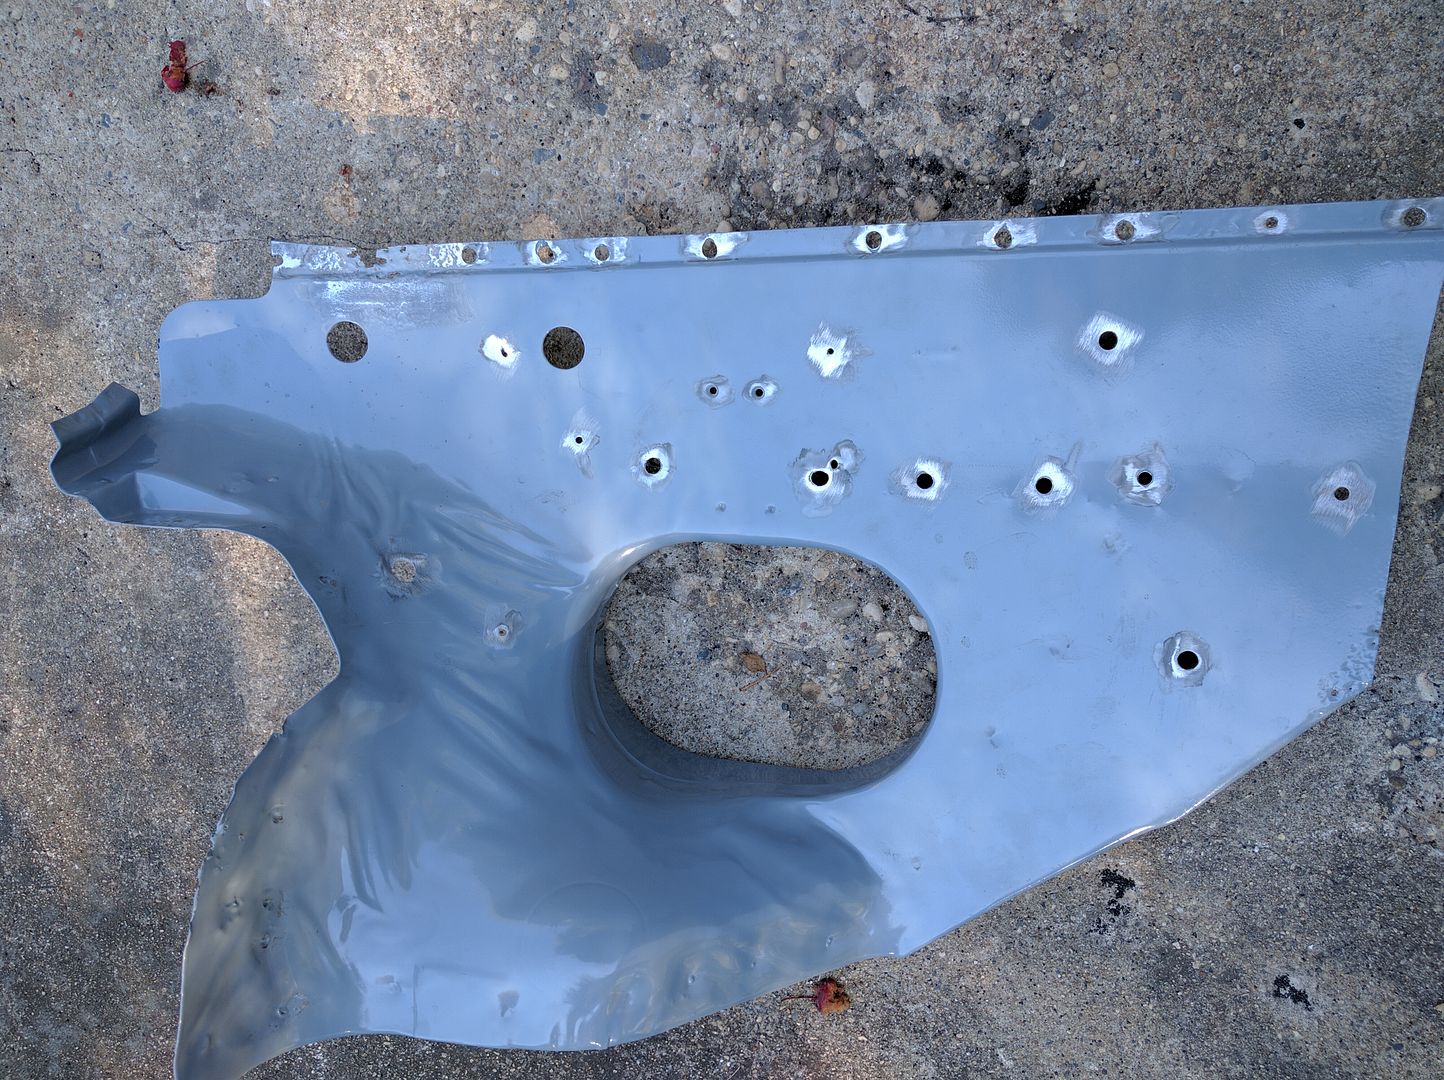
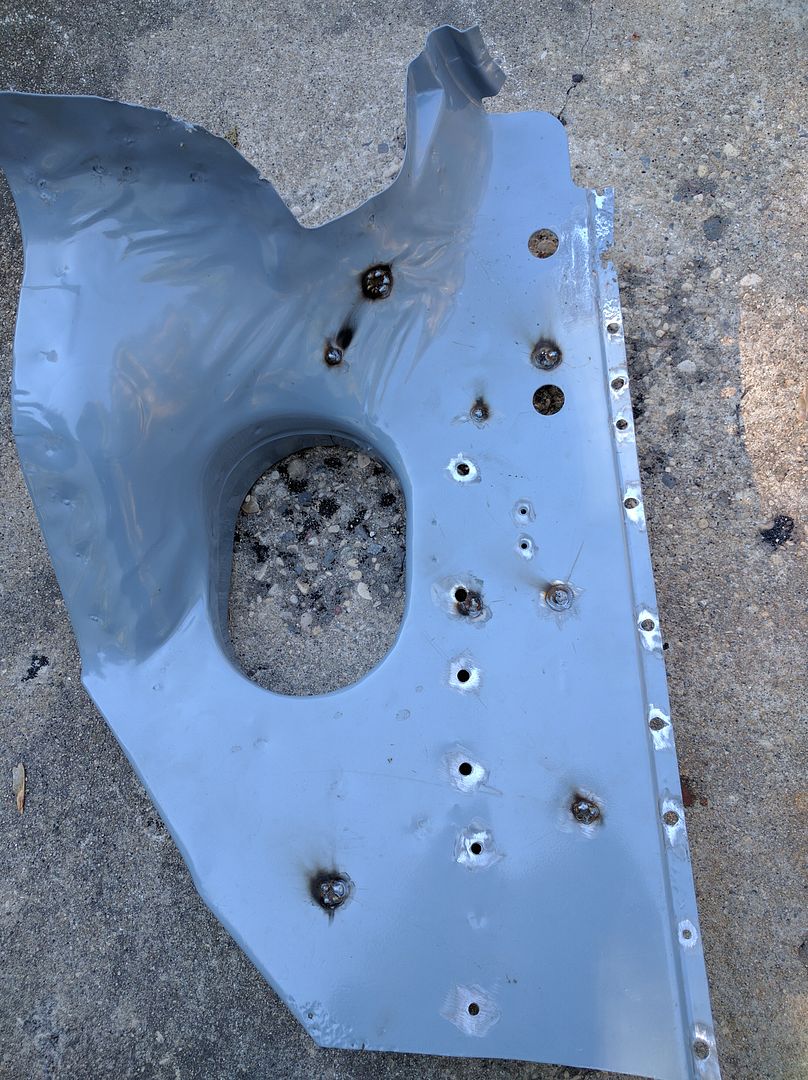
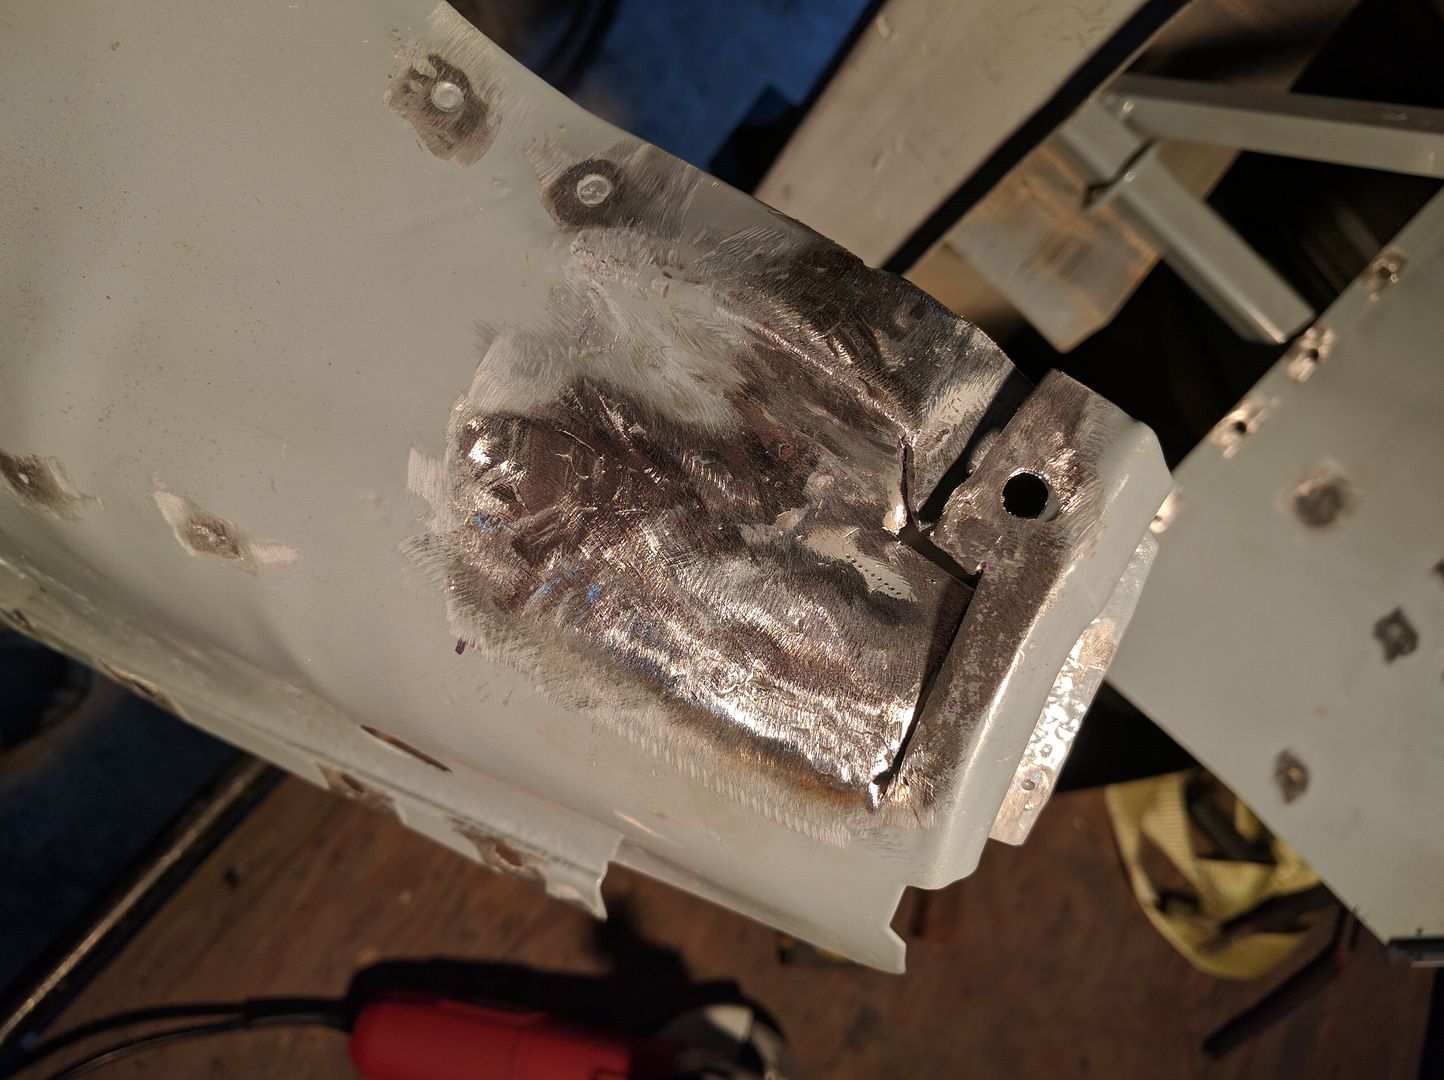
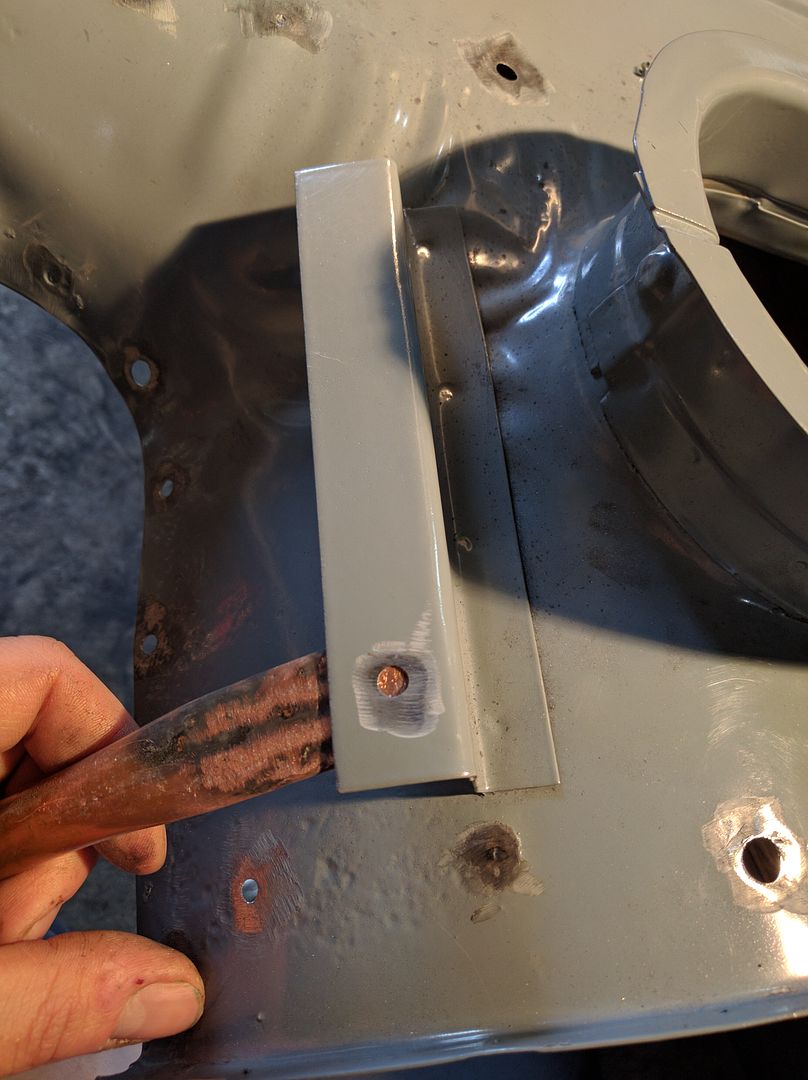
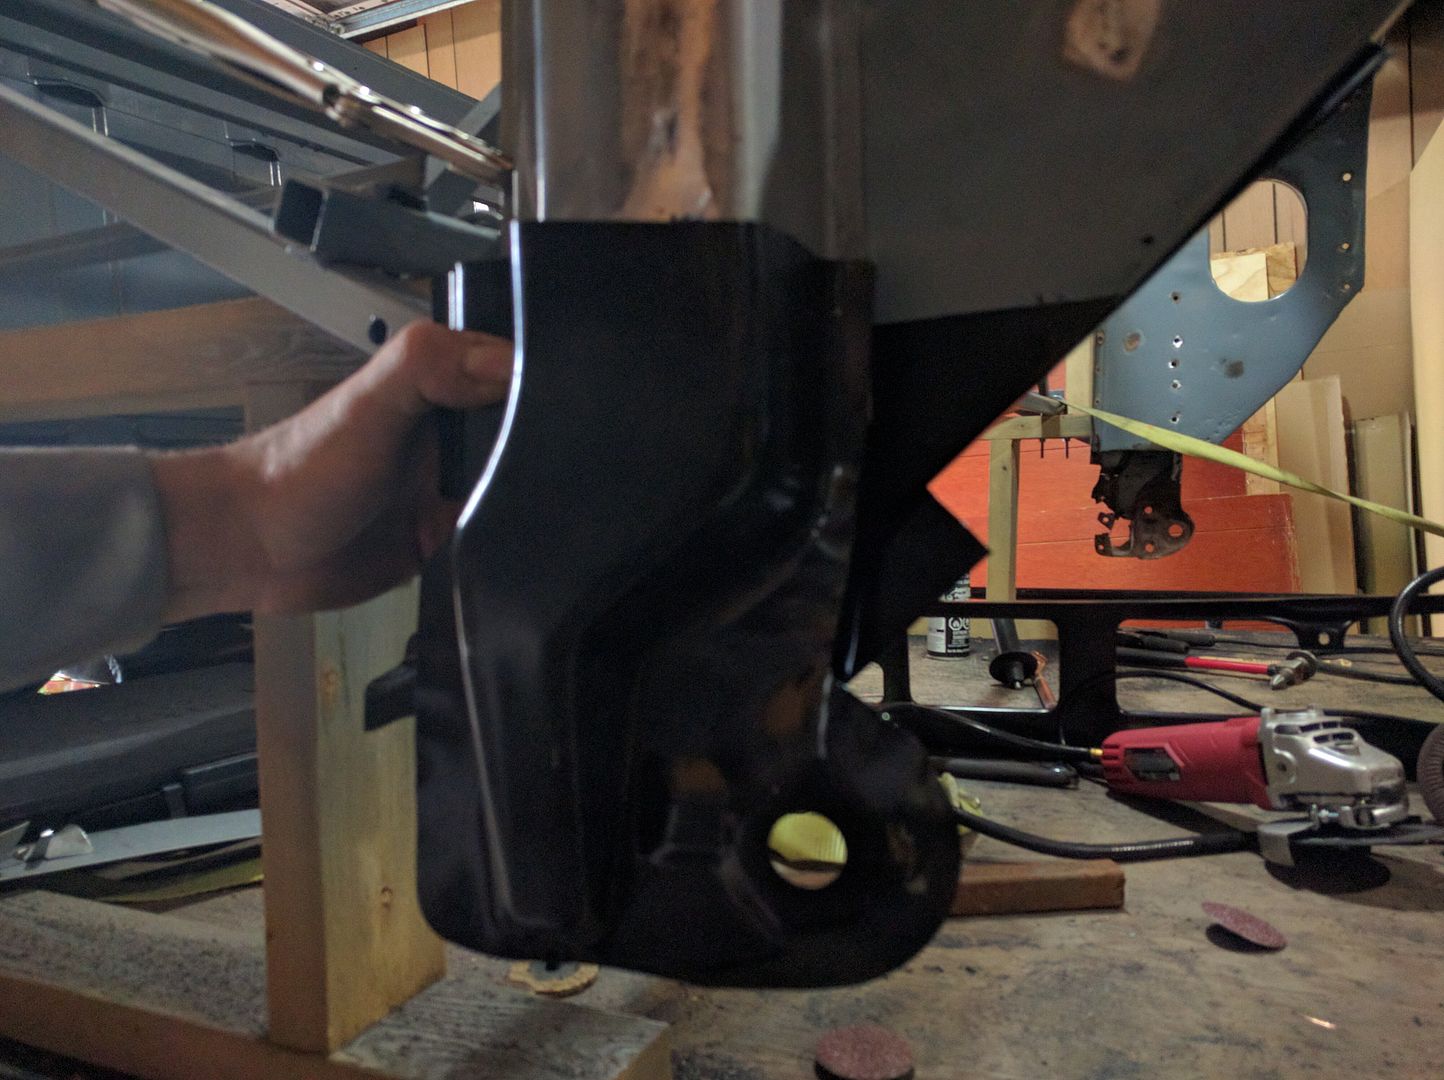
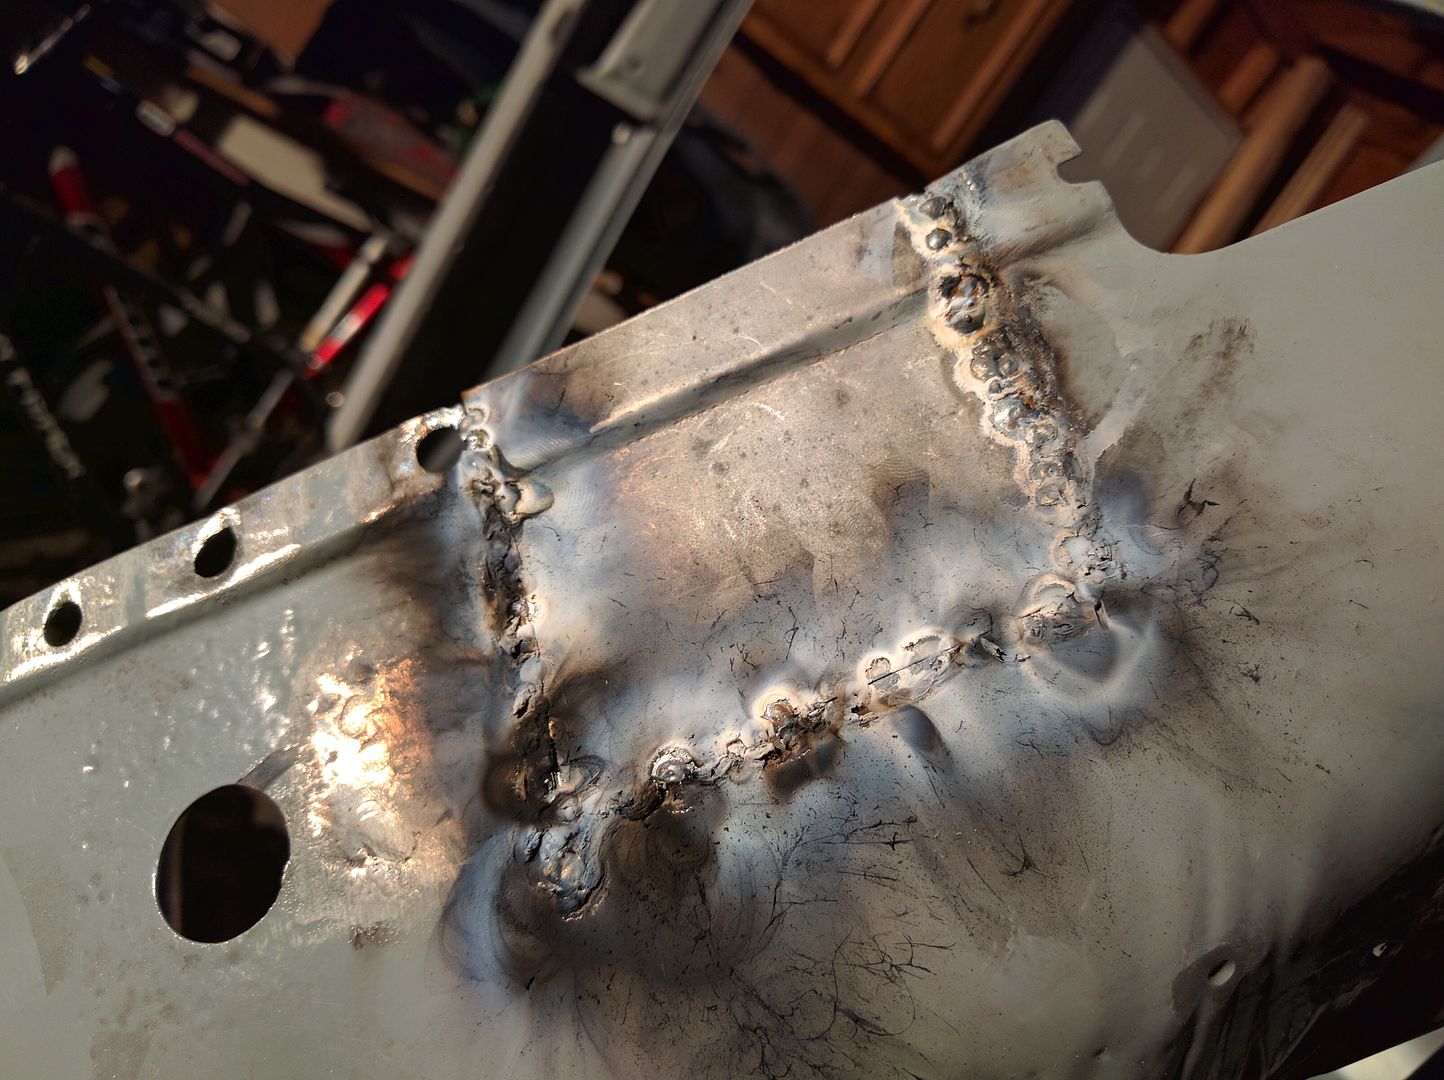
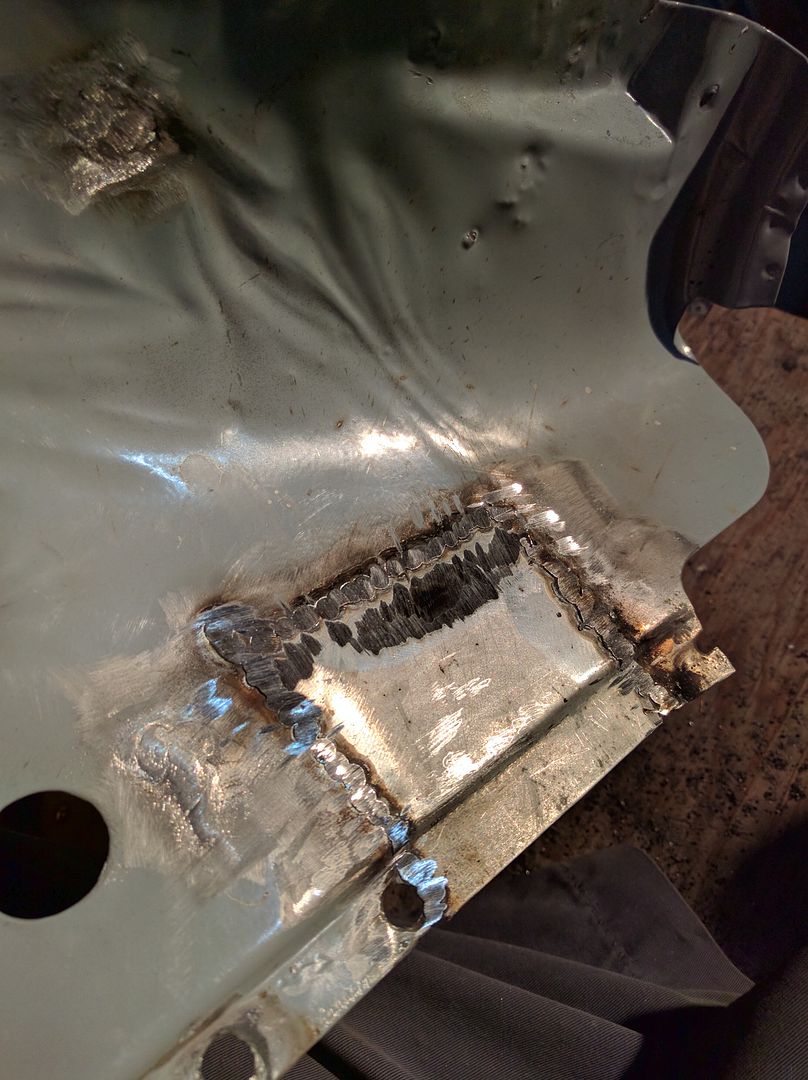
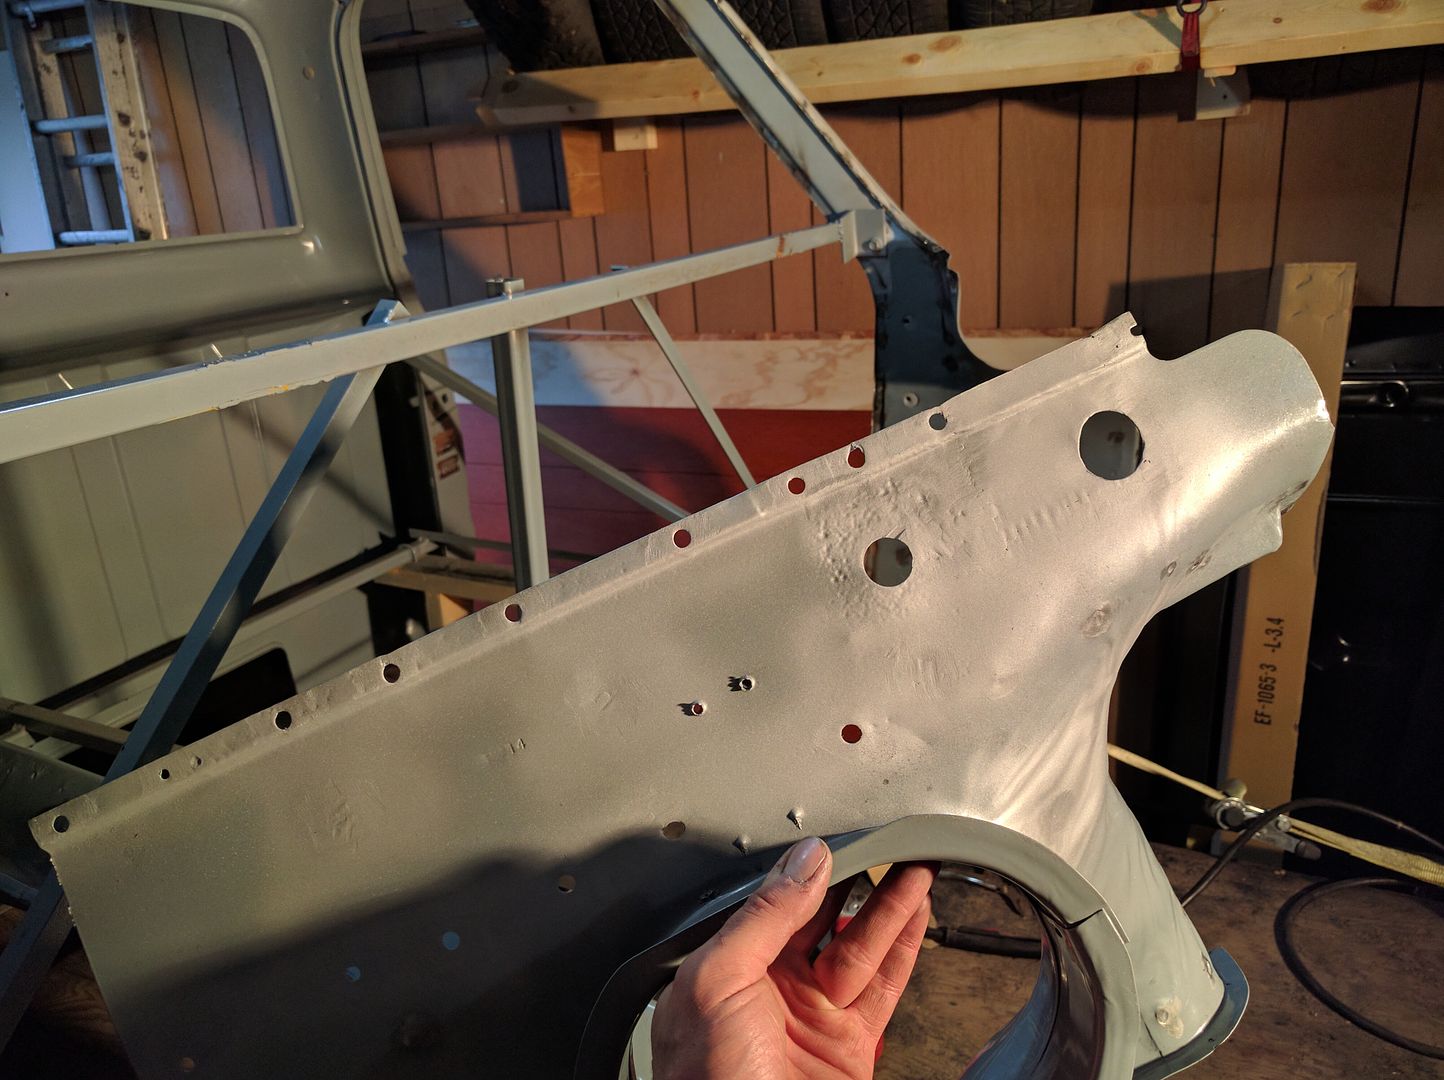
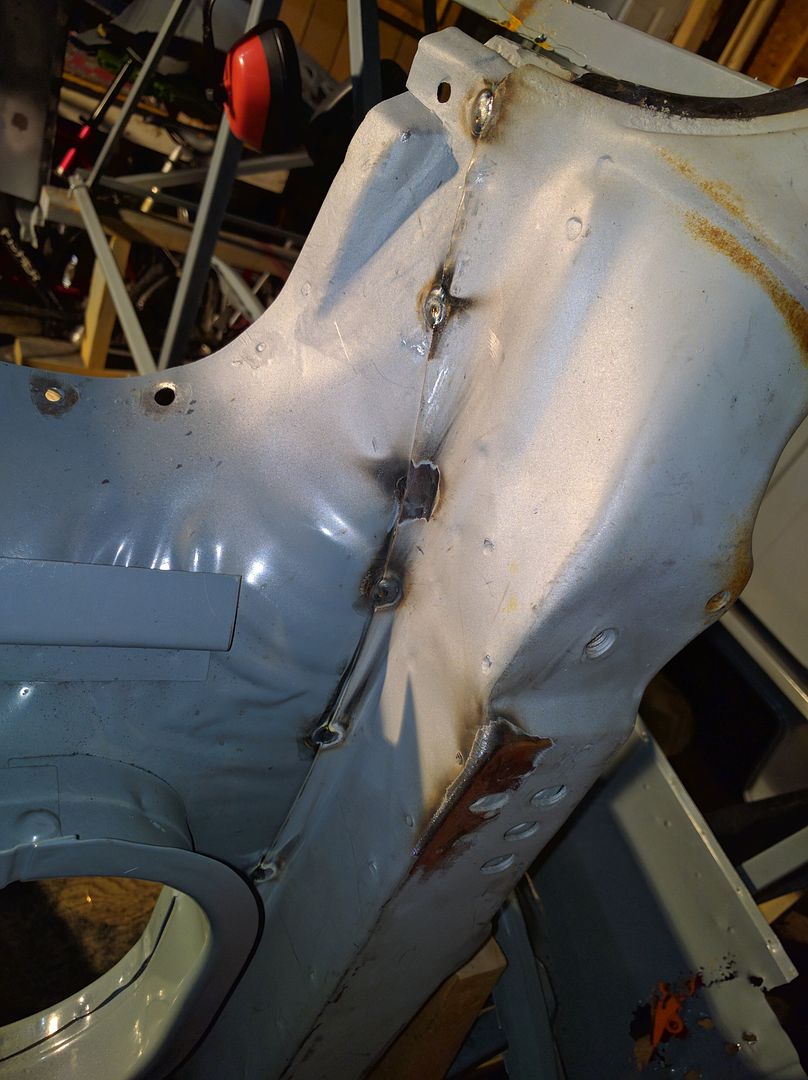
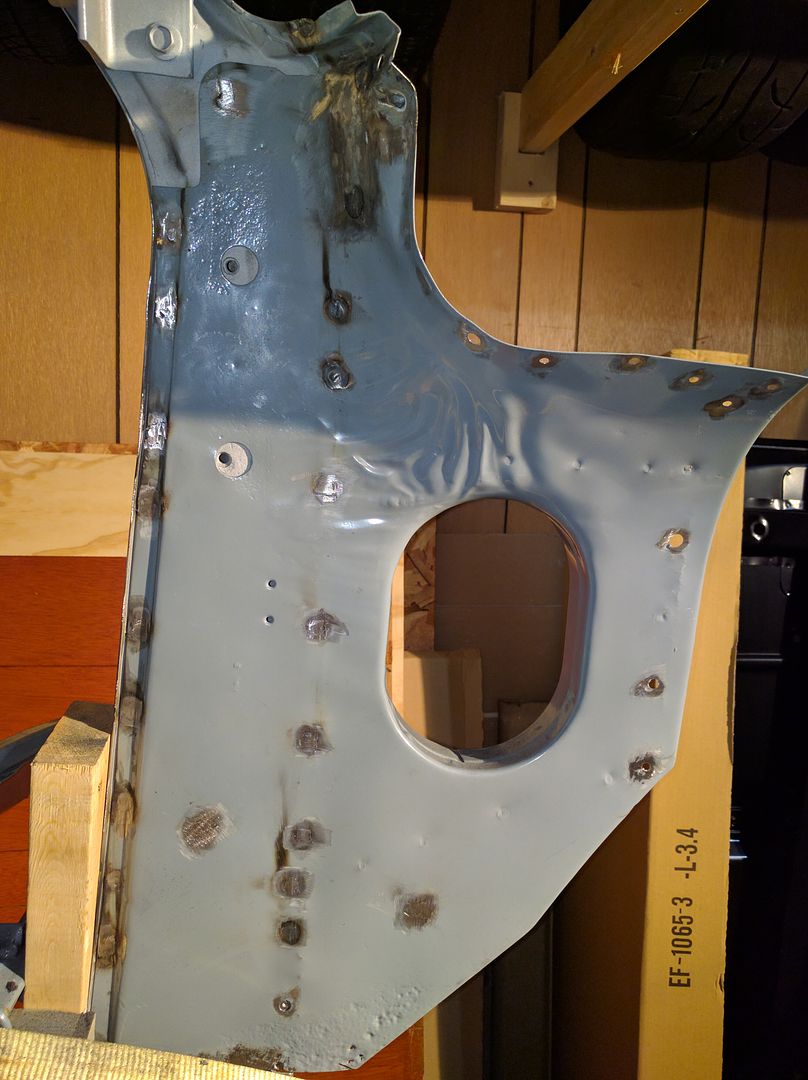
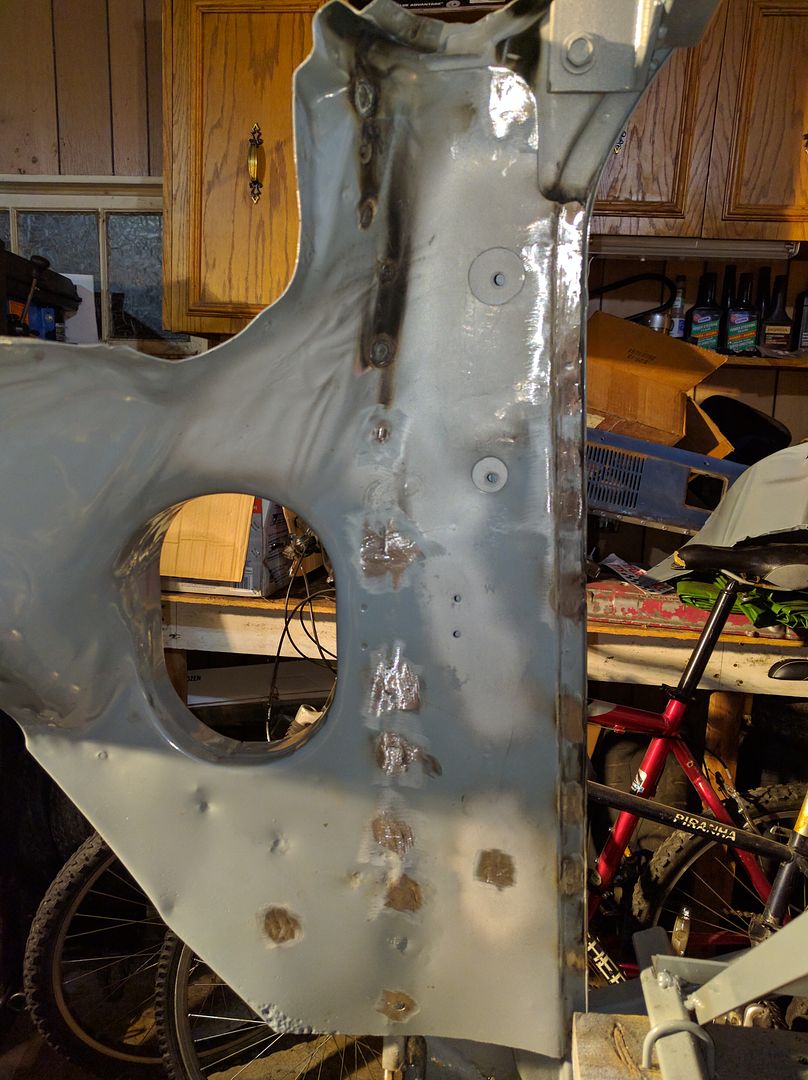
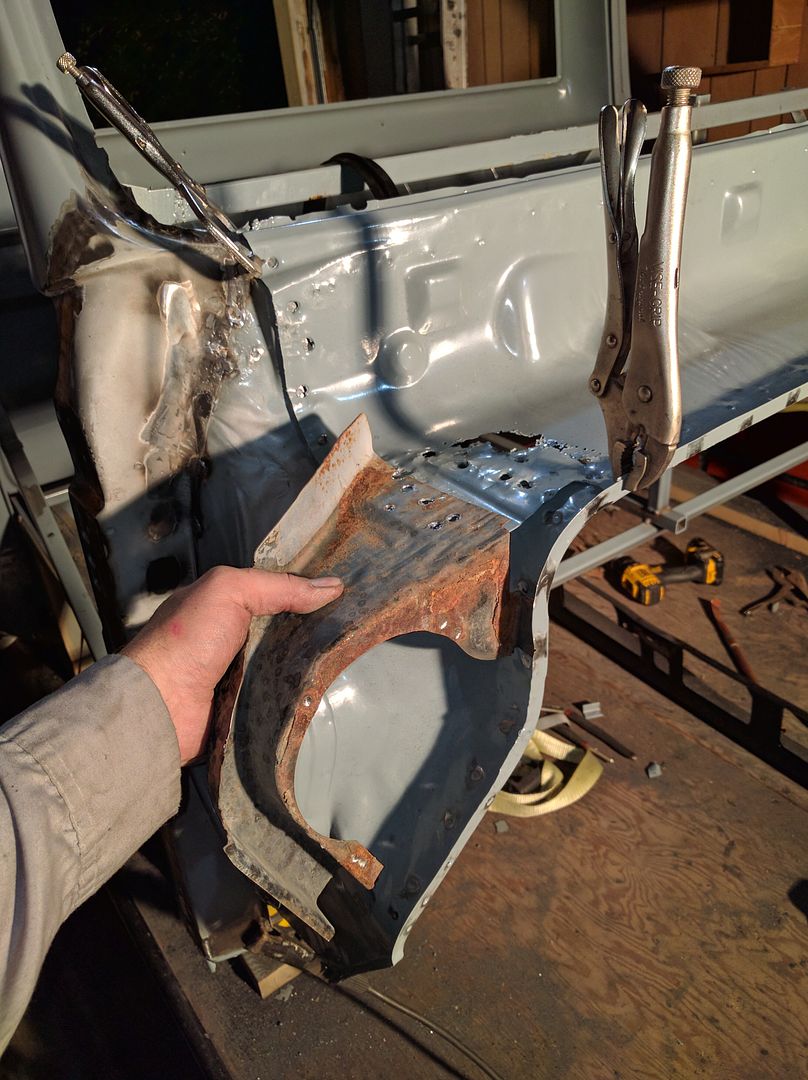
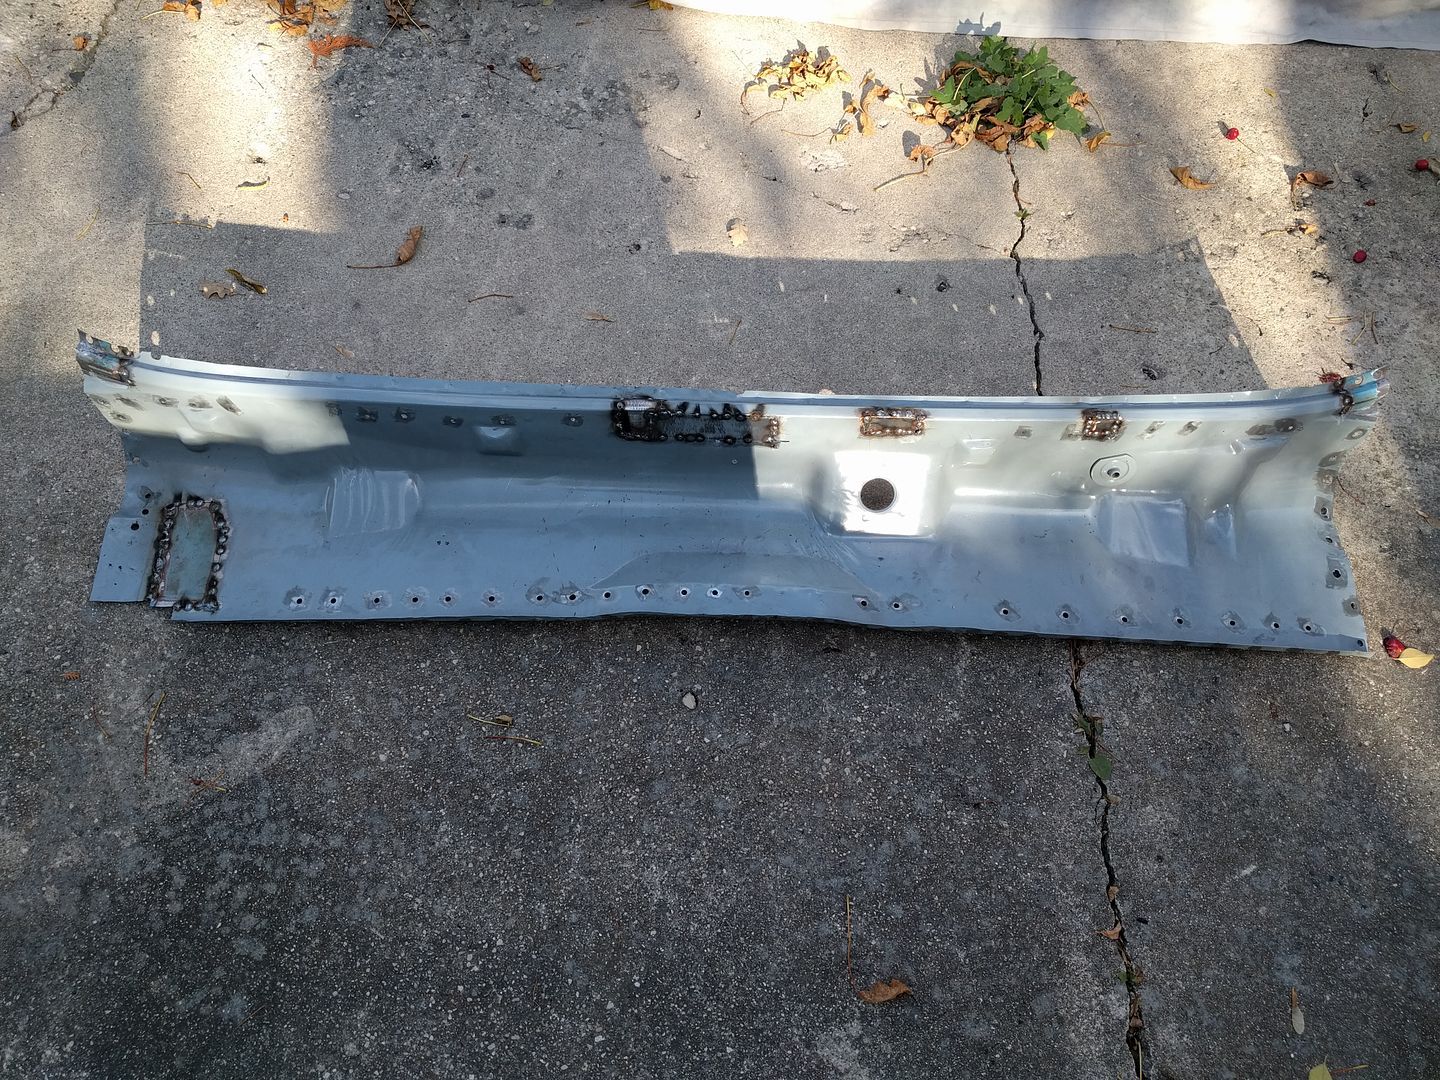
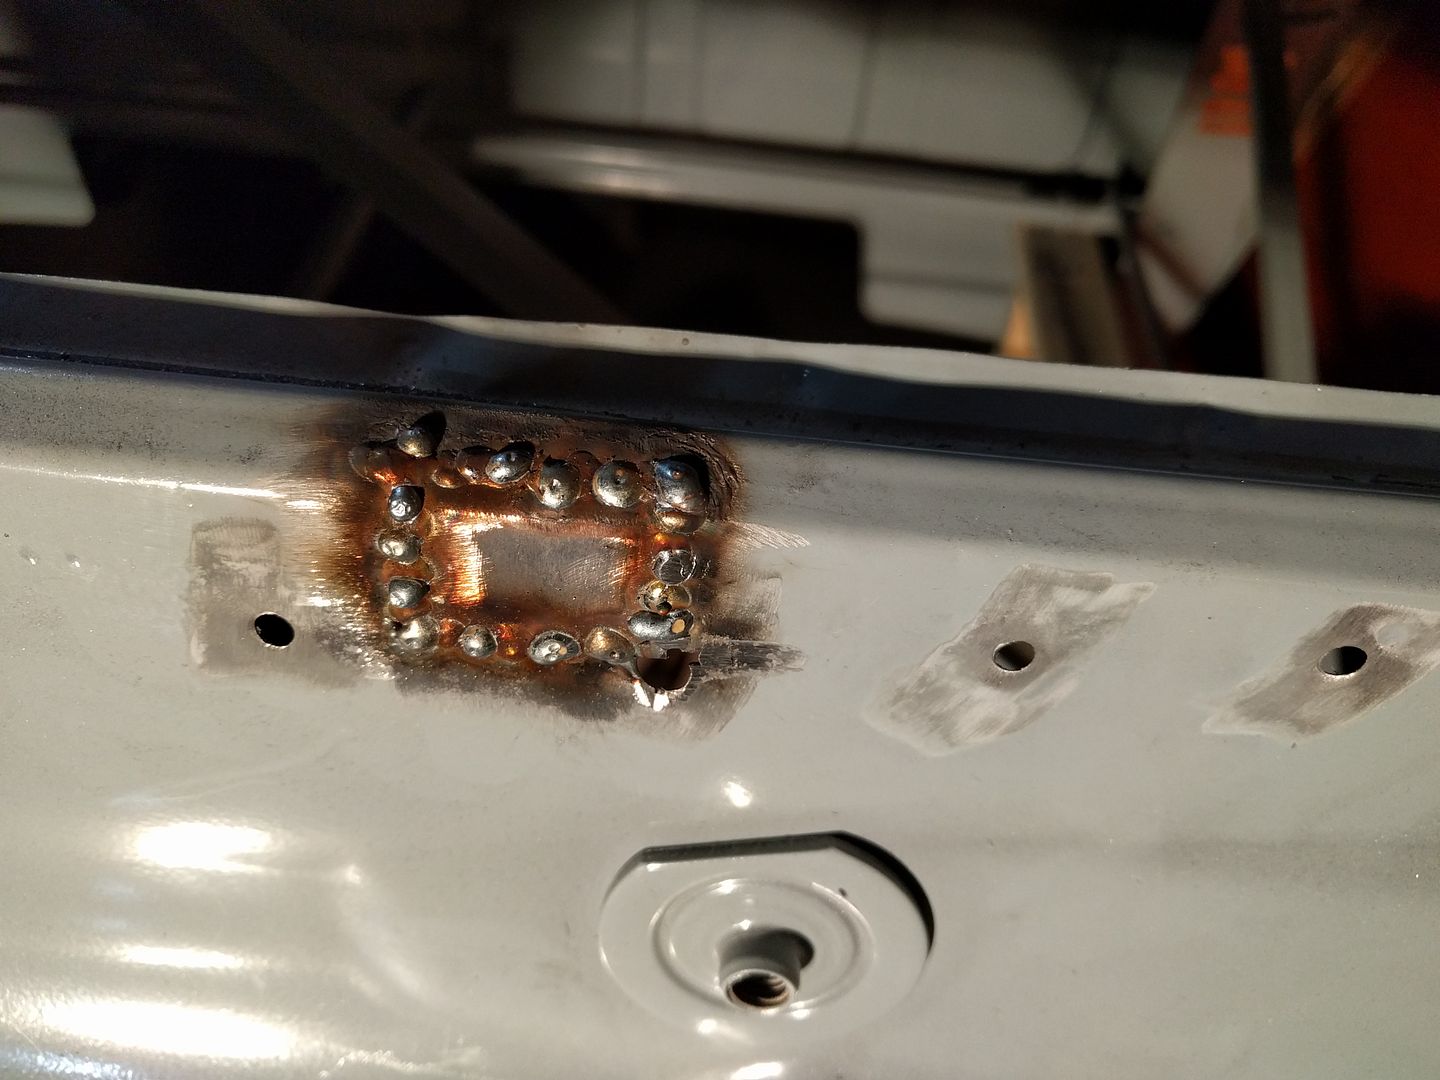
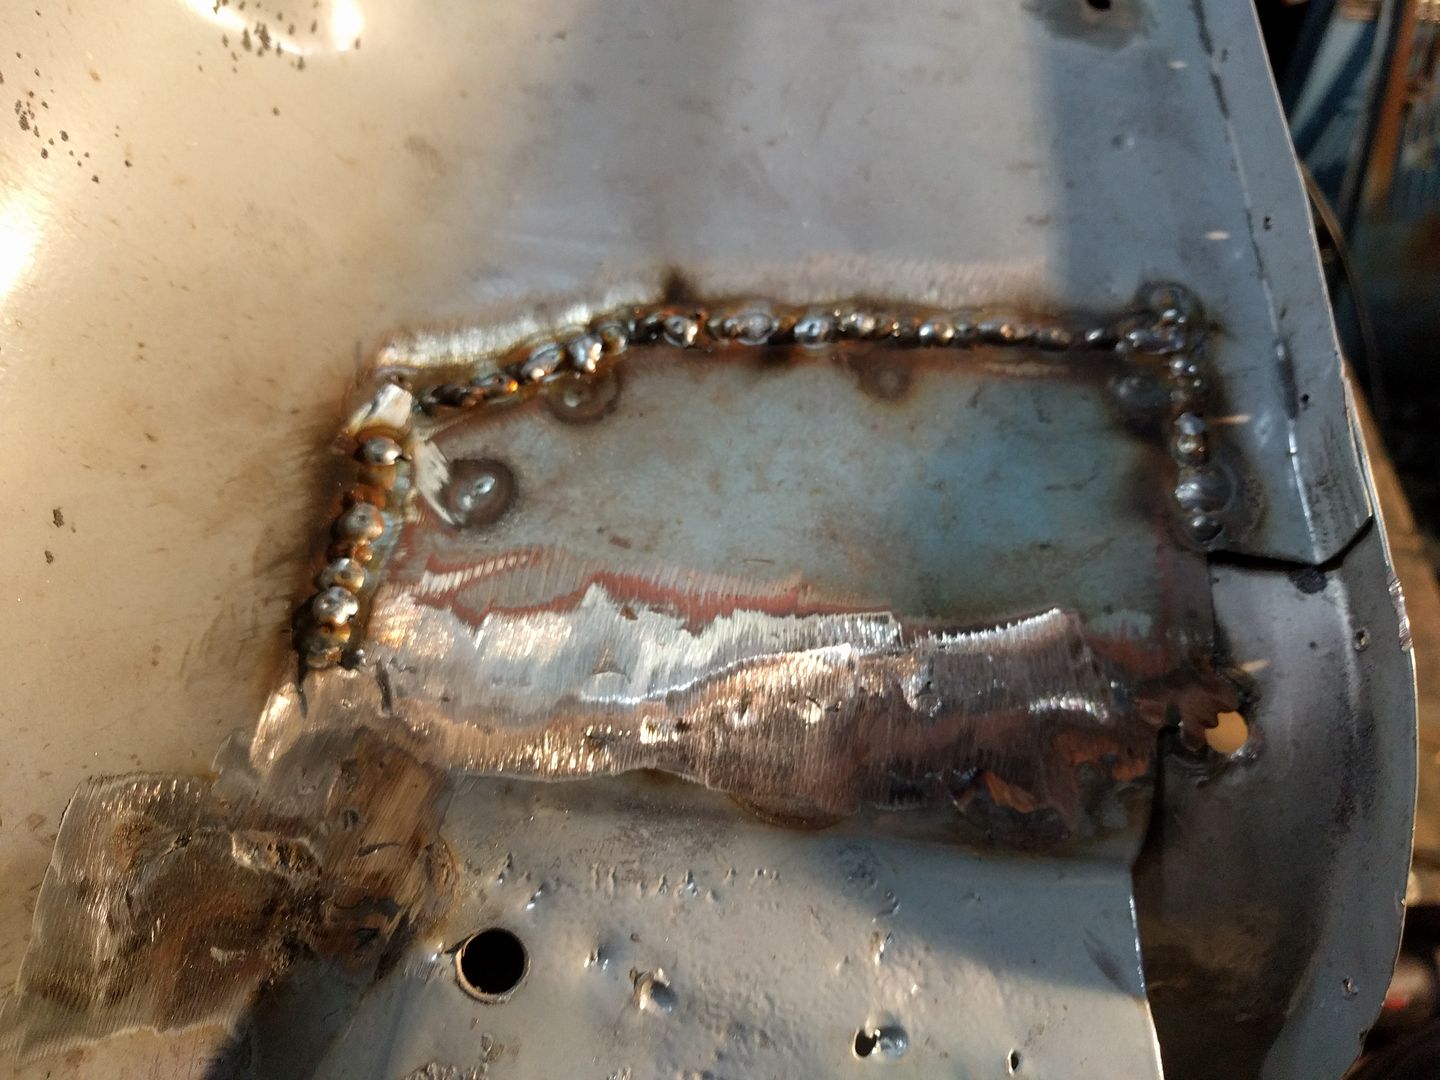
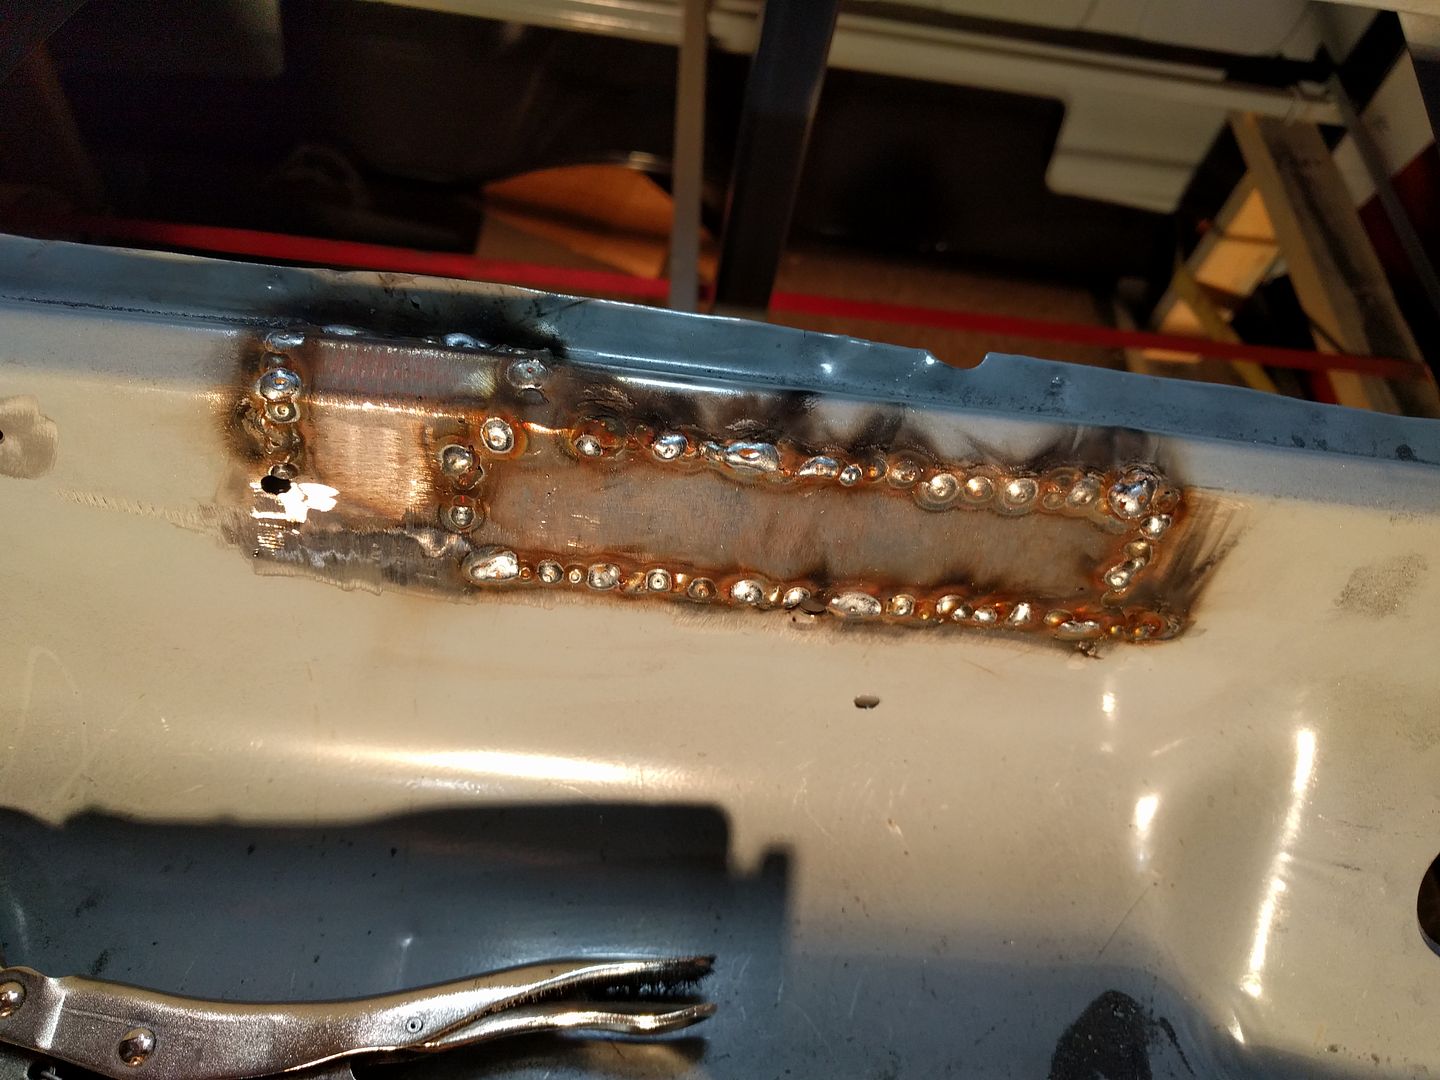
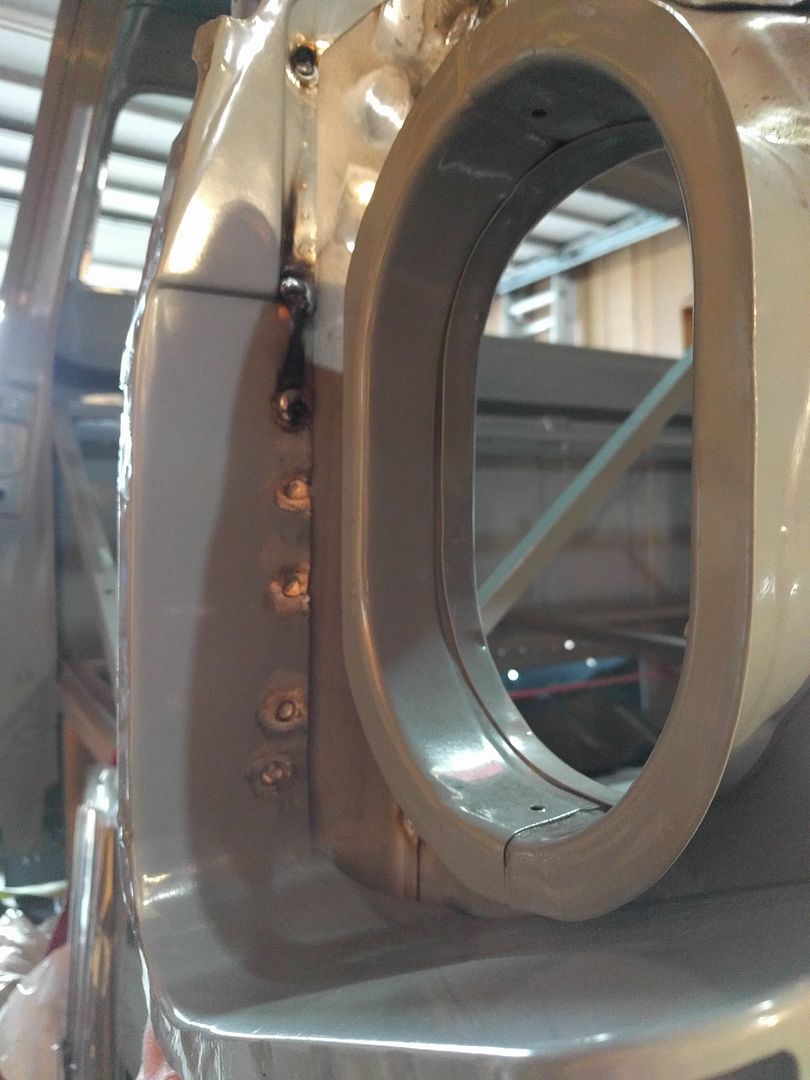
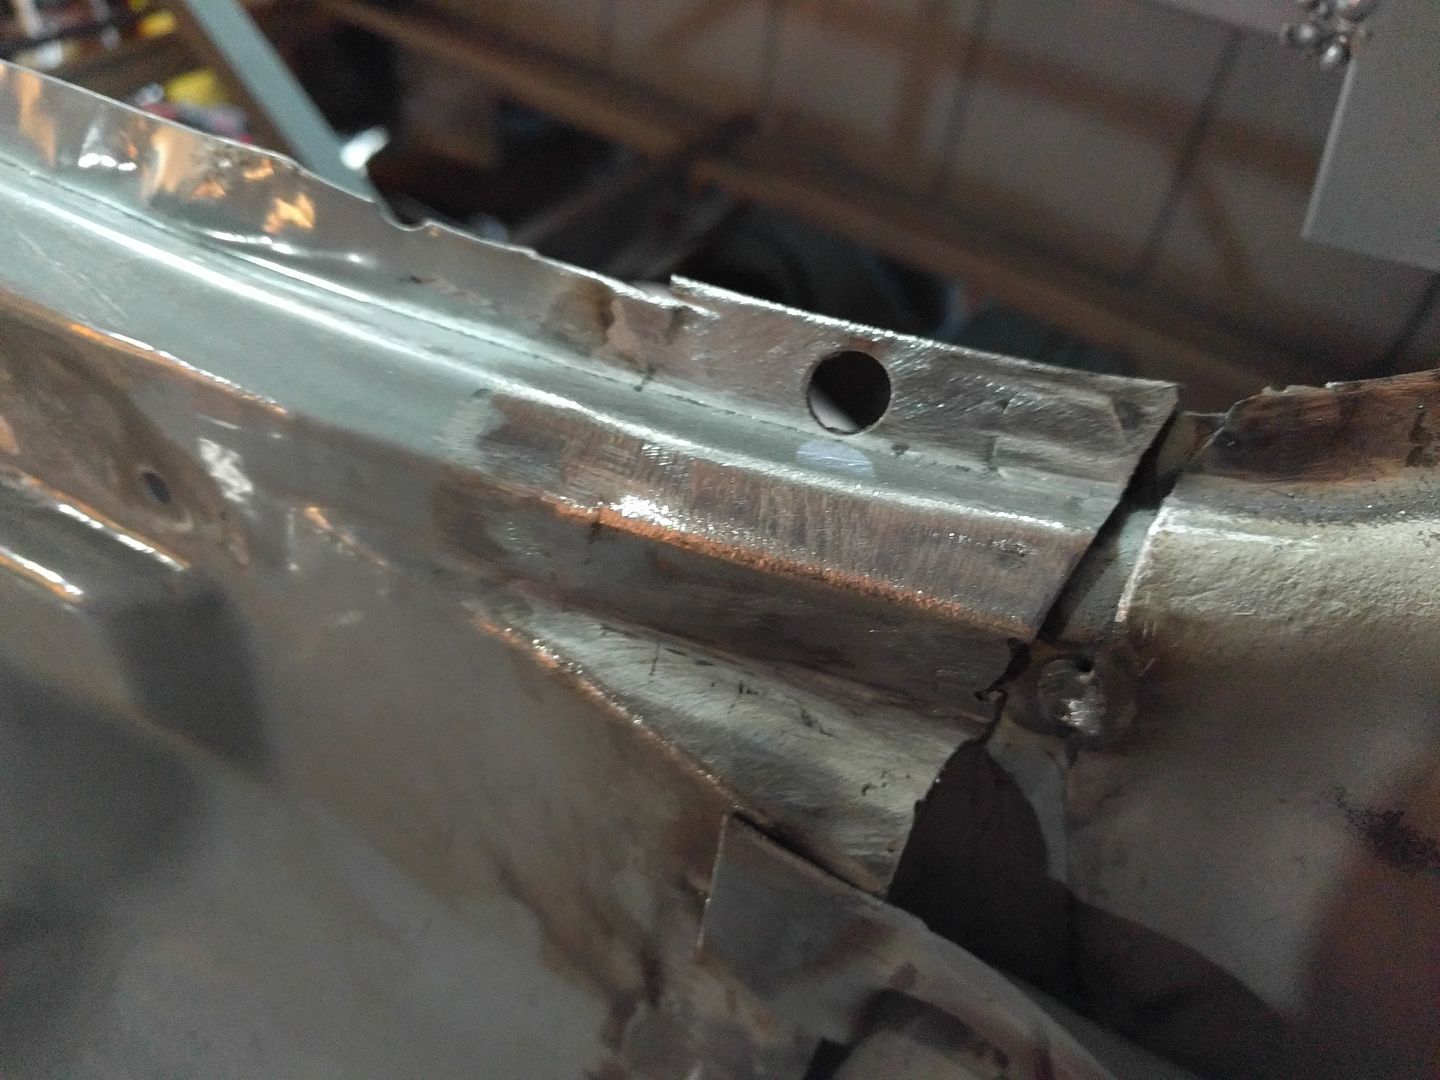
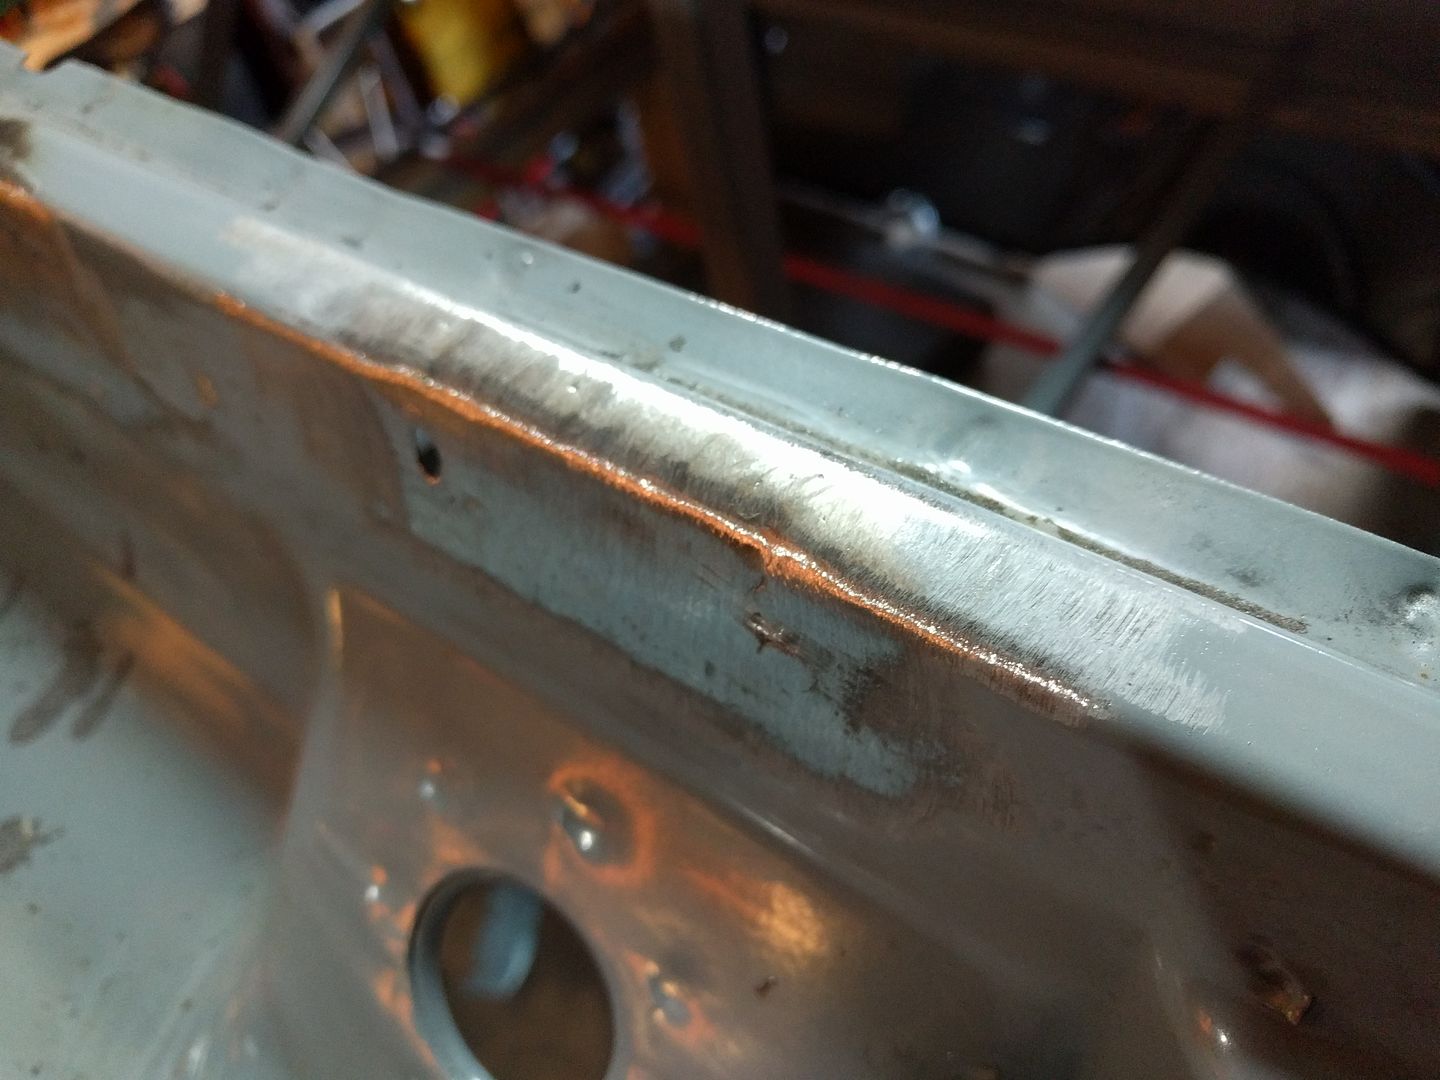
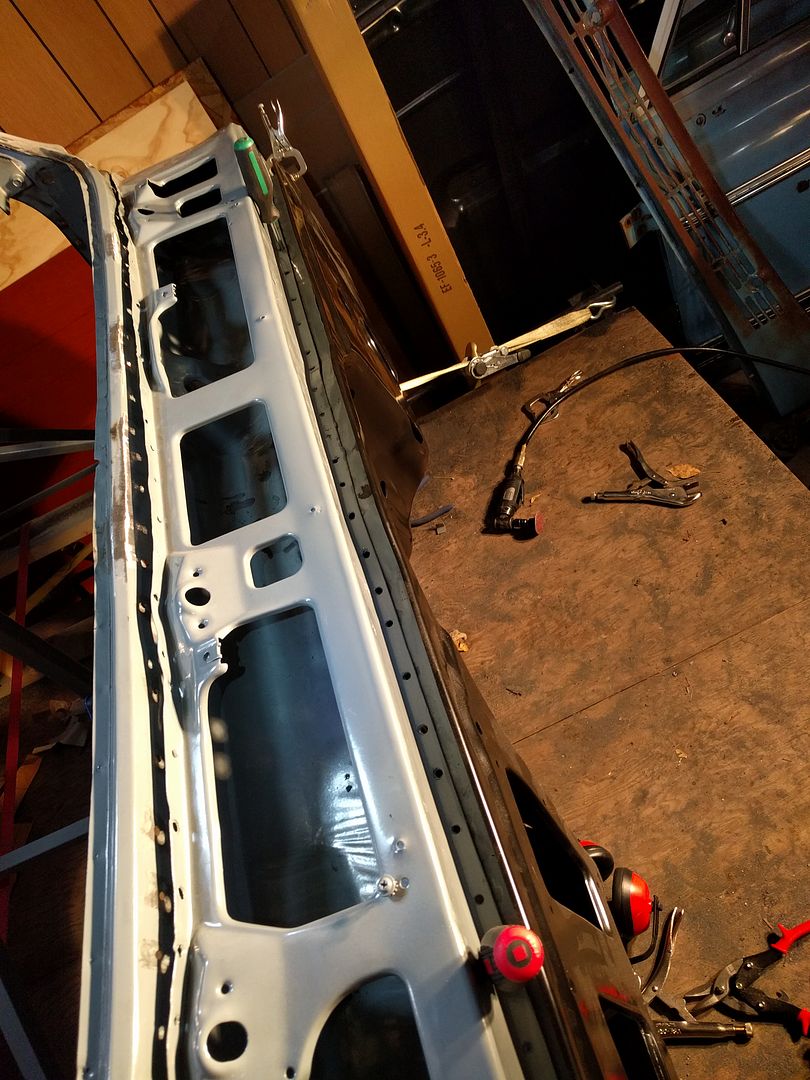
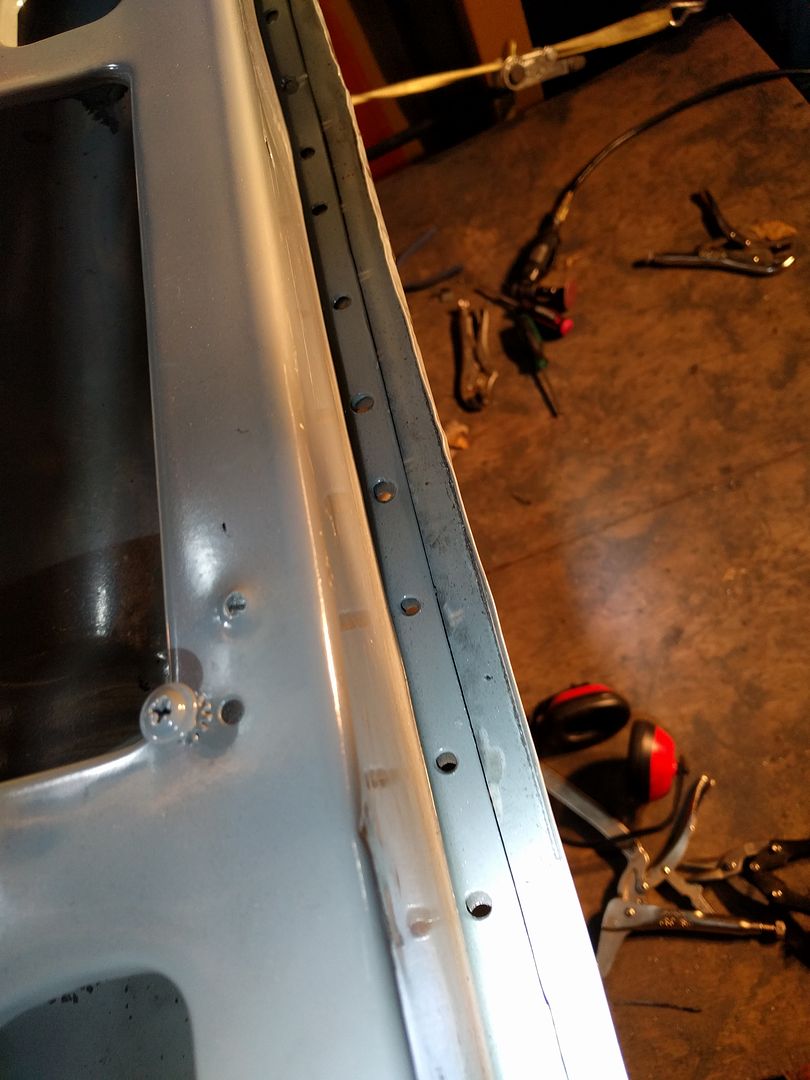
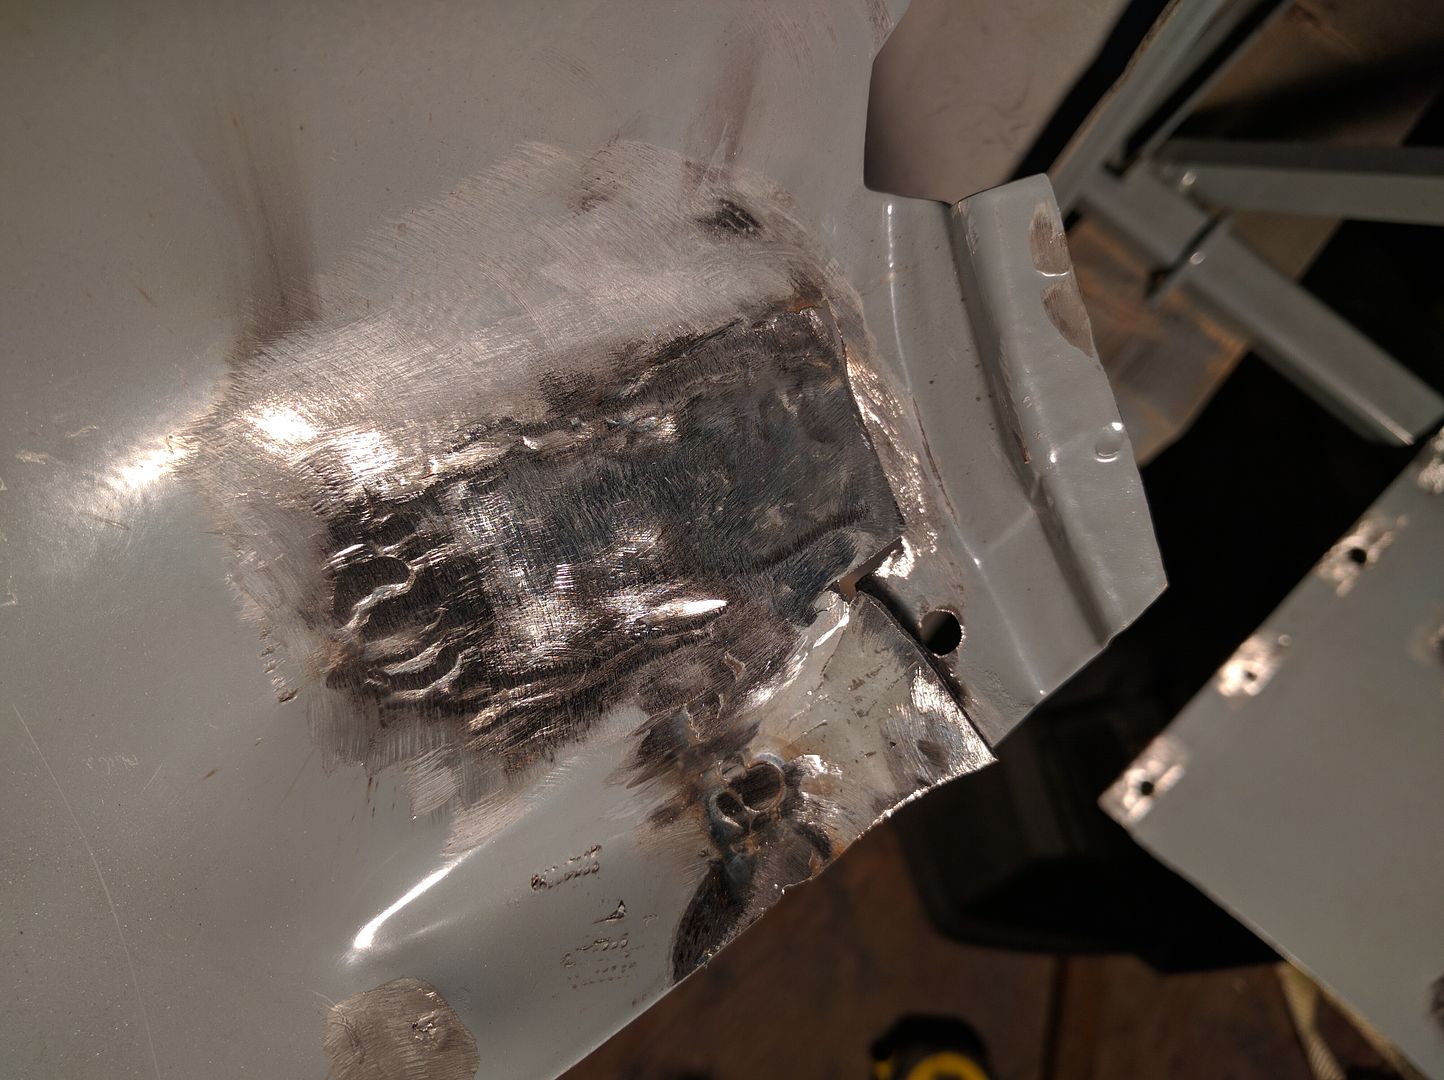
Crackers
Crackers New Reader
9/25/16 9:20 p.m.

....you make it sound like you have a lot to do.

bearmtnmartin
bearmtnmartin GRM+ Memberand Dork
9/26/16 12:20 a.m.

Yes, remove the dinky little power cable and replace it with something nice and heavy, with a good quality plug. The added benefit is you can add a few feet of length if it is a heavier guage. On my 110 migs I was able to drop the amperage and get a better weld. I should say mine were cheap and the benefit was very noticable. Better welders might not see the same improvement.

And dont ever run it off an extension cord.

bearmtnmartin wrote: Small welders can benefit from running a heavier power cable. The manufacturer keeps the price low by using a lighter guage but performance suffers. I have seen a big difference on two welders by upsizing the cable.
Run_Away
Run_Away GRM+ Memberand HalfDork
10/8/16 9:05 p.m.

No getting around an extension cord for where I am. Bought a 12 gauge one though to help.

Cowl before

Pitted and rusted through sections cut out

Cut out pitted metal on the wing panel

The bits from the original cab going back on

Patches tacked in

Welded in. Made a huge mistake here.

Run_Away
Run_Away GRM+ Memberand HalfDork
10/8/16 9:05 p.m.

Mocking the original cowl

Mocking the aftermarket cowl

Both don't fit very well, but the factory one fit better. This is where I should have stopped and tried to figure out what went wrong.

Weld

Grind

Run_Away
Run_Away GRM+ Memberand HalfDork
10/8/16 9:51 p.m.

These little supports that go inside the outer cowl got accidentally left out when I got everything blasted, so I cleaned them up the old way. Just waiting the 24hrs for the rust converter to do it's thing before paint.

When I removed the outer cowl I wasn't careful at all because I thought I wasn't going to use it. Put a bunch of dents into it.

I didn't take an after picture, but I spent a bunch of time with a hammer and dolly putting it back to a point where I think body filler would be enough.

Welded in the filler pieces. Just have to line up the old spot welds to put it back to where it was.

Same thing on the drivers side

Ground the patches all smooth

Run_Away
Run_Away GRM+ Memberand HalfDork
10/8/16 9:52 p.m.

Mocking the cowl again.

Fitment issue on the passenger side

With the firewall too

Fitment issue. Basically when I line up the outer cowl to the inner cowl, the passenger side of the outer cowl doesn't follow the contour of the "wing".

Drivers side all lines up nice

The outer cowl is aligned to the inner cowl by sticking screwdrivers through the holes where I drilled the spot welds.

If I start by making the passenger side tight first

Here's how the cowl lines up. Note the drill holes only half overlap.

How did this happen? I forgot to clamp the driver's side lower pillar before welding in the inner cowl.

See that gap? It's supposed to be flush. I also suspect the passenger side A pillar front half I welded in isn't quite right, the wing is "toe'd in" if that makes sense. I think the windshield opening is right as there is a horizontal brace right behind it where the dash used to be, and I can't see how that would move. Add all those up with the rotted out bit of metal where the inner cowl and passenger wing piece meet meaning there was no original spot welds for me to line up meant the inner cowl was welded in with the firewall side just a bit too narrow.

Don't think I can remove the inner cowl from the wing panel how I welded it in, there's so much weld joints I'd destroy both panels. I think I'm going to cut the inner cowl in half, or almost all the way though and use the outer cowl to line things up properly. Thoughts?

NOHOME
NOHOME PowerDork
10/8/16 11:23 p.m.

Being stuck in the middle of panel gap hell on the MGB project, I can feel your pain. At least you know what the issue is, I am running out of ideas on why the trunk lid wont fit in the hole.

Crackers
Crackers New Reader
10/9/16 9:05 a.m.

Can you spread the wings out mechanically? I'd try cutting a piece of wood/tubing slightly longer than the inner width of the wings and wegde it back open. Make an allowance for a wooden shim against the metal so you don't mar it.

If you go that route, try to wedge it back open from the highest point you have available so you don't just bow the wings.

Eastwood actually makes a tool specifically for this. I think they call it a monkey tool or some such.

1 2 3 4

You'll need to log in to post.

Our Preferred Partners
KduR0PRD2ZF56dg5fEnHoox2edi0ySAnLz3wIYZ1dcCtDeJ7frodEPbfTYKZQ4MV