In reply to NOHOME:
Do you have a non-crunched MGB you can take measurements from?
In reply to Crackers:
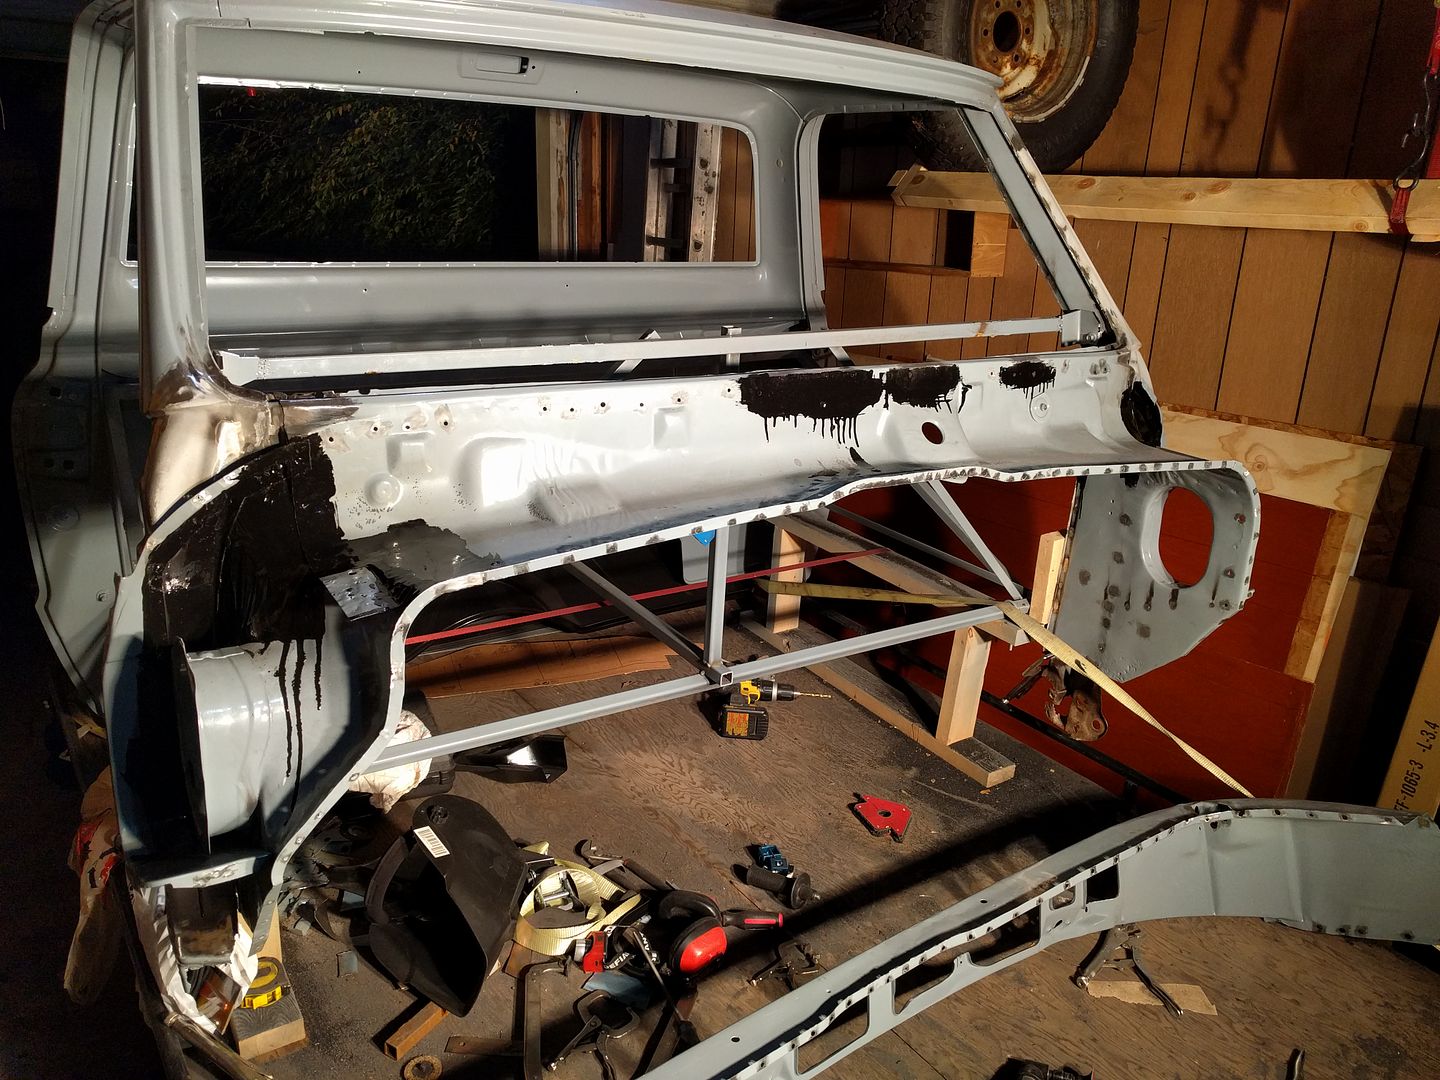
I'm not so sure I can spread the wing with the inner cowl in place. That's why I'm thinking of cutting it, so the wings can twist outwards. If I were to force it with the cowl in place I think it would just tweak the whole cab, the wing panels are stronger than where the A pillar meets the roof.
Here's a sketch of what I think is going on:
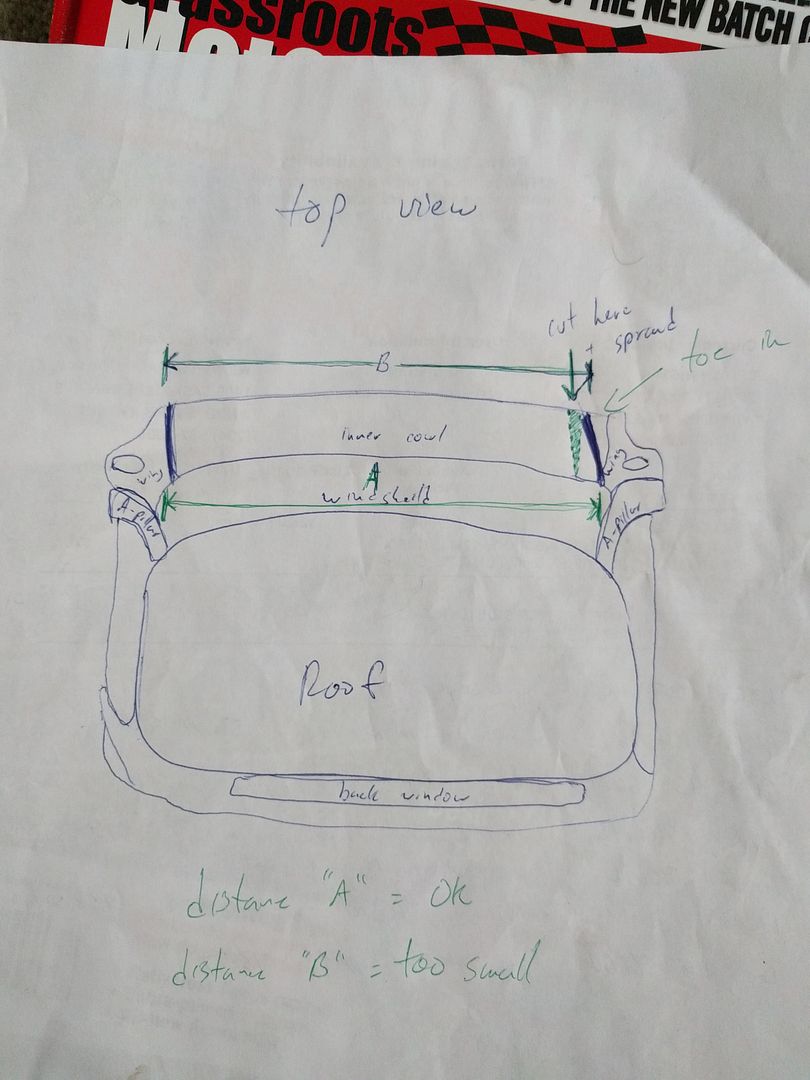
I think I'm going to make sure the floor fits between the lower A pillars, either by measuring or possibly putting the floor in place. Then cut the inner cowl to relive tension and use the outer cowl to set the width of the firewall opening.
I'd try some leverage and/or hammer/dolly work over that weld patch before cutting. A simple pie cut may not yield the effect you're hoping for.
Distortion in compound bends can make stuff shift in weird ways. The pictures look like stuff might be weird. Can probably still be salvaged without getting drastic though.

NOHOME
PowerDork
10/10/16 5:47 a.m.
Run_Away said:
Well, I don't know what happened overnight, but everything fits much better now. Maybe I was just too tired yesterday and needed a break. I can't explain it, but I'm running with it!
It is the universal rule of panel fitting "when nothing is working, walk away and it will look better tomorrow". When I come to a standstill that looks to require an irreversible decision (like cutting up a new expensive panel that SHOULD fit) I tend to put the tools down and sleep on it.
I actually enjoy the rubick's cube nature of panel fitting...right up to the moment when I run into a deadline. Then it frustrates me.
Seam sealer the inner panels that will be no longer accessible once the outer cowl is on.
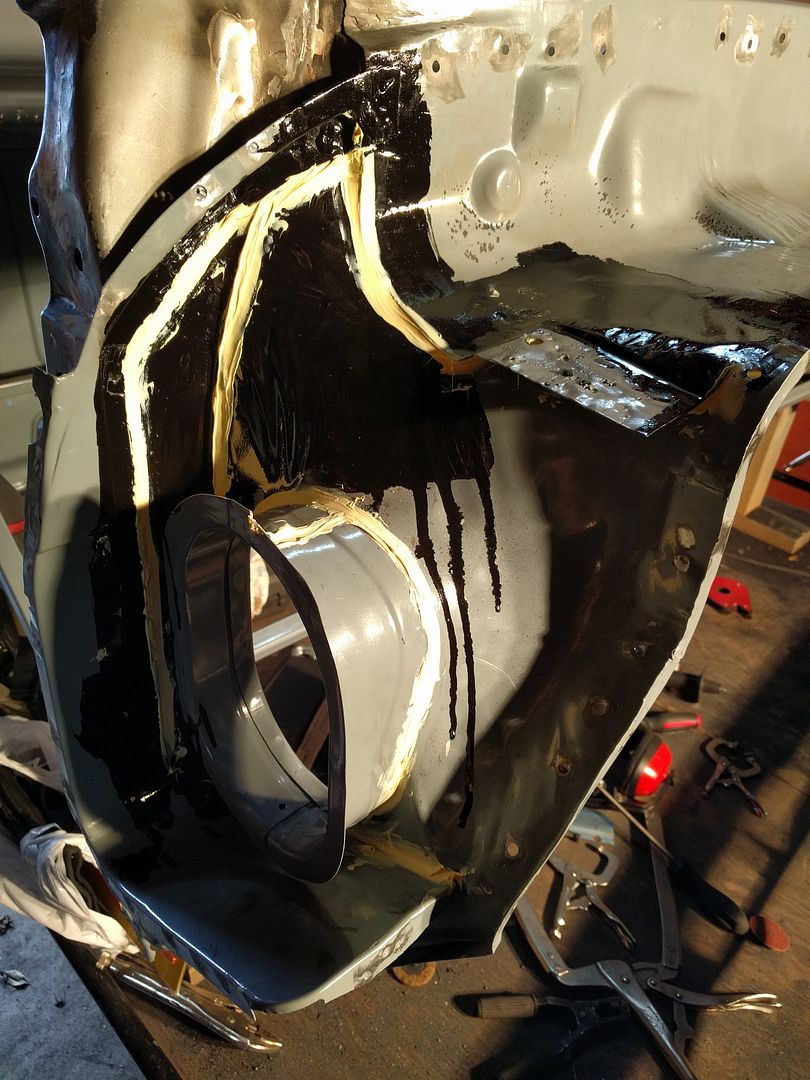

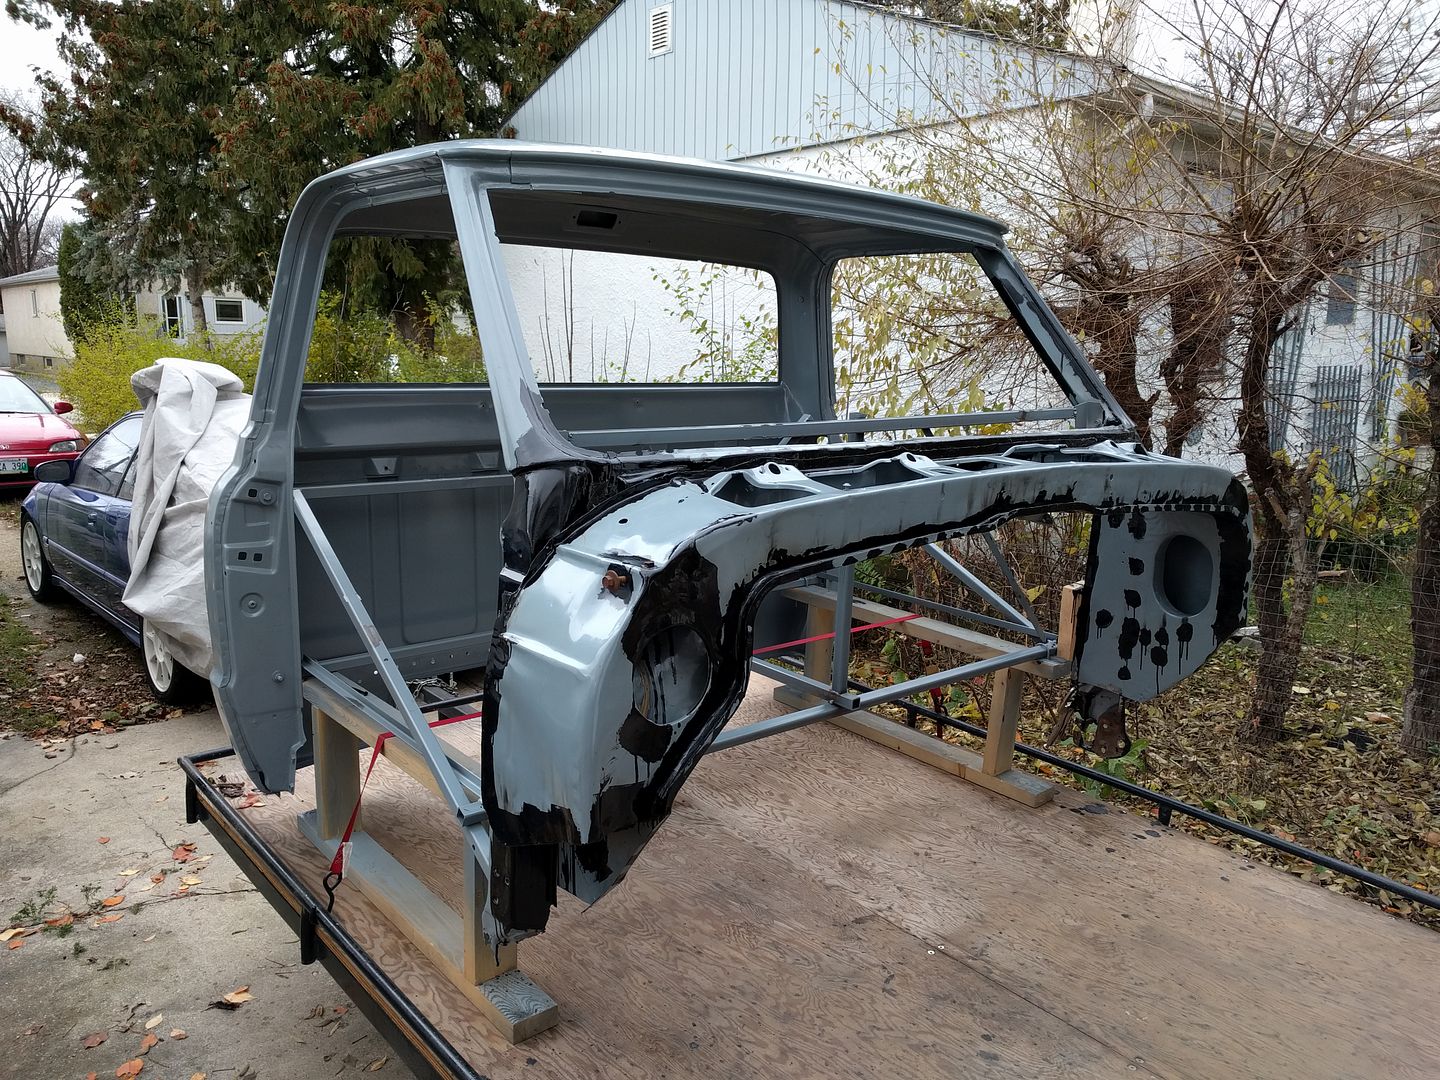
I'm planning on getting the cab blasted and powerdercoated again once it's all together and done before paint. So leaving the rest for now.
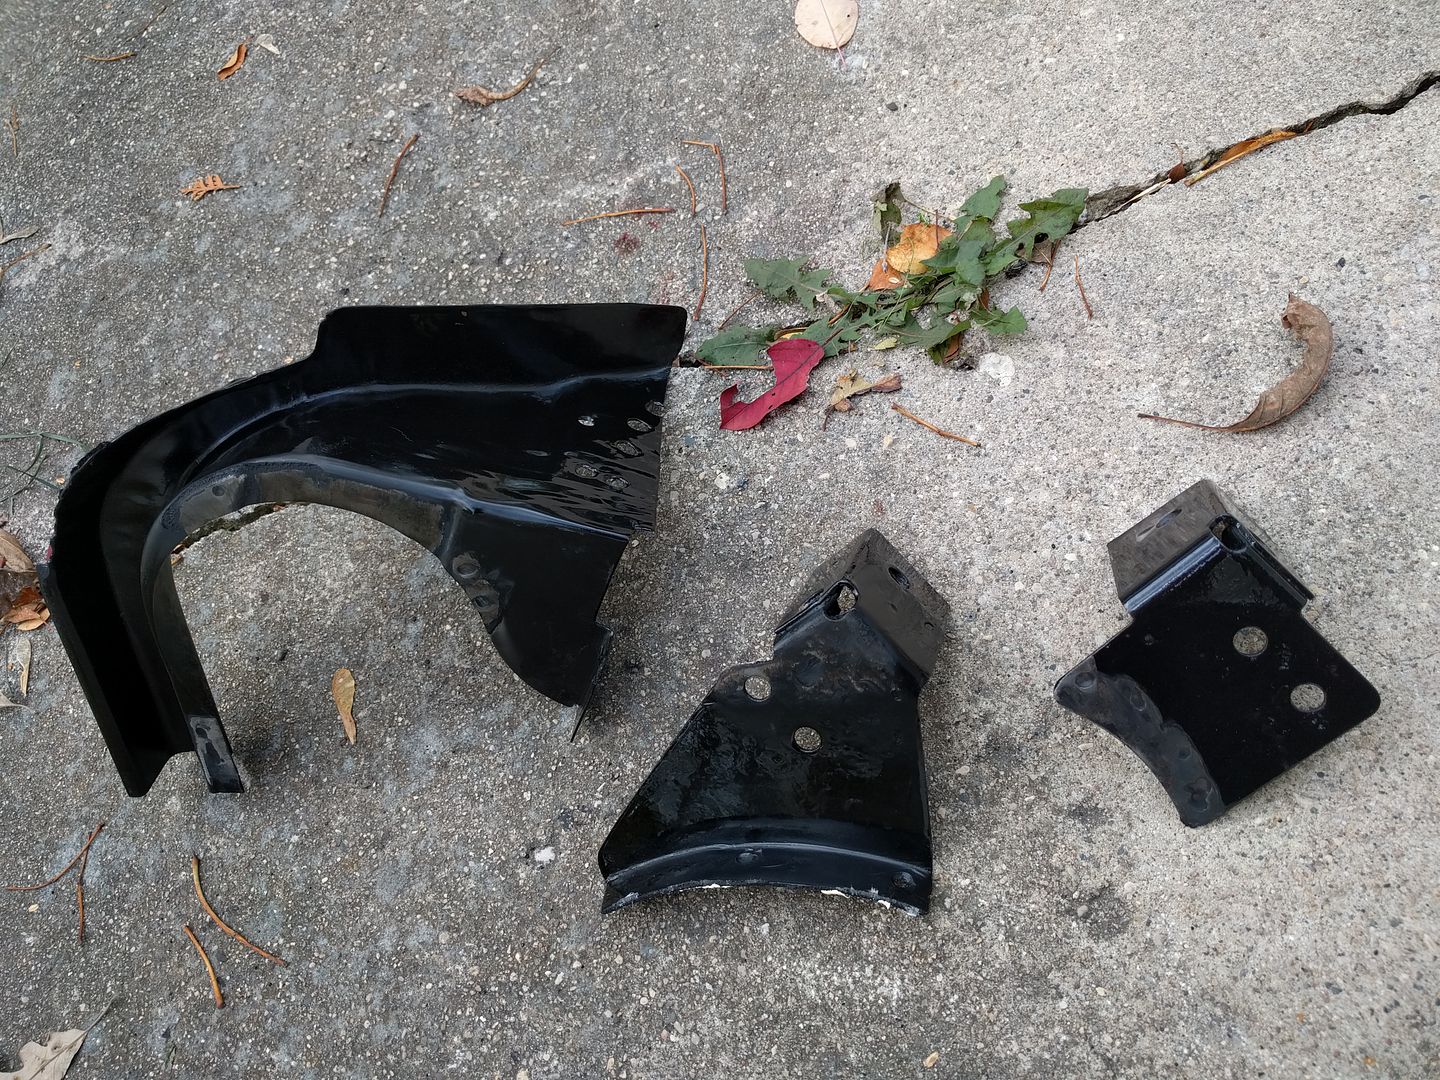
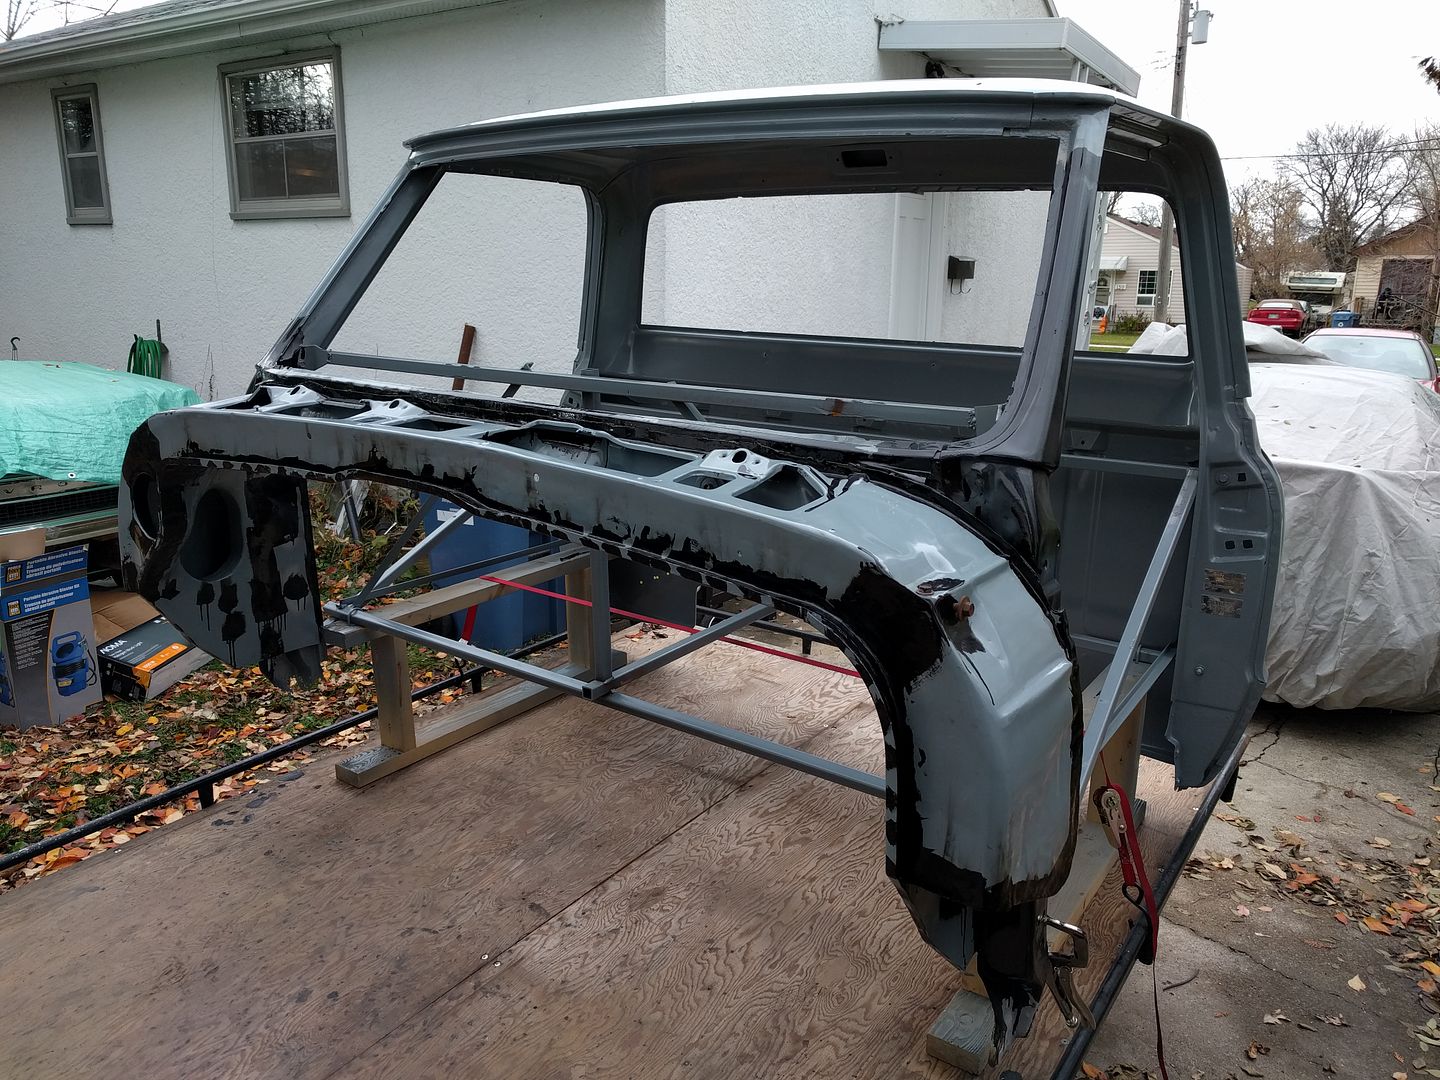
POR15 on the outer cowl support pieces, which are also what the front fenders bolt to.
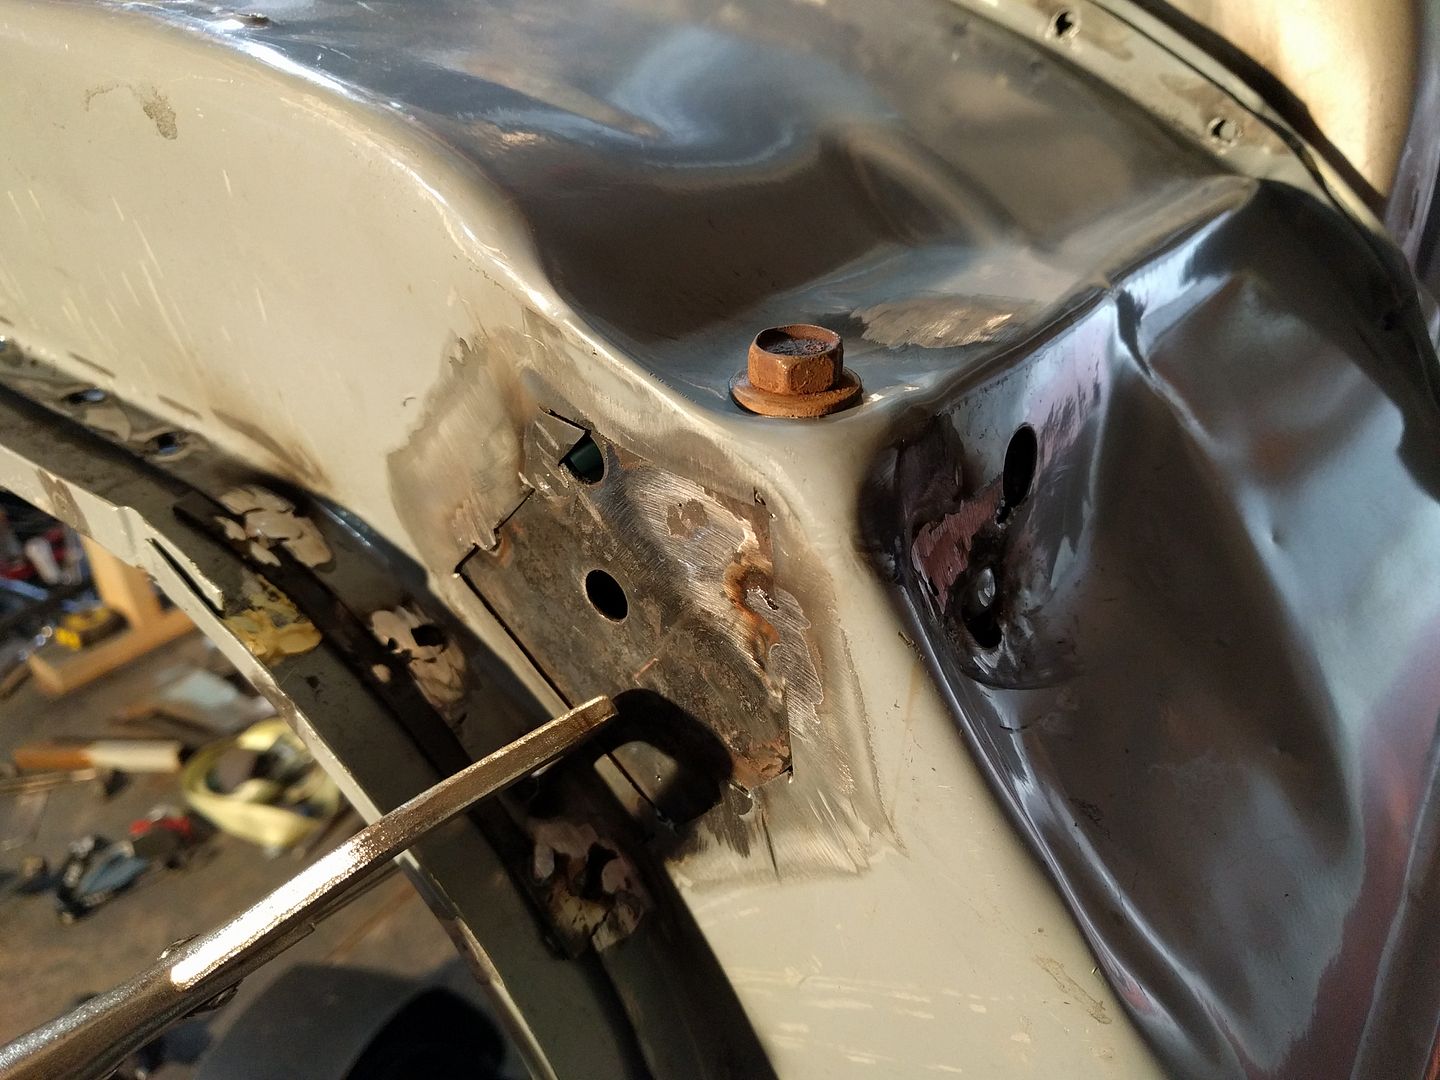
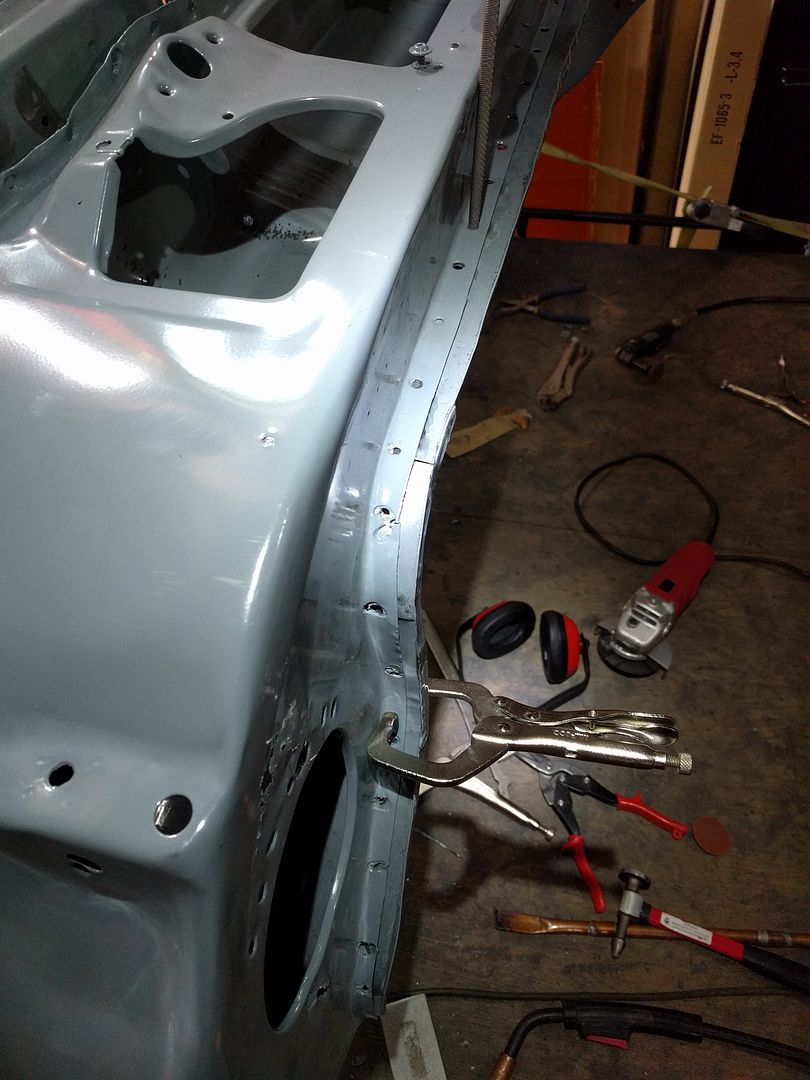
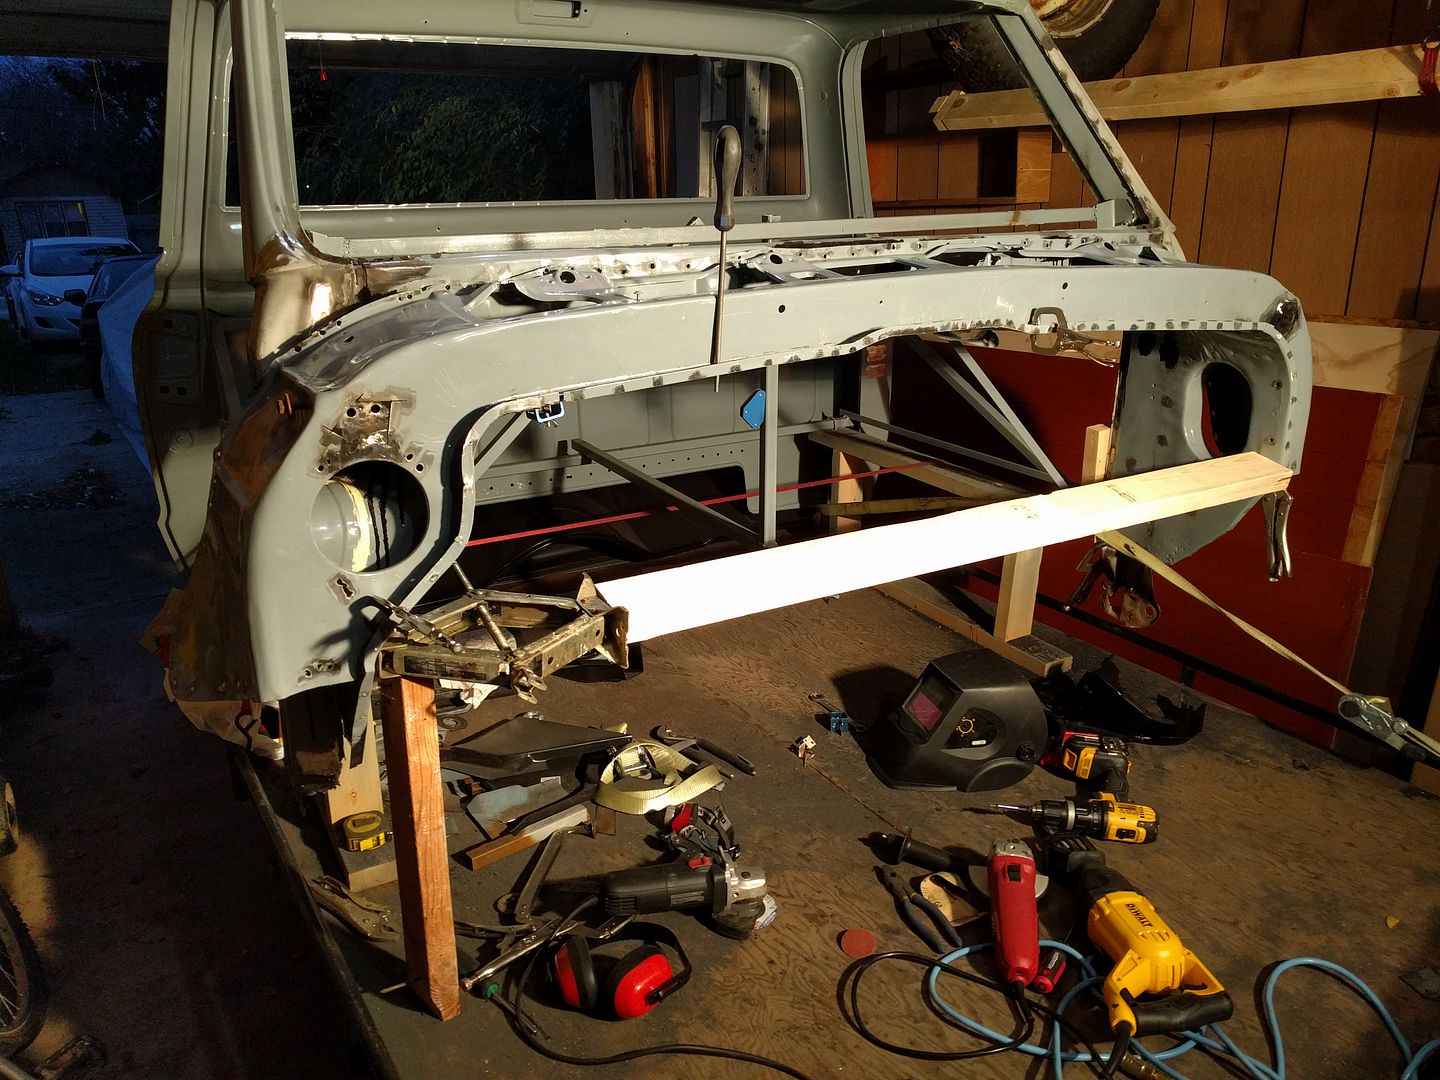
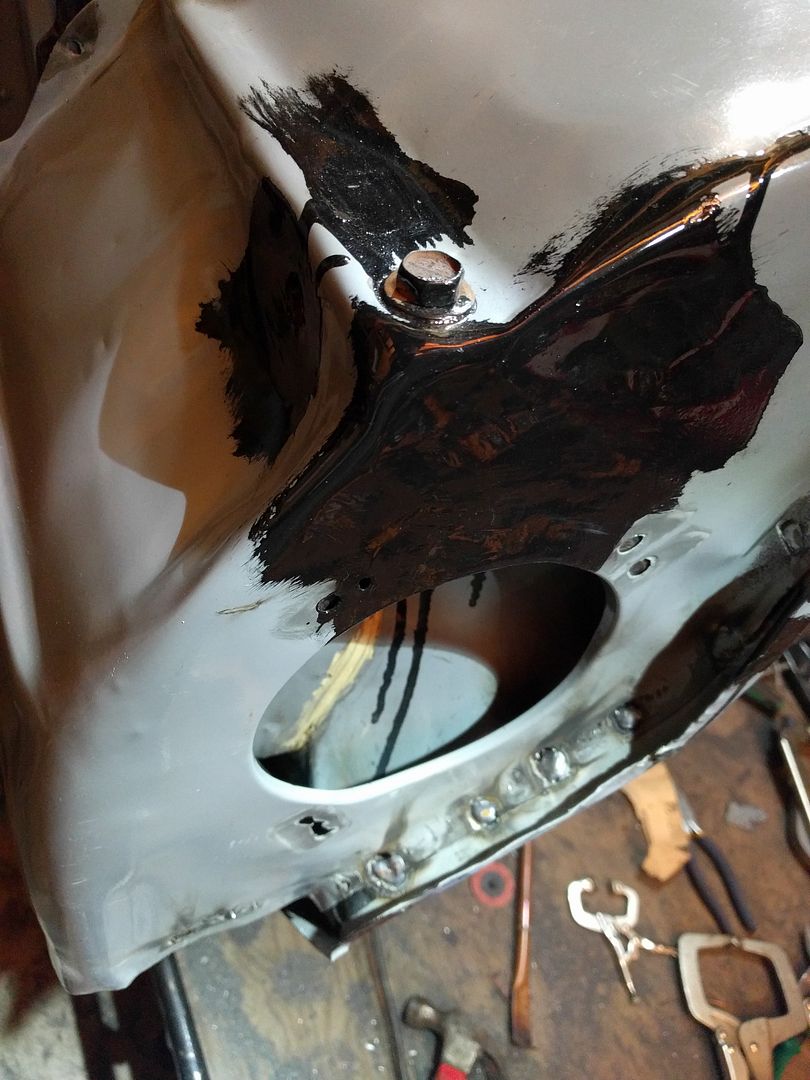
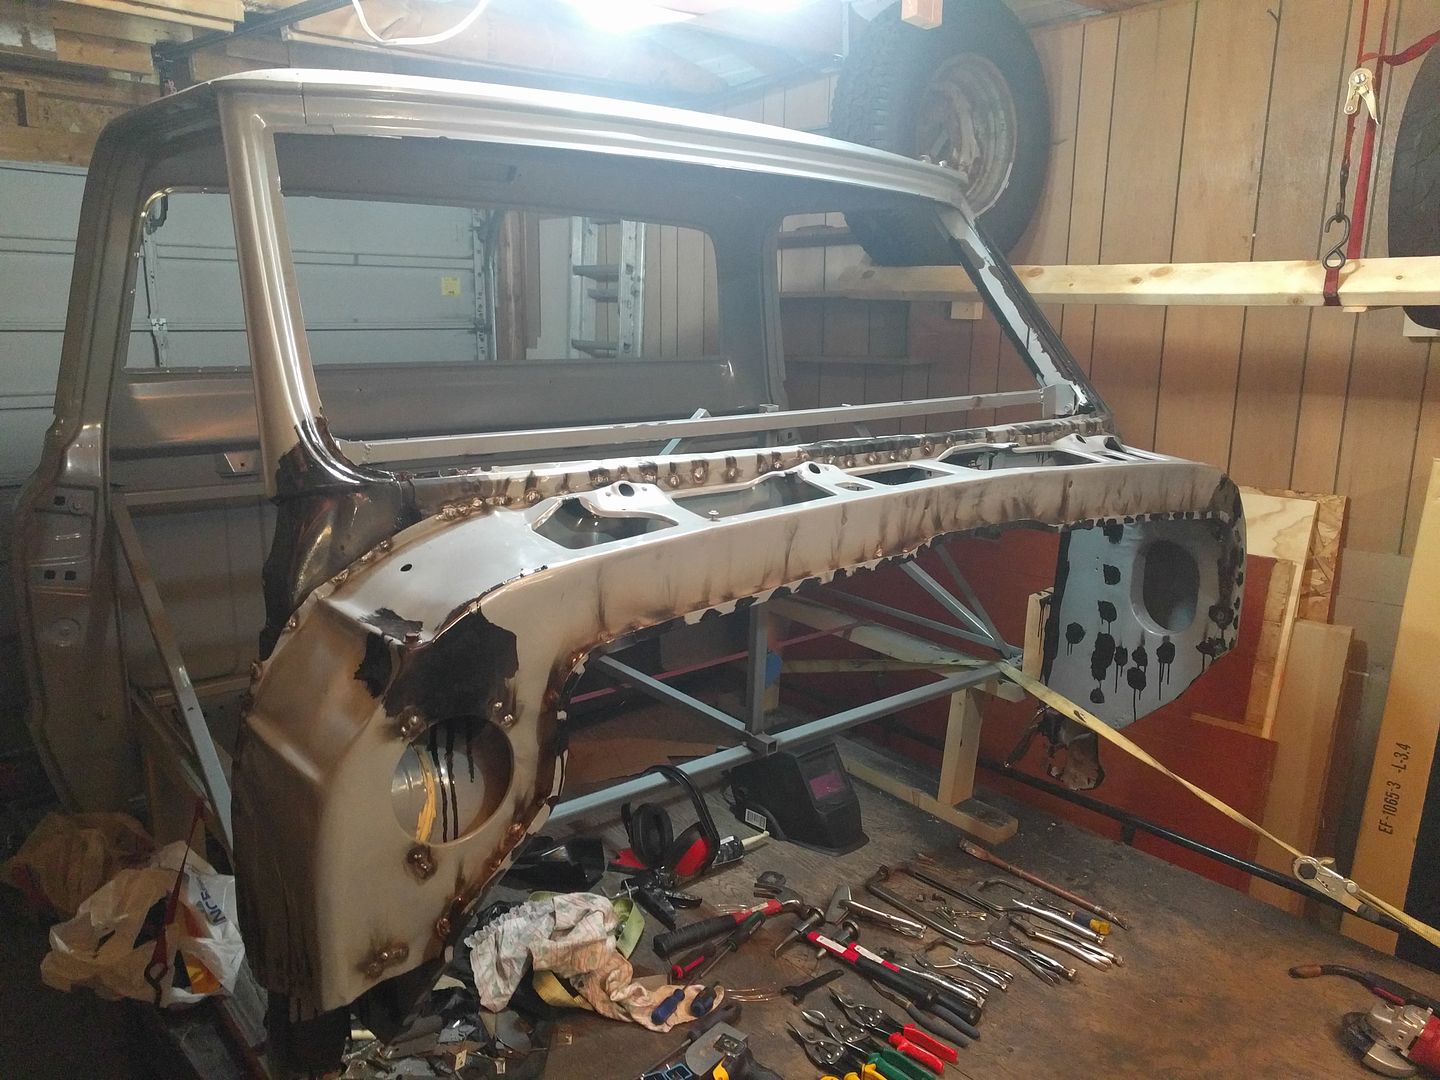
Stretched the inner cowl. Made a cut.
My stretching rig. Piece of 2x4 laying around, already cut to close. Random Honda jack screwed to the end of the 2x4. Screw through the drivers wing panel into the bottom of the 2x4 to hold it in place. Another chunk of 2x4 to prop the jack end up.
This is about where I wanted it to be. Doesn't take much force to get here, I can do it by hand the stretching rig just holds it for me.
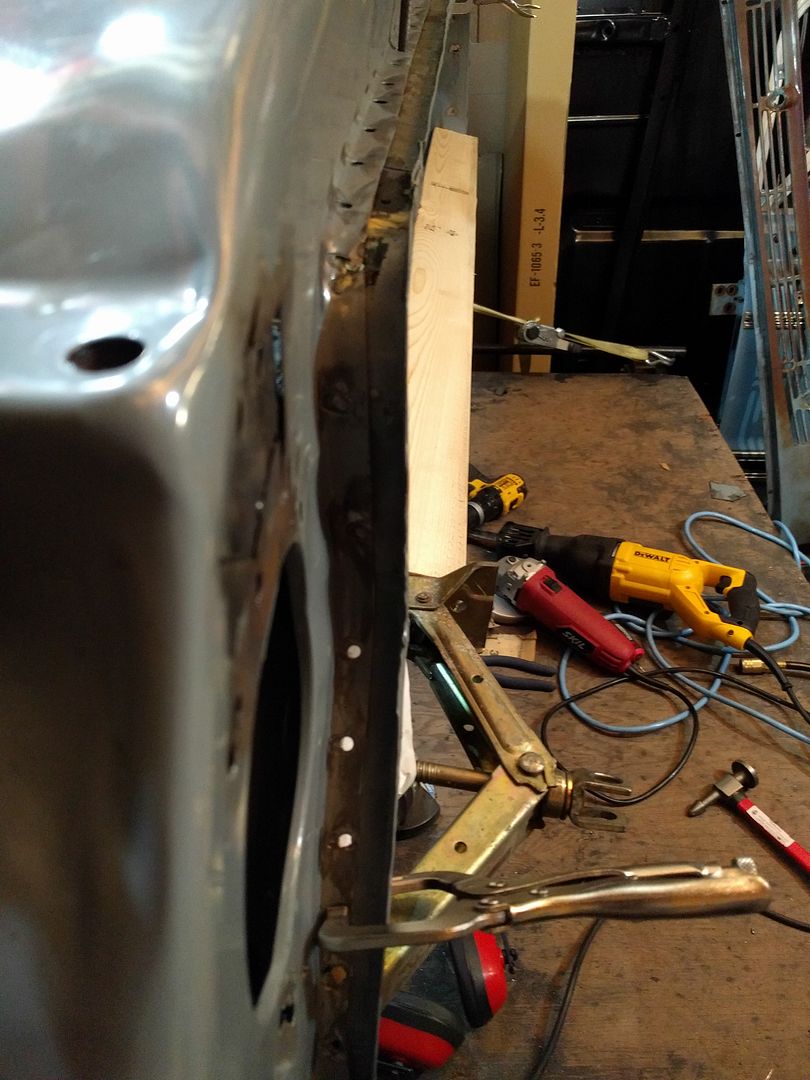
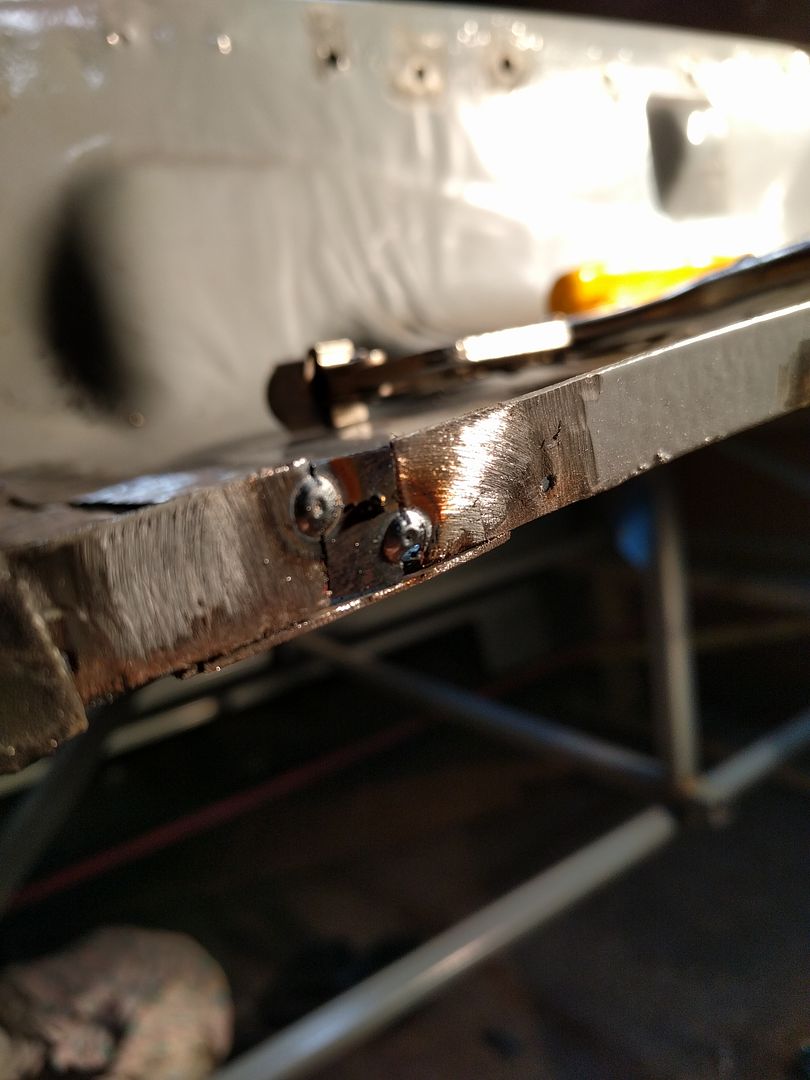
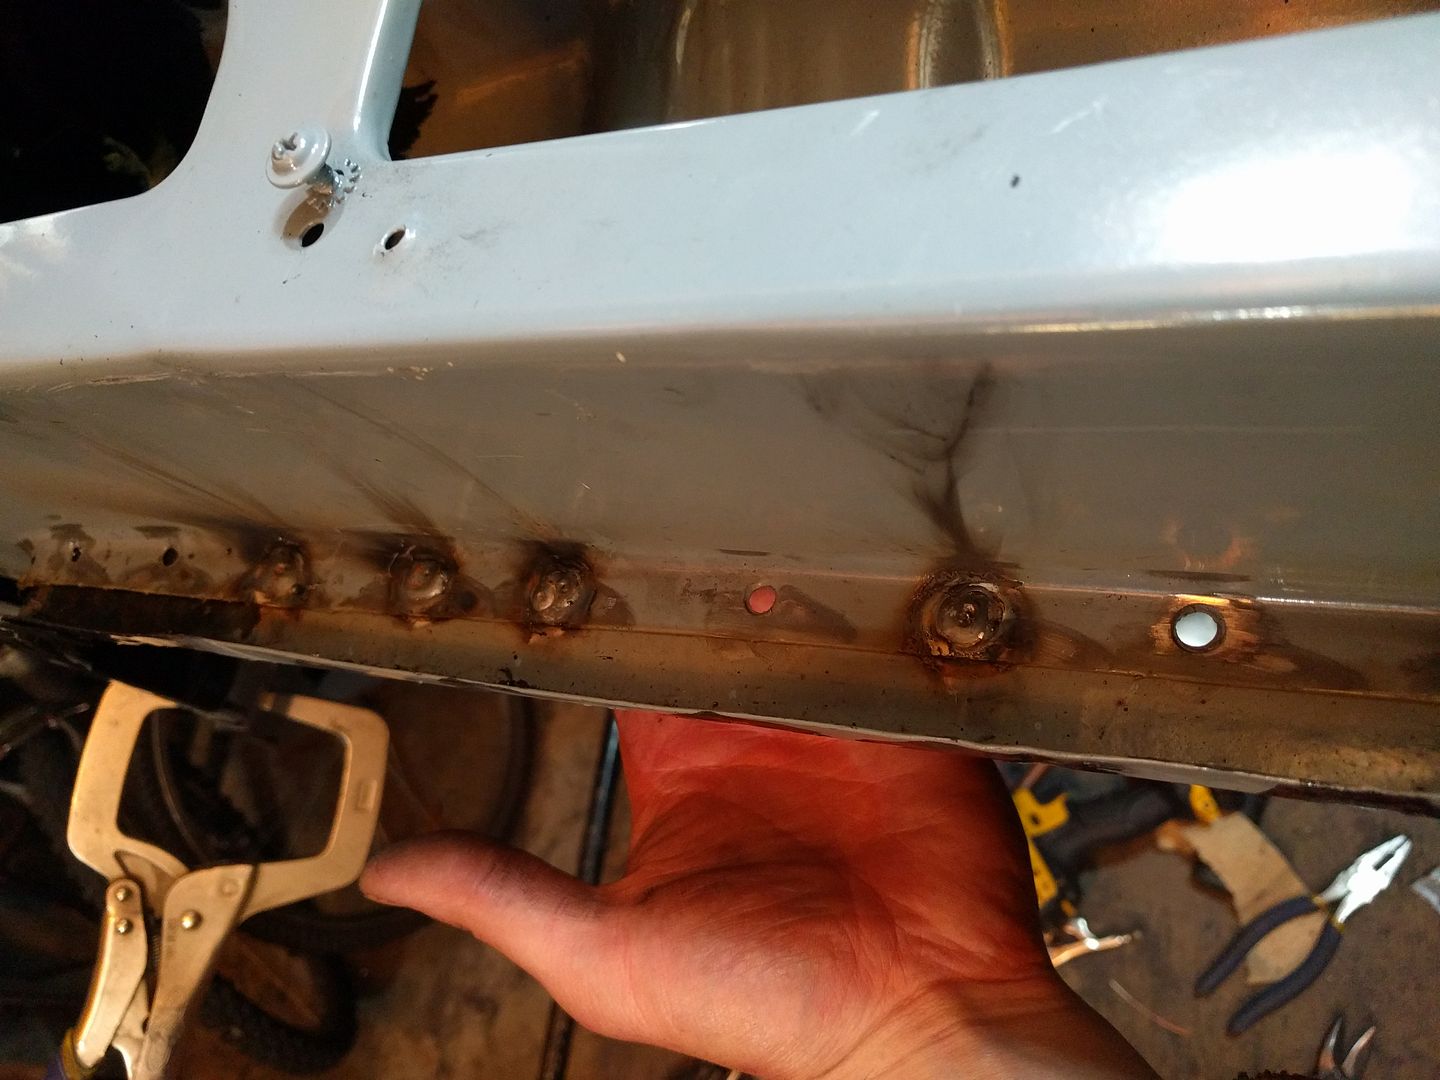
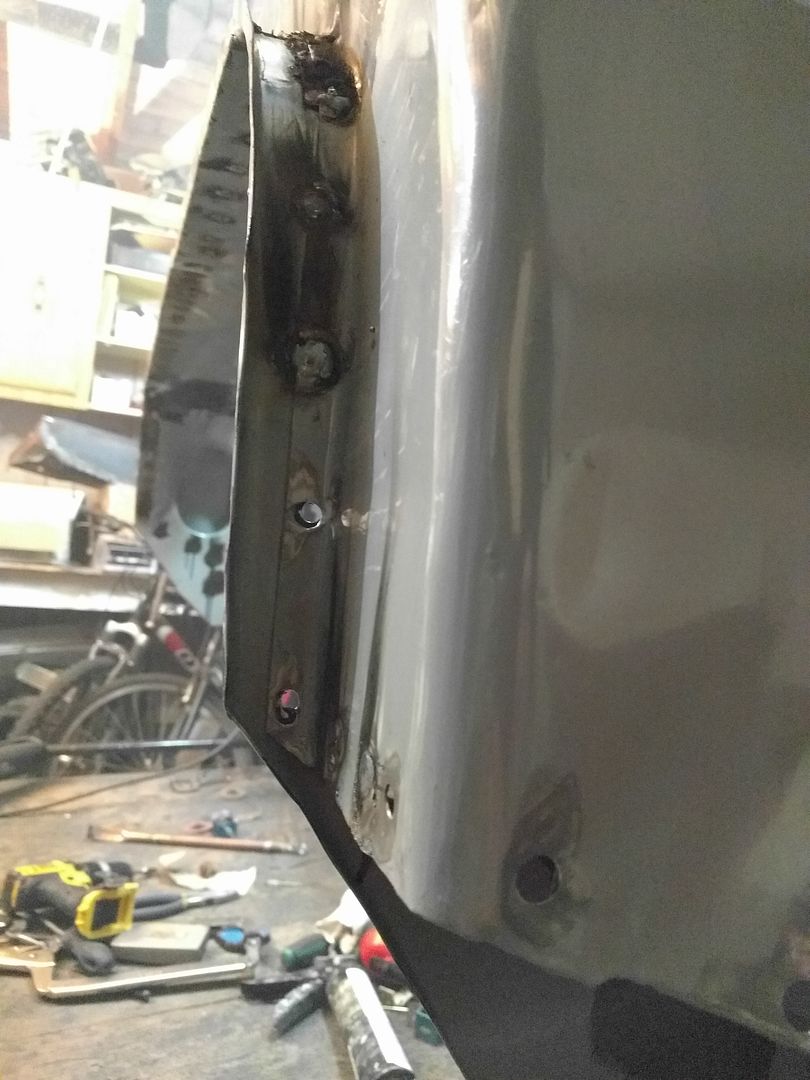
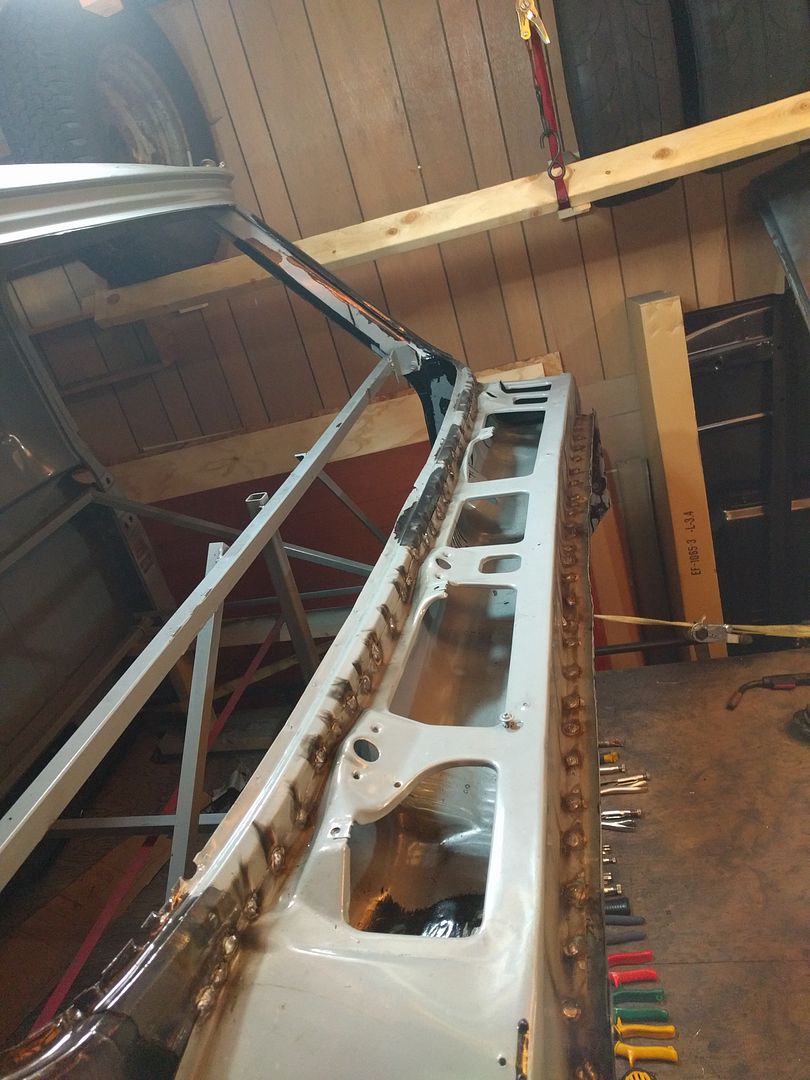
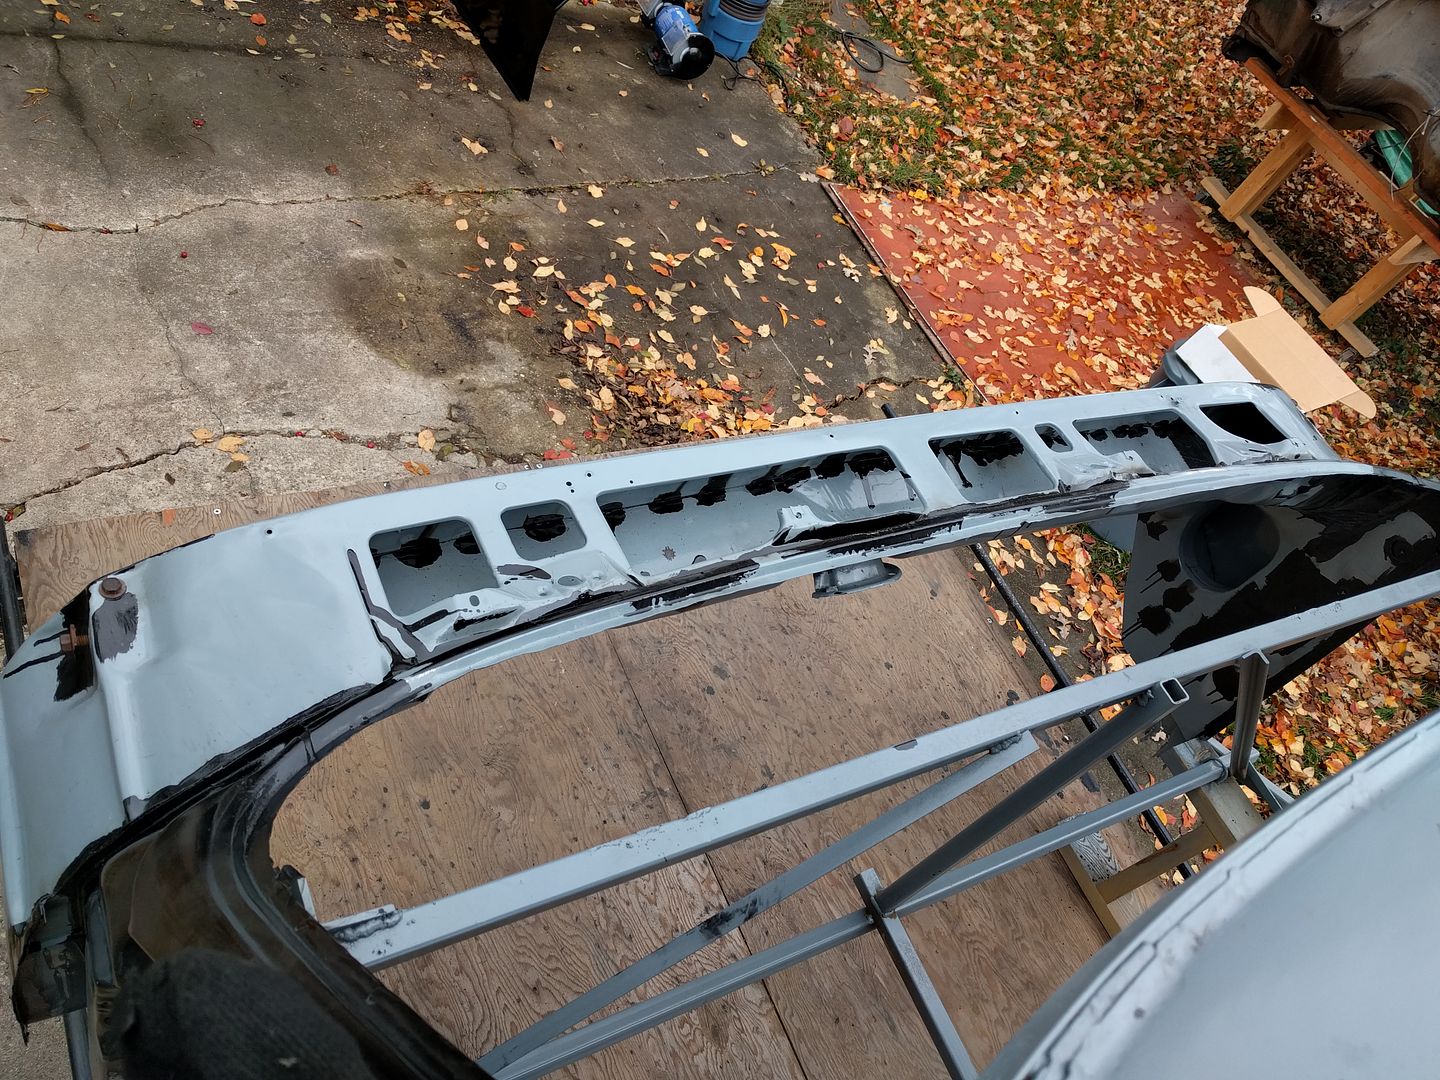
Outer cowl now fits like a glove
Note the spot weld holes in the wing all line up perfect and tight.
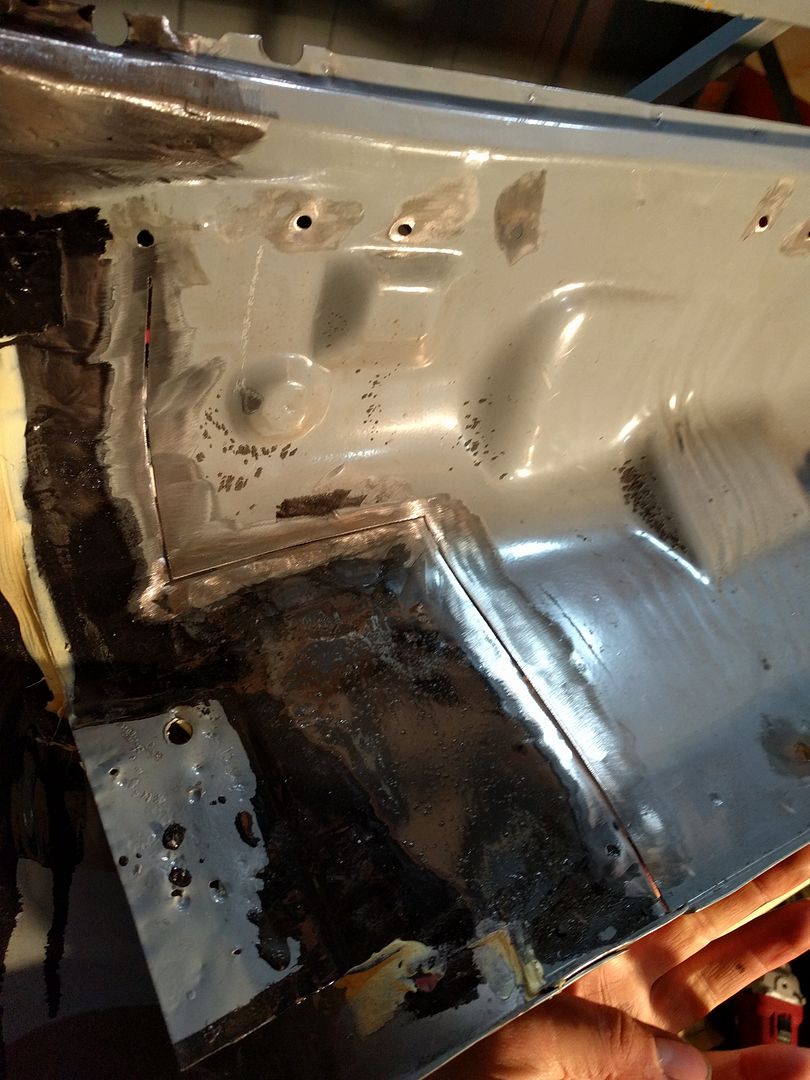
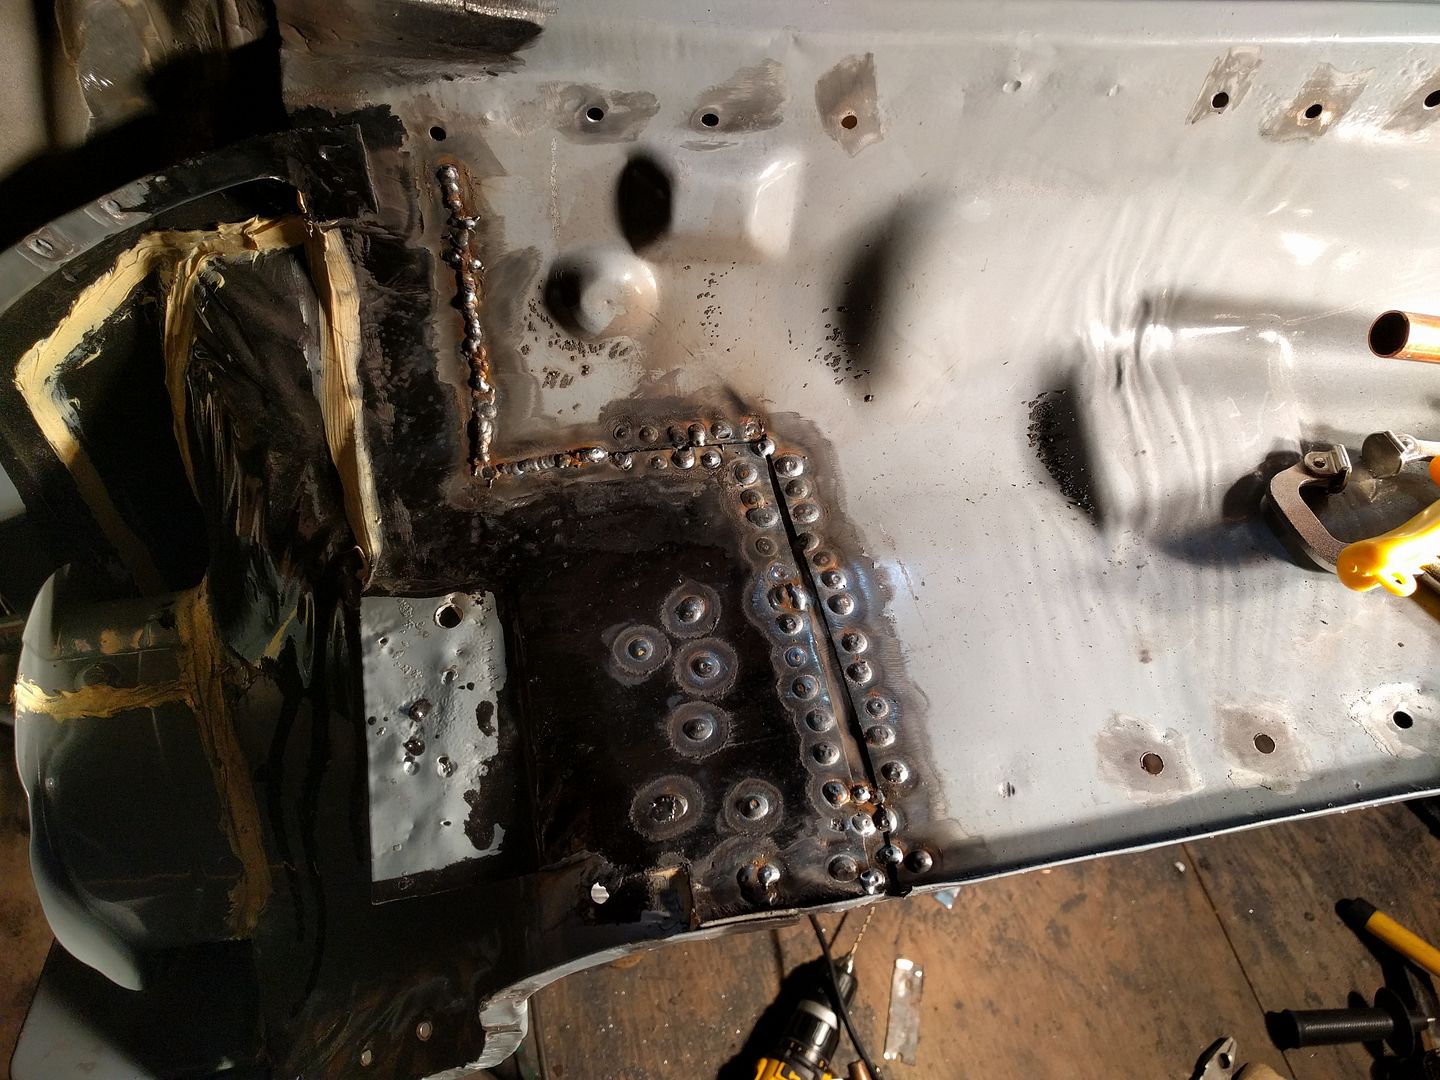
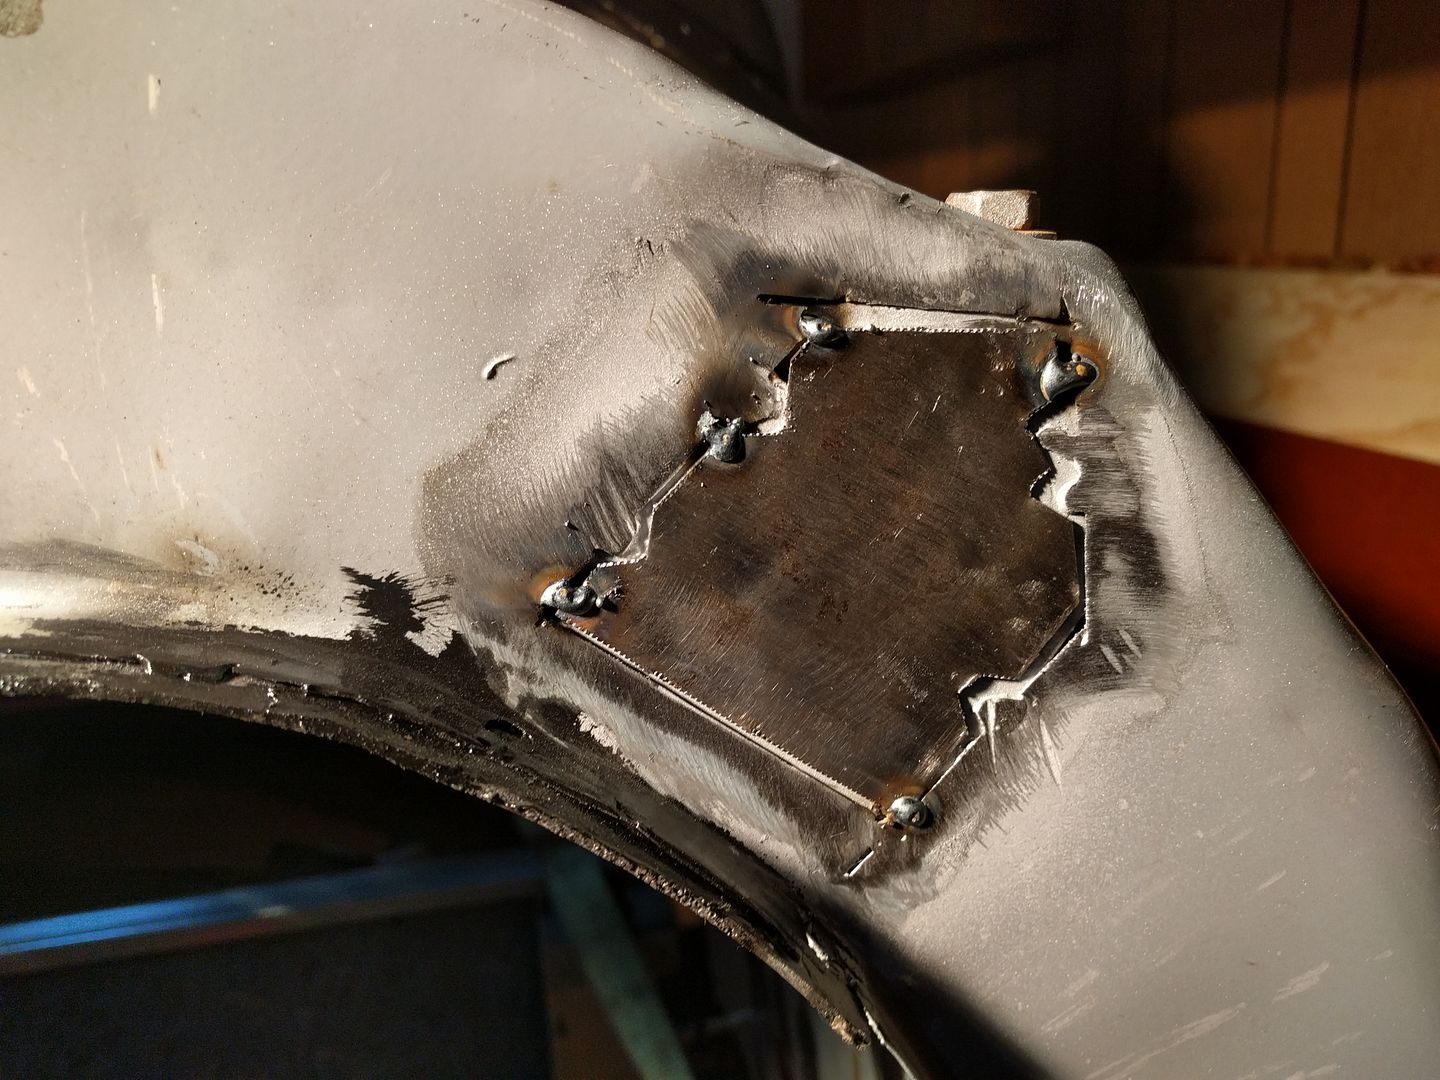
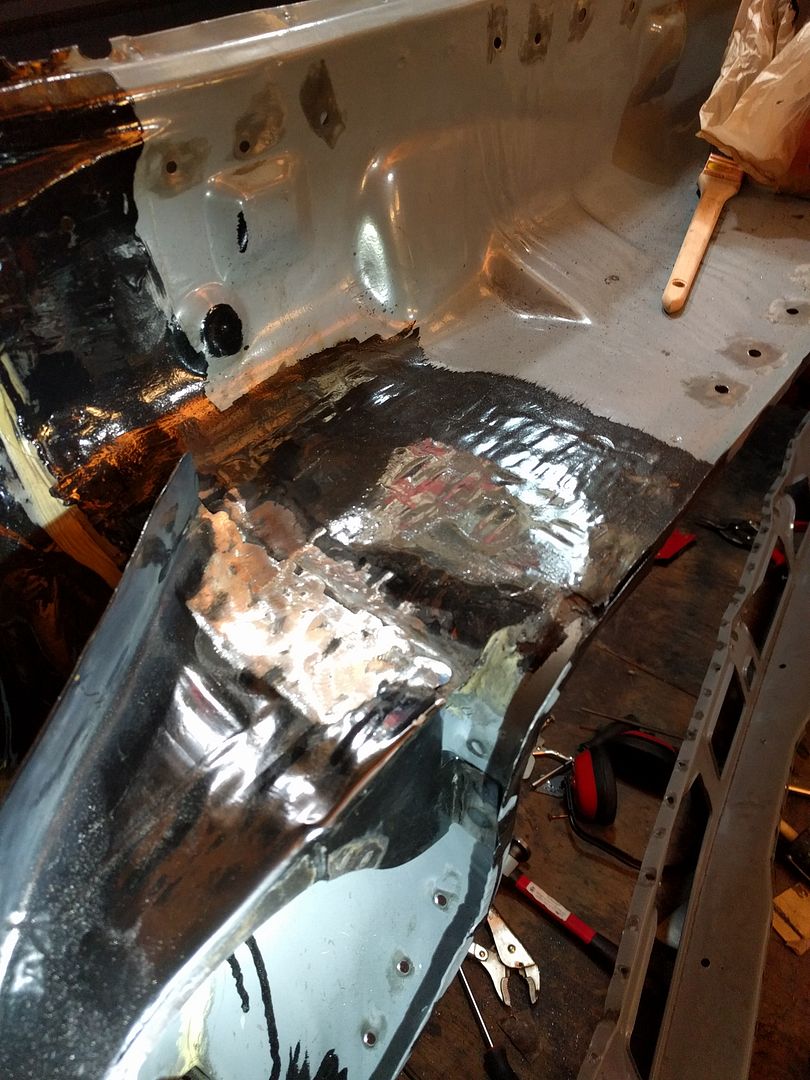
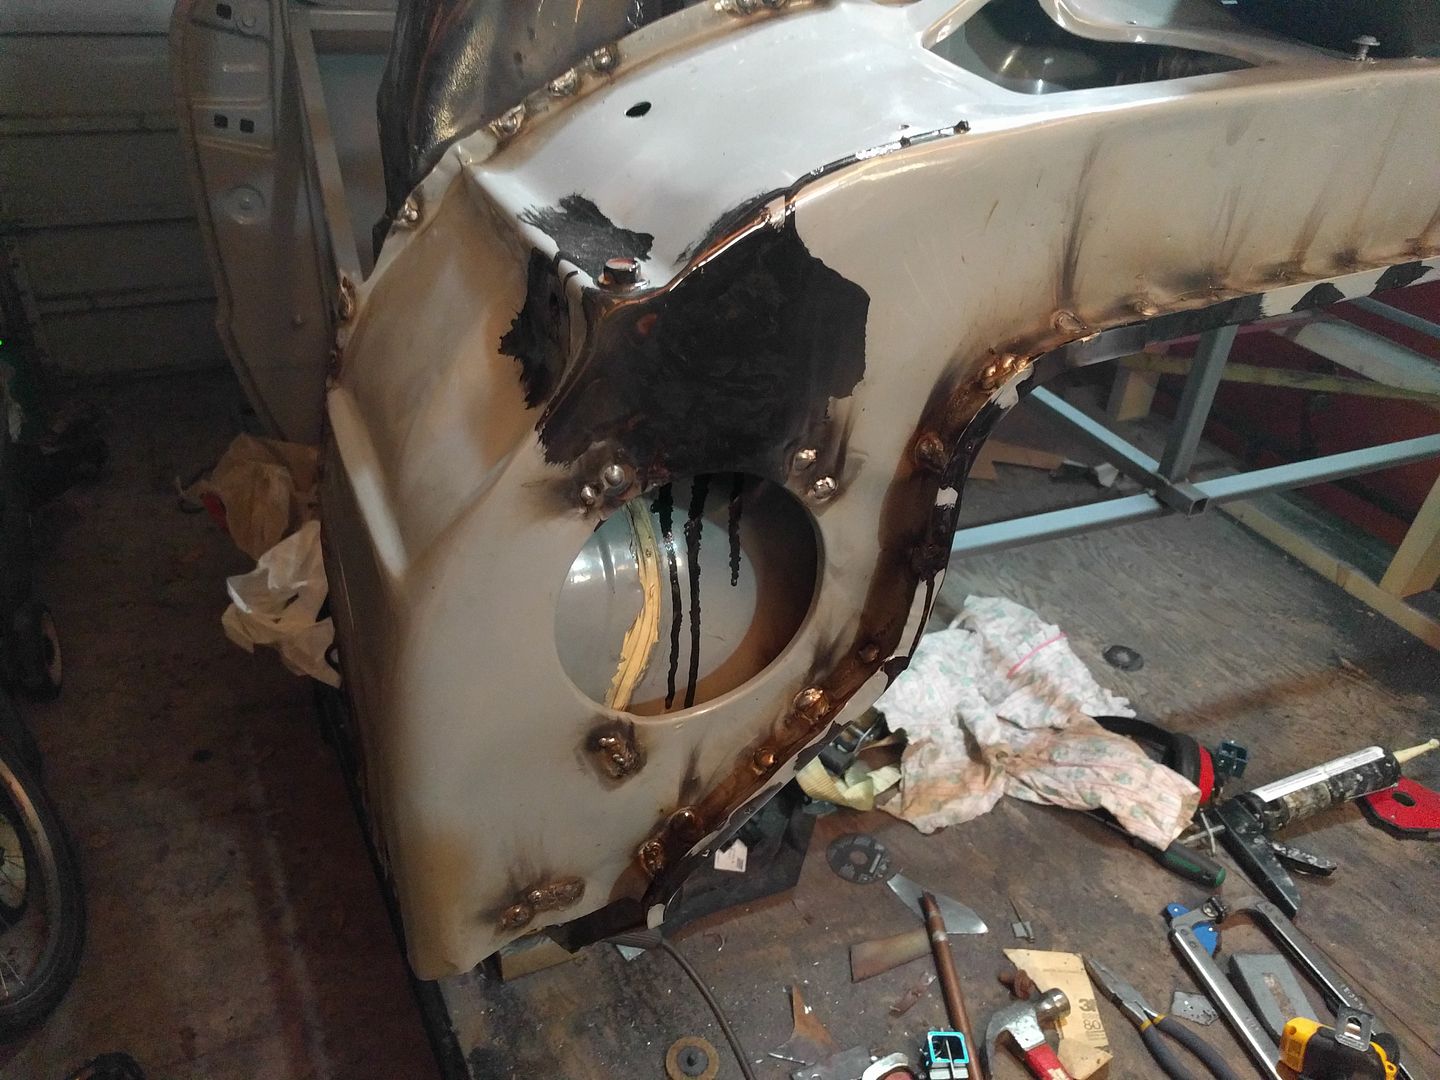
Stuck some pieces of scrap on the backside. Holes in the cowl to plug weld.
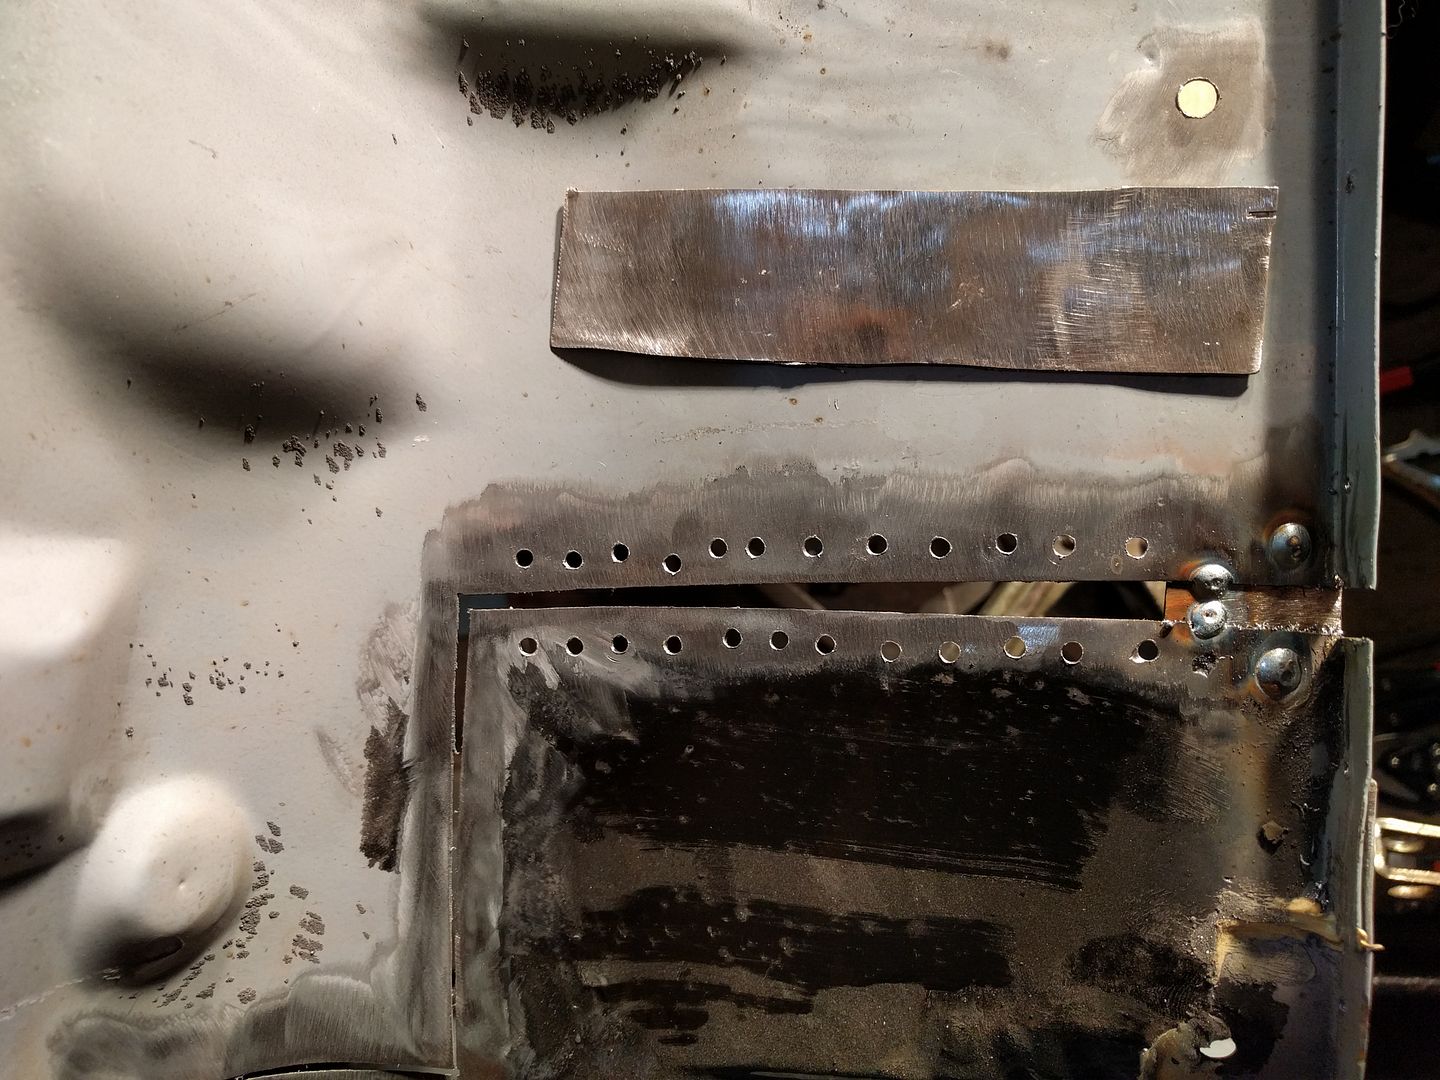
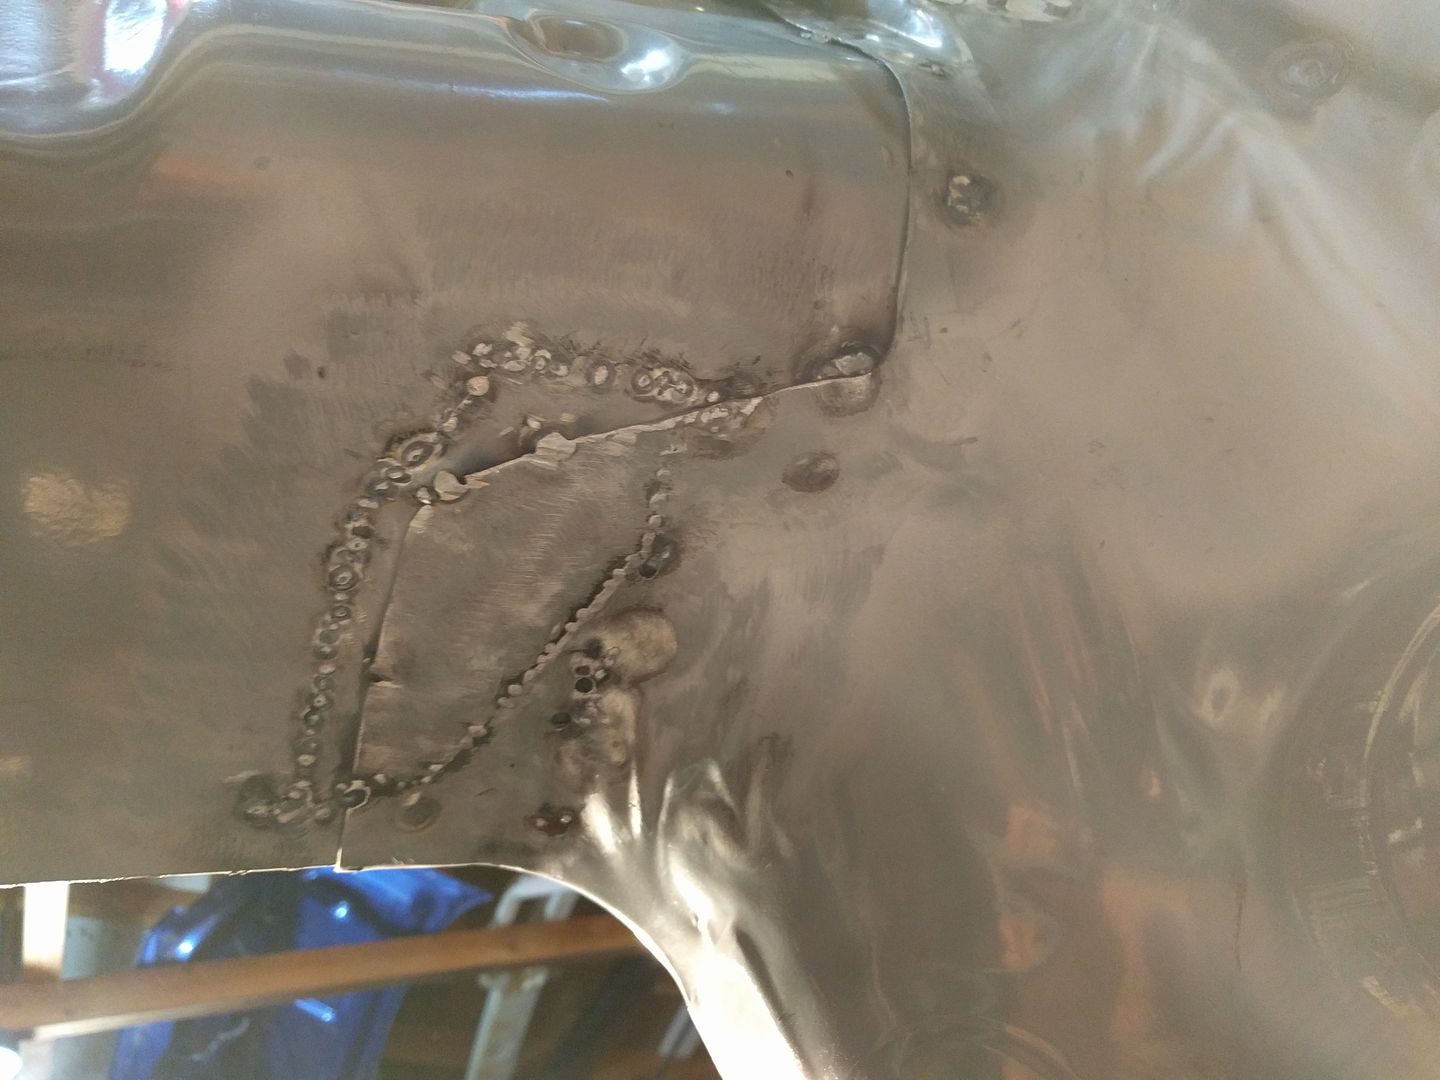
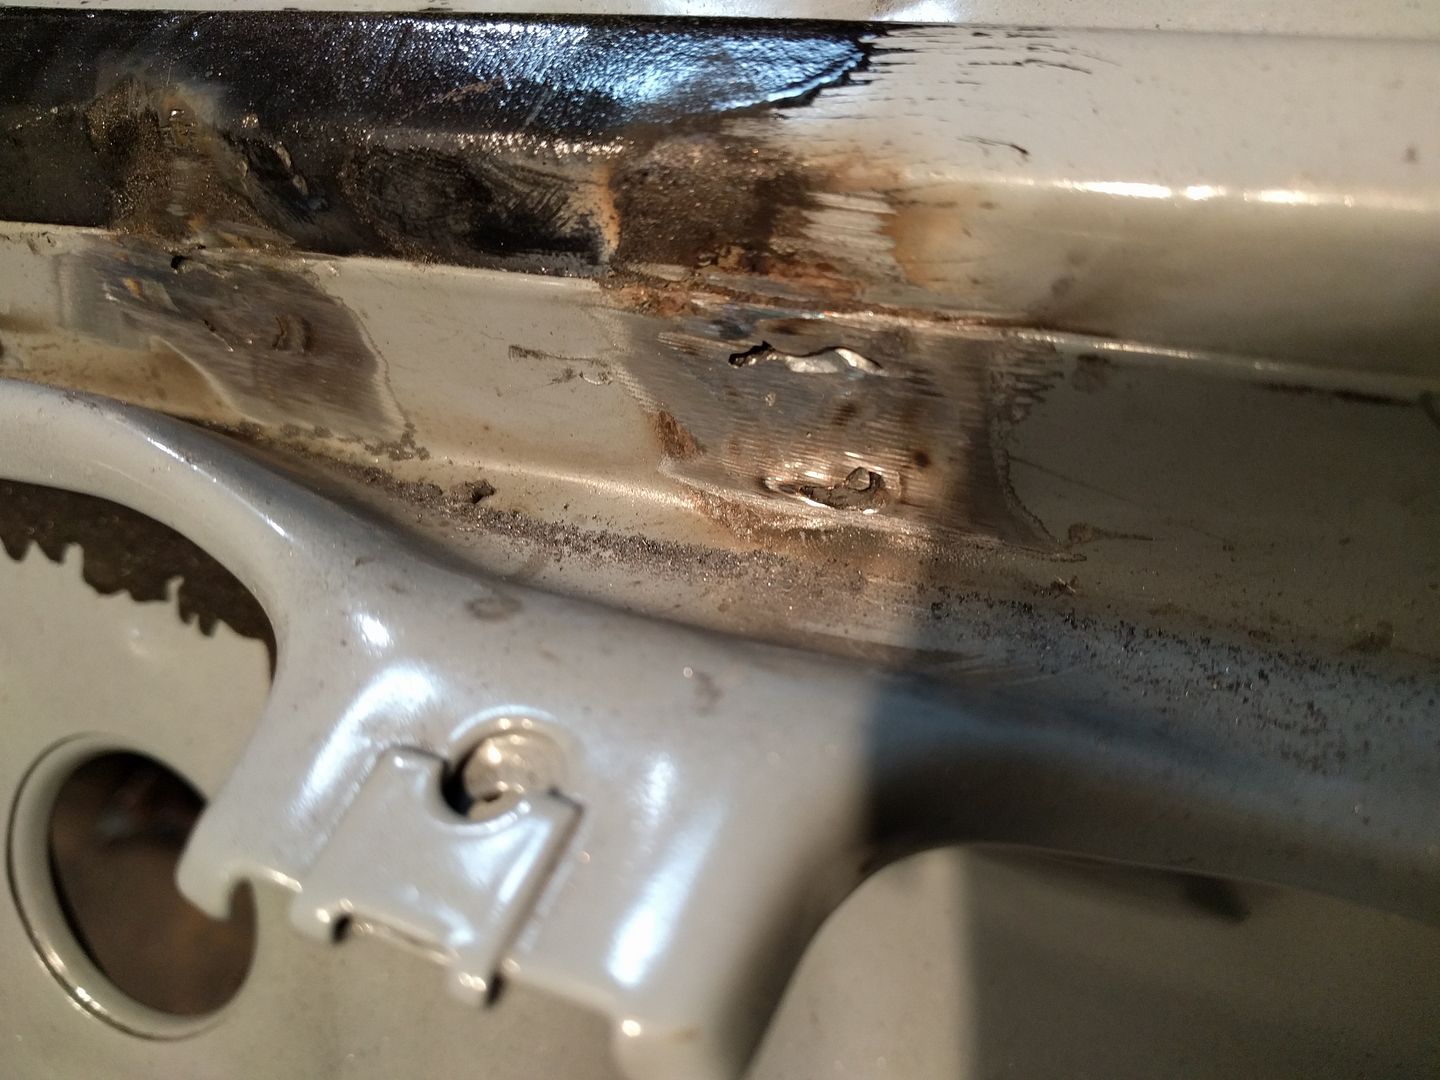
Stitching it together. Kept blowing through the part closer to the windshield where I didn't put anything on the backside.
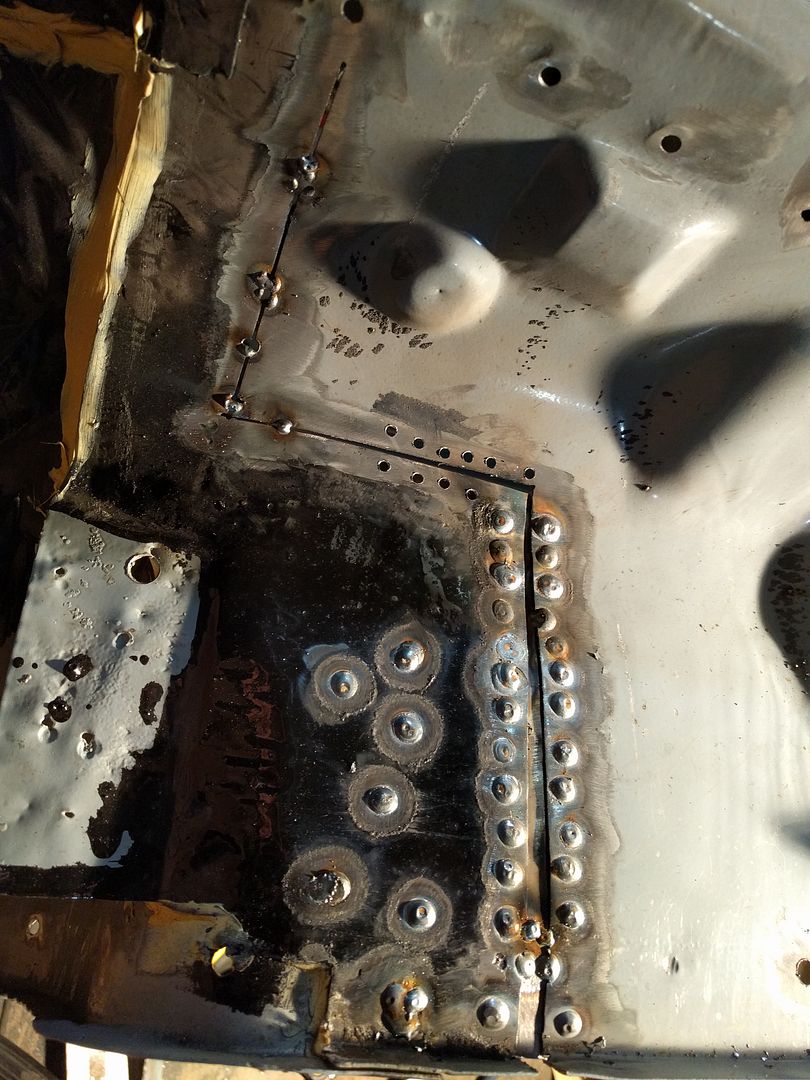
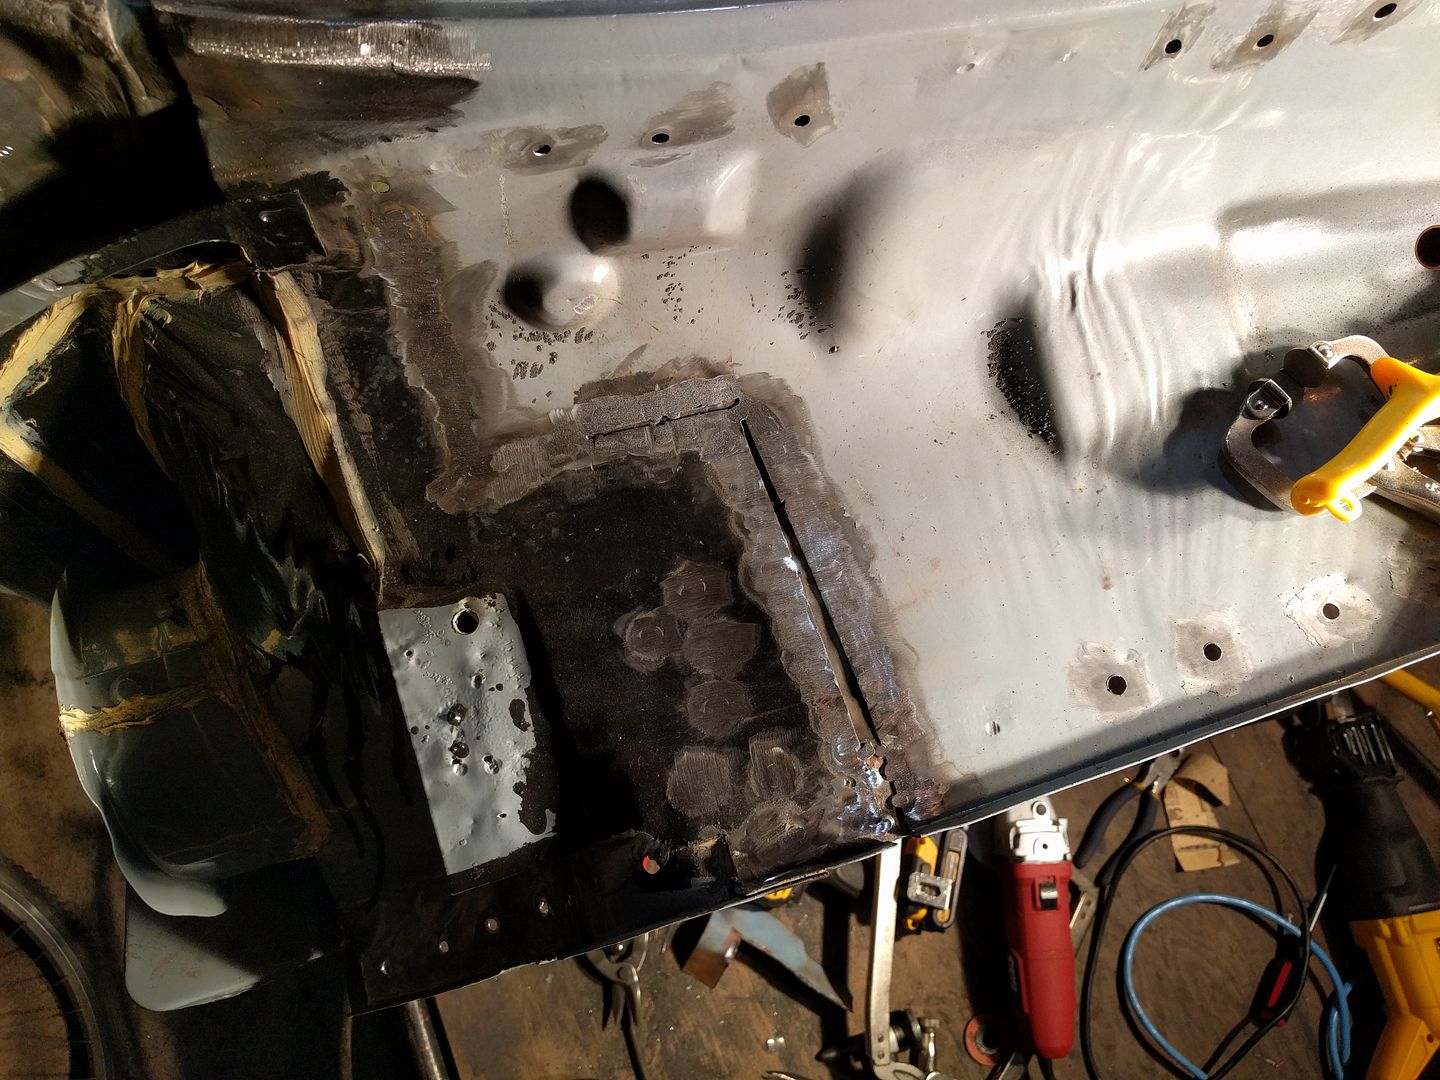
All welded
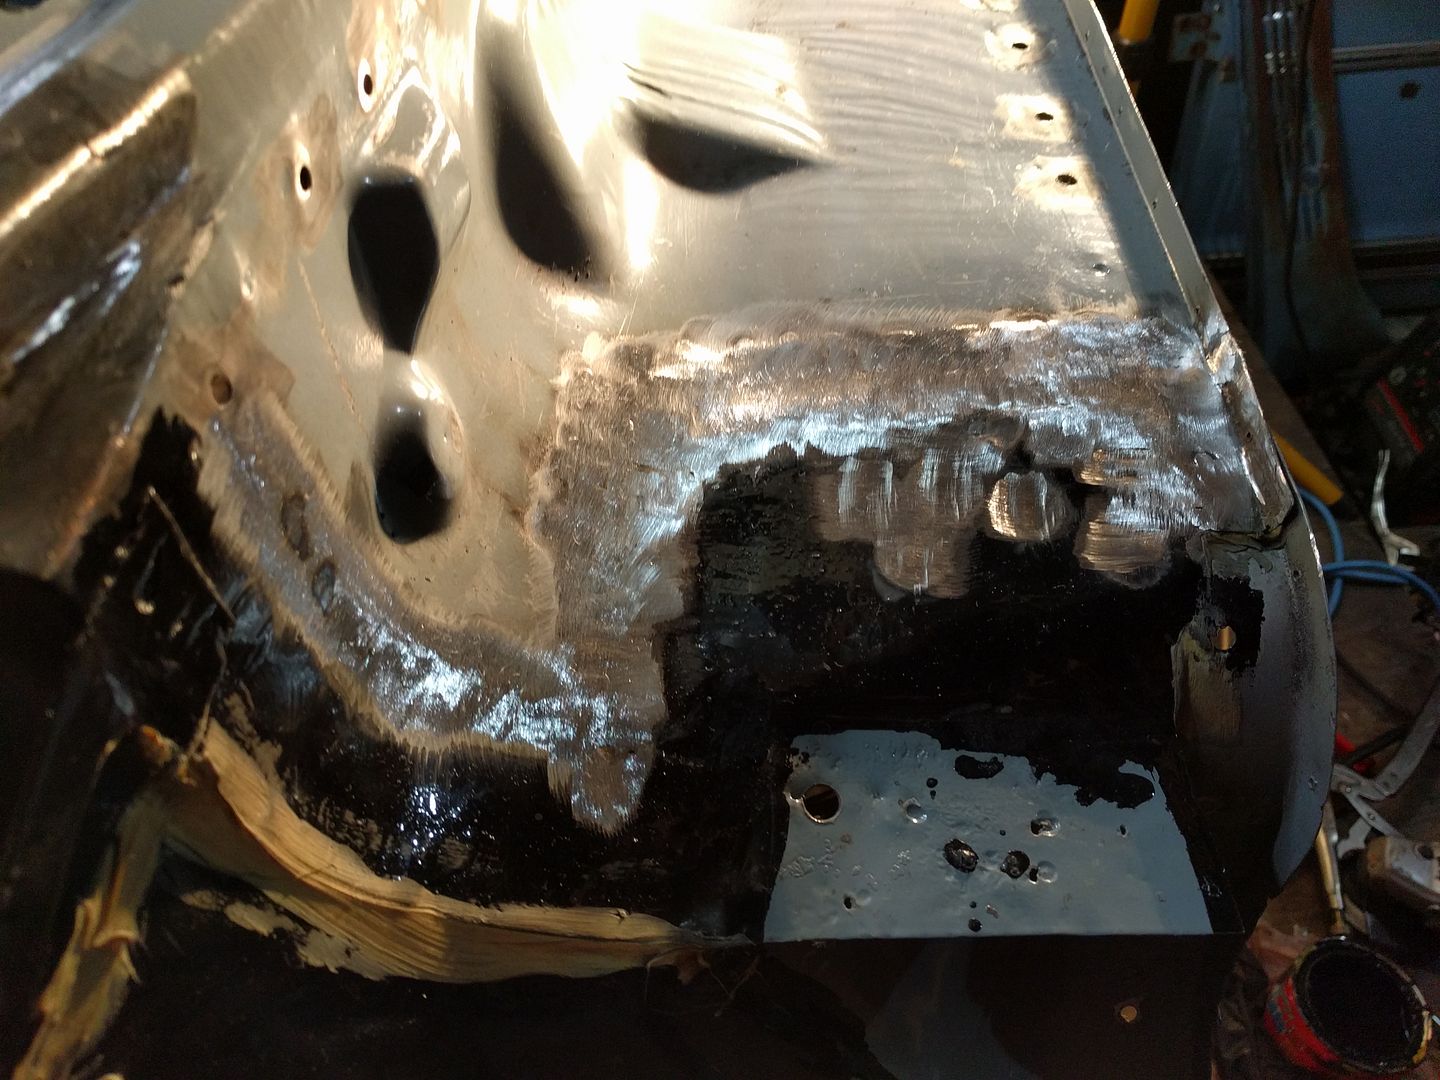
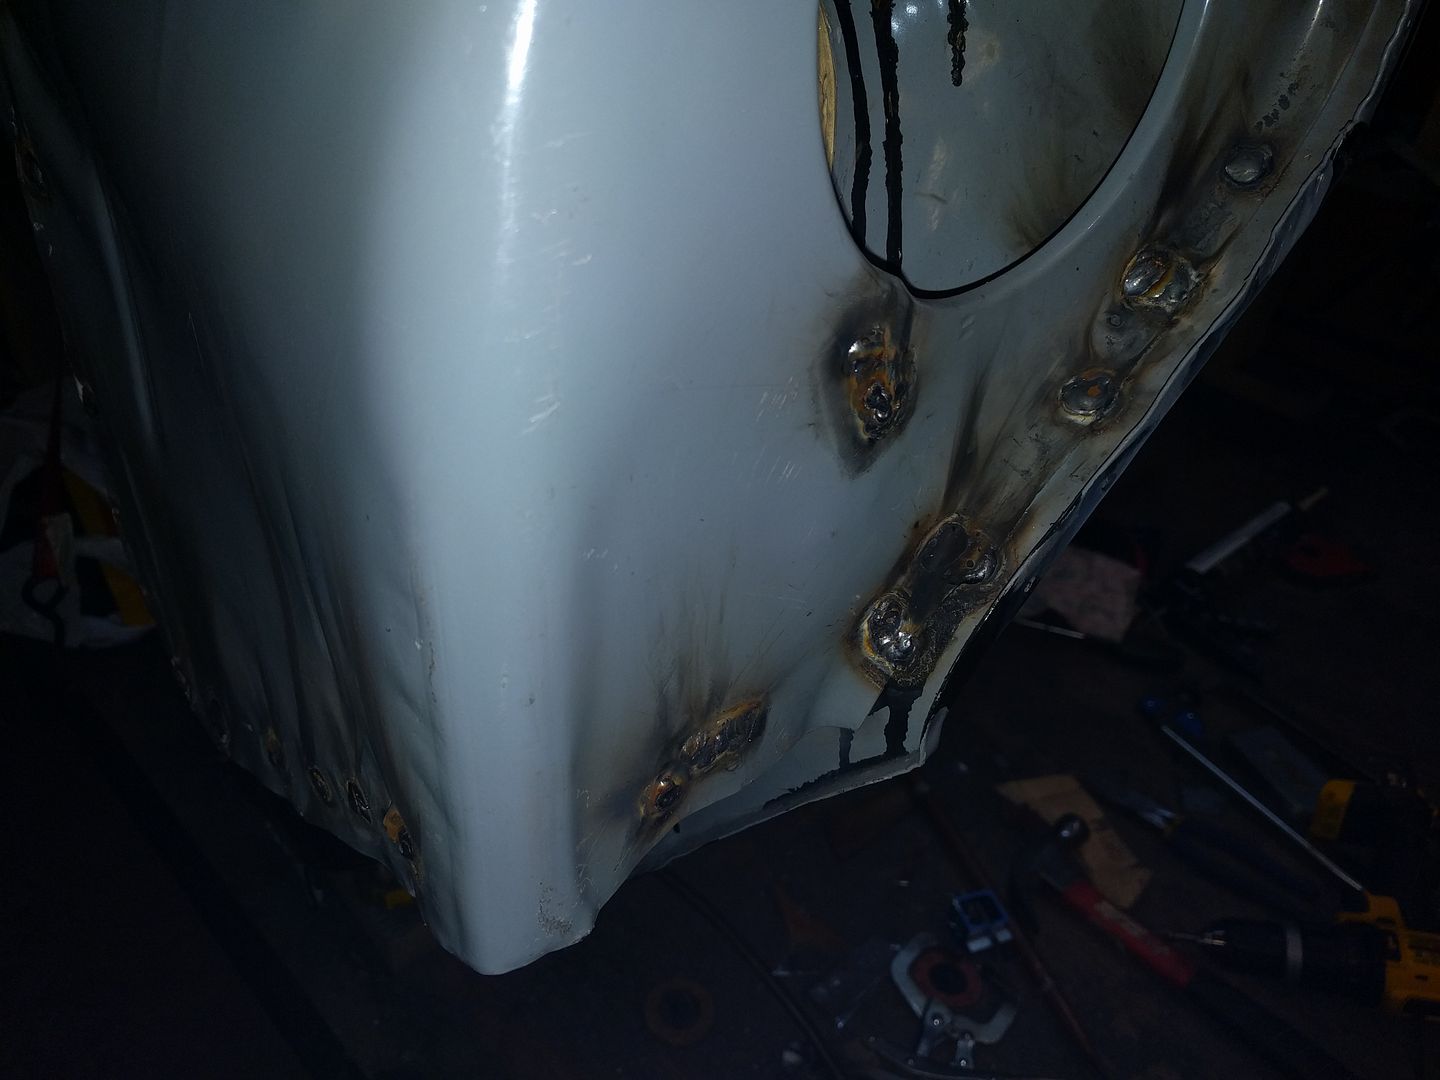
Ground.
Still some touch up to do, especially before the cowl can go on. Not the prettiest repair, especially from the underside. But that's what I get for my mistake, and it's not like it'll be visible way up under the dash.
Wow it's been a long time since I updated. I've been so busy rushing to get ready for winter whenever I had spare time I didn't feel like doing anything, never mind update this thread.
Picking up where I left off...
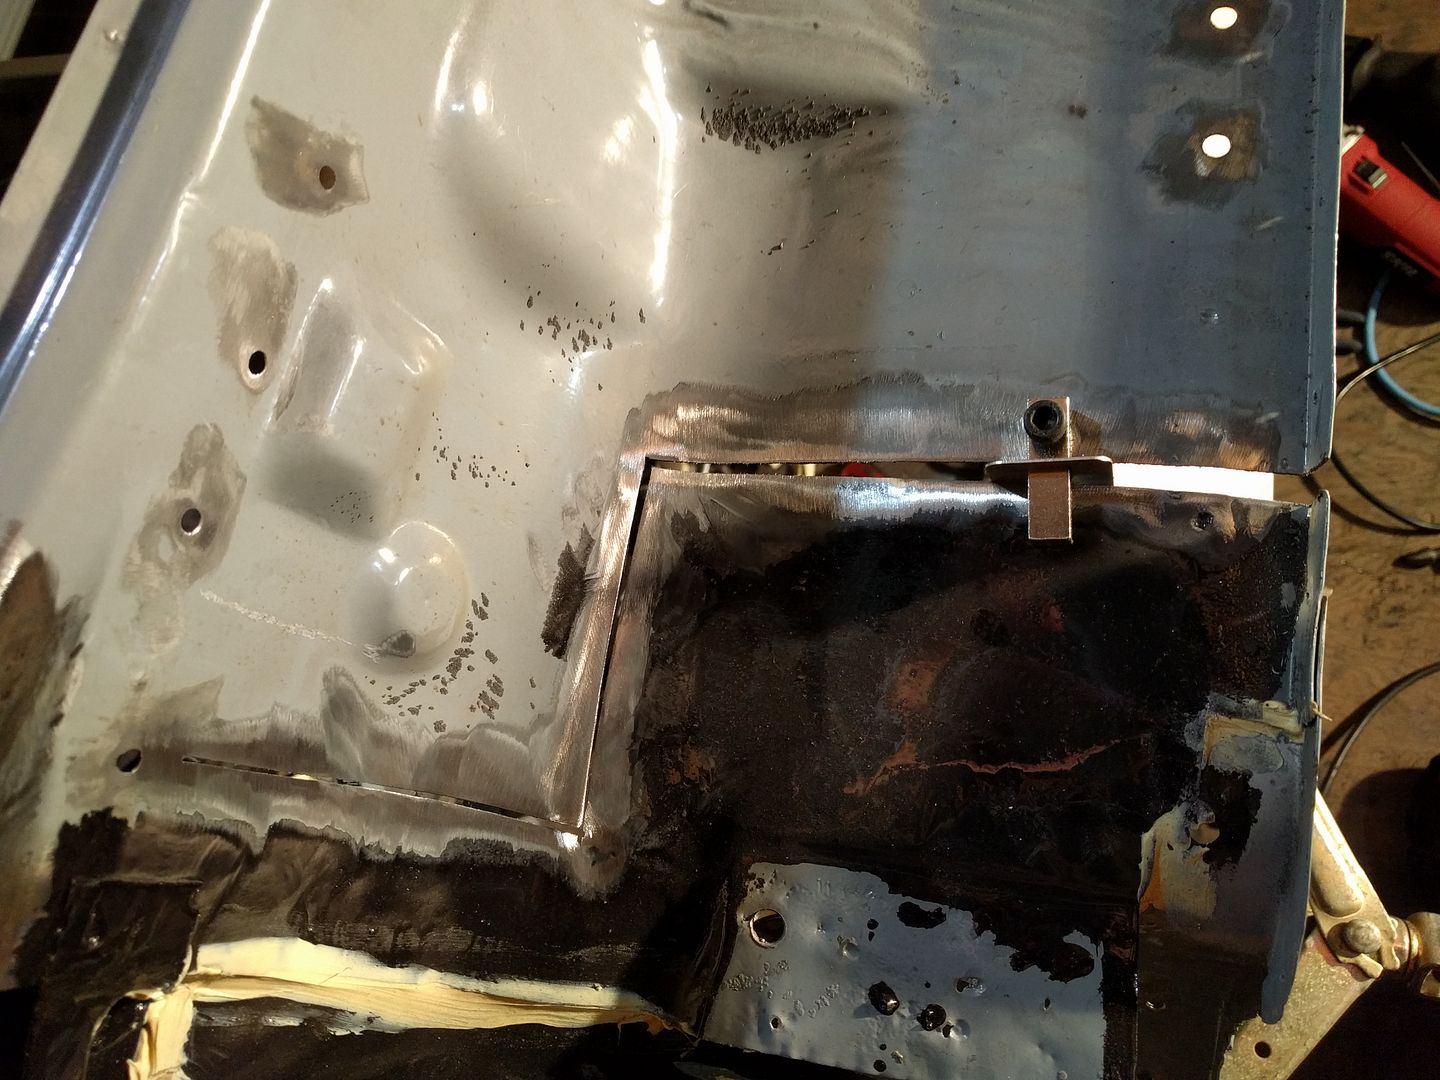
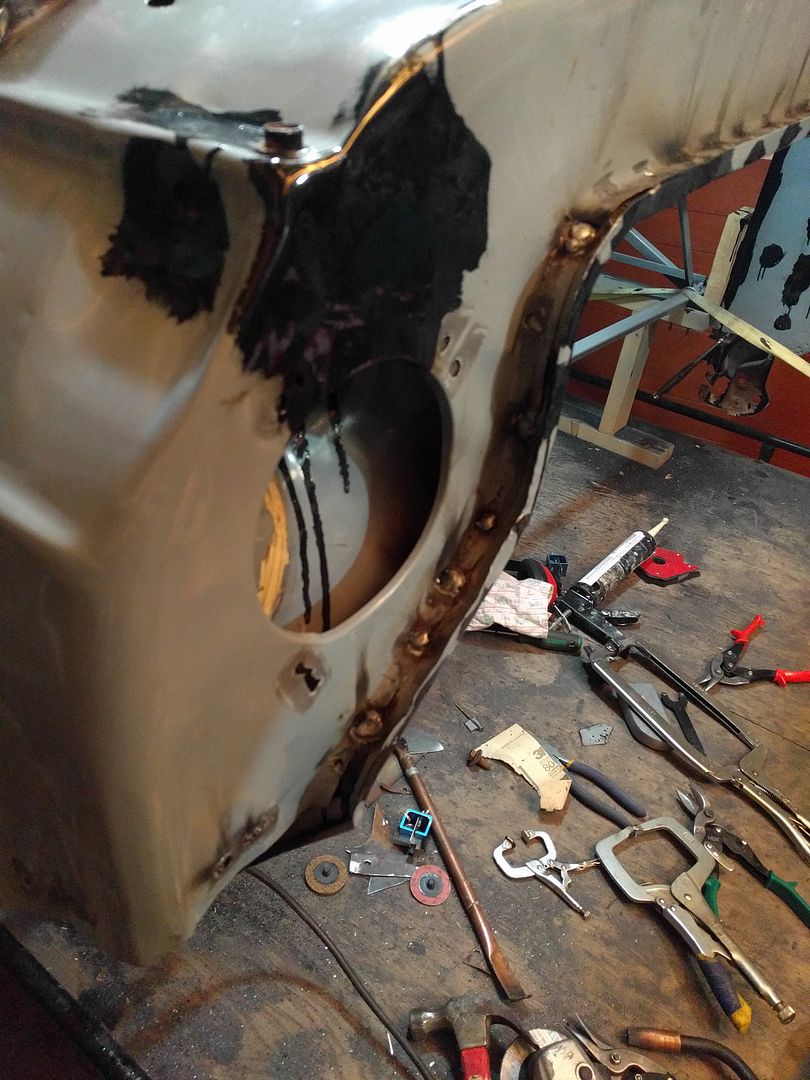
Filled the gap I made in the inner cowl
Patched the sections of outer cowl that were full of pinholes. Both were areas where layers of metal sat next to each other.
After that patching the outer cowl didn't want to sit as nice any more. Maybe I shrunk the area above the blower motor with heat, I'm not sure.
Welded in the rain gutter around the blower motor, starting with two plug welds on the little tab. Never noticed the indent in the cowl for this piece until I was fitting it.

Seam sealed
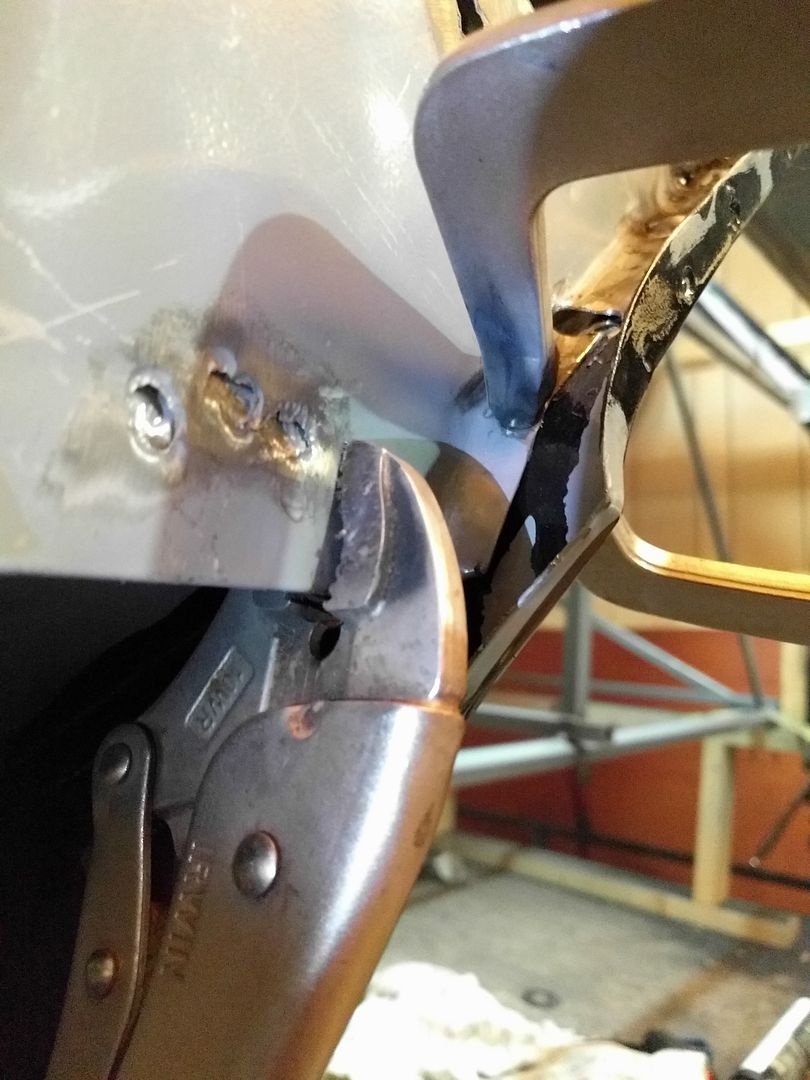
Welded the front fender mounting plates to the outer cowl
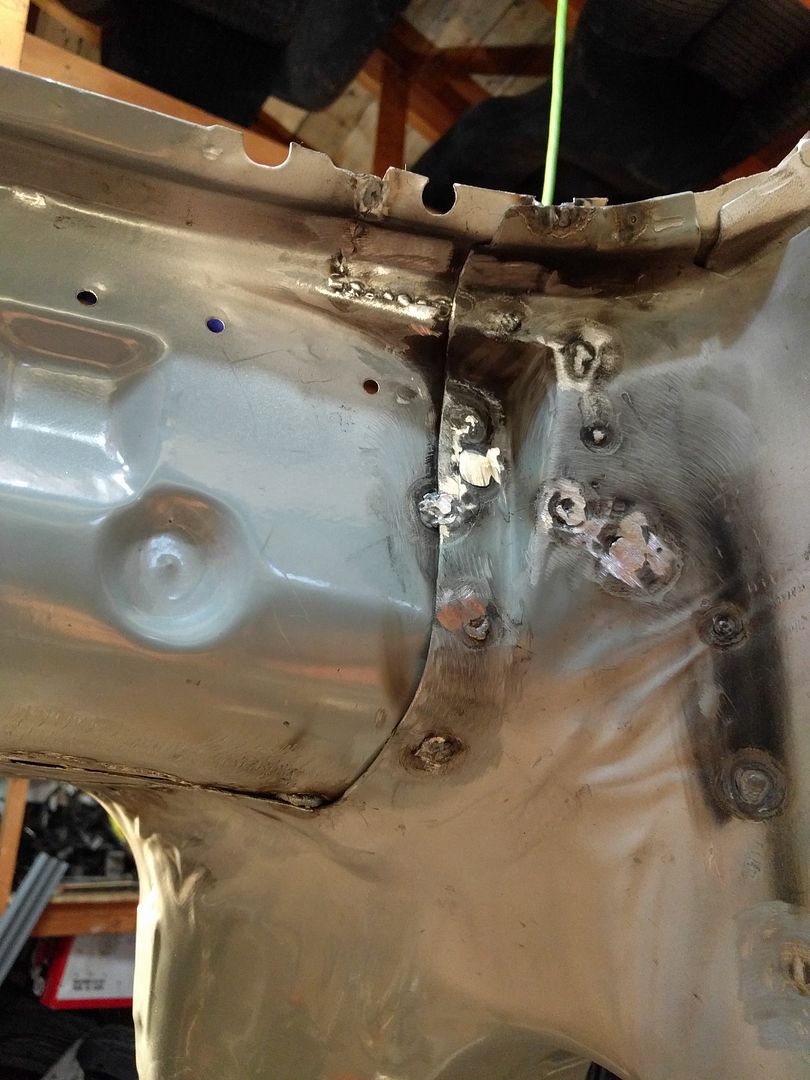
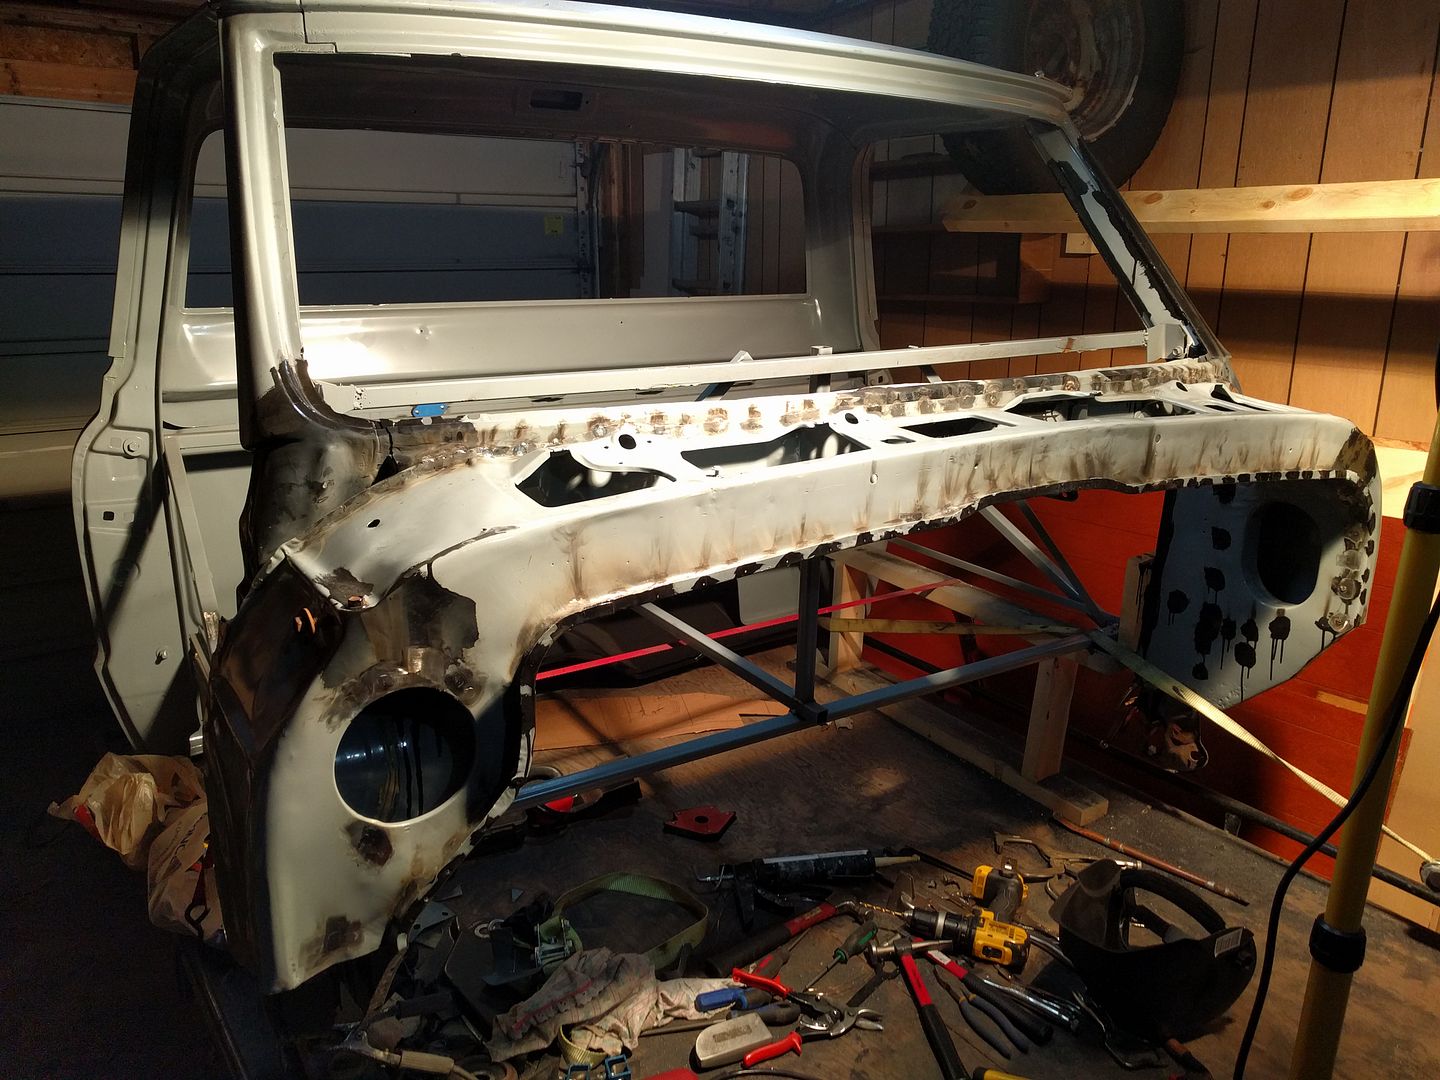
Time to put the cowl on. This was probably the hardest part I've done so far.
Line the holes up, fill with weld. Repeat.
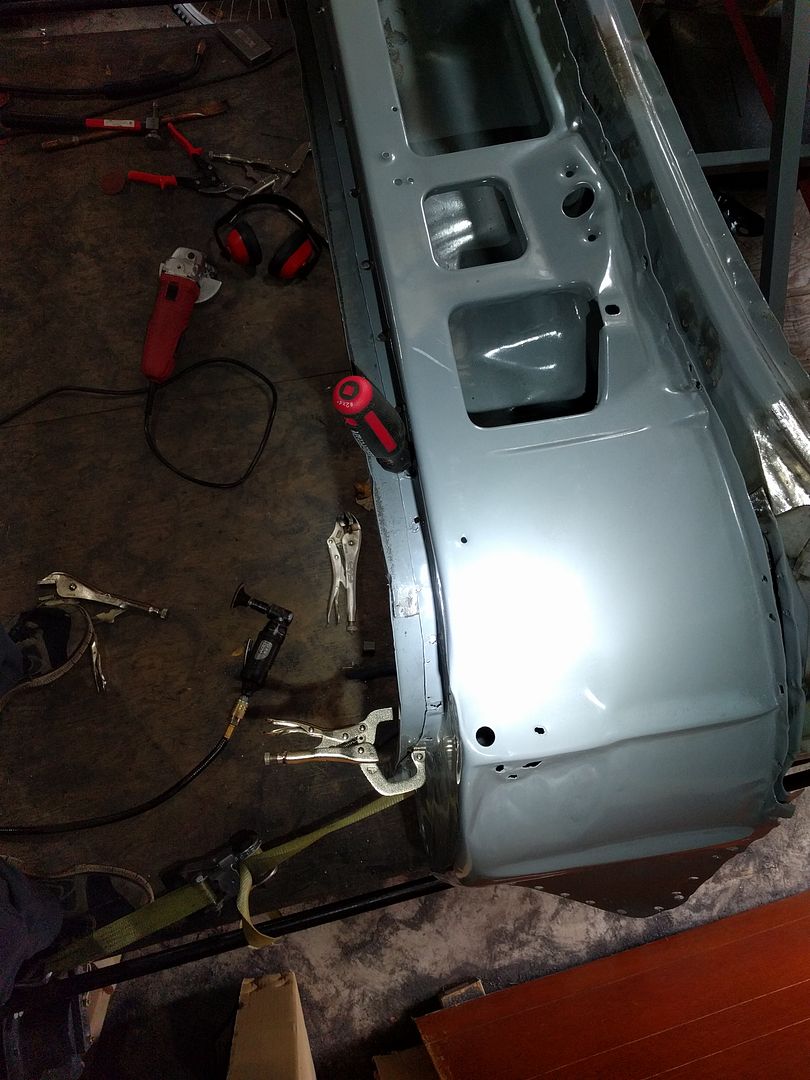
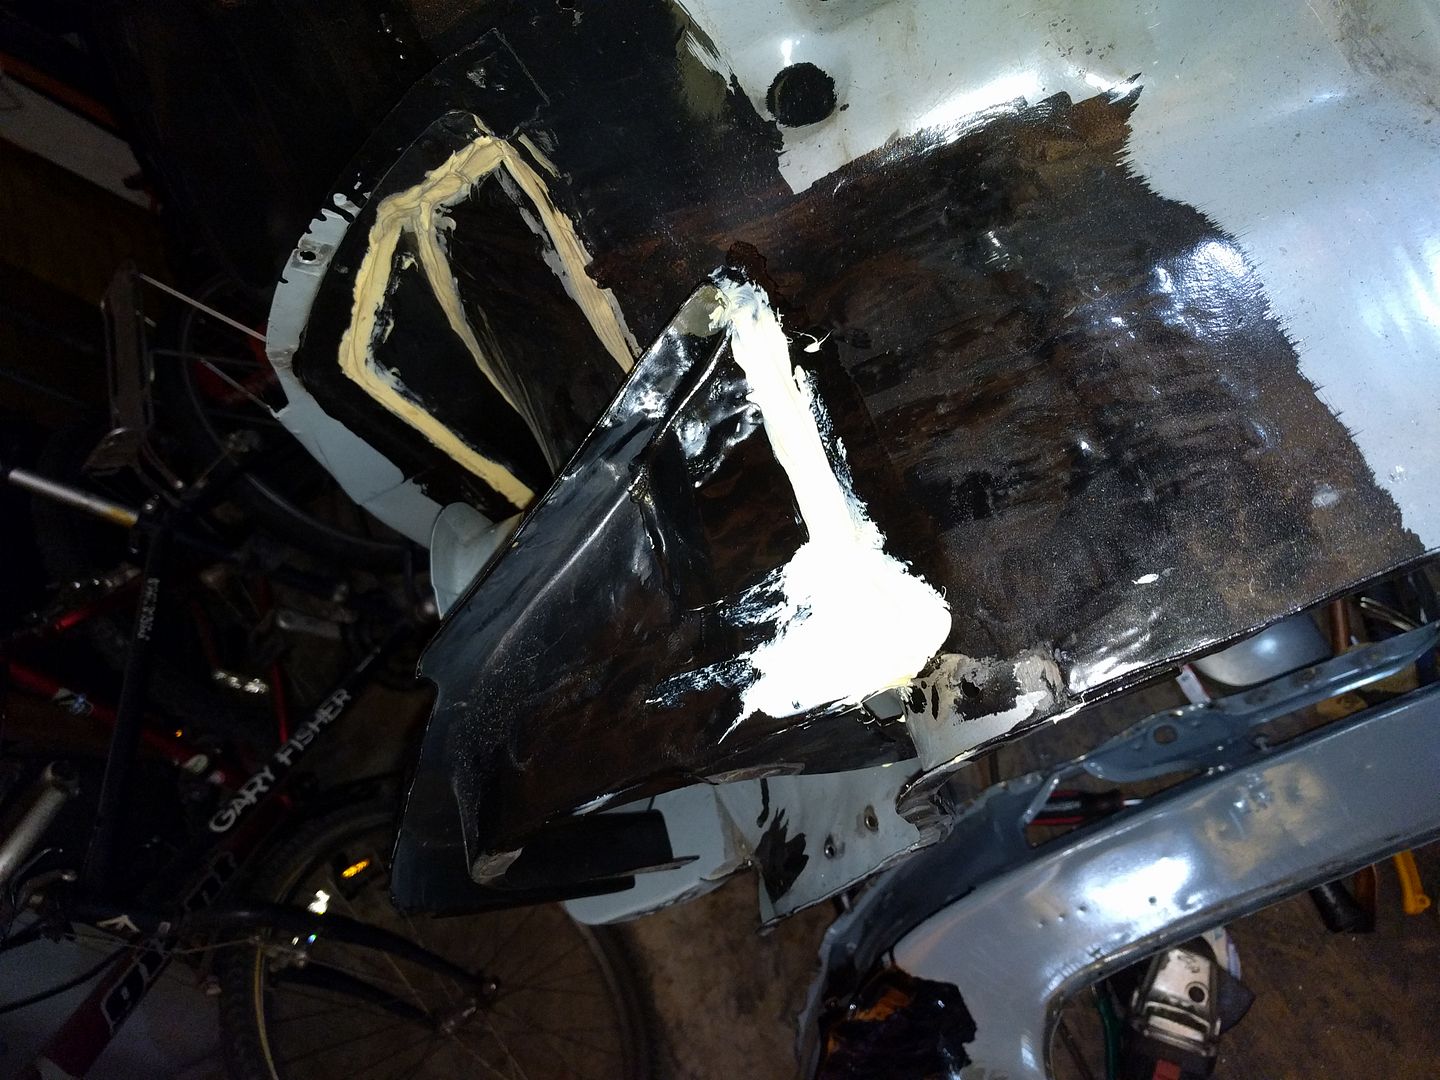
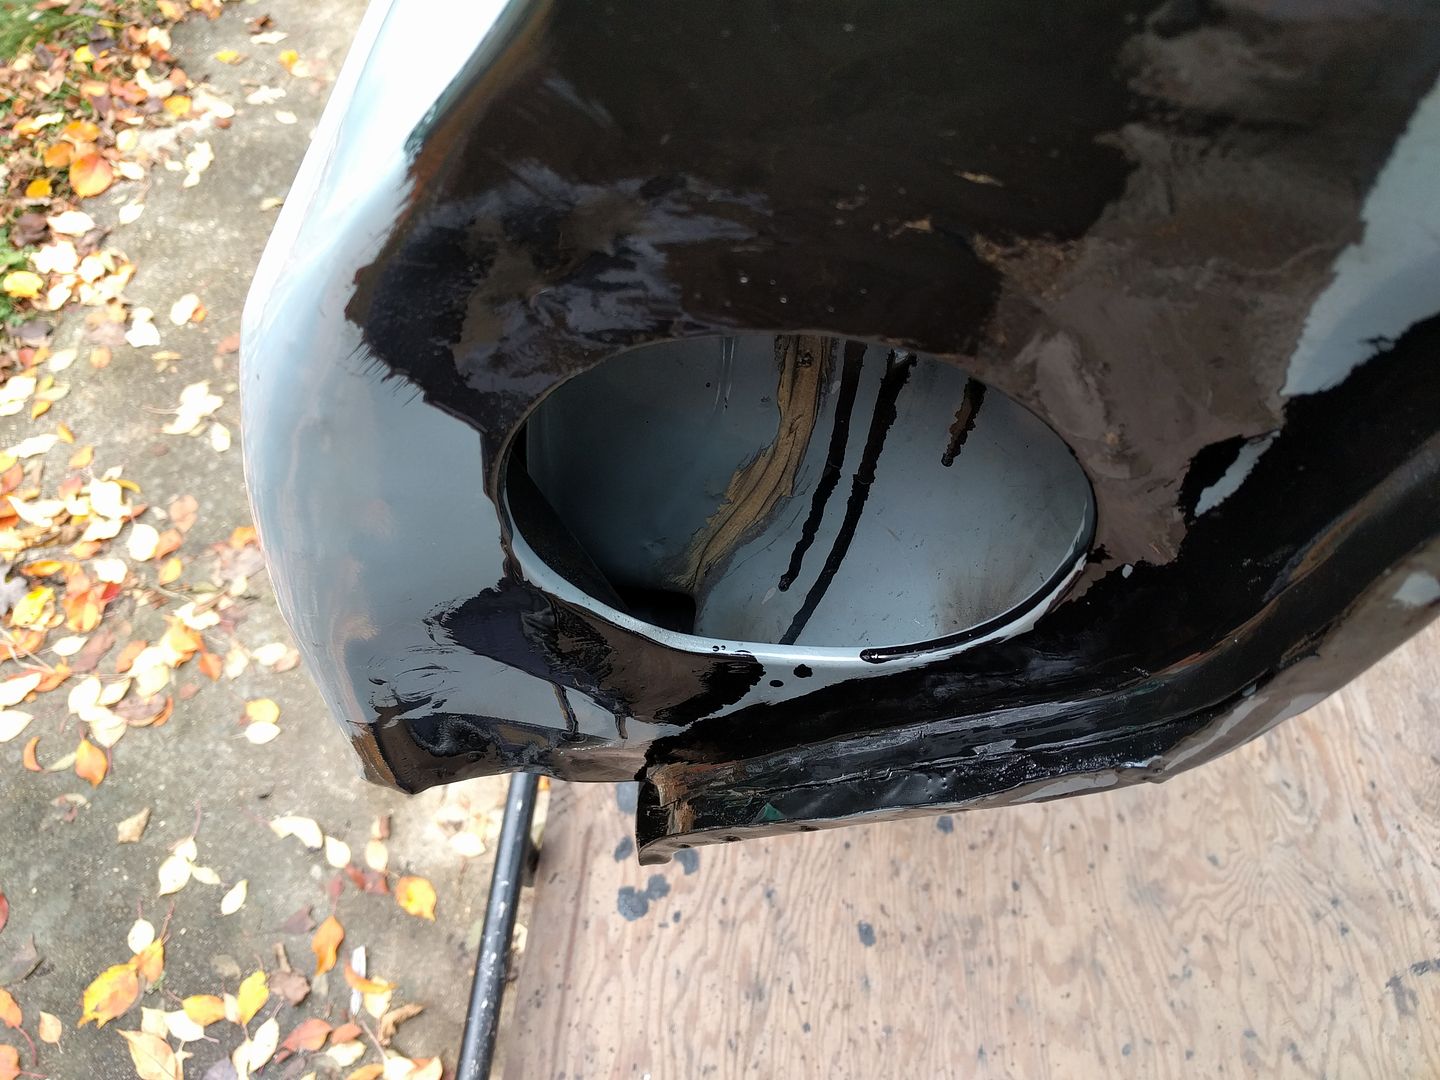
This is the bottom of the cowl on the passenger side. Even clamped down and stretched as much as I could, it doesn't sit very nice.
I regret not stopping here and making a relief cut, but I was in a time crunch and just keep pushing ahead.
Top view shows how wavy it is
At least the drives side fit nice.
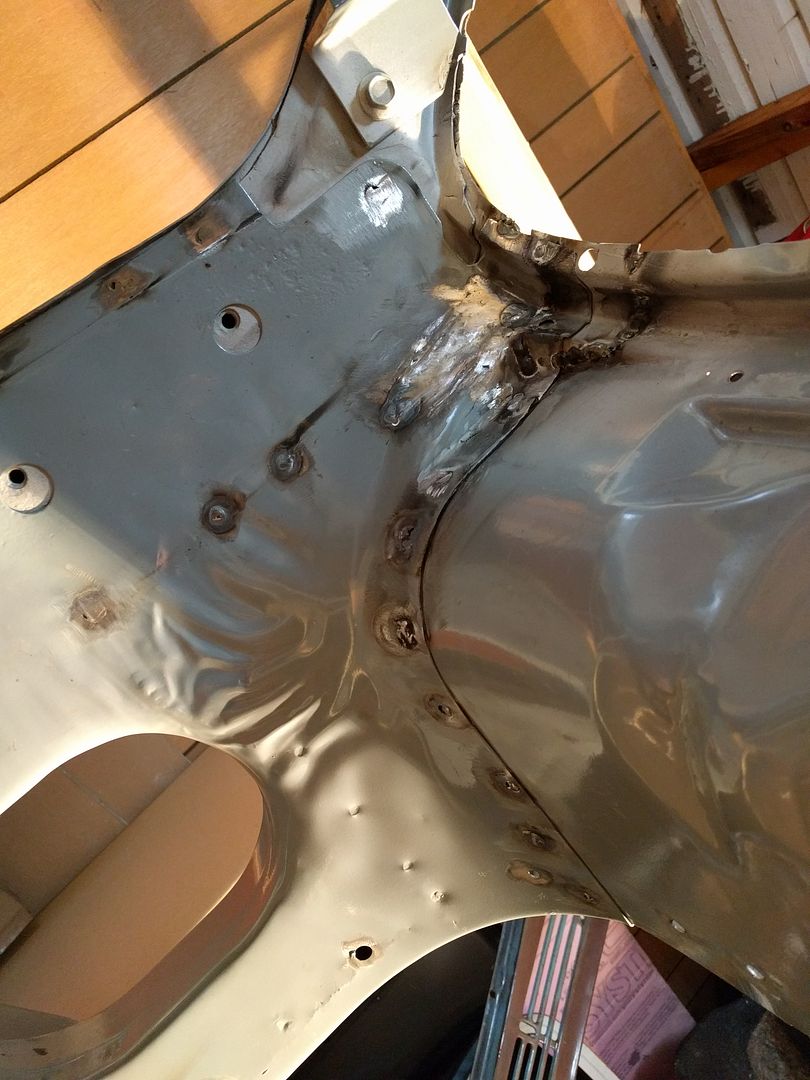
More welding, now the rain gutter around the blower motor is fully tied into the cowl.
Keep telling myself it's just cosmetic, doesn't affect anything and it's buried in the engine bay behind the fender and inner fender anyways.
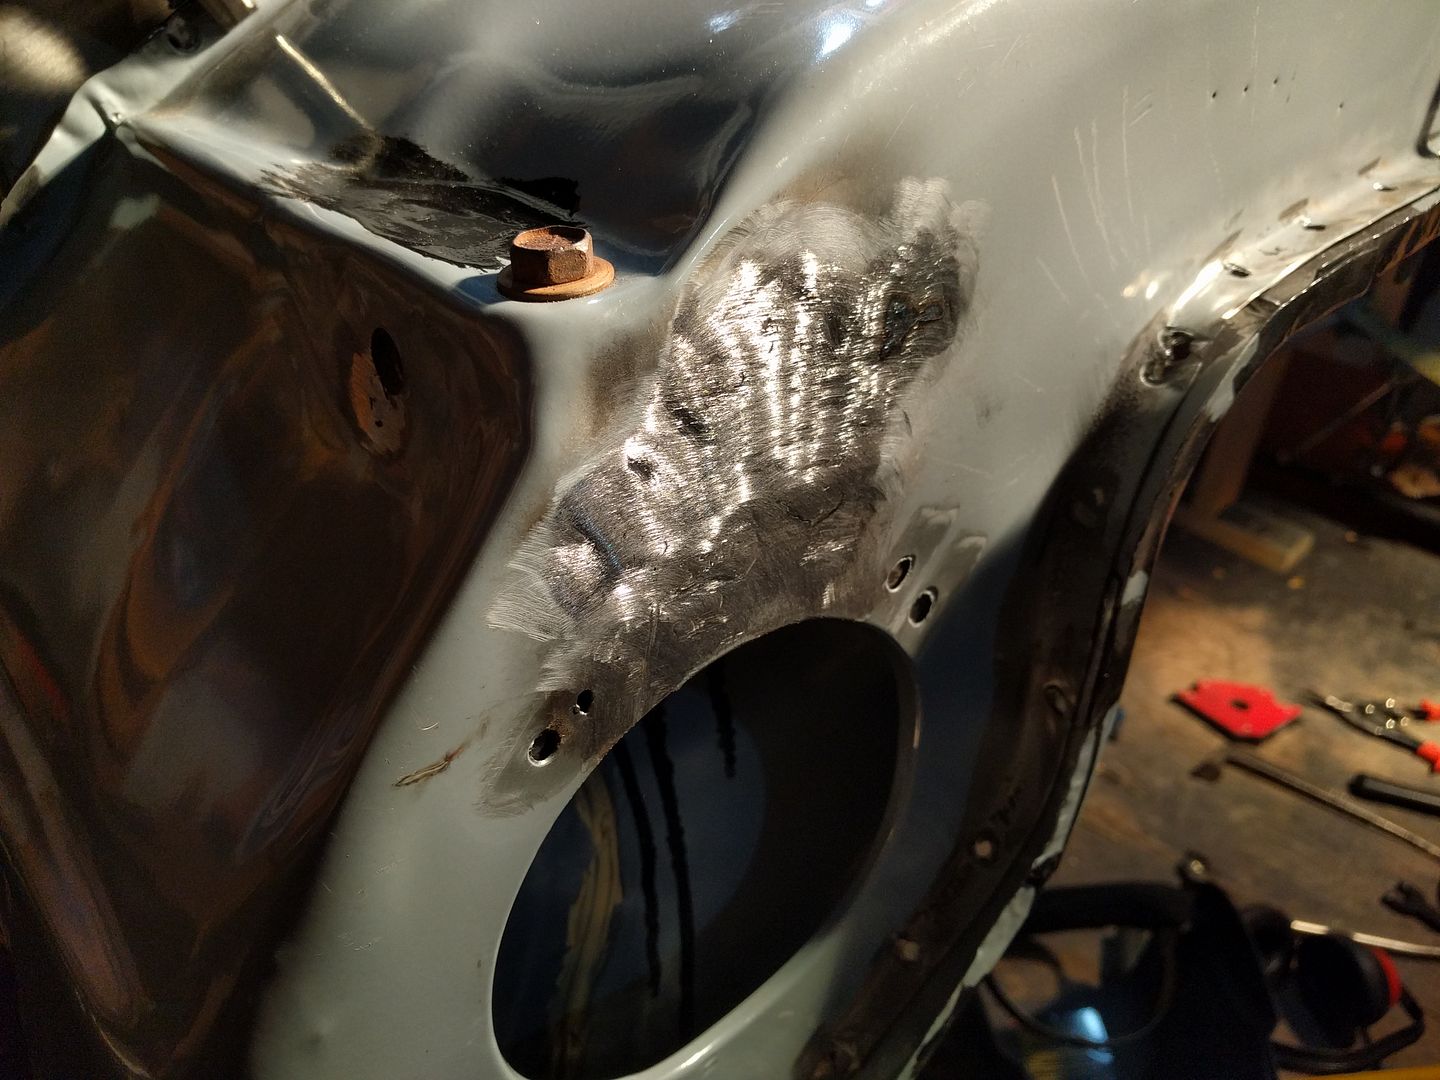
All welded
Followed by lots of grinding. Do you guys fill in stuff like this, or just leave it and cover it with seam sealer after?
All ground
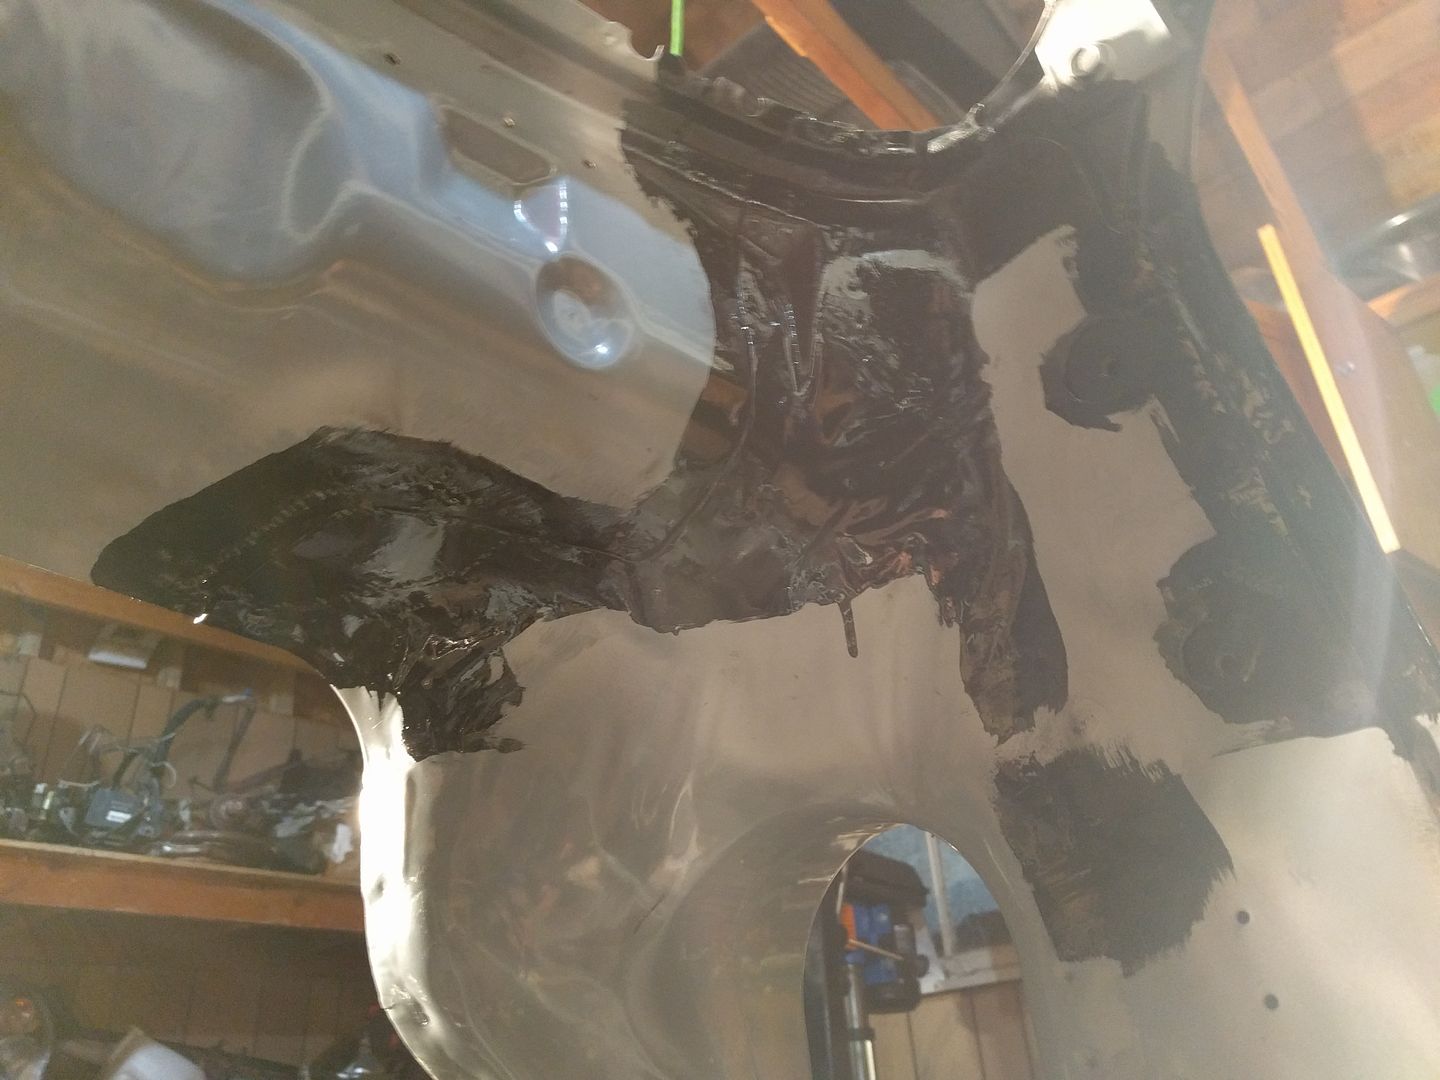
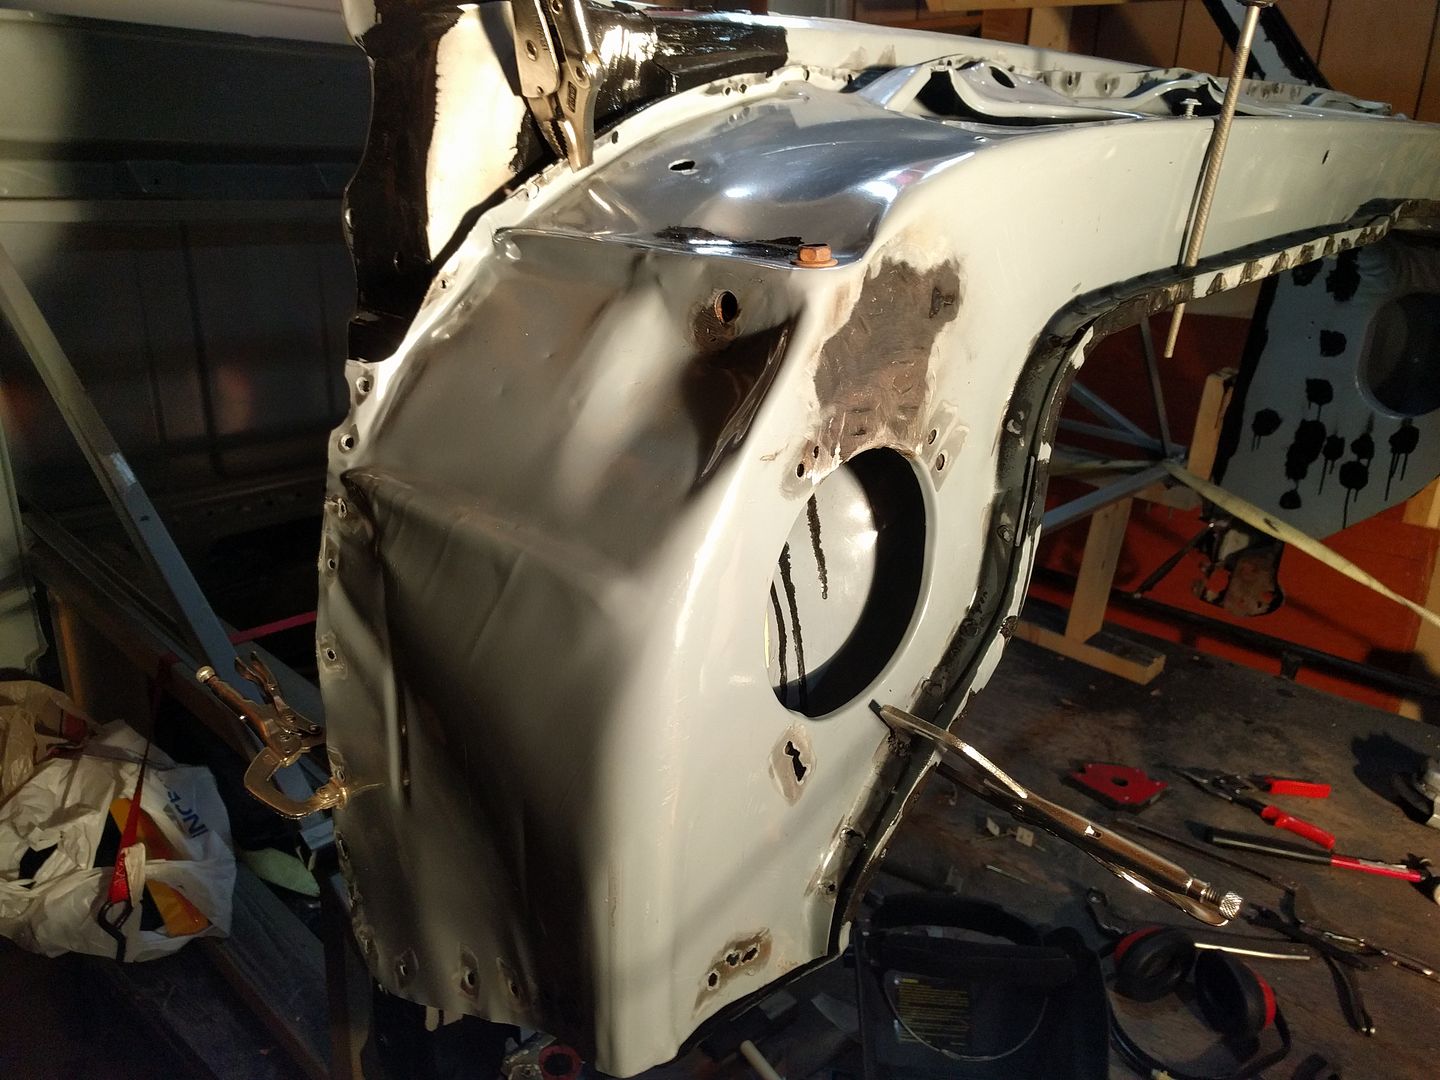
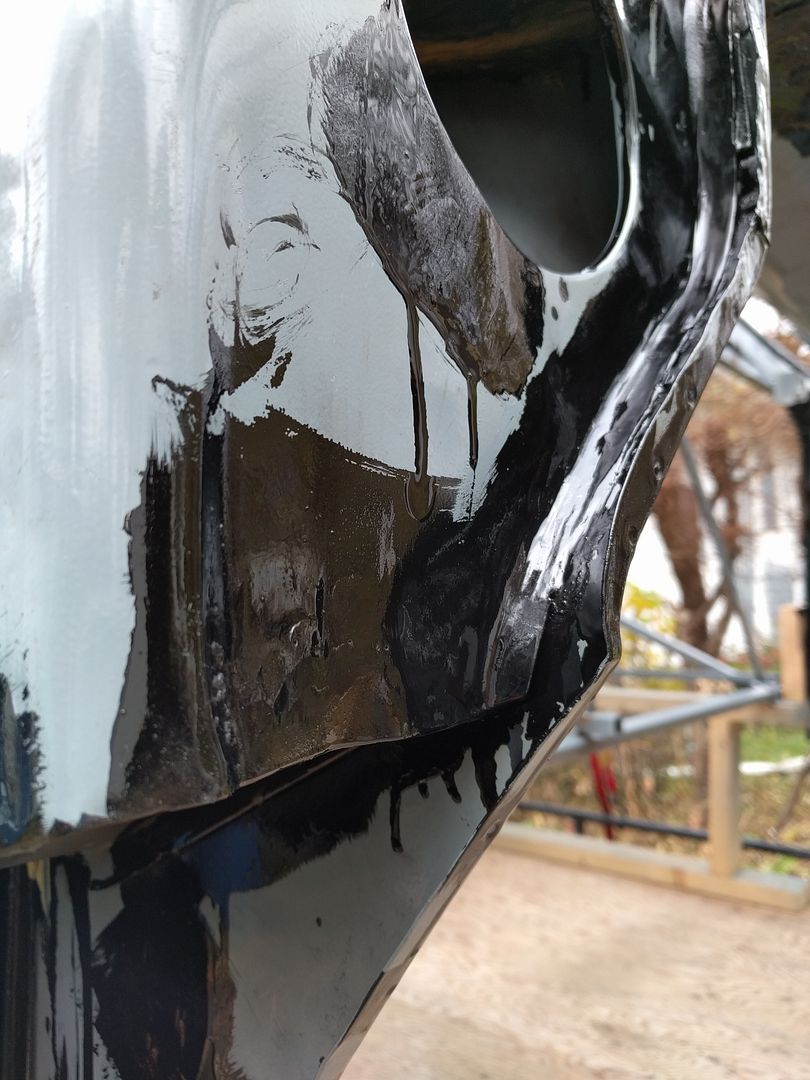
Painted and rolled outside.
Major clean up of the garage happened after this.

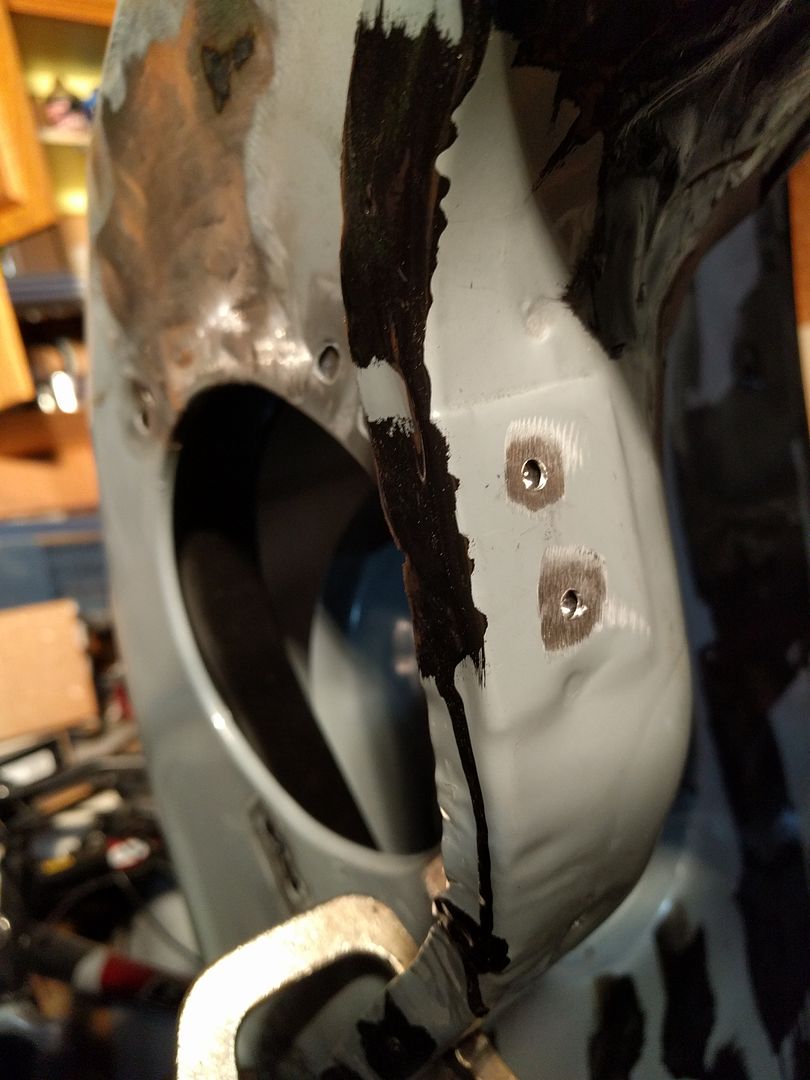
The bit I'm not happy with. Not sure if I'm going to leave it. Tossing around the idea of shaving the firewall, the cowl, and filling the "wire gutter" between the firewall and cowl. We'll see.
All wrapped up for winter. Probably won't see much in updates until spring now, maybe just parts collecting.
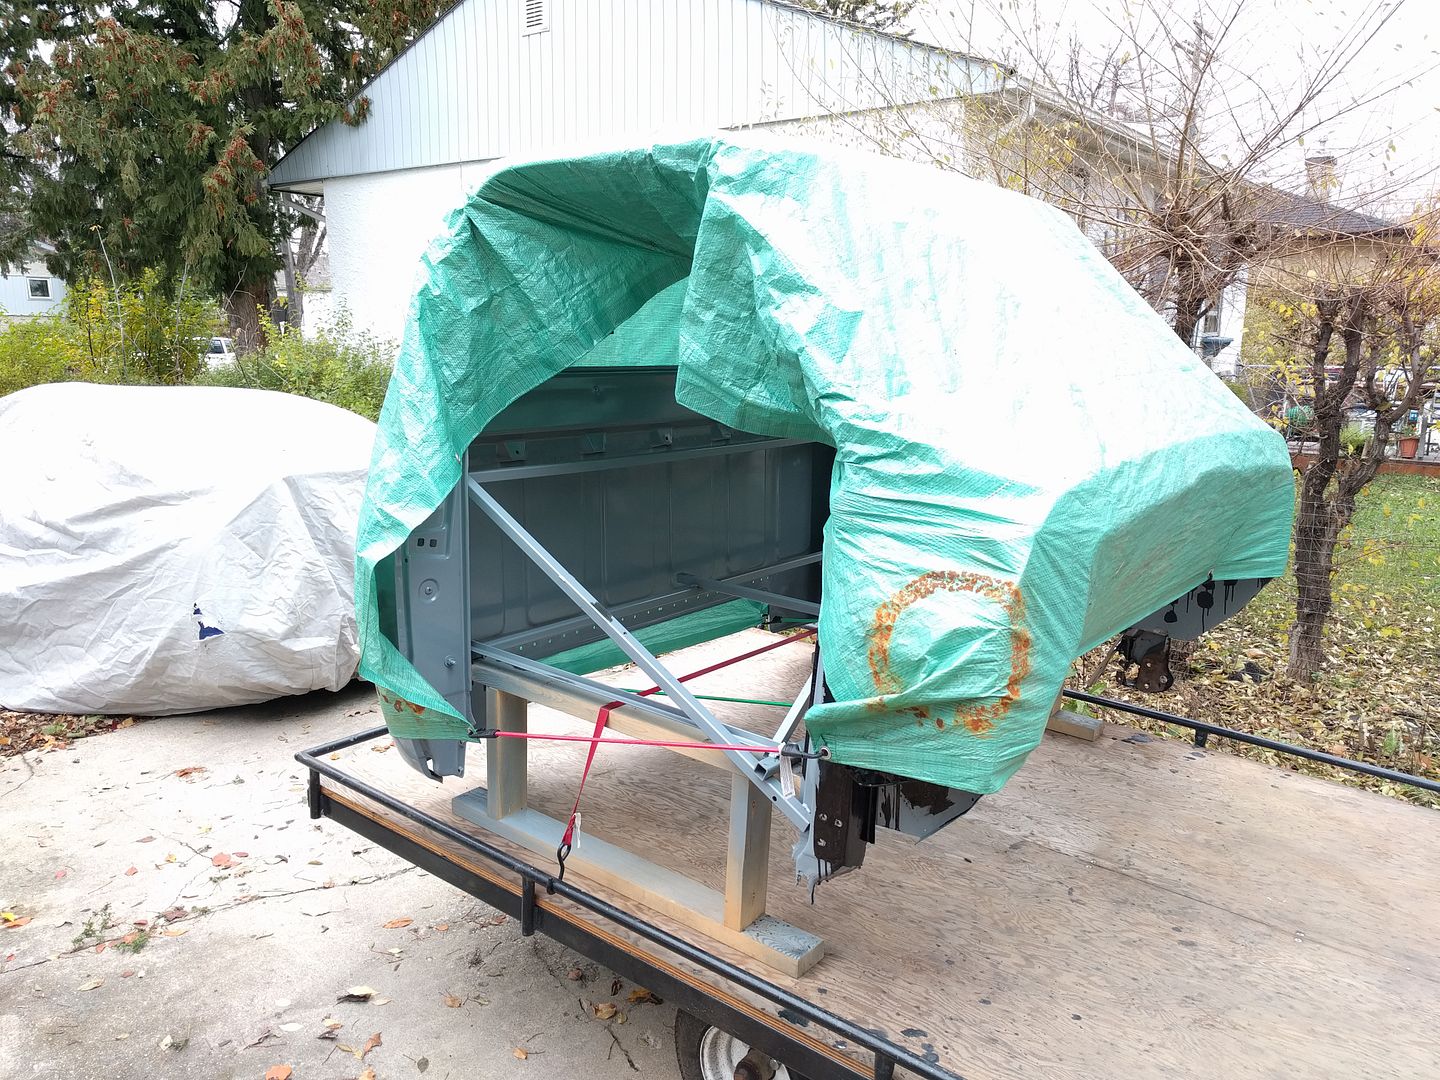
In the spring I'll bolt the floor to the chassis with new mounts, place the cab on top, and line things up with the front clip. Then I'll make a few tacks to join the floor with the cab, pull the two off and weld together. The firewall goes in next, then once the floor and firewall are fully installed I'll cut out the bracing, hang the doors and fit the rockers and cab corners.
Still waiting for snow....I should have kept going!
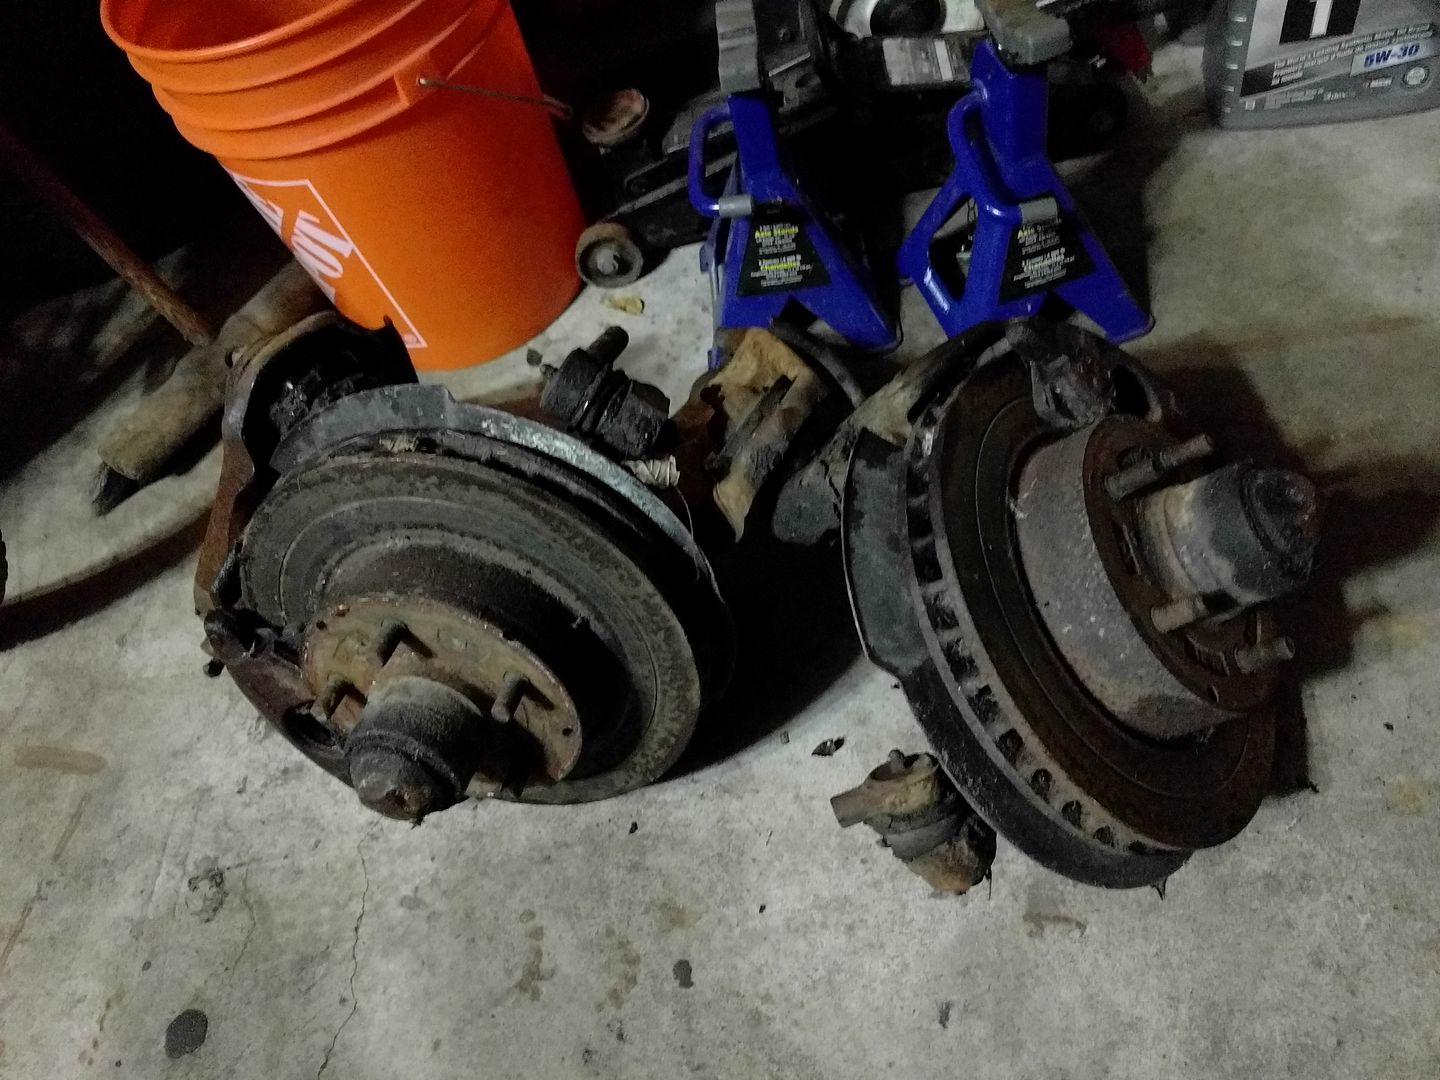
Picked up the front suspension from a '71. Disk brake knuckles. Cost was free/included with the cab I bought way back.
Sweet!
"Z" the frame, so you can ride low without the front control arms hitting the ground first!
Pancake the crossmember if you need more. And we always need more.
I have dropped spindles and cut 1-ton coils on my '77, and the lower arms are about 3" away from the ground.
I always look forward to the updates and now I'm sad that the next update will be months from now
And we're back!
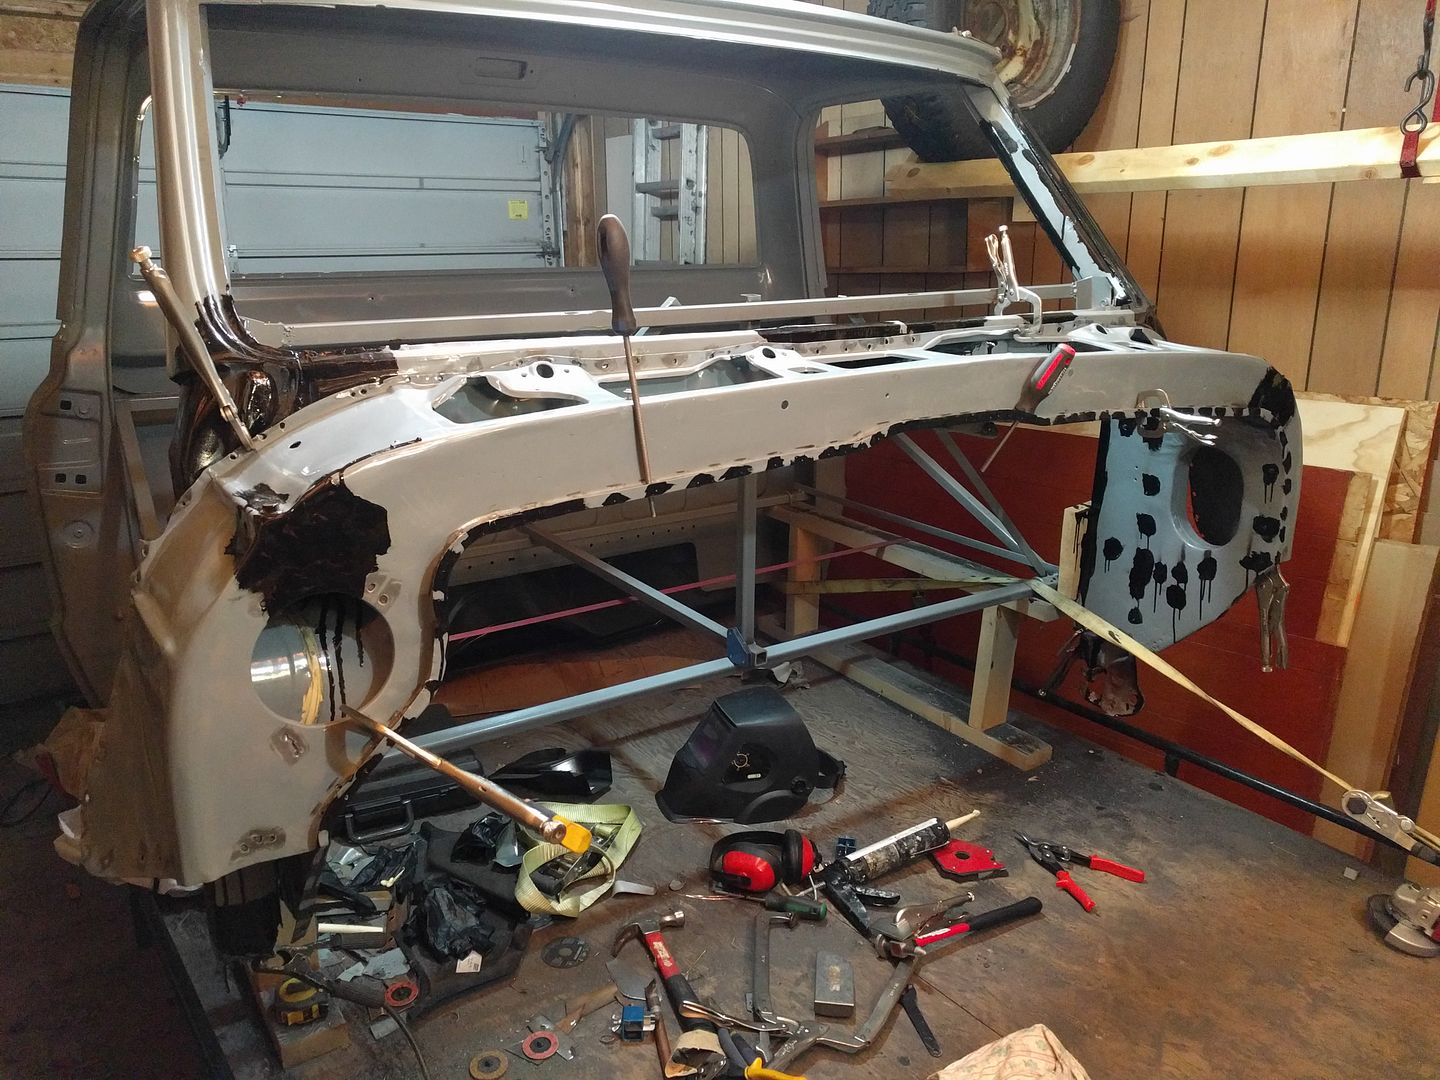
A lot of shuffling vehicles around, a repair and reinforcement to my collapsed cab dolly and some nice weather brought me here on Sunday:
First order of business is to replace the smashed out cab mounts. I think I got the order correct, I have to go back and measure stuff now that I've found more info.
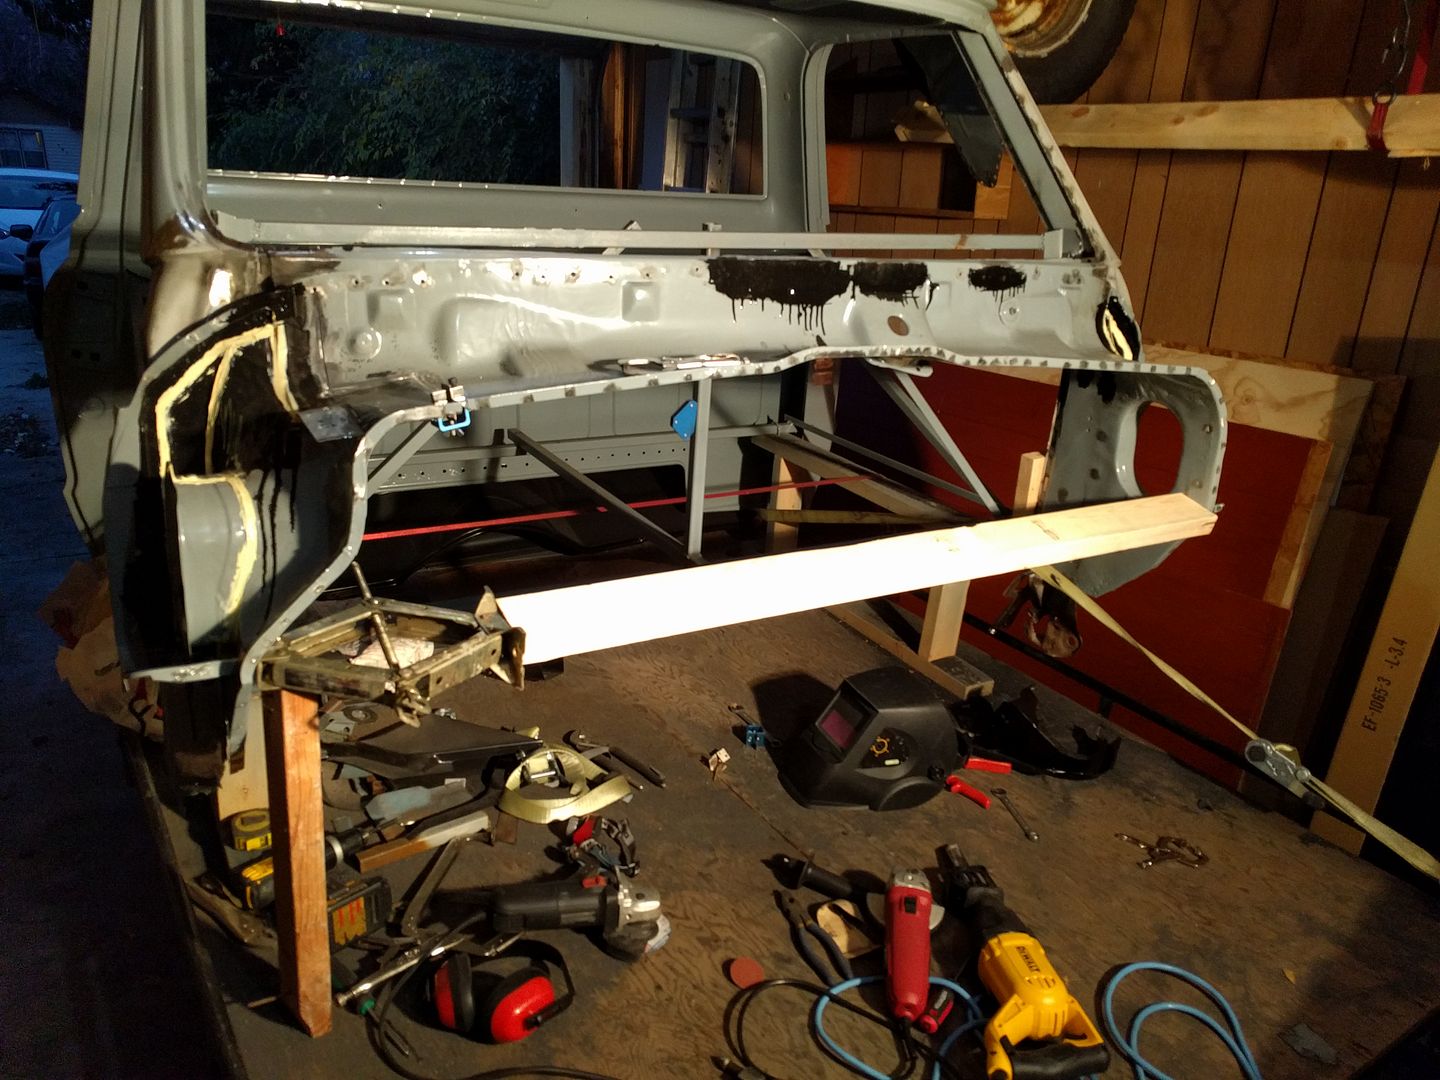
Floor placed on frame with new mounts, and the top half of the cab is squeezed over the new floor.

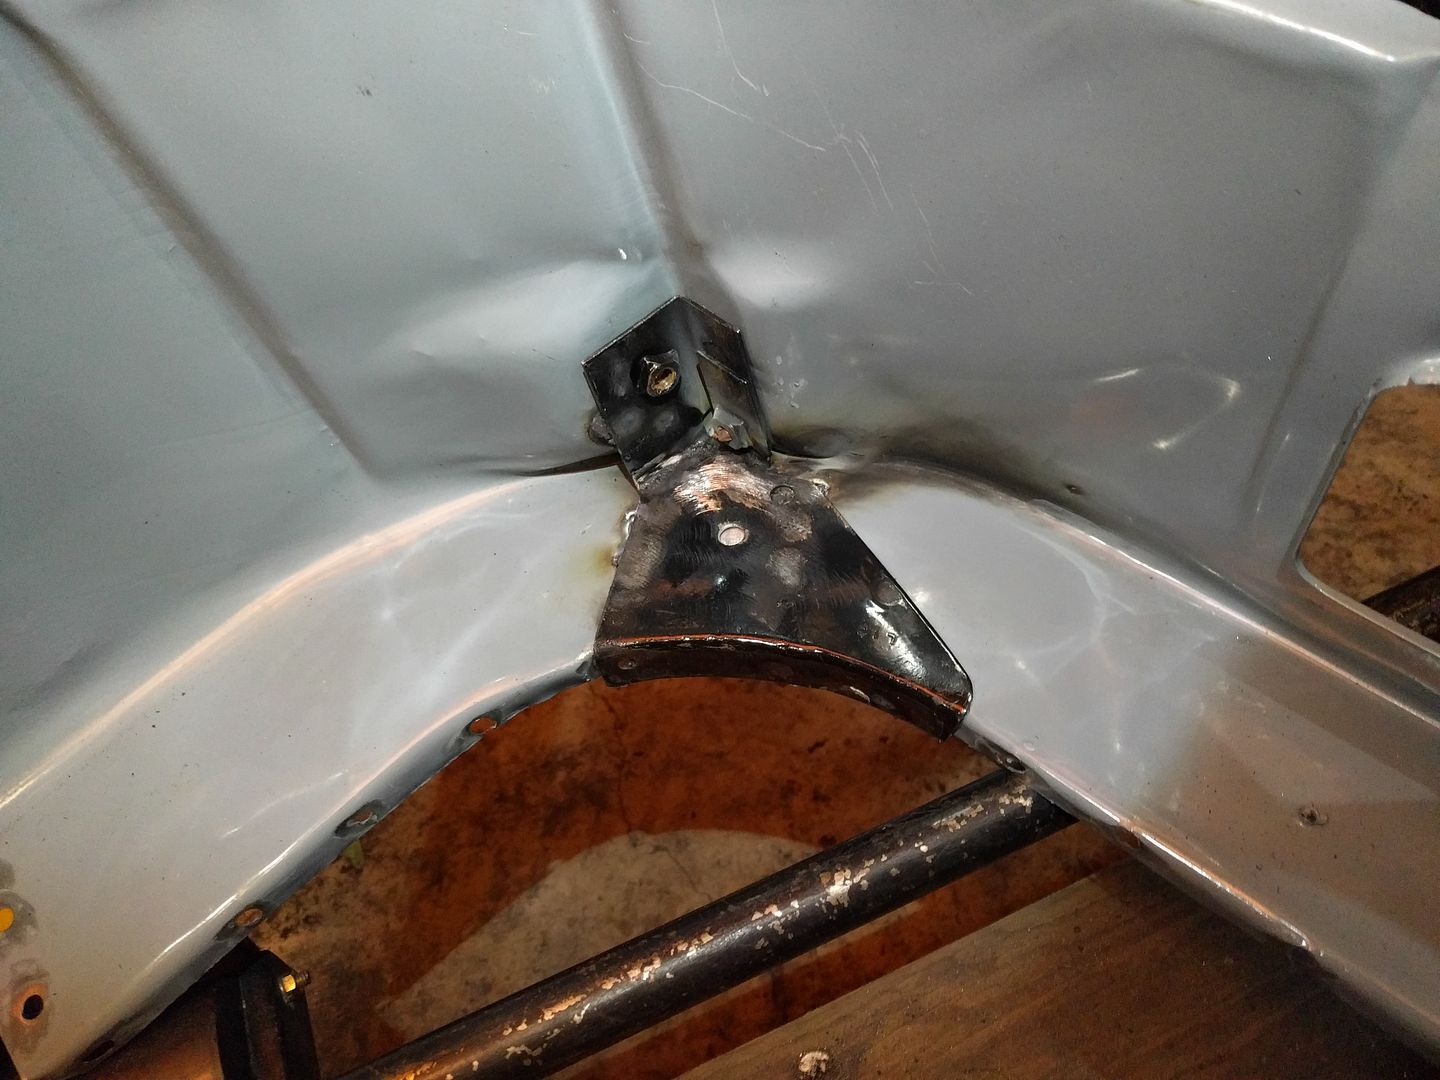
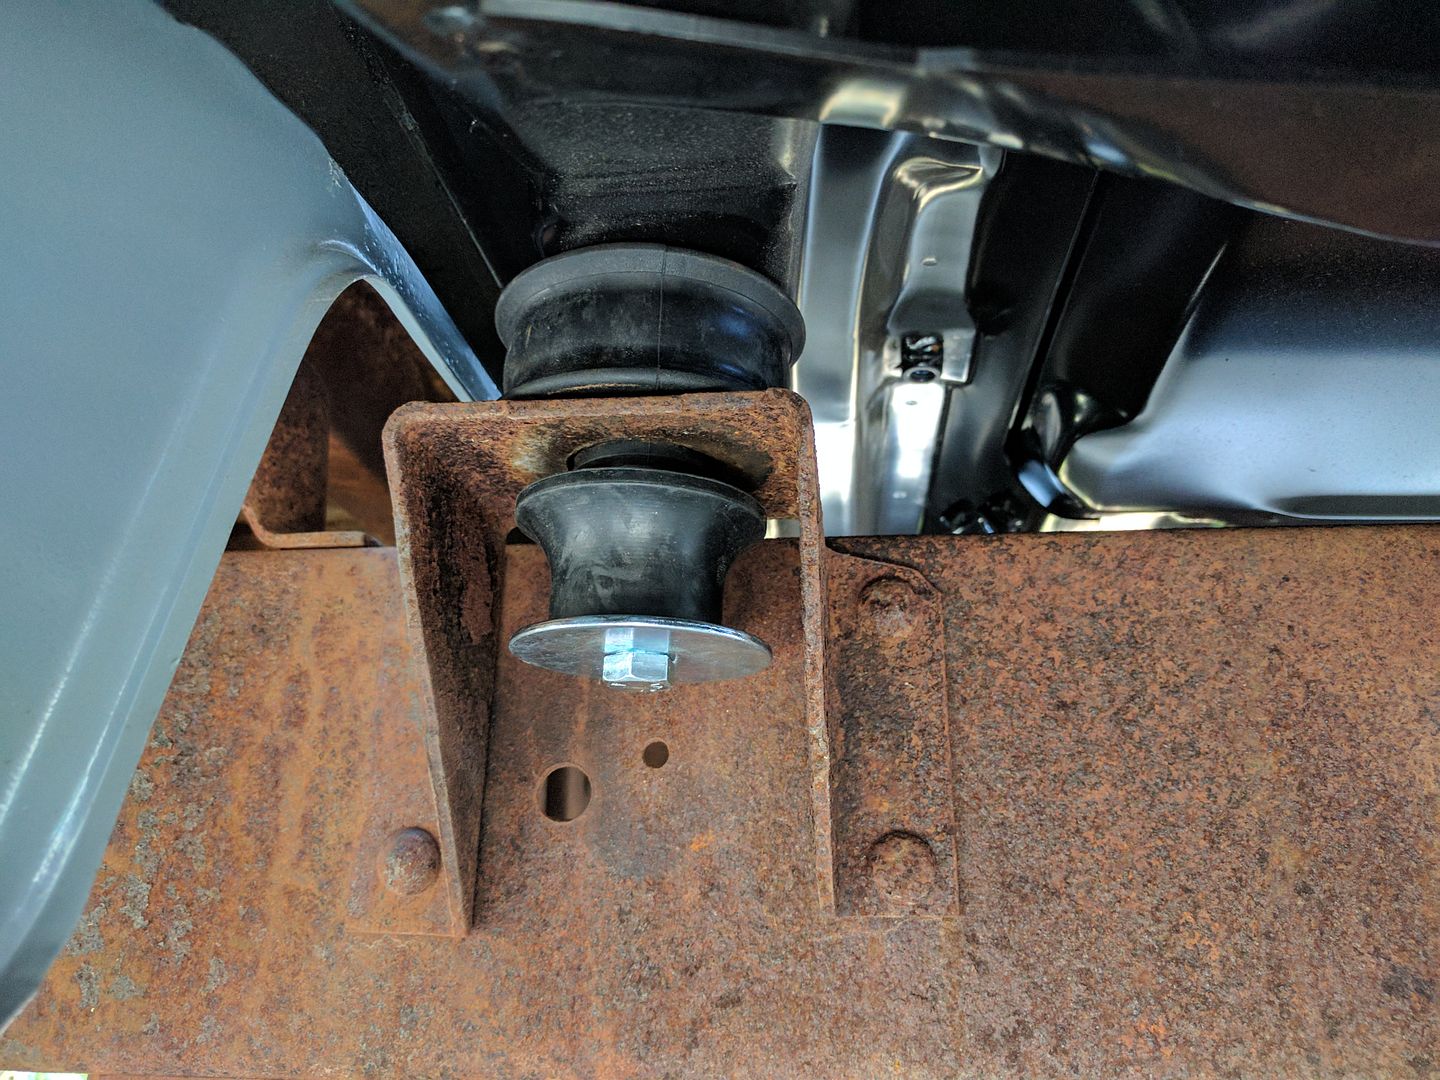
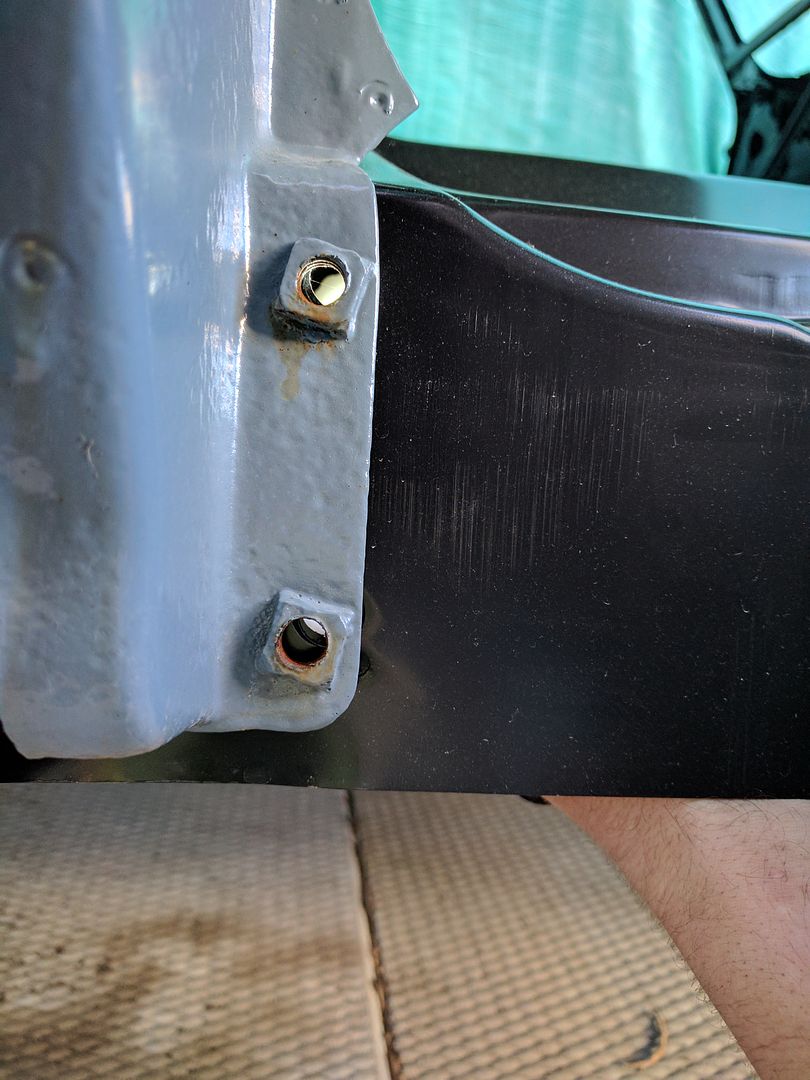
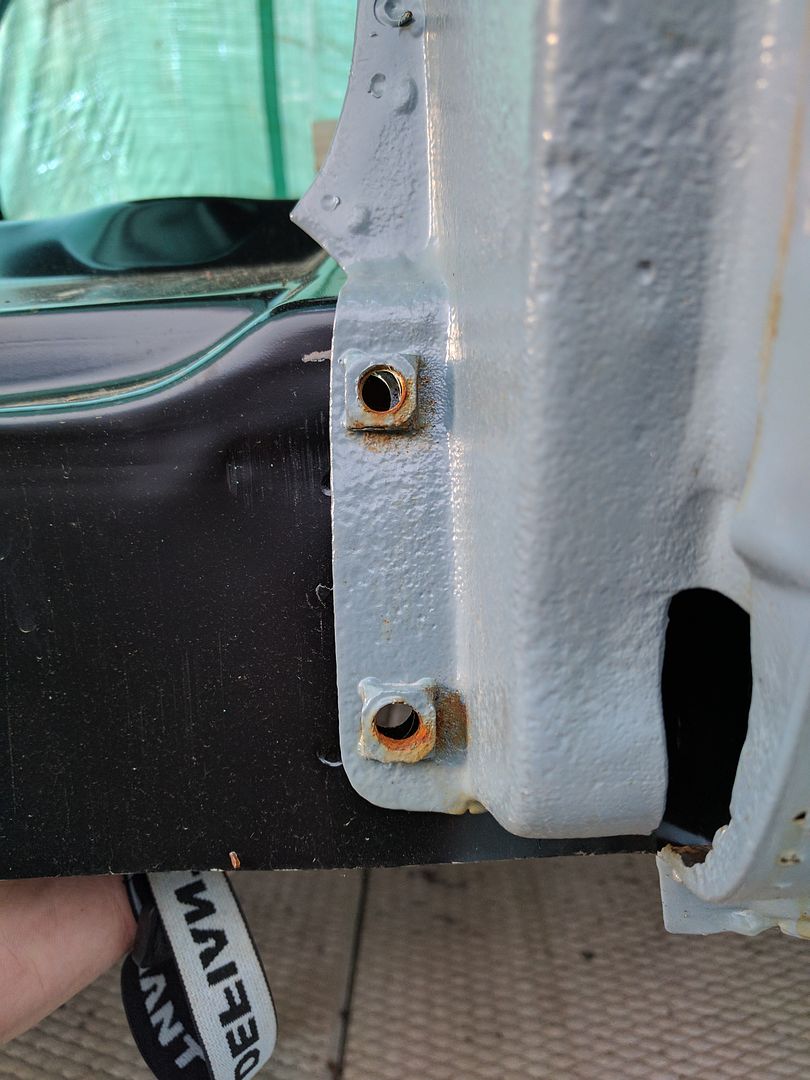
For later reference, front mounts
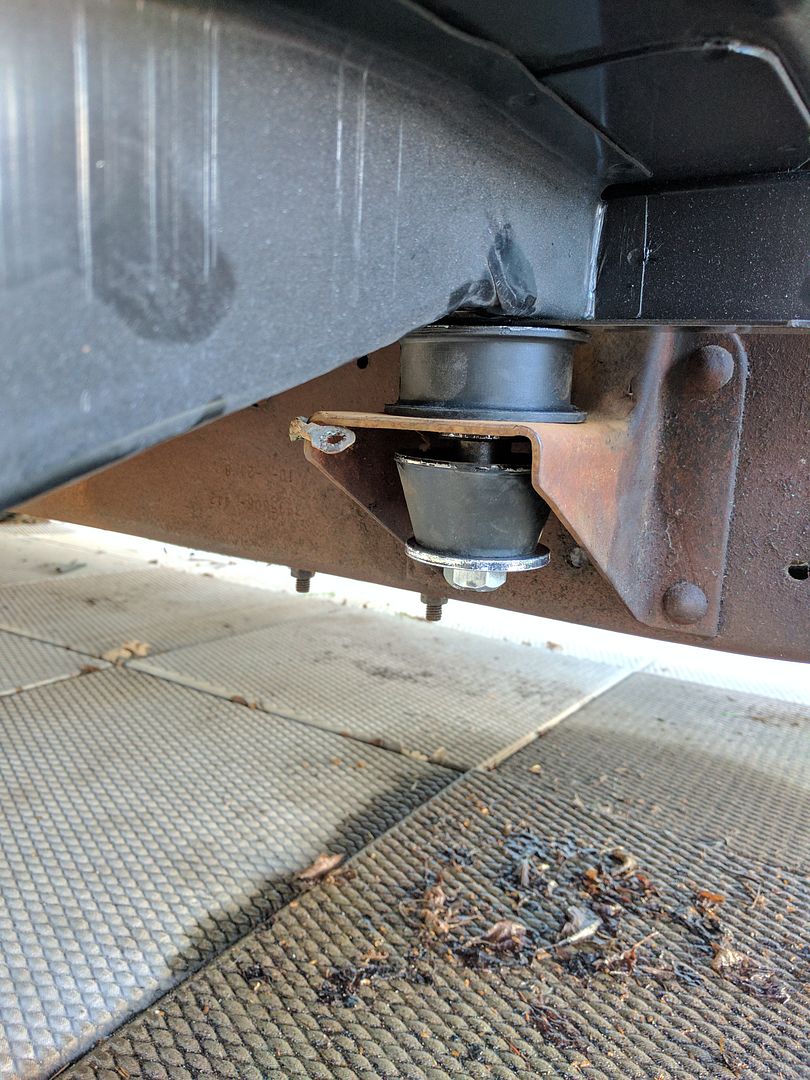
Rear mount
The back of the floor pretty well locates itself nicely, the hard part will be getting the relationship between the front A pillars and the floor correct. I'm really grateful I have a mostly complete cab beside the truck to compare.

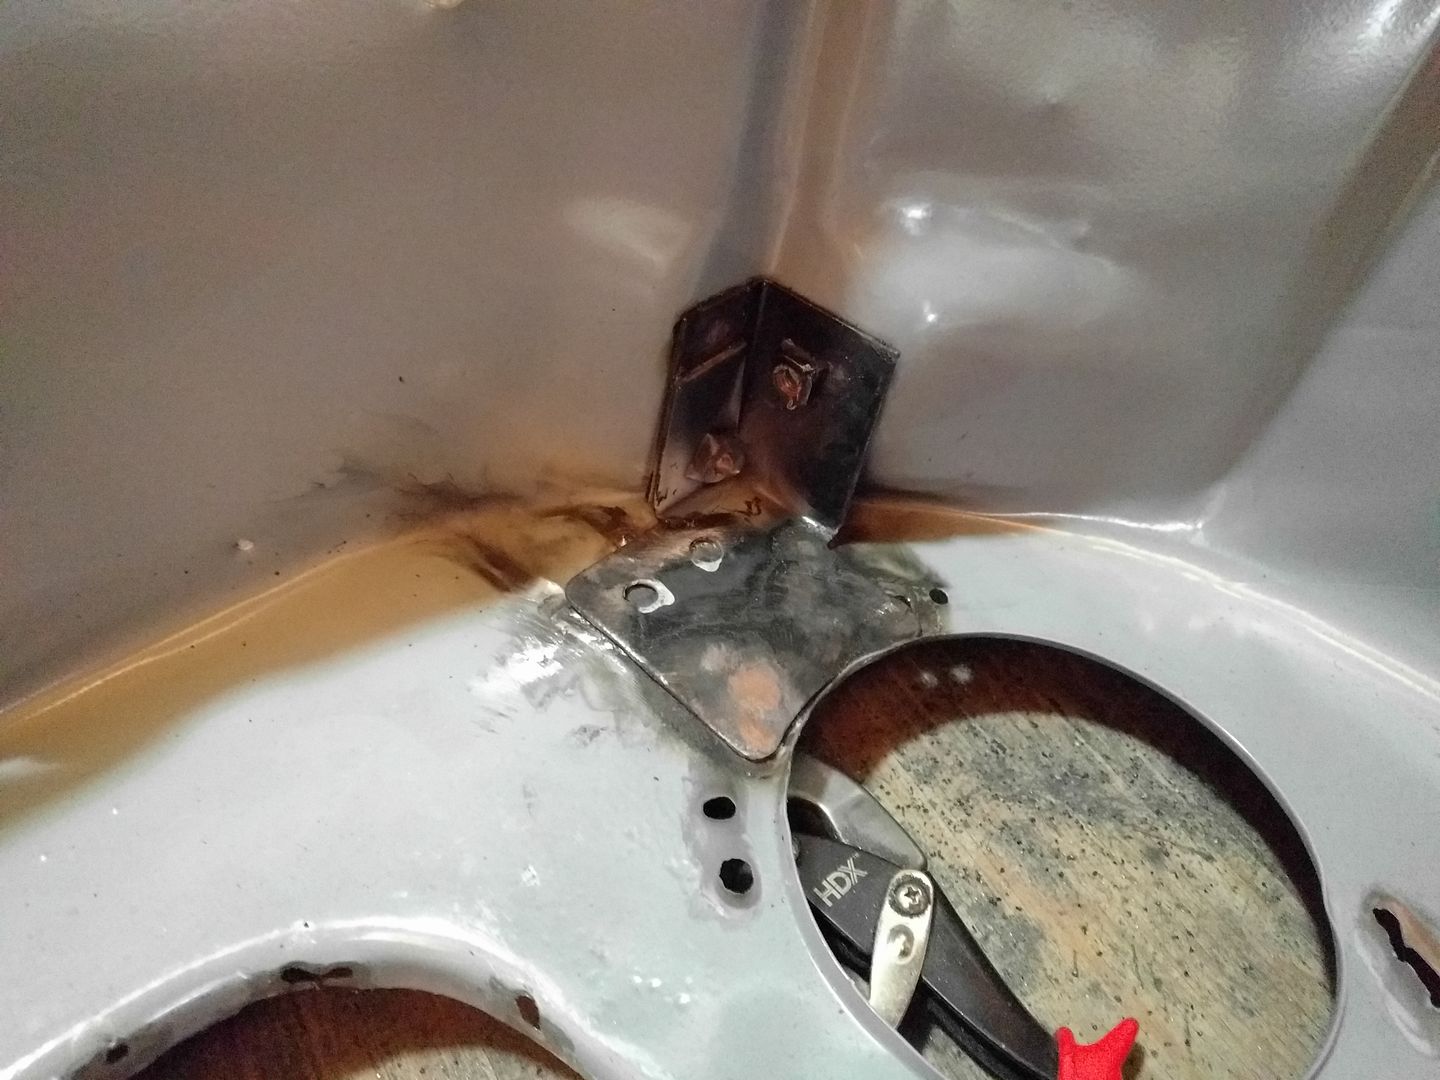
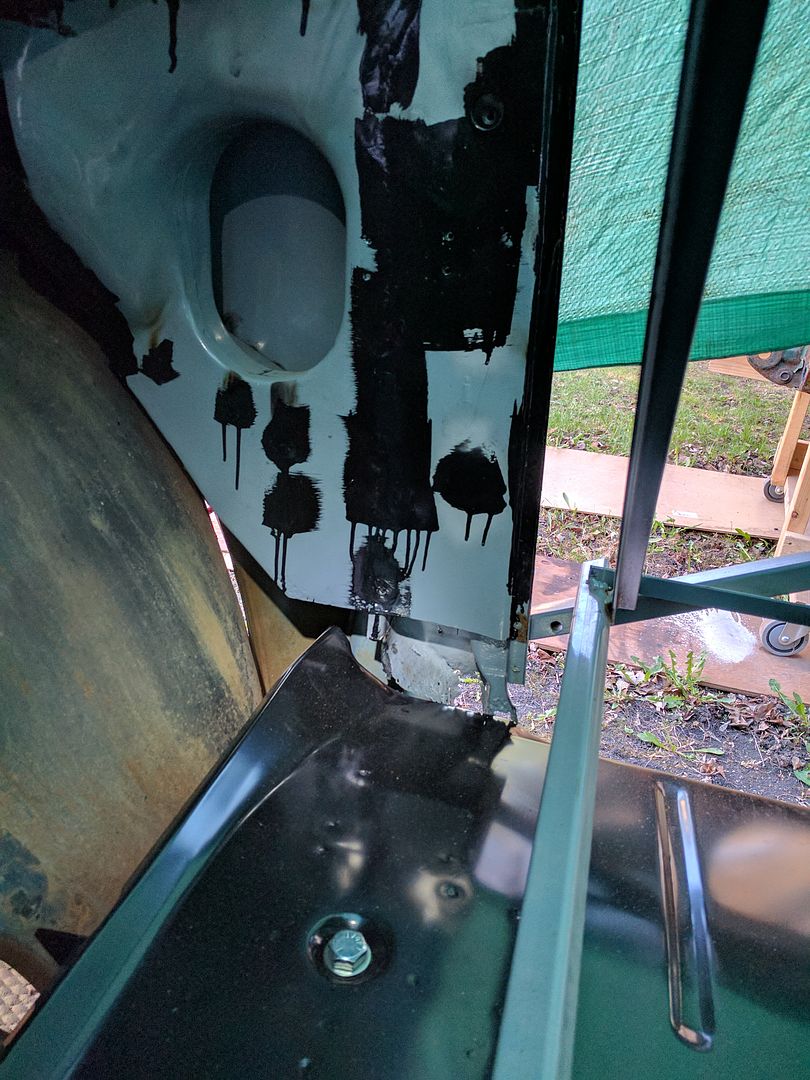
The front clip mounts are very different. Still have to double check if these are correct and the originals are just pancaked or what.

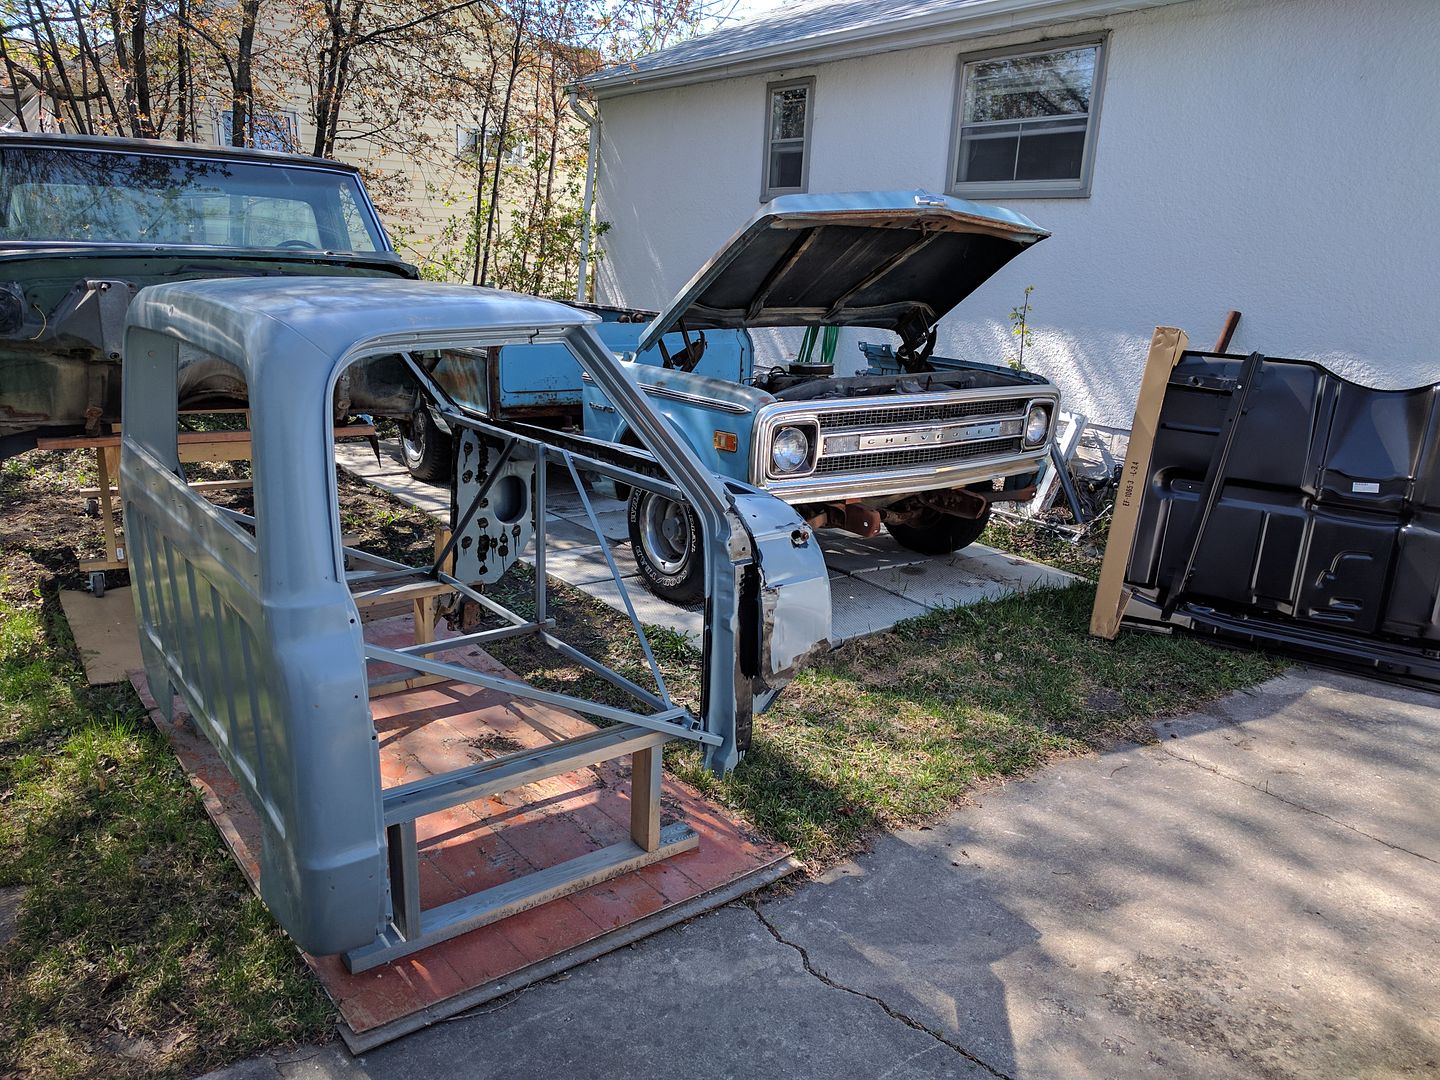
And front clip thrown on.
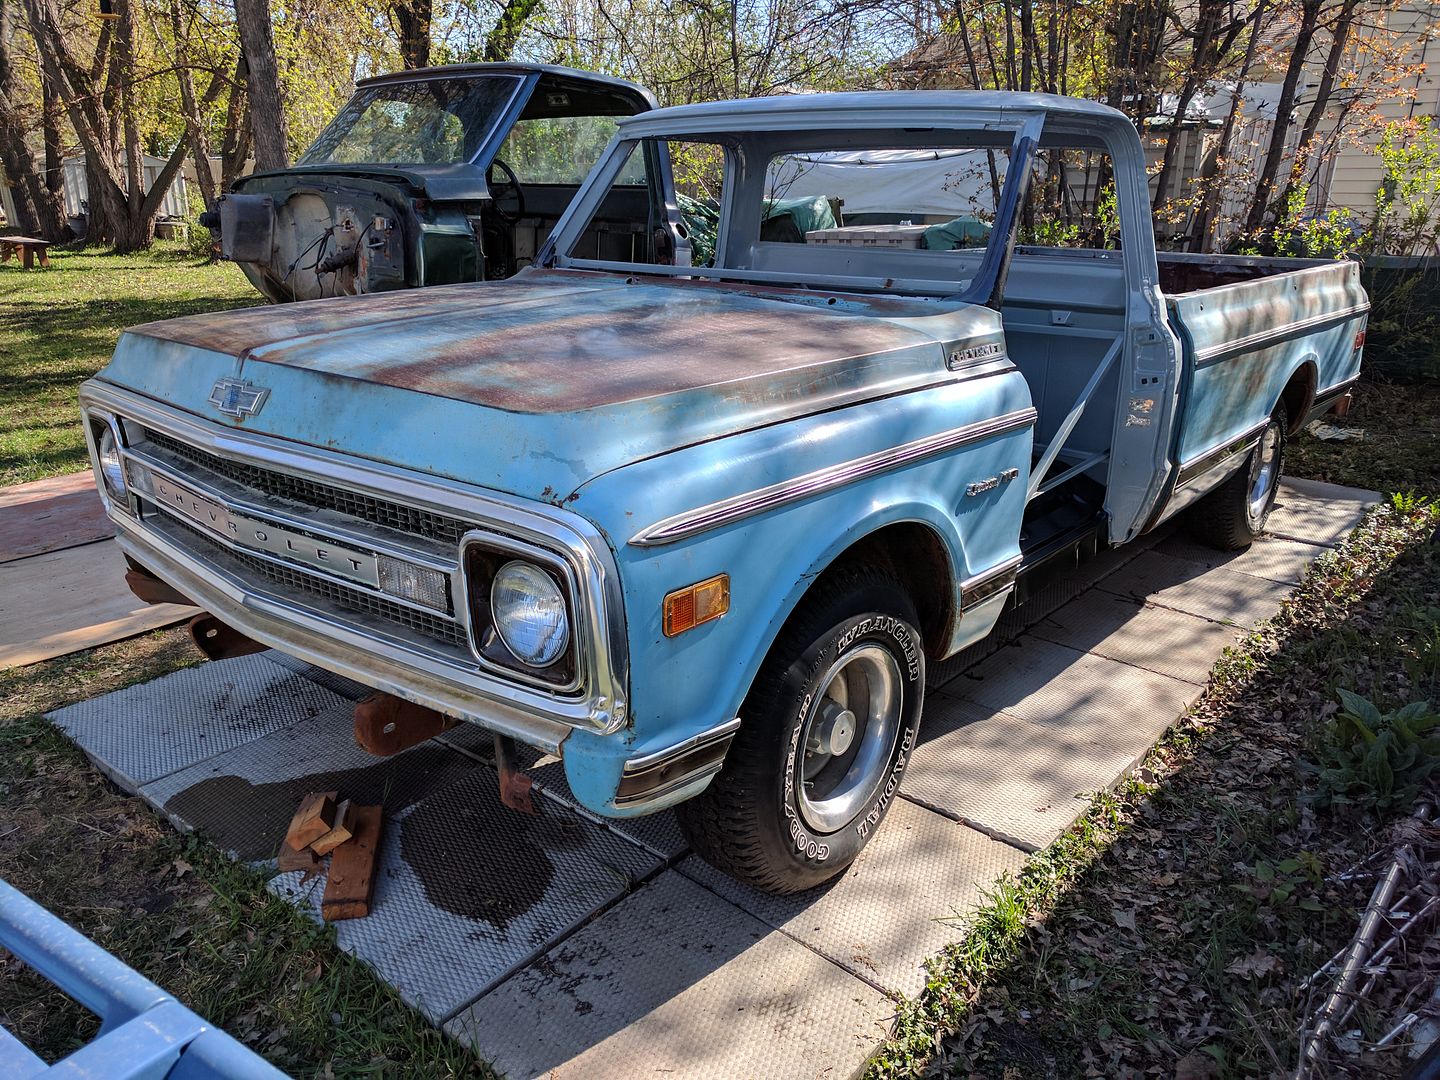
Yay! Is it weird I'm excited to see this moving again?

So I've discovered I do probably have the wrong front clip mounts. The ones on my truck are the 67-68 style, even though it's a '69. Ordered a new set from LMC truck...ouch. $60 of product plus $50 of shipping/duty and a poor Canadian dollar ends up at $155. 
Even after a couple days of stewing over how to line thing up I don't have any good ideas.
The best idea I've got it a wooden brace built inside the complete cab transferred into my cab to get the distance from floor to ceiling at the front of the cab correct, but I don't that that would be very accurate. There aren't really any fixed reference points between the two that I can use.
Another possibility is distance between the dash mounting captive nuts in the A pillars and the floor, but again I'm not too sure the factory placed those very accurately.
I can't use the firewall as there is none. I can' use the bottom of the A-pillars as the one side has rusted away and the other A-pillar I replaced. I can't hang the doors yet as the cab bracing prevents that.
Maybe I'm over thinking this and the factory variation in tolerances isn't that accurate either but I'd like to get it as close to "right" as possible.
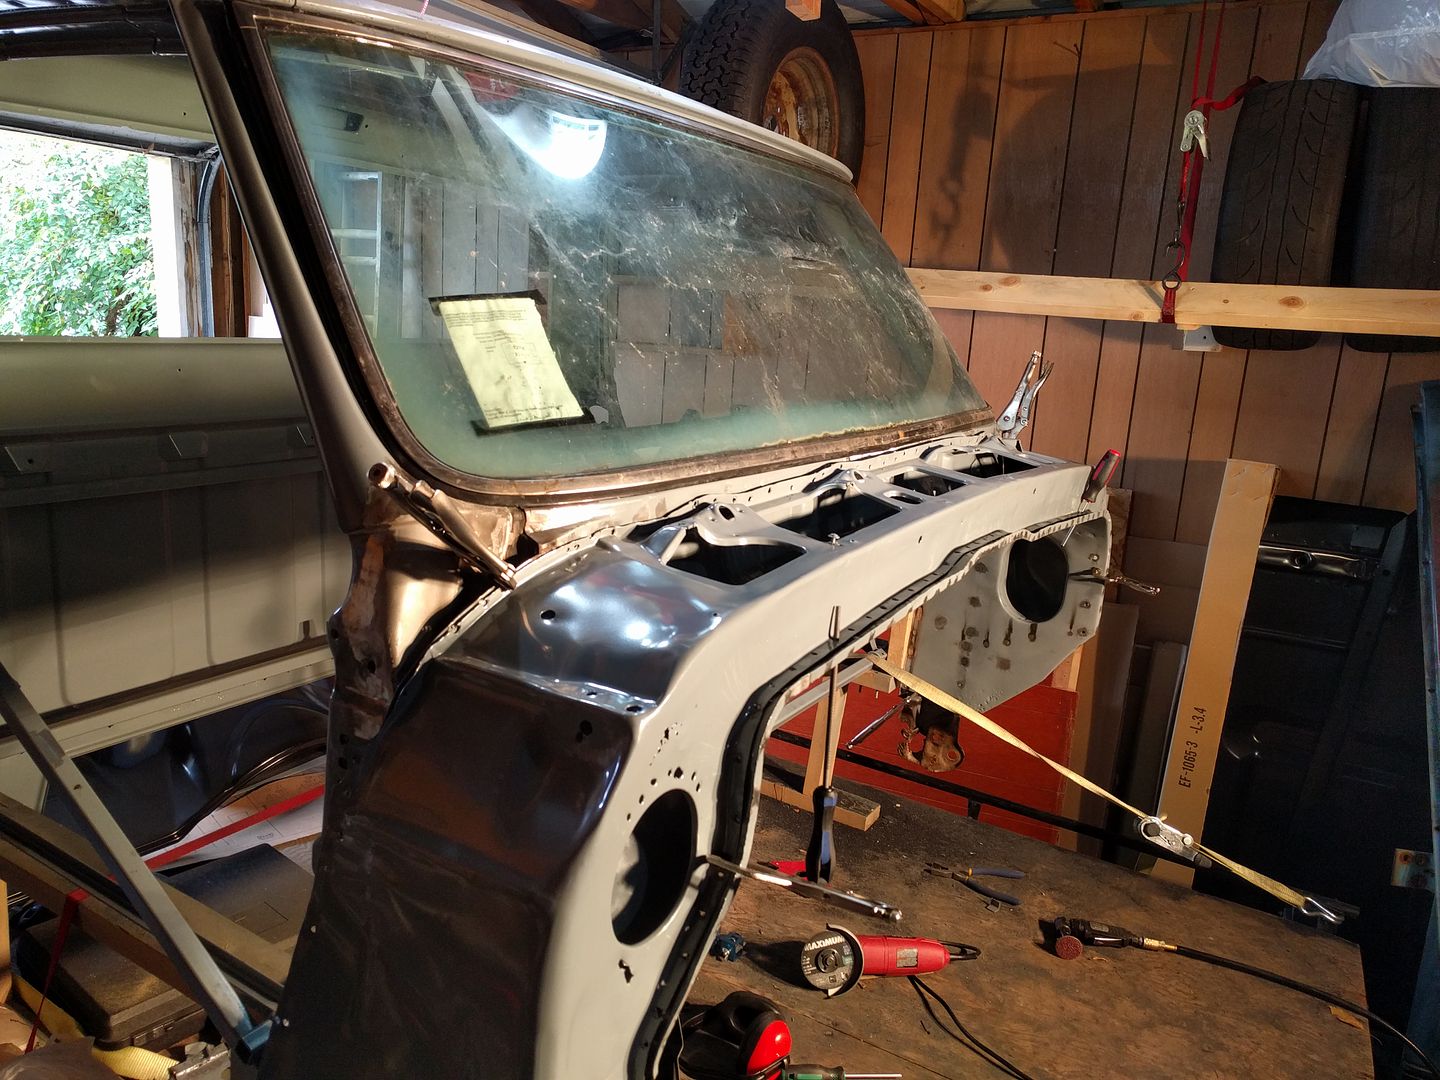
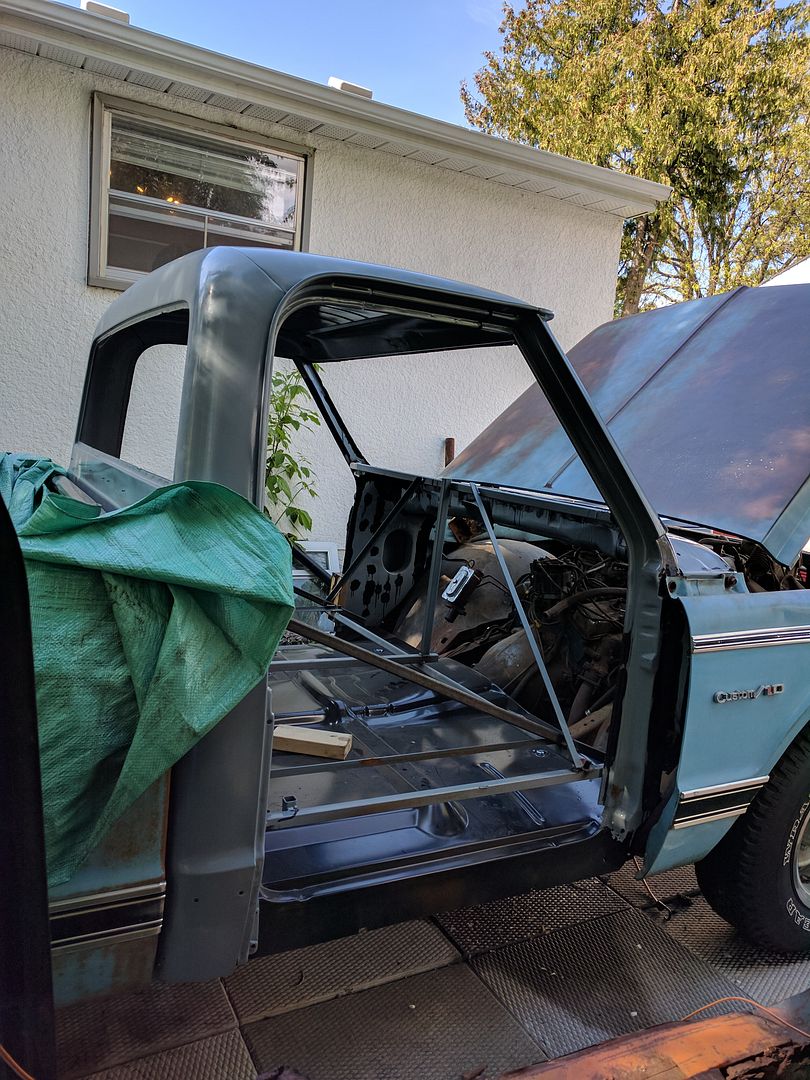
Since I like pics here's a few I snapped while staring at it and thinking.
Anyone have some clever ideas?
I think that if you get the fender to cowl and hood to fender gaps and lines where you want them (maybe even tack weld them in place) and then run some strings from the body lines on the bed to the body lines on the fenders it'll be pretty obvious where the front of the cab needs to be height wise. Double check with the other measurements you mentioned and make sure the door opening is large enough for the door.
Probably gonna have to redo your cab bracing so the doors can go on.
Slowly picking away at things...
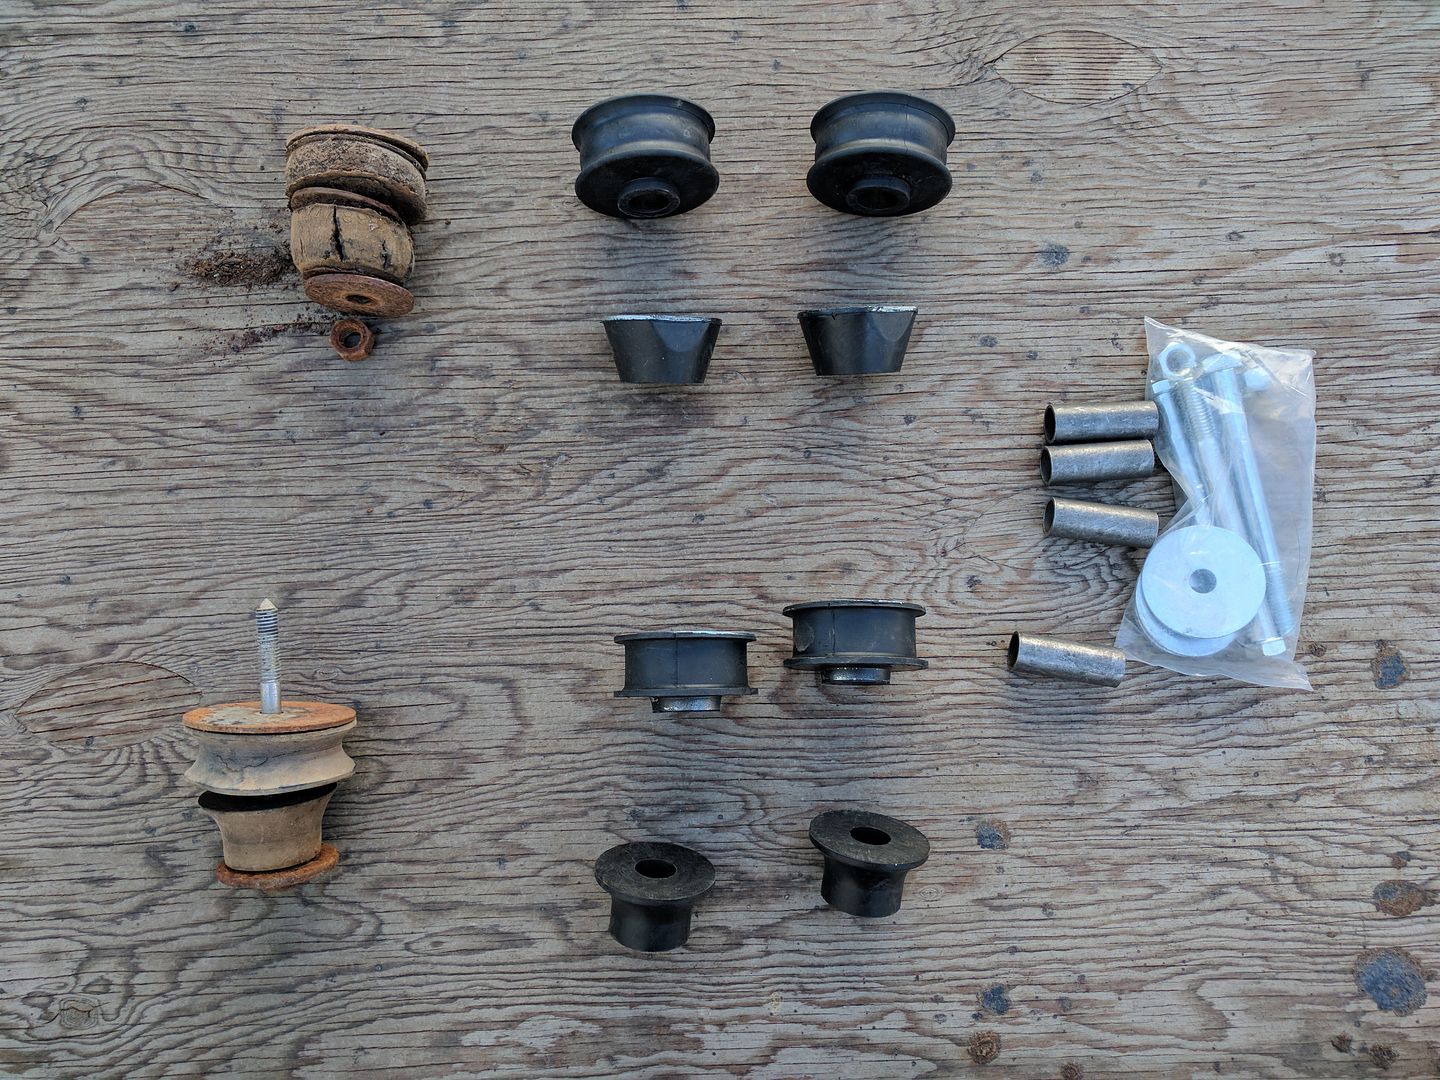
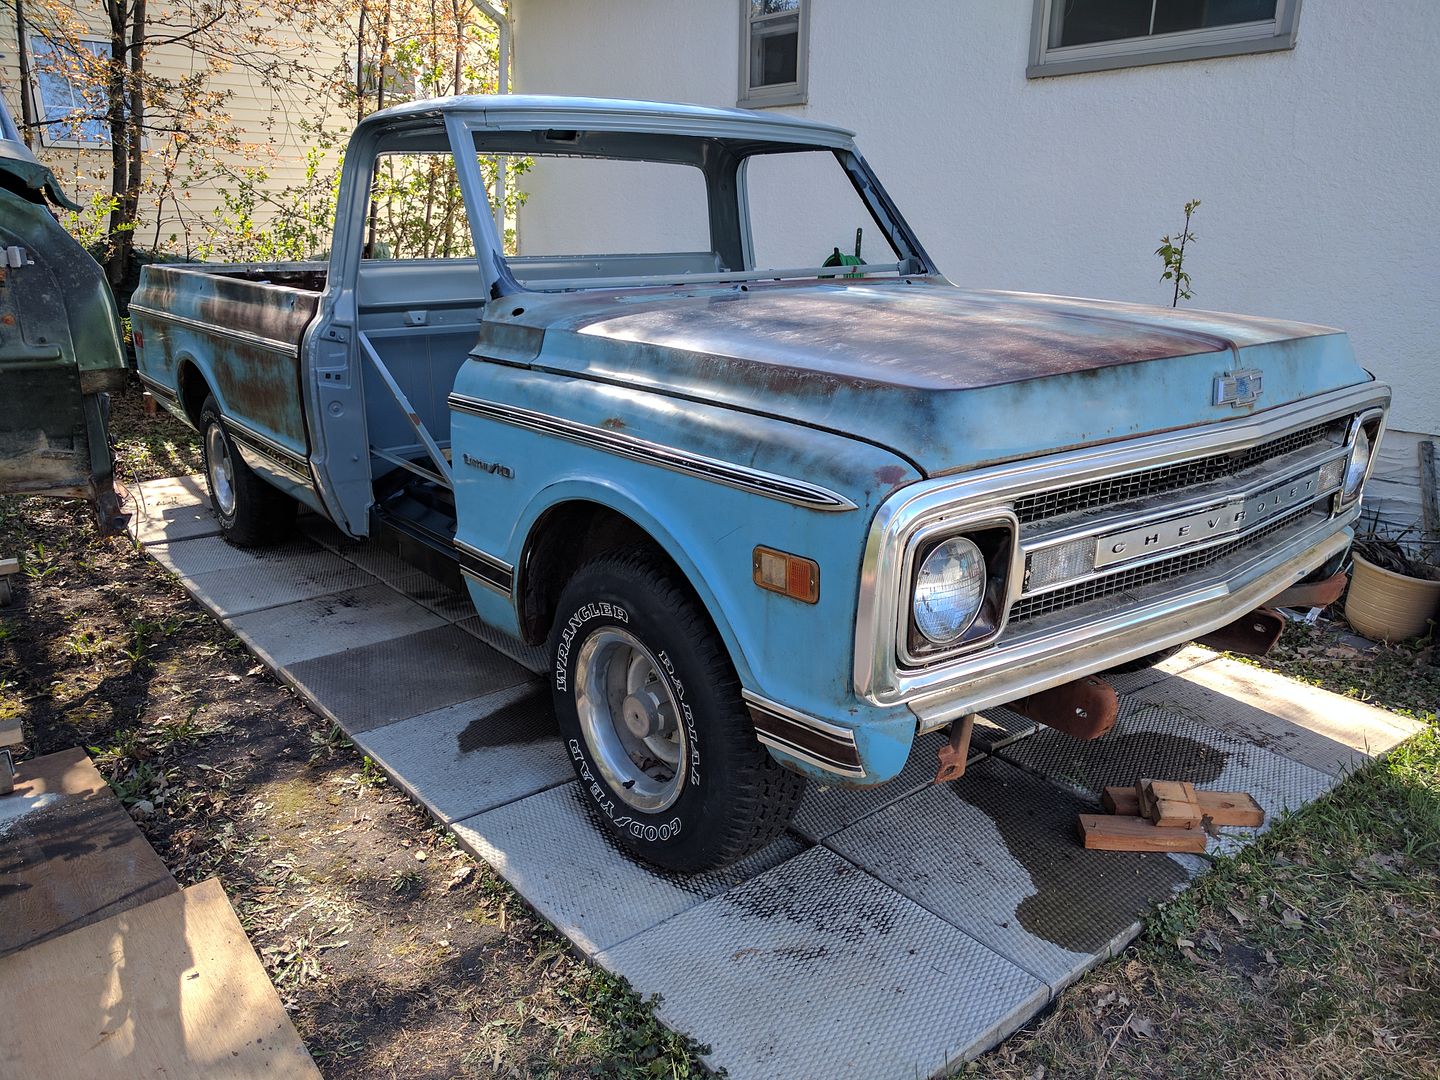
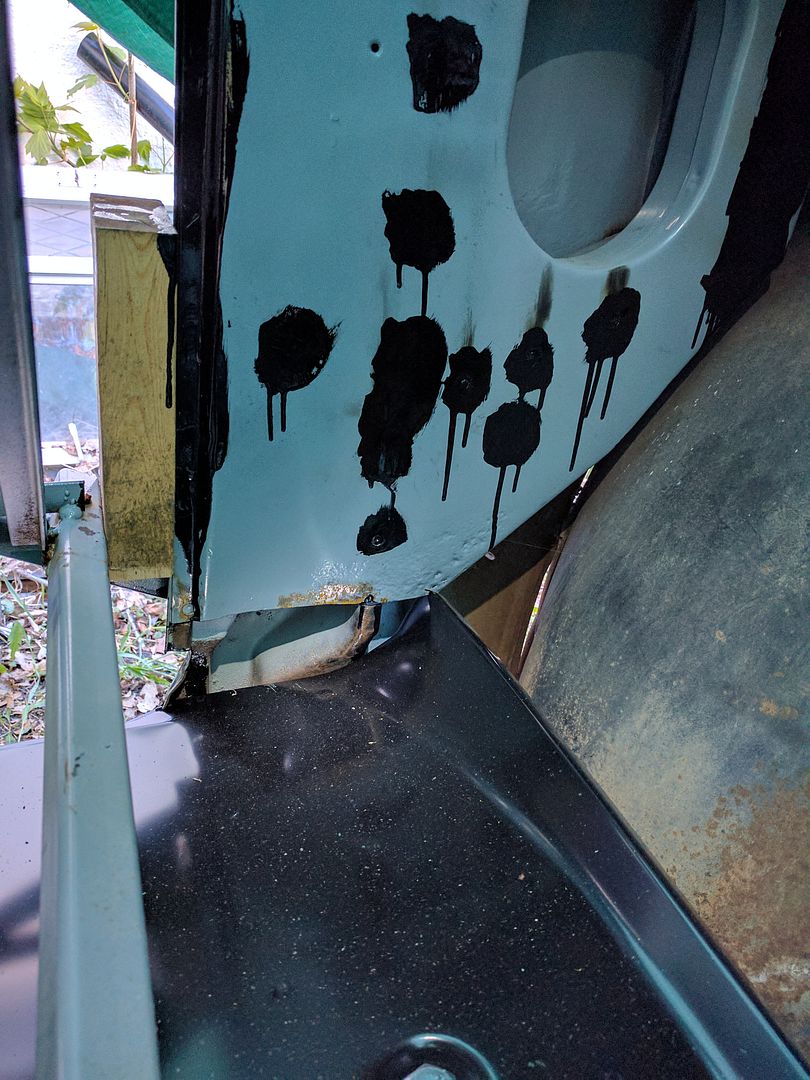
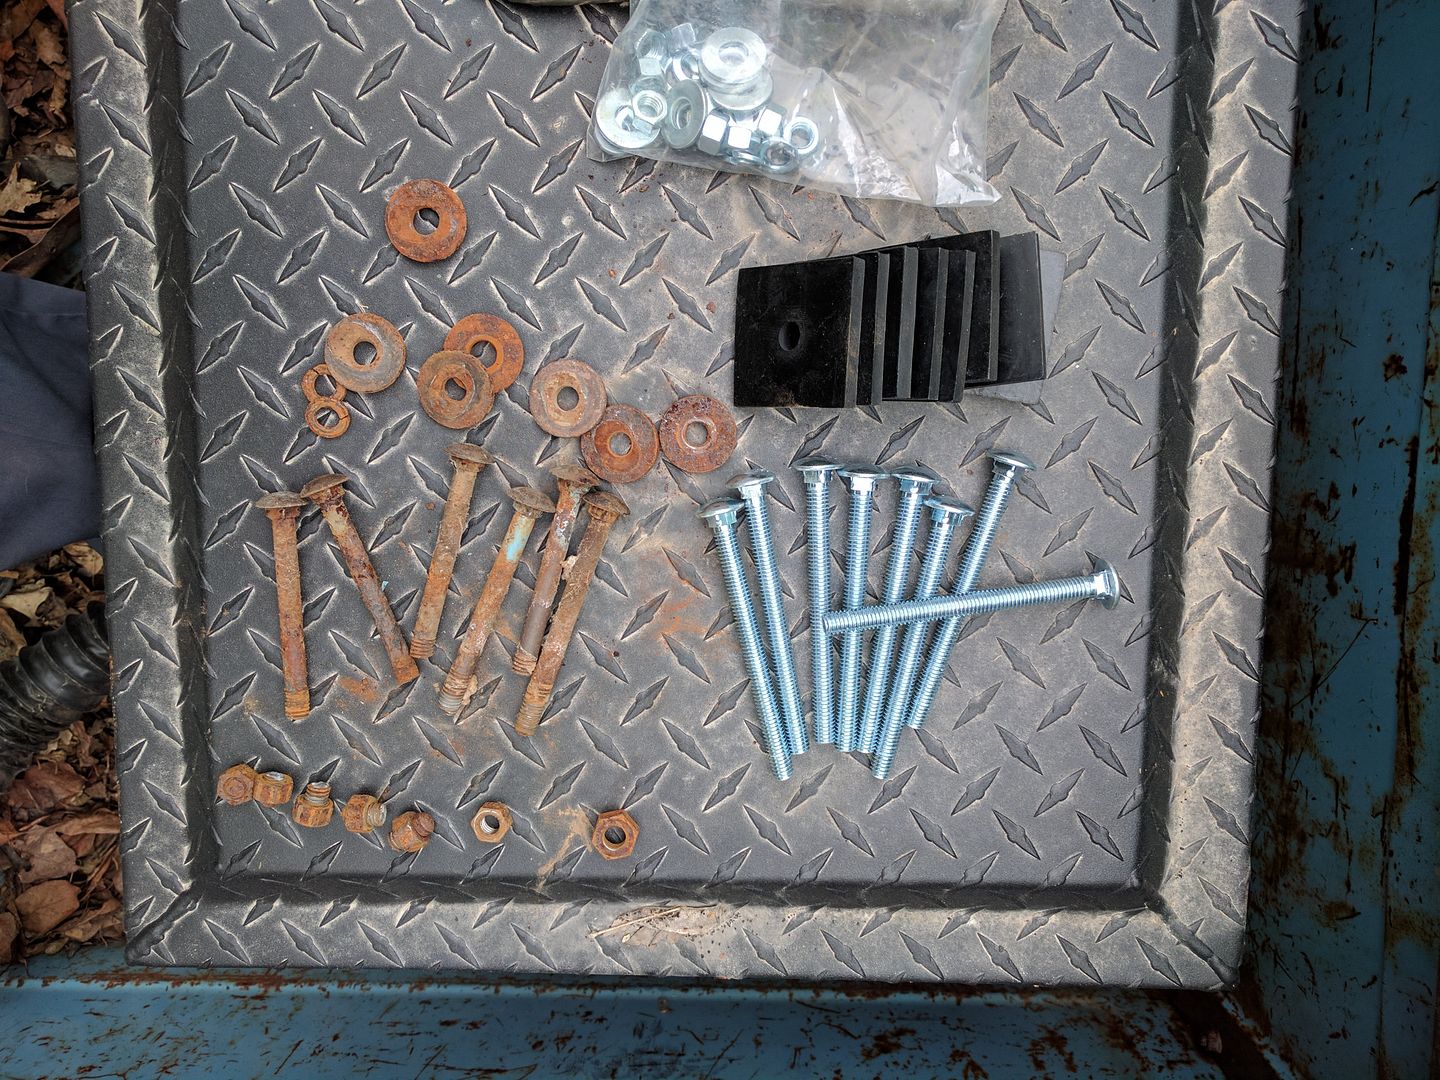
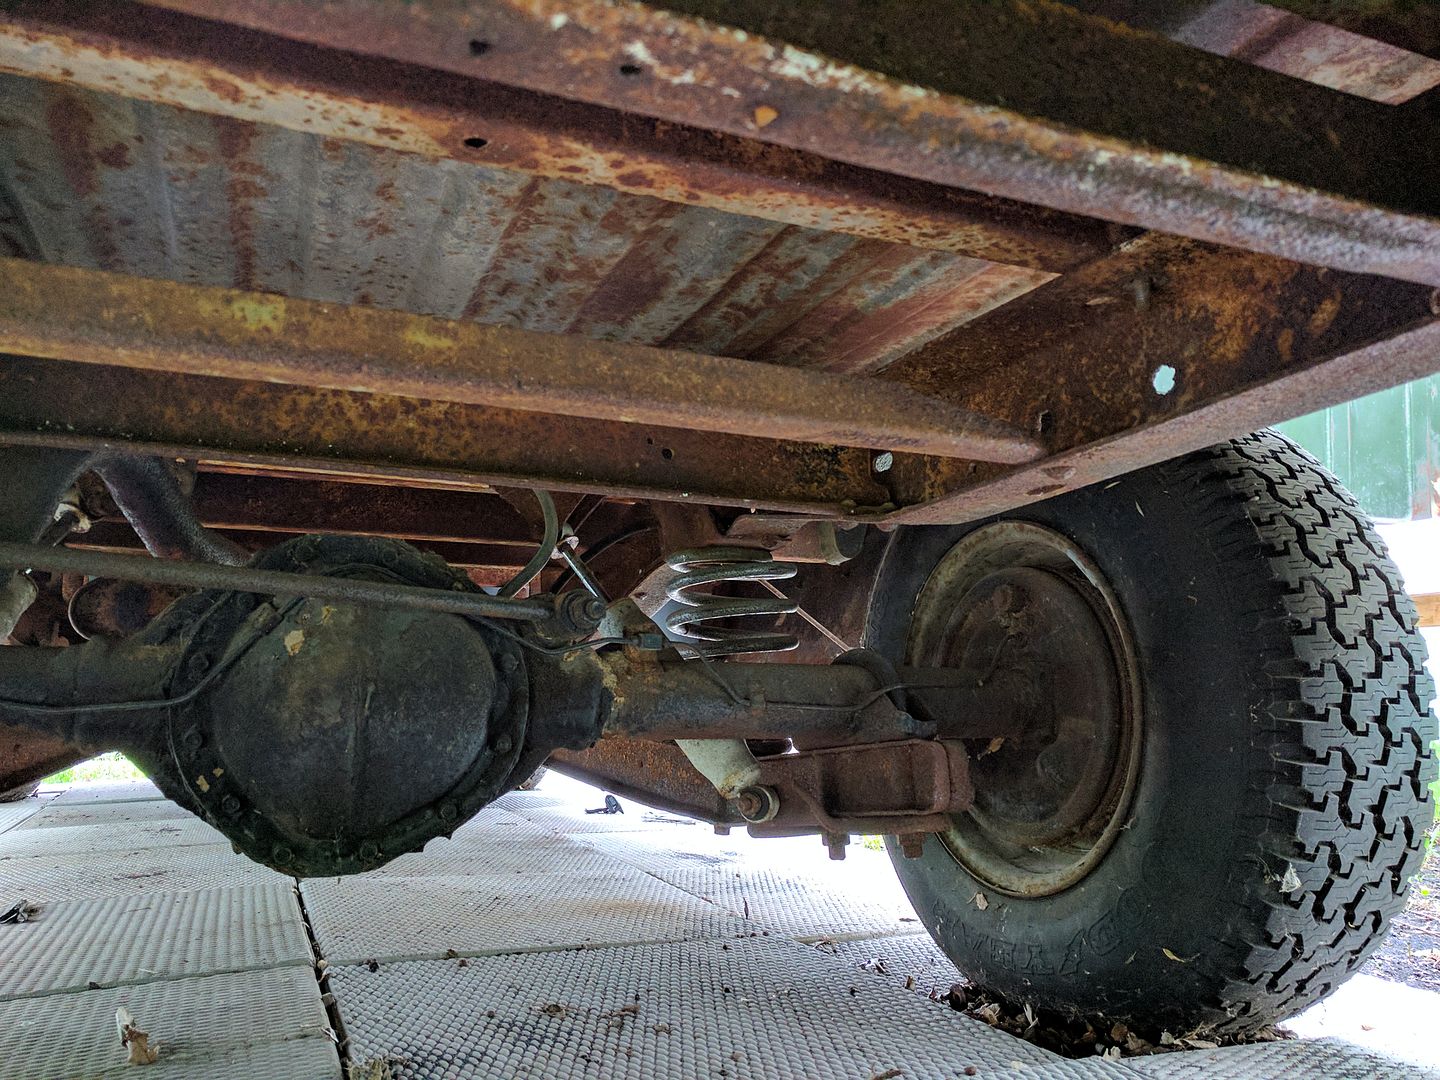
Unbolted the bed from the frame because I have new bolts with pads to install. 6/8 snapped..
It's not looking very nice under there. I really need a better parking spot away from grass.
Cleaned all the trash and spare parts from the bed including the toolbox and swept it.

Added one stick of 1x1 to the bracing on each side, removed the one that went to the outside of the A pillar. Relocated the lower angle iron further inwards on each side.
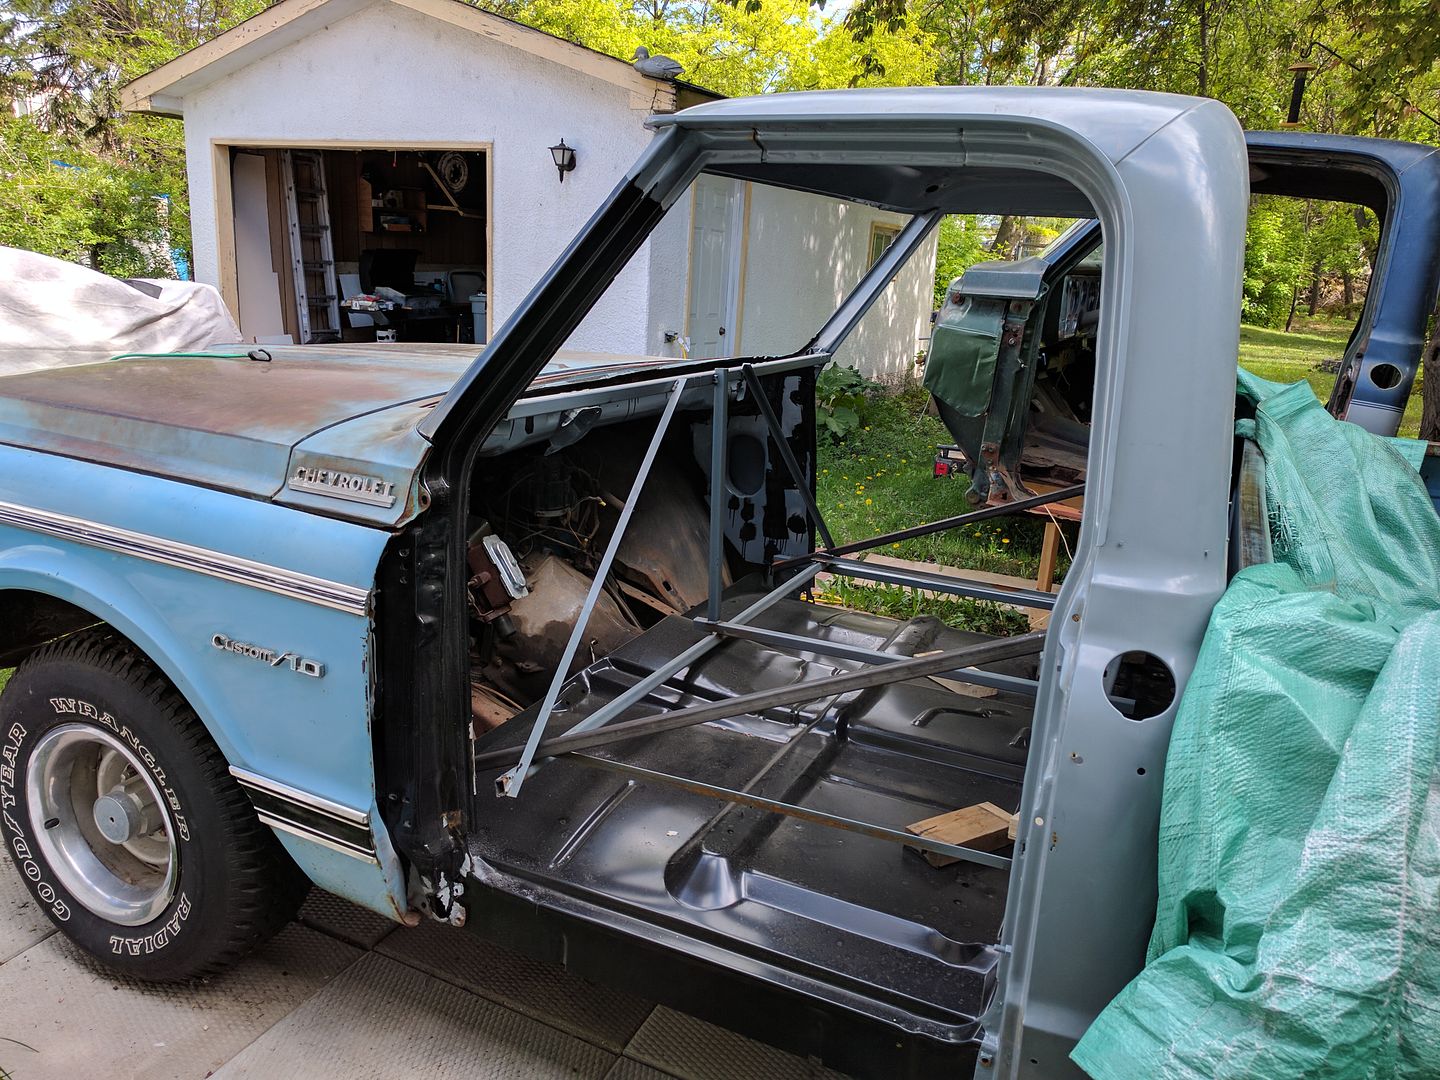
Now I need to convince some people over to help lift the front clip off again so I can hang the doors.
Still flip flopping between making the body lines line up with the bed on the pads (adds about 1/4") or leave them out like factory and space everything up if I decide to use them.
I suppose I should probably pick up some new door hinge pins too before I get the doors on. Still not 100% on how I'm going to line things up. I'm making stuff up as I go. I like the string idea, and now being able to put the doors on will allow me to stretch or pull things in the right direction before welding.