Man that stinks! You could try the miata slave and stock master like I was going to do. Better yet it sounds like you don't have enough action from the slave. I might try and drill a new hole in your clutch fork the is closer to the trans. This should shorten the amount that the slave has to move witch means you should be able to fully engage and disengage. The only down side is that it will make the clutch pedal heaver...
JTNWEvo wrote:
Thanks Skervey, I am dying to drive it but I can't get the darn clutch to work properly. I used the recommended 1" Wilwood Master and pull-type slave and I can't seem to get enough throw to disengage the clutch. I have spent several days bleeding and adjusting the thing but it just wont pull enough to disengage. I've ran 2 pints of fluid through the system and am pretty sure there is no air left in there. I have adjusted the clutch pedal so that I am bottoming out the master and the slave still wont pull all the way. Getting frustrated.
Get a smaller slave or a bigger master. Smaller slave is probably easier. Other options to what skervey recommends (you might not be able to gain enough throw by moving the point on the lever). These options will definitely increase pedal effort though.
It sounds like he has maxed out his slave so a larger bore master wont help but a new slave or moving the mounting point on the clutch fork sounds like the only opinions. If its not to aggressive of clutch springs you should be fine moving the hole on the clutch for by 1.5" and that should give a little more movement witch may be all you need. Id try that before spending a few hundred on a new slave.

JTNWEvo
New Reader
4/1/15 3:34 p.m.
Well, I am maxing out the master but I do not think I am maxing out the slave. According to Wilwood the slave can move 1.38 inches and most of what I have found says you need about 1.25 inches of travel to fully disengage the clutch on a 302/T-5. It is hard to measure but I am getting at least 1 inch of travel right now.
I am going to try moving the attachment point on the clutch fork in a bit and am considering doing what the Monster Miata guys do and using a Miata push type slave.
I am using a new RAM-88794HD clutch kit with a new Ford Flywheel, new Ford pivot bolt, and new Ford clutch fork. Stock 94 Mustang T-5 and matching bell housing.
I can tell the clutch is at least partially disengaging because if I hit the starter with it in gear but no clutch it lunges forward and with the clutch pedal all the way in it just creeps forward.
Thanks guys.
JTNWEvo
New Reader
4/1/15 10:44 p.m.
I moved the hole on clutch fork a bit and it seems to have solved the problem. I can now shift the car! Took it for a victory lap around my street, still need to cut a hole in the hood before any real driving. The steering is... not good. Either the rack or pump seems unhappy. I had the 3 hole steering rack and simply plugged the 3rd hole for the variable assist and am using a Mustang pump. Maybe plugging that hole was not the way to go. Grannys suggests teeing it into the return line.... Also discovered my electric fan is not coming on and my thermostat housing leaks. Always something with a project. :-)
Nice!! That's good to hear! Im glad it was an easy fix, how heave did it make the pedal get? I will have to follow what you do with the power steering. I am running a mustang pump as well. I may have striped out one of the fittings when installing the granny kit. Come to think of it I have a spare I might just swap it out now for piece of mind.
If you can post up a vid of the car!
Also I am headed tonight to get the clutch, its a used stage 2 unit that has a few hundred miles on it but its the same clutch that was used with my flywheel so it should be a good combo.
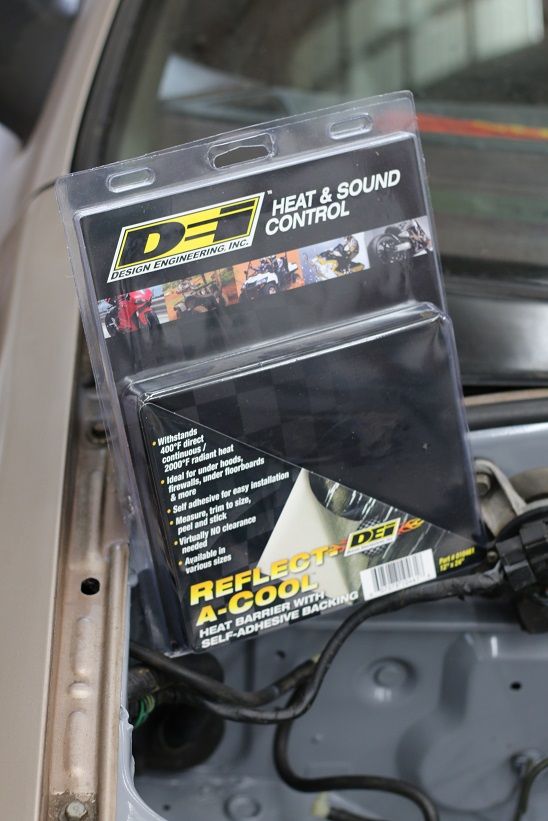
Anyone know of a good product to use as a heat/noise insulation for the fire wall? Also think cheap and cool looking. Id love to use the gold stuff but id rather save the cash and put it into somthing that will make me go faster.
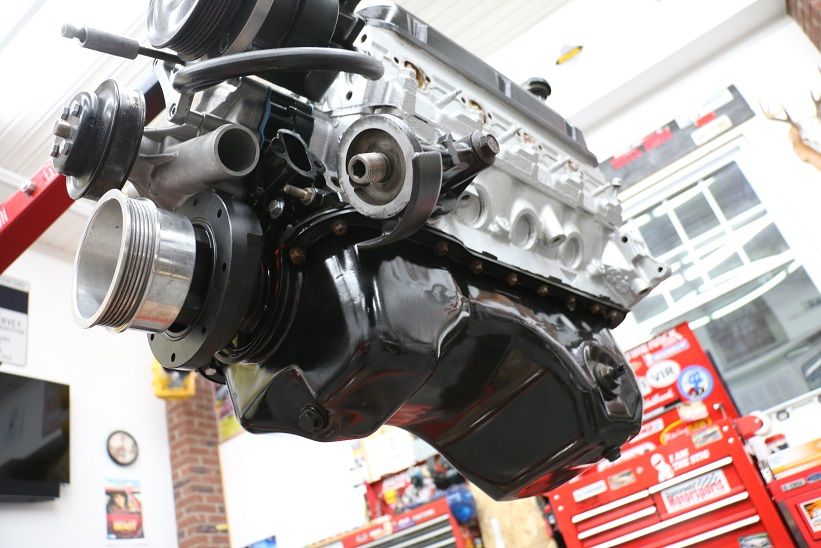
Well here we go again! I got the oil pan on last week just hope that it doesn't leak!! Looks good now hope it stays that way!
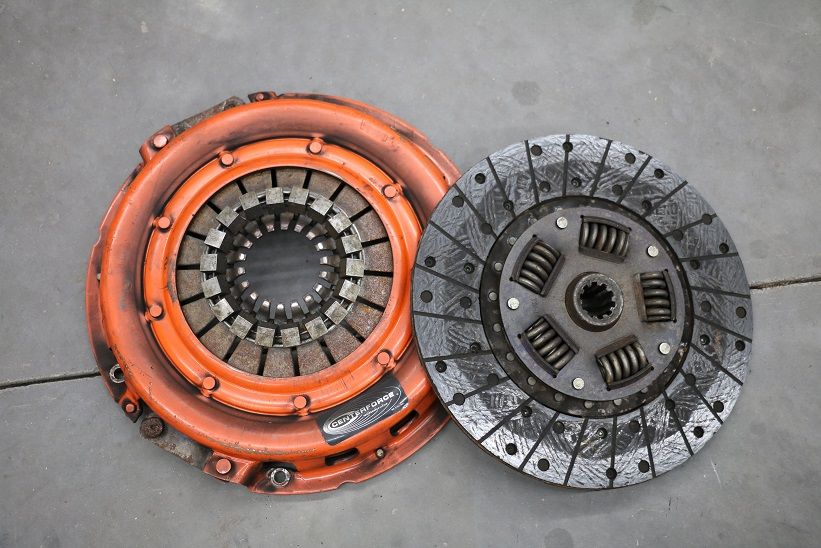
Also picked up some more parts, Clutch, random efi parts (FREE) and a throttle body to mock up for exhaust cutout (FREE).
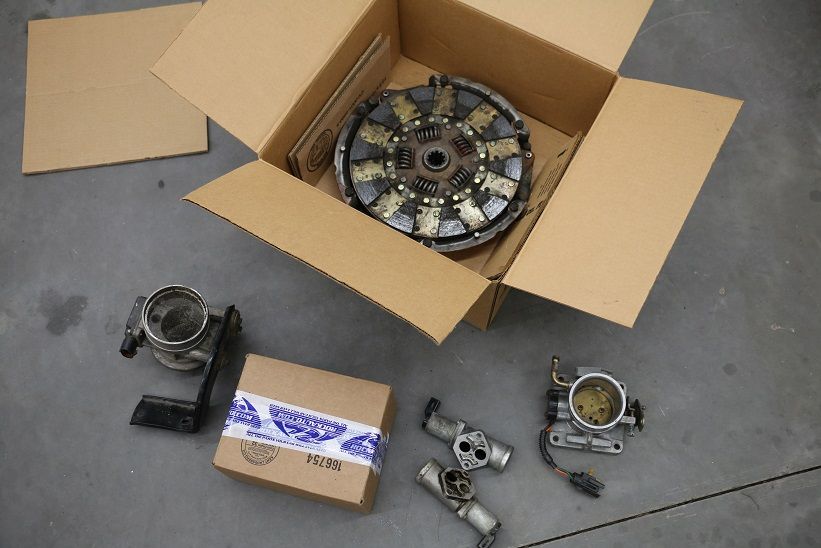
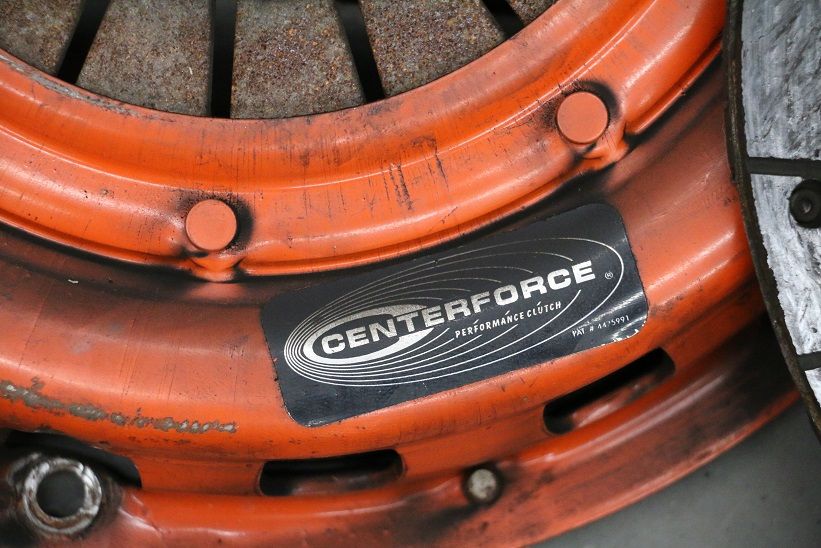
Clutch is a centerforce stage 2 so it should do fine for my needs.
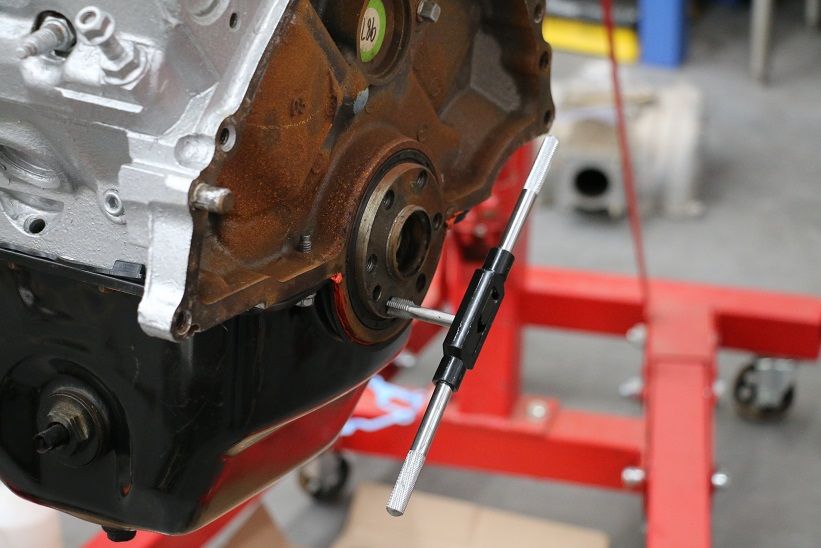
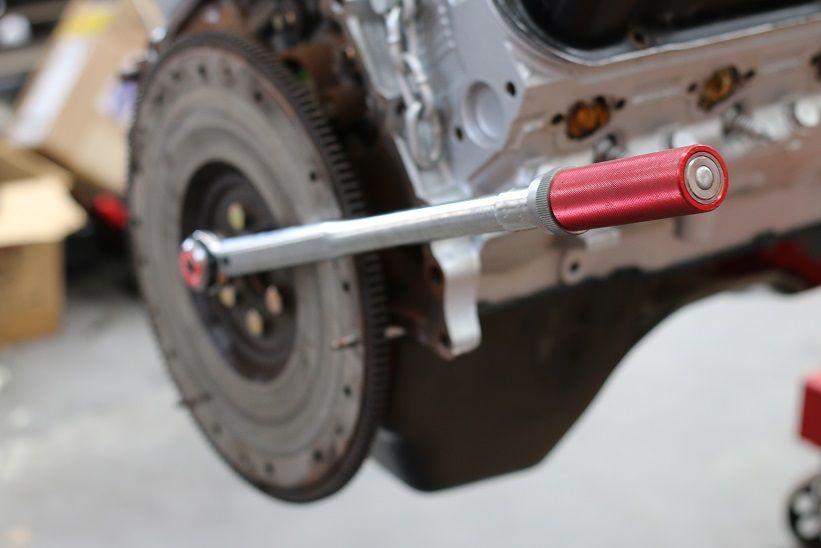
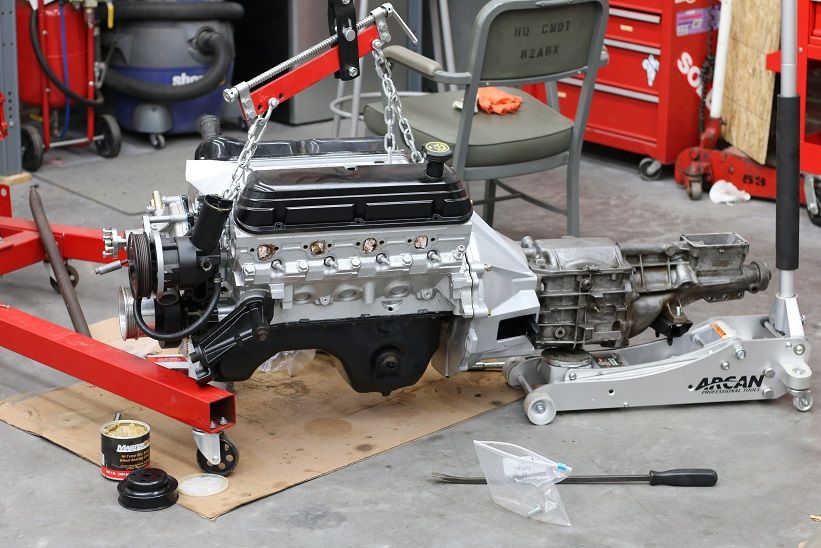
I prepped the motor to receive the fly wheel and mocked it all up. I will have to figure out some way of keeping the motor from spinning while I tighten the bolts.
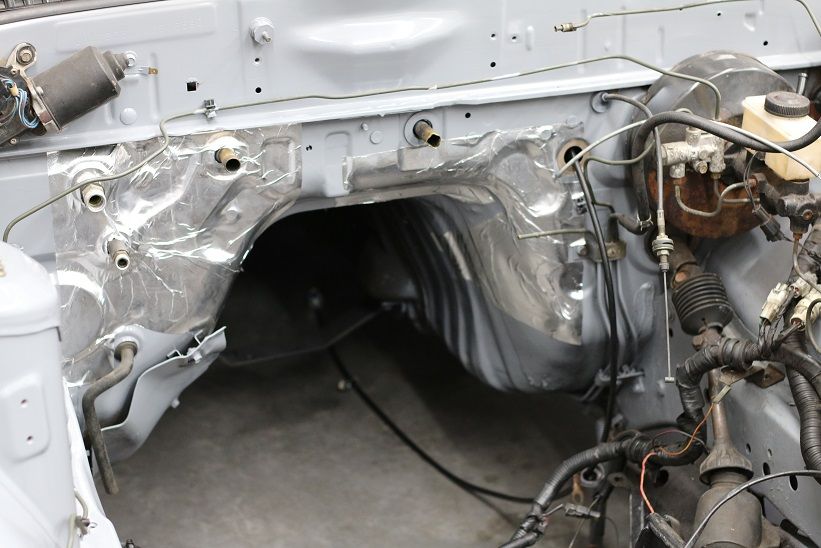
Last but not least I picked up some heat insulation from the parts store. This stuff ant cheap but I am hopping it will help. If not it looks good, why because race car!

That's all there is tonight I hope to do the clutch and get the motor in soon then things should really start coming together!
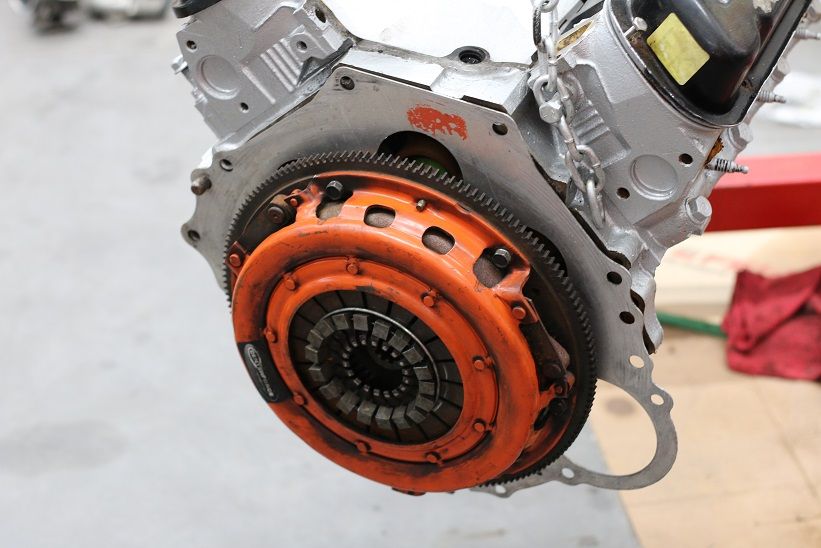
Well I installed the clutch and flywheel only to find out I have to put the aluminum spacer panel (piece of sheet metal that goes between the trans and motor) on before I put the flywheel and clutch so it put me a day behind. I hope to pull it back off and try it again tonight but we will see!

So here we go as I said earlier I installed the flywheel and clutch only to find out I forgot to do something... So got home from work today and with some help I pulled the flywheel and clutch off put the plate on and them did it all back up.
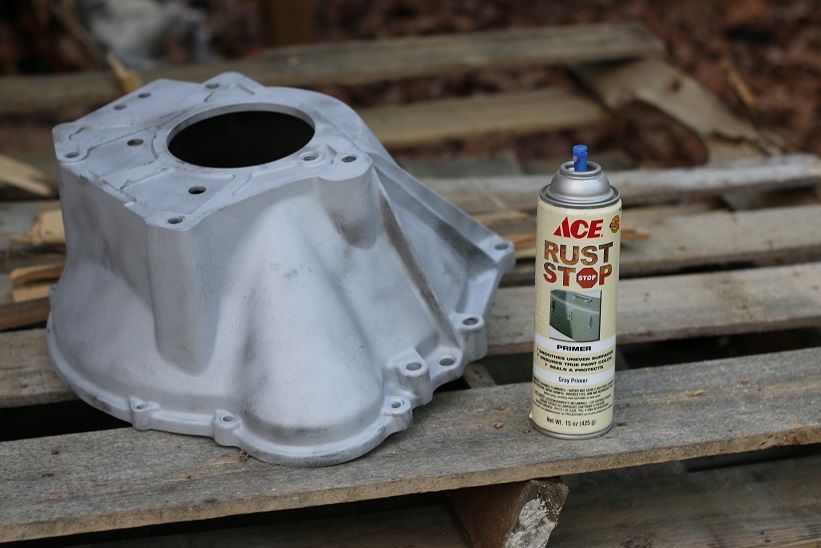
I also blasted and painted a lot of parts this weekend to get ready to put the motor back into the car. one of witch is the bell housing. A quick coat of primer and some paint and it should look nice sitting behind the motor. I was going to leave it alone but you can still see it when it sits in the car so that means it needs to look nice. The trans itself is another story. You wont see is so its fine, and I don't know how long it will last so why paint something that will more than likely blow up when im doing donuts?
I was going to install the throw out bearing and the cluth fork but I don't know how to... so im going to look that up tonight and maybe later in the week I can bolt it up to the motor!! Getting very close to getting the motor back in!
By the way thank goodness for youtube! -https://www.youtube.com/watch?v=YKxNr5iYKO8- clutch fork install
just figured out that I will have to at least pull the clutch again... I didn't know about the pilot bearing. oh well this is how you learn!
Good progress, and good point of view about learning, even if it gets frustrating.
Thanks! And yes if I would have done the clutch fork and throw out bearing the wrong way and I would have messed up the clutch and I would have messed up the crank and the trans and not even known that I was missing the pilot bearing! Thankfully youtube saved the day and Napa has them in stock and I should be able to pop it in with the flywheel still on the motor.
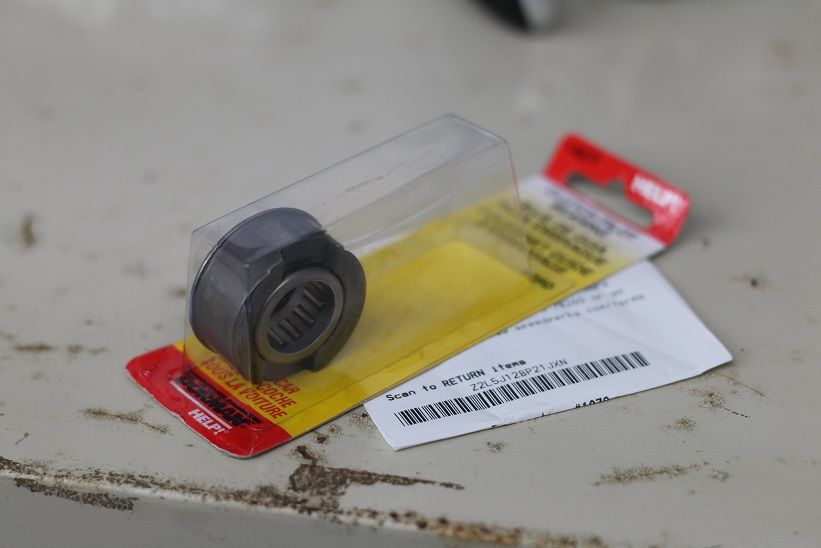
Sorry for the slow updates life has been more than crazy but in a good way! So all of this happened last week but im just now getting to upload it. I was able to work on it and get get it more put together than I thought I would. So I stopped at the auto parts place and got the pilot bearing then took the clutch off and got to it.
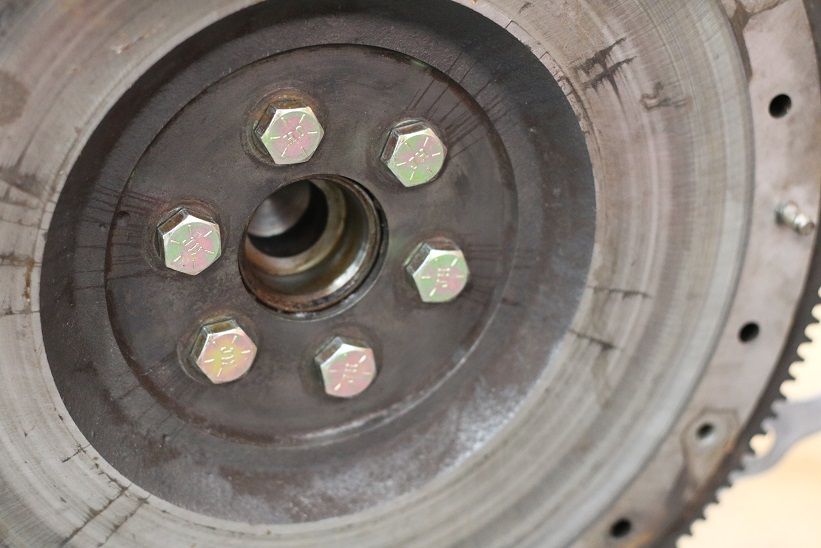
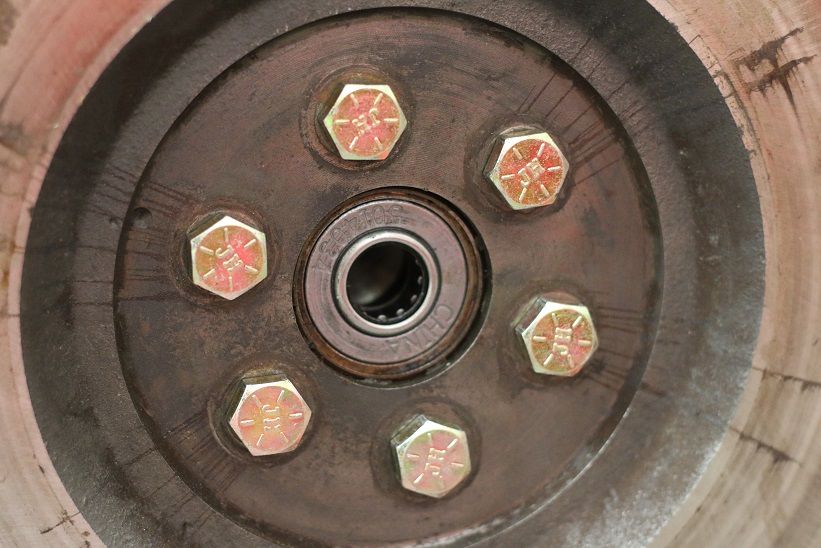
With the flywheel still on the motor I was able to set the pilot bearing in place and finally move forward with the build.
So I then turned my attention to the trans and the clutch fork and throw out bearing. It all went together well with new parts and a touch of grease, make sure you don't use to much you don't want the grease being flung onto the clutch.

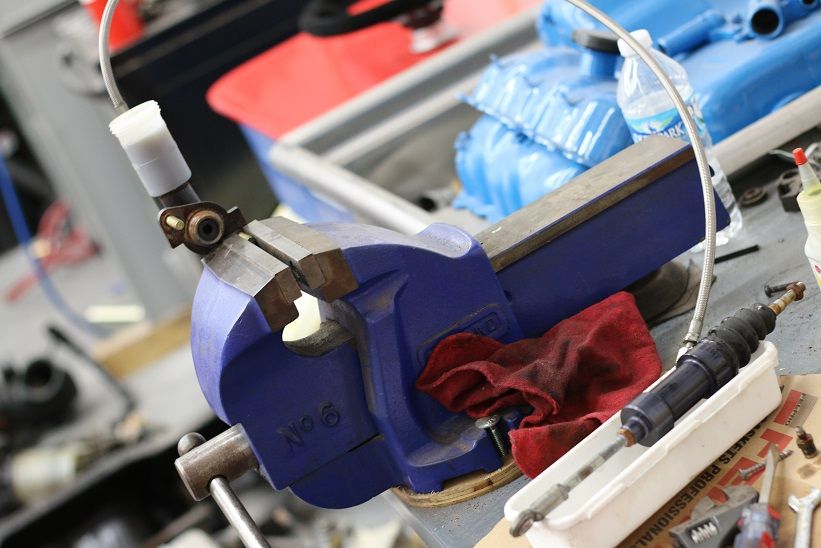
With that done I took my first good look at the slave cylinder. I tried to bench bleed it with no luck, but then realized after that it needed to be compressed then I need to bleed it... Oh well I didn't get anywhere with it and I hope that the seals aren't bad but I will know as soon as the motor and trans go in.
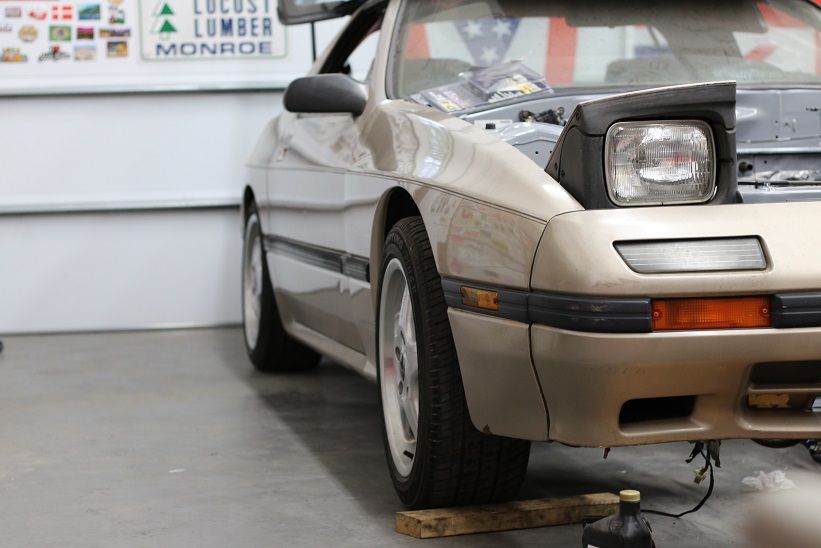
Another shot of my little mazda patiently waiting on me.
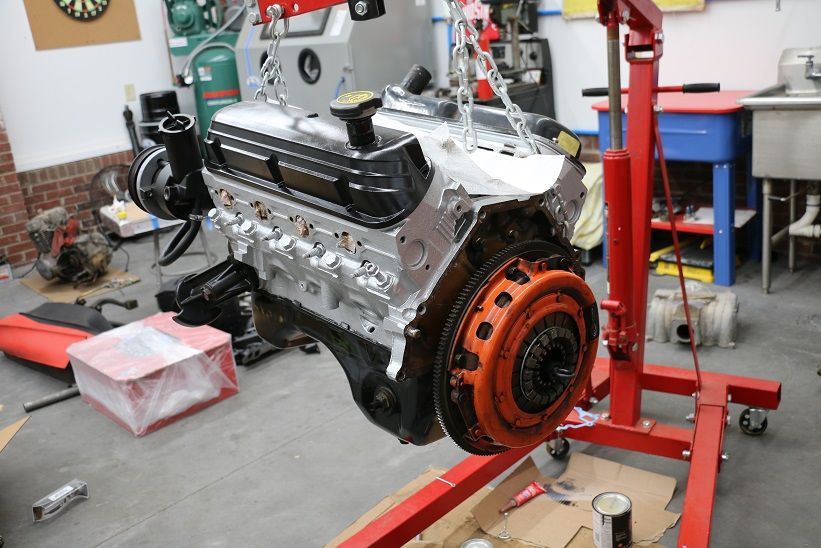
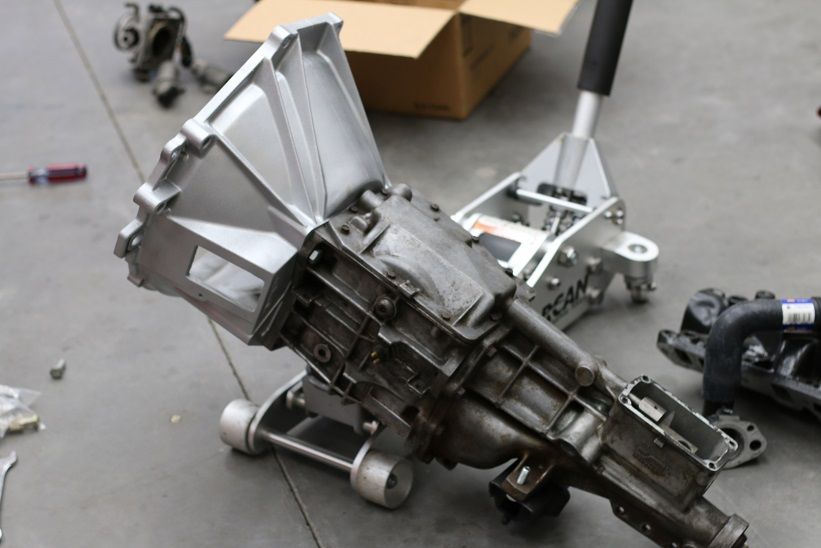
I did bolt the trans and motor together but I think I lost or never got two bolts for the bell housing to motor. So Its still waiting on the hoist but I don't have time to drop it in anyway.
Looking great! I found that pushing fluid from the slave to the master works well on clutch hydraulics.
Im getting excited about this. Looking forward to seeing it on the street around here.
Thanks guys! speaking of witch I need to come grab that 600cfm carter from you Dusterbd13. I will have to figure out a time that I can run and grab it.
I was hopping to drop the motor in this week but it may not work out that way... My hoist ballast aka the guy that's going to keep the hoist from tipping over and dropping the motor into the car is gone for the week. I really don't want this to be me.
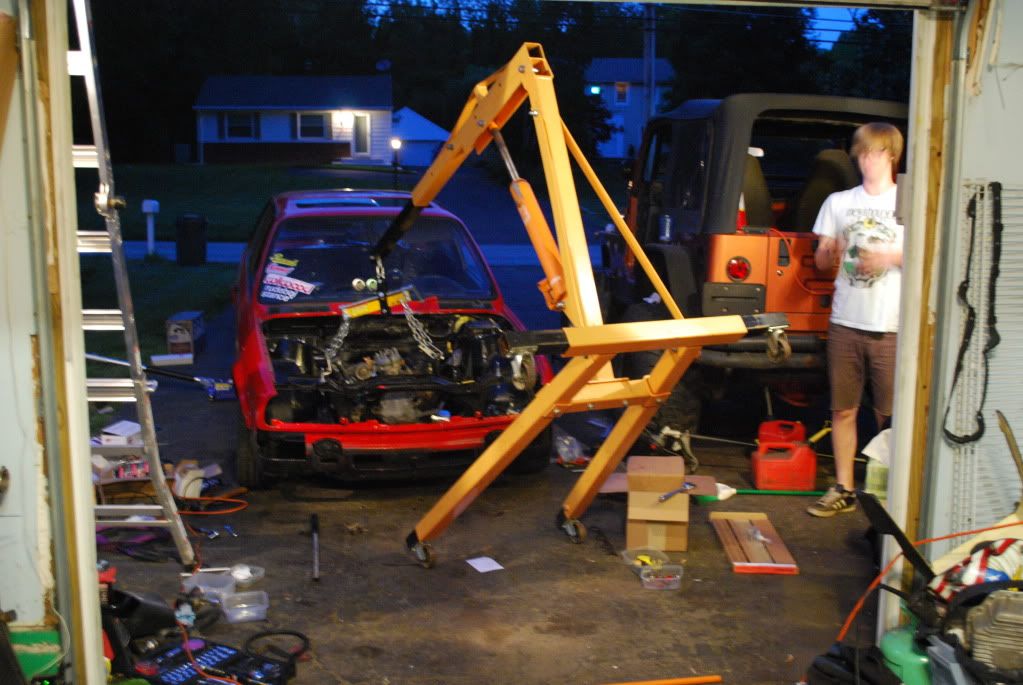
So im not sure what to do I also need to go grab another motor for my grandpa so I need the hoist soon.
Pick a couple of nights that would work for you. Ill bring you the carb and be hoist ballast.
Alright I will have to see what this week has in store for me. Iv got to pick up a new motor for my grandpas 64 F100. We are also headed to road Atlanta early friday!
Do you know if I will need a rebuild kit for the carb, or jets to get it tuned on my more or less stock motor?
I also need to sit down and make a list of all the parts I have put into the car and list what year and model car it came from. That way The next guy that has the car has somthing to work from. This car would be a mess to just jump into not knowing what parts I used.
Was running on a 302, so jetting should be close. Id kit it judt to be safe, but you should be able to run it as is.
Lemme know what nights.
Will do and I will order a order a rebuilt kit some time to. Then hit up youtube to learn how the carter works. I know hollys and webers so now its time to learn a new carb!
Also do you have a MSD box? Dustin has a 6A but I'd like to find a 6AL so I have the rev limiter just in case I miss shift when im really on it. Its just a little insurance that might save motor from grenading because I miss a gear or don't keep my eye on the tachometer.
Nope. No msd boxes except what is currently in use.
And if you have a discount with a lumber supplier, I'll trade the carb for 3 sheets a/c 3/4 ply. Thats what the money is going for anyway.
I don't have any cheap supplyers on lumber... Its not looking like I won't be able to grab the carb from you this week but I will also ask you what I need to do for the PCV valve. Is it on the carb itself? Iv been trying to figure some of my next steps once I get the motor in and thats one of them...

Beagle
New Reader
4/22/15 2:13 p.m.
The way Ford had it on EFI is the PCV port is cast in the intake. On a Holley carb with the Performer, you run the PCV in the valve cover breather and the hose to the base plate under the carb. If you can get a vacuum port in the plenum under the carb, it's good. Several of Ford's carb versions had the PCV in the filler cap. I think there's a vacuum port on the base plate for most Holley's that will work. The plugged port in the runner won't fly for this, it needs the plenum so one cylinder doesn't end up sucking all of the air (lean - pcv is a controlled vacuum leak).
You'll want a breather on the other side to allow air ventillation. The fill neck has a breather tube on the aluminum EFI covers if I remember, could be plumbed to the air filter base maybe. It needs to let filtered air into the crankcase since the PCV is getting air sucked out of the crankcase. Two breathers would work instead of PCV but they are messy.
(sorry, I edit everything after I read it.)
Thanks Beagle! I called up edelbrock and he told me the same thing. Just a lot less info.. I thought plumbing the PCV to the intake might give a few cylinders bad air when the rest got good air. The guy at edelbrock also said that the Carter 600CFM (Im getting from Dusterbd13) has a PCV port on the bottom/back. So now my next issue, the EFI valve covers that I have did have a nipple for the PCV on the oil filler neck but the filler neck was REALLY tall so I had one of the guys at work cut it down so it would fit under the hood and in the process I lost the nipple. So I think I need to weld a new one back onto oil filler neck. That will give me a port for the PCV but the other valve cover does not have anything to hook up a line to. I would like to vent that side as well but I don't want to just bore and tap a hole into the valve cover. It needs some kind of internal baffle to keep oil from being slung up into the vent.
Also im about to order a fitting to use the RX7 coolant temp sensor into the 302 stock coolant location. They are the only place iv seen that has anything near like what is needed and instead of getto rigging something im going to just order it and be done!
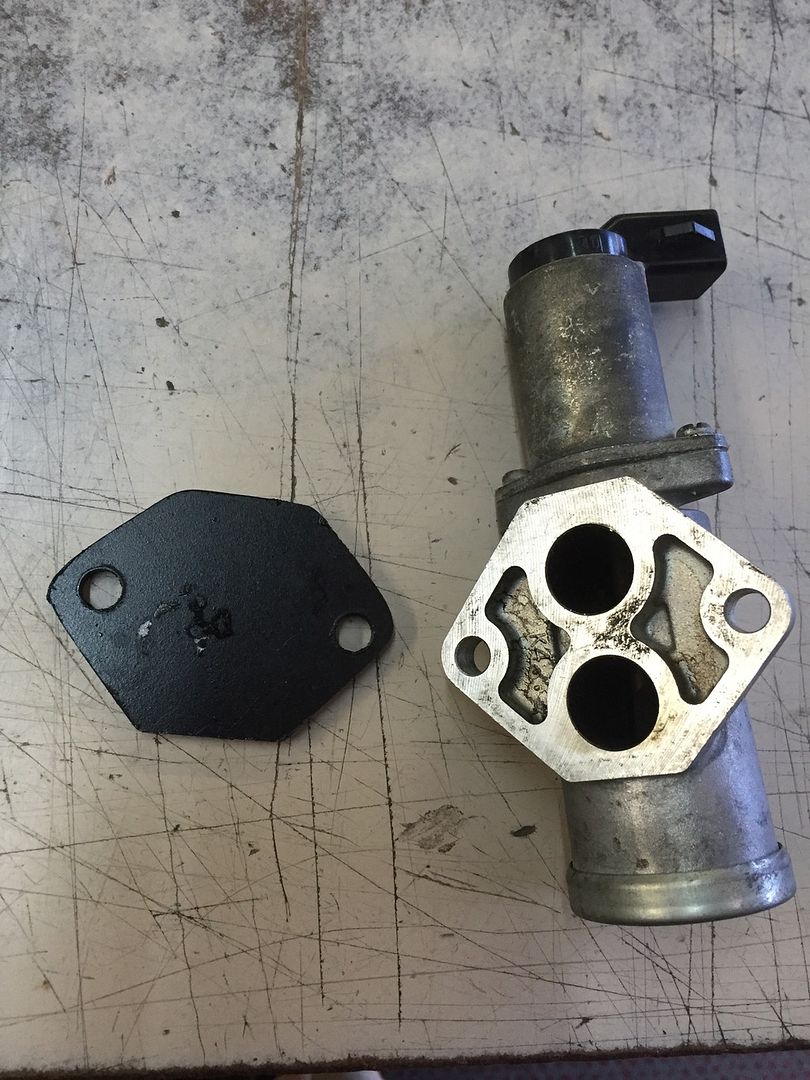
In other new (and we need some more pic) I worked on my prototype manual exhaust cut out! Like I said I got the 5.0 throttle body for free so its a good testing platform. The only issues I see with using it are the idle air port, throttle position sensor, and how to hook it up the the exhaust. But I think I have it all figured out.
First is the idle air valve that simply unbolts and is used as a timplate for a block off plate.
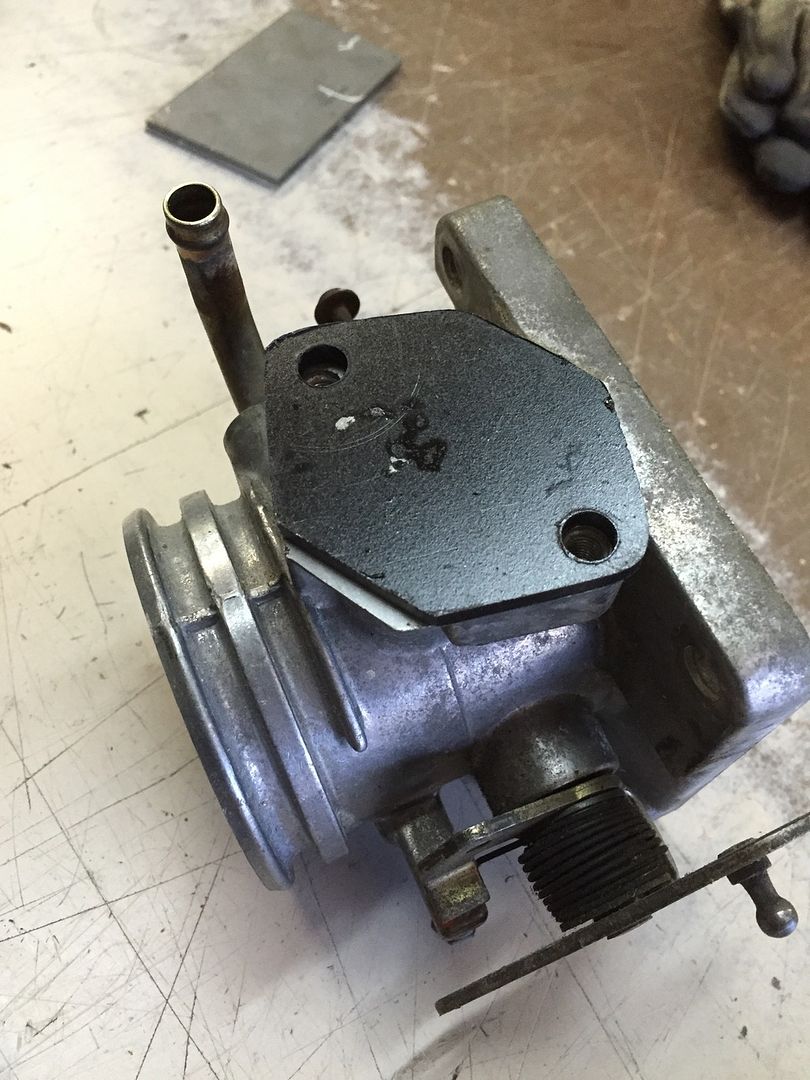
Then I have to do the same thing with the back of the throttle body but this time with a hole in it so the exhaust can pass through. With the lack of a 2.5" whole saw and not a big enough piece of scrap I decided I could cut 1/2 of the circle out with the bang saw and weld the two sides together.

Didn't get to weld it today, there is only so much you can do during your 15min breaks. I plan on tiging, it I need to get better with the tig welding anyway.


