1 2
Kenny_S2K
Kenny_S2K New Reader
4/29/20 9:08 a.m.

Hello all, I've been a member for a while but mostly have been lurking behind the scenes and enjoying some of the amazing builds that have been posted on here.  I wanted to share a little about my journey with my 1992 Suzuki Cappuccino, and seek guidance and feedback from this amazing group.  This adventure started over a year ago, so I will be posting several updates until I get to current date.  Also this build thread originally started on another forum (TrackJunkies) so I will be copying and pasting what I started there, but from now on it will live primarily here.

So the last couple of years I have been daily driving a 2005 Scion tC, while it is perfectly adequate as a daily, and reliable as all Toyota's tend to be... it lacked soul and character.  I decided last year to get something a little different... something that you wouldn't see every day, and that delivered as many smiles per miles as my S2000 does.  I did allot of searching, and reading up on different platforms... for a while was really thinking of getting an NB Miata, also considered an ND Miata as well but after some soul searching I settled on a RHD JDM Kei car.  

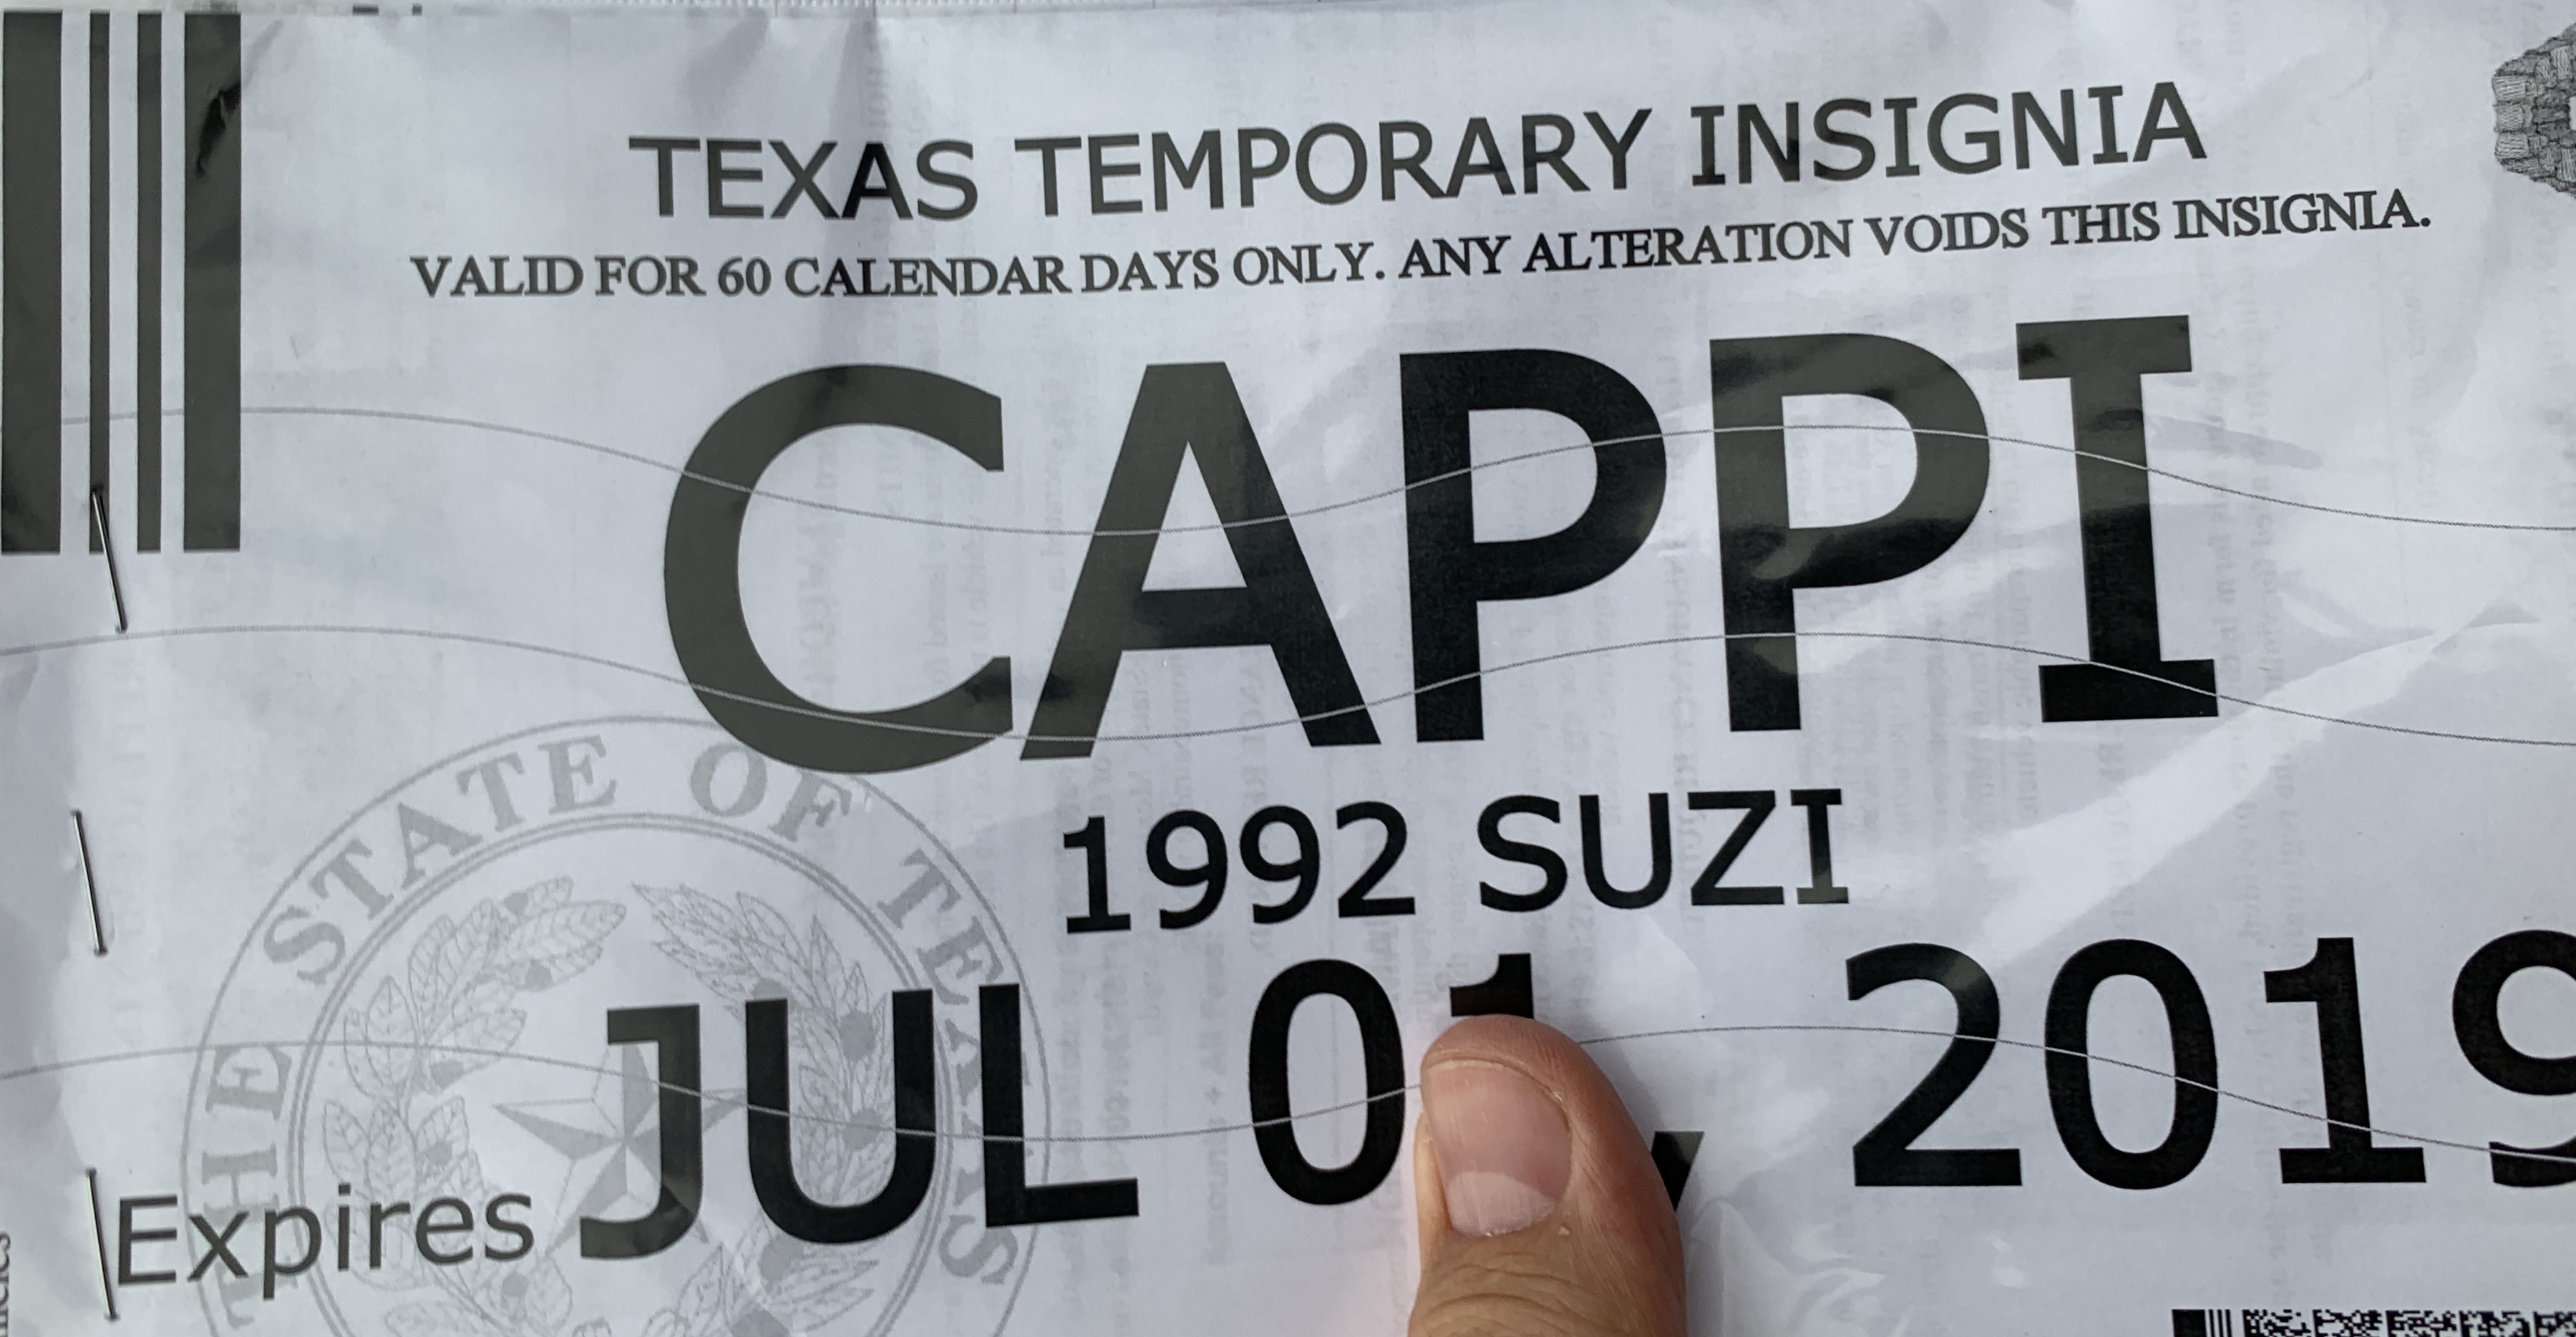
My search started with looking at Honda Beat's, they are great little cars, were built during the hey day of Honda, and hit every mark on my "want" list... the only thing I didn't like was the styling and the usability of the naturally aspirated 3 cylinder engine.  Next I moved on to the Suzuki Cappuccino, from all my research and studying, the Cappuccino was the best of the three great Kei cars from the 90's... it had the best driving dynamics, a very usable 3 cylinder turbocharged engine, and I really loved the styling... especially the unique 3 piece hard top that could convert from a t-top car, to a targa, to a full convertible.  I also briefly looked into the Autozam AZ-1, and while it had the best look... it was dead last in most of the other categories... and it was typically double the price of the other two.  With my research completed I decided that I wanted to find a Cappuccino, and I started hitting up all the regular JDM importers as well as looking on different websites (Craigslist, AutoTrader, eBay, etc.) to see what was available.  The market was very limited... at the time I was looking there was only a handful of cars for sale, and either they were in very rough condition or priced outside of my range.  I also joined a couple of Cappuccino communities on Facebook, and came across the car that would eventually become my daily driver, a 1992 Suzuki Cappuccino.

40656768073_2eff06b1be_o.jpg

47623155751_2559e707a3_o.jpg

46707654635_497ff1d338_o.jpg

32680520437_f7f938d836_o.jpg

32680520417_70699861ee_o.jpg

46707654585_aa0a003f70_o.jpg

NOHOME
NOHOME MegaDork
4/29/20 9:13 a.m.

How hard are these to get into the country and or get parts for?


The reason I ask is because in the back of my sick little brain, I keep building an MG Midget or Bugeye on a Capuchino chassis. The trick is to find a running but low value Capuchino as the basis of the project.


Pete

Kenny_S2K
Kenny_S2K New Reader
4/29/20 9:14 a.m.

Wanted to provide some background for those who might be interested in the importing process, and some of the work I am doing on the car.

As I mentioned the Cappuccino will be my daily driver, so first and foremost I want to ensure that it is reliable and comfortable. The S2000 will be the track focused weapon, it will still get used once or twice a month for group drives and meets, but largely will stay in the garage between track days.

So the importation process is not as big a deal as some people make it seem, it's not hard, but you have to have all your documentation and proof to show that the car truly is 25 years or older. Once you have this, you have to have 3 different forms to bring it into the USA, one form for the EPA, one form for the DOT, and lastly one form for Customs & Border Patrol. Once you have all 3 filled out, and have all the necessary documents you have to take the car to the port you are importing the car through and the border agents inspect the car to insure it complies. Most people will use a broker, but it is possible to do this yourself... just requires a few hours of research and filling out lots of forms. Patience is key, and ask others who have gone through the process. My Cappuccino came through the port in Anacortes, Washington... there was intially a snag as the customs agent had never processed a vehicle being imported directly by the owner (myself) and not through an agent or import company, but after speaking over the phone with me and providing him some additional information to confirm my identity, they let the car in. From there the car was driven to Seattle, and I scheduled with an Auto Transport company (Montway) to collect the car and bring it to Texas.

Here is the car on the ferry coming over to the port in Anacortes, Washington

The car on American soil, waiting for the customs agents to clear it

The Cappuccino getting loaded on the car transporter while the Mini Coopers in the background look on with envy

The car arrived 4 days later, in good shape but filthy from road grime from its long journey

Tucked in the garage next to the S2000, you can tell how much smaller it is than the already "small" S2000

Kenny_S2K
Kenny_S2K New Reader
4/29/20 9:17 a.m.

In reply to NOHOME :

I answer that exact question in my next post, but not hard to get into the country, especially if you user an importer rathern than trying to do it yourself.  Even if you do it yourself, its not difficult but it does require allot of patience and paperwork to get it legal so you can register and insure it.

For parts, availability is good, but you usually have to wait a few weeks for parts to arrive from Japan (or in some cases the UK, as the car was also made for that market).  Not as convenient as popping over to your local auto parts store, or ordering from Amazon.

Kenny_S2K
Kenny_S2K New Reader
4/29/20 9:19 a.m.

Once home, I needed to get the vehicle registered with the State of Texas, which has its own requirements for an imported car. First I had to get a temporary permit to allow me to drive the vehicle, this part was straight forward. From there had to get a safety inspection (no emissions testing required for cars 25 years or older) then had to get a VIN inspection performed by a local Auto Theft Task Force. Once I had both of those items completed, I went to the local DMV.

Waiting at the local gas station for the car to be inspected

The inspector had never seen a Kei car and was fascinated with the car, it passed with no issues

One of the things that I really enjoy is finding all the unique "JDM" touches, including this Special Racing Produce exhaust!

Oil change stickers, there are quite a few under this top one... nice to see that the Japanese owner took care of oil changes

I think this one is from the port where the vehicle was shipped from

All of these elements add to the unique character of the car, and I will be leaving them as they are.

Kenny_S2K
Kenny_S2K New Reader
4/29/20 9:22 a.m.

It took a few weeks to complete all the requirements to get the official Texas registration, the strangest one was having to make an appointment with an "Auto Theft Taskforce" from a neighboring city to have them verify that the car was not stolen and then exported/imported to clean the title.

Cappuccino waiting for inspector to verify the VIN and give the all clear

Once I had all the necessary pieces done, took all the documentation (original title, import documentation, bill of sale, transportation documents, inspection certificate, VIN inspection certificate, and Texas title/registration form) to my local tax office and was able to get the car registered. As a bonus, since the car is over 25 years old, was able to register it as a "Classic Vehicle" with the state of Texas and got to personalize the plate for only $40. Went with something unique to fit the character of the car, the wife and I had taken to calling it Cappi as a nickname, and it fit... so CAPPI it is!

Now that the car was official, I decided to address some issues, repair some of the worn/old items, and personalize it for me. The first thing I did was order a replacement gauge overlay for the cluster, it's hard to know what speed you are doing when your speedometer reads in KM/H! I knew that 100 kmh = 62 mph, but otherwise was relying on a GPS Speedometer app to keep it under the speed limit (and this car is easy to drive fast in!)

The gauges are made by Revlimiter, and they are amazing. Really top notch work, and the attention to detail was really refreshing. Highly recommend his products.

New gauges on top, old gauges on the bottom

Up next was the air filter, it had an HKS mushroom air filter that had definitely seen better days, the cover was filthy and starting to show surface rust, the filter itself was clogged, and when I removed it was falling apart.


I cleaned the filter housing with Simple Green, washed it well, then resprayed the mesh cover with Duplicolor enamel spray paint. Lastly replaced the air filter with a new HKS air filter, looks brand new!


Kenny_S2K
Kenny_S2K New Reader
4/29/20 9:23 a.m.

Now that the car was legal, titled, registered and insured I started using it as my daily.  After parking it one day I noticed a small coolant leak and this seemingly inconsequential event led to a cascade of events that derailed this journey... but more on that later.

Here is how the leak presented itself

After jacking up the car and placing it on jack stands, I looked for the source and found this
[/url]

Basically the belt that drives the AC compressor was rubbing against one of the coolant lines that feeds the factory "oil cooler" that is routed to the oil filter area, as well to the turbo.  Eventually this rubbing led to the line to spring a pin hole leak.

The fix was fairly easy, replace the hose with a new one, and adjust the length to ensure it had plenty of space between the hose and the belt.  The reason the other hose was rubbing was that it had been replaced and was just long enough to allow the rubbing.  Hard to see in this picture, but new hose installed and no more issue!

Now we will discuss the "derailment" I mentioned earlier, while I was replacing the hose, I also gave the cooling system a once over... usually when one problem pops up, others are not too far behind... especially on a 27 year old car (at that time).  The radiator had quite a bit of rust visible along its bottom, as well as the coolant overflow showed signs of rusty water/gunk which led me to believe that all wasn't well in other portions of the cooling system.
[img][url=https://flic.kr/p/2iVDzea][img]https://live.staticflickr.com/65535/49833862807_606aef99d7_o.jpg[/img]

Based on these findings I decided to replace the radiator, coolant overflow, and flush the system... Texas summer was just around the corner and I didn't want to get stranded on the side of the road with an overheated car.  I found a fabricator in Florida who would make me a custom radiator for less than an OEM replacement from Japan, so decided to go that route... unfortunately he gave me the run around for over a month, and eventually refunded me my money because he could never get his act together and build me the radiator I had paid for.  This caused a significant delay, and during this time I continued to daily the car and addressing other cosmetic issues, I eventually ordered an OEM radiator and had to wait for a few weeks for it to come from Japan.

Kenny_S2K
Kenny_S2K New Reader
4/29/20 9:23 a.m.

While I waited for the radiator I decided to address some of the cosmetic issues the car had, some of it was some questionable "mods" made by a previous owner, and others was due to worn parts.  The first thing I decided to tackle was some tacky pedal covers which not only looked terrible, also made the car difficult to drive due to their size (larger than stock).

Easy change, they quickly came off and improved the look and usability.

Next I wanted to tackle the some of the interior items, the window switches and the cigarette lighter door had been covered in fake carbon fiber, which had started to flake and looked bad.  

I used some 600 grit sandpaper to remove the old finish, and basically returned both items back to the OEM look

Next I wanted to freshen up the old shift boot and emergency brake cover, both had seen better days and were starting to show their age

I teamed up with Redline Goods in Europe to produce replacements for both, made out of real leather (the OEM stuff is vinyl/pleather) with red contrast stitching.  Because I provided them the OEM parts to replicate, and document the install, they gave me the parts for free.


Now that I had the new shift boot and emergency brake cover, it made the shift knob and steering wheel look bad.  Especially the steering wheel which had yellow stitching and a worn horn button, both which did not fit in with the rest of the interior.  I did a deep clean of the shift knob and reconditioned the leather, returning it to a much better state.

On the steering wheel I decided to do a deep clean, similar to what was done with the shift knob, as well as dye the yellow stitching to red using a fabric marker.

I also looped in the wife to paint the "Personal" logo using red enamel paint to match the stitching.

I also replaced the old/worn Personal logo with a nice Suzuki horn button I bought from an eBay seller in the UK.

Here is everything coming together quite nicely

Dusterbd13-michael
Dusterbd13-michael MegaDork
4/29/20 9:37 a.m.

Is the revlimiter gauge faces a normal item for them, or did they make them just for you? How do you like the lighting? Any complaints?

I have a odd cluster im modifying and will need custom faces done.


And the car is neat! Never really paid any attention to the kei cars. 

Kenny_S2K
Kenny_S2K New Reader
4/29/20 9:54 a.m.

In reply to Dusterbd13-michael :

The RevLimiter gauges are one of their standard offerings.  The owner of RevLimiter also owns a Cappuccino so he made these as well as a horn button for the Cappuccino.  When I upgraded the gauges I also did the LED bulbs, which greatly improved the visibility at night.

jfryjfry (Forum Supporter)
jfryjfry (Forum Supporter) Dork
4/29/20 11:08 a.m.

The improvements look fantastic.  Eager to read about the big overhaul 

tuna55 (Forum Supporter)
tuna55 (Forum Supporter) MegaDork
4/29/20 11:25 a.m.

This is fantasic. What was the total cost of getting it here and buying it?

Aaron_King
Aaron_King GRM+ Memberand PowerDork
4/29/20 11:25 a.m.

You are not helping me with not wanting one.

ThurdFerguson (Freeloader)
ThurdFerguson (Freeloader) Reader
4/29/20 11:49 a.m.

That is a cool little car.  I don't think I could learn to shift with my left hand and steer with the right.  

Funny as I think about it, RHD is mirrored from LHD except the pedals.  

Kenny_S2K
Kenny_S2K New Reader
4/29/20 12:18 p.m.

So as hinted about earlier, the cooling system needed to be addressed.  After waiting a month, finally received the new OEM radiator from Japan.
[url=https://flic.kr/p/2iVDhXb]

As you would expect the replacement should be fairly straight forward, you remove the old radiator, install the new radiator, bleed the system, and you should be good to go... but alas this was not to be so simple.

Everything went smoothly, radiator was installed, filled with coolant, I started to massage the upper and lower radiator hoses to help remove any bubbles in the system when I noticed a coolant leak coming from a hard pipe that attaches to the lower coolant hose.  The pipe was fairly rusted and was causing the hoses to not fully seat and leak coolant.  
[url=https://flic.kr/p/2iVzgs7]

The item was beyond repair so it necessitated ordering yet another part from Japan... and waiting for the requisite 4+ weeks for the part to arrive. So now the car is sitting, so I decided to tackle other projects.  One was fairly simple, the car had a terrible aftermarket antenna which had started coming apart, replaced it with another aftermarket unit from Amazon and this both improved the look as well as reception due to a good working antenna.

The wife also found this cool decal on Etsy, which I added to the car... we all know stickers/decals add 5hp so this was a no brainer.

The next area I wanted to address was the front license plate mount, which is quite unsightly, and I never run a front license plate on my fun cars.  To do this I cut the offending part off the bumper, and painted the support that is behind it black so that the look of the front bumper was improved dramatically.


Finally the new part arrived from Japan (along with some other goodies that I wanted to address)

I installed the new part, and tried to bleed the system again... and you guessed it, found yet another leak.  This time the leak was from a coolant hose that runs under the intake manifold and to the heater core in the firewall.  It was very difficult to even see where the leak was coming from due to the cramped engine bay, and the location of the leak.  I ended up buying an endoscope from Amazon that connects to my iPhone so I could find the leak.

My approach was to pull the intake manifold, fix the leak, and put everything back together.  Everything started well, but quickly hit a roadblock

The issue is that the 4 bolts that are under the manifold and hold the intake to the block are completely inaccessible.  I could put my finger on them, but no matter what tool I used I could not get a socket on them securely to loosen and remove them.  I spent several days trying and growing increasingly frustrated, even ordered special swivel sockets, all to no avail.  At that point I decided to step away from the project and try to come at it from a different angle.

Kenny_S2K
Kenny_S2K New Reader
4/29/20 12:23 p.m.
jfryjfry (Forum Supporter) said:

The improvements look fantastic.  Eager to read about the big overhaul 

Thanks!

@tuna55

The cost of the car was $5500, importation fees, transportation from Seattle to Texas, and associated registration/taxes brought the total cost to about $7000

@Aaron_King

They are a ton of fun, as long as you can live with the compromises that comes with owning a vehicle that has little support in the states.

@ThurdFerguson

Thanks!  The shifting was easy, really didn't take long to get used to shifting with my left hand, the hardest part was actually the turn signals/wipers which are flipped from a LHD vehicle.

Kenny_S2K
Kenny_S2K New Reader
4/29/20 1:05 p.m.

So the new "angle of attack" was to drop the engine, this would allow me to get at offending hose, and also address any other areas that needed attention.  As many of you are aware, usually when you find one issue it usually means others are just waiting to bubble up, and I didn't want to constantly have to address these issues... especially on a vehicle that was my daily.  The process to drop the engine began, it was daunting at the beginning, I had never pulled or dropped an engine, but the process was well documented and it was just a series of steps.  I took allot of inspiration from the builds on here, seeing what some of you guys have been able to accomplish helped motivate me to stick with it.

Dropping the engine started with the removal of the exhaust

Then all of the harnesses, vacuum lines, steering linkage, driveshaft, and front suspension components (engine, transmission, and front suspension drops as a whole).


Finally everything was disconnected, and it was time to drop the engine.  A lift would have come in handy, but I made do with two jacks and 4 jack stands.  Main challenge was raising the front of the car high enough (over 2 feet) to allow the engine to be pulled from under the car.

Now we are almost to current date, I had the engine out, everything was accessible, and it was time to look at what I was working with.  

Here you can see the hose that was leaking (still attached)


Next was the pipe the hose was attached to


As you can plainly see, things in the cooling system are not well, there is allot of rust and gunk in the lines and in the engine.  Some of the pipes are exhibiting extensive corrosion, so new parts are going to be ordered from Japan which will take even longer during this pandemic.

While I await for the parts to arrive I will tackle some other projects that will be easier to address with the engine out, namely timing belt change, water pump, tensioner, engine mounts, sway bar bushings, end links, diff bushing, and an extensive cleaning/degreasing of the engine and engine bay.

Redline Goods make nice stuff. I use their e-brake boot and shift boot on my NB. 

Kenny_S2K
Kenny_S2K New Reader
4/29/20 1:40 p.m.

In reply to thatsnowinnebago (Forum Supporter) :

Yeah, I've been impressed with their products, only negative is that shipping can be a little lengthy as it has to come from Europe.

Rons
Rons GRM+ Memberand Reader
4/29/20 1:45 p.m.

Was this Cappucino originally red and re-painted white?  On my other I Pad I have an ad rhapsodic looks like your that was sold about a year ago.

I believe Pete lives in Ontario and these have been floating around Canada for about 10 years.

Looks like one currently in Quebec on autotrader if he really wants to scratch that itch.

Kenny_S2K
Kenny_S2K New Reader
4/29/20 1:50 p.m.

In reply to Rons :

Yes, it was red and repainted white, actually may have been teal at some stage as well.  The previous owner was from Canada (Vancouver area), so the one you saw may be this car.

Rons
Rons GRM+ Memberand Reader
4/29/20 2:09 p.m.

In reply to Kenny_S2K :

He was actually from Victoria hence the Anacortes ferry ride.

edit: A geographic note Victoria is on Vancouver Island and Vancouver is on the mainland it's just our way of confusing people.

Kenny_S2K
Kenny_S2K New Reader
5/5/20 9:19 a.m.

Continuing on the journey to get the Cappuccino back on the road and performing daily driver duties, I needed to get myself organized so that I felt I had a grasp of everything that needed to be done, and could develop a plan of attack.

The first thing I wanted to do was to get the engine cleaned so that I could better inspect every area, and ensure that I was addressing everything that needed to be replaced, and also not be a complete oily mess every time I worked on the engine.  One of the issues with this engine is that the camshaft covers are leaking oil, and this has been going on for a long time.  This means that the engine is coated in oily grime.

In preparation for the cleaning I taped up all open ports, sensors, etc to make sure that nothing was damaged during the cleaning.

To tackle the cleaning I read a lot about the best way to tackle this, most folks recommended soaking the engine in degreaser and then spraying everything down with a power washer.  My issue with this is I didn't want a rusty oily mess in my driveway, so I decided to tackle the process in the garage and using an old vinyl table cloth to "catch" most of the mess.  My tools were a couple of cheap plastic bristle brushes from the dollar store, 1 can of dollar store oven cleaner, WD-40 cleaner/degreaser, some wire brushes (for heavily soiled areas), and steel wool.

The first step in the process was to use the entire can of oven cleaner and coat everything, the stuff is strong and the fumes are not fun... if you ever do this I recommend doing it outside or with plenty of ventilation.  Also, wear a mask and gloves when dealing with the stuff.  I let the oven cleaner sit for 30 minutes before coming back and inspecting the results.

The oven cleaner did a decent job of loosening some of the grime, but now it needed to be rinsed off, and as I mentioned I wanted to minimize the mess so I couldn't use a hose or power washer, instead I grabbed one of the plastic brushes, and a squirt bottle filled with water and dawn detergent.  I liberally sprayed an area, then used the brush to further loosen the dirt/oil, and then soaked it with water/detergent, and wiped everything down with a microfiber cloth.

Here are the results, first picture is the before, second picture is the after... all this took about 2 hours to get to this point

Some closeups of the suspension

Here are some photos of the aftermath

Up next I will be addressing the timing belt, water pump, belt tensioner, timing belt cover, and camshaft cover/plate.

hobiercr (FS)
hobiercr (FS) GRM+ Memberand SuperDork
5/5/20 9:40 a.m.
Kenny_S2K said:


The shroud of Suzuki.

Kenny_S2K
Kenny_S2K New Reader
5/5/20 10:15 a.m.

In reply to hobiercr (FS) :

That's hilarious, hadn't thought of it in those terms... but it does resemble the shroud of Turin. laugh

1 2

You'll need to log in to post.

Our Preferred Partners
BTj5v44QbmaMKIv3OnsdauN0voQ3xoeSqEbJhbs6B3HCS01O2amMoAd6a3RVl4wk