1 ... 8 9 10 11 12 ... 17
Crackers
Crackers Dork
2/7/18 5:05 p.m.

I got home today and thought I'd spend some time thinking about my options for wipers. 

Lexus vs Rambler

Rambler motor was originally vacuum operated, and a total no-go. 

Lexus stuff is too narrow and uses different posts. I could try to piece together the two but the Rambler posts are known for seizing. 

A few minutes later I was reminded of an earlier post. 

Rufledt said:

if you have a welder, there are no truly "bad" ideas.

I may have crossed that threshold. 

Sweet baby Jesus, what have I done?! I don't even have the right equipment to weld aluminum. 

For those of you waiting to see my plan, don't get too excited. I really don't know what I'm doing yet. indecision

Crackers
Crackers Dork
2/7/18 5:12 p.m.

Oh, and this still makes me giggle. 


759NRNG
759NRNG Dork
2/7/18 6:57 p.m.
Crackers said:

Oh, and this still makes me giggle. 


235's kissin' a fender lip.....HaHa.... whatever floats yur boat.......Hey and when you figure out the spool gun for your mig to do alooomeum show us all OK???

Rufledt
Rufledt UberDork
2/7/18 9:48 p.m.

Second on showing us using the spool gun.  The GRM stream tonight was helpful, but I’m still scared to take mine out of the box

Crackers
Crackers Dork
2/7/18 10:35 p.m.

Unless I have a surprise gift from the tool fairy coming I have no plans for a spool gun. 

A TIG might happen this fall/next winter, but no spool gun. 

EDIT: Those aren't 235's. They're 225's blush

Dirtydog
Dirtydog GRM+ Memberand HalfDork
2/7/18 11:10 p.m.

I foresee some cutting and fabbing in your future.  Maybe a mini tub?

Rufledt
Rufledt UberDork
2/7/18 11:31 p.m.

Tig is fine too.  I might be able to swing a Tig purchase past SWMBOif I play my cards right... just like to watch people Tig weld.  

NOHOME
NOHOME UltimaDork
2/8/18 5:54 a.m.


Assuming the lower mechanism is the Rambler stuff. Is there room for it? 


The easy button is to keep the system with the post that already attach to the cowl that you are using. You say that the post are "prone to seizing" but in fact have survived this long and the car is not going to see the day-day use that it once did, so I might risk it. 

If you must change the post, have a look at the Miata mechanism. similar to the Rambler and very nice post quality. Easy to change the width


The other option is the cheaper version of what I used.  I paid a lot more for a "Made in the USA" kit from Specialty Power Windows, but have a feeling the extra $200 was just for the "Made in America" sticker that I peeled off.  It would be no big thing to fab up your own version of one of these using MGB post and cable drive.


Hard to beat how compact the system is. 

The post are 3/8" fine thread that is extra long. They are designed in such a way that it is easy to shorten them. What this means is that you should be able to gut out your Rambler post and put these in the hole. I might even JB weld them in place cause why not?

Crackers
Crackers Dork
2/8/18 8:14 a.m.

In reply to NOHOME :

In it's stock configuration no, the Lexus assembly doesn't fit. The motor interferes with the cowl well before the posts reach a sufficient height. That's why I cut it up. 

Since posting, I've taken a die grinder to the cowl and I'm now committed to using the Lexus mechanism after some extensive modifications. (I'm hoping to get to this today after it warms up a bit.) 

But, the stock Lexus sweep should work. So if I flip the motor over to the bottom and lengthen the passenger side, I should have all the room I need to make that work. 

Fortunately the lever on the motor itself is splined with no master so I can clock it anywhere I want to get the wiper arms to park where I need them to. It's just going to require some inventive bracket fabrication. 

As far as the Rambler posts, the driver's side post is already corroded and quite stiff, and the passenger side post has lost most of it's mounting threads to corrosion. (The nut only made 3/4 turn before coming straight off.) IOW, they're pretty much junk already. 

There's also about 1/2" of difference in the lengths of the levers so tying the two together would be a nightmare for me to get accurate enough. 


Crackers
Crackers Dork
2/8/18 8:20 a.m.

Most important thing to note here is I'm a lot more interested in trying to make this work than buying something. 

This whole project is more about getting the satisfaction of taking parts that don't belong, and finding a way to make them work. 

Buying something custom made for the application kind of defeats the purpose. 

Crackers
Crackers Dork
2/8/18 9:55 a.m.

In reply to Dirtydog :

The SC300's can take a 275 without modifications. I think I can probably wedge a 305 under there after the arches get relocated.

I really don't see myself ever having a real need for that much tire though. Not to mention, I don't want to pay for that much tire either. LOL 

Crackers
Crackers Dork
2/8/18 5:58 p.m.

Muah-hahaha! 

I managed to fit the modified wiper mechanism within my packaging constraints! 

THE SWEEP AND PARK POSITIONS ARE PERFECT!!!!!

I'll post some pictures after I pack up. 

Crackers
Crackers Dork
2/8/18 7:10 p.m.

So, the goal today was to mock up the wipers to establish the parameters for my cowl. 

Of course after pulling the front end back off I started really looking things over and realized to begin I needed to establish where the engine side needs to be. 

It quickly became apparent that the original Rambler cowl line was not going to work. 

Also, there's that big gap where the old wiper motor used to mount. 

I took a grinder to it and trimmed it back the flat spot just below the vents. 

(I also got hyper focused and forgot to take pictures.) 

After trimming, I took a hammer/dolly and reworked the area around the gap. 


I really wish I had remembered to take some pictures here, as it pretty much went straight down from the top and I had to recreate a small water channel across the back. 

I didn't think to take a picture until after I traced a line above to use for refining the shape of the channel. 

Then it was time to patch it.

I'm a bit odd in how I go about putting in patch panels as you're about to see...

Rather than make a perfect patch and weld it in, I like to weld a piece in, then work it into shape afterward. 

Partway through welding I trim it back and trace another reference line for the lip. 


Then more grinding and welding and more grinding and it's finished enough for now. 

And then I was ready to do what I set out to do.

To be continued...


Crackers
Crackers Dork
2/8/18 8:04 p.m.

So the wipers. 

Yesterday I had cut up the old Lexus set up, and opened up the holes in the cowl to fit the posts.

Today I clamped the wiper posts in the cowl and did a bunch of measuring until I felt comfortable enough to start cutting up the rods. 

The main drive rod just needed to be cut and flipped 180° to work with the inverted motor. The link between two sides needed to be extended 3-1/16". The plan was to cut the rod and slip the ends into a larger piece of tubing then weld it up. 

Again, I was in the zone and not taking pictures, but this picture shows how I had to massage the tubing ends as the tubing I had was slightly too small. (Metric-SAE issue me thinks.)

You can also just barely see a small marker line on the end. Before I cut the rod I made a couple marks 2" apart to use as a reference after the pieces were separated. This way I only have to measure between those two points, drastically simplifying the process. 

Again, more stuff I didn't take pictures of, and I had this mounting bracket for the motor. 

After several rounds of tacking stuff together, then taking it apart and adjusting, and tacking again I managed to work out a way to fit it into the cowl with very little variation from the OE Lexus profile. 

Then on the car, with a (much too long) wiper arm mounted. 

The picture is deceiving. The arm is parallel with the cowl when it's at windshield height. I propped it up to show its "up" position more accurately. 

I need to do some junkyard hunting, but my Google Fu says 2 passenger side wiper arms off a Corrolla should work well. Worst case scenario, they will need to be shortened slightly, but the stock SC300 arms are definitely not going to work. 

From here, I'm going to make a jig and remake the whole assembly a little more aesthetically pleasing manner. 

With that done, I can work on closing the firewall. It's pretty close to a straight shot now that it's been trimmed back.

I'm hoping to get this done so I can hang doors this weekend. 

NOHOME
NOHOME UltimaDork
2/8/18 10:43 p.m.

Love it when a plan comes together!


Pete

coexist
coexist Reader
2/8/18 10:43 p.m.
Crackers said:

Most important thing to note here is I'm a lot more interested in trying to make this work than buying something. 

This whole project is more about getting the satisfaction of taking parts that don't belong, and finding a way to make them work. 

Buying something custom made for the application kind of defeats the purpose. 

Crackers
Crackers Dork
2/9/18 1:11 p.m.

In reply to NOHOME :

Someone been watching a lot of A-Team lately. LOL 

Crackers
Crackers Dork
2/9/18 1:45 p.m.

So here's my challenges for today. 

There's several inches of overlap between the Lexus bulkhead and the Rambler A-pillar. 

I'm going to try to reduce this by 2-1/2-3" before joining the two. I can't shorten the Rambler posts enough to make it flush, and even if I did, I think that would make the bulkhead/cowl junction looks less fluid. 

This is going to take a lot of surgery, and in the process I have a lot of damage to repair up top as well. 

The passenger side was bent in an old accident and very poorly/hastily repaired. I'll also be deleting the antenna hole. 

Time to start cutting!

Edit: Here's a profile shot of my cowl patch from yesterday.

NOHOME
NOHOME UltimaDork
2/9/18 3:12 p.m.

I see that there is no water collecting trough under the scuttle grating. What are your plans to deal with water management in this area?


Pete

Dirtydog
Dirtydog GRM+ Memberand HalfDork
2/9/18 3:52 p.m.

Have you made a decision on the driveline?    I'm no fabrication artist, but before you add or delete parts of the firewall, check if the HVAC and engine/trans  will not cause problems later on.  Maybe  I missed that part, while reading.  Great work on the project.  I feel your pain having no garage.  I work on a gravel driveway.

Crackers
Crackers Dork
2/9/18 6:55 p.m.

In reply to NOHOME :

I'm reusing most of the Lexus parts for this. I'll need to make a small panel to connect to the Rambler windshield frame, and a small pocket where the wiper motor is going to live. 

I still haven't worked out how drainage is going to work in this area, but I don't think it's going to take much work to make happen. 

In reply to Dirtydog:

The drivetrain is going to be "stock" SC300*. No modifications needed. 

*turbos not withstanding

Crackers
Crackers Dork
2/9/18 7:36 p.m.

I started today by cutting a bunch of stuff off. 

It never ceases to amaze me how close some of the parts off of these two chassis' are to each other. 30 years apart and from different continents and they are practically interchangeable! 

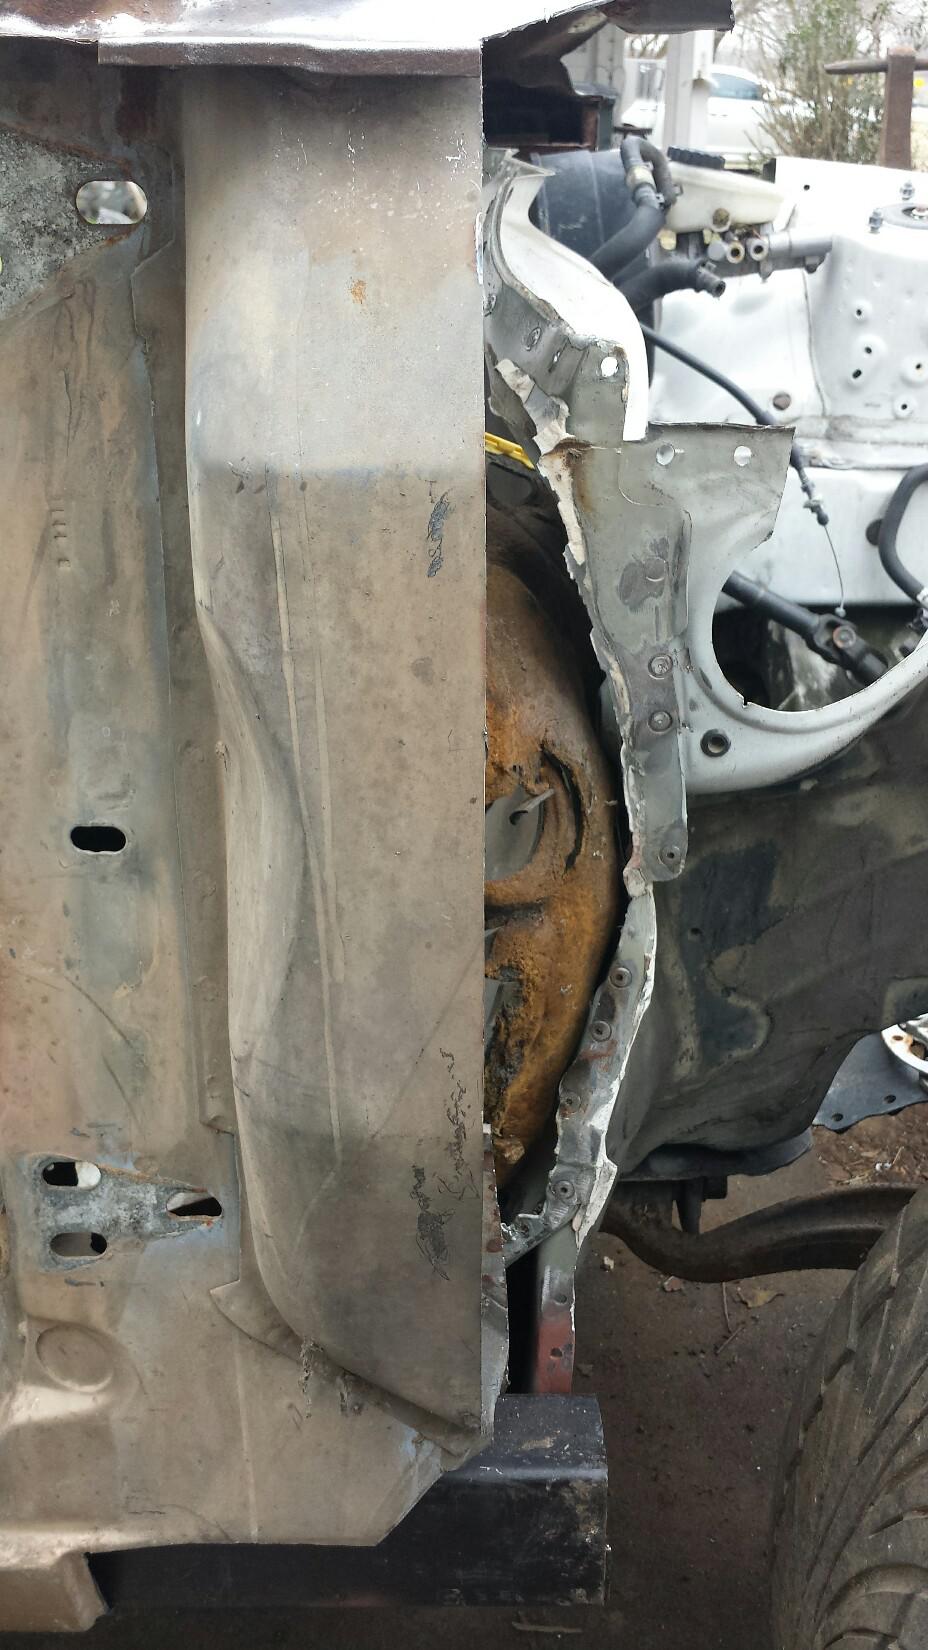
I mean, look at how that outer panel fits to the lower bulkhead.

Well, it doesn't photograph well, but they have the same arch at the bottom, and at the same height no less. Only problem is they're about 2" away from each other, and the top half also needs to move back about the amount. 

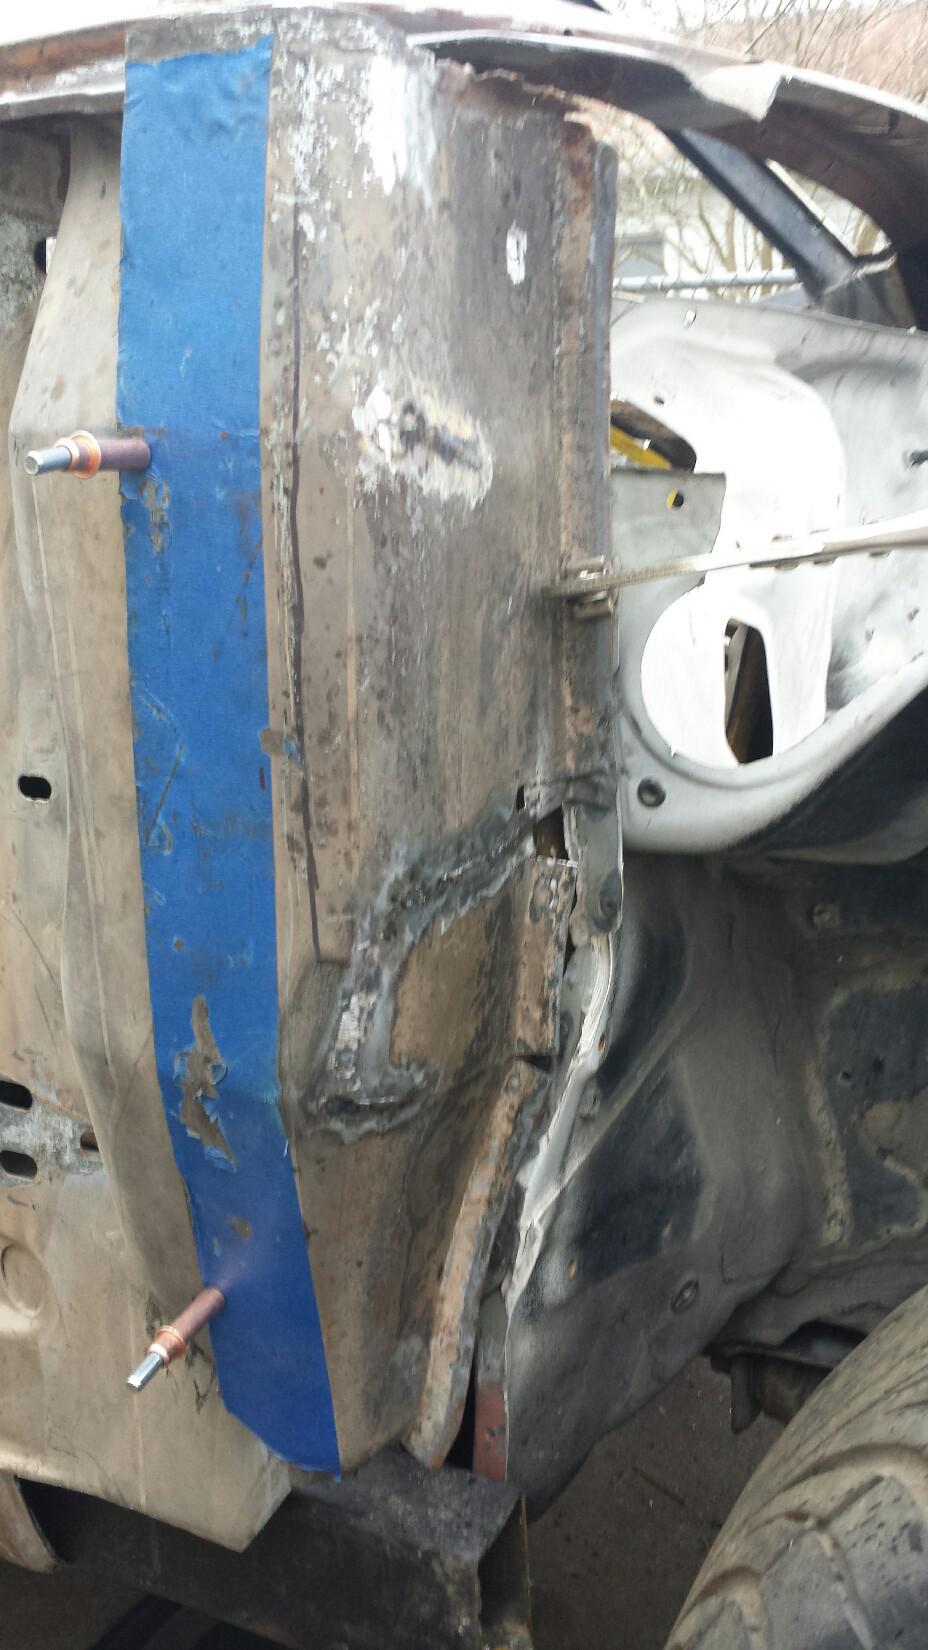
So I made some relief cuts across the compound curves and started moving some metal around. 

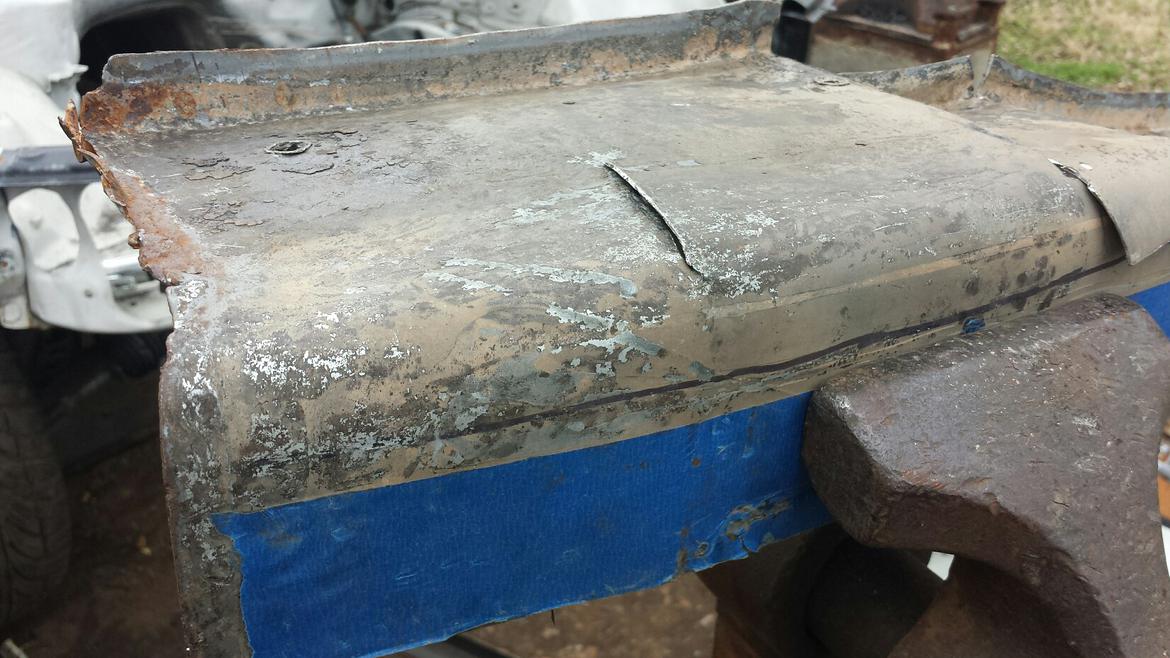
I figured since the flange needs to move inward and rearward the same amount I could just rework the panel and make it fit. That slit is where the corner was originally. 

I figured right, but it took a lot of work to move a corner with compound curves in it even with the relief cuts. It took a lot of shrinking/stretching with the hammer/dolly/anvil/stake anvil. 
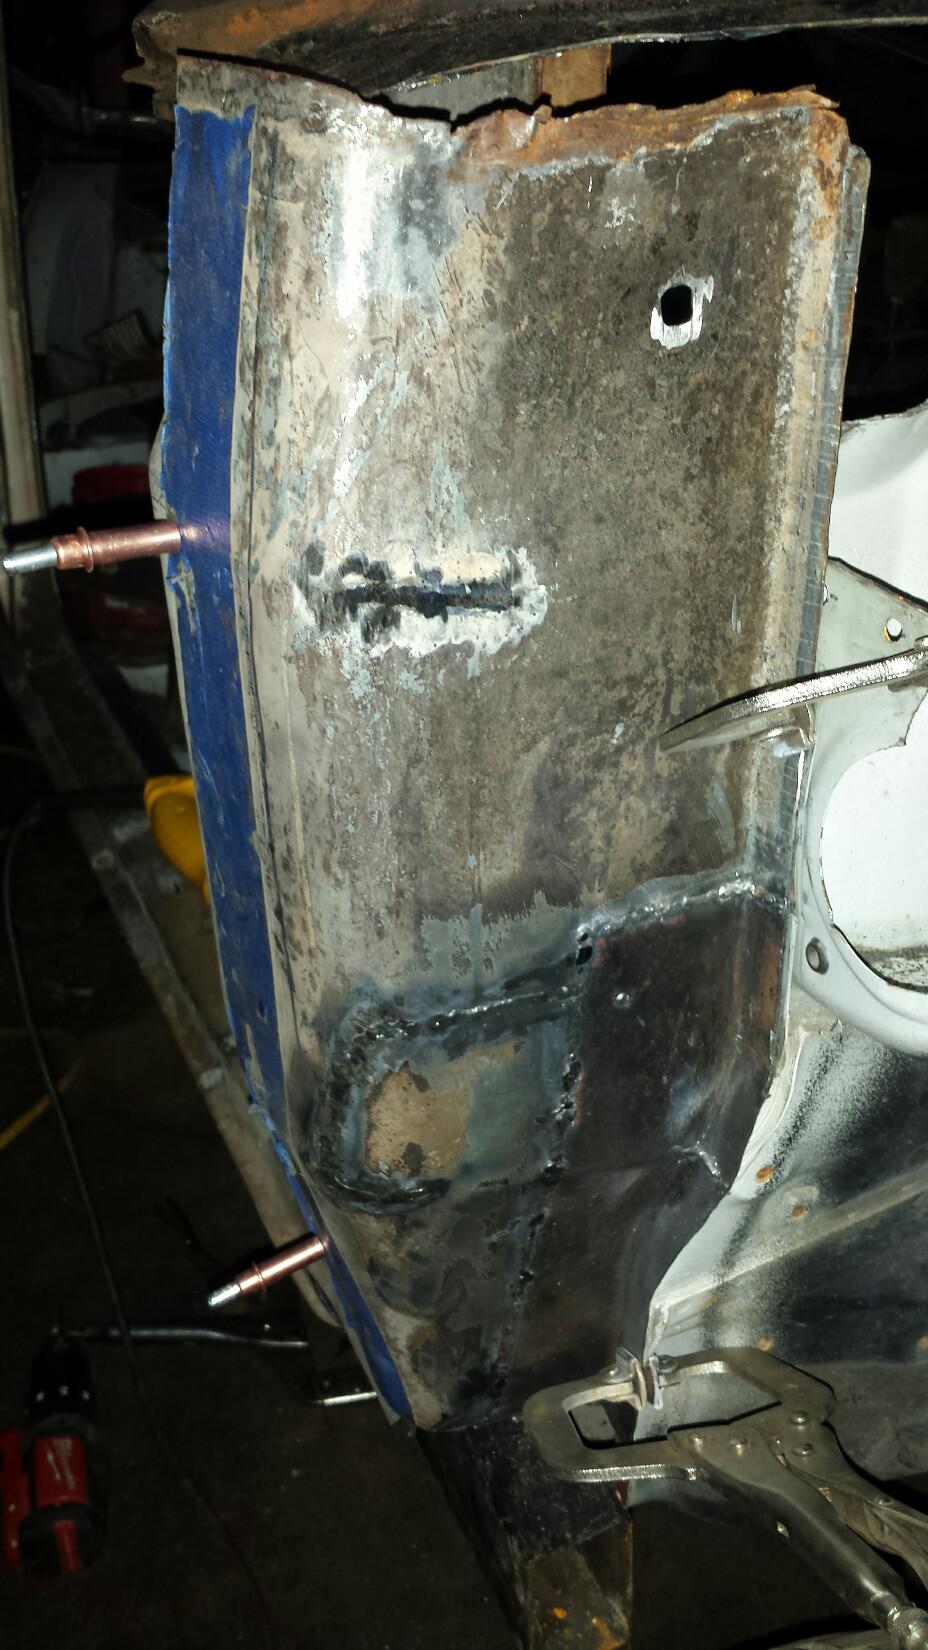
Mid process. 

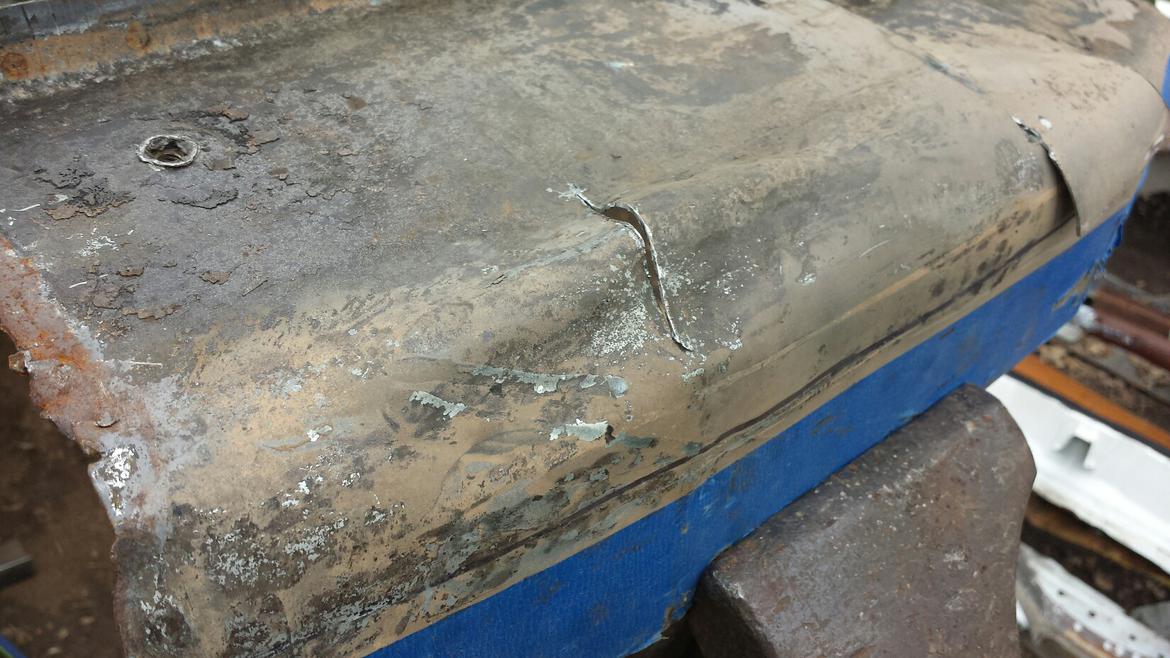
You can see the "lump" around the relief cut that shows how much material had to be shrunk down to make the compound curve go away since it was now going to be a flat section. 

A little more hammer/dolly work and I was close enough to weld the relief cut shut. At this point the upper flange now fits to the Lexus flange. 

I intentionally shrunk it a little while welding too. I mean hey, why waste the heat, right? 

Then I worked on the lower section and got it welded up. 

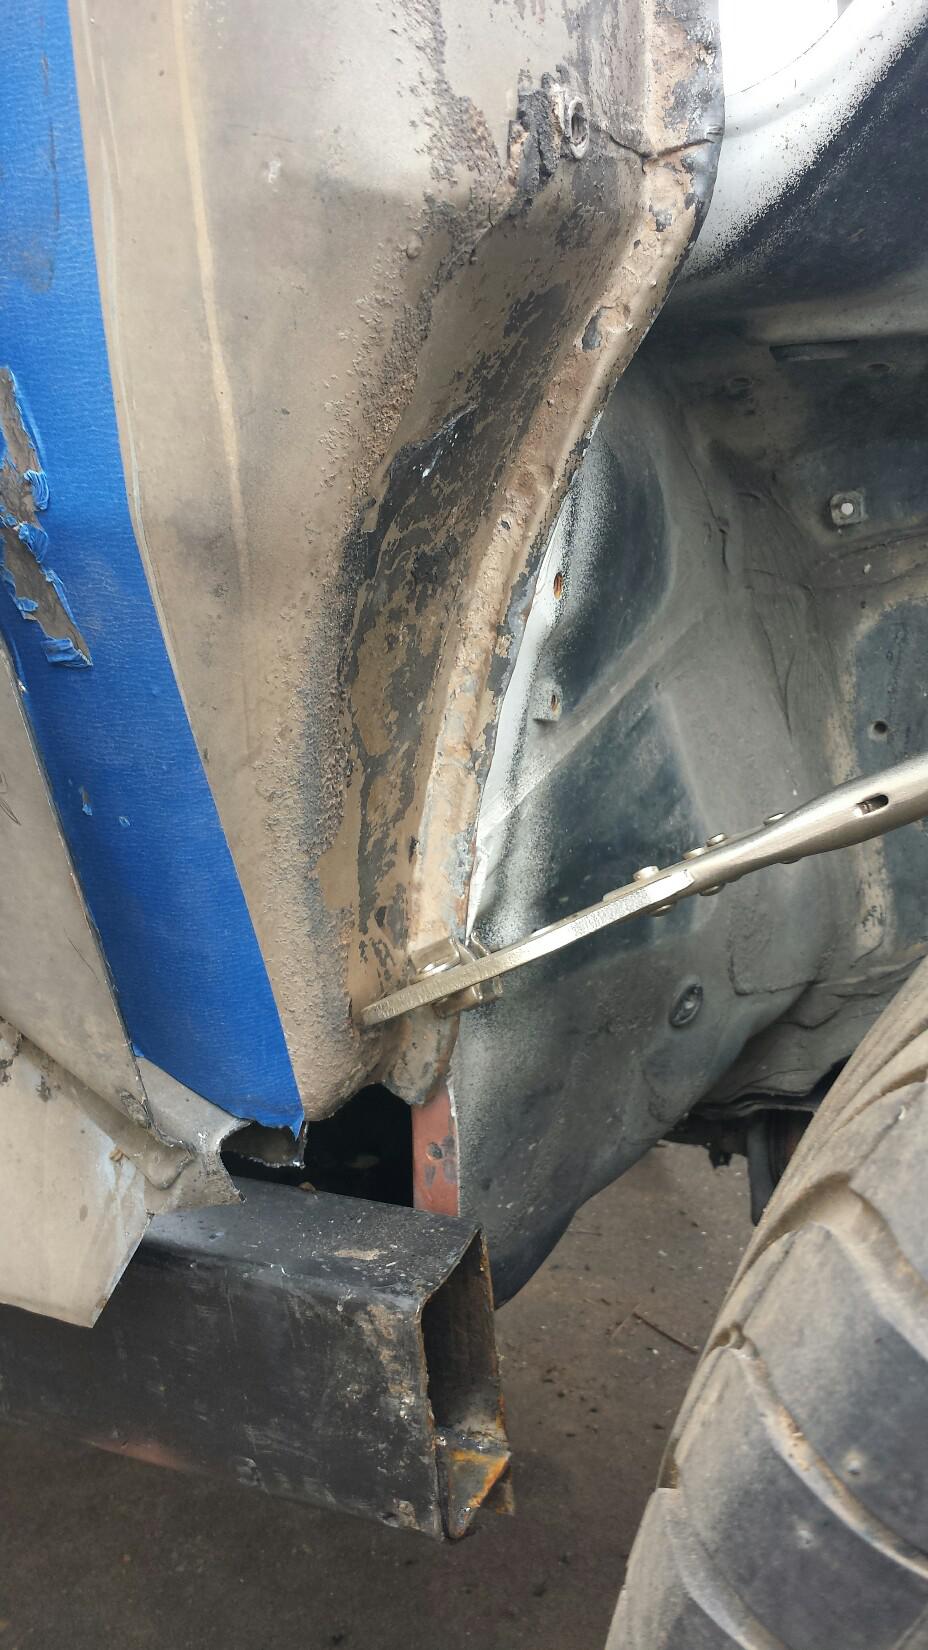
All that was left for this panel was to close up the gap at the bottom. 

I decided the the fastest way to make it happen was to cut the old flange off and make a new one. In fact, it was so fast I couldn't find time to take any pictures, but here's the mostly finished panel clamped in place. 

I still need to shrink down the top of the panel so it matches the cowl, but that's easy stuff after what I've already done. 

Then I get to do it again on the other side! I think the other side will go a little faster. I'll probably employ the O/A torch and not do it all cold like a retard. 


Crackers
Crackers Dork
2/10/18 5:32 p.m.

Started working on the engine side of the cowl. 

I spent way too long on it, but at least it fits okay. 

It still needs more tweaking in the corner, but it's too damn cold and I surrendered. 

Dirtydog
Dirtydog GRM+ Memberand HalfDork
2/10/18 6:07 p.m.

Great work.  I guess the Rambler has a frame doppelganger.   I guess after all this, everything else should be plug and play eh?

Crackers
Crackers Dork
2/11/18 9:31 a.m.

Thanks! 

For the most part everything should bolt up. 

Modifying the harnesses will be the #2 challenge on this after all the metal work is done. The Lexus harness routing was very convoluted and only hidden under the carpet. 

Something like 50' of loom. Ugh. 

1 ... 8 9 10 11 12 ... 17

You'll need to log in to post.

Our Preferred Partners
okC231gHxM4W8b2WySx0pLPwhdymT84nqUOnQryjeVbAdze2ULSnCu5K3Egi7wGu