


I'm just bench racing here but I'd rather cut the firewall than mess with the crossmember. You'd be moving the center section enough to change how the remaining stamped parts are loaded. Looks like it'd be little to no change to the heater box.

I'm just bench racing here but I'd rather cut the firewall than mess with the crossmember. You'd be moving the center section enough to change how the remaining stamped parts are loaded. Looks like it'd be little to no change to the heater box.

So where are the sawzall carnage pictures? It's already 3 in the afternoon.

In reply to BrokenYugo :
Almost exactly what i came up with today. Too many compromises and questions when i really started looking at cutting it up. Nohomes arm pictures cemented my plan.
Stampie: no sawzall surgery today, but pics of where we got to incoming after the upload to Flickr and i get on my laptop.
thanks to everyone, i have a plan. its not the one i started with. or the next three plans. but its a good plan. probably. maybe. i hope.
after playing around with the engine, trans, tape measure, chinks of metal and wood, etc for almost all day. i decided to take the approach mentioned earlier of going in from the bottom. theres just not enough space or clearance to go in from the top due to protrusions and obstructions. but in from the bottom gets the engine EXACTLY where i wanted it relative to the crossmember, and i think theres enough real estate that everything will fit with very minimal firewall surgery. also, building the motor mounts outside of the car should make things far easier for me. more real estate with better access to see all sides. much simpler than the AMC when i built those mounts.
heres where i stopped for today (mostly. i cleaned up and put things away, as tonight is family movie night.)
first up, step one:
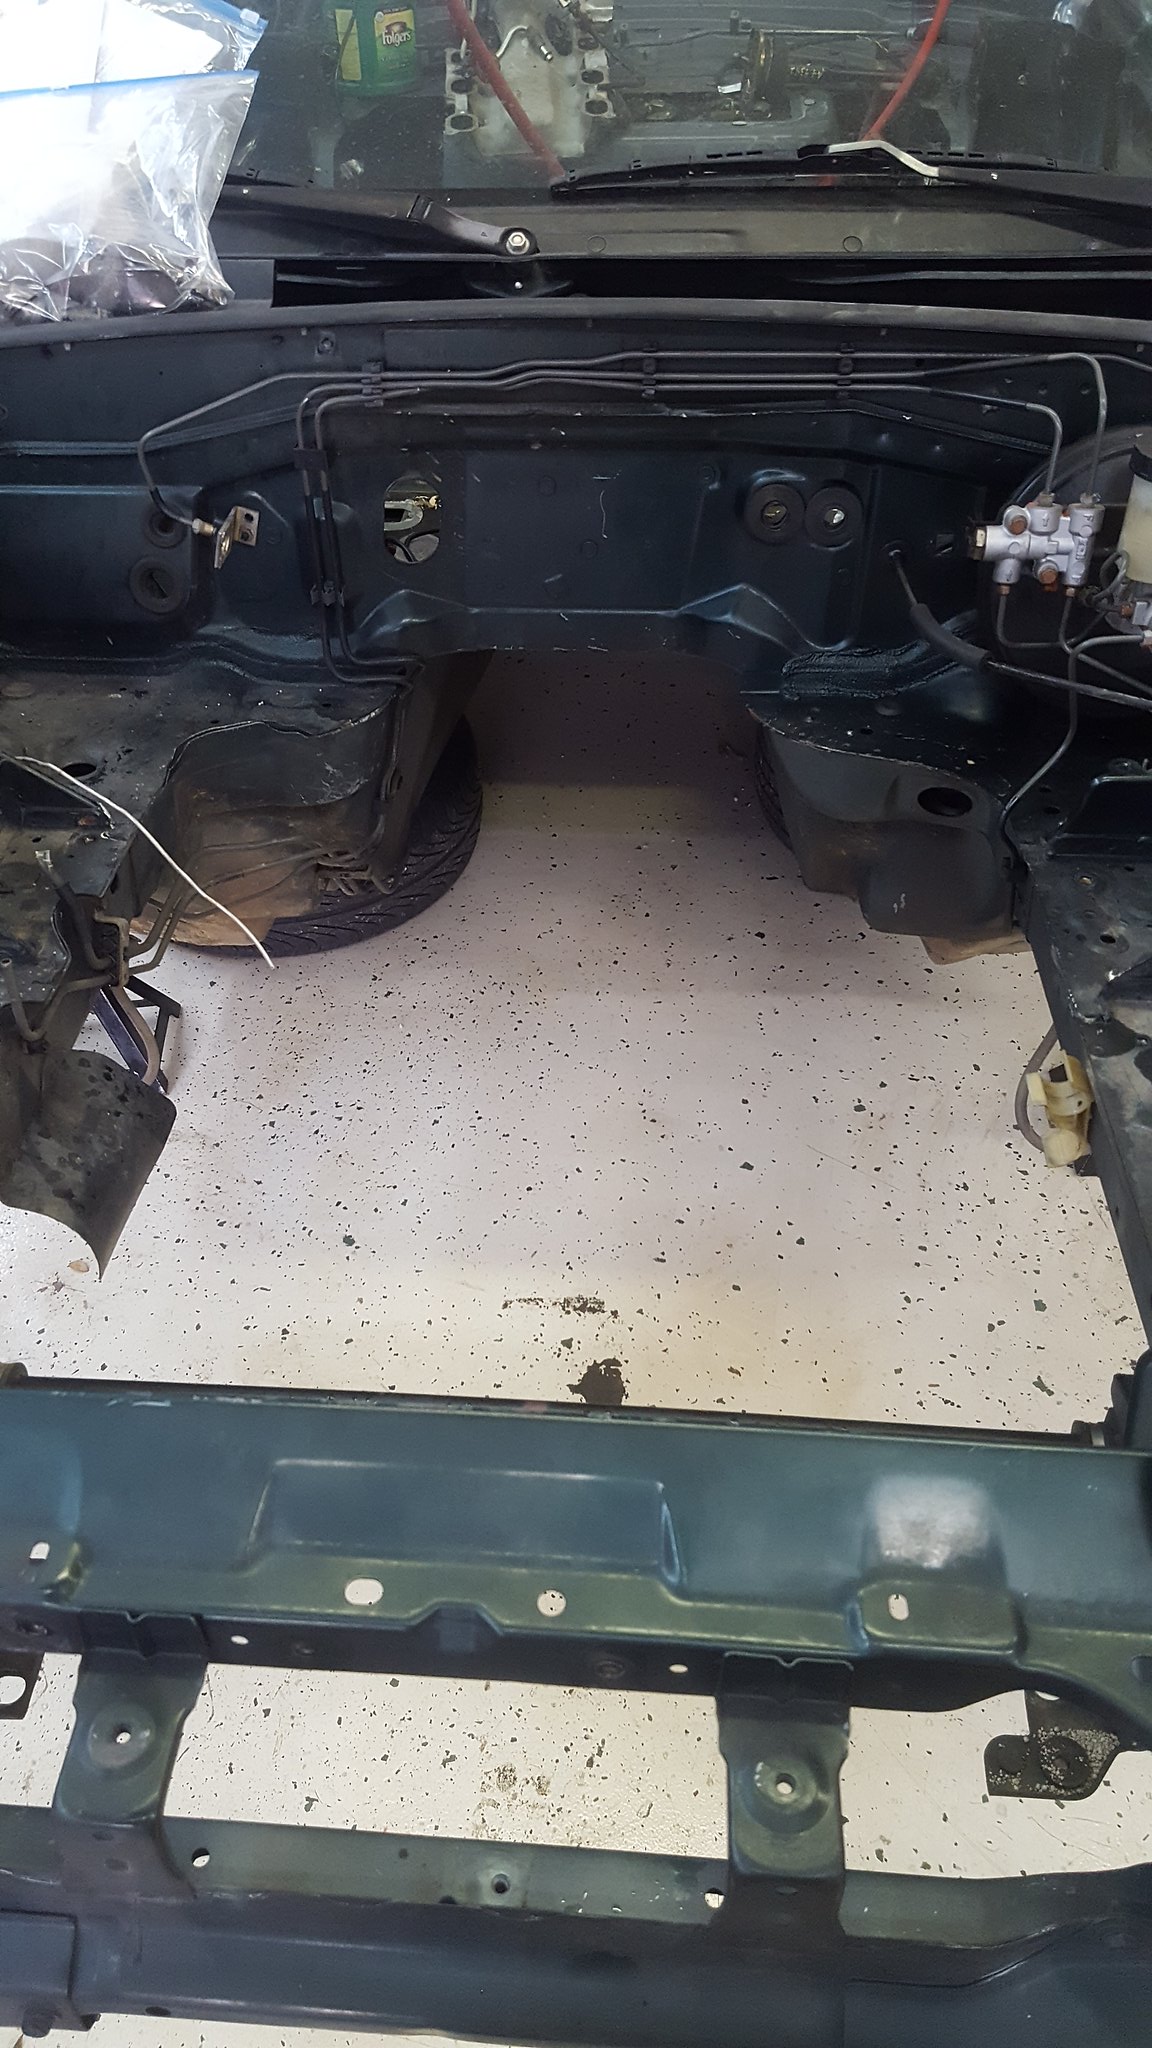 20171210_133554 by Michael Crawford, on Flickr
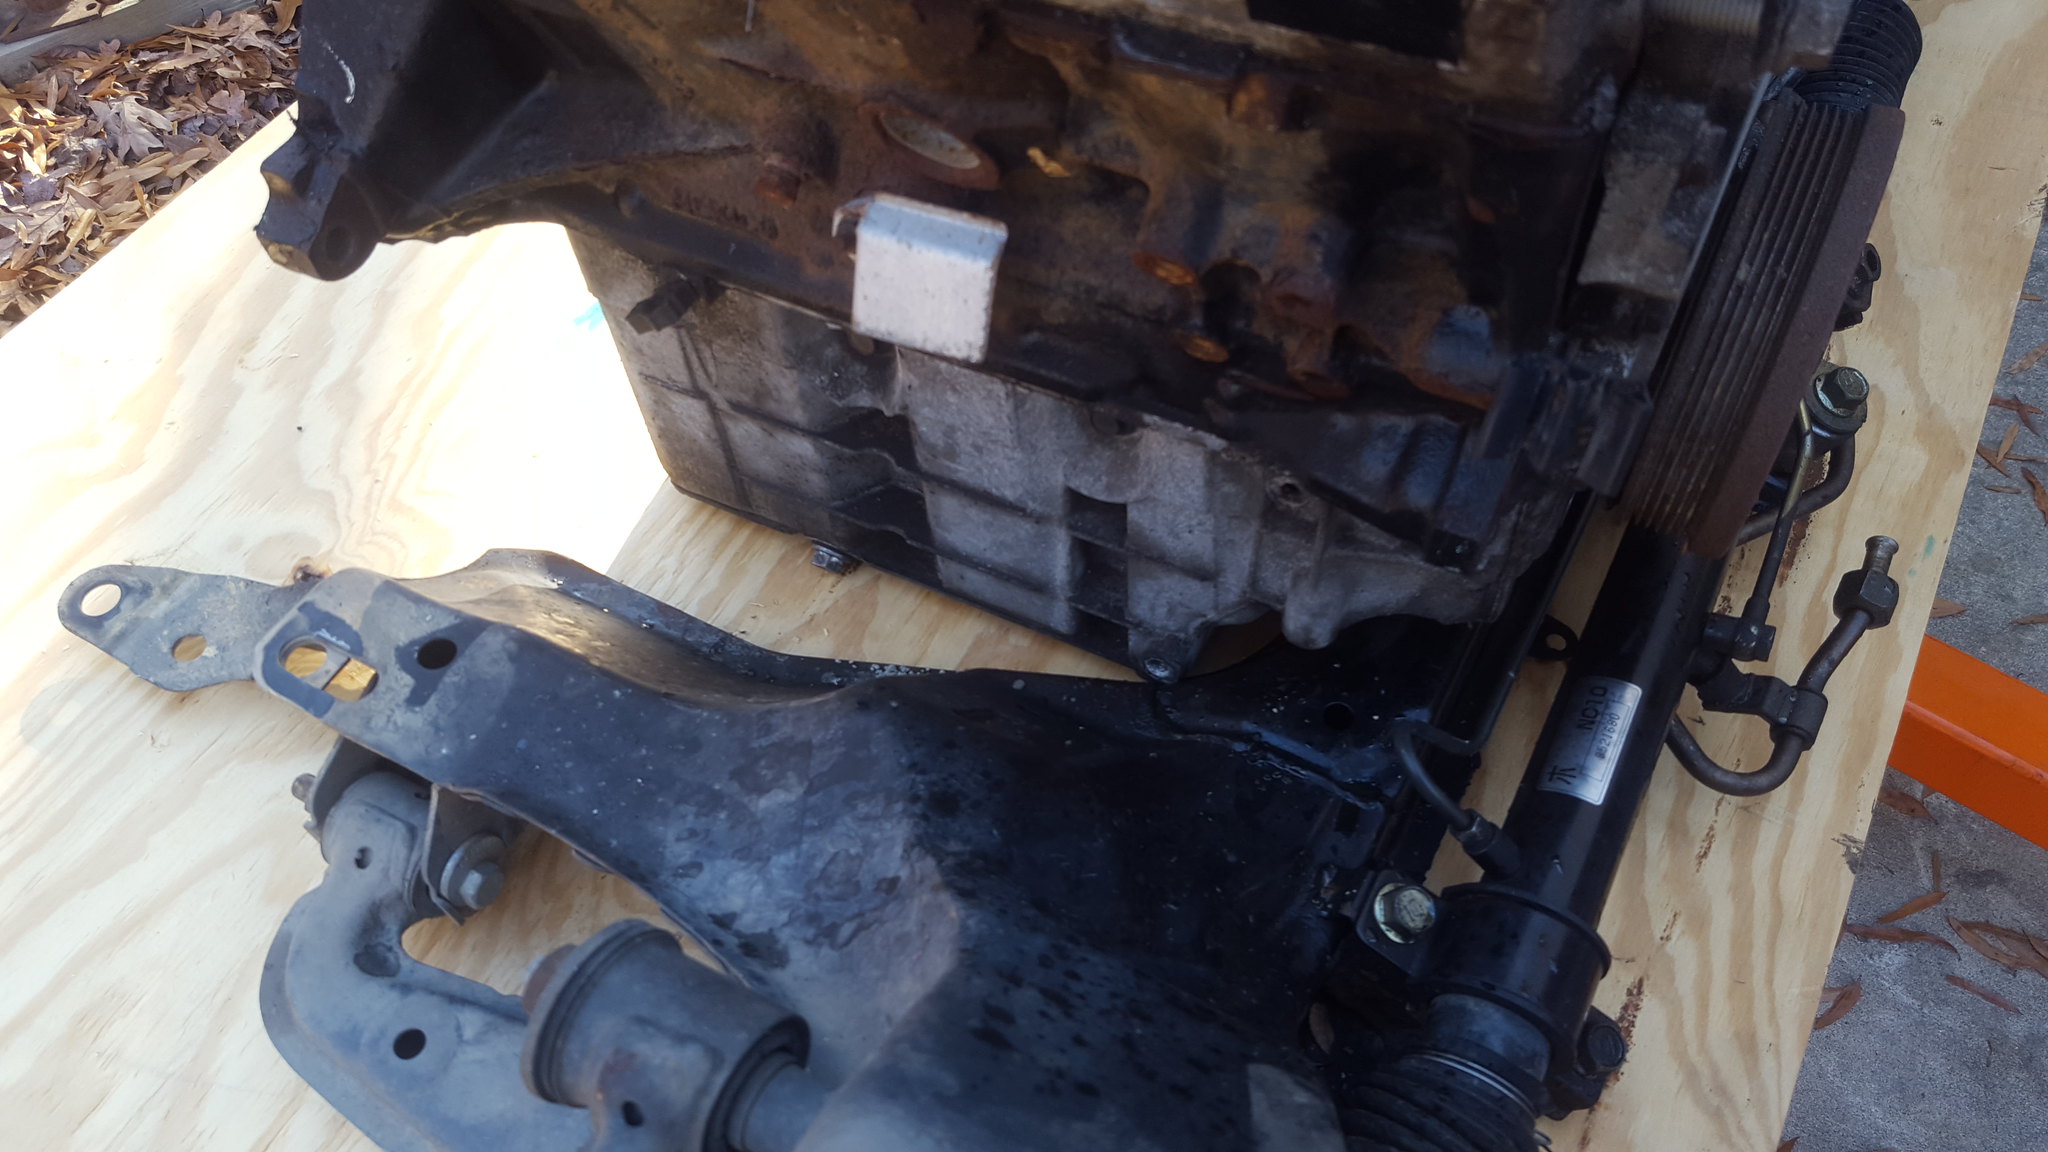
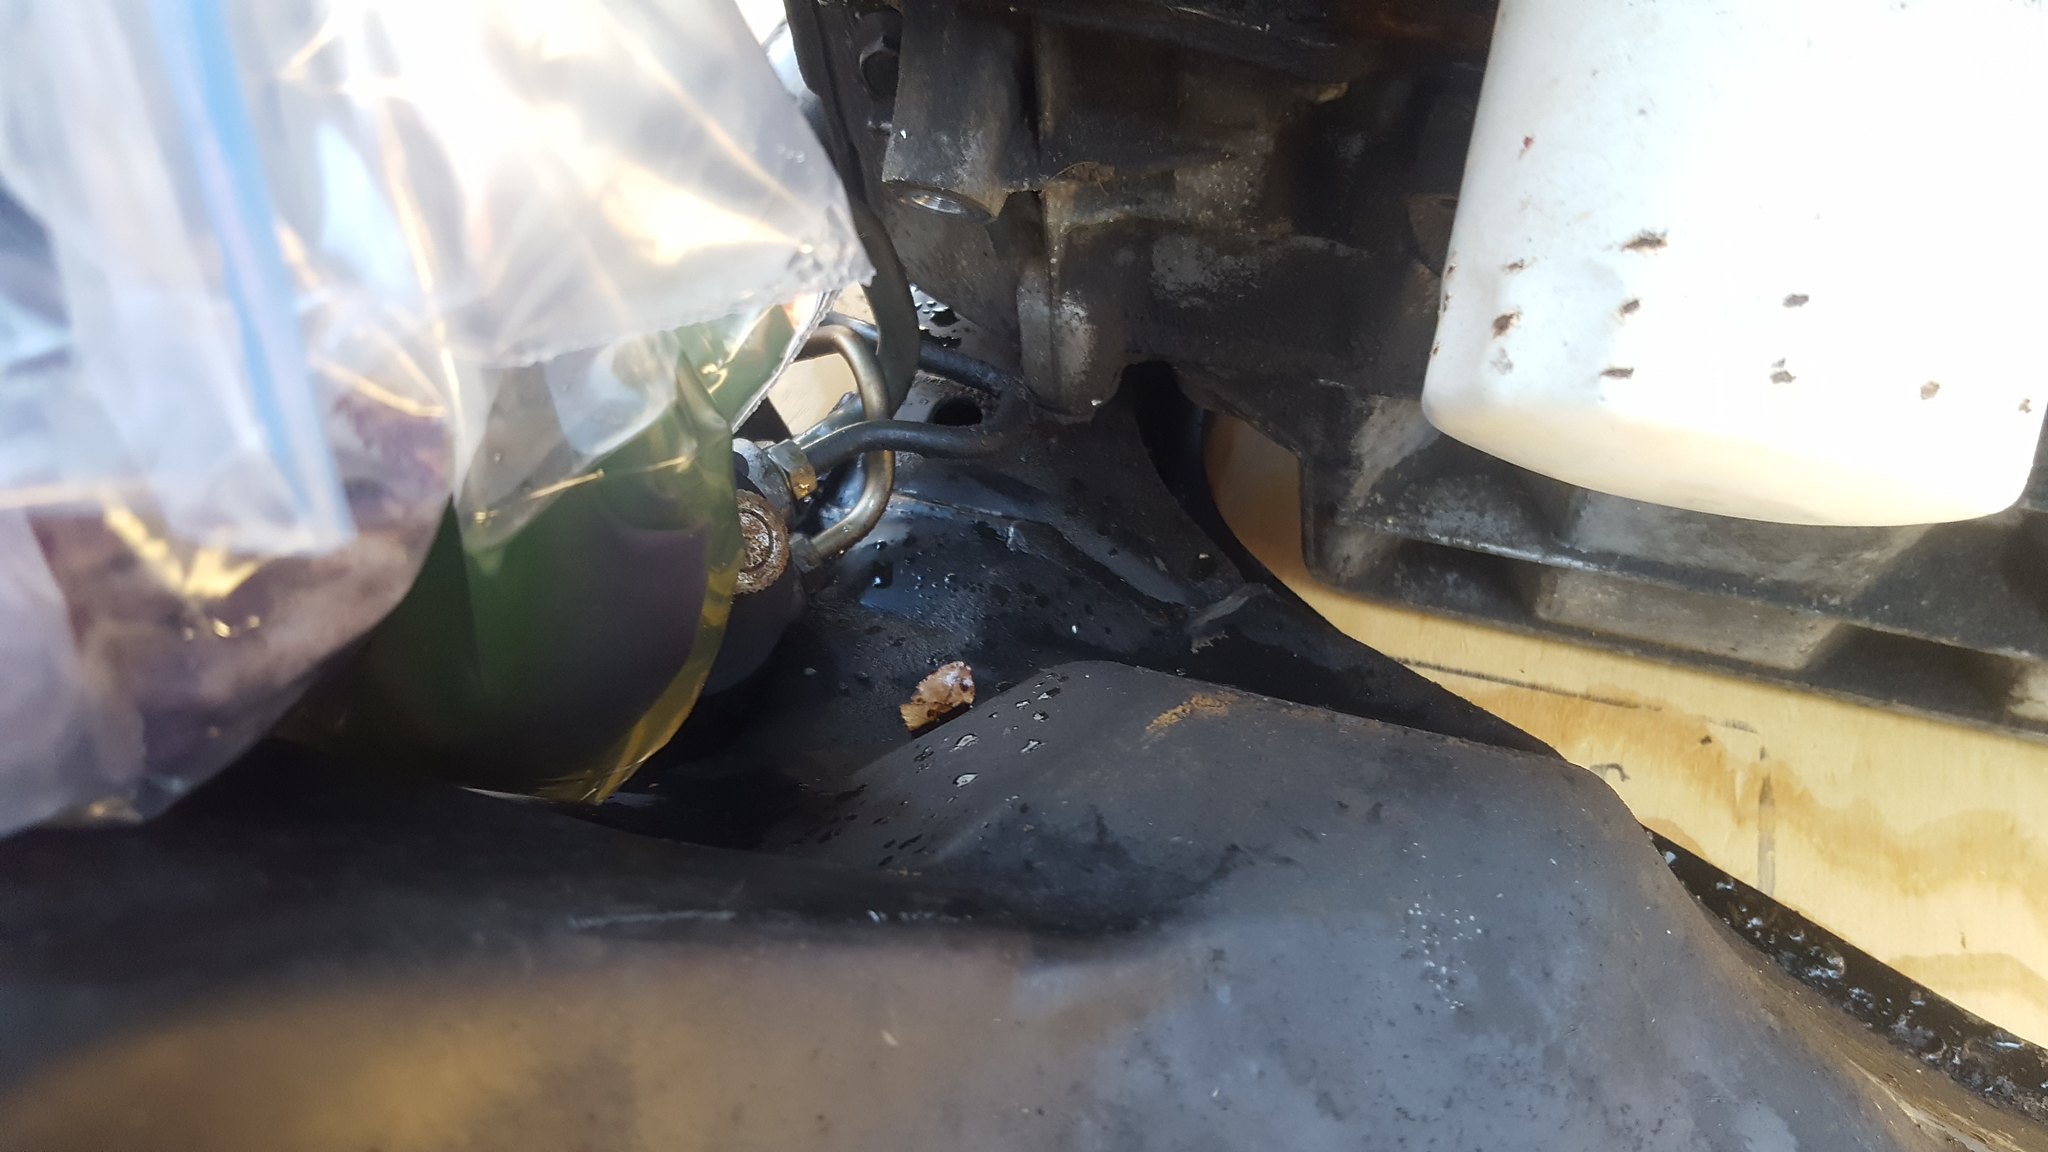
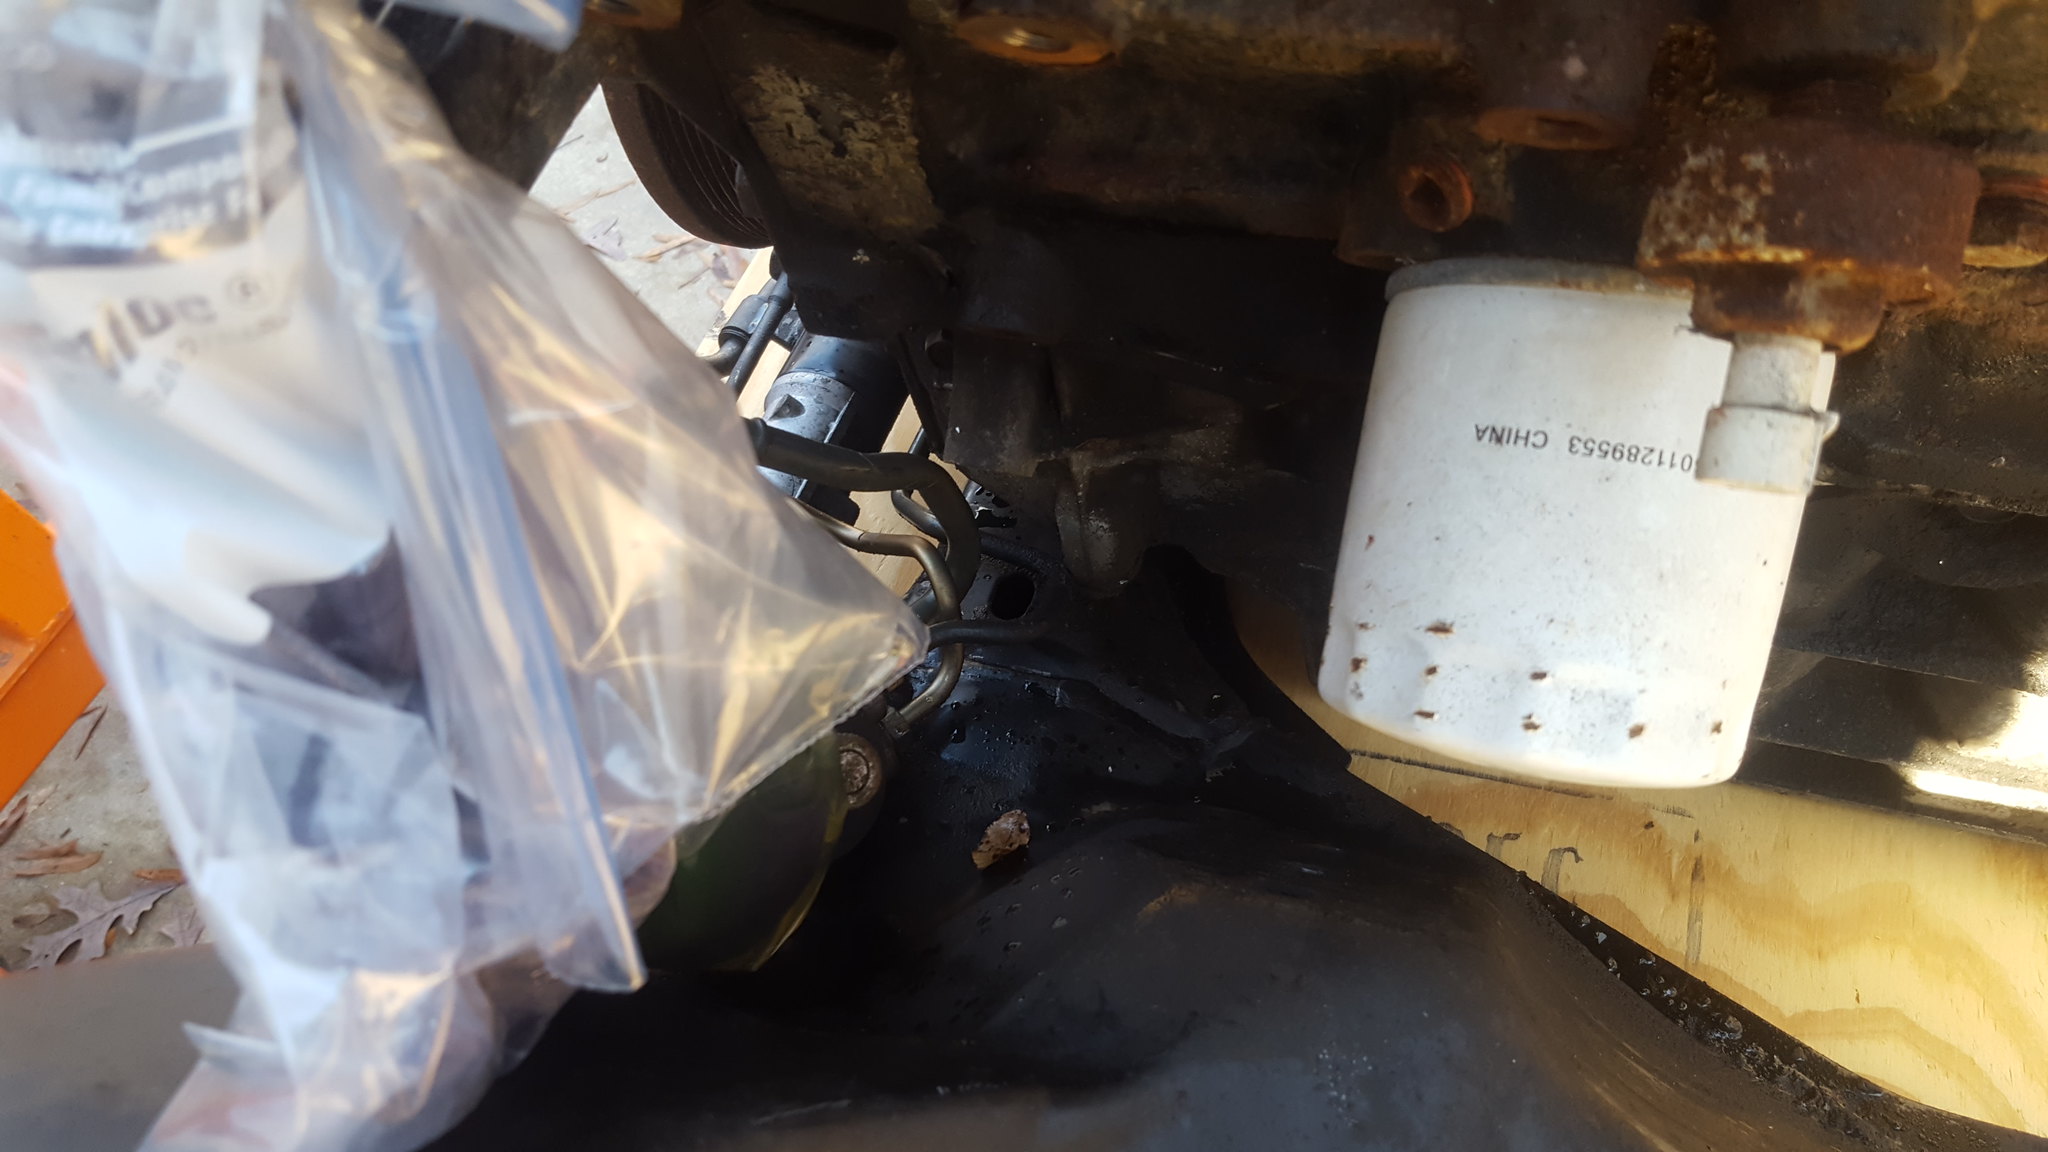
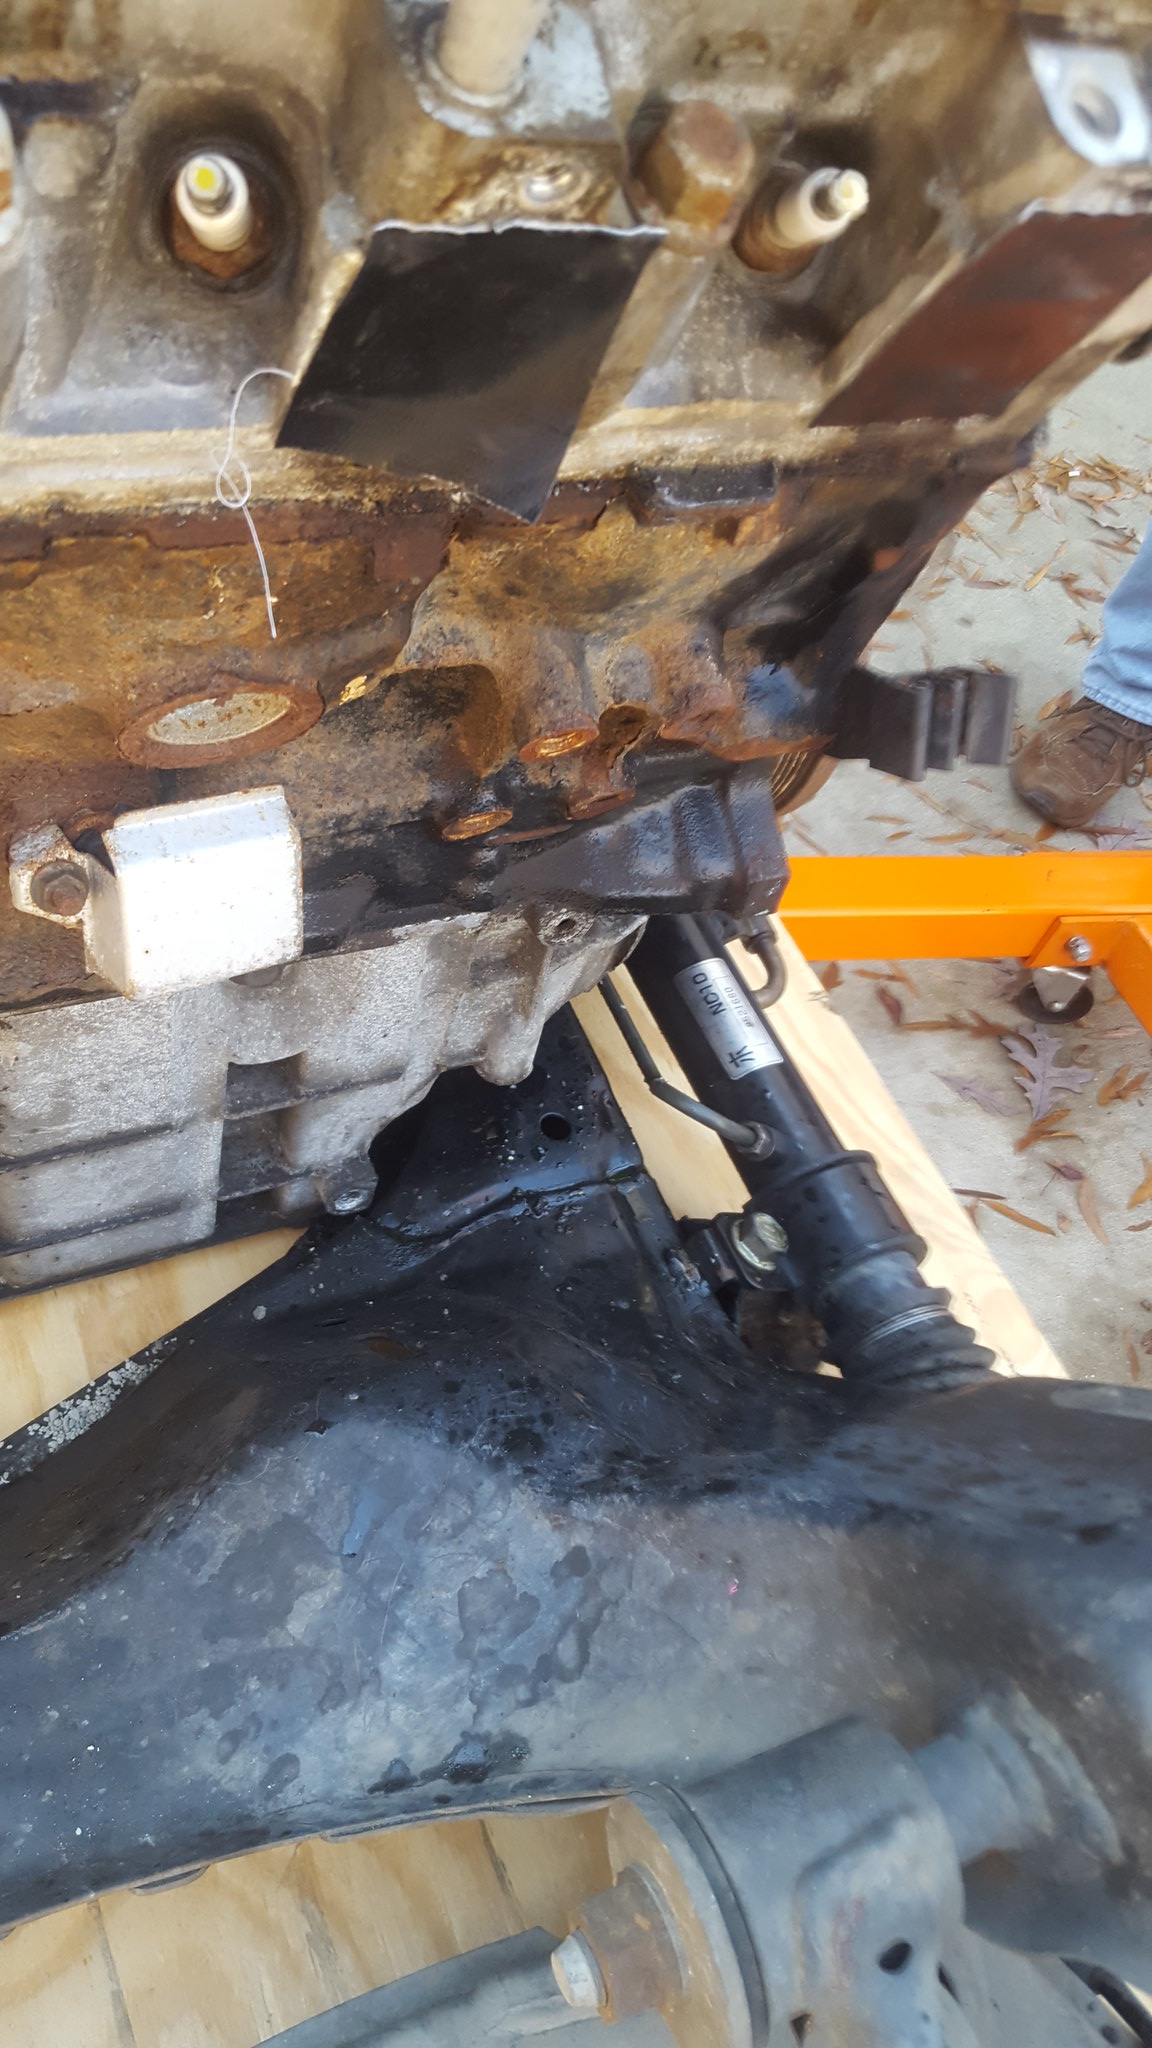
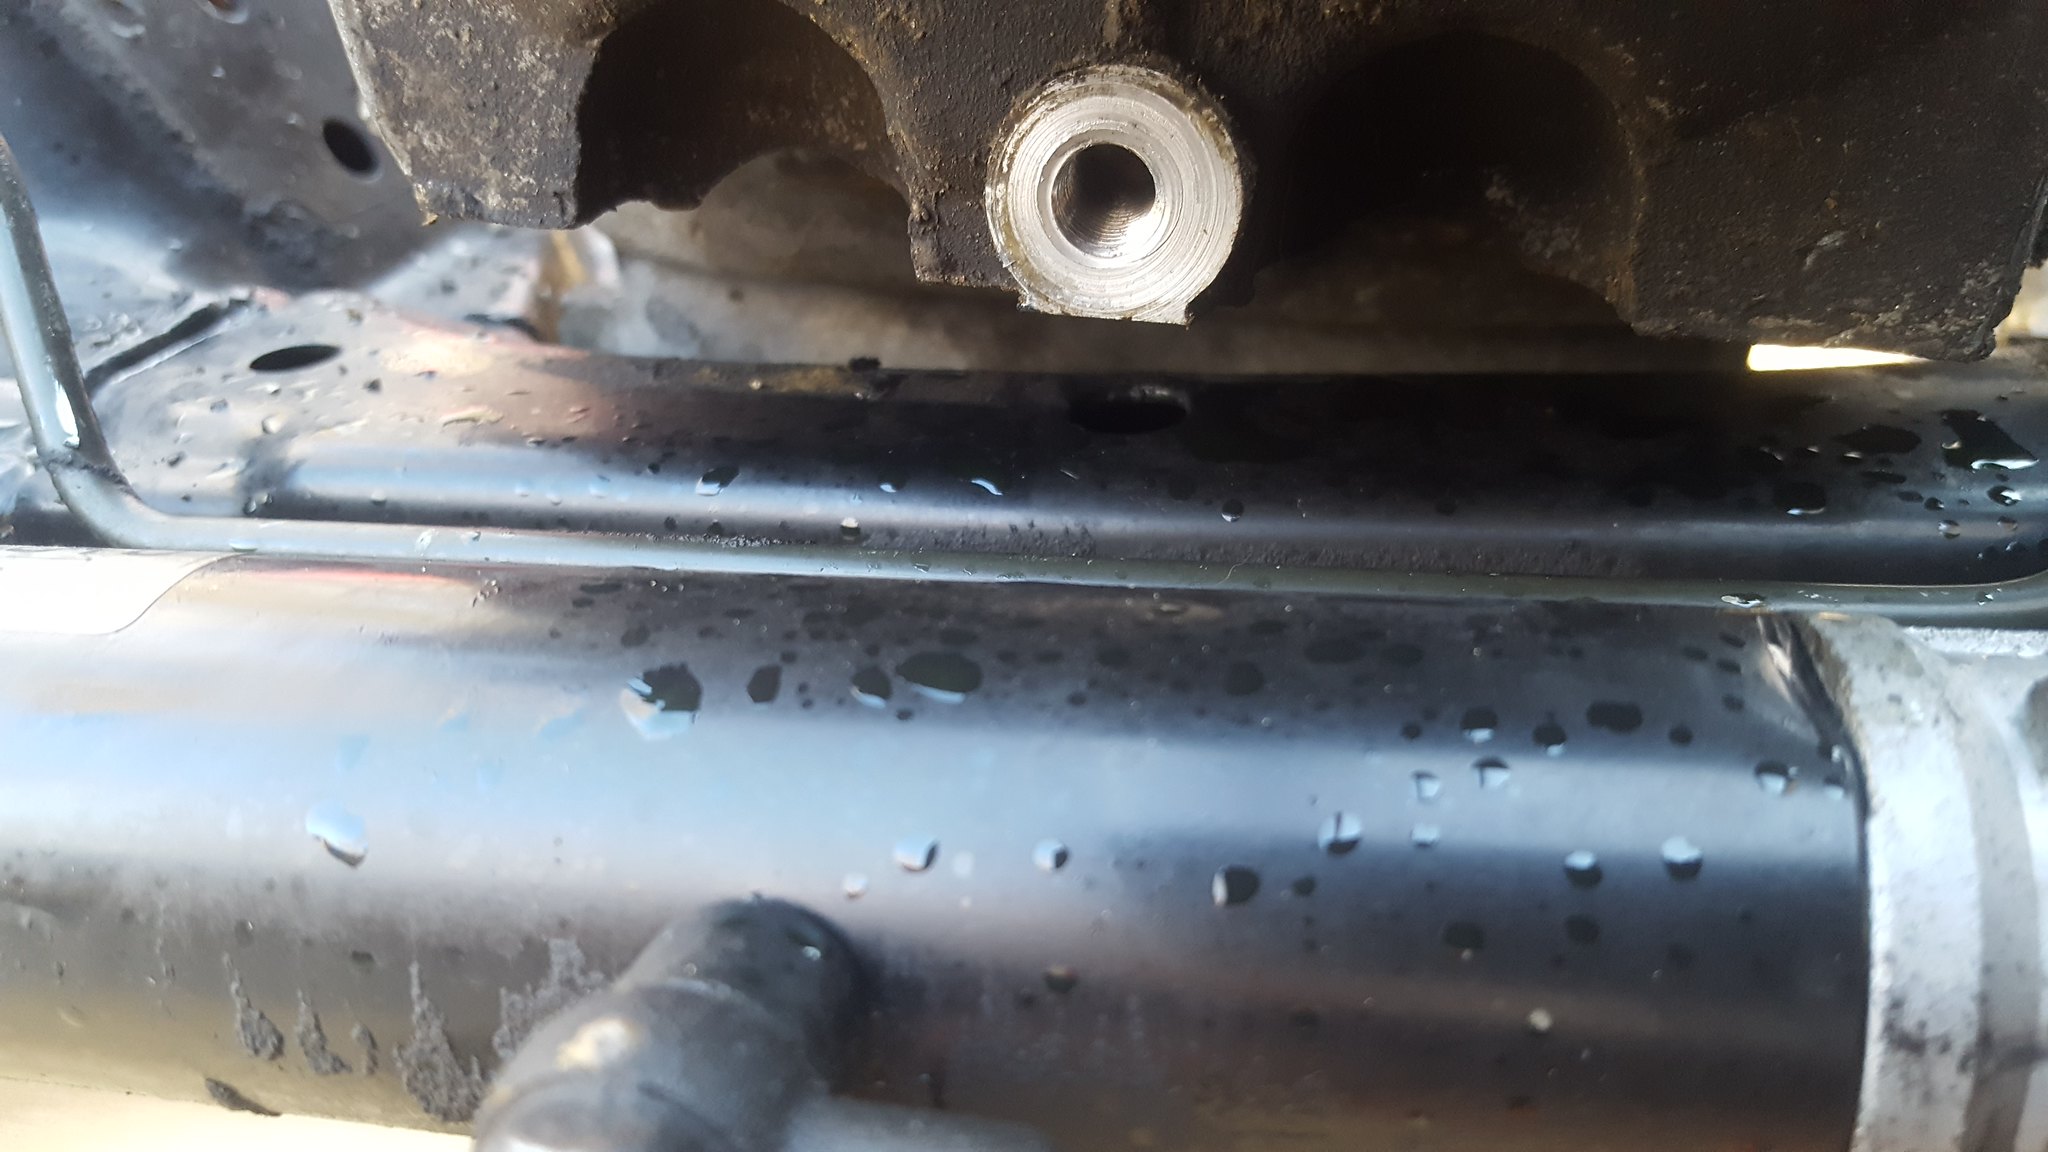
step two is sit everything where they are happy being around each other with no cutting or modifications. the flat flange is kissing the oil pan, theres a threaded boss kissing the crossmember, and a power steering hardline is hitting the pan on the drivers side. additionally, with notching the horizontal flange, grinding the boss off the oil pan, and depowering the rack, i should be able to get the engine an inch more forward of the firewall, as well as about 1/2 inch lower. this will make the pan the lowest spot of the drivetrain bu about 1/4 inch or so. but will give me more clearance at the firewall, bellhousing, etc. all a win, assuming i build a bash plate for the pan.
here's a picture dump. next up is to figure out what design of engine mounts to use. im seriously thinking about heim joints for adjustability.
 20171210_140904 by Michael Crawford, on Flickr
 20171210_140939 by Michael Crawford, on Flickr
 20171210_140921 by Michael Crawford, on Flickr
 20171210_140913 by Michael Crawford, on Flickr
 20171210_140947 by Michael Crawford, on Flickr

Off topic but what transmission are you using?
on the 60 degree gm 6's they blocks are the same but the starters are on different sides between the FWD and RWD models. You'll have to drill and tap the mounting points.
97 camaro t5. Out of a 3800. Bellhusing pattern and starter match tge fwd block

All of this is making me happy for the custom oil pan on the 5.0 that sits right over the crossmember. I can't wait to see our cars line up at the challenge!
You do have it a bit simpler. Yours is just reassembly and repair.
Im the first guy to do a 3400 in a miata.
Kinda jealous of you.

Dusterbd13 said:You do have it a bit simpler. Yours is just reassembly and repair.
Im the first guy to do a 3400 in a miata.
Kinda jealous of you.

http://www.cardomain.com/ride/487571/1993-mazda-miata-mx-5/
In reply to NOHOME :
I found him and his build last night. Hes using a rwd setup, which shares displacement, spark plugs, and bellhousing bolt pattern with the 3400 fwd engine. Everything else is different between the two.
In reply to Dusterbd13 :
Yeah, the MGB guys avoid the FWD V6 like it was the plague; mostly engine mount and starter being on the wrong side for the gearboxes. Does the RWD have a less obstructive oilpan?
So, we'r back to cutting the crossmember a bit. No way around it without building a whole new firewall.
Gtx: love the idea of multiple 1x1 tubes. That should be almost indestructible.
Im also lookinginto surrounding the steering rack.
Ears on the firewall are cut now.
This would be far easier with a rwd pan.
Sorry for a little off topic question. Do any of you know the height of the miata front subframe from the ground? I am swapping the whole front suspension into my volvo 122 and I am trying to figure out the height for the subframe. Thanks!
In reply to Volvoev :
Not clear on what measurement you are looking for? Bottom of crossmember to suspension mounting pads?

Volvoev said:Sorry for a little off topic question. Do any of you know the height of the miata front subframe from the ground? I am swapping the whole front suspension into my volvo 122 and I am trying to figure out the height for the subframe. Thanks!
That's going to depend on your tire diameter. If you get the center of the lower ball joint roughly level with the center of the control arm mounting bolts, you're in the ballpark.

In reply to Volvoev :
On an NA Miata the subframe mounting pads are 9.22" above the bottom edge of the box section frame rails beneath the passenger compartment floor. That point is the lowest point on the chassis/tub.
You'll need to log in to post.


