At the end of last week, I took a prep day to clean everything, cut 1/8" pieces for the next phase,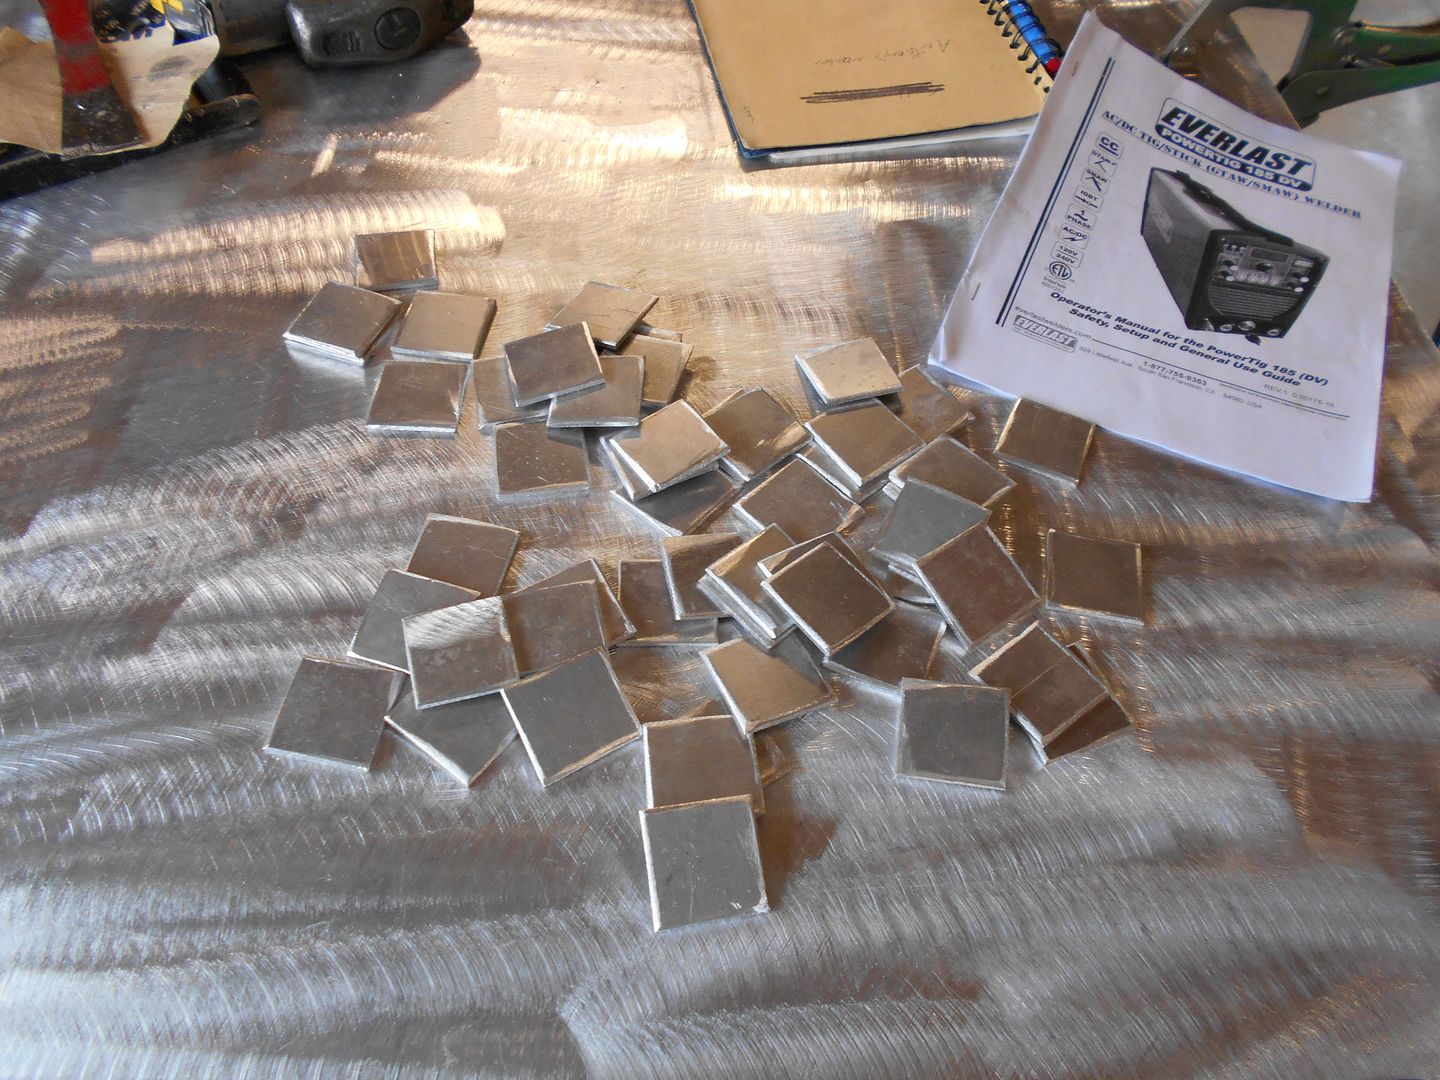 hit them with the flapper disc, dunk them in acetone, and store them in a coffee can until I began in earnest.
I also built some things my cyber mentor, Jody calls 3rd hands. They are a combination ground/clamp/weight thing. He puts bronze on the contacts. Maybe I'll do that in the future.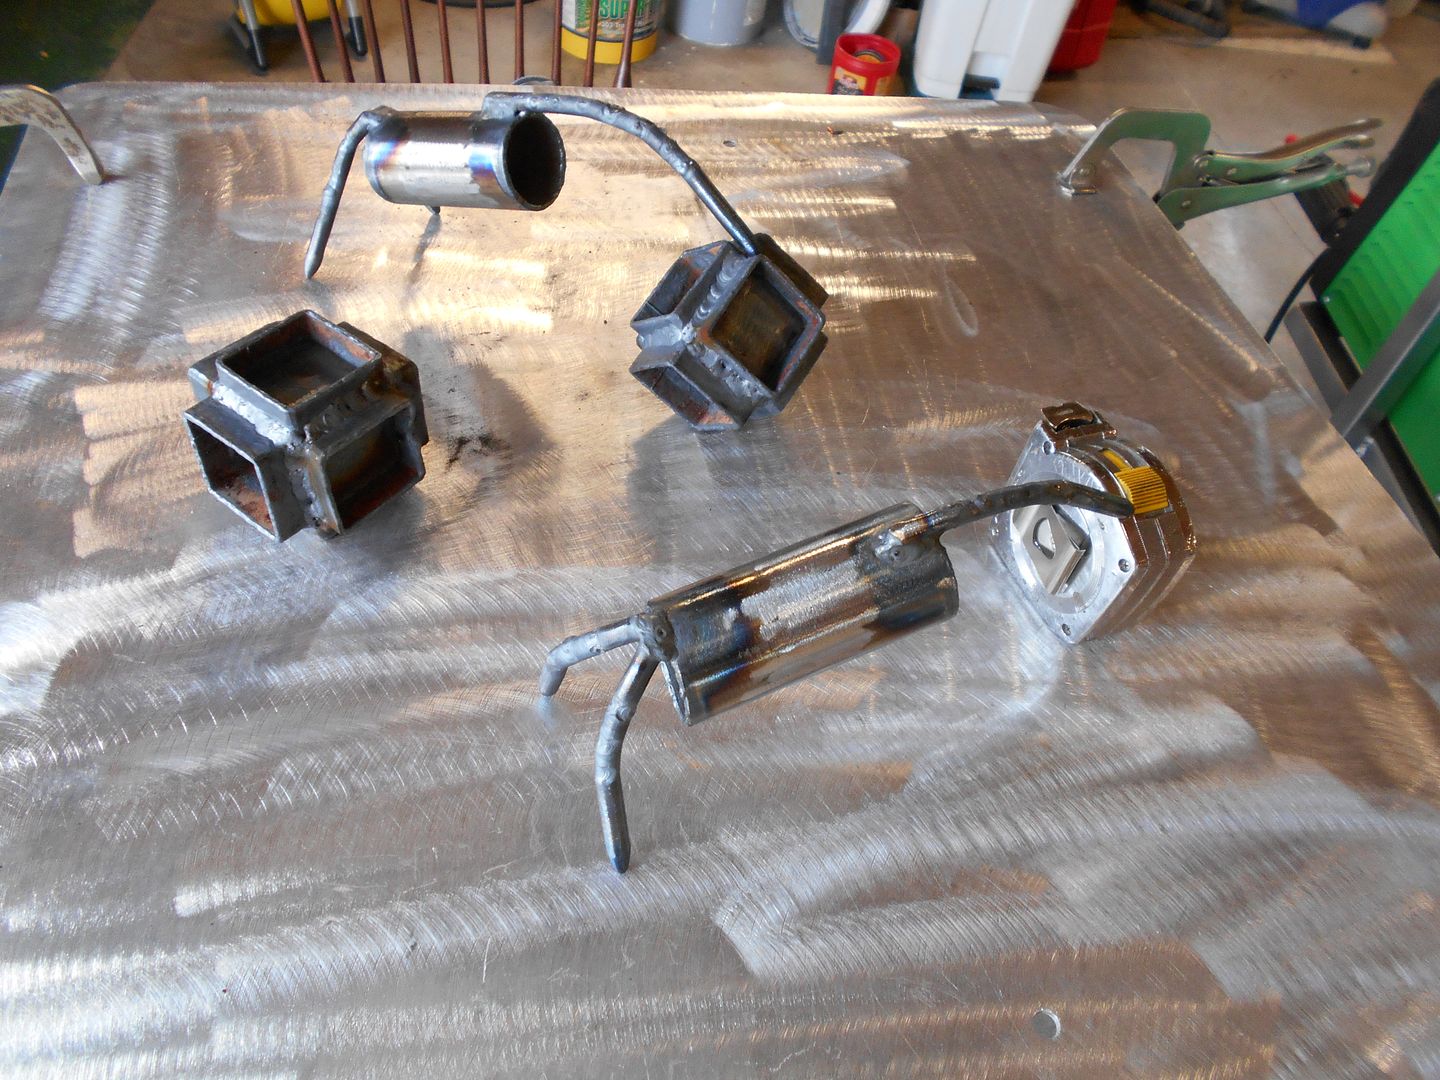
I wouldn't say I have mastered steel, but I figured I had learned enough to try my hand at aluminum. Jody said getting into aluminum would really make your skills move forward quickly.
So, I gave it a shot. Of course, I had forgotten my notes, so I just switched it over to AC, and remembering something my you-tube sensei had said about the rule of 33s, set everything as close to that as I could manage. I eventually brought voltage back up into the 60s.(edit: Amps, not Volts)
I was amazed by how well I did.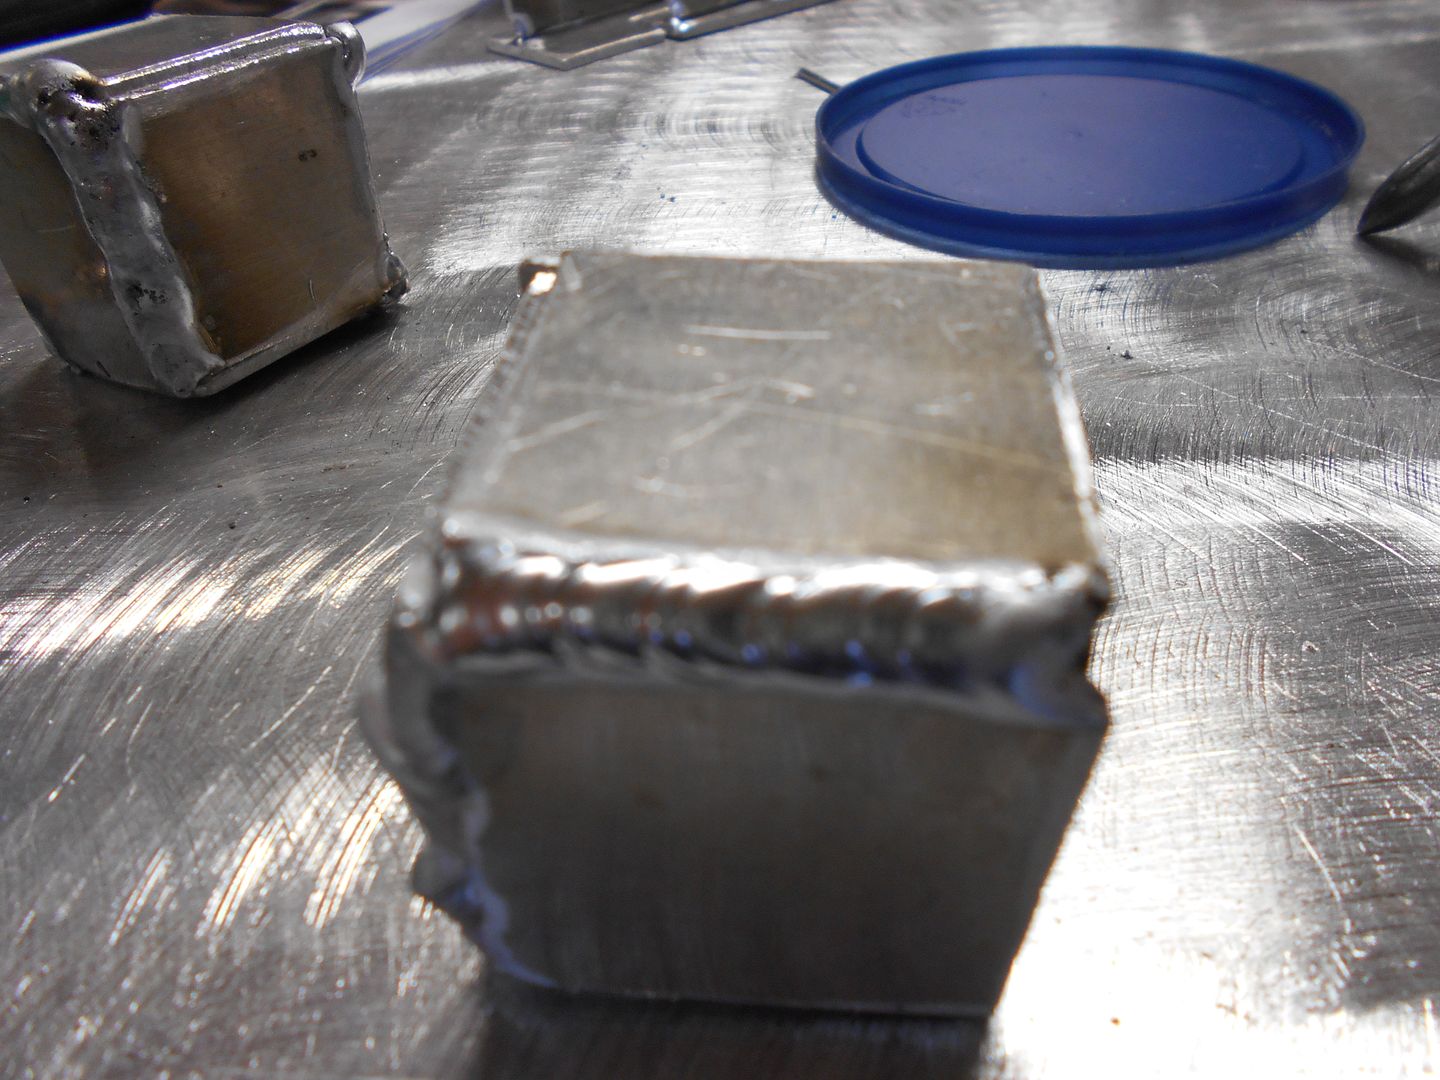 Here's my first aluminum bead next to the first thing I ever fabbed out of the stuff. Not bad, if I do say so myself.
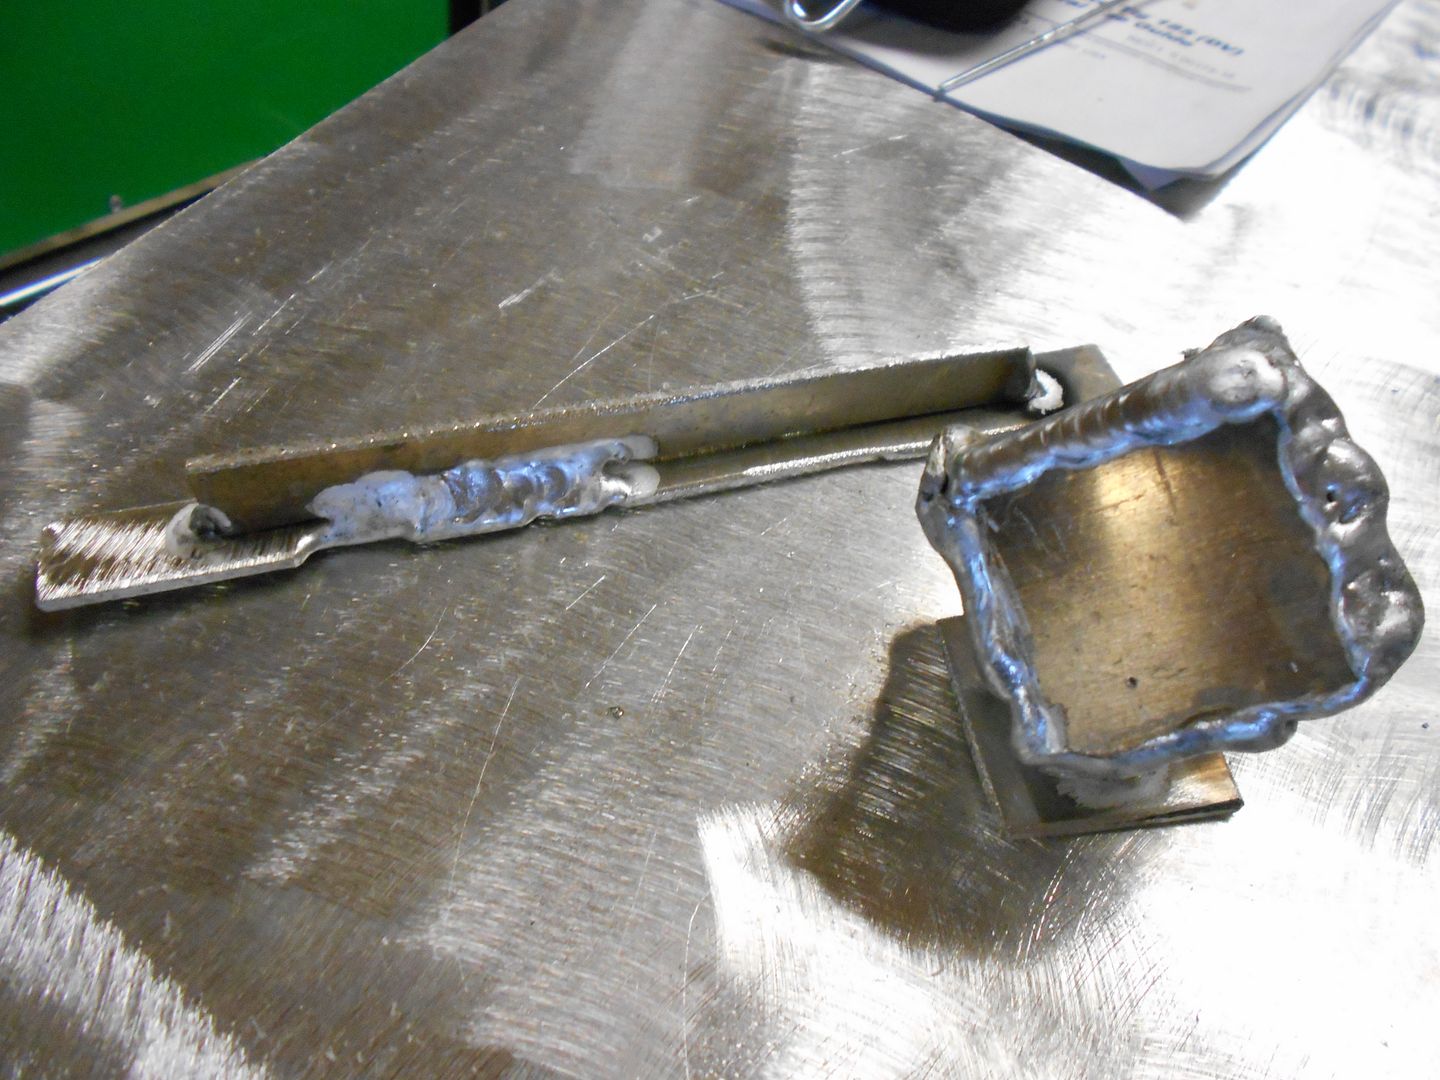
Today I started on more cubes, and the results were awful. everything turned to the slaggy, awful crap I've seen people skim off the top when they melt down pop cans. I fiddled with settings, gas, and all manner of other things, and was looking better by the end, but not as good as the day before. I have several hypotheses for what went wrong.
-Aluminum in my flapper wheel ruined my tungsten when I ground it.
-Poor gas flow to the weld.
-sitting out of the coffee can was enough contamination to screw with the metal, and so on.
So, I'm about where you'd expect a novice aluminum welder to be. My first day saw several nice beads, and was a nice morale boost, but today I have a better view of the landscape ahead. I promise I didn't forget my camera today on purpose. Surely there will be plenty of crappy welds to show in the future. Cheers.


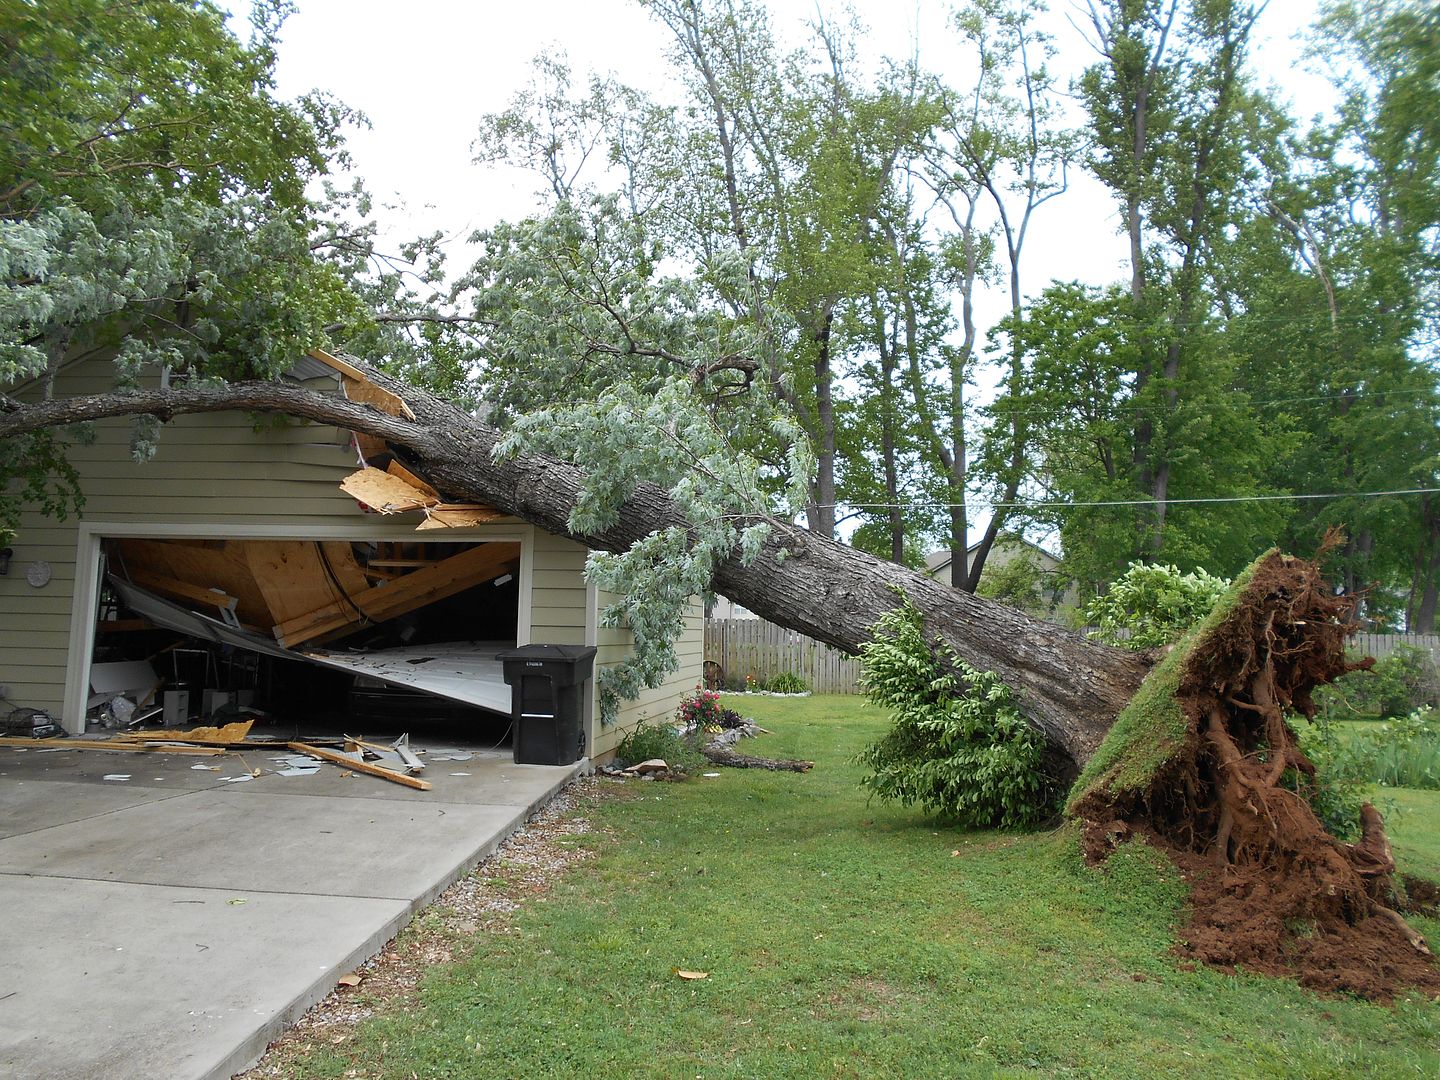
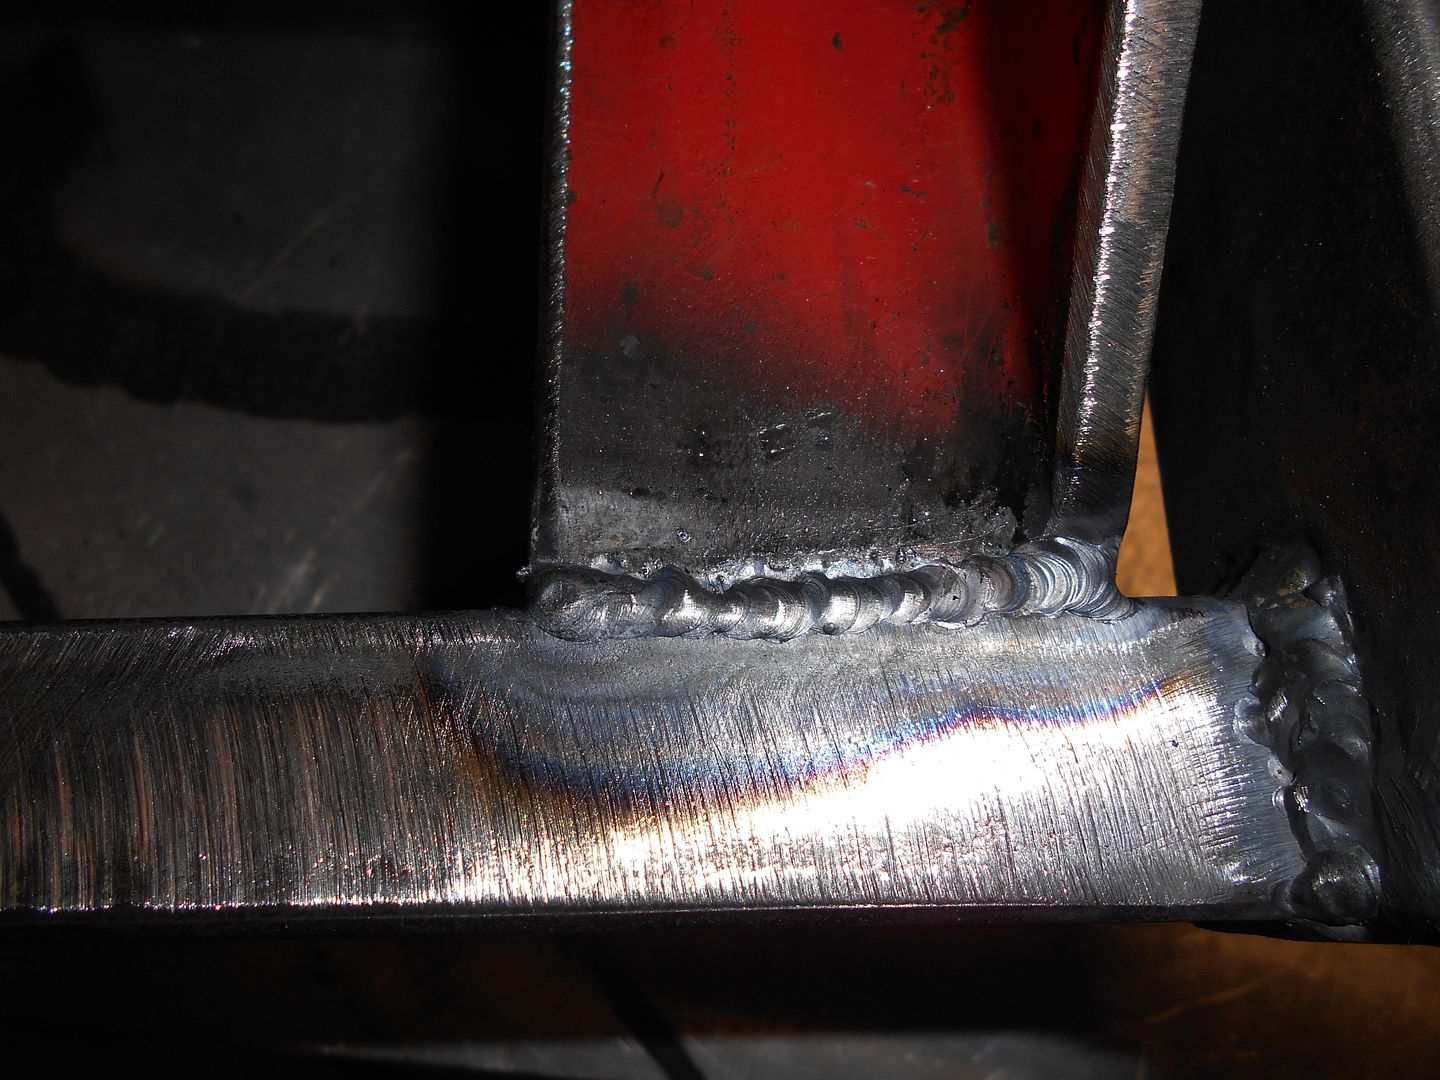 I once eavesdropped on a conversation, in which a very wise man gave the advice (paraphrased) "Now, go, and build a project, it will focus what you have learned". So, I did what every junior weldor does, and started on a cart. I got sidetracked restoring a house, and as such, my first Tig project was actually a door.
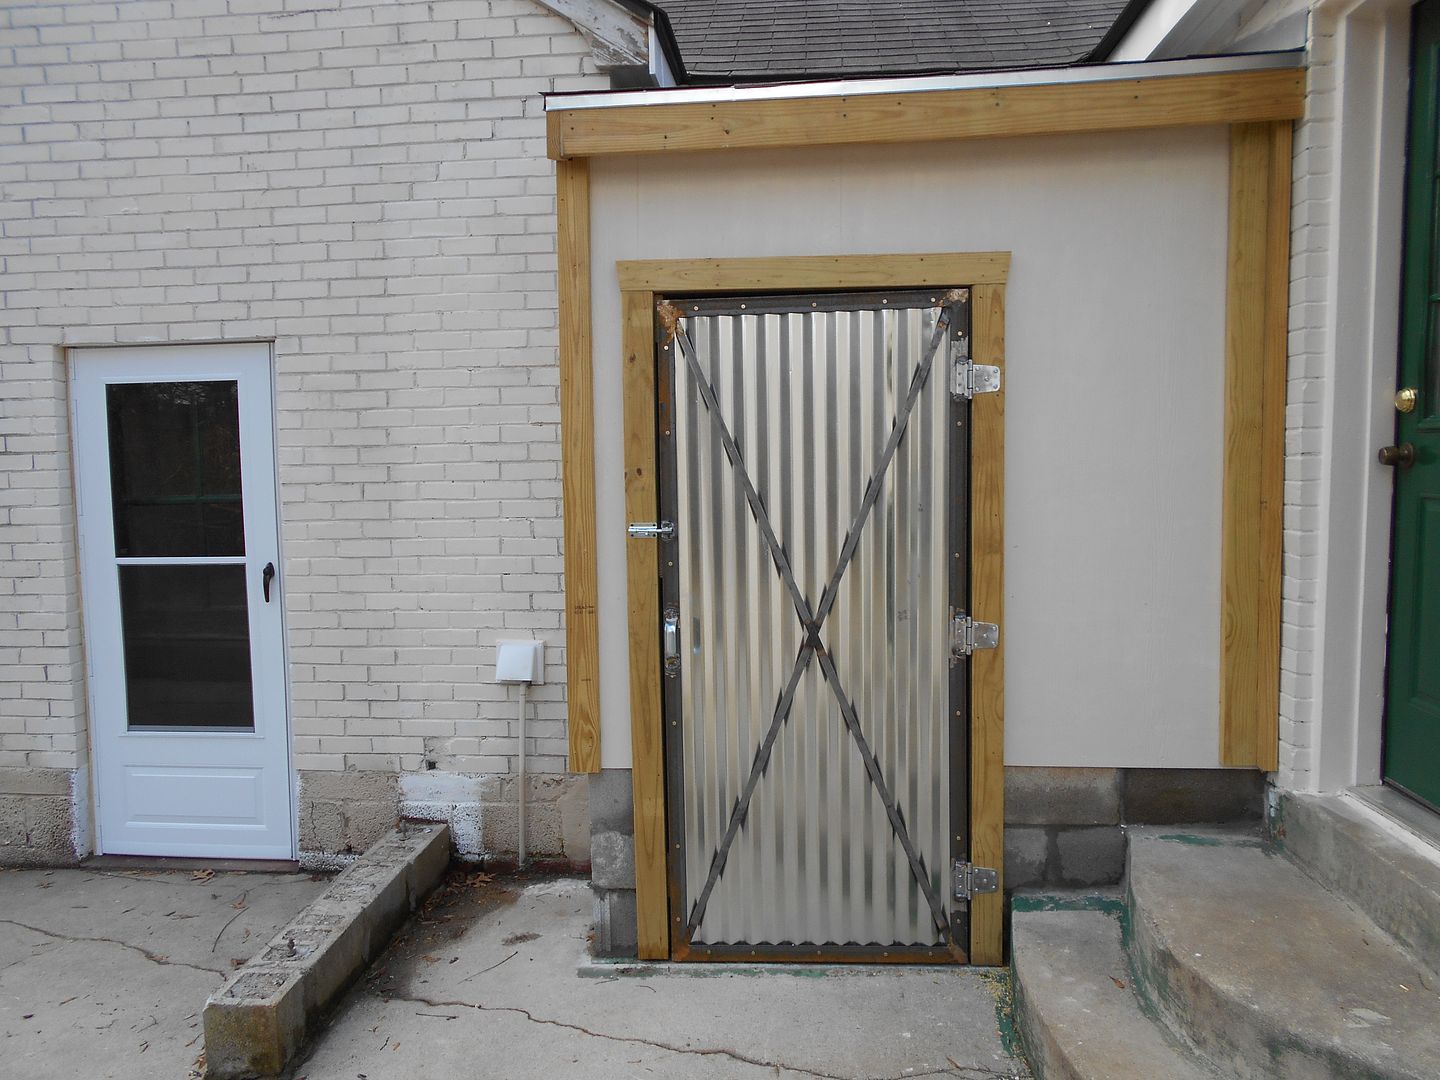 For what it's worth, I also built the shed it is attached to.
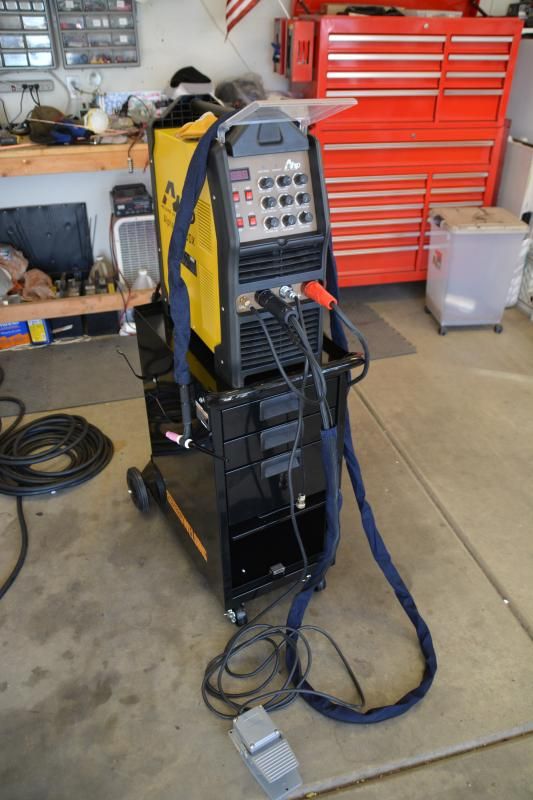
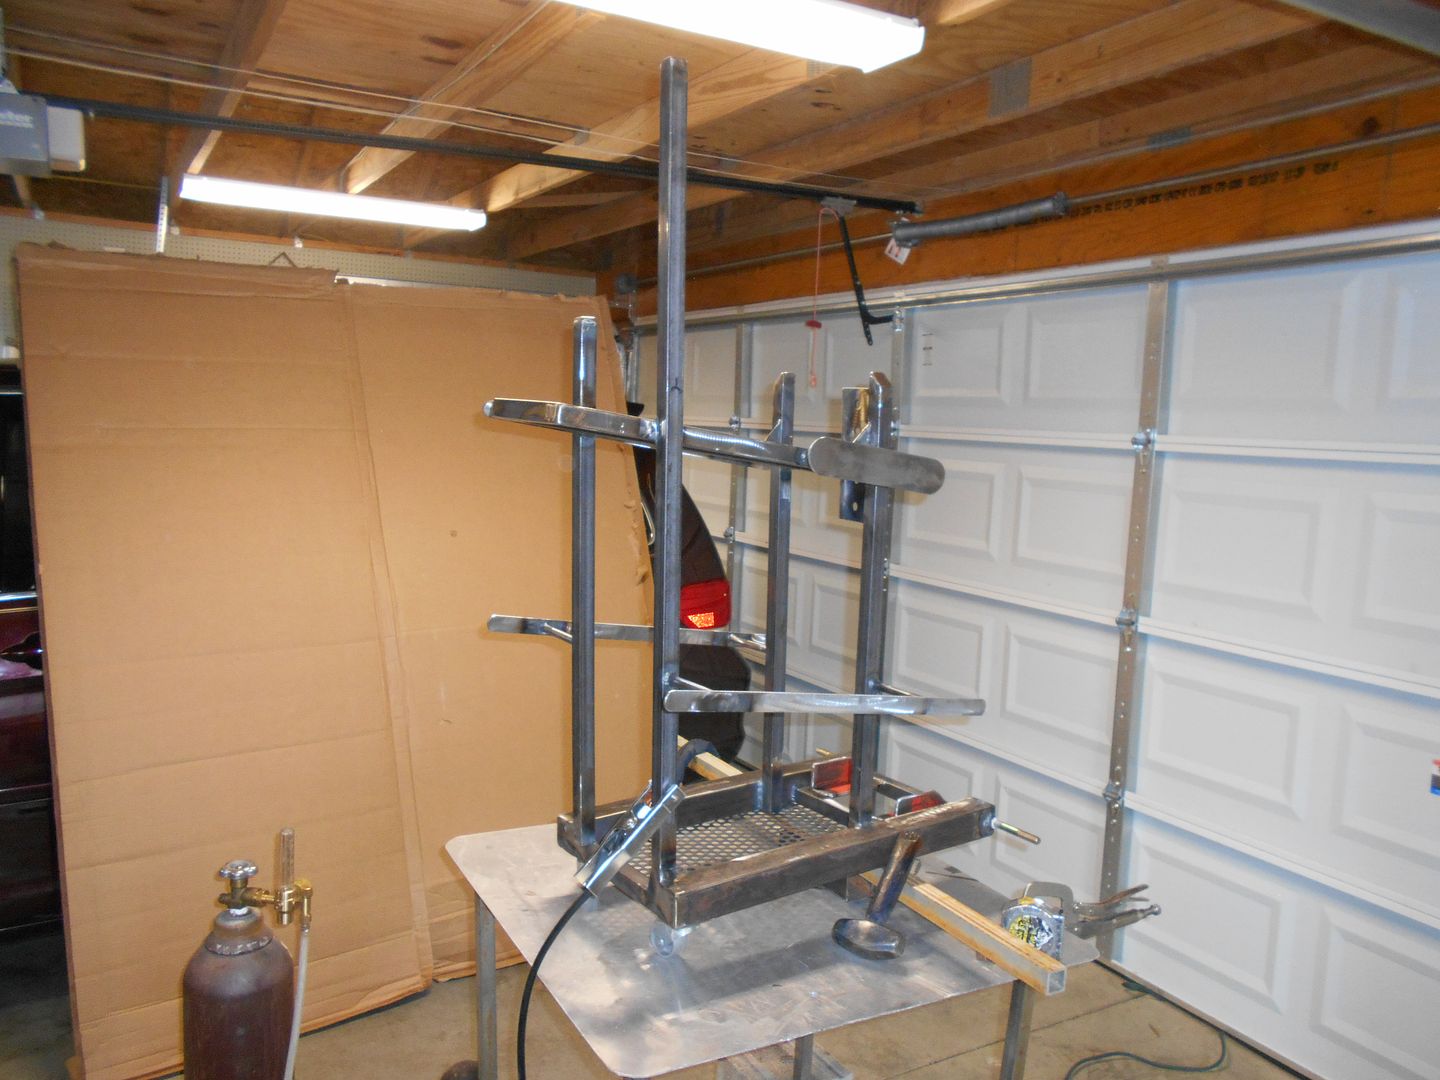 Next, back to square one, only this time, with aluminum.


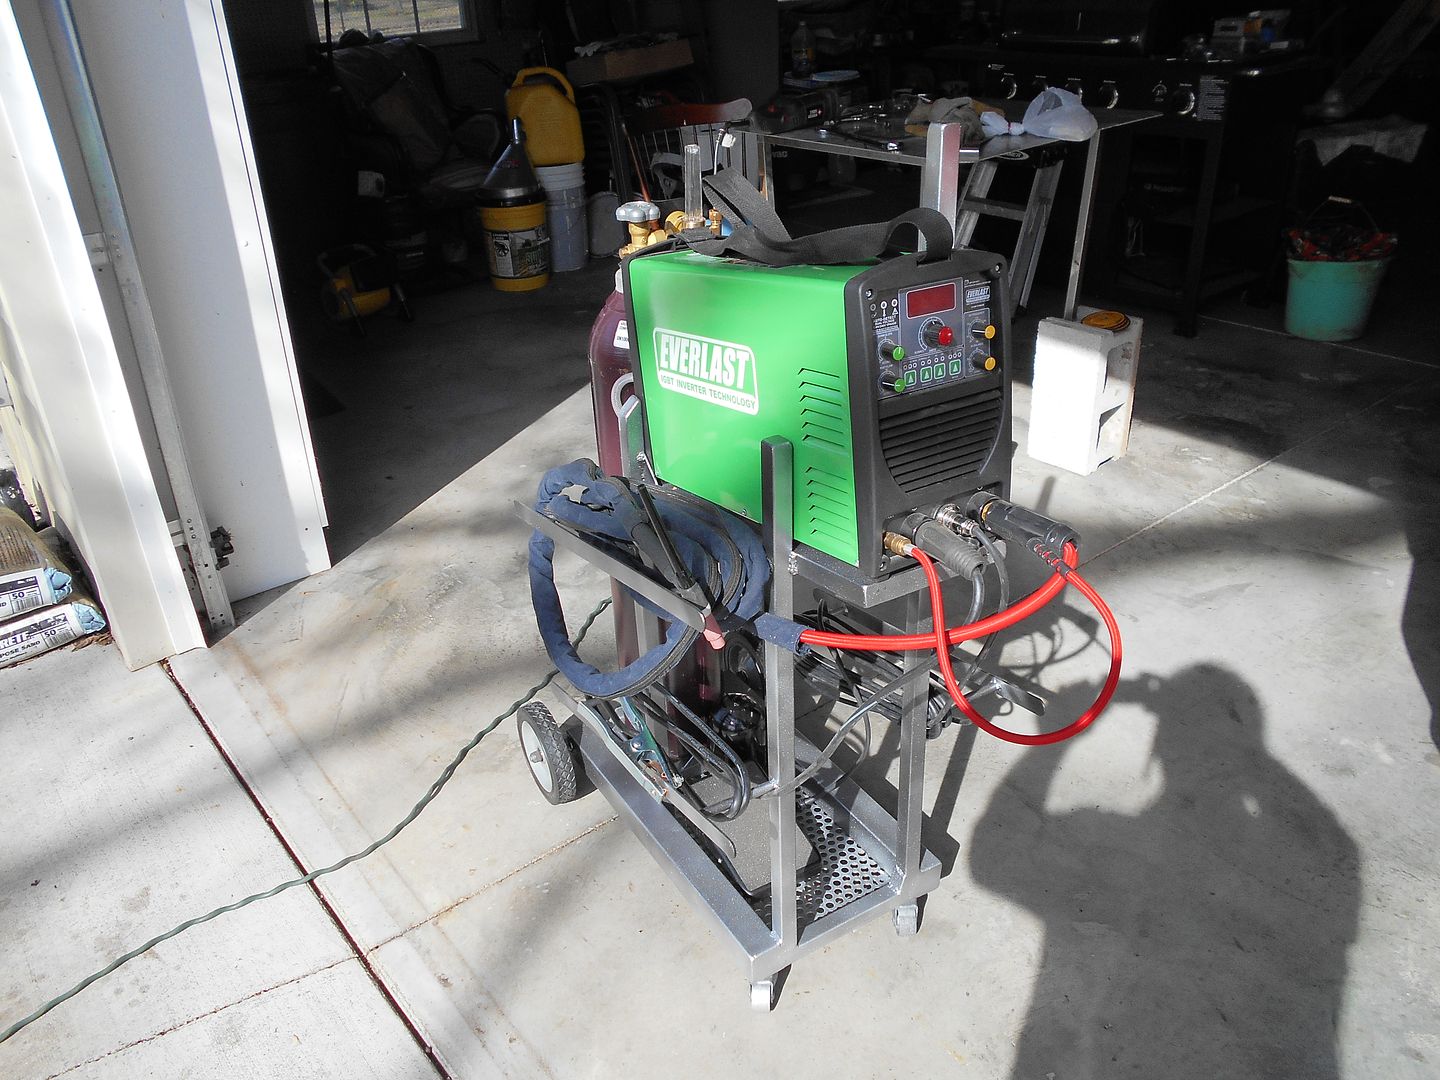 Some welds look like everloving crap, maybe my spools for various cables could have been a little tidier, and because I failed to leave enough engineered slop, I had to fudge two of the uprights so it was not noticeably out of square. Nonetheless, I'm pleased. It stuck together, taught me a lot, and most importantly, functions.
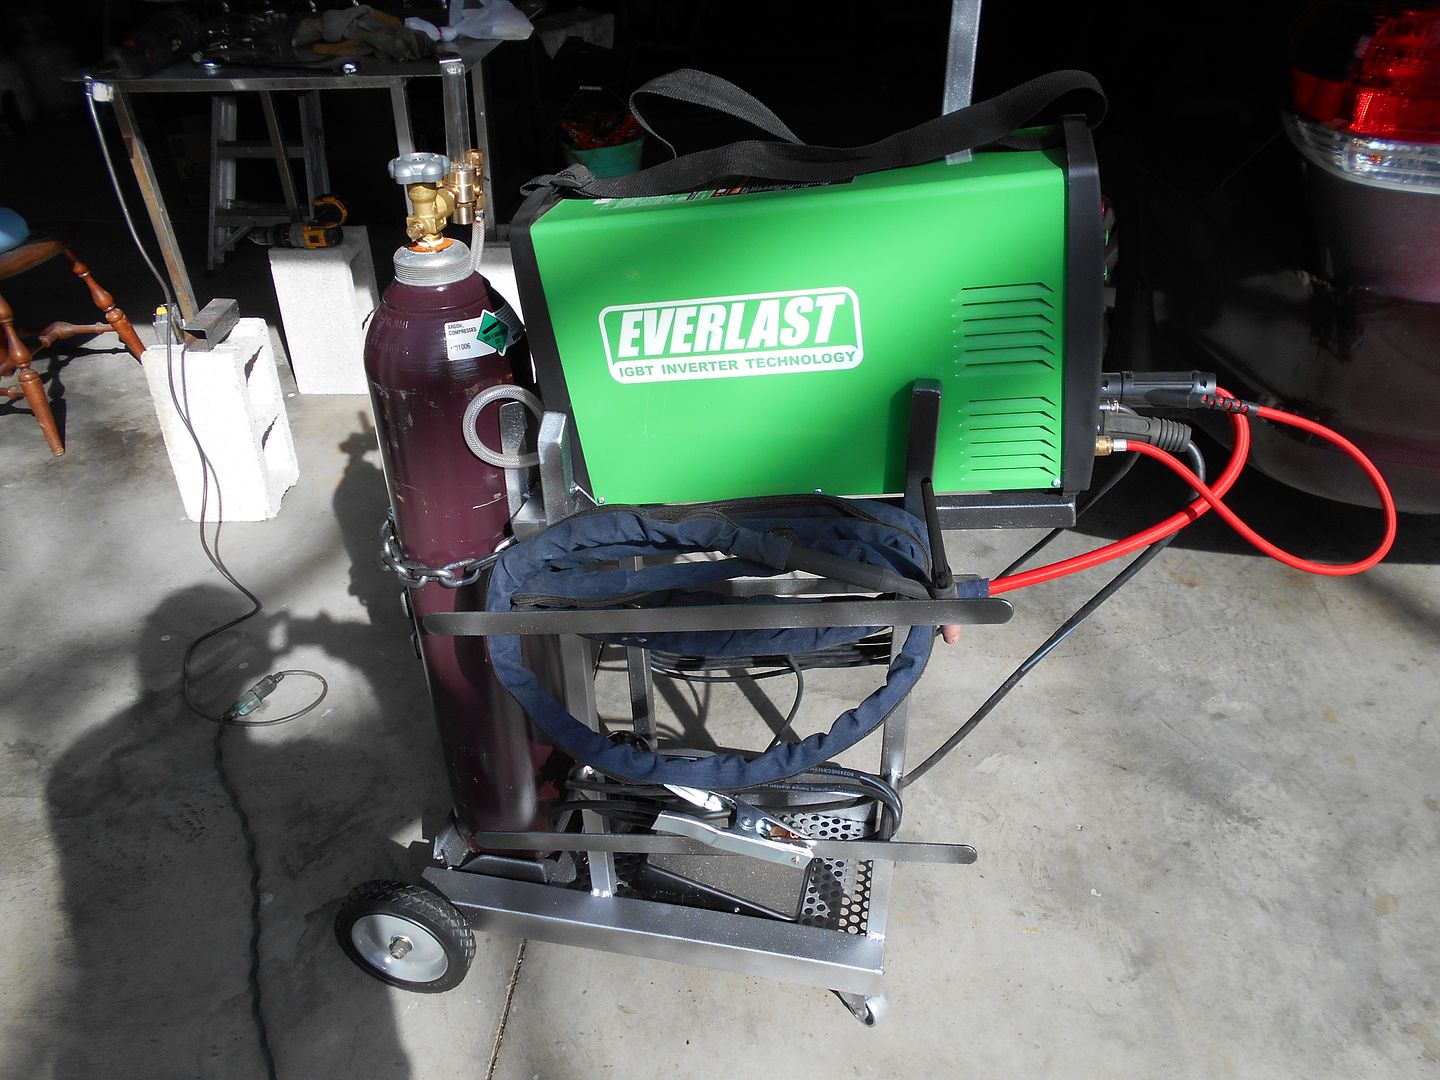
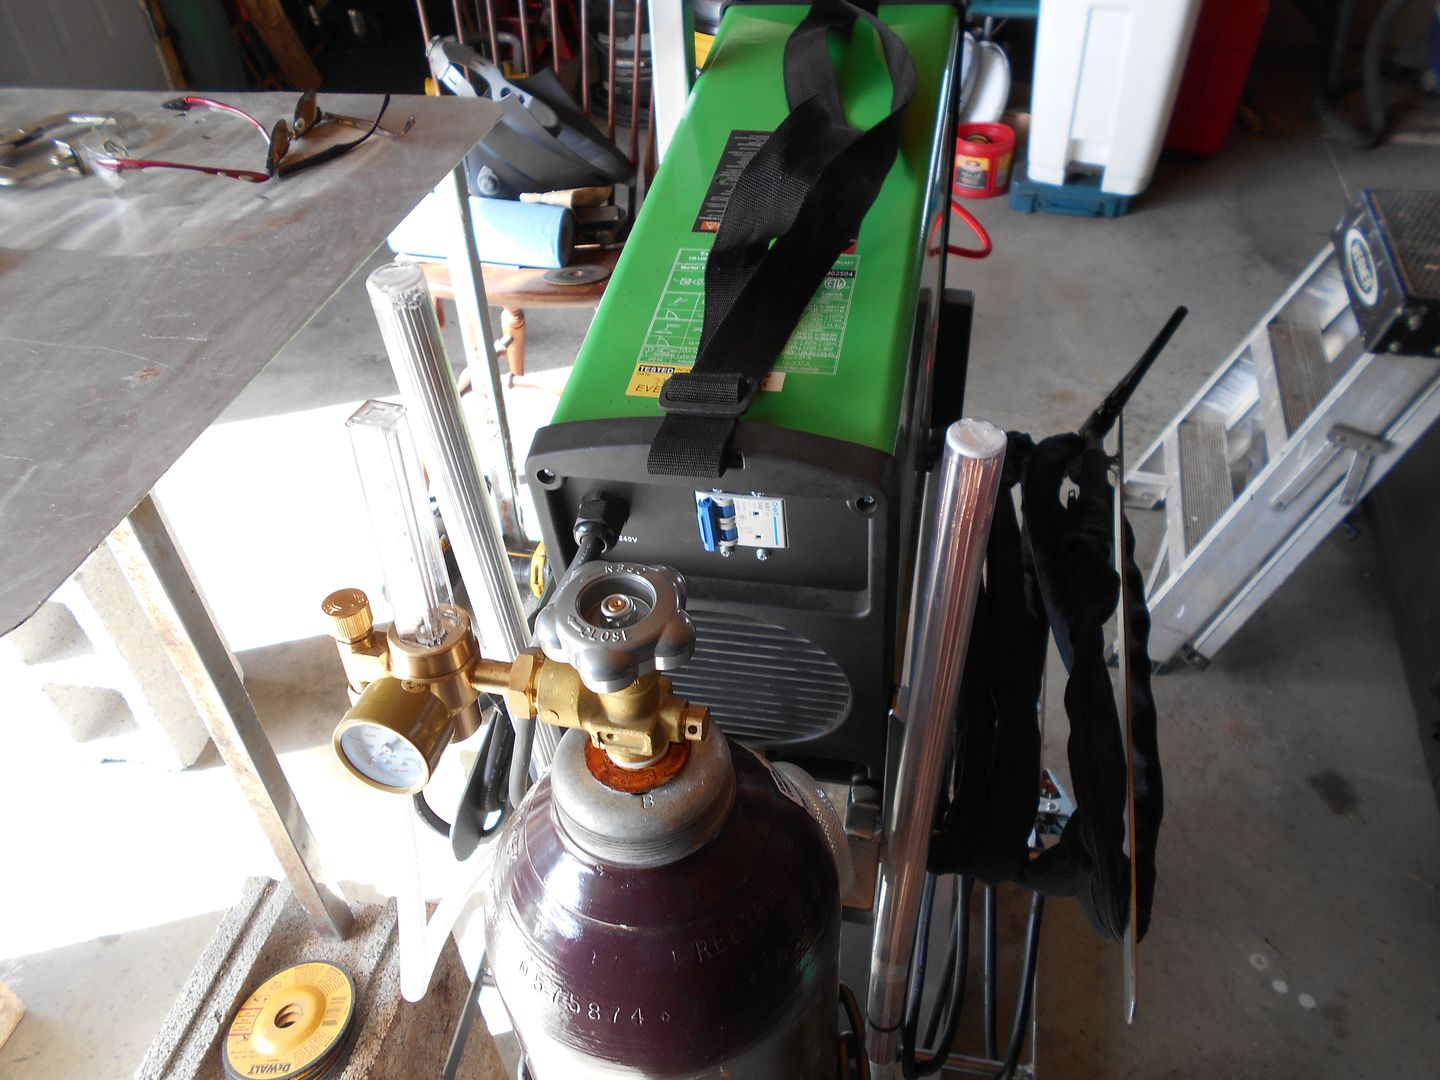 I've got one "spool" for each lead, the pedal, and power. The tall upright is so I can wheel it around easily, and I zip tied a filler rod tube to each rear uprights-one for steel, one for aluminum. And yes, a chain now holds the bottle on in the proper manner.Cheers.
 I'm going to get back to welding in a day or two.


