


z31maniac wrote: So cool. I remember riding in a friend of mine years ago....
That is most interesting!![]()
Rob R.

z31maniac wrote: So cool. I remember riding in a friend of mine years ago....
That is most interesting!![]()
Rob R.

Ouch! Not good news. ![]()

Isn't a leak down test relatively easy to complete?

Well technically it's harder than telling that an engine has low compression by just listening to it.
But yes, it's still 'easy'.

t25torx wrote:carbon wrote: If you need a 2zzge, I've got a nice allegedly ultra low mileage one on a stand in my garage. For the right $ that is.Might have to take you up on that. I forgot to try a wet compression test to narrow it down to rings or head, so I'll do that tonight and hopefully I point out the culprit and work on a game plan for repairs.
Let me know if you need it. I've had it on deck (clean dry engine stand in my garage) waiting to build for boost in my wife's mr-spyder for ten+ years (incidentally before we had a spyder), and every year something else requires my attention, and the 1zz/disco potato combo continues to be a peach.
P.S. it has coil packs ![]()

did you check fuel pressure? just because the pump makes noise doesnt mean its working properly. if it actually does start on starting fluid its probably fuel related. A leaking fitting in the compression tester could cause the low readings

Did you hold the throttle open when checking compression?

I doubt every cylinder would be that low. I might try it again, following these other guy's advice with the throttle open and also with a thoroughly charged battery.
An engine will also run on starter fluid with lower compression than it will run on gas.
Cam timing would affect all cylinders equally so there's almost 0 chance it has anything to do with the chain jumping.
This deal can be saved. It's just not as good as it sounded.

So I did the wet compression test tonight and sure enough it raised the compression up to 90psi for all the cylinders. So I said, "hmm while the compression is raised will it start?" And it did. The valvetrain area sounds fine, no crazy noises. I ran it again a little later on and it ran for a good 5 minutes but immediately died when I turned the AC on. I uploaded a small clip to youtube below.
Youtube video of the car running.
So it starts and runs if the compression is raised. So whats the general consensus on rebuilding, think I'll just need new rings and good cleaning of the pistons and ring lands, or are new pistons in order too?

Check engine light is on in that vid, you check for codes again?

I would still do a leak down test before jumping to a rebuild. Just for peace of mind that it isn't something else you/we have overlooked.

How many miles are on that engine?
Okay so shifting through my projects and it's time to bring this one back up front now that I have made some room in my garage. Carbon I sent you a PM about that engine.
jstein77 wrote: How many miles are on that engine?
I assume it has the same as the car which would be about 130k I believe.
steronz wrote: Check engine light is on in that vid, you check for codes again?
The CEL was misfires on all cylinders, I can imagine that was from all the oil in the cylinders.
So the plan of attack now is just replace the engine with a used unit, then part out the old motor to recoup some of that engine cash, after a leakdown test to determine where the compression went to of course.

Any updates for this project?
An interesting project. I ahve thought one of these might make a nice daily for some time now.
In for the build....

Keep in mind that this is the engine that was notorious for oil starvation. I know it is rarer in the Celica that the XRS, but it is still not uncommon. I would definitely do a tear down and check it all out.
Oh, and I love these cars. One of the best FWD cars out there in my opinion. Soooo much fun on track!
And we're back! After a long break from working on the car this project is about to shift into double over drive. With not one but two engine removals!
After scouring Craigslist and other sites for months looking for a cheap engine, I was getting a little worried that I'd be paying the $1500 that LKQ wanted for a decent used unit, but I happened to find ANOTHER Celica for sale, this one with a good engine, the car was originally from Canada and had never been registered here, the owner didn't want to mess with jumping through the hoops that are involved in that I guess and was going to part it out. Since I needed some other parts to bring this one back to almost showroom fresh, I opted to buy the whole car from him. For $2200 I got a real nice donor car with a good engine, almost new set of tires on the GTS wheels and lots of other parts I'll be able to sell off and recoup my money from on that deal. I hope to clear the $2200 I payed for the car in parts sales so the engine ends up being free for me.
So at this point I'm in $4200 for two Celicas, One with a bad engien and one with title issues and not so nice exterior, but I'm fairly certain I can turn this episode around and end up on top of a small pile of money once it's all said and done.
Now for the pics of this donor car.

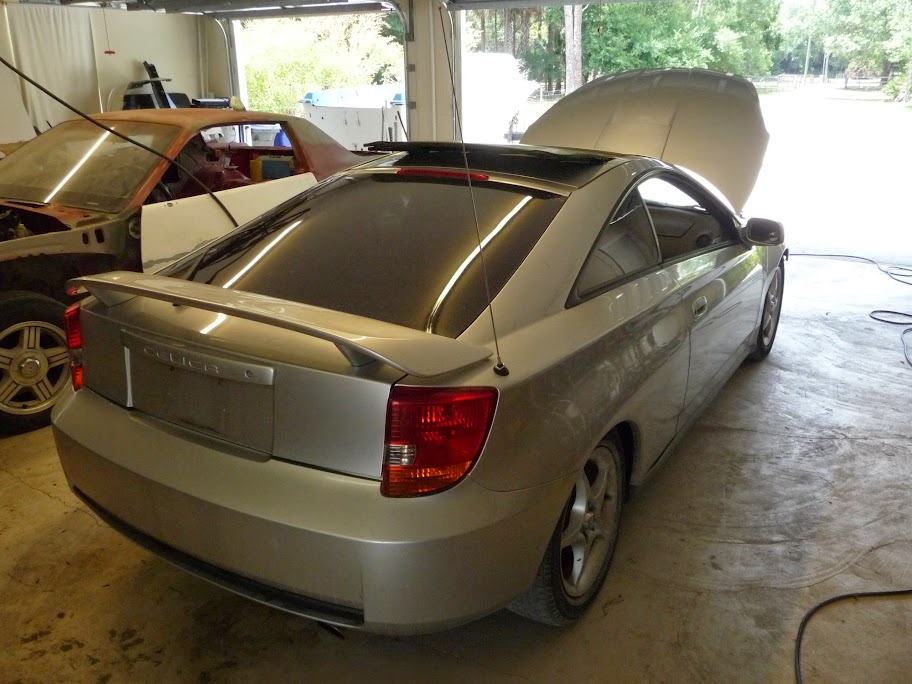

Since this is a Canadian car it's all in kilometers, so about 135k miles on it.

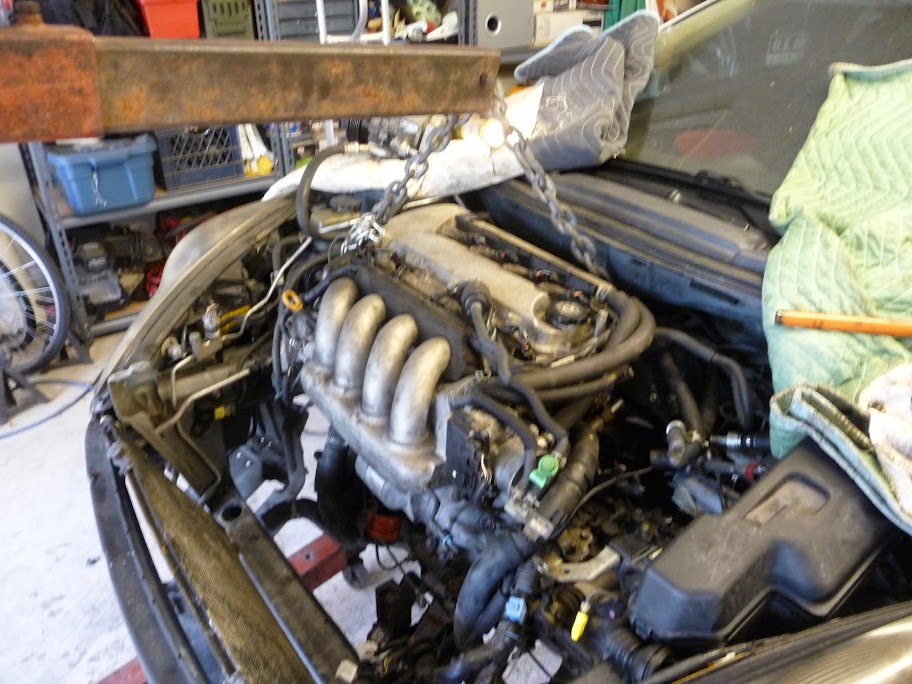
The extraction begins with getting all the accessories out of the way.

Battery and ECU out of the way. Also shifter linkages, coolant, fuel, and vacuum lines removed.

Almost time to pop it out.

And it's out!

Since this one is from a 2000 Celica I'll have to swap over the engine harness and intake manifold and throttle body from the 2003 since the newer car users "drive by wire" and not the old throttle cable setup.

After that I pulled the other Celica into the garage and started the process all over again. This time went fast and smoother since I knew what to look for. I didn't take any pics of the progress, but here's the result.

Another empty engine bay. Lets fill this one back up!

Sweet! I'm glad that this one is getting a chance to recover. ![]()

I hope you use parts from the donor to fix that gaudy red accented interior.
In reply to moparman76_69:
Oh yeah, once it's running I'll tackle all that stuff, it's one of the reasons I got the donor car. There's just a bunch of little stuff missing or stuff with ghetto fixes, so the donor car will get a few parts handed over to this one besides the engine.

How about for super happy fun time, swap the 03 completely to 00 spec, just with the better trans/forks of the 03.
No more dbw.
In reply to Swank Force One:
lol I thought about it. But figured I could get more money for the throttle cable stuff from someone wanting to do the swap so they can use the Power FC with the later year cars.
In other news.
The new/old engine is in it's new home! I still have to get all the accessories installed, make sure all the hoses, cables and connectors are done up, but all the engine mounts are bolted in.
I swapped over the wiring harness, intake manifold, throttlebody, and transmission from the 2003 car.
I'll need to get some Toyota Red coolant or equivalent to refill the coolant, and probably pick up some oil and a filter also since I don't know when it was last changed.
So I got some more of the little stuff done to the car last night. Power steering pump mounted, A/C compressor mounted, axles reinstalled, all the little vacuum and evap hoses clipped in, exhaust bolted back together. Got the clutch lines reconnected and bled, then filled the transmission with the little bit of Synchromesh I had left, I'll have to pick up another quart on the way home tonight to top it off.
Some pictures of the engine install.
Here's all the stuff I had to swap over to the new engine. It looks pretty disorganized but there's a method to my madness here and no bolts were lost or left over once it was all done.

She's going in!
Touchdown.


Woohoo. It is indeed alive and running chaps!
The new engine is safely in it's new home. With some fresh Pennzoil Synthetic oil, Synchromesh Gear oil and Toyota Pink Coolant, it's running great. No check engine lights either. It did have a nasty exhaust leak from the reused header gasket, but that's been swapped out for a fresh Fel-Pro gasket and is nice and quite now.


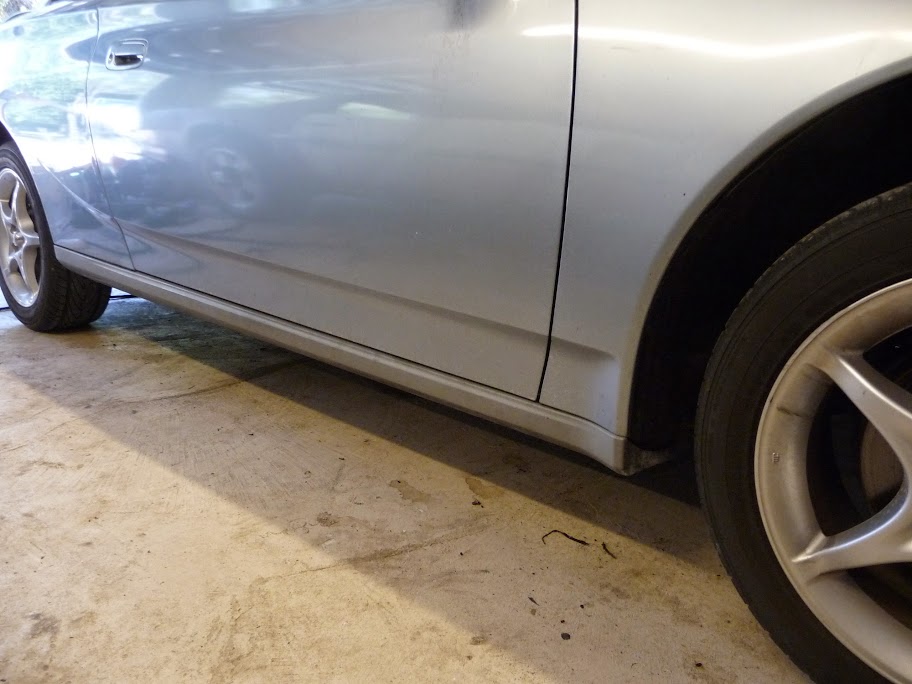
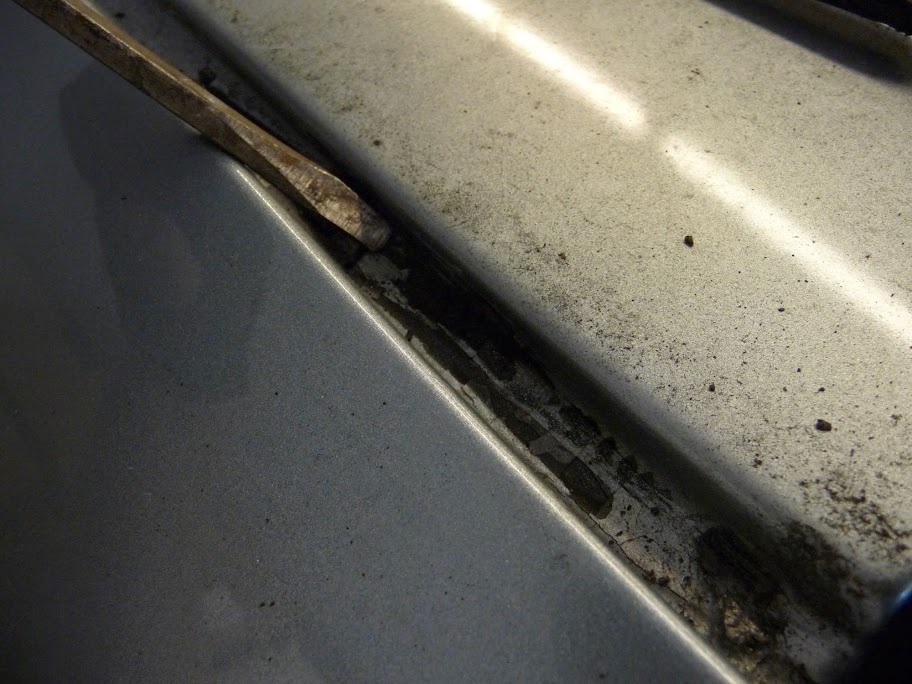
Today was spent getting rid of all the tatty items on the car, starting with the lower body moldings. The drivers side molding was missing some clips and some of the clip holders were torn, the previous owners solution was some bloody sheetrock screws.. yeah, that's not going to work here. I removed both of the lower panels from the silver car, I grabbed both because the older ones are grey and not black and we can't have mismatched color panels now, can we?


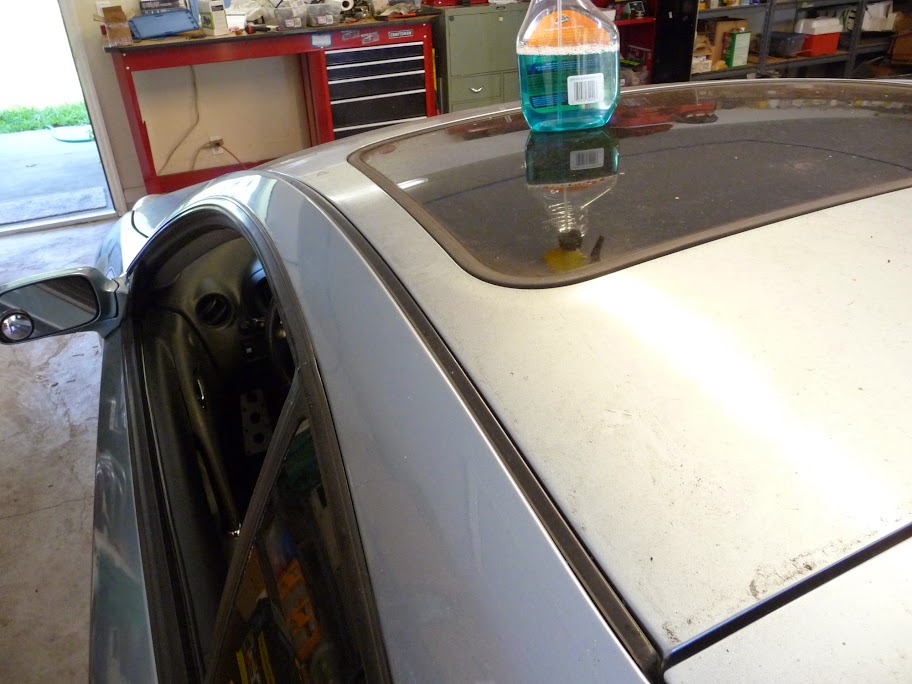
There, that's better. Next up was the missing piece of roof trim. A couple of quick taps with a flathead and the trim was removed. I scraped out the old sealant/glue, cleaned up the channel and then applied some new silicone adhesive to the piece removed from the silver car. Looks good as new, job done.


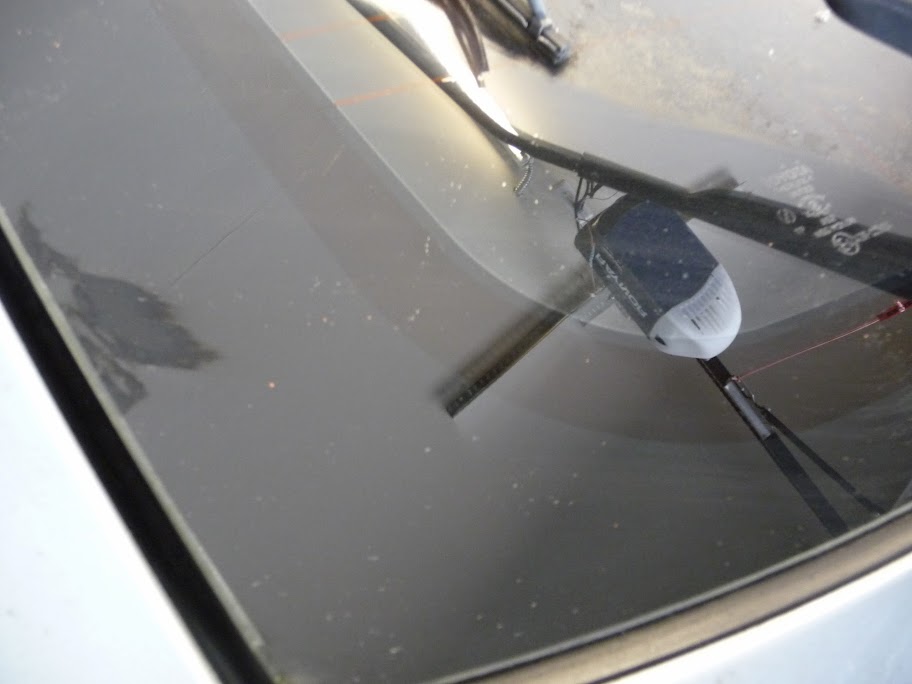
Time to break out the razor blade and remove those wink mirrors and parking permit sticker. Ahh much better.


Time to move on the that interior. Starting from the rear of the car I took all the junk in the trunk out and separated the good from the bad. The package shelf had a bit of an issue with one of the rope hangers, the welded poly rope had come apart on the passenger side and would not hold the shelf up. so I took a crimp connector and cut off the excess so i was just left with the crimp section. I opened the crimp up a little and inserted the rope through, then crimped it tightly around the rope to clamp the two pieces together. The other side was not broke, but again I can't have unmatched sides, so it got the crimp work also.


No one likes getting hit in the head by a 60lbs hatch, so those old struts had to go. I swapped over the hatch struts from the silver car, and "look ma', no hands!"


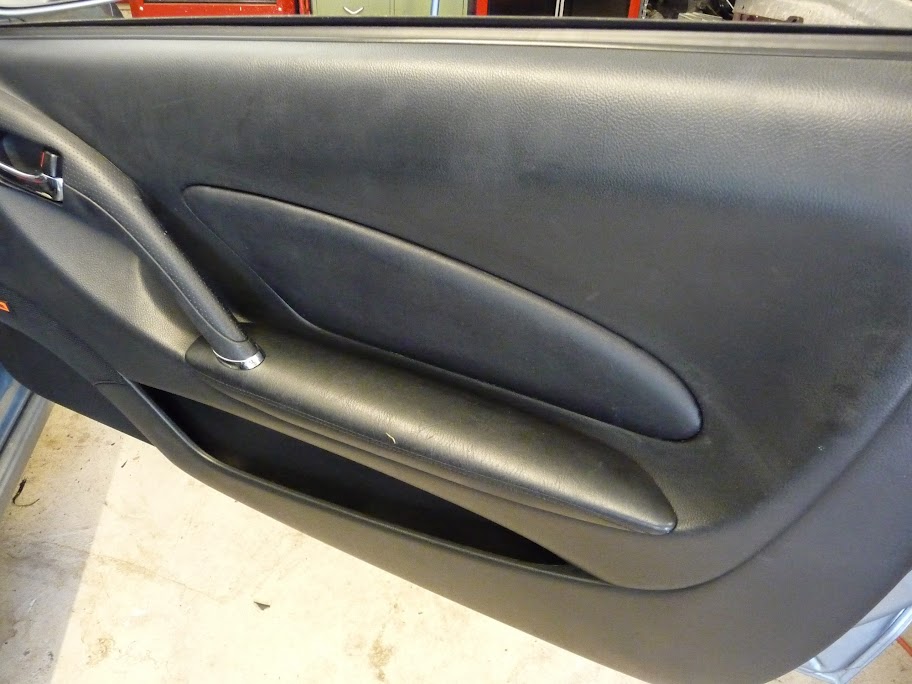
These red accents are really bringing this interior down, their time here is at an end. Thankfully the previous owner had the original inserts, albeit a little worse for wear, I think he tried to sew the red to the original panels, but that didn't work out I guess. So I had to remove this stitching before gluing the panels back in. That's looking better.


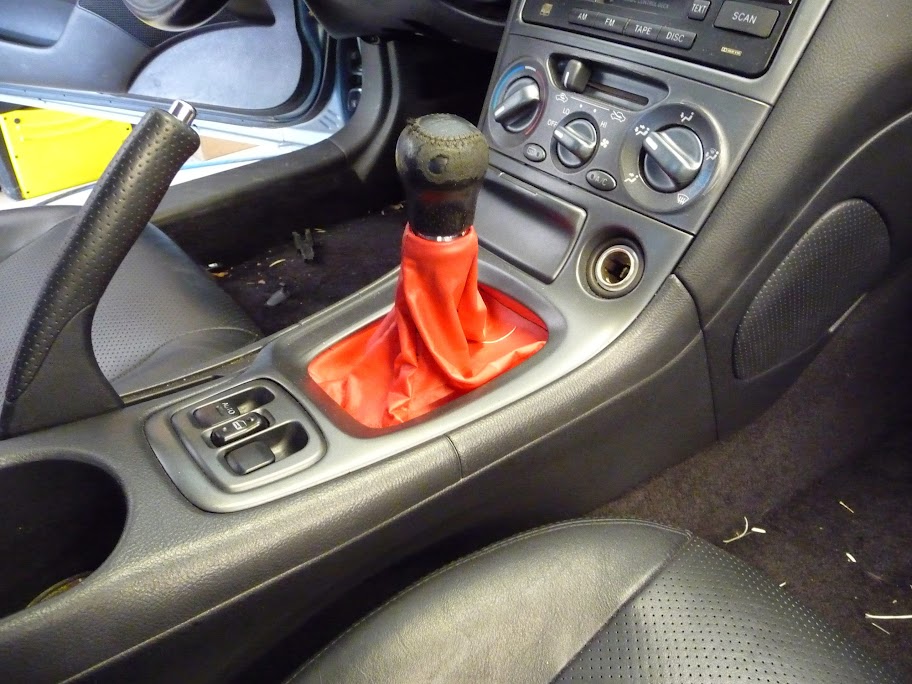
Next up is that awful shift boot and steering wheel accent. With a quick snip of the scissors, the steering wheels is looking brand new. Amazingly the shift boot from the silver car was in good shape, so it found it's way into it's new home quite easily. Much better.


Oh no, how did this piece go missing? I didn't find it anywhere int he car, time to go to the silver car again for another part.


Now we get to my favorite part. CLEANING! I love cleaning a car, it's so soothing and seeing it transform from a crappy looking heap to new car clean is so satisfying.
These white bits were hard to get off, I ended up taking a razor blade and steel wool to them, after the wax and tar remover failed to budge them.


Time for the face to disappear. This is something I don't understand at all, why on earht would someone draw a face on their dash, in PERMANENT marker no less! This guy did not want to leave his home, I tried wax and grease remover, and after it had no effect I switched tactics and went to some rubbing compound. This worked the treat and Mr.Face was no more.

I gave the carpets a good vacuuming and then pulled the car outside for a quick bath. You'll have to tune in next time for those pictures, and the other finishing touches to the restoration.
You'll need to log in to post.


