I bought this old band saw about ten years ago at an estate sale. The previous owner was obviously a cool old dude because he had a ton of neat shop tools and ancient electronics junk. I bought this saw and a nice full size drill press for $100 out the door.
<img src="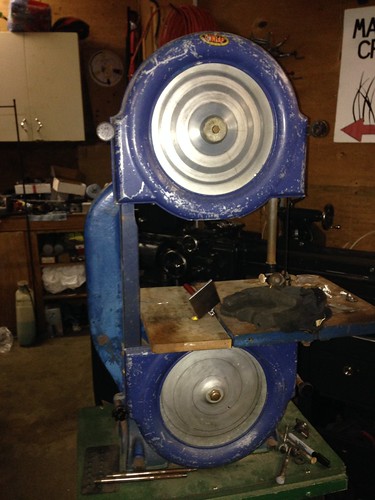 " />
" />
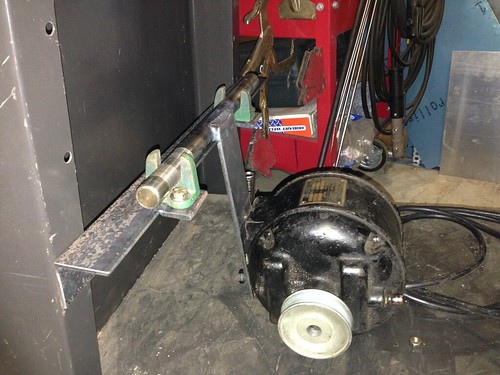
It was totally functional, as long as the fact that the motor was just hanging on the v-belt in the lower cabinet didn't bother you; it wasn't secure in any way. For years I'd only use it in an emergency because of this. The saw has moved with me three different times, and I finally got tired of moving a non-functional tool around in my shop. So I decided to fix it.
I don't really do anything with wood, and the saw speed was too high for metal, so a speed reduction was in order. I thought about doing a total rebuild with new paint and everything, but the saw is in great working order, and I don't want to paint over the cool decals, so I decided to leave the patina.
<img src="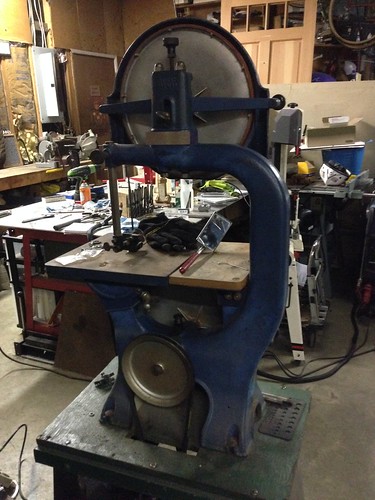 " />
" />
When I bought the saw, the tires were totally shot, so I ordered some eBay urethane specials. They were a little tricky to get mounted, but fit pretty well in the end. Plus 3HP for orange color.
<img src=" " />
" />
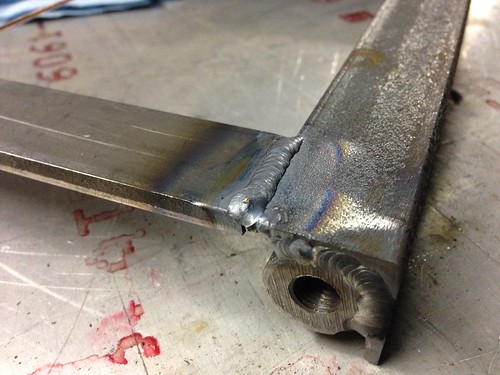
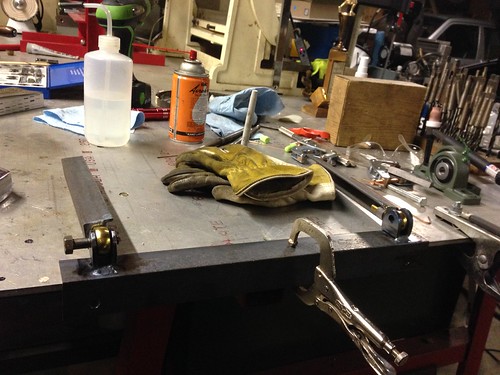
First order of business was to get a new saw blade onto the thing. This saw was made in 1939, when every homeowner had the tools and knowledge of welding band saw blades into the length desired. These days we just buy the size we need, but unfortunately this saw takes a goofy size nobody sells and I don't know anybody with a band saw welder. So I fired up the Atlas shaper and made a spacer block to add two inches to the blade length, getting me into a standard off-the-shelf saw size. Success! Er... looks like I need to make new guide-rods that are longer to suit the new spacer too. I forgot to take photos, but you can see in the photo what they look like.
<img src="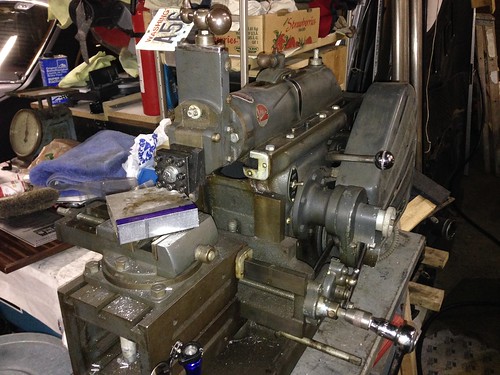 " />
" />
<img src="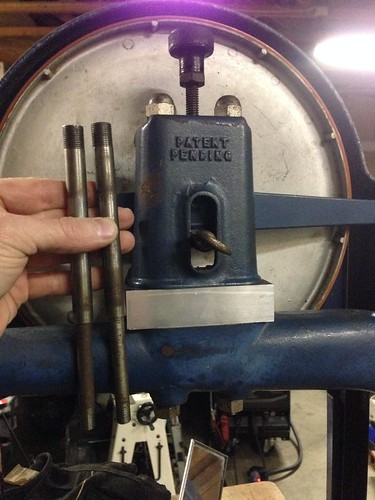 " />
" />
I threw on a new bi-metal saw, and adjusted it to run.
To be continued...