


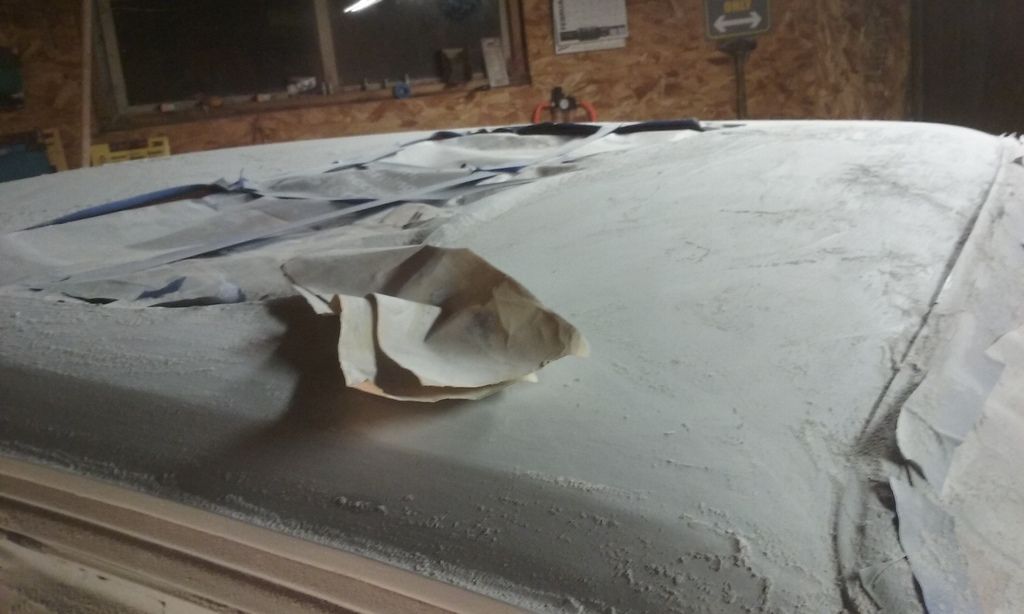
I bet the primer coats alone is a superior covering than anything Alfa ever put on that car.
Looks good.

I bet the primer coats alone is a superior covering than anything Alfa ever put on that car.
Looks good.

If it's coated, it's coated and I'd just leave it be until you start sanding. You'll probably need another coat or two after sanding out the orange peel anyhow. I would just pick up some proper reducer and mix it 4:1:1 for next time.
Sub 40° temps might have something to do with it too, but I have no experience there. I've always sprayed in 50°+ when the humidity is low to avoid potential issues. I'd imagine the "fast" reducer would be in order to make it work though.
ETA: A 1.7mm tip definitely isn't going to lay down a 2.5mm film in a single pass, even with the appropriate overlap. I'm surprised the tech sheet doesn't have a recommendation for tip size.

It lives!!!

Ok, real quick let me take care of the backlog:
The first start attempt
Follow up to the first start attempt:
Ok, so no spark (wednesday night)
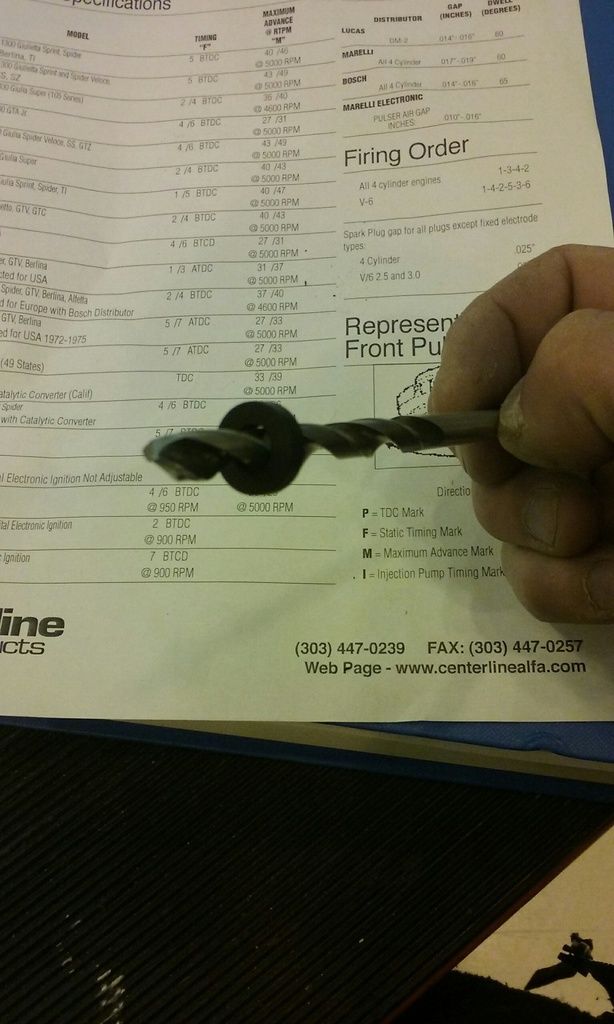
First things first, get out the prints and make notes!
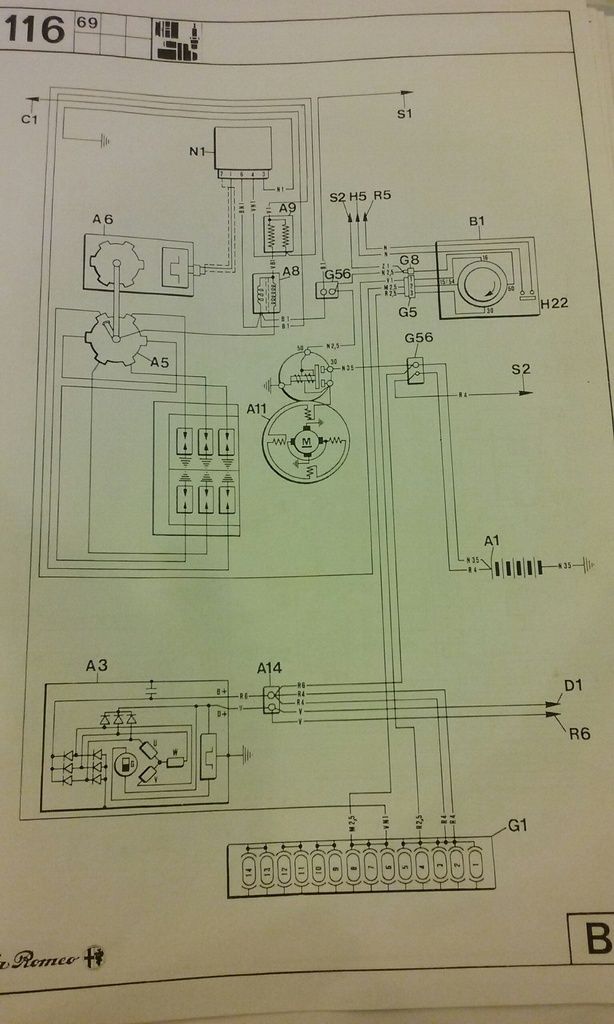
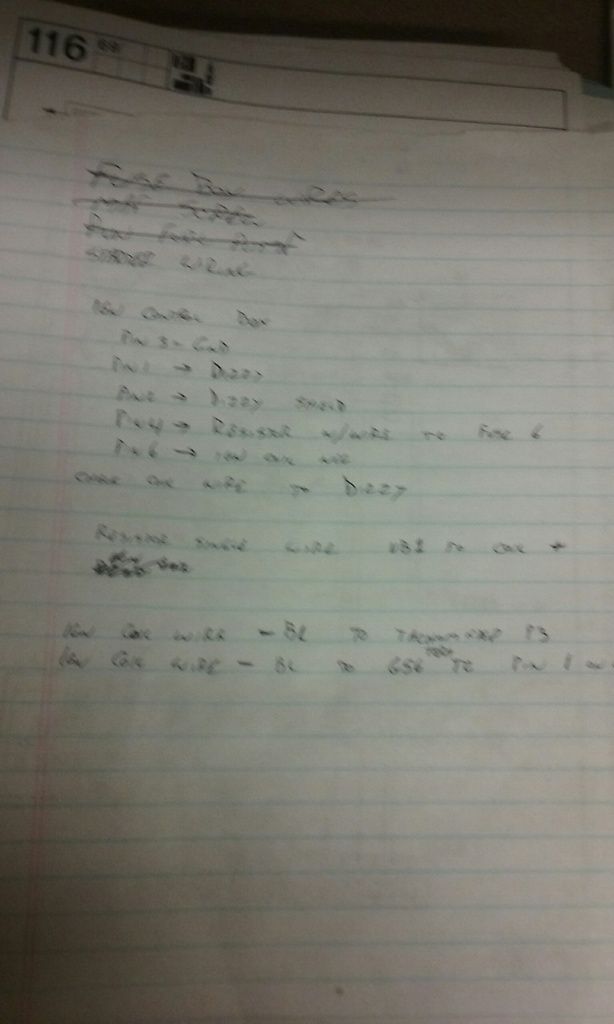
I started with the easy stuff:
high tension lead from coil to distributor cap
voltage from the fuse box to the coil
Why does the print call out three wires on the negative side of the coil, and I only have two?
oh, that's why. Yeah, that makes more sense to do it that way (instead of a third wire at the coil, they spliced it in at the connector to the ignition control box)
continuity from the ignition box to the hall sensor in the distributor.
Aha!

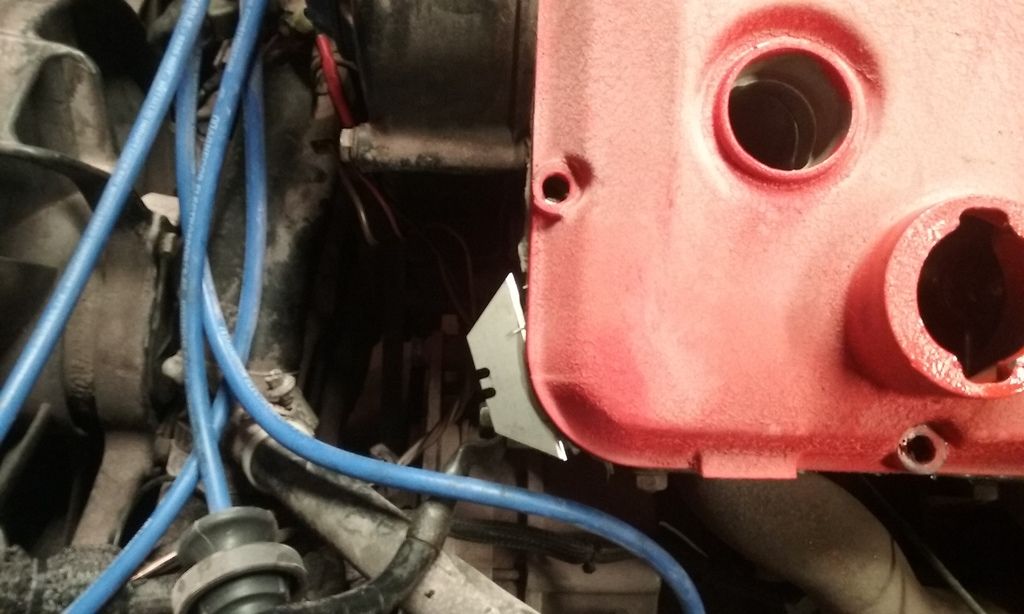
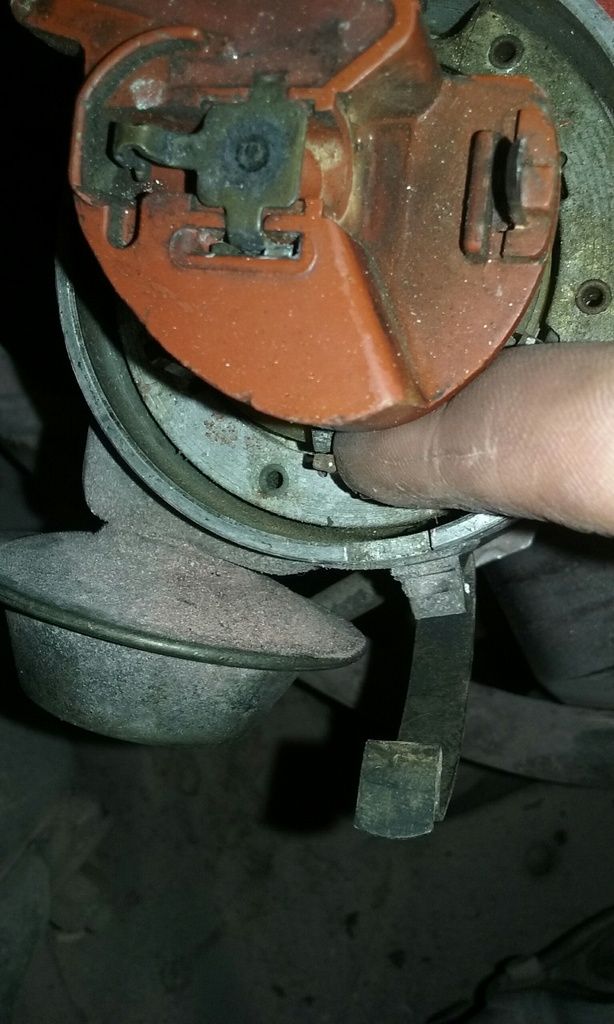
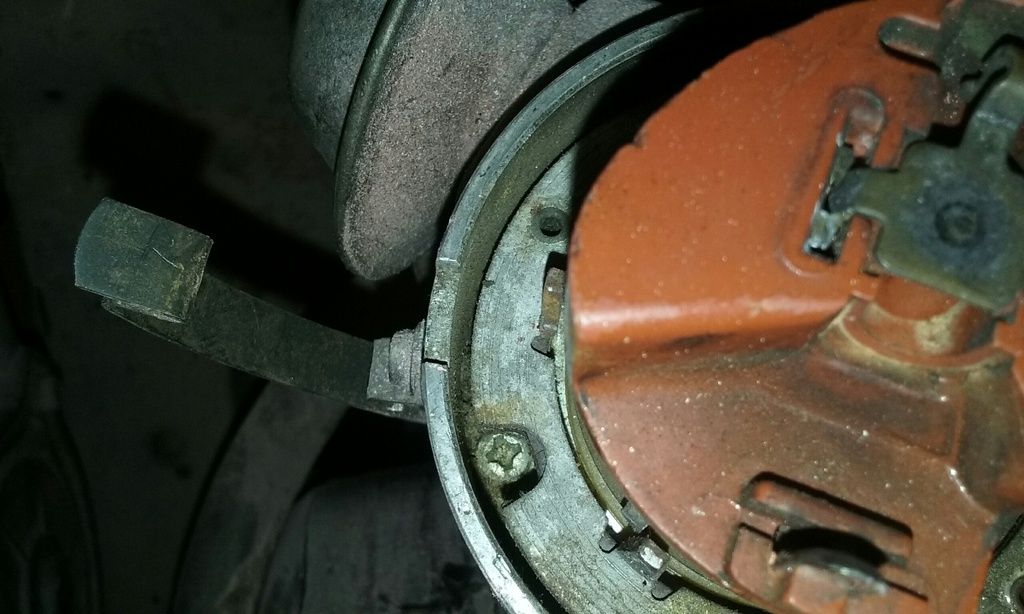
See that 2-wire plug going into the distributor? It has a metal clip (barely visible) held in by a screw. The plug was on the wrong side of the clip. I removed the clip, plugged in the dizzy, and reinstalled it correctly. Bam! Tach signal and spark ![]()
So she starts (get this, I uploaded the wrong "start" video and deleted the right one... which sucks because you should have heard me yelling) but she runs rough and she wont idle.
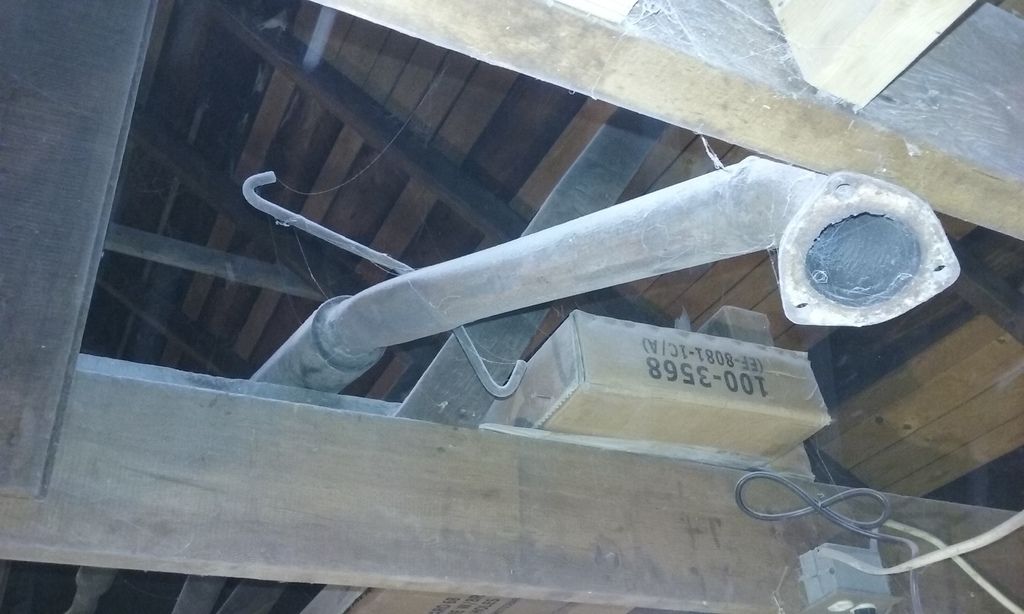
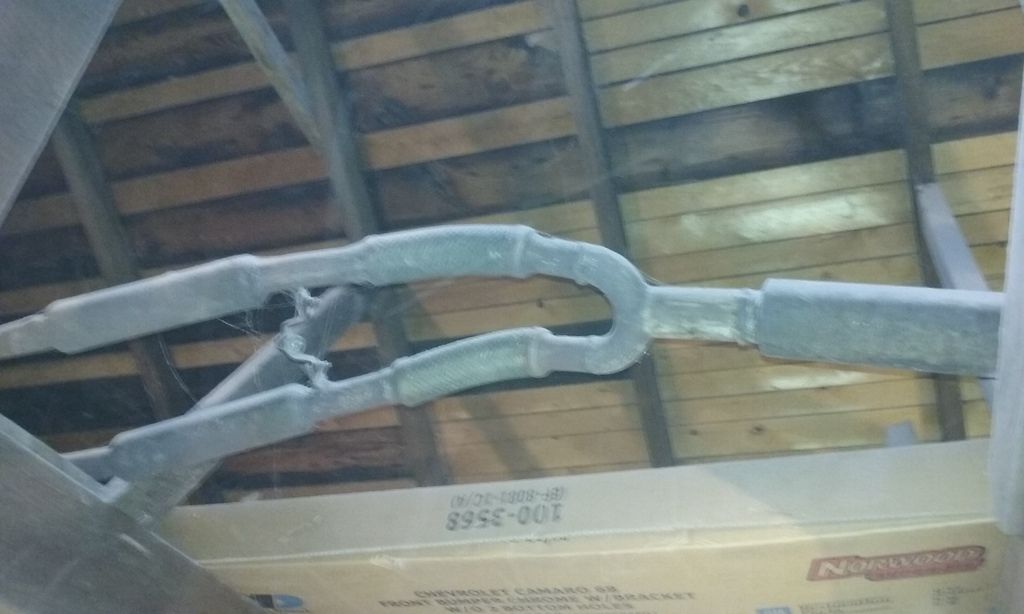
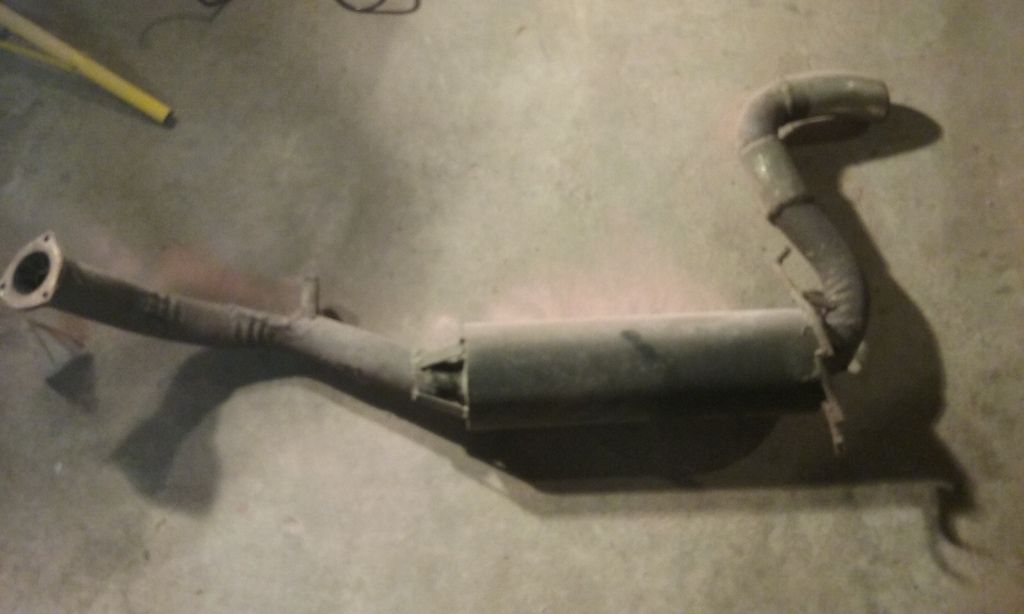
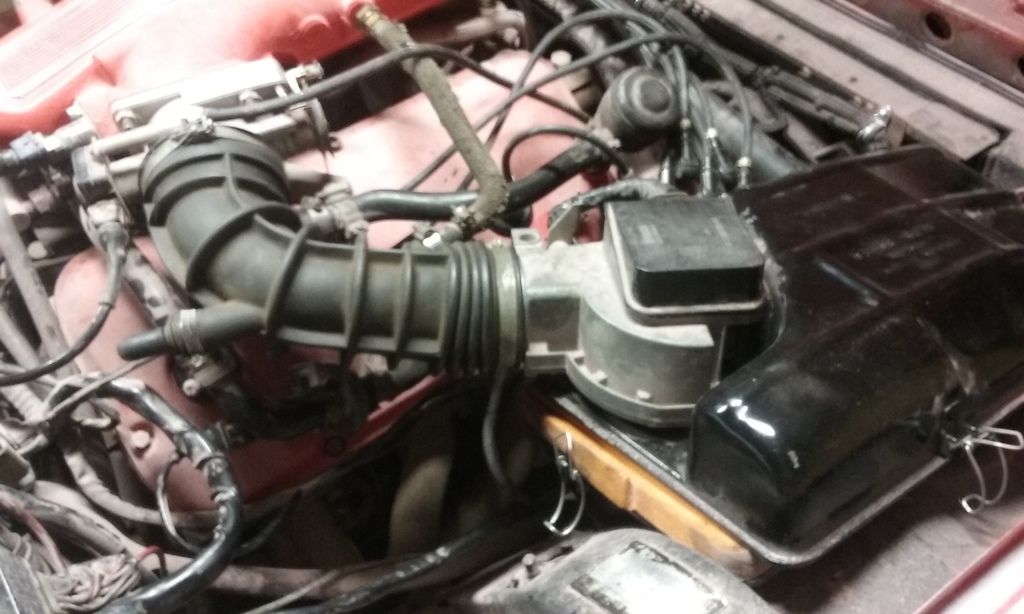
First things first: It's midnight and it's loud. I need to quiet things down a bit
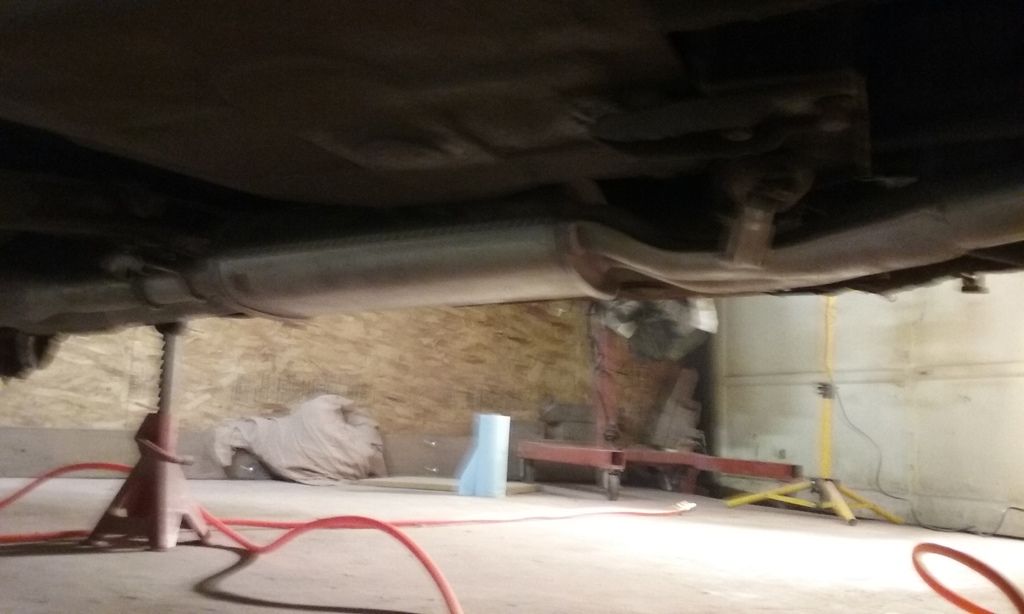
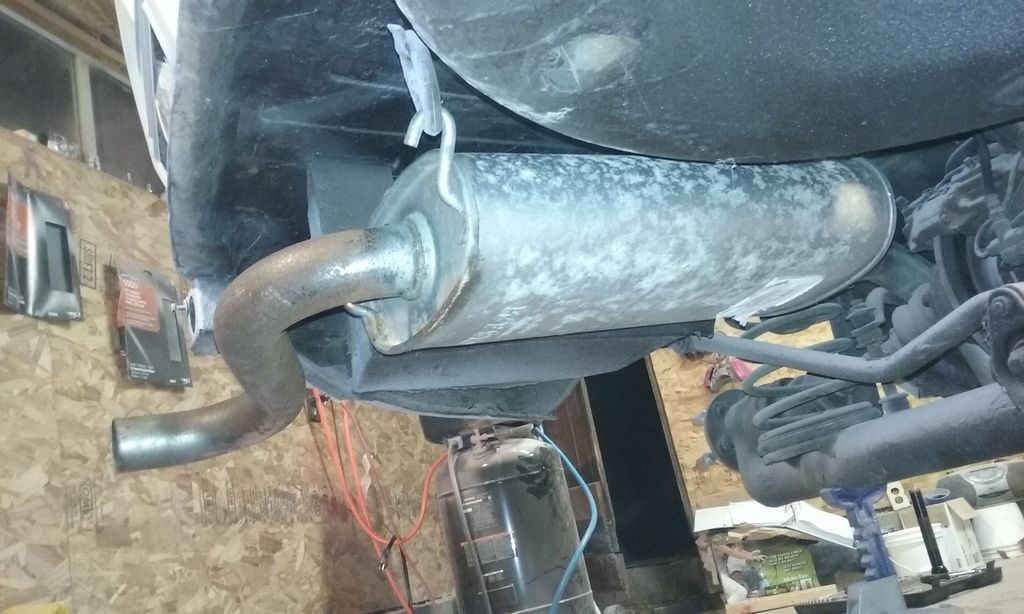
Here's what was originally under there (I think i've posted pictures before, but why not do it again?)
I figure it's because of incorrect ignition timing so I do everything I can to keep it running long enough to get a reference with my timing gun. Comedy ensues: It involves all manner of trying to keep feather pressure on the pedal via means of a flathead screwdriver, garage sheet, cardboard boxes, and the like but I'm really chasing my tail. I'm showing it runs best at 30deg of advance (keep in mind the advance is hooked up still, and I had to open a throttle a fraction to keep it running) but something still isn't right. It's just so "rough"
Then I find this:
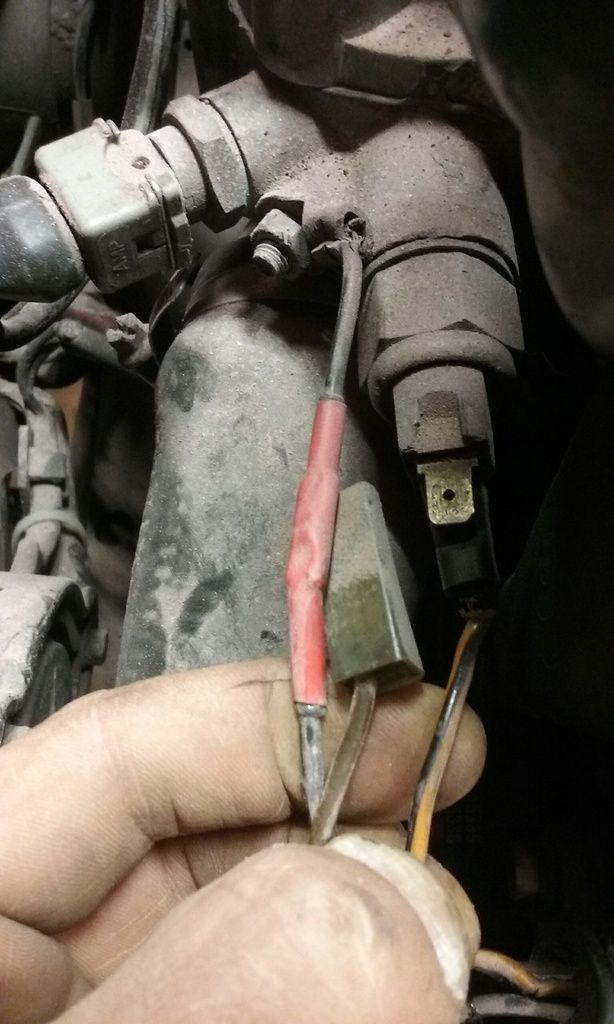
Broken wire on the ECU's collant temp sensor. That'd explain things a bit, especially if the ECU had a "limp home" mode (spoiler alert: it doesnt). I figure without a temp reference the ECU is probably pouring fuel into the engine and THAT is probably what's causing the rough running
(which is good because I was really worried I timed those cams wrong, or the cams were too aggressive for the ecu and were going to deliver zero power at low RPM, etc)
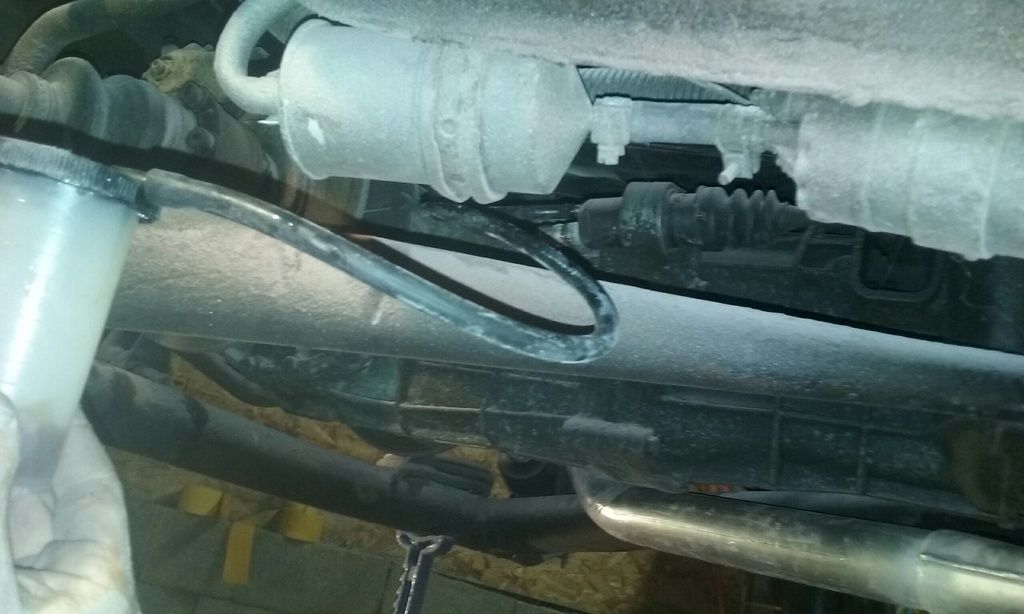
So I fix the wire, and when I do I accidentally rip off a nearby ground (see previous picture for location)
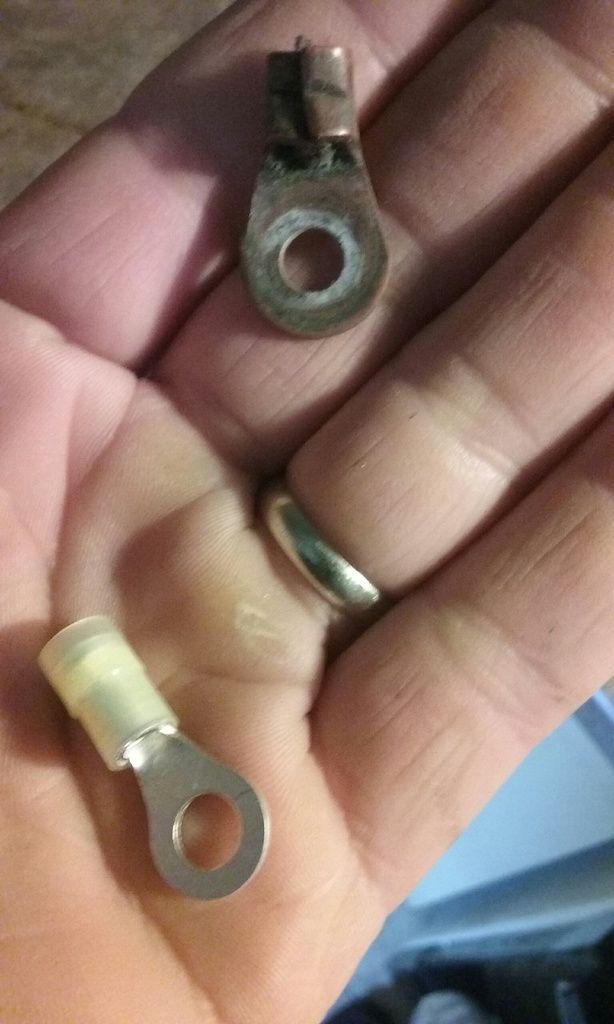
I get THAT fixed, and I'm out of time (how did I miss these when I had the harness out?!?). I give the key a quick turn and it fires up with a little throttle. it SEEMS much smoother, but that could be just a placebo effect. She still wont idle, and I have no idea what the ignition timing is reading now. More to follow I guess ![]()
Good times

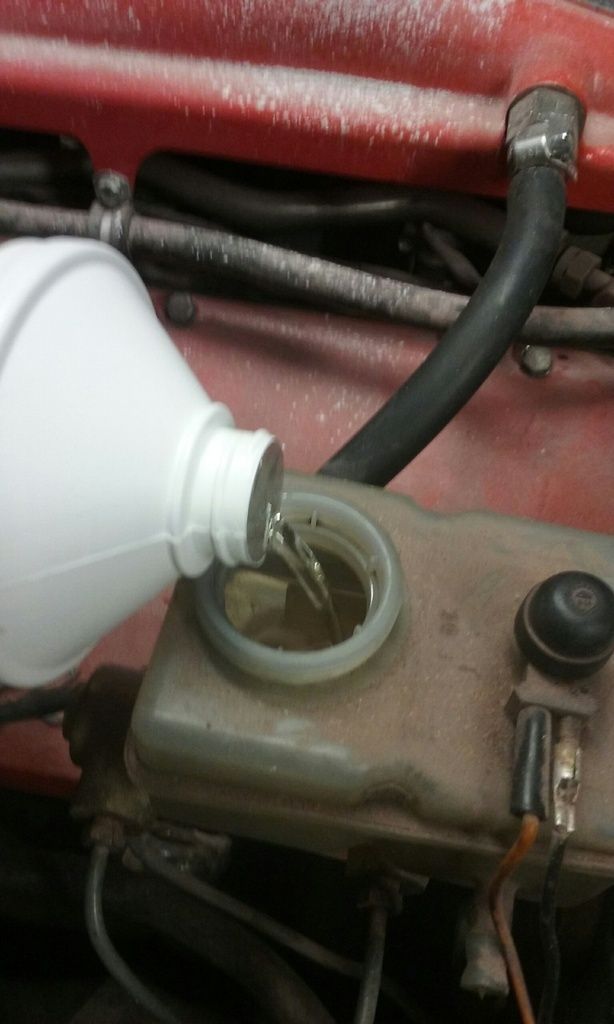
Wowa I thought for a second you were putting diesel in your car. Only time I see yellow tanks are for diesel so I was going thats why it won't run.
Guessing you have gas in there. Have you cleaned out the old gas and checked the rubber gas lines. Wifes alfa spider ate the rubber lines and then colgged the filter to the spica. Might be some of the same thing happening with your gtv.
Crackers: I do have some fast activator, but the medium stuff was a "partial" so I figured I'd try to kill it. Besides, with no real plans to paint, I figured it had PLENTY of time to do its thing (even with the cold weather).
The 4:1:1 with reducer was mentioned in the data sheet, but it referred to that mixture as "sealer" so I stayed away and opted for the "high build" mix instead. Still not sure what I'm doing, but the usual response to "sealer" in the interwebz is "zomg, waste of time! paint over high build! Gaaaaah" (paraphrasing a bit there) so I tried to play it safe ![]()
Brad: That could very well be a diesel can. I got that when I lived in Hungary for reasons unknown (as even my lawn mower was electric...). Looks like it finally came in handy.
I drained all the gas out some years back so we should be good to go there, but that's not to say that there isn't some crud floating around. I have a spare filter I can install but wanted to wait until I gave the crud a bit more of a chance to break loose.
All the lines have been replaced though, with the exception of a 6-inch section near the fuel filter and pump. They're on my list, but since I'm in "wrap it up" mode, they kind of got put on the back burner.
Good times ![]()
The extra reducer just lets the solids flow and settle better making the porosity suitable for use as a sealer. Uniform surface porosity is what's you're really after with sealer, but the lower porosity the better. It should still sand fine, but since the neater arrangement/layout of solids makes the paint cure with lower volume you have to use a higher quantity of paint to achieve the same build thickness. (Does that make sense in English?)
Certain high builds can suck up quite a bit of paint. It will (can) make the topcoat act like your primer did over the body filler on the first coat. An extra topcoat is usually enough to compensate, but it can make for a poor/uneven surface quality, especially if the primer doesn't have a uniform porosity.
If I'm following correctly, you're moving to Austin? What part? I'm not far from there by Texas standards. (Almost 200 mile round trip for work today)
Nooooo, I'm moving to Kuwait. Only the car is moving to Austin.
Initial probing into car importation regulations tells me that Kuwait wont allow any car to be imported that's over 10 years old (they dont want junk cluttering up their nice country). So M4ff3w offered to watch the car for me until I move again, and then I'll hopefully be able to ship it to myself. If I cant.... well, I dont like to think about that.
Right now I'm going over my list of GRM shipping volunteers to see how realistic this relay is going to be (there are some looooong stretches once we get to Nevada)
Your post makes perfect sense! So big question. If I just do a scuffing sand to get the next coat to adhere to what I have, could I shoot the 4:1:1 over that in the hopes that it would smooth things out, or would it just exaggerate the already there orange peel?
Yo no comprende. ![]() Apparently. Kuwait is too far of a drive, even for the native Texans.
Apparently. Kuwait is too far of a drive, even for the native Texans. ![]()
Yeah, there's a whole lot of nothing between Nevada and Austin, besides Albuquerue. I've done L.A. to Austin a few times and it can be maddening.
As far as orange peel, unfortunately you can really only get it out with sanding, at least as far as I know. The best you can hope for is to not make it worse. But, if you sand it smooth and shoot some 4:1:1 over it, it should lay much better and be ready for topcoat.
High build is specifically intended to be mostly sanded back off anyway, so in that respect you're right on track. LOL
If you're short on time, shoot some sacrificial single stage urethane to weather proof it so you can take your time and do your finish work later. I think I got a gallon of Wimbledon White for like $110 +s/h with activator, sticks and filters. That seems to be about the going rate for the low end stuff. Not as cheap as some options, but at least you can just scuff and paint over it.

Bill,
You will have to sand it smooth before topcoating or you will still have the orange peel. Since you still have bodywork to finish, I wouldn't worry about that at this point. If you thin to4:1:1, it will hold out fine and no need to put paint on it.
Thanks guys. I'll give it a little sanding before shooting again at the 4:1:1 ratio to seal it all up (in further research, the dealing abilities of the primer to away when you scuff it up). It's been a learning experience I tell ya. Next time around will be better ![]()
I was troubleshooting the no idle issue today and snagged a quick video of it running:
https://www.youtube.com/embed/Ou3ys7F56I0
Details on the troubleshooting to follow shortly (sending this from my phone)
Good times
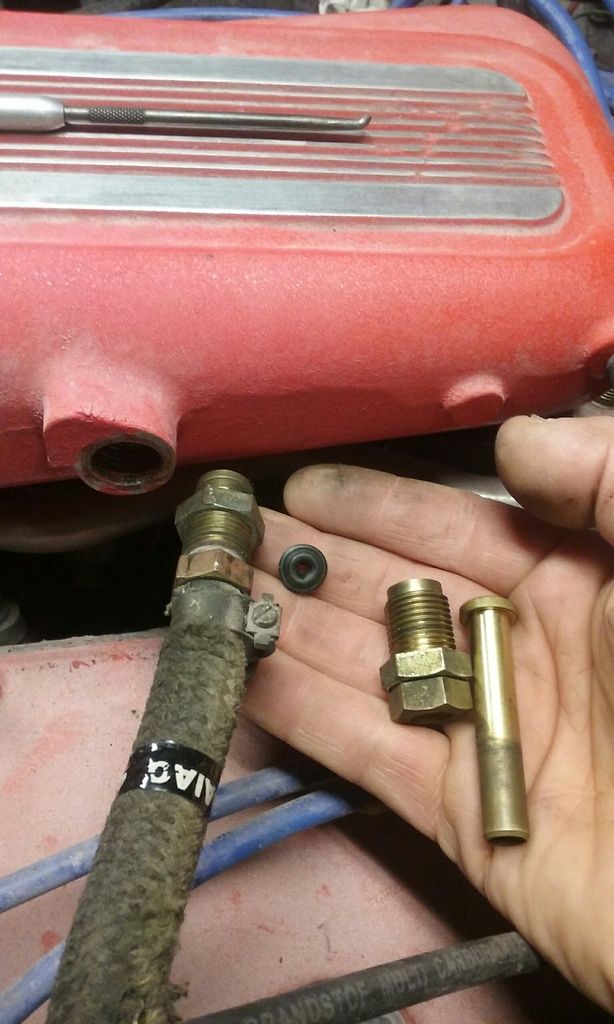
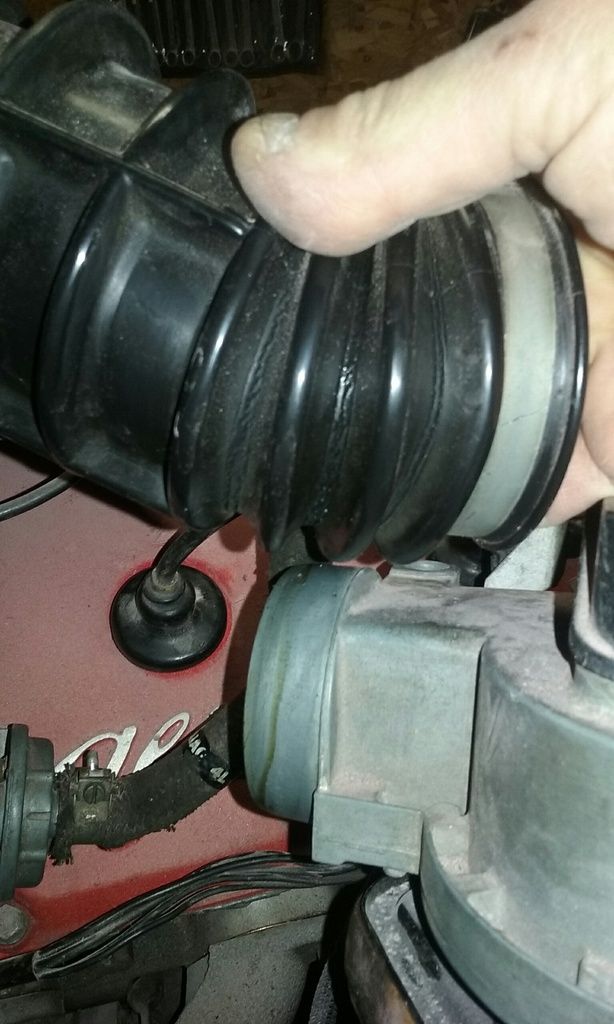
Back on track: Trying to get this thing to idle.
Did you know this is how you adjust the idle on this pig?
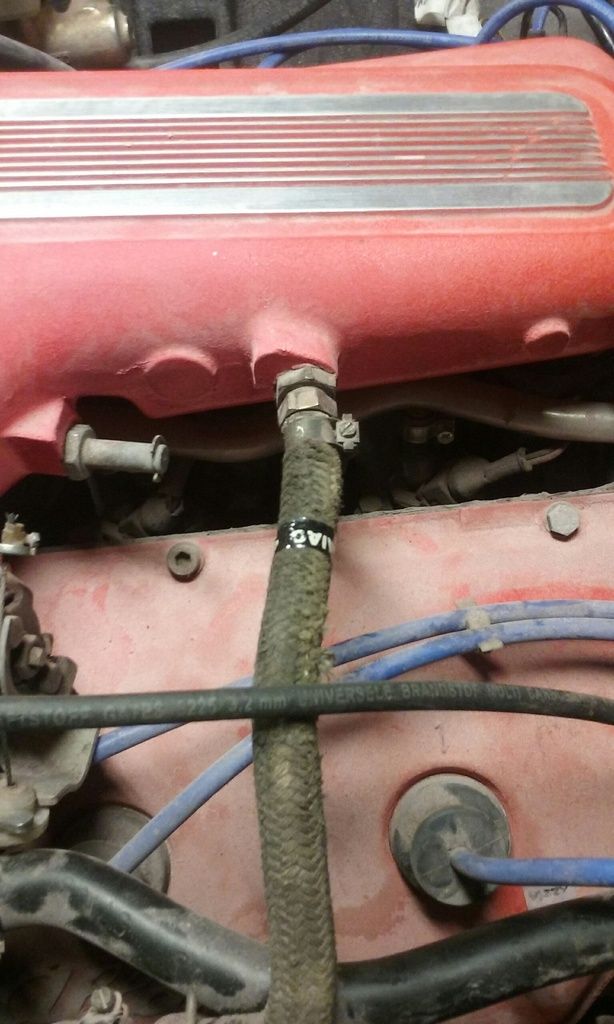
That plenum port has a sleeved fitting with a locknut that squeezes an o-ring. the more you squeeze it, the smaller the o-ring hole gets and the lower your idle is. My bet is I tightened it all the way down after painting the plenum since I didn't know any better.
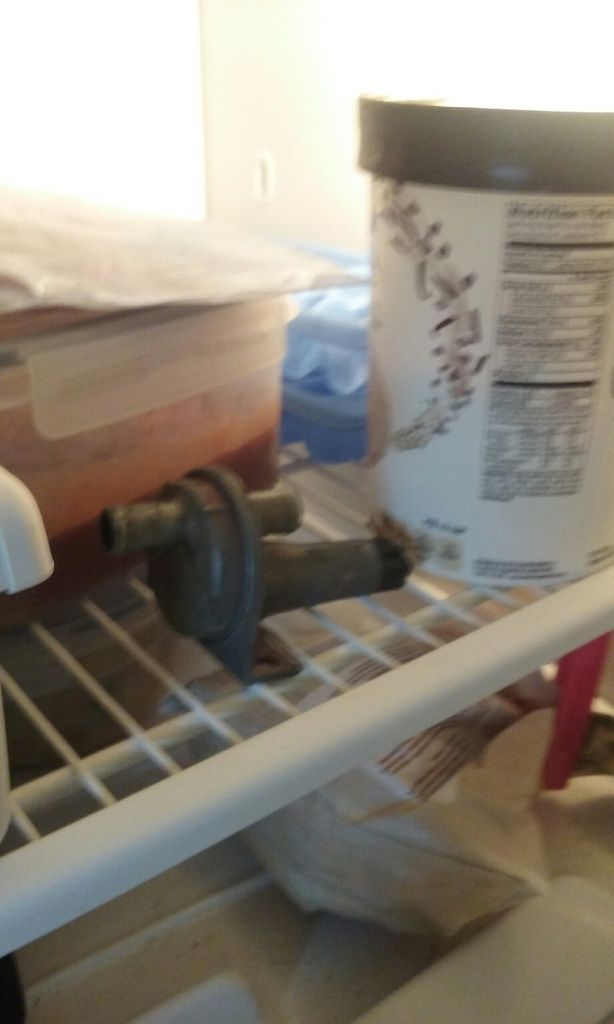
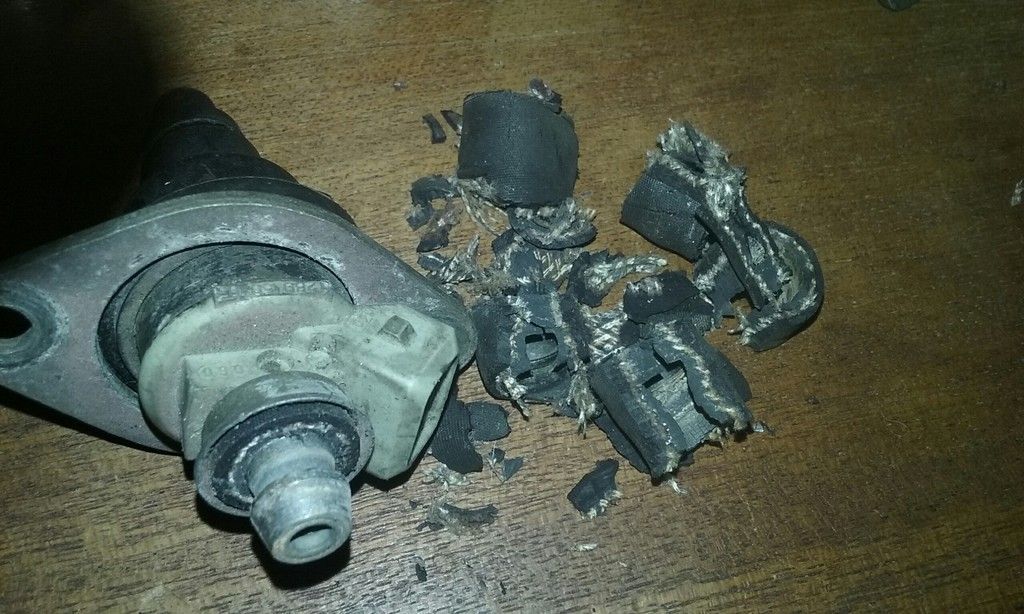
This is what it looks like on the inside:
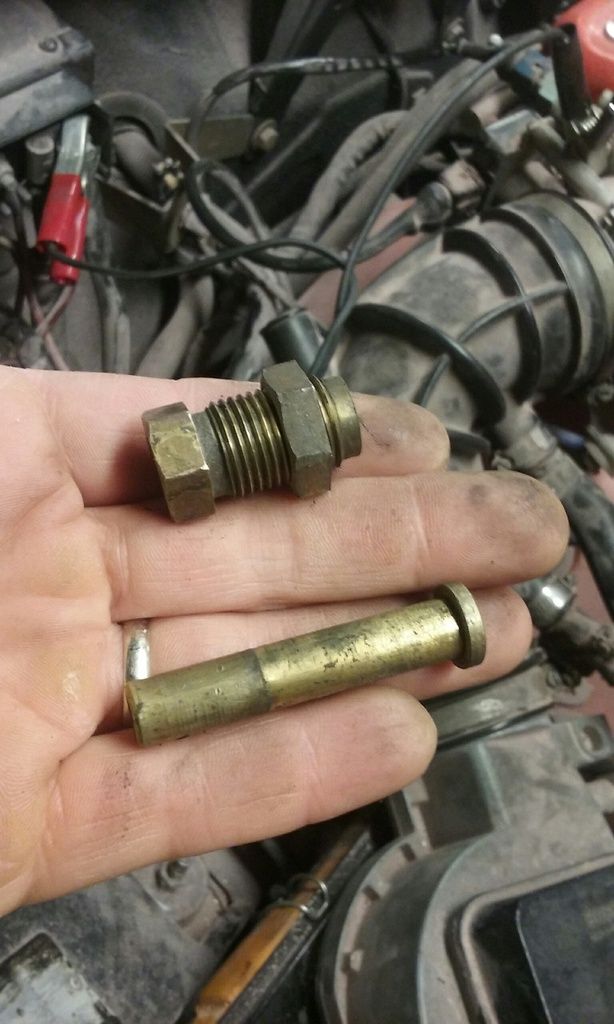
For giggles, I took the one on my spare plenum apart and checked it (especially since I didnt see an o-ring in the one I was using)
That o-ring is boogered, but I tried it anyways. With the o-ring in, the idle is worse and runability doesnt seem effected. With it out the engine will barely idle. So I left it out and moved on to the next component (I didnt have any other o-rings to try. more to follow)
I took the Auxillary air valve out and tested it. The idea is it lets more air bypass the throttle plate in cold weather. The test is simple: you freeze it, and look inside. It should be nearly see-through
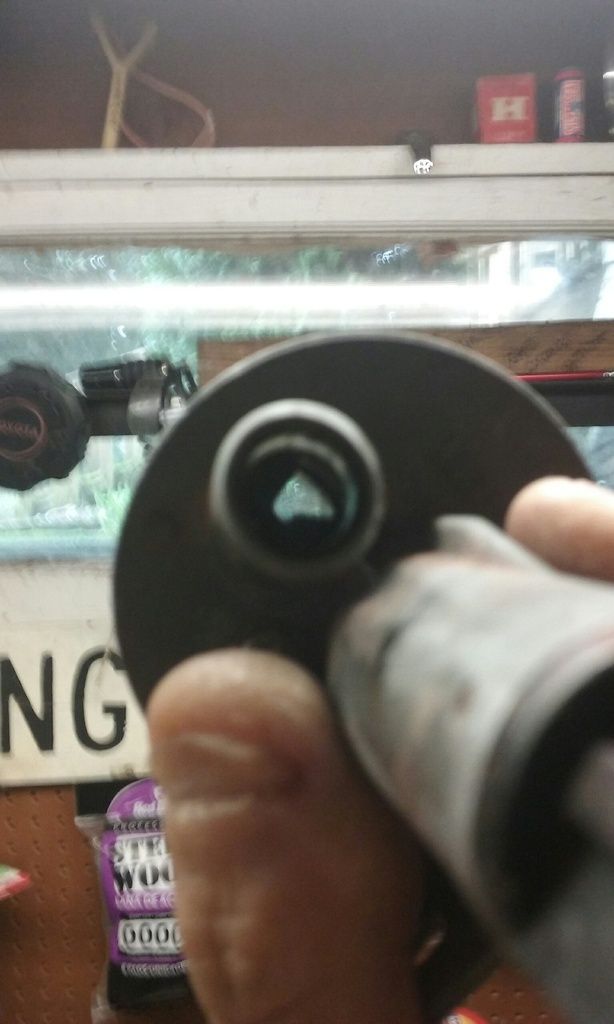
It checked good, but I tried my spare just in case. neither had any discernable effect on idle quality except when I put the still frozen one in, the car wouldnt go back to its barely idling condition until it warmed back up a bit. ![]()
That was about all the time I had, but I did manage to pick up some o-rings on my way to work
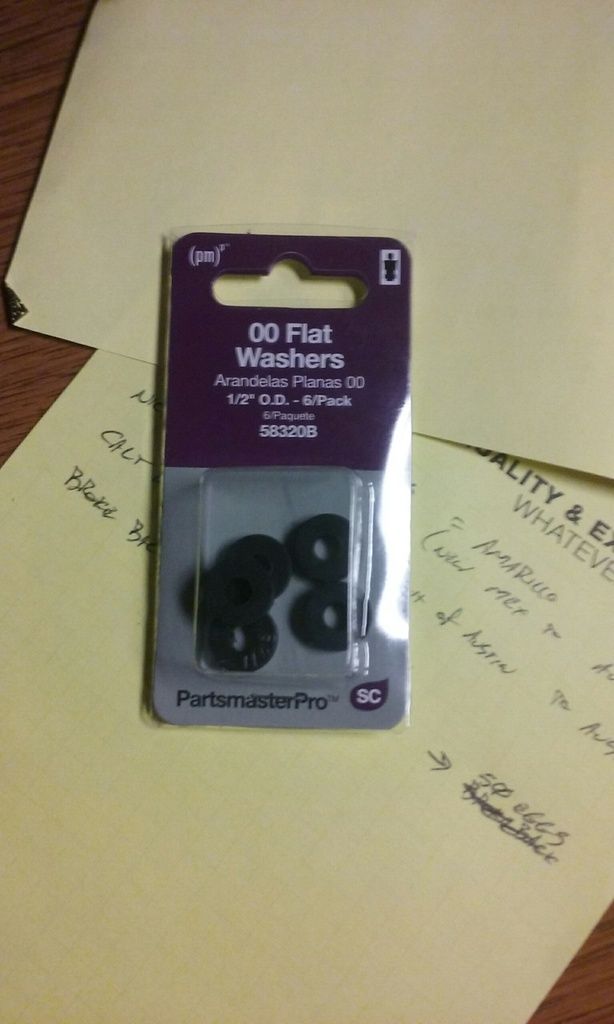
The dimensions I found on Alfabb were 1/2"od, 1/4"id, 1/8" wide. I had to help that i.d. a bit ![]()
Good times
While at work, I had an apostrophe (lightning struck my brain).
If my cam timing was too advanced then it would explain a lot (like why my timing gun is telling me my car likes 25deg of advance at just over 1000rpms)
![]()
More to follow
Well that must hurt.

Excellent o-ring sourcing.
Weekend aftermath. I think it's best to do this in chunks since I was bouncing around like a 5-year-old with a redbull
also, photobucket is not working right now. It wont let me upload with firefox and it wont let me copy links with internet explorer. It DID let me upload with explorer so lets see if I can use the two browsers to do my update.
here goes:
< Chunks >
First I wanted to check cam timing. To do that I needed to pop a valve cover. For THAT I 'm going to steal a trick from Mazdeuces build thread (here's to you Deuce!)
Seriously though, all the prying in the world wouldnt get that cover off (RTV... my own fault really) but tapping one blade in the corner and it peeled right up!
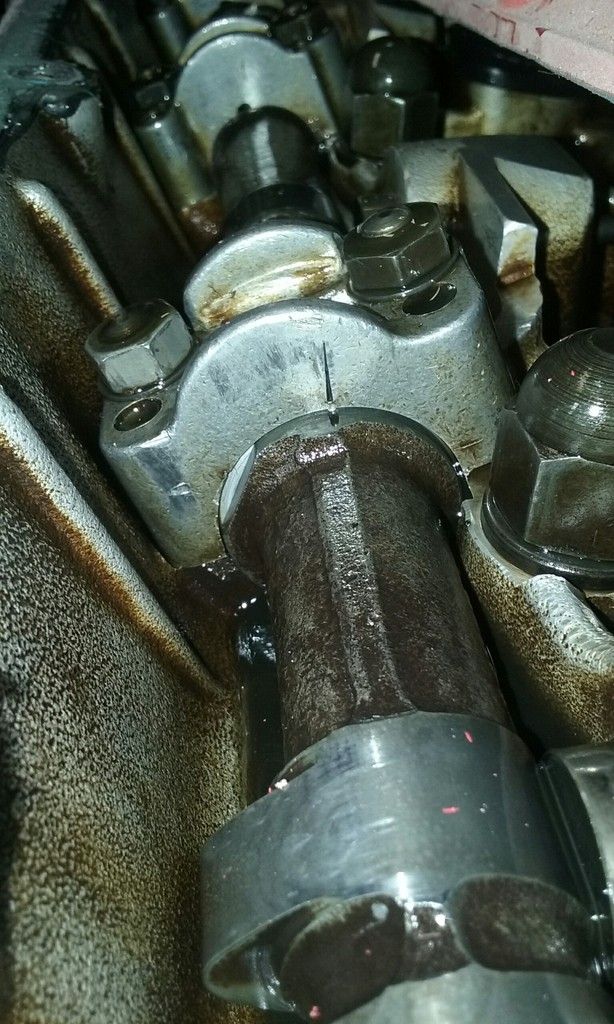
Verdict: Driver's side cam is timed.
The passenger cam requires more effort. If this persists too long I'll check it but for now I'm confident enough in my abilities that I trust I didnt skip a tooth or anything.
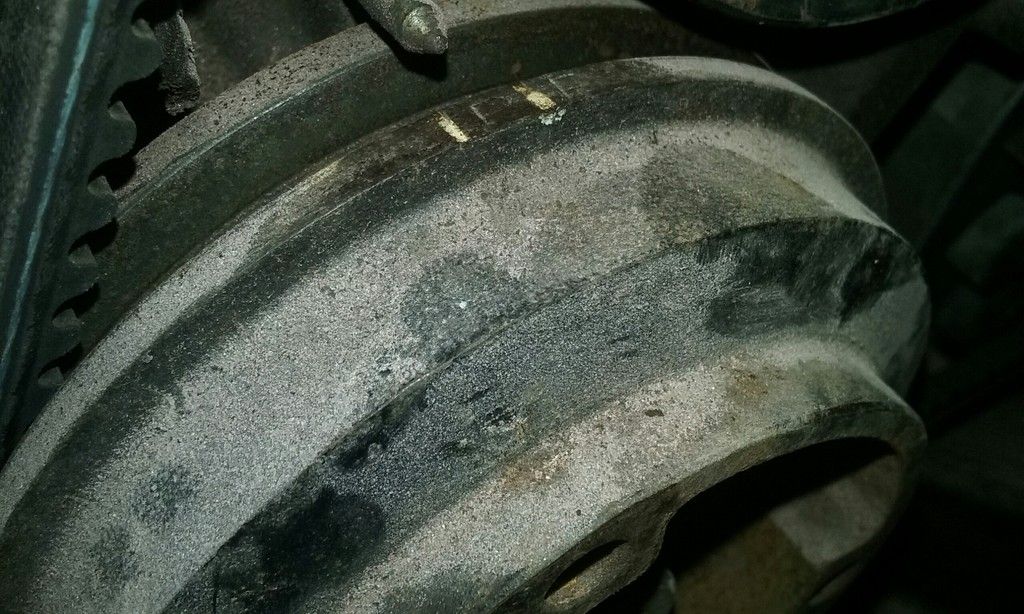
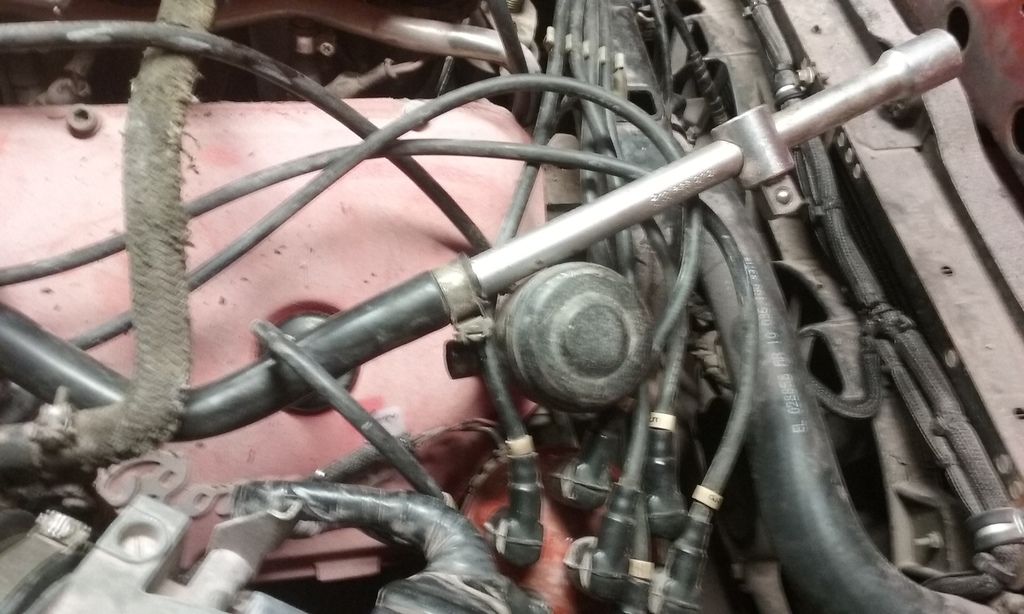
Distributor advance?
I did this on Saturday. Monday I found a graph showing the GTV6 advance curve (vacuum, not electric) so I have to go in and double check the vacuum vs advance timing.
But for now just watch that nub by my finger (sorry for the photo angle change):
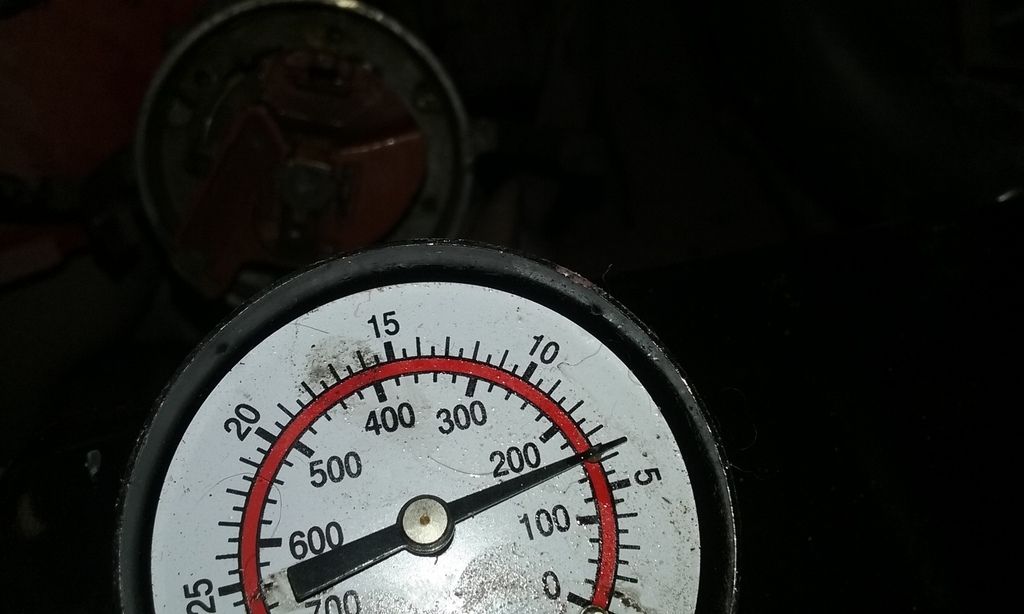
It stopped moving there so I stopped pulling more vacuum. With my newly found graph, I need to back and revisit this.
Vacuum leak in the intake track.
kind of a click bait title since the leak I found was so small... Basically I checked a common leak location by turning out hte lights and shining a flashlight in. It was tiny but I had spares so I swapped it out.

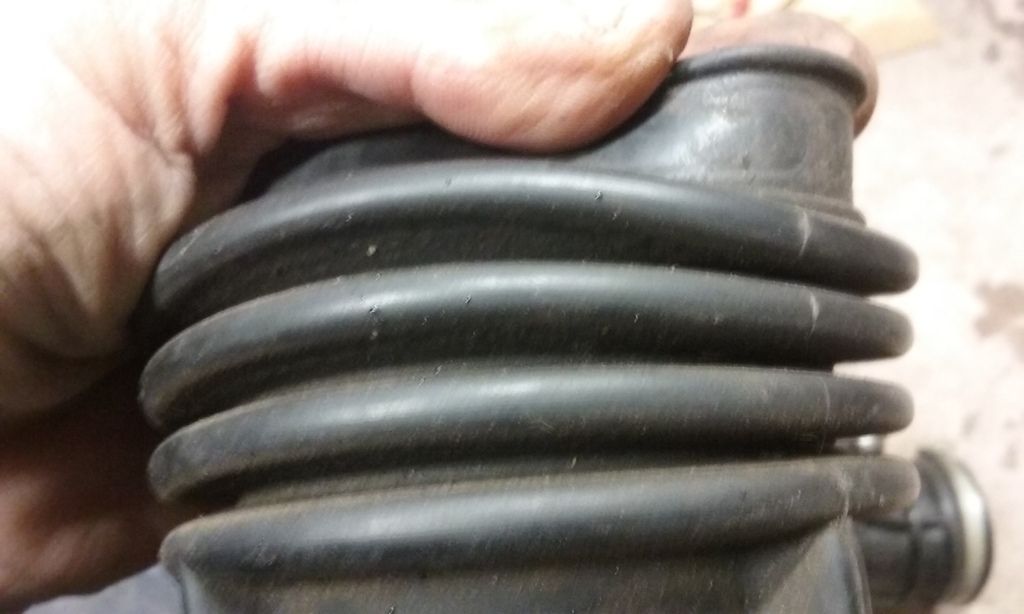
Fixed. but no real noticeable change in the idle quality
Mezzanine brought by a little Bosch fuel injector tester doohickey so I thought I'd put it to good use.
For giggles I hooked it up to my cold start injector and give it a click. It fires the injector for a "one count" and you can fire it again every three seconds. it seemed to help smooth the idle out but really unless I can get that thing to fire constantly I don't think I'm really going to get any absolute results (especially as that fuel is shared by all 6 cylinders)
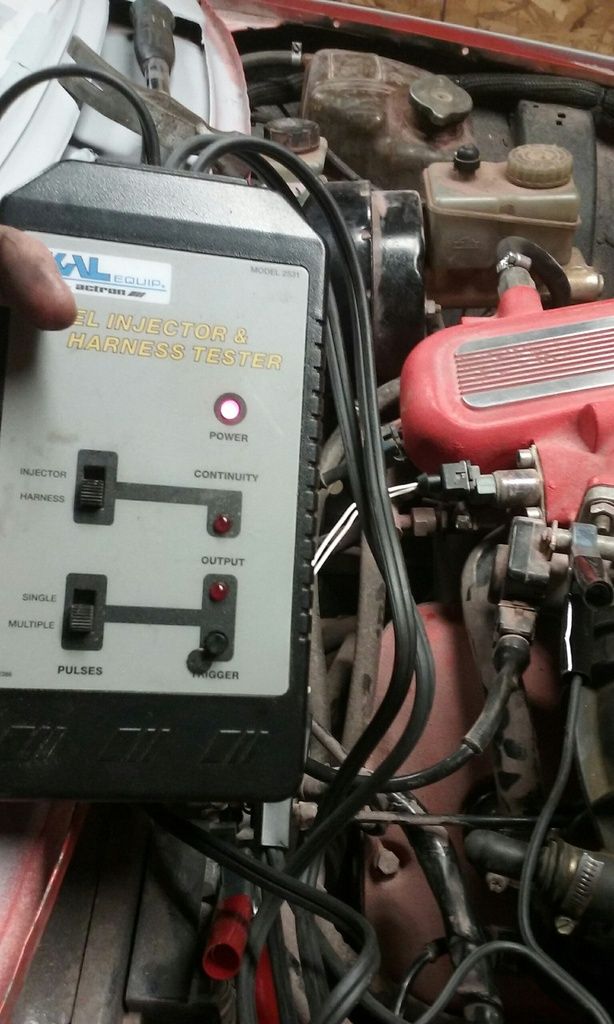
but it was fun, and that's what's really important ![]()
I've had bad luck with crank ventilation causing vacuum issues before, so I opted to test that next...
No change in idle quality, so I hooked it back up
I was running out of ideas to play with (well, there's plenty more to check but time + effort and all that) so I decided to do some thinking while I sanded some of that orange peel from the high build
I wasnt coming up with any good ideas for the rest of the night so I decided the answer must be Russian Standard in a Dr. Who mug
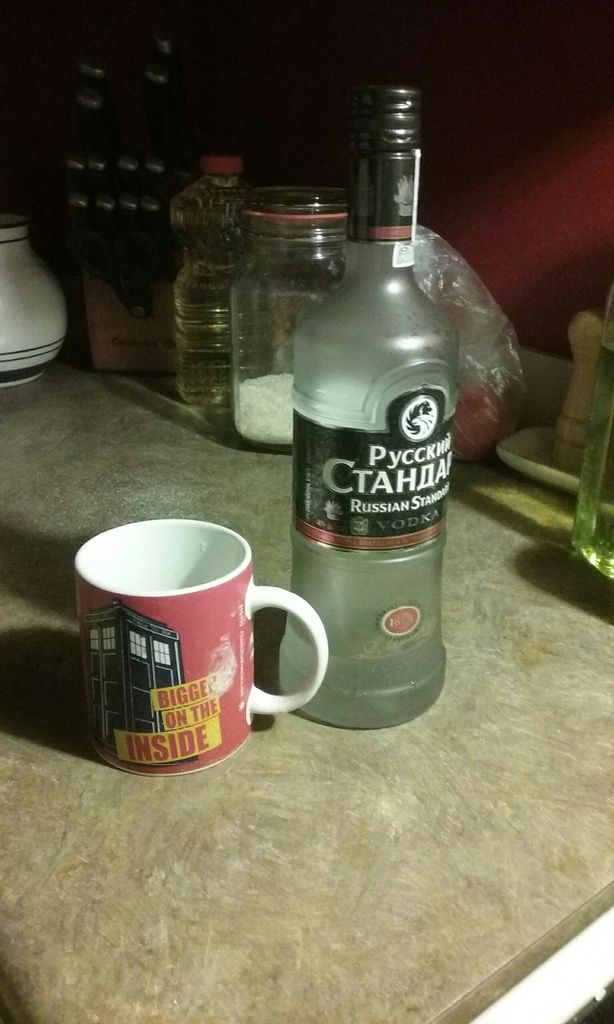
end saturday. Alfa: 1 Bill: 0
Sunday night I'm back at it. While I put the kid to sleep I pull my spare injectors from my spare fuel rail (first with a knife, then with a scribe)
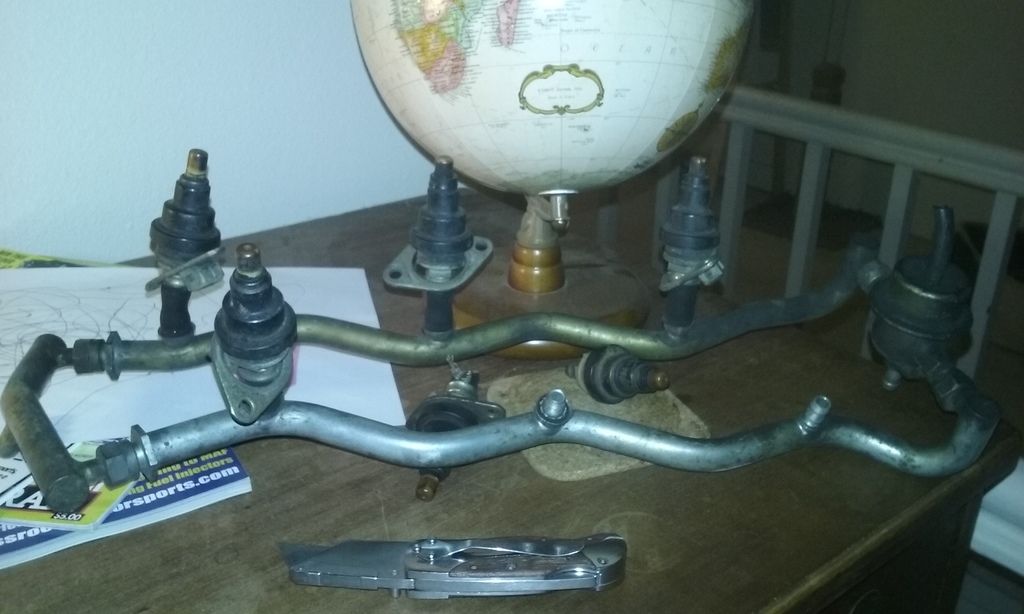
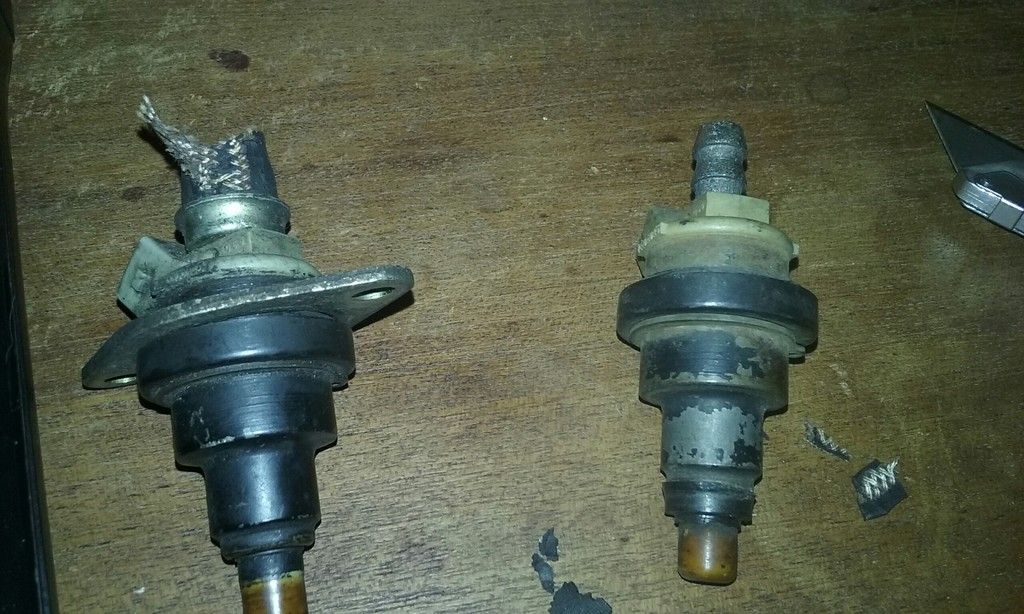
So of course the first thing I did after the kid fell asleep was run out to the garage and test or install the injectors right?
well, wrong. See, Mezzanine brought up a good point: What if this is just and "idle problem"? Is that the best use of my time if the rest still needs attention?
So I filled and bled the brakes and clutch
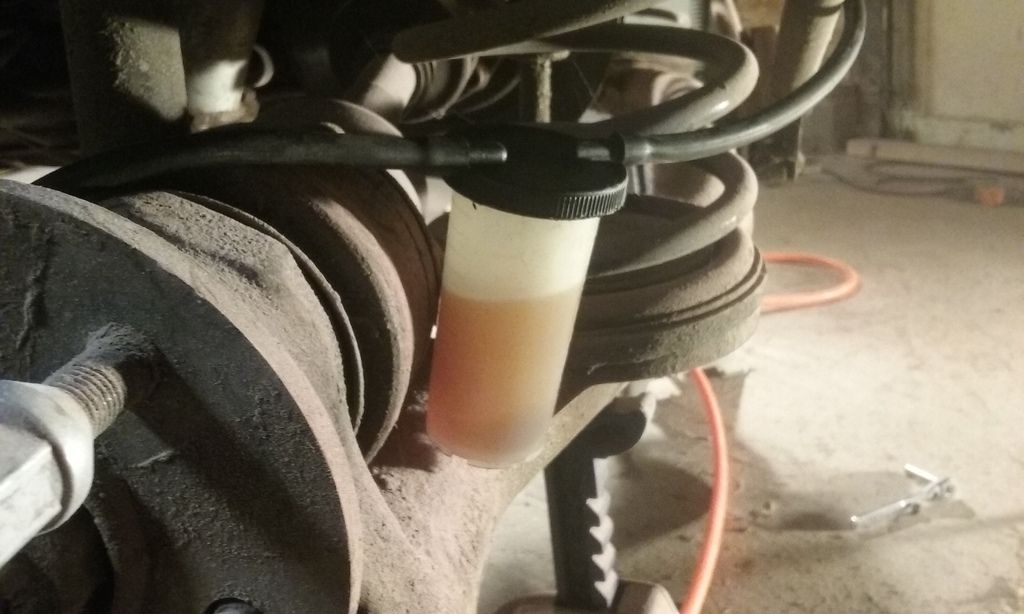
One full container from each bleeder (2ea on each back brake, 1ea on each front brake, and one for the clutch). Brakes checked good with a rock solid pedal, clutch seems to have a dead spot. I'll address that if I have to after I drive it
You'll need to log in to post.


