1 2 3 4 5 ... 8
JohnyHachi6
JohnyHachi6 Dork
1/9/14 2:28 a.m.
Toyman01 wrote: Oh, and just to let you know, a 4.5" grinder with a flap disk on it will remove amazing amounts of material in a short time. Especially when it's removing skin.

Did that twice while I was putting the cage in my chumpcar a few weeks ago. Crappy...

Love the build. Someday I'll need to get an off-road project like that.

Toyman01
Toyman01 GRM+ Memberand UltimaDork
1/9/14 5:26 p.m.

So, I temporarily assembled the rear suspension. I've been scratching my head for a couple of days trying to figure out how to work the spring mounts around the trailer hitch. Then I realized how stupid that was. I'll have to build another hitch after I finish the suspension.

With the hitch bolts in the way:

Hitch bolts gone:

While I was at it, I put the tires back on and set it on the ground.

It has several more inches of travel than it did, that's a good thing. It's sitting an inch or so higher than it was, not necessarily good. I guess I need to stop and do the front suspension before I finalize the rear. I'm not real fond of vehicles that don't sit level. Since the front is all kit parts, adjusting ride height would be a challenge. The rear being all fabricated, I can build the shackles any length necessary.

As usual, more to come.

Toyman01
Toyman01 GRM+ Memberand UltimaDork
1/11/14 10:05 p.m.

Color the rear suspension done other than shocks. I took measurements for them today.

I ended up building upper mounts and welding them to the frame rather than using the factory mounts like I had planned. Other than the crappy welds from standing on my head, it turned out OK.

I do like being able to powder coat things.

Toyman01
Toyman01 GRM+ Memberand UltimaDork
1/12/14 12:39 p.m.

Front axle removal and disassembly has commenced. I've never been into the front axle on a 4X4 before. It's pretty cool how it all goes together and works. The good news is the axle is in pretty good shape, the bad news is the knuckle seals are toast.

The lovely tan color is sand mixed with CV grease. Not a good thing. It looks like I caught it before the CV joints were contaminated, so a good cleaning and regreasing should take care of it. Well, that and $100 worth of knuckle seals.

While I have it apart, I'll go ahead and replace all the seals and any questionable bearings.

Here is a shot of the end of the axle the knuckle pivots on.

More to come.

Toyman01
Toyman01 GRM+ Memberand UltimaDork
1/12/14 12:46 p.m.

I just want to say, if you ever want a easy vehicle to work on, buy a lifted Samurai. Need to pull a driveshaft? You can do it sitting on a stool beside the truck. Need to work under the dash, a chair is the perfect height. Change the oil, no ramps needed and the oil filter is reachable from the top and doesn't dump on the frame. Everything about this little thing is simple, easy to reach, and you can get tools on everything without removing three other things first. This might be the most fun I've ever had working on a vehicle. Love it!

I might have to buy another one for when my middle son starts driving.

solfly
solfly New Reader
1/21/14 10:03 a.m.

damn i need another one of these...

ebonyandivory
ebonyandivory Dork
1/24/14 9:55 a.m.

In reply to Toyman01:

I've built three. One night, my alt belt broke. Drove home, popped the hood on my parts Samurai and my dd Samurai and swapped belts with a 13mm wrench in under 5 minutes for both procedures combined.

And I think every vehicle needs removable third-members and bolt-on drive shaft flanges!

Toyman01
Toyman01 GRM+ Memberand UltimaDork
1/31/14 8:10 p.m.

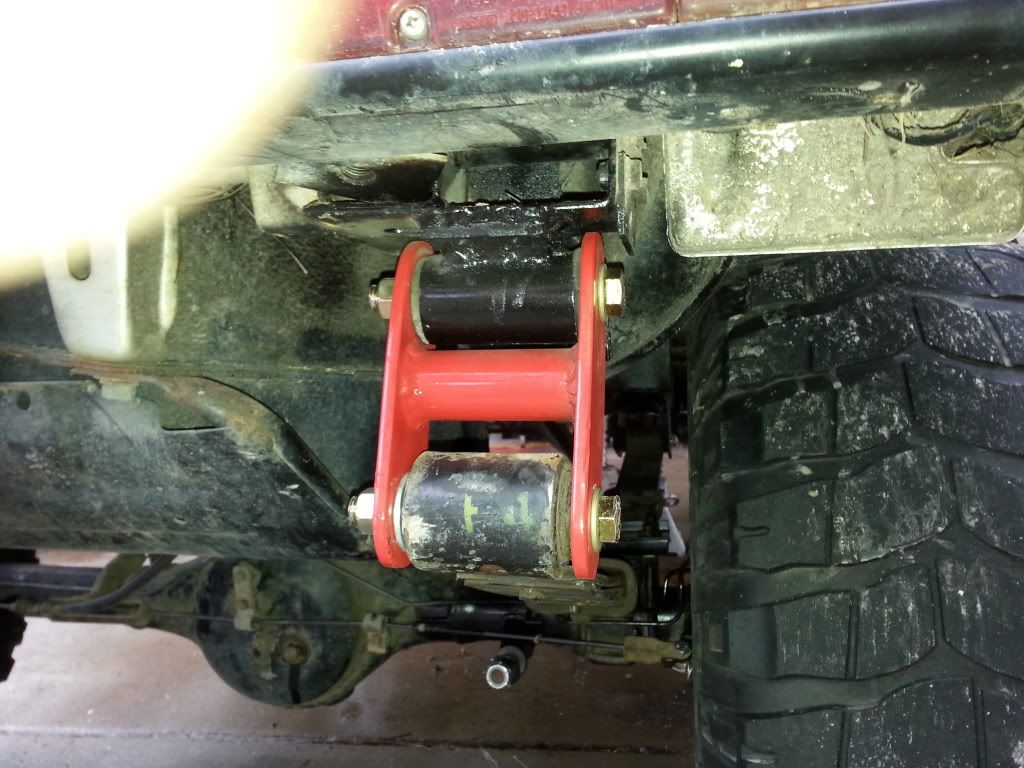
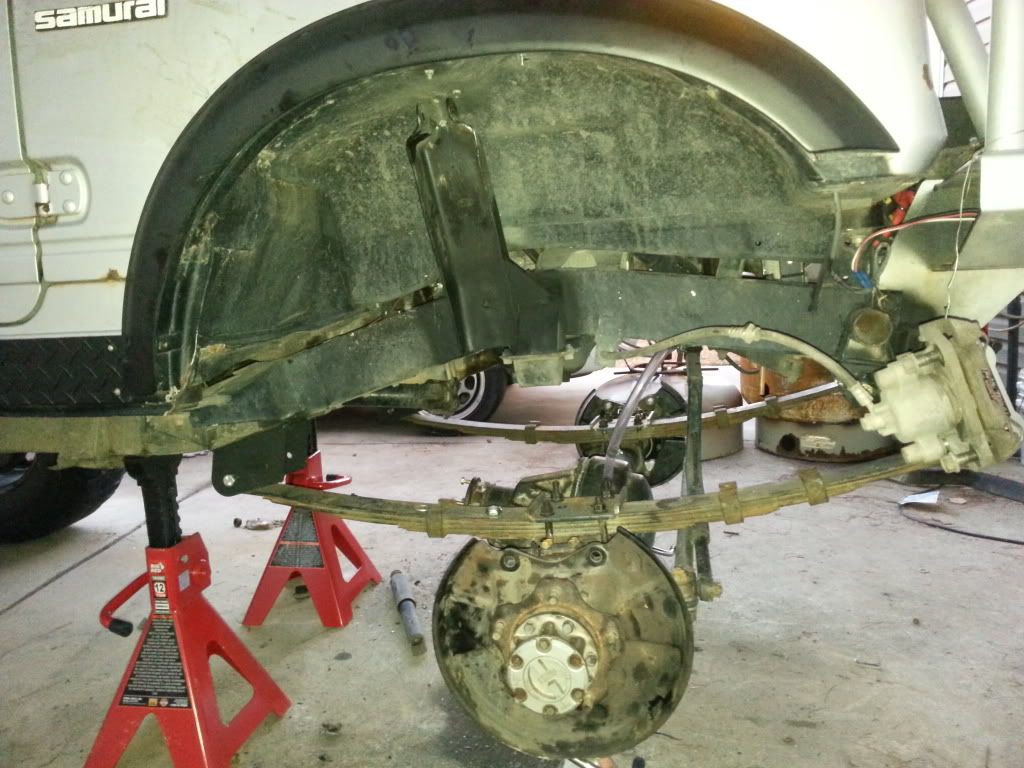
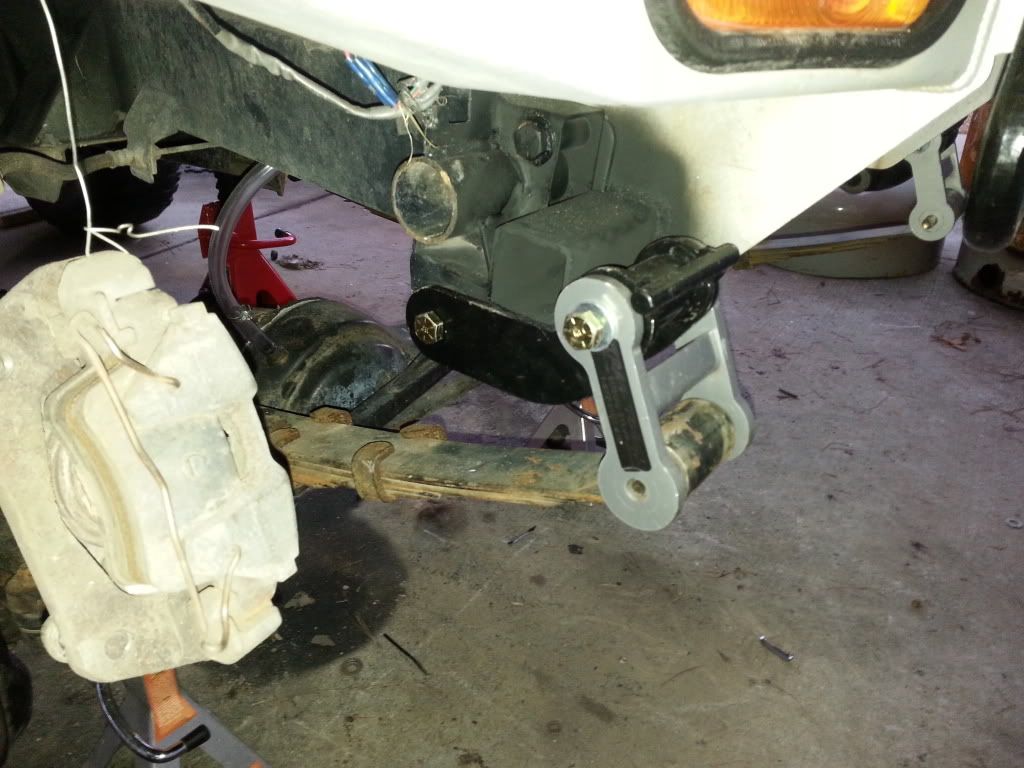
OK, another item checked off the list. I've been stalled on finishing the front axle work waiting on parts. Well, actually the money for parts, but same difference.

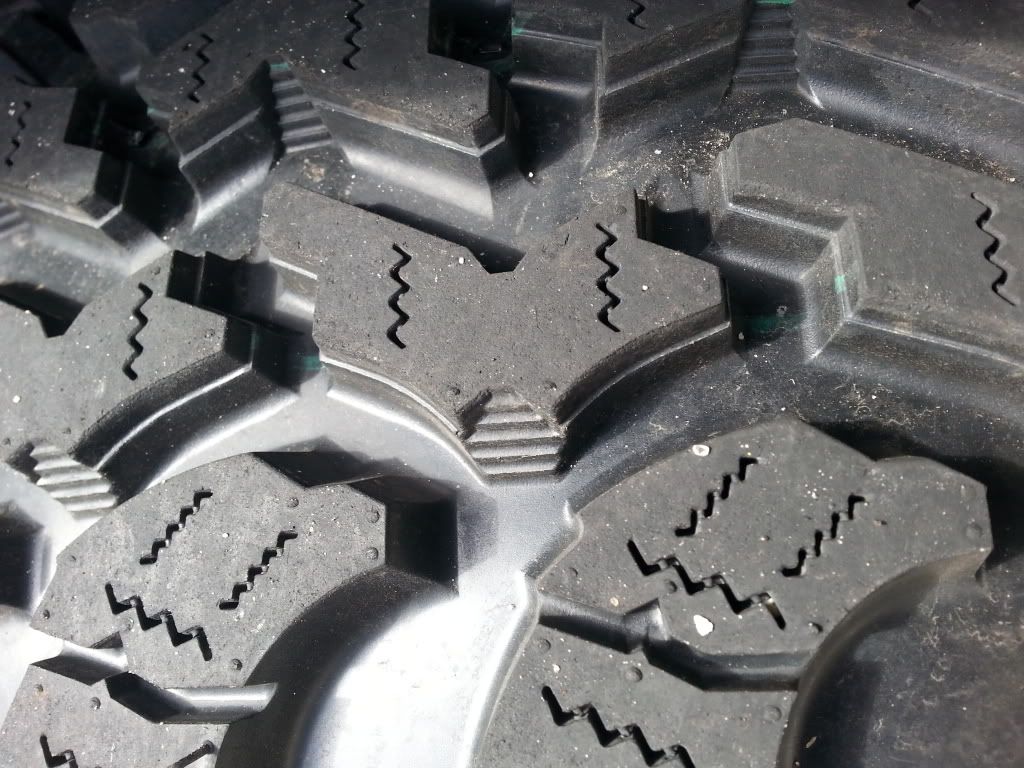
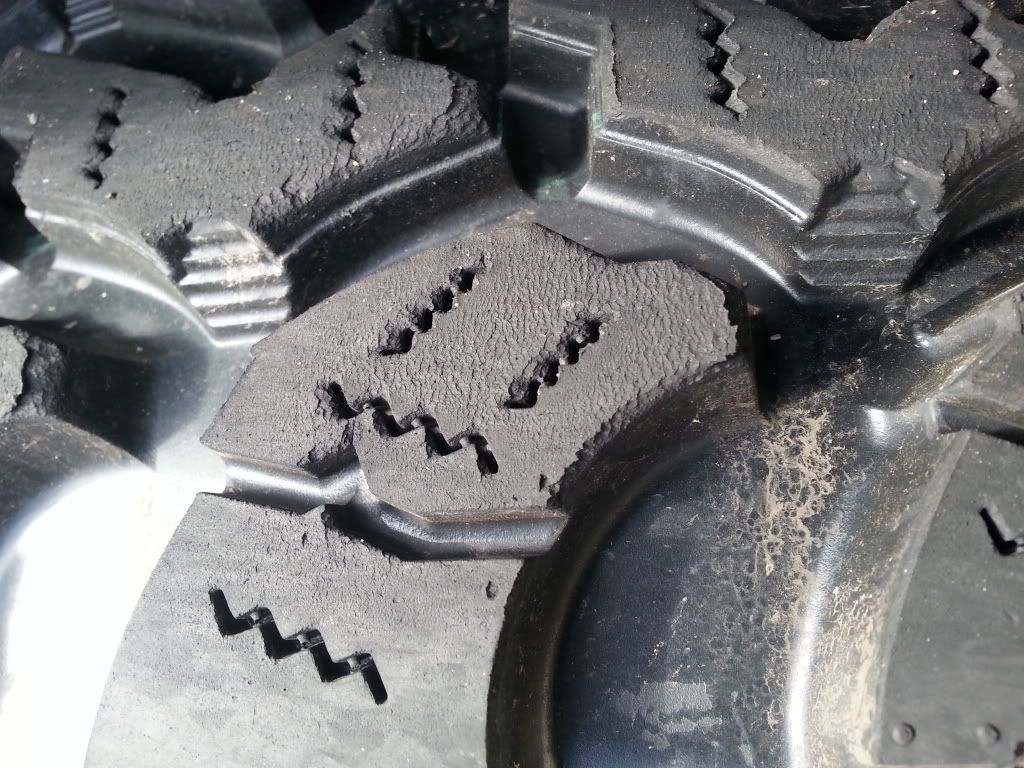
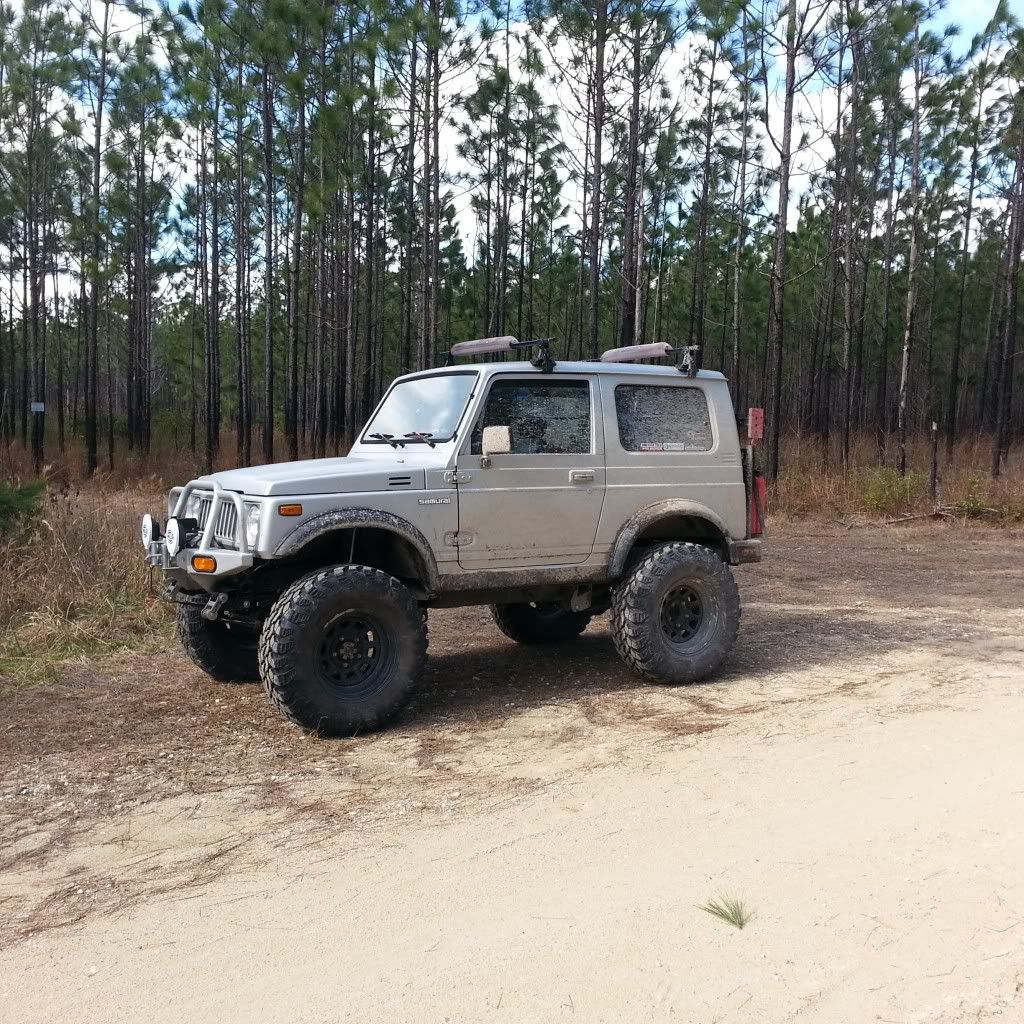
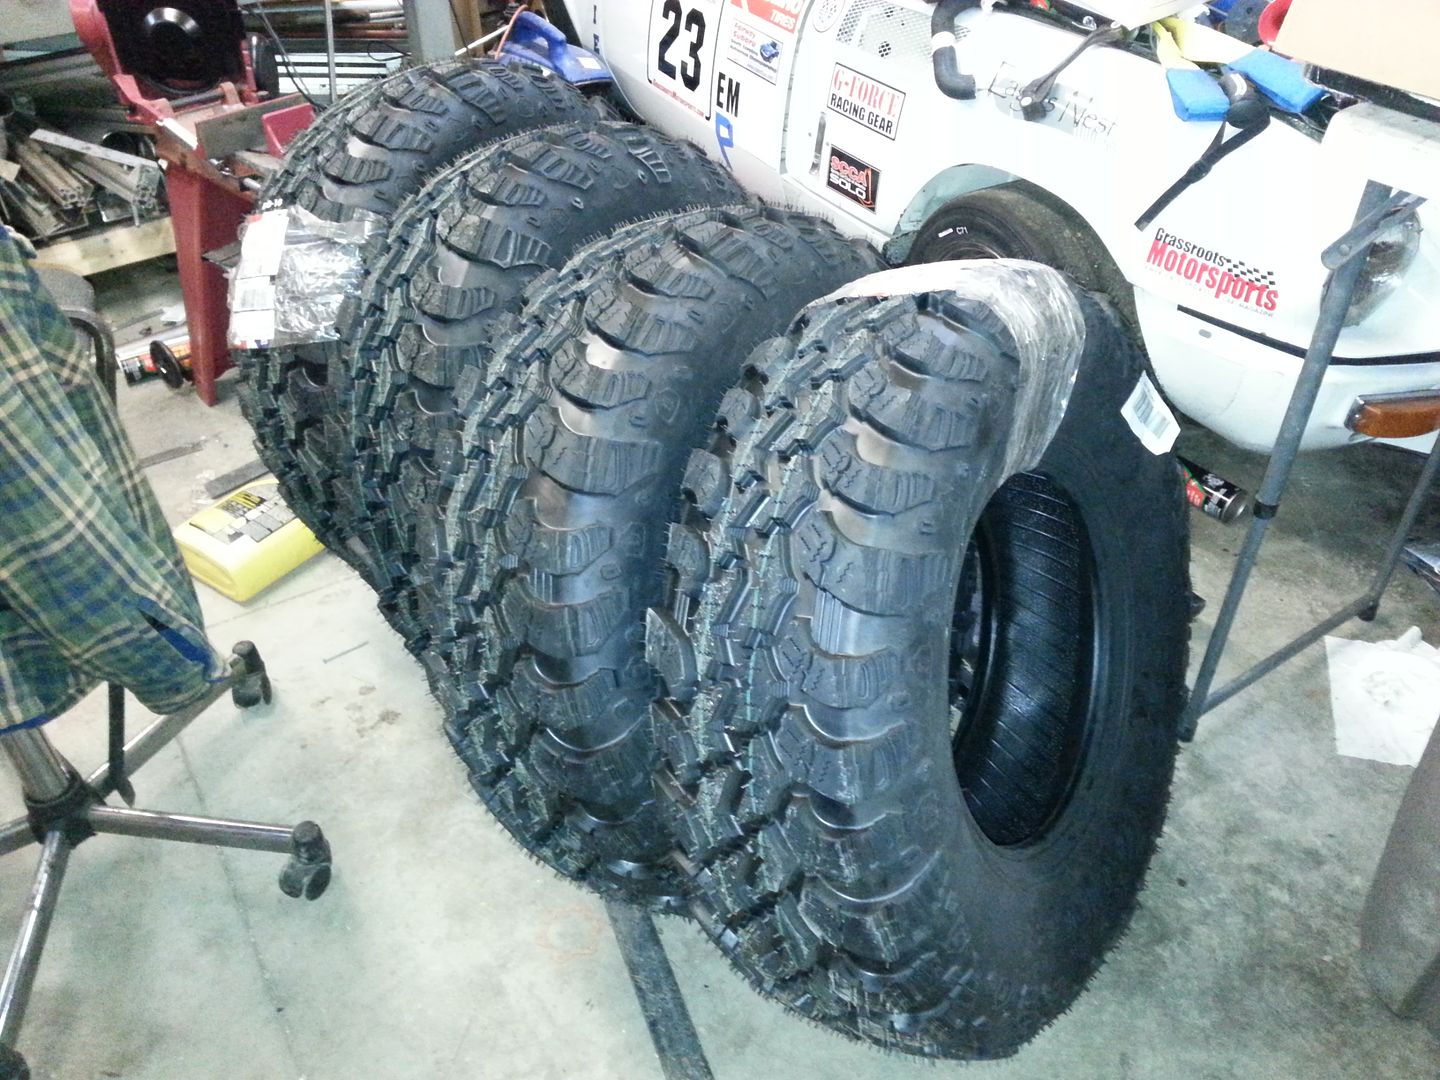
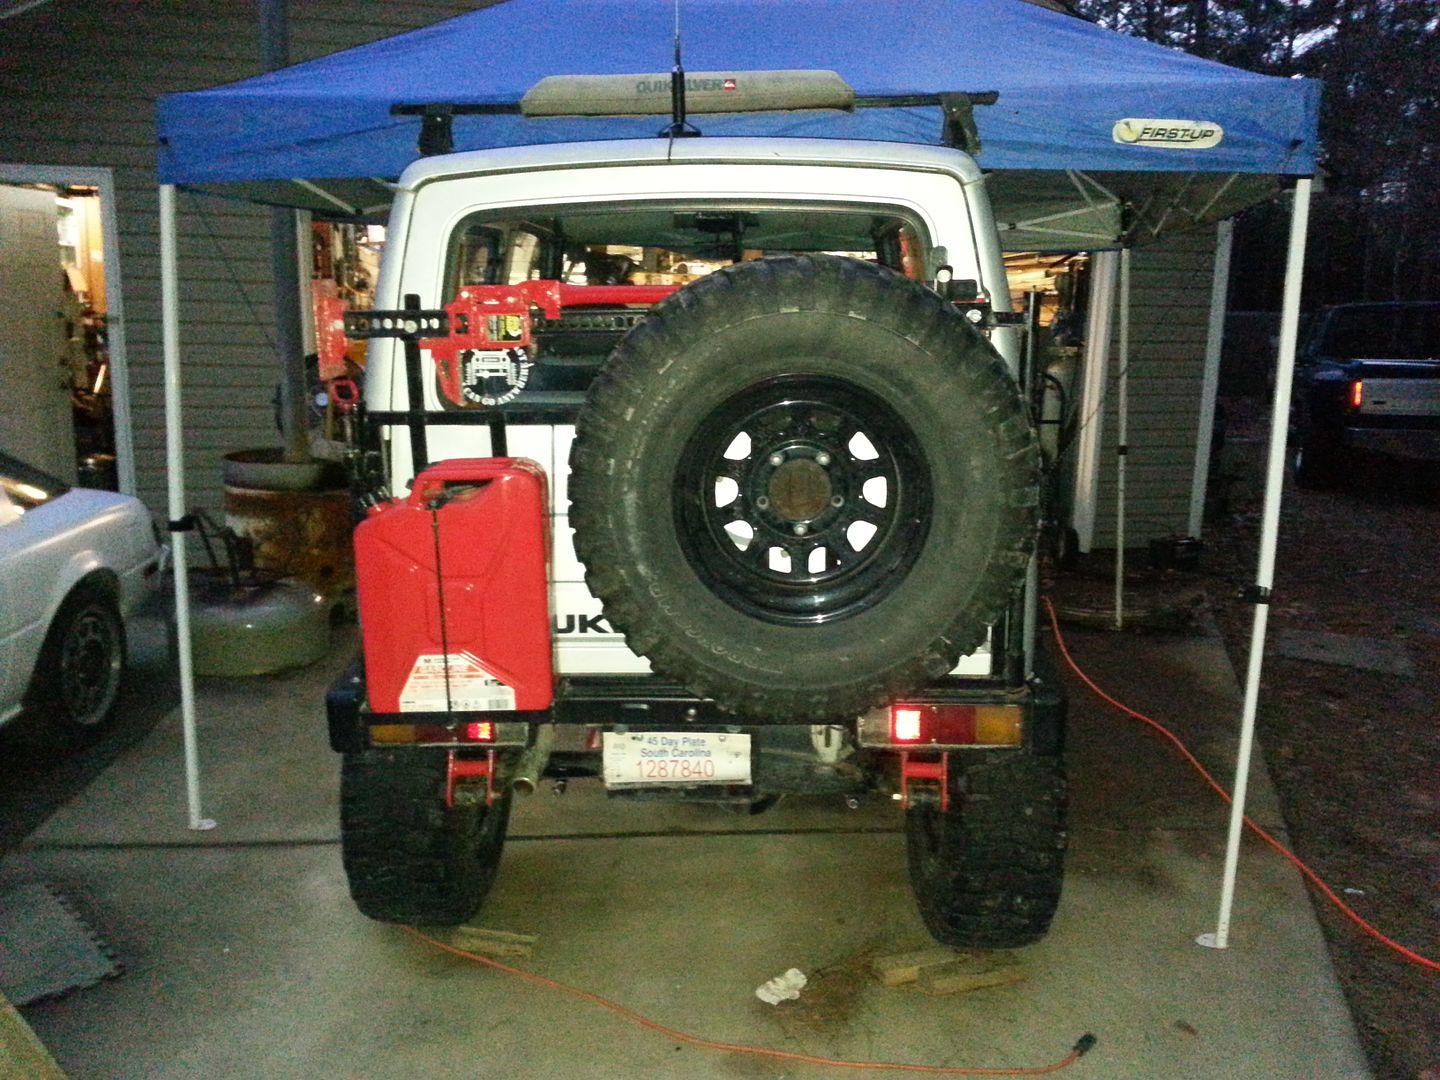
This afternoon's project was on-board air. Big fat off road tires work better if you let most of the air out of them. They ride better, grip better and shed debris better. That means when you get to the end of the line, you need to air them back up for street use. Hence then need for on-board air. Now, the Samurai is a tiny vehicle. There isn't enough room to throw an air compressor in the back. I also didn't want to wait for days while a little 12v compressor filled a huge tire. So, I did this.

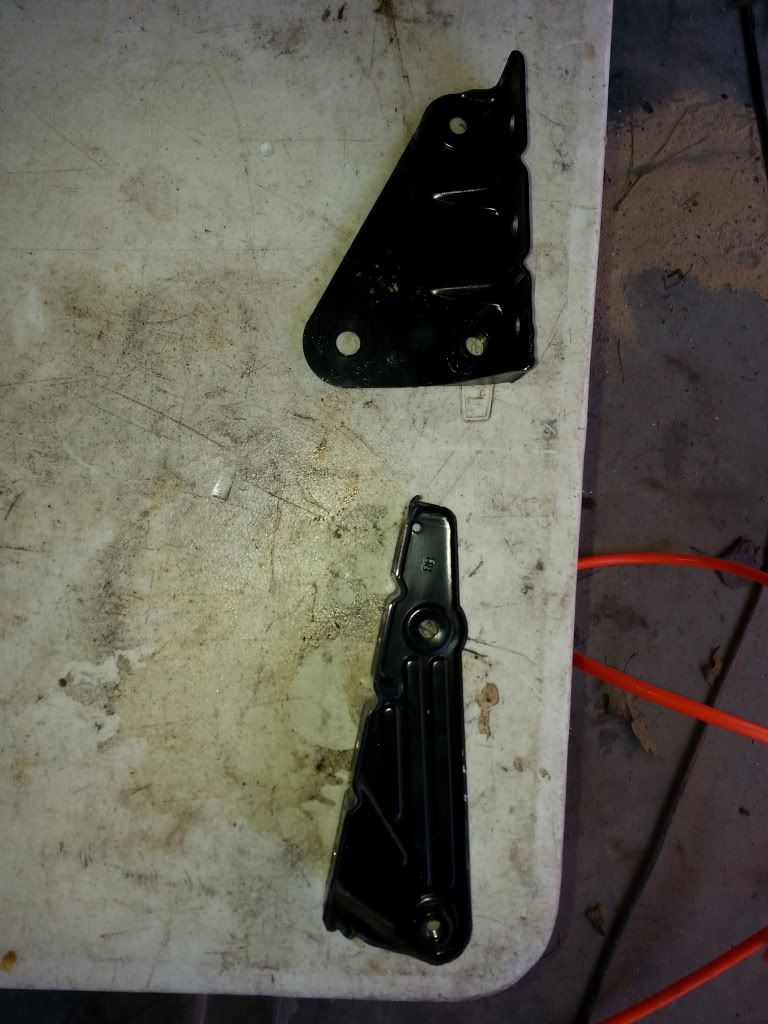
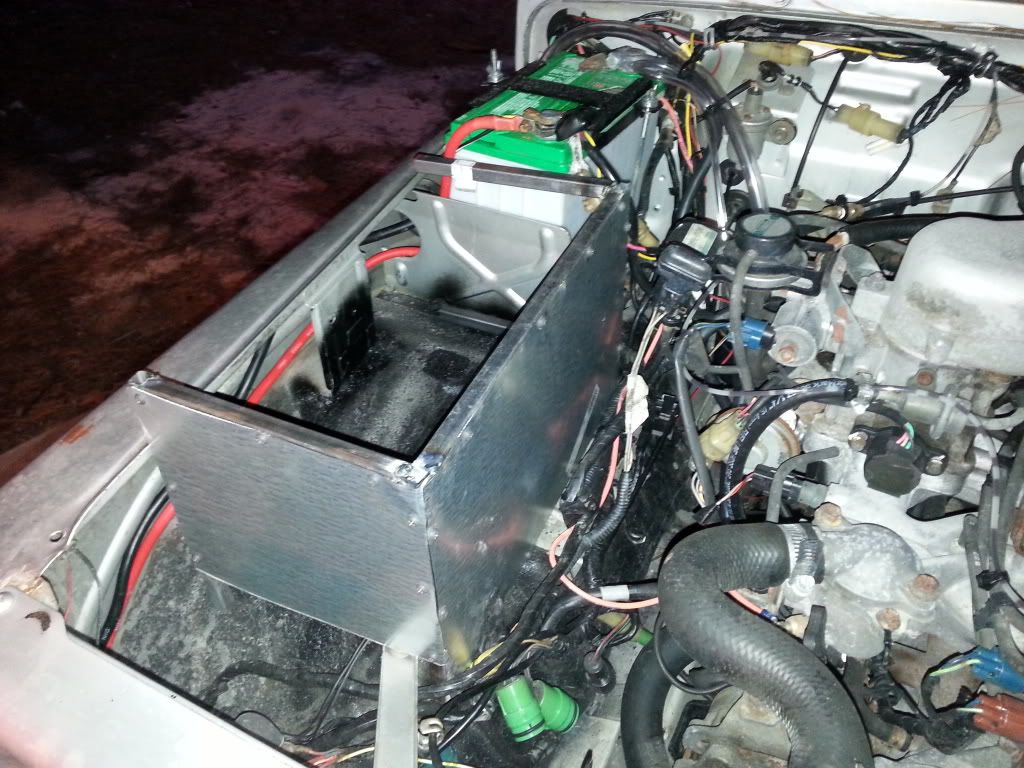
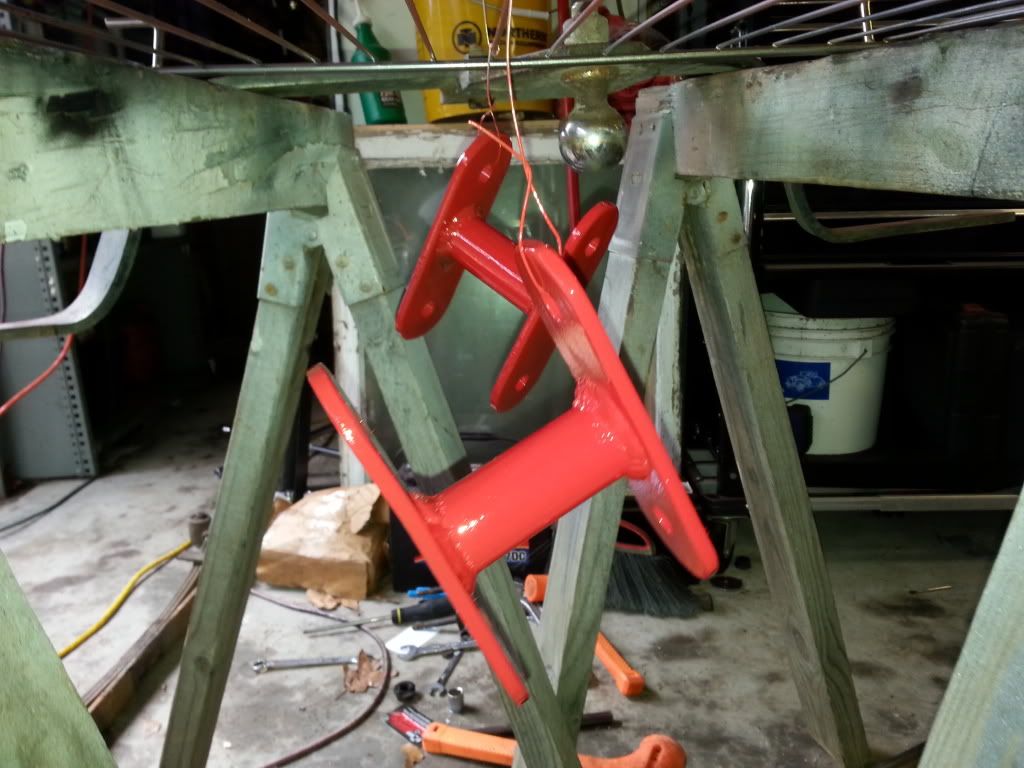
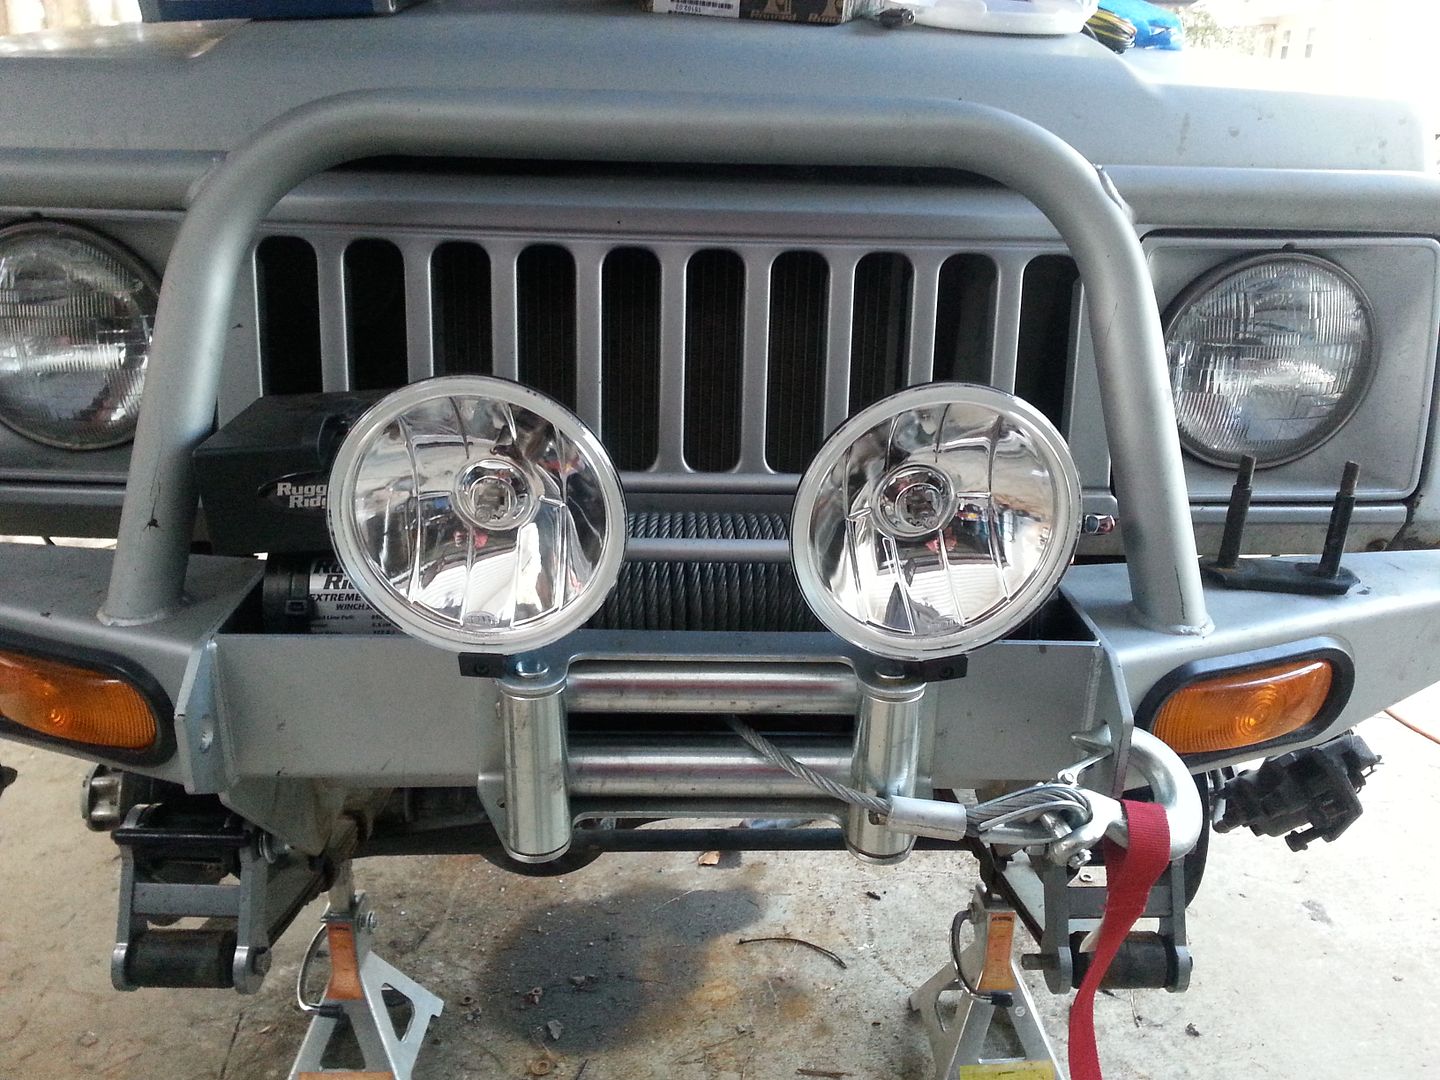
Under the hood was this nice spot where a air horn system was mounted.

(No they weren't mounted like that, I threw them back in for the picture.)

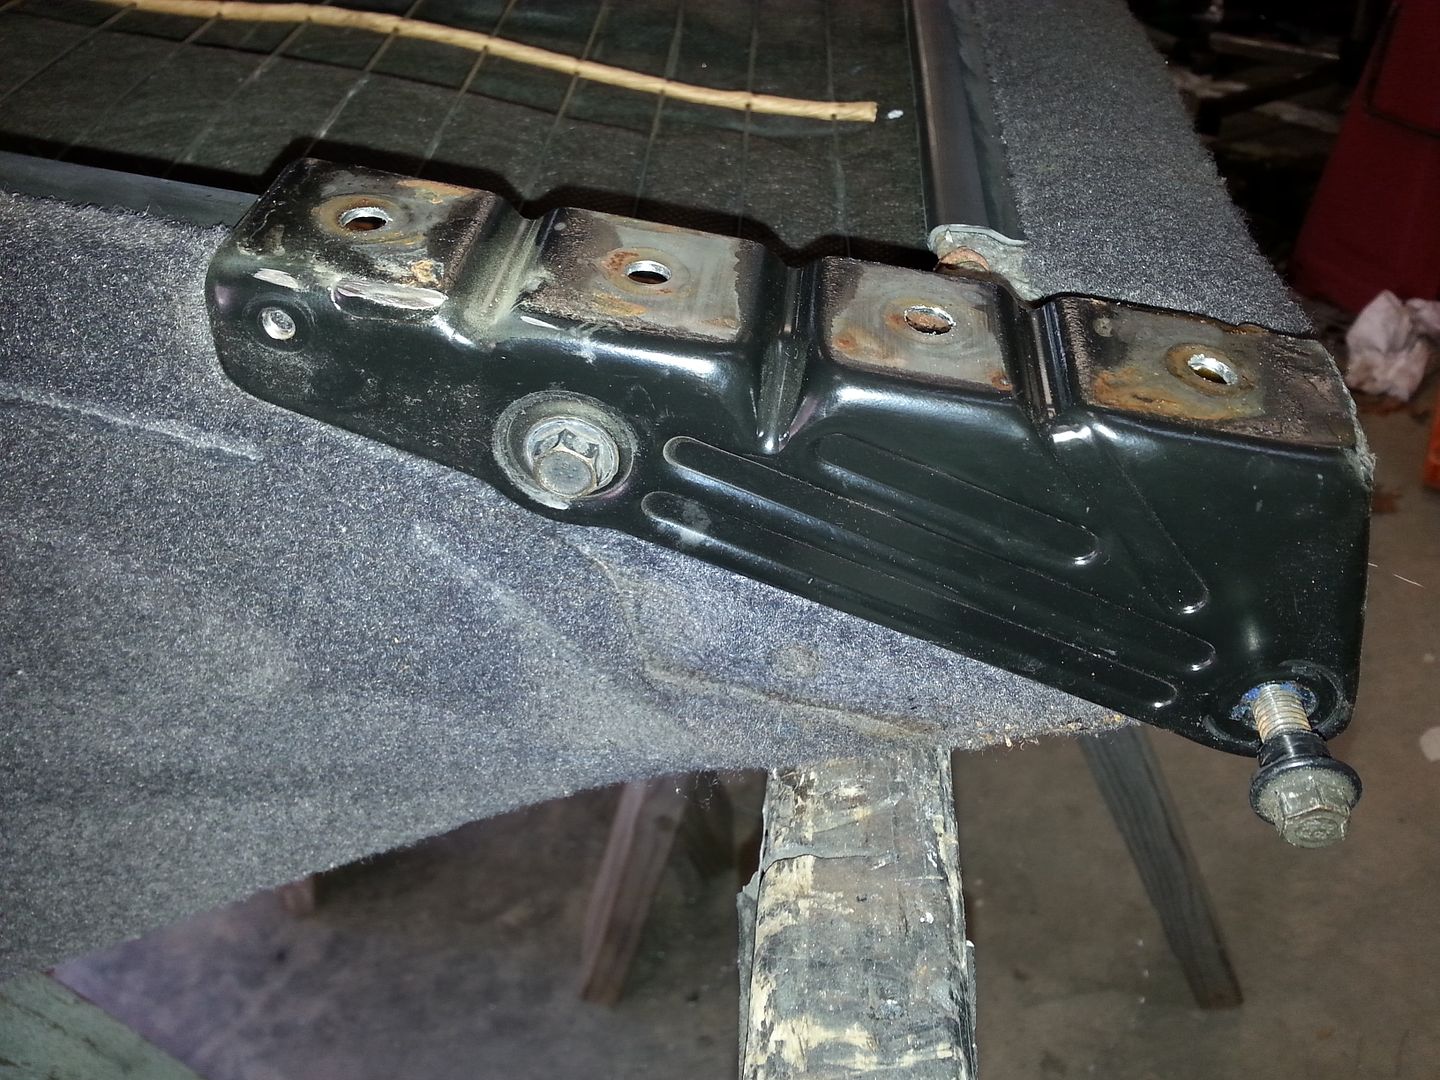
Now, I like air horns as much as the next person, but I need space more, so the air horns had to go. That left me with this much room. Well, it did after I rerouted the winch cables, half the engine wiring harness and the wiring to the passenger headlight.

Sweet!!

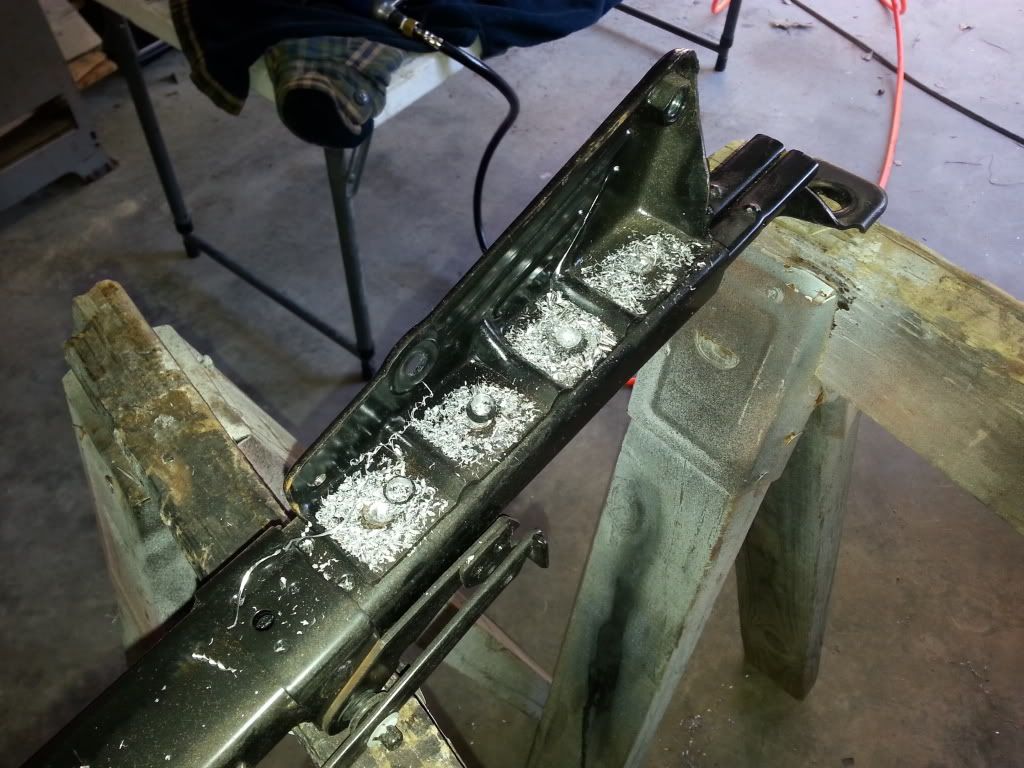
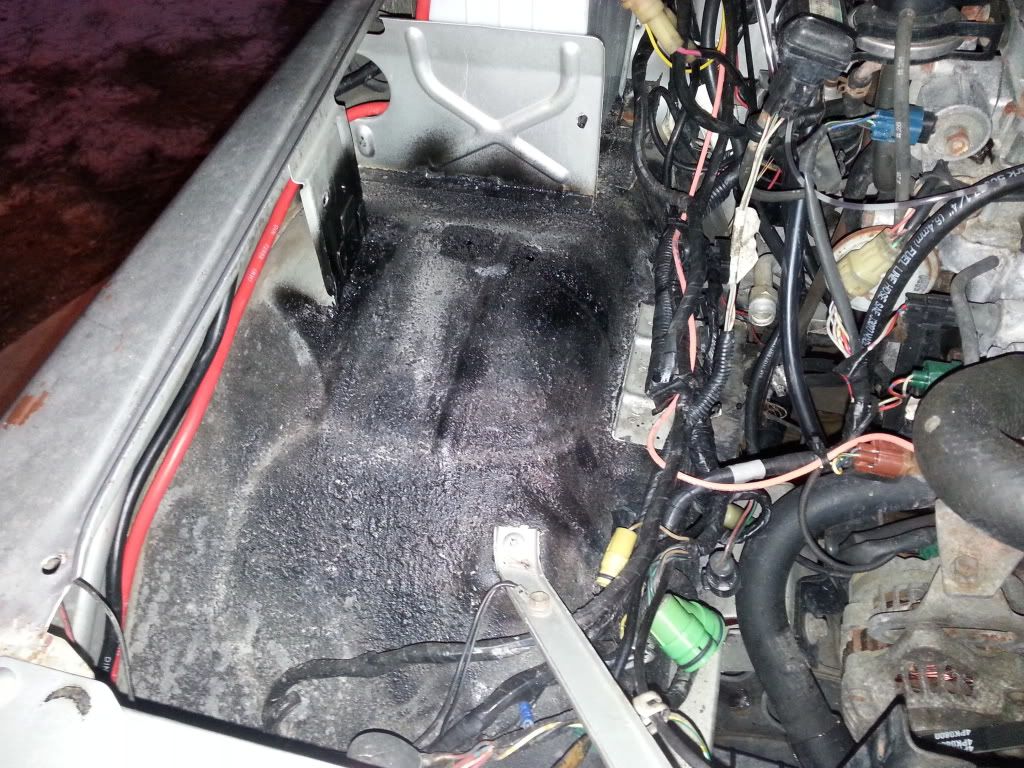
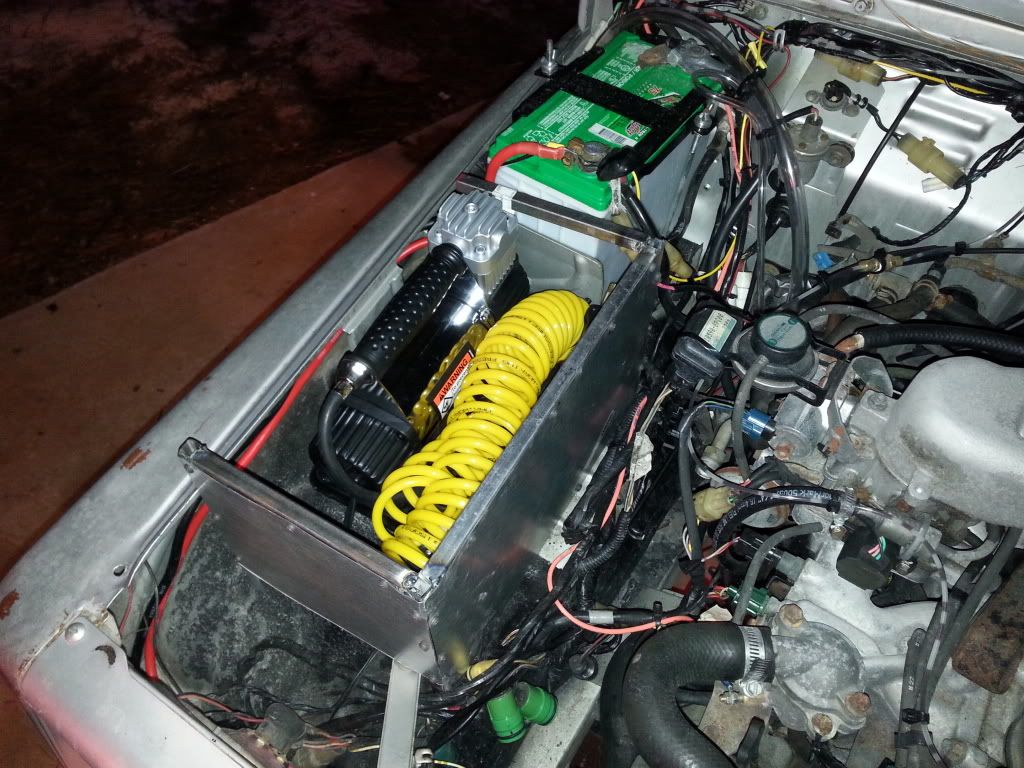
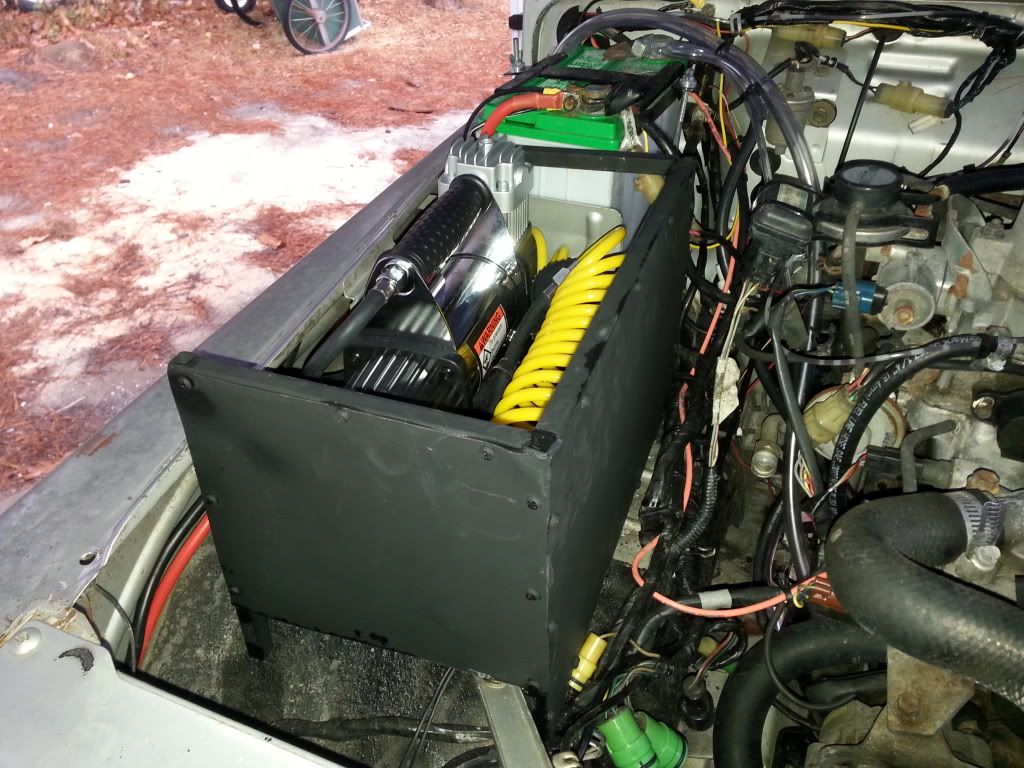
Now, I didn't want the engine heat cooking the air compressor so I needed to separate it from the engine. I don't have a fancy metal break or shear so I had to build a frame and screw sheet metal to it. It's not as pretty, but it works.

Presto!

And with the air compressor in it. The box holds the air compressor, hose and all the fittings. All tucked away in a little used spot under the hood.

I still need to paint it and finish mounting everything but I'm pleased with how it turned out.

More to come.

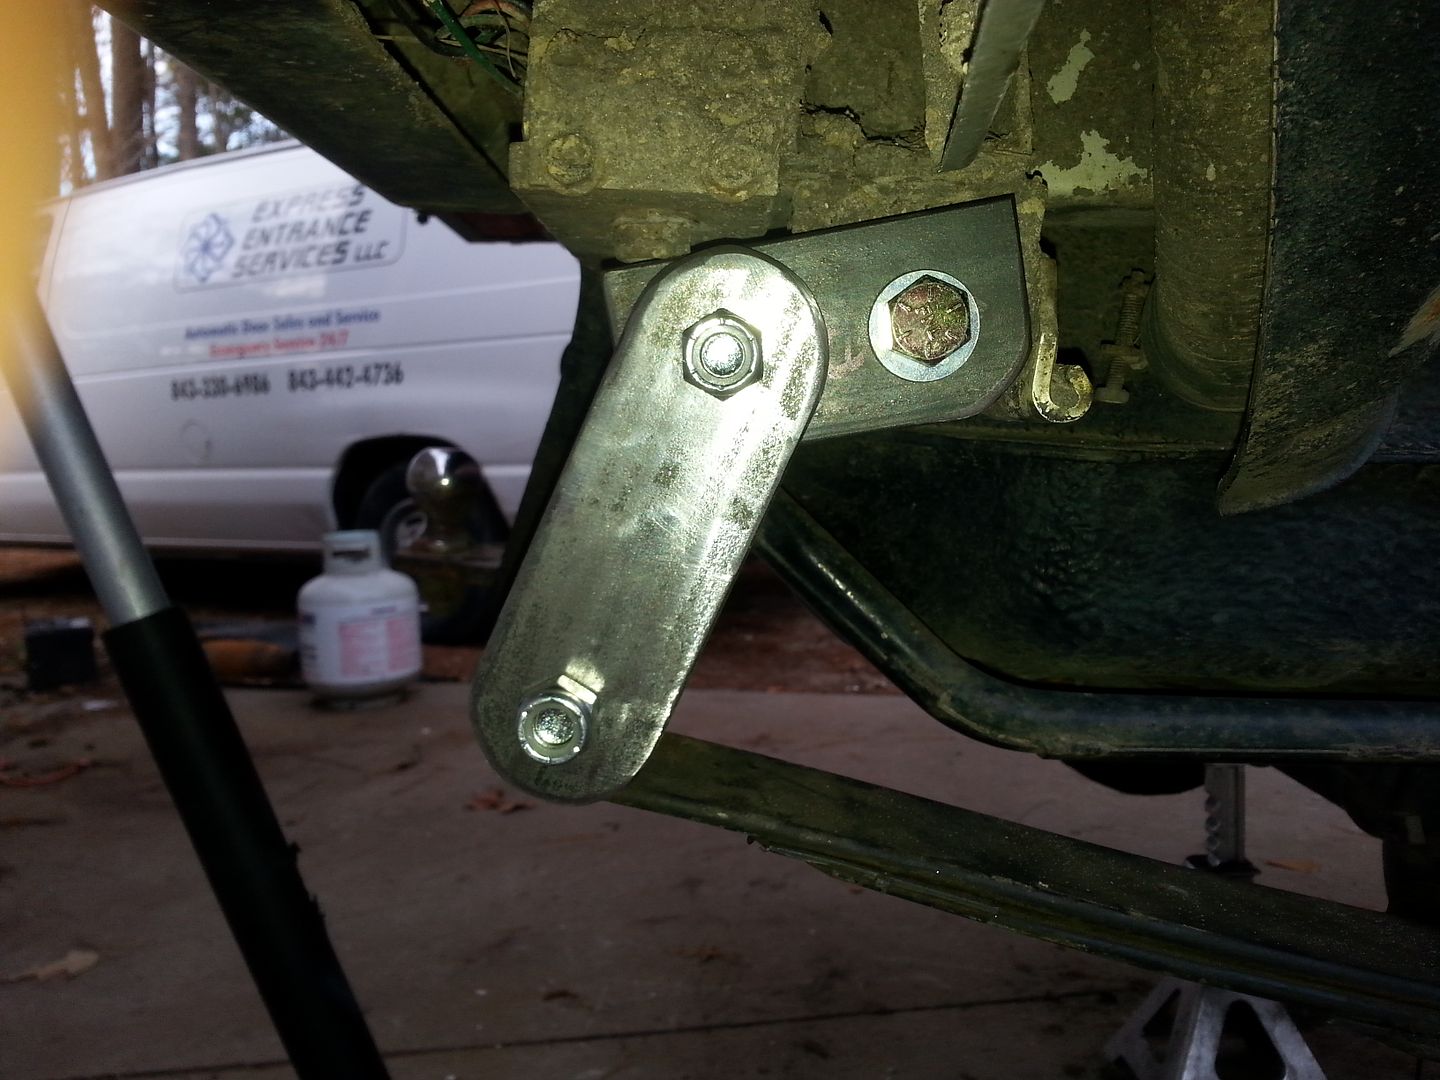
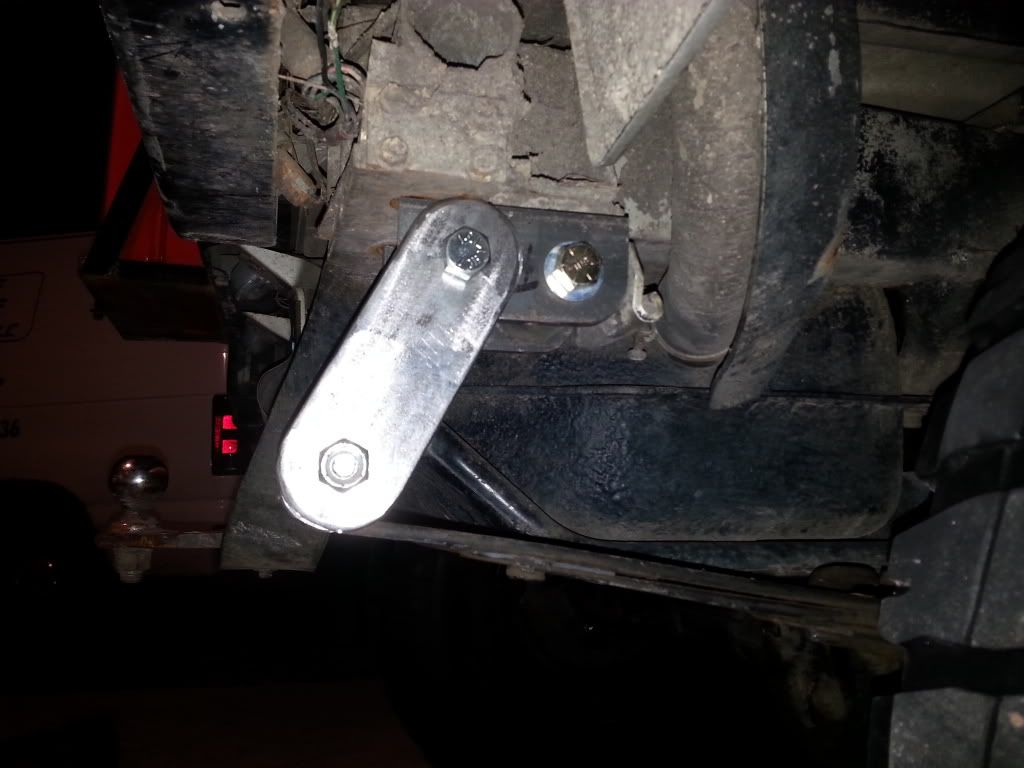
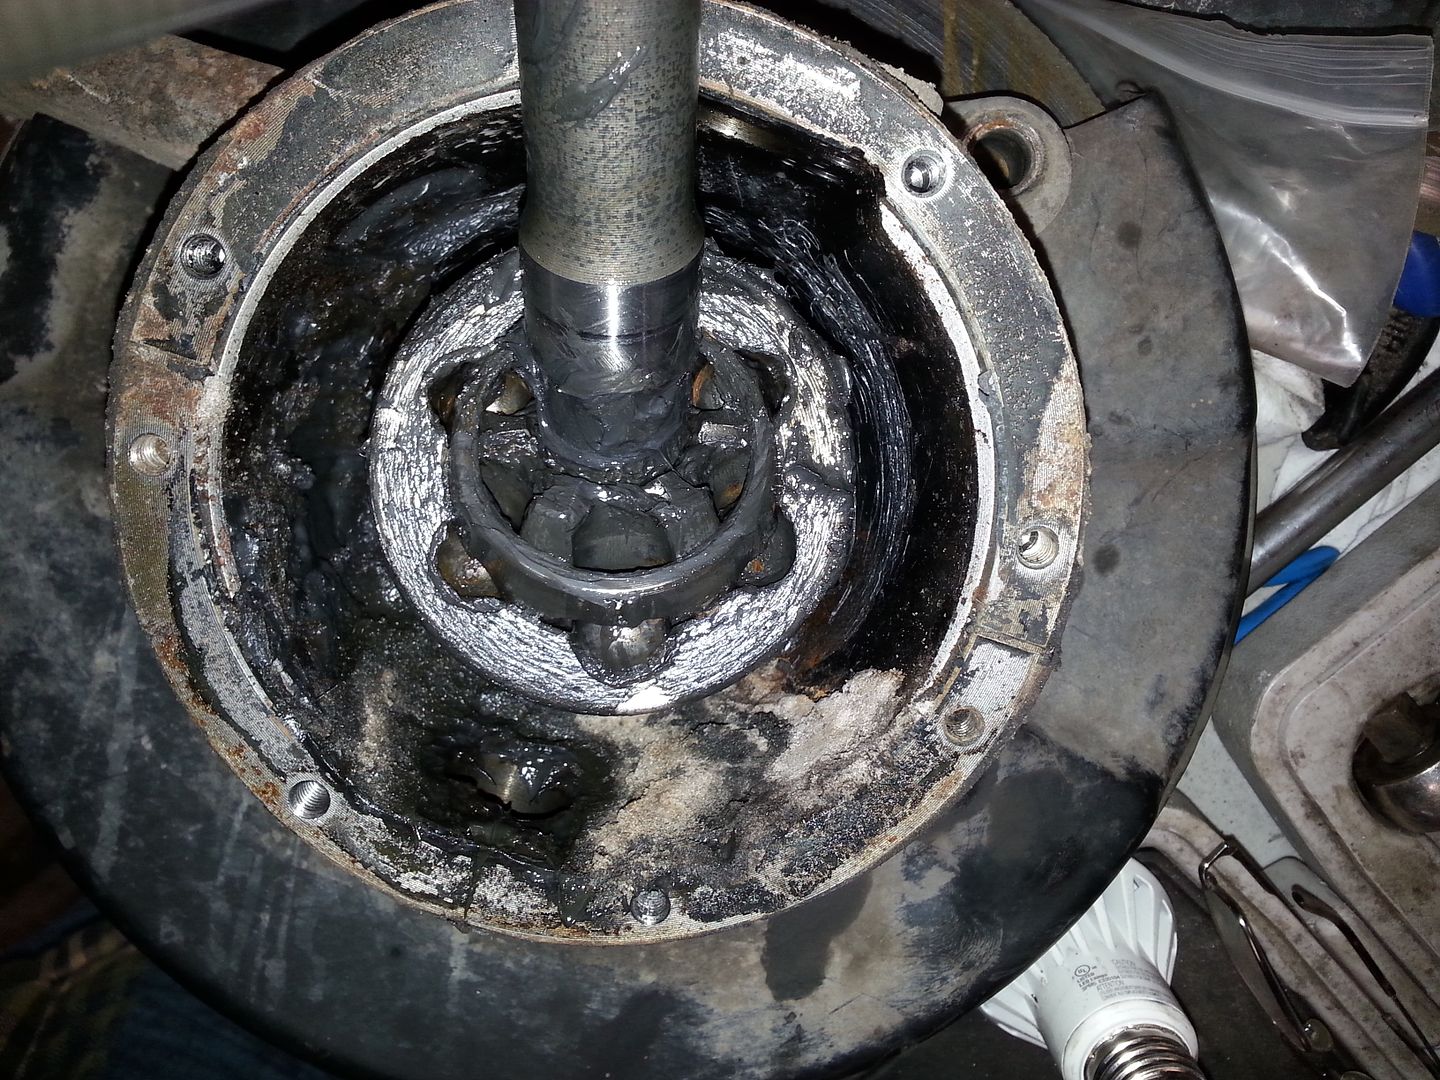
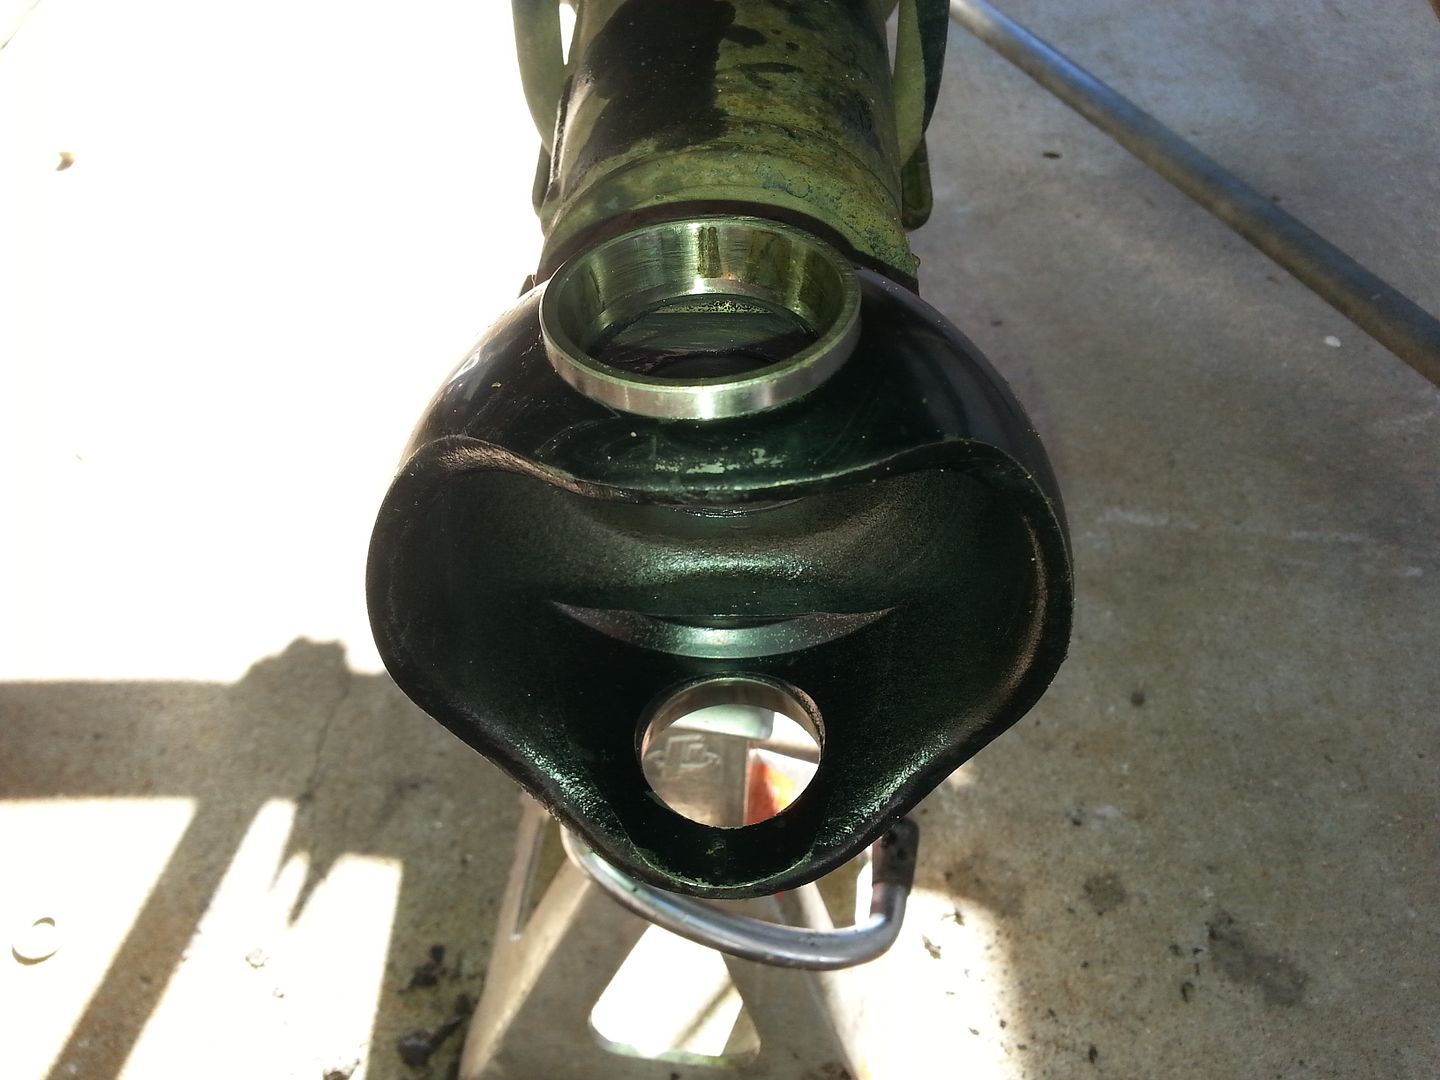
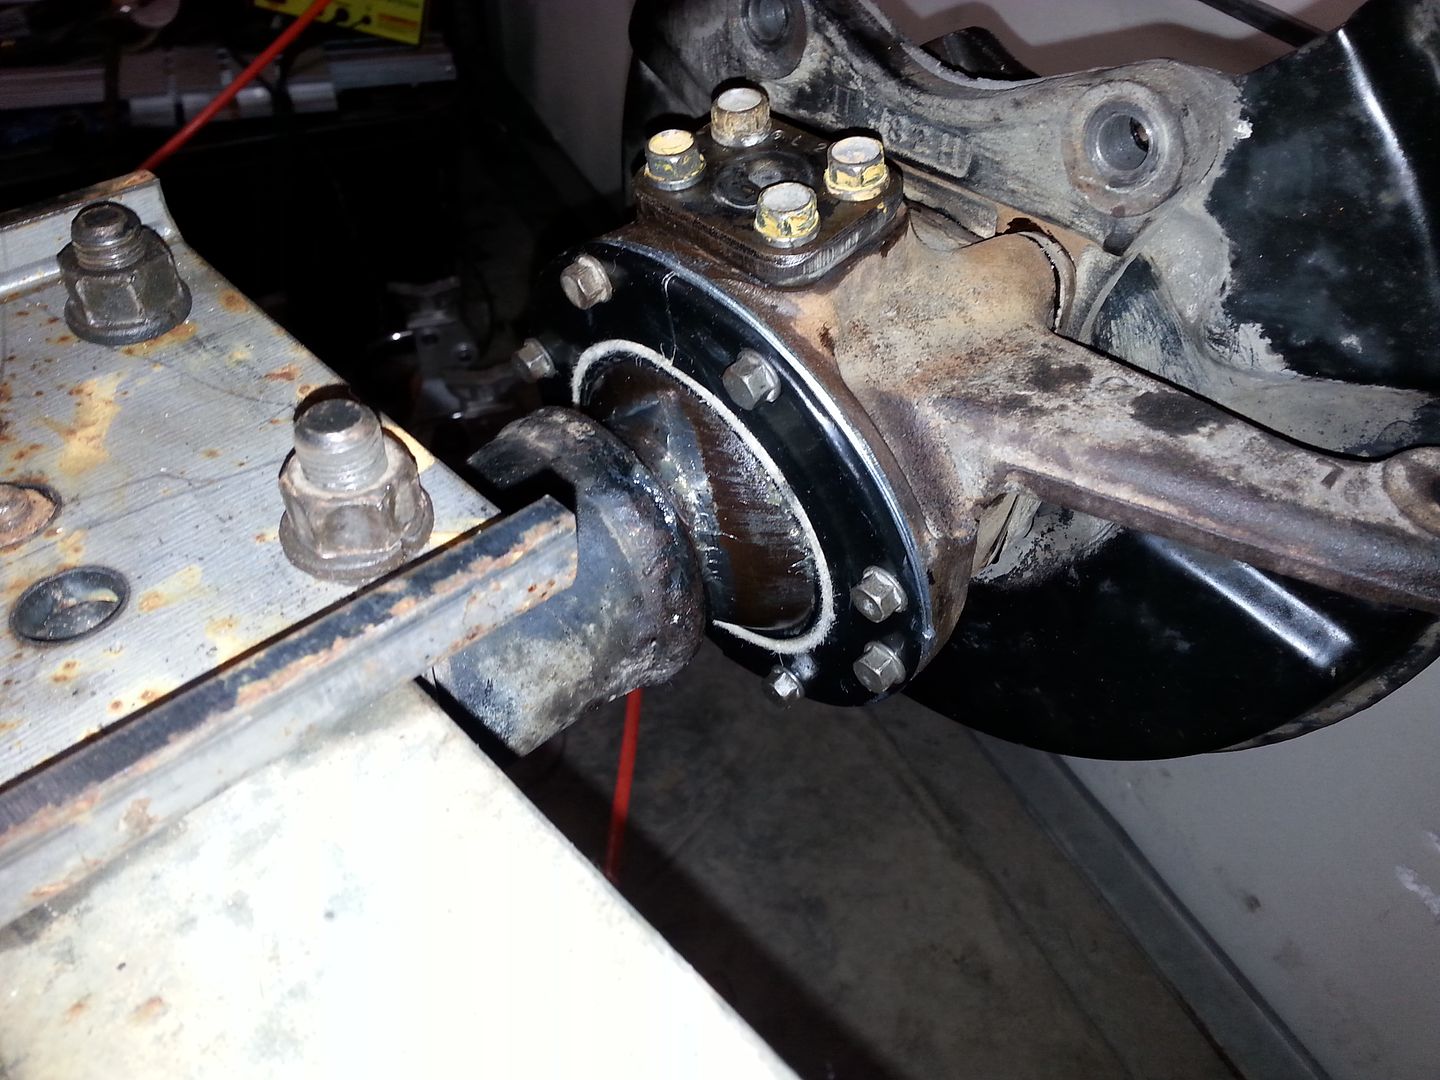
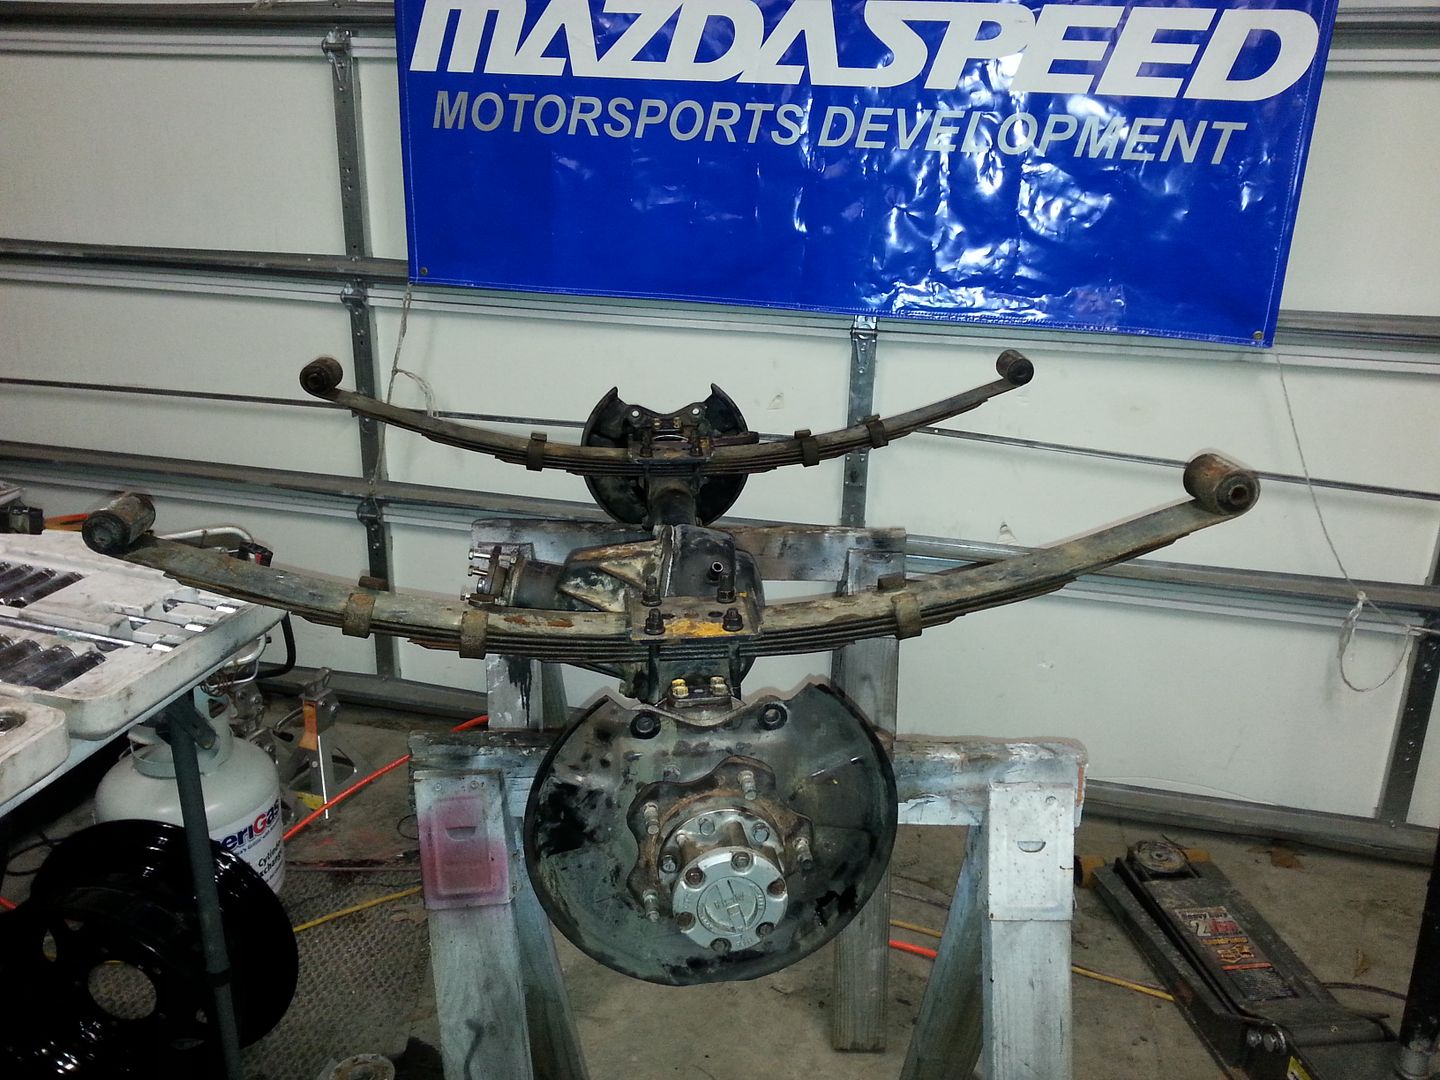
The parts for the front axle showed up today, so you know what I'm doing tomorrow.

Toyman01
Toyman01 GRM+ Memberand UltimaDork
2/1/14 4:37 p.m.

Well, I didn't take any pictures but I did get the front axle pulled, the 3 member changed, and the knuckles and hubs torn down, cleaned and resealed. What a PITA, not hard, but tedious and time consuming. I wanted to have it hanging again by this afternoon but just ran out of time.

I did get the air compressor mounted and the box painted and installed. I guess I can show you a picture of that.

I'm going to try to get the front springs changed and axle mounted tomorrow. I'll probably run out of time again.

More as it happens.

Toyman01
Toyman01 GRM+ Memberand UltimaDork
2/2/14 5:25 p.m.

Today was another busy one.

The front axle is now hanging back under the Samurai on the new springs. The factory shock mounts have been removed and I've started installing the new ones. Good day.

Shiny new knuckle seals. I hope they are installed correctly, I kind of had to guess.

Springs mounted on the axle.

And hanging on the new rear mounts and front missing links.

Now I just need to finish the upper shock mounts, re-install the brake system and buy a bunch of bolts, nuts and washers. I am so ready to get this little project done.

Toyman01
Toyman01 GRM+ Memberand UltimaDork
2/3/14 4:25 p.m.

Santa Clause showed up today. For some reason he was a skinny guy driving a brown truck, but he was bearing gifts. I love Christmas in February.

Toyman01
Toyman01 GRM+ Memberand UltimaDork
2/3/14 5:50 p.m.

I had a few minutes before dinner so I got the spare tire mounted.

One more thing off the check list.

bgkast
bgkast GRM+ Memberand Dork
2/3/14 6:00 p.m.

Them there is some MEATS!

sethmeister4
sethmeister4 Dork
2/4/14 8:10 a.m.

Looks sweet! Hope you are adding some HP to pull those big tires around! Man this thing looks like fun!!

solfly
solfly New Reader
2/4/14 10:11 a.m.

what size tires?

Toyman01
Toyman01 GRM+ Memberand UltimaDork
2/4/14 4:16 p.m.

In reply to solfly:

285/75R-16, which puts them about 33" in diameter. Hence the need for the 5.38:1 gears.

GameboyRMH
GameboyRMH GRM+ Memberand MegaDork
2/5/14 7:59 a.m.

So jelly you've done so many of the things I've wanted to do for half a decade in just the couple of months since you bought the car...YJ suspension, spare tire carrier, winch, bedliner floor, hi-lift jack, air compressor...

BTW if you do high-speed offroad driving you shouldn't air down that much or you could have the tires de-bead or the rims get damaged. I find about 18 front 13 rear works on mine for street driving and mixed offroading (but those specific numbers will only work for the same tire model & size). I only air down lower than that for the "Mudfest" (competition in a small area with mud pits & big obstacles).

Toyman01
Toyman01 GRM+ Memberand UltimaDork
2/5/14 8:36 a.m.

In reply to GameboyRMH:

I've been running 25 front and rear since I got it. I'll be trying some lower pressures now that I have a way to air them back up.

Toyman01
Toyman01 GRM+ Memberand UltimaDork
2/7/14 8:43 p.m.

Still plugging away. Tomorrow was supposed to be the day to finish the front axle but it looks like that won't happen with a 90% chance of rain coming.

I did piddle with it some this afternoon. Off road vehicles need lights. As much as I would love lots of super bright LEDs, the budget says Hella halogen instead. A set of Hella 500FFs should do the trick for the front.

I'm not sure I like the mounting location, but there aren't a lot of options.

Toyman01
Toyman01 GRM+ Memberand UltimaDork
2/9/14 5:25 p.m.

OOhhh Yeah!!!

I busted ass today. She is back on the ground and running. I are a happy camper!

Sorry, no step by step pictures. They take too long.

I gave it a bath as soon as it hit the ground and promptly took it out and got it dirty again.

Today I finished the front shock mounts, rehung all the brake parts, installed a tach, burned up half the wiring harness because the DA PO wired in something without a fuse, fixed that, replumbed the oil pressure gauge, re-installed the front driveshaft, installed the front and rear shocks, and went back through the entire suspension and checked every nut bolt and screw.

The good, much better gearing, much better ride.

The bad, almost too much gearing. It's turning 3800 rpms at 55. It's sitting a inch or two higher. I really didn't want it higher. I'll live with it.

My ass is tired.

It's a good tired though.

ebonyandivory
ebonyandivory Dork
2/10/14 9:22 a.m.

Yours is obviously much more "complete" than mine. I ran ~12lbs all year. 33" Super Swampers with a very stuff sidewall.

I'd run single digits in the rocks and never blew a bead.

[URL=http://s265.photobucket.com/user/derekrichardson/media/zuki.jpg.html][/URL]

I shed most of the back 1/2 of the body, the doors, the rockers, both bumpers, tailgate and anything that it didn't need. That thing was a mountain goat!

Toyman01
Toyman01 GRM+ Memberand UltimaDork
3/1/14 6:16 p.m.

It's been a while, but it's update time again.

Mileage since it hit the ground after the spring swap is close to 500. Probably 100-150 of that is dirt roads.

I love the spring and shock combo. Much better ride, much more controllable.

The gearing is too tall. I'm going to have to pull the 5.38 gears and go to a set of 4.57 ring and pinions. 3800 rpms at 55 is just too high. My bank account needs to recover some first. Mama's getting a little antsy about all the boxes that have been showing up on the front porch.

Speaking of boxes. Locking front differentials and manual steering do not play well together. I foresee a broken hand in the not too distant future. With that in mind I ordered a complete Sidekick power steering set off of Ebay. With some welding and engineering it will work on the Samurai. That will probably happen sooner rather than later.

The mini spool definitely has to go. It's eating the rear tires. The pictures are after about 200 miles.

Front

Rear

Post break. Back in few.

Toyman01
Toyman01 GRM+ Memberand UltimaDork
3/1/14 6:32 p.m.

The front seats in a Samurai are designed for child sized people that weigh under 75 pounds. Since I'm 6'2" and 270, they had to go. I started on that this afternoon. A trip to LKQ landed me a set of seats out of a 2 door Neon for $60. Hard to imagine a set of economy seats from Dodge being an improvement, but wow what a improvement they are.

Crappy, after dark, picture. I still have to do the passenger seat. They aren't quite a bolt in swap. I ended up cutting a couple of brackets off the Neon sliders and bolting them to the Sammy sliders to get the seats to work.

The other things I have done so far are, replaced all the POs crappy wiring and made sure all circuits are fused.

Replaced all the previously crisped wiring so the interior lights and CB would work again.

Repair the dash light dimmer. It is a discontinued item so replacement wasn't an option. Luckily it just needed the joints on the board re-soldered.

Repaired the windshield washer system. It had a bad pump and the hose to the sprayer was broken under the dash. That was actually a pain to fix. Probably the hardest thing I have done to the Sammy so far. Go figure.

No pictures of all that fun stuff. Just small tedious jobs. No glamour, no excitement, no shiny new metal bits.

That's all I can think of for now.

Until next time...

Toyman01
Toyman01 GRM+ Memberand UltimaDork
3/1/14 6:45 p.m.

Here's a few other pictures. I'm really liking the way this thing is turning out.

Playing in the woods.

Flexing the suspension.

We took it for a spin during the ice storm.

A camping spot I found way off the beaten path.

That's all.

Toyman01
Toyman01 GRM+ Memberand UltimaDork
3/2/14 4:29 p.m.

Seats!!

For those that are interested, here is how I did it.

I didn't want to do a bunch of hacking to install the seats. The Neon sliders would have required cutting the factory mounts out of the floor of the Sammy, but the hinge for the seat backs is integral to the slider so...

I drilled the rivets out of the seat back mounts and cut the tack welds.

That gave me the brackets for mounting the seat back and ratchet.

I then mounted them to the seat bottom like they are supposed to be.

Then I drilled and mounted the Sammy sliders through the bracket. Presto, Neon seats on Samurai sliders.

It should be noted, this wasn't my idea. I stole it from a Samurai website.

1 2 3 4 5 ... 8

You'll need to log in to post.

Our Preferred Partners
4TFEyGMmocrXPwx4BtnzgLgnv3DW9zEjnX6UHkpOllt1BGY7VEkGZ098m3vjNppL