
Hey all,
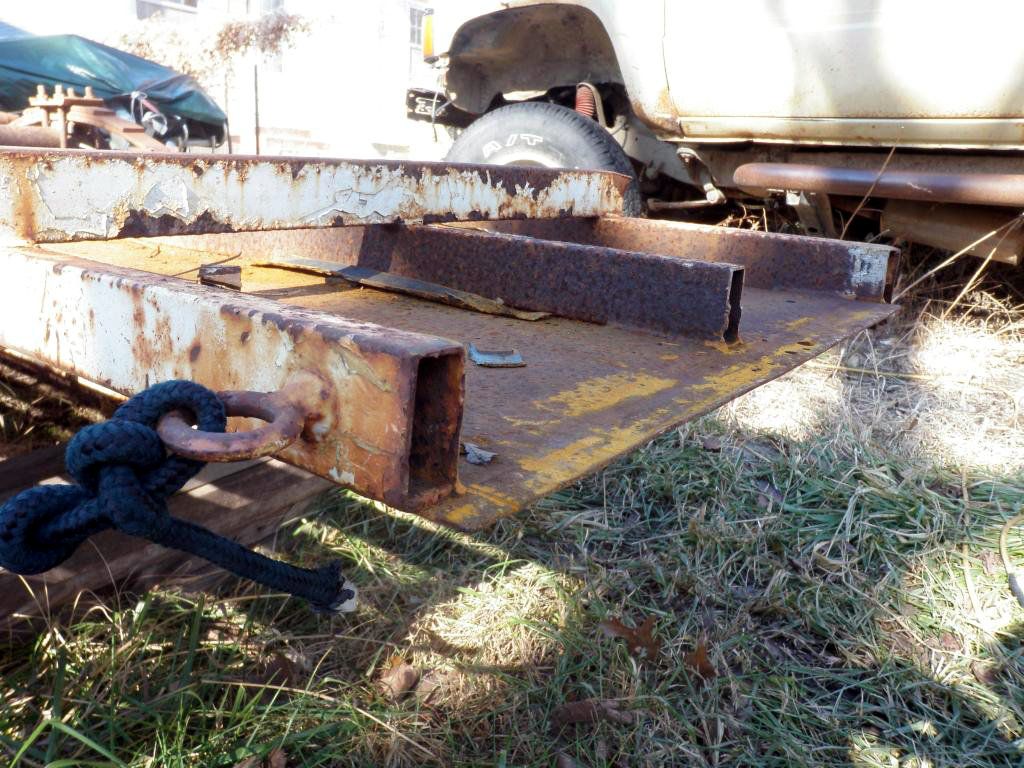
I purchased this trailer back in ’99 from the owner of the race team that I went to work for straight out of college. It has served me well over the years, but sitting in a field for a decade-plus has taken its toll. Several of the 1”x2” cross bars have rusted out and most of the tiedown points have failed. I’ve also never been really happy with how the ramps mount when loading a car. It also needs a new jack and some provision for mounting a spare tire. Furthermore, I might as well put a receiver mount for a winch at the front for use when necessary.
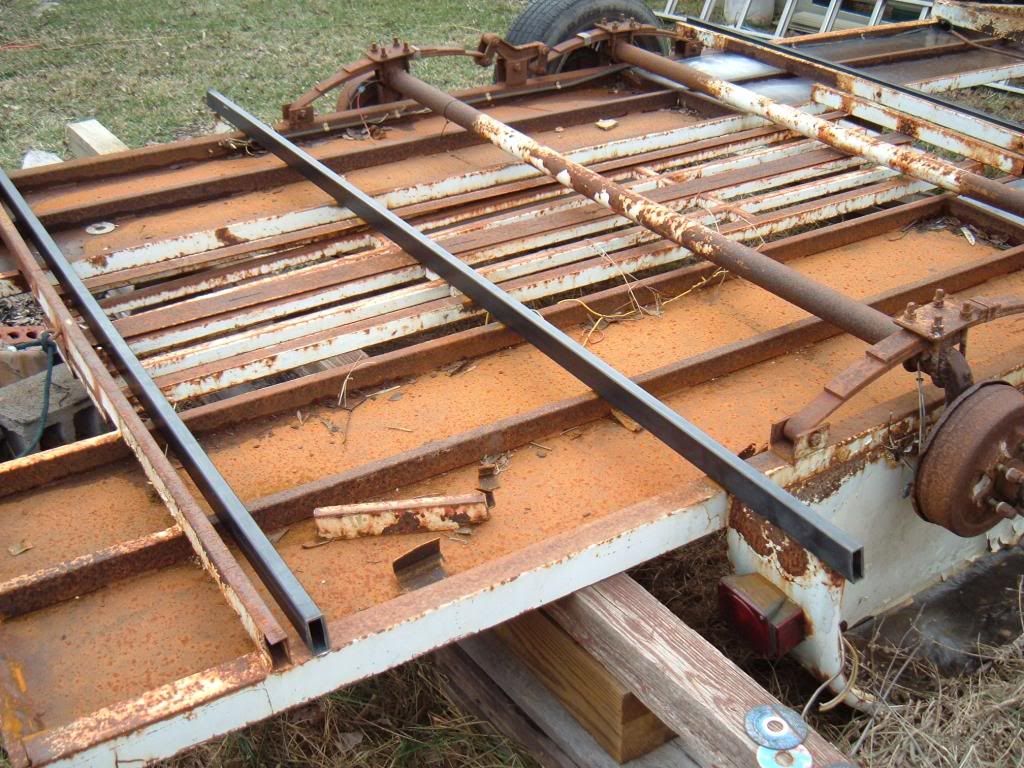
Here’s the trailer as it looked when I last really used it (as seen in another thread about another project of mine that is not progressing):
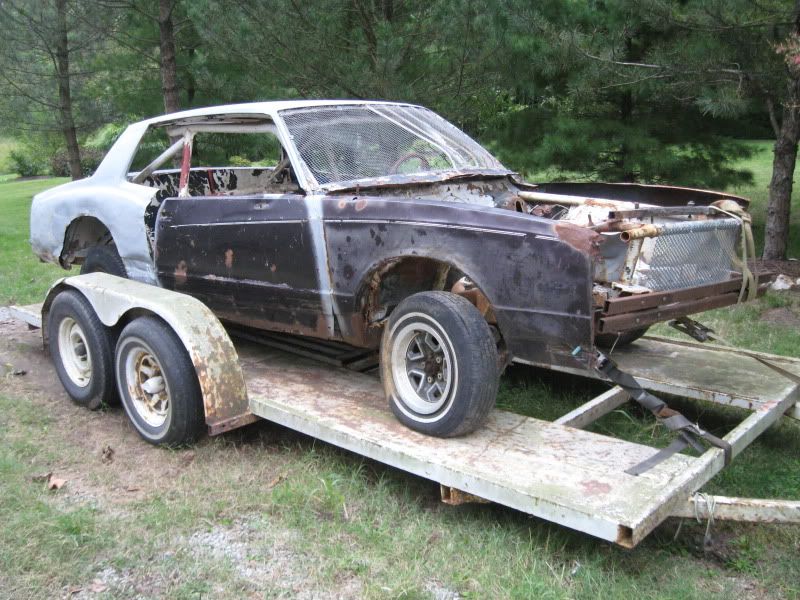
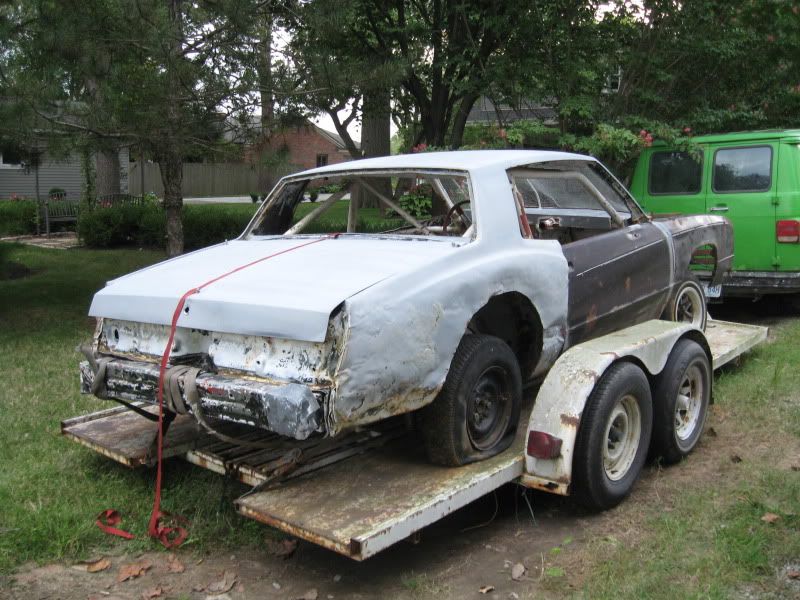
It is probably pretty evident from the photos that this trailer is low-slung and lightweight (light duty). I have no idea what the load rating on it would be, but I figure it’s good for most racecars, and I’ve used it with 3rd gen Camaros and to haul home my old ½-ton ’65 Chevy in the past. That’s about the most I’d be comfortable loading it with.
So my goals are as follows:
• Replace rusty metal to restore structural integrity
• Replace/add tie down points
• Revise ramp mounting arrangement
• Replace tongue jack
• Add winch mount
• Add spare tire mount
• Replace safety chains
• Replace wiring
• Refurbish brakes
• Paint it (to stop further rusting and make it look presentable)
• (this list may be modified as work progresses)
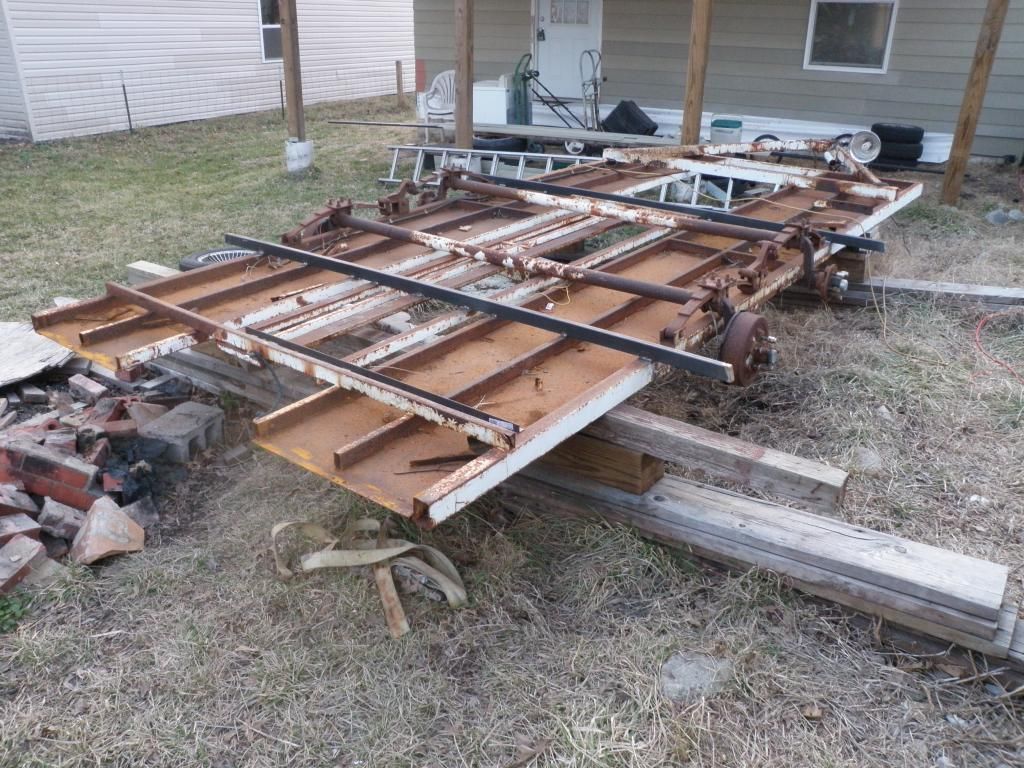
For starters, I had to get the thing flipped over and put up on blocks so that I could access the parts that needed replaced. For that, I enlisted the help of approximately 11 friends. It was not a hard task, but it got a little hairy at the point when the trailer was vertical and it was time to “catch” it as it came back down. Again…we didn’t experience any problems, but I was nervous and will enlist MORE help when it comes time to flip it back over, right-side-up.
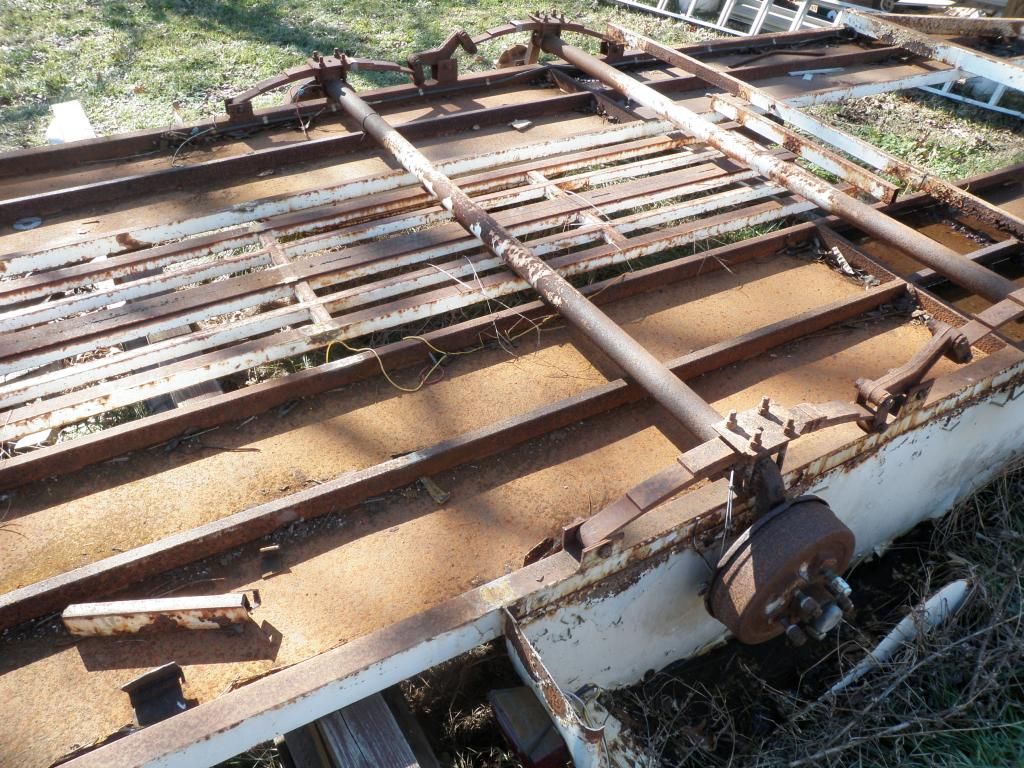
Here we see the trailer upside down.
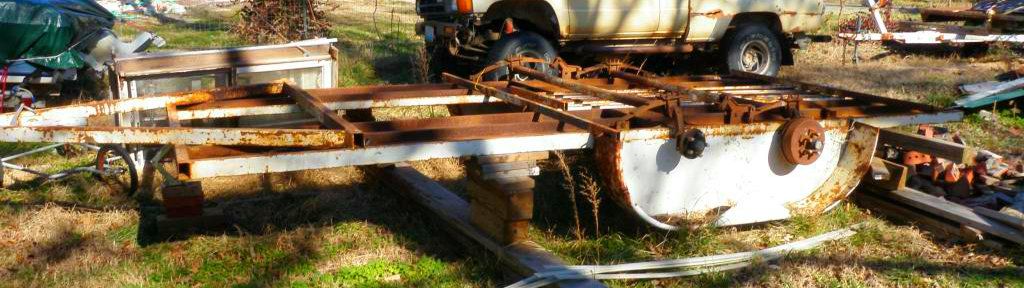
I have taken some time and gotten the trailer pretty level, side to side. I leveled it front to rear as well…but then I propped the front up an extra inch-and-a-half to help water drain off…it’s a SLOW project and it’ll snow and rain a lot in the process.
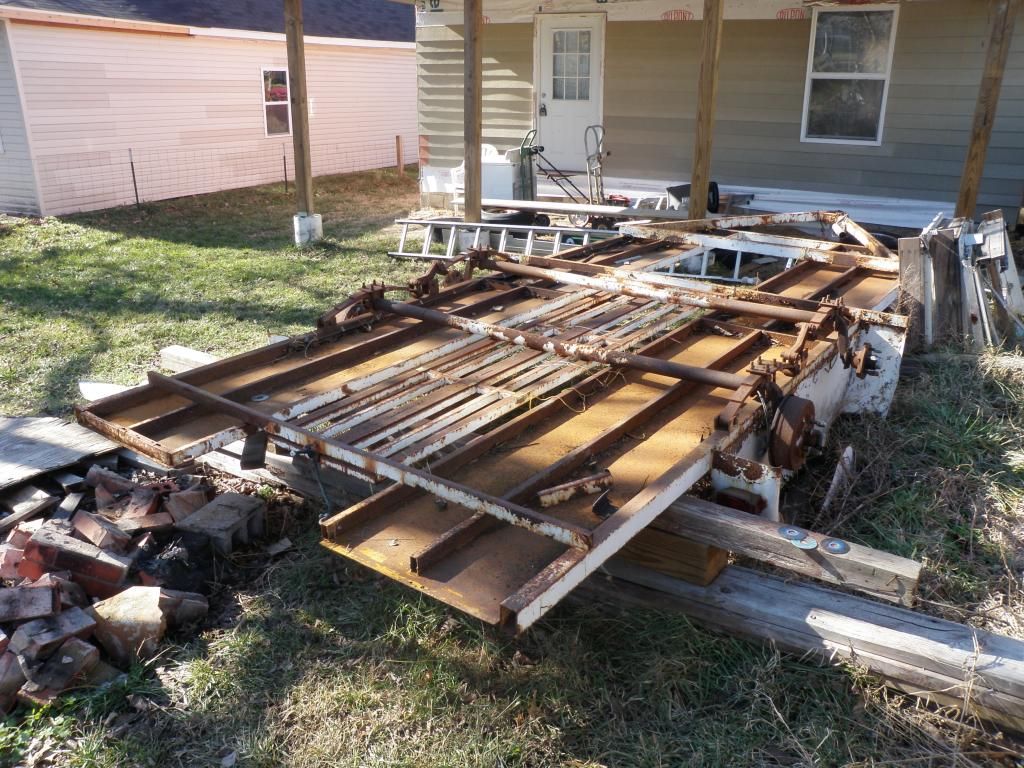
And you all will just have to excuse all the other projects I have going on (the house, the collection of trucks, boats, flatbeds, trailers, etc that are nearby). I have lots of projects 
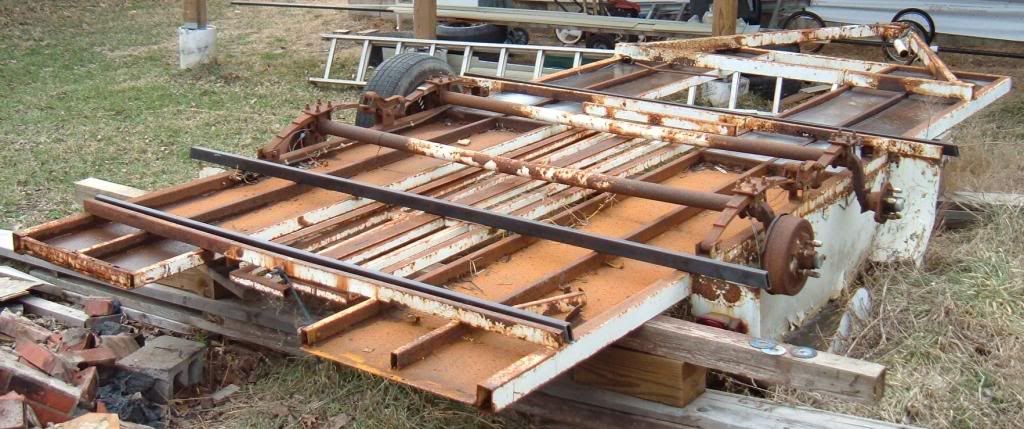
I’ve poked, prodded, and inspected the trailer thoroughly. The items that need replaced are primarily the 3 pieces of 1”x2” rectangular steel tube that run transversely.
We have damage that looks like this:
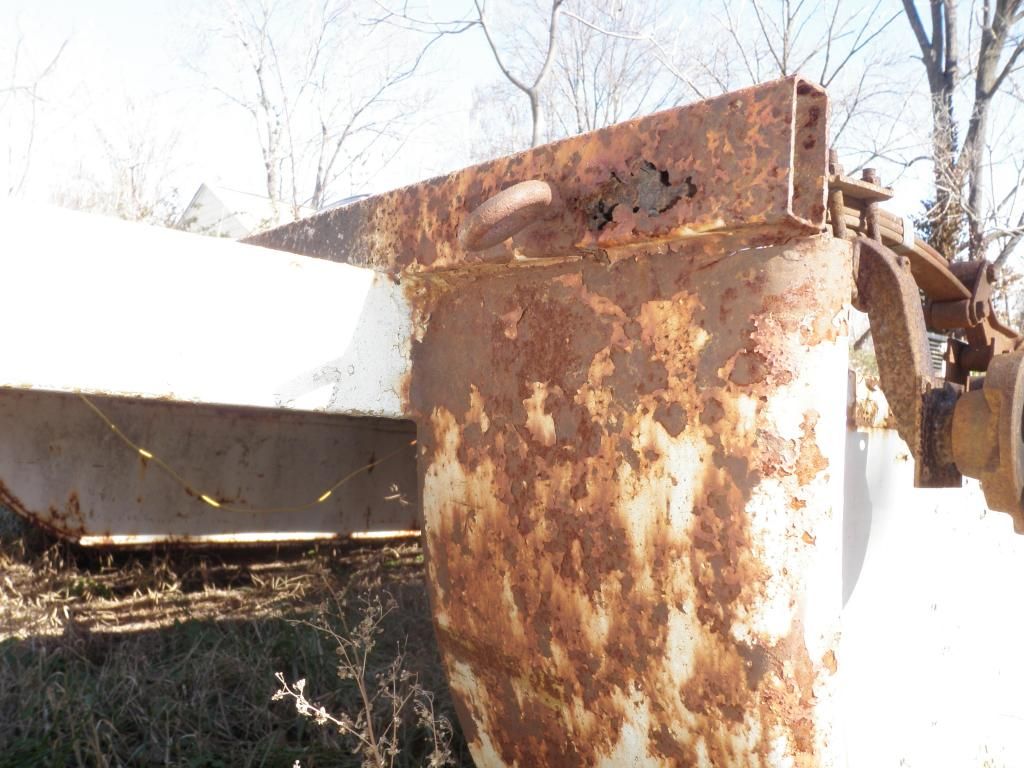
and you can see it in the far-right of this photo:
In this photo you can see one of these transverse pieces...and where I have cut one out [the rail at the back of the fenders has already been removed]
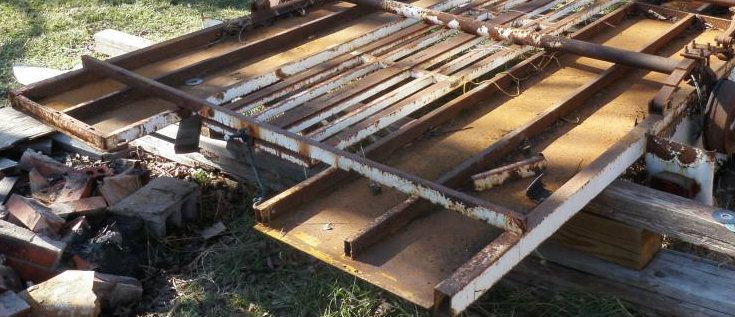
The sections of the same material that are at the rearmost part of the trailer are also badly rusted and/or bent and will need to be replaced as well. Here is a photo of one of them that I have already begun cutting out.
And here is the other side…that I’ve cut out:
When I put these back in, the placement will be slightly farther forward to facilitate my idea for a better ramp-mounting arrangement.
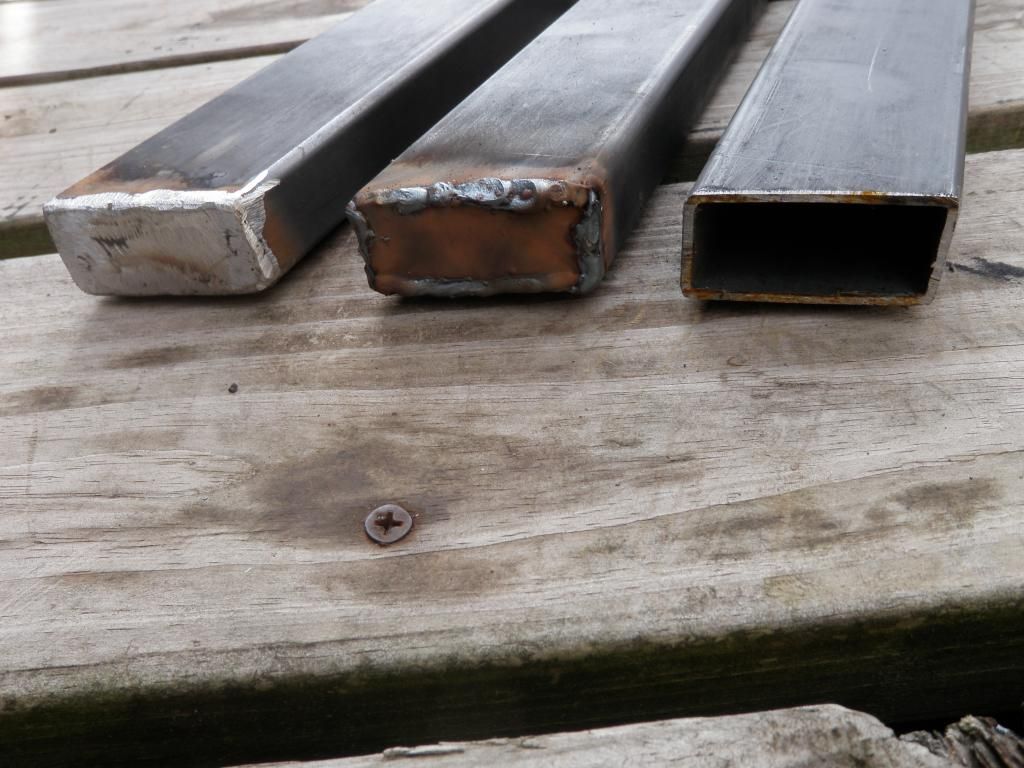
For the cross braces (the ones that run all the way across the trailer) I’ve considered using a 1”x2” C-channel in place of the 1”x2” rectangular tube because at least that would not rust from the inside out (like the tube has). I think, however, that I’ll stick with the tube since that’s what the trailer is built from already.
The only progress I've made since my last post has been to get a couple of 24' lengths of 1" by 2" by 14 gauge rectangular steel tube for the cross members.
I meant to get a photo of the metal strapped to the roof rack on my E30...but I ran out of daylight and patience and did not get that photo. Suffice it to say, I got some strange looks from the guys at the Steel/Welding supply place.
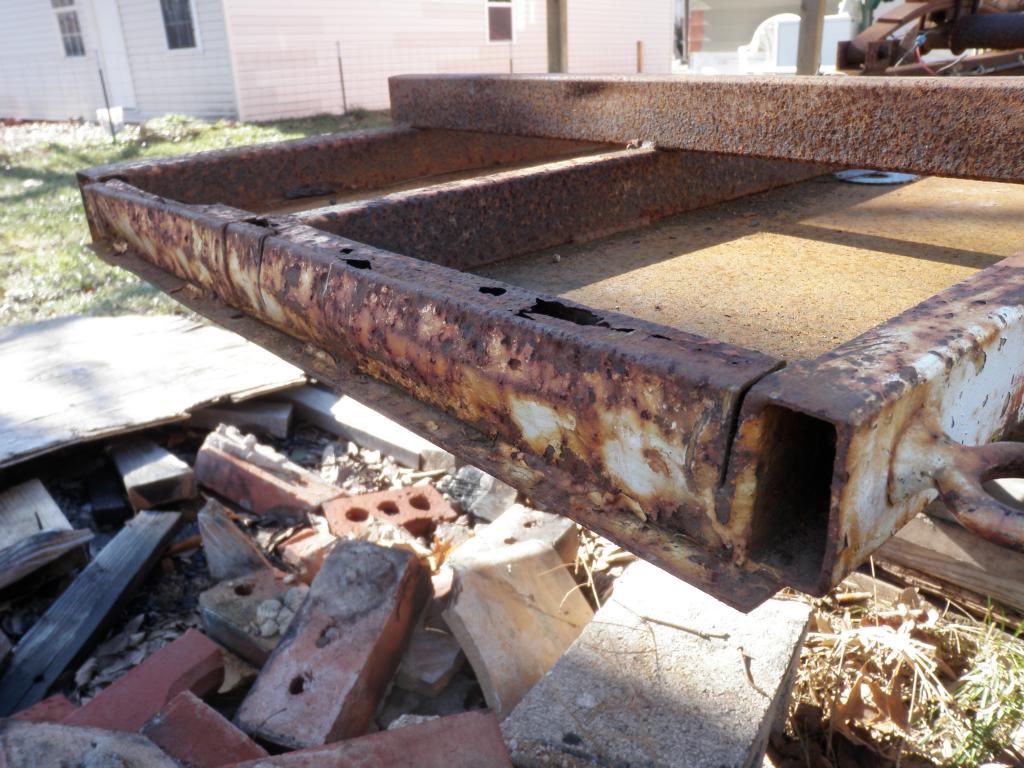
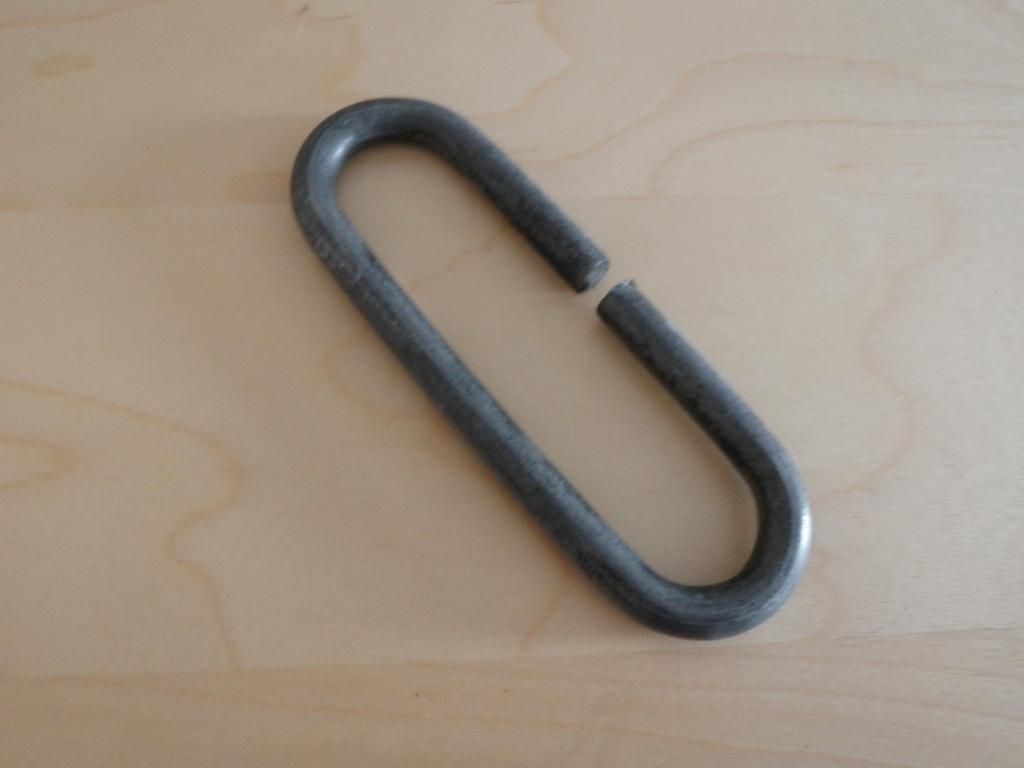
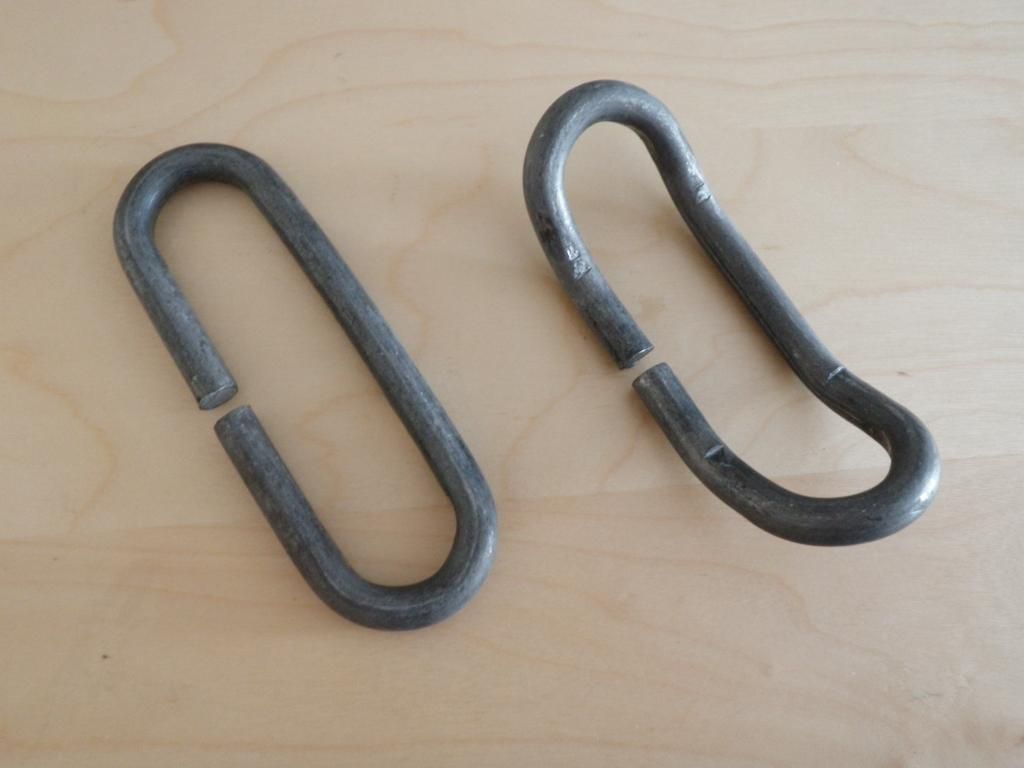
I'm trying to decide, as well, how to proceed with my tie-down points. The trailer was built with what looks like "lifting eyes" welded on for tie down points. Several of these have failed, as can be seen here:
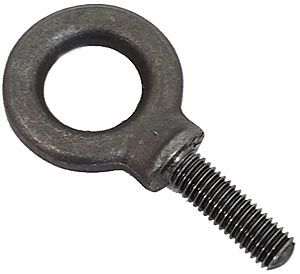
My first thought is to replace with a similar lifting eye, EXCEPT that I will weld in a steel bushing and bolt the eye through that bushing.
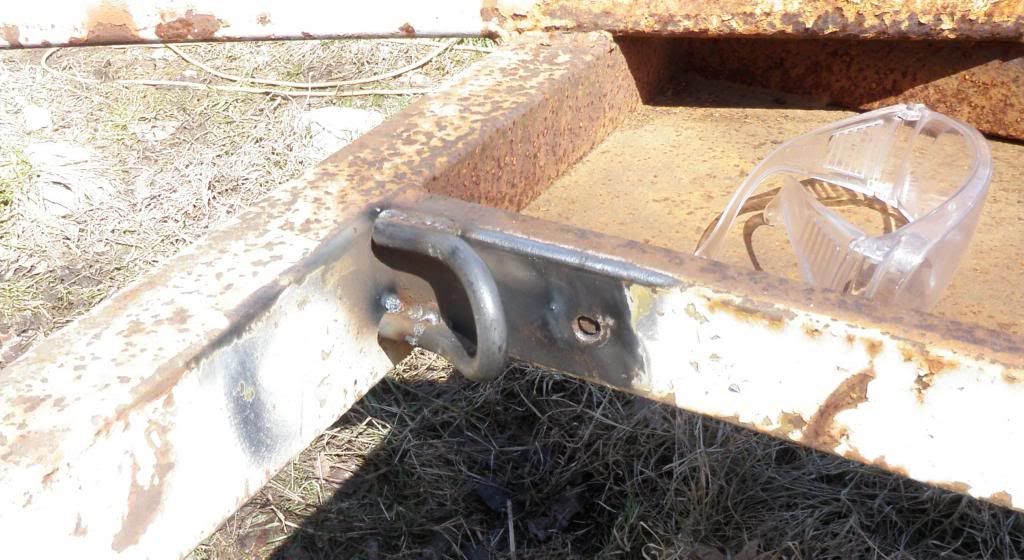
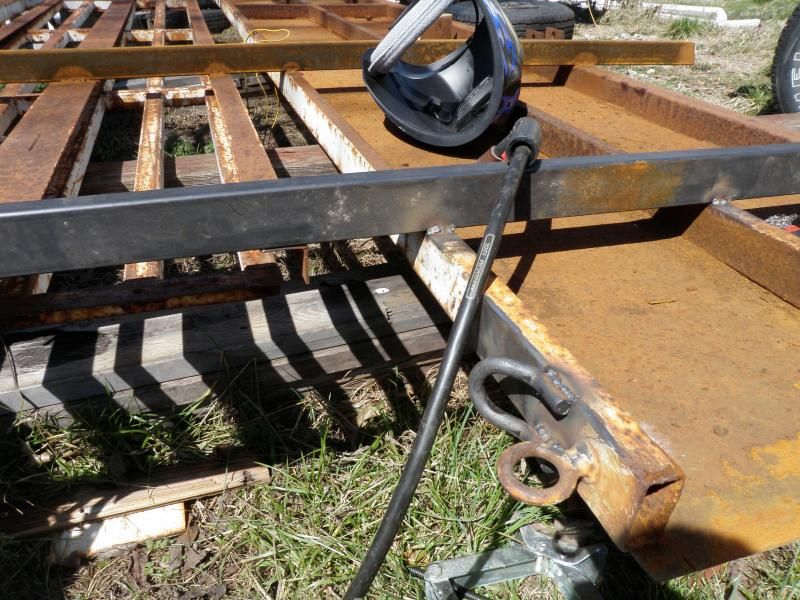
So...weld these into the tubes (horizontal orientation) where I want my tie-down points to be:
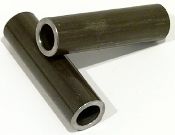
Then bolt on a lifting eye like this:
One issue with these tie downs is that the eye is somewhat small.
Another is that most of them would usually be loaded in bending instead of tension. Not optimum...but probably will do the trick none the less.
My other thought would be to use some round steel bar bent into a U shape and welded to the trailer. This would work well for the large hooks on most tie-down straps.
I'm open to other thoughts as well.

can't see pics, guessing they are photobucket which is blocked at work for me, but my experience, which is at this point, considerable, is that rectangular tube will ALWAYS rust out when used horizontally. I greatly prefer angle or channel for trailer use. Don't use lifting eyes for tie downs, they are bad for a variety of reasons, but mainly these 2: 1) the stress on a lifting eye is designed to be vertically, and strapping loads down is typically horizontal, and 2) if you strap something down or hook something to the lifting eye horizontally, it tends to fall off.
Just use the regular tie downs you can buy at tractor supply. Get the ones with the biggest plate you can find, preferably with holes in the middle. gives you more area to weld to. I do not like the huge kind that they use on semi trailers, as they typically use a thick "U" section that is beveled on the edges. These are designed to be arc welded to 1/4" thick steel or thicker, and you just can't really securely attach them to anything much thinner because they don't spread the load out over the metal enough. They will tear the welds out of thin tubing.
I also really like the other kind you mentioned, the bent bar that has a V bend out in the middle,a nd you weld the legs on each side. I've used these in the past but I can no longer find them either online or locally so I don't use them anymore. But I've had really good results with them. Strong and unobtrusive and easy to use. Don't give you as many options as the tie down style because they typically use a smaller eye.
Thanks for the comments, Andrave.
Yes...I use photobucket.
I agree that using lifting eyes isn't optimum...but I haven't found much else that suits me at this point.
I definitely don't want to add any sort of noise-making flappy tie downs to the trailer though...so whatever I use will be stationary in nature.
That means the pivoting d-ring type is out. They're probably the best for fucntionality except for the fact that about half the time I use this trailer, it is empty and the racket an empty trailer full of loose hardware creates is something I'm very motivated to avoid.
Therefore...if I don't do lifting eye bolts...I'll likely be spending some quality time with some bar stock and a bender (and likely a torch...which I don't have...yet).
Thanks again for the feedback!
Clem
Ok i'm at home now and see all the pics. you have your work cut out for you. I don't like that the crossmembers run under the main beams. first off, this means if your welds aren't perfect the crossmember could break loose, if they were on top then even if a weld breaks it is contained and the deck stays on the beams. Second the horizontals crossmembers get hungup on stuff if you go over a steep hill or rail road tracks and etc. I like for the bottom of the trailer to be the main beams (strongest) so you can drag it over stuff if need be.
My favorite tie down method is captive D rings... I use ones like this:
http://www.ebay.com/itm/4-Lashing-Tie-down-D-Rings-Zinc-Plated-12-000-1-2-/270404670309?pt=Motors_RV_Trailer_Camper_Parts_Accessories&vxp=mtr&hash=item3ef55fd365
If you don't like captive D rings banging around you can always add these:
http://www.amazon.com/Daystar-KU70056BK-Black-D-Ring-Isolator/dp/B001P22UUU
a piece of slit rubber tubing works just about as well for free though.
Another option is just to weld tabs in like this: http://www.ruffstuffspecialties.com/catalog/DRING-FLT.html
And then you can use actual shackle/D rings when you need them. This would be a pretty versatile option...
I also welded in stake pockets all along my deckover trailer, recessed inside the outside rail. My brother welded some on the outside of his, and just ran a piece of 1/8" steel strap along the outside to stabilize them and give him a rub rail. two different ways to go.
http://www.ebay.com/itm/20-2x4-Steel-Weld-Trailer-Truck-Stake-Pocket-7-Gauge-/290367837002?pt=Motors_RV_Trailer_Camper_Parts_Accessories&vxp=mtr&hash=item439b45934a
Either way the stake pockets are big enough for chain if you use chain and binders like I do.
There is also the U style ones, I've never used these, I just don't like the way that the stress would be at the outside while they just weld on the bottom.
http://www.ebay.com/itm/4-Weld-Loop-steel-D-Ring-Rope-Chain-hook-Rope-Tie-Down-1-2-thick-trailer-/350517594642?vxp=mtr&hash=item519c7a0a12
btw I really like R&P carriages, their prices are usually as cheap or near as cheap as you can find and their customer service is really really good... they ship super fast too. If you ever need advice you can call them and they will talk to you about what would work best for you.
This weekend I got my three cross rails cut. Two long ones for where the fenders mount and one shorter one toward the rear.
The middle one is laid loosley in place where it goes (at the back of the fenders) and the other two are just laying next to the rails they will be replacing.
Just a littler closer view of the first one I'll weld in (the one at the back of the fenders):
I'm going to replace one at a time to keep the trailer from moving around too much on me.
Next step...I get to learn some welding again.
Ok...so, I'm happy to say that the MIG welding has been going ok (I've never successfully mig welded before...only TIG...and that was over 10 years ago).
All I've done so far is prep the cross rails by welding on end caps. Here you see before, welded, and ground down (but not in that order):
I'll also hit them with a flap-disk sanding wheel before all is said and done (makes them look much nicer than the grinder-disk finish).
I installed the end caps in an attempt to keep these new rails from rusting out from the inside like that last ones did. Not sure if it will help, but it was easy enough to do and gives a nicer, finished look as well (to that end...I also cut the ends at an angle, because I liked it).
I took one extra measure for inside-the-tube rust protection. This may be a complete waste of effort...or possibly even counter-productive, but...I put petroleum jelly (vaseline) inside the rails before putting the end caps on. I smeared an ounce or two on a piece of wax paper, rolled it up about the size of a cigar, popped it in the freezer for a few minutes, and then slid it into the tube...pushing it way back in there with a stick I found nearby.
My theory on the petroleum jelly is that in warm conditions, it will liquify and spread around the tube a bit. Hopefully it can't hurt.
I figure this trailer should easily last another 20 years even if I constructed it like it originally was. Hopefully a few upgrades will increase that or at least give it better utility in the meantime.

fanfoy
Reader
2/10/13 11:43 a.m.
Apparently, Porsche use to recommend petroleum jelly to protect the Fuch wheels from corrosion, so I guess it can't hurt. But since the it melts at around 100 F, it's gonna need a hot day before it protects the inside. Linseed oil is more classically used inside tubes to prevent corrosion.
Good to know on the linseed oil...thanks for the tip. I thought about just drilling and tapping a hole for a caphead machine screw later to squirt in some sort of oil...but decided to try this while I had the opportunity.
I have no doubt the petroleum jelly will melt sometime in May or June. Inside one of those tubes will hit 98F easily once it it's in the sun and ~90 ambient, I suppose.
Clem
At this point, I have welded two of the three cross rails into place. I removed the fenders as well.
I’ve also been gathering some parts.
I ordered a quart of POR 15. It turns out, about the best price out there can be found on Amazon. I don’t know how far this quart will go…but I’ll get more when I run out of this first can.
I’ve also developed a plan for tie downs. I’ll explain that with photos as it comes together.

Ian F
PowerDork
2/20/13 7:54 a.m.
In reply to ClemSparks:
FYI: POR15 seems to "store" reasonably well. We bought a gallon of it years ago and still break it out once in awhile. Make absolutely sure you put some plastic wrap between the can and the lid or you'll never open it again. Storing it in a refrigerator seems to help as well (we keep it in a dormroom garage fridge).
I haven't been getting much done the last couple weeks...
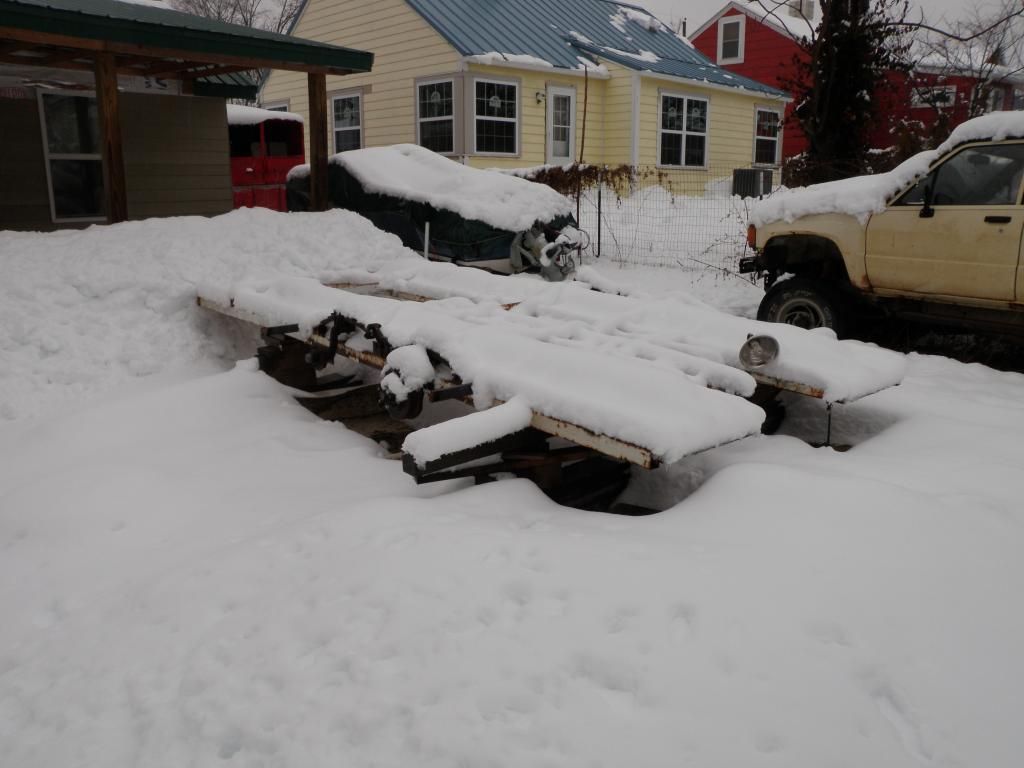
Well...a week ago, the trailer and yard looked pretty much like in the photo above. We got another snow on the first weekend of "Spring." But...it melted off over the course of the week. So, I got a chance to do some Easter fabrication and welding.
For the new tie-down points, I stumbled across these weld-on safety chain loops made by Curt Manufacturing.
I bent the ends, like this:
Then cut them in half and welded them on the trailer as tie down points like this:
and this:
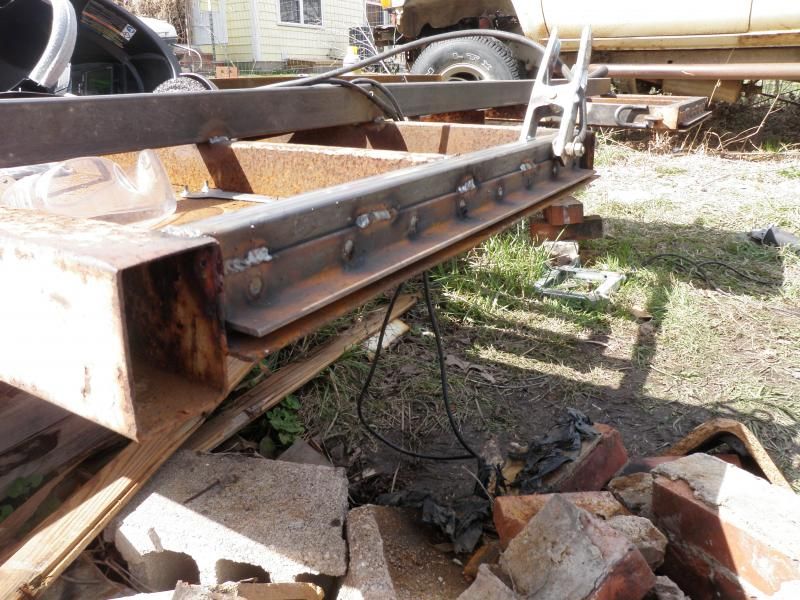
I was also able to work on my new ramp mounting scheme. I am using a piece of 1" by 1/8" angle iron to support the ramps. This will be recessed under the deck of the trailer. The rectangular tube that this is welded to needed replaced also. So, I welded the angle to the rectangle in advance. I drilled a series of 1/4" holes and welded it there, as well as along the bottom edge.
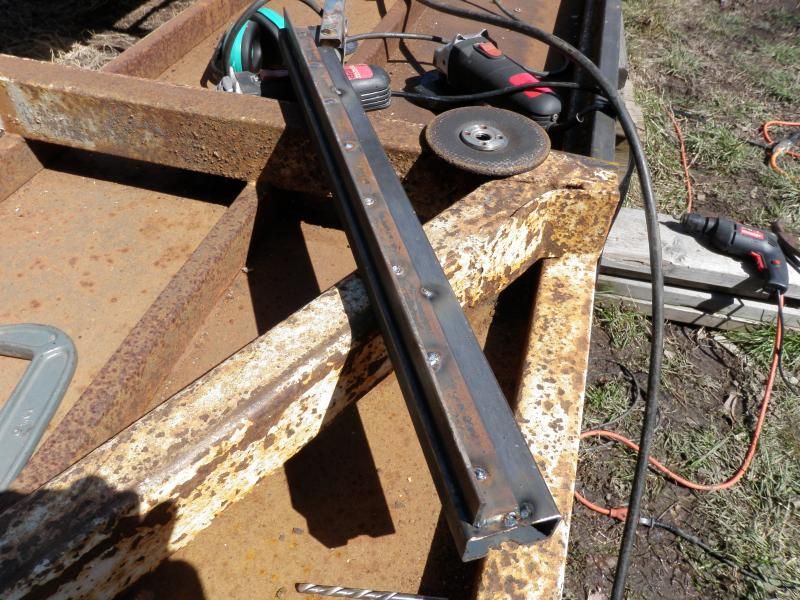
Then, I welded this part in place on the trailer. In this shot, you can see this part welded in and the rearmost cross rail that has been welded in.
I've got a little more welding to do...but I'm starting to wire-brush the underside of the trailer in preparation for the POR-15. Man...I'm dreading this process. I think it will turn out nice, though.
It seems I neglected to post up any photos of the POR15 going on the bottom...but...that's about exciting as watching paint dry anyway.
This weekend, thanks to the help of about 10 friends (thanks SingleSlammer and Psteav), the trailer was righted. It's back on its wheels again!
[URL=http://s123.photobucket.com/user/clemsparks/media/Car%20Hauling%20Trailer/P1010482_zpsbdeb89fb.jpg.html]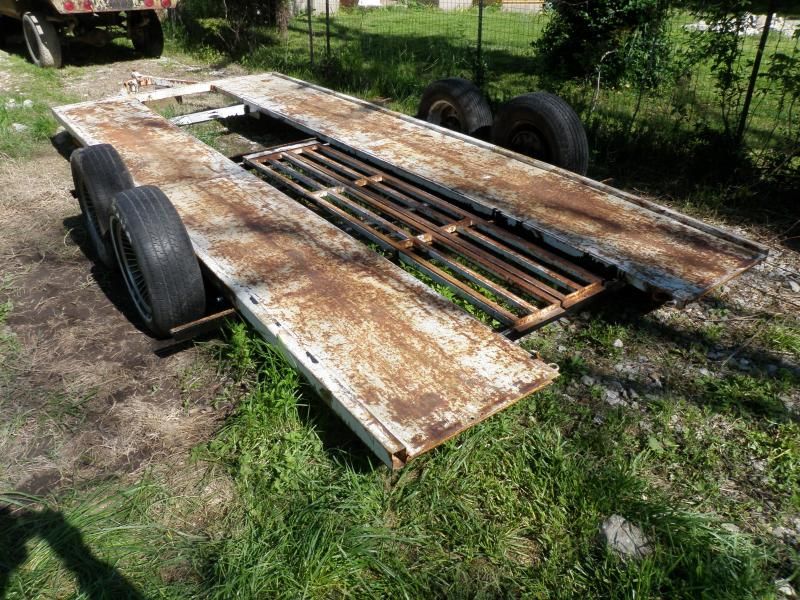 [/URL]
I've got new fenders ordered. Once those come in it will be time for more welding and, ultimately, paint. I'm considering "Ford Blue" implement paint (with hardener) for it.
I'm mostly just really excited that this thing might be functional again soon (ish).
[URL=http://s123.photobucket.com/user/clemsparks/media/Car%20Hauling%20Trailer/P1010483_zpsc7384c62.jpg.html]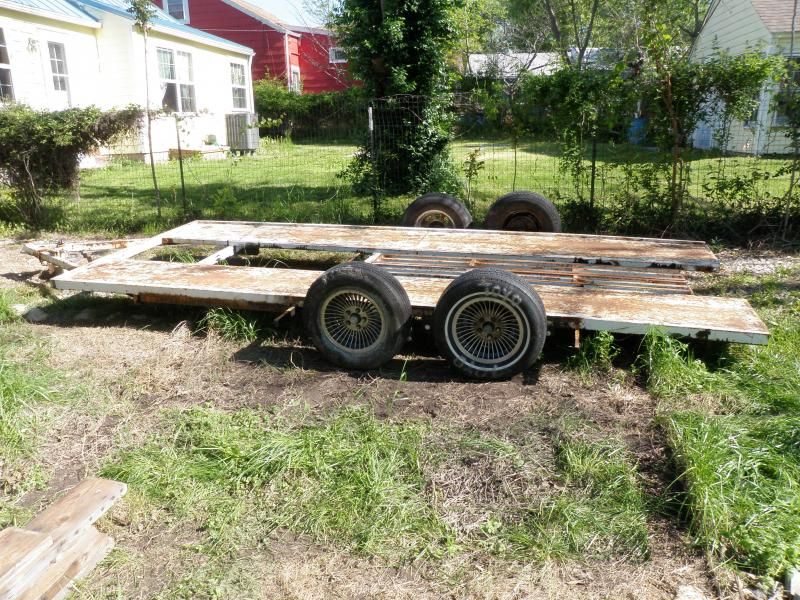 [/URL]
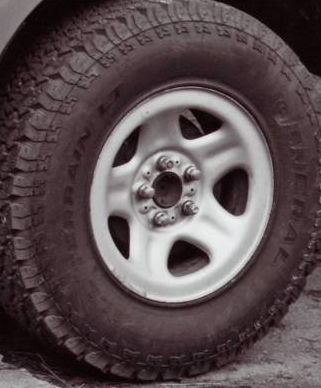
Those wheels are awesome!
You're doing a great job!
The "Toyo" tire (and both those wheels, actually) came off a "Back 40 Racer" several years ago. ~'89 Crown Victoria/LTD.
Paint STICKS to tires. I wish I could get it to stick that well to metal and other paint.
wvumtnbkr wrote:
Those wheels are awesome!
I'm on the lookout for a set of jeep steel wheels for this trailer. The ones that look like this:
Ohhhh...those are cheap! I've found 5 (!) takeoffs with new Wrangler GSAs for $250. Search the Jeep forums.
Yes...should be cheap and I like the style. The wagon wheels that came on this trailer when I got it are terminally rusty.


