On my 87 XT (boxer 4) it was required to have the vehicle perfectly level while the belts were changed and I had to buy two Subaru only cam sprocket and crankshaft pulley tools to change out the belt. $200 from Snap on. Hopefully Fuji Heavy industries has improved that repair procedure. Your car cleaned up really well, good job.
I've read the procedure and it looks pretty painless as long as I can figure out getting all the markings to match. Kind of like timing two Miatas at the same time. How hard can it be? 
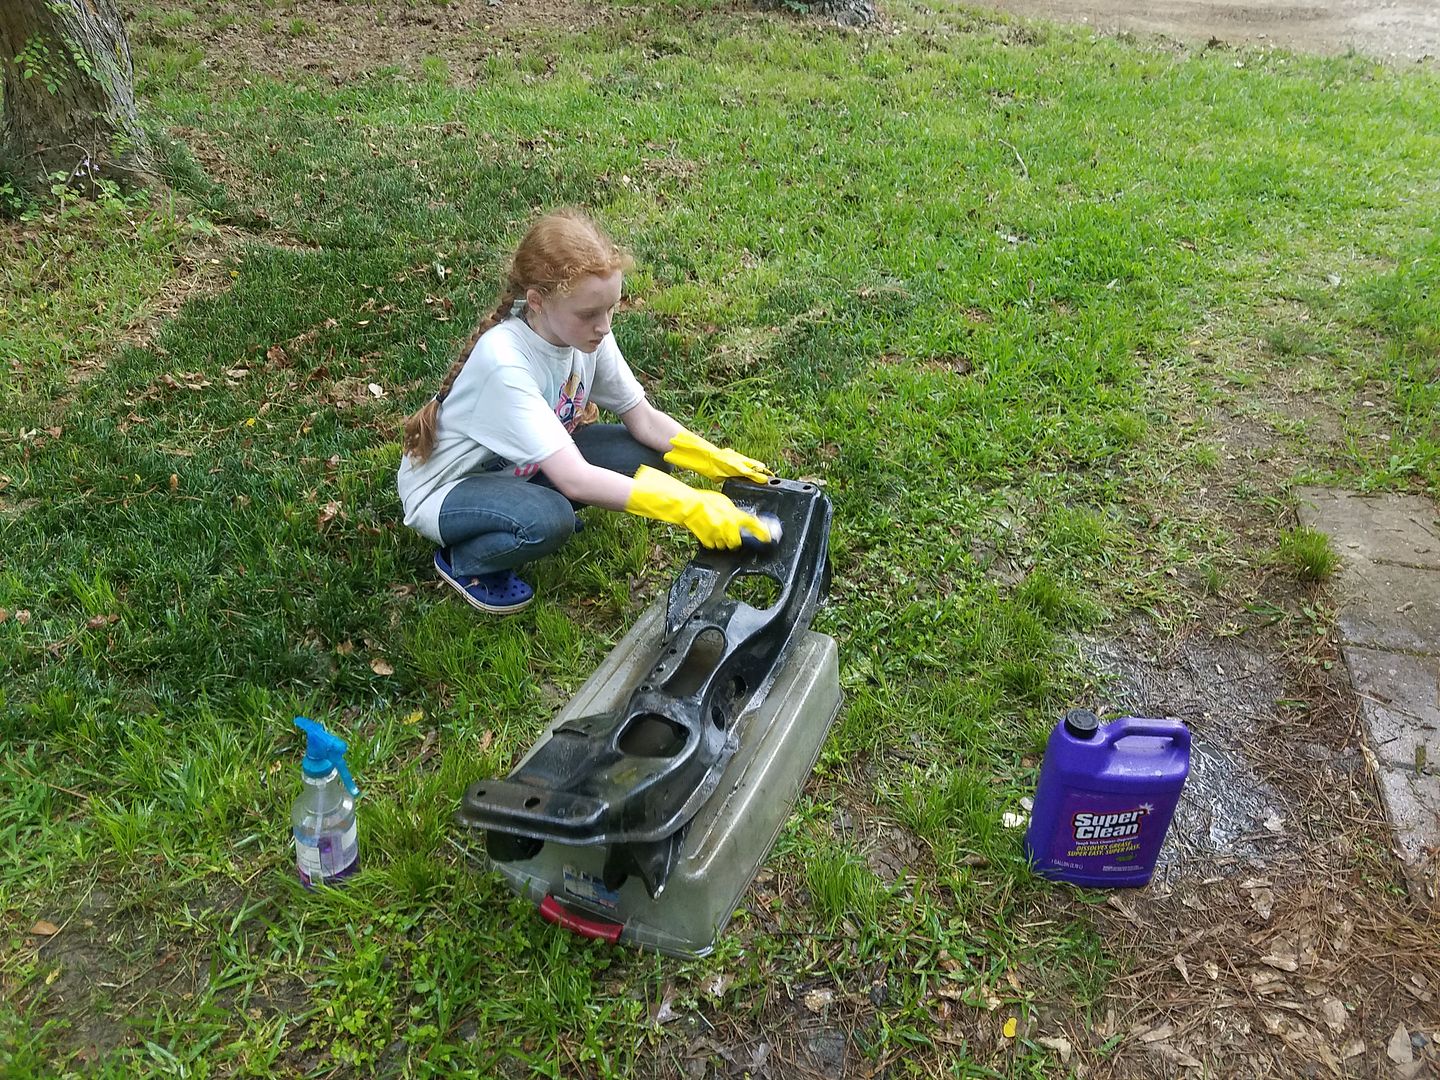
I've been puttering. Unbolting stuff, seeing that it's dirty behind it, cleaning.
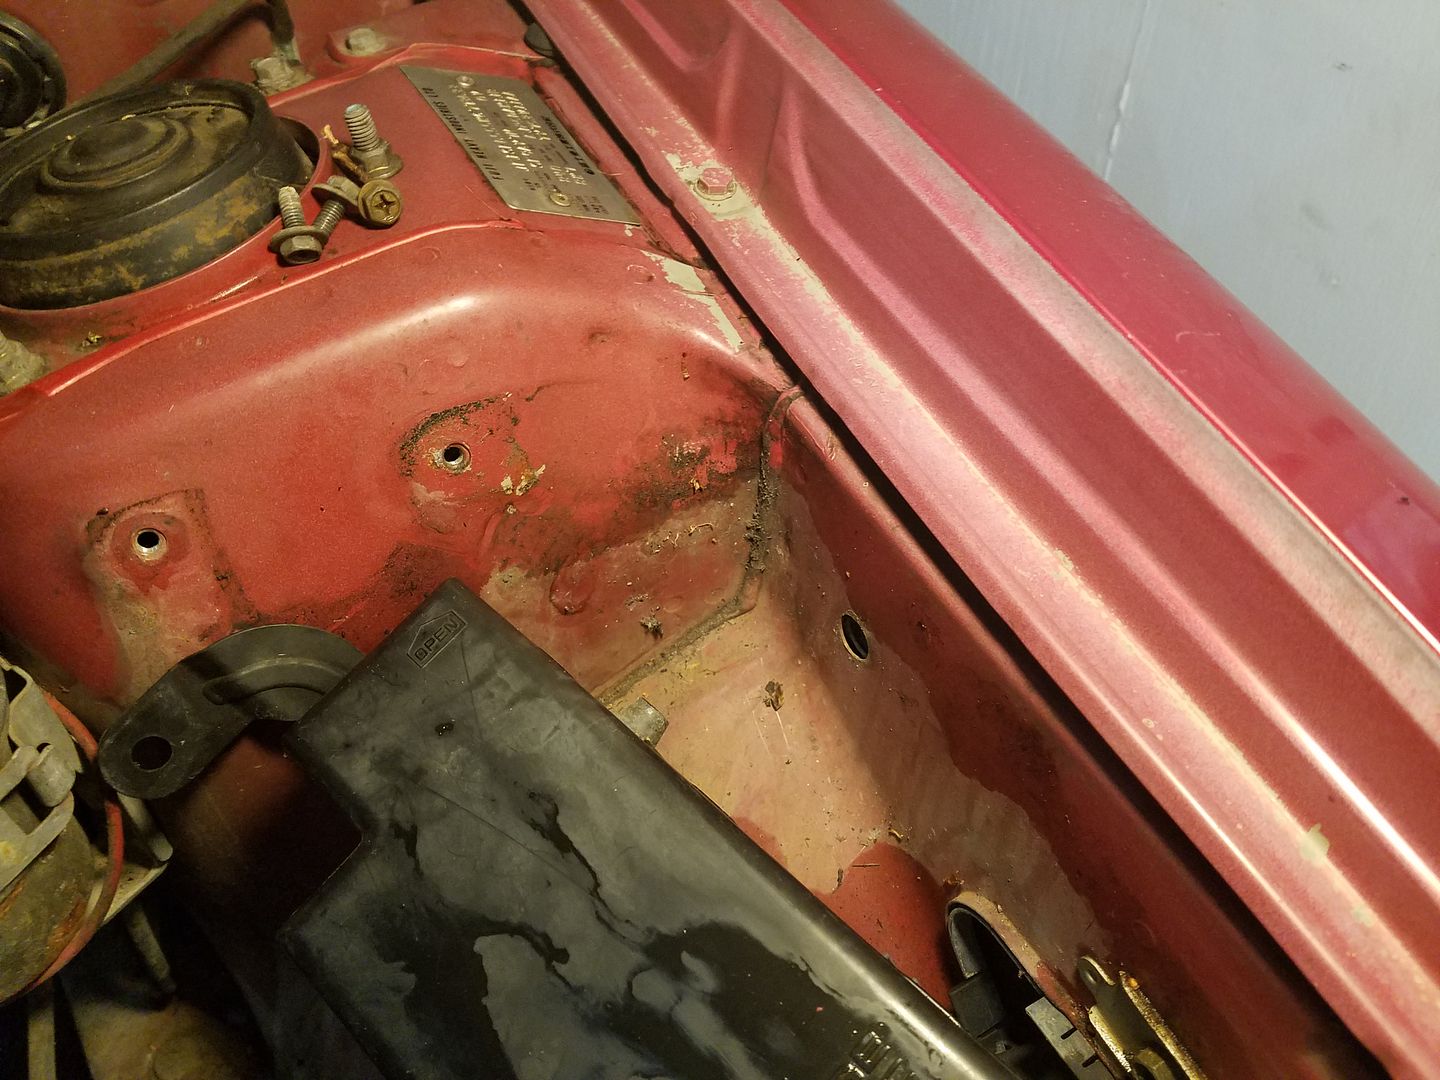
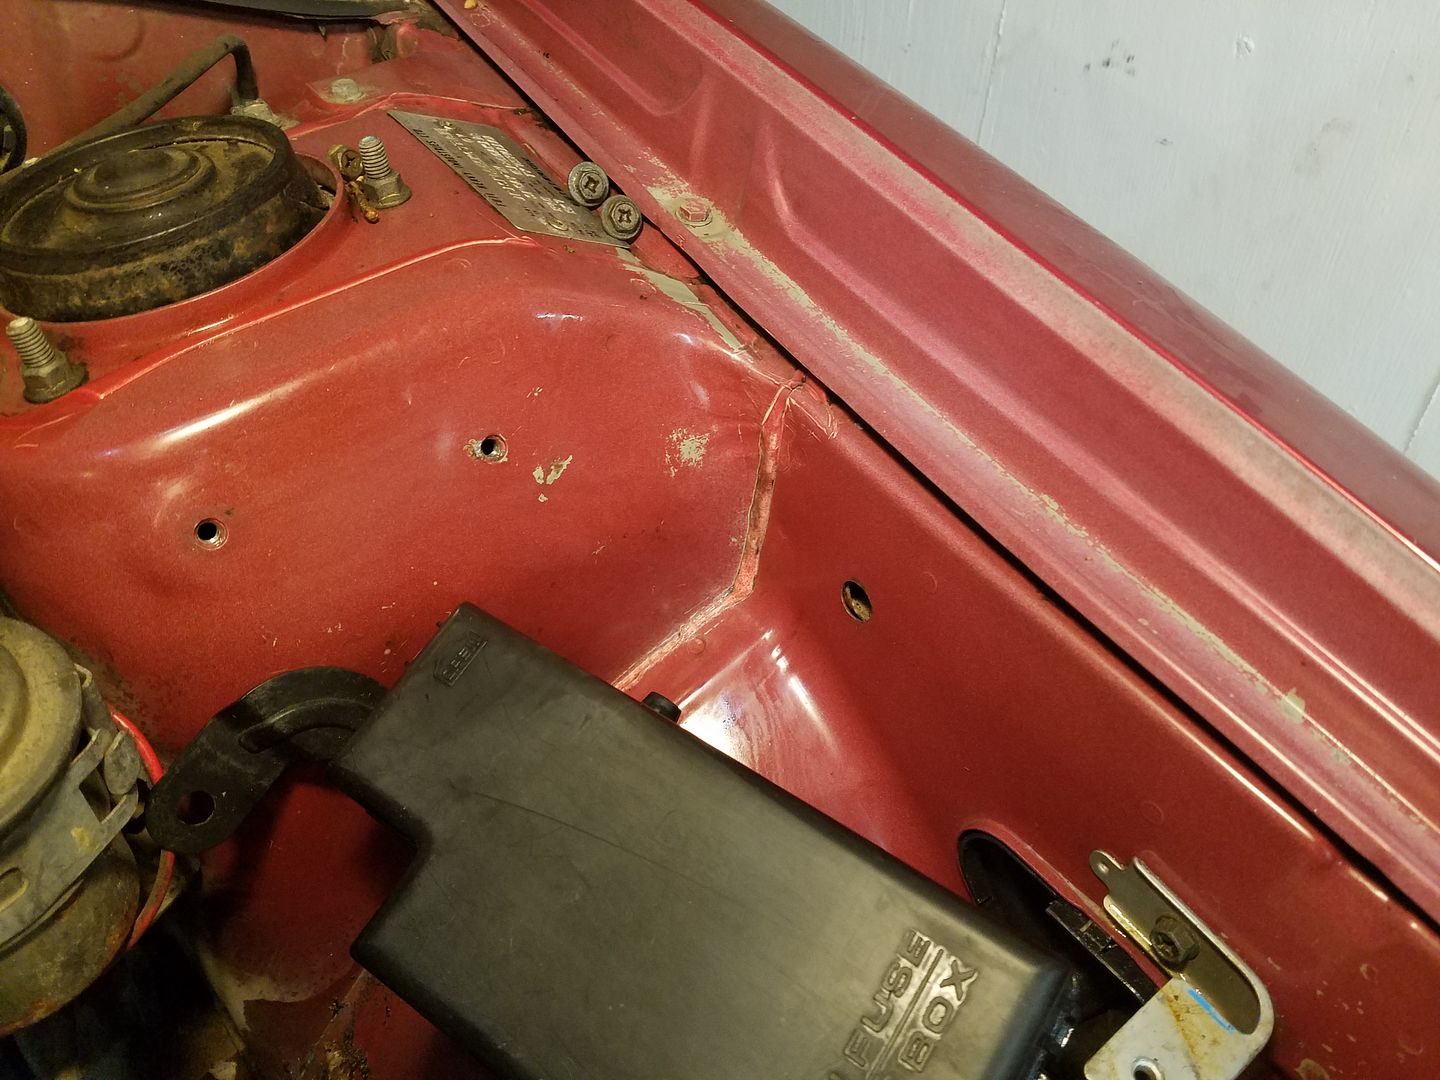
I'll eventually get to all the nooks and crannies. A more logical person would drop the motor, unbolt everything, clean and paint. It would probably take less time than doing it my way.
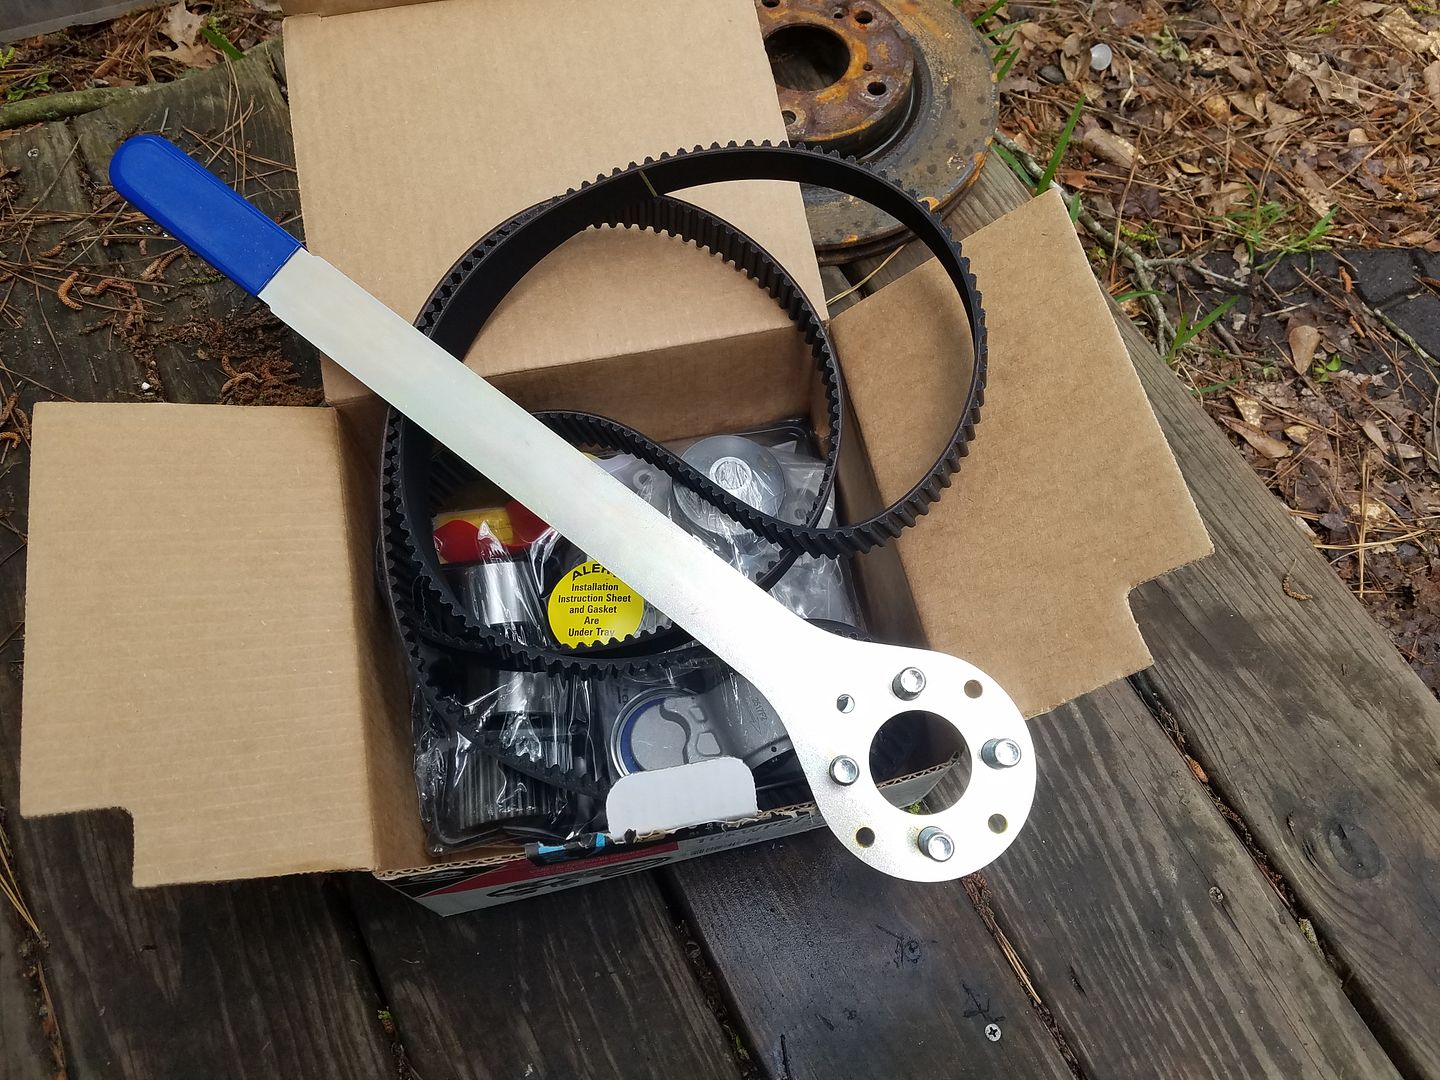
Timing parts are here. I have four different crank holding tools now. The hazards of always wanting something different.

In reply to Cousin_Eddie :
I swear to god, I keep thinking of pulling all the small brackets and powder coating them. You're a terrible influence.
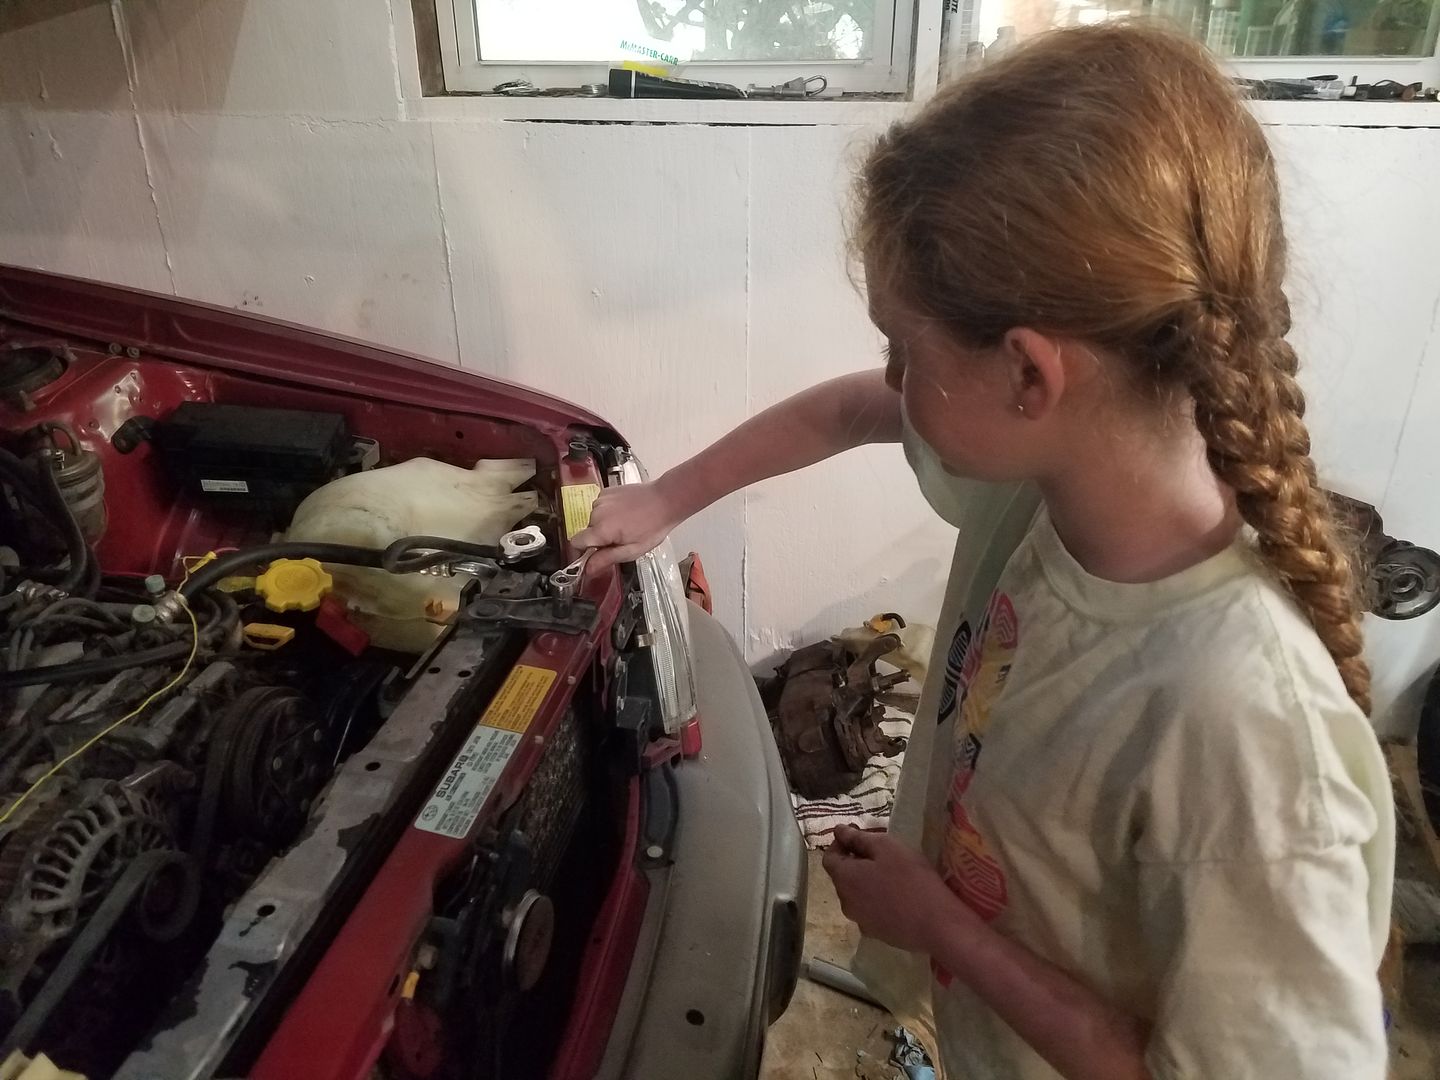
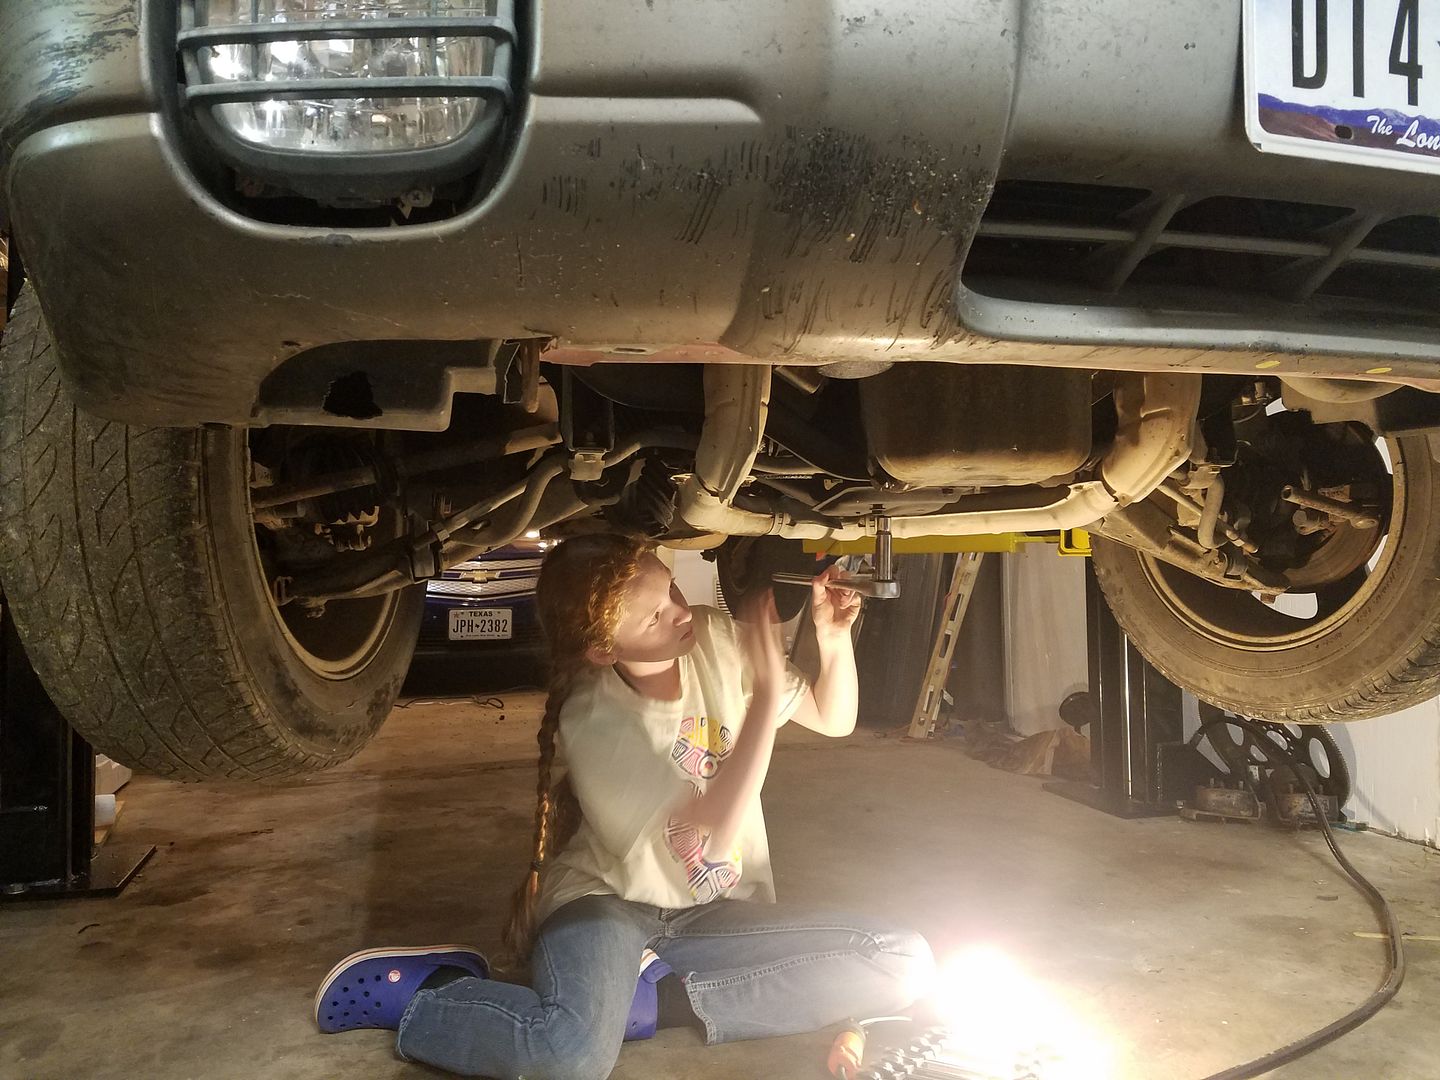
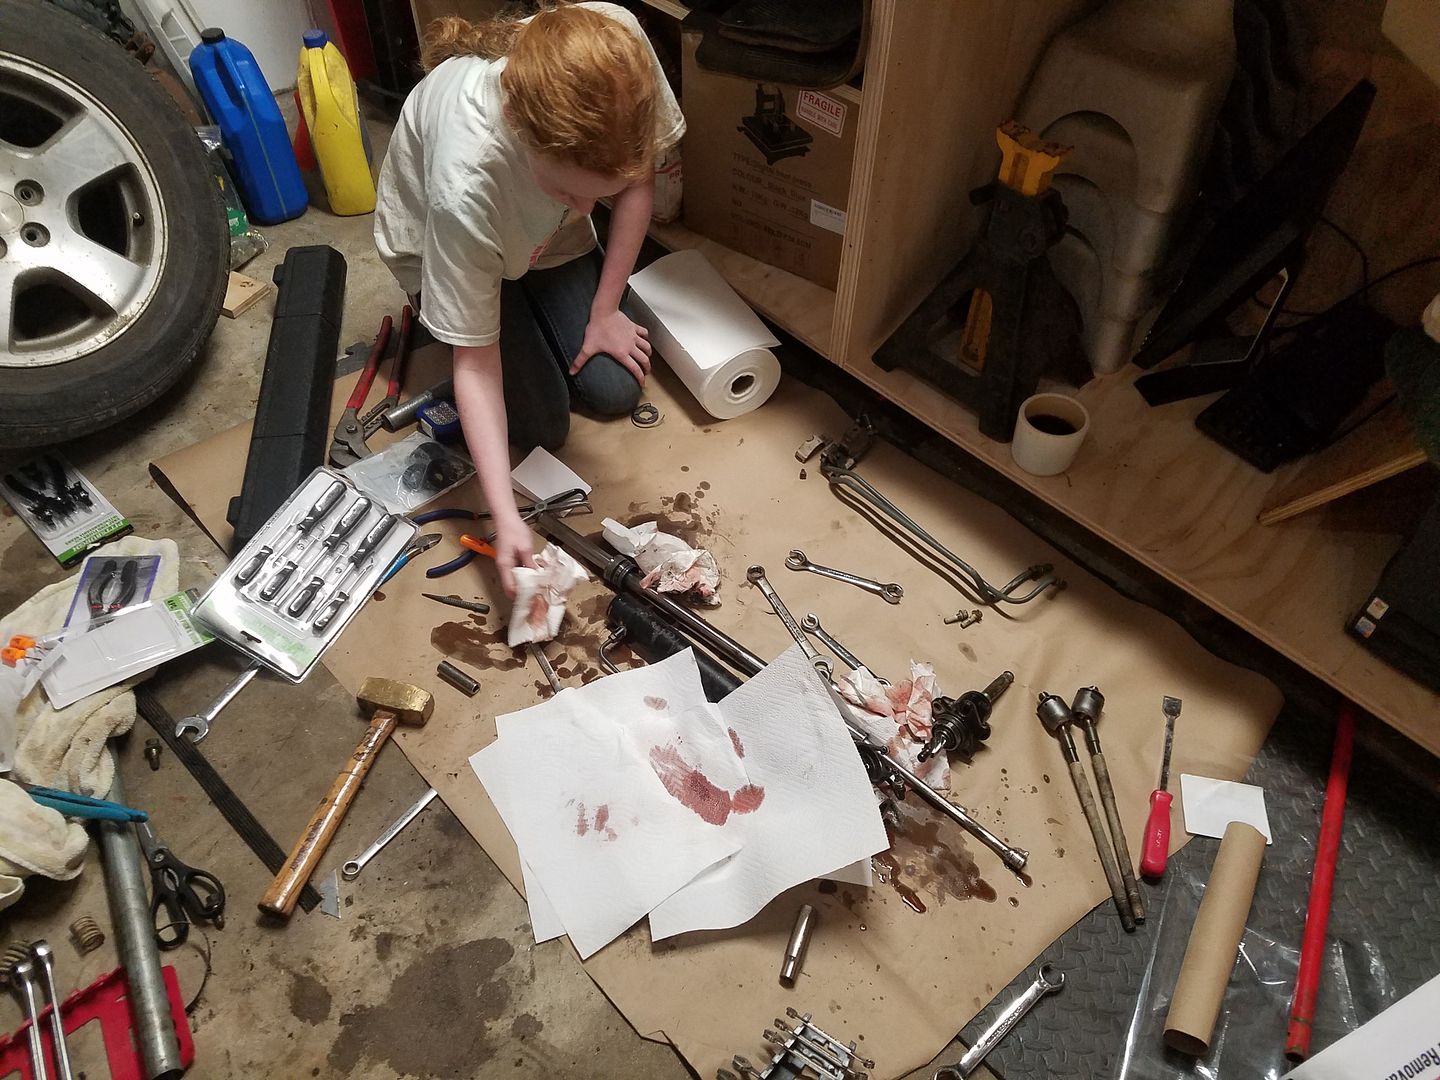
Yesterday was timing belt day. I should have taken a bunch of pictures but I was distracted. After taking deucekid#3 to her solo band competition and then out to lunch she wanted to continue hanging out and help, so she did. Instead of stopping to take pictures for you guys I just did a steady stream of talking telling her what parts were, what they did, and how they went back together. Torque wrenches, bolt organization, the whole thing. She helped clean parts before reassembly and was assigned fasteners to tighten down.
I will say that the gates timing belt is pretty cool. It's got marks already on it that help you line up the cams and the crank. The instructions also come with all the torques except for the timing belt bolts. It's more expensive that the other kits, and now that I've done one I could do it with a cheaper one, but I would absolutely recommend it. Good stuff.
Then we put pulled the new fender and put everything back together so we could drive around the block before dinner. Mission accomplished.
I'm going to clean the garage and I think we're going to put the car back on the lift to evaluate the power steering. It looks like we can get parts to reseal it for about $50. Also need to figure out why the rear is clunking. Sound like the sway bar, but could be a bunch of stuff.
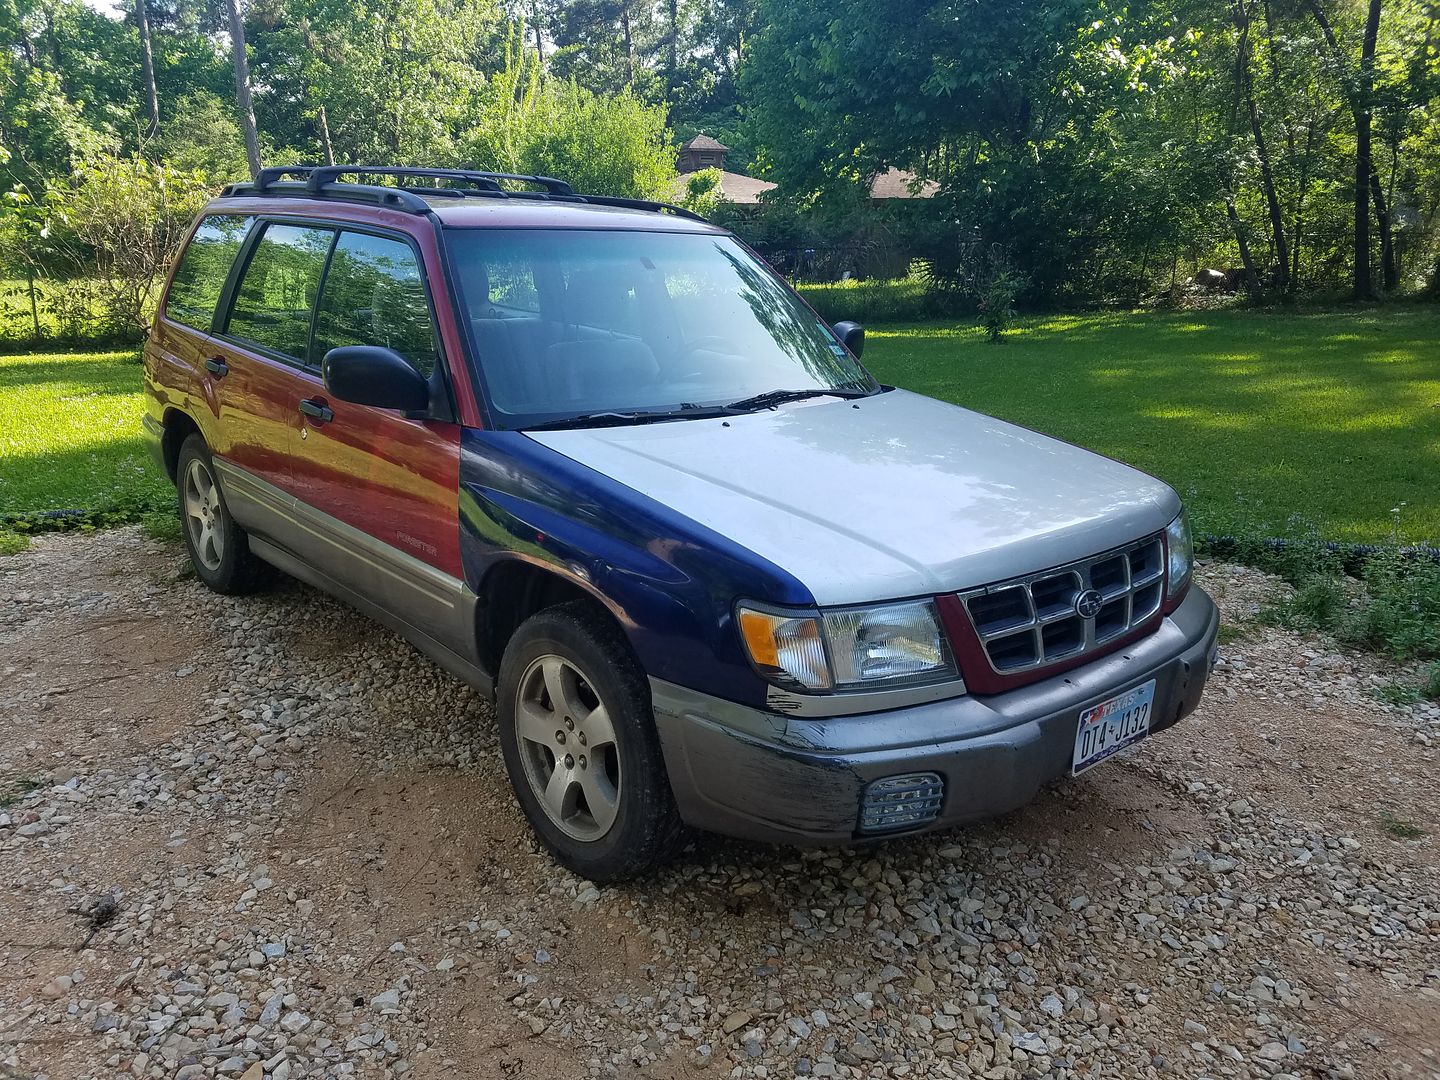
I kinda like the multicoloured look. One of the rear doors and hatch were blue/silver it would really pull it off.
Good job!
i had a 2004 WRX that had an aftermarket (SubeSport?) rear sway bar. After about a year, I was getting an annoying clunk back there. I thought the exhaust was hitting the bar but that wasn’t it. It took forever to find, but eventually I discovered that the sway bar bolts were stretching and getting sloppy. Even when I swapped to Grade 8 volts, I’d have to replace them once per year. They were shouldered bolts. Ideally they would have had less shoulder and more thread. That Car handled really well though!

Ryed
New Reader
4/15/18 11:54 a.m.
Run_Away said:
I kinda like the multicoloured look. One of the rear doors and hatch were blue/silver it would really pull it off.
It's the Subaru Forrester Harlequin Edition!
Check the rubber bushings and swaybar mount points. I had bushing that were partially disintegrated and made a little clunk in the rear. Additionally, there MAY be bushings under the mounts. Check those, too.
Ryed said:
Run_Away said:
I kinda like the multicoloured look. One of the rear doors and hatch were blue/silver it would really pull it off.
It's the Subaru Forrester Harlequin Edition!
I was going for Tri-colore, but you're probably closer to right.
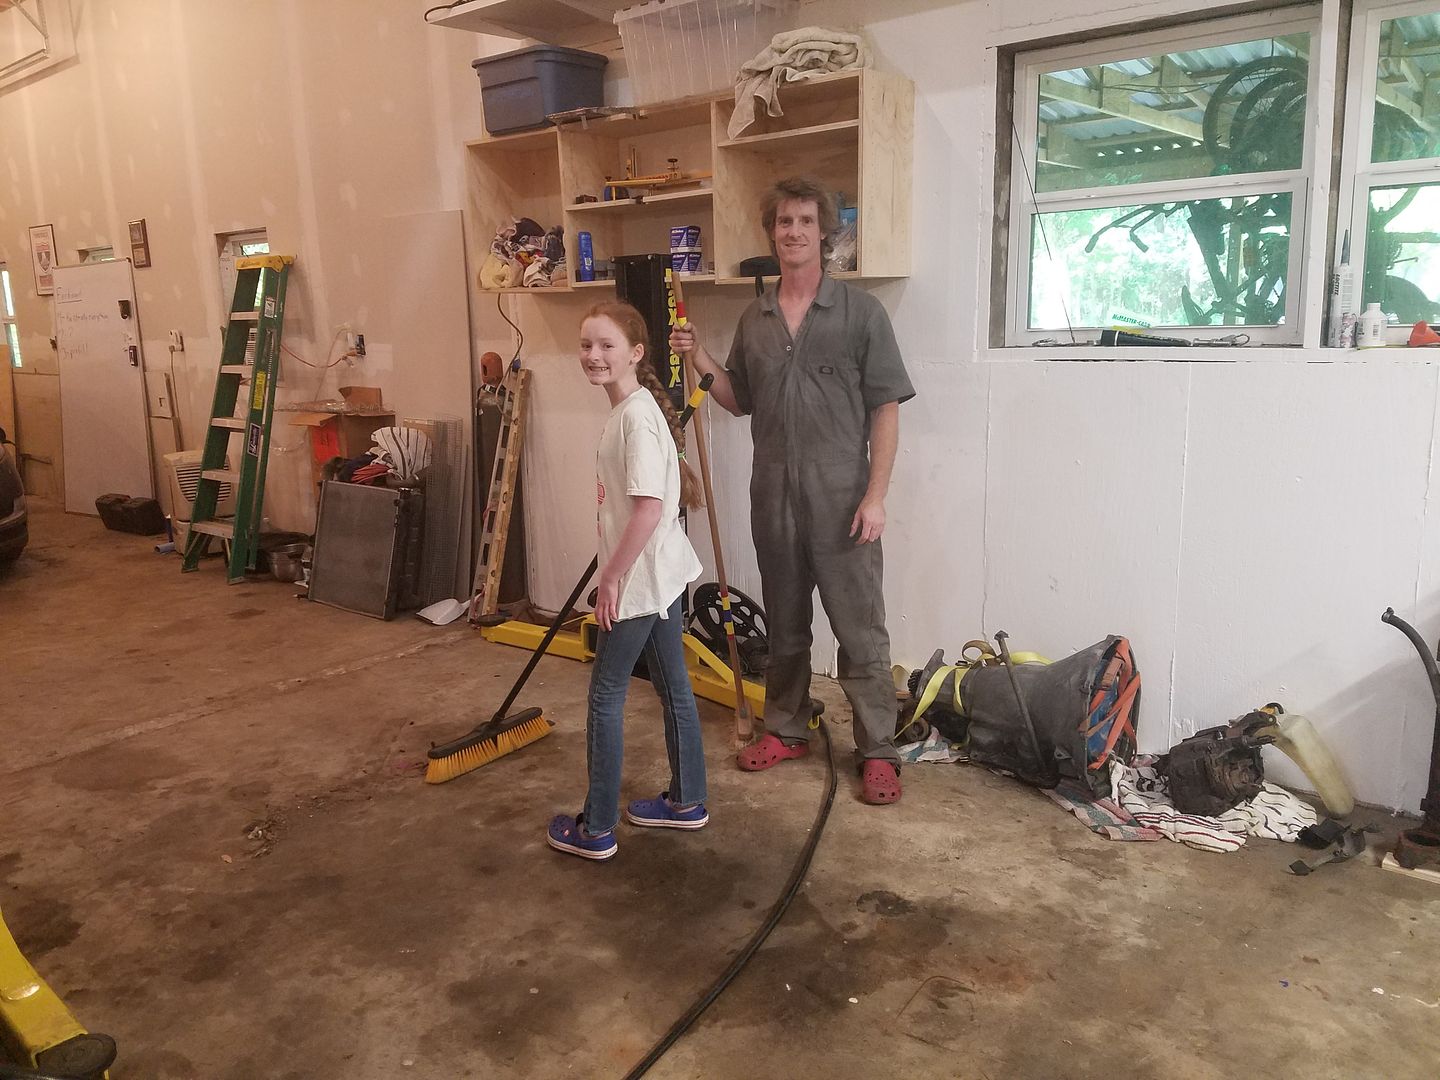
It appears I have a helper and Mrs. Deuce keeps coming out to the garage to chat and document our hanging out.
With the Subaru out of the garage we started by putting all the tools away and sweeping. Little kid, big broom.
From there we put the few bolts in the fender that need the door open, and put the car back on the lift to change the oil. The girl is spoiled.
While we were under there we did a full inspection.
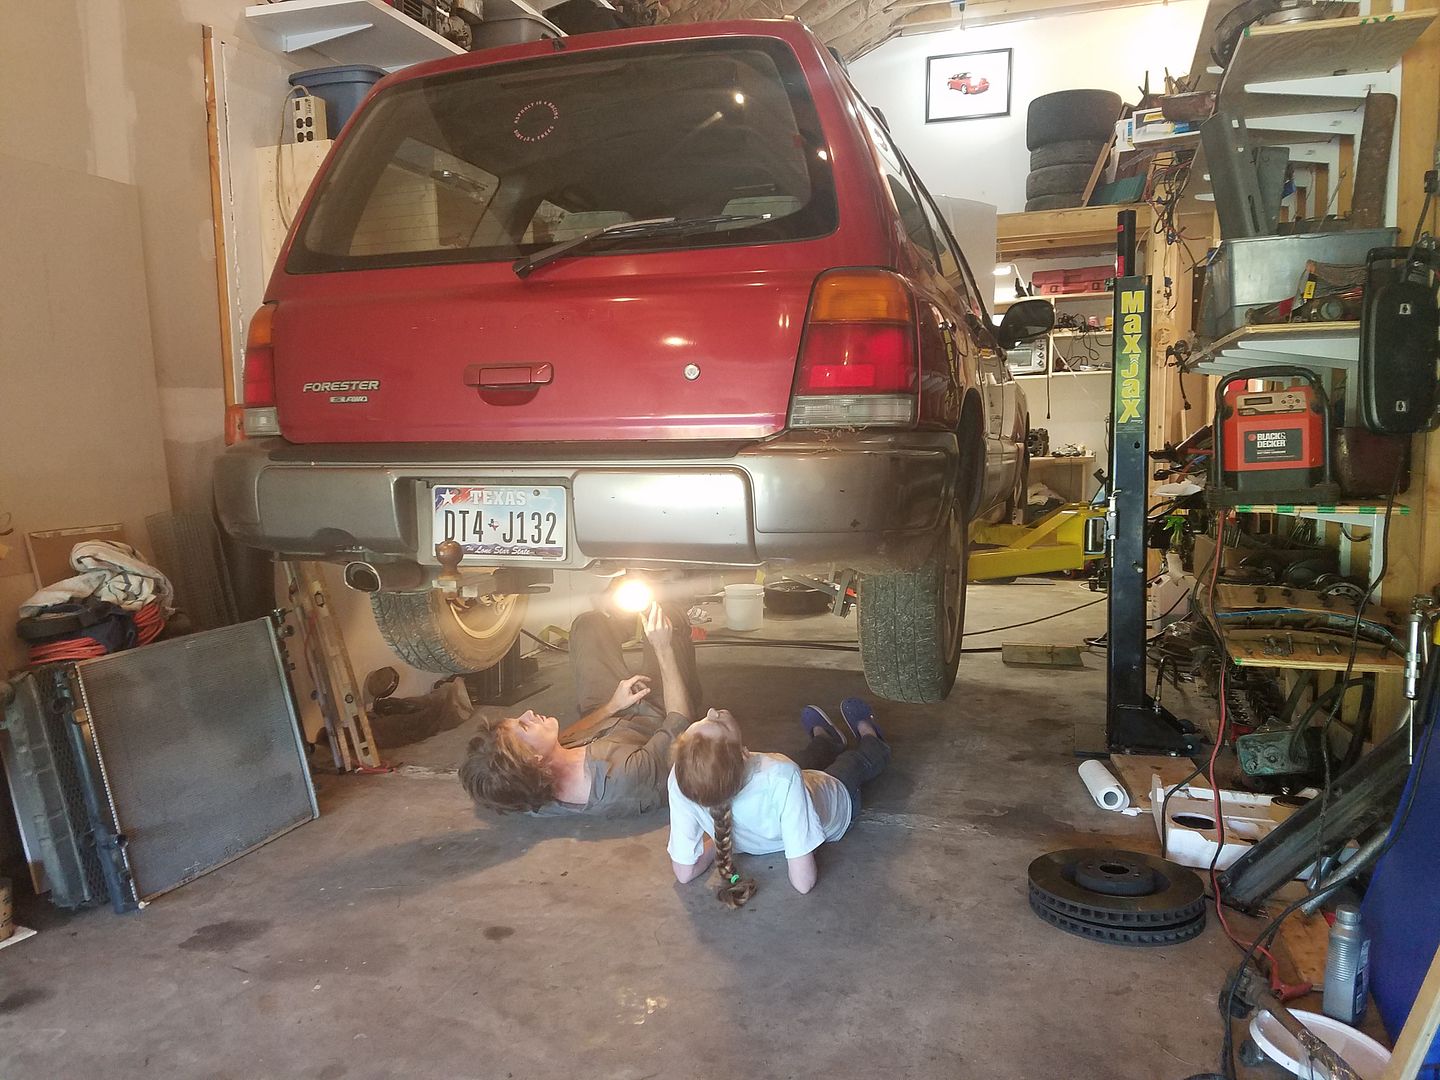
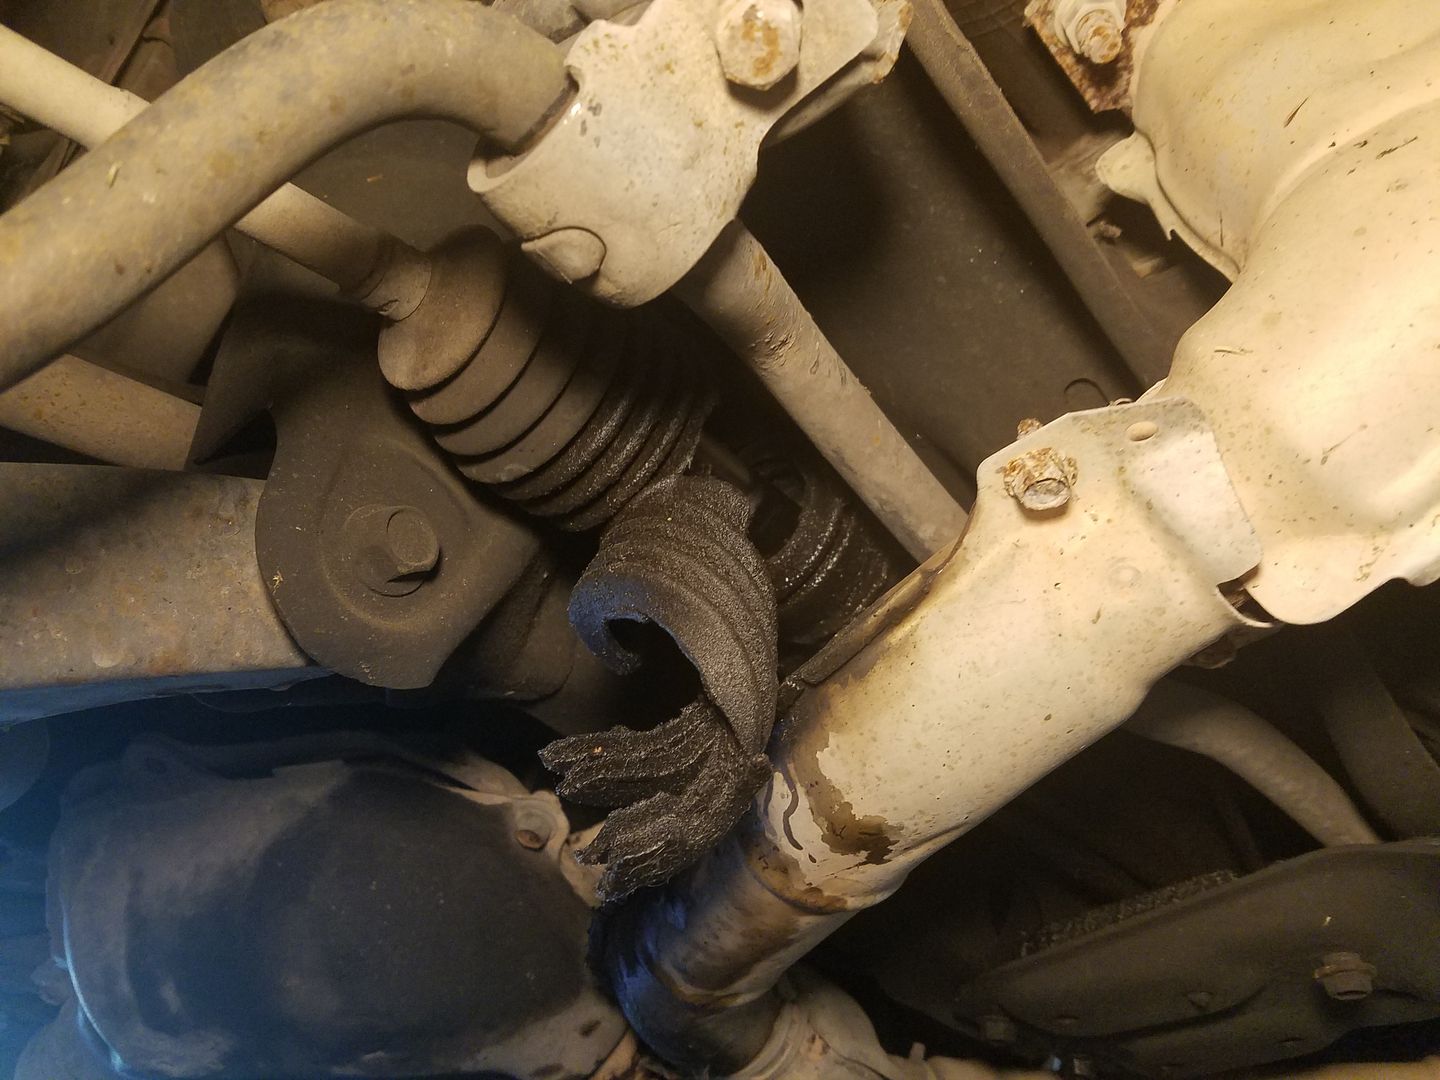
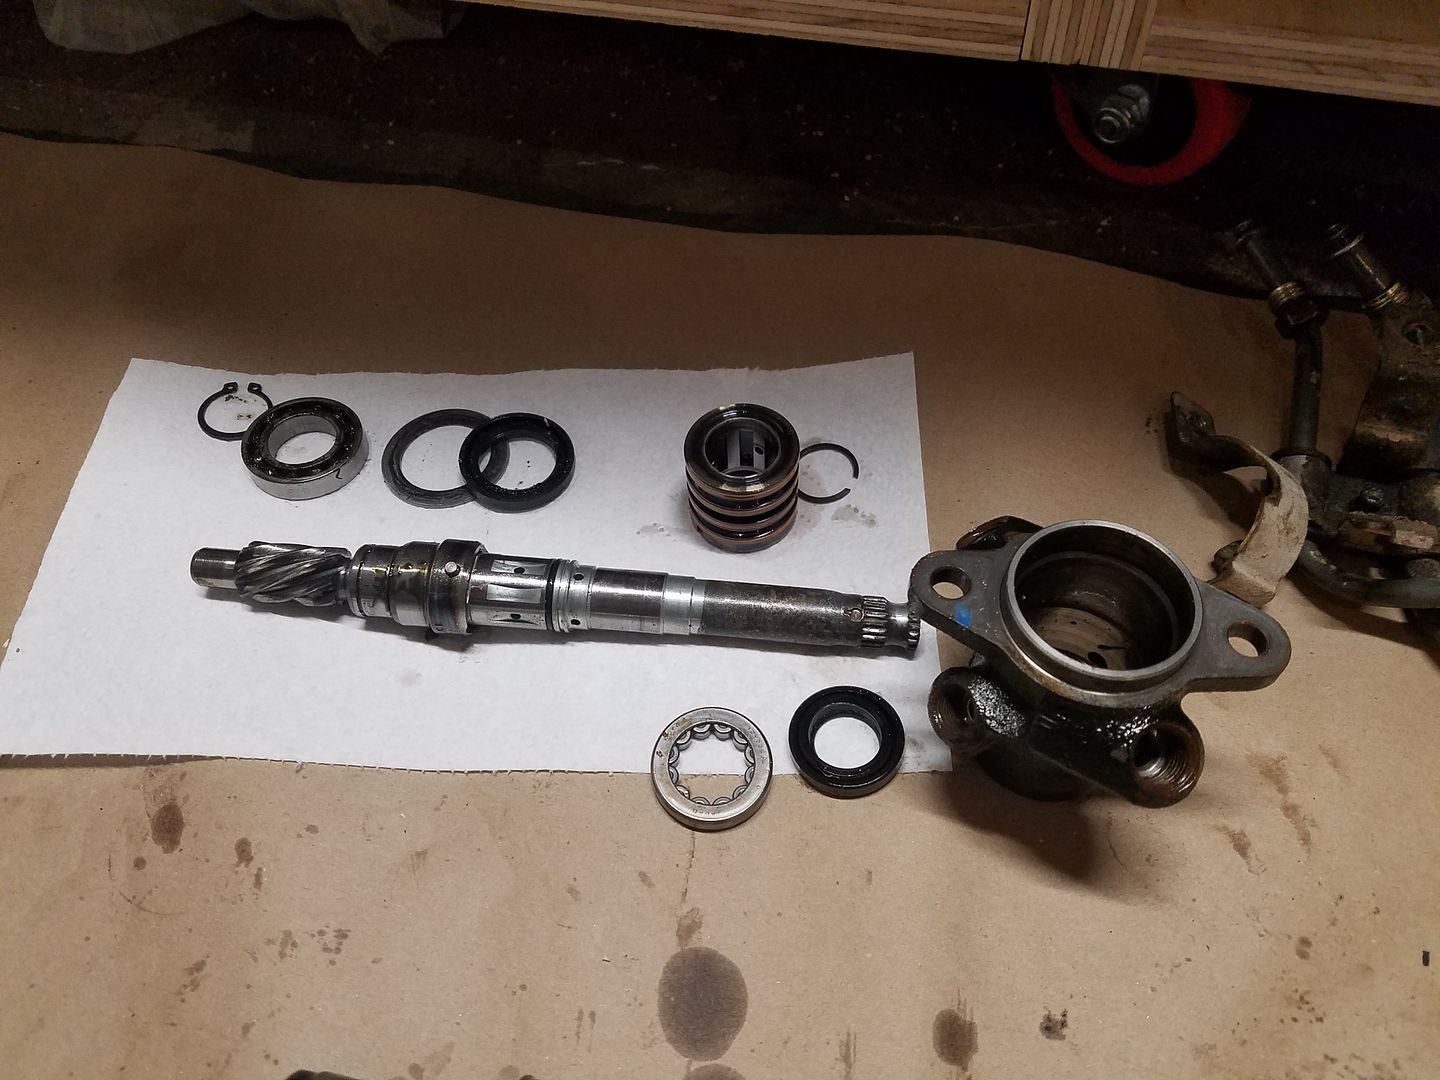
Still can't find anything obviously clunking but we did find that both inner front CV boots are torn and the rack has....issues. I think it's coming out for a full rebuild with all new seals and boots. Never rebuilt a rack before. Time to order more parts.
Nice quick turn around on timing belt. Never expirenced any clunking in rear when I drove it. Can’t remember off top of my head but is there a carrier bearing for drive shaft? I chased similar issue with a 240sx one time and turned it that was cause.
Check the brackets that mount the sway bar bushings to the frame in the rear. They are pretty thin and can rust and break over time. I think Cobb makes a replacement that is stronger and thicker for use with big aftermarket sway bars.
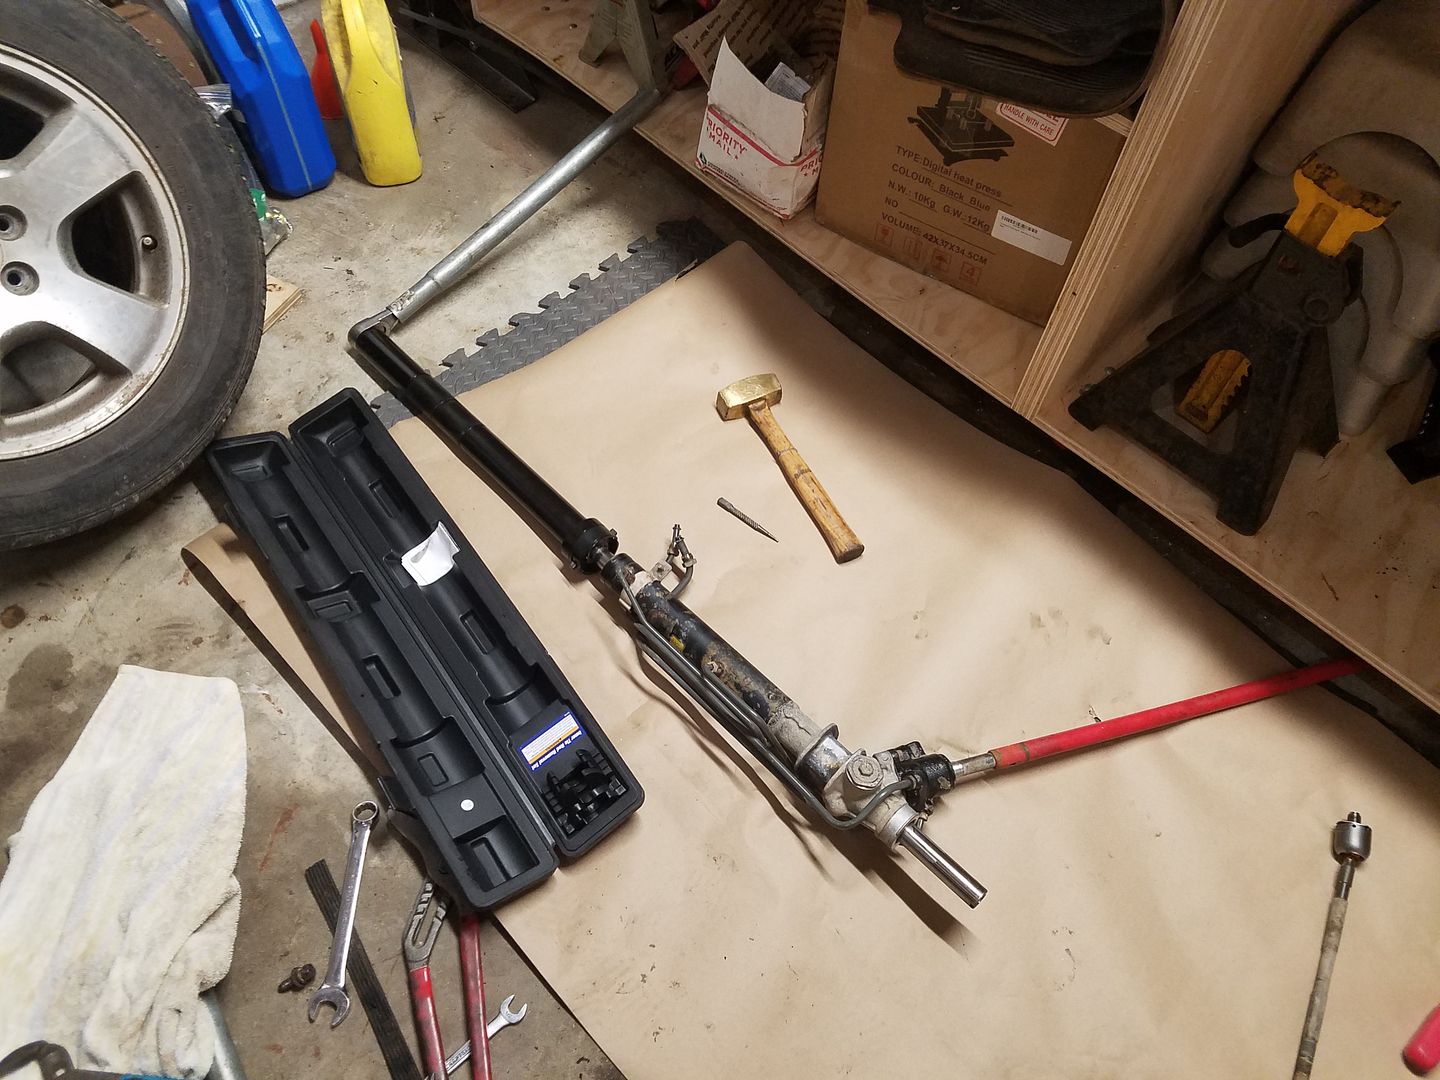
Youth basketball, soccer, two kids at an AP prep conference thingy, finally home and Deucekid#3 pushed the button to lift up the Forester. In theory the rack will pop right out, so easy a kid can do it. Very clever design by Subaru. In theory.
Four hours of work later, the subframe off the car, and we were cutting the head off the rack bolt whose captive nut spun. All the exhaust studs screwed out of the heads, other exhaust bolts broke. We both smell like PB Blaster, you know the drill.

So now we're cleaning and contemplating how we're going to bolt the rack back down.
Kids hanging out and wrenching, totally awesome.
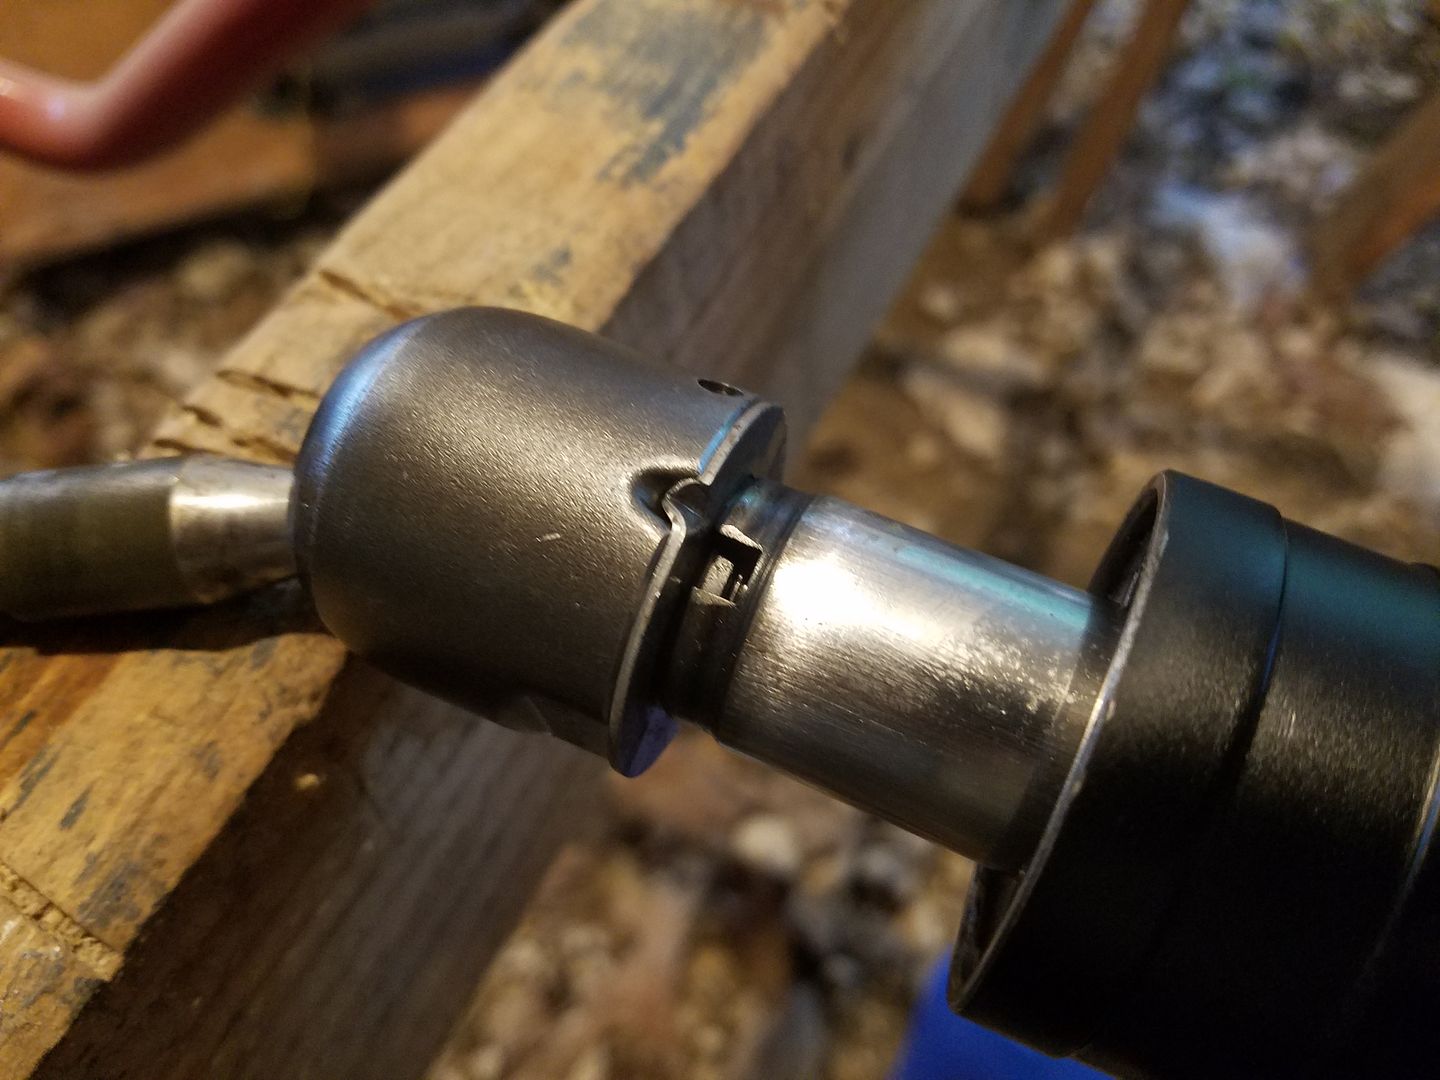
In part 10,000 of "I've never done this before" I ask, do I have to unstake the flat washer thingy so I can remove the inner ends?
In reply to mazdeuce - Seth :
Yep, looks like it.
Gracias, I don't have anything big enough and thin enough to grab the flats on it so I'm off to Harbor Freight. Solution to, and source of, all of life's problems!
Turns out there is a tool for inner tie rods. Who knew? Not me, this is the first time I've had to take them off because mechanical experience is very non linear. Works great by the way.
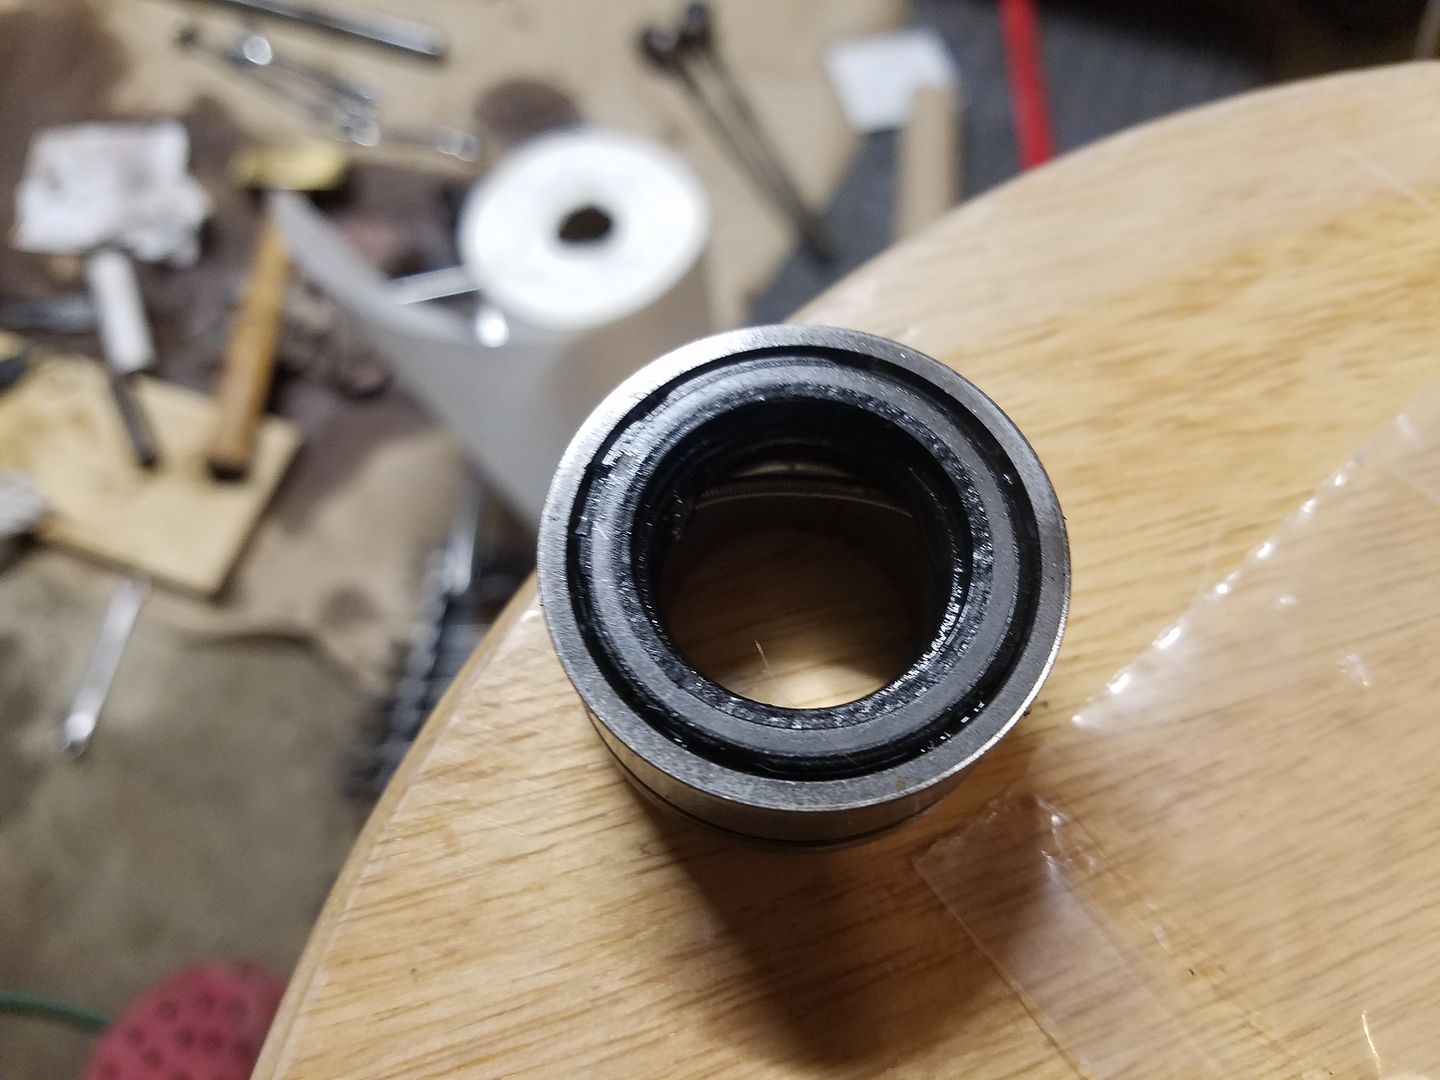
Power racks have always been one of those great mysteries. I know how the mechanical bits work, but not the power bits. I probably could have figured it out by thinking about it, but taking it apart makes that thinking easier. For example, the central tube is a double acting hydraulic ram. Push more fluid on one side of the center seal and move it one way, the other side is the other way. Also, being a hydraulic cylinder, it's full of fluid. Oops.
And then to control what fluid goes where when, there is this fancy rotary hydraulic valve. Or it has a better name and I don't know what it is. Either way, seals, bearings, bunch of O-rings. Again, pretty cool.
Now, can I get this all back together and sealed and not have it leak and have me have to pull it apart and buy a new rack anyway? This is the question.
- Cleanliness
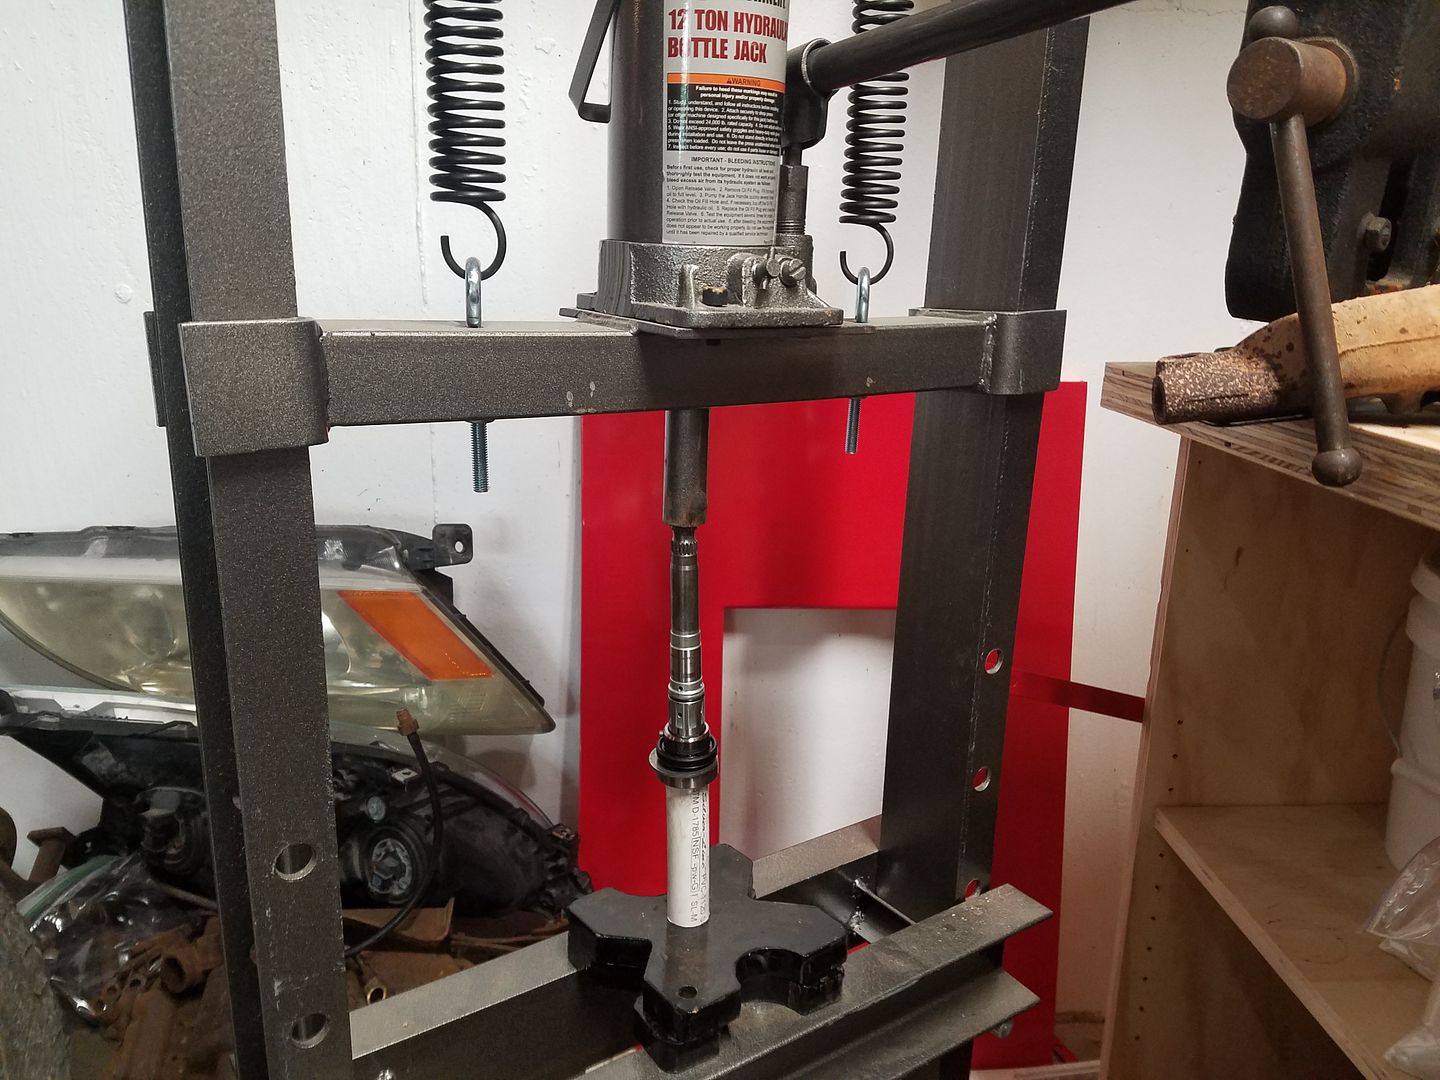
- Install seals with your press if possible
- Lube all seal lips before reassembly.
- The use of striking tools is strongly discouraged
Shouldn't be any problem for a fellow of your caliber.
In reply to Cousin_Eddie :
Thanks for the advice. Things are going back together. I discovered that you 'can' use PVC pipe to press a bearing back on. I'm not sure I'd advise it, and I did put on my safety glasses for this one.
Other than that, I have one seal that I can't quite figure out how to get out. It's pressed into a metal bushing and the backside is basically blind. Anything that fits though the hole also fits through the seal so I can't drive it out. Hmmmmmm..........
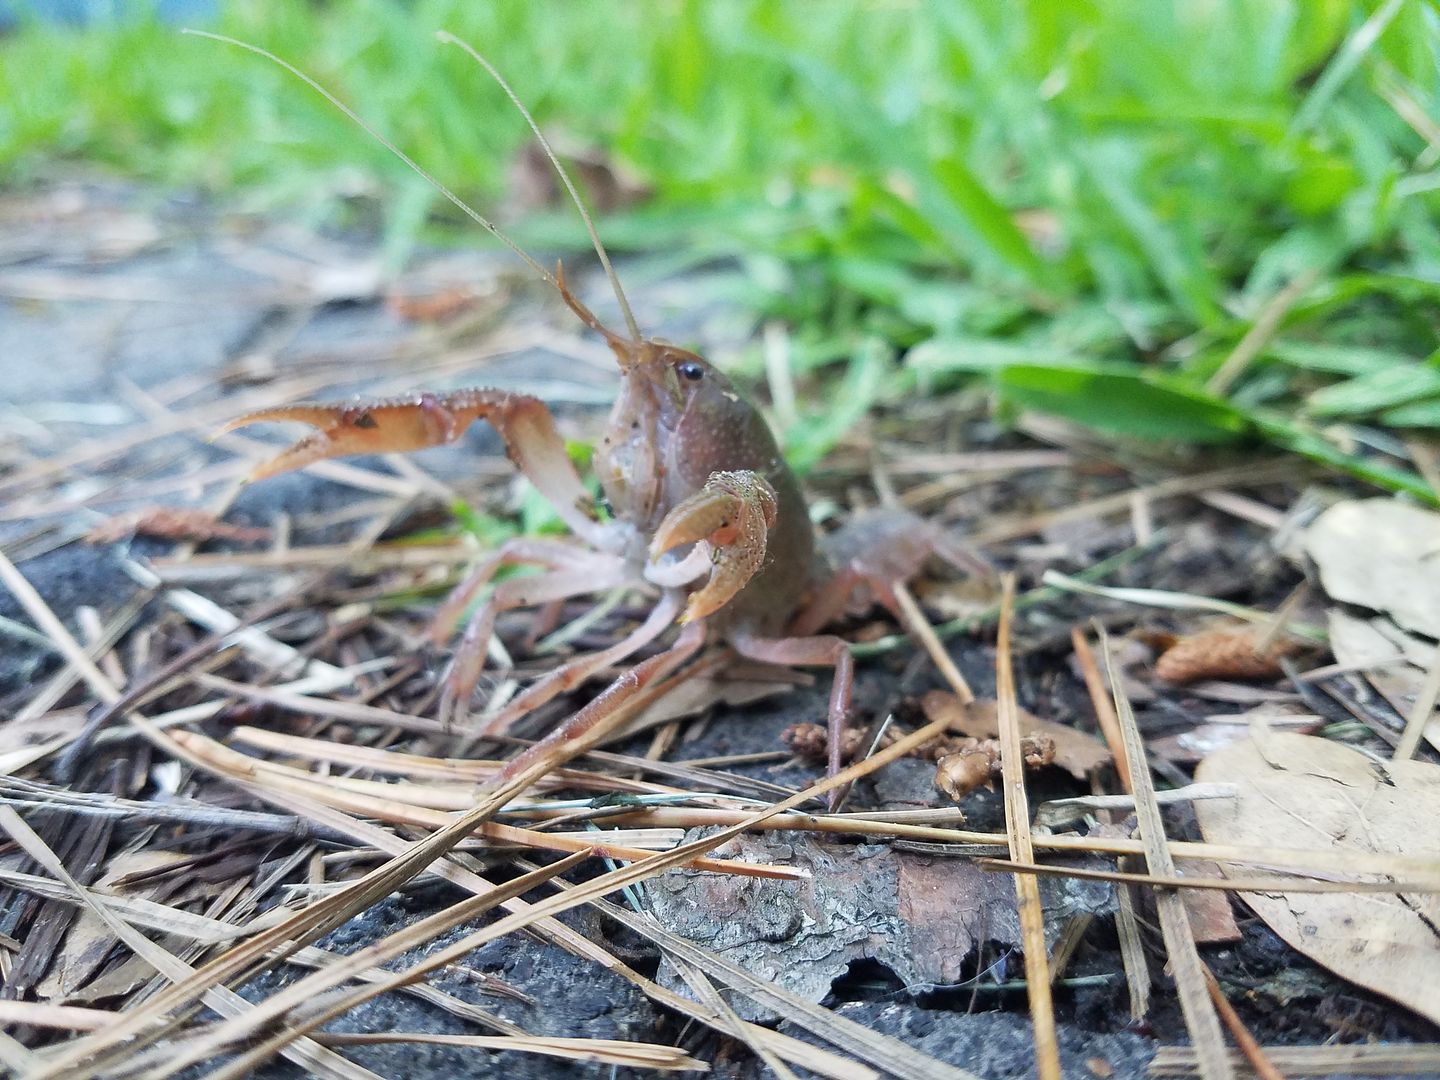
This little dude told me it was time to be done for the day. He was defending the path to the Grosh. My yard 'may' have drainage issues.
Picture of the difficult seal ?
Terrible photos, but this is the piece. I may be able to pry it out if I can figure out a way to hold it still. Unless there is a better way of course. And yes, I've already mangled it a bit.

Clamp it gently in a vise and then, using a large prybar or screwdriver, hook it under the seal and give the handle a little thump. It should lever that seal out.
If you lever parallel to the vise screw and not crossways, it wont twist in the vise. Maybe use a piece of leather or something sacrificial to protect the machined OD of the part from the vise jaws.
Is fire the answer for your blind seal?
Adam

java230
UltraDork
5/2/18 10:22 p.m.
Awesome to see the kids getting in on it!


