It occurred to me that some of us who do this kind of stuff regularly use terms like "grind the welds". While those in the collision repair and restoration businesses know exactly what we're talking about and most enthusiast/hobbyist type forum members have an idea of what we're talking about but don't really know the details of the operations or tools involved. So I figured I'd put a post or several in this thread to enlighten those who want to know a bit more with some of the details.
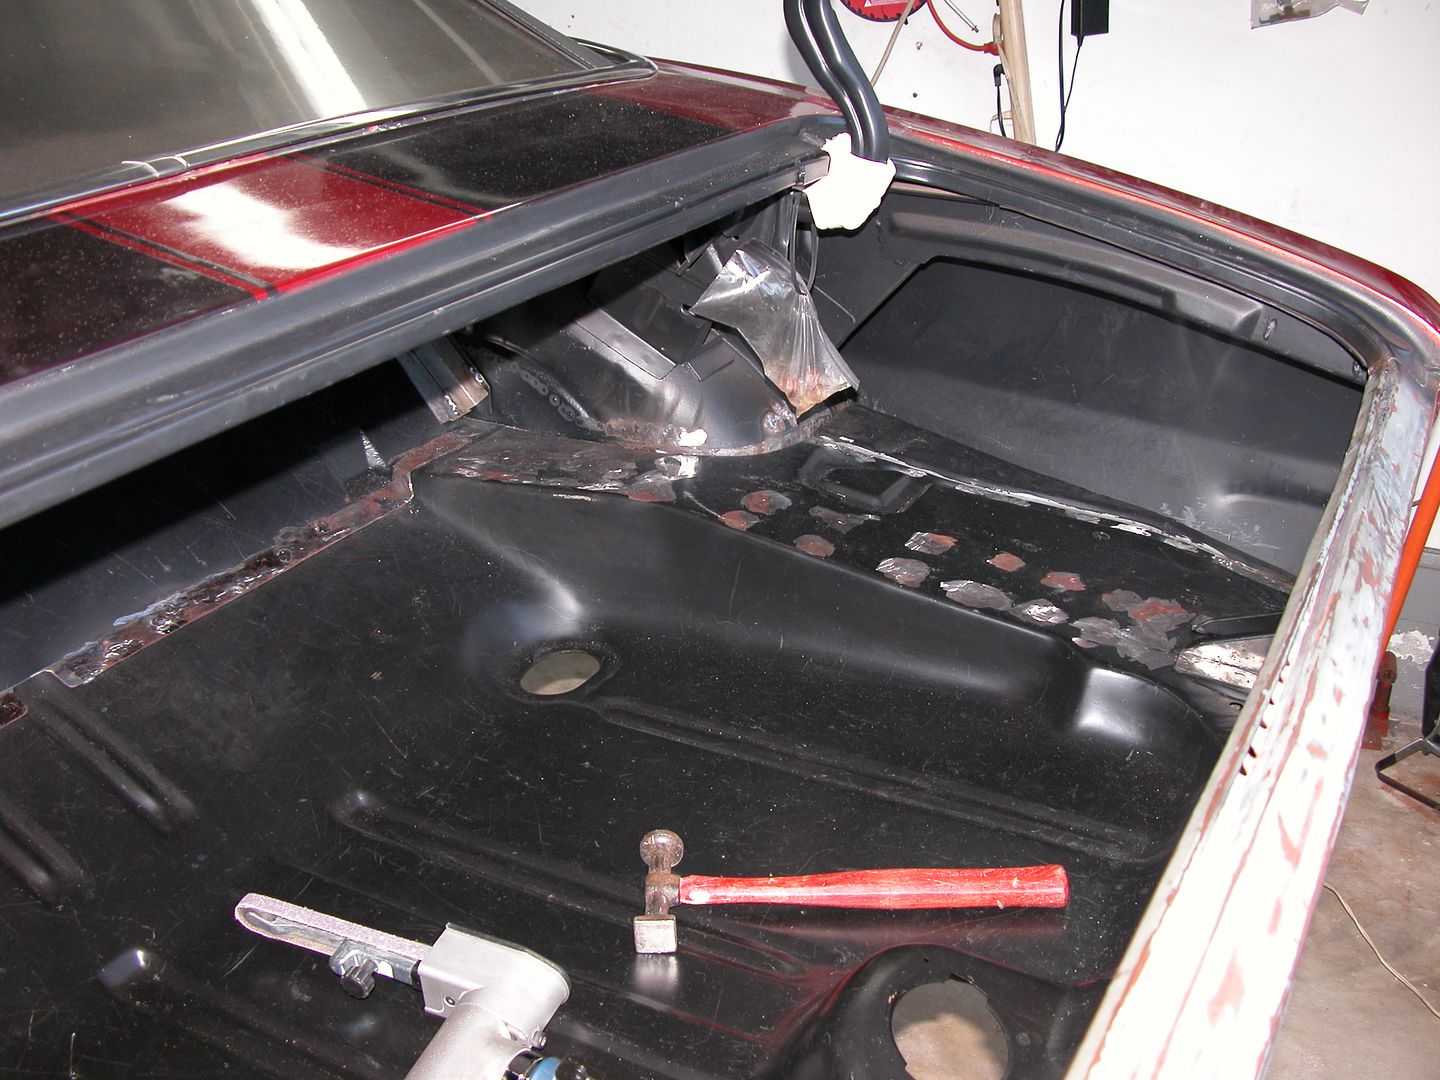
A lot of bodywork involving replacement of sheet metal for collision and restoration work is done by plug welding. A piece of sheet metal with holes in it is placed against sheet metal without holes. A MIG welder is used in a spiral motion to "plug" the hole with enough new molten metal to create a slight bump where the weld is thicker than the joined pieces of metal. The lump needs to be ground flush, or in some cases ground down to look like a "pinch weld" which is done with resistance welding by factories with no filler welding wire or rod adding metal.
Grinding the welds is done with various tools and everyone has their own favorite tools & techniques to reach the goal. The quality of the job required sometimes makes one or more techniques and or tools more or less useful. This is a time consuming process so the finish quality of grind welds on say a door skin vs a frame rail on a daily driver can be very different on the same car.
Here's a show & tell of the tools I use regularly for grinding welds along with some tips on use etc.
First tools I use on a job like this Camaro are very high speed air tools. These are like a bench grinder but smaller and on steroids. I use 3M "green" wheels on them or a carbide bit. Most welds are ground down with the green wheels with the carbide bit only used in tight spaces or certain circumstances. You'll notice the tools have air adjustments on them to slow them down because full speed is often too much. The tools, bits and wheels are all considered consumables in a shop environment. Note the bit is welded to the tool on one of them. This is because the green wheels are kinda heavy for the speeds and never perfectly balanced so the chuck of the tools tend to loosen up and the spinning disc with bit takes off at 20,000 RPM. Not good if it hits another car in the shop, person, or whatever.
When using the grinding tools I wear face shield, hearing protection, and heavy gloves to absorb the vibration. There's a LOT of sparks and they'll pit aluminum or glass and can cause fires. So protect things and watch where sparks are going. No flammable liquids in the area, open or in plastic containers. Take the same precautions as welding. Using these tools the welds are ground down to just above the finish panel.
[URL=https://app.photobucket.com/u/NOTATA/a/05b53996-5069-4d81-b347-6e06f4236899/p/a6a35885-b737-459f-b09e-69b8fea40fe7]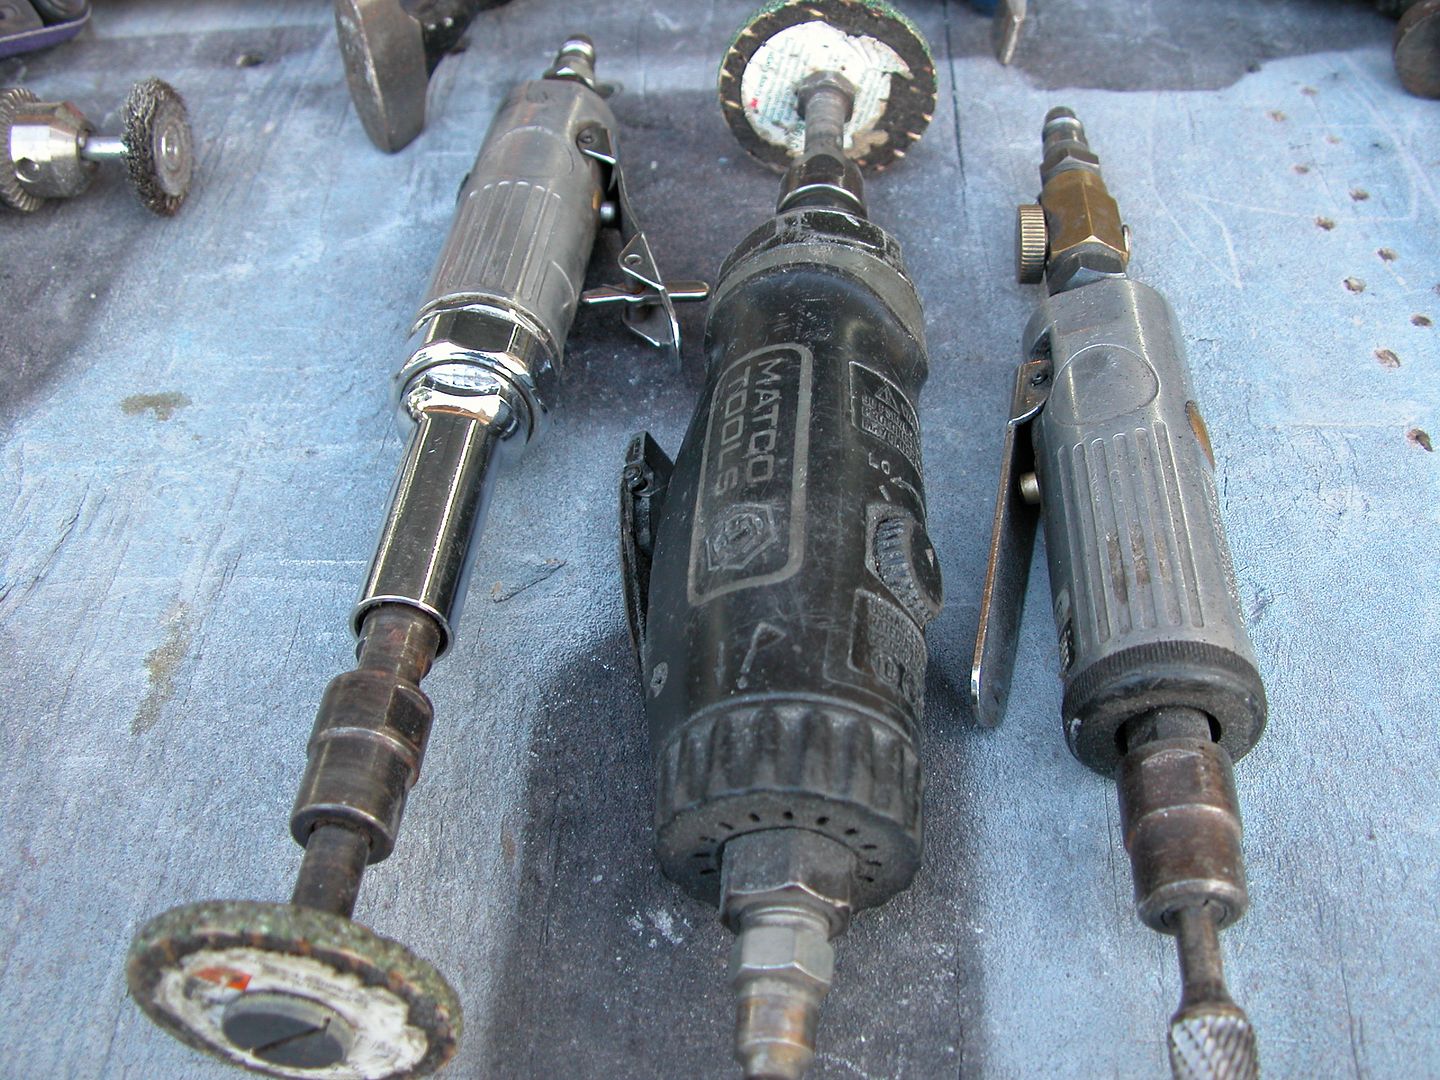 [/URL]
[URL=https://app.photobucket.com/u/NOTATA/a/05b53996-5069-4d81-b347-6e06f4236899/p/b31583dc-4860-42af-95a3-791e69a1467f]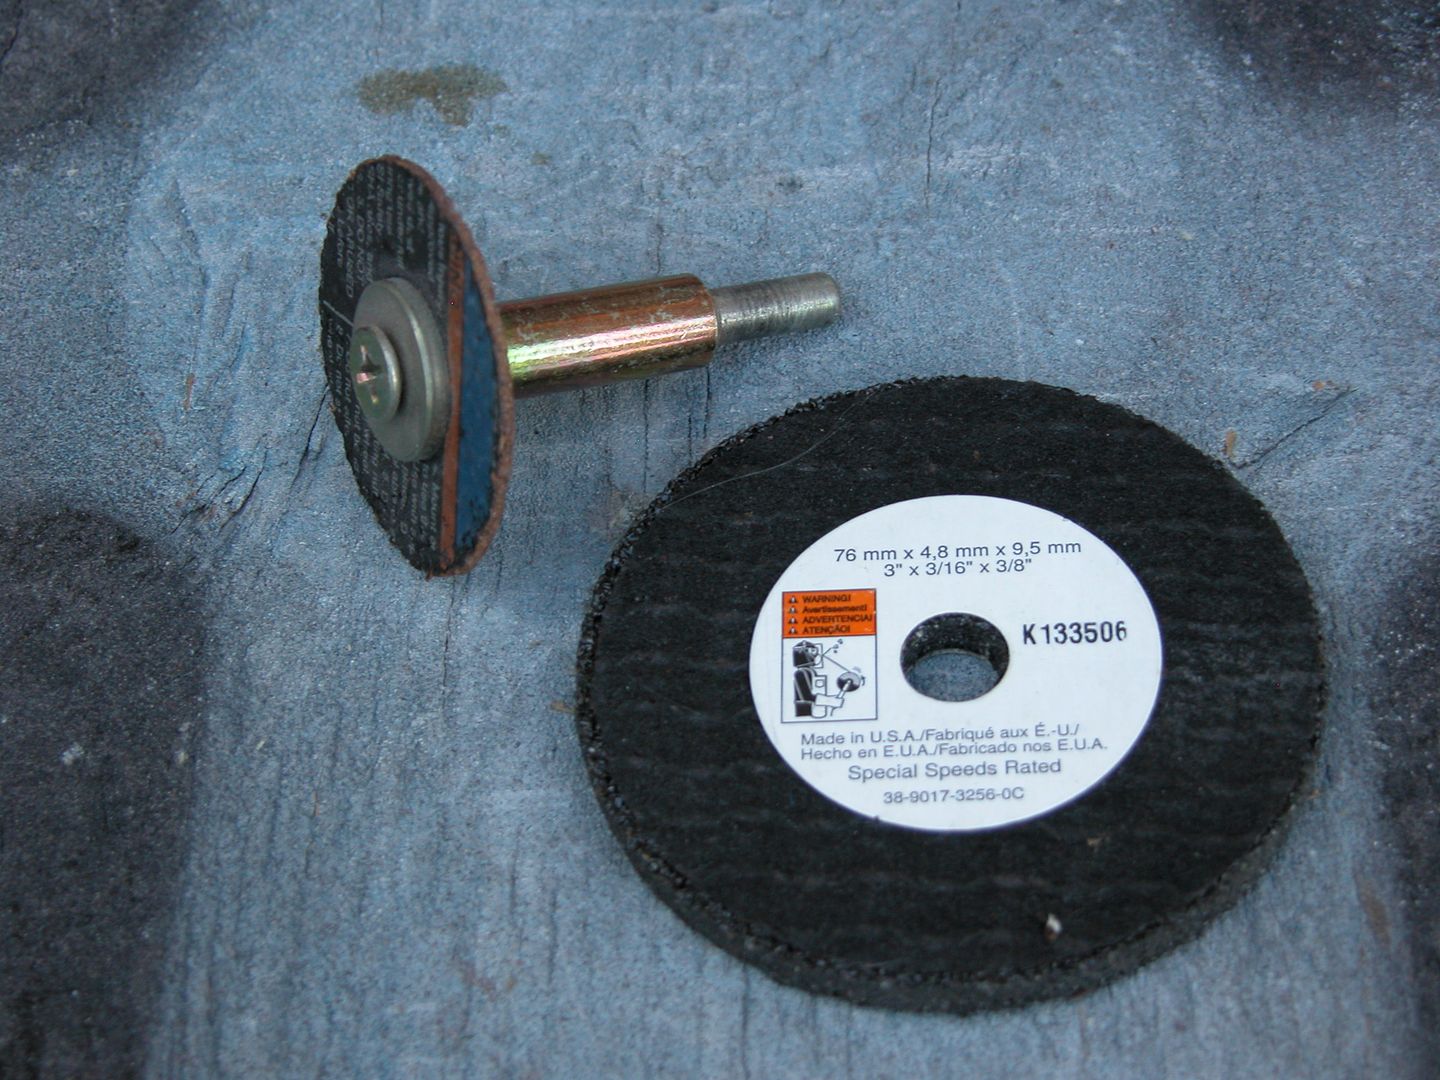 [/URL]
[URL=https://app.photobucket.com/u/NOTATA/a/05b53996-5069-4d81-b347-6e06f4236899/p/00173d97-8d6b-494b-ae4e-7e82d8e9ab9d]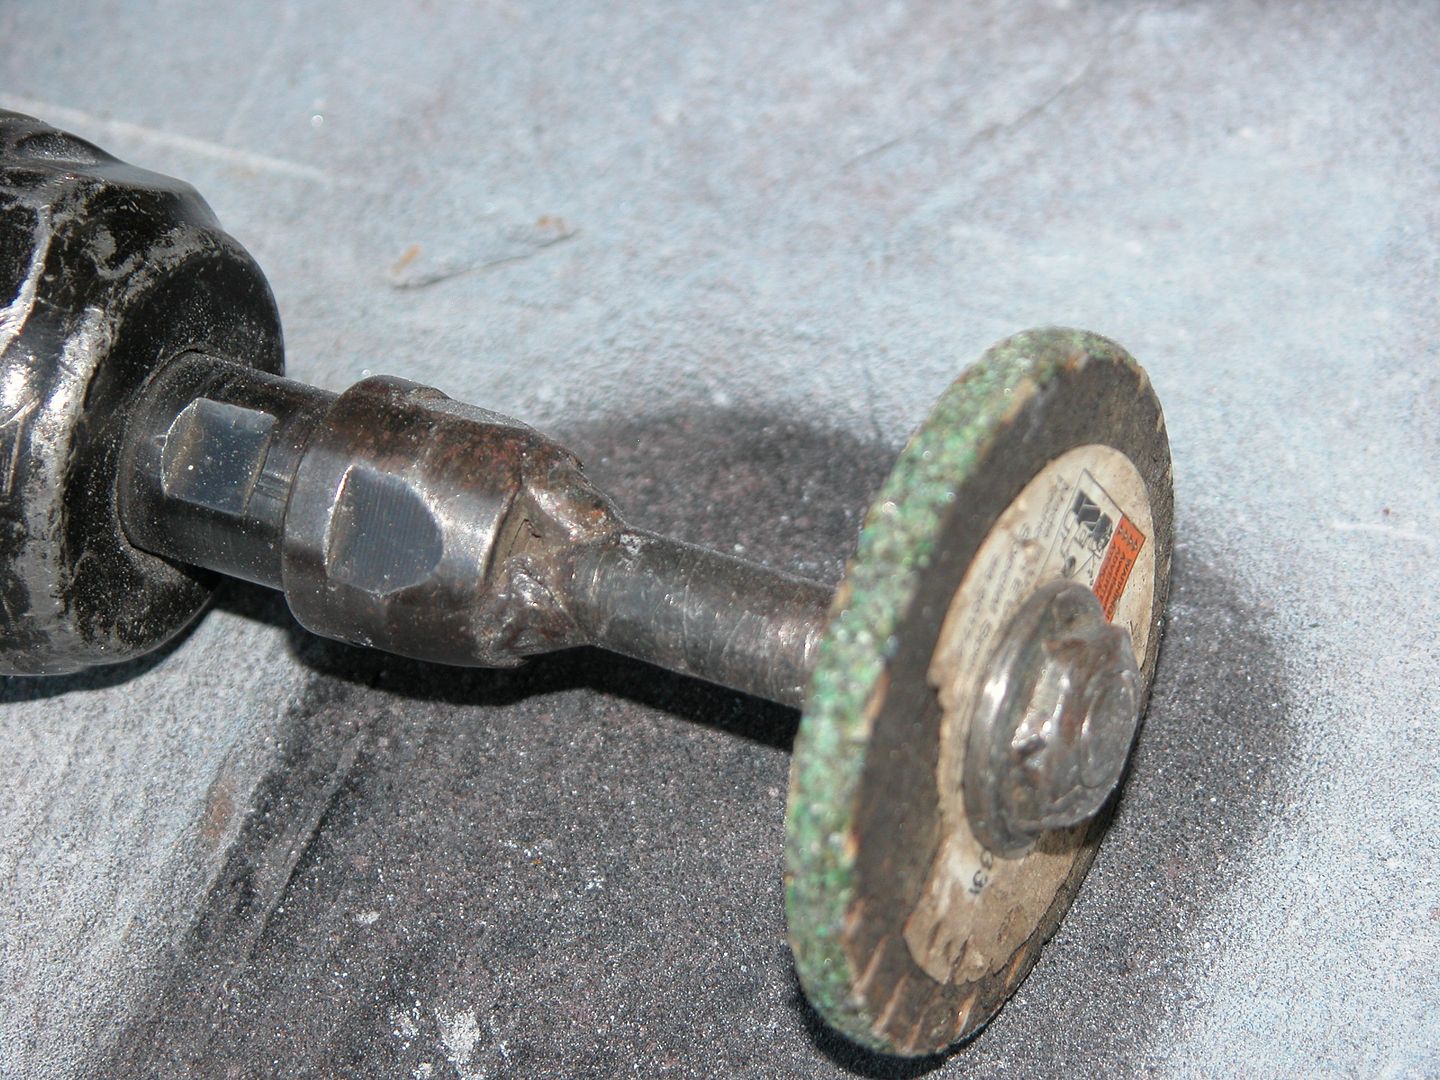 [/URL]
Next tool for show & tell is air powered belt files. Kinda like sandpaper but can grind through metal. I use for hard to reach places where the grinding stone type tools don't fit. Belts come in different grades so a rough one will cut right through weld, and fine grade can almost polish steel. They're more expensive to use per weld so only used where necessary and aren't as quick as the green grinding wheels. Again air controllers on them because they can run too fast for delicate areas. One of the things about grinding welds is that if you slip and hit nice metal nearby you make more work for yourself filling in the grind marks. Two different sizes one bigger that can reach into deep areas and one smaller to be used in confined areas.
[URL=https://app.photobucket.com/u/NOTATA/a/05b53996-5069-4d81-b347-6e06f4236899/p/bae96b87-43f9-4f0e-8c5e-da69b6dc5bdc] [/URL]
An assortment of right angle high speed air tools used with various grades of grit for grinding metal on different "twist lock" bits with a rubber backing are used to grind the welds after the green wheels. They remove less metal and over a wider area. With these you can make it look almost like like there was no welding done. I included a scotch brite disc in the pic because they are also used on the same bit for polishing etc.
[URL=https://app.photobucket.com/u/NOTATA/a/05b53996-5069-4d81-b347-6e06f4236899/p/889ede88-b1dc-4b4a-97c5-20962122903d]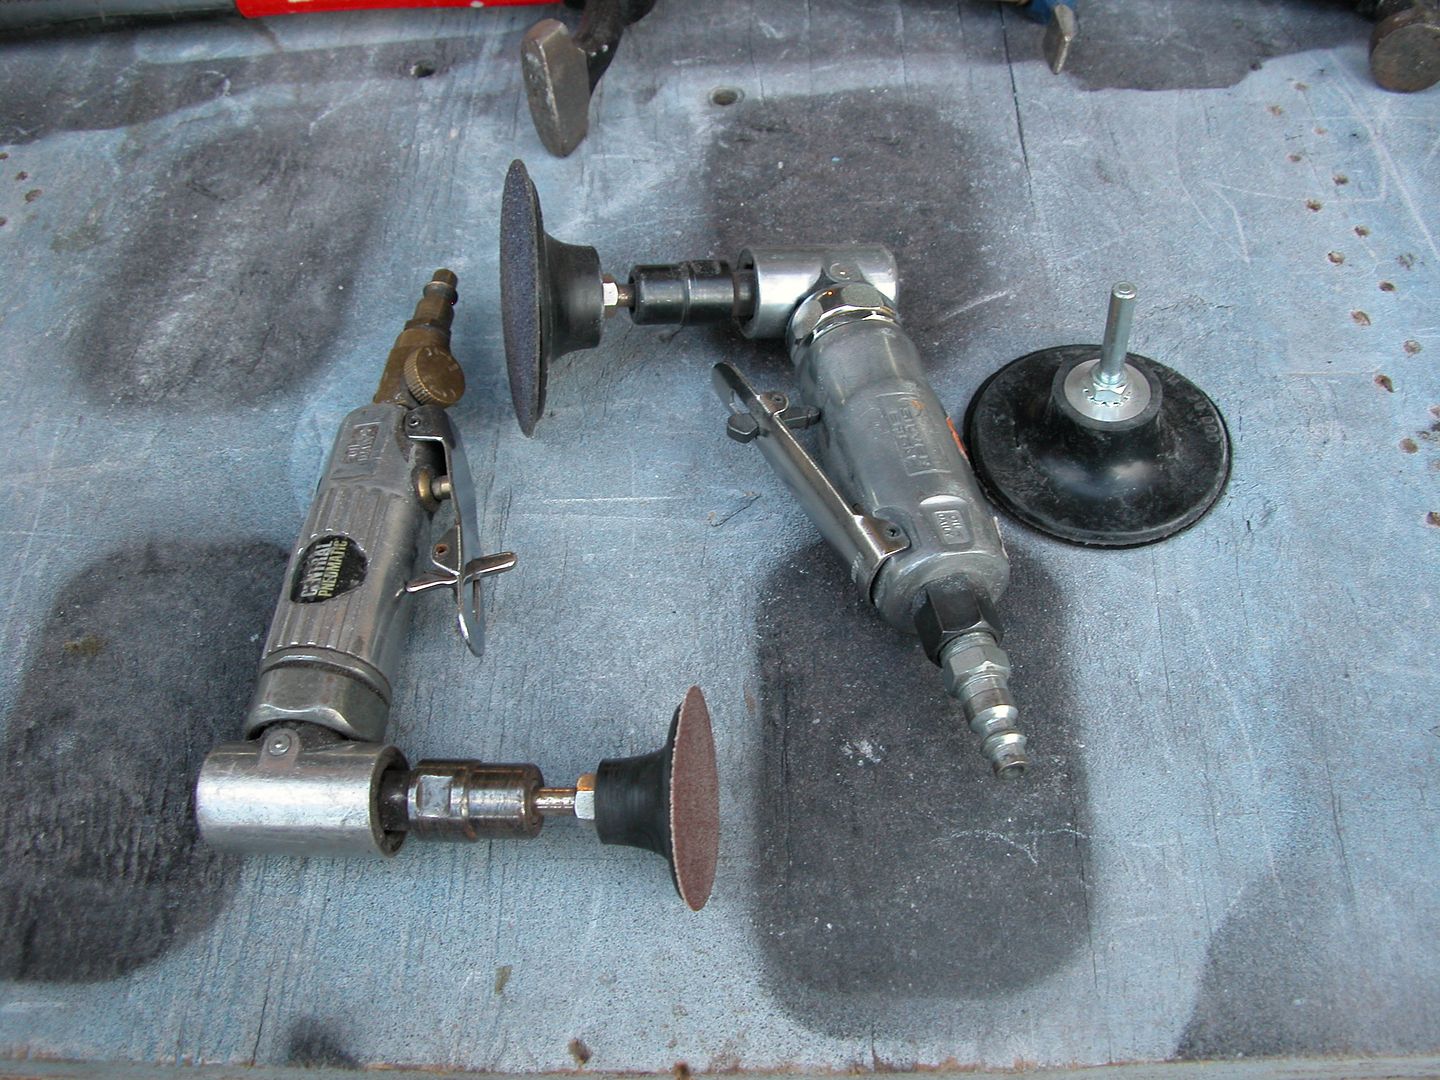 [/URL]
[URL=https://app.photobucket.com/u/NOTATA/a/05b53996-5069-4d81-b347-6e06f4236899/p/09fd5890-a5dd-49e2-9380-f342a5a1cea1]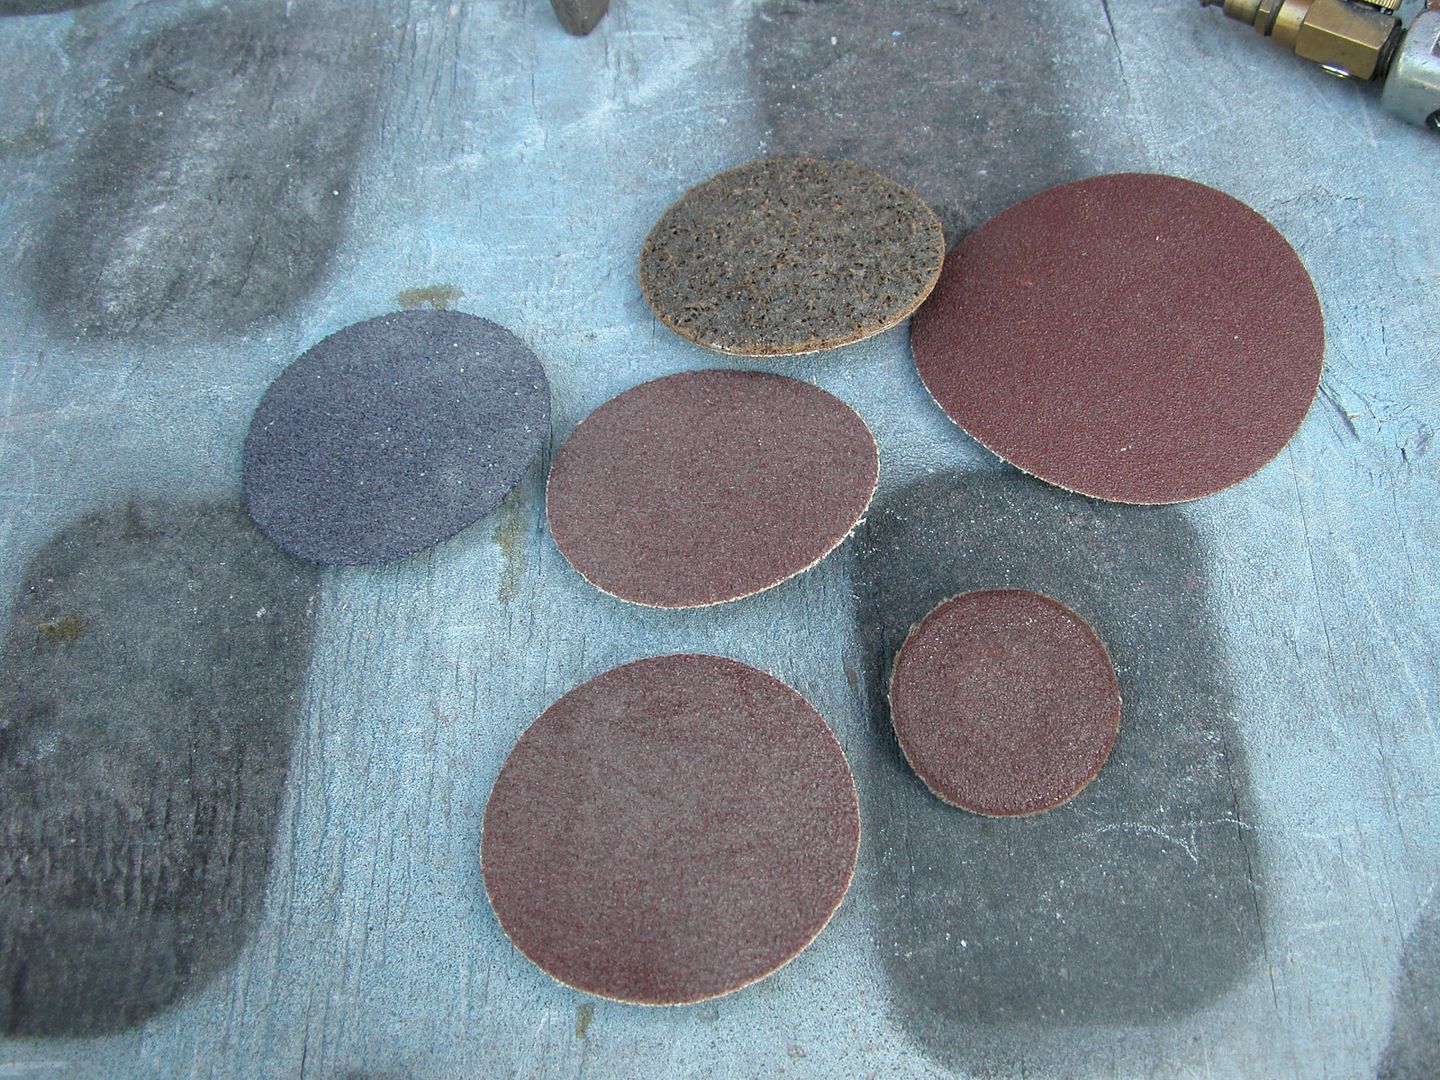 [/URL]
[URL=https://app.photobucket.com/u/NOTATA/a/05b53996-5069-4d81-b347-6e06f4236899/p/171fa6f6-2845-4838-b456-2975d21cb213]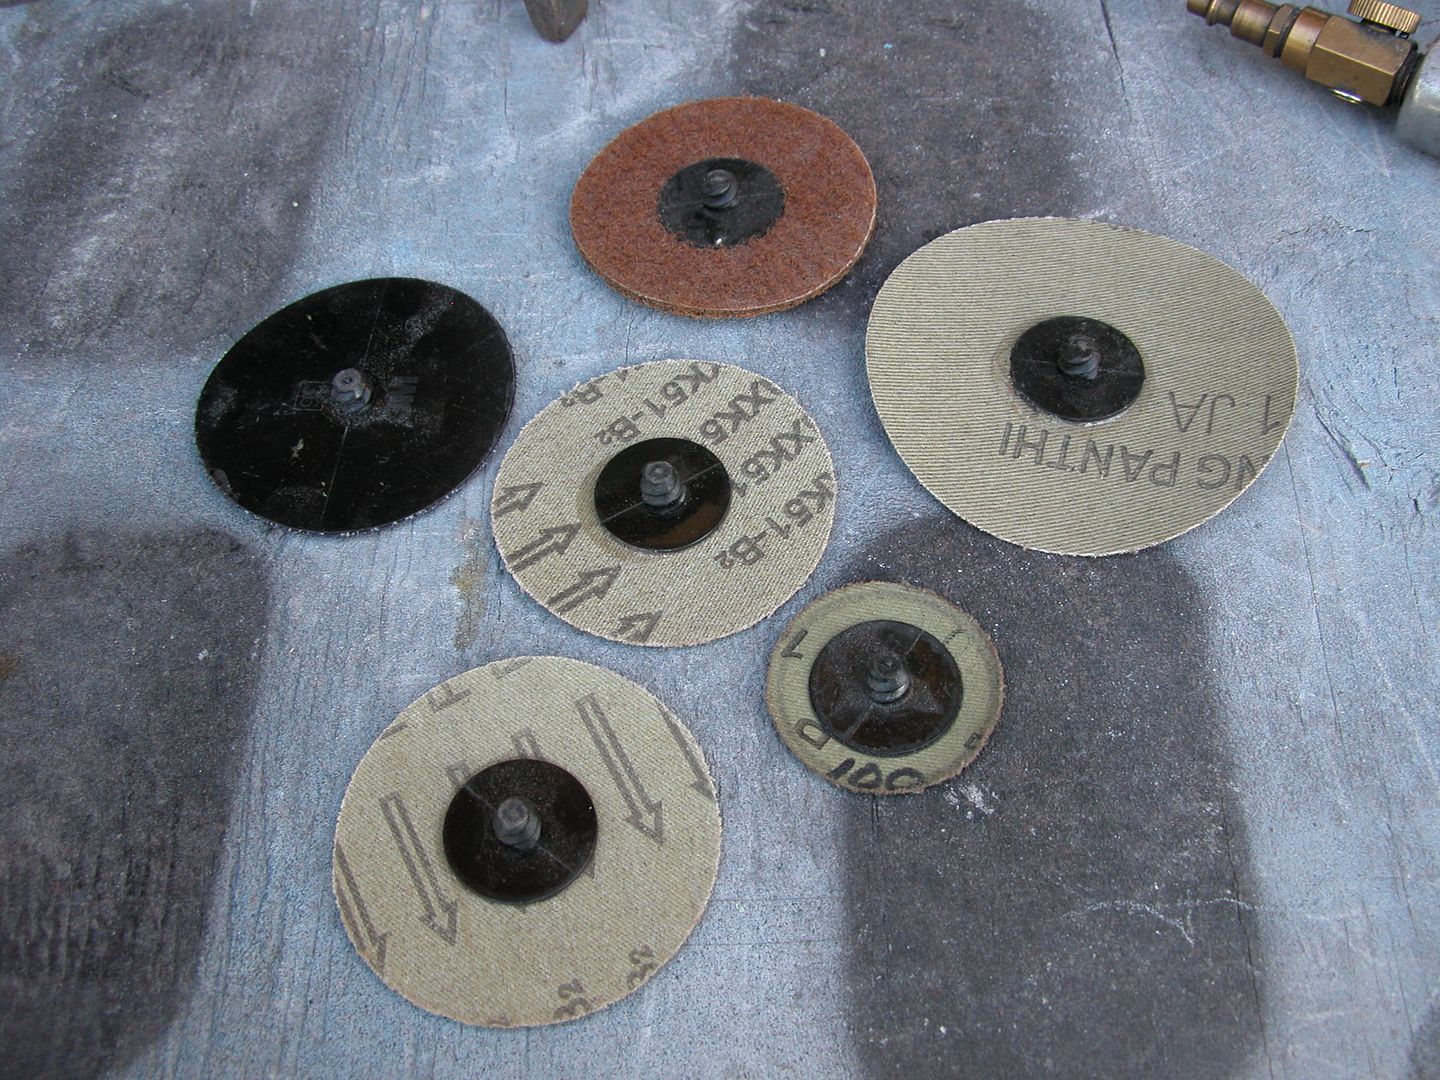 [/URL]
We really want all the debris and what not gone from welding so wire wheels get used to clean up any remnants of black carbon and what not before paint or body filler is used.
[URL=https://app.photobucket.com/u/NOTATA/a/05b53996-5069-4d81-b347-6e06f4236899/p/8e84b809-583e-4308-a392-8fe020eac70b]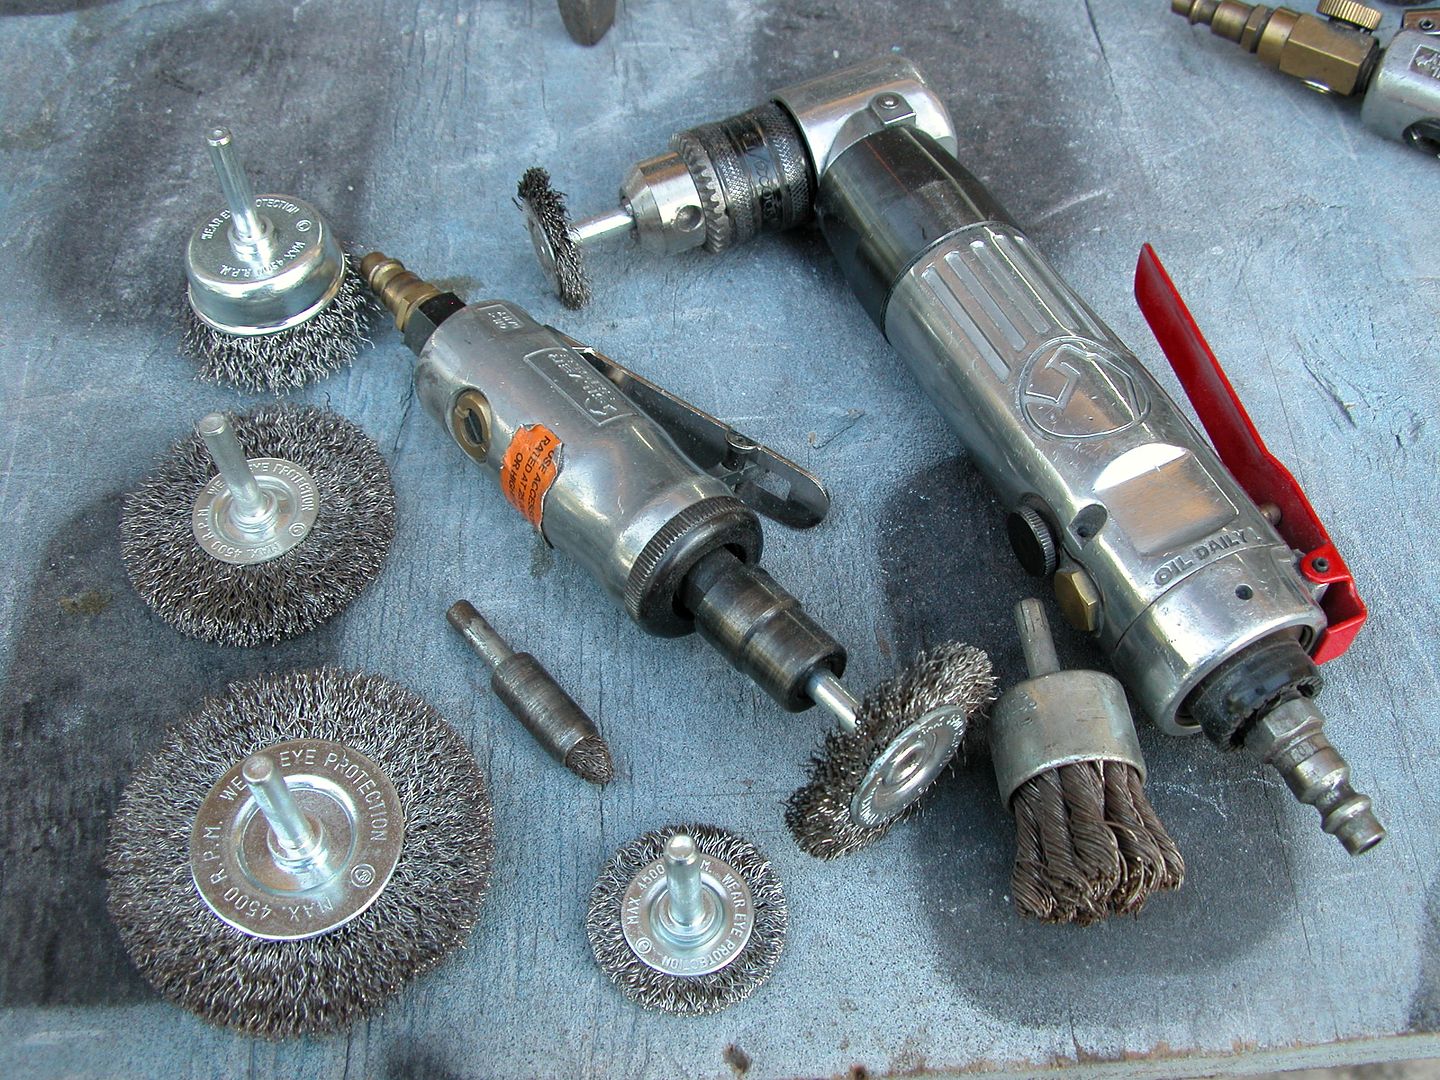 [/URL]
Lastly I'll use a DA with various grits if the particular job warrants it. This can allow me to take off very small amounts of metal and nip off any random weld splatter plus provide a good finish for mechanical grip of fillers or primer.
[URL=https://app.photobucket.com/u/NOTATA/a/05b53996-5069-4d81-b347-6e06f4236899/p/9f1bfb69-b7d2-4c61-9e92-7b488822b5ee]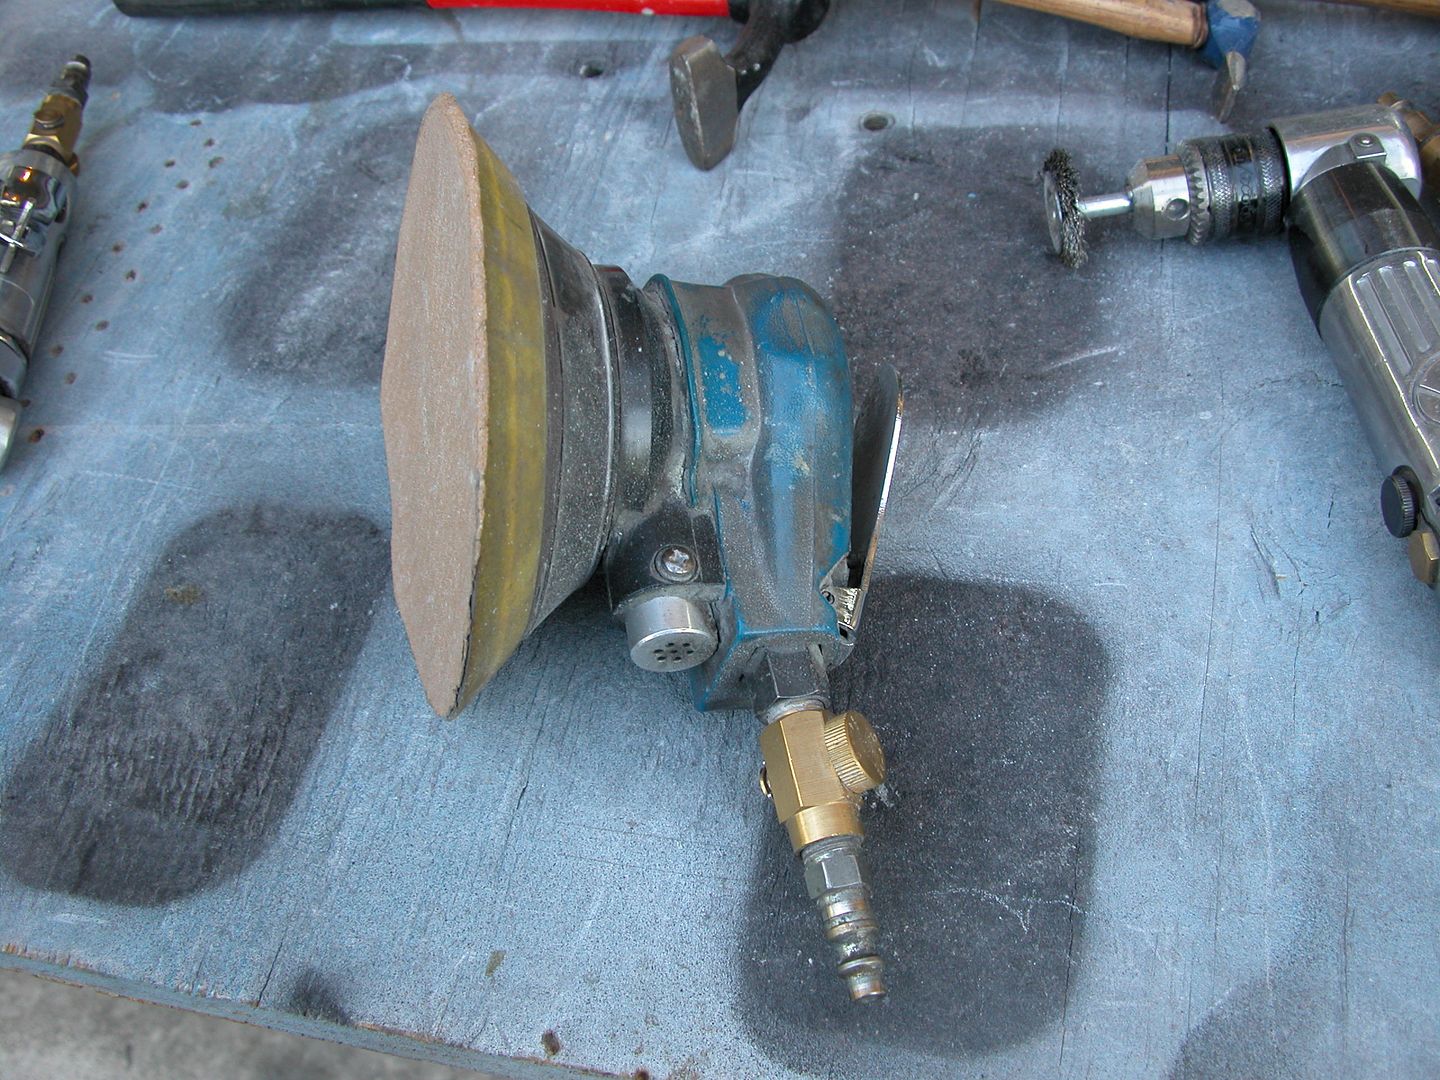 [/URL]
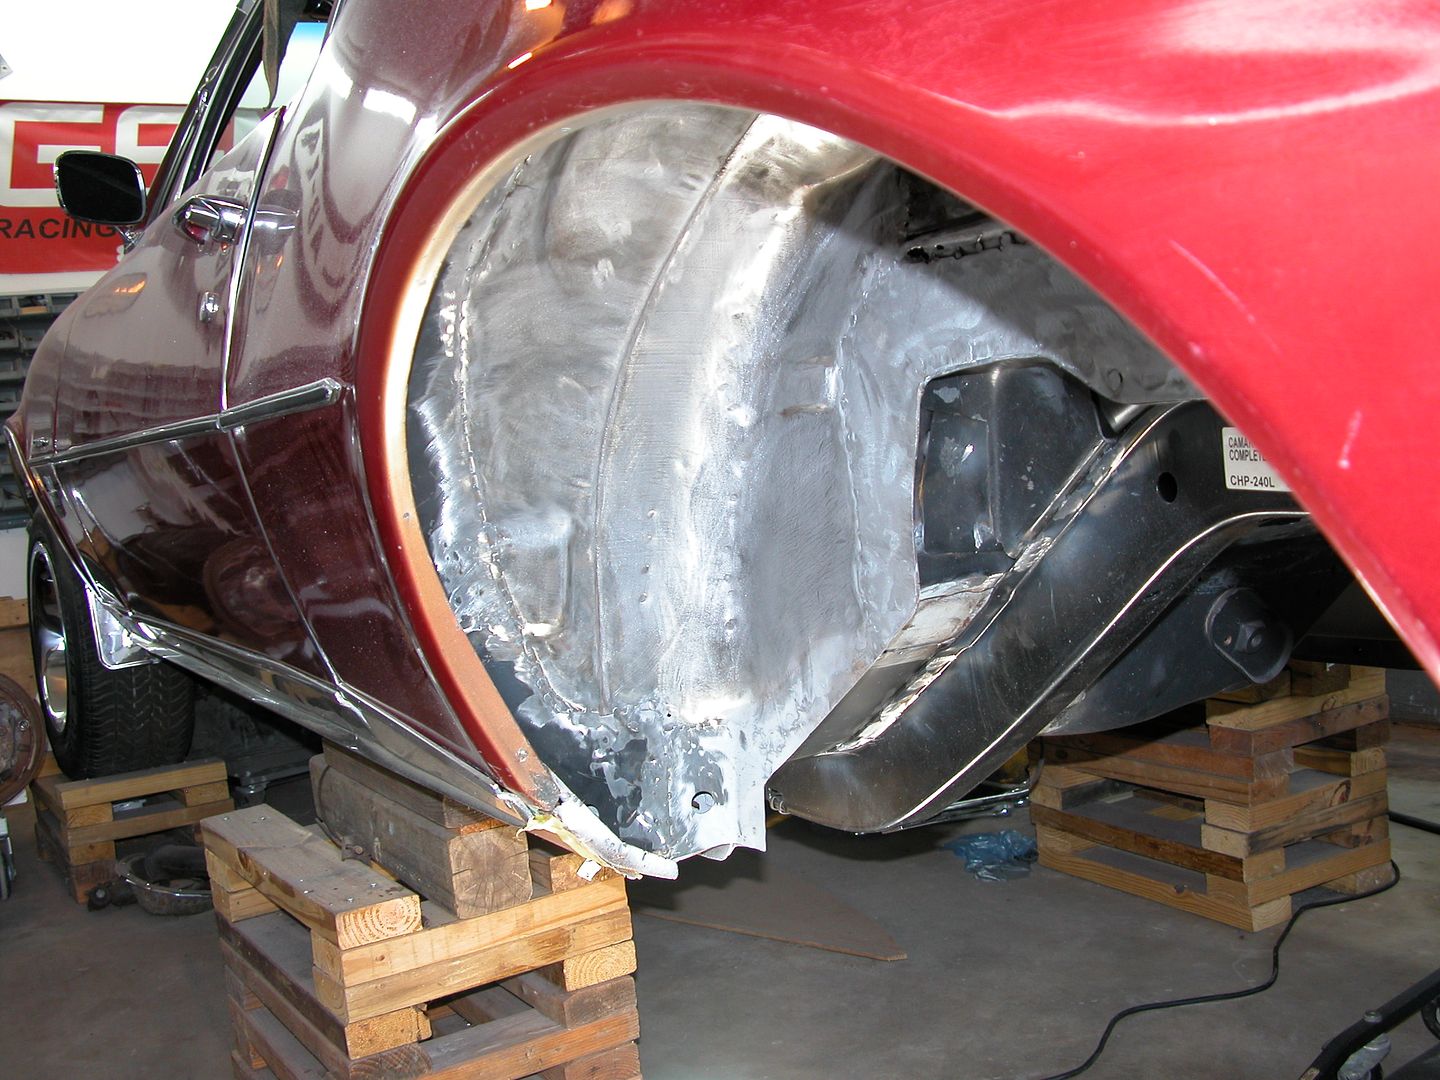
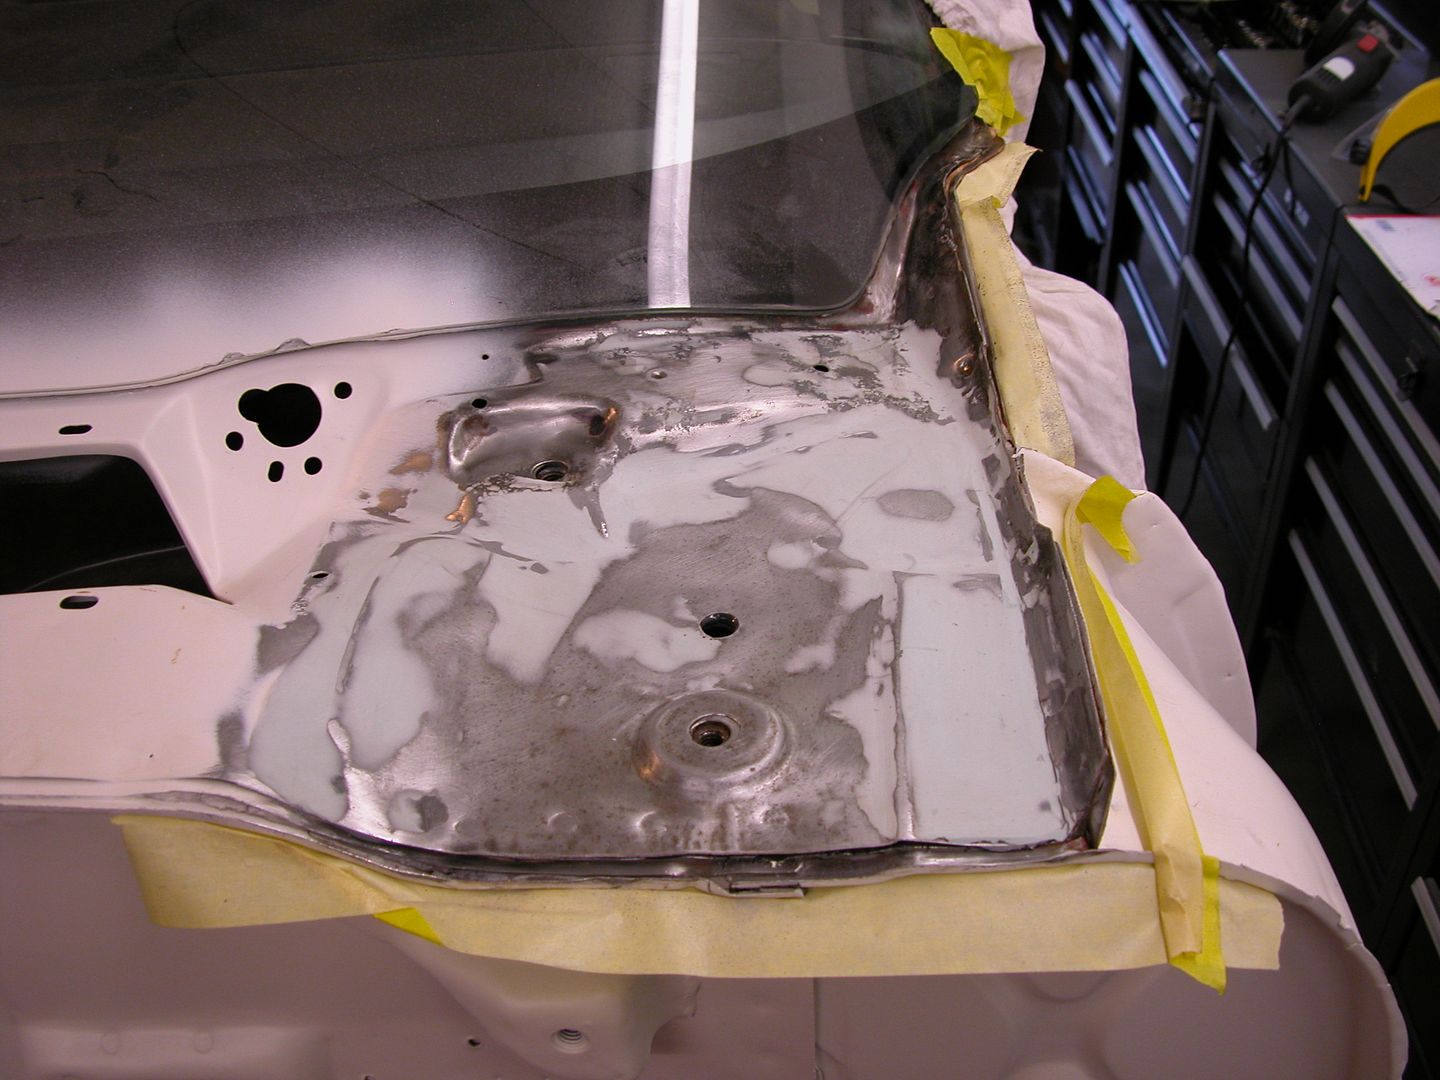
In the pic below the top panel was drilled through about every 2 inches when the car was taken apart then plug welded to the new floor pan below it. Using the tools and processes discussed above only a couple "finger smears" of filler were used along the edge to fill slight grinder marks. Looking at it you'd never know this panel edge probably had 8-10 holes drilled through it near the edge.
[URL=https://app.photobucket.com/u/NOTATA/a/4084bbc8-1e50-4486-872e-fbce3ed87549/p/af83674e-394a-4006-933d-ba69876ee56e]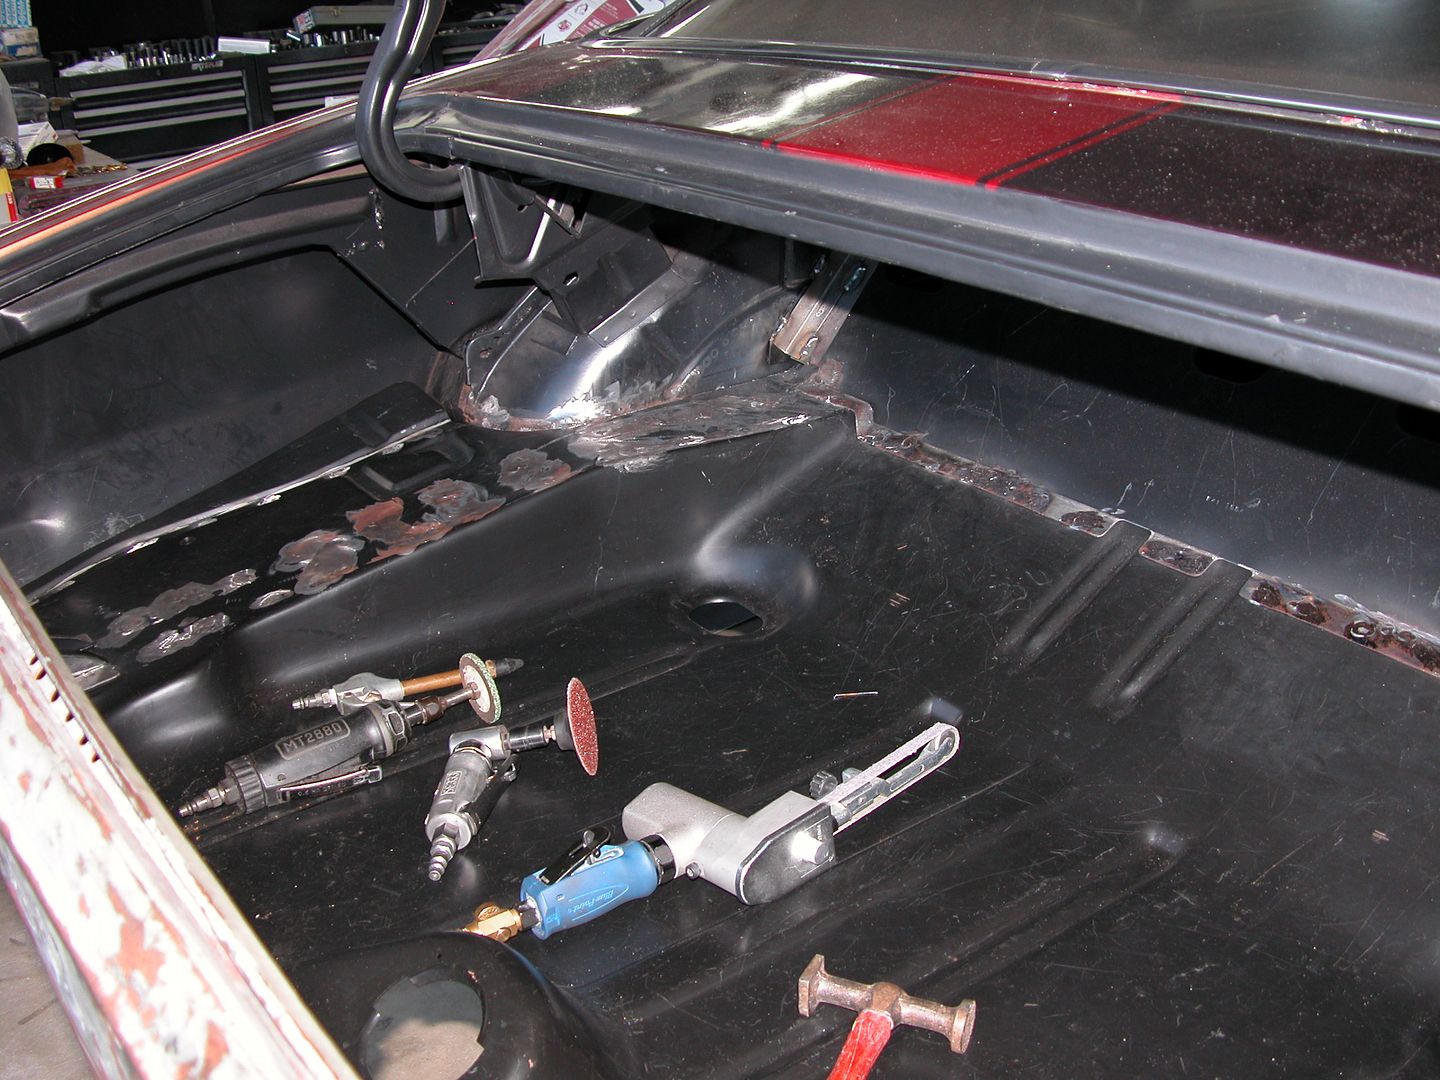 [/URL]
[URL=https://app.photobucket.com/u/NOTATA/a/4084bbc8-1e50-4486-872e-fbce3ed87549/p/639e78ec-8d36-48ab-8133-8f15bc3c7004]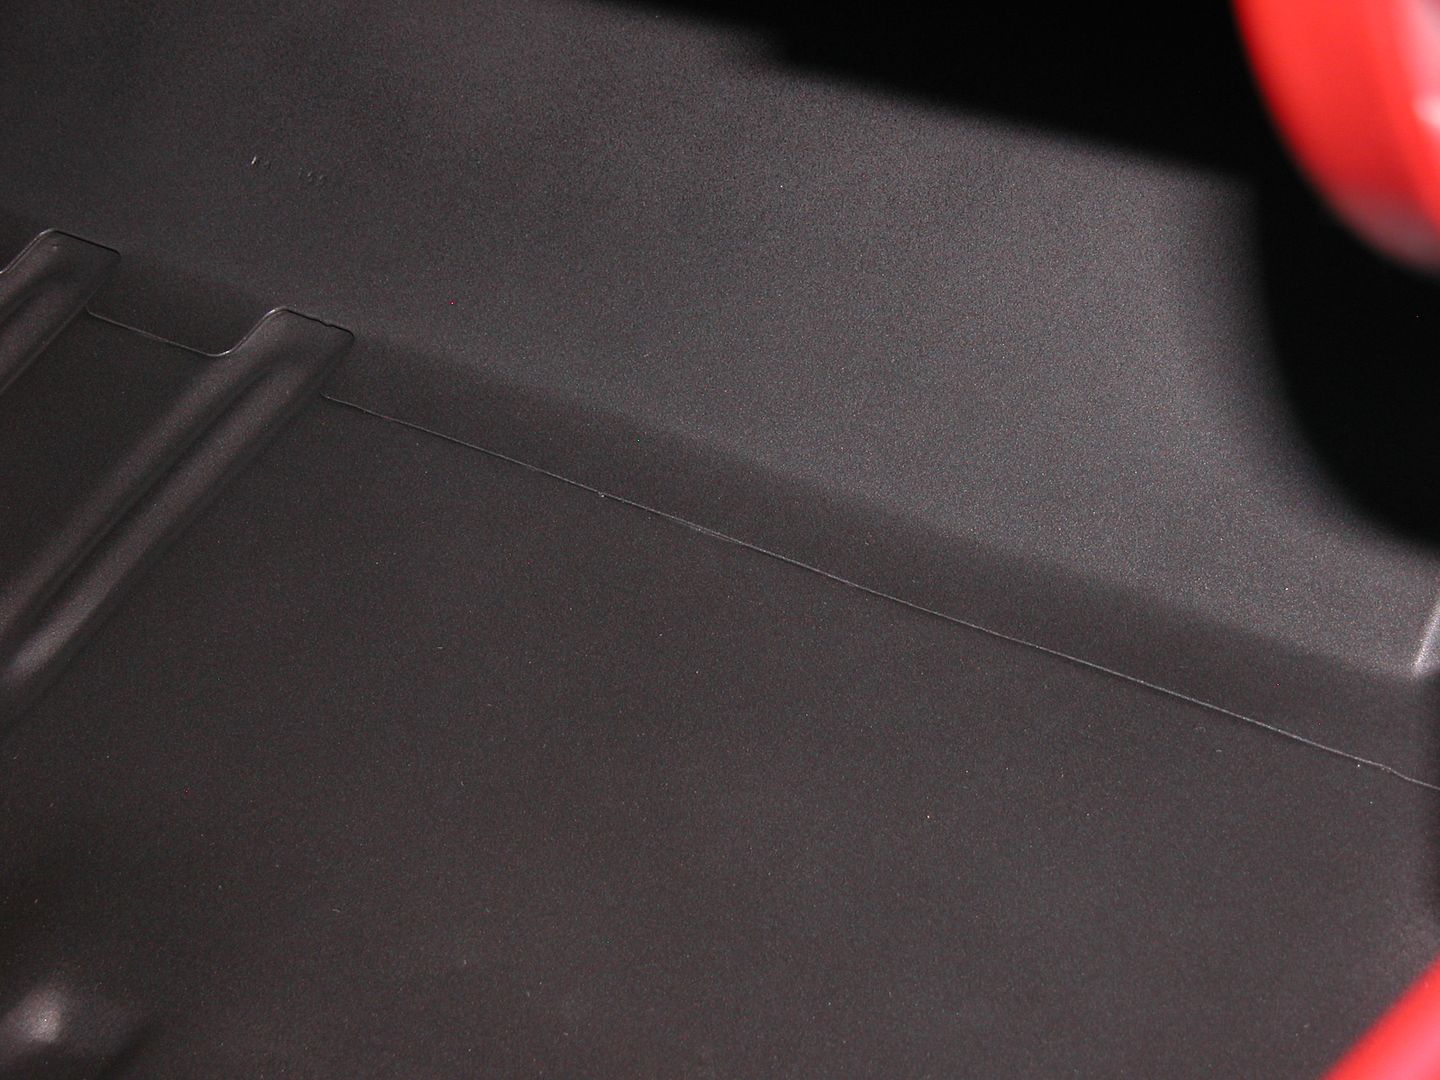 [/URL]


 [/URL]
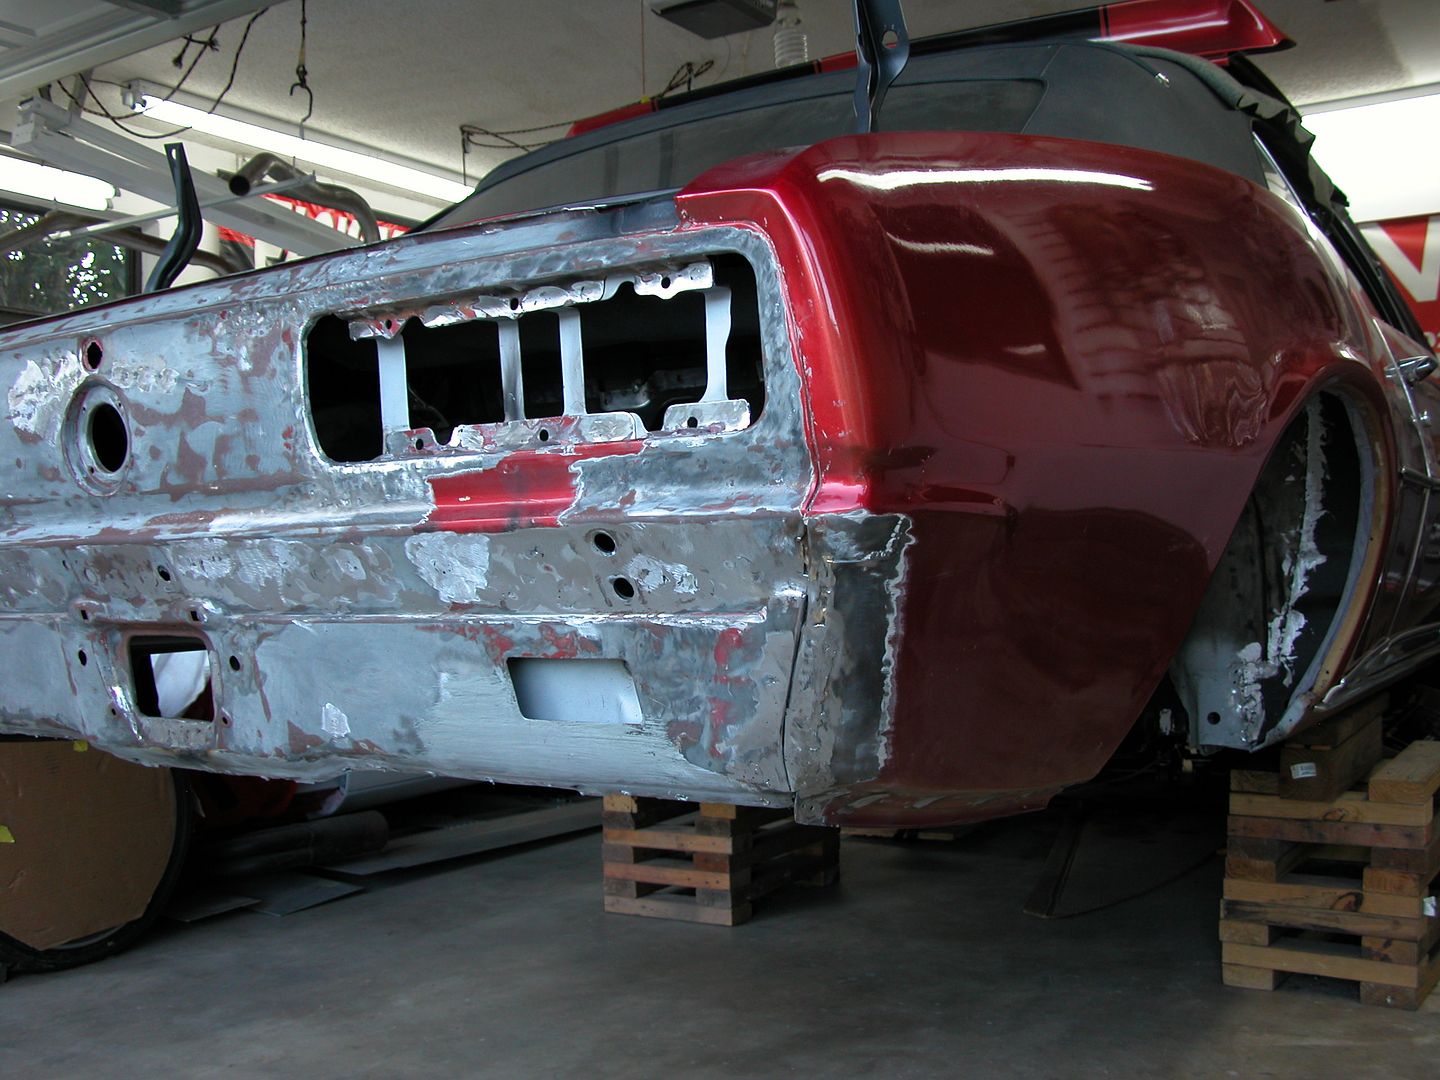 [/URL]
.JPG?width=1920&height=1080&fit=bounds) [/URL]
[/URL].JPG?width=1920&height=1080&fit=bounds) [/URL]
[/URL].JPG?width=1920&height=1080&fit=bounds) [/URL]
[/URL] [/URL]
 [/URL]
 [/URL]
 [/URL]
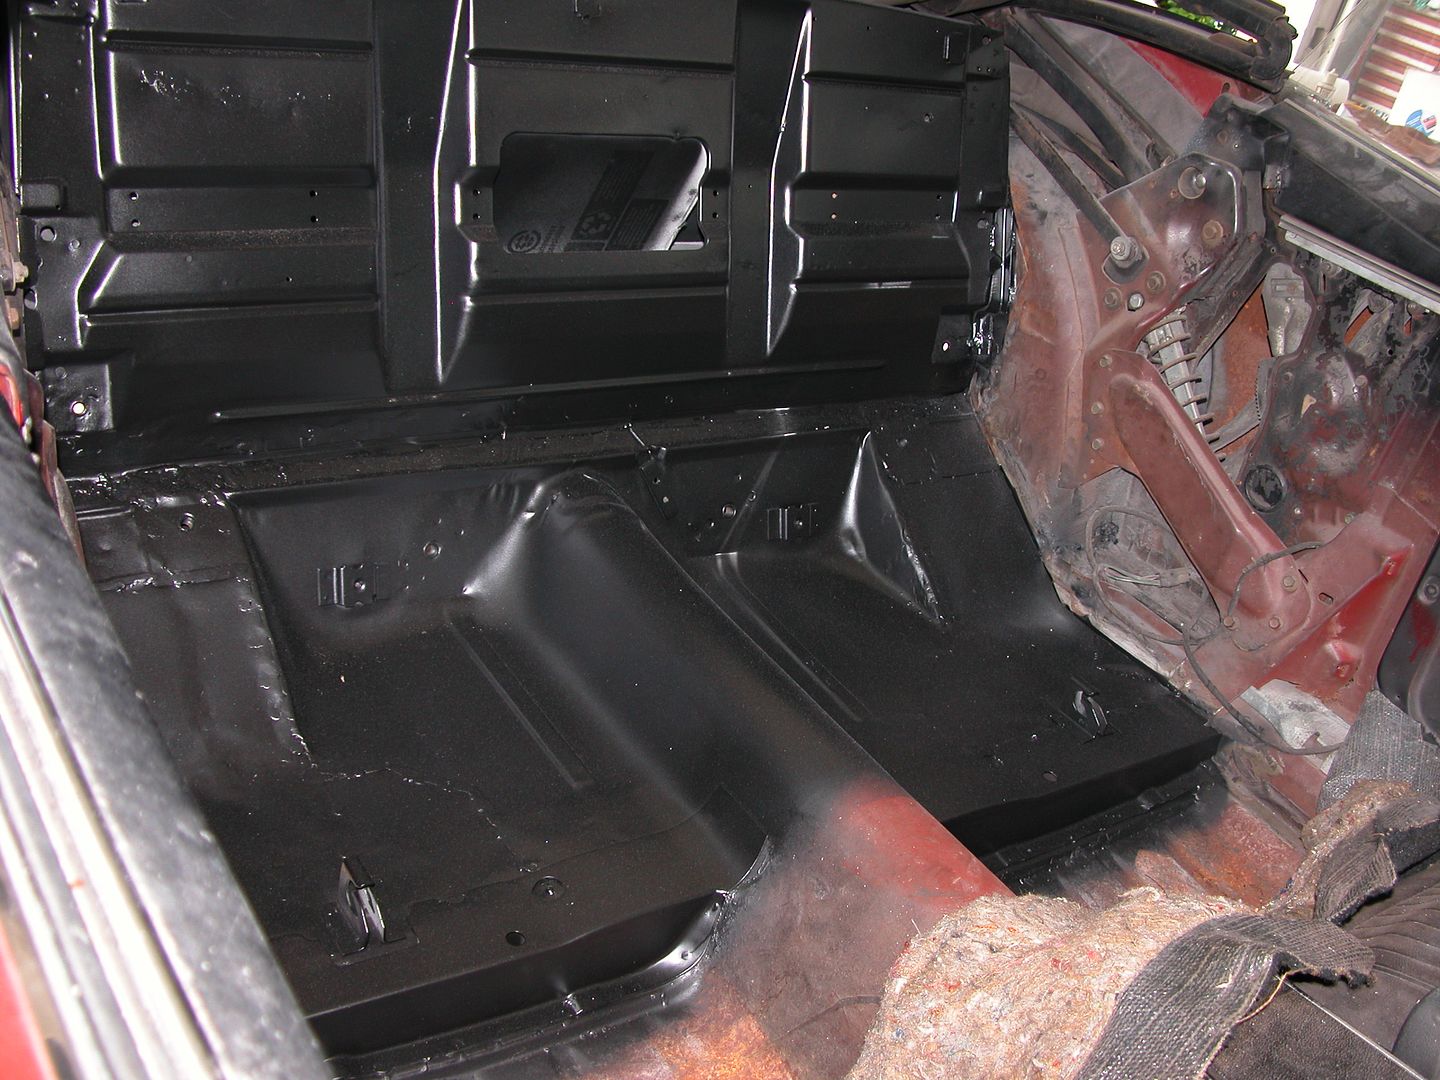 [/URL]
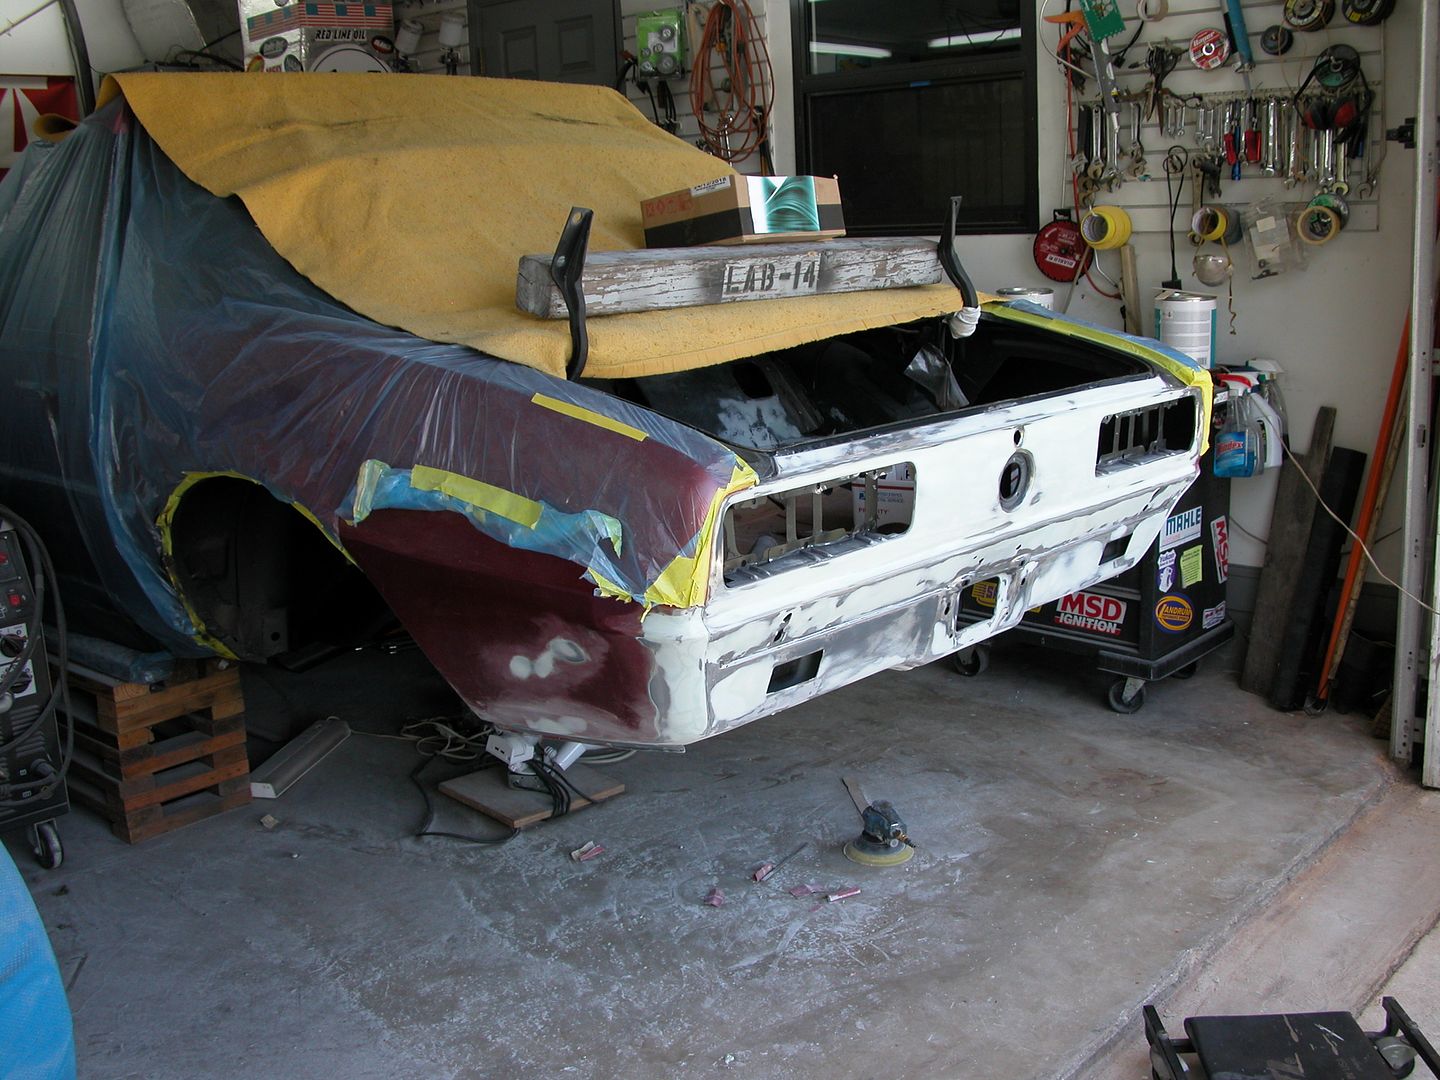 [/URL]
 [/URL]
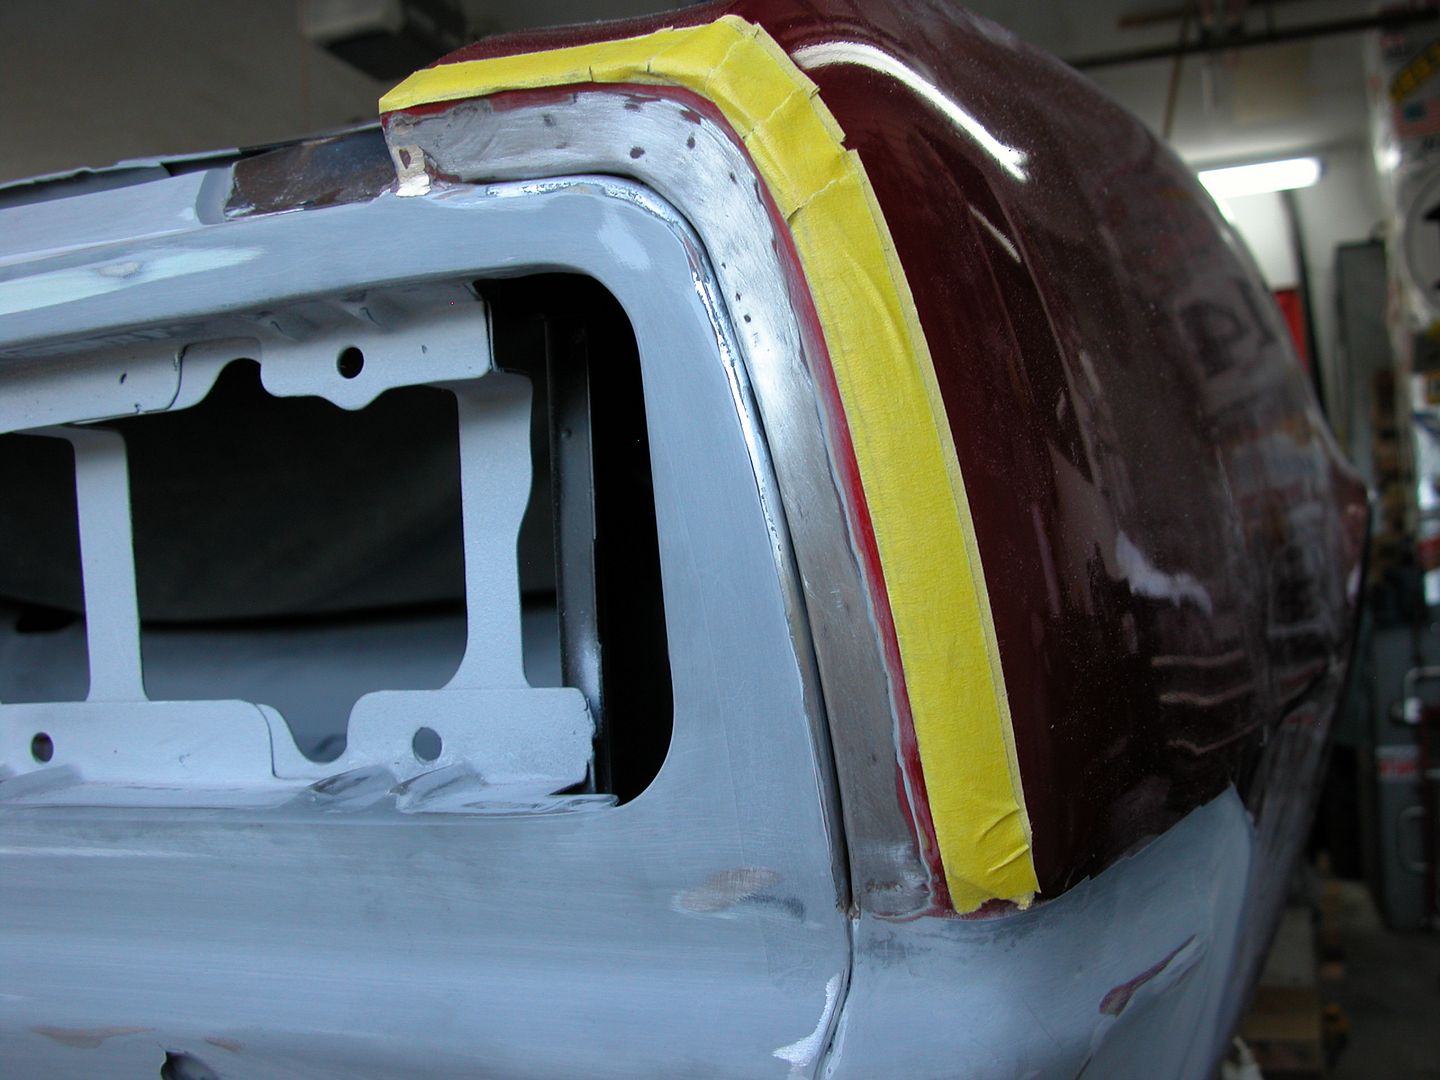 [/URL]
 [/URL]
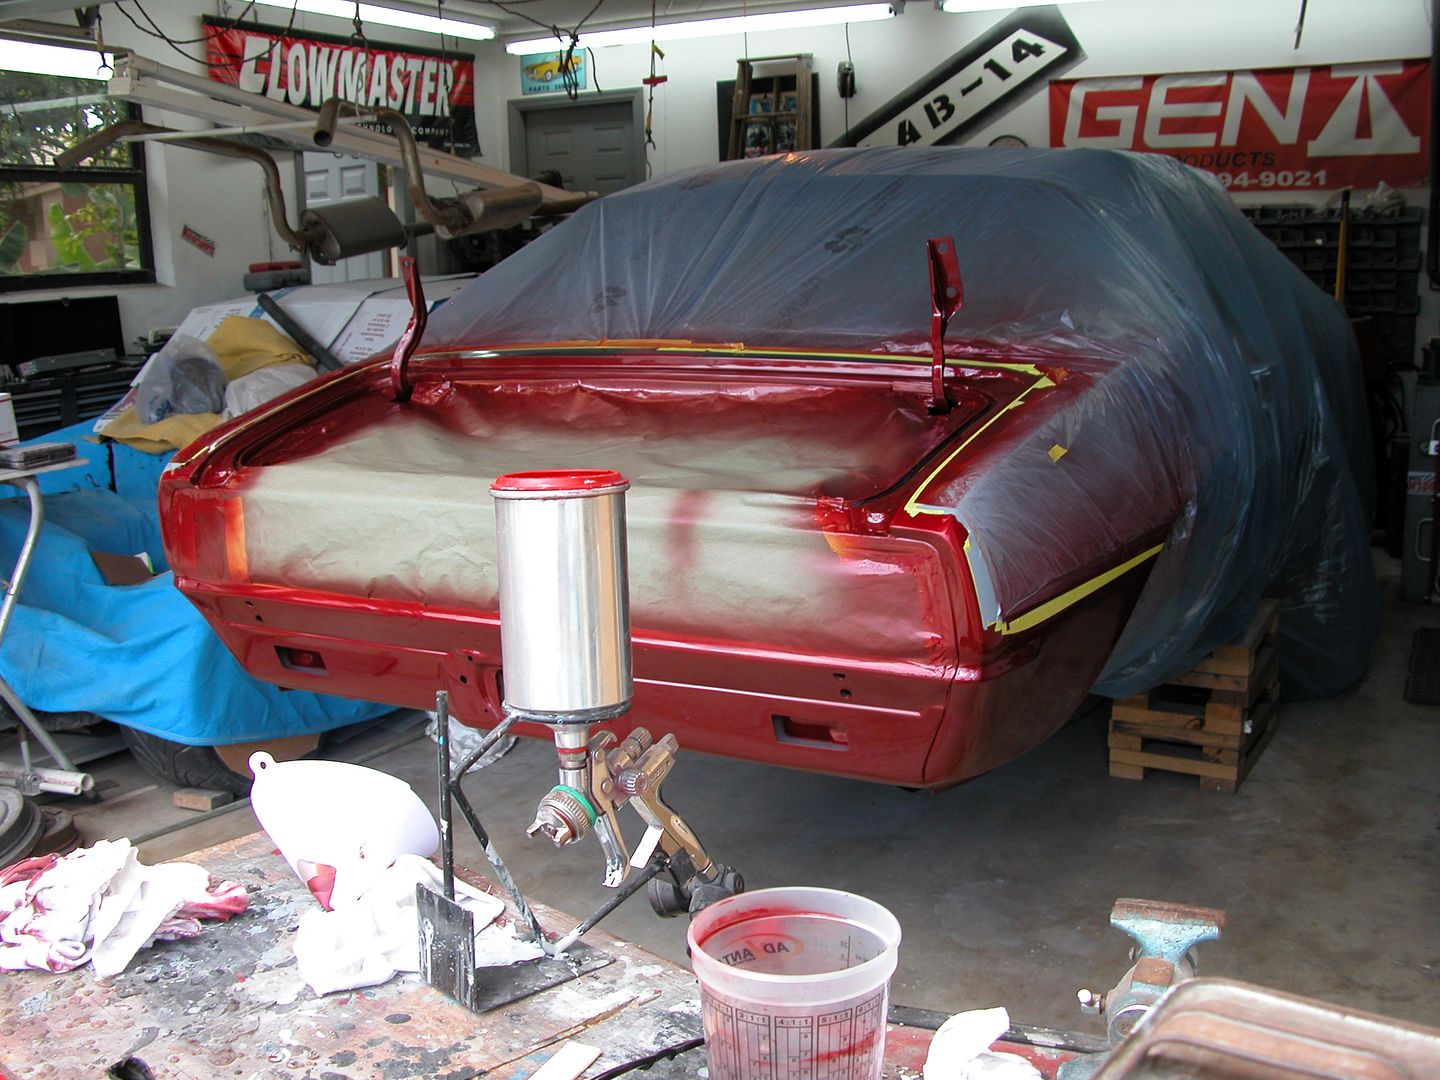 [/URL]
 [/URL]
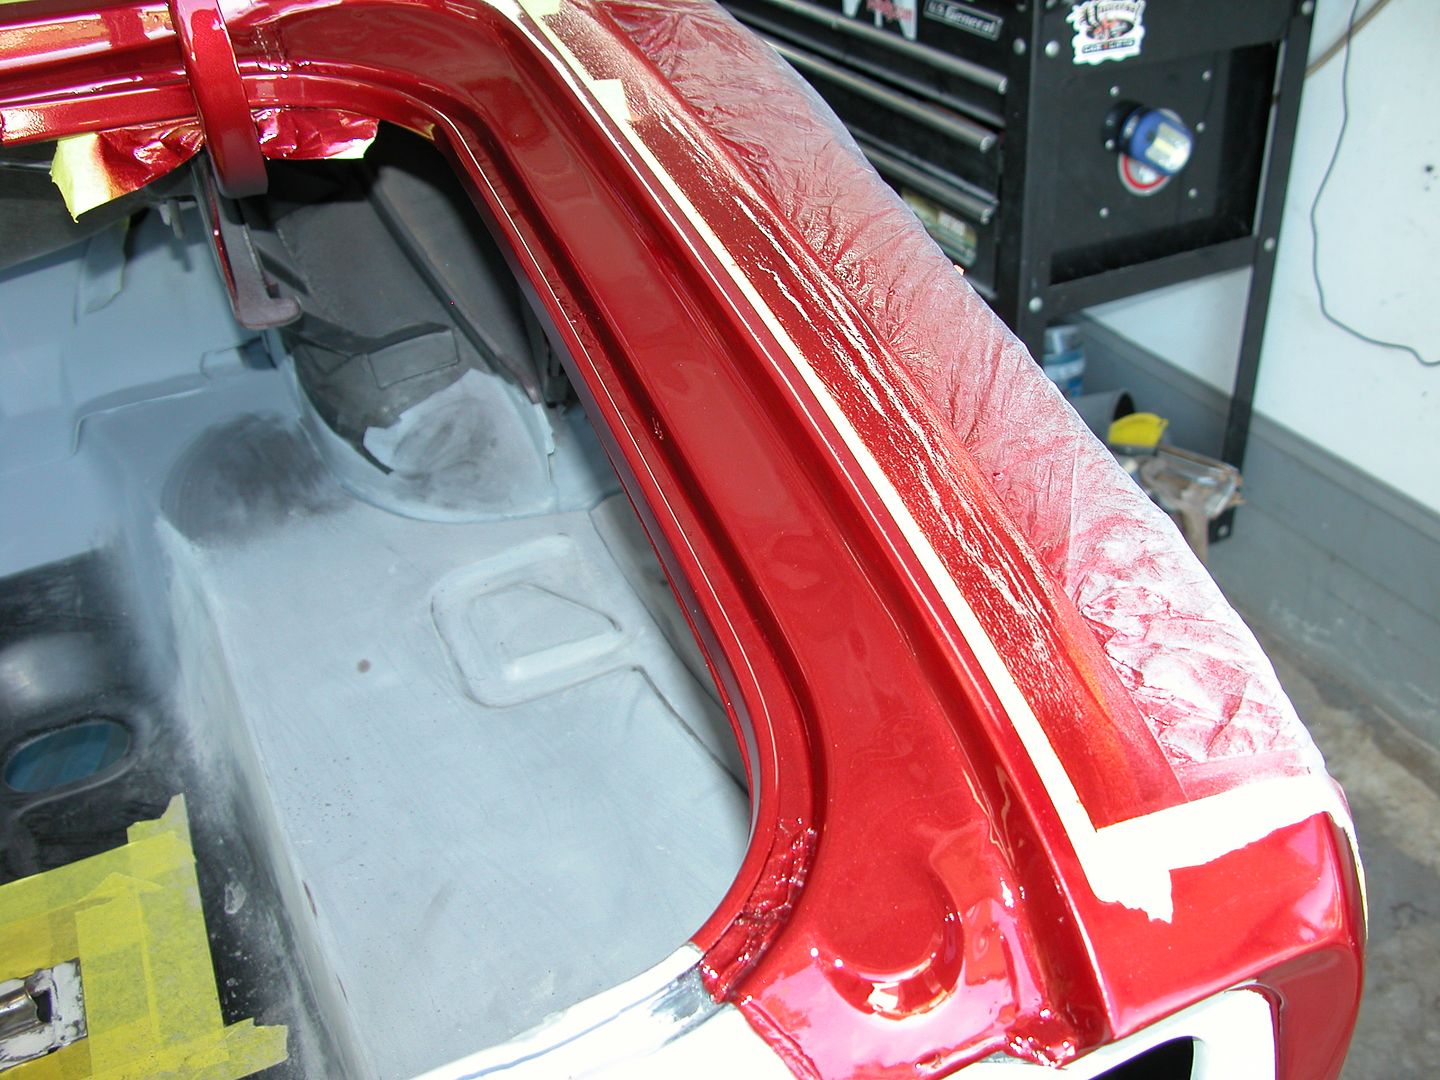 [/URL]
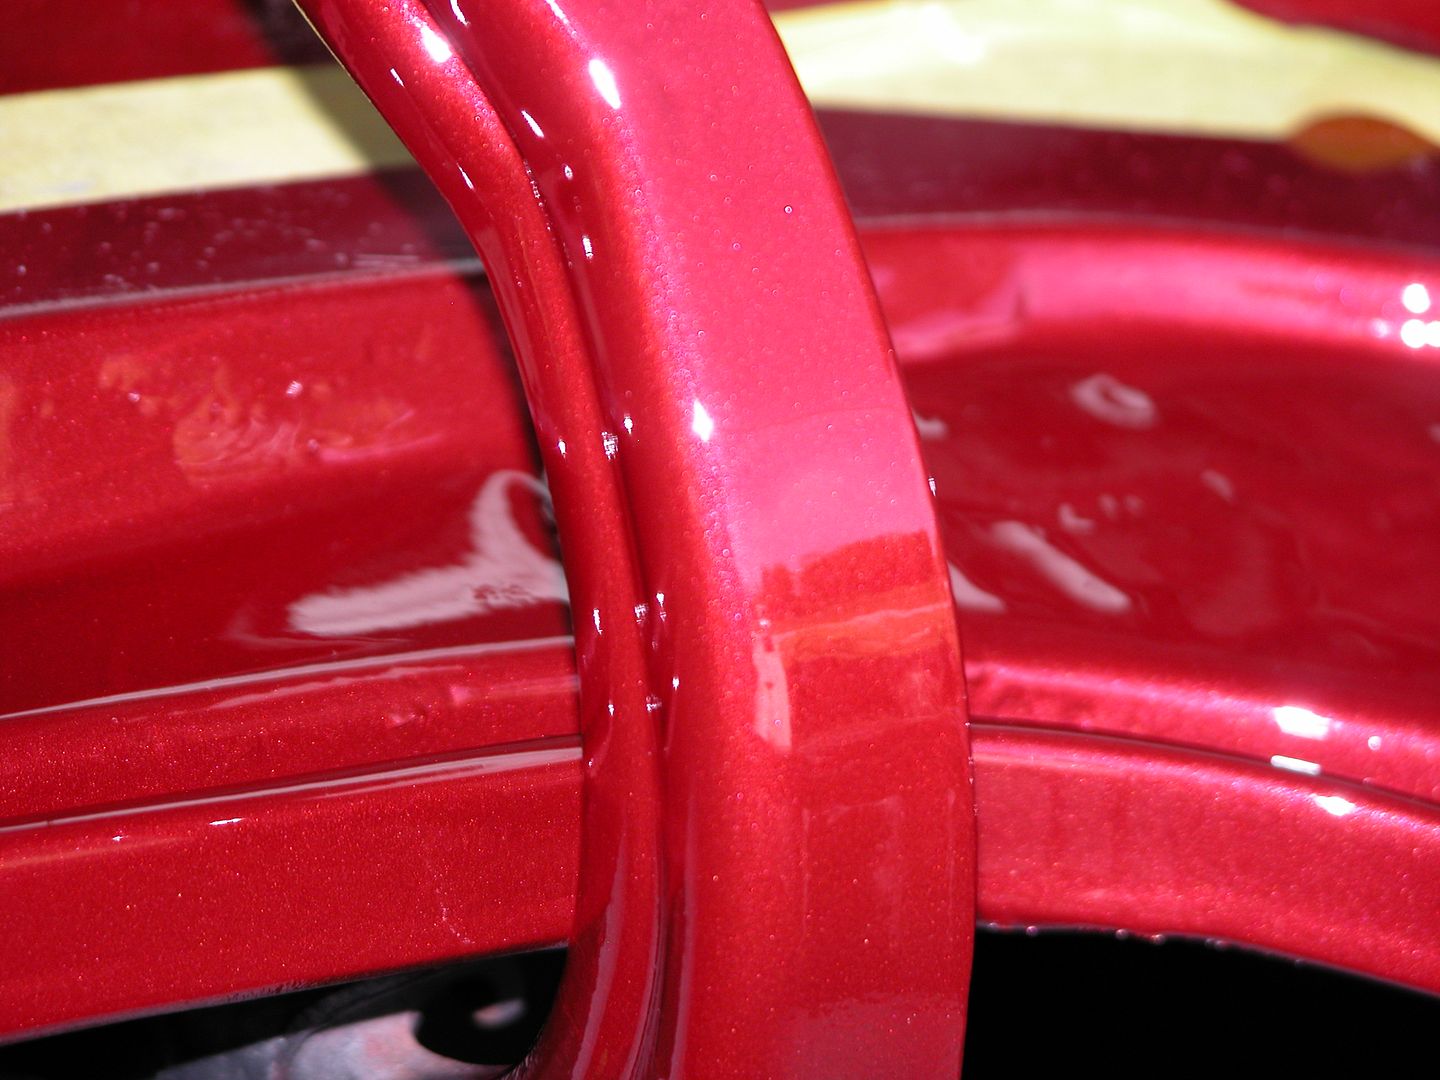 [/URL]
 [/URL]
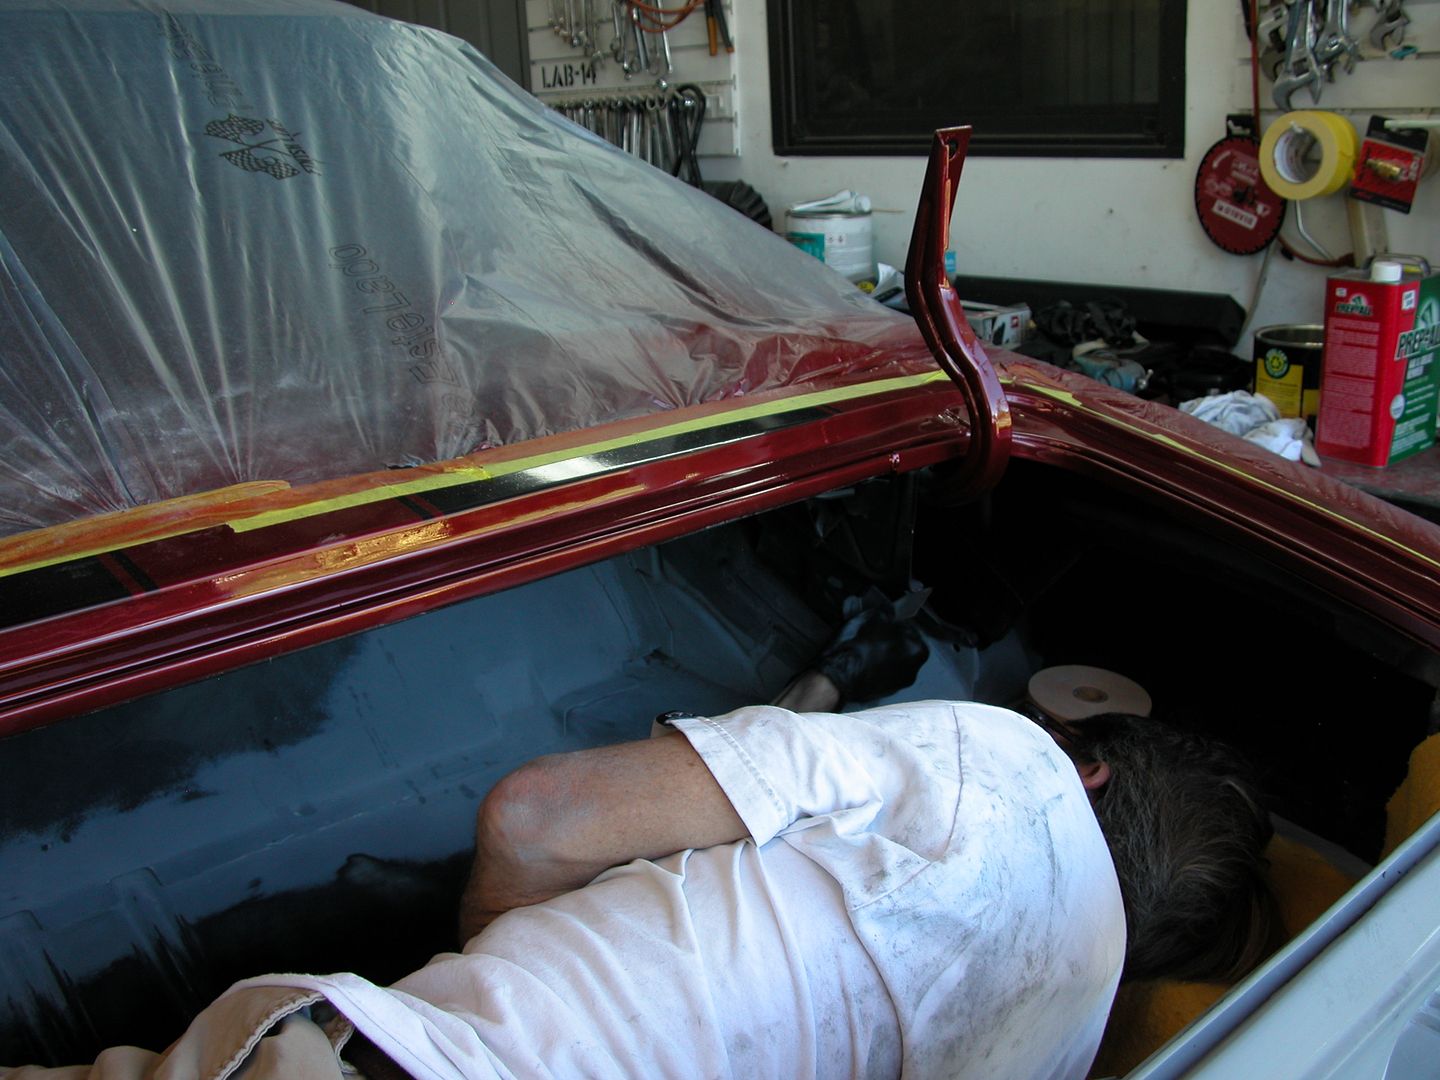 [/URL]
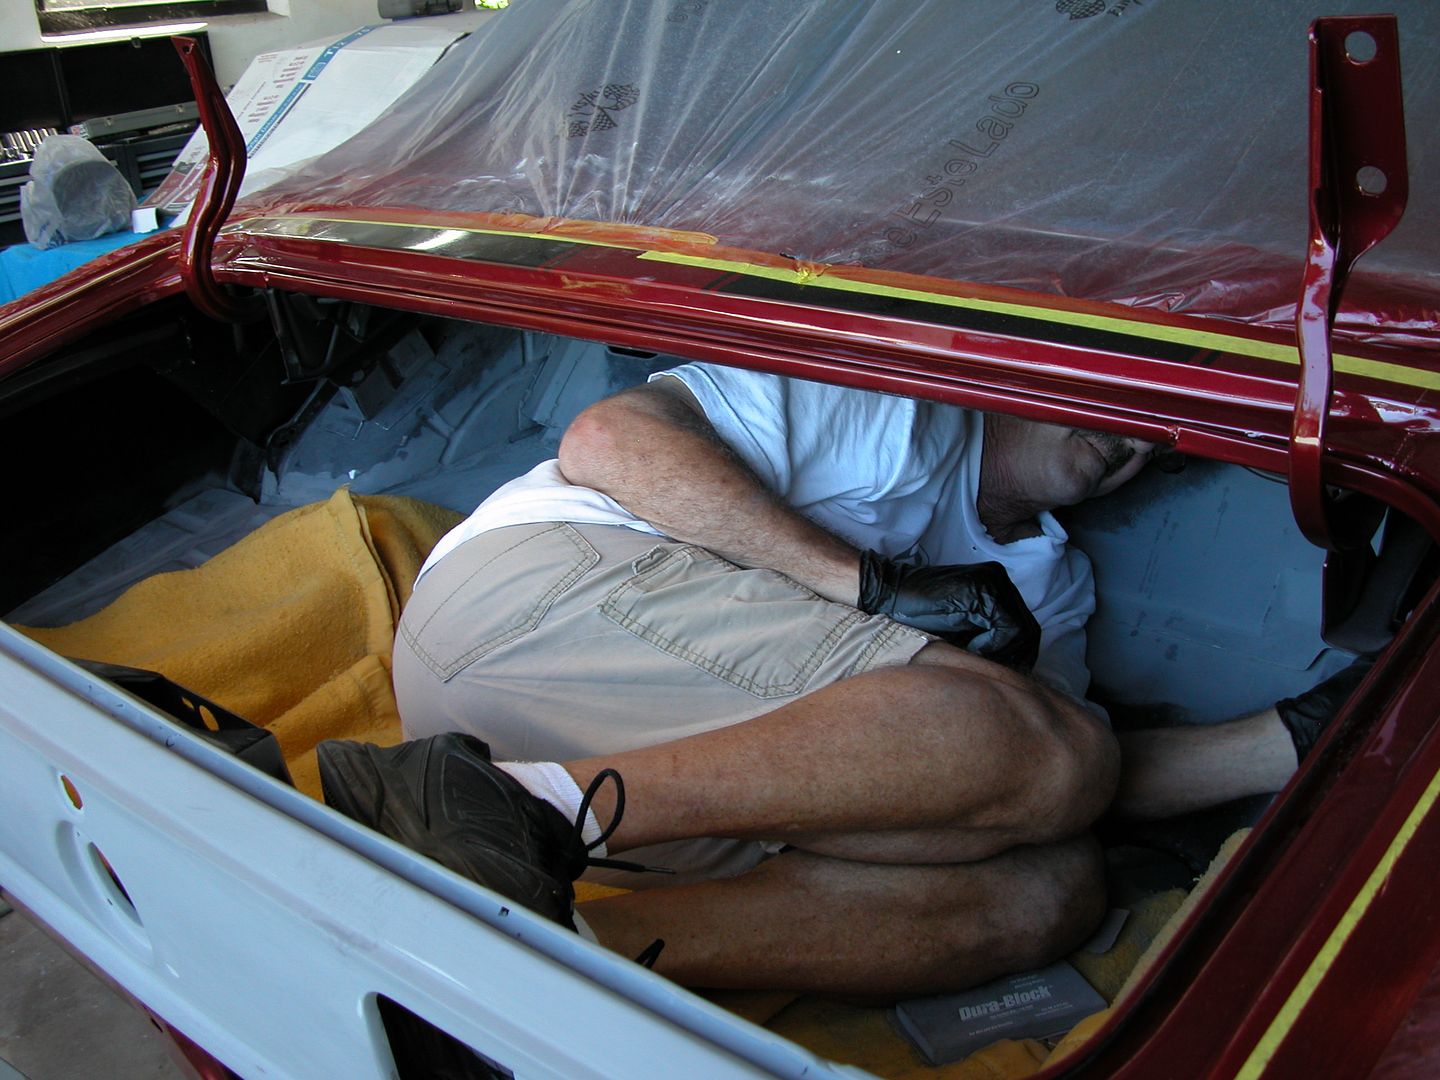 [/URL]
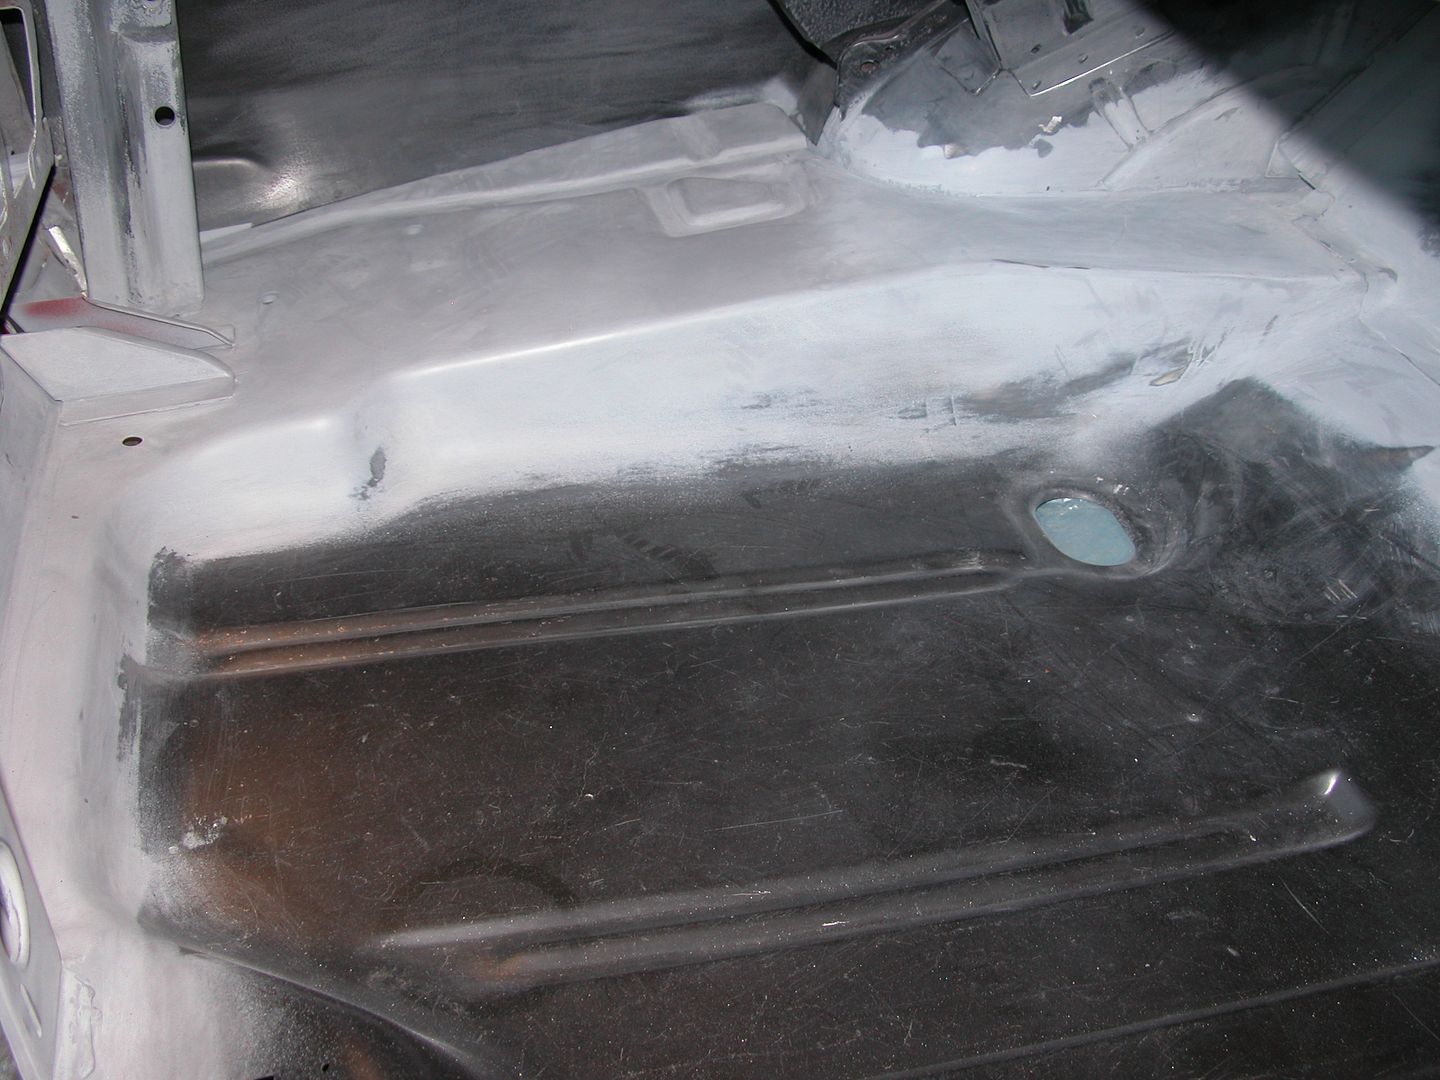 [/URL]
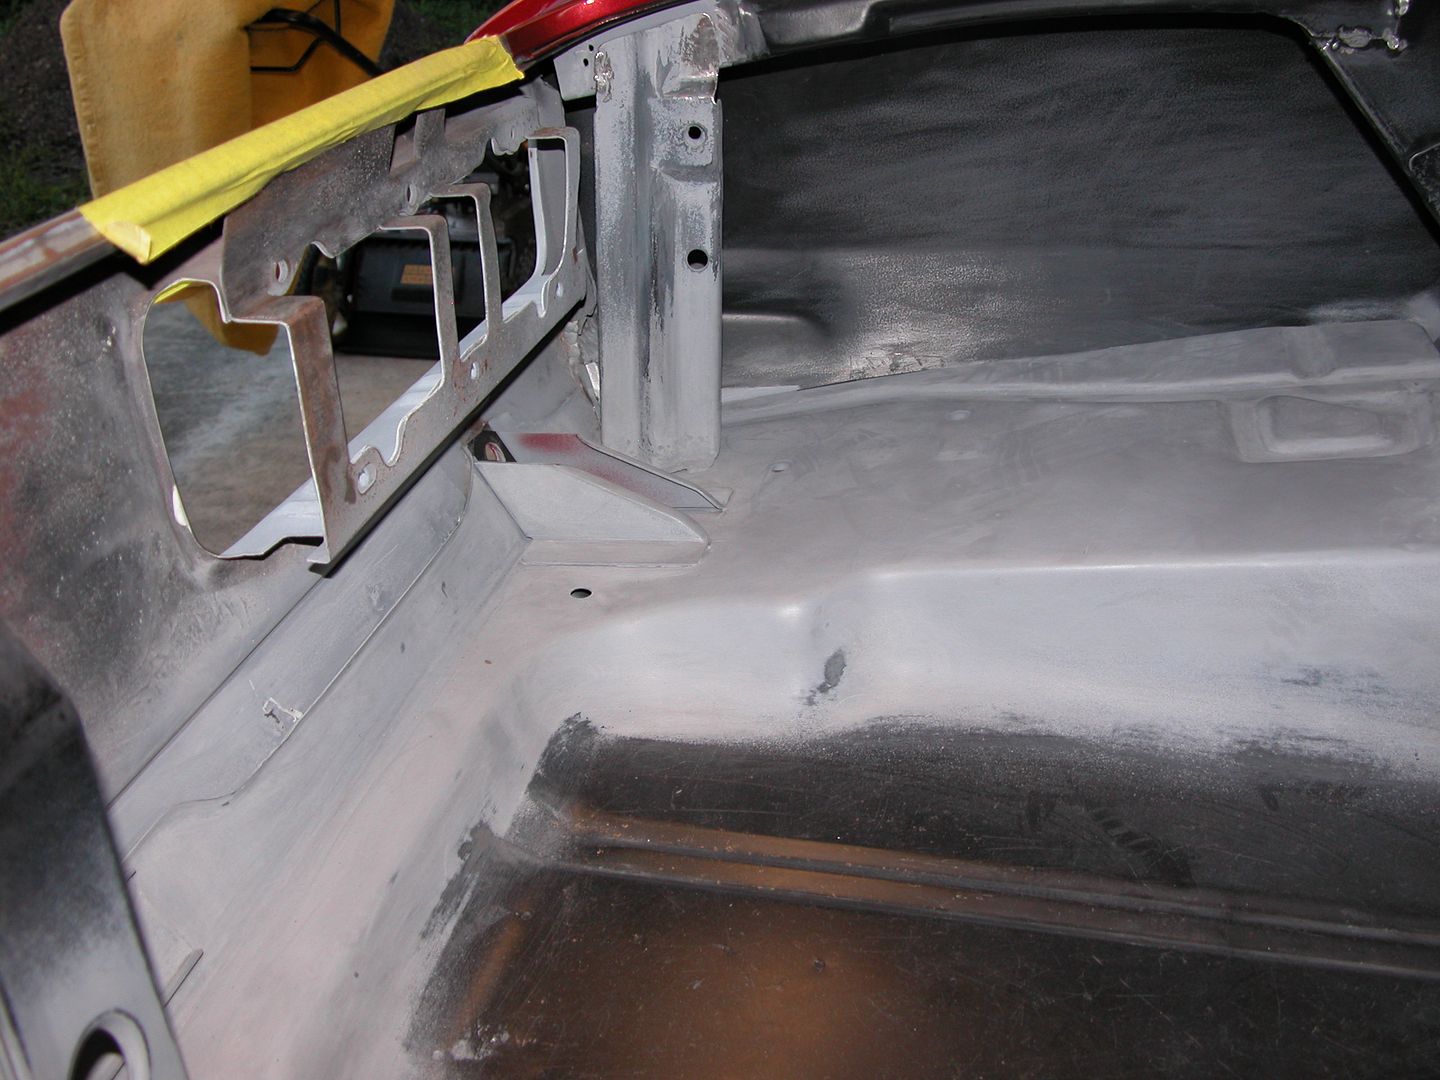 [/URL]
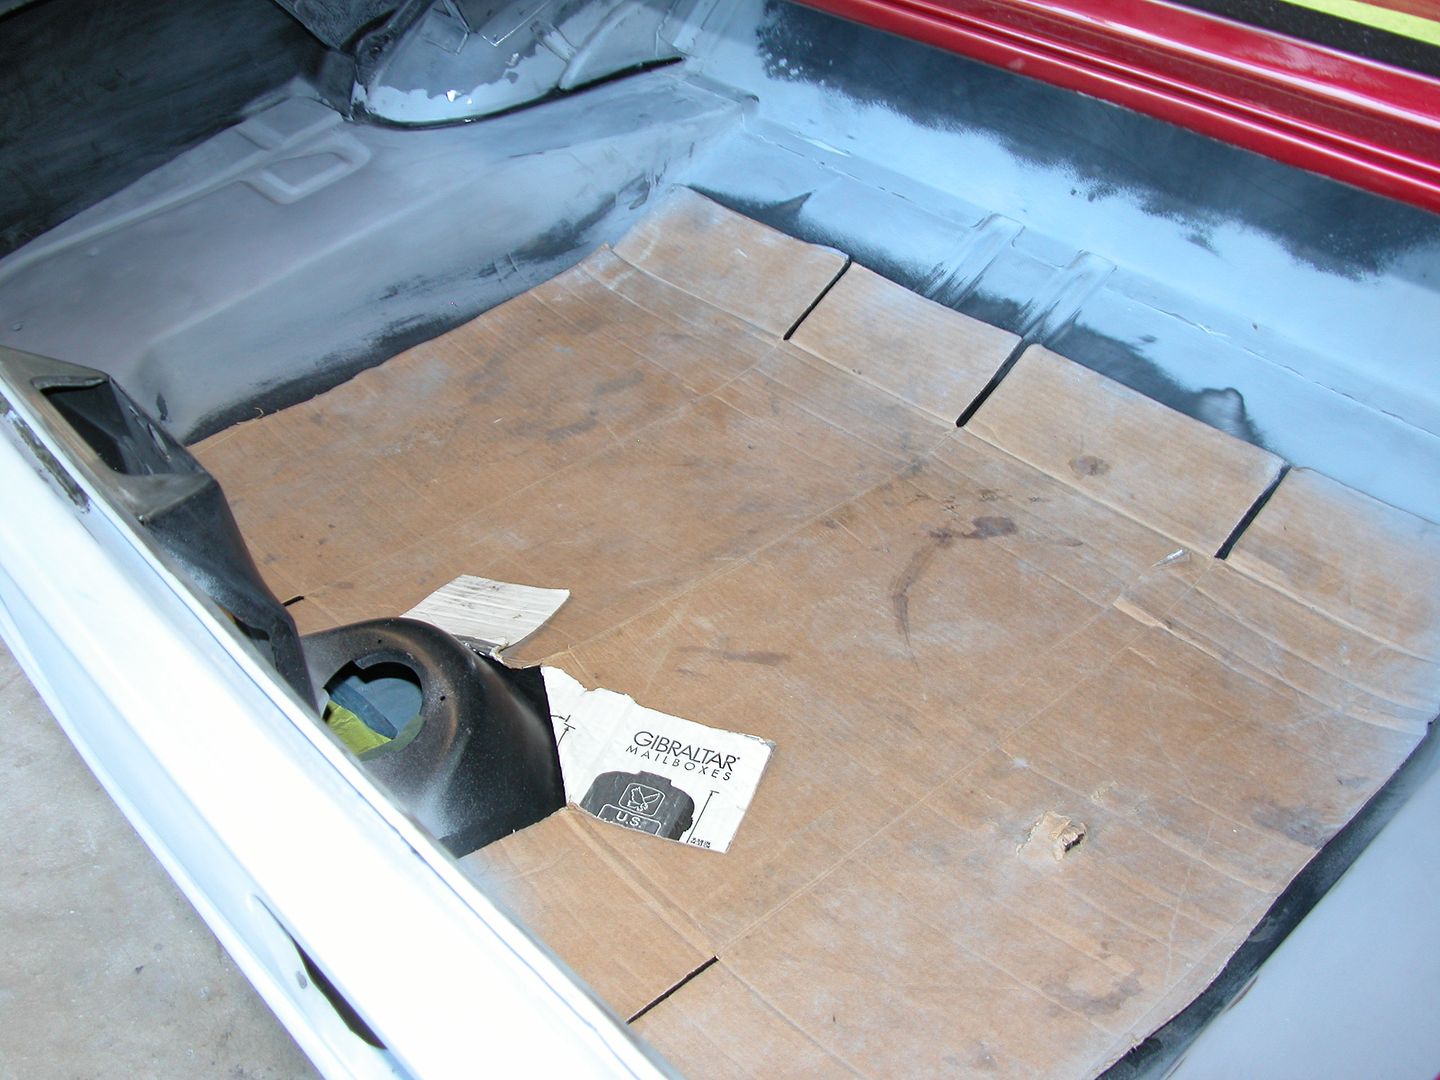 [/URL]
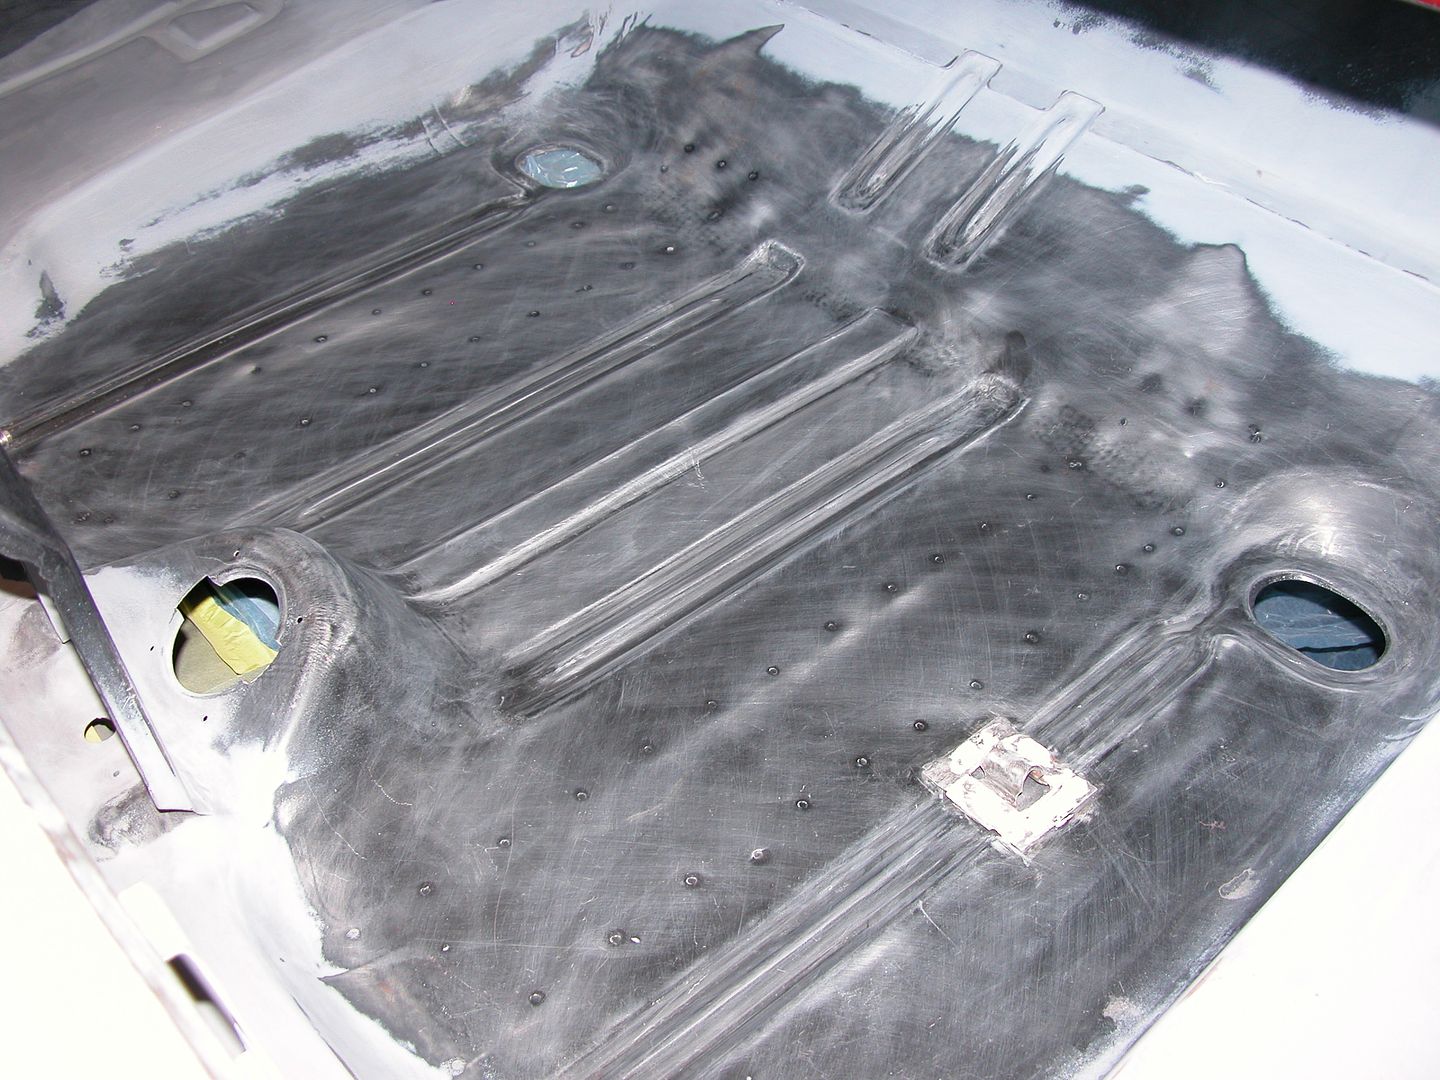 [/URL]
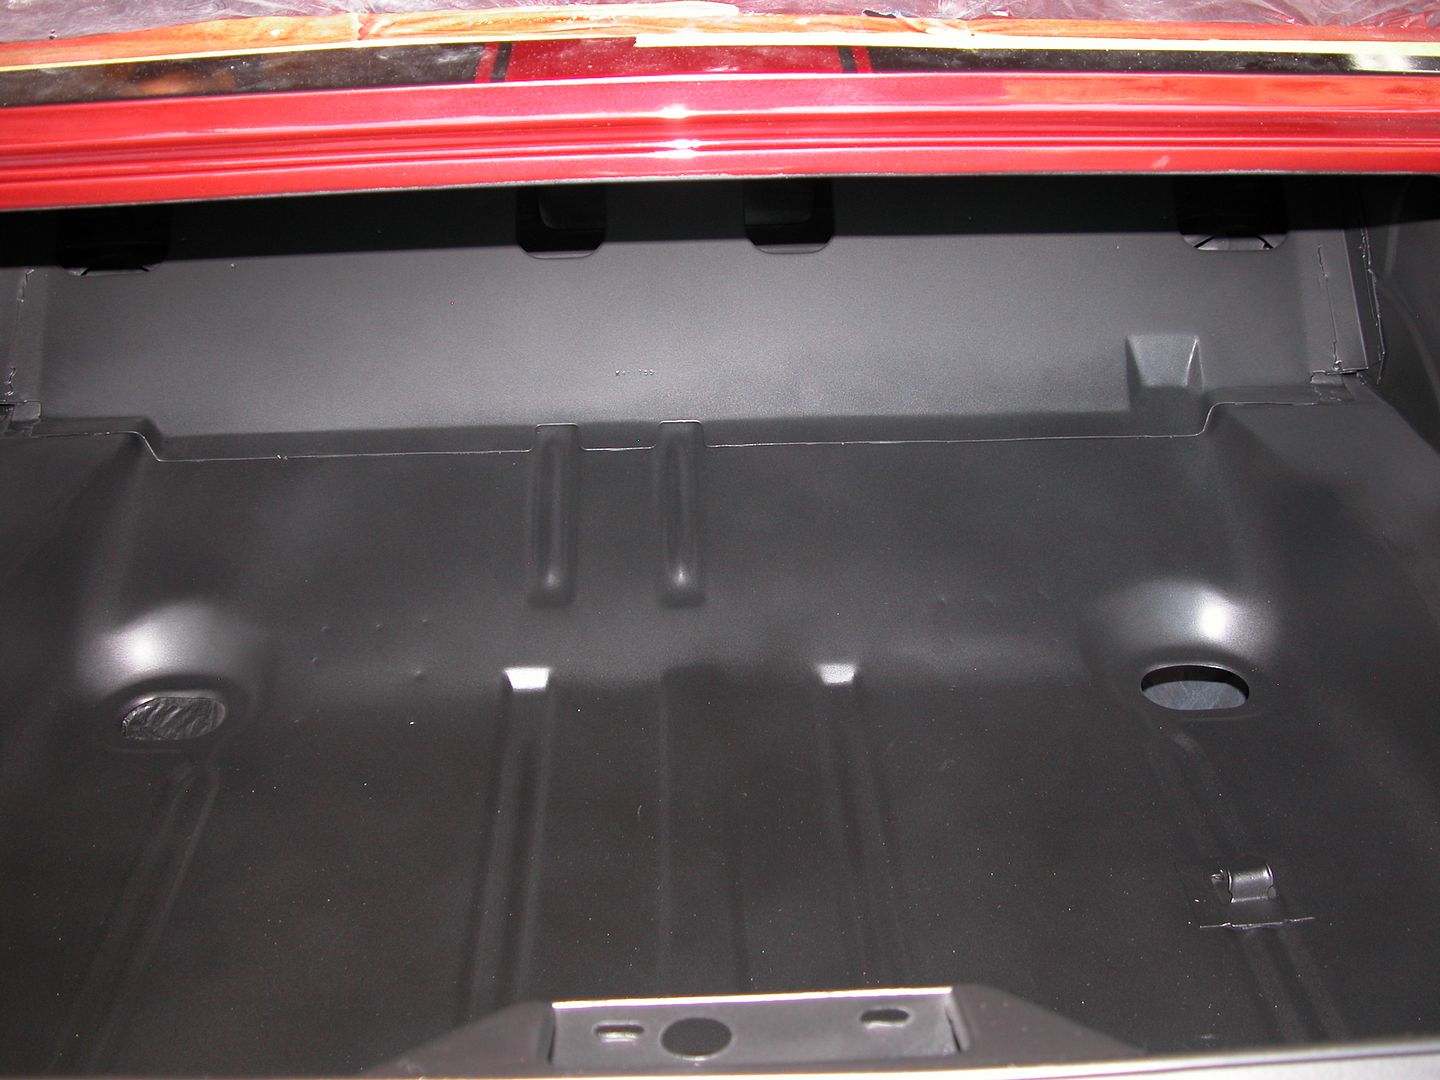 [/URL]
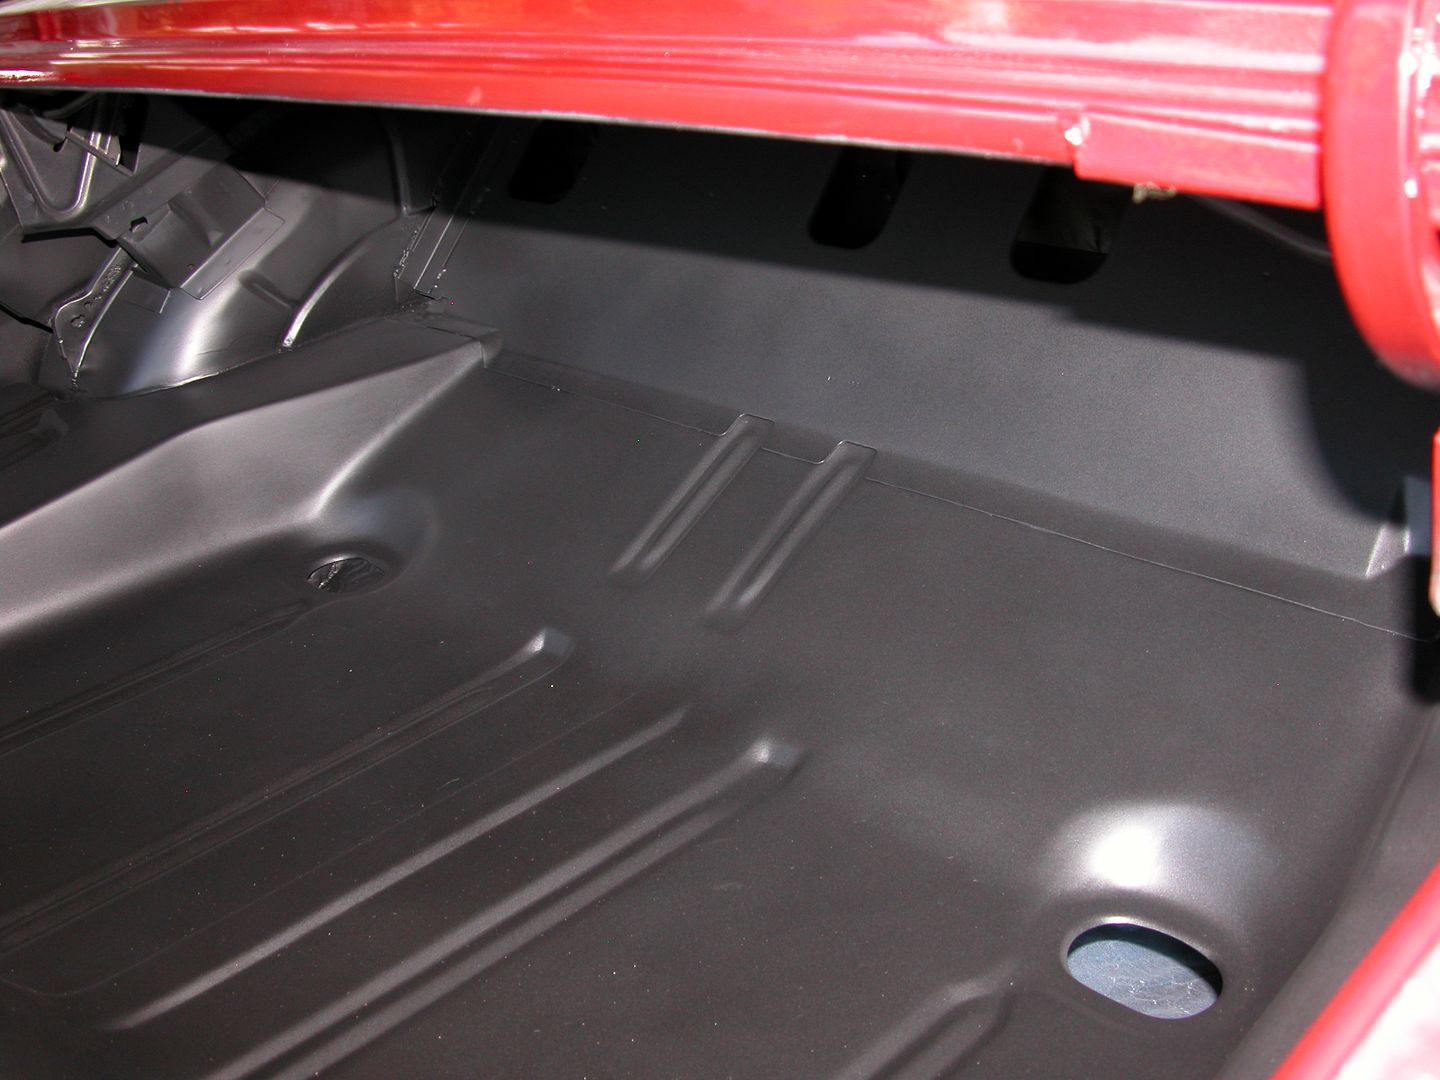 [/URL]
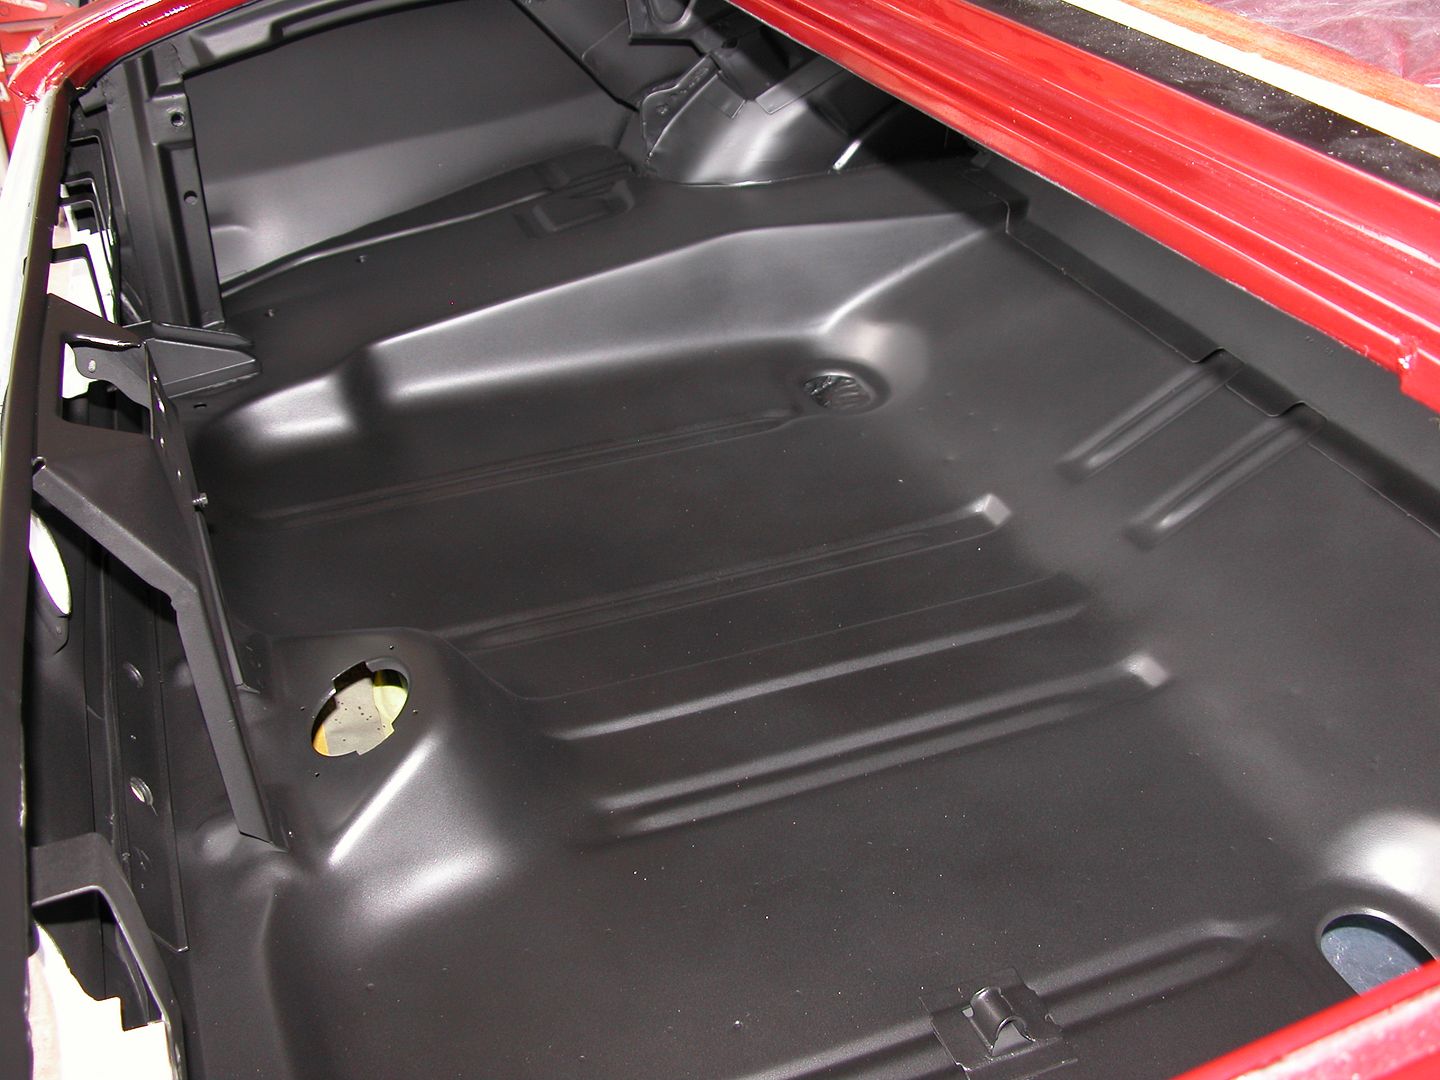 [/URL]

 [/URL]
 [/URL]
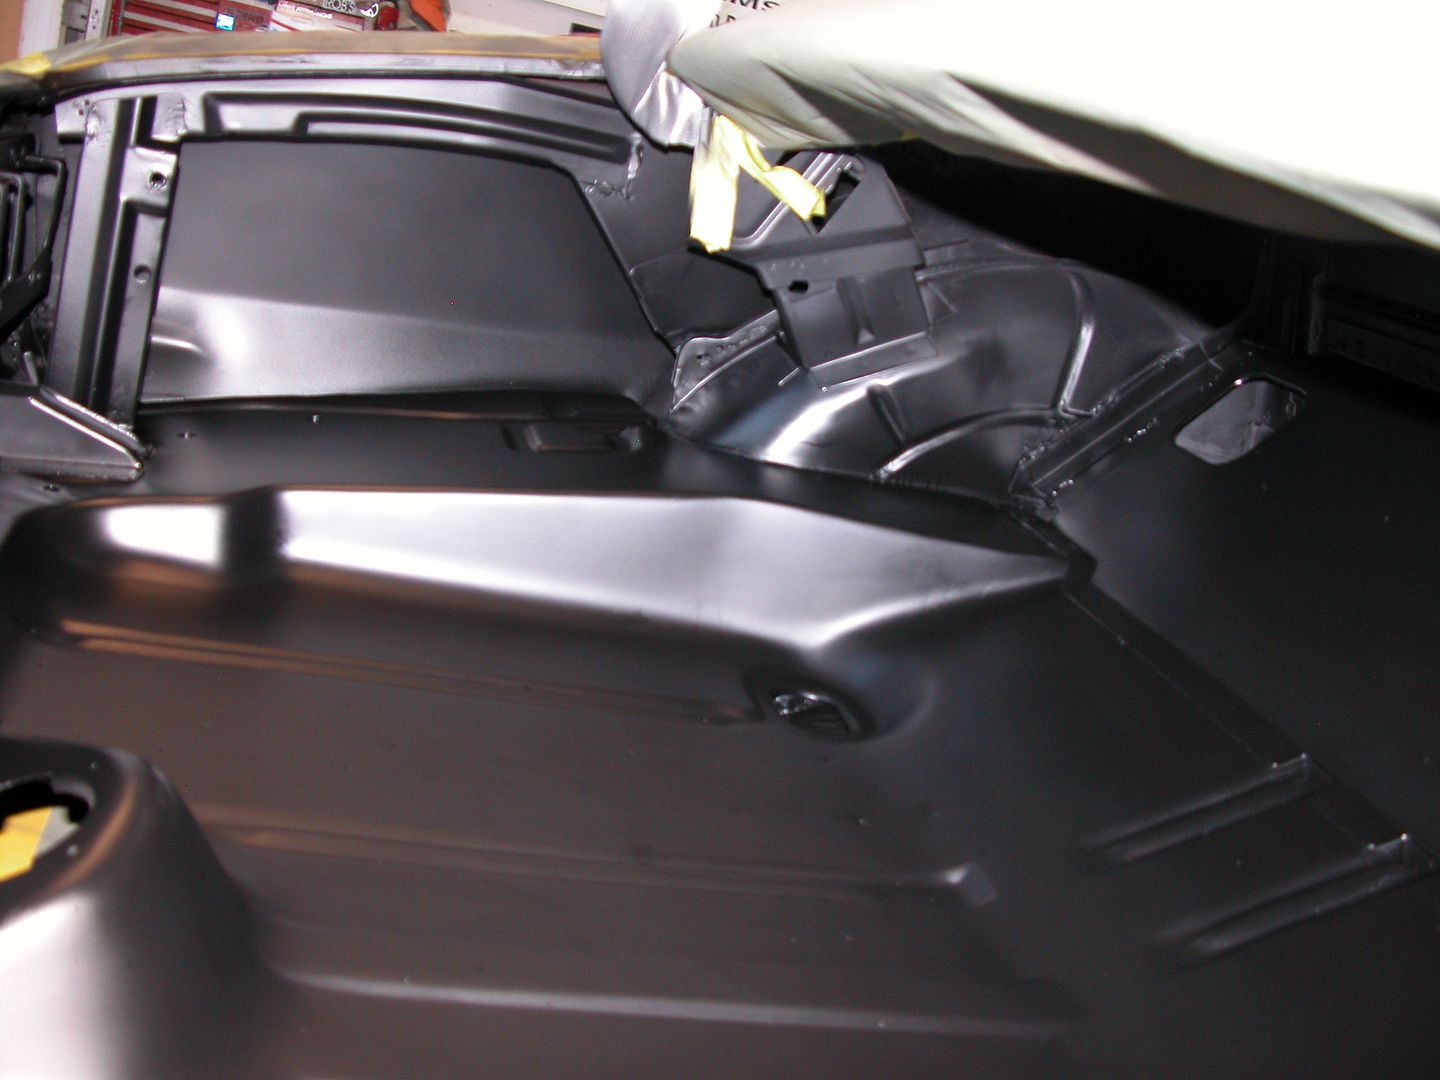 [/URL]
 [/URL]
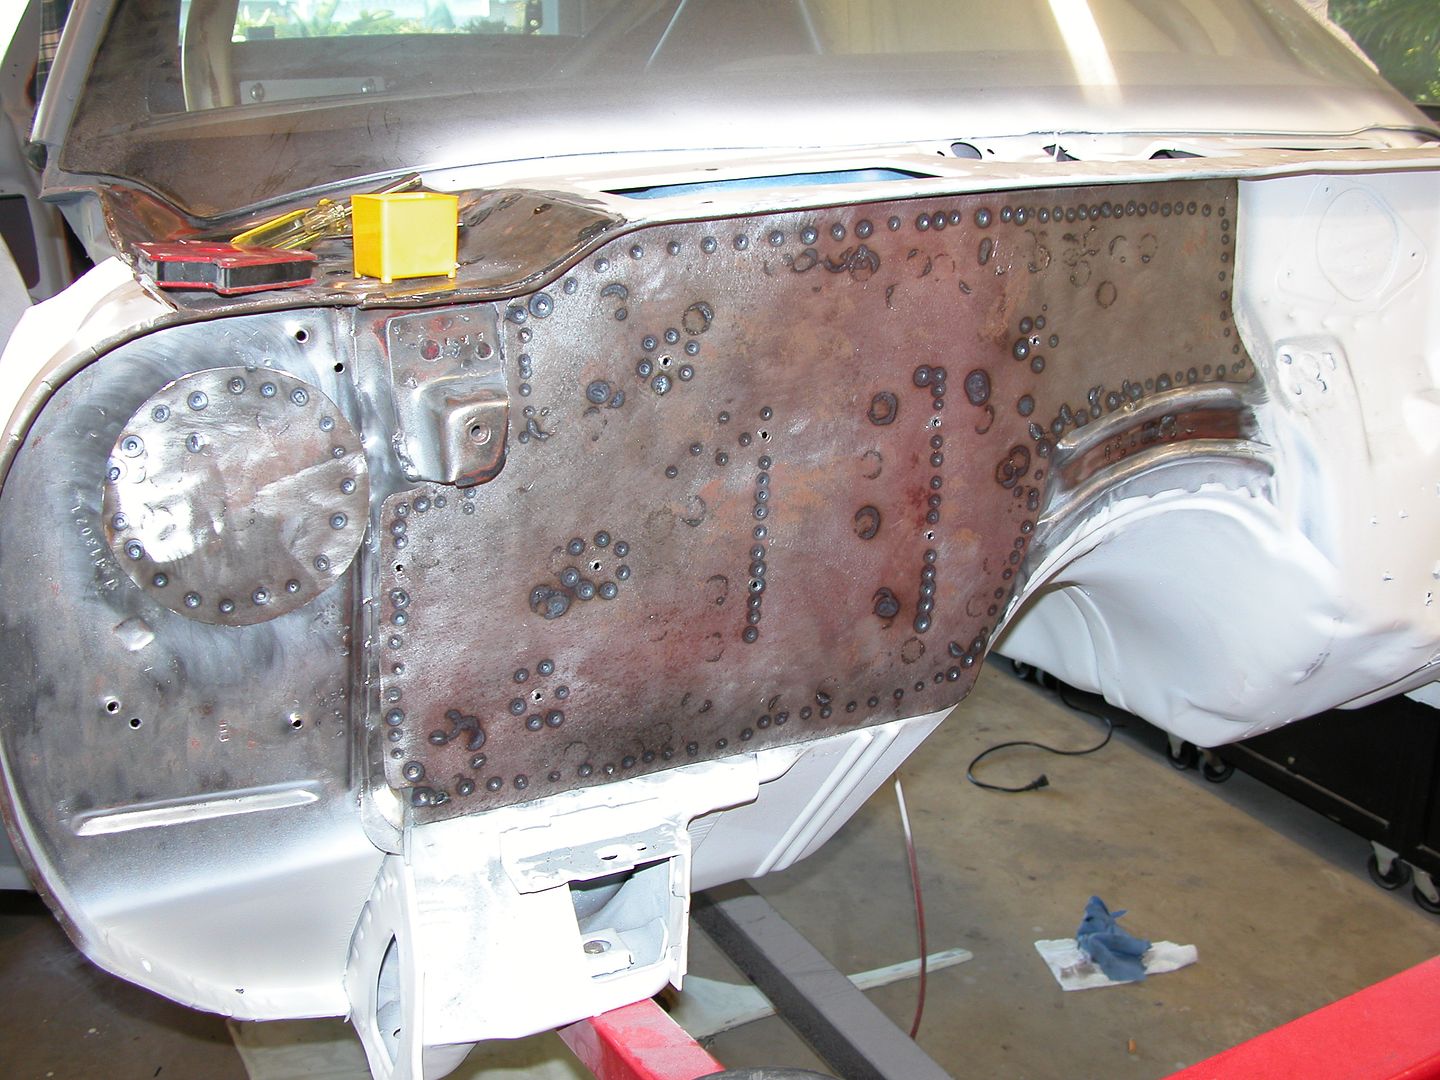 [/URL]
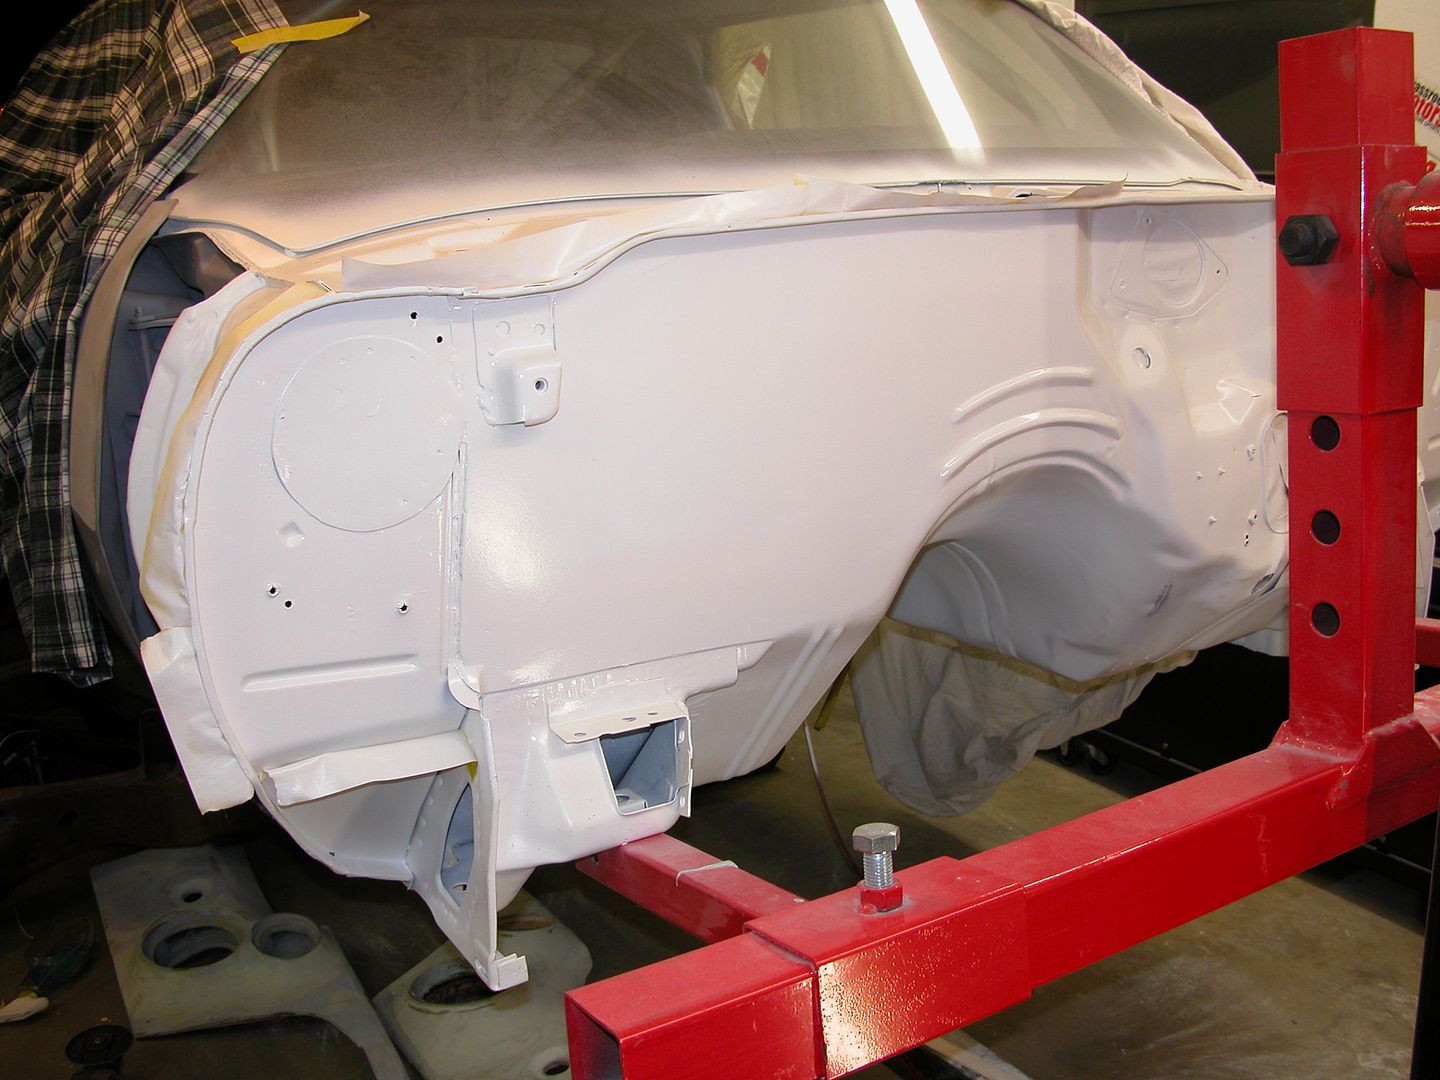 [/URL]
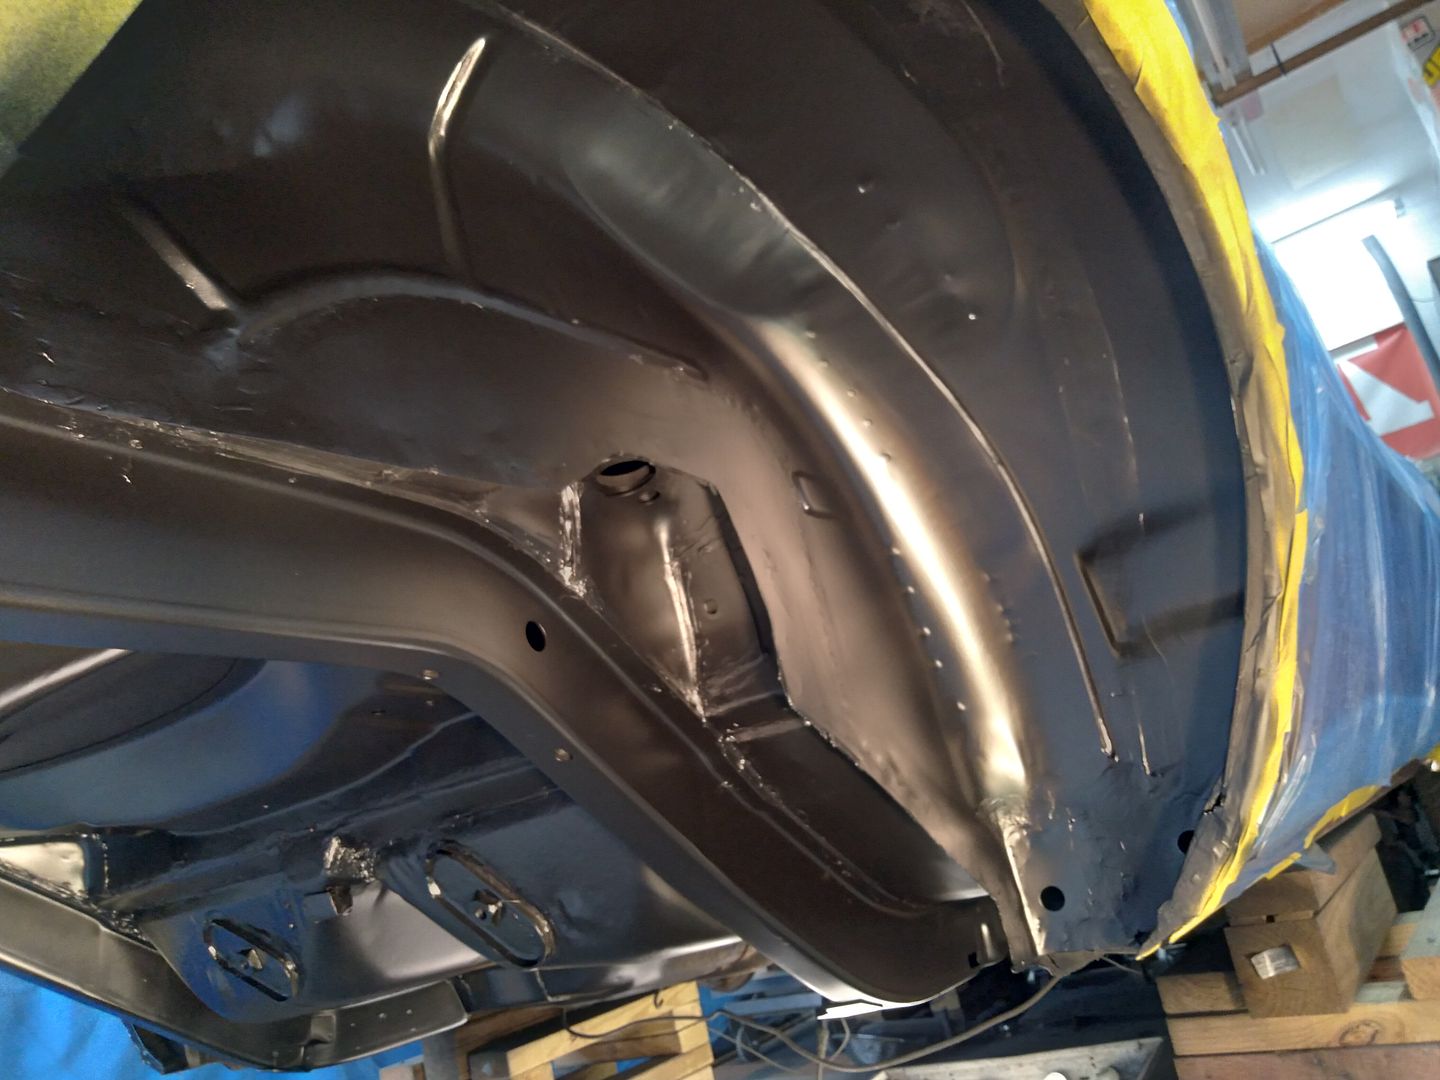 [/URL]
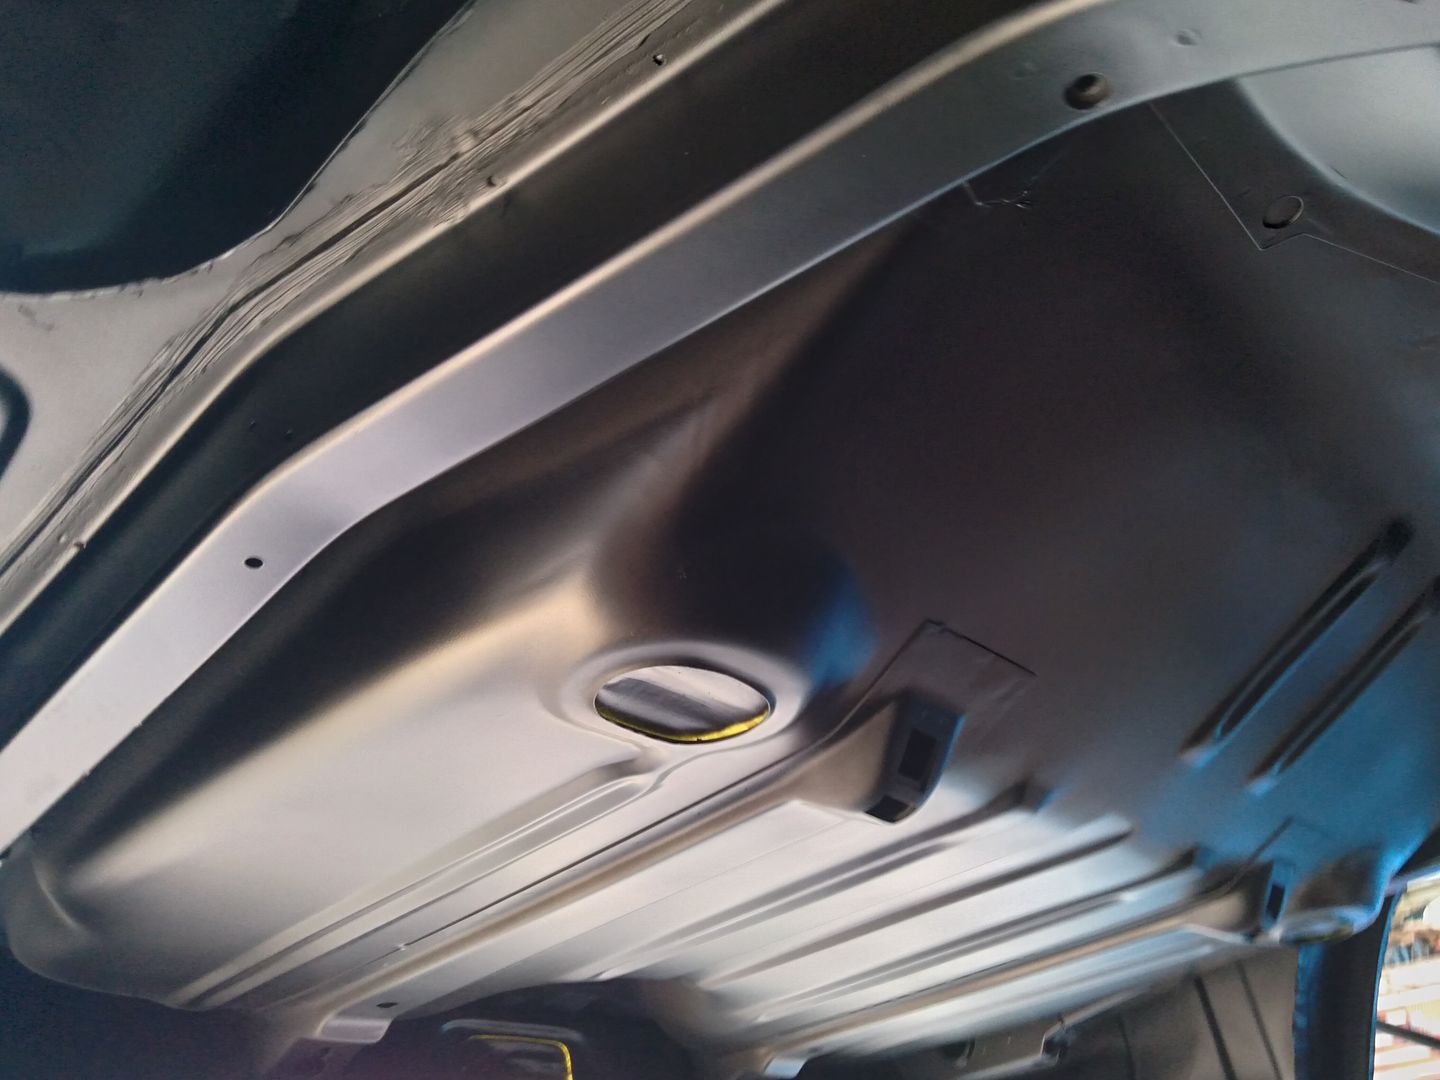 [/URL]
 [/URL]
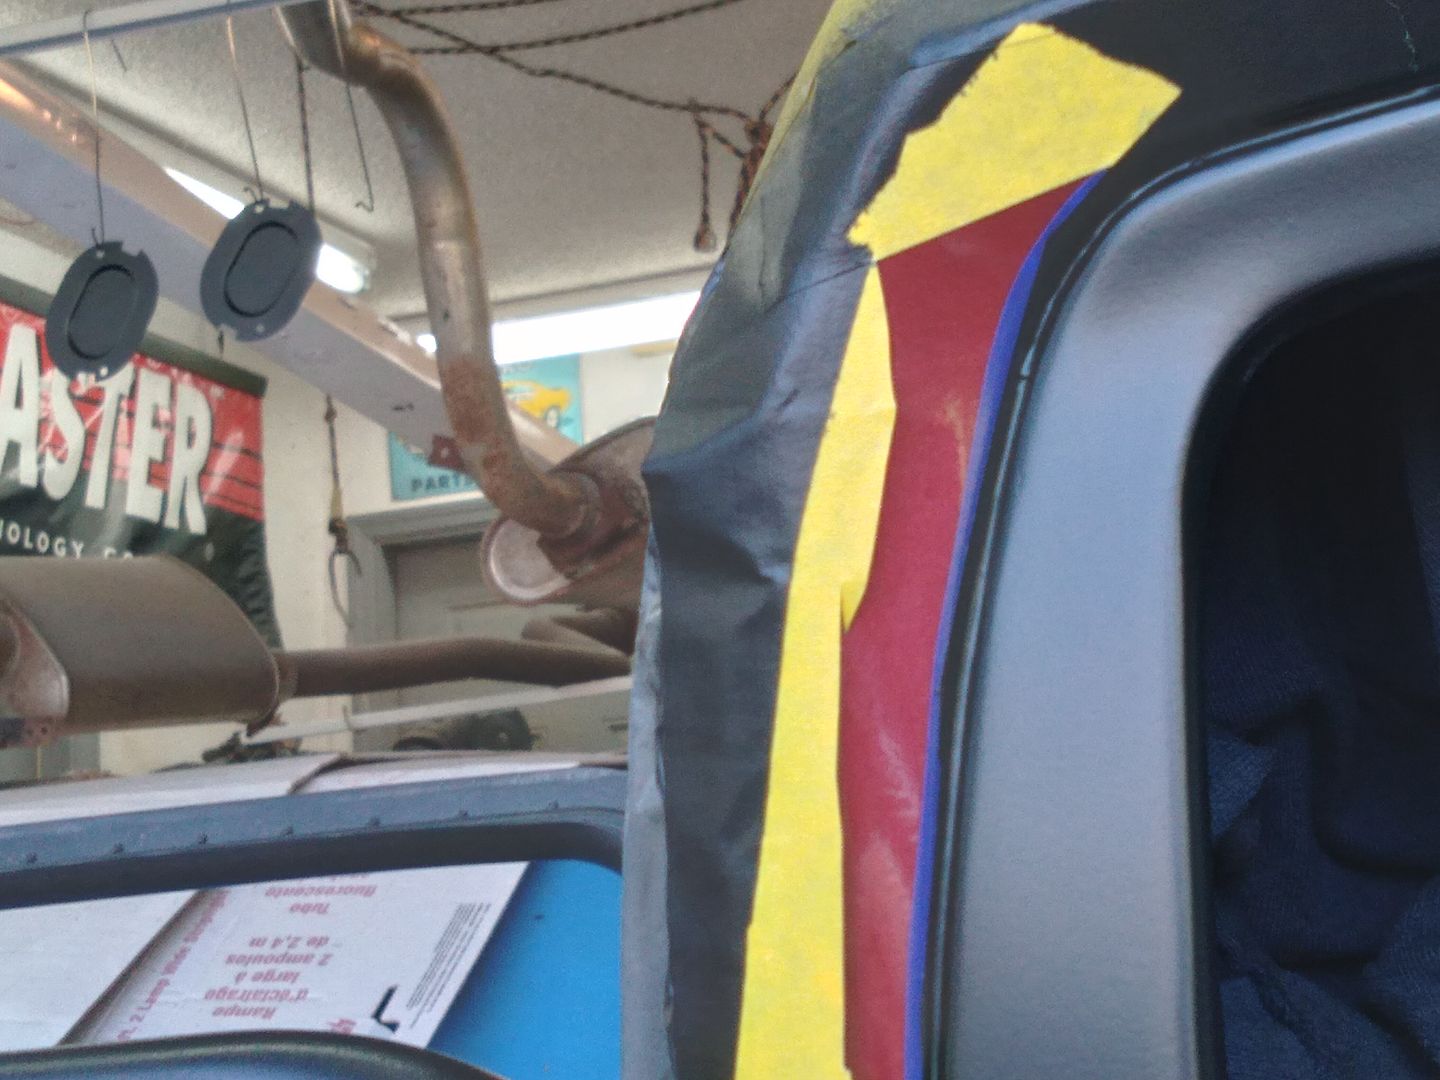 [/URL]
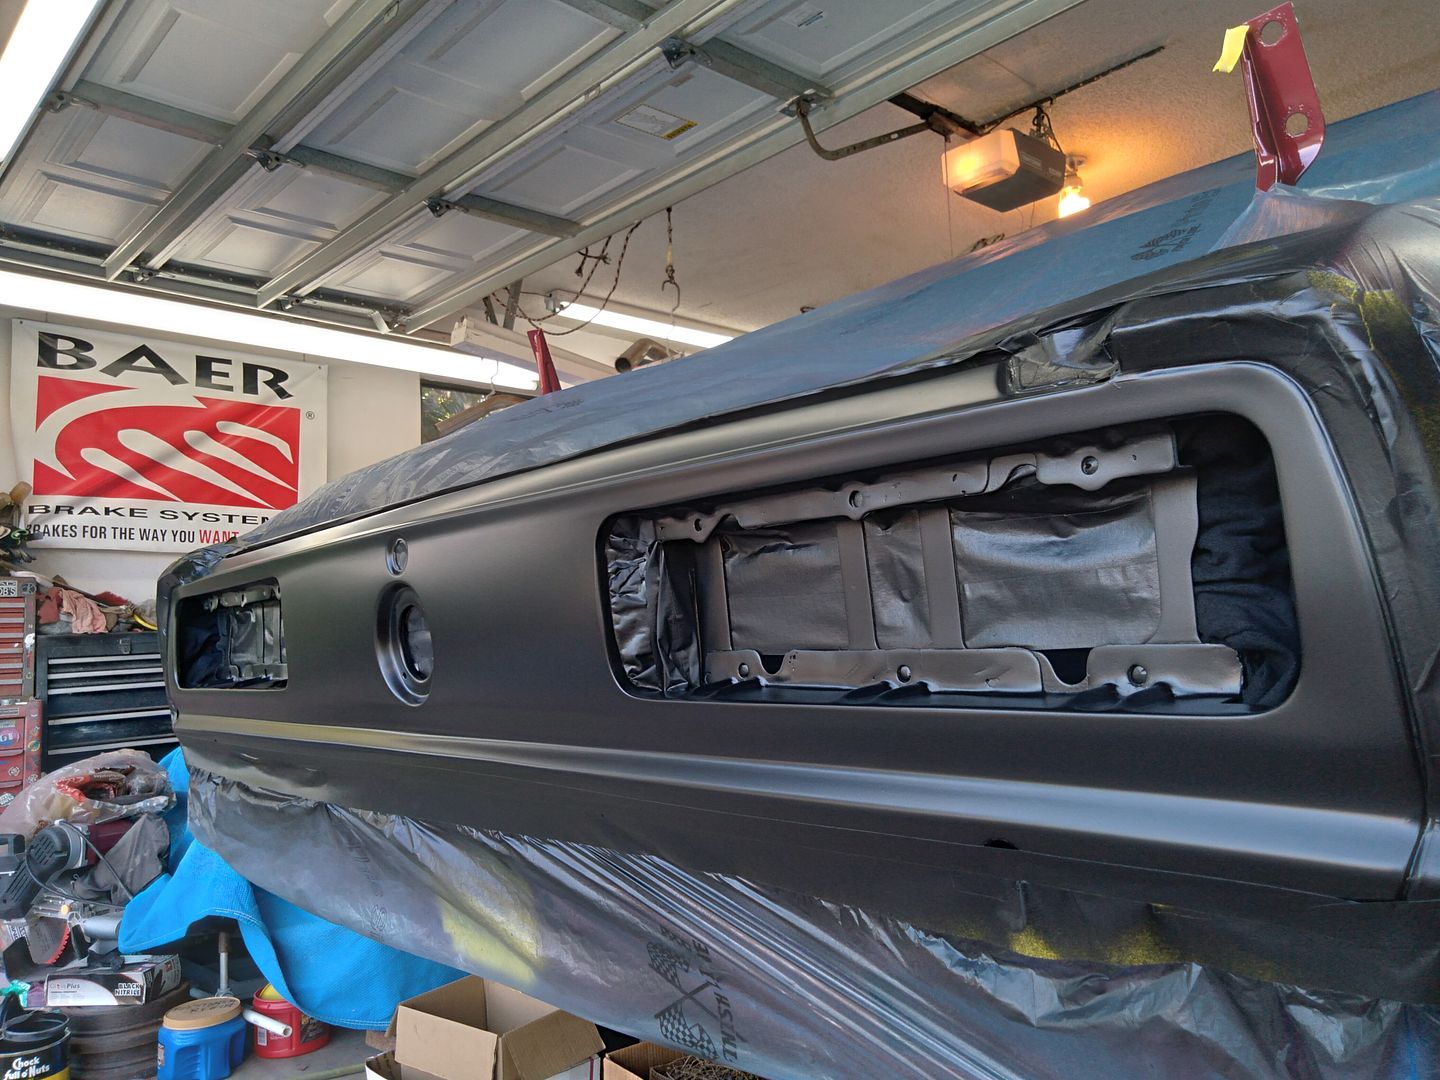 [/URL]
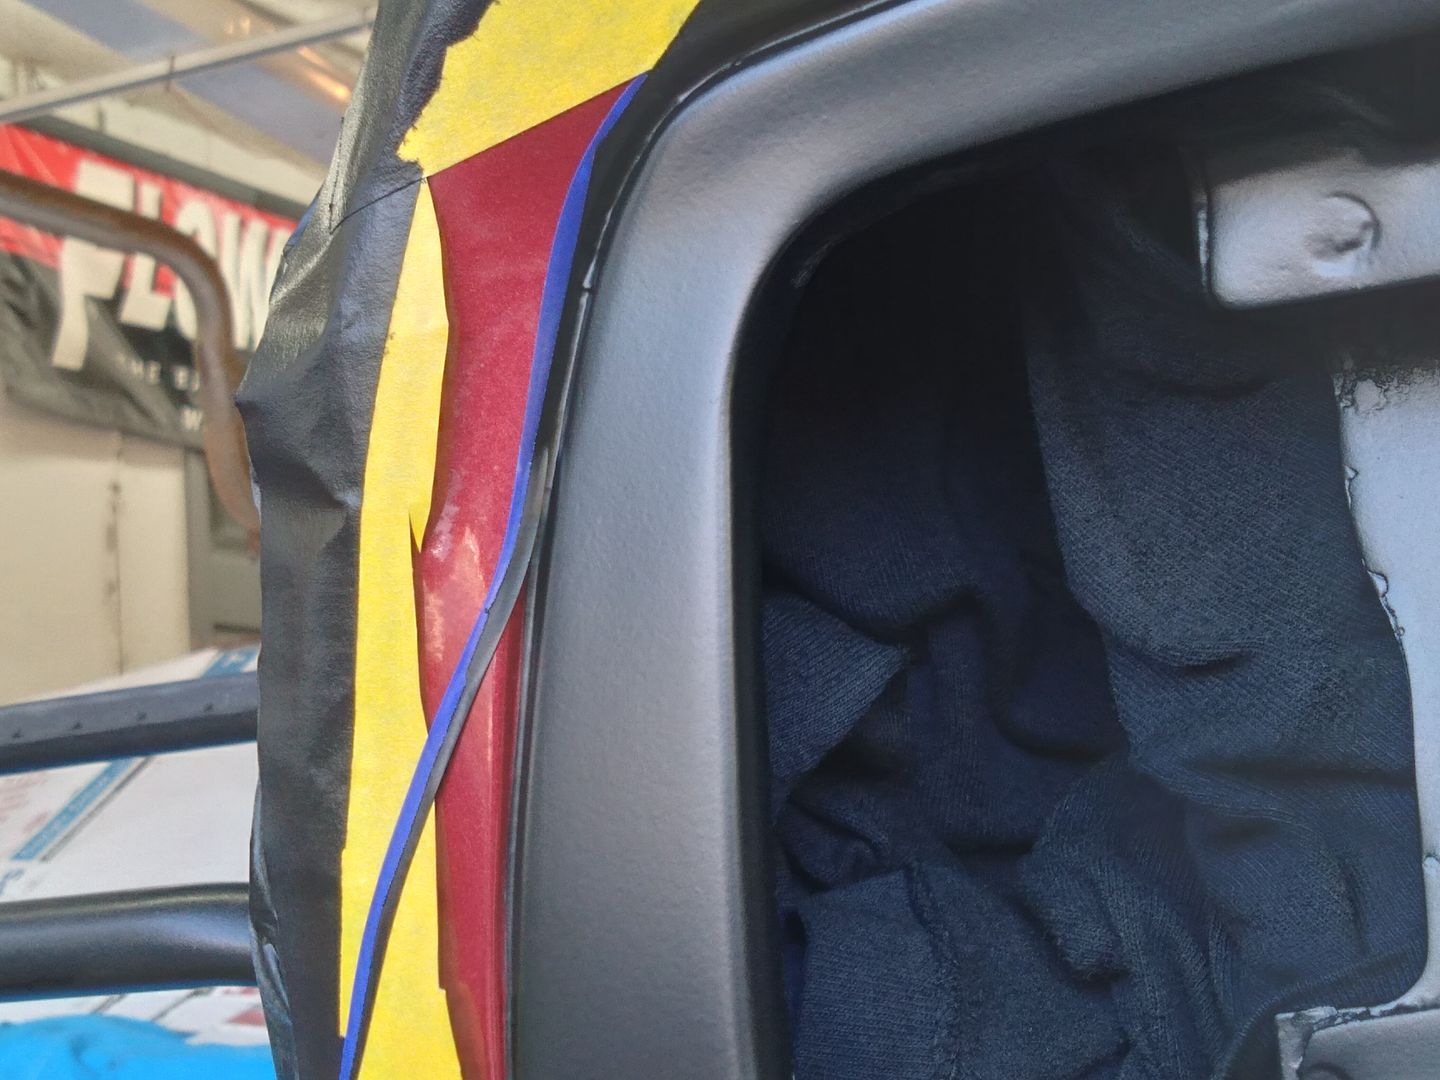 [/URL]
 [/URL]


