


Hey Mezzanine, I sent you a message (email) through the board software a day or two ago. Will you let me know if you got it or not? thanks.

Hey Mezzanine, I sent you a message (email) through the board software a day or two ago. Will you let me know if you got it or not? thanks.

Work continues on my little Italian beastie.
Since it was so nice out this weekend, I felt it necessary to go for a drive with the top off. After a quick safety inspection and a few junk battery swaps, the Fiat came to life.
It is still puking coolant from the back side of the engine, but all the cylinders look normal (at least what I can see through the spark plug holes), so I'm not convinced there is water entering any combustion chambers.
I went for a drive around the block and through the neighborhood. I'm still trying to get an idea of what the car needs, and here is the current list:
1) there is a wobble from the front left wheel/tire. Could be flat spots on the tire or a bent rim, but this corner also has a shock that is completely dead, so hard to tell.
2) Driver's rear brake caliper is sticking. I need to work on this, because when your car has all of 65 HP, every bit of drag hurts.
3) puking coolant: I ran the car enough that I felt the radiator get warm, and lo-and-behold the temp sender started to work correctly, so I know the engine never overheated. With the leak, I'm sure it isn't pressurizing, so that isn't good. I'll pull the coolant pump off and inspect/re-gasket to see if that solves it.
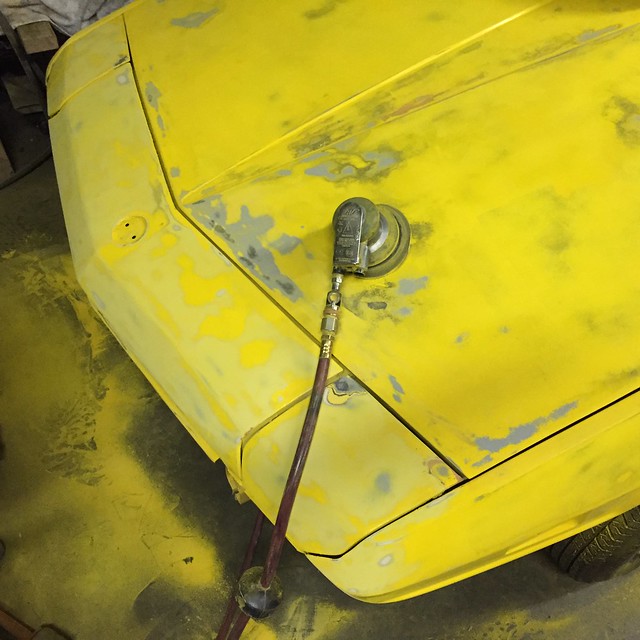
4) there is a leak of something on the front side of the engine. Probably gas out of the mechanical fuel pump. That is bad, and I need to look into it. There's a chance it's just oil though. I have vacuum and breather lines plugged all over the place from when I was trying to solve the racing engine at idle. Plus emissions stuff has been disconnected, so I don't know that the crankcase is ventilated properly now.
It was pretty great going out for a little blast around the neighborhood in this ratty little car. It looks like hell, and really feels like a bigger car than it is.![]()
Add to my list: it needs seatbelts badly. The car has lap belts, but the female receptacles are long gone.
Any advice on converting the car to shoulder belts? Everyone that sells the later X1/9 belts on Ebay wants a lot of money. Any suggestions on junkyard cars that have an external inertia reel shoulder belt that I could bolt up in my car? I'm not afraid of welding in a new anchor point if needed.

Congrats on the drive! Feels good, eh?
The later exxies had 3-point belts and you may already have the upper mount in the sail panel behind the covering.
If not, I'd just get a Schroth 4-point harness and mount it to the rear bulkhead with proper reinforcements.
As for the leaks, seems like there are some coolant hoses that run along below the intake and two that provide warm water to the intake to help with startup and emissions. Should be able to patch or replace those without too much hassle. In fact it sounds like a round of fuel and coolant hoses would go a long way to close up the leaks and allow for longer drives.
As for the brakes? Yeah, they like to stick on them, I don't know why, but I remember reading about folks fixing them all the time on cars that sit fairly often. That would get annoying, I'd probably rip them off after the second or third time (because I'm a glutton for punishment) and adapt Wilwood or Brembos and be done with it.
I pulled some rear belts out of the back seat of a Mitsubishi Eclipse after walking through the junkyard for an hour or so. Inertia wheel is horizontal and they fit nicely in my Bugeye on the rear wheel arch. The mounting tab is also horizontal though, you would need to make something to attach it to the pillar. Search the pillar for a shoulder bolt hole by pressing on the headliner stuff. The X's I had both had the mount, one was a '75, one was a '79.
I like the Schroth harness idea better though.

Those use the same brakes as a Yugo right? With the big blocky slider blocks that hold the calipers in? You've gotta clean and antiseize the hell out of them.
In reply to turboswede: I haven't checked to see if the mount is in my sail panel- I expect it is being the car is a '77 and I think shoulder belts became standard in exxies right around this time.
Next step is to order a complete set of hoses as well as the gaskets for the water pump. If I can get it dry, then I can drive it enough to get a good feel for the car.
Regarding the brakes, I'm no stranger to building wilwood kits, and aftermarket is definitely on the radar.
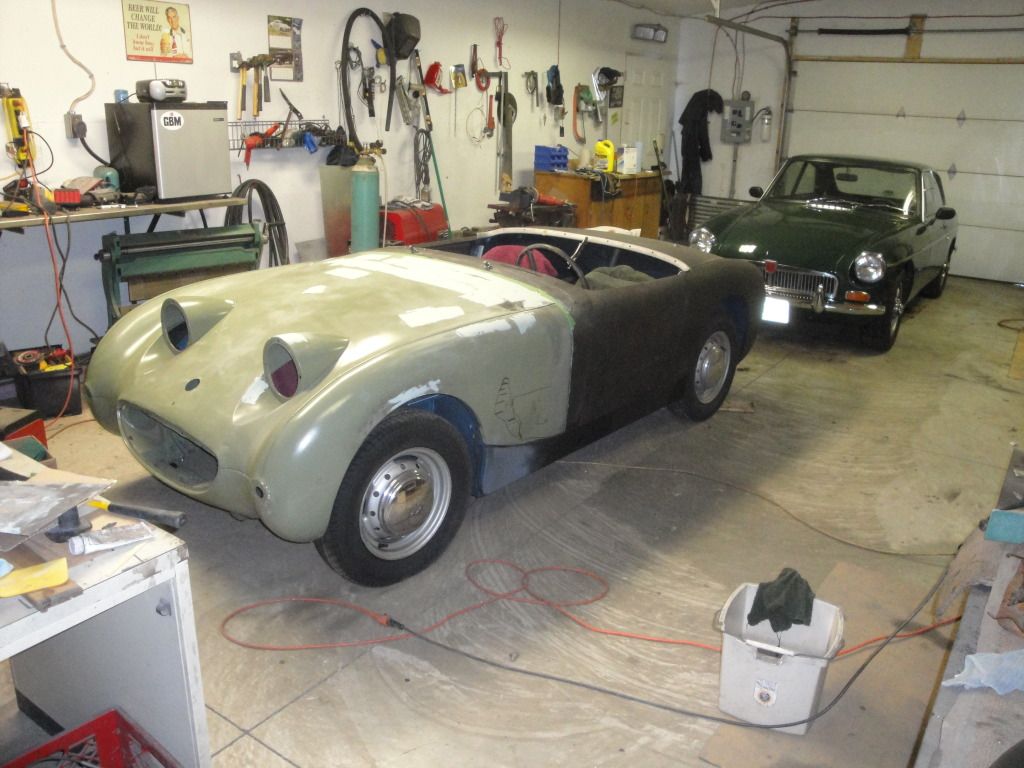
To celebrate my Half-Dork promotion, I've decided it is time for an update.
I've been getting a lot of work on the Fiat done lately, although it doesn't really look like much. I've been on the road for most of the last three months for work, so my garage time has suffered, but I've gotten in the habit of spending 15 minutes here and 30 minutes there sanding away.
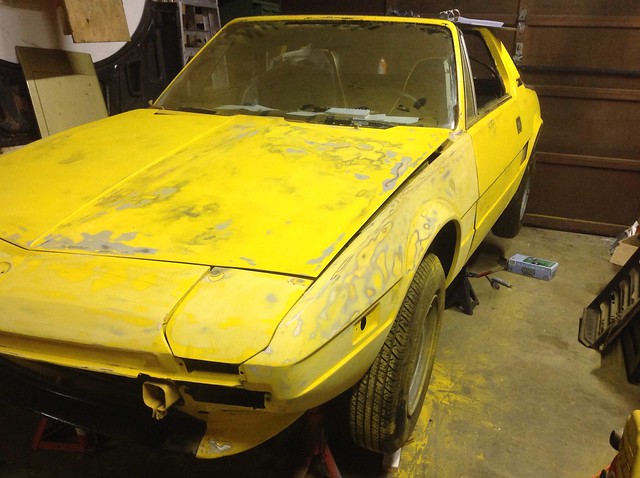
Mostly, I'm turning my entire shop into a dusty shade of yellow:
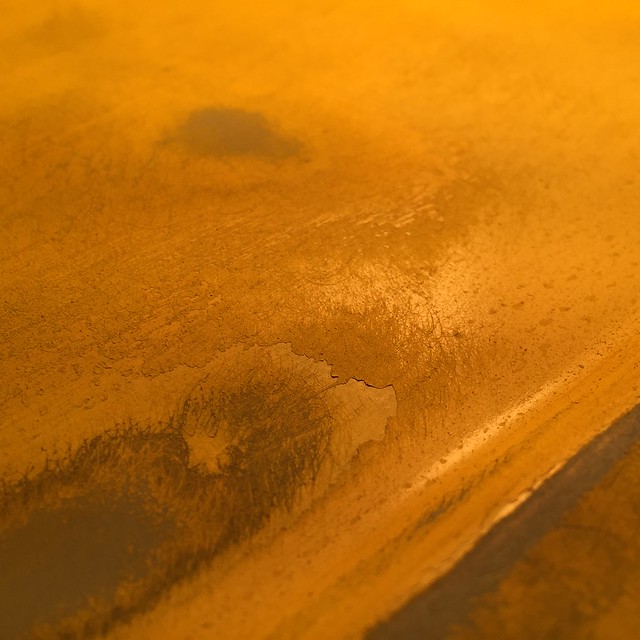
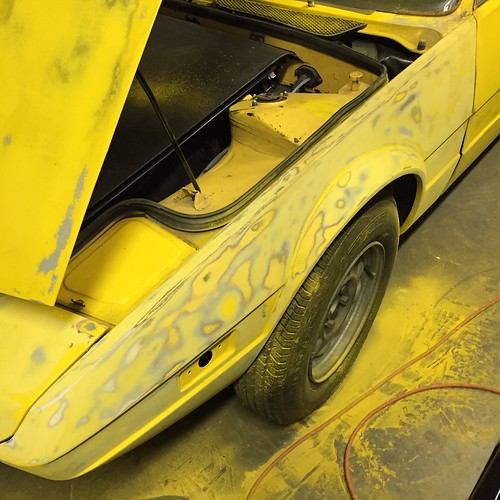
You can see the factory yellow under the more vibrant Rustoleum in the above photo. This wasn't an easy decision, but all the Rustoleum the previous owner applied needs to come off. The car is truly rust free but as I sanded a bit here and there to correct some minor dings and scrapes, I found that there wasn't really any effort made to help that Rustoleum bond with the base paint. In the following photo, you can see an attempted close-up to show the general flakiness of the Rustoleum. So off it comes.
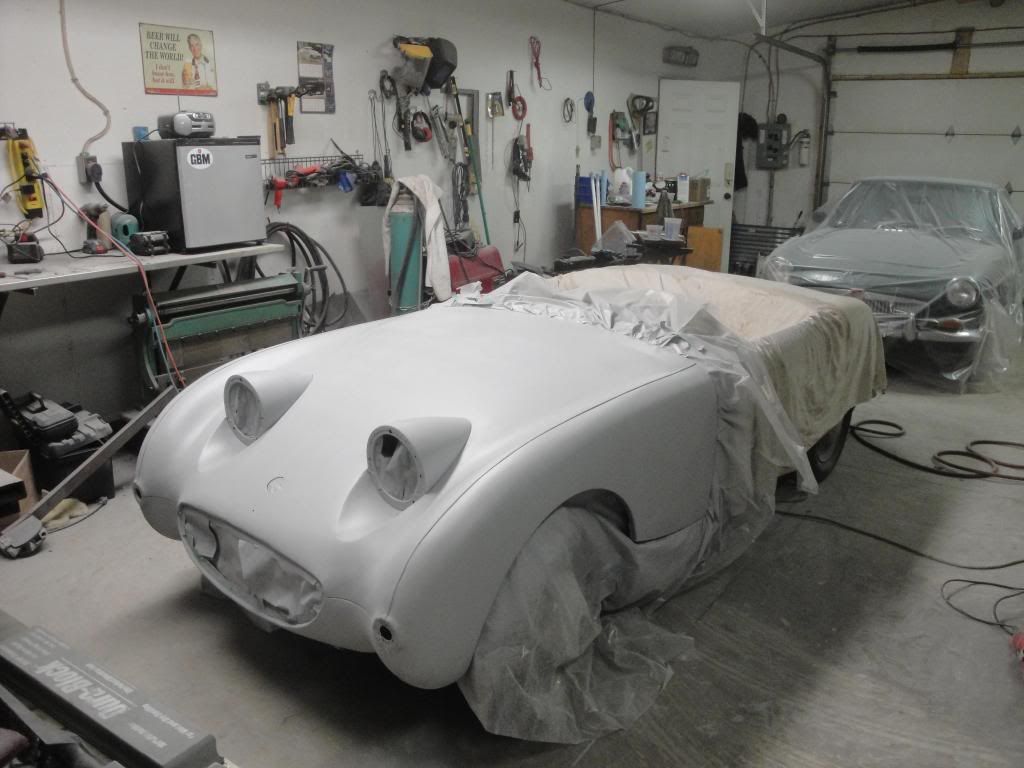
I'm working away at sanding pretty steadily, so I hope to get a fresh coat of primer over the whole car within a few weeks before it turns cold for the winter. To aid in this body work, I went ahead and removed a lot of trim and window dressing:
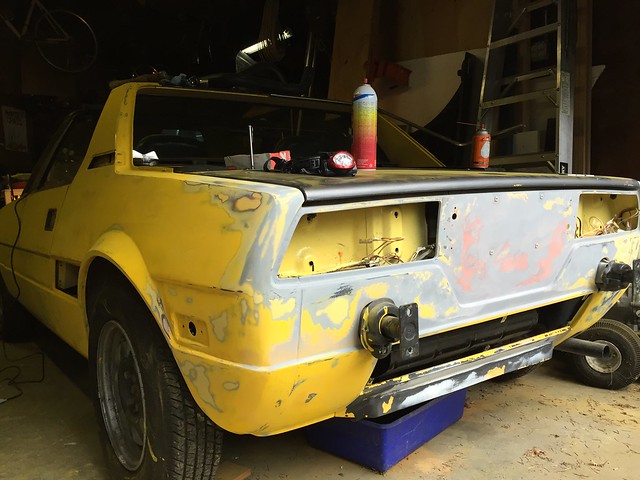
The more stuff I take off, the more pleased with this car I get - there is really no rust on it, and everything is so straight!
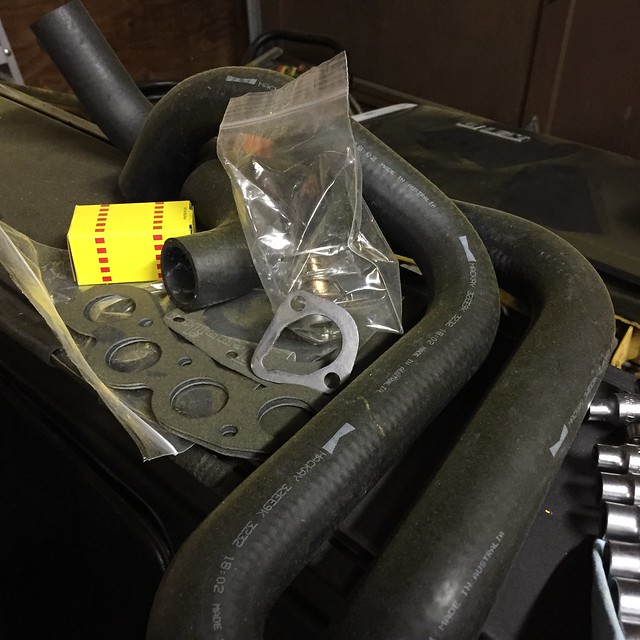
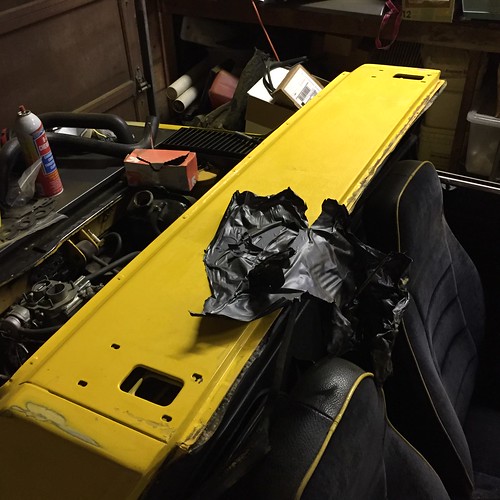
I also picked up a few parts for the cooling system. You'll recall that it pukes coolant down the rearward side of the block- I'm hoping that removing the trunk access panel will make it easier to remove the water pump for re-gasketing, because I tried to take it off once already and about gave up for lack of access. This stuff needs to go on the car:
Excellent!

ah yes, the joy of sanding. Good to see you back at it again.
I am so looking forward to that day while at the same time dreading it.
This was my last sanding expedition. You can see the layer of dust over everything in the shop.
First pic is before I started:
Then the stuff hit the fan:
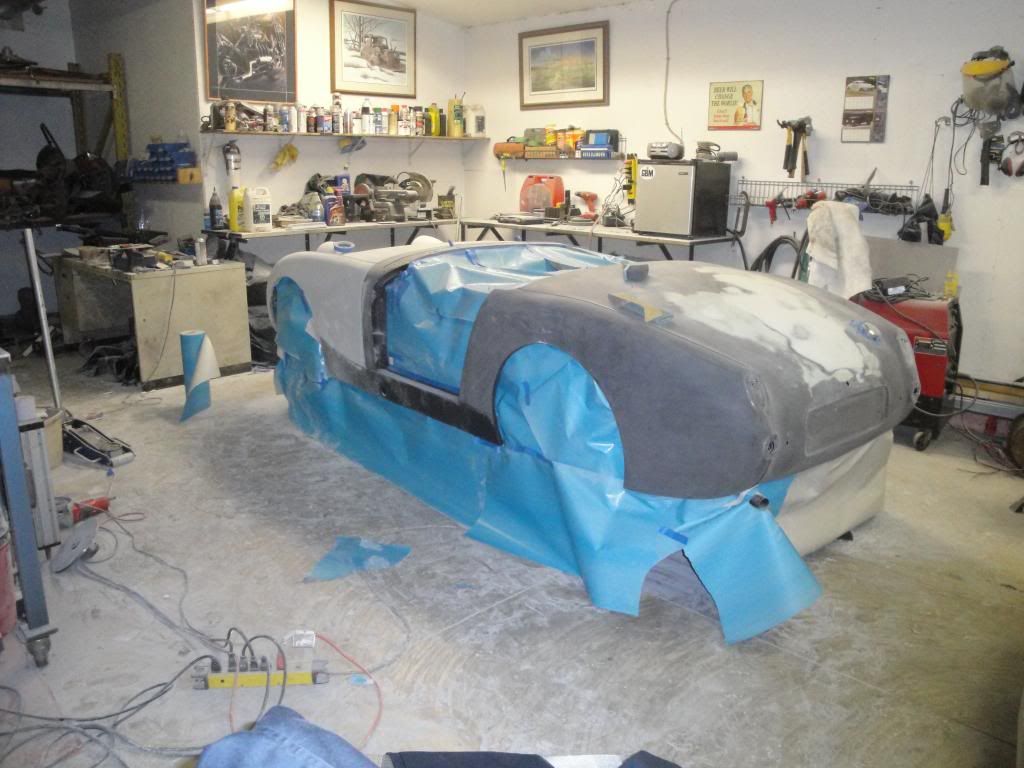
It took two of us with leaf blowers half a day to clean the place up so that we could paint.
In reply to NOHOME:
Nice, I'm envisioning similar efforts in bagging my own shop. Fortunately the car is in the end bay, and my compressor closet half way splits the space from the other cars. So I really only need to curtain off about 15'. And the ceiling. And the benches. Yeah. ![]()
If I ever build another spray booth, it will be positive pressure, this one was negative pressure. I would push the air in through the filters and rather than a sealed far wall, I would just have overlaping strips of plastic so the air and overspray could blow out.
Thanks for the tip NOHOME. Positive pressure definitely sounds better given it would mean plastic wouldn't be blowing all over you...but what kind of blower/fan to use that will take the head pressure of a filter?
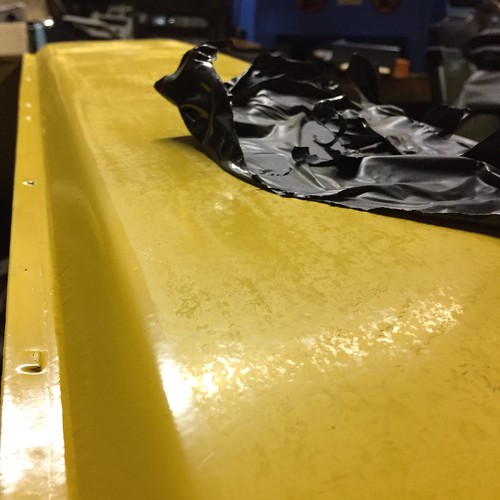
Today I stripped the vinyl off of the b-pillar sail. Looks like the previous owner made a very half-hearted attempt to sand the Rustoleum down flat before applying the vinyl. In the first pic, you can see where the paint lifted off in the lower corner. There were a few spots like this.
Sanding continues, one panel at a time.
Using my random orbital is probably a bad idea here since there is no way of keeping it really consistent, but I've got a lot of material to remove. I'm running 80 grit at the moment which seems really high, but it is doing a good job. Doesn't leave many scratches either.
Regarding my engine dilemma: a post came up on XWeb selling a Midwest Bayless Honda K20 swap kit for $6500. Includes K20A engine (30k miles) with transmission, the MWB subframe, shifter, axles, etc. Needs a clutch, engine management, and numerous other odds and ends, I'm sure. I'm trying really hard not to drive the 3.5 hours and make a $5500 offer on it all.
Well you know you'd have someone interested in the 1300 and the 1500 if you do that.
I'm not sold on the Honda swap, biggest issues with the platform isn't in the drivetrain, but the electrics, brakes and suspension. Seems like that much money could go a long ways to fixing brakes, suspension and electrics.

turboswede wrote: Well you know you'd have someone interested in the 1300 and the 1500 if you do that. I'm not sold on the Honda swap, biggest issues with the platform isn't in the drivetrain, but the electrics, brakes and suspension. Seems like that much money could go a long ways to fixing brakes, suspension and electrics.
Me? Yeah. I would be, wouldn't I...
I really can't imagine the kit being worth the buy-in, especially to a guy like you with machine tools and fabrication equipment on hand (and the skillz to run said equipment). The biggest unknown is driveshafts, and that could be dealt with in a single trip to Dutchman Motorsports in Portland. $5500 is A LOT of coin.

I bought an exxie to Do that swap and I just couldn't pull the trigger. ITs a ton of cash to drop in a car that more power isn't actually that great a thing in and the kit is really incomplete. I came up with 10k on paper buying the kit from MWB and sundry parts.
I'd do the 2.2/2.5t swap I think if that's the way I was going to go but really the x1/9 is acceptable quick and fun to drive in stockish form.
Your project looks better every post!
I think a Neon 2.0 would fit better than the older 2.2/2.5. It's more compact in the right spots, uses the same inboard CV joints and has 150hp out of the box without adding the extra heat and weight of a turbocharger.
for 5500 you could buy a totaled late model ABARTH and drop in the 1.4
^that is one hell of an intriguing idea and well worth investigating.

A nice set of carbs, a cam, distributor recurve, and a head port go a long way. The bottom end is very robust.
Back in 85 i bought a X1/9, promptly dropped big bucks on a PBS Engineering Stroker kit and big valve ported head and the wildest cam they could grind. I miss that engine

I had dual 42 DCNFs, a mild cam, and ported head on my 1500 swapped '74, and it made a huge difference. They have the added benefit of sounding great too, since they really are a mini piece of a Ferrari engine...sort of. ![]()
Awesome work so far!
I knew if I brought up that K20 swap it would get people fired up again. ![]()
![]()
To be clear, there is no way I'd spend that kind of money on a swap like that. At this phase of the project anyway.
Regarding getting an Abarth engine into the car, it fits. Getting it to run is the trick- the Multiair engine isn't one you can just slap a Megasquirt onto. So swapping the factory ECU in and fooling all the canbus stuff is the trick.
And it has been done now. Skip to the last two pages
I'd consider going down this path, but not before getting the car up and running and getting the suspension and brakes sorted.
Here is the video of the Abarth Multiair 1.4 Fiat X1/9. It's a long video, but you get to see a lot of what went into it.
I hate sanding. I've got all the flat parts done and I'm now down to just sanding the little detailed parts by hand. Which I am not a fan of.
To take a break from the monotony, I decided to make some of those new parts I bought join with the vehicle in their intended use. Back into the air goes the car. Fun fact: the FSM says to use the center jacking point in the rear of the car to lift the back half. It then says to place jack stands forward of the rear wheels at specific points. It then says to lift the front of the car and place a jack there. The phrasing suggests lifting, not jacking. You can pick the front of the car up by hand quite easily. Looks like those rear jack stands are right at the car's CG.
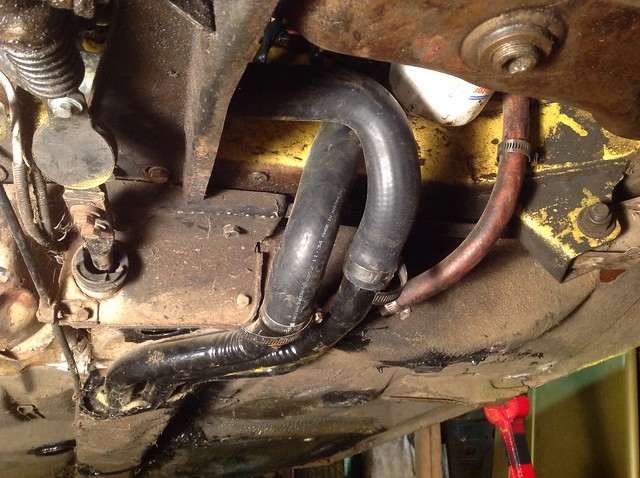
Got the rear hoses installed. Check out those hose clamps- one of the previous owners obviously didn't know much about what they were doing given that they bought a lot of these FLAPS hose clamps- the kind with about three inches of total adjustment, and the means to shred most any hose. I'll get around to replacing all of these from my SAAB stash eventually.
You'll need to log in to post.


