


So, a no pictures update.
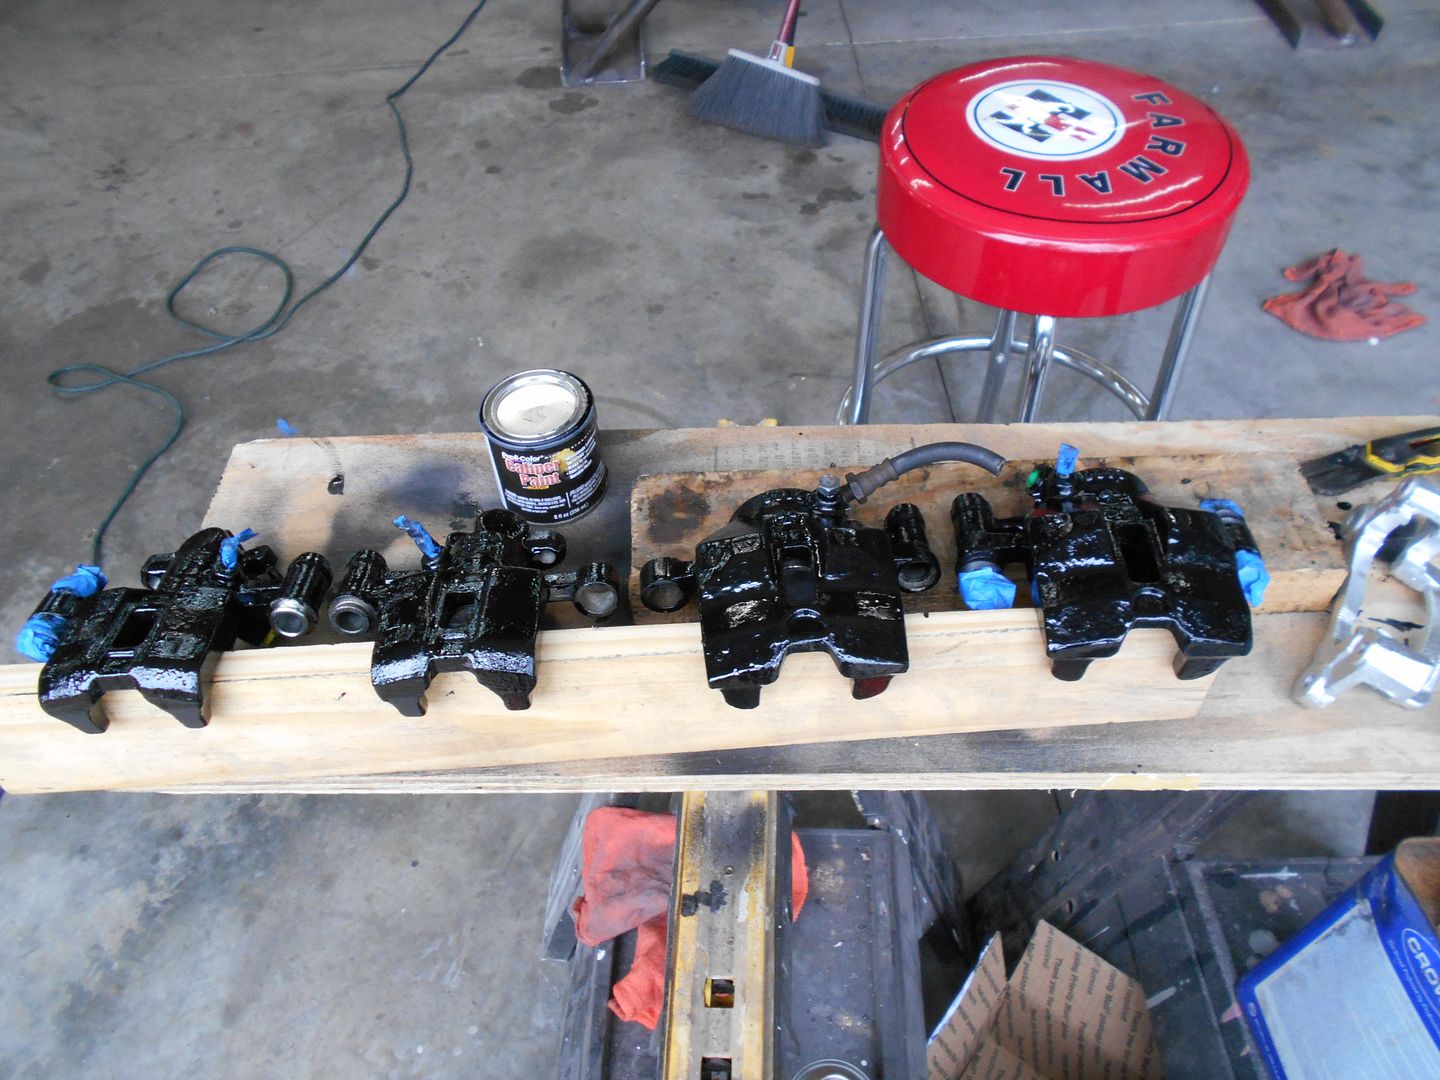
I've been working on brakes. I had one new rear caliper, one used, with a pin seized in it, two fronts, and lots of missing bits. I ordered way too much stuff from my favorite on-line parts supplier. I'm leaving their name out, because I really do like dealing with them, and don't mean to detract from their good name.
Some pictures were wrong, descriptions labeled brake pins and bolts were bolts only. One thing labeled springs had a picture of the pins I needed,but turned out to be bolts only-NOT springs. Because all of this, I have maybe 5 extra sets of bolts for the rear calipers. I don't mind so much, because they were like 99 cents each.
I was determined to rebuild the front calipers, but really struggled with one front seal. I eventually figured out the seal was wrong-too big.
To cut to the chase, I rebuilt one caliper, ordered two new ones from the local parts house, which came with pins, and hardware. I should be able to cut one of the spare pins down to work on the rear, and voila, 4 refurbed calipers. I really took the long way around on that one.
So, the seals were $2 per wheel, a new front caliper $30, and the rear $70 (all numbers approximate). I'm glad I proved to myself I could rebuild the caliper, but doubt I'd do it again, unless I couldn't get the remanufactured ones. It's damn fiddly work. They don't check the cores for seized bolts or bleeders, both of which I had, and caused considerable greif to deal with. Still, learning is cool, and I'm definitely doing that.
In other news, a buddy moved from 10 acres to a boat Sonny Crockett style, and gave me buttloads of paint and stuff, so I'm using free caliper paint, and this stuff will be really pretty.

 and here's the extra pin painstakingly procured next to the spare one I now have for the front caliper.
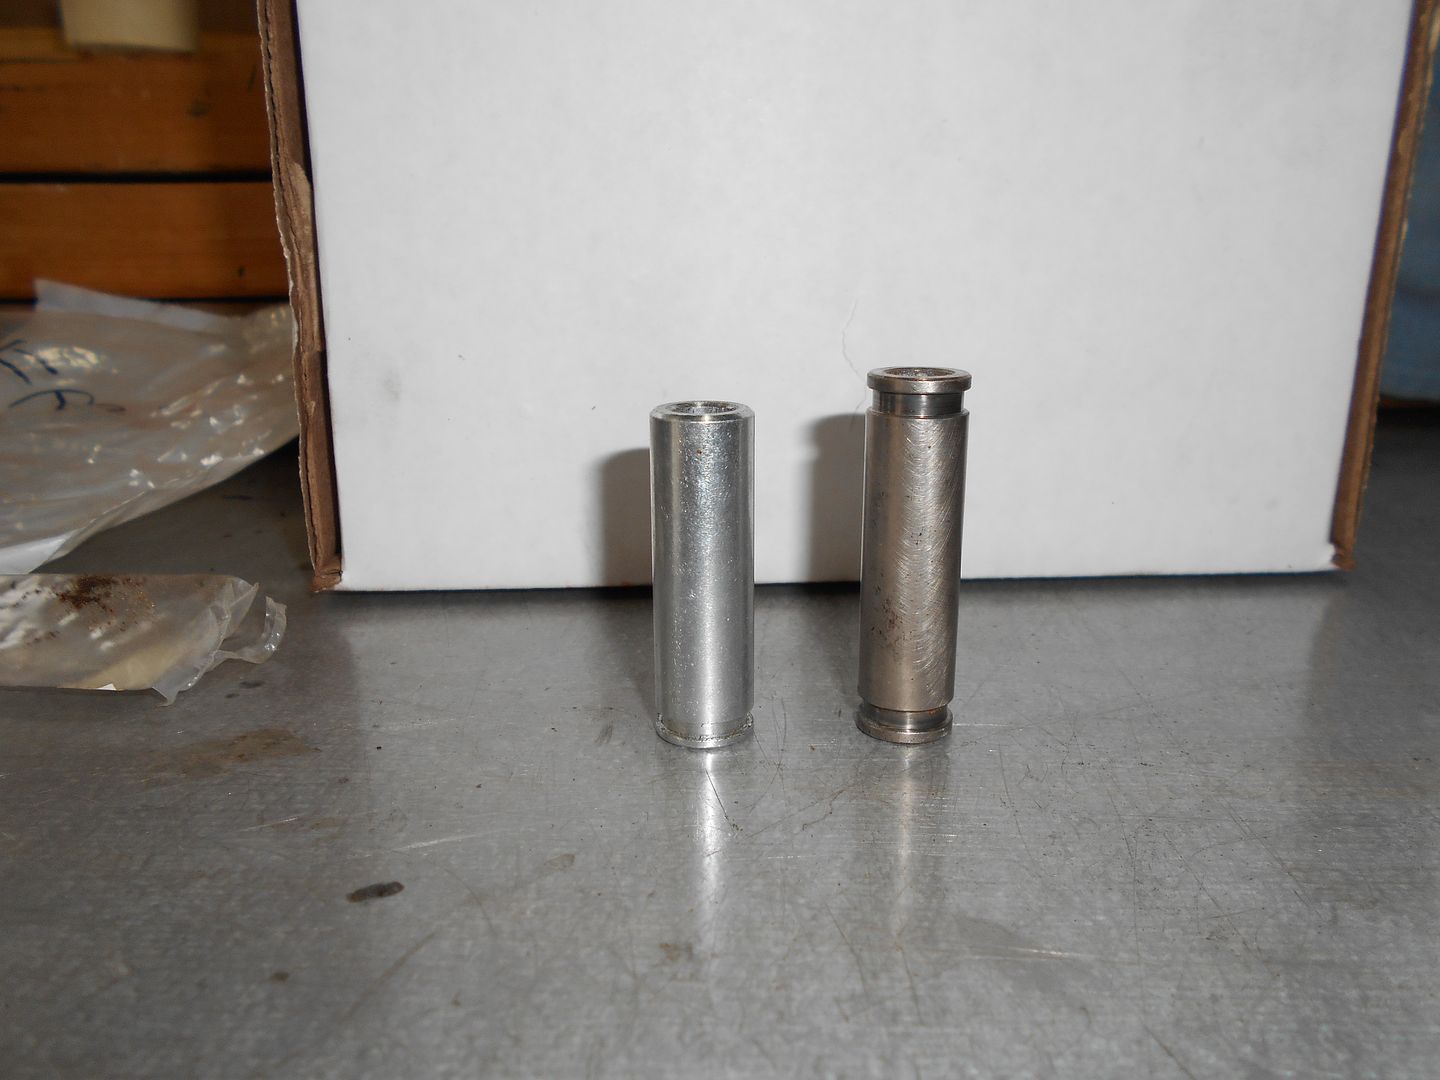 Under the knife. The lathe was actually spinning here. Modern cameras are pretty amazing...
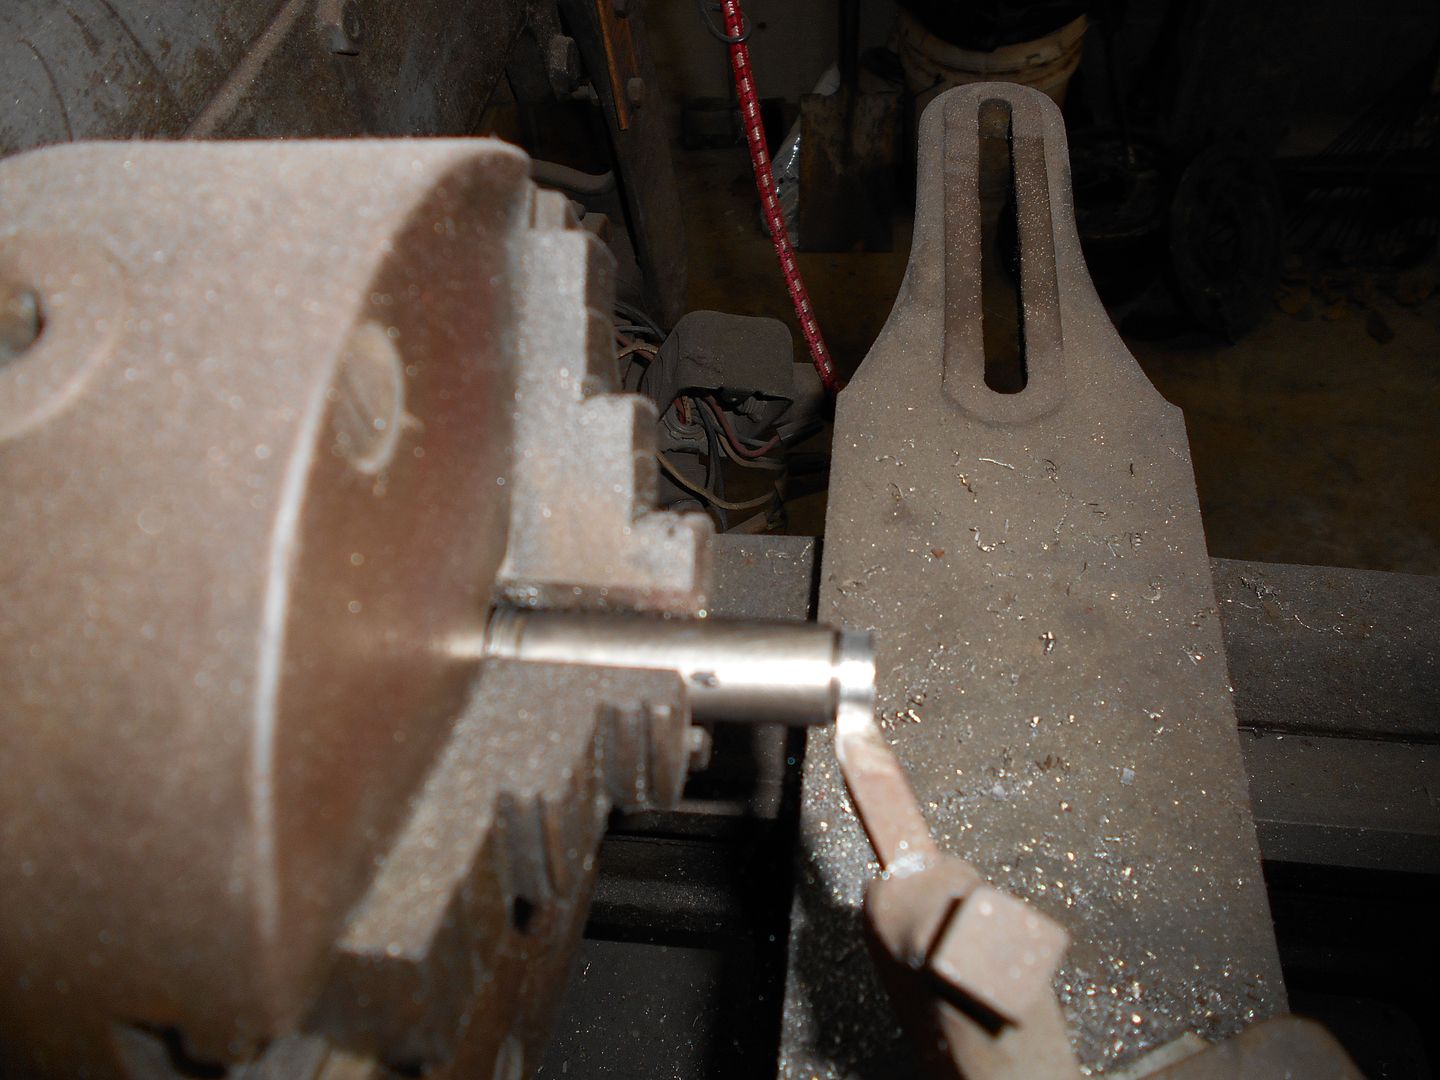
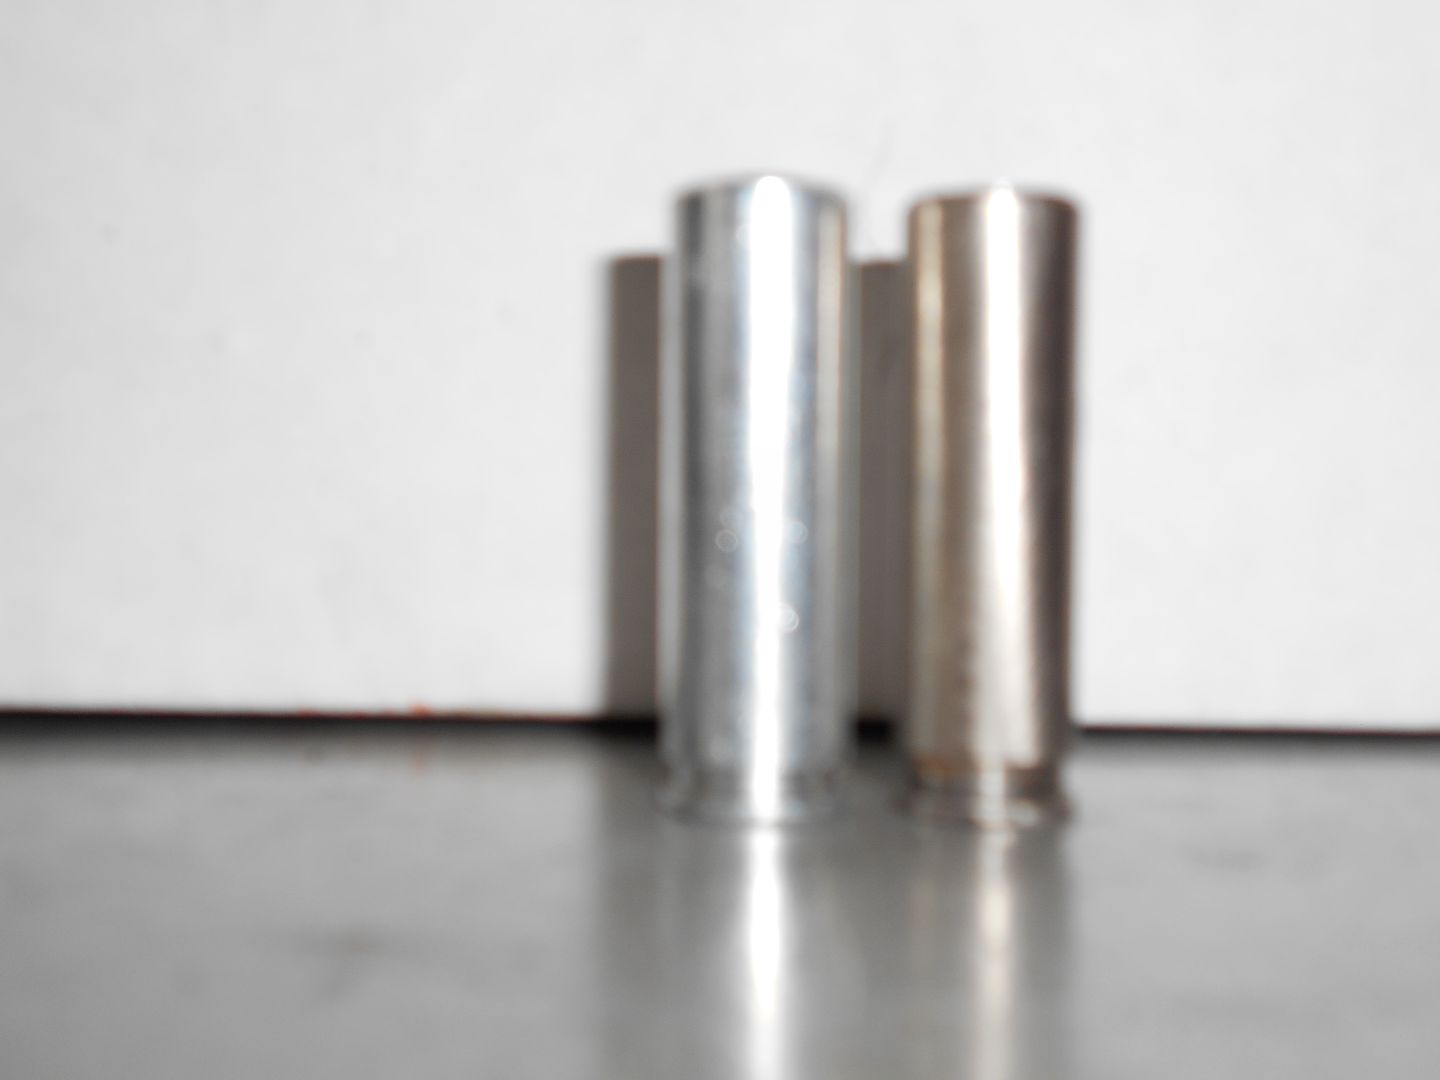 but not quite idiot proof.Apologies for the blurry. The picture above is the pin post-op. Not 100% perfect, but I'm sure it will do swimmingly. Now, what to do with all those extra brake parts.
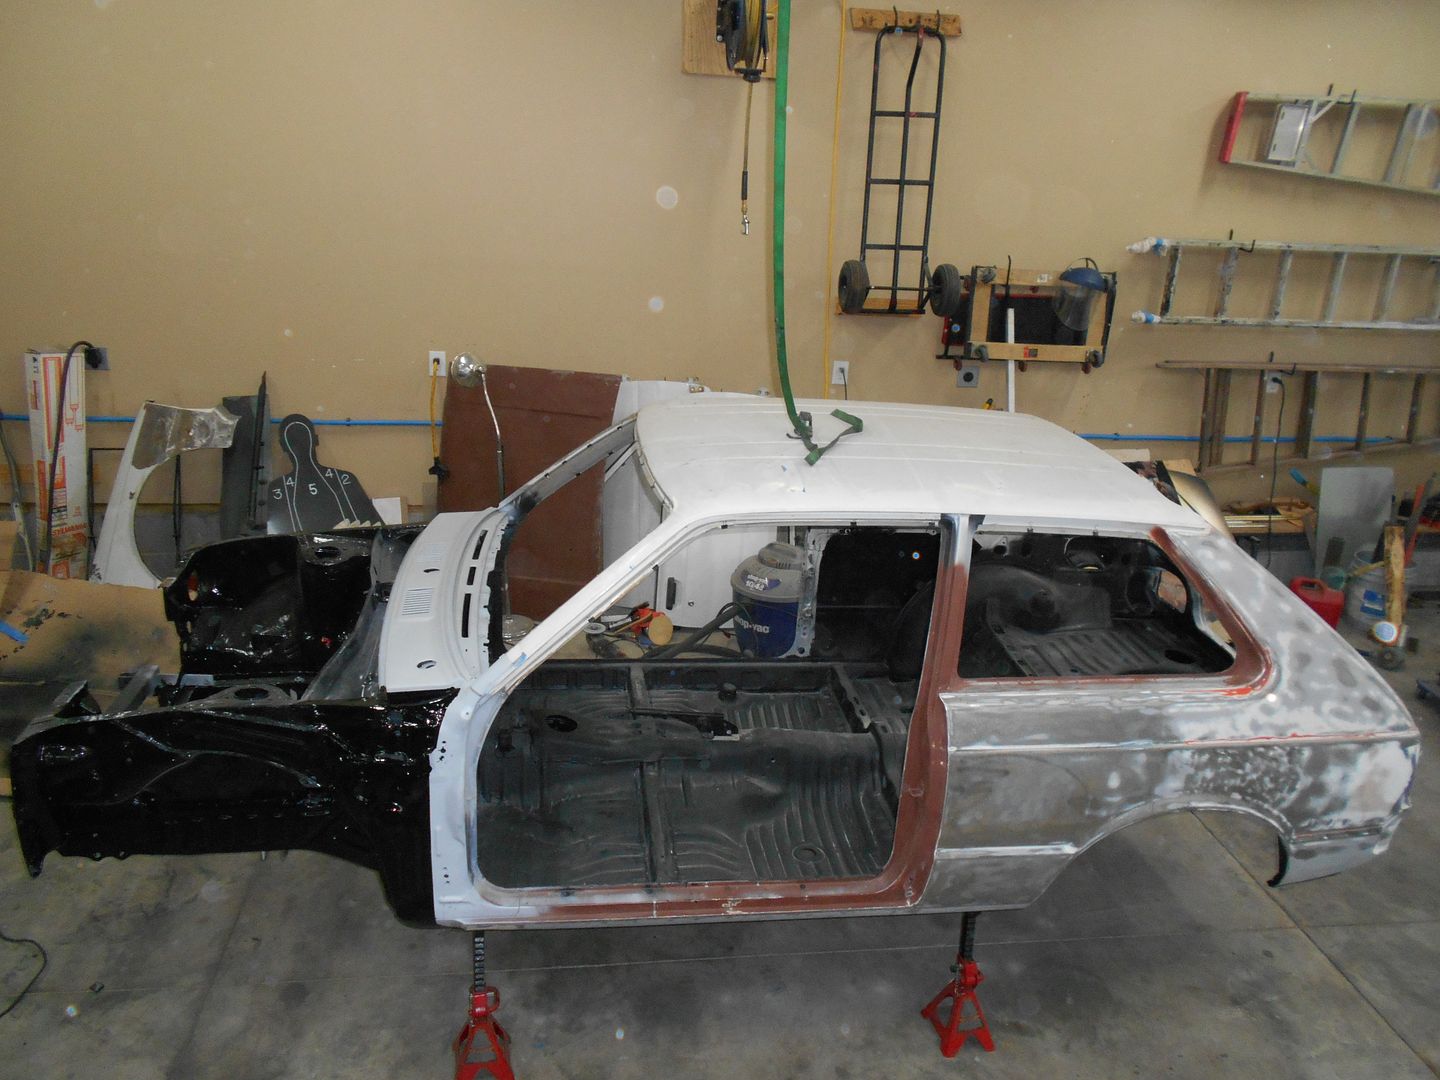
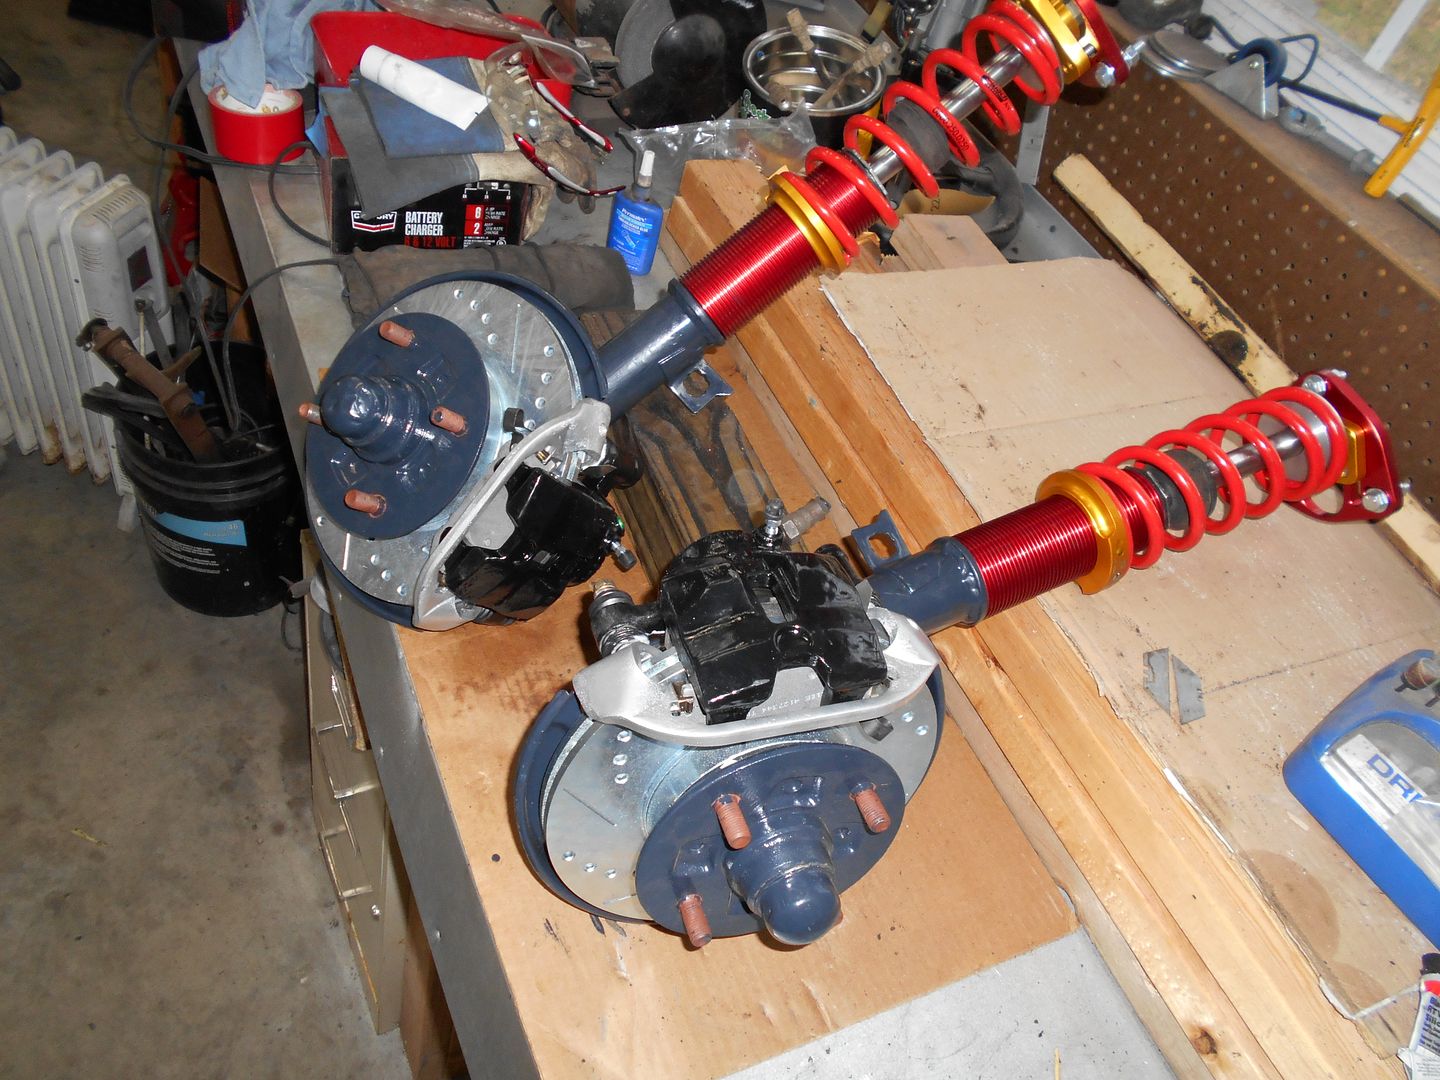 And work on the cowl continues.
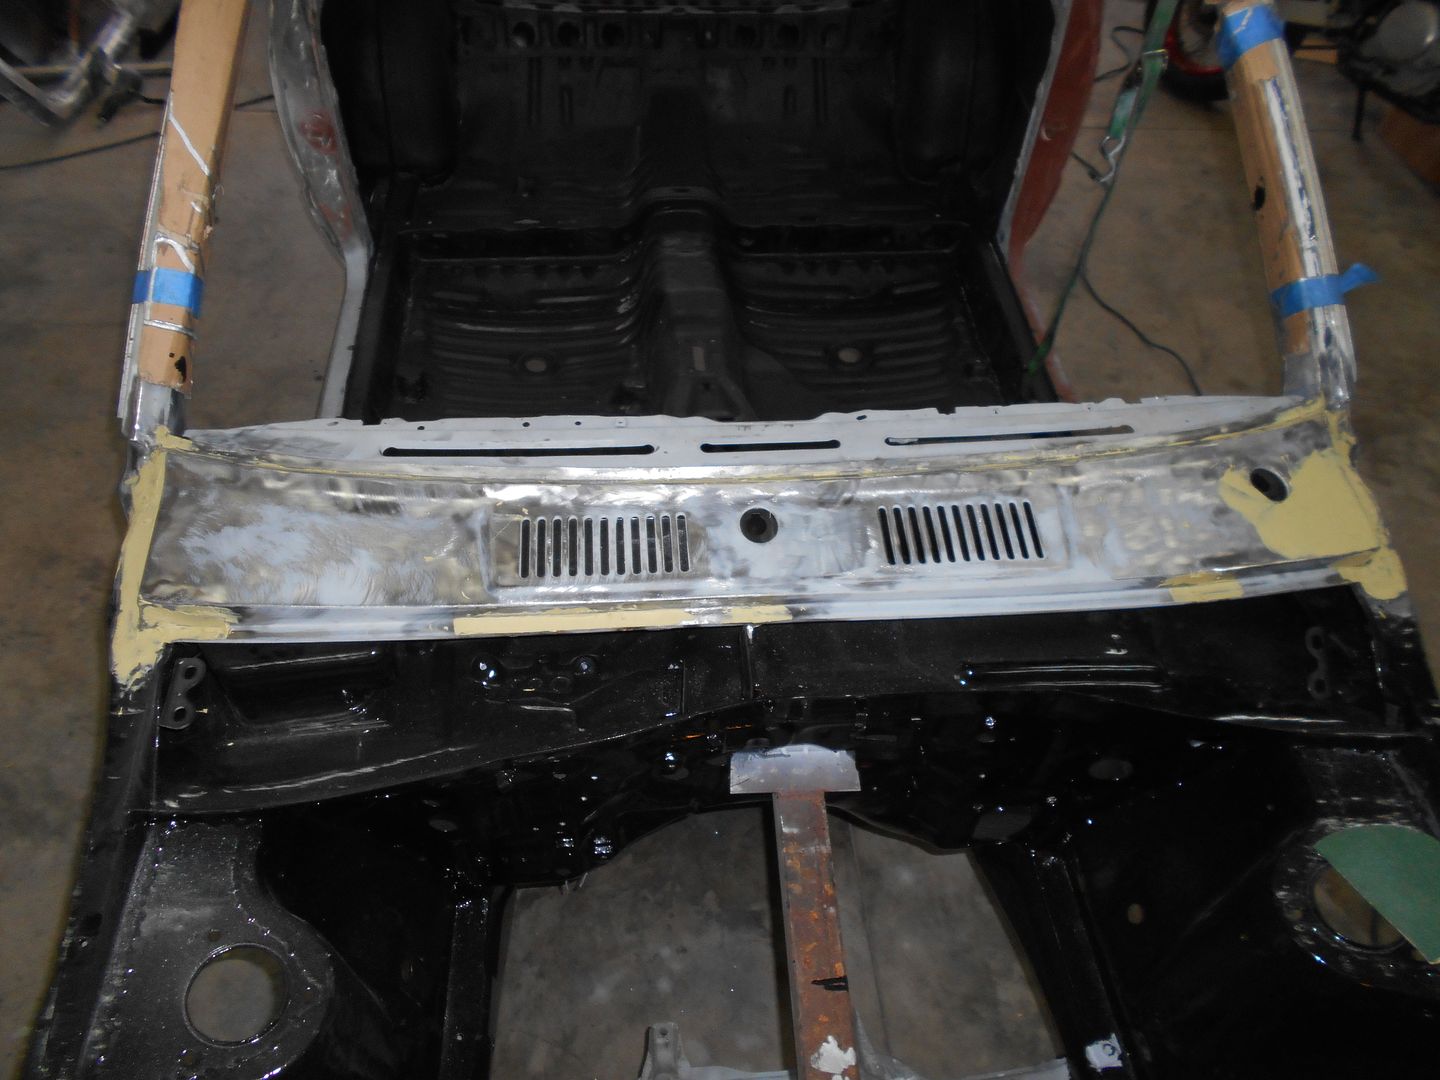 I may still be able to make wheels on the ground by March 21st.
 New inner and outer tie rods,new boots, I checked the passenger side bushing, and it felt good, so I worked some grease back and forth on the rack, and shot it with some more free paint from my maritime buddy. Everything felt tight. The old inner tie rods had about 1/8" play each.
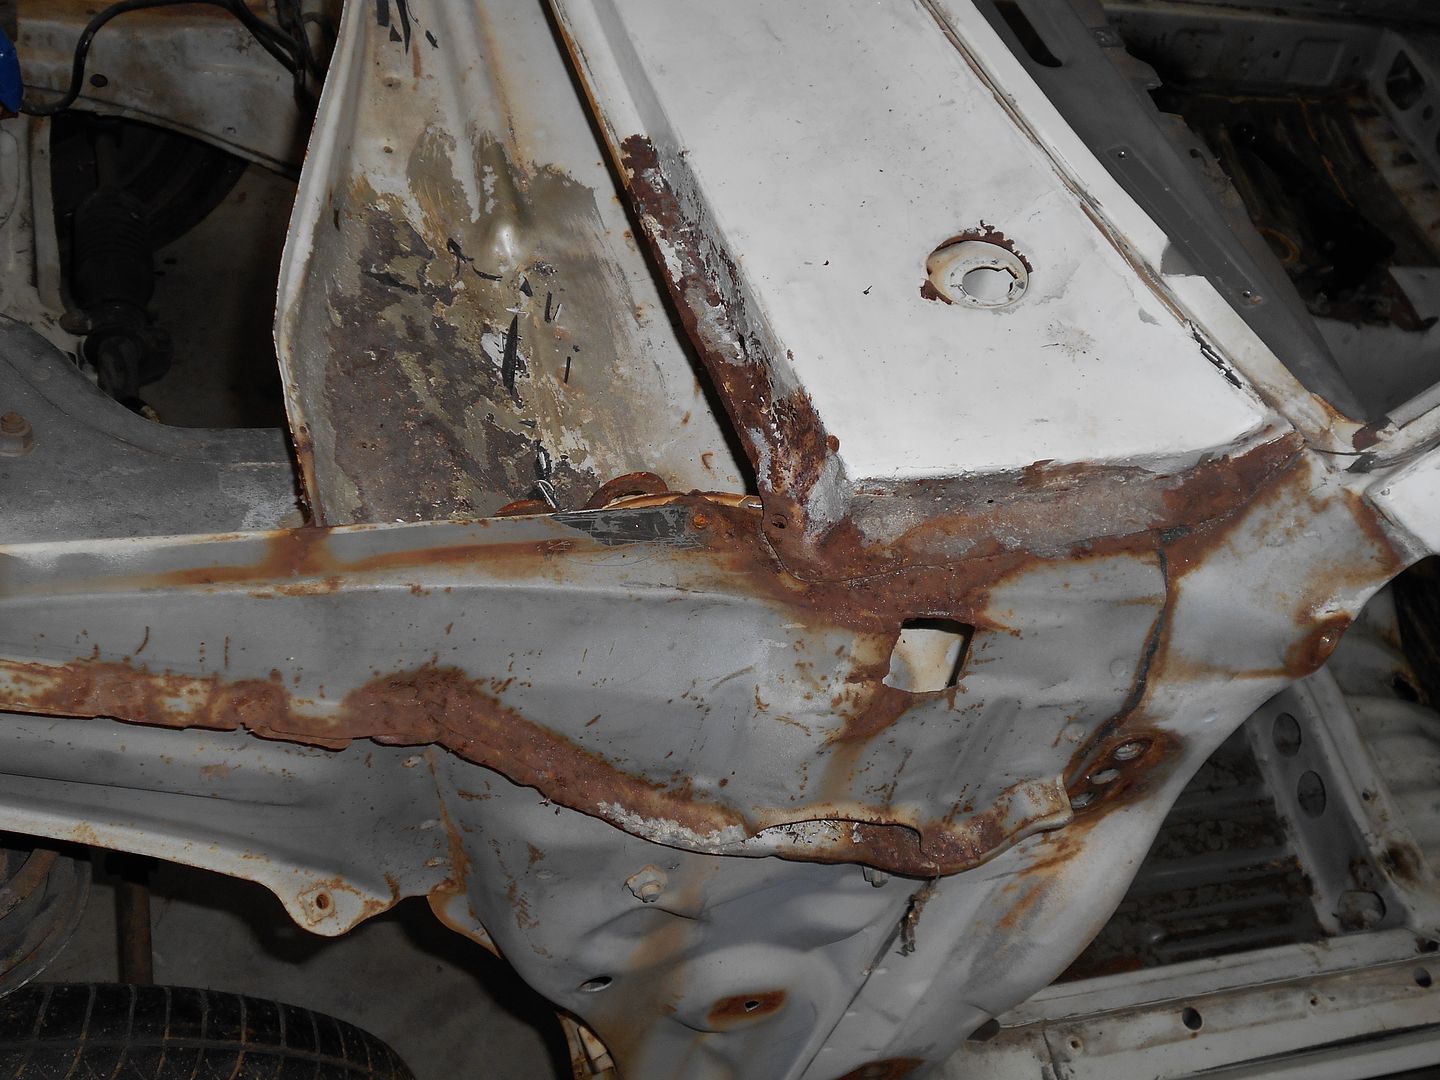 After:
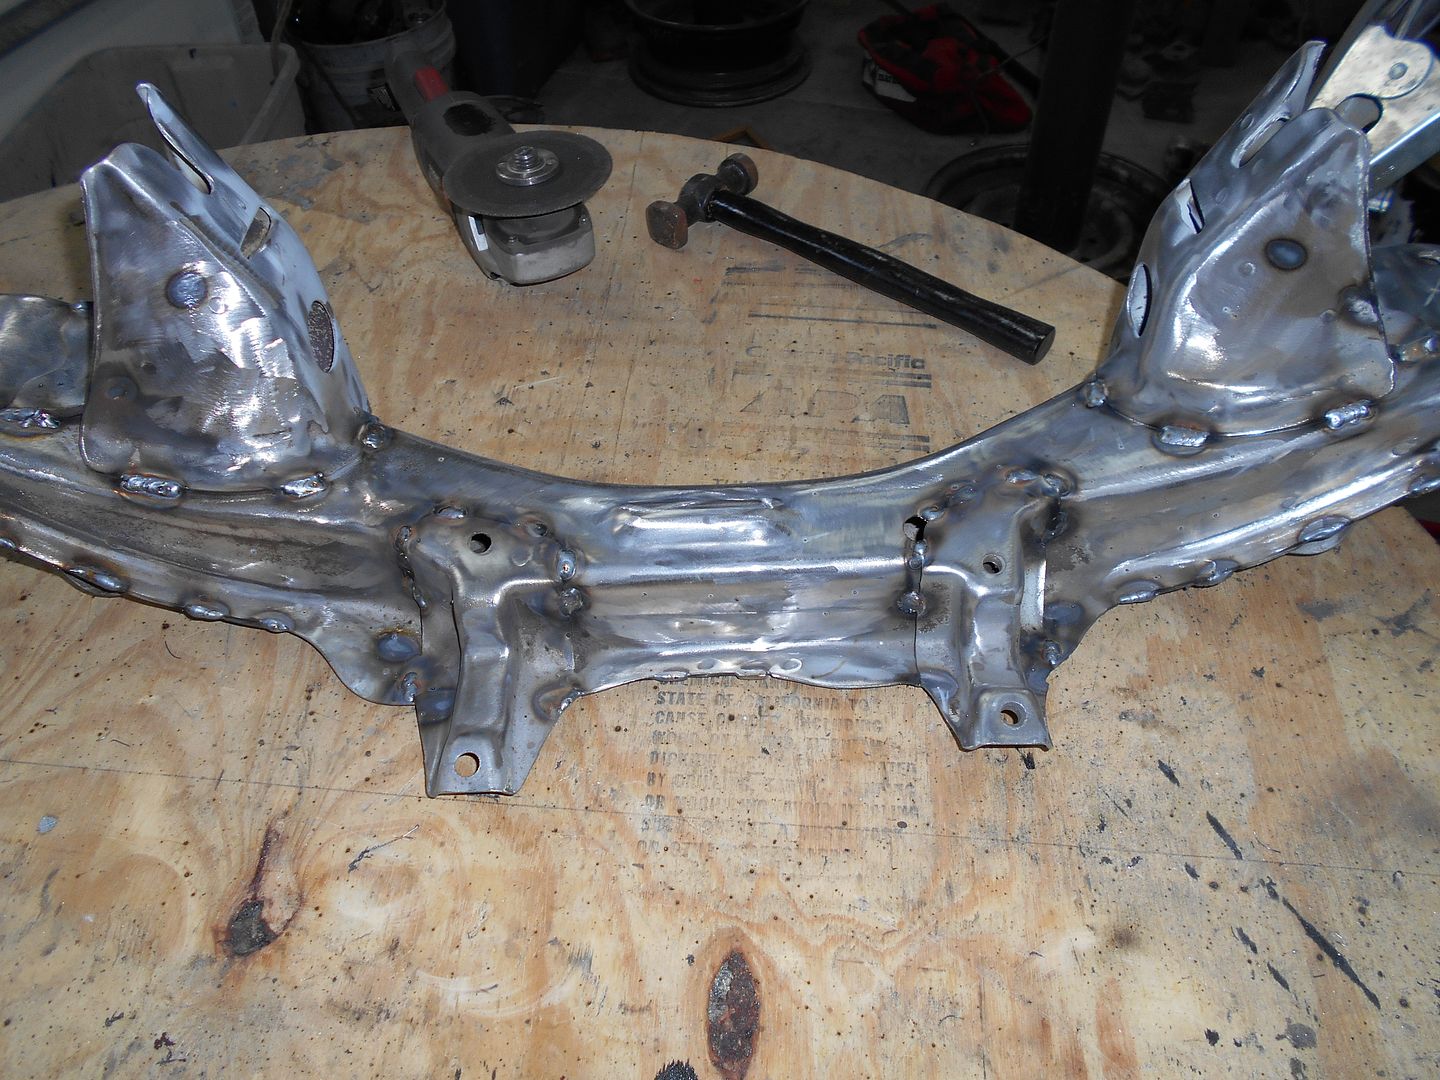
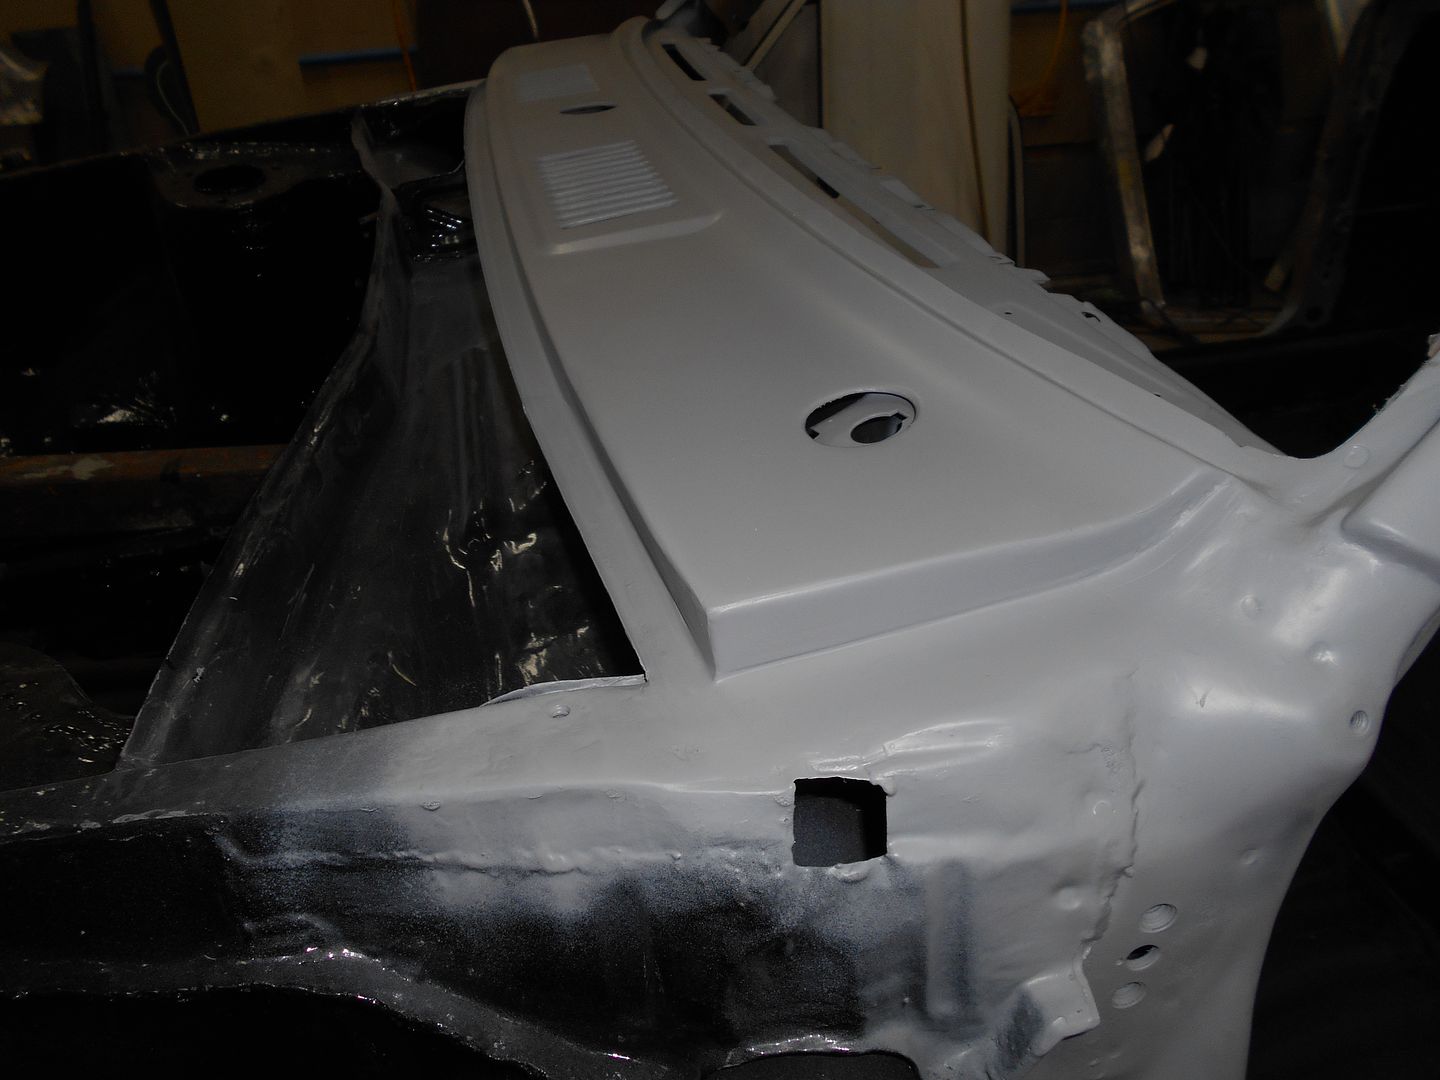 And I finally decided what to do about the suspension pivots I wrecked.
  That's one layer the same as stock, backed up by an 1/8" layer. That'll do, pig.


 But first, I just wanted one more pic of the shiney.
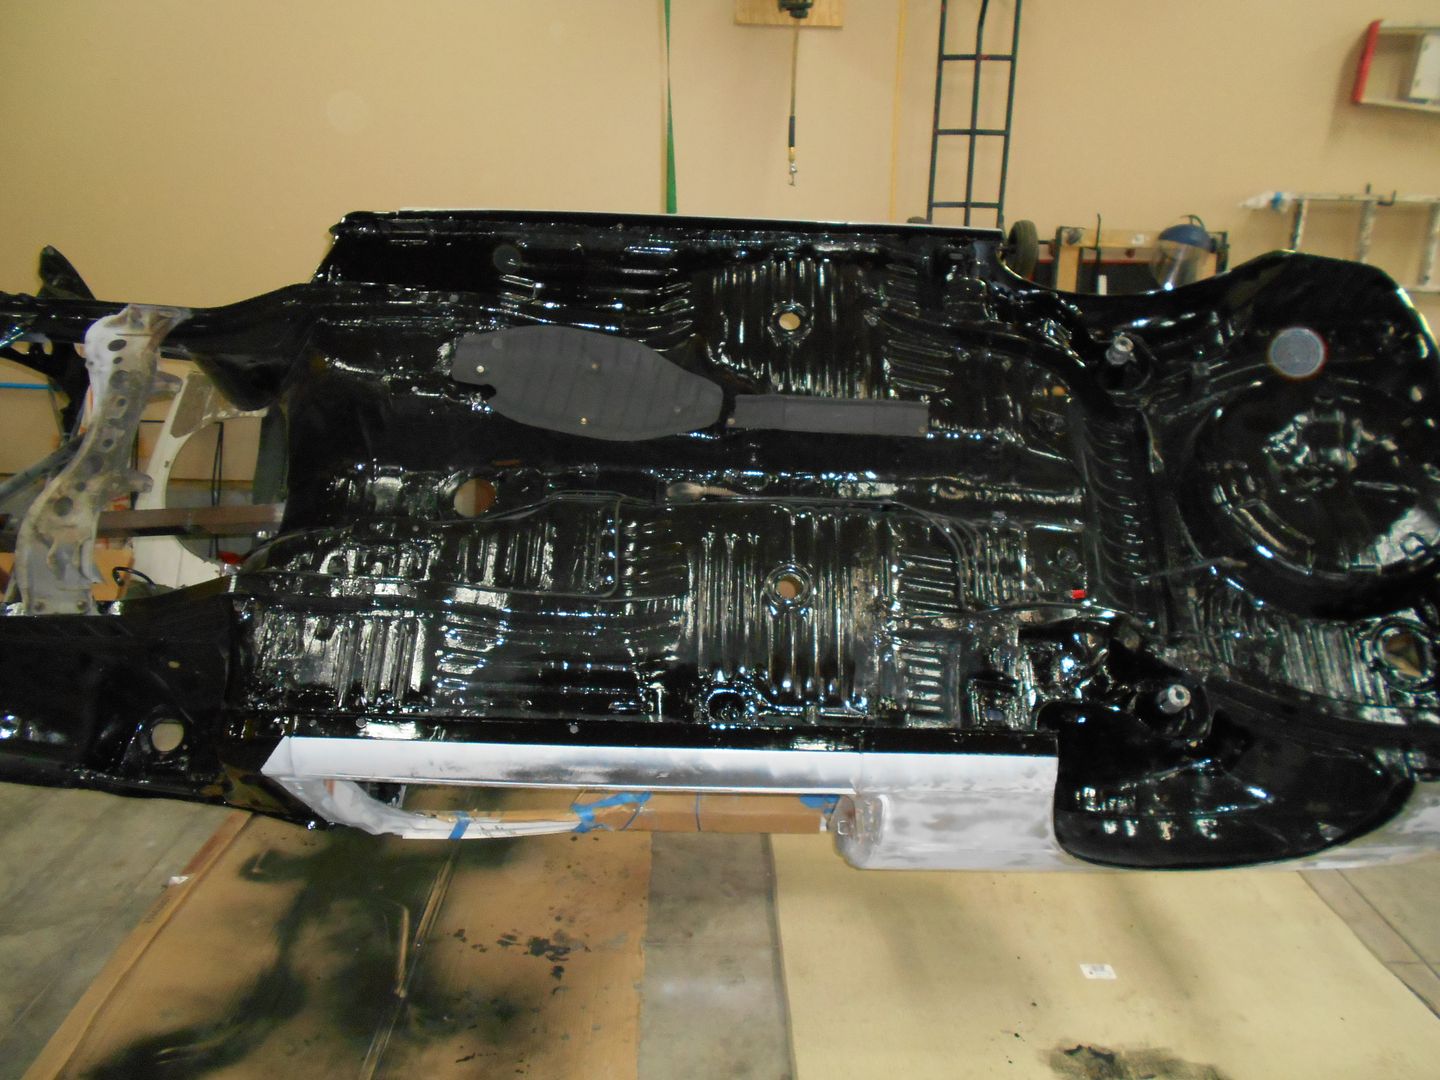 I put the brake/vent/fuel lines back on, along with the heat shields-after a splash of paint, of course.
One more pic, just because.
I put the brake/vent/fuel lines back on, along with the heat shields-after a splash of paint, of course.
One more pic, just because.
 and painted it with leftover caliper paint,
 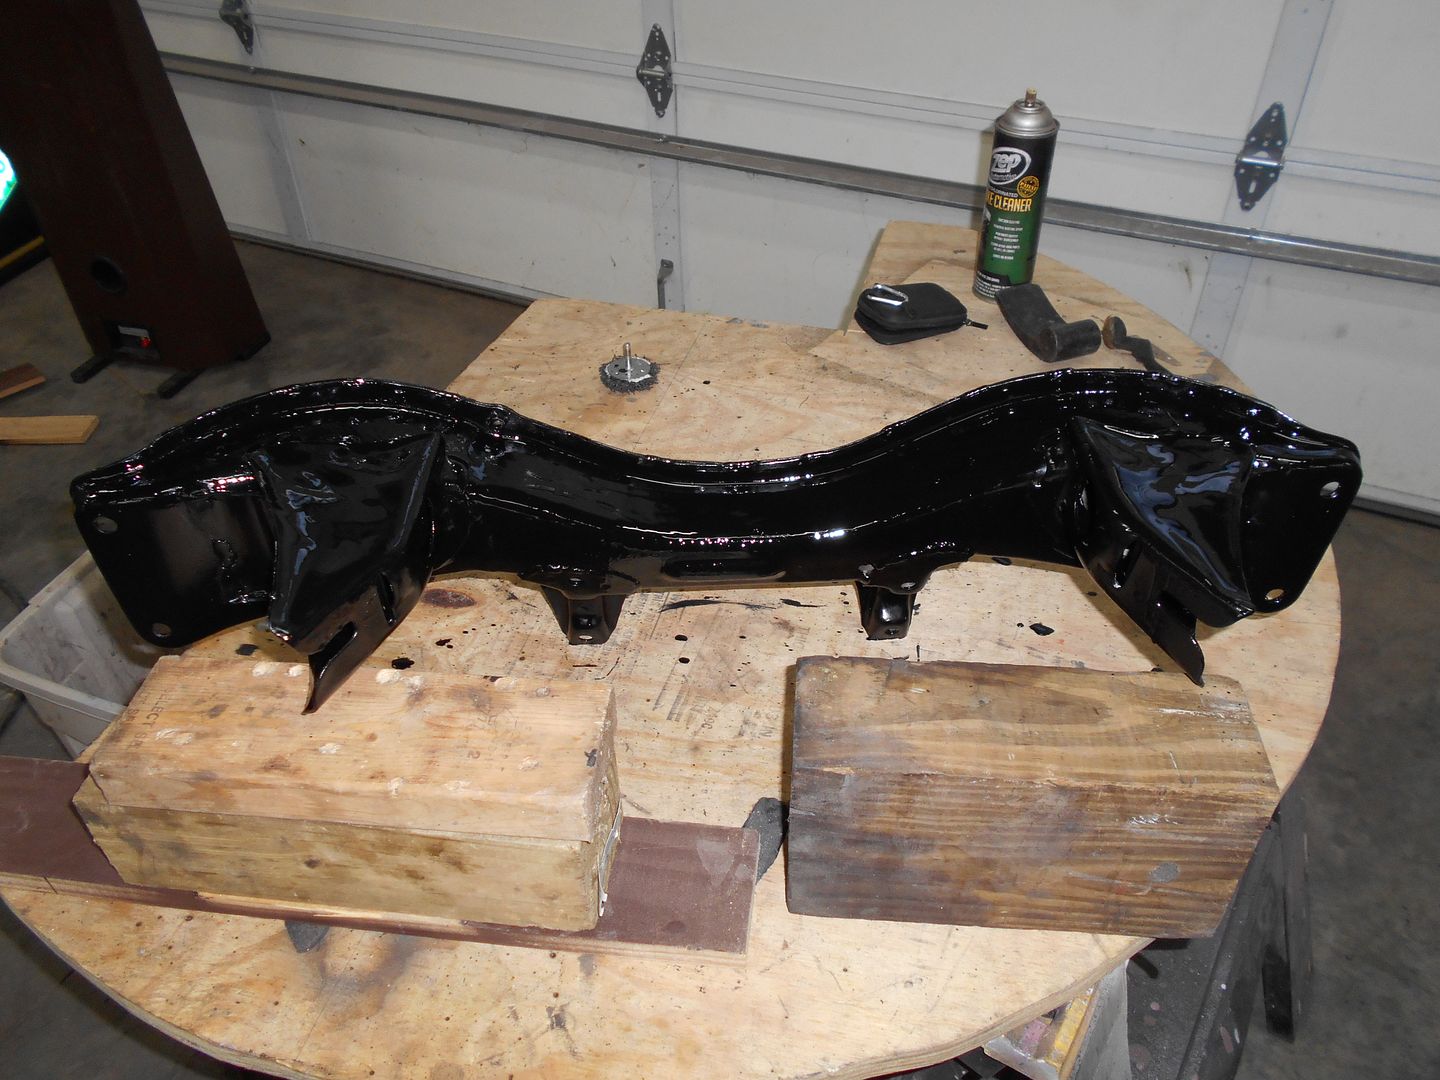 if for no other reason than I didn't want to throw it out. It has a ceramic content I guess that should make it tough.
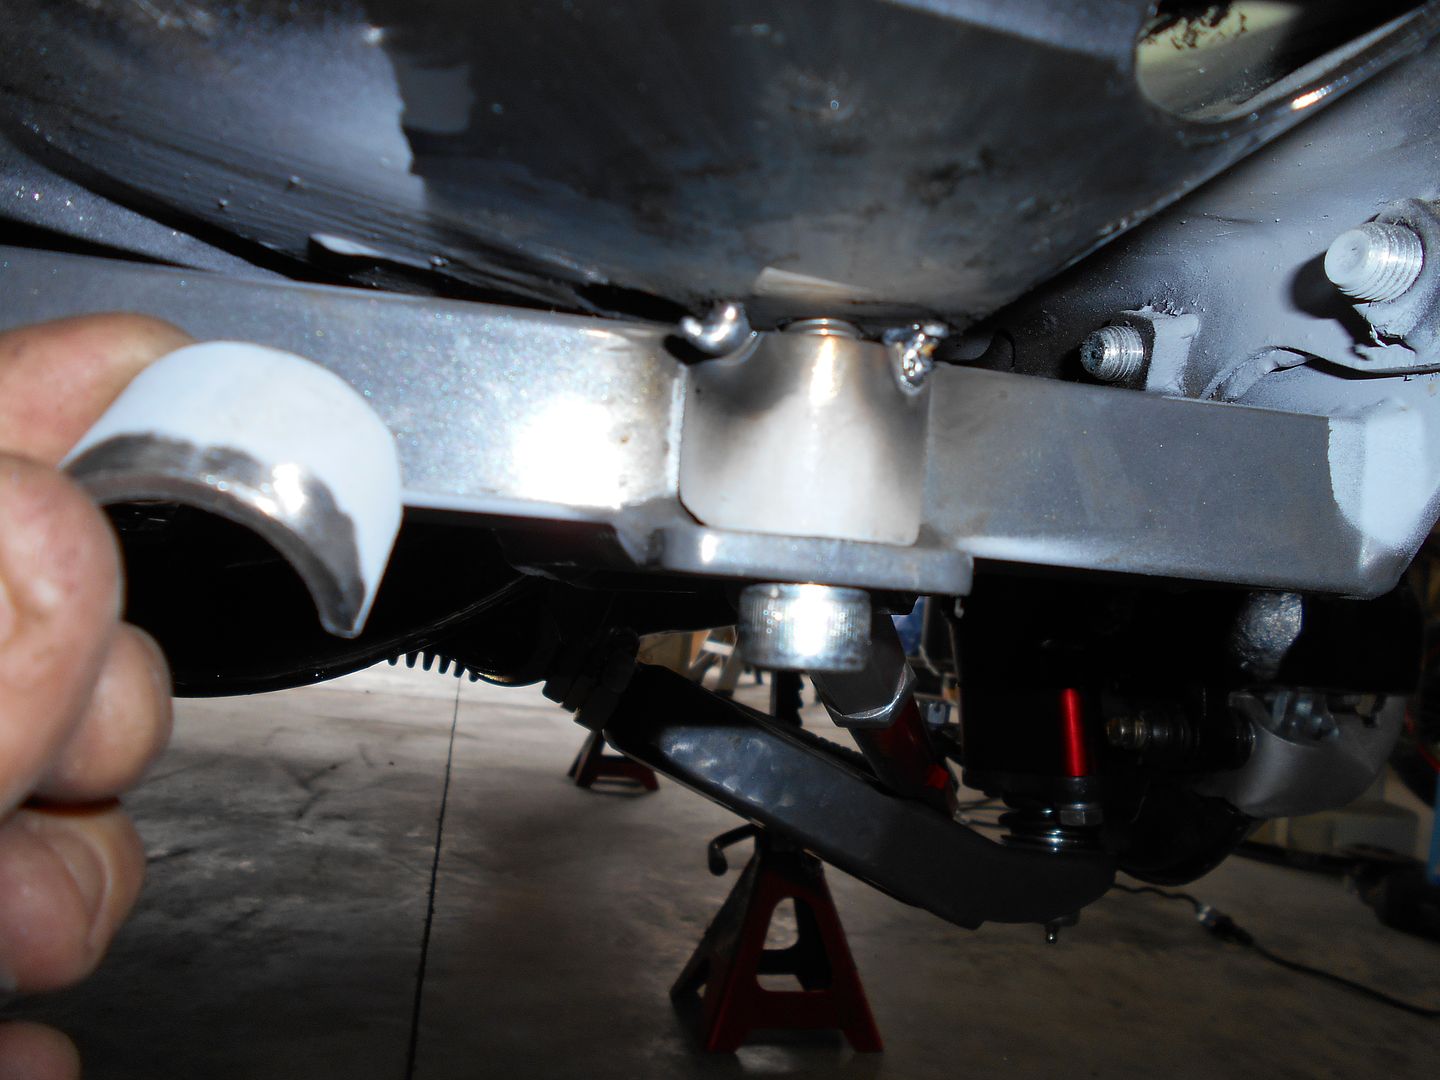
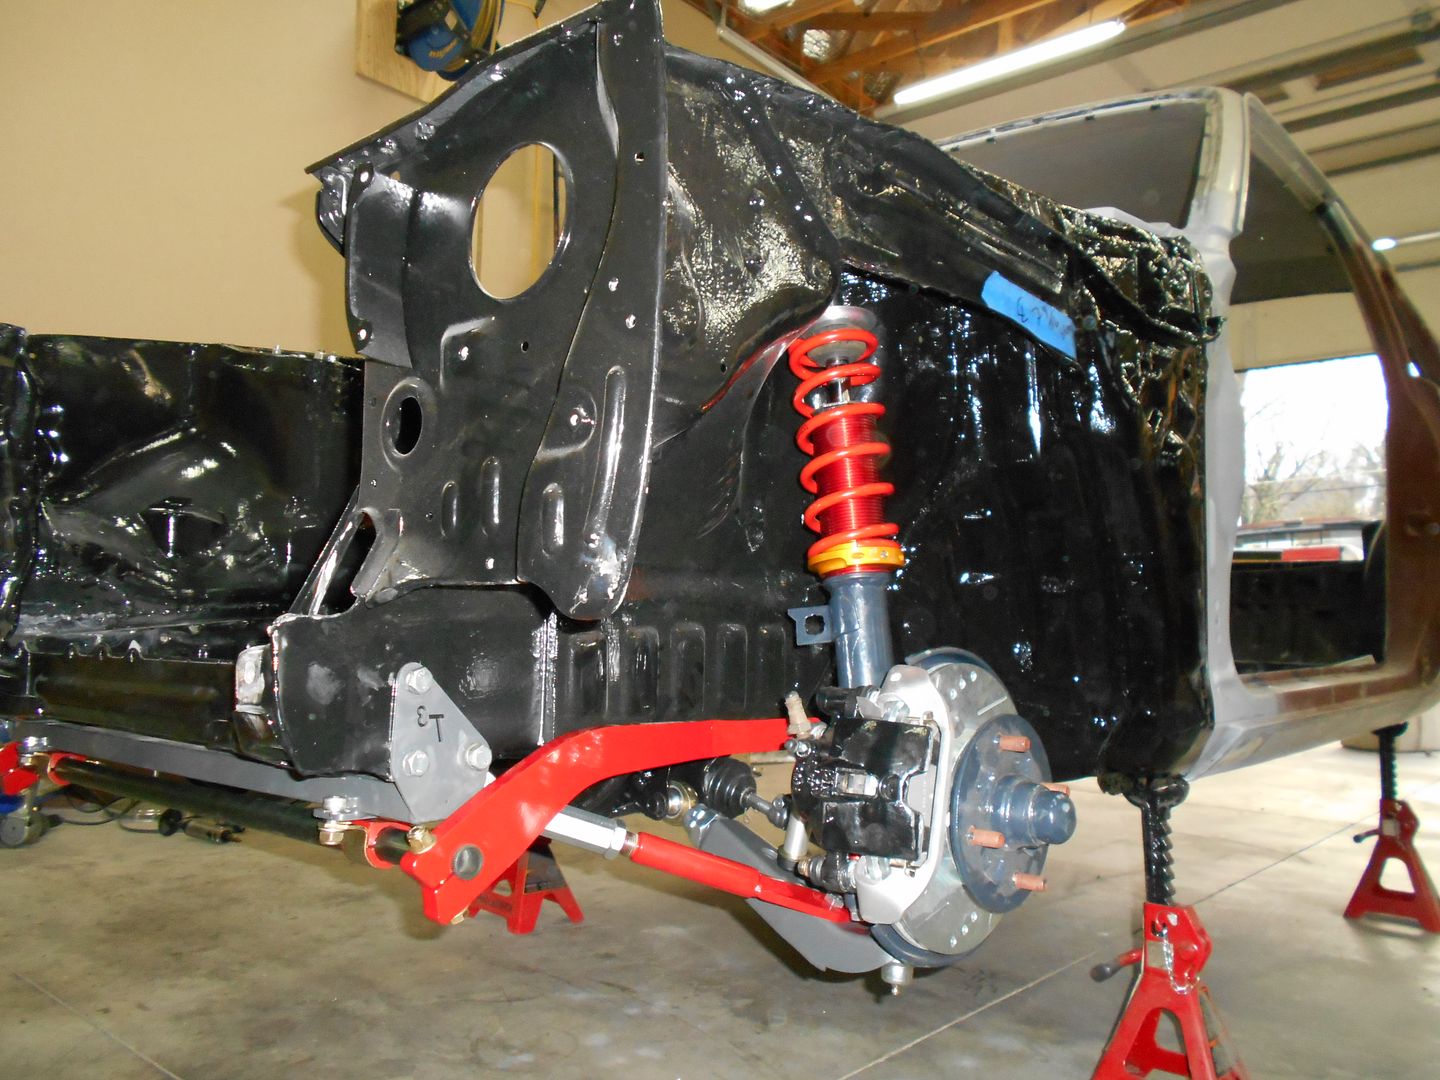 but the front suspension is basically in. There is plenty more fiddling to be done, but there you go. I've been struggling a bit as there were no instructions (duh, better check online later), and, it occurs to me, this is the first car I've ever lowered. Shocking. Edit-not true-second. 1st with coilovers.
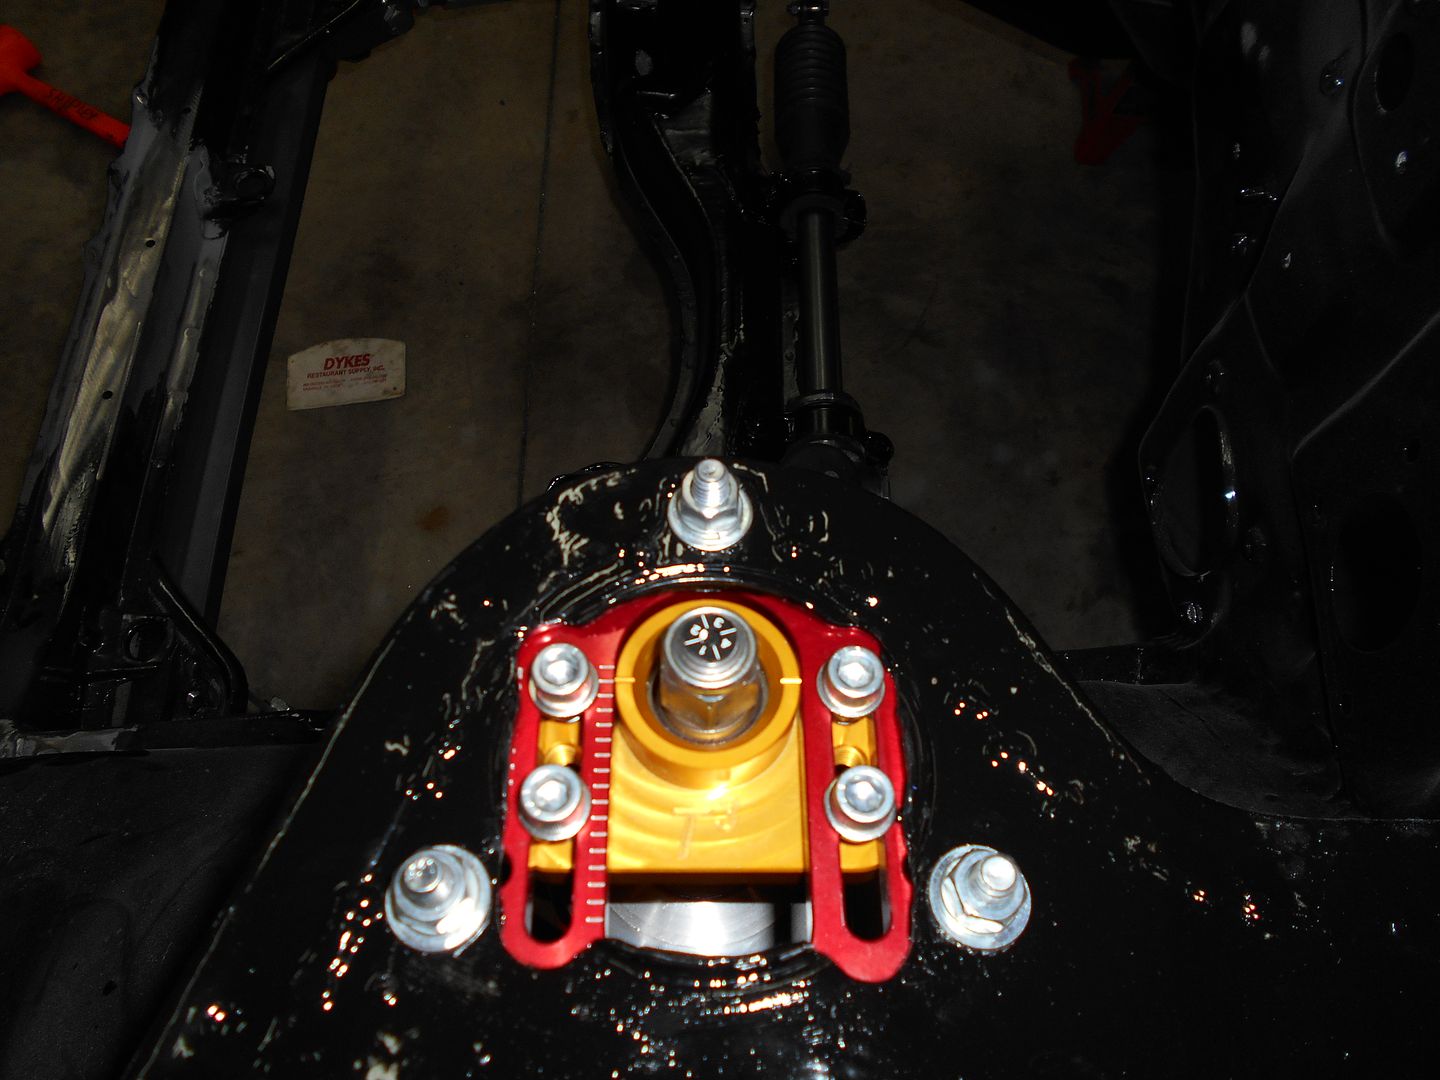 One of the main reasons stuff has been taking so long is I can't stand putting rusty old bolts next to all that overly shiny black paint. So I've been tidying up everything before it goes back on. Copious amounts of both anti-seize and Blue Loctite have been applied. It sure is good to be emptying some of those zip loc bags.

 and it looked like the heim joints at the sway bar ends might bind during travel, so I turned half of each of the spacers down to 14mm on the lathe.
 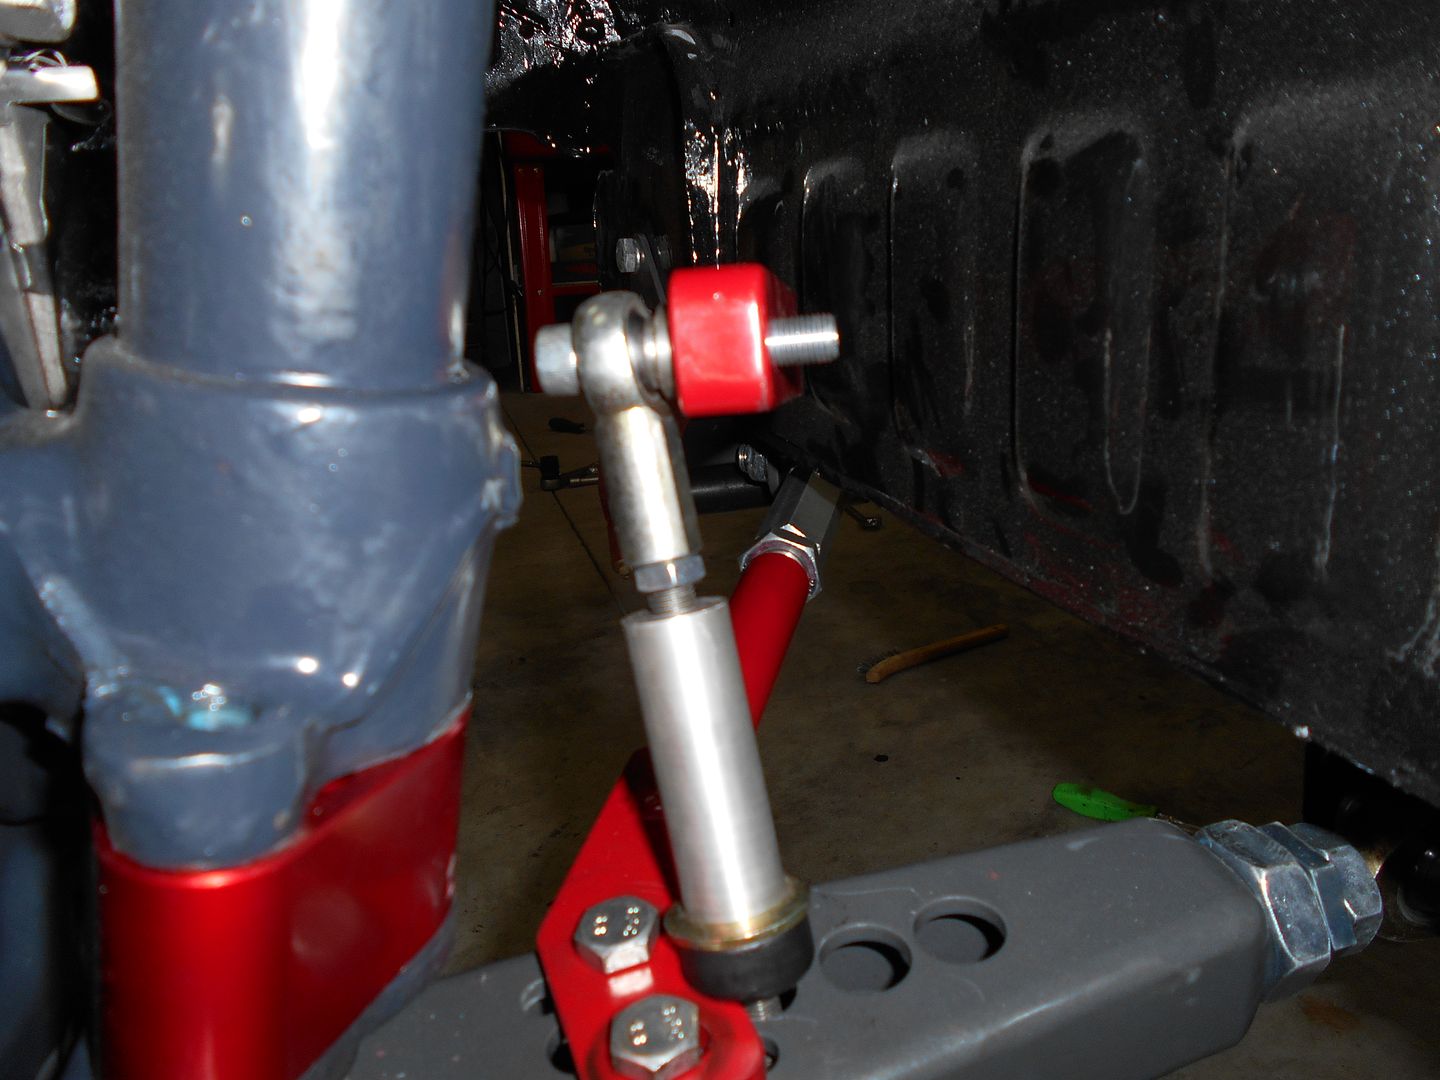 I've been double nutting where I can, Loc-tite-ing where I can't.
  I never thought a Starlet's rearend would give ME such trouble.


