This is an epic build thread...
This is an epic build thread...
I would start with a soft. I've done other cosplays for me and the kiddos, and my skills are getting better. Not sure if I can post pics in here, but I did a RWBY scythe for my youngest, he went as a boy Ruby. Sorry, the pic is huge. My painting skills need work.

That's rad.

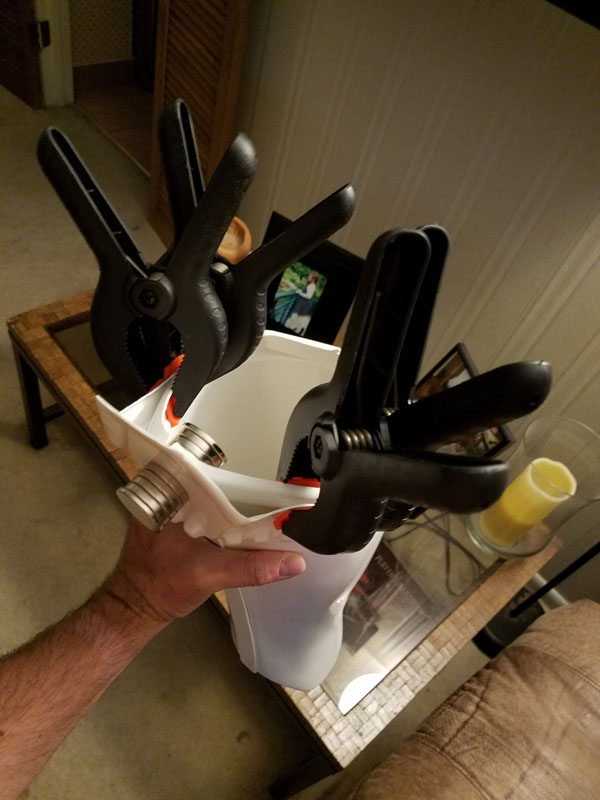
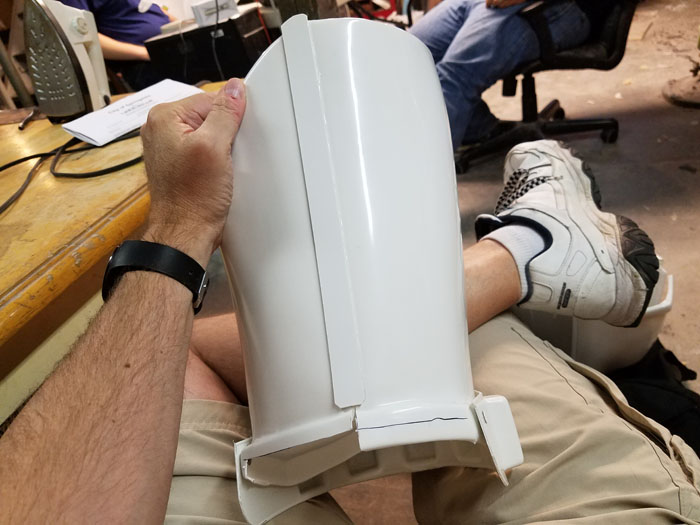
The right knee is attached to the thigh, it's an ammo belt. The left knee attaches to the shin and is called a sniper knee. It is like gluing a guard rail to a trash can and takes ALL THE CLAMPS.
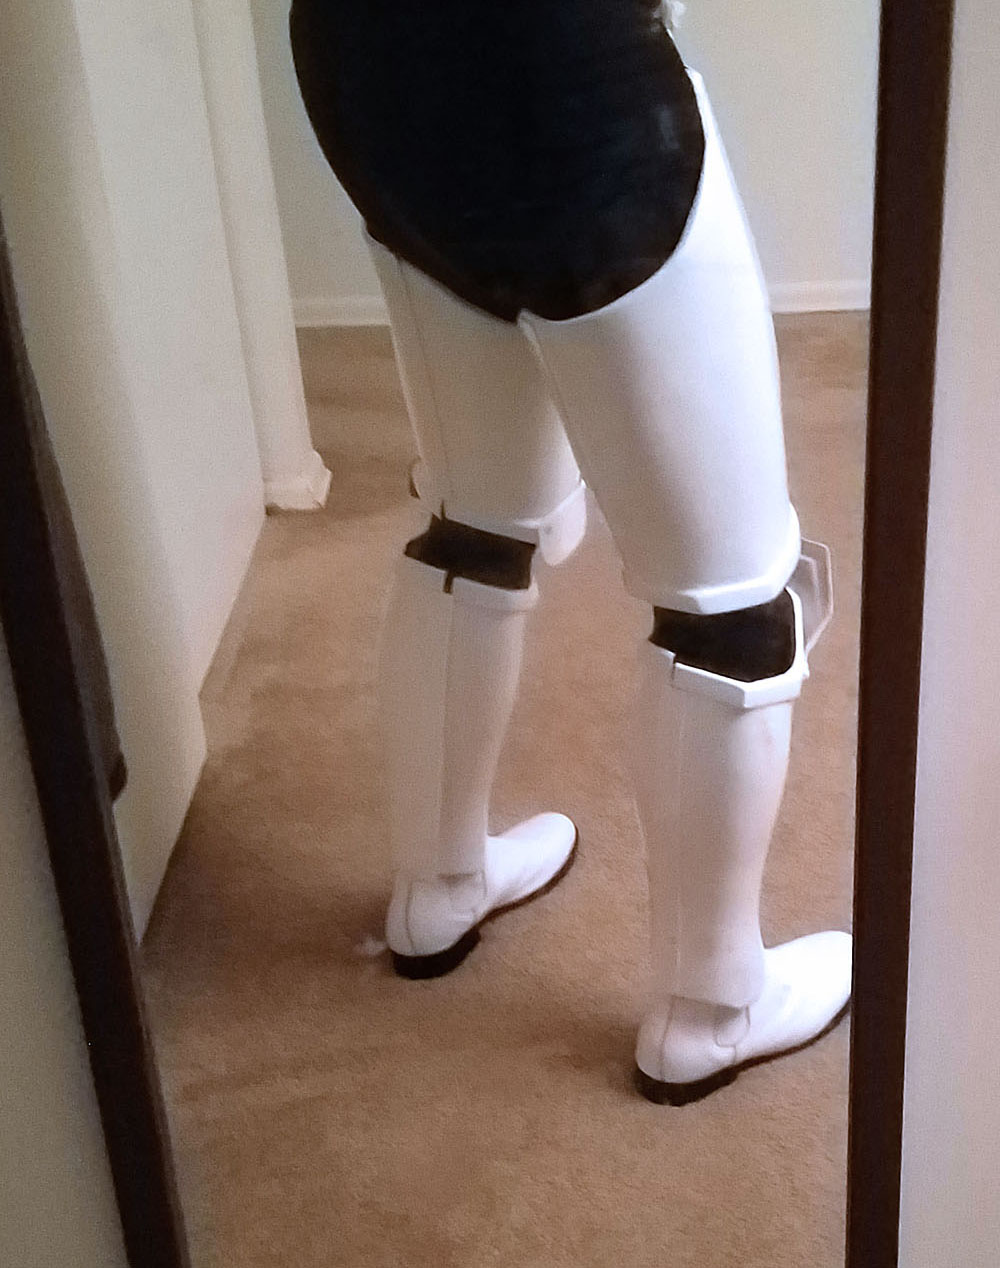
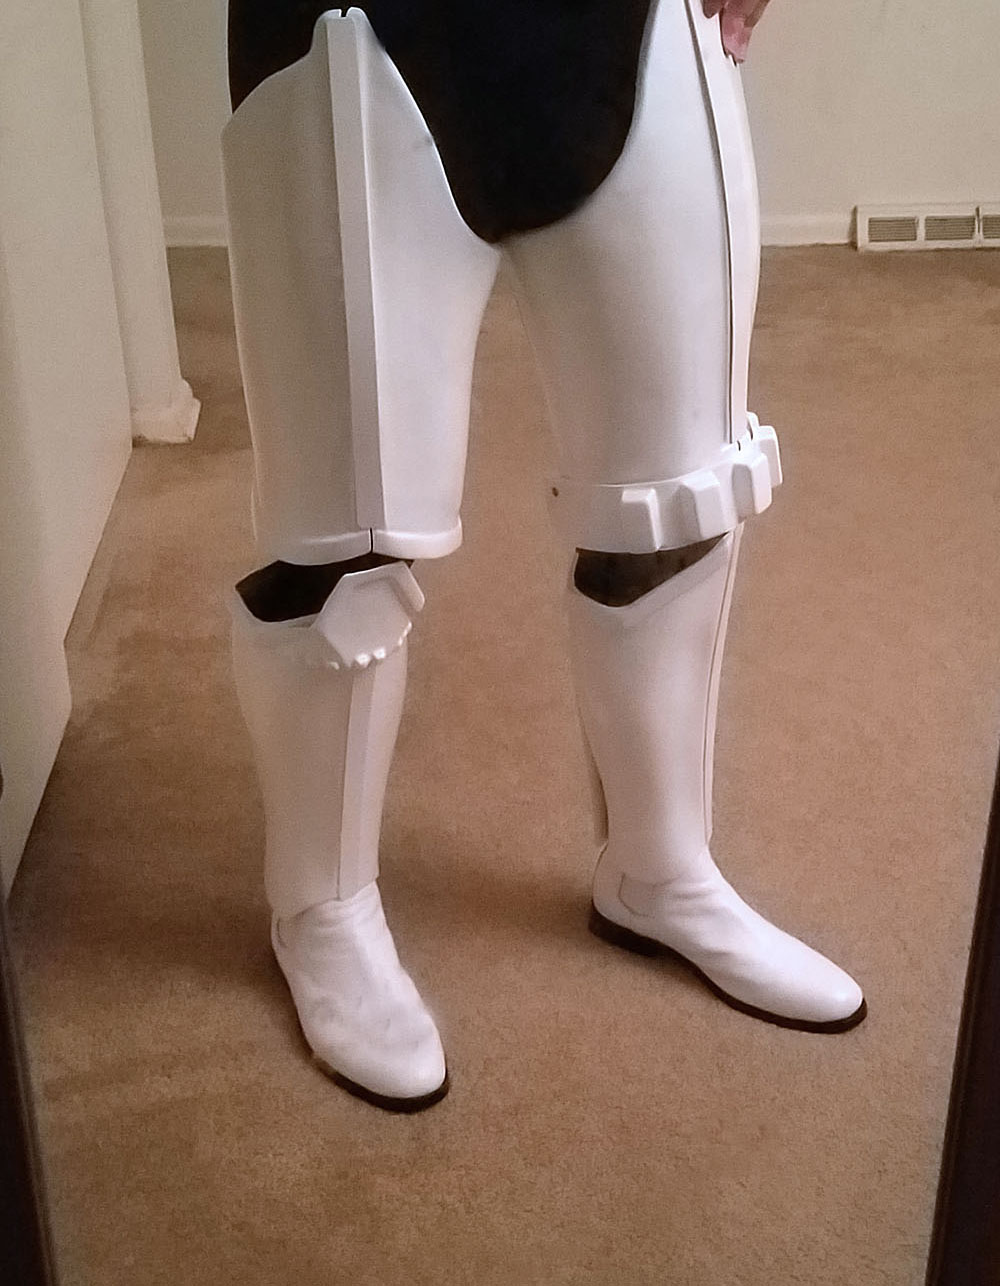
I couldn't resist. The lower half of the suit is done minus the strapping to hold the thighs up. That's probably next on my list (they attach to a belt).
This is the thighs, the shins, the ammo belt on the right thigh, the "sniper knee" on the left shin (PITA to glue on!), boots and undersuit pants. Progress!
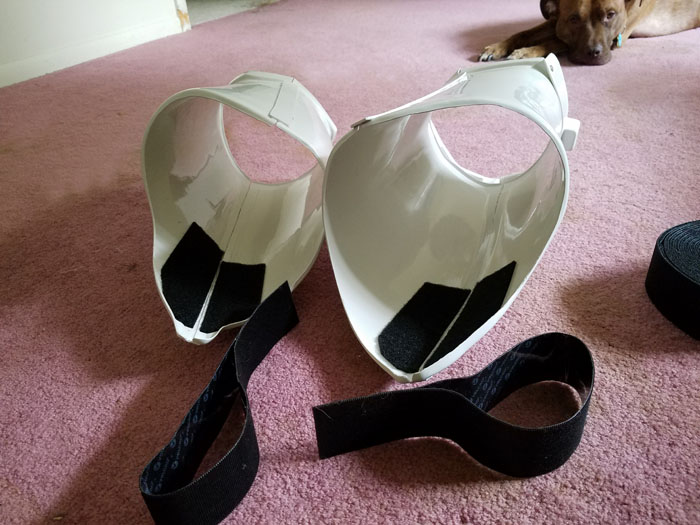
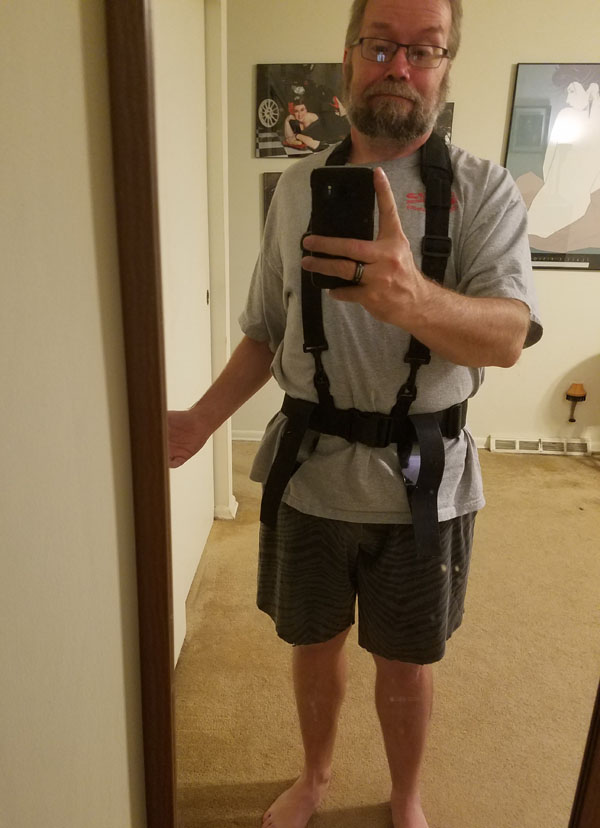
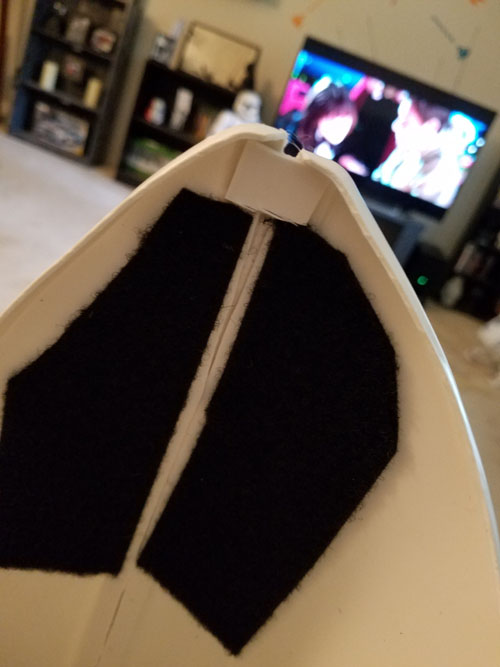
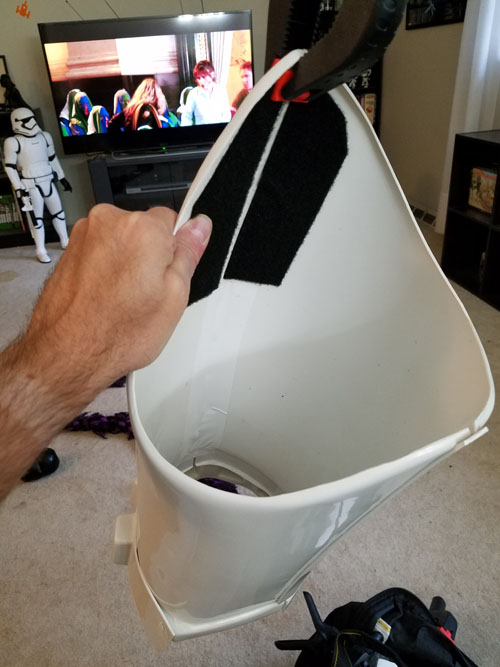
Between rallycross yesterday and cutting grass/yardwork today, I was pretty dragging. Didn't get as much done as I'd like, but I did add the velcro to the inside of the thighs. Another trooper gave me the idea for the belt/harness, so I just had to decide how to attach the thighs. Figured the easiest was to peel back some of the backing on the opposite velcro and just make a loop. Then feed the belt thru the loop, and let them hang down. The black should blend in with the undersuit, and two dropboxes dangle from the big white belt later so hopefully they will help cover the loops.
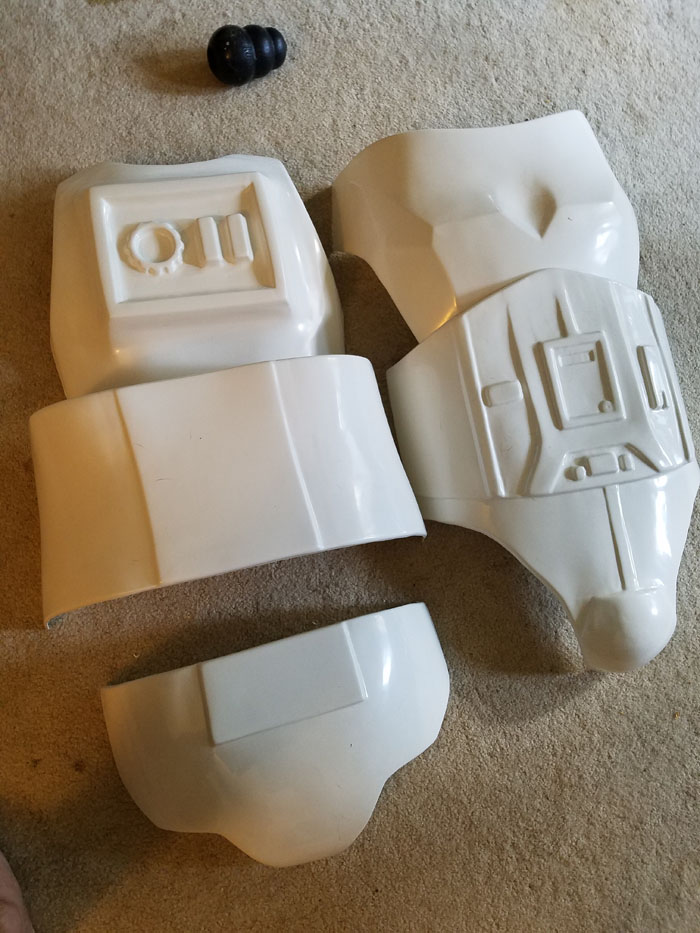
Time to move on to the chest/back/kidney/butt pieces. They get a trimming and then I have to figure out how to attach everything. Seems to be a series of fabric strips and plenty of snaps. Hoping I can use some more of this industrial velcro and make it a little easier.
Decided to take Tuesday off of work for a job interview in the afternoon (one day left on the books, might as well use it just in case). Hopefully get a bunch of work done!
Managed to get quite a bit of work done Tuesday...
All the major body pieces trimmed and finished, ready for the button plates on the chest and shoulder straps to the top.
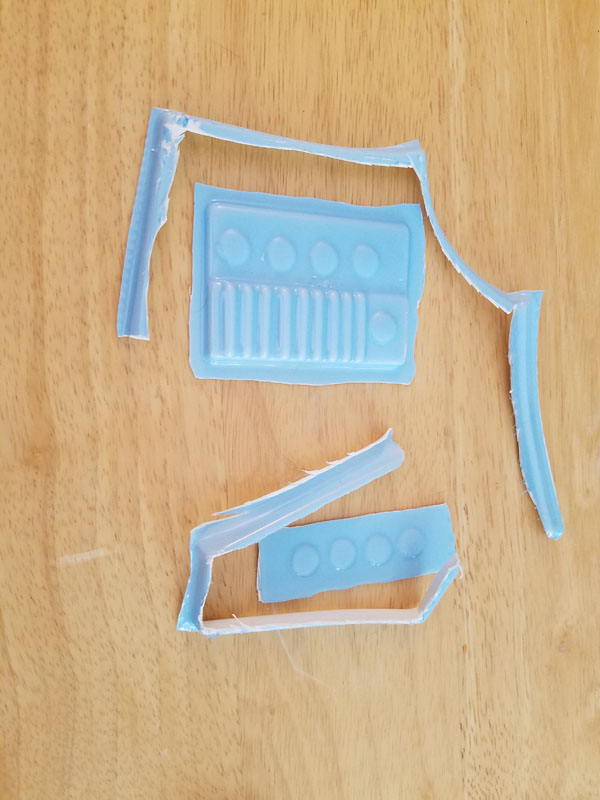
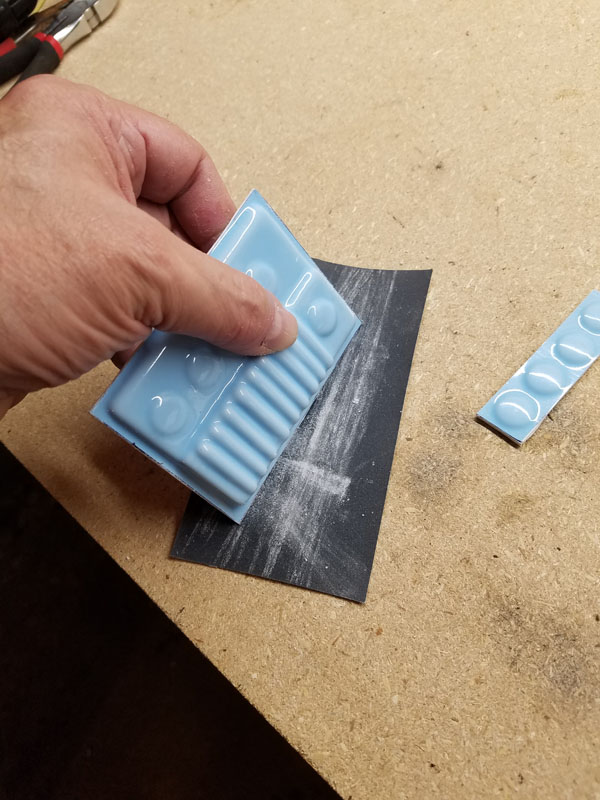
Button plates trimmed out and finished.
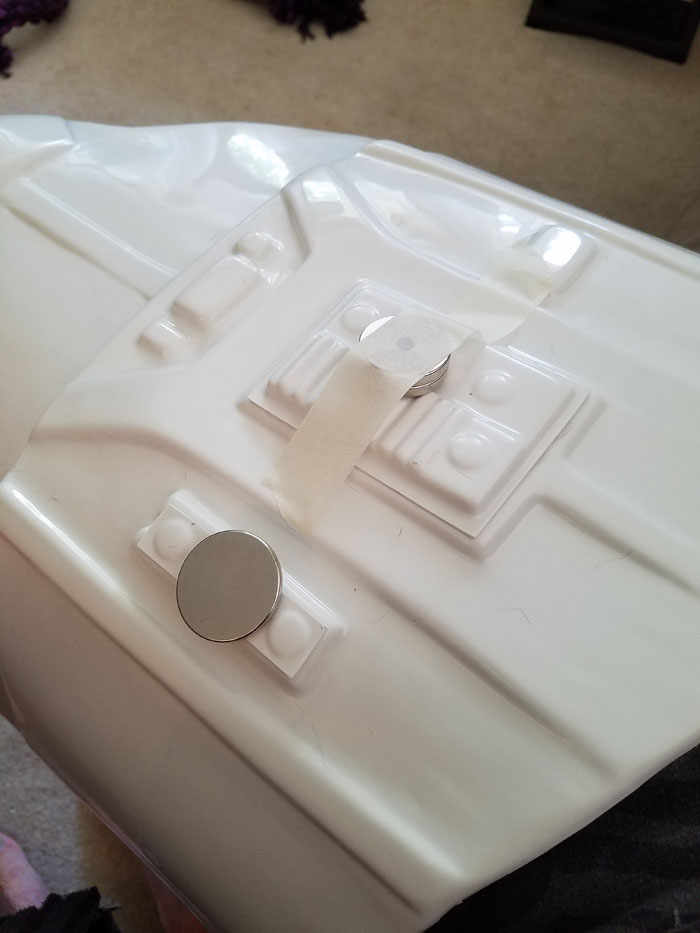
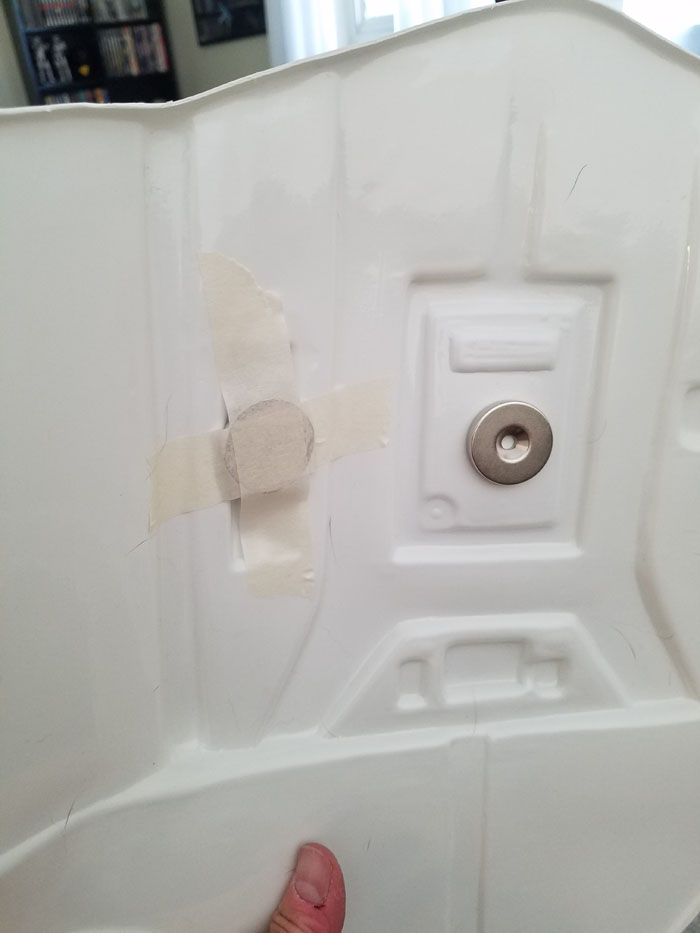
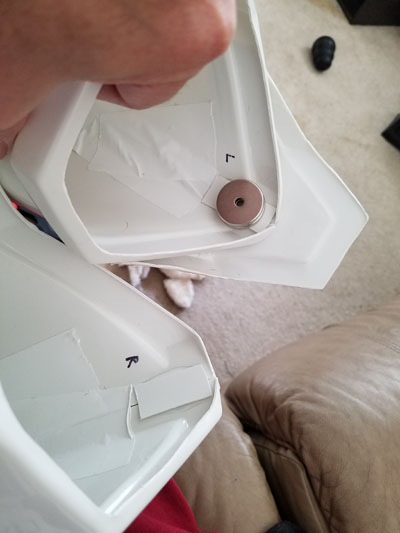
Glued in place with a little help. The magnets were again a bit large so masking tape helped hold them in place. (Some of the buttons get painted next.)

Shoulder straps cut out, trimmed , and glued. I wish I had gotten a before-photo of the straps. They were molded in a big 3-dimensional piece and had to be trimmed quite a bit for such a small little piece. The back of the straps are either free-hanging or usually the guys use some velcro.
I'm getting ready to make big use of velcro this weekend when I finally start building all those main body parts and upper arms into a trooper! Went to the local build party and got about 15 reference photos on how another guy did his. After that my list will be much smaller and I'm still in the running to being complete by Comic Expo in mid-September!
 Which is good because I broke another magnet. These things are vicious.
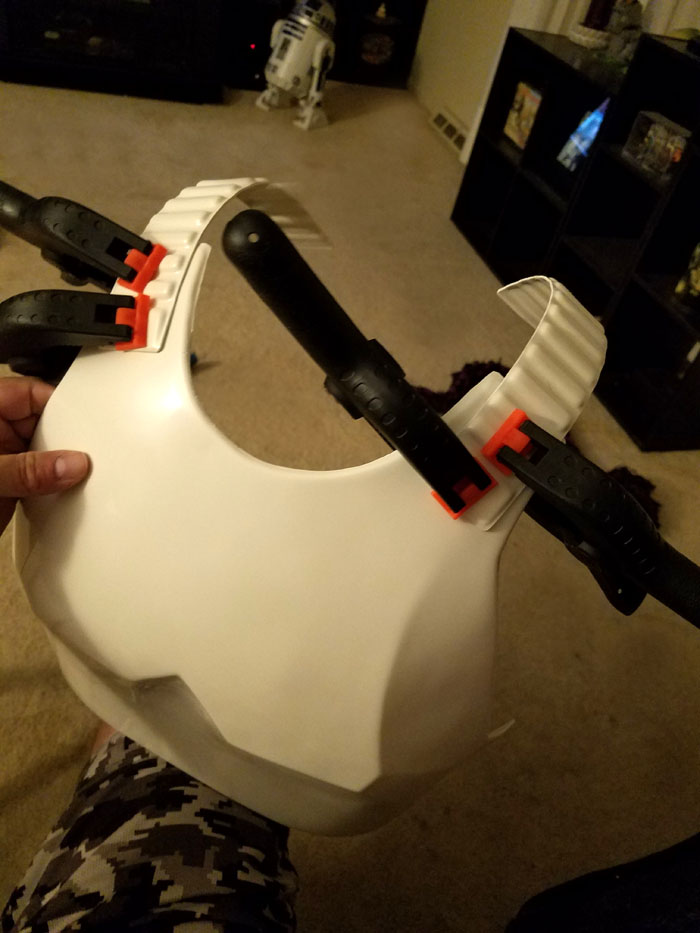
Much more progress over the weekend. Even if there were set backs...they were corrected. First up, lots of velcro on the main body pieces!

There might be minor changes, but this is about 99% set for wearing at the moment. Probably change the top velcro on the shoulder straps to an elastic strap with velcro on the ends. But that will be after everything is complete.
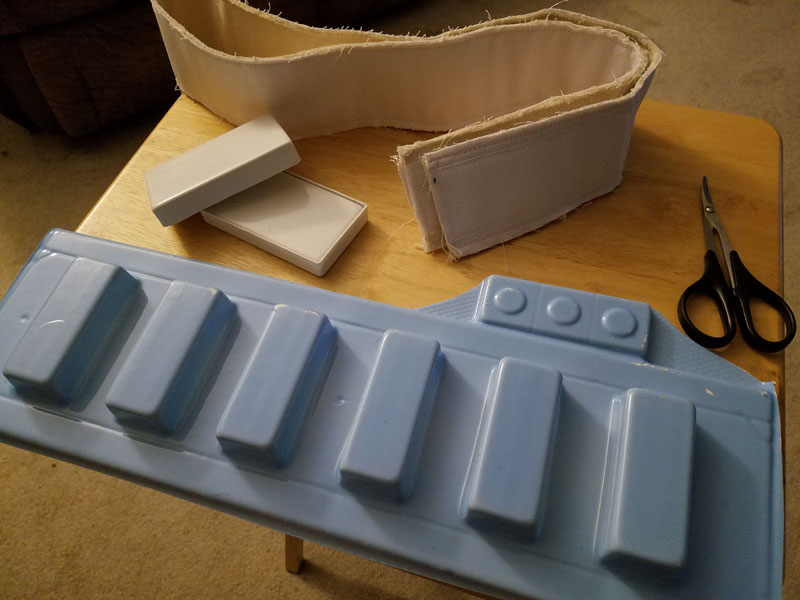
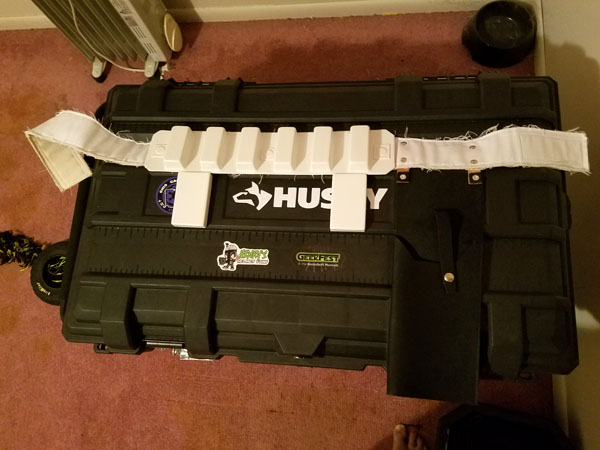
Time to turn this into a 4 piece belt including two drop boxes that dangle off the ends of the belt by elastic. And we get to try rivets again, and some snap setting this time...
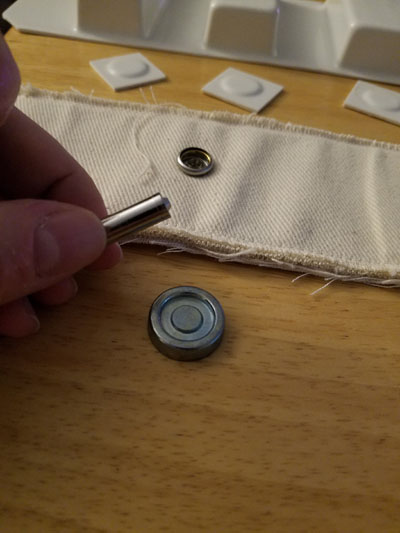
I went to a build party on Sunday at someone's house, and someone offered to help with the belt. It's canvas, with a plastic top in the front, and drop boxes on the ends. (Plus a holster later.) We didn't have the right snap setter so I bought one at Joanne Fabrics on the way home to finish, but we lined up the belt and marked where they would go (or so we thought). I put snaps on the belt and snaps on the body piece, only to realize we lined up only the canvas. The plastic bit is wider, and sticks up too high. D'oh.

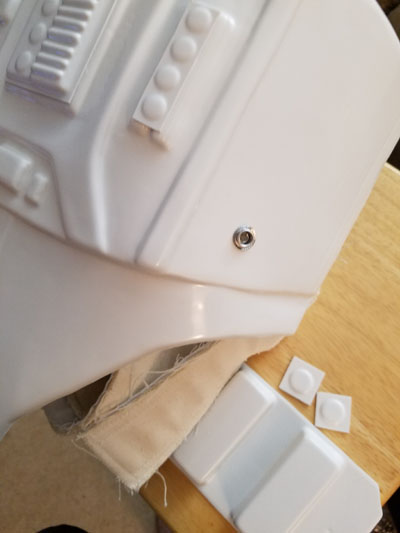
So I got to remove my first ever mistake and snaps. Luckily the belt will cover the wrong holes (they told me I could make ABS paste with scrap material and acetone if needed). But I remeasured again, took my time, didn't want to do it a 3rd time, and managed to get it proper. The plastic part of the belt sits flush against the bottom of the glued-in button plates.
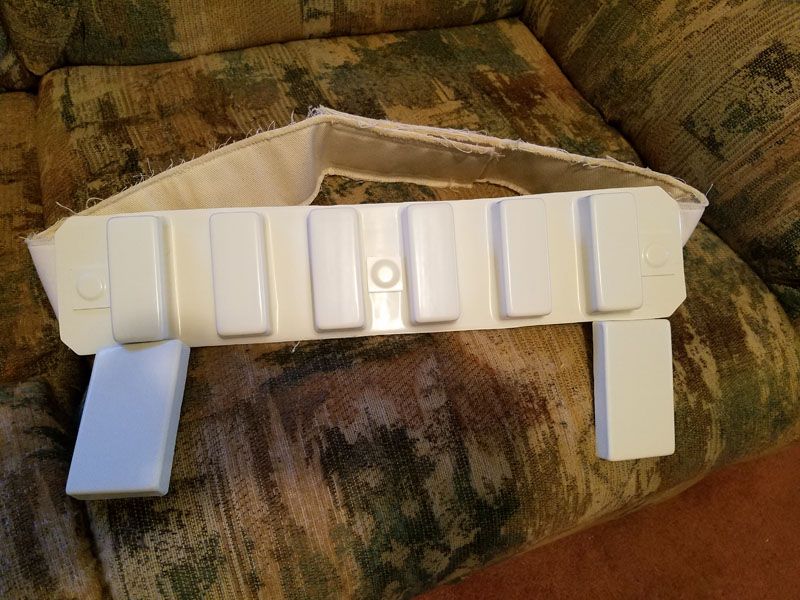 Belt is complete. The drop boxes are two piece, with elastic riveted to the back and hanging off the belt flush.
Next up, painting the buttons on the button plate and add the belt.
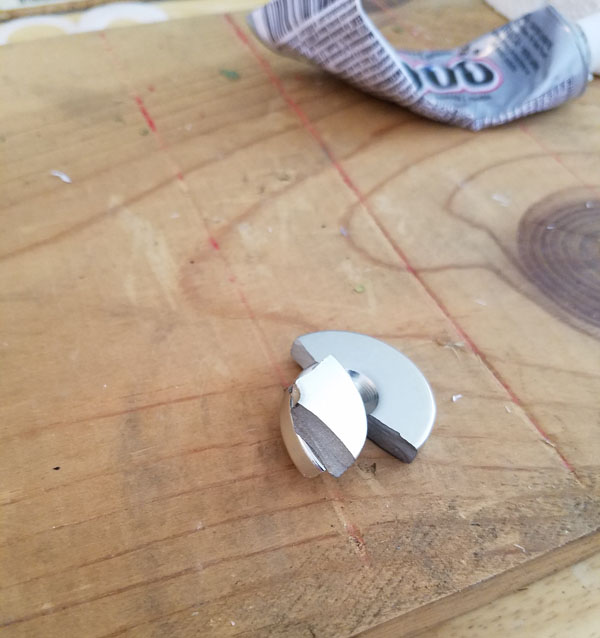
So what I thought would be the easiest part of the build once again wasn't... Painting a bunch of 3D embossed buttons, how hard could that be?
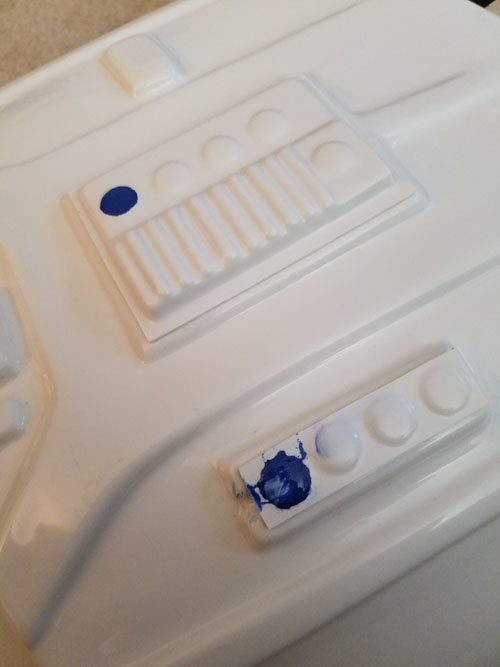

When you drop the part on the floor face down, that isn't helpful. Then put your hand on the previously painted area. Twice.
I had to be careful, this is enamel on ABS, so acetone was not an option. I had some Goo Gone in the garage I tested on the back and didn't melt/fog, so a cotton swab and toilet paper square made it workable. I'll probably use my thumbnail to scratch any edges off but otherwise here it is, including the completed belt:
Rainy weekend (and I mean all weekend until about an hour ago), meant more work on the trooper.
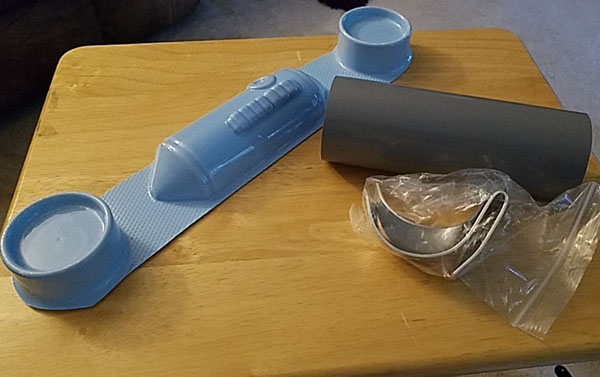
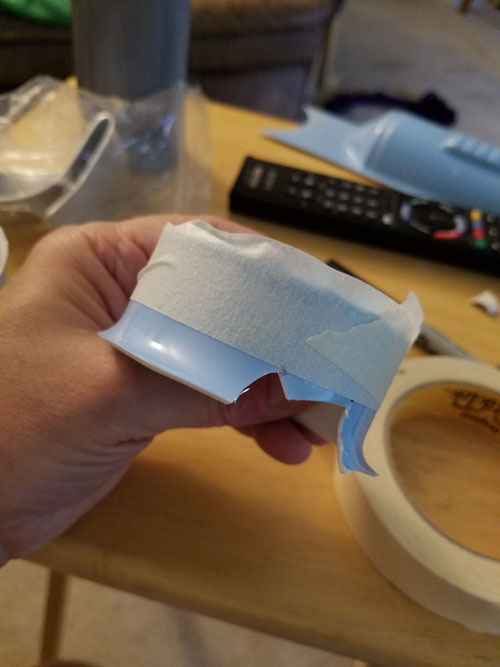
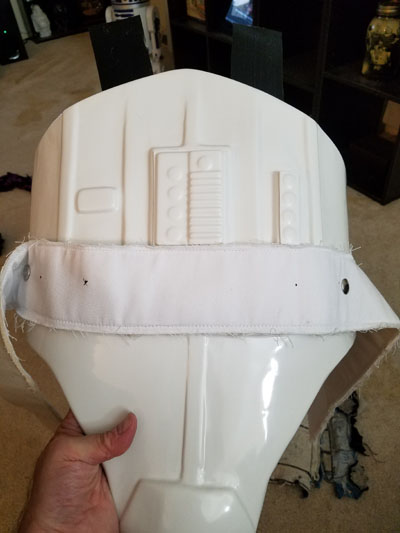
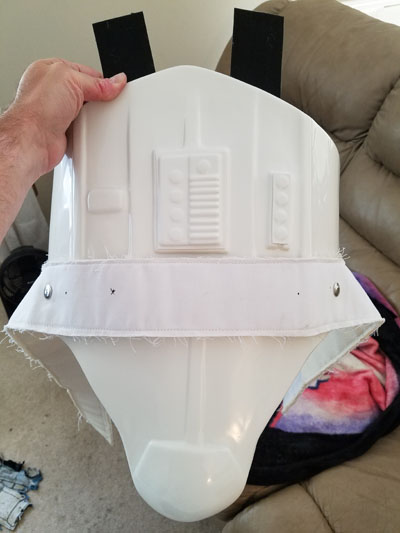
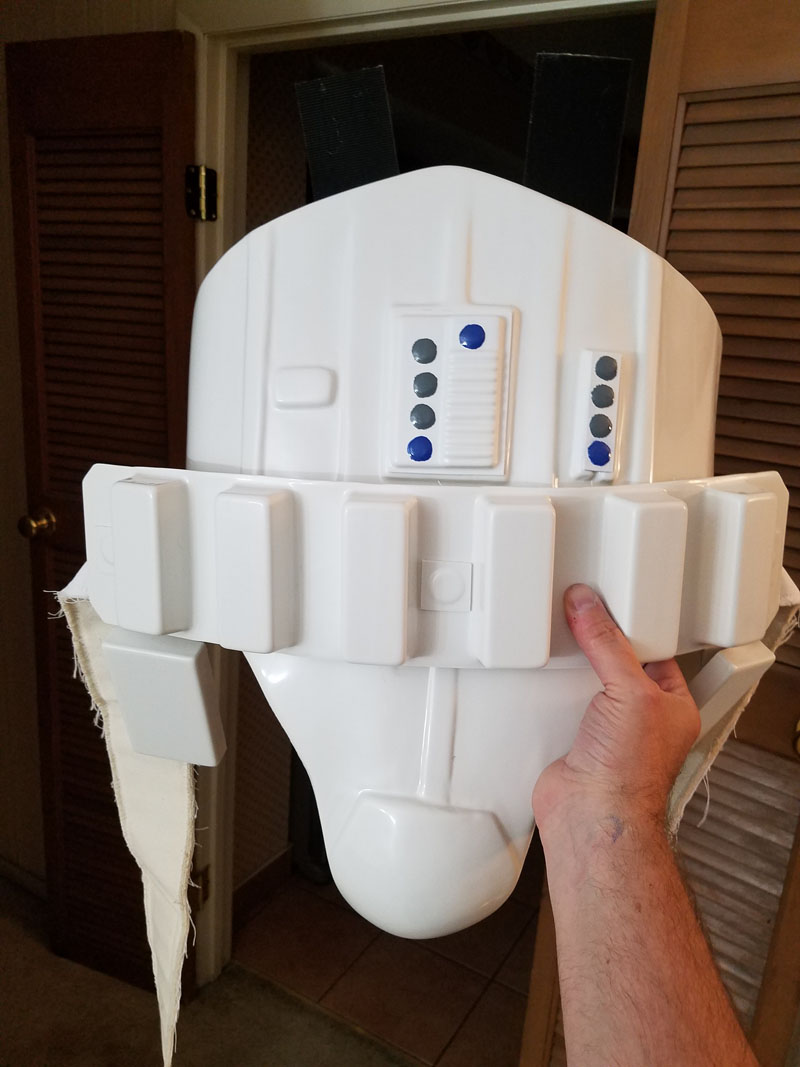
First up, make the thermal detonator that goes on the back of the suit, clipped over the belt. Cut the plastic bits out, and I measured 20mm from the top of the caps, then ran masking tape to try to make an even cut. Sand paper cleaned up the edges, same with the control panel. Glue the caps on, glue the control panel, then put the brackets on lined up with the edges of everything, 1/8" holes drilled in. Voila:
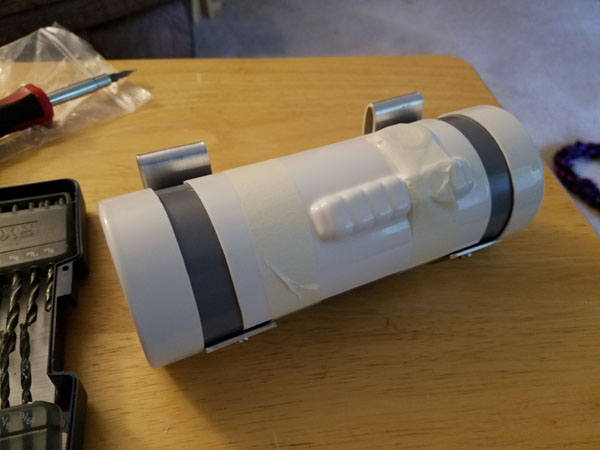 Tape holding the panel in place while the glue dried overnight. I also added some fuzzy side of velcro to the clips so they didn't scrape the armour when it gets clipped in place.
Some more detail work after the detonator. Added reinforcing tabs to the top of the thighs, white duct tape inside all the seams of the arm and leg pieces to add some strength. And painted the rivets on the bottom of the thigh ammo band white with Humbrol #22.
The only thing left for 501st approval now is adding the holster for the blaster. I have someone local making a really cool E-11 blaster that will be done very soon (he's been heavily involved with the expo next weekend). I can add it using rivets, snaps or Chicago Screws. I think I'm going to buy some Chicago Screws at Home Depot on the way to work tomorrow, thinking they'll allow me to replace if needed easier than 4 rivets.
I tried on the main body pieces to test fit the whole arm assembly. I think I am 99.99999% ready. Time to figure out a date for SWMBO to take my 501st approval photos (need a plain dark background, hi-res and certain poses to show the suit and details.)
Monday night work, adding the holster...
Once again I said "this shouldn't take too long", and for once I was right. Stopped at Home Depot, no luck on Chicago screws, stopped at Hobby Lobby on the way home, success. I even bought a hole punch set to make decent holes vs trying to use a big nail. (Also picked up a spool of black thread to reinforce the velcro/elastic straps).
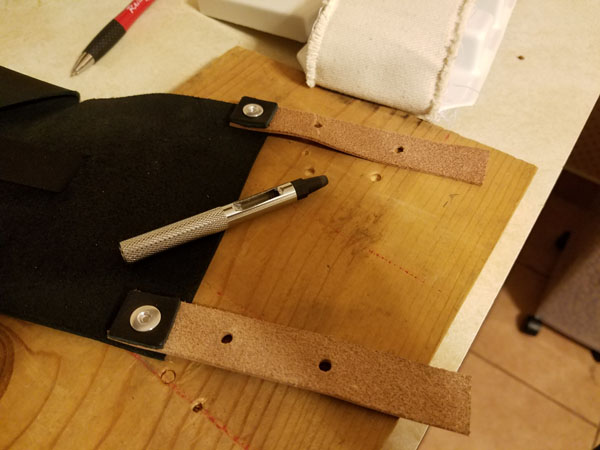
Line up the holster straps under the belt, figure out good spots. Mark the spots on the holster, whack whack with a hammer. Line that up with the belt, mark some spots. Whack whack, and done. Put the screws through both, voila. Holster on a belt. Below shows me wearing it before I trimmed the straps.
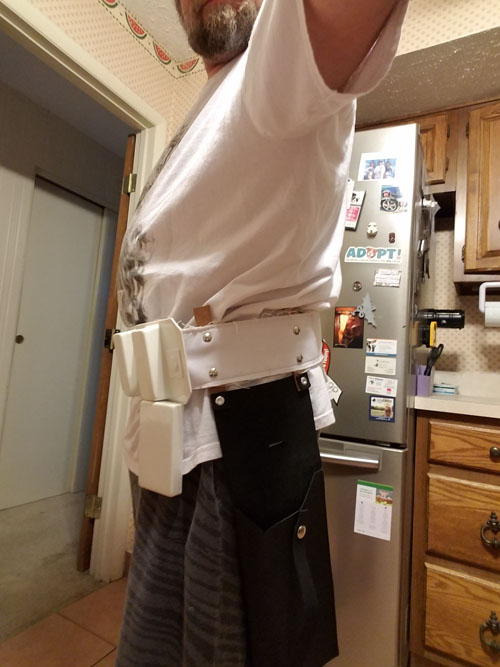
Now if I just had a $%^%&^# blaster to finish that strap with the snap (it's not attached in back and someone is working on my blaster still).
As of right now, I believe I am "done". As least as far as 501st approval. SWMBO is taking photos Friday night, I'll upload my application Saturday. Hopefully be approved quickly if they don't ask for any detail photos or change something. I need to reinforce some eslatic/velcro straps with thread vs just adhesive that will eventually come apart. And I need to decide where to mount the ICOMM helmet electronics in the chest plate. But that can happen after the approval. My next post will probably be the electronics, after that, approval!
Jerry : very cool non-vehicle build. It's like you are wearing an AMT plastic model kit! I have newfound appreciation for what goes into role costumes...it's like those re-enactors! I'll never look at the SW stormtroopers the same again, lotsa work there. Thanks for sharing.
(Not a SW geek : but I WAS there back in '77, watching SW1 in the theater)
----- Carrie Fisher!
(All you pouty, modern-day diva fish faces: might want to watch CF to get tips on what a real beauty/ glamorous chick is supposed to look/act like)-rant over.![]()

Jerry said:In reply to EastCoastMojo :
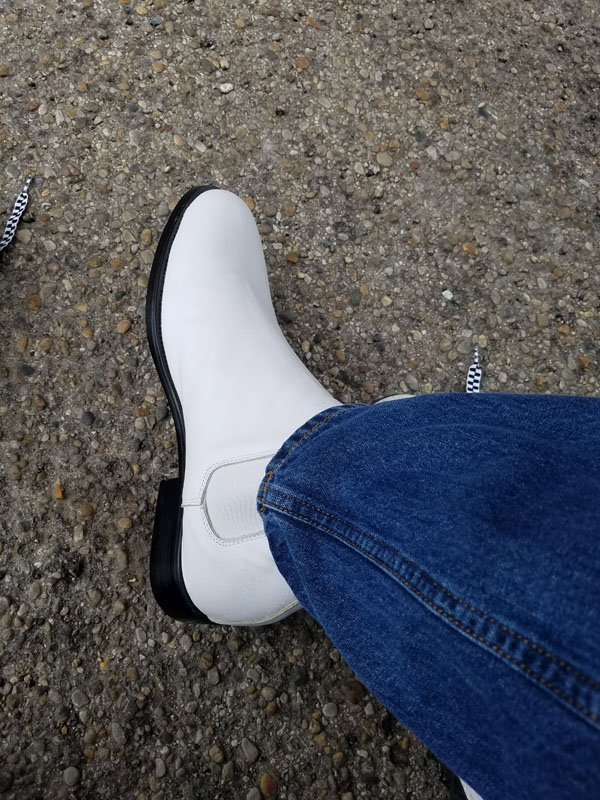
Thanks! Dig those boots:
I will never be able to unsee this part of the costume.
Jerry said:As of right now, I believe I am "done". As least as far as 501st approval. SWMBO is taking photos Friday night, I'll upload my application Saturday. Hopefully be approved quickly if they don't ask for any detail photos or change something. I need to reinforce some eslatic/velcro straps with thread vs just adhesive that will eventually come apart. And I need to decide where to mount the ICOMM helmet electronics in the chest plate. But that can happen after the approval. My next post will probably be the electronics, after that, approval!
Famous last words... We made the attempt, but I was not happy with the "kidney", or side pieces. There was little to no gap between it and the abdomen plate, and I'm afraid walking around the pieces will bang into each other and move around too much. Also I DEFINTELY needed to reinforce the elastic/velcro, because while I thought they might survive a few hours of an event, they kept popping loose just while putting the suit on.
So, it needed some adjustments. But while I had everything on SWMBO got some photos anyway, for reference later if nothing else. I have to admit I kept staring at myself in a mirror, it was my first time trying everything all at once.
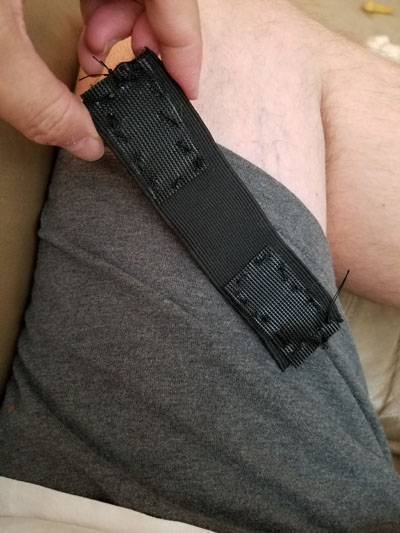
So yesterday I trimmed the kidney pieces 3/8" on each side (and if I decide I need more it will go quick). Then between last night and tonight I hand sewed 10 elastic straps with velcro squares on each end (the shoulder gets a middle piece as well to connect the arms). I had to push a large needle through the velcro and elastic by using a block of wood and forcing the material down over the needle. A needle that kept getting gummed up with adhesive...but here is one of them:
Tomorrow is Take 2 on the photos for approval. I did share one of Friday night with my mentor and the high school friend SWMBO knows, both said based on what they saw from the front at least, that it looked 501st ready! I'll know in a few days.
I did spend a few hours at the Comic Expo with my 501st friends. No stormtrooper yet so I dusted off the trusty Jedi Halloween costume. Still got quite a few compliments, but next year it's 'trooper time.
 My friend Tony, he's a bit short for a stormtrooper.


Ever since the XP-38 came out, they just aren't in demand.
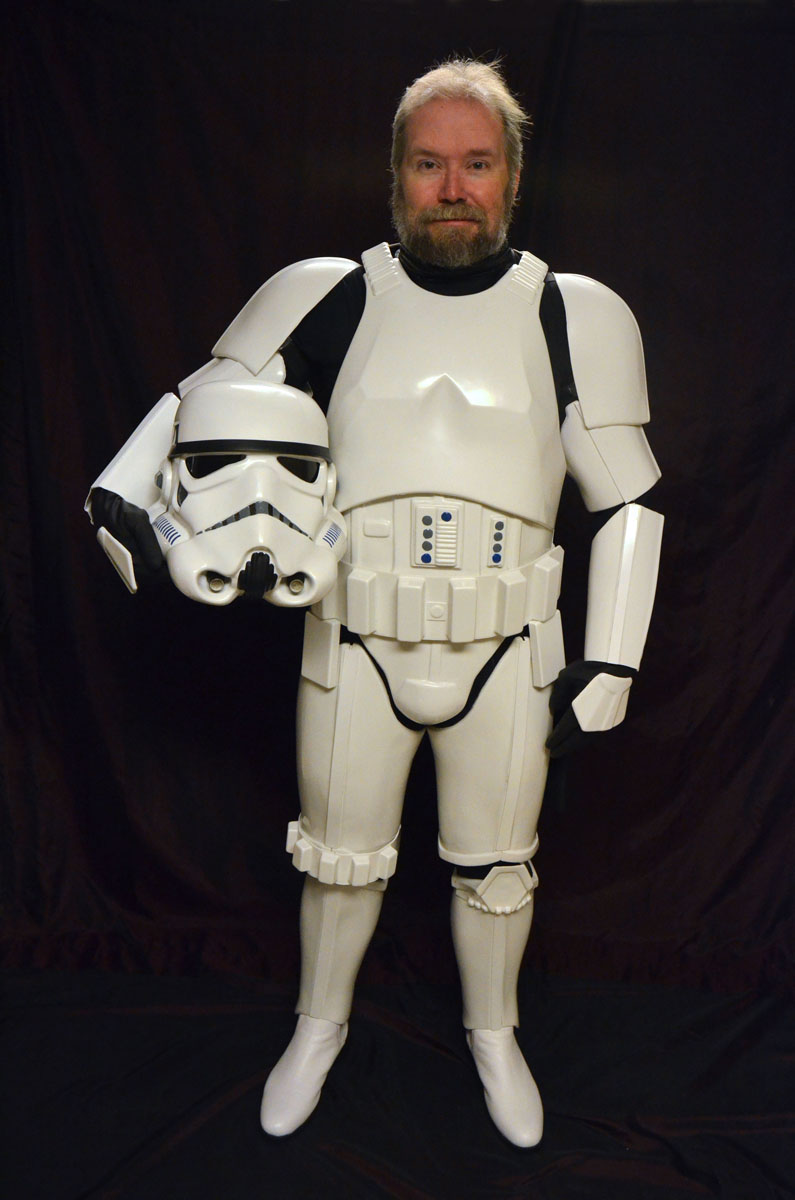
Last night I submitted 5 photos (front, back, left, right, and front holding helmet) to the Garrison Membership Liaison for approval. If nothing needs modified I should get my approval in a few days. ![]()
IT IS DONE:
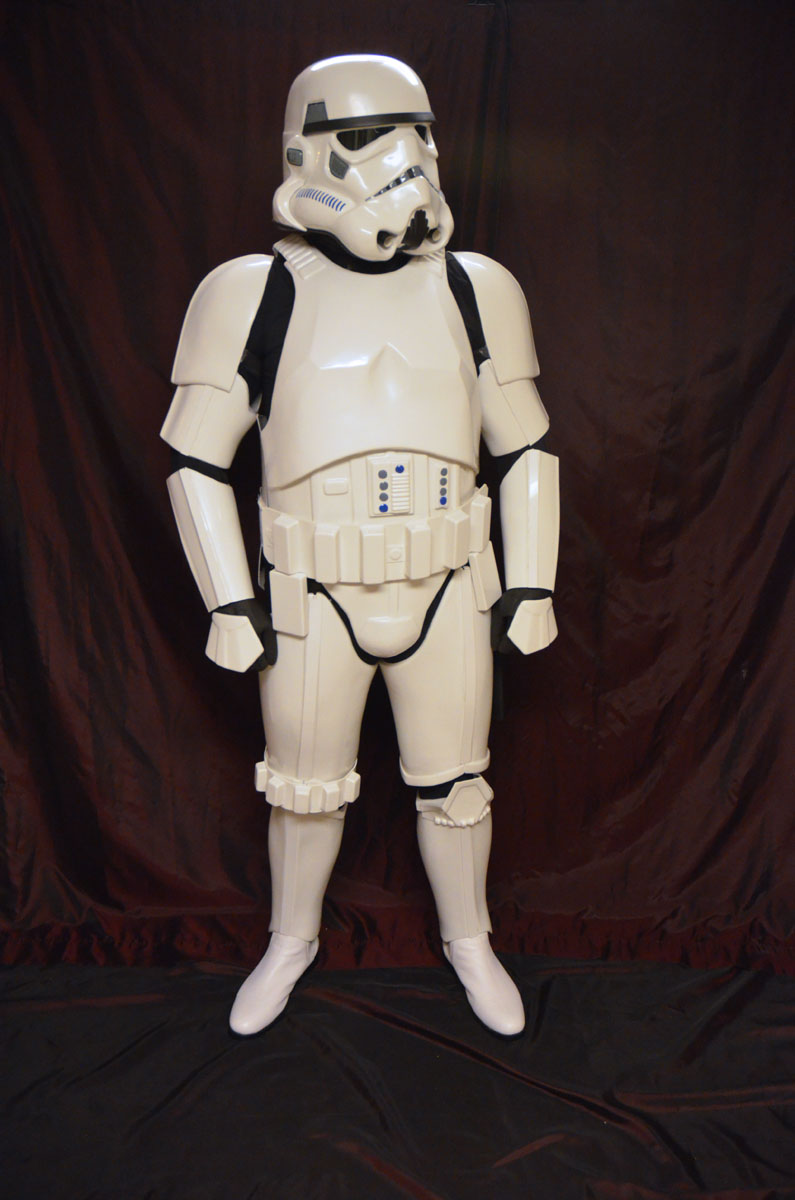
TK-40418 is one of the newest members of the 501st. I got my photos approved Thursday night, and the official welcome email showed up early Friday morning. (Then I had a two-day rallycross I camped at over the weekend so this is the first chance to share.)
I need to make a few mod's for long-term wear like the back of the thighs and such, and my blaster should be done this week. But otherwise I've achieved Uber-nerd status.![]()
Congratulations! You're now a bad guy doing good. Very very cool.
In reply to FunkyCricket :
Thanks, that's our motto alright. I will make minor changes over time, so I'll keep adding to this thread. Plus I will share events and "troops" as they happen. I just missed a visit to Dayton Children's Hospital, hopefully make another upcoming one soon. They say us "Shiny's" get first dibs.
Got my approval but work to make it liveable continues. Trimming the back of the thighs at a build party so they don't cut the E36 M3 out of me. Hoping to do some more work tonight, after all the yardwork, car stuff, etc. Autocross tomorrow and then next Saturday is my first troop!
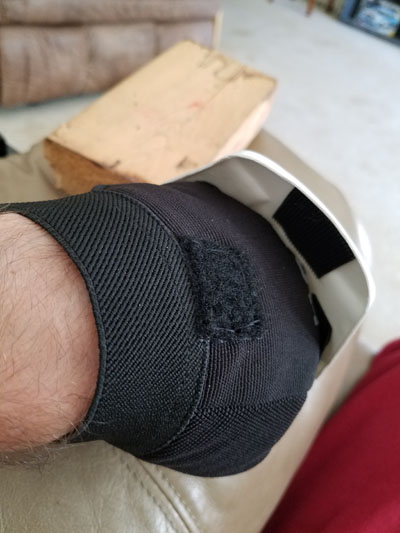
Weekend work included reinforcing both shins top and bottom on the inside, they get flexed quite a bit to go around my legs. And decided to try a bit of velcro on the back of the gloves for now. I only had really wide elastic left and didn't feel like redoing them for the 3rd time. Hopefully that holds the hand guards in place.
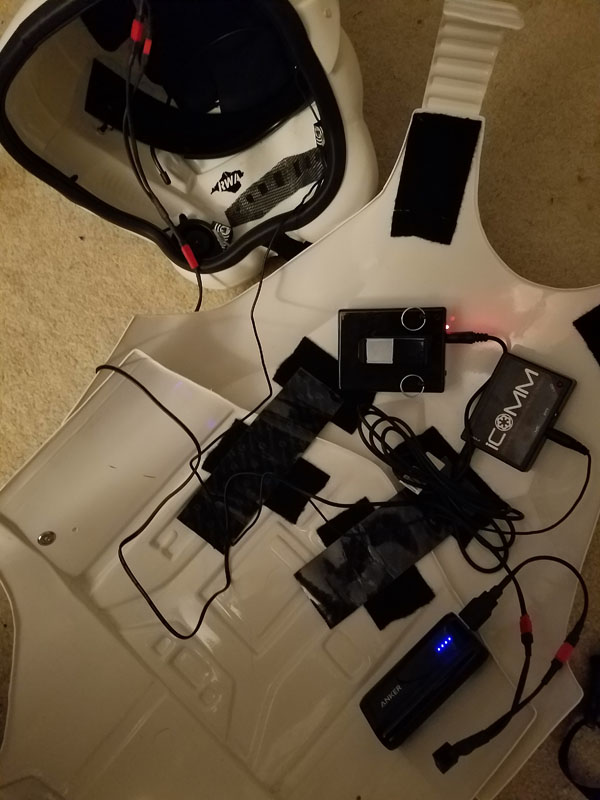
Crunch time before the first troop event, last night was mount all the electronics inside somewhere. And figuring these boots were only slightly made for walking, I'd add a little comfort.
REALLY cool!
And Wednesday night I finally got my E-11 blaster from the person building it:

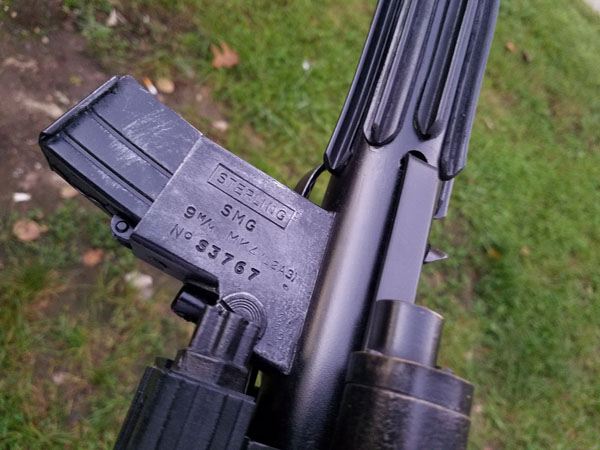
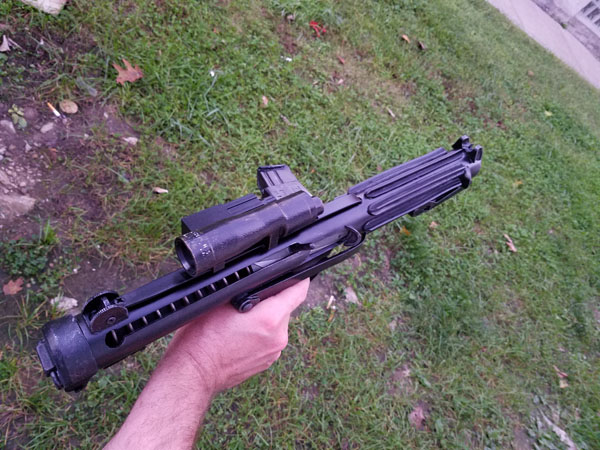
Cast from a genuine Sterling sub machine gun like they did for the original movies. I can add a piece to the top that has tubes, and even add some coiled wire to it, but that would cover the Sterling imprinting. Can't decide if I prefer with or without...
Tomorrow is the big day. First troop, Cincinnati at Sawyer Point for an Alzheimer's Walk. 8am is the big debut if you're not sleeping in and curious.
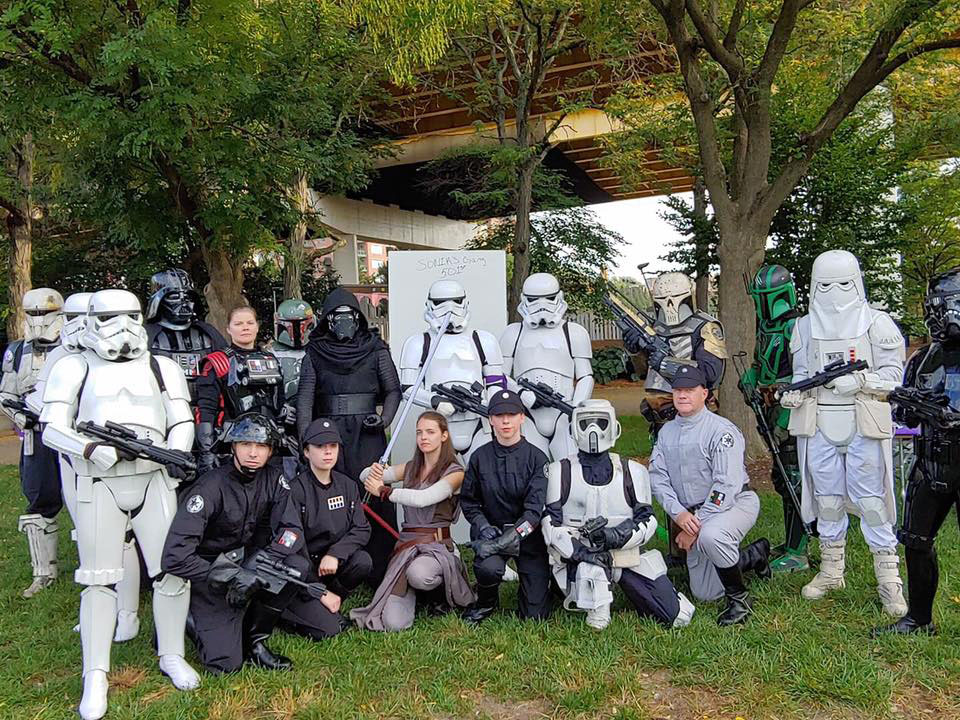
Front row, far left. The suit survived, even if the ICOMM was malfunctioning (someone suggested the mic had a short in it). Thankfully the helmet fans worked because it was berkeleying hot out there. But I survived 2.5hrs straight in walking and standing in the sun. So many photos taken, so many kids smiling. I can't wait for the next one (Children's Parade the day after Turkey Day for the start of the holiday season).
You'll need to log in to post.