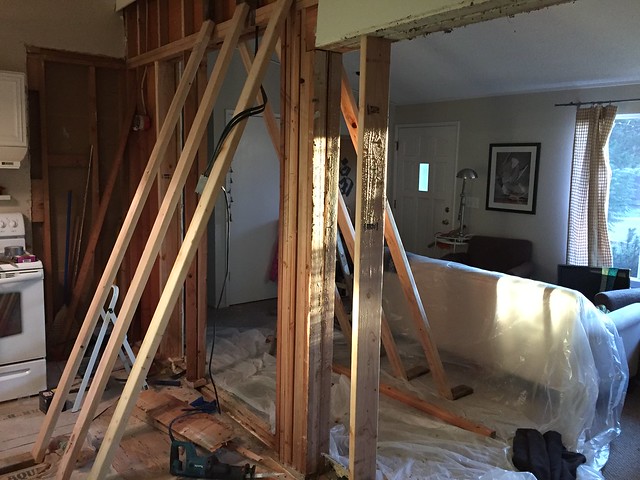
In this remodel, I'll be doing the work myself, with some particular intention around keeping the kitchen functional as much/long as possible.
Some background
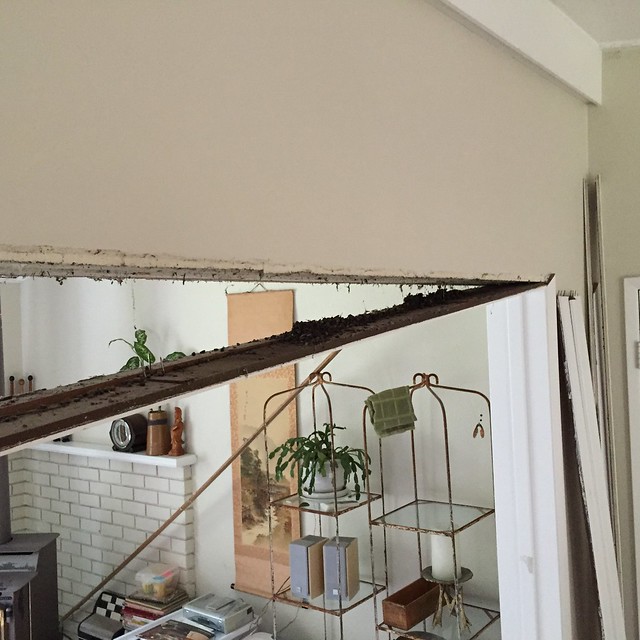
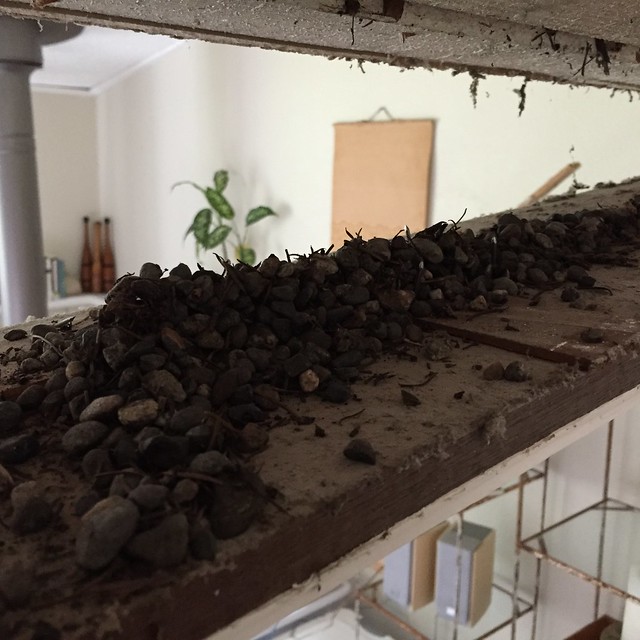
We bought this house about 8 years ago - it is our first house, and it met the criteria we were looking for: dated, but not in need of anything. It is not an expensive or fancy place, so this remodel is part of making it a little nicer and bringing the styling up to date. It was built in 1976, and is a manufactured home. It is traditional stud construction, it was just built off site in two pieces and then placed on a standard concrete foundation. The center wall of the house is the seam, and is about 7" thick because of it.
The original owner had done some work including a new roof profile and a very large shop; more on those features later.
Here is the house from the road:
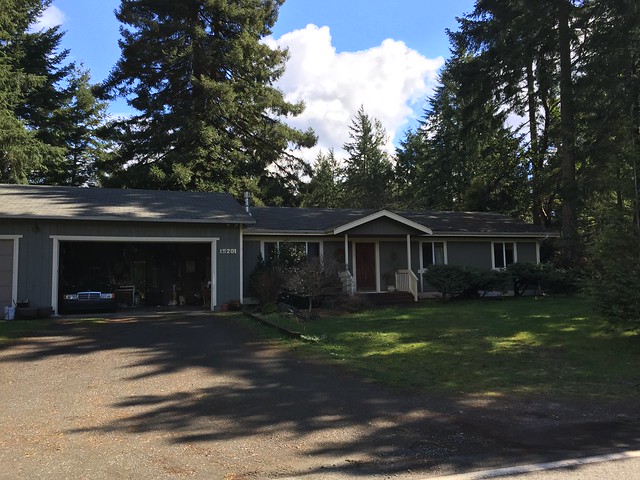 Untitled by craig richmond, on Flickr
You can see the large shop on the left - it is 50 square feet bigger than the house. ![]()
The Kitchen
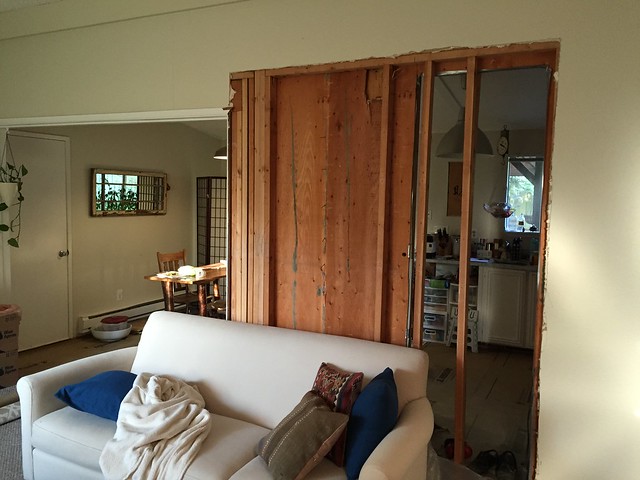
Why remodel? Well, because our kitchen is ugly, dated, poorly laid out, etc. Add to that that it is horrible for entertaining - the house is small, and with the way it is laid out, the living room is a thoroughfare between the kitchen and the rest of the house. Project goals/tenants:
-
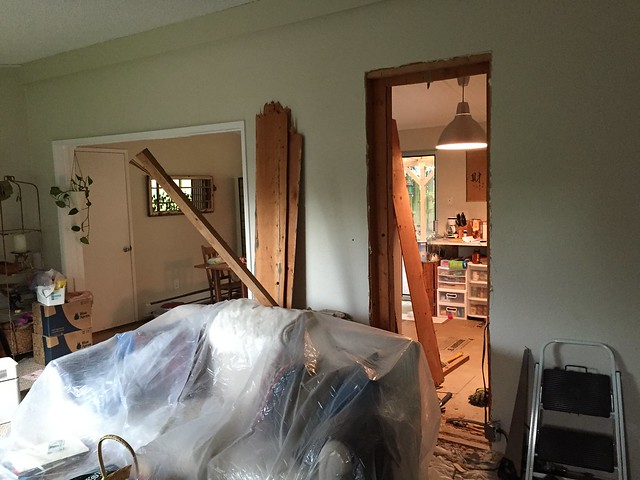
open up the kitchen area to the living room to maximize the entertaining and shared space feel, thereby reducing the thoroughfare feel of the living room
-
maintain space for small dining table/area at north end of room
-
use modern/mid-century modern styling to suit the sloped ceiling ranch style the house was built with.
-
Convert savings from doing as much work by ourselves into higher quality products (e.g. cabinets, flooring, etc.)
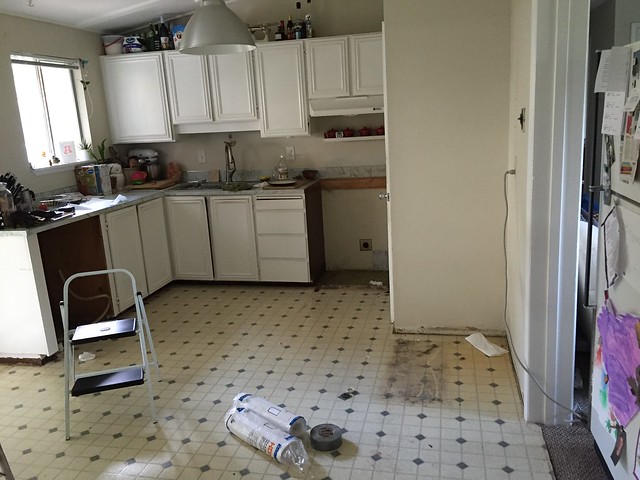
Before Photos
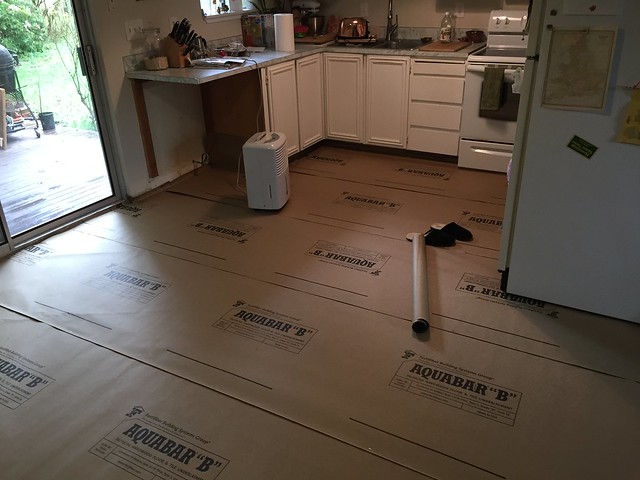
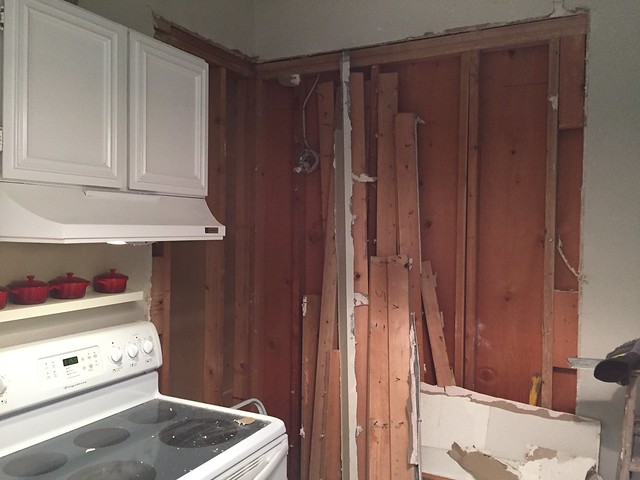
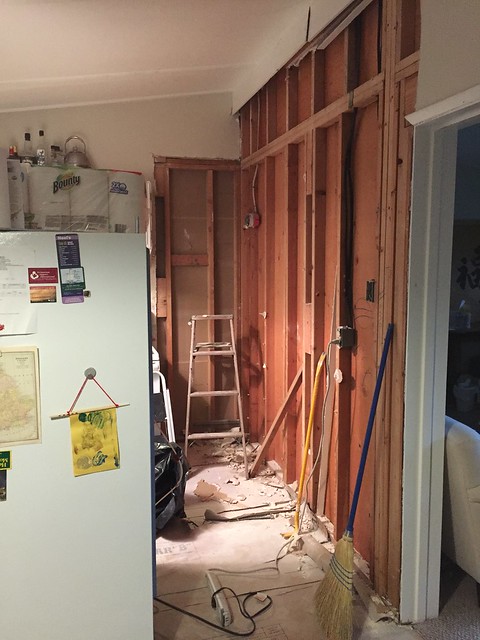
Note: these photos were taken as we were clearing the kitchen out for flooring stripping, so you'll see things are a bit discombobulated.
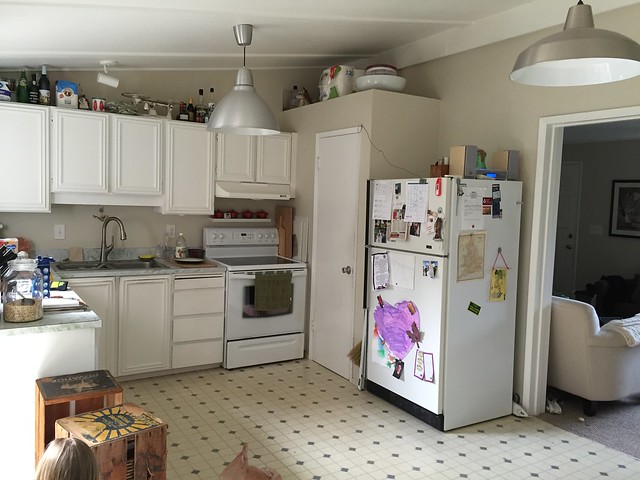 Untitled by craig richmond, on Flickr
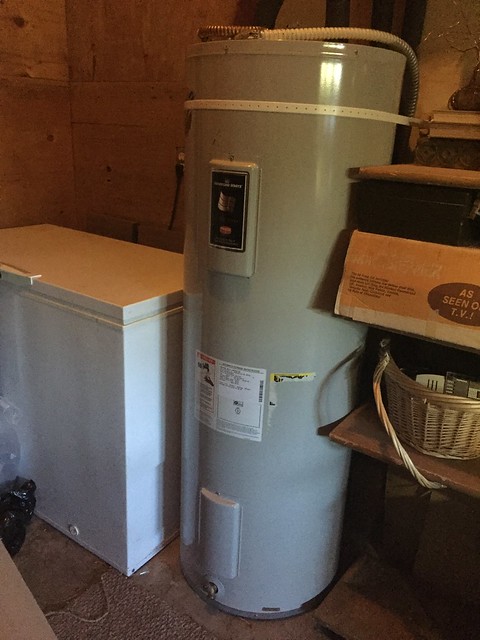
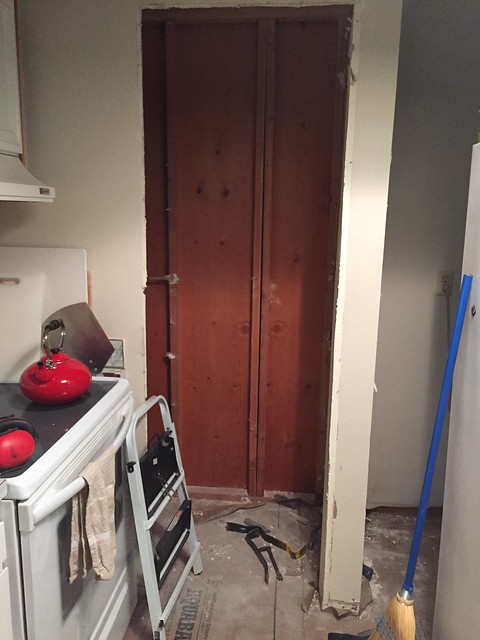
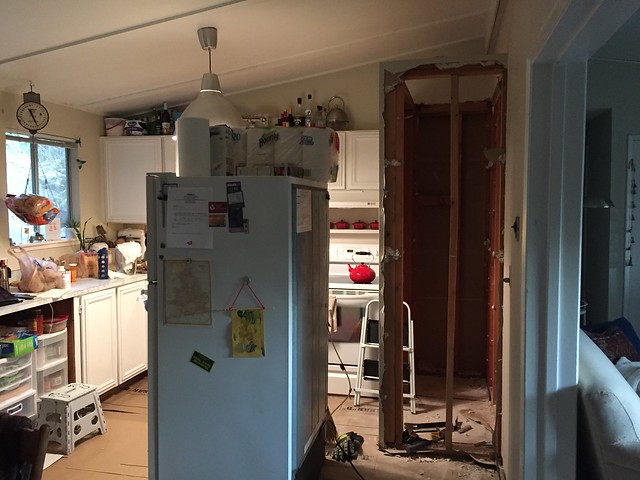
Note the giant closet/pantry in the corner of the kitchen, taking up all the space. It is home to the hot water heater, and also provides some pantry duties.
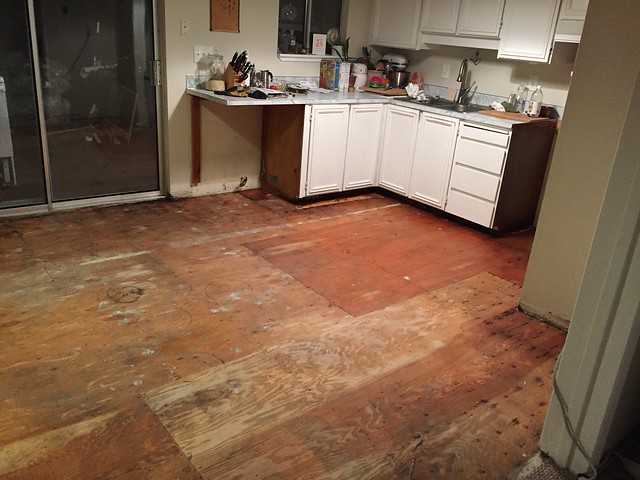
Rotating counterclockwise around the room, notice how the dishwasher is about half a mile from the sink:
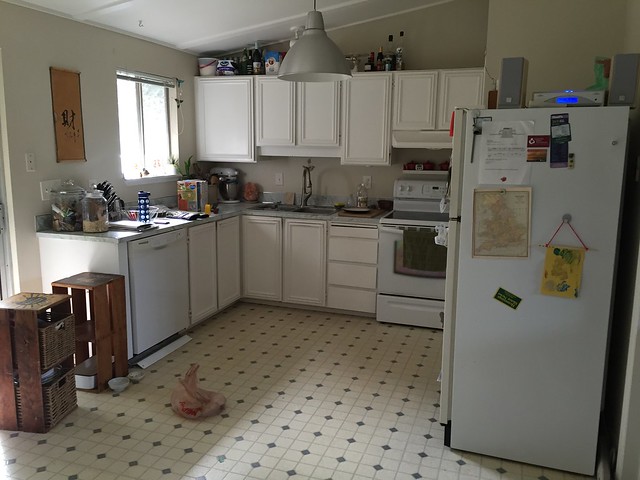 Untitled by craig richmond, on Flickr
The sliding door and the "dining room" such as it is. The door to the garage is just out of frame to the left.
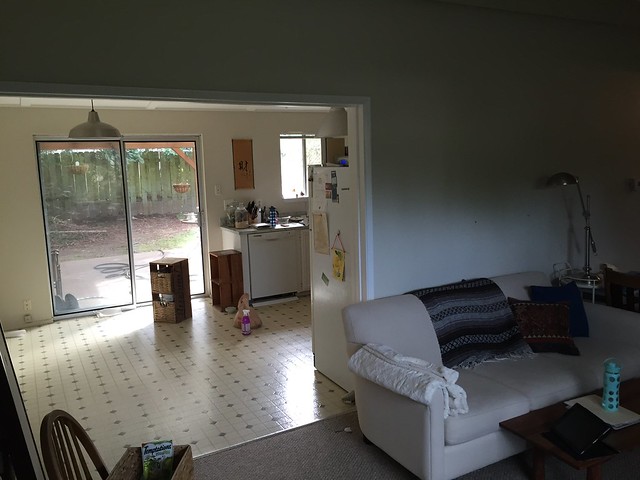 Untitled by craig richmond, on Flickr
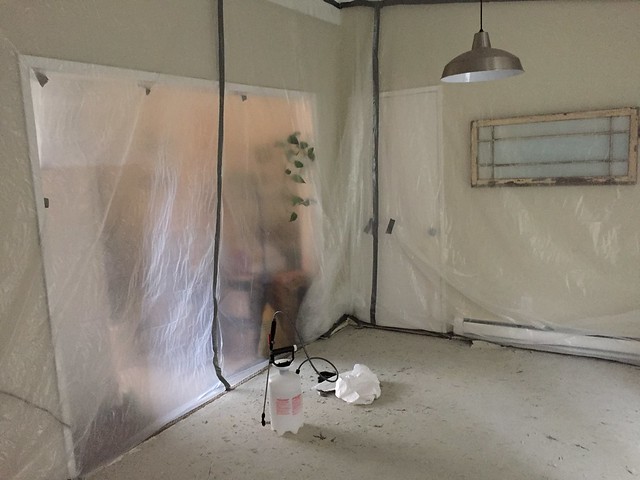
Here is another view, showing the empty room, with the door to the garage:
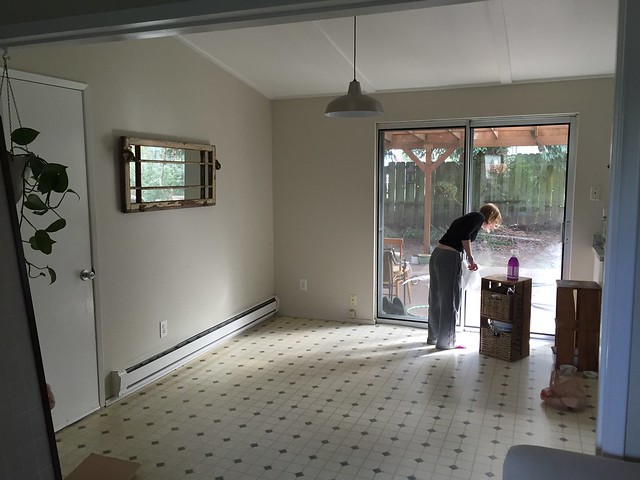 Untitled by craig richmond, on Flickr