I saw David Wallens' sweet Skyway T/A build thread and was inspired to post up one of my own for my current BMX project.
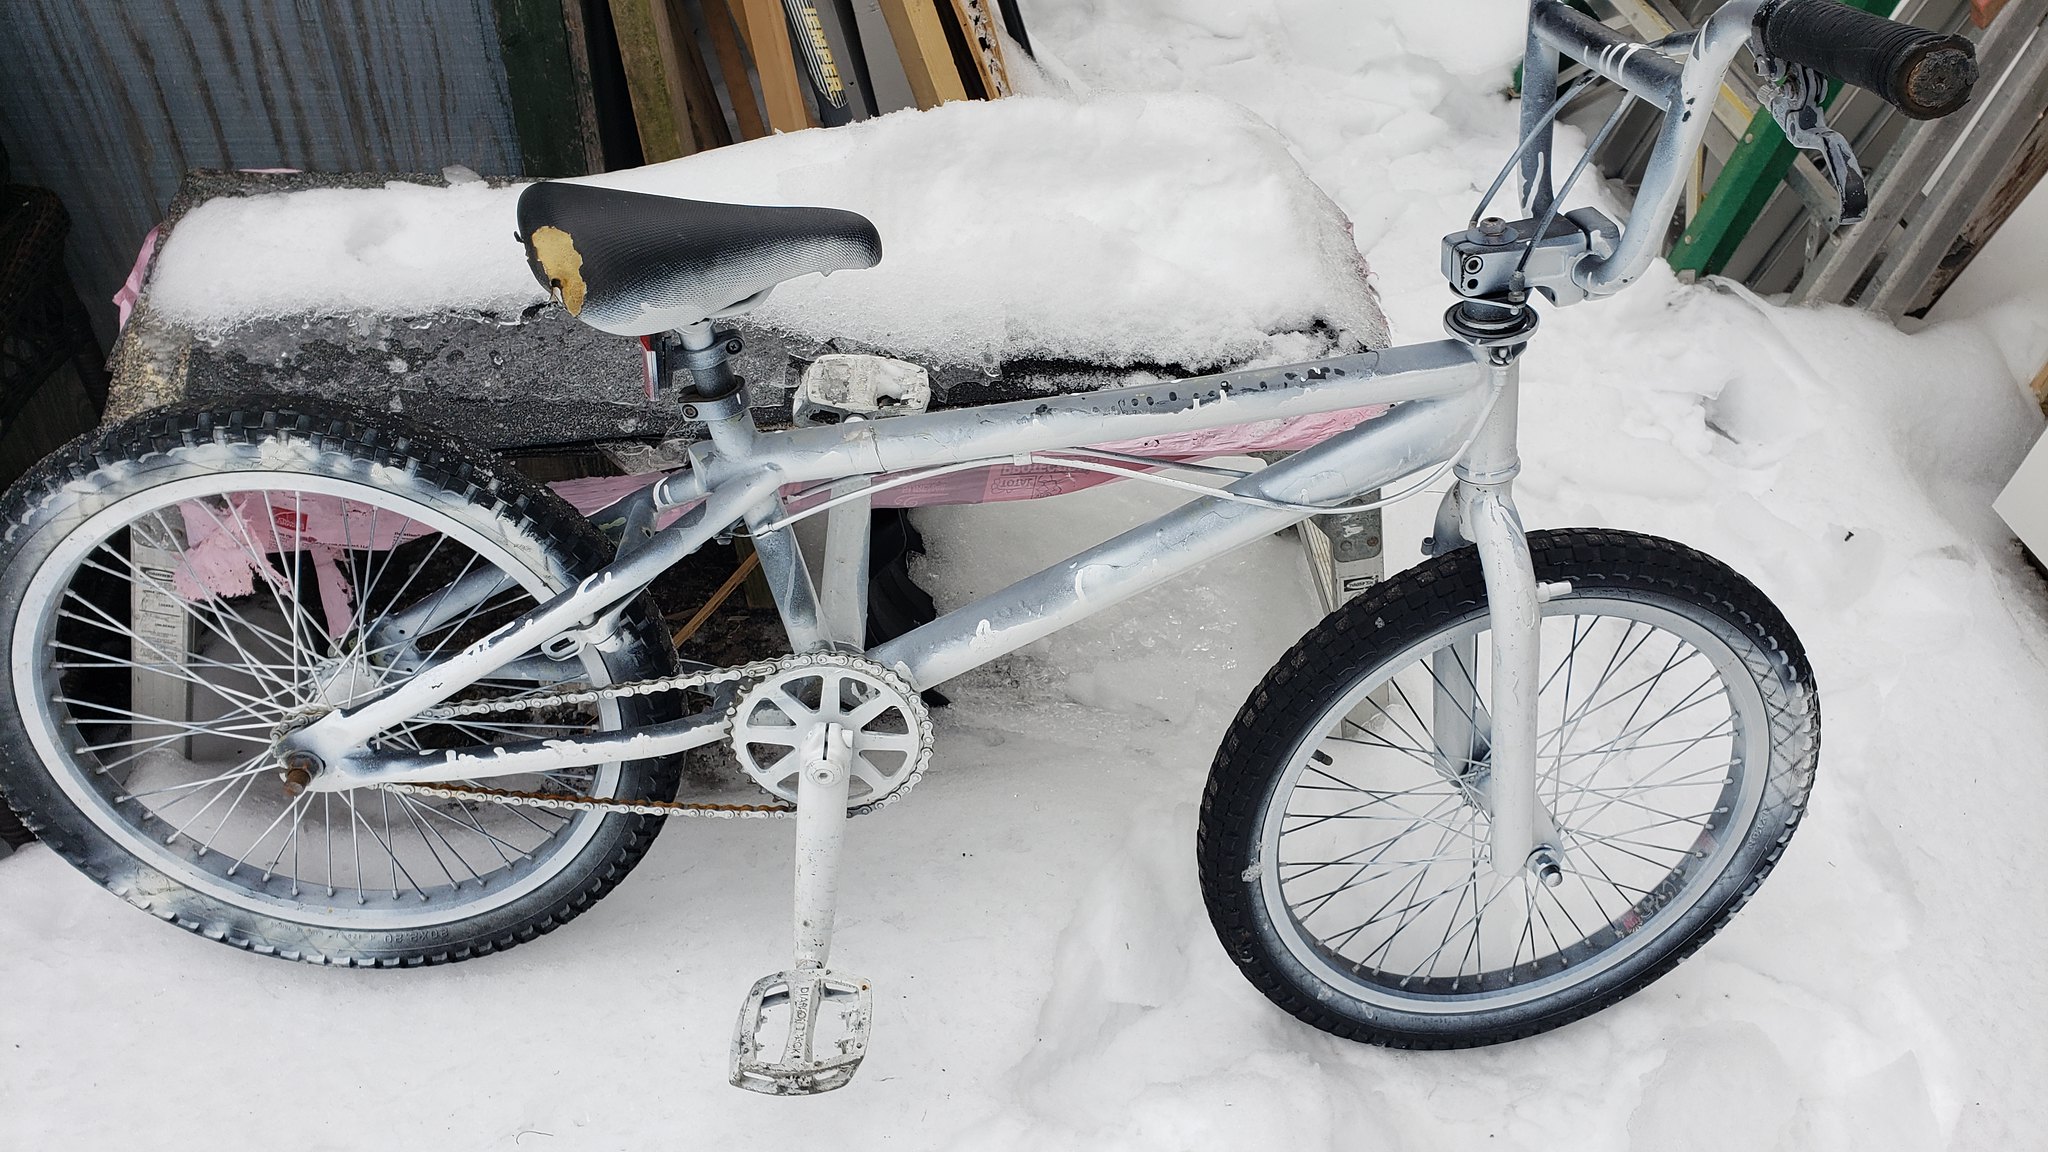
I have a weakness for basket case / project bikes and, much to my wife's disappointment, frequently drag them home. This is the most recent, a 2008 Diamondback. I originally thought it was an Orion, turns out it's a Venom.
Crankwalk's thread about his Honda 1966 Honda CT200 Trail 90 had the following phrase - "It's mostly complete and needs everything at the same time." That describes this bike perfectly.
I started this about a year ago
full bike:
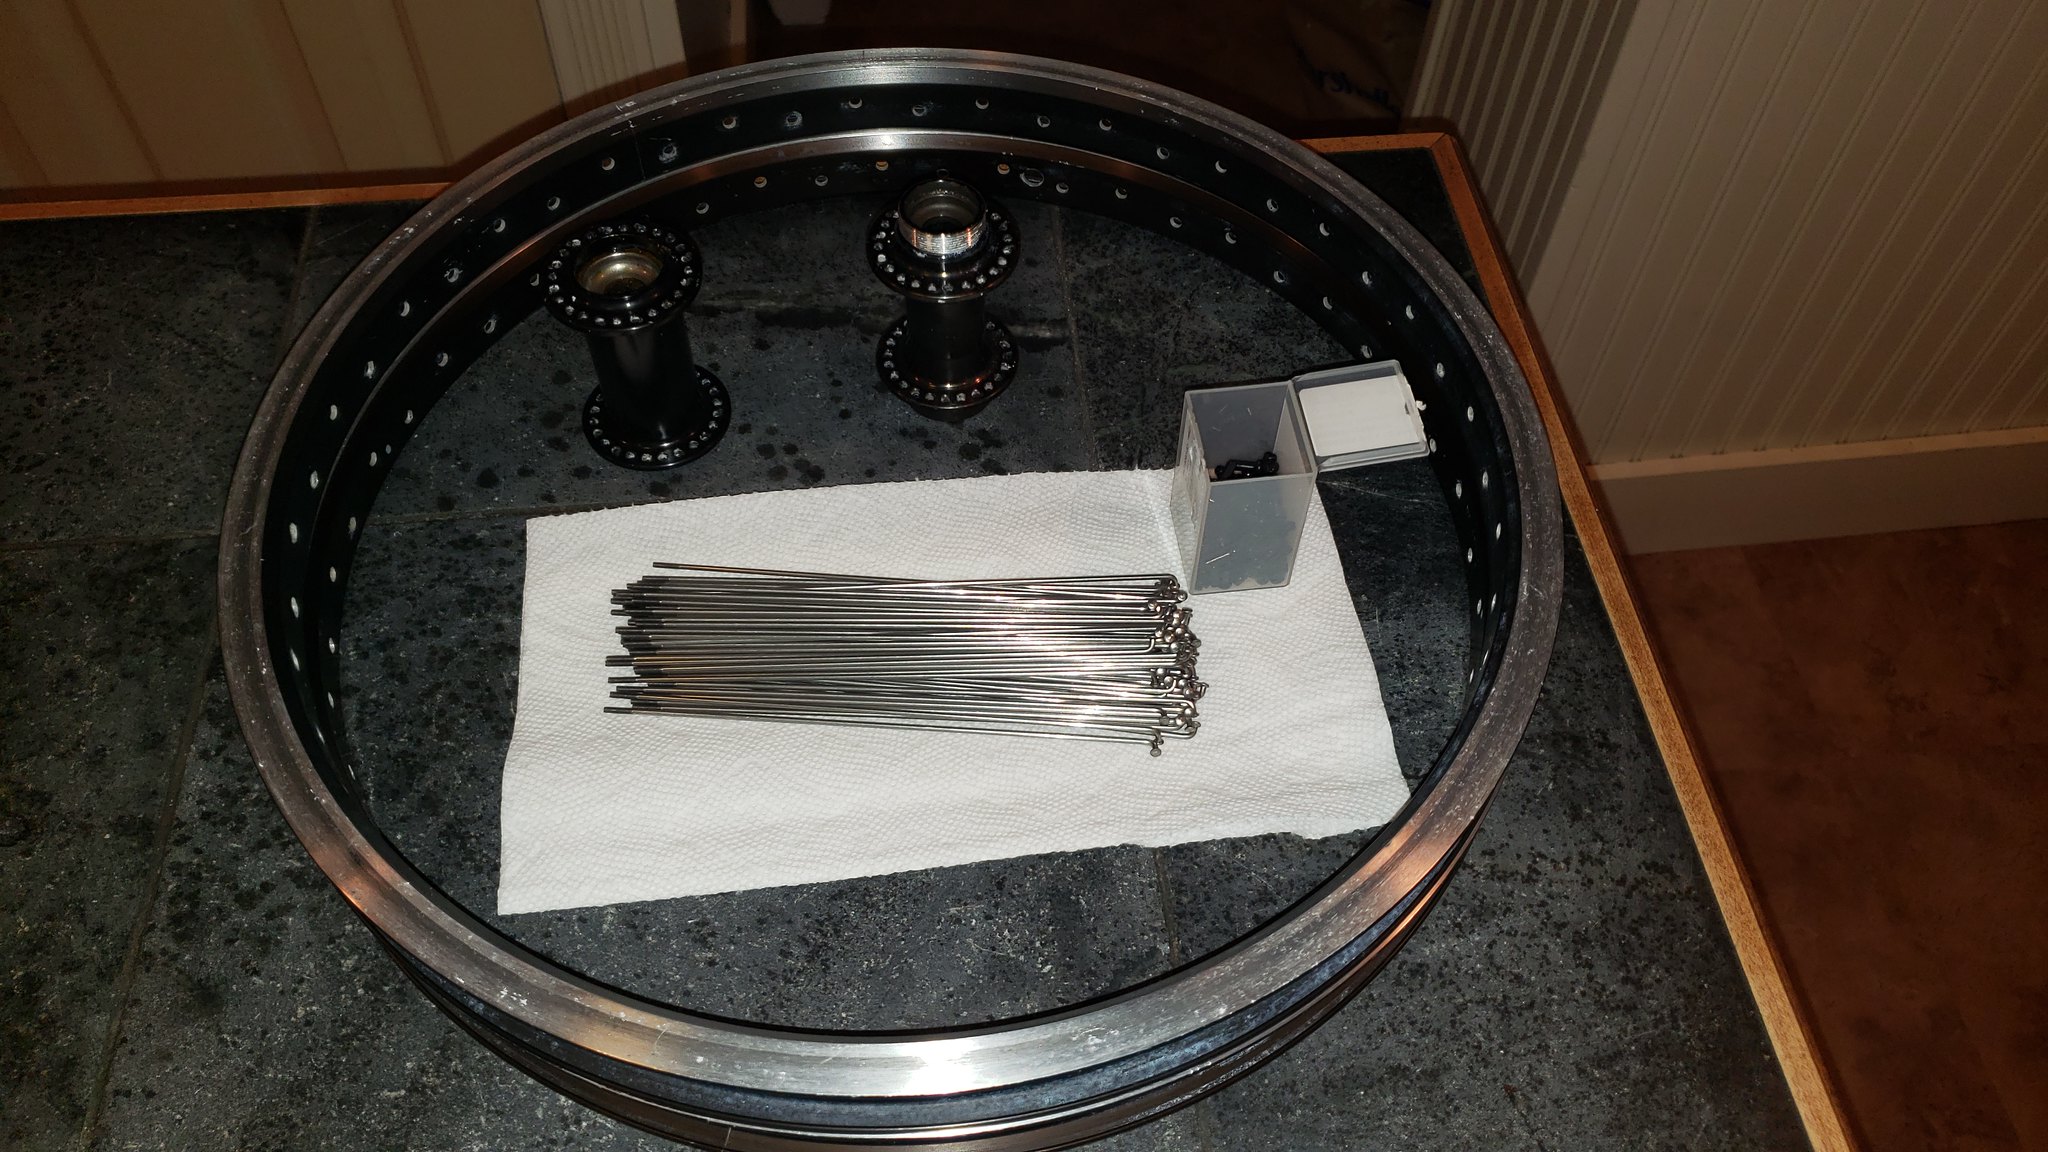
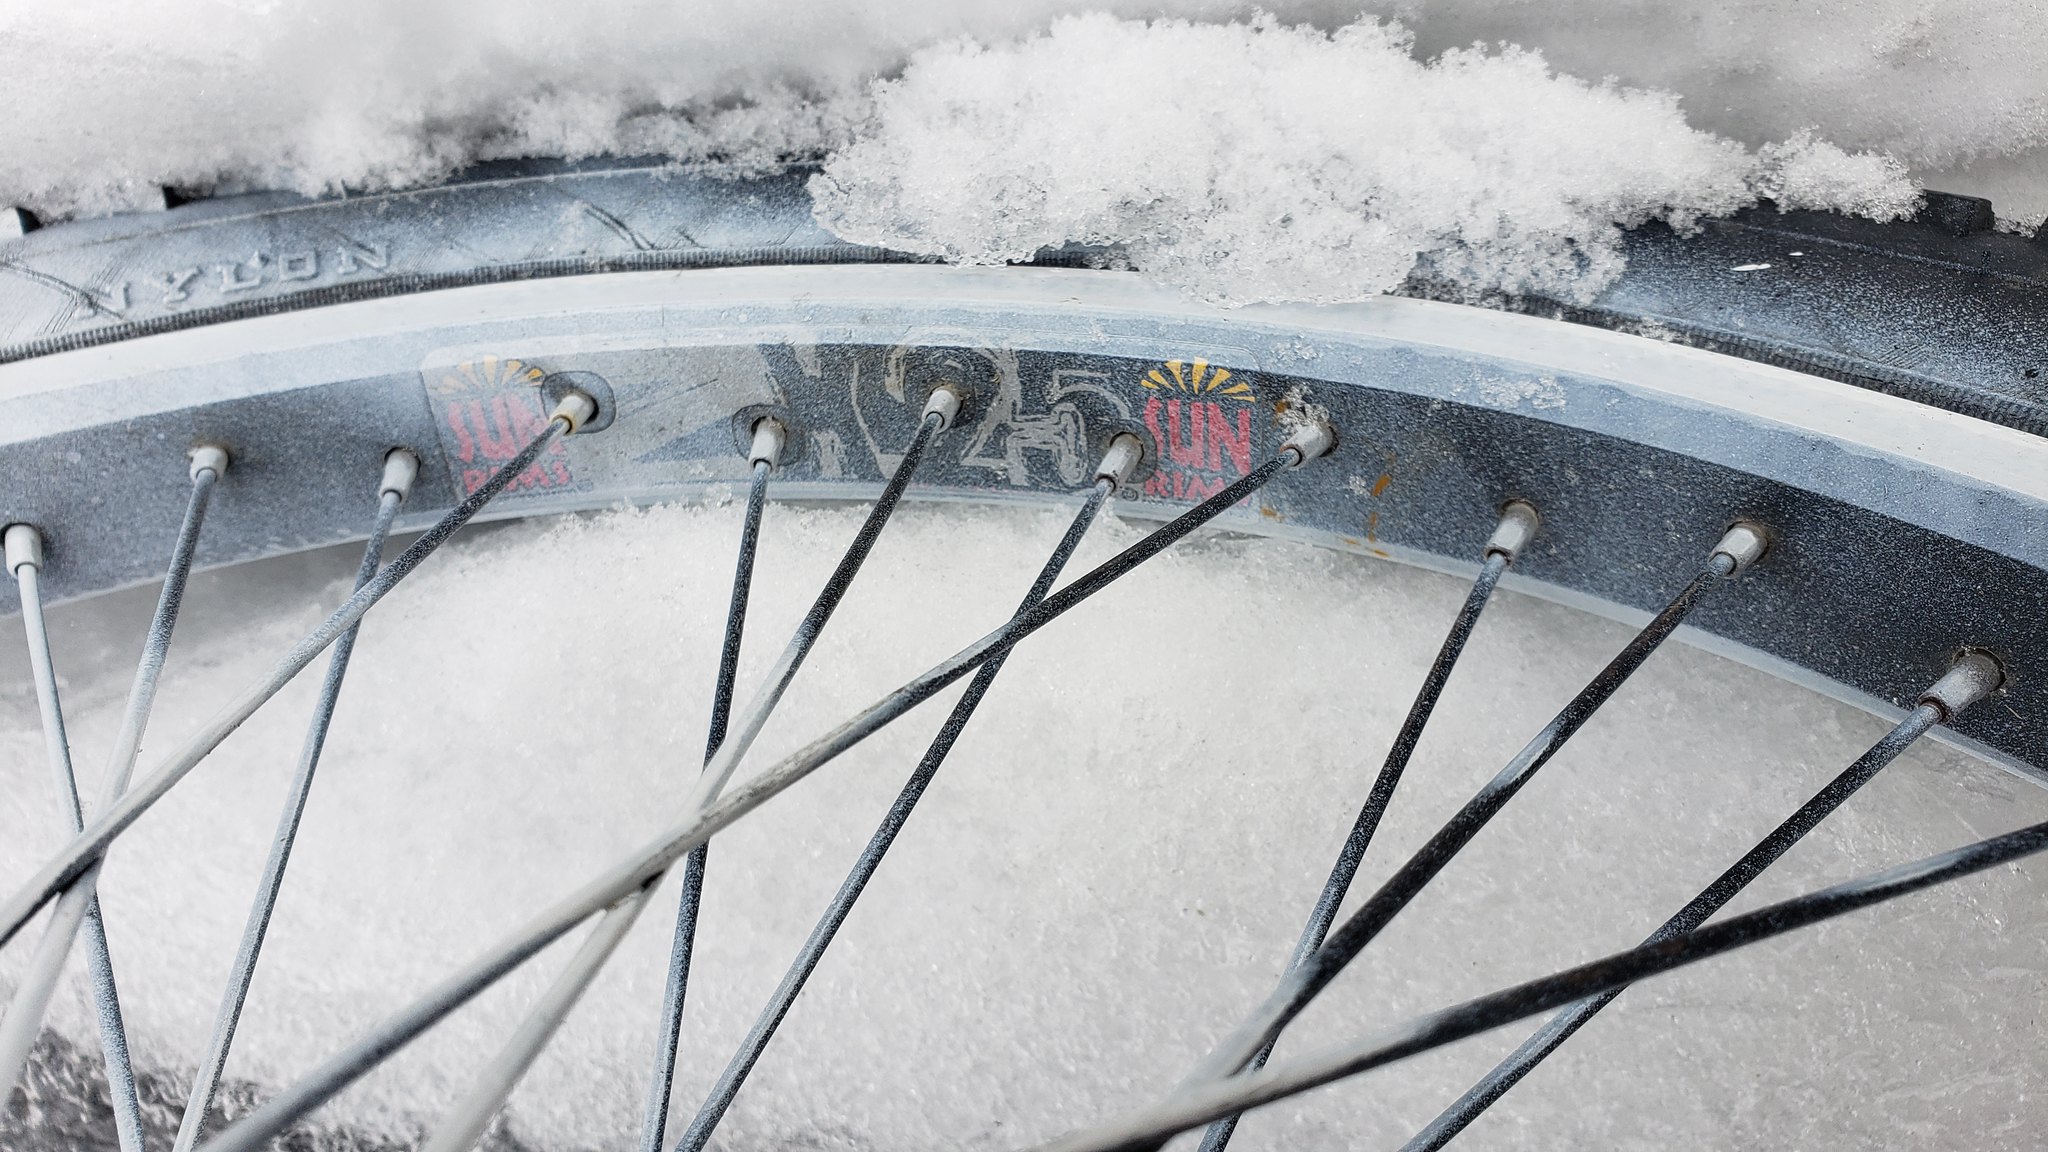
Sun X25 rims:
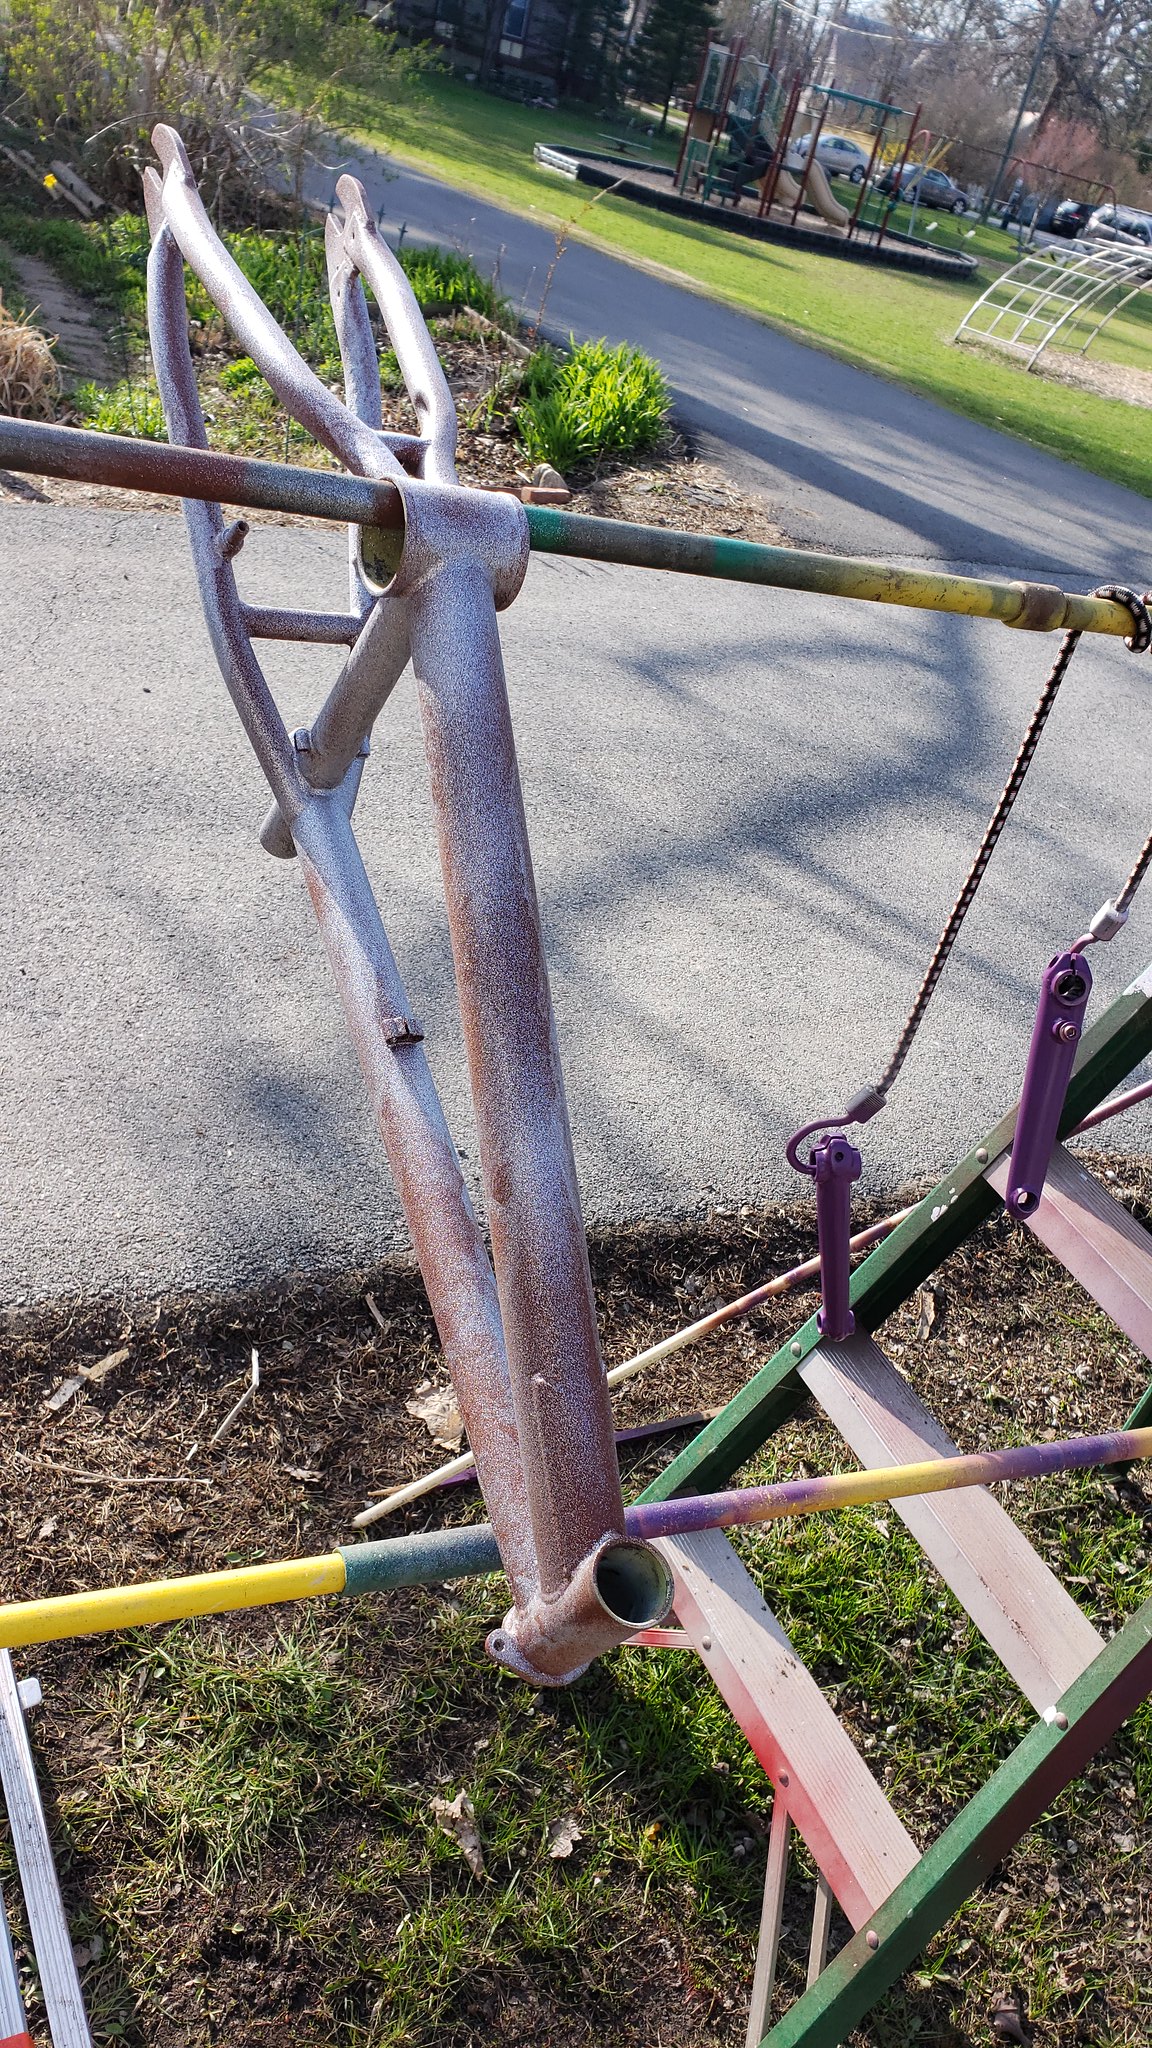
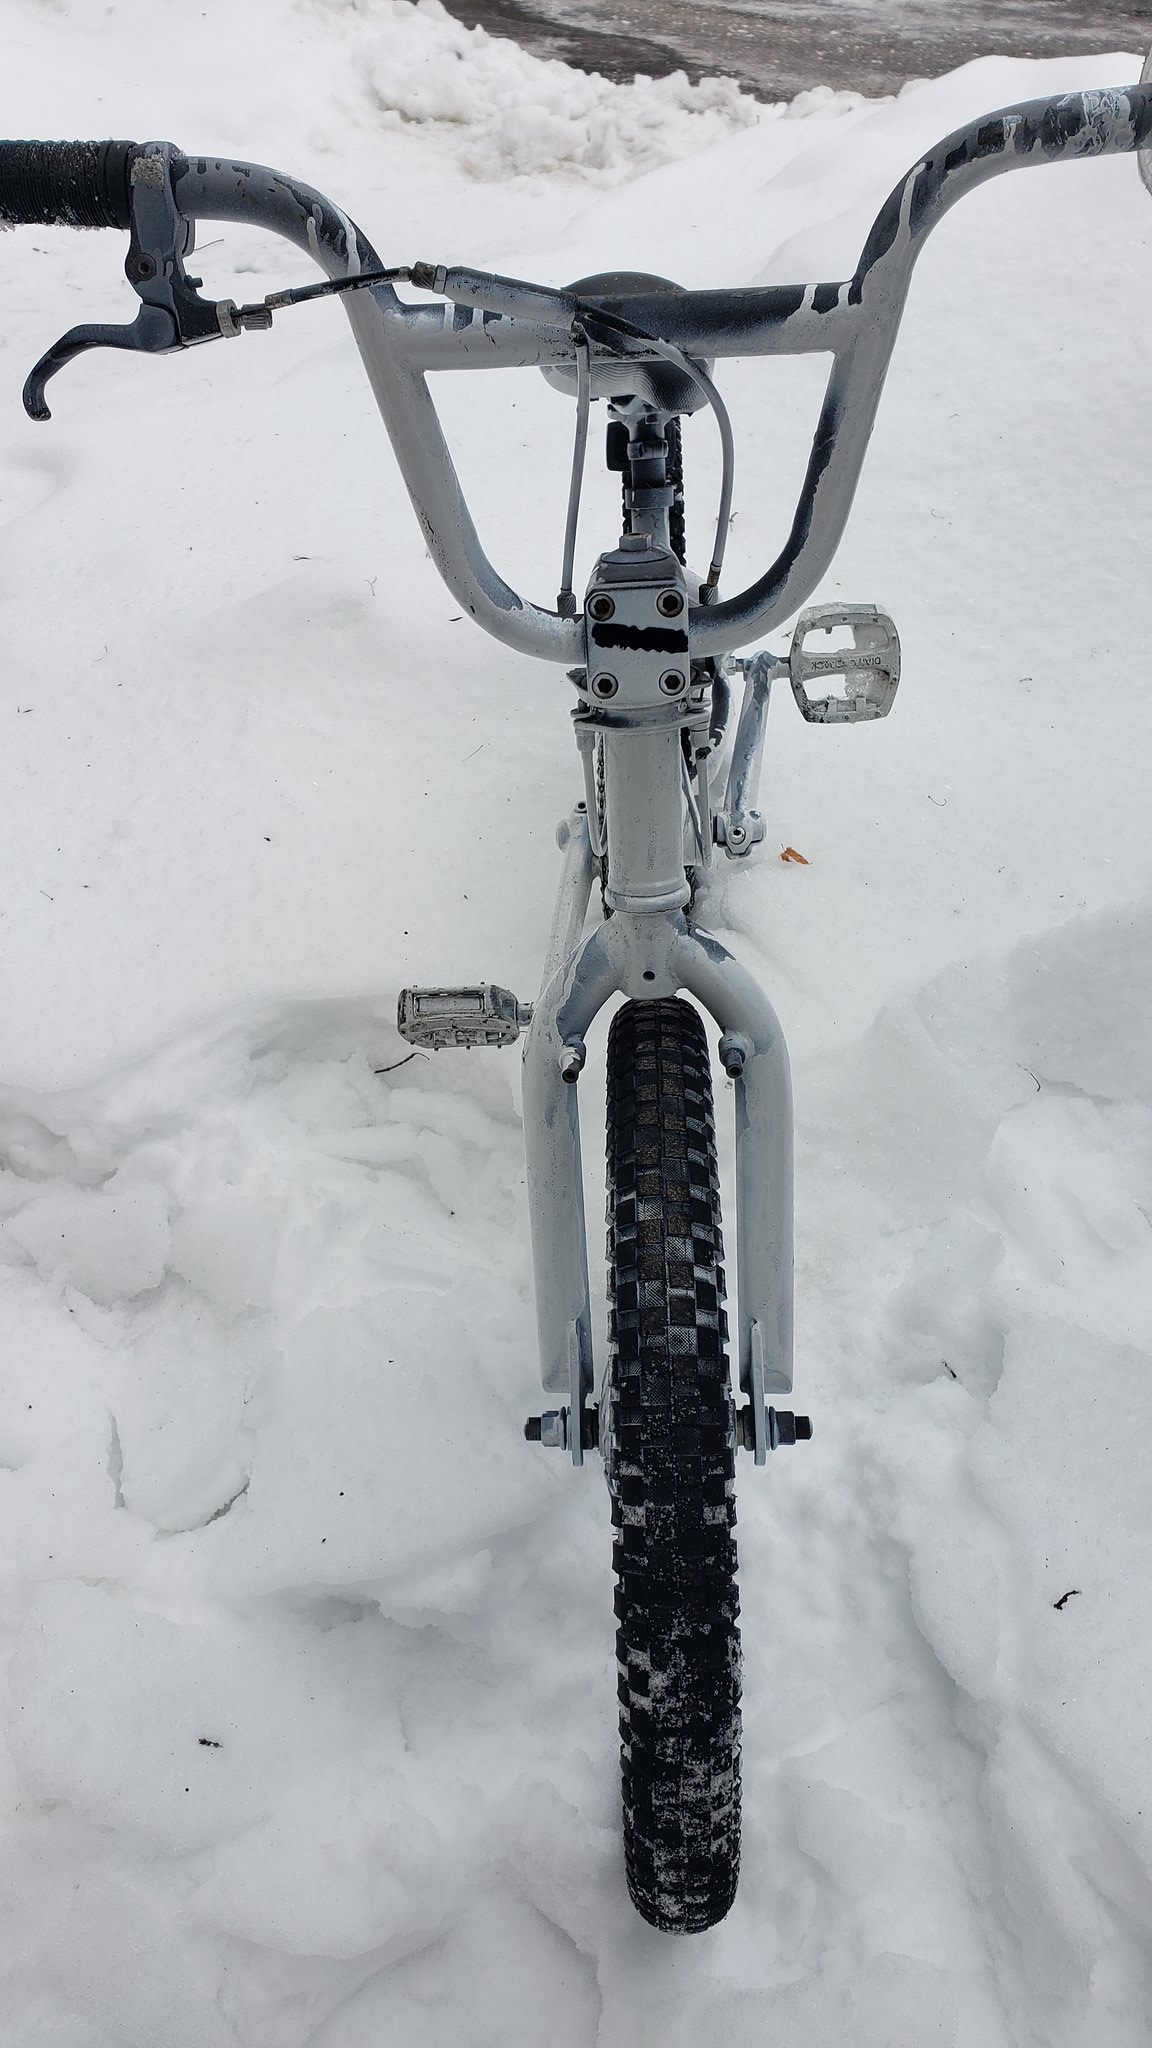
Head on:
The chain is totally unusable so it's gone. After a lot of struggle, I got the cranks off and spindle out:

They're very rusty and then had several layers of spray paint applied over the rust. The allen wrench holes on the pinch bolts and spindle bolts were pretty badly stripped as well. If I keep the cranks I'll need to replace the bolts.
Aside from the spray paint the pedals are in really good shape.
Took the stem and bars off:

The grips and brake lever were toast. I had originally planned on cleaning up the cables and reusing them but they're not worth spending time on.
I'm on the fence about the stem also. A few of the cap bolts were stripped, and I needed to shove a chisel into the (formerly) hex sockets in order to get them to loosen up. I tried taking off the rattle can paint with some rubbing alcohol, it looks like the finish underneath the spray paint was already damaged. If I want to use the stem, I'll need to completely strip it, file off some deeper scratches, sand it, and polish it. Need to root around in the parts bin and see if I have a more viable option.
I had planned to start in on the headset as well, but I can't get the forks out of the frame. The alloy headset spacer below the gyro plate is stuck to the fork tube. Just like an alloy seat post gets stuck in a frame. The PB Blaster soak is in progress.
==========================
(from a few months ago)
After some progress cleaning up some parts:

Initial pass at paint removal and cleanup on cranks and chainring bolt. The cranks need another round of sanding then primer and paint. Chainring bolt is done.
Bearing cups, seat post clamp and bolt, rear brake straddle yoke, stem cap, and seat post internal parts are all cleaned up too. I'll probably prime and paint the seat post parts so they don't rust.
Not pictured are the crank spindle and other bottom bracket parts (soaking in paint thinner) as well as the seat post (still stripping paint) and chainring (all cleaned up).
Some new parts:
Not pictured are the new upper and lower gyro cables, tires, tubes, chain, grips, and headset. I went with an FSA 'The Hammer' oversized threadless headset.
The parts bin is contributing an unidentified front load stem and a pair of black Mosh pedals.
Haven't touched the wheels yet except to remove and toss the old tires and tubes. The hubs really need a teardown and repack, and I need to remove Rattlecan Picasso's handiwork from everything.
Also need to finish stripping paint off the frame and fork. Waiting for warmer weather for that.
============================================
(from today)
I ended up using the stem that came with the bike.
All the threads were fine, I need to replace all the bolts since their heads are all chewed up.
I soaked it in paint stripper and the spray paint came right off. It had a black finish of some kind, but the layers of spray paint were hiding some nicks and gouges. The finish was pretty beat up and came off with a few repeated baths in paint stripper and some scraping.
I filed off the worst of the abuse and used 60 grit drywall sanding screens to even out everything. I like these because they will remove finish/residue/material without clogging up as much as sandpaper does, and you can even cut them to a quarter sheet size and chuck them in to an electric palm sander.
I then went to 120 grit sandpaper for a few passes, then 400 grit wet sanding. Putting a small drop of dish soap on the sandpaper while wet sanding really makes the process easier.
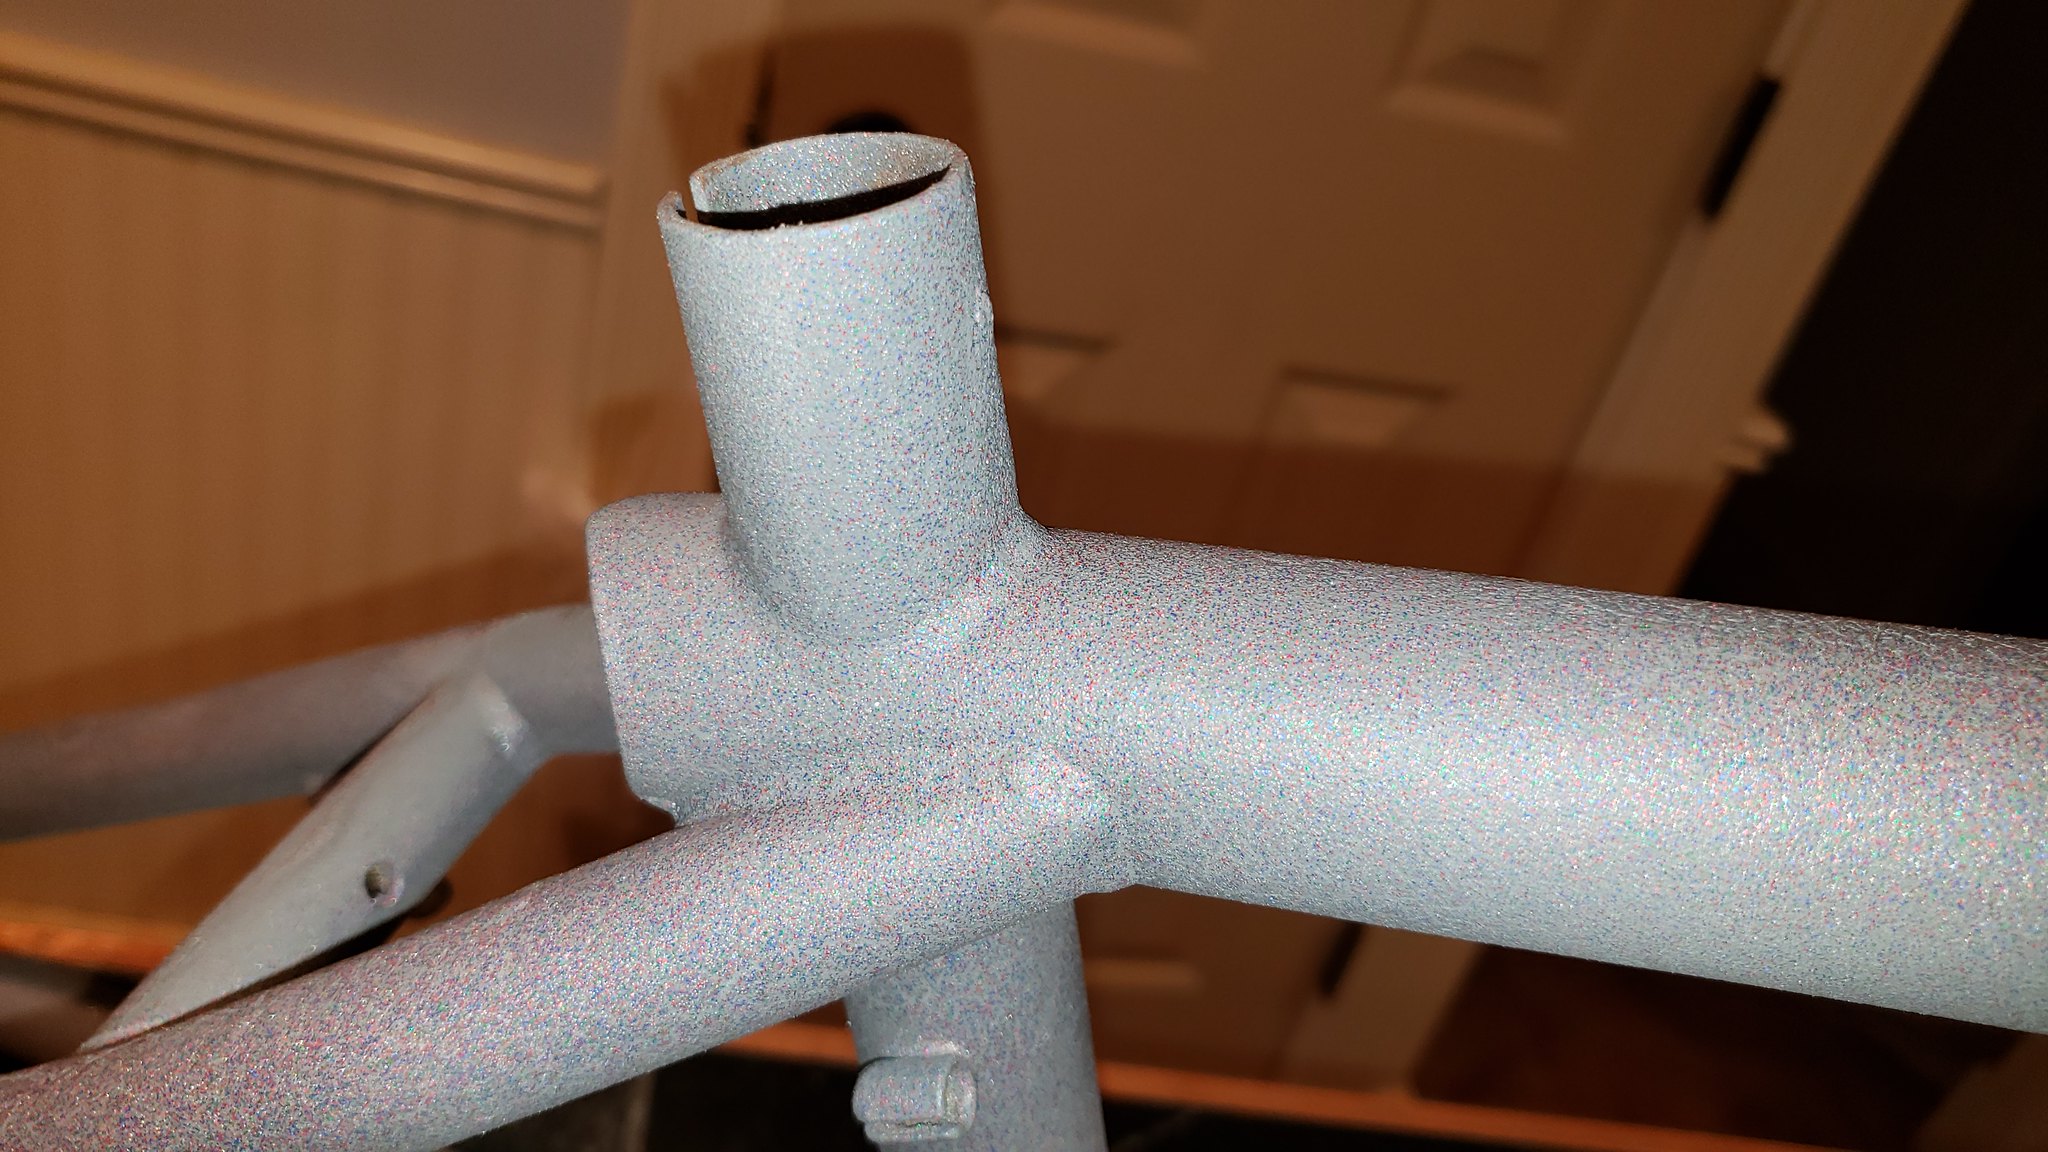
I'm happy with the results so far:

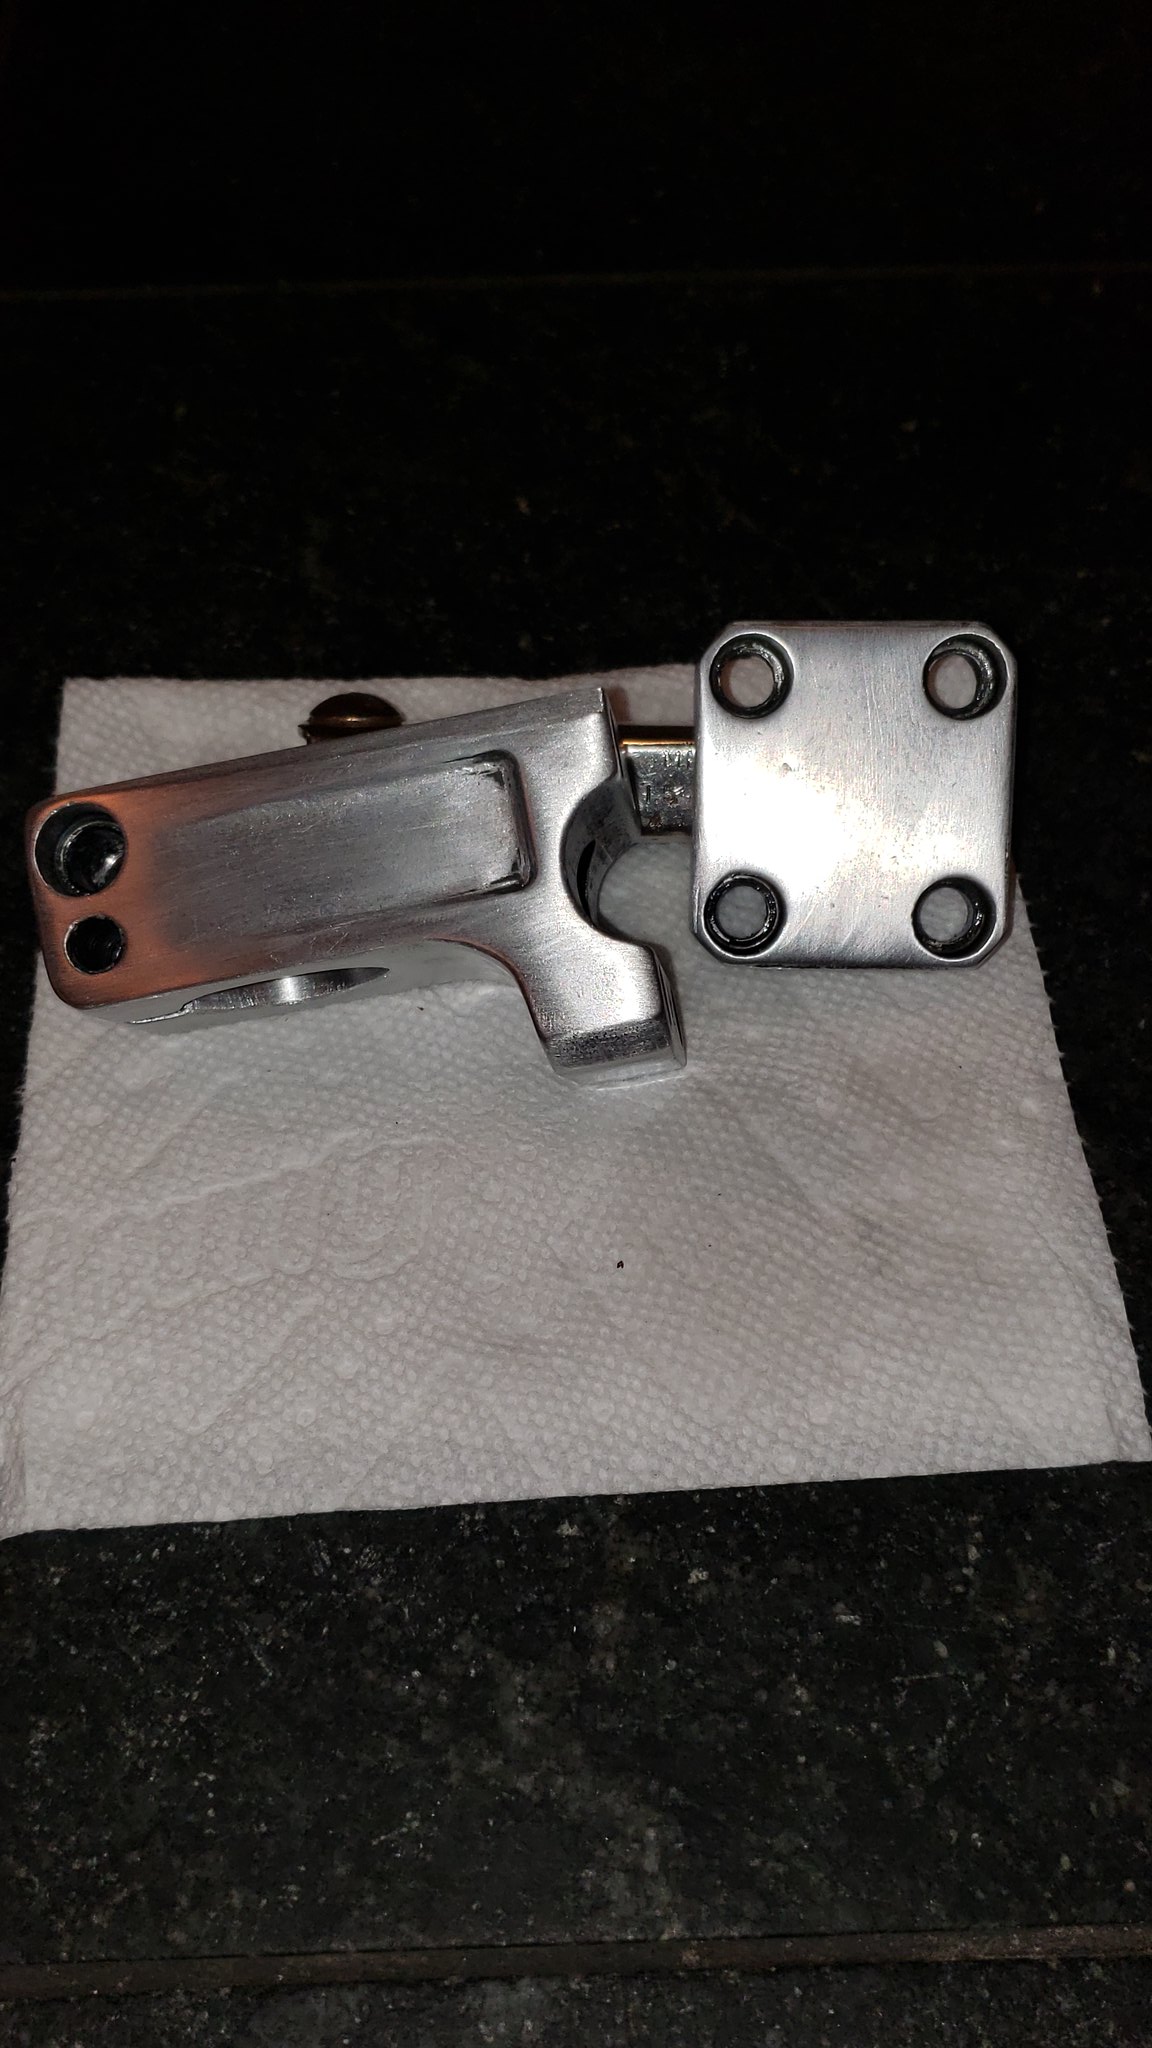
I may take a few more passes with the 400 grit and then a few with 800 grit. I'm not going to polish the stem since I'm a fan of the satin brushed aluminum look.