previous total: 839
money spent:
13.00 2x 2x4x12
15.00 floor adhesive and trowel
12.00 floor roller
new total: 879
when we left off, here is where we were at:
[URL=http://s54.photobucket.com/user/dusterbd13/media/20151002_075533_zps3ufzpsgn.jpg.html]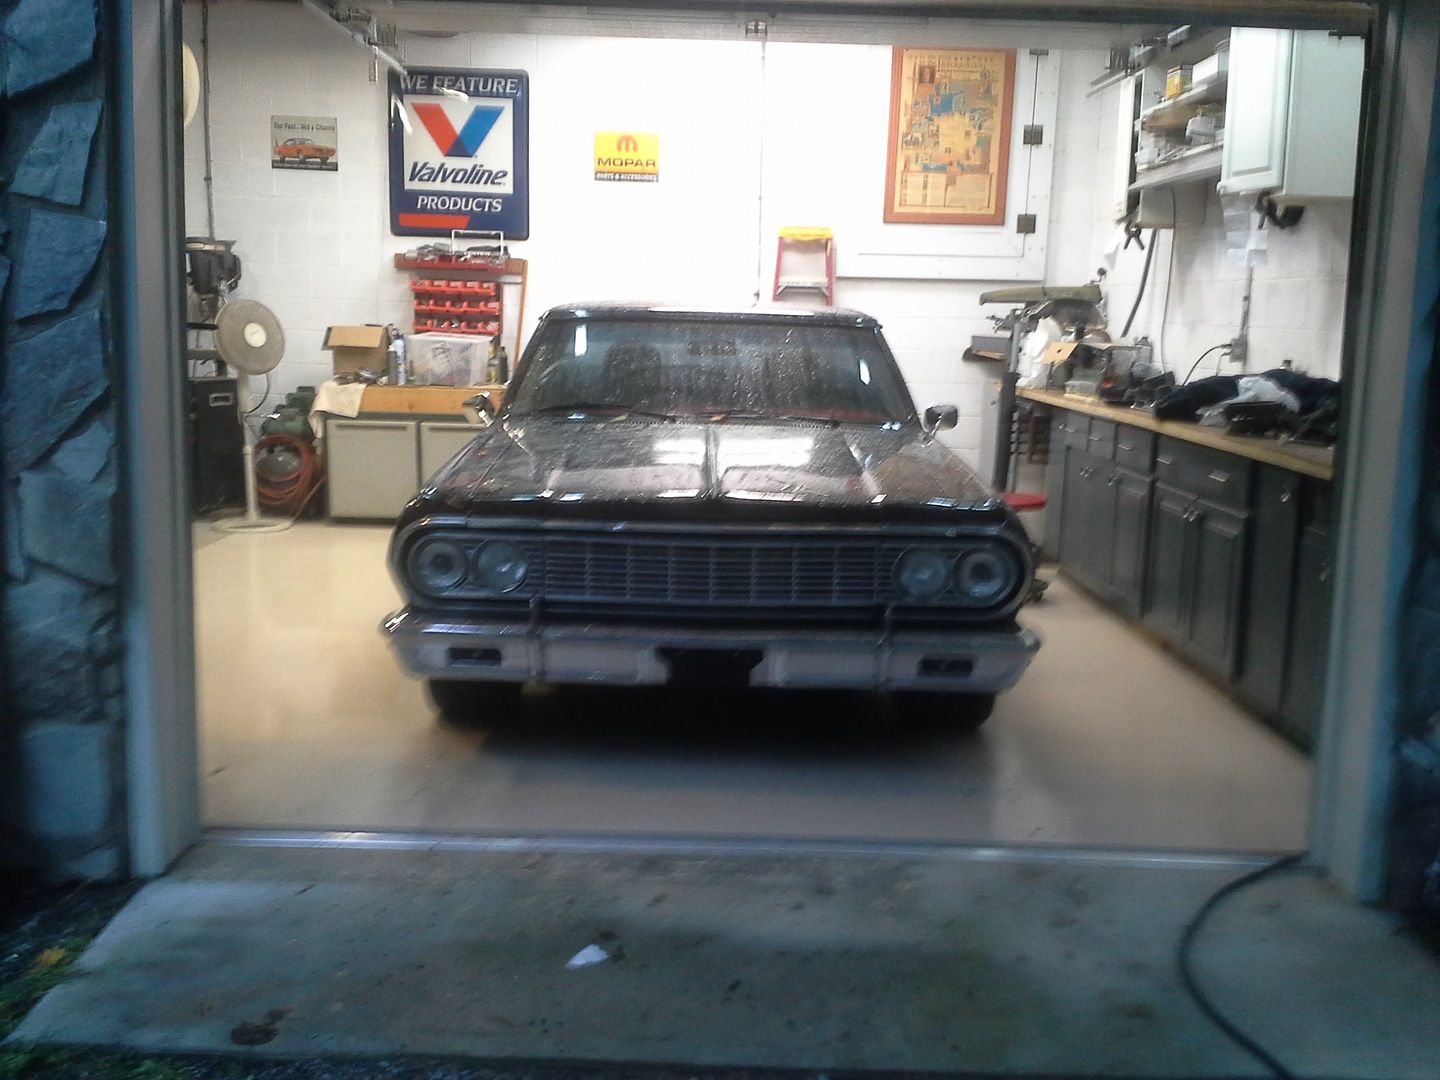 [/URL]
[URL=http://s54.photobucket.com/user/dusterbd13/media/20151002_075605_zps2xrj8kr9.jpg.html]
[/URL]
[URL=http://s54.photobucket.com/user/dusterbd13/media/20151002_075605_zps2xrj8kr9.jpg.html]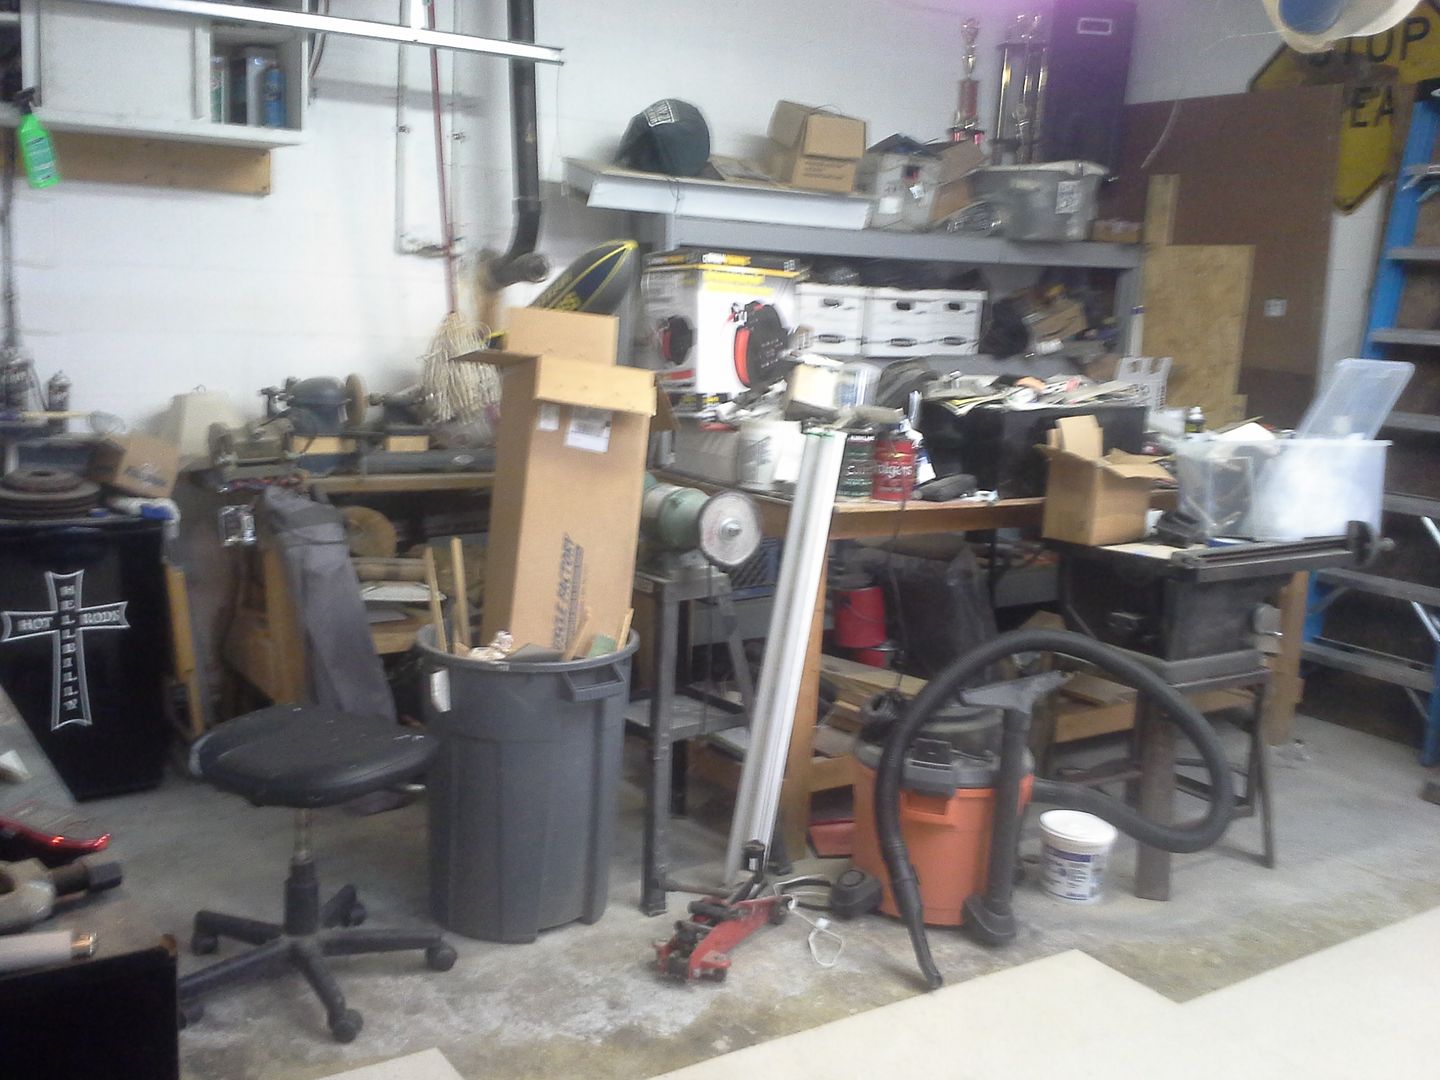 [/URL]
I wound up rebuilding the brakes, rear axle, front suspension, and entire accessory drive on the elky.
and the job was much nicer with the new setup. I have learned that I need to put something down on the floor before using a floor jack, as it rolls the tiles of the floor at the front wheels of the jack. I also learned that if you let a puddle of brake clean lay on the floor, the tiles will lift, but lay back down. gas leaks, however, will eat the tiles to the point of needing replacement. only two tiles overall were actually damaged to the point of needing replacement, by gasoline.
[URL=http://s54.photobucket.com/user/dusterbd13/media/20151102_171116_zpsp5rsgyt5.jpg.html]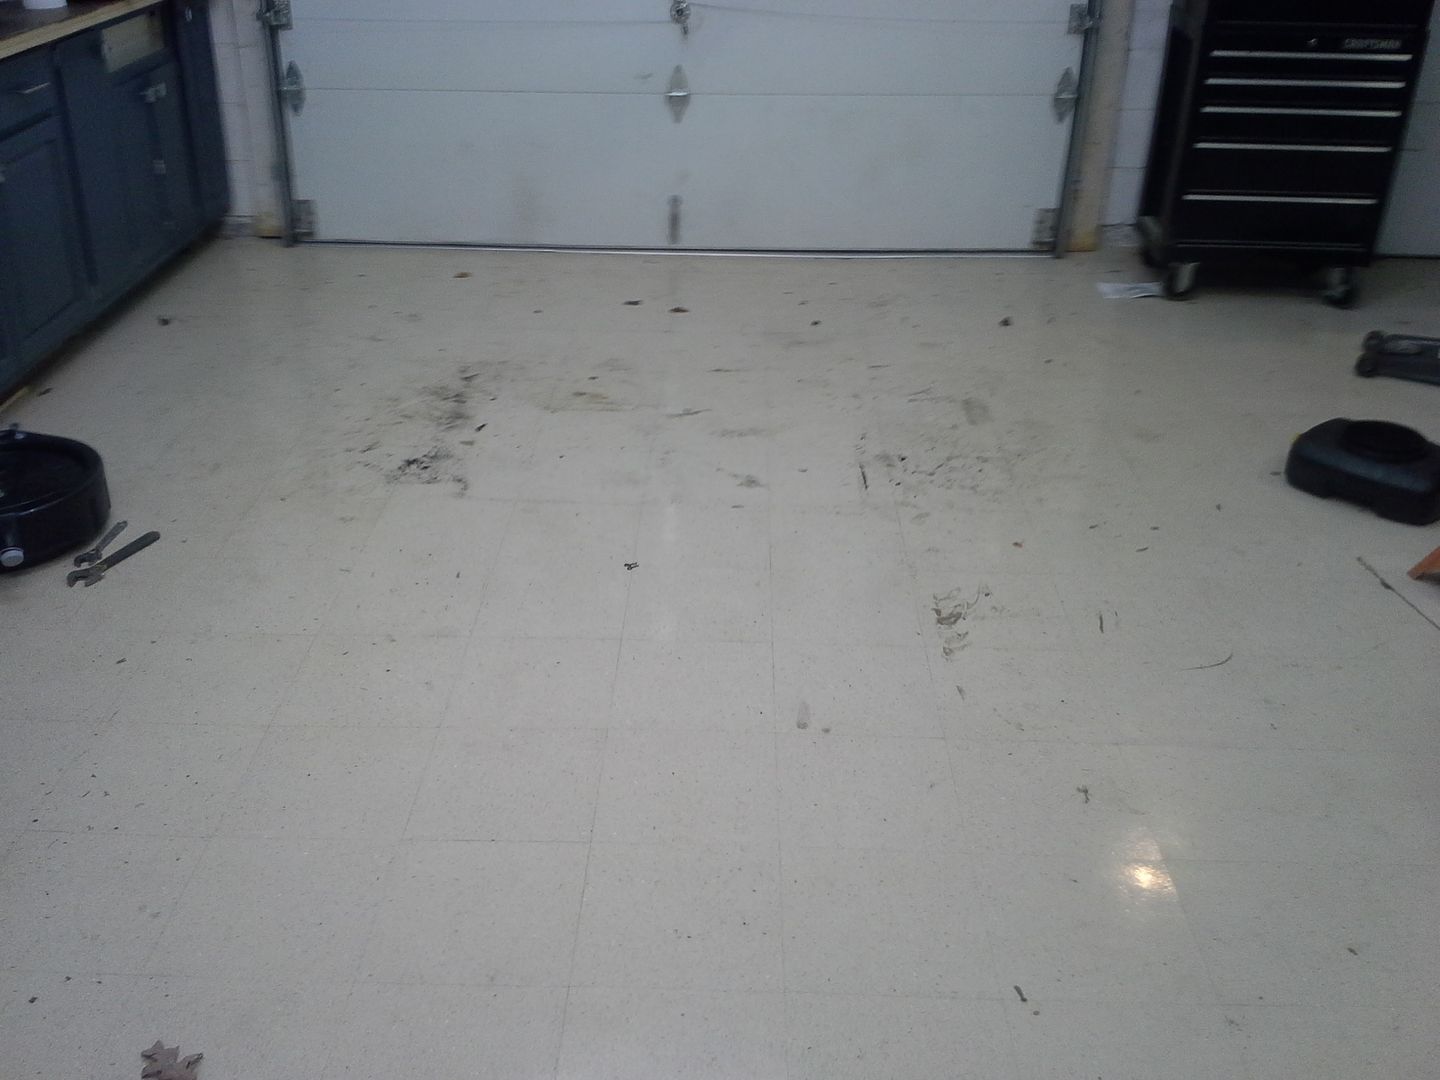 [/URL]
it was a much more pleasant job on the new floor with the lights, sink and workbench being setup. the job gave me enough ideas of what I need/want next proceed with the shop changes. so I did.
the first of the next steps was to finish the damn floor. which meant I needed to move everything. every inch that was not screwed to the wall. that was a lot of crap. then, pressure wash the floor, lay the tiles, and go.
[URL=http://s54.photobucket.com/user/dusterbd13/media/20151106_124145_zpsghgsz09y.jpg.html]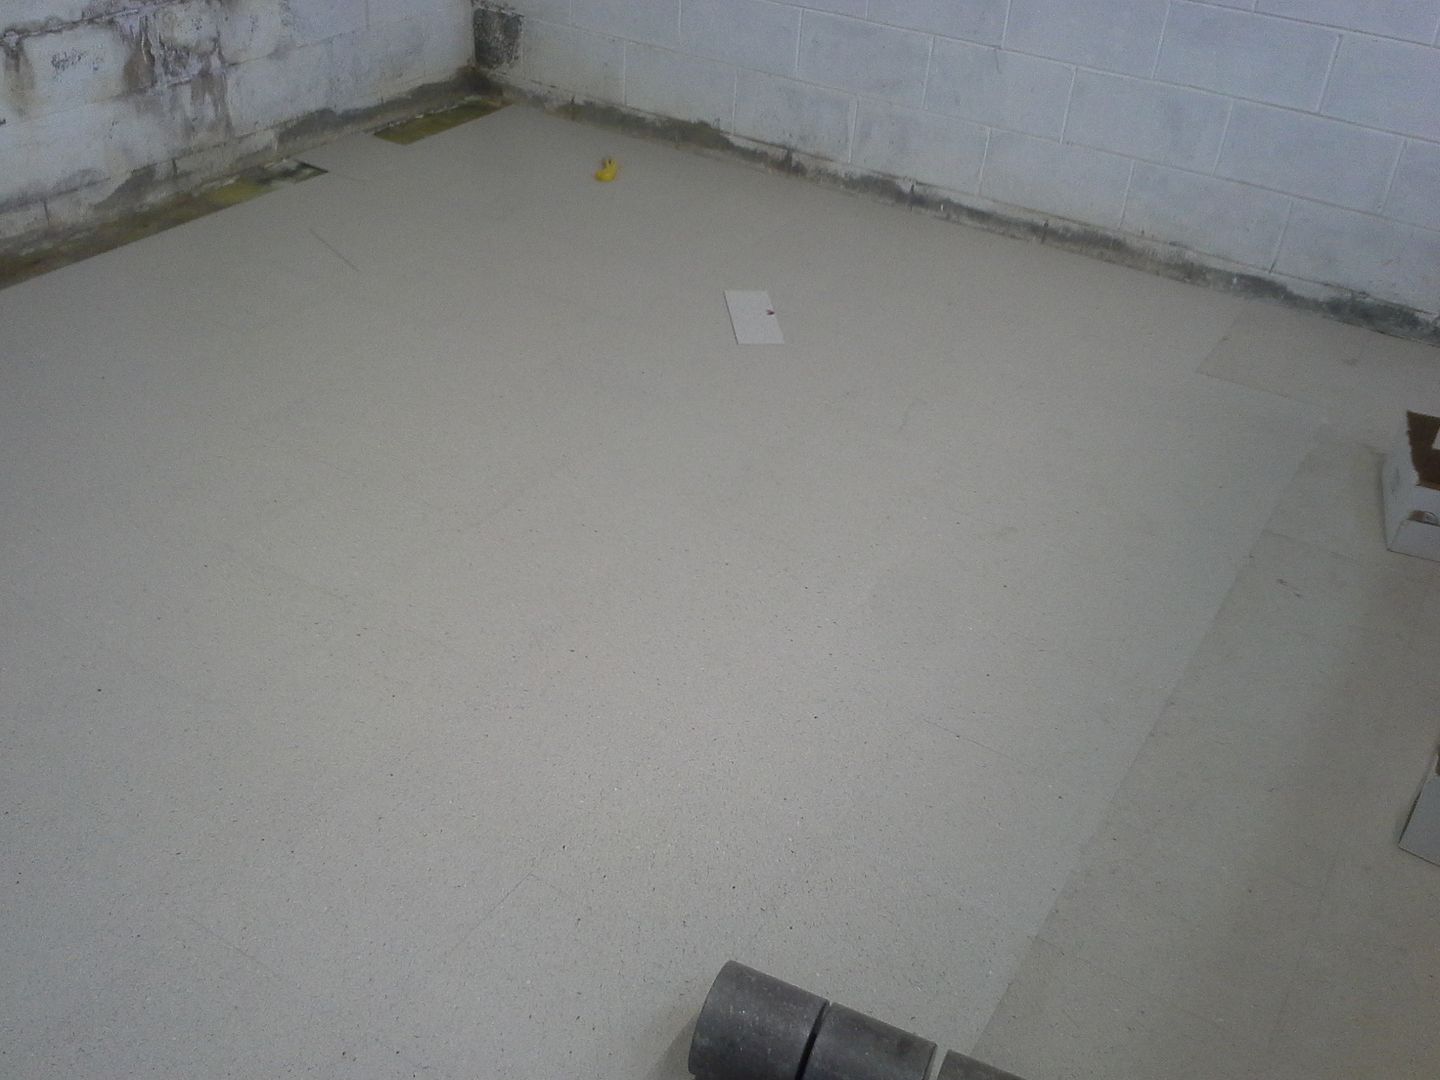 [/URL]
[URL=http://s54.photobucket.com/user/dusterbd13/media/20151106_124123_zpst0wv26yl.jpg.html]
[/URL]
[URL=http://s54.photobucket.com/user/dusterbd13/media/20151106_124123_zpst0wv26yl.jpg.html]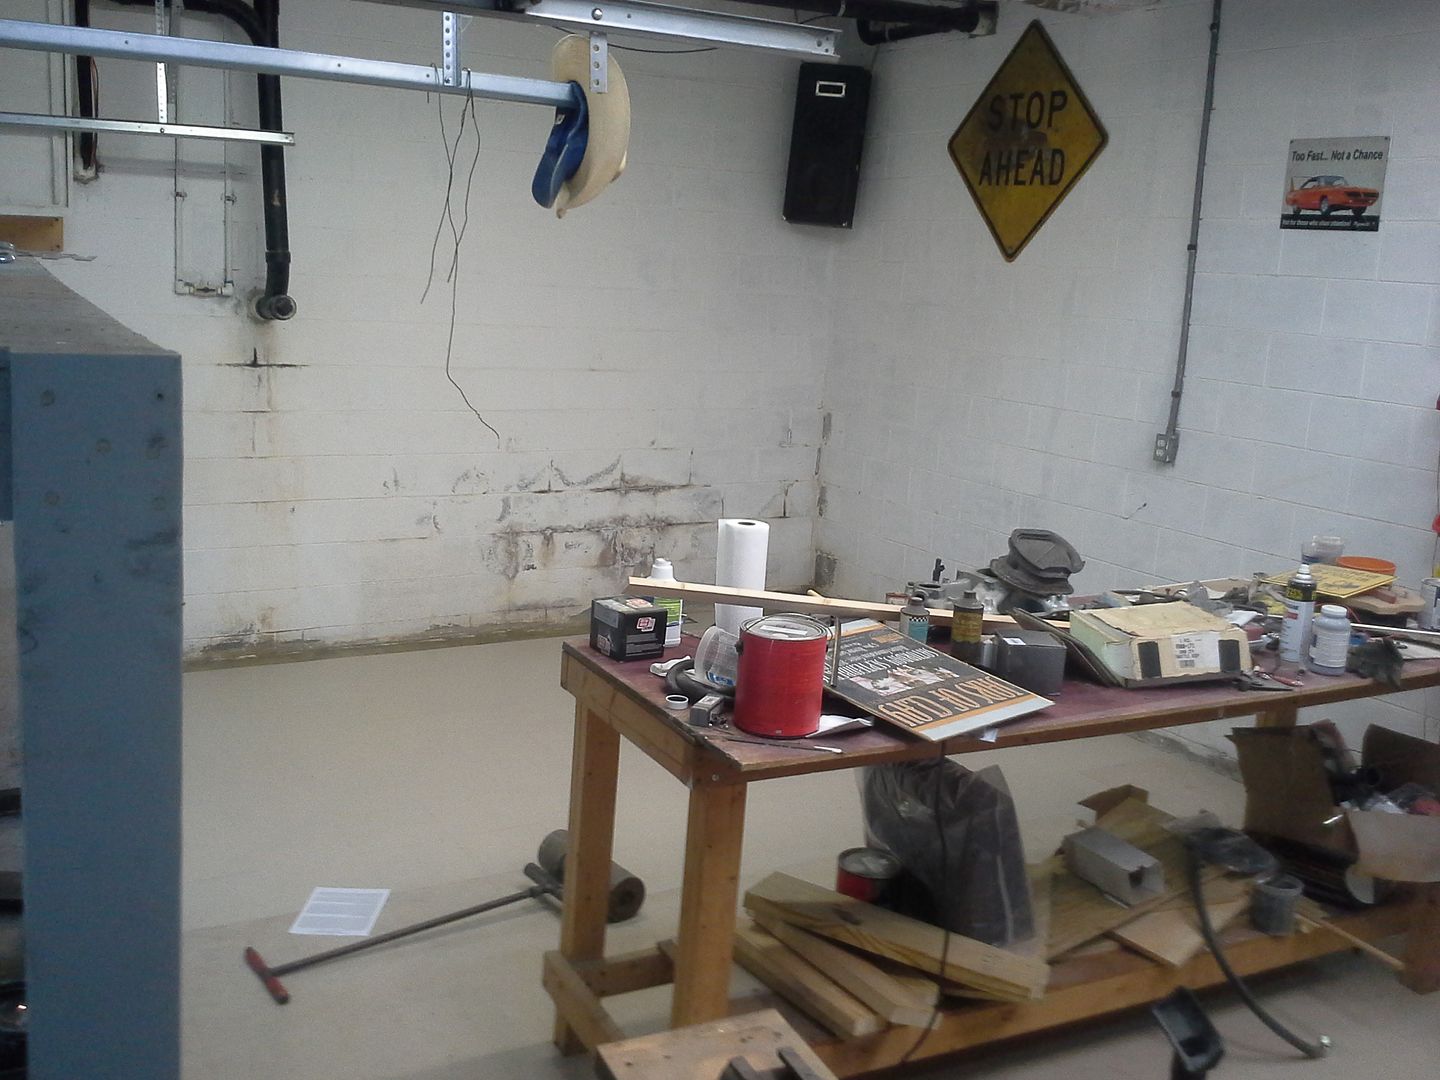 [/URL]
I then took the workbench that my dad made when I was a kid that had been alternately living in the shed and the middle of the floor for the last 4 years, and put it where I think I want it. this side of the shop s not nearly as well laid out in my head as the side that's almost finished. kind of a blank hole in my imagination. I have a loose concept, which is what I worked to. put my lathe, bandsaw, and fridge back in place after the workbench was put in. I then looked at the old grey shelves. I know I need some sort of shelves over there. these happen to be 8 feet long, same as the bench. had to move the legs from the sides of the shelves to the front and back face so it could rest on the workbench. after that, I manhandled it up into place. damn thing is heavy. im still hurting.
anyway, put a couple of tapcons through it into the wall to make myself feel better, and grabbed my stack of bankers boxes to begin getting organized. I still have a lot of stuff to go through and organize, but I have made a significant dent. I also hung the two leftover lights from the work bay over there, which really made a difference.
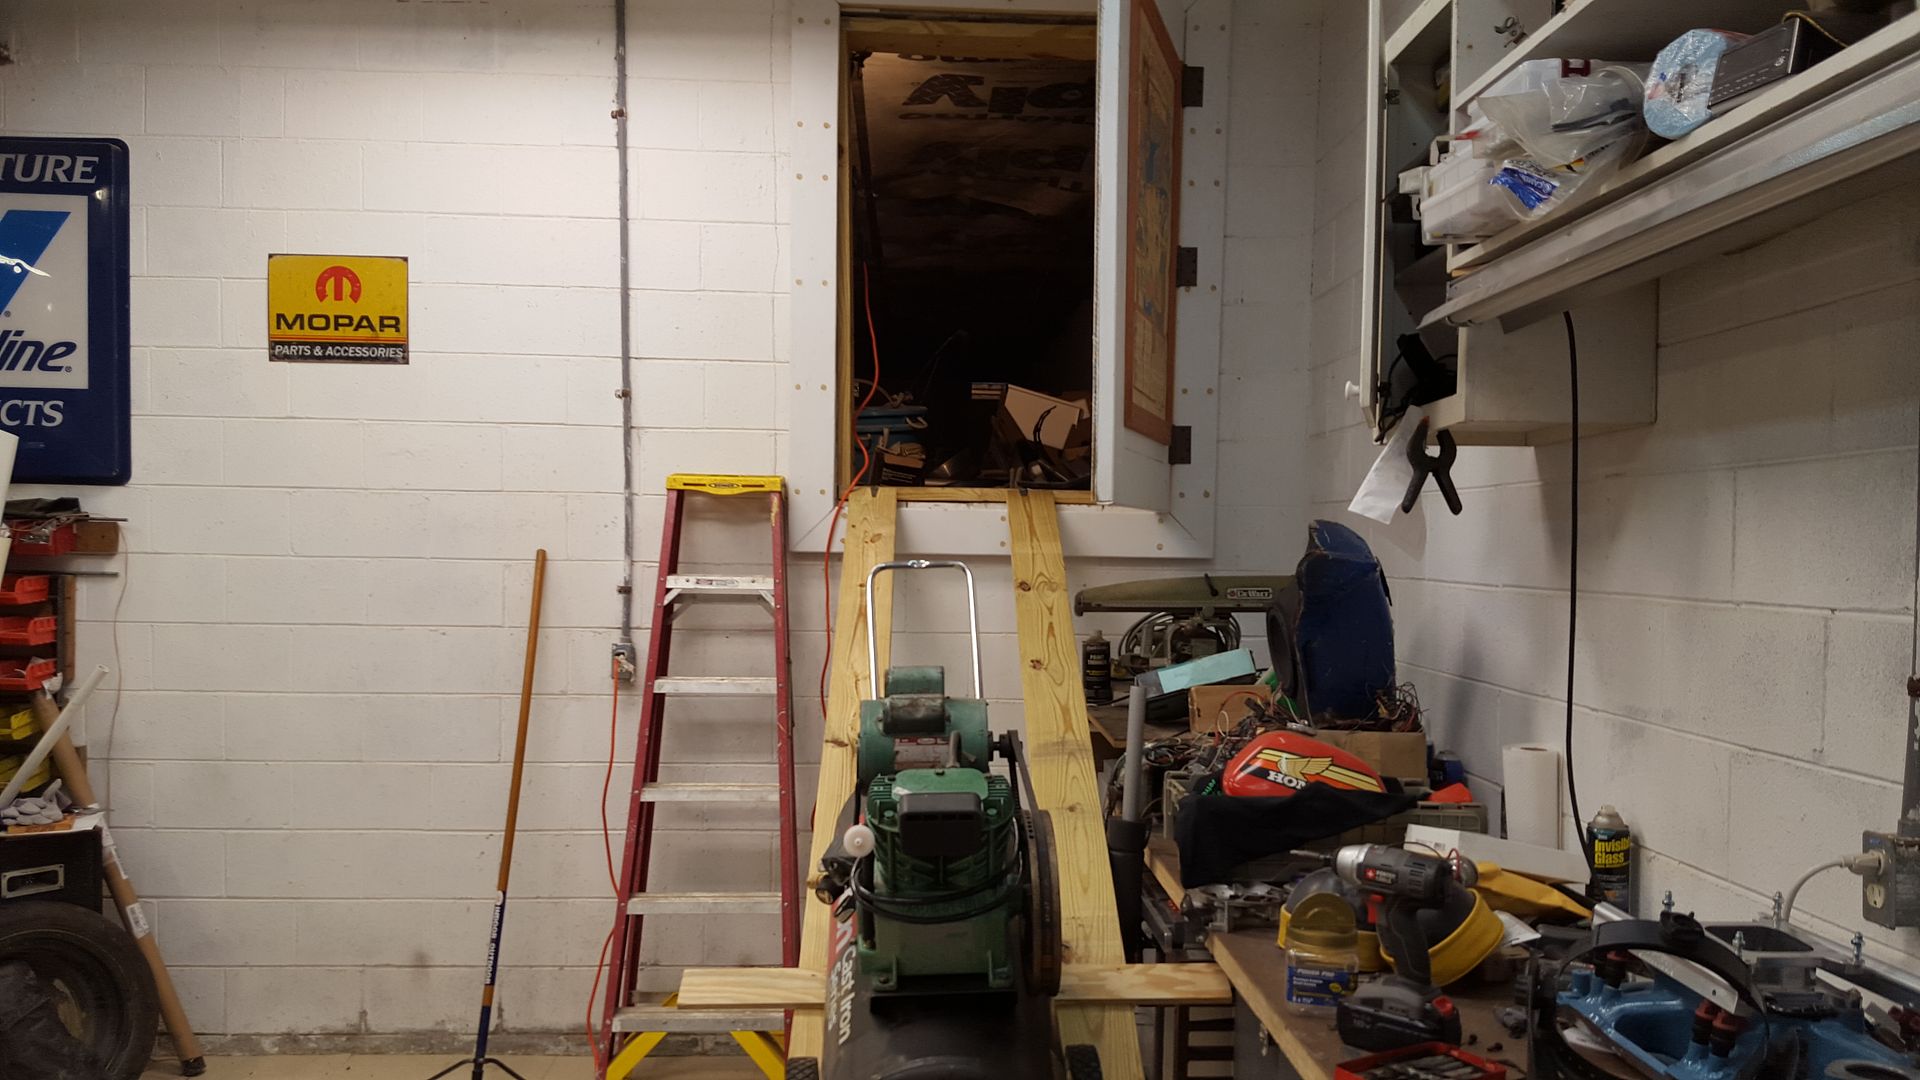
anyway, here's where im at for now. still need to replace two tiles, sweep and mop the floor, then get some other projects out of the way. next steps is a drill press and grinder cabinet, as well as building the wall cabinets on the work side, and plumb/install the shop air. not necessarily in that order.
[URL=http://s54.photobucket.com/user/dusterbd13/media/20151114_155050_zpsnaxaqn5r.jpg.html]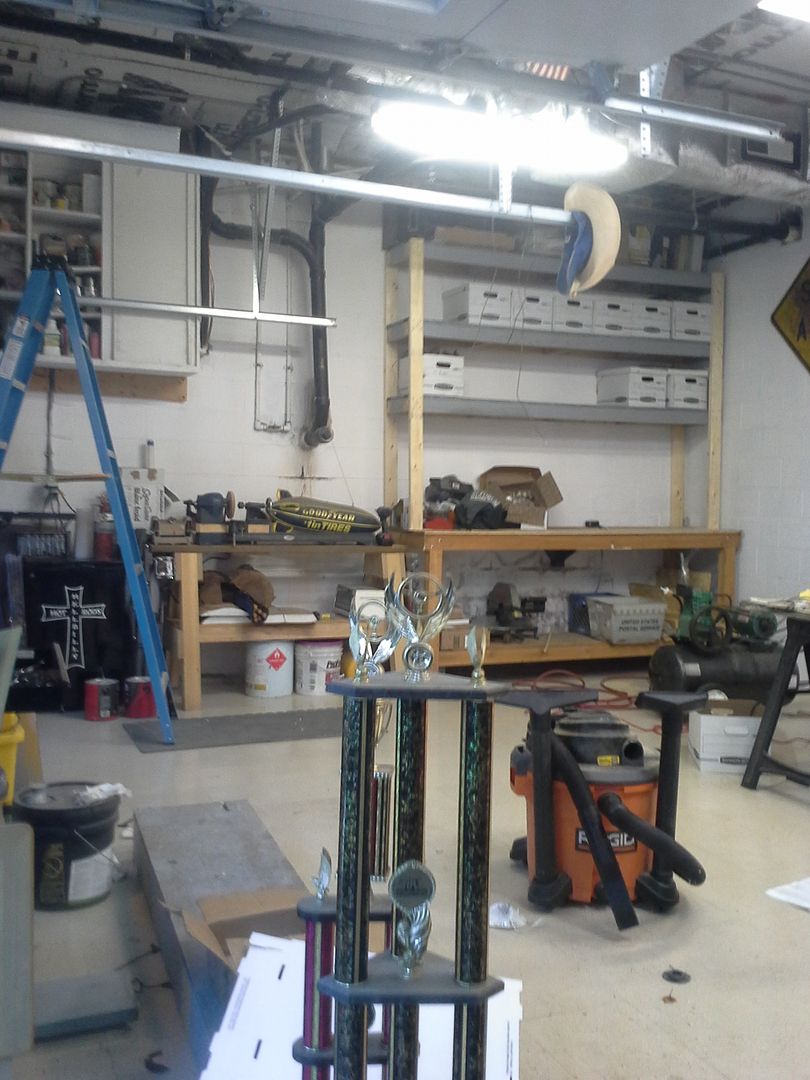 [/URL]


 [/URL]
[URL=http://s54.photobucket.com/user/dusterbd13/media/20160122_100146_zpsmfhipoiw.jpg.html]
[/URL]
[URL=http://s54.photobucket.com/user/dusterbd13/media/20160122_100146_zpsmfhipoiw.jpg.html]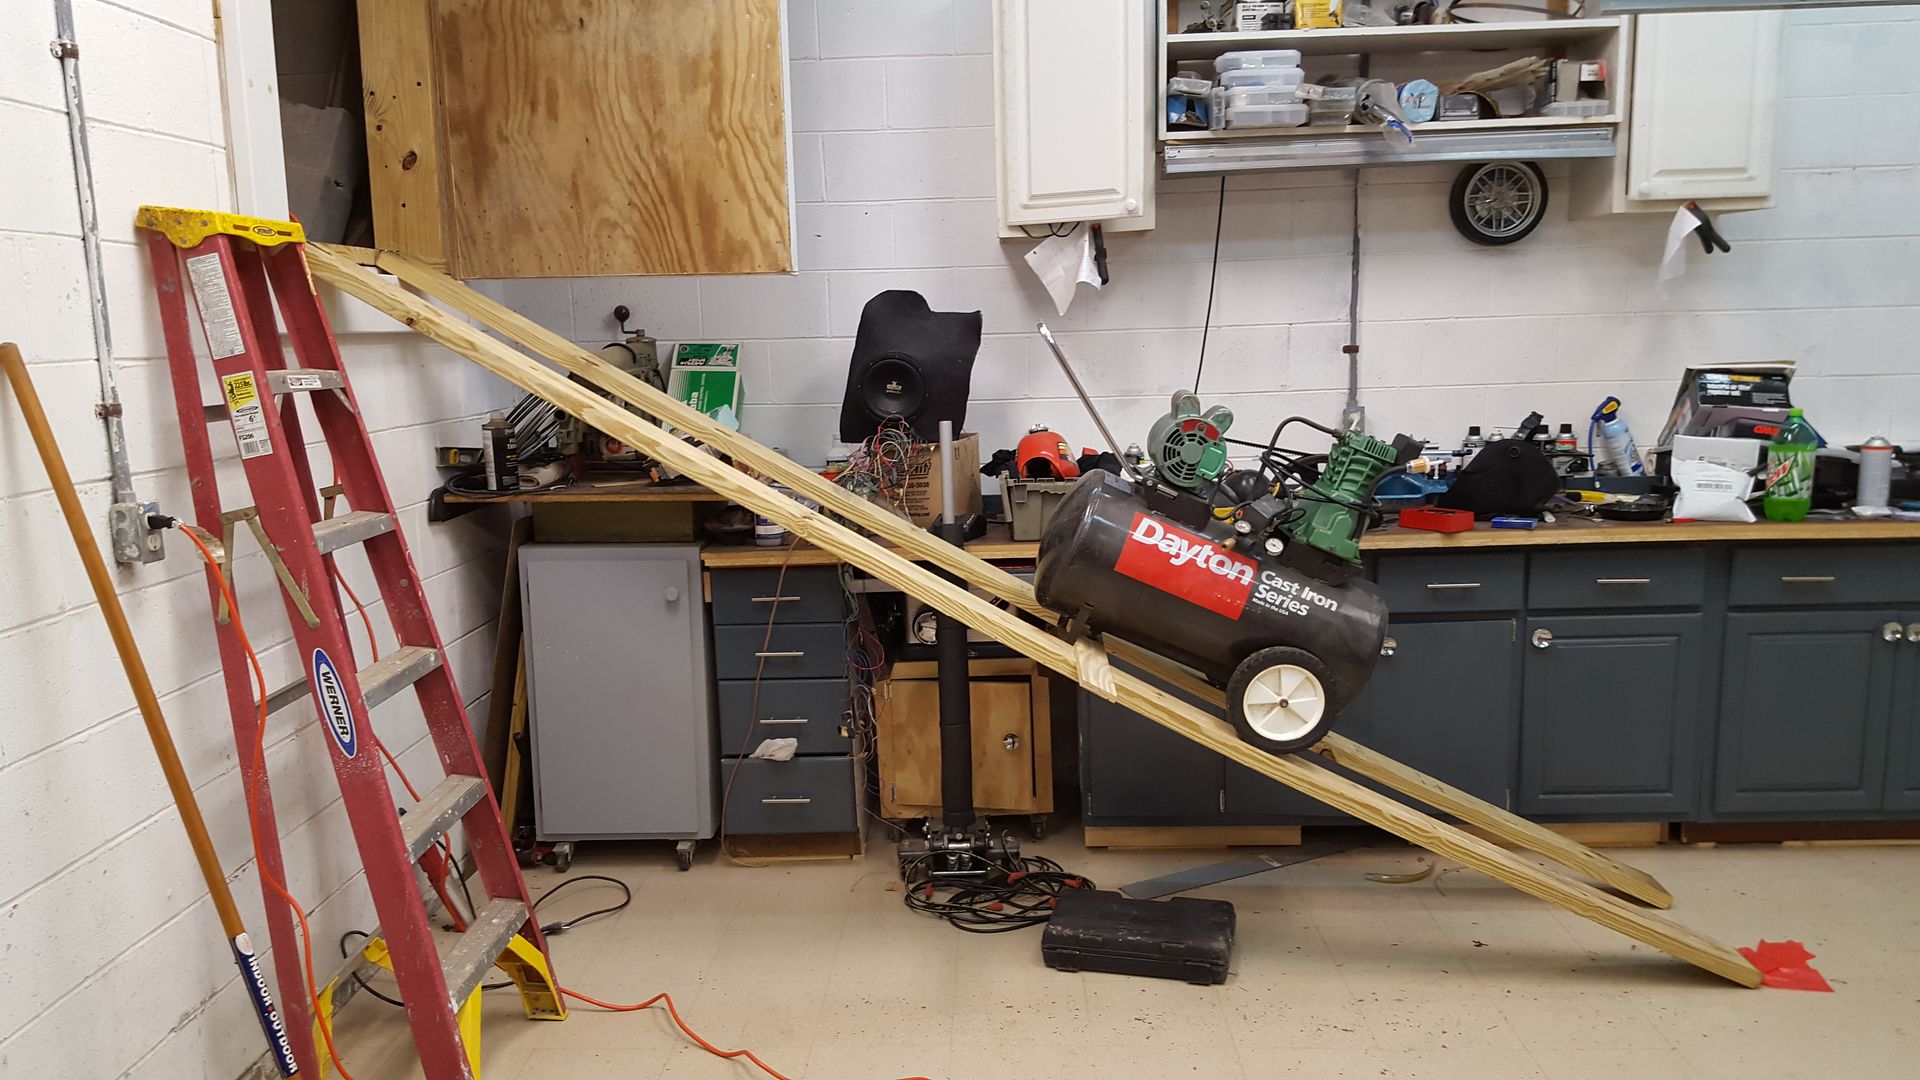 [/URL]
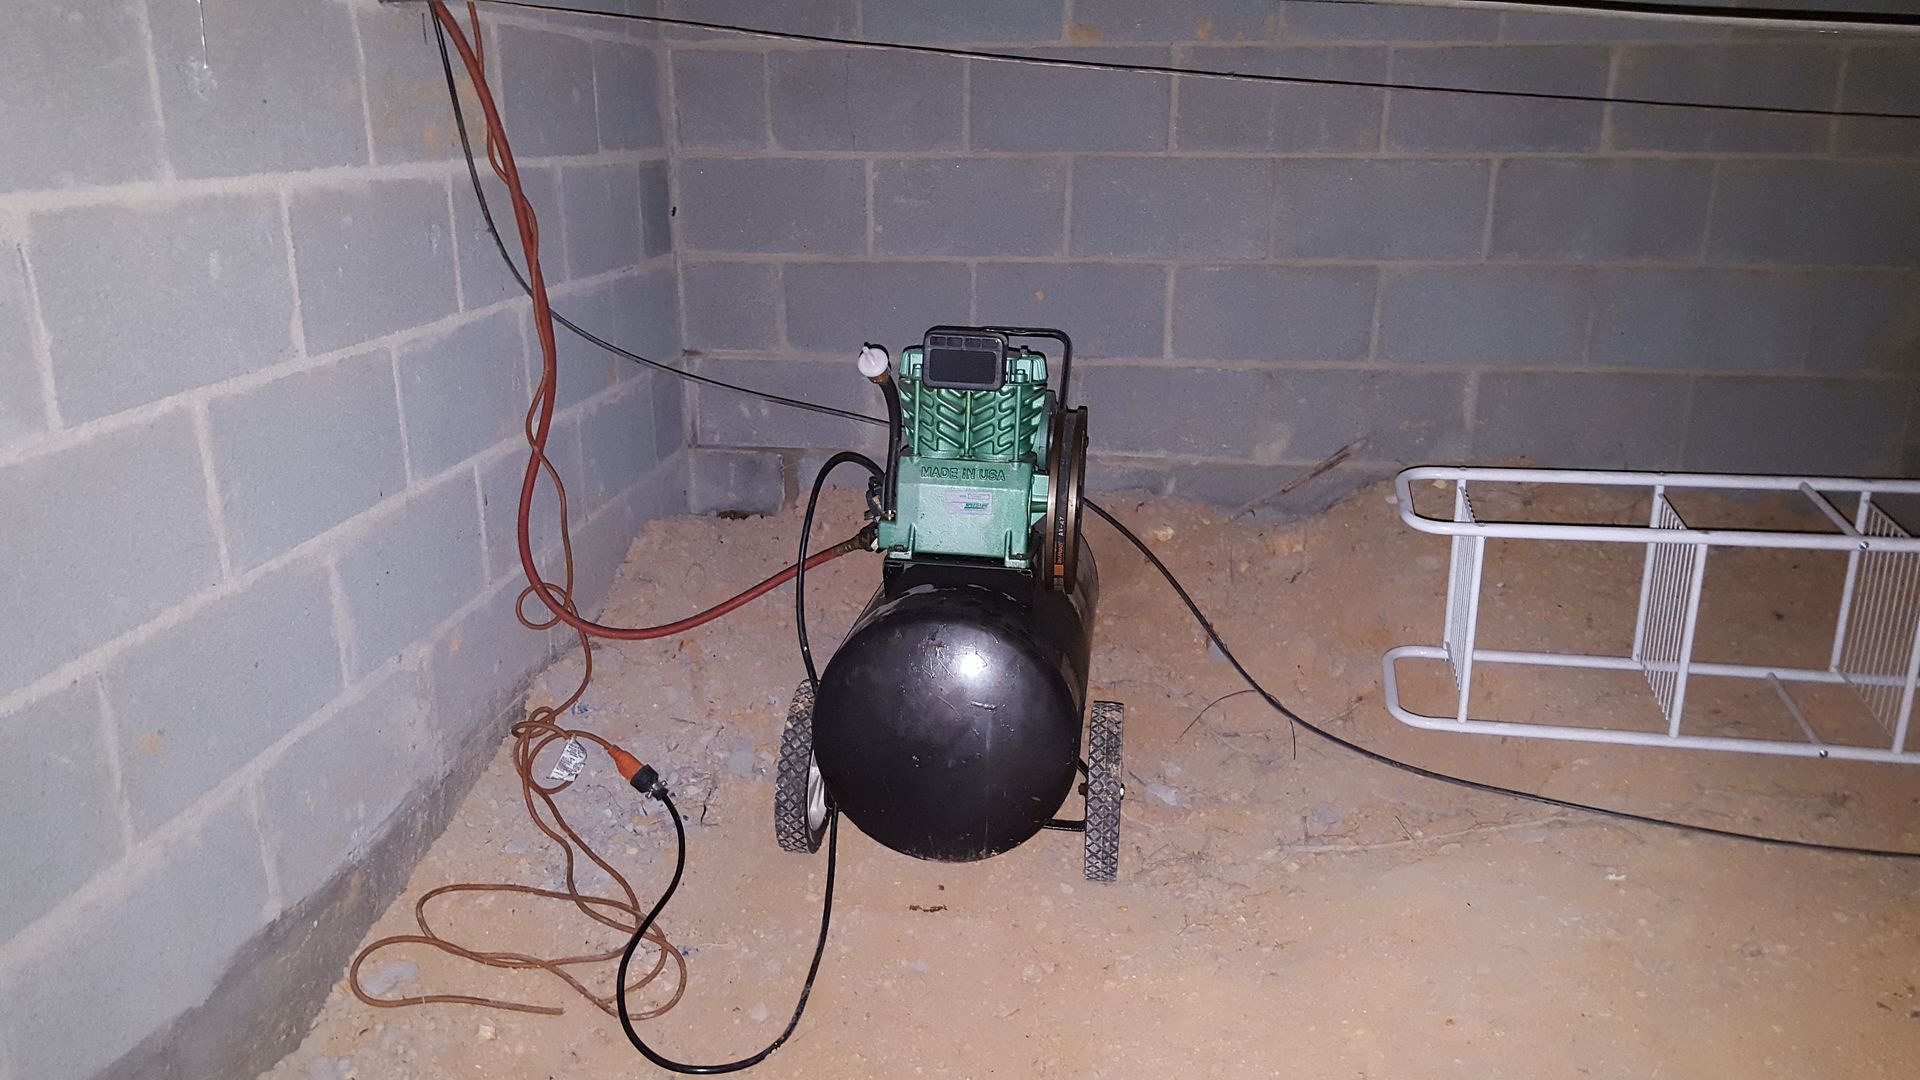 [/URL]
 [/URL]
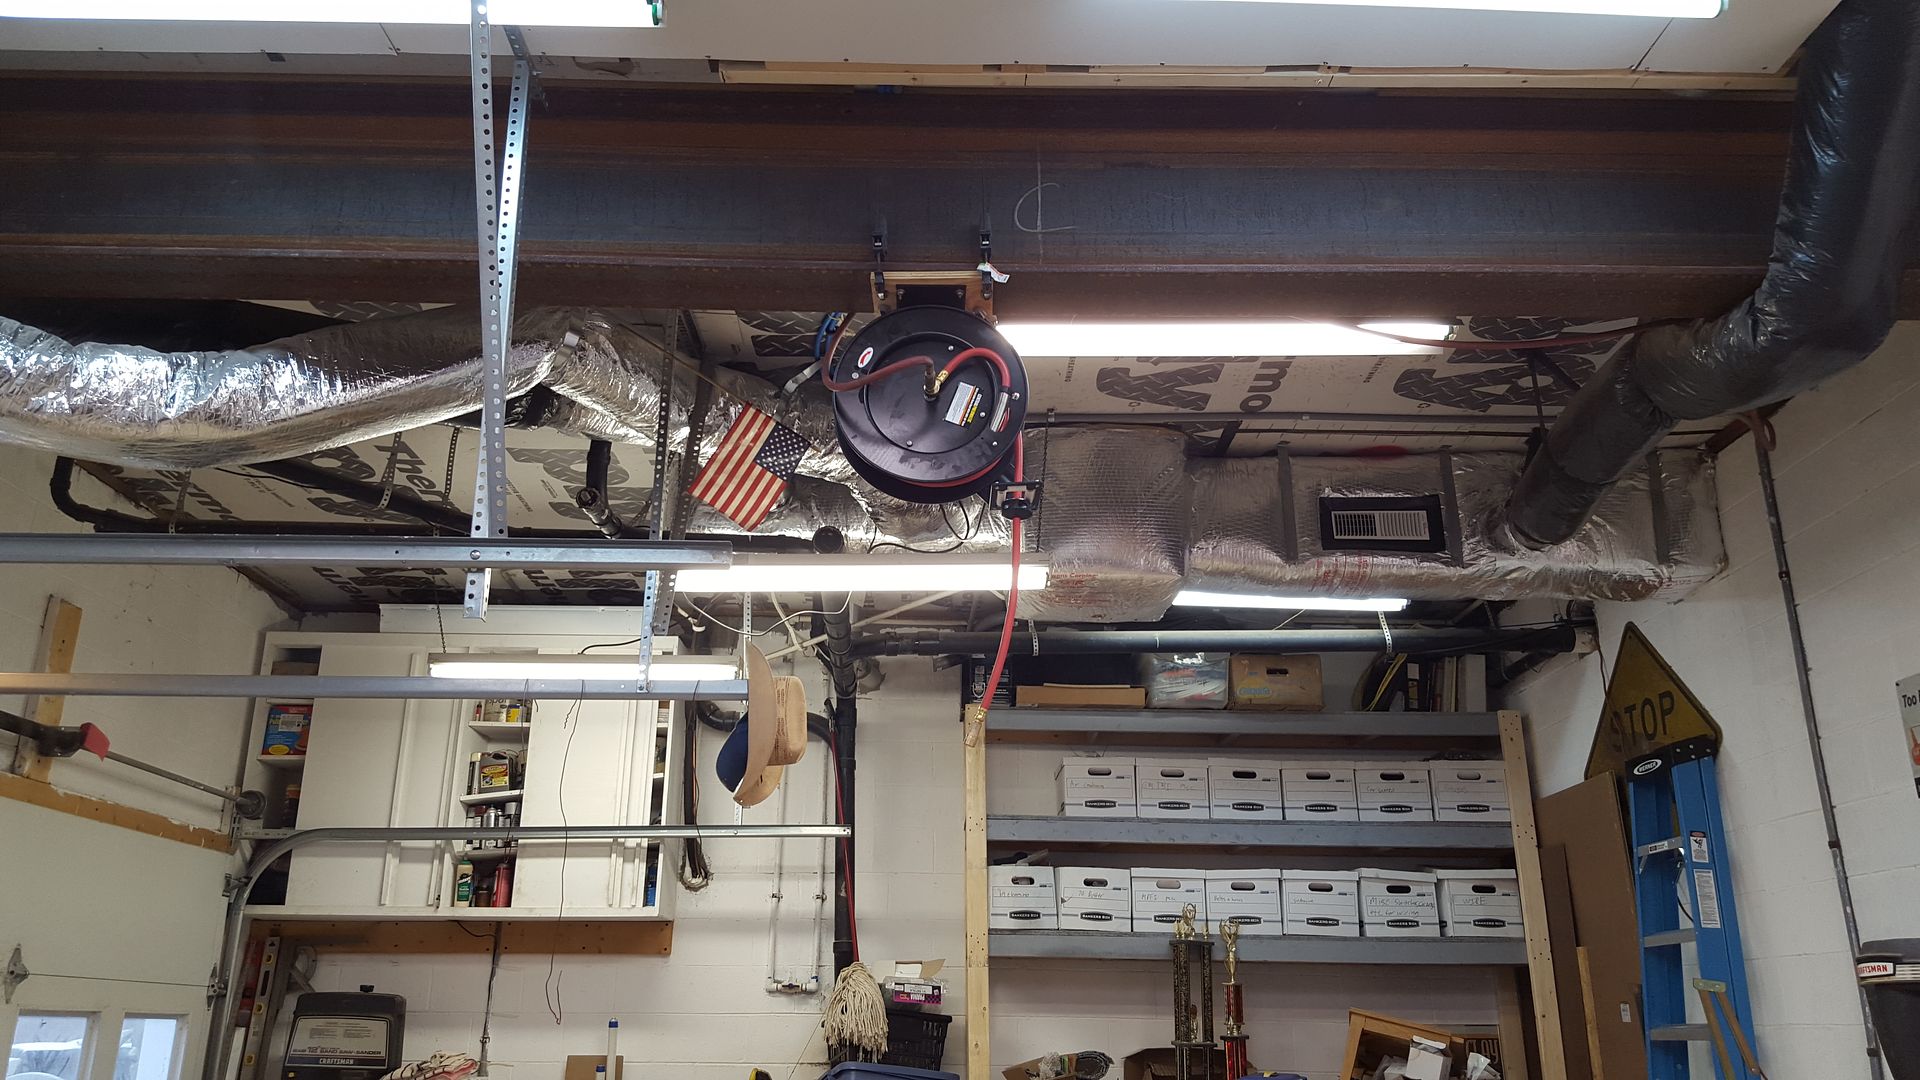 [/URL]


