jakeb
Reader
1/30/13 4:17 p.m.
This is for a customer...... Car is a 95 M3, it is getting a 2010 LS3 and a tr6060. In addition allll new suspension..control arms, springs, shocks, all the rear subframe bushings, etc.
It will end up with cruise, AC, etc...just like factory.
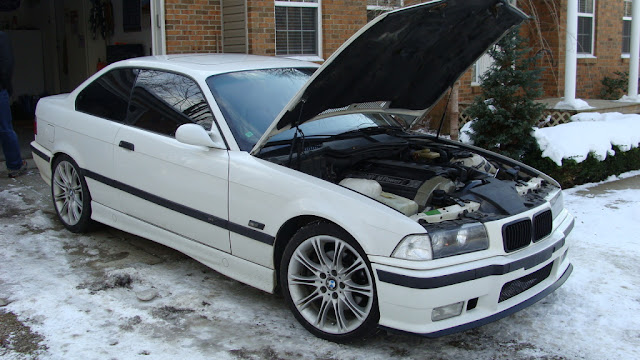
Here is a picture of the car. (Wheels are going to be changed as well). Sellers pic...
More pictures will come soon.
LS3/TR6060 is ordered and should ship to me in about a week or so. Should be a fun one!
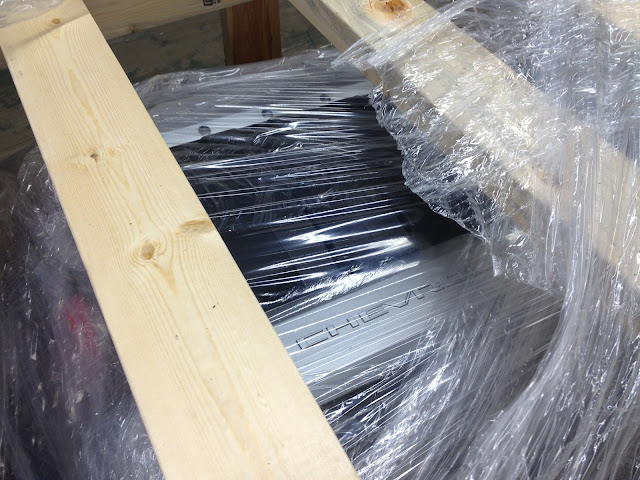
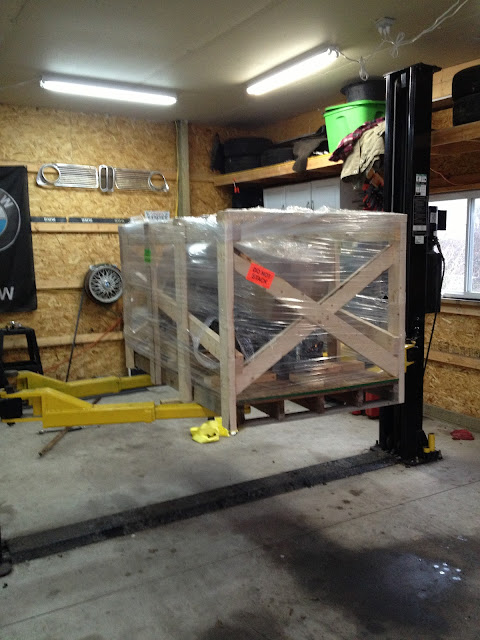
Something showed up today....

Waiting it's turn....mocking up an e30 m42 turbo kit then e36 time.
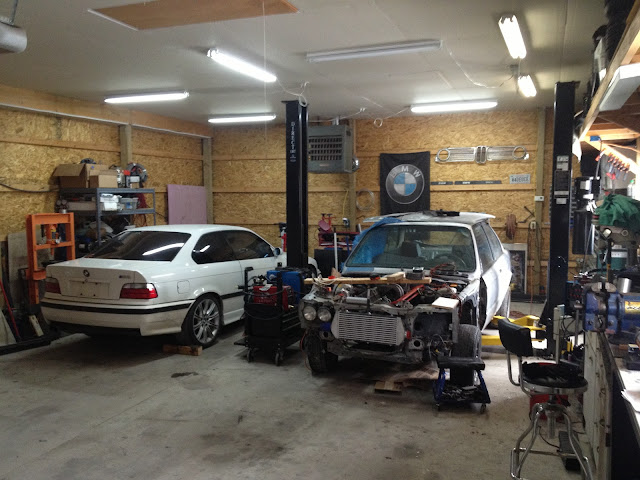
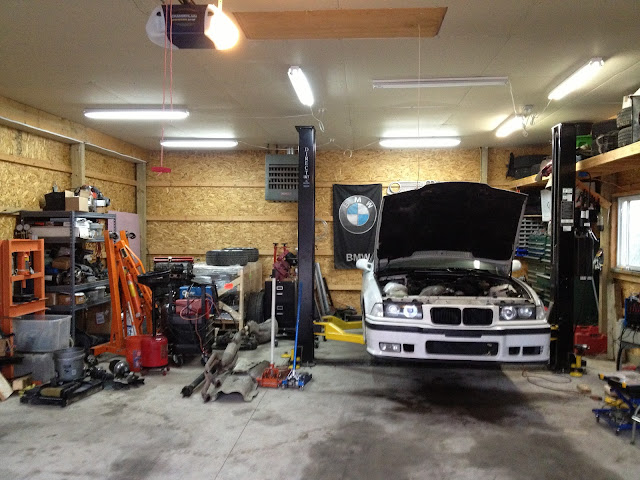
Lift is empty now so the E36 made it's way on.
Brought the engine over to my house. Easy way to get it off the trailer.
Engine is just about ready to come out.
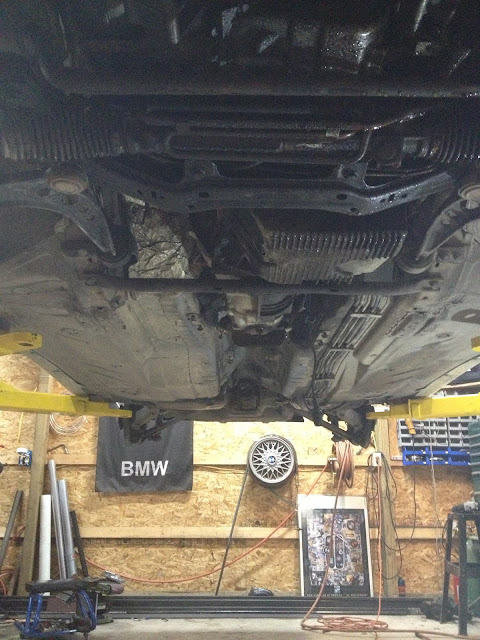
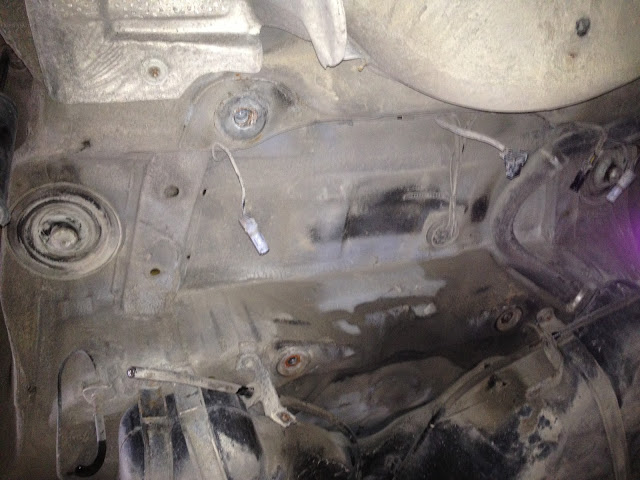
All the underside bits are off...
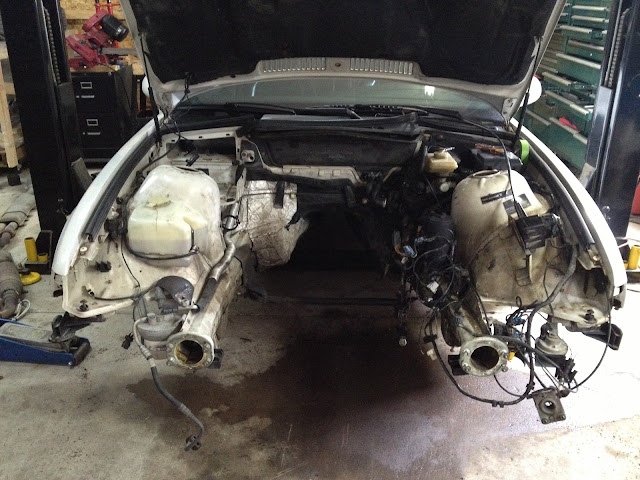
Engine all disconnected from everything


The lab...
Following along...you using someone's kit or fabbing it all up yourself?
Ill be watching again, I love your work!
Alright your doing another cool build!
What is to become of the S50 out of the M3?
jakeb
Reader
1/30/13 9:18 p.m.
thanks guys!
I will be fabbing my own mounts. Hoping to also find a manifold that will fit out of the box. Or maybe some off the shelf headers. We will see.
The S50 is actually already sold...it will be swapped into an e21 this May/June. I'll post a build thread for that once it comes together.
jakeb
Reader
1/31/13 8:22 p.m.
not even selling a canoe?
jakeb wrote:
not even selling a canoe?
I think that is the awesome Google translate in action.
jakeb
Reader
2/1/13 4:42 p.m.
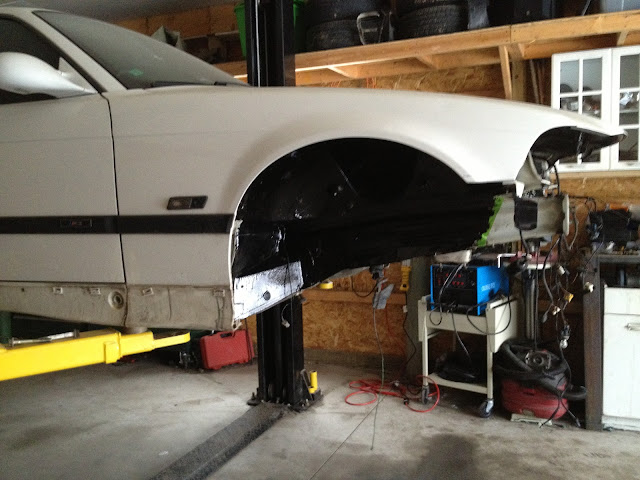
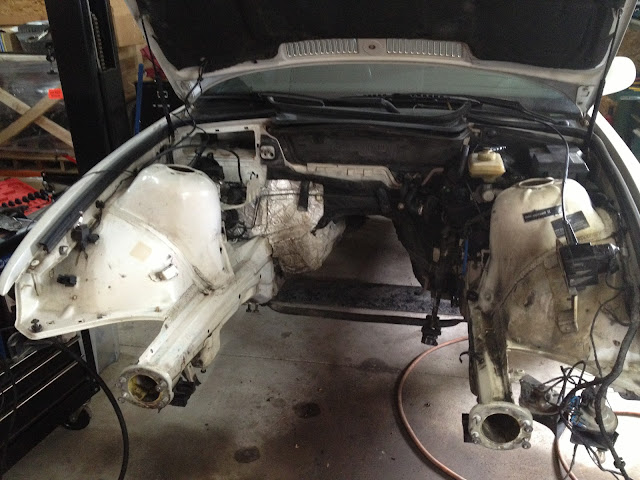
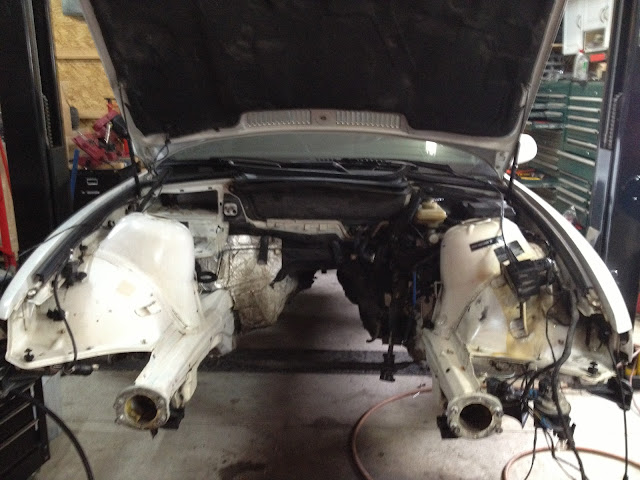
front end all pulled off, engine ready to come out. After the engine is out the front and rear suspension will get completely pulled apart and sent off to be powder coated.


oldtin
UltraDork
2/1/13 5:46 p.m.
I was thinking that S50 would look right in my ti - then again. so would an LS. I would like to subscribe to your newsletter.
jakeb
Reader
2/3/13 3:09 p.m.
haha...I should start a news letter. Come to find out the S50 is actually an S52...it's been swapped as this is a 95 so it would of had an s50.
Engine is out...
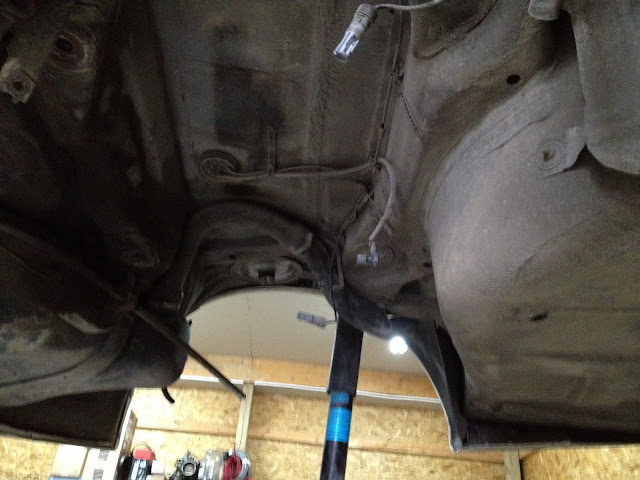
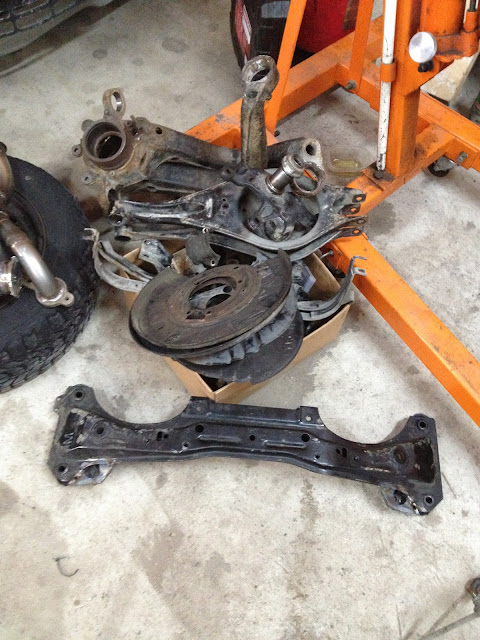
Rear subframe/suspension is dropped

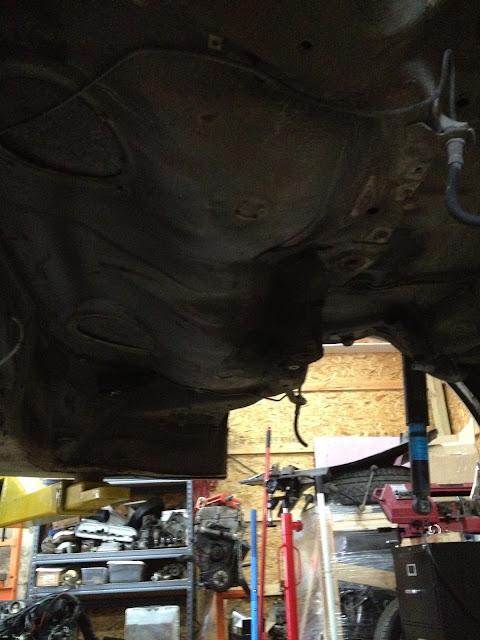
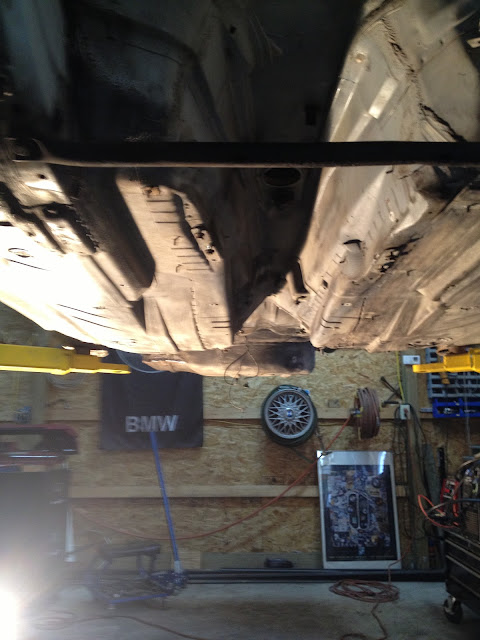
Solid underneath
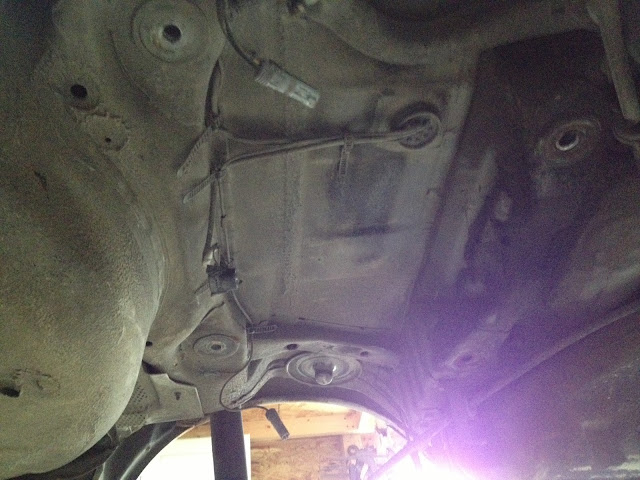
Front subframe is out as well
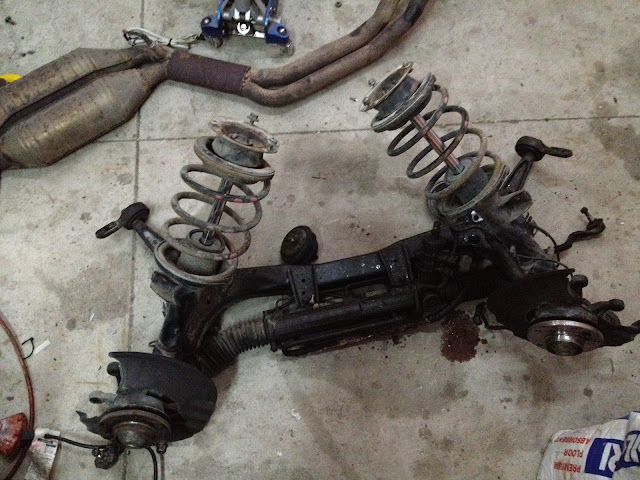
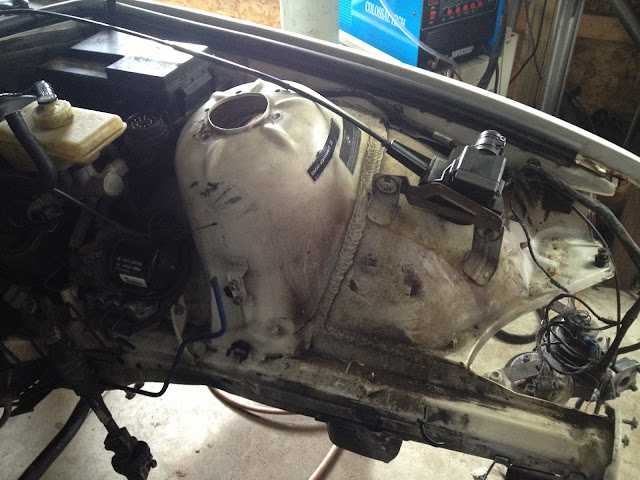
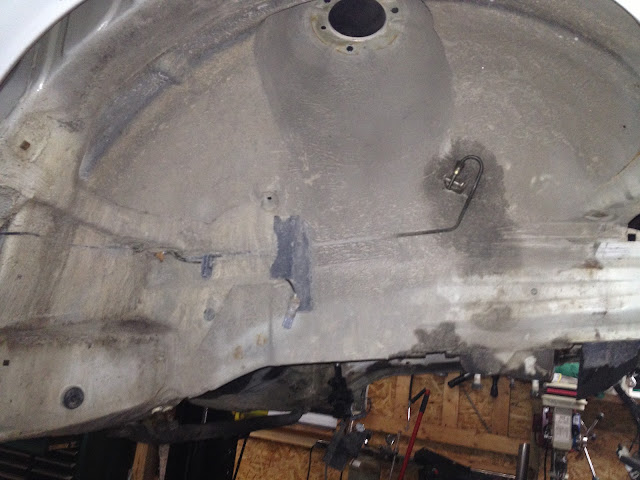
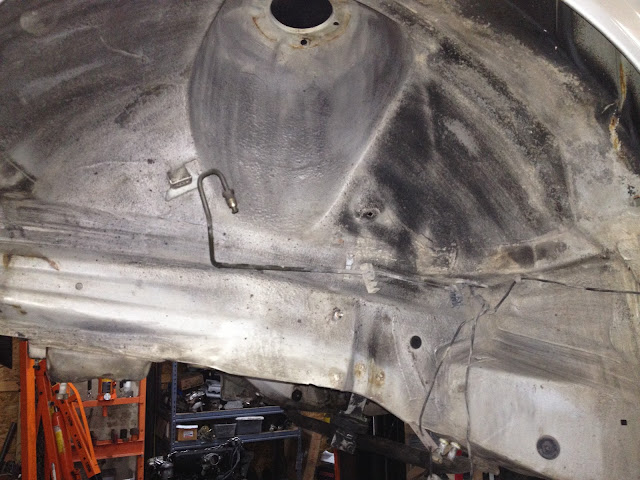
Next step will be to break down all the suspension parts and get it off to the powder coater. Thinking about dropping the gas tank as well to clean up in that area. Going to remove any and all grime/built up dirt from the bottom of the car and recoat with paint/undercoating of some sort.
jakeb
Reader
2/8/13 3:44 p.m.
Doesn't look like much but pulling apart the entire rear end assembly and pushing all the bearings/bushings out is a big job.
Starting a pile for the powder coater.

jakeb
Reader
2/10/13 6:51 p.m.
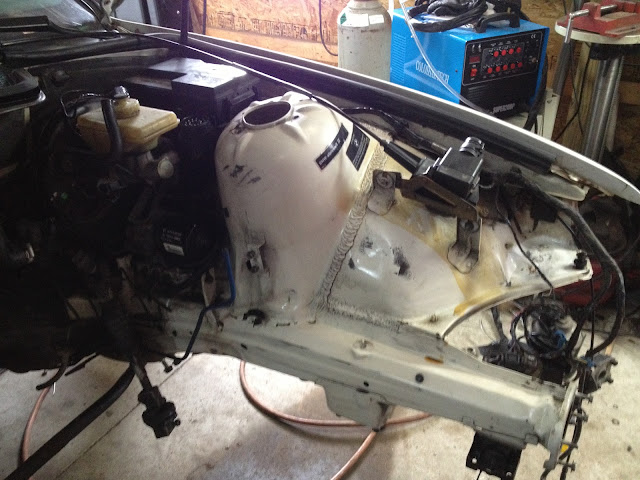
Starting on cleaning the engine bay....it will get cleaned more once the engine is all mocked up. Then pulled out before finally assembly.
passenger side

passenger side done...drivers not
drivers before
drivers after
Both before
after
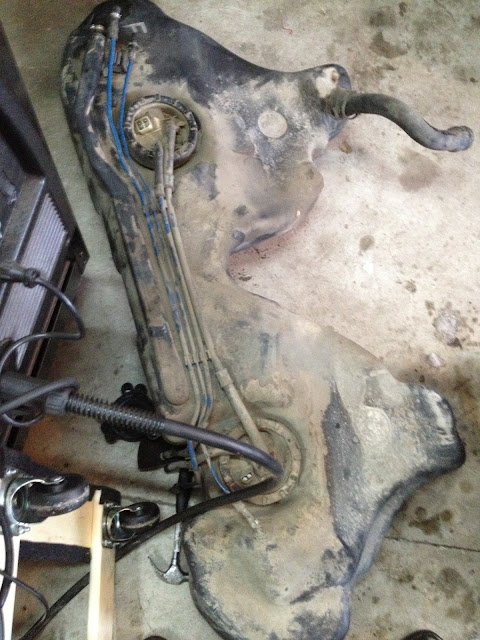
dropped the gas tank
jakeb
Reader
2/13/13 8:47 p.m.
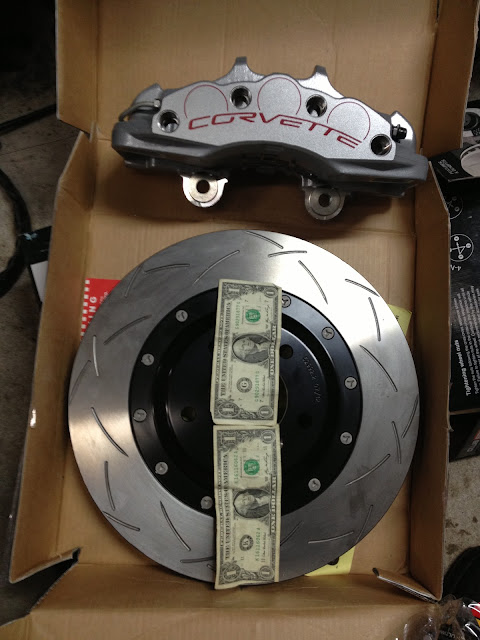
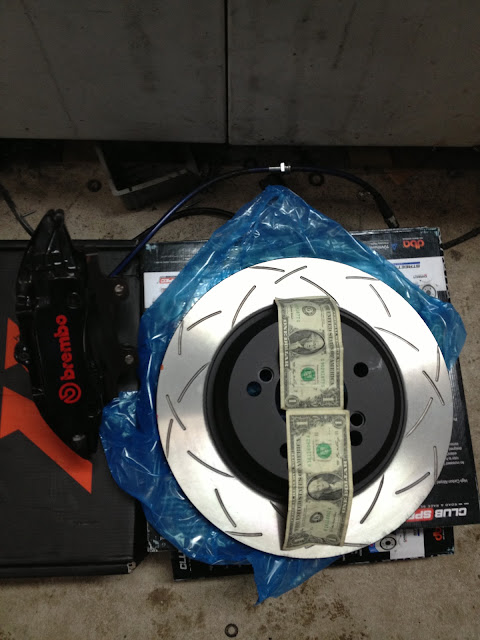
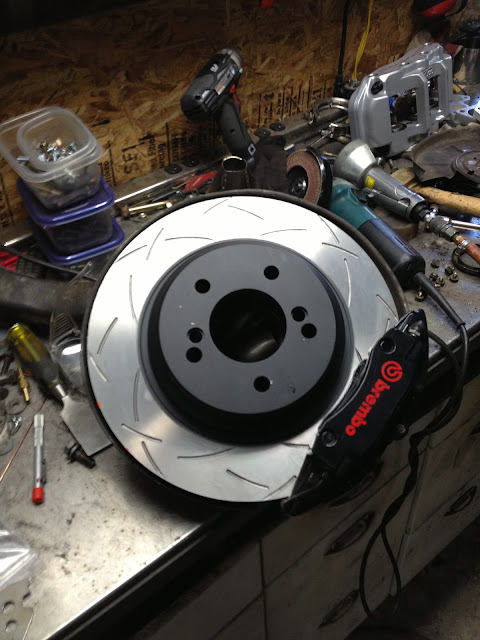
Picked up the brakes yesterday from rallyroad.net
They are big....14" front rotor and a 13" rear. VERY nice stuff
jakeb
Reader
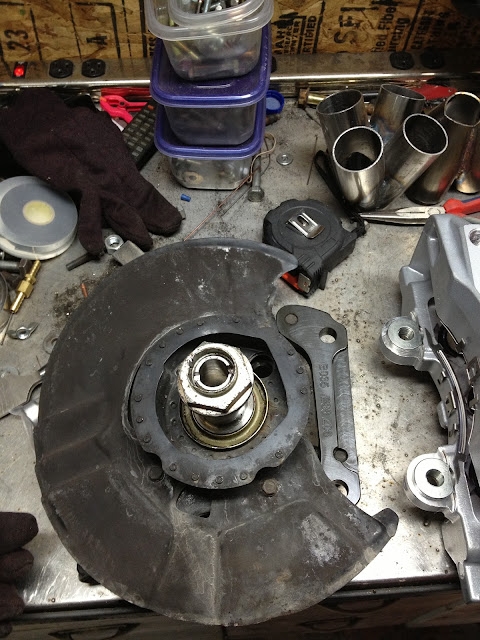
2/17/13 10:07 a.m.
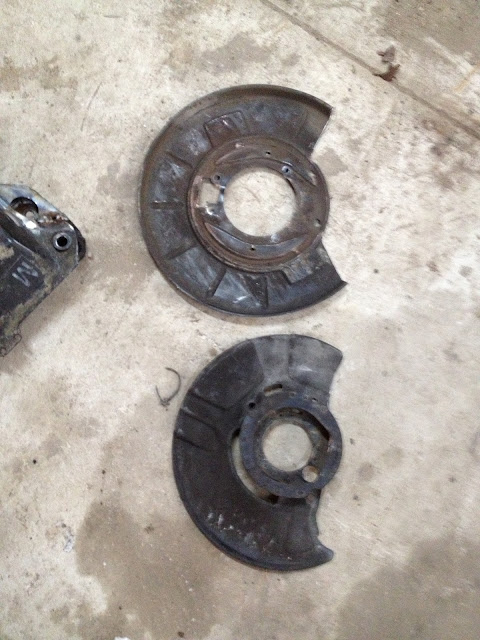
Backing plates have to be trimmed a little bit to clear the new brakes.
You can see here how the fronts have to be trimmed.
I forgot to take pictures as I did the back but here is how they look after the changes.
Rear brakes just sitting on...I wanted to make sure the lip of the backing plate didn't need to be trimmed.
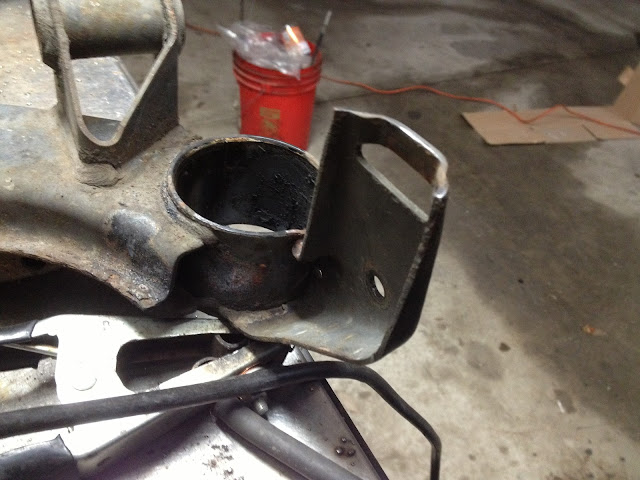
Reinforced the front subframe. Plates from rallyroad.net
Pile ready to go to the powder coater tomorrow
So your powdercoater blasts it too? Nice looking work. I know what a bitch it was to do the rear bushings on my '95 M3
jakeb
Reader
2/21/13 7:36 p.m.
Yes the coater I use will blast everything and then coat. It will all be satin black.
Brake lines and fuel lines will be coated too.... not sure on the color yet.
Great work! I've dreamed of this build many times. Maybe someday.
jakeb
Reader
2/25/13 7:49 p.m.
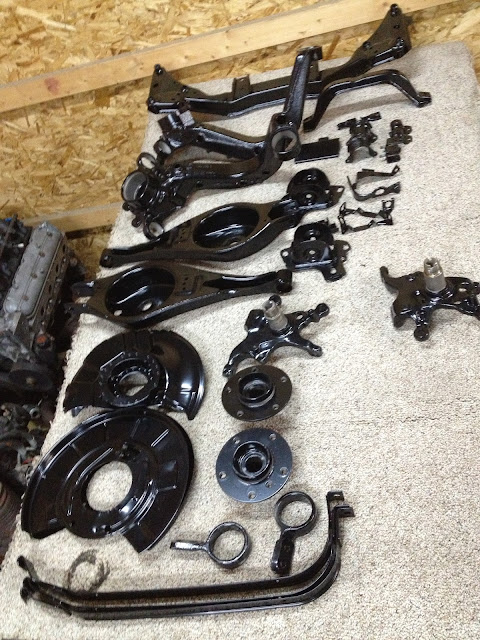
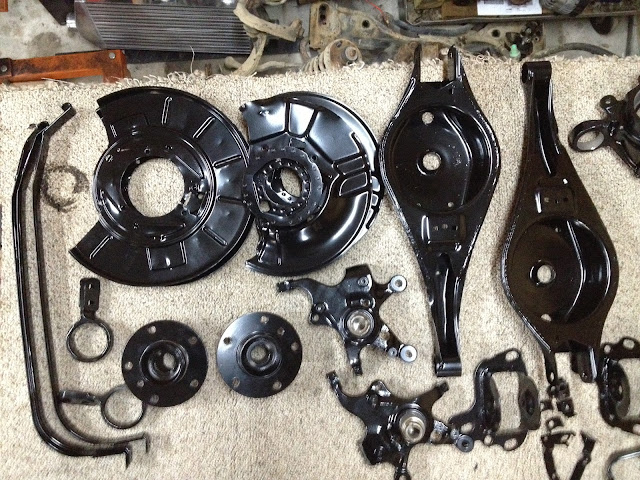
Got the batch of stuff back from the coater. More will be going in a week or so...

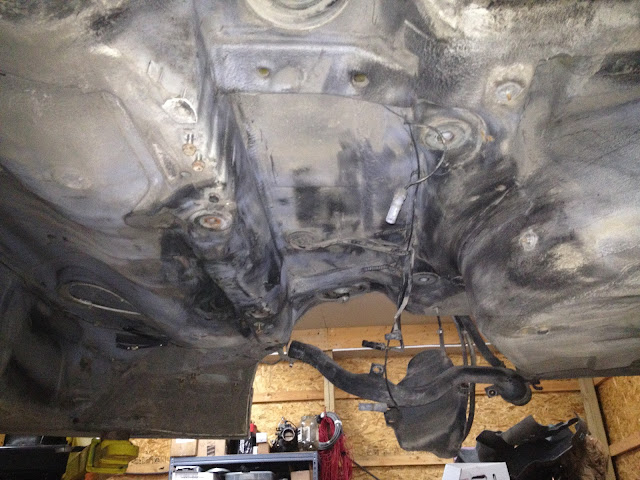
Been spending some time cleaning the bottom off...mostly lots of dirt.
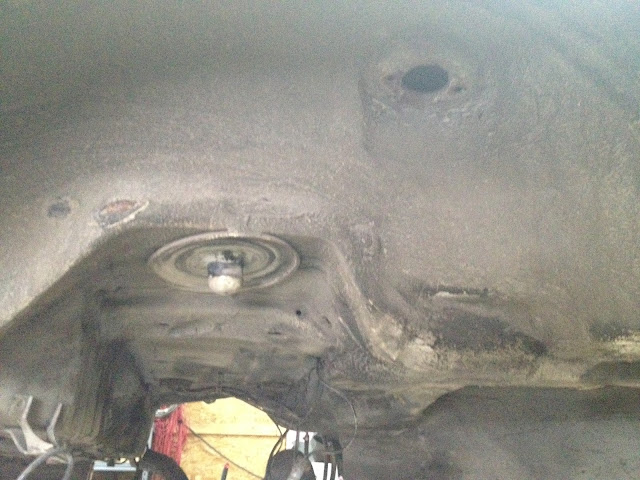

Front...passenger side before
drivers side after the first cleaning
Holy cow this this things looks nothing like when I test drove it for you! LOL
I can't wait to see the finished product. Your builds are increasingly better than the last one. Keep it up man!
Hard to comprehend for guys like me who aren't much of a wrench. Incredible to watch! 
oldtin
UltraDork
2/26/13 8:12 p.m.
Never ceases to amaze me how well undercoating holds on to dirt. Powder coated bits look sharp. Nice touch on the reinforcements.
jakeb
Reader
2/27/13 4:28 p.m.
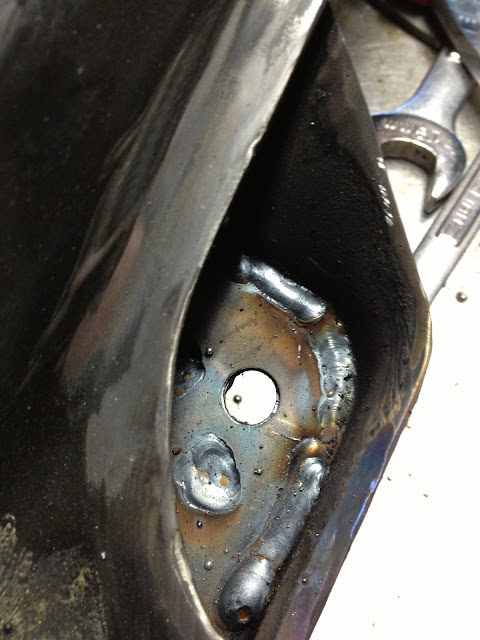
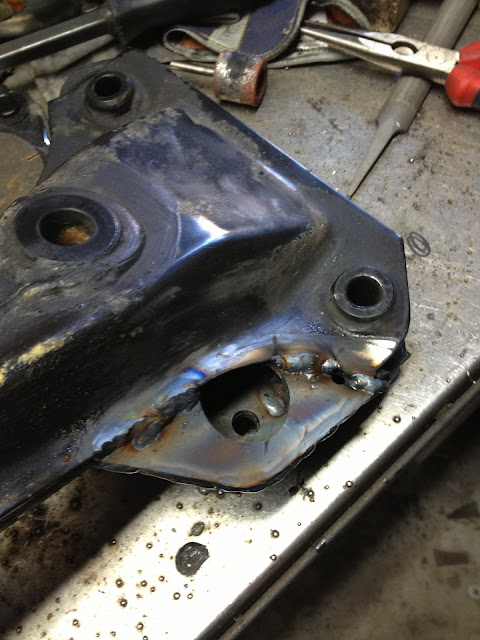
Installed the reinforcement plates around the rear trailing arm mounting points. The body was in good shape here but adding just just becasue everything is apart.
Cleaned up...
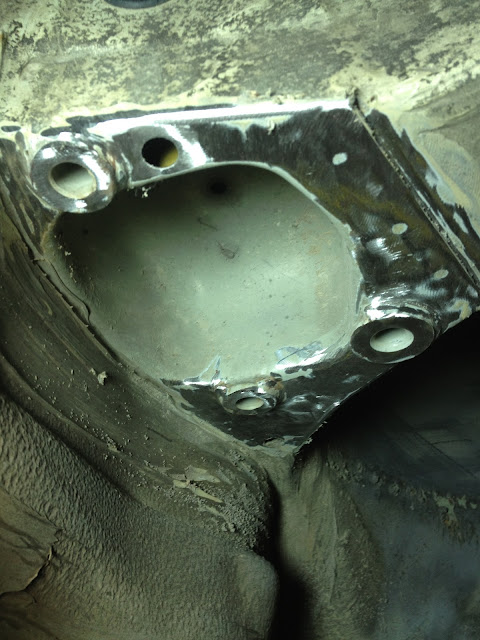
Before the plate went on it was painted with weld through zinc paint (sorry no picture)
Plate welded in place...I really dislike welding upside down. It's hard to tell from the picture but the openings in the plate are just about filled with weld. Also welded around the outside and inside perimeter. Tacked at the landing points for the trailing arm bracket. Had to use the flap disc to make sure everything was smooth.
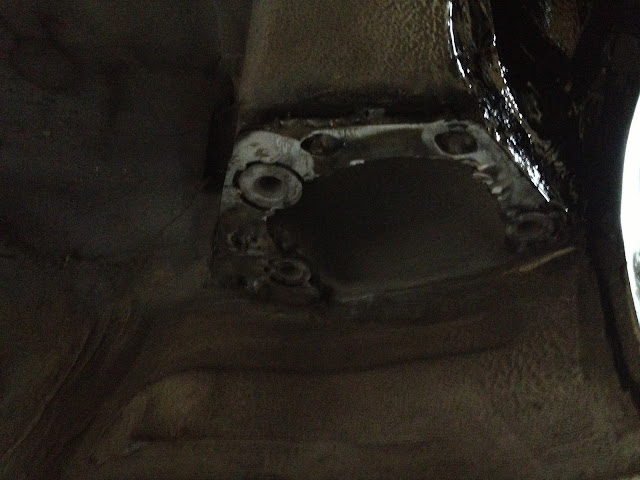
Rear sway bar reinforcement installed
Before
After

Also pushed all the bushings out of the rear subframe so it is ready to be coated.
More cleaning on the bottom...this is after wire brushing and then washing with soap and water and a rinse.
Started painting the wheel wells