Jumper asked about cheap laser engravers in this thread, and I had already been thinking along those lines, and I have a friend with a Glowforge, and, well, things got out of hand. I have access to a pretty sporty 3D printer, but for some reason I could find more things I wanted to do with a laser.
The engraver in question is an Ortur Laser Master 15W, which has a 4500 mW laser and is perpetually on sale from Gearbest. It took forever to ship out, possibly due to the Chinese new year. When it did ship, you could almost hear the sonic boom as it went from Hong Kong to a little Colorado town in about 72 hours.
I don't have a Windows laptop at home, so first step was to make it work with a Mac. Had to fiddle around a little bit to do a firmware upgrade to the engraver, but after a bit of time I got it fired up and recognized by Lightburn, the software I was planning to use. A little more fiddling to learn the software and it was burnin' time.
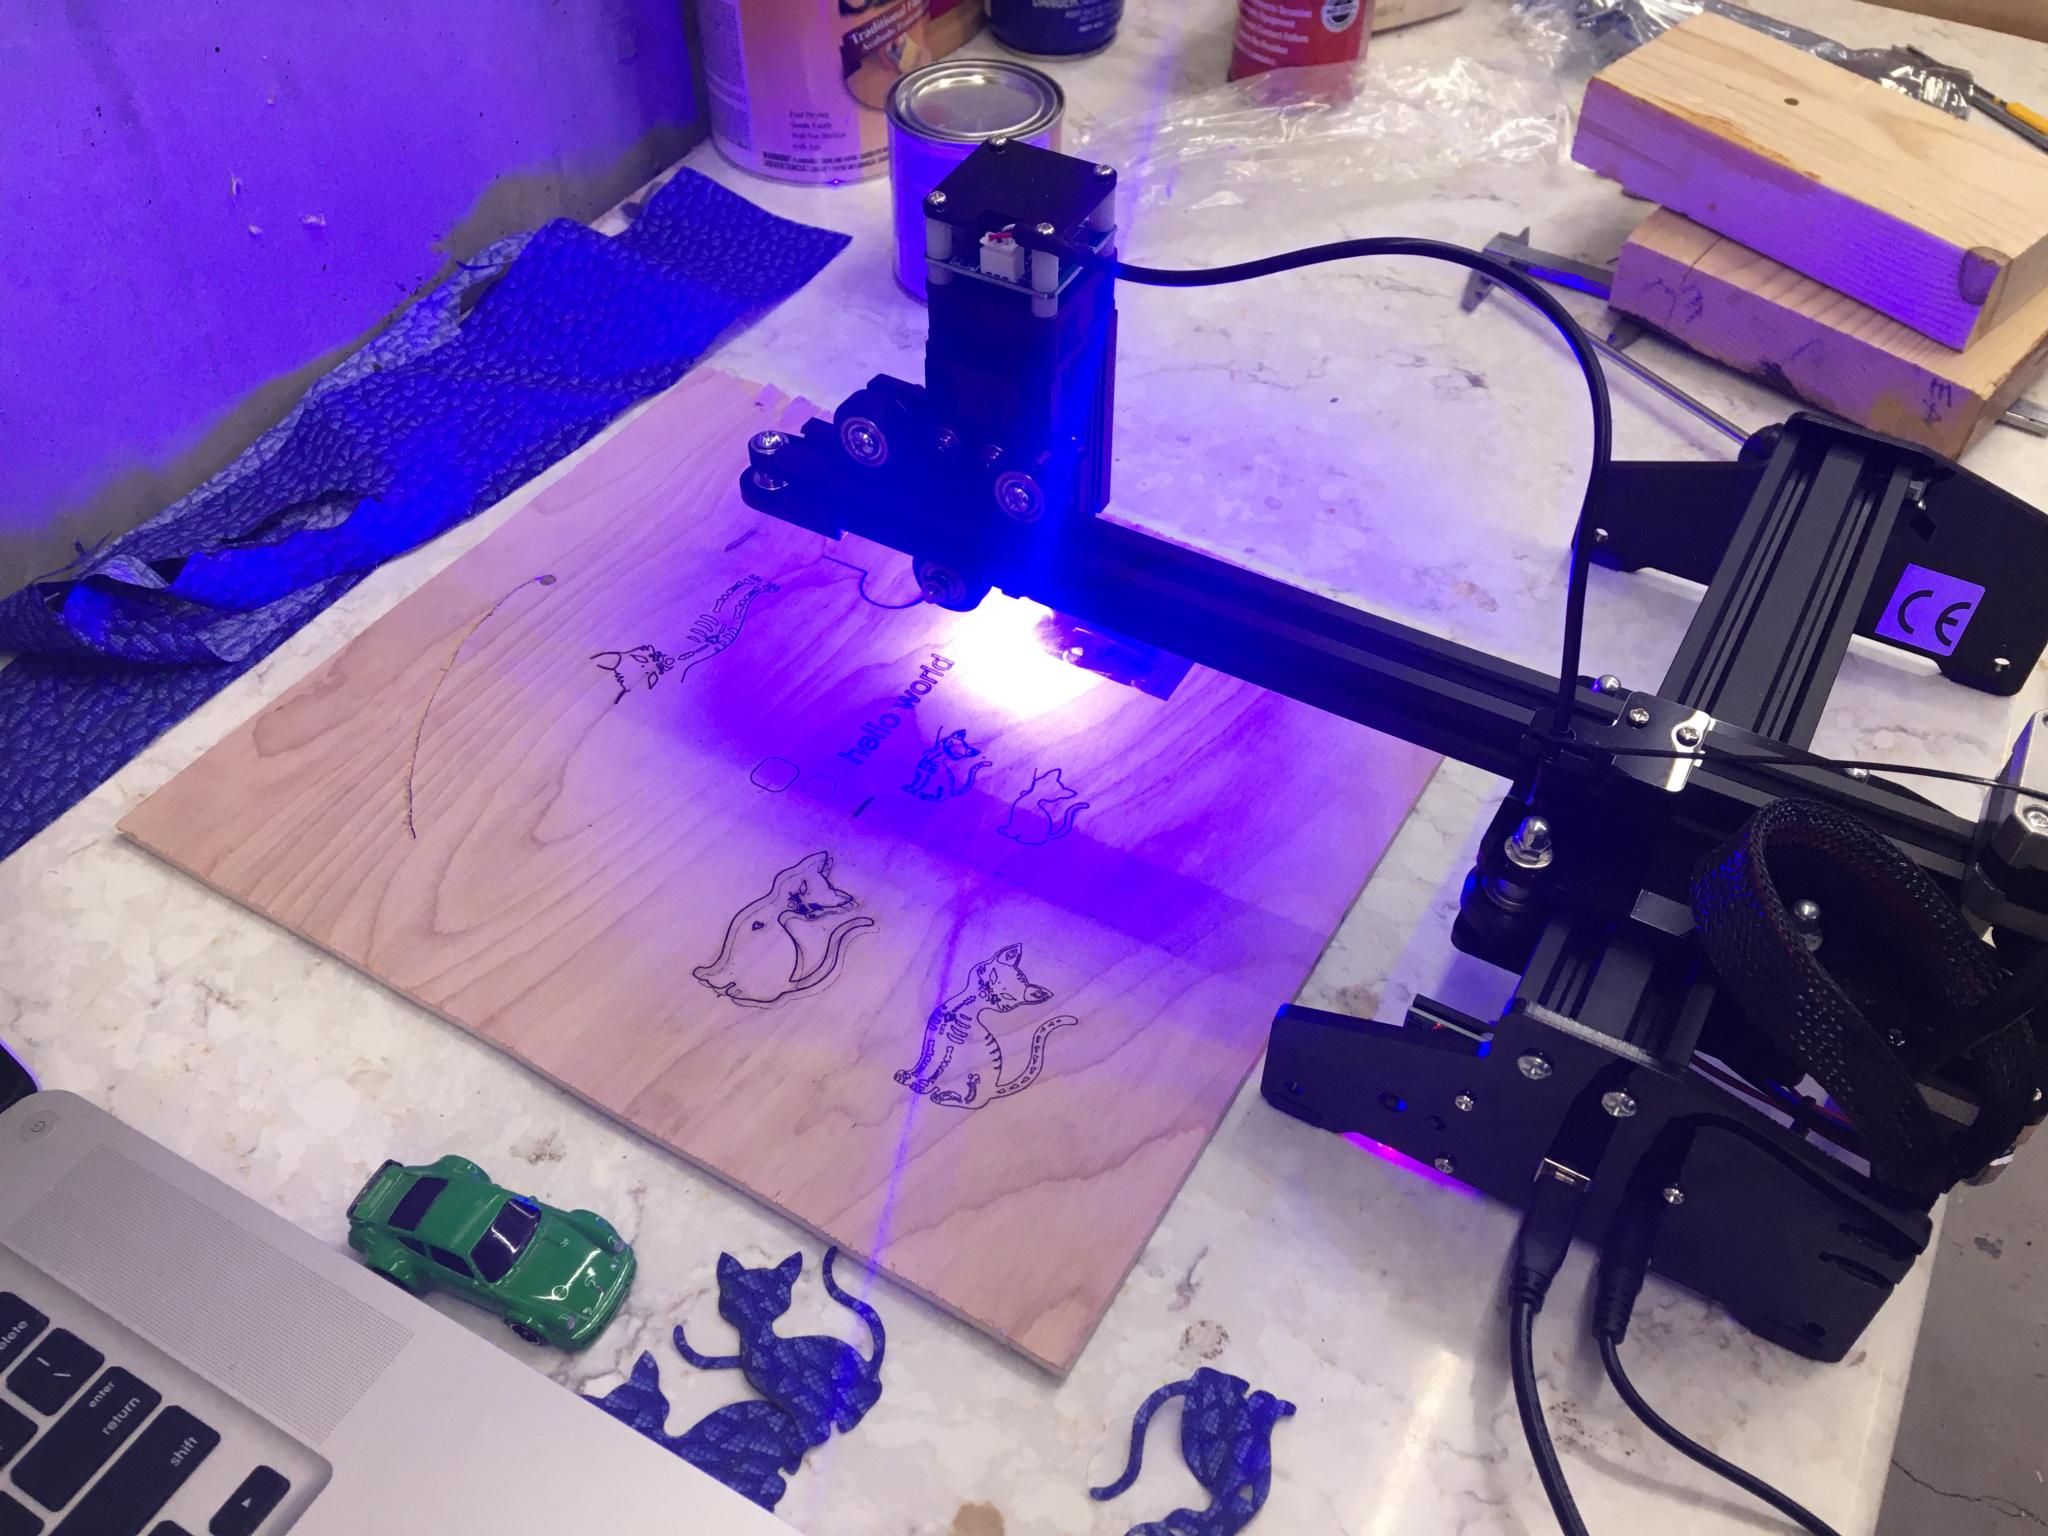
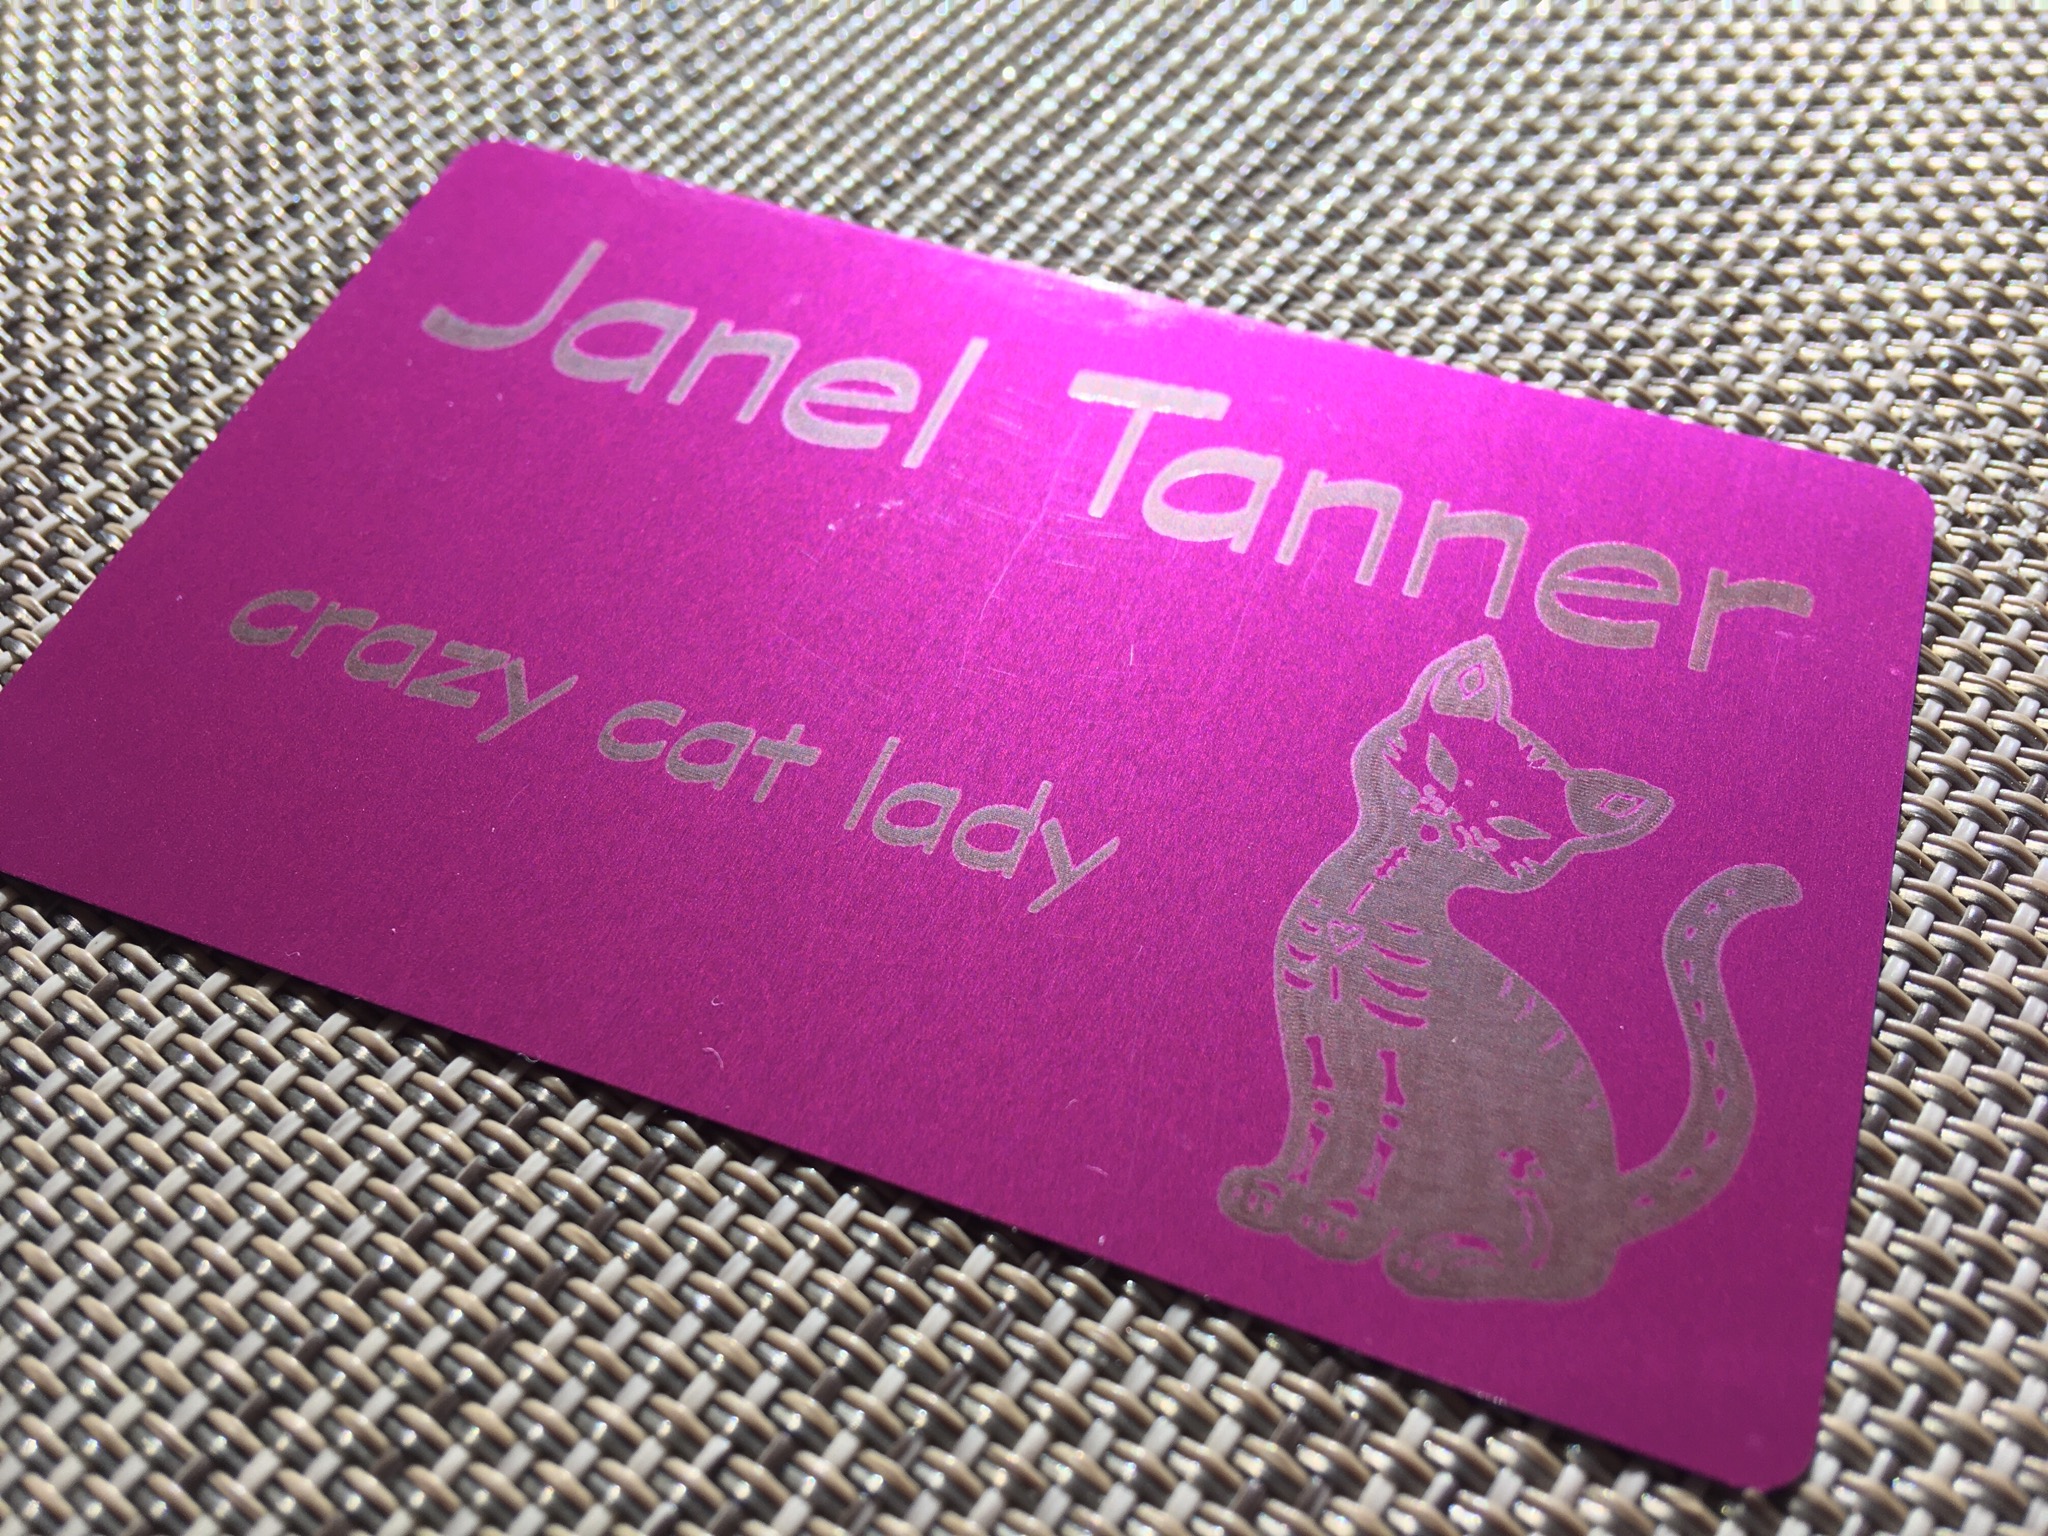
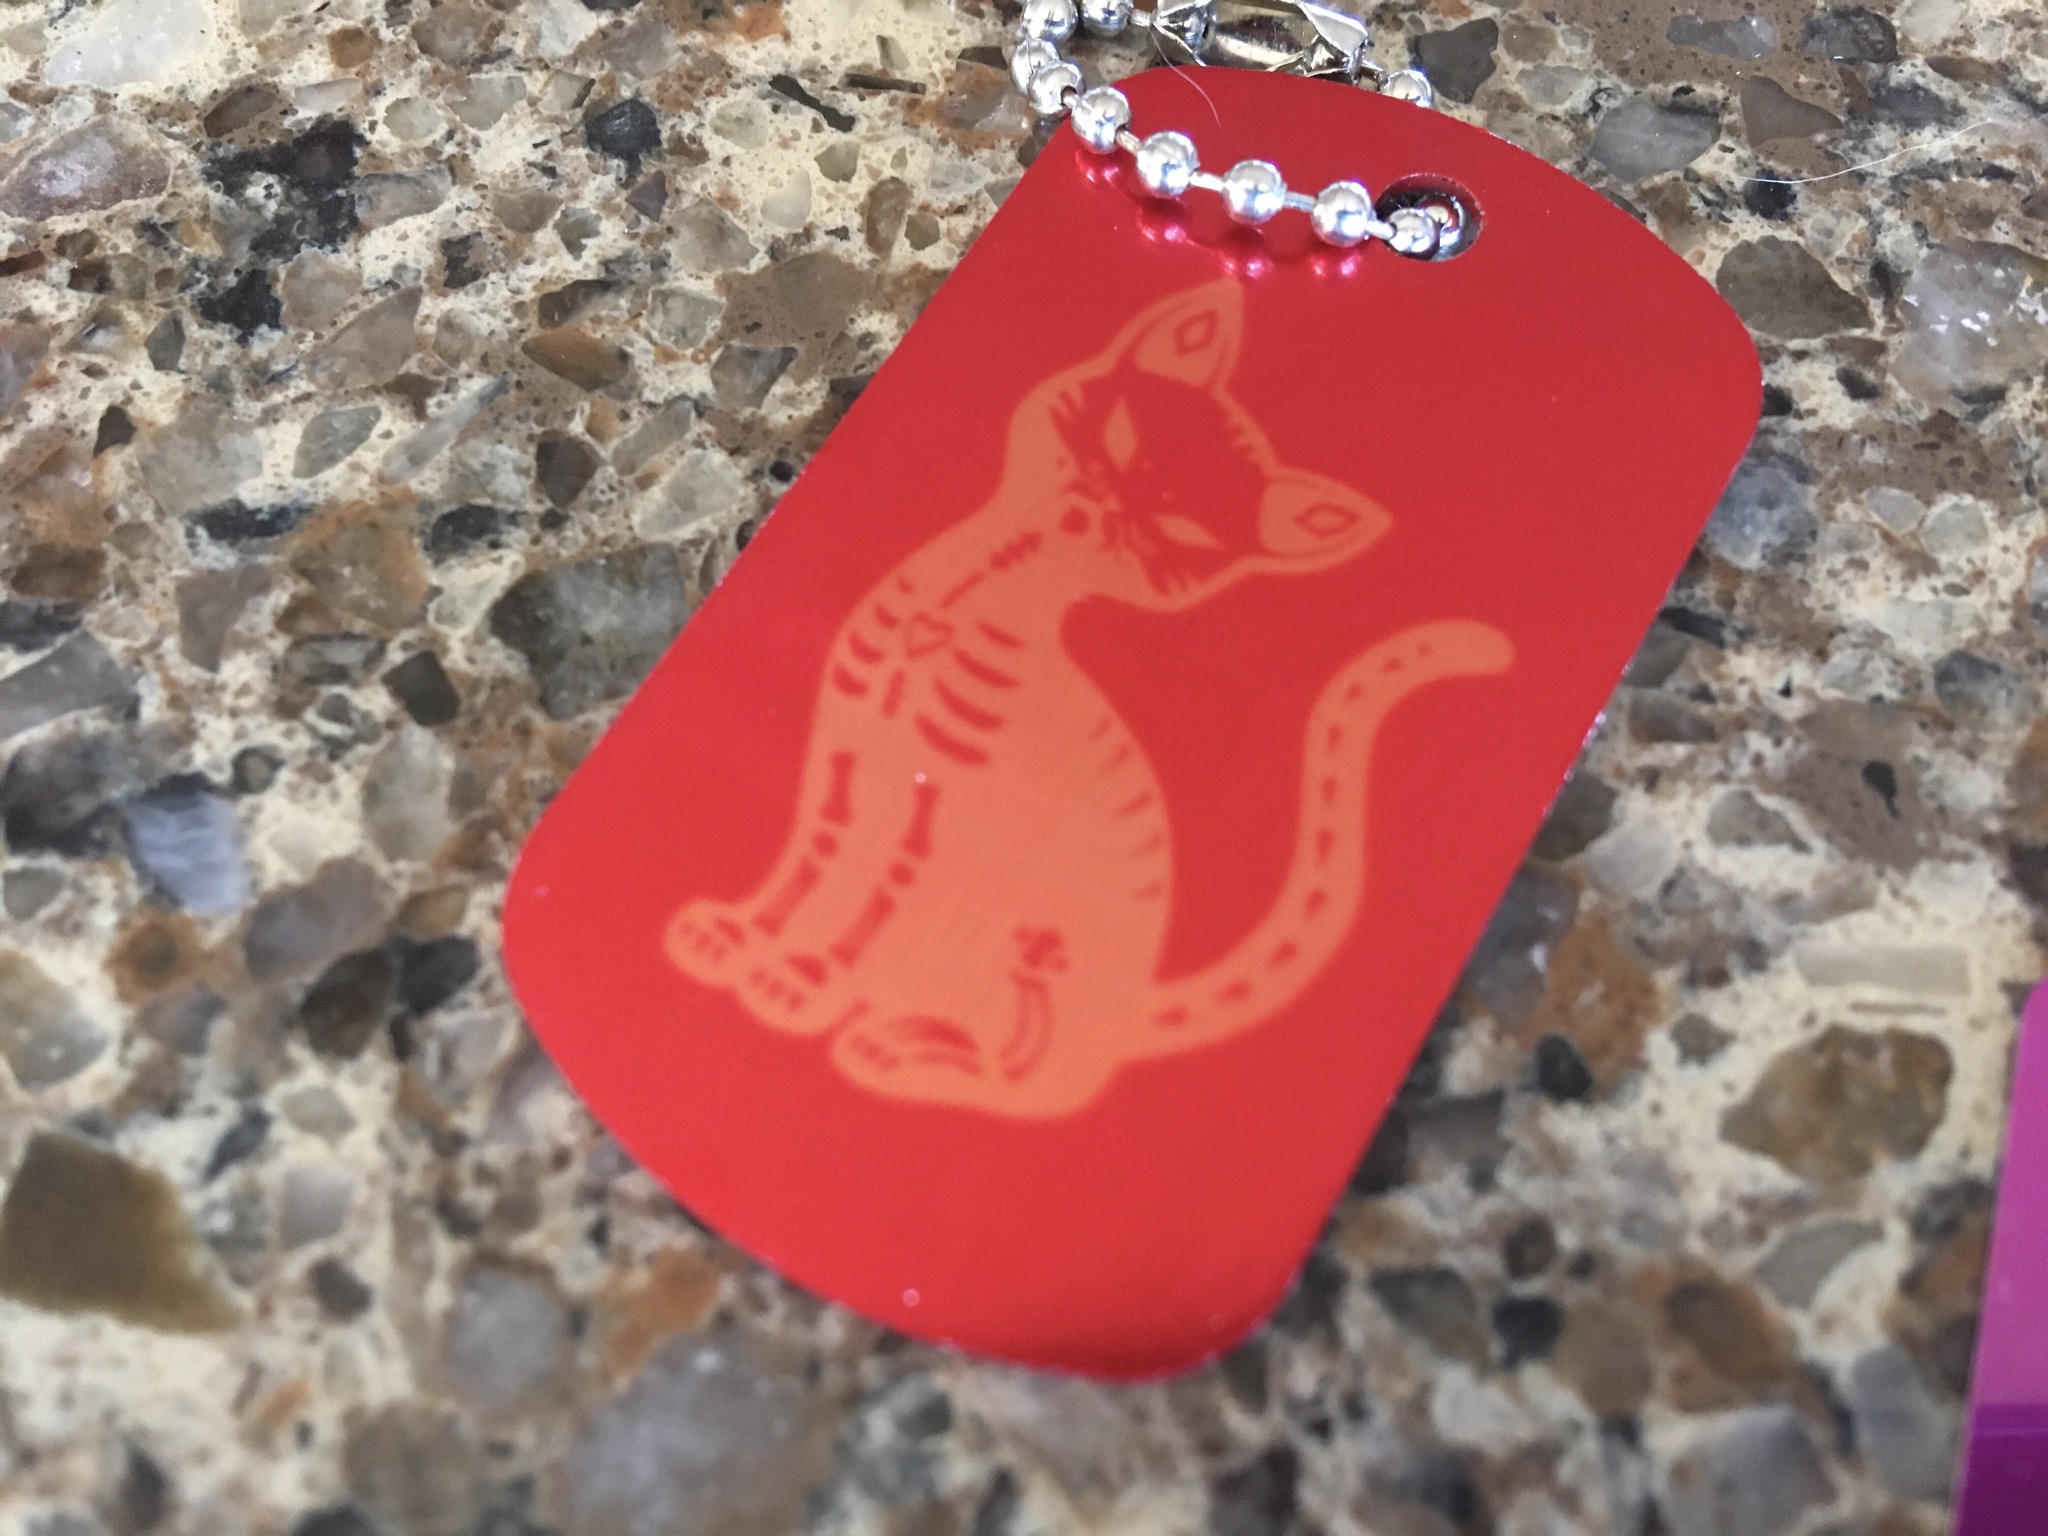
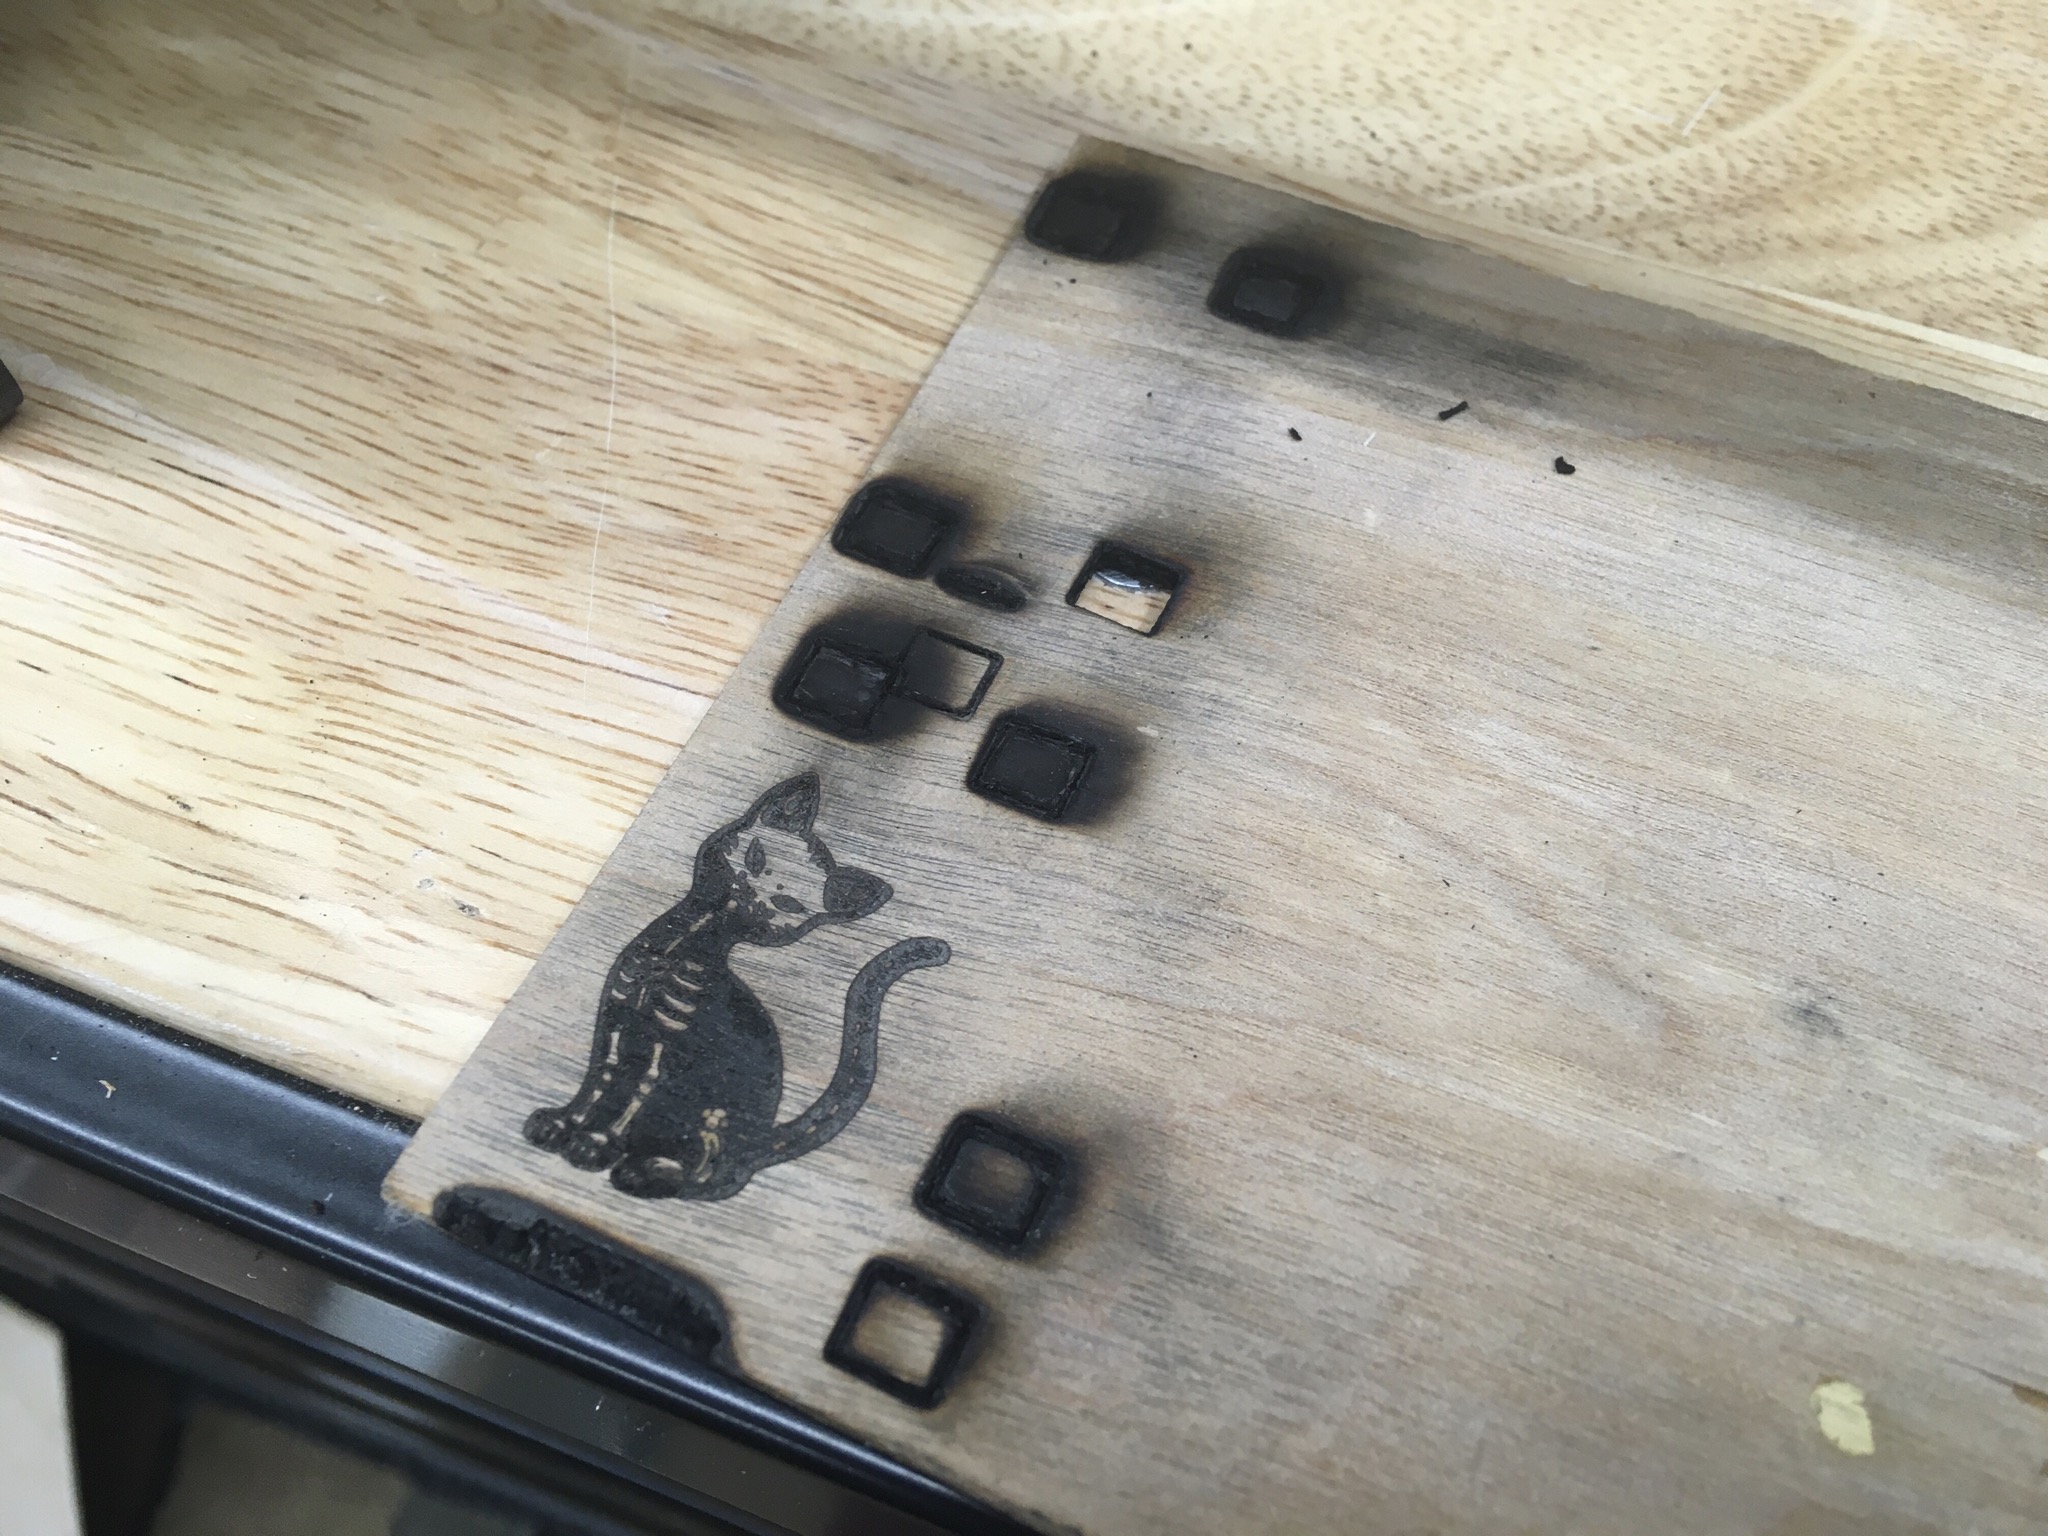
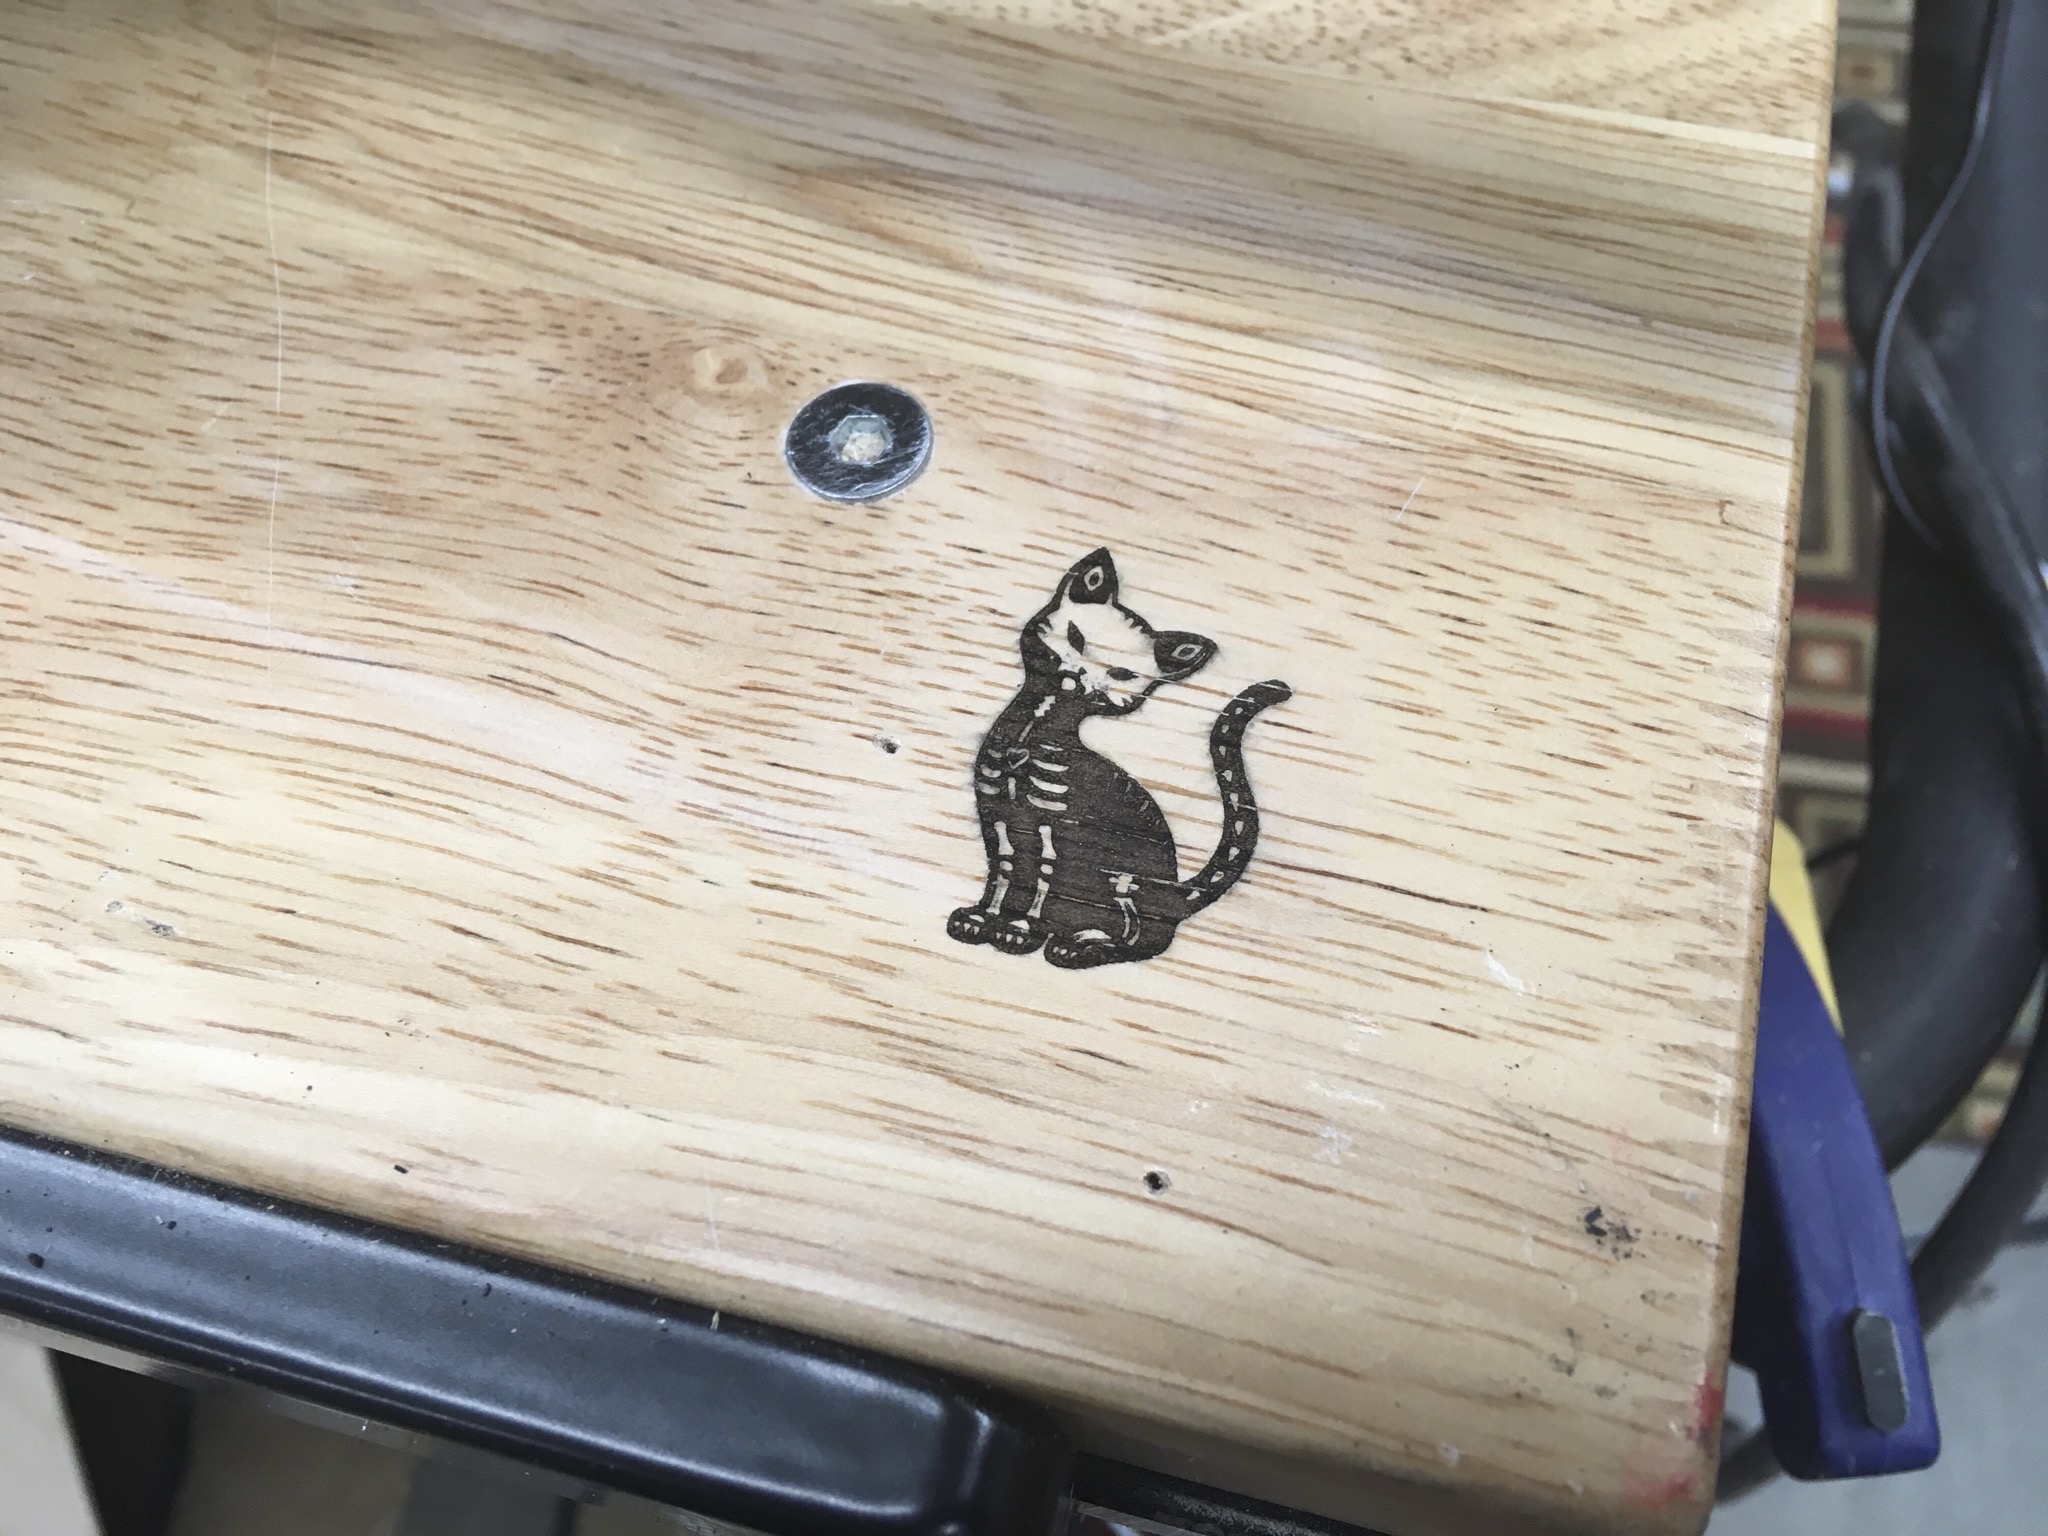
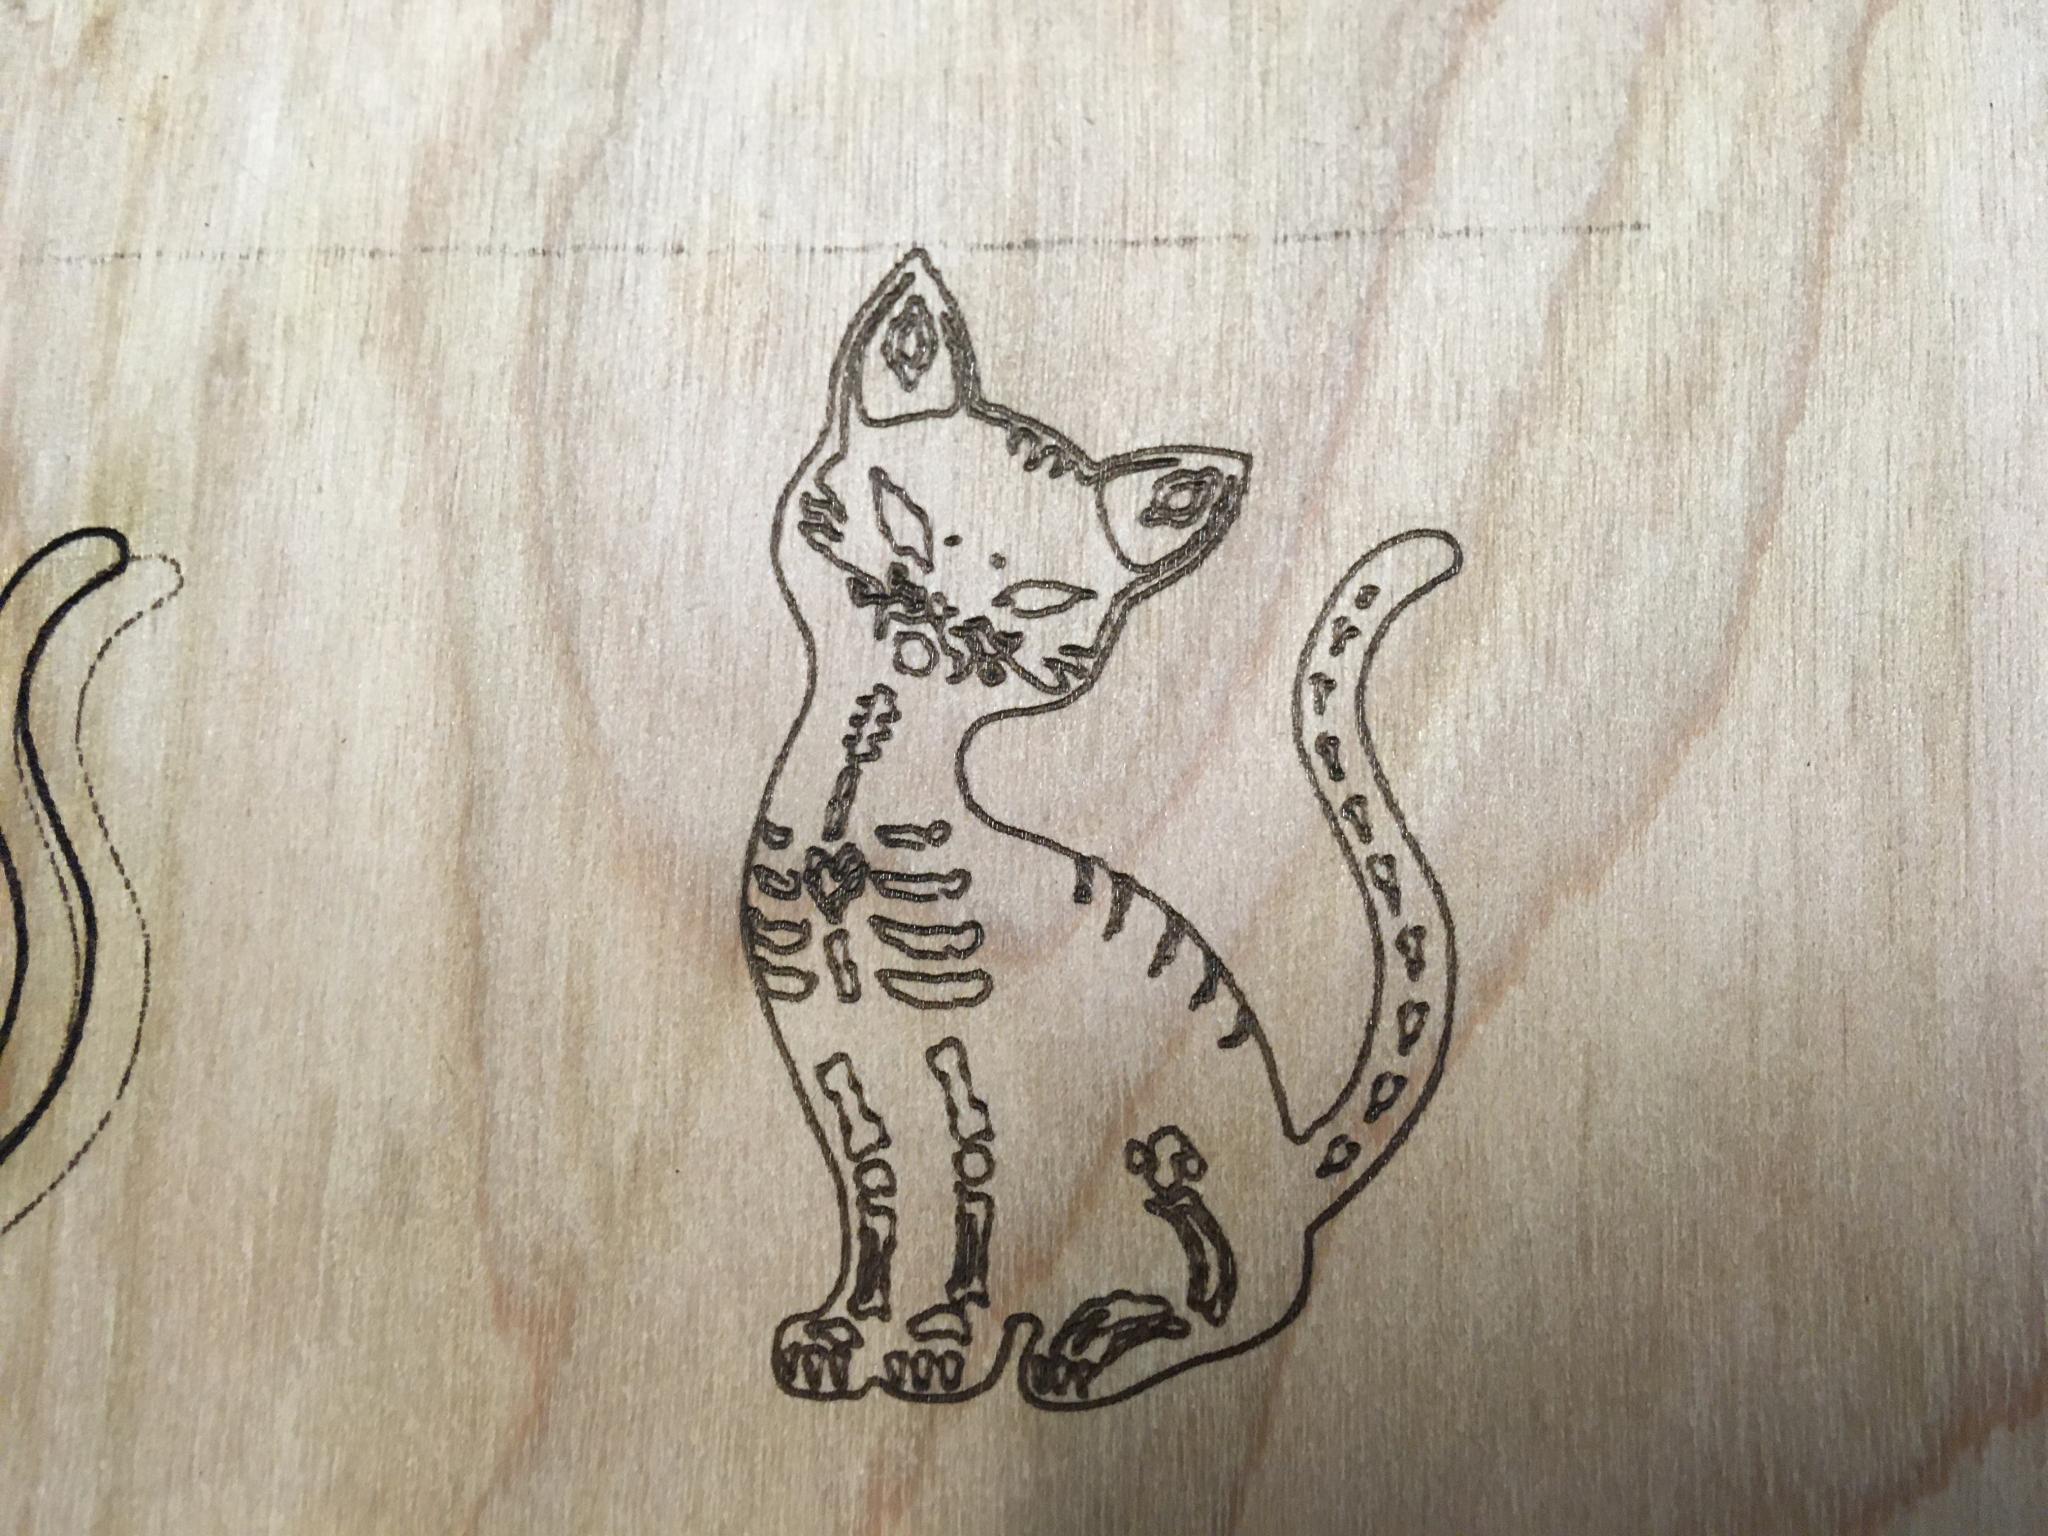
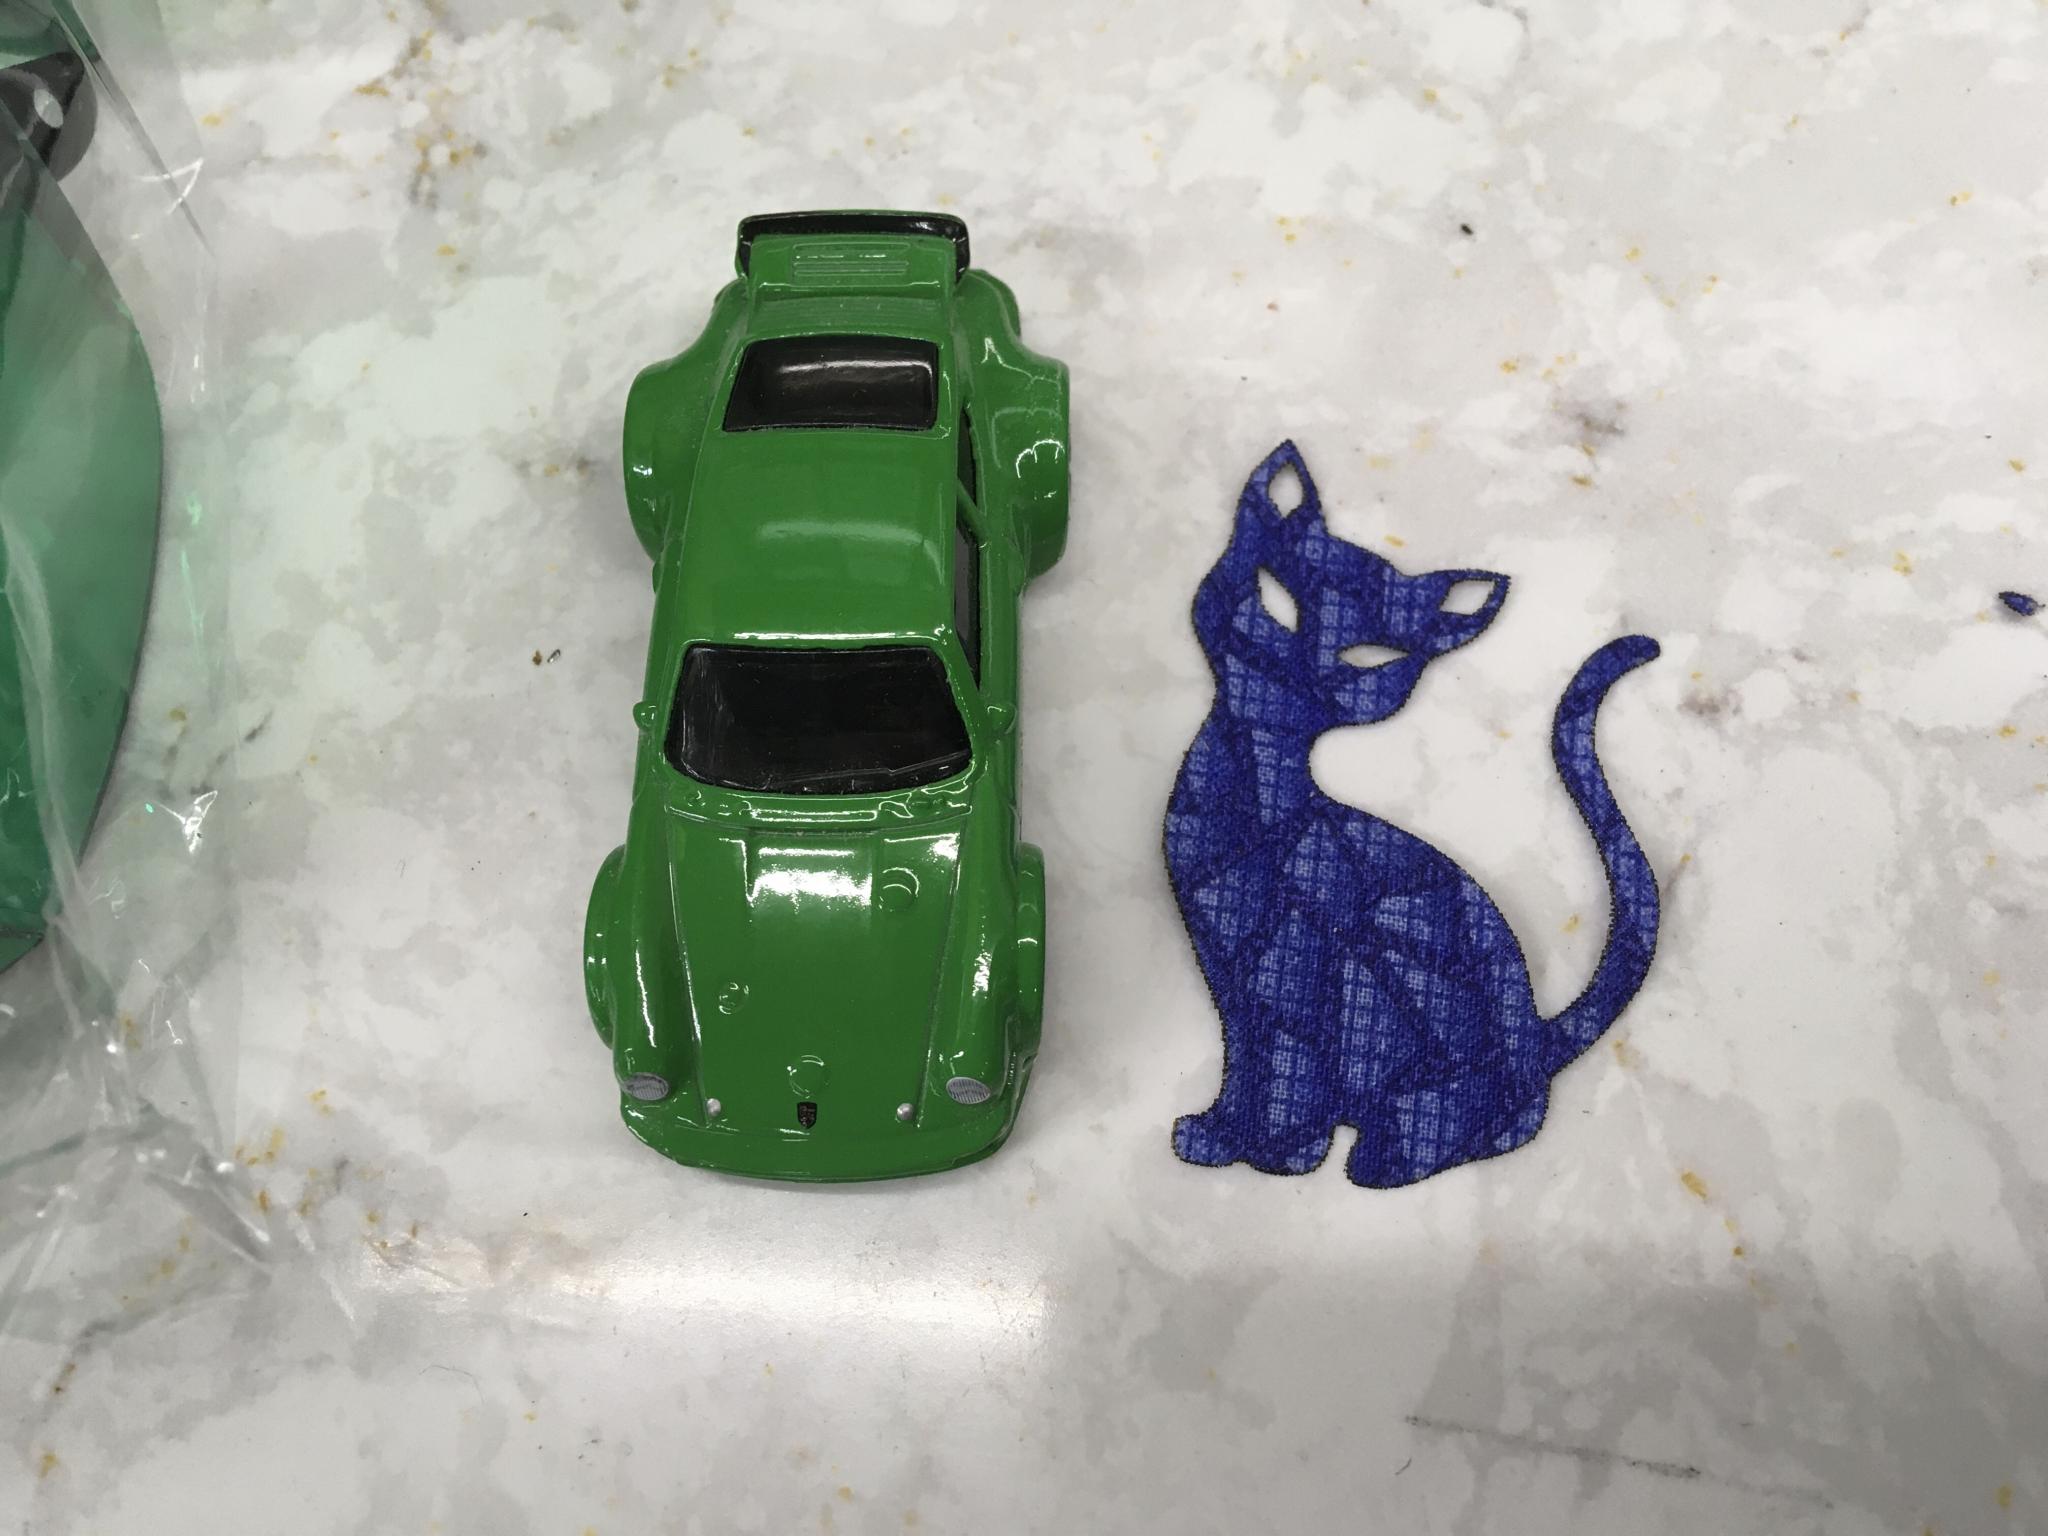
I had designed a little sugar skull cat for my wife's embroidery machine, so I used that for testing. Here it is at just under 2.5" high. I'm still playing with the speed and laser power - you can scale it from 0-100% and the speed can go as high as 9000 mm/minute.
Janel also likes doing applique work but hates cutting things out, so here's what it can do with fabric. Okay, I'm seriously impressed there. This opens up some real possibilities, especially if you bring the embroidery machine into play.
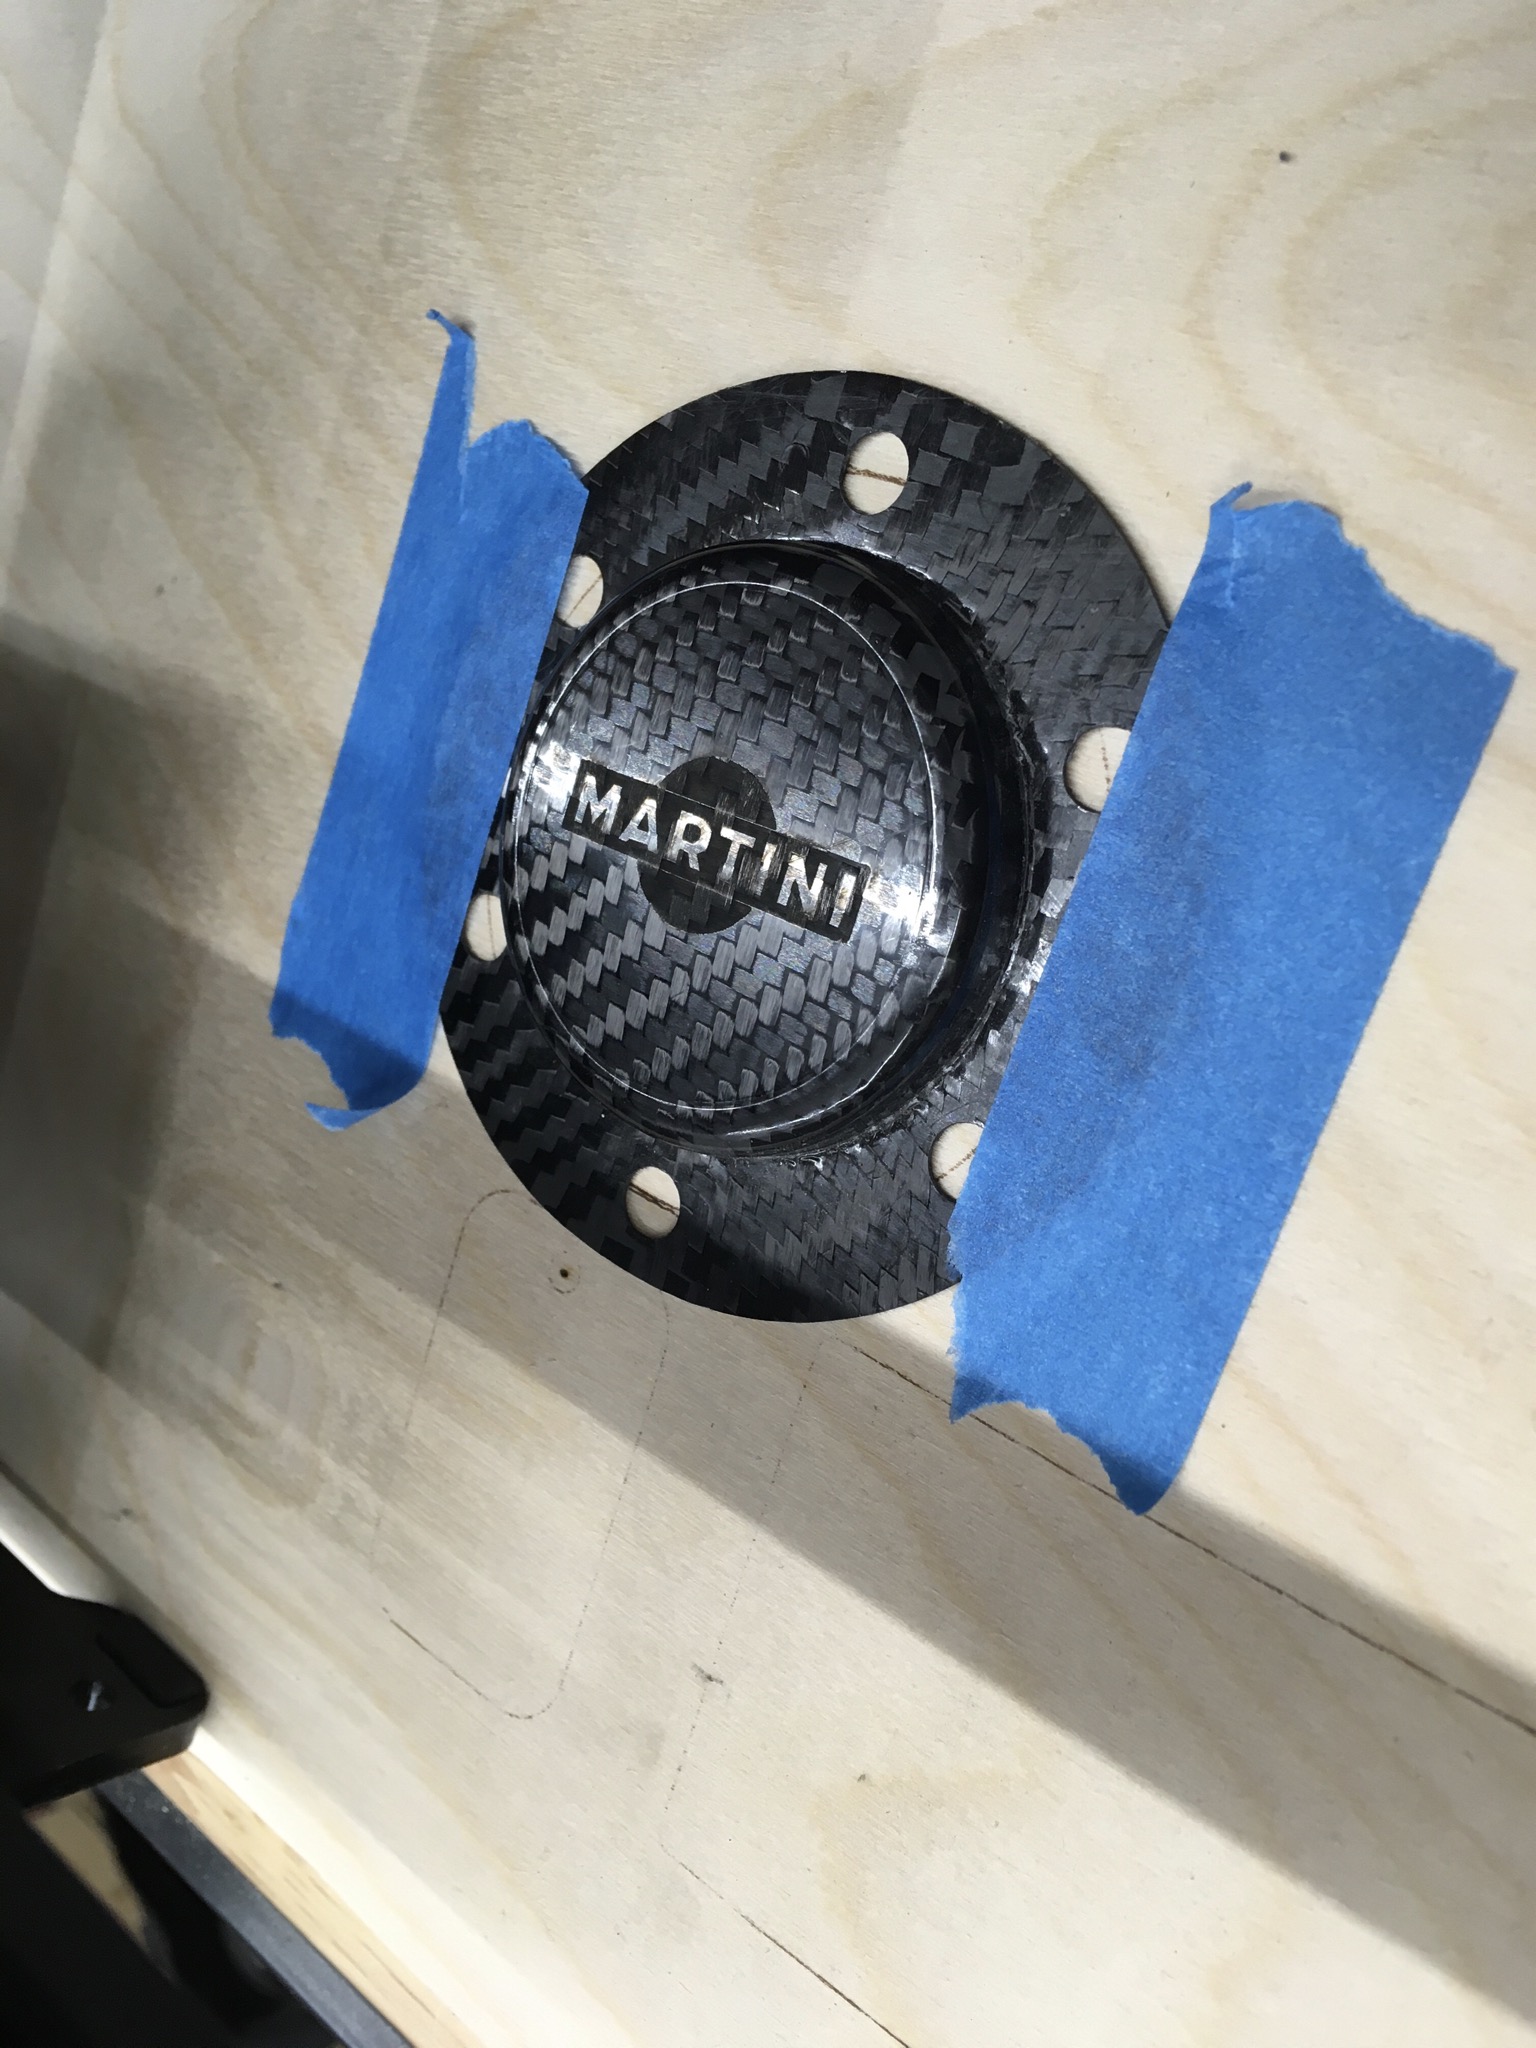
Just for fun, I dropped an actual picture into Lightburn, converted to greyscale and hit "go". I could make it more legible with some tweaking but you can make it out and it shows how the laser can vary its power. It's only about 2.25" across - I didn't want to wait for anything bigger to "print". It's tactile, too. The darker areas are engraved deeper.
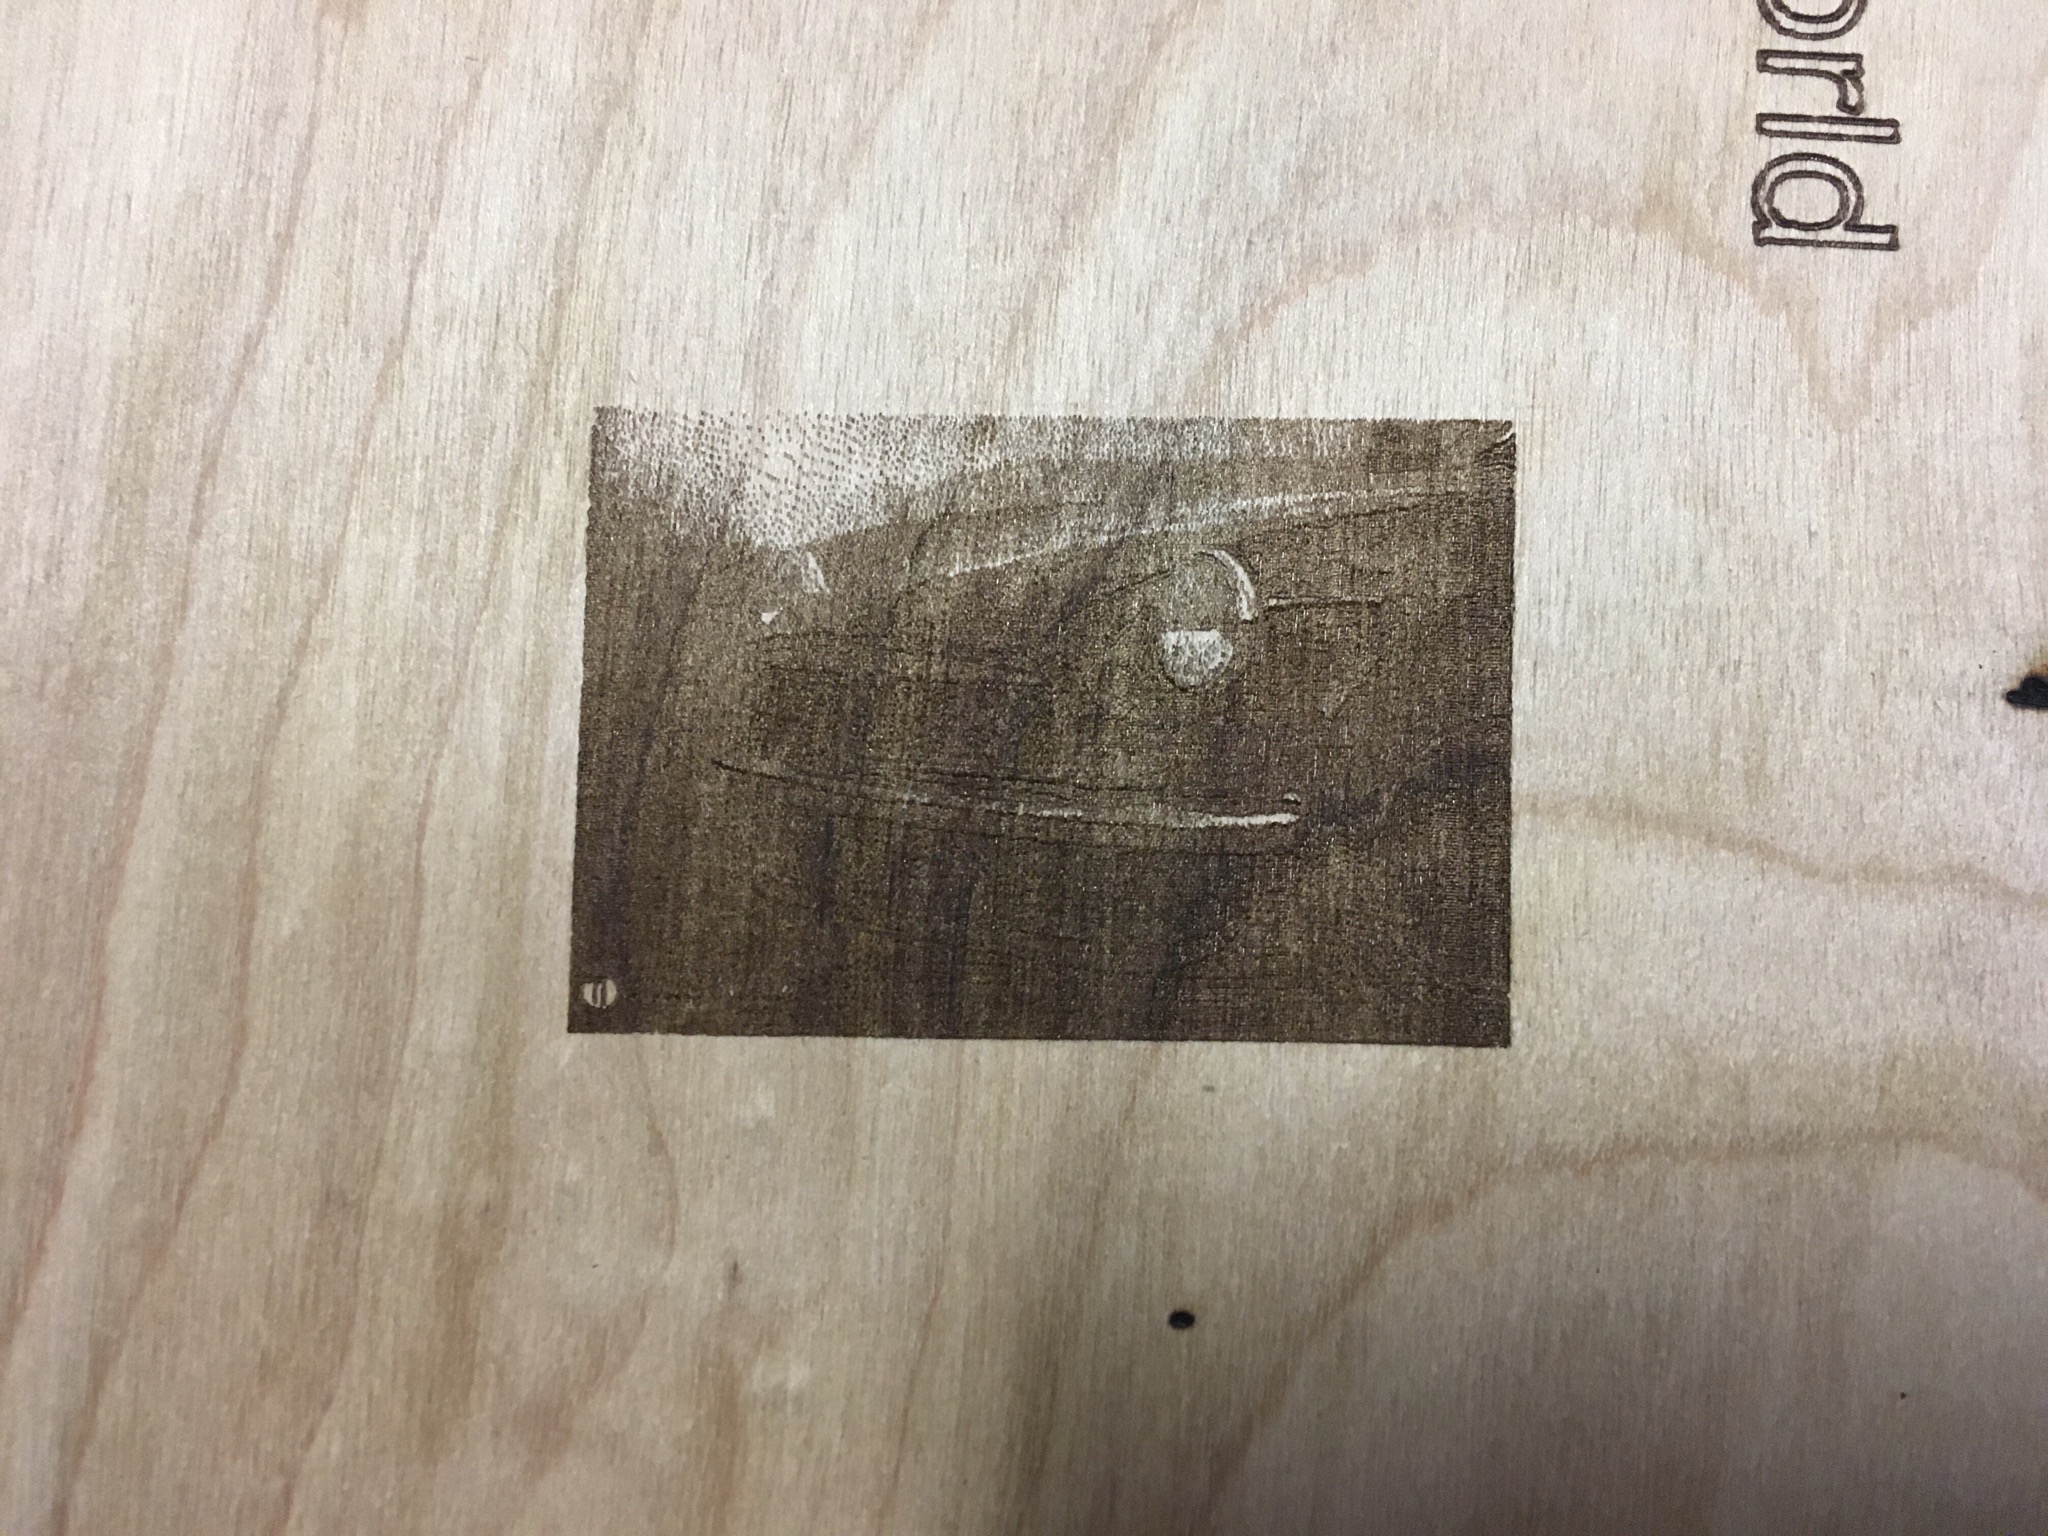
Here's the original picture.

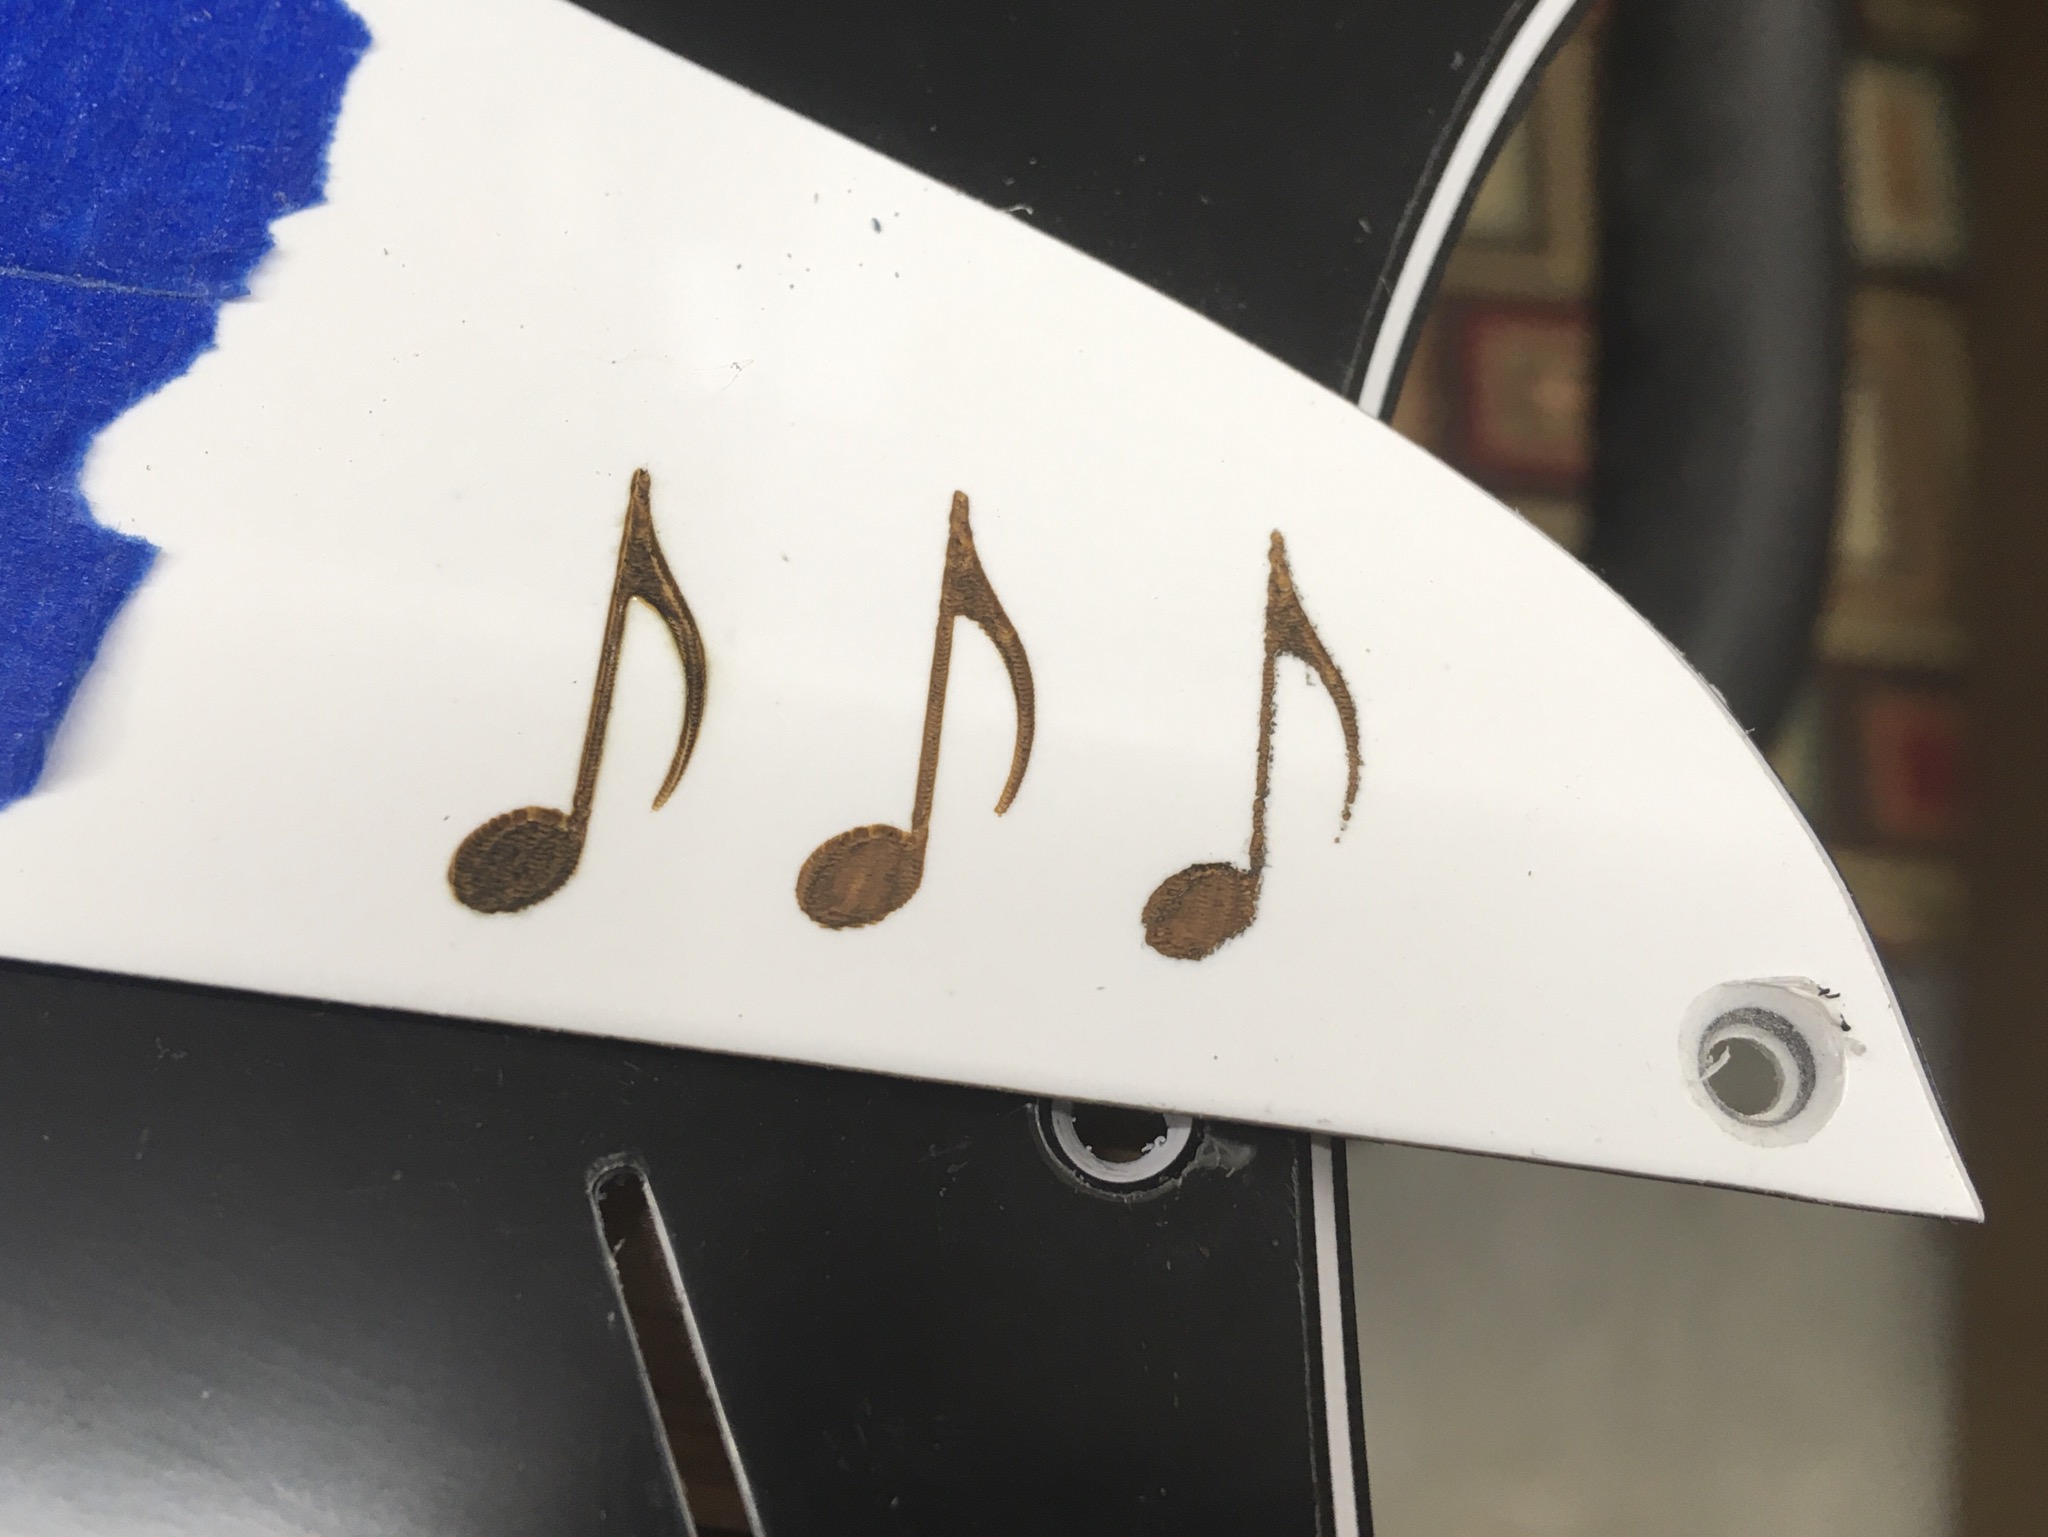
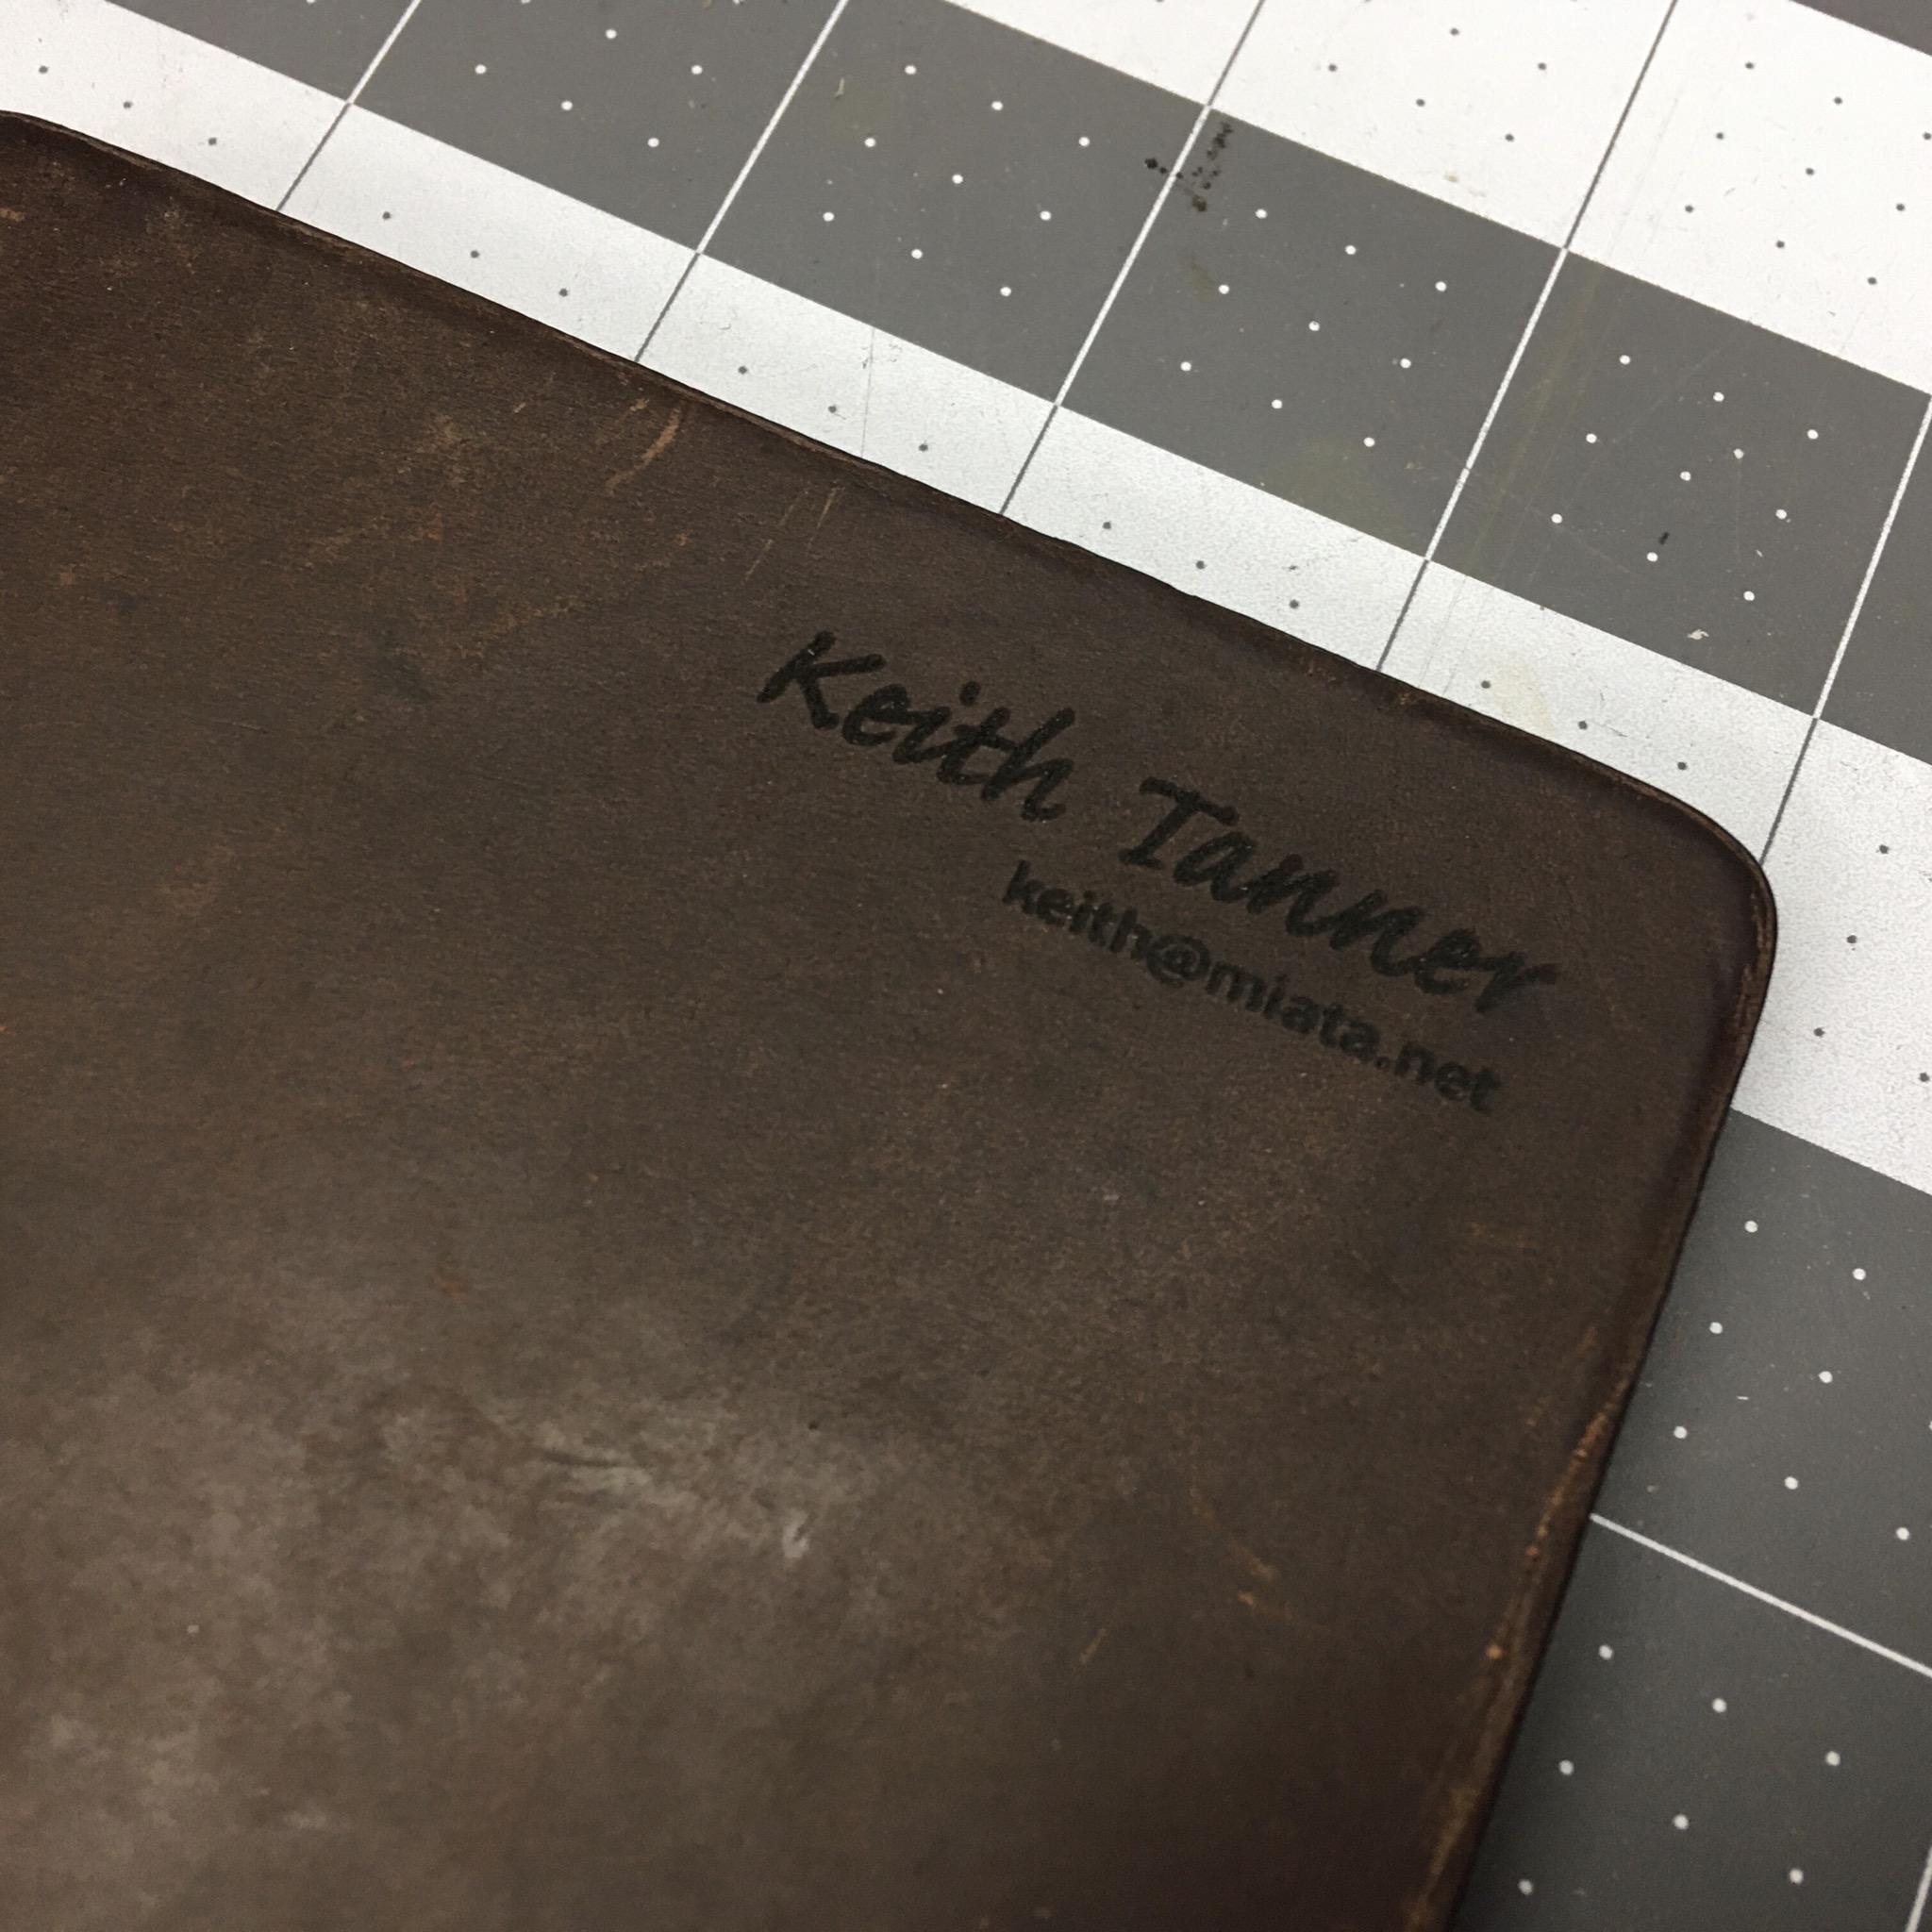
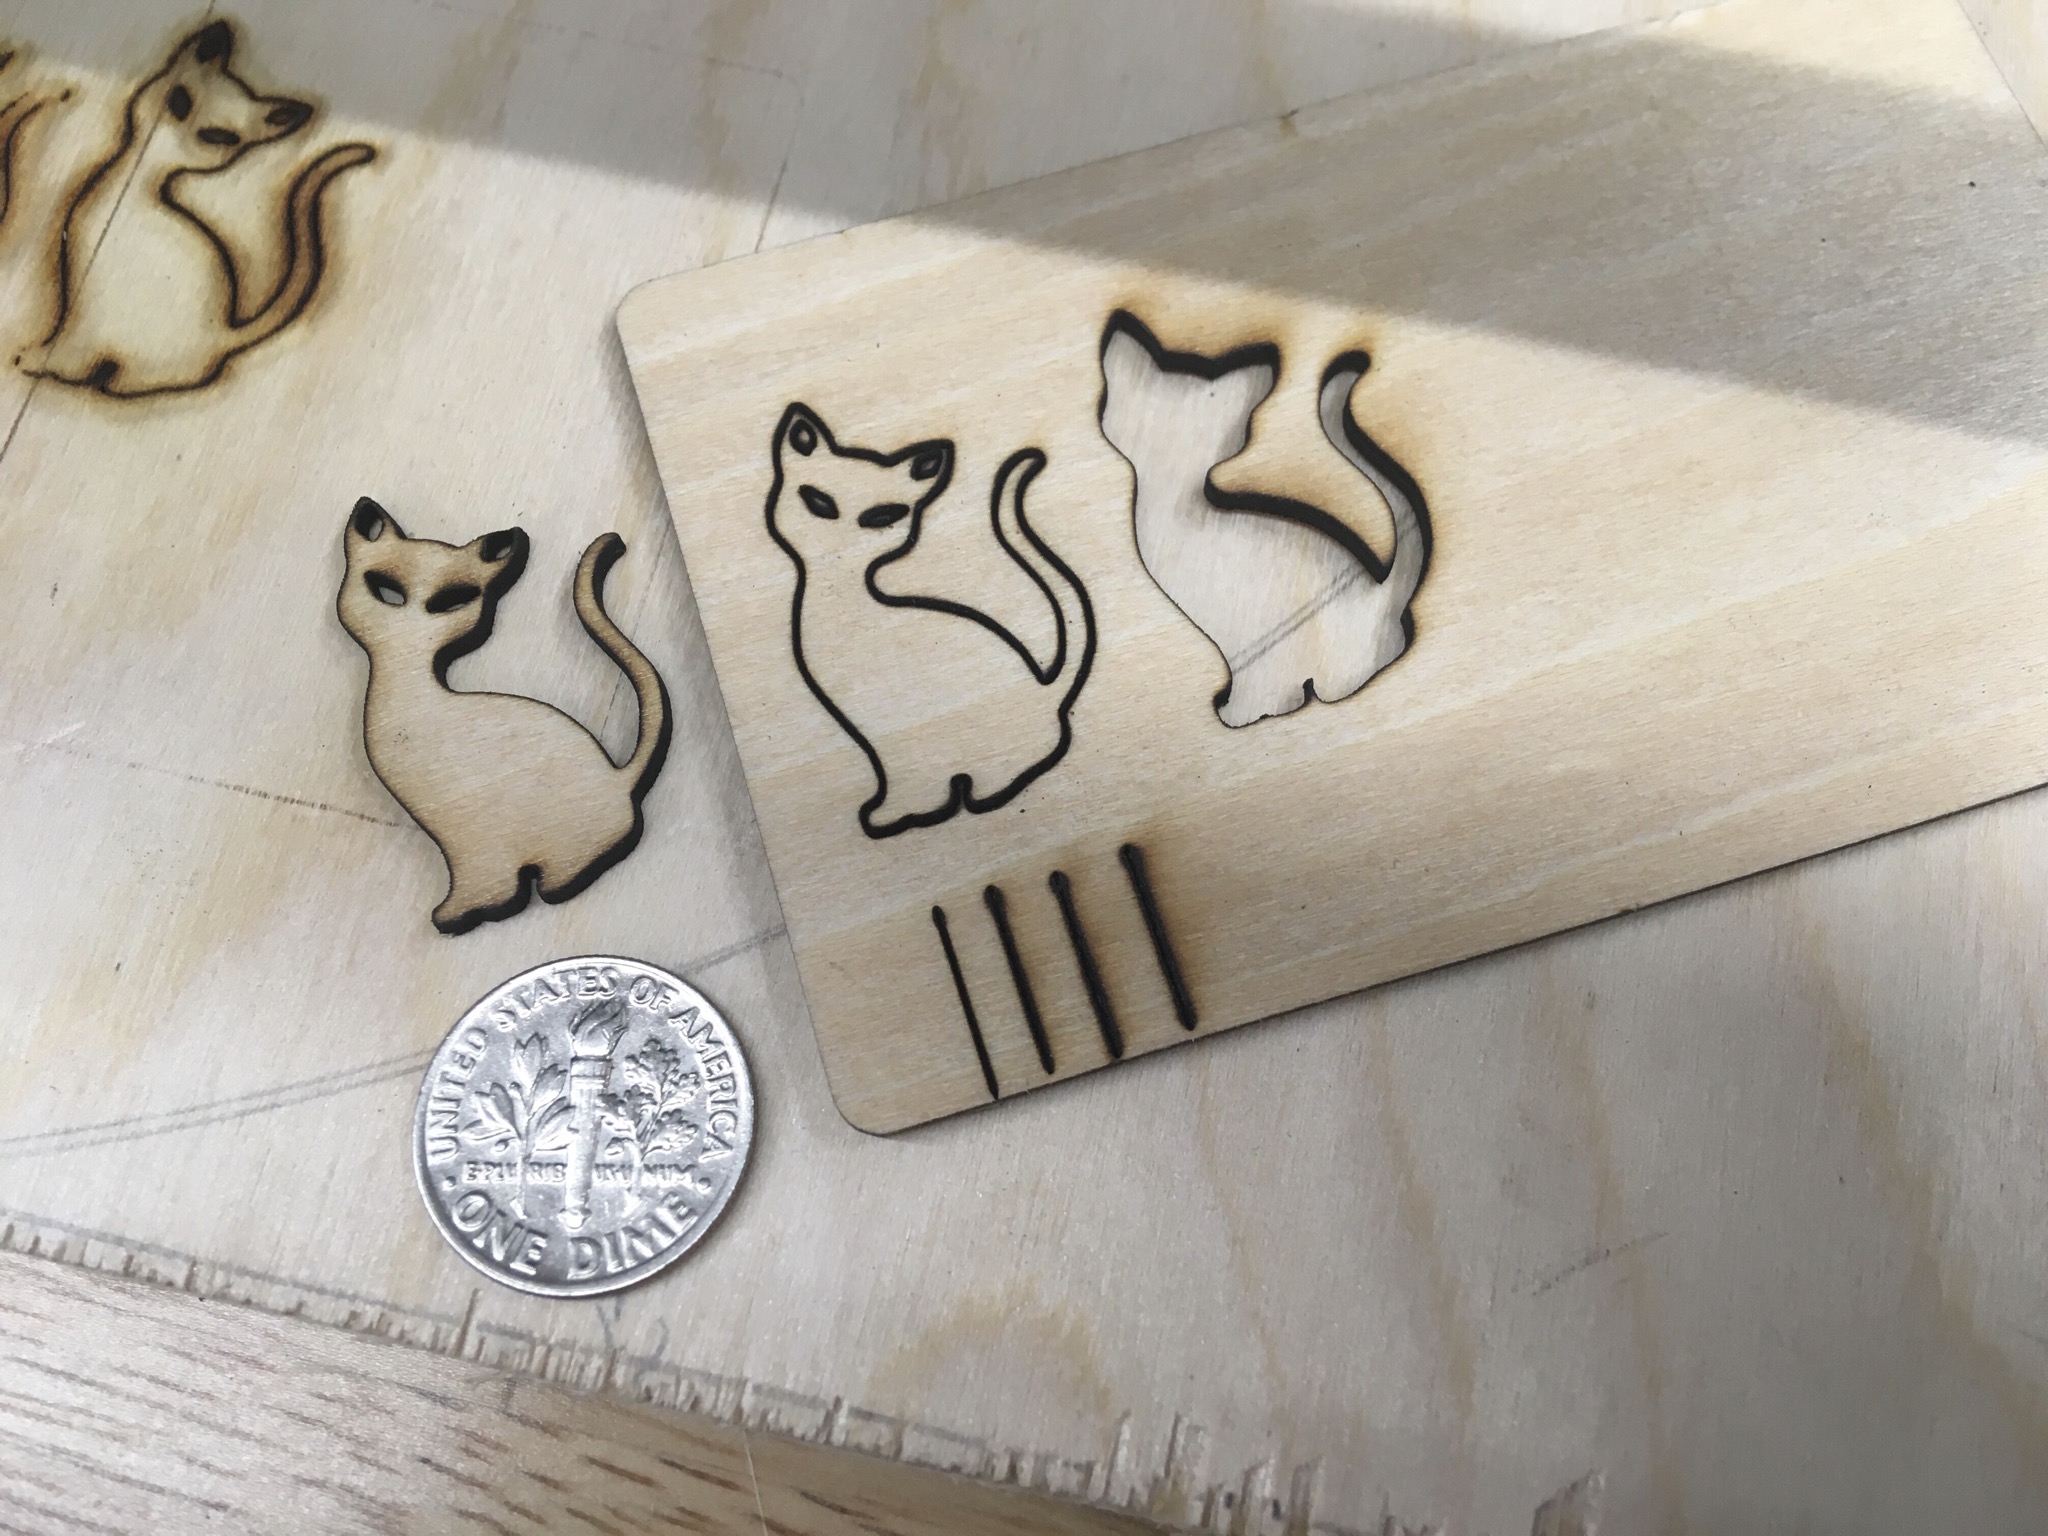
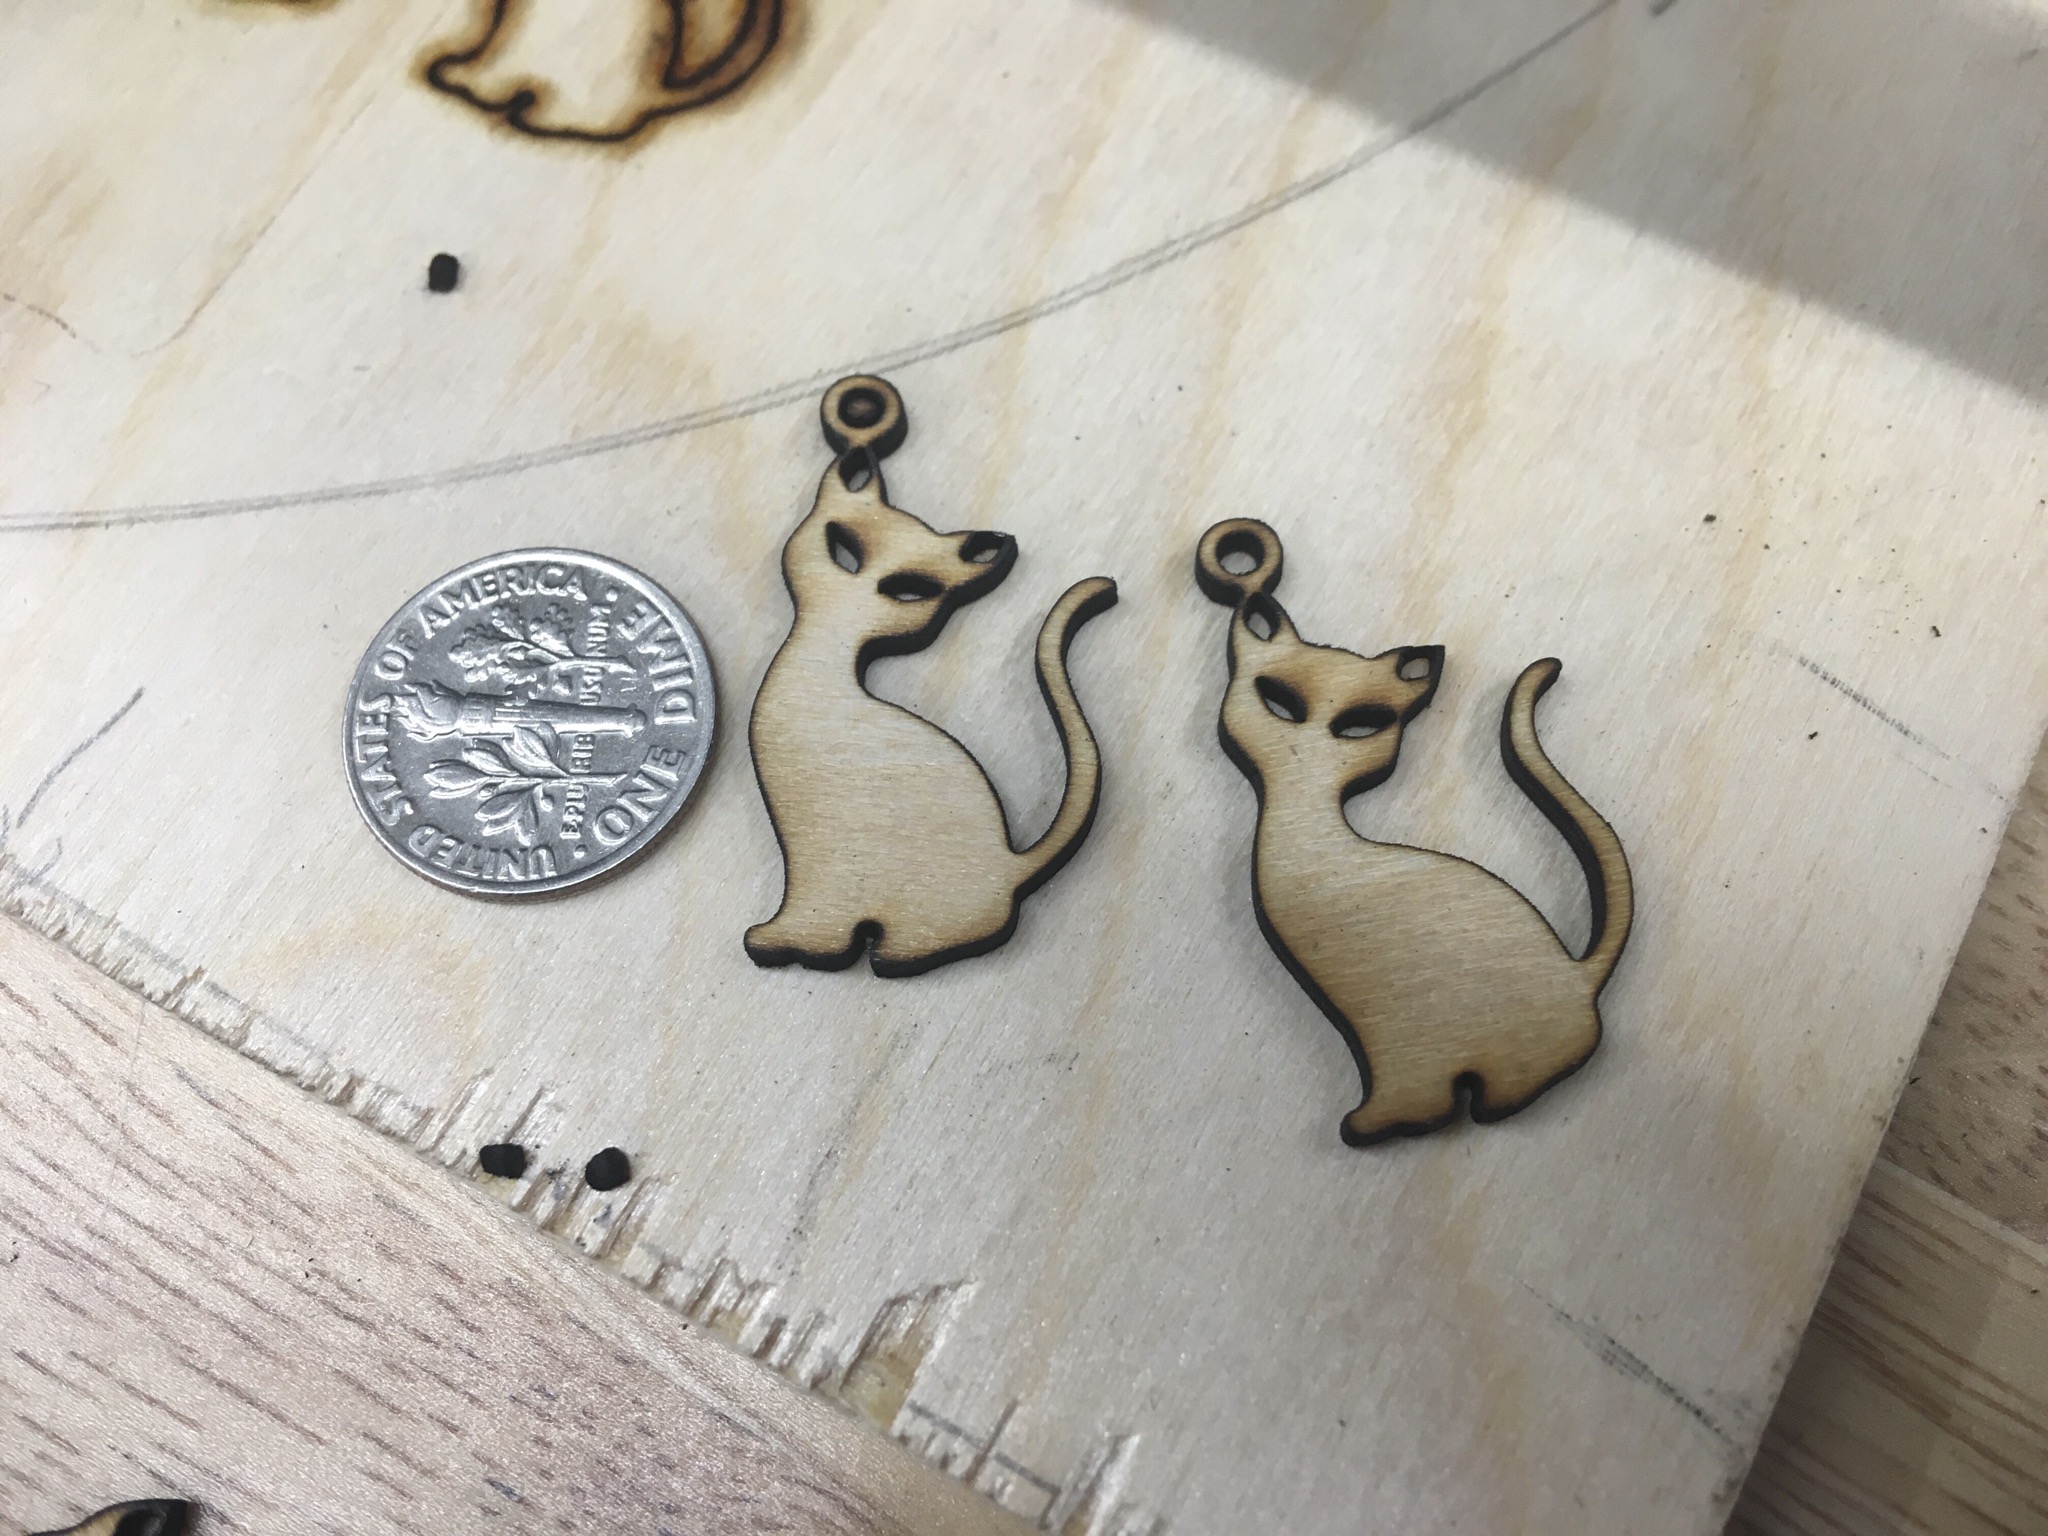
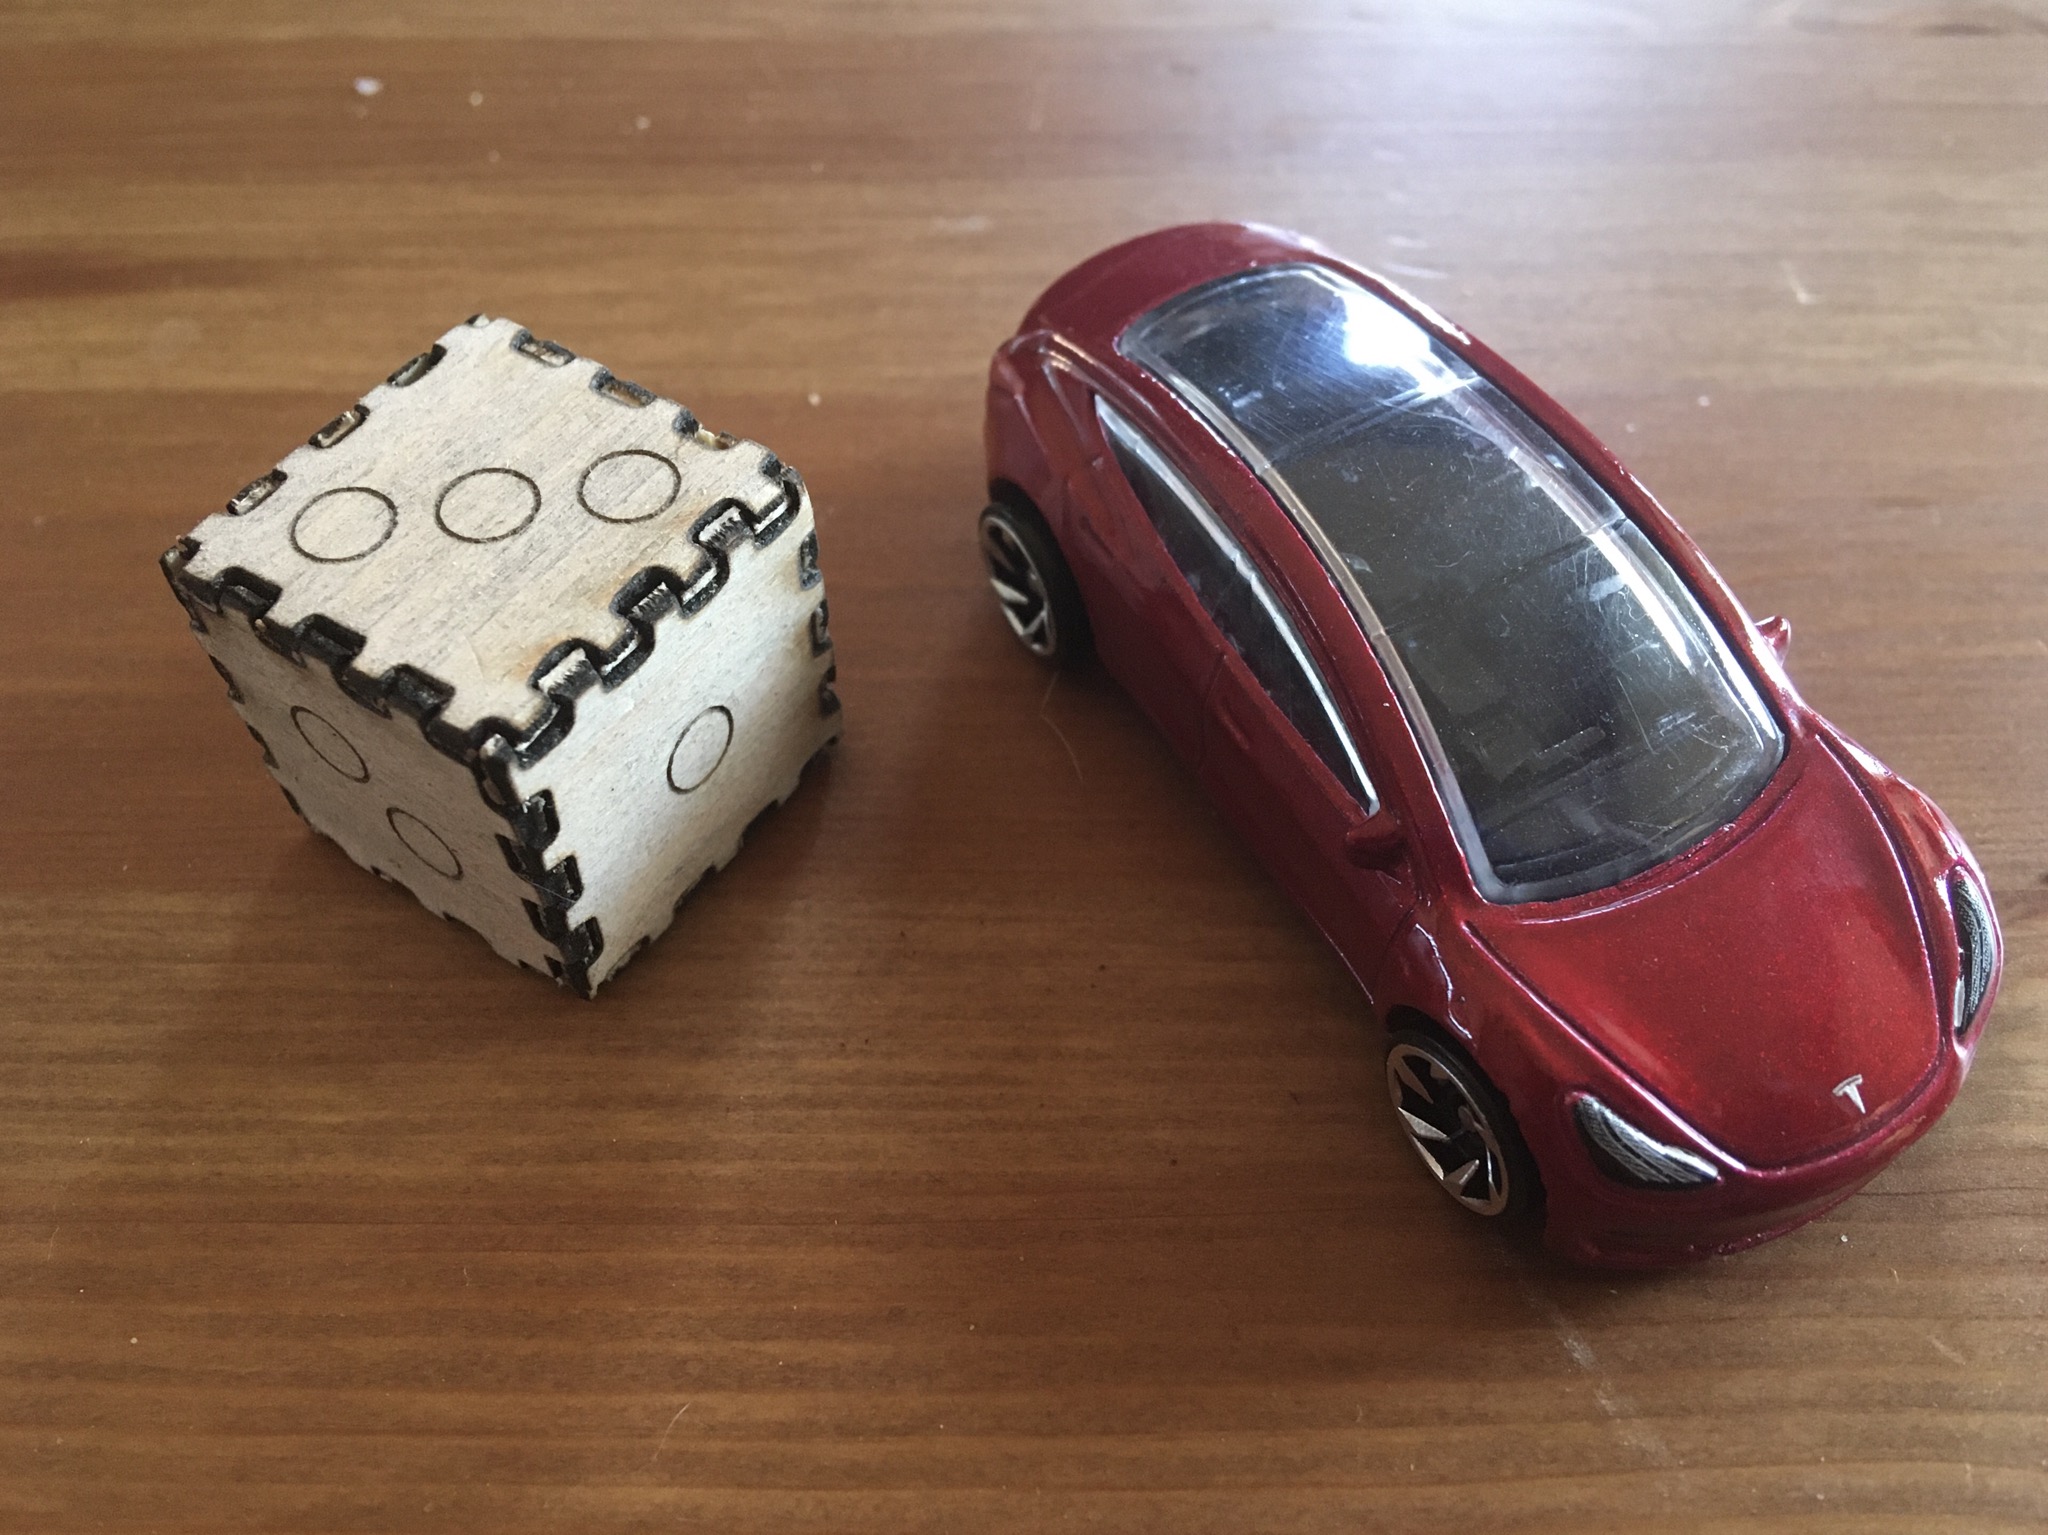
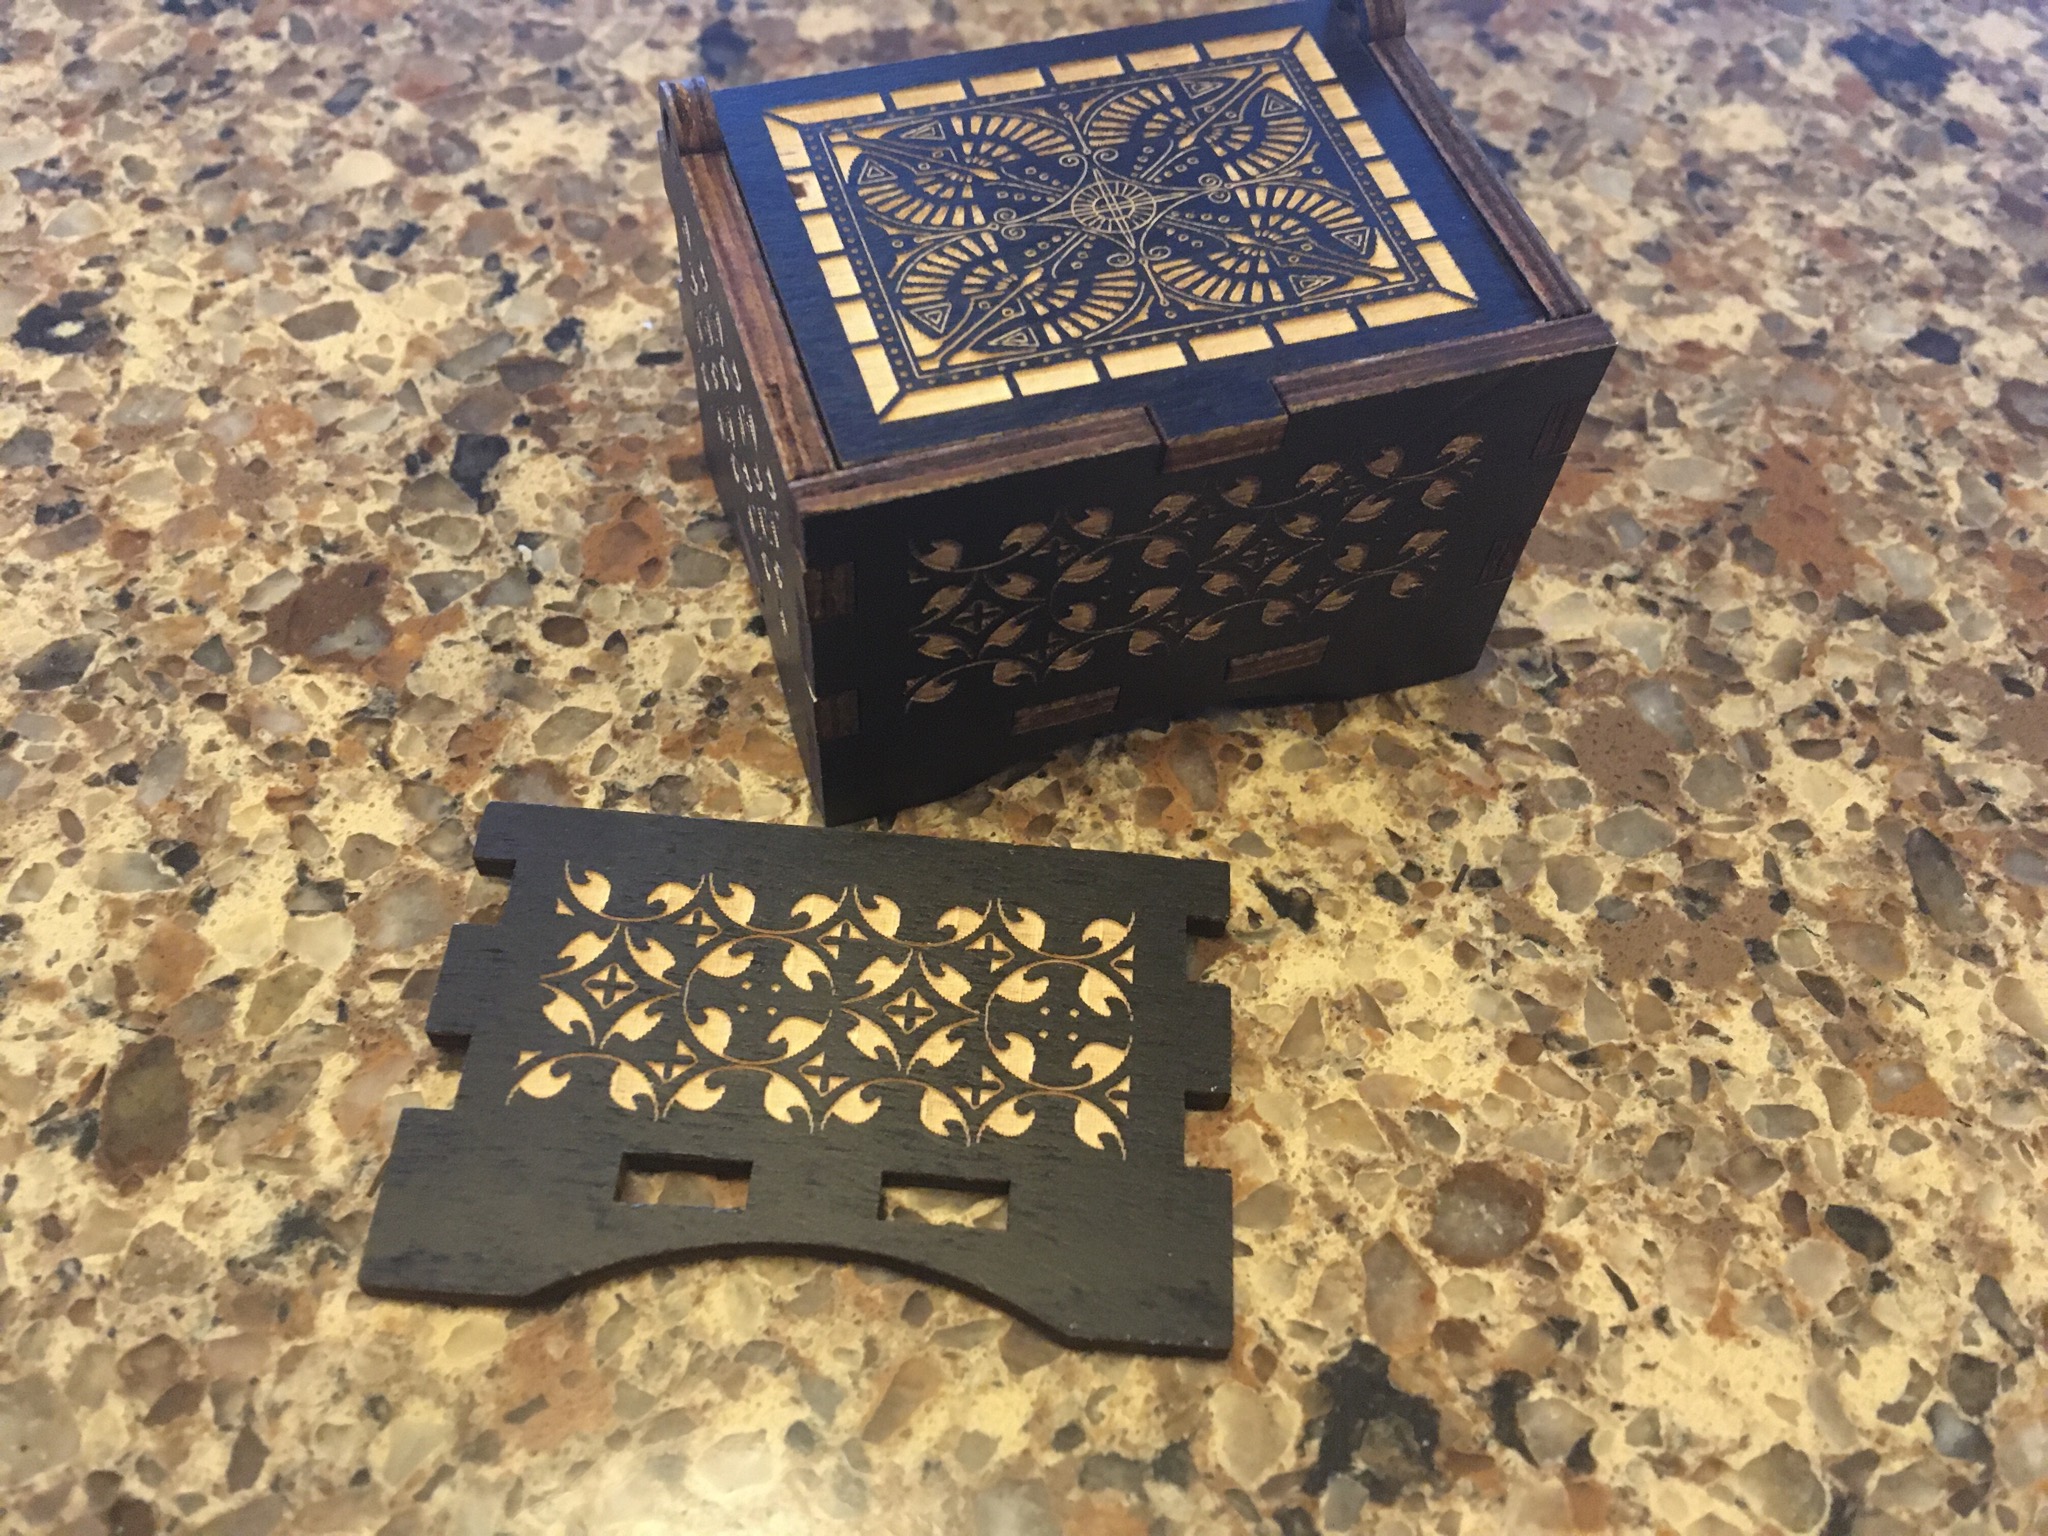
I have some more material to play with, I'm going to explore this further. I think it'll be very useful to do custom labels, and with the ability to cut 1/8" wood I'll probably use it for some custom enclosures and little wooden models. I can also do circuit boards.
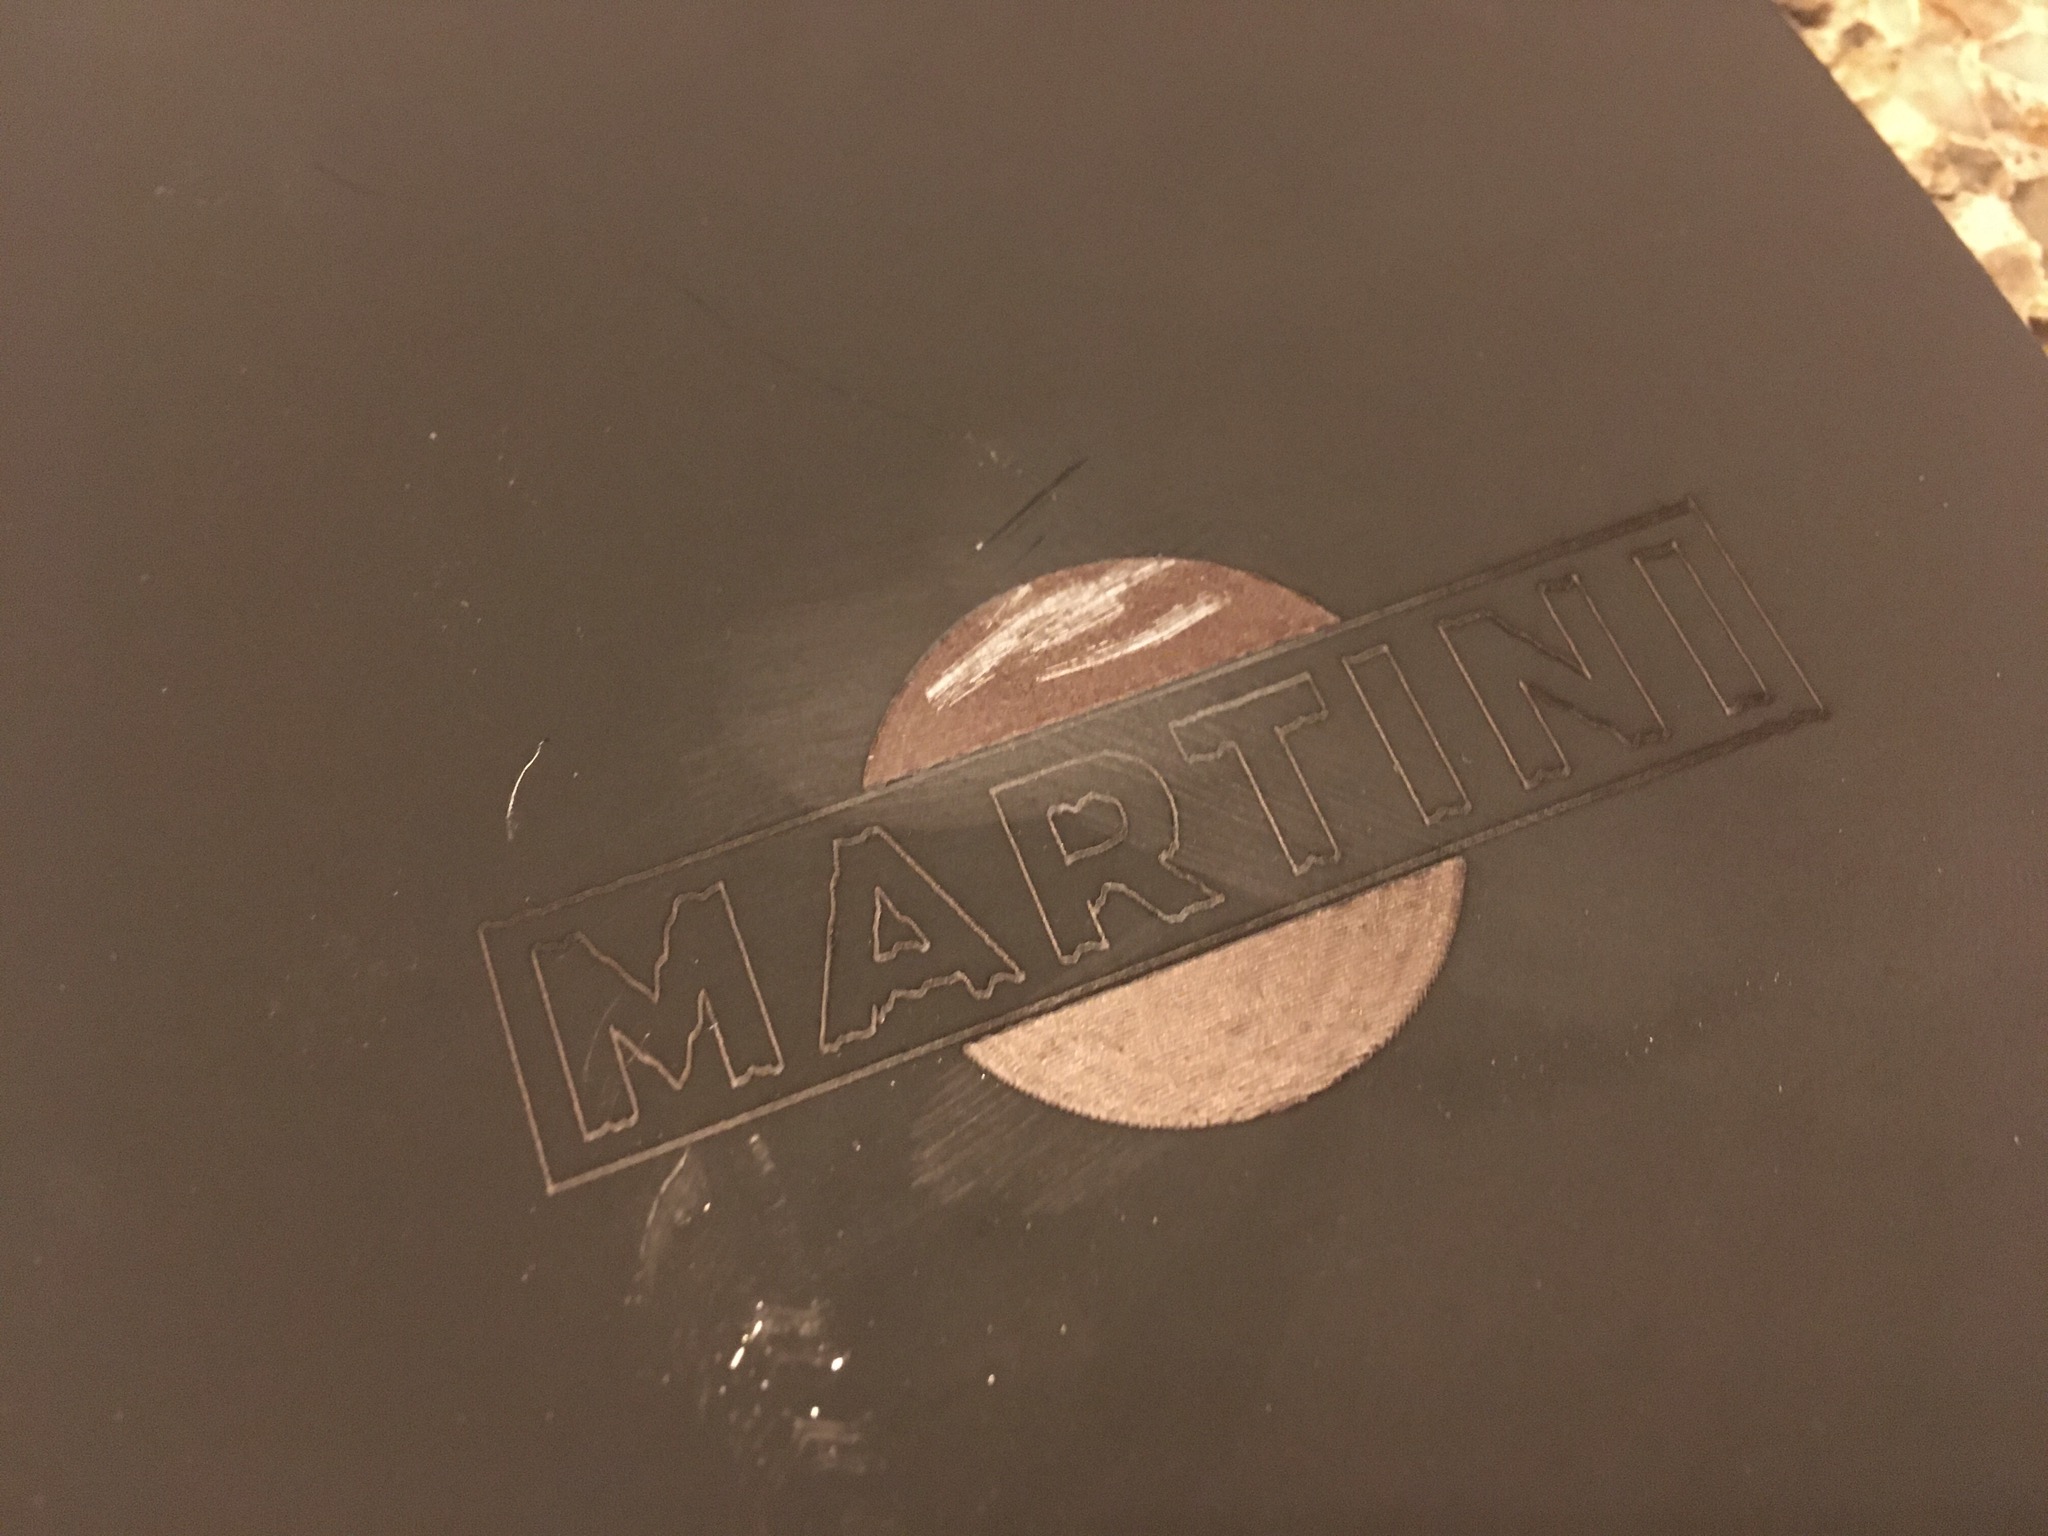
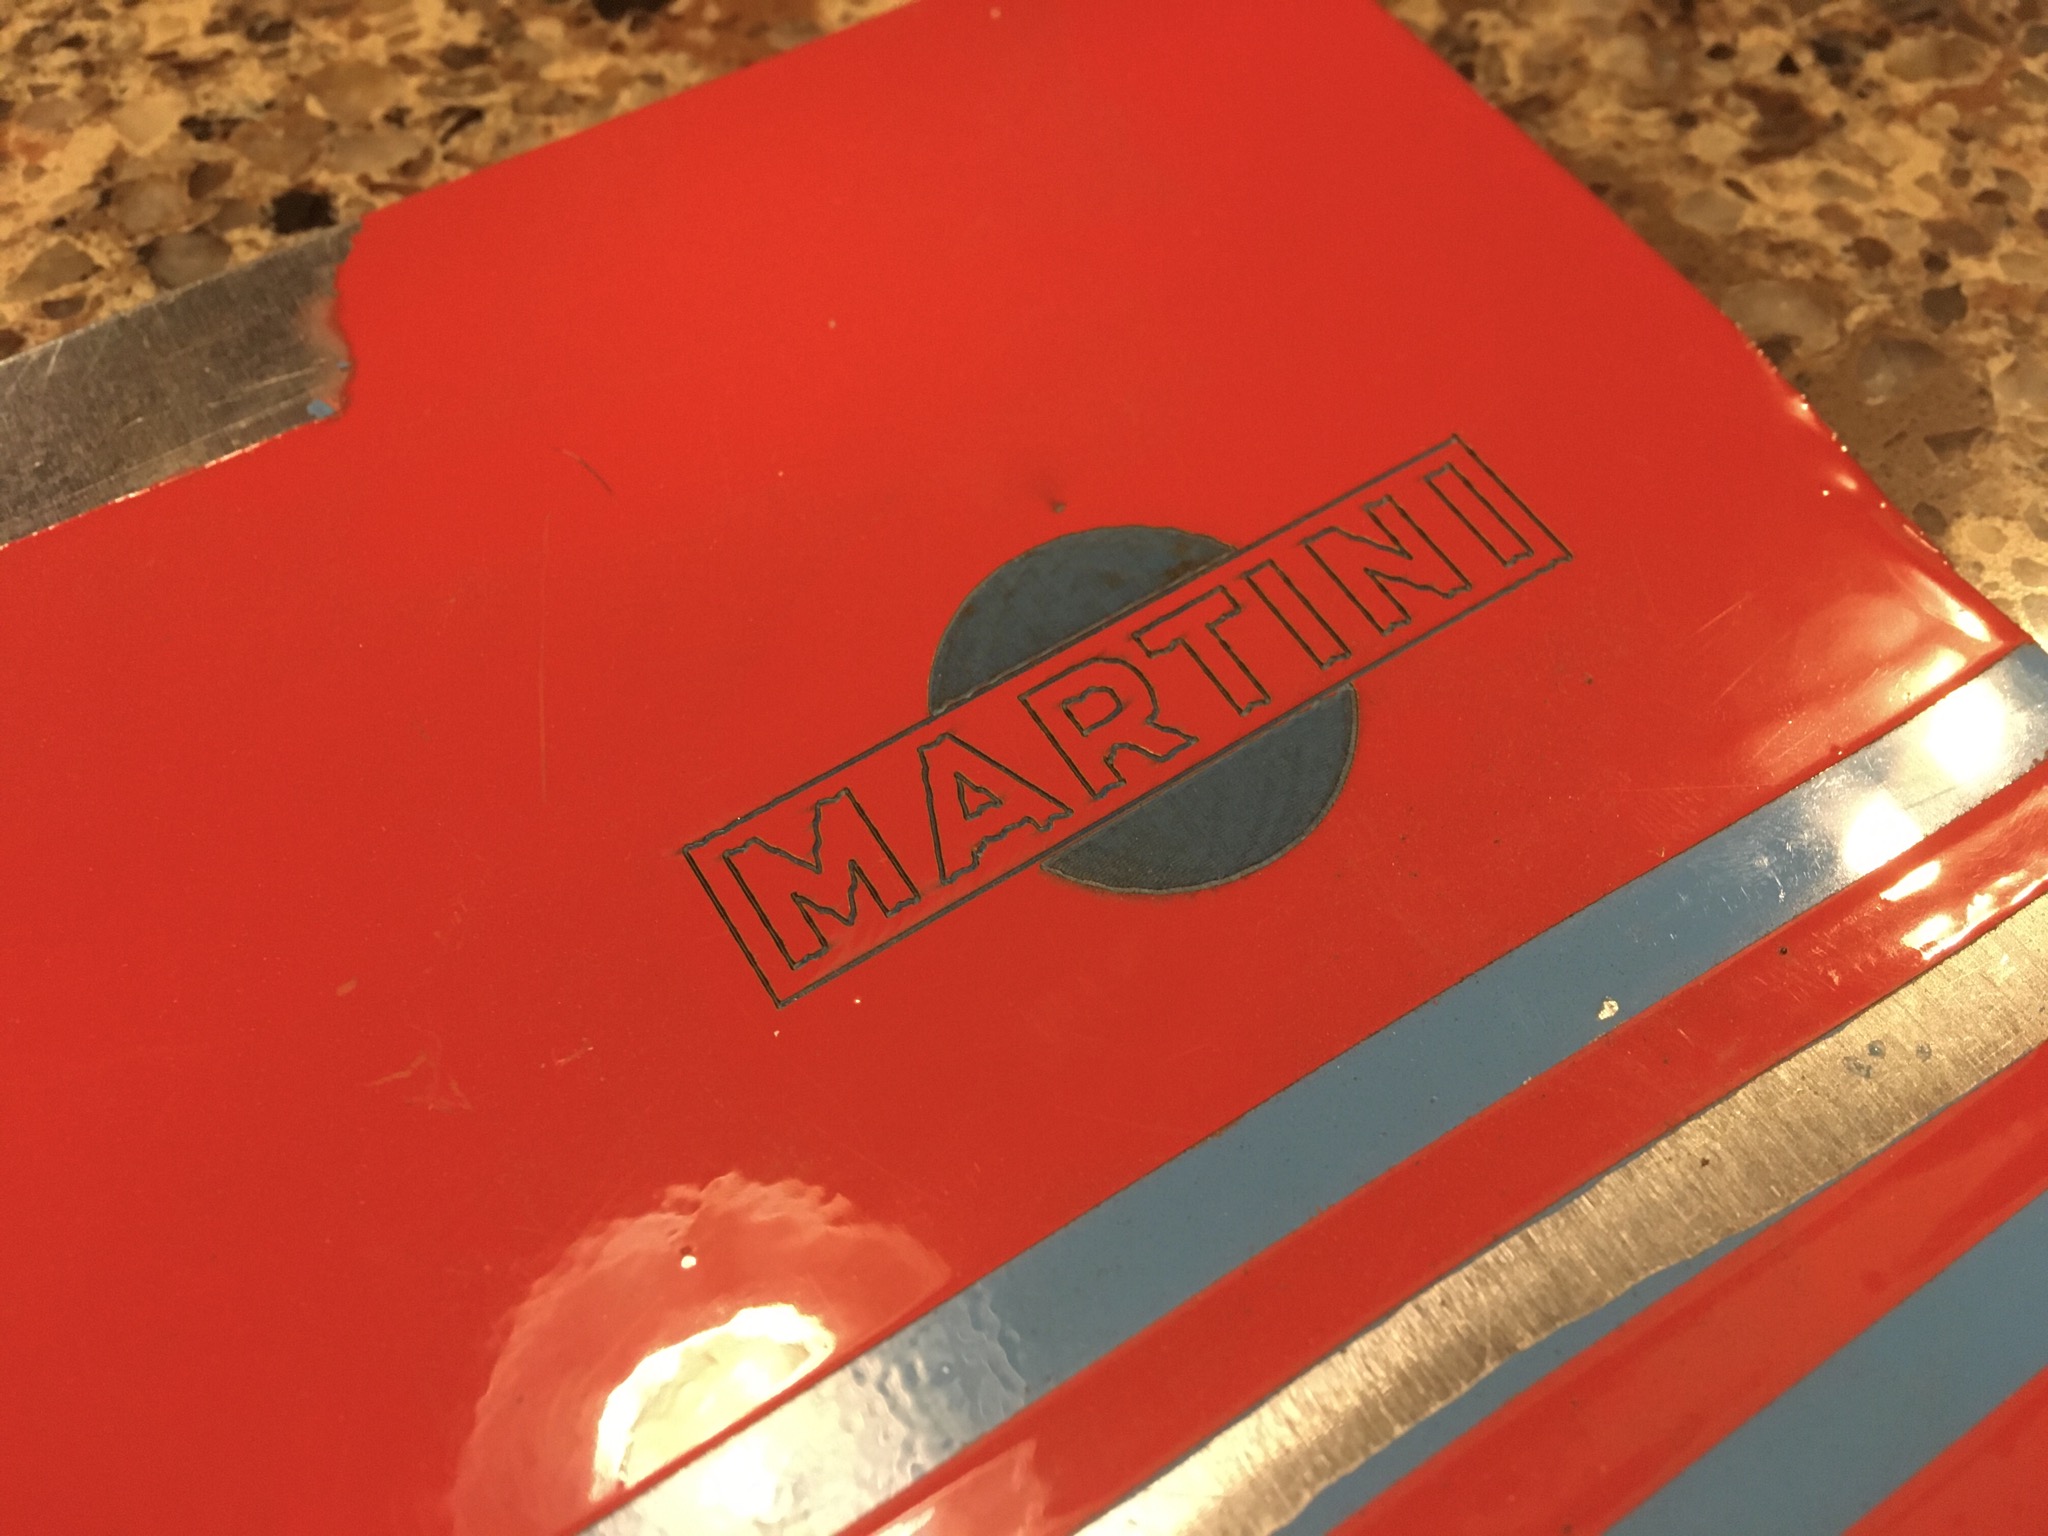
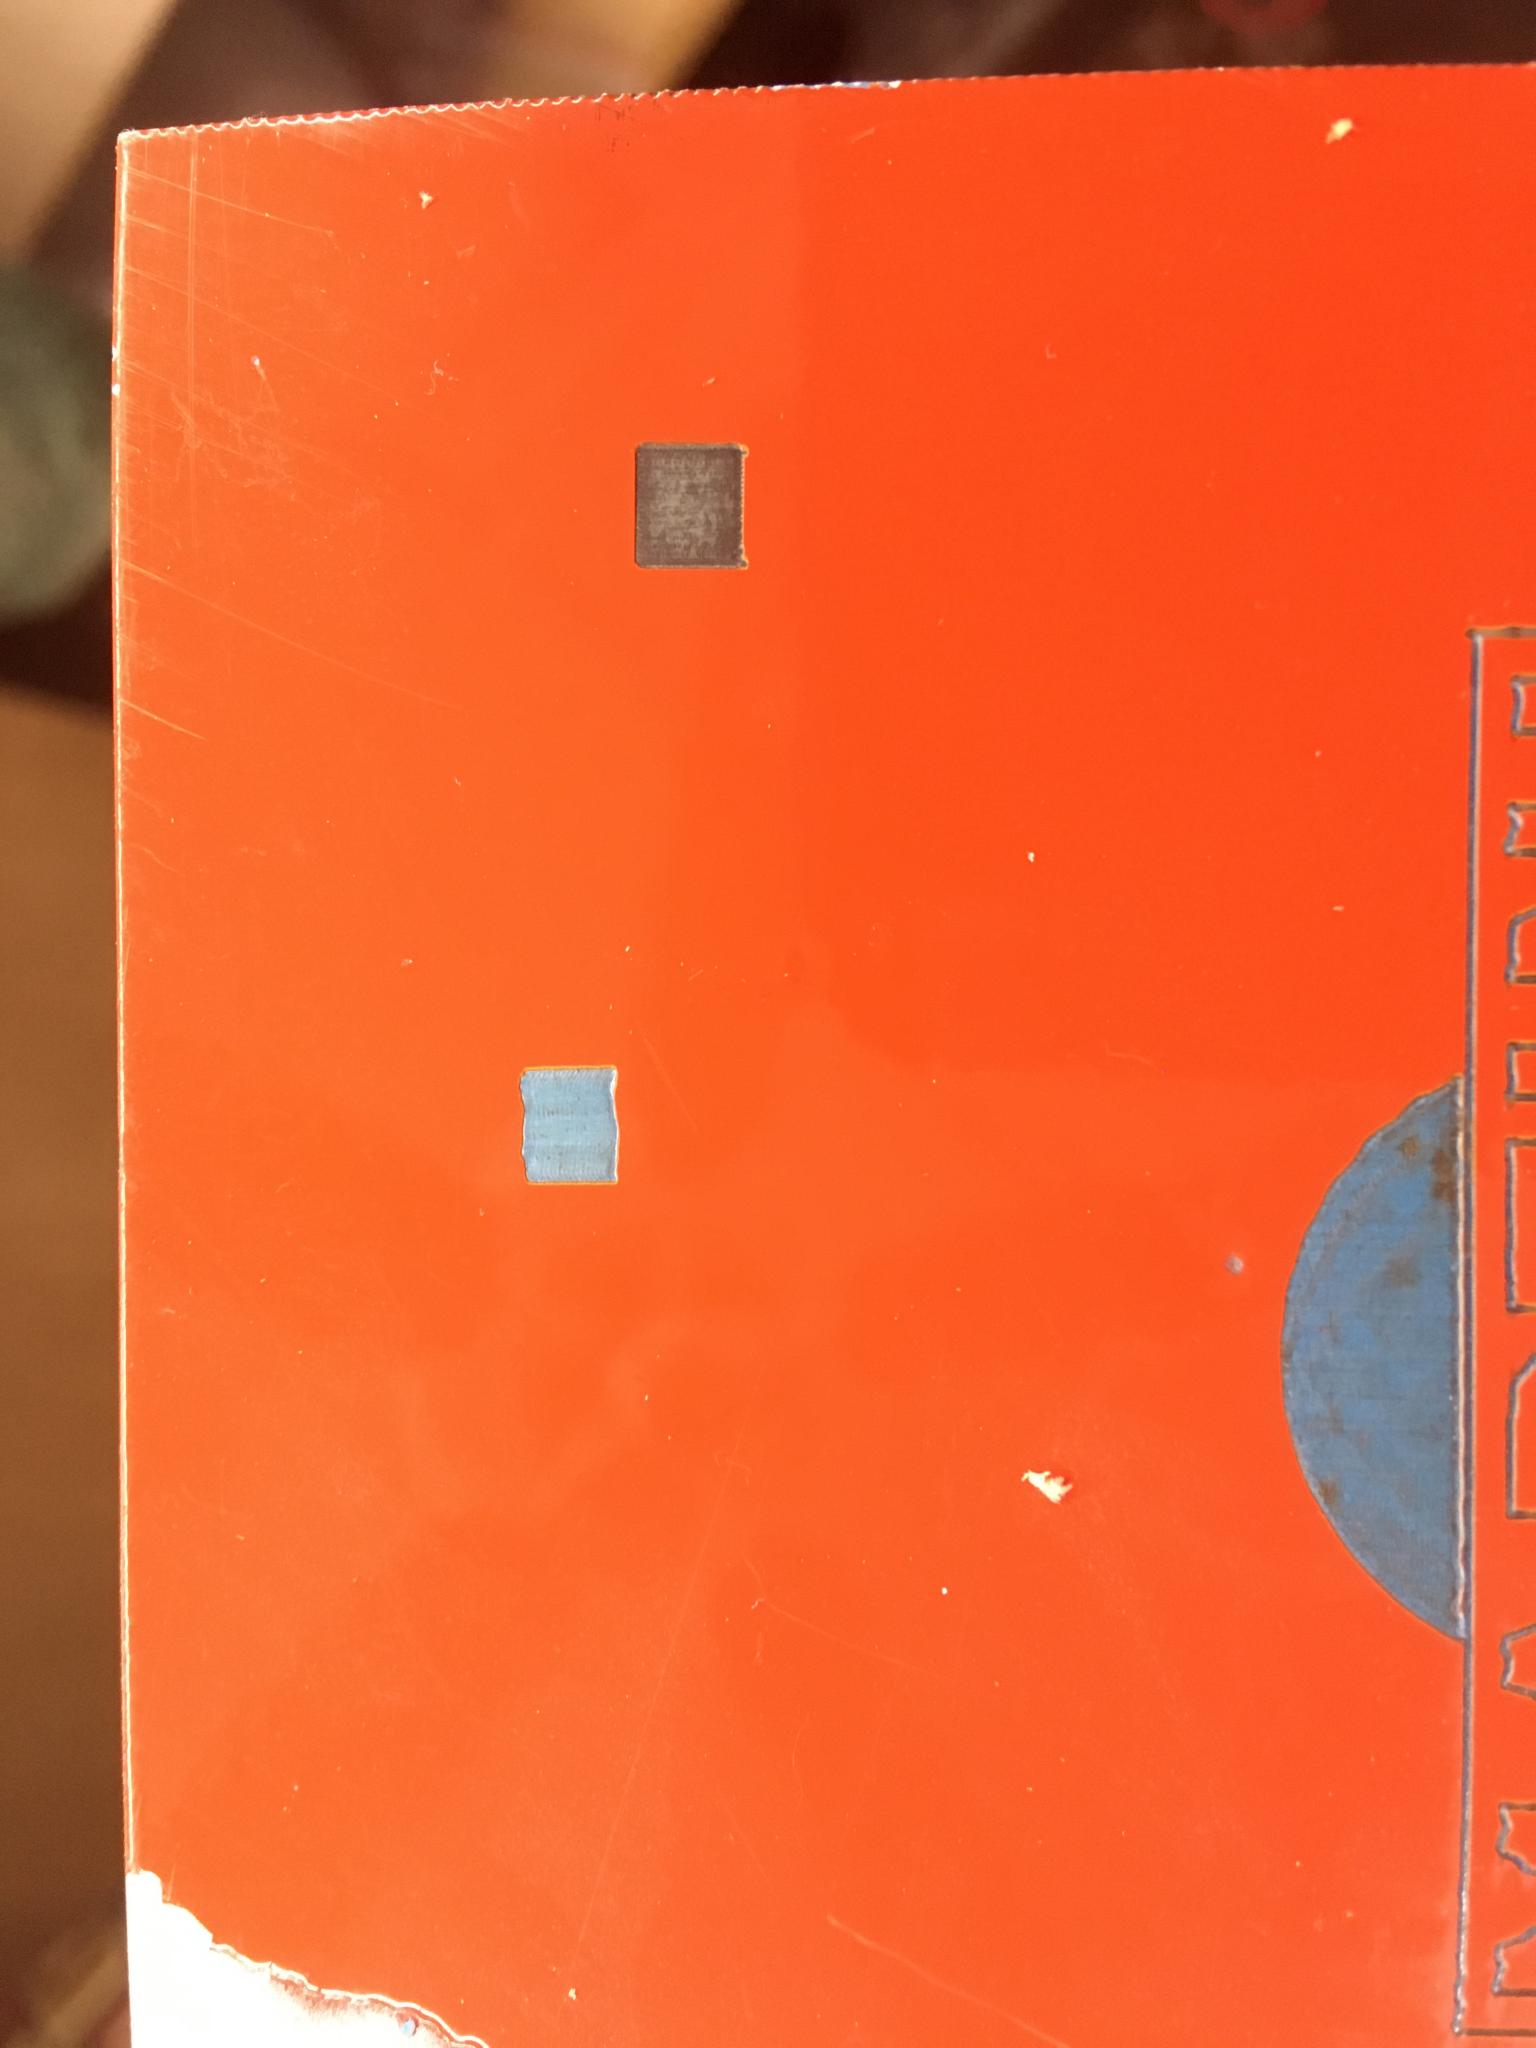
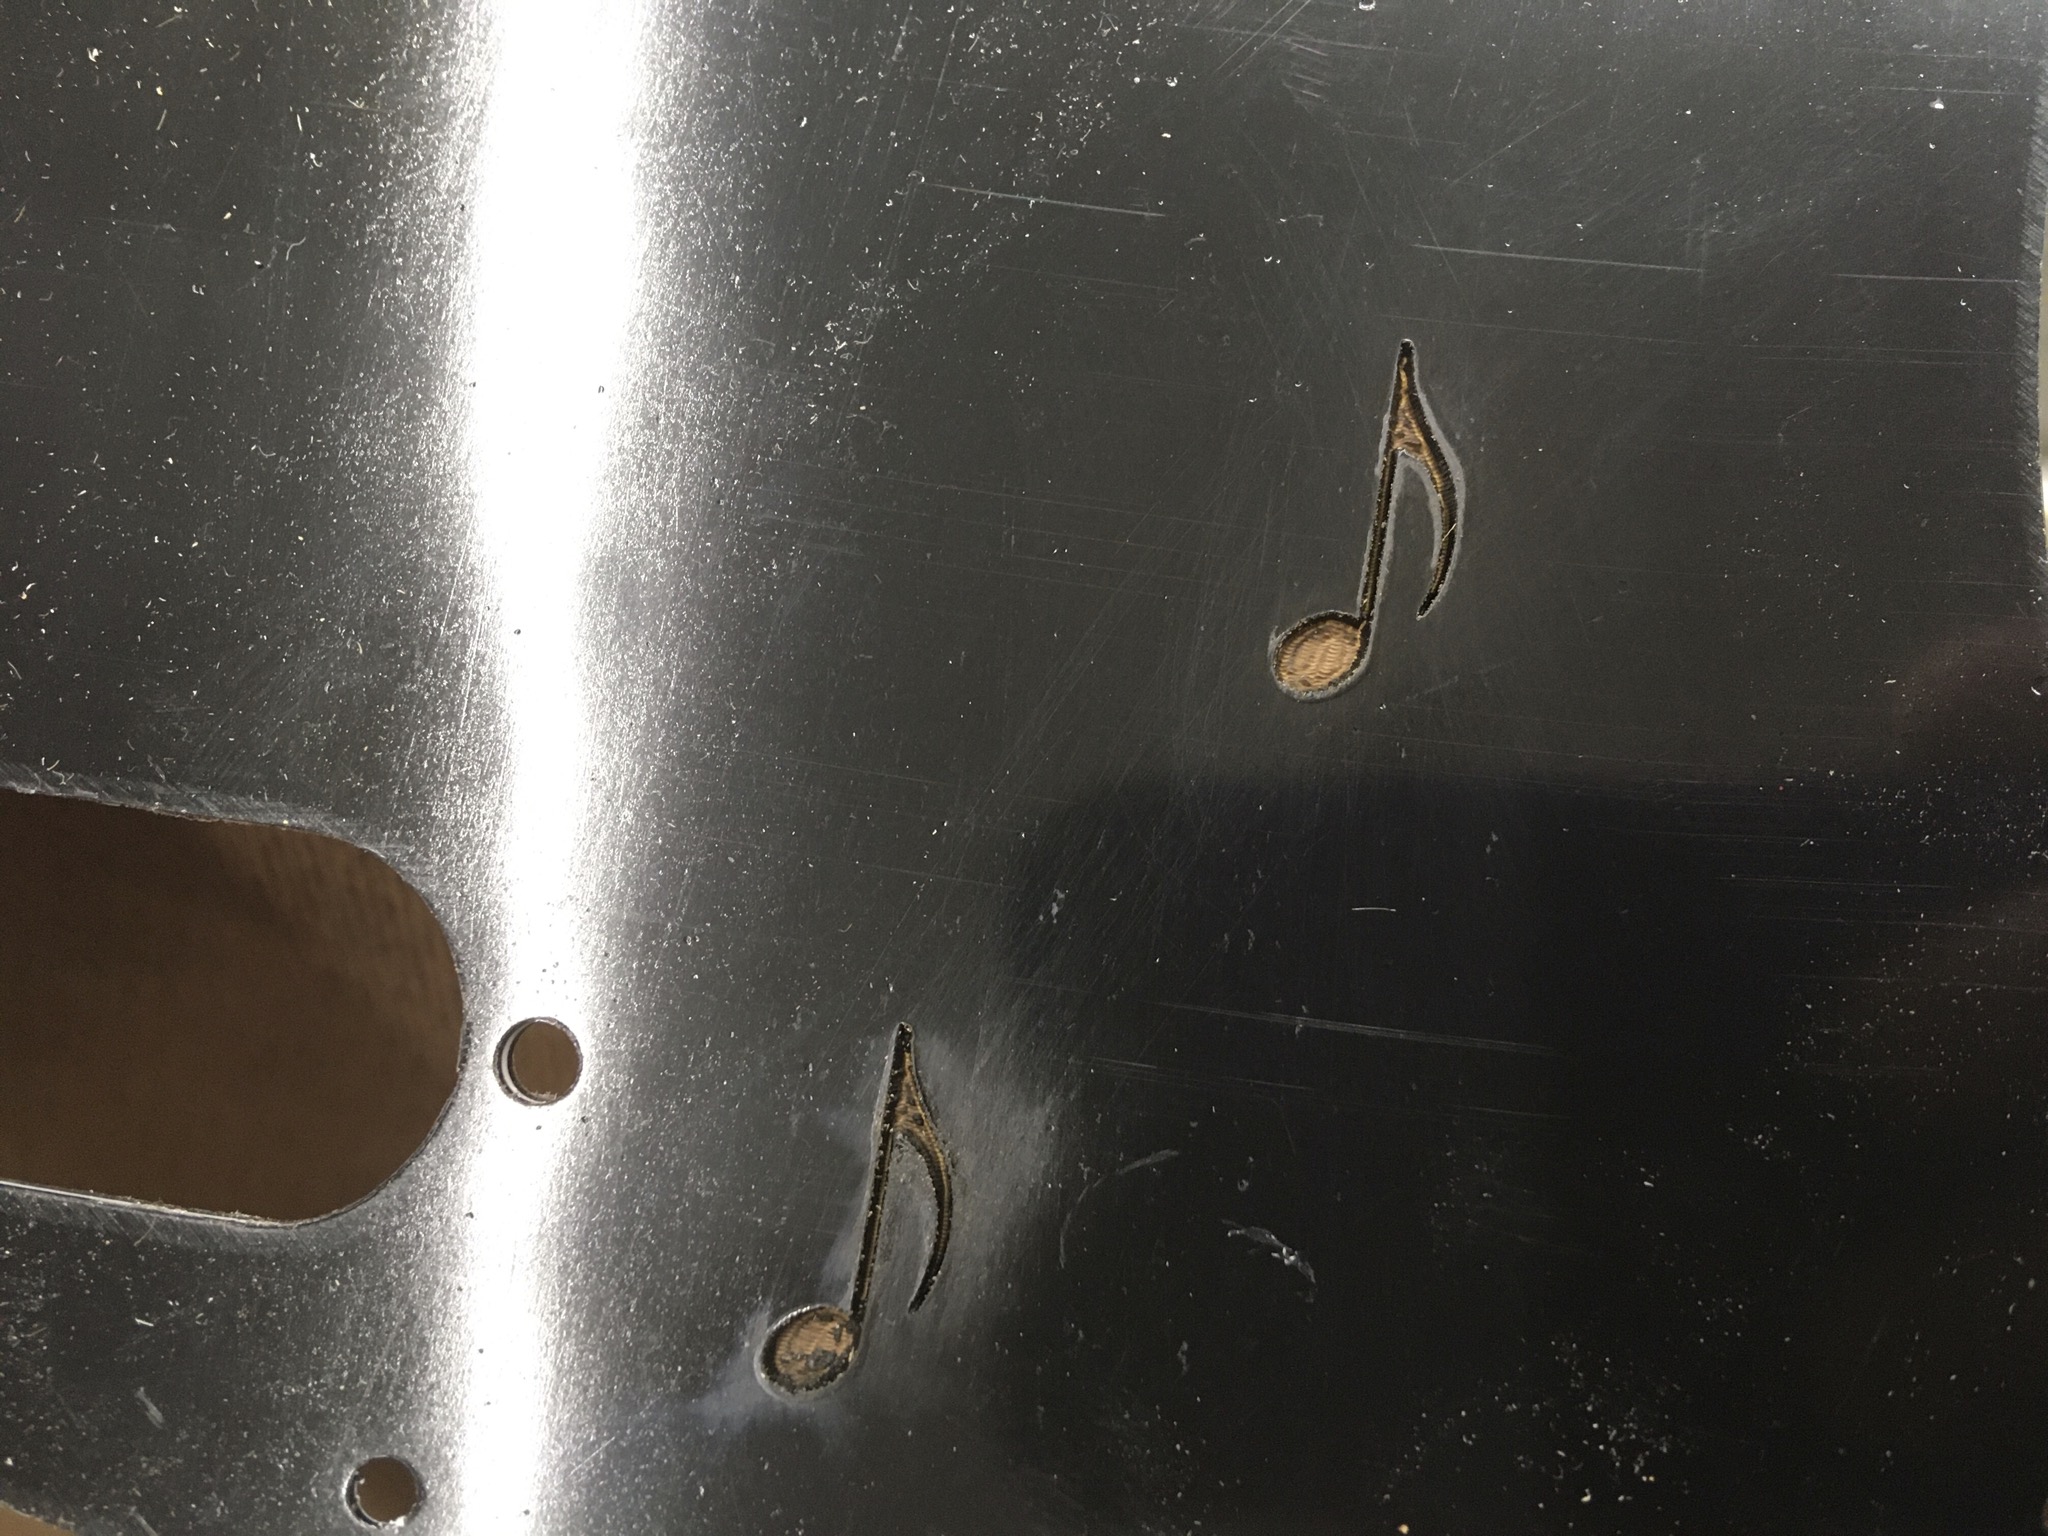
Jumper's original question was about making masks for etching plaques and labels, so I'm going to try burning paint off metal shortly and see how that works. It would be useful for my electro-etching experiments as well.
Who's got cool ideas?